

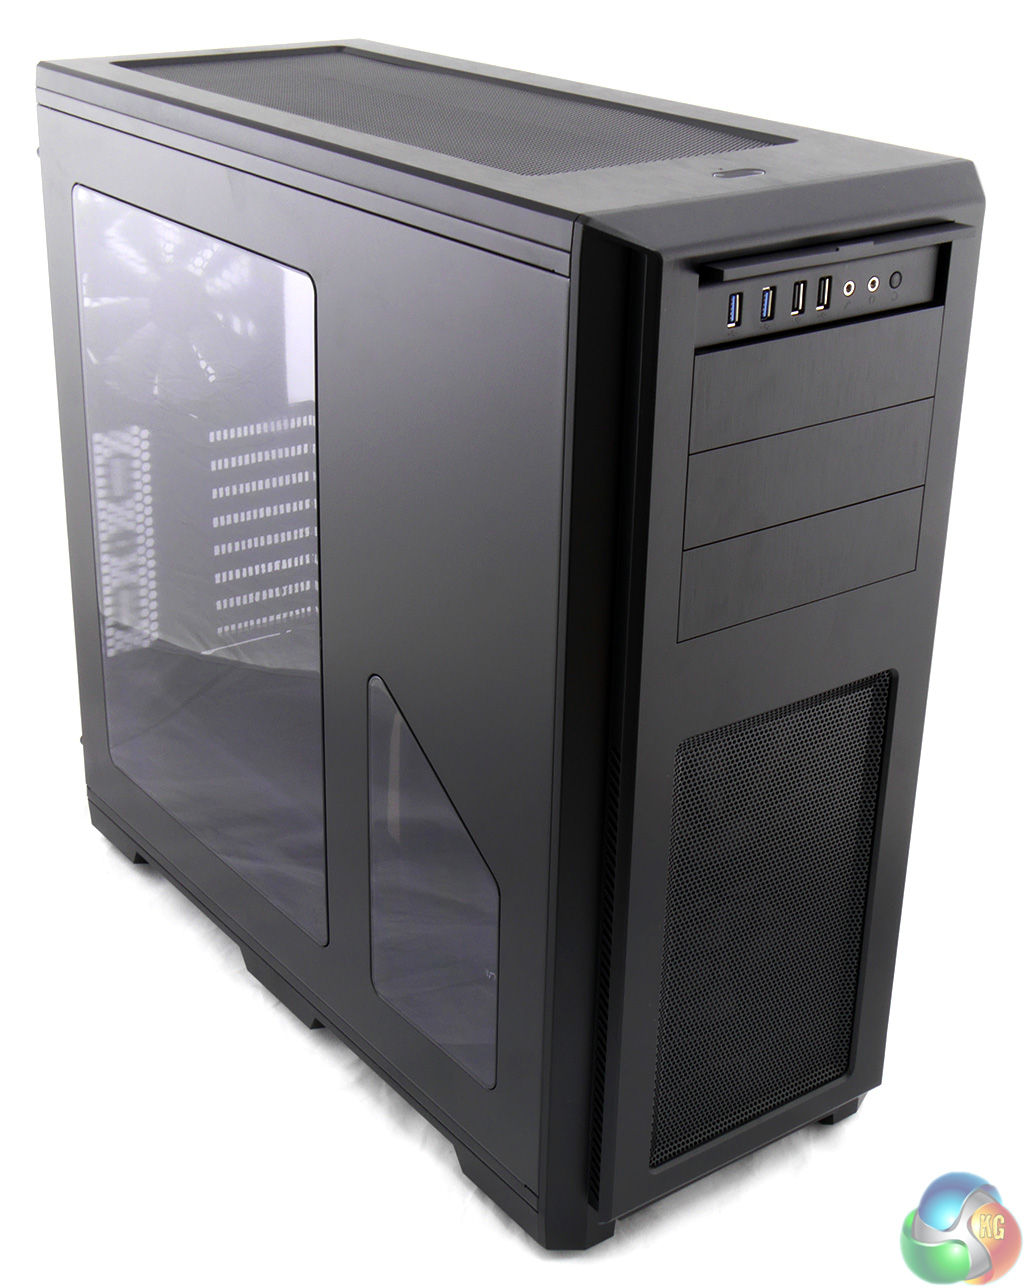
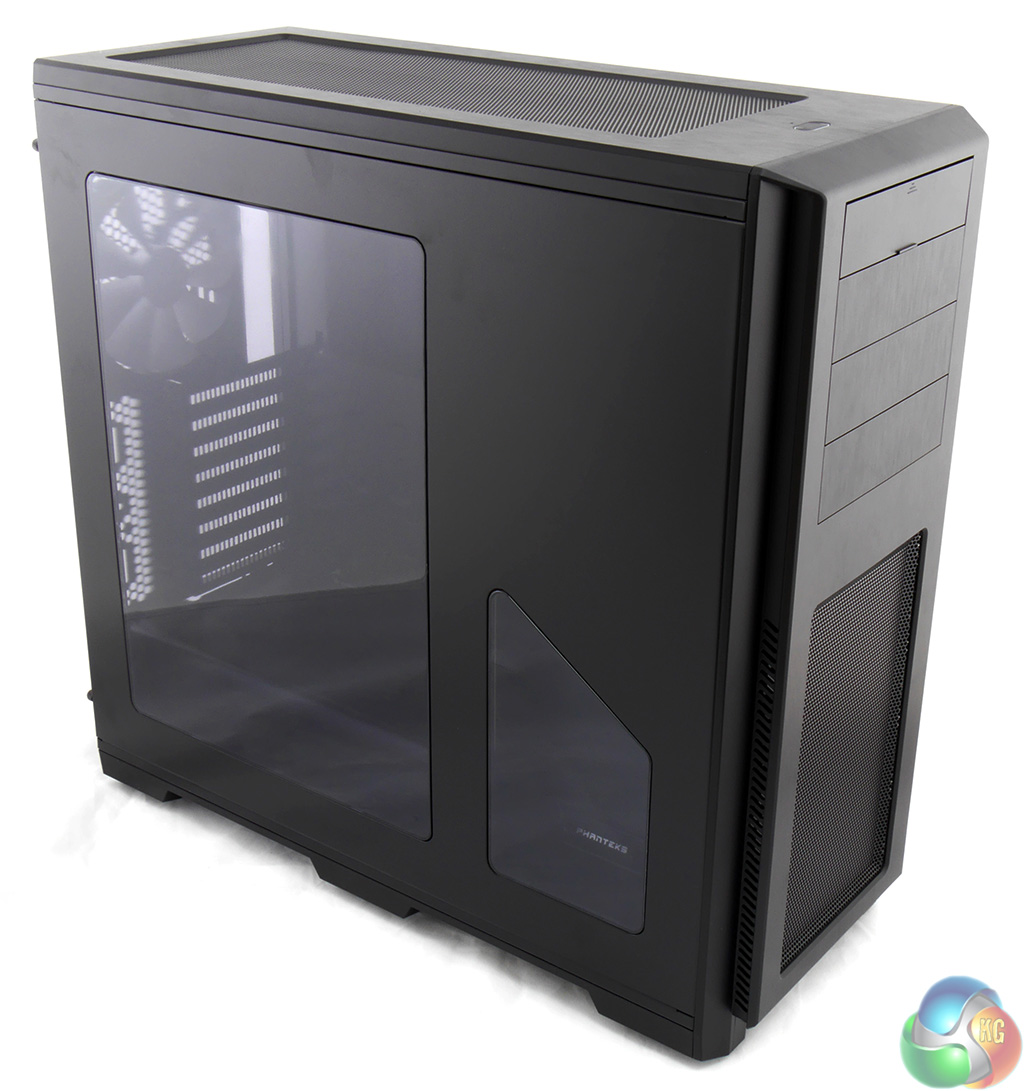
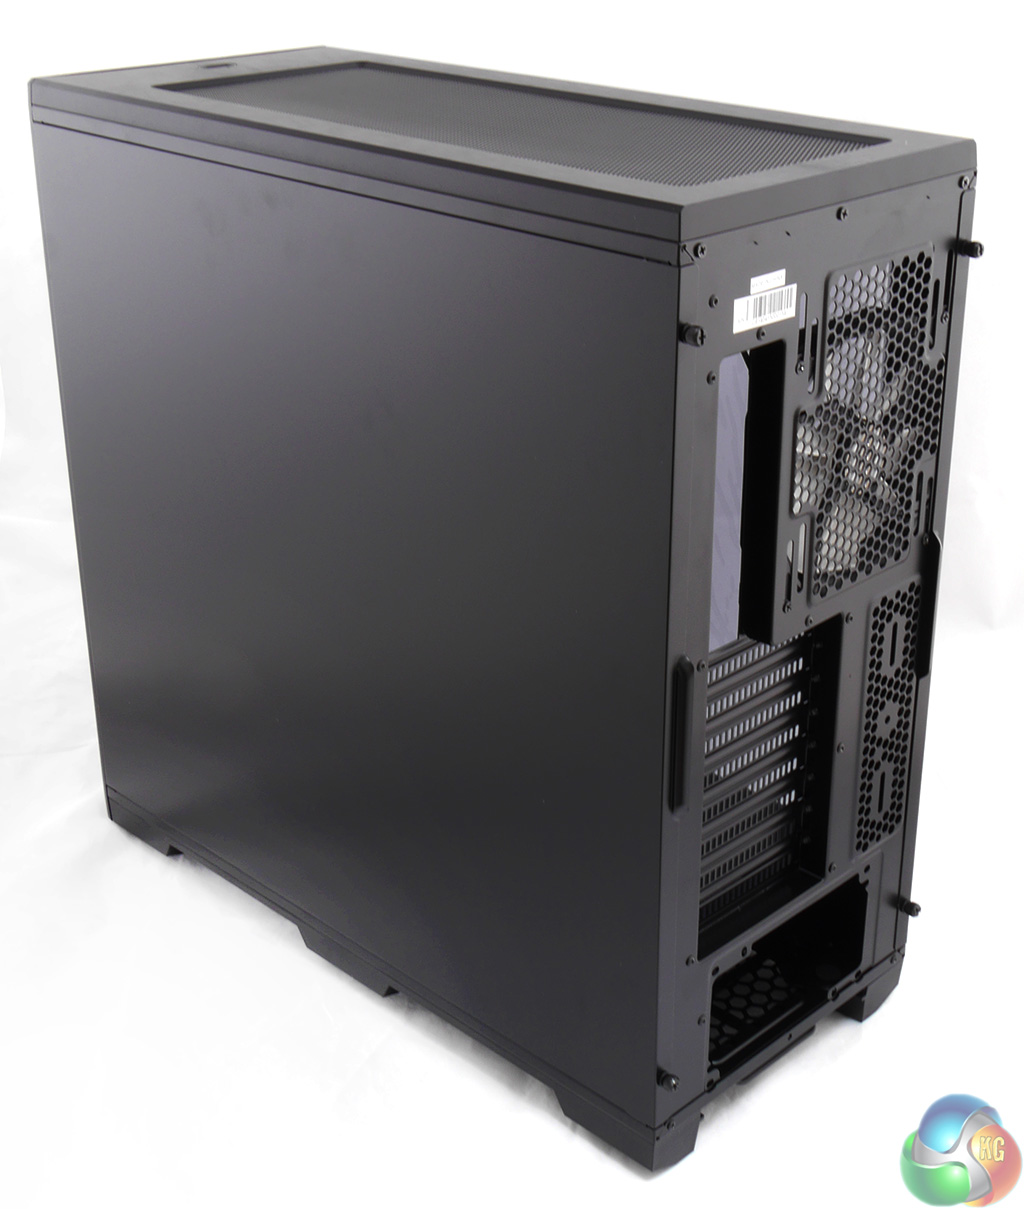
As you can see this is the windowed model that costs £89.99 in the UK. Alternatively you can have a plain side panel in a cheaper version that is priced at £79.99. I like the way the split window has been carefully positioned to show the Phanteks logo that is mounted on the hard drive tower, and I especially like the fact that the Phanteks logo plate is bolted on and can be removed as that displays confidence on the part of Phanteks.
The choice of window or plain side panel is the only option you get as the Enthoo Pro comes in black and no other colour.
This isn't an especially large case at 535mm tall, 550mm depth and 235mm width, however it is large enough that you can be confident there will be a decent amount of space inside.
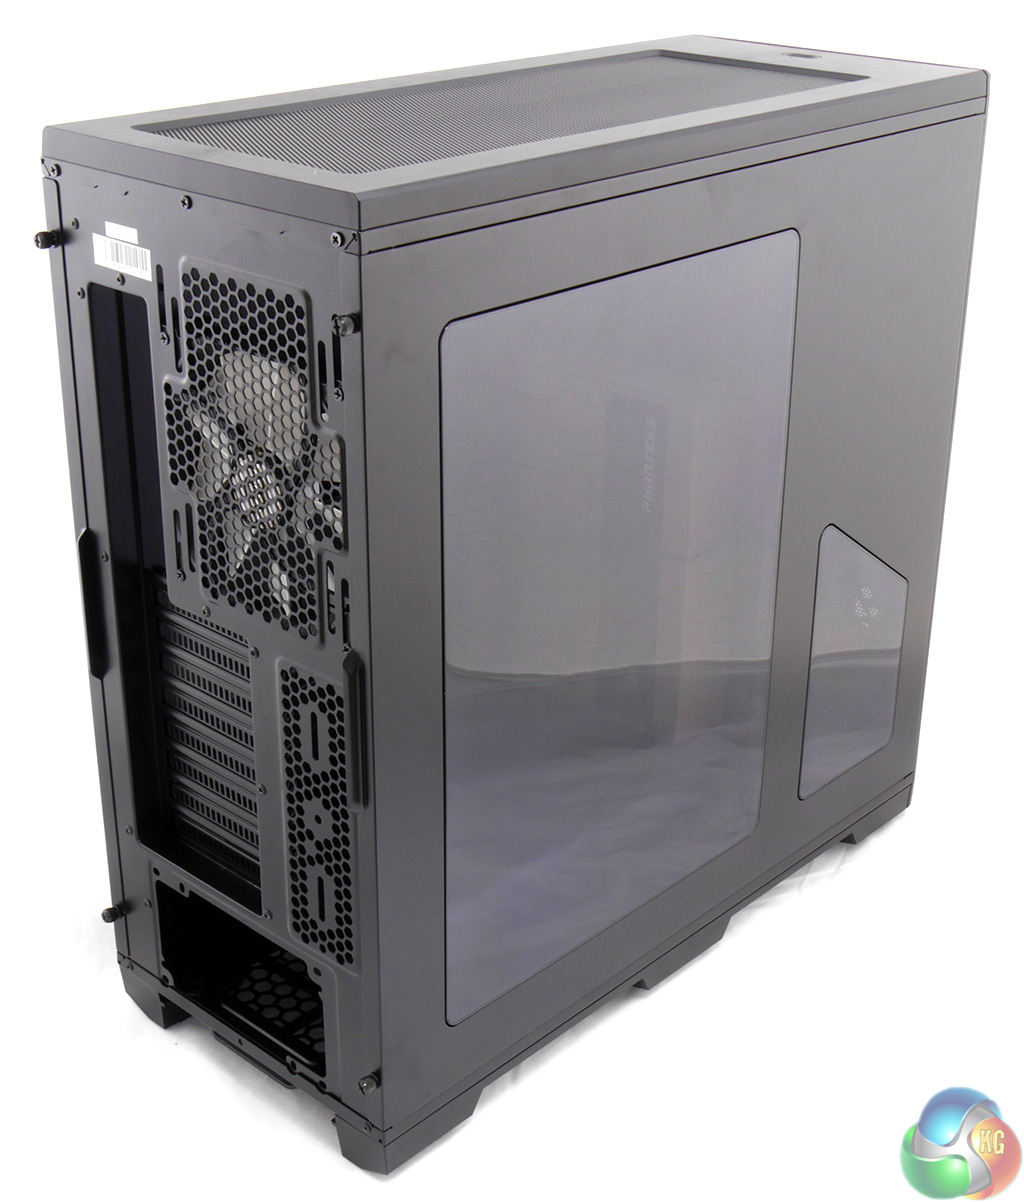
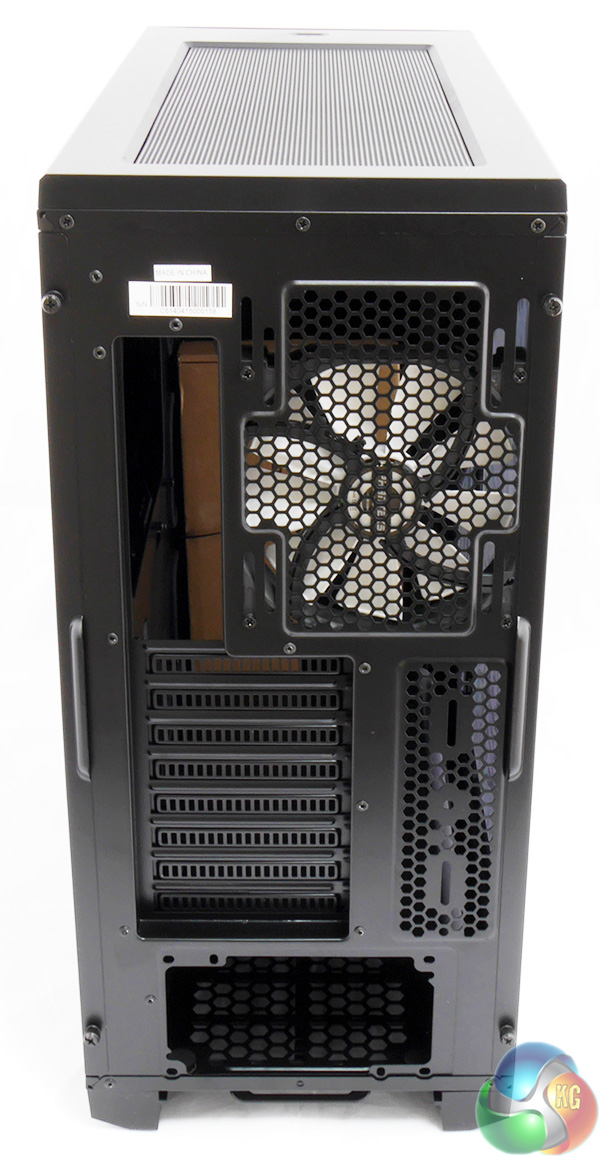
Taking a tour around the exterior of the case is a very pleasing experience. The Enthoo Pro looks and feels solid with a sensible amount of perforations for air flow, yet the openings are all filtered to prevent dust from getting inside.
At the front of the case, above the three optical drive bays, you'll find a cover that flips up to reveal two USB 3.0, two USB 2.0, a pair of headset jacks and the reset button. The power button is an oval shape and sits on top of the case, set back by 50mm from the front edge. When the PC is running the button is an illuminated white oval that looks good however when the PC is off the button is dark.
Now here's the thing. It took me a few minutes to realise that this aluminium and steel case is actually steel and plastic. The front and top panels that appear to be made of black brushed aluminium are actually made of plastic and the rest of the chassis is made of steel.
Clearly this is a way to cut costs and the Enthoo Pro would probably weigh less than its stated figure of 11.9kg if it was made from aluminium but it's not all bad news as the Pro is practically immune to greasy fingerprints and we all know how those marks show up horribly on aluminium panels.
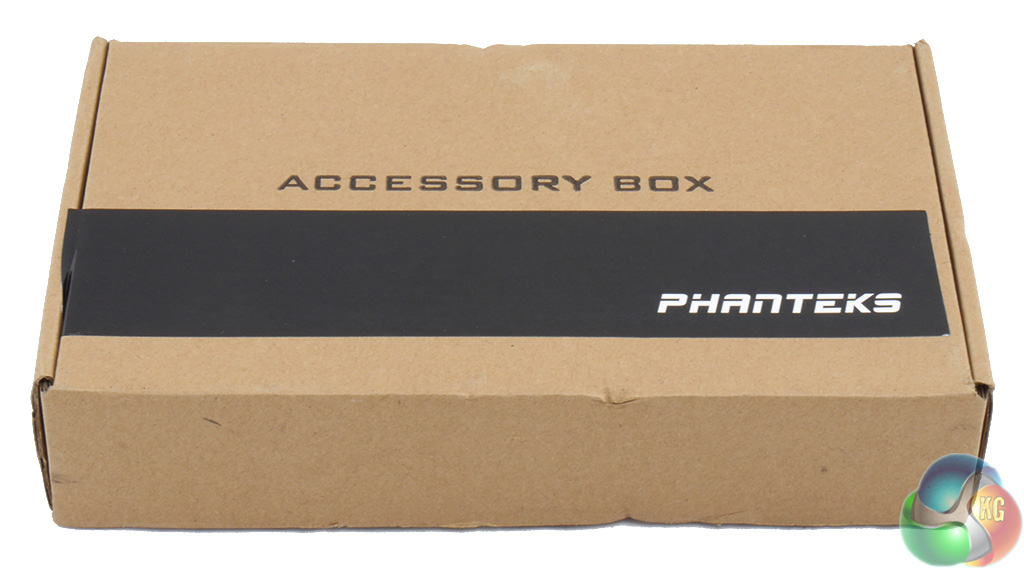
Remove two thumbscrews and the side panel swings out slightly and lifts away to reveal the innards where the first thing you will see is this box of accessories.
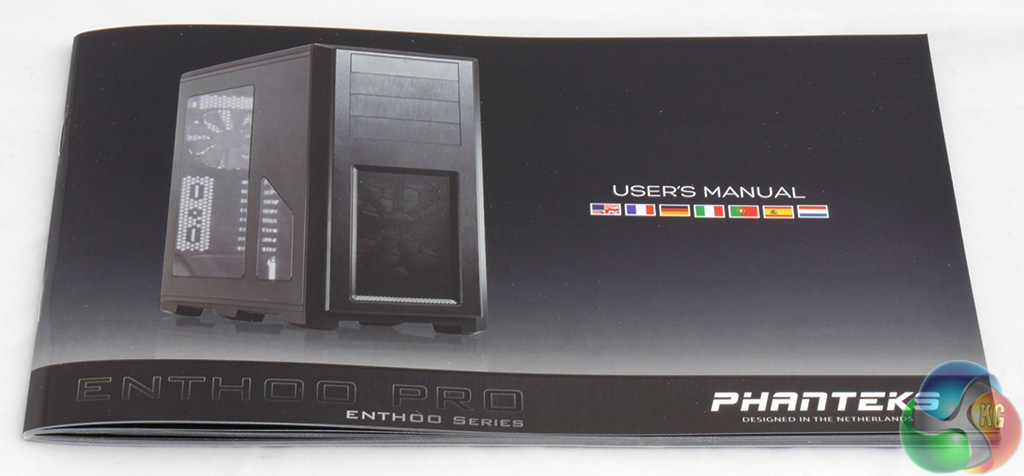
Over the years I have had all sorts of fun with manuals. Some are poorly written and others explain trivial points in great detail while missing out key information. The Enthoo Pro manual is a shining example of how the job should be done. Admittedly I am talking about the English parts and the other six languages might be awful but the diagrams and descriptions are spot on. People, this is how you should write a manual.
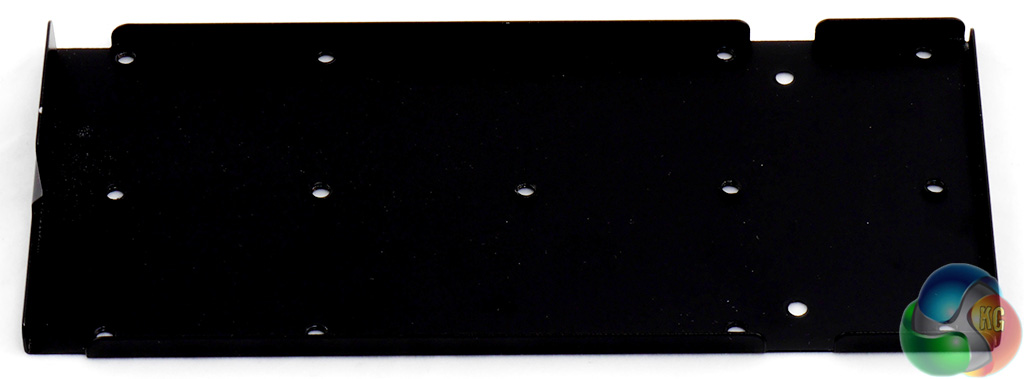
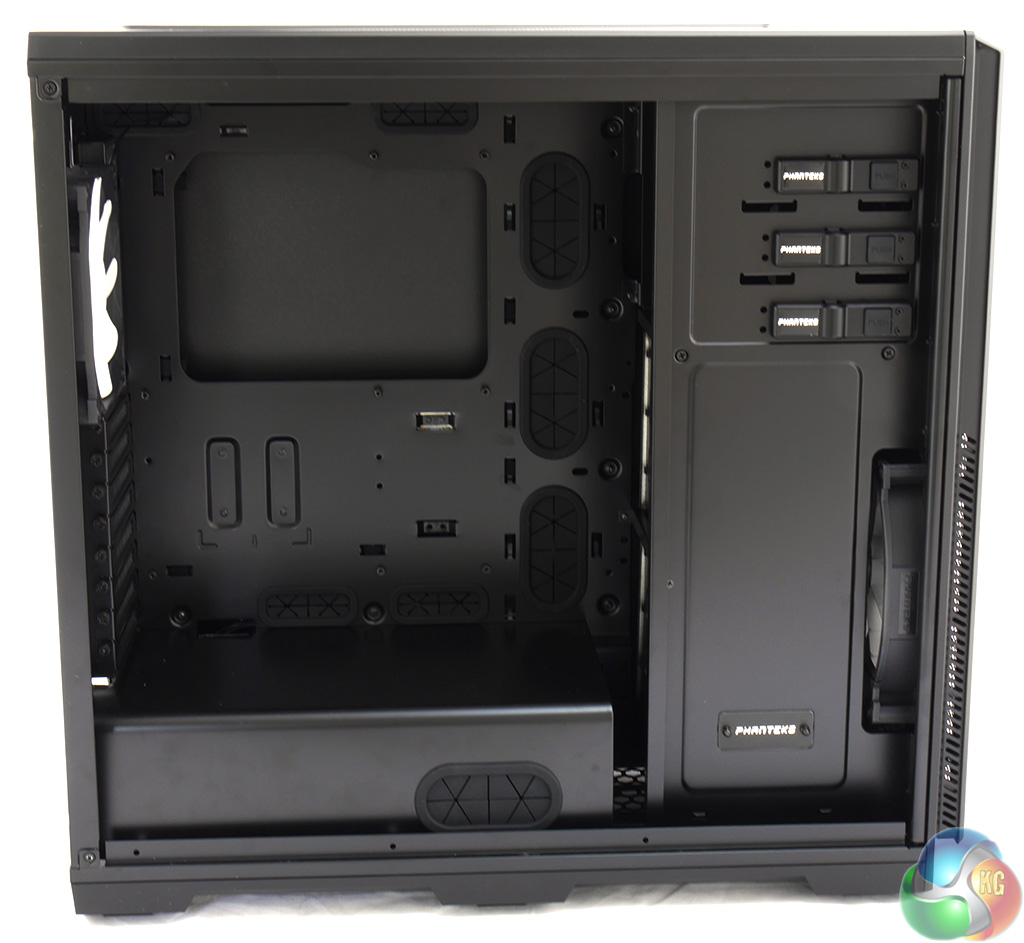
One unusual extra in the package is a reservoir bracket. This will make life easier for the home brewed water cooling community who prefer not to drill holes in their cases when they mount a tube reservoir. This bracket attaches to the drive tower and is directly in line with the graphics card(s).
With the monster Sapphire Tri-X R9 290 graphics card that I used in this build there was 40mm clearance between the end of the graphics card and the drive tower. That's heaps of space for a regular build but probably means you'll need to do a bit of measuring before you buy your components for a water cooling set-up.
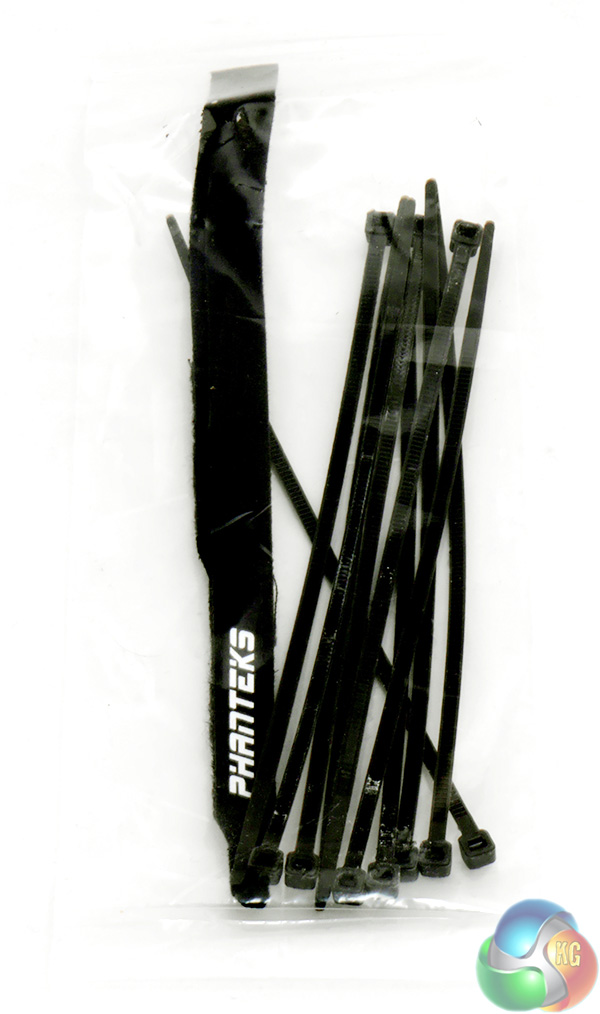
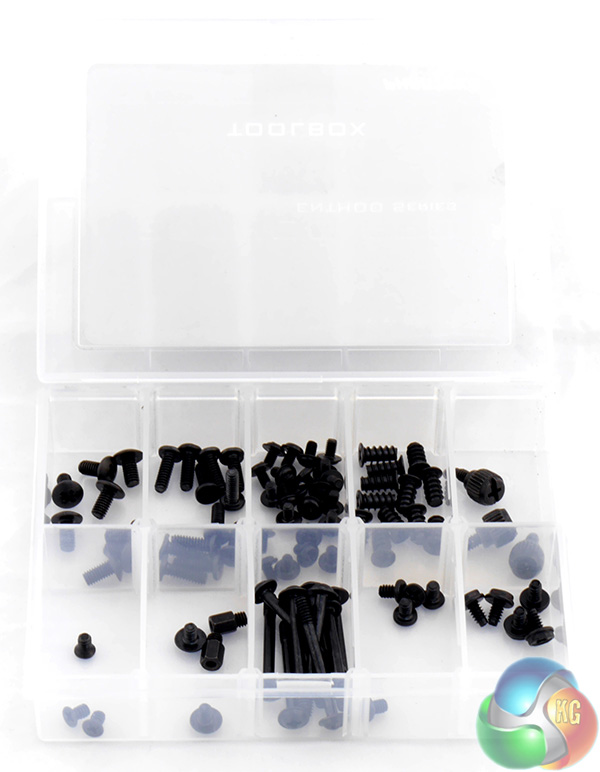
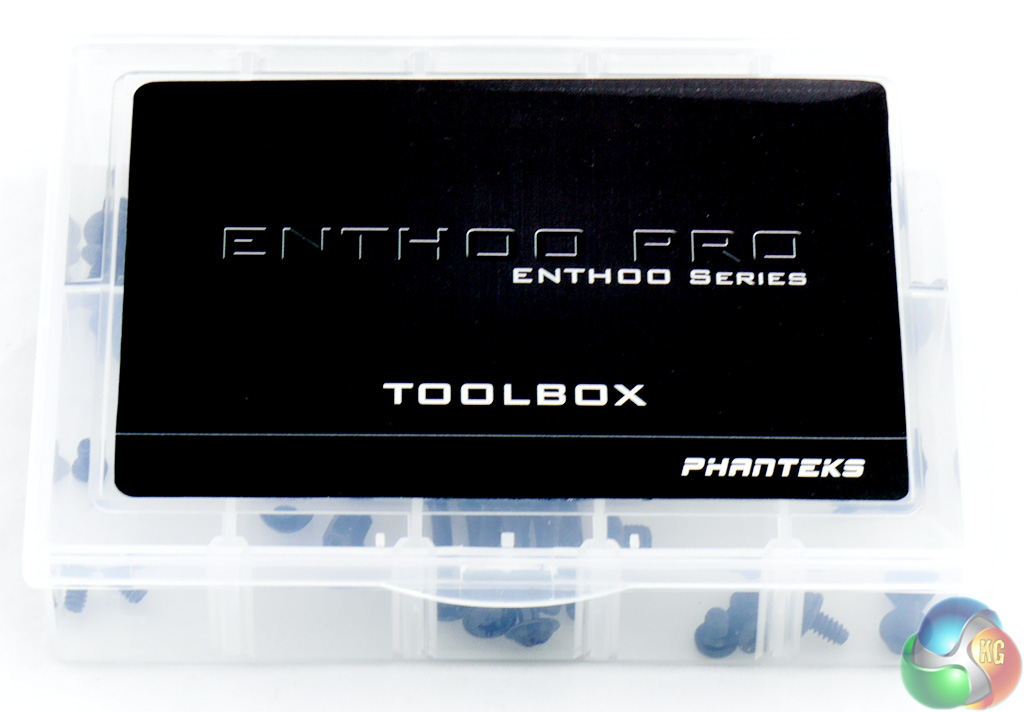
The Accessories also include cable ties and a spare Velcro strap as well as a plastic case labelled Toolbox that does not actually contain any tools but does give you a decent selection of fasteners all neatly arranged in compartments.
Awesome looking case ! they really are impressing me so far with the attention to detail on their cases.
My only concern with the PWM hub would be connecting six fans to a single PWM connection on the motherboard. You could easily exceed the maximum wattage capability of a single PWM connection.
The motherboard only supplies PWM signal to Phanteks PWM controlled 3-pin fan hub and PSU supplies the power. The master fan on header 1 sends rpm singal to motherboard.
Those of us with Enthoo Primo hubs love them and can’t wait to buy them as an accessory.
Can this case fit a 360mm radiator without removing the 5,25 bays ?
no, because the fans are to be mounted inside the case with the radiator it will be too thick and will interfere with the top 5.25 bay. A good alternative is the enthoo luxe which allows for the fans to be mounted in the top shroud allowing a 45mm rad to be installed and not mess with the top 5.25 bay