

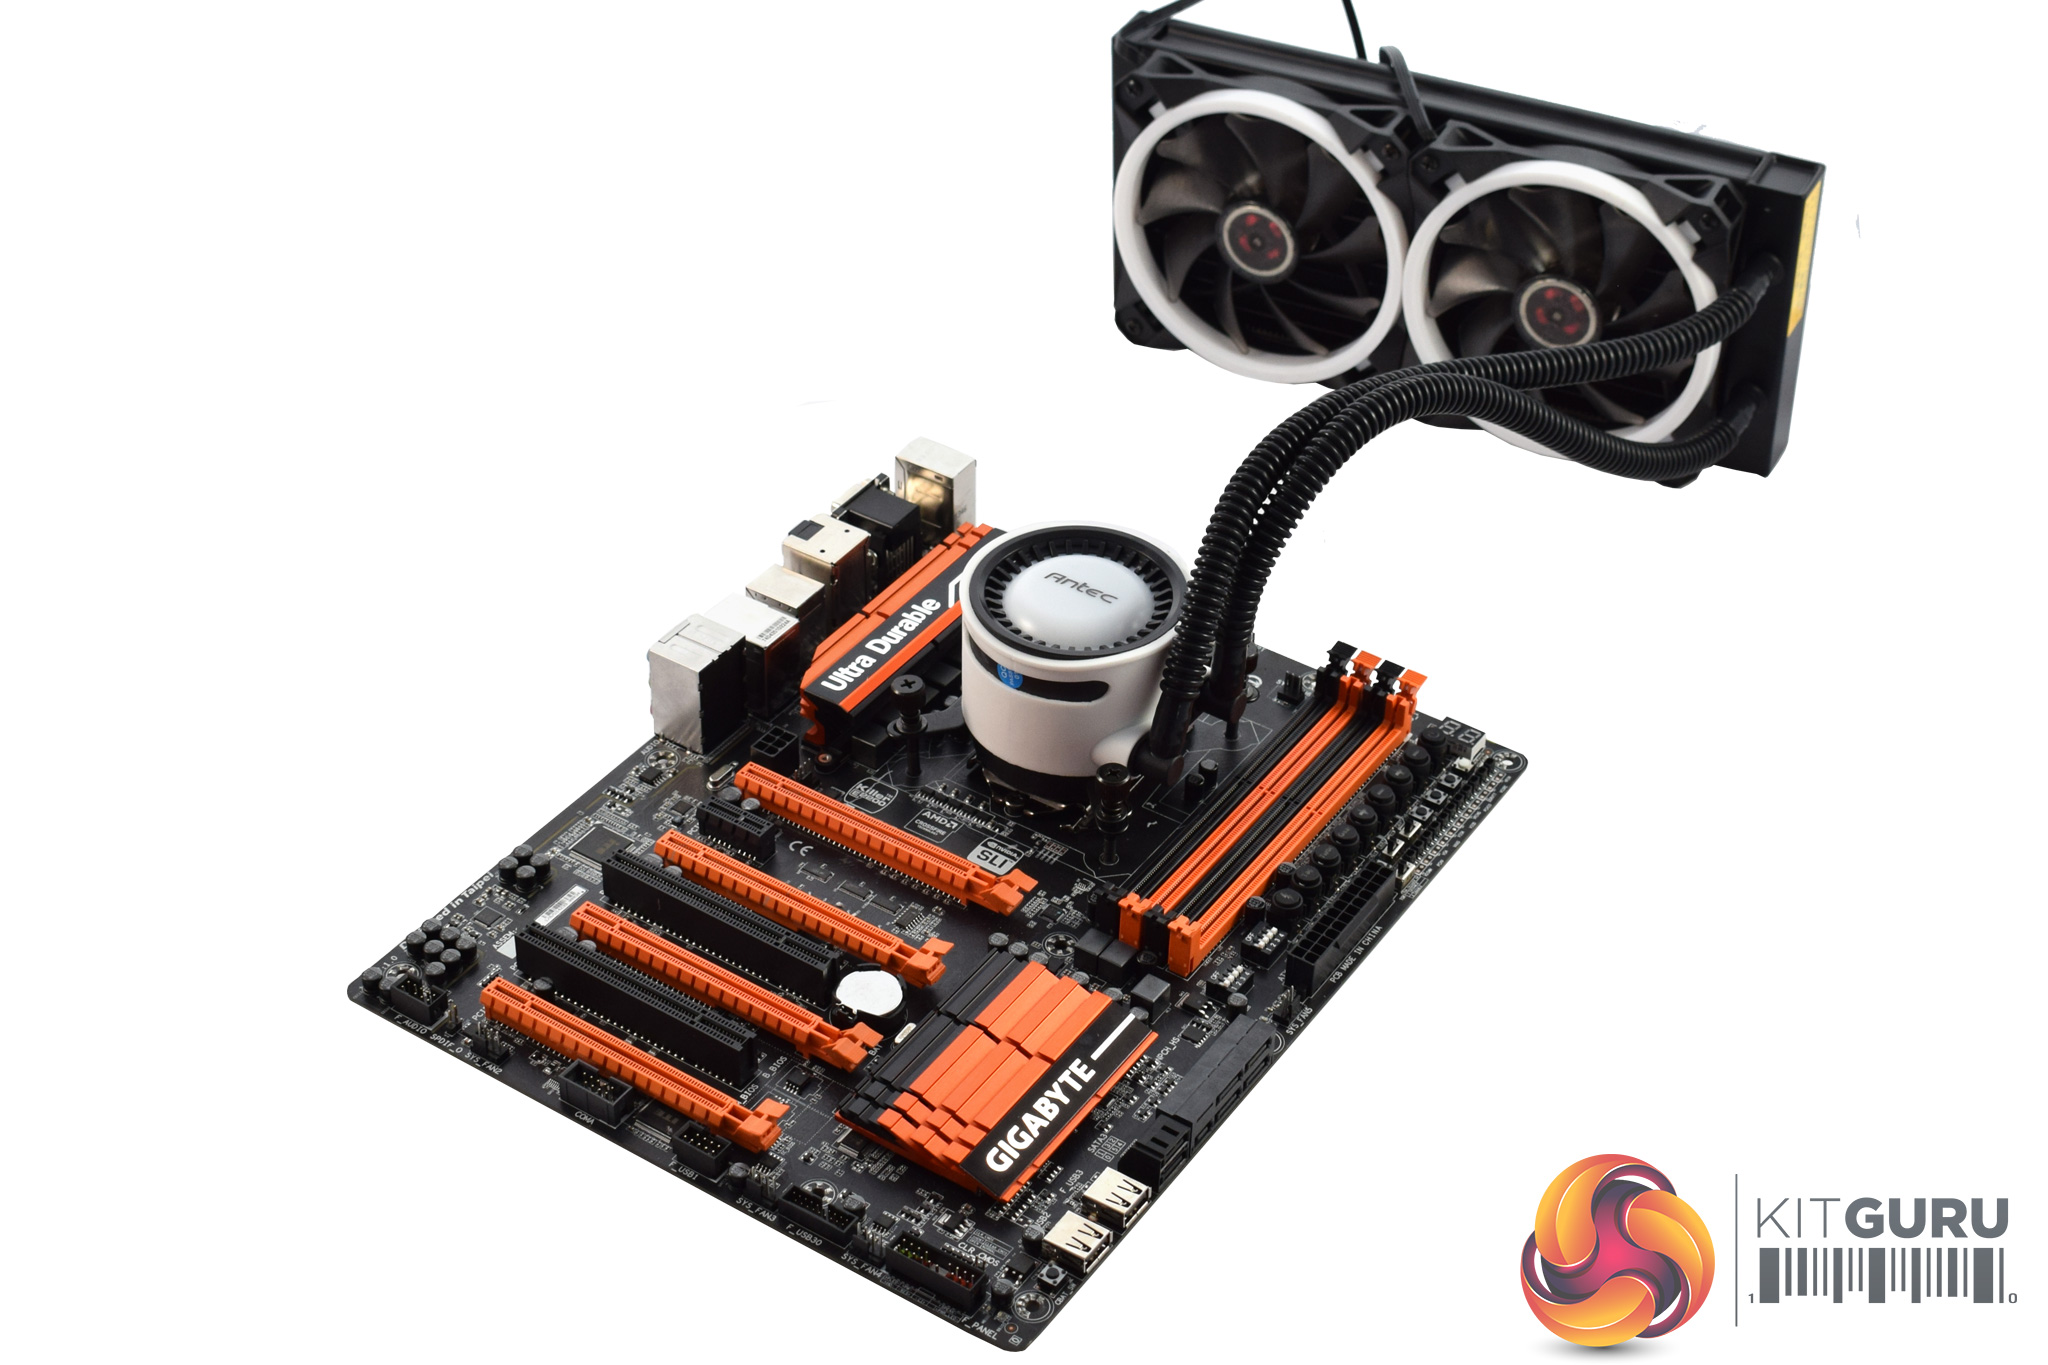
Here I will walk you through the installation process. It is worth noting we test using a Z97 motherboard – socket LGA 1150. The process below reflects that.
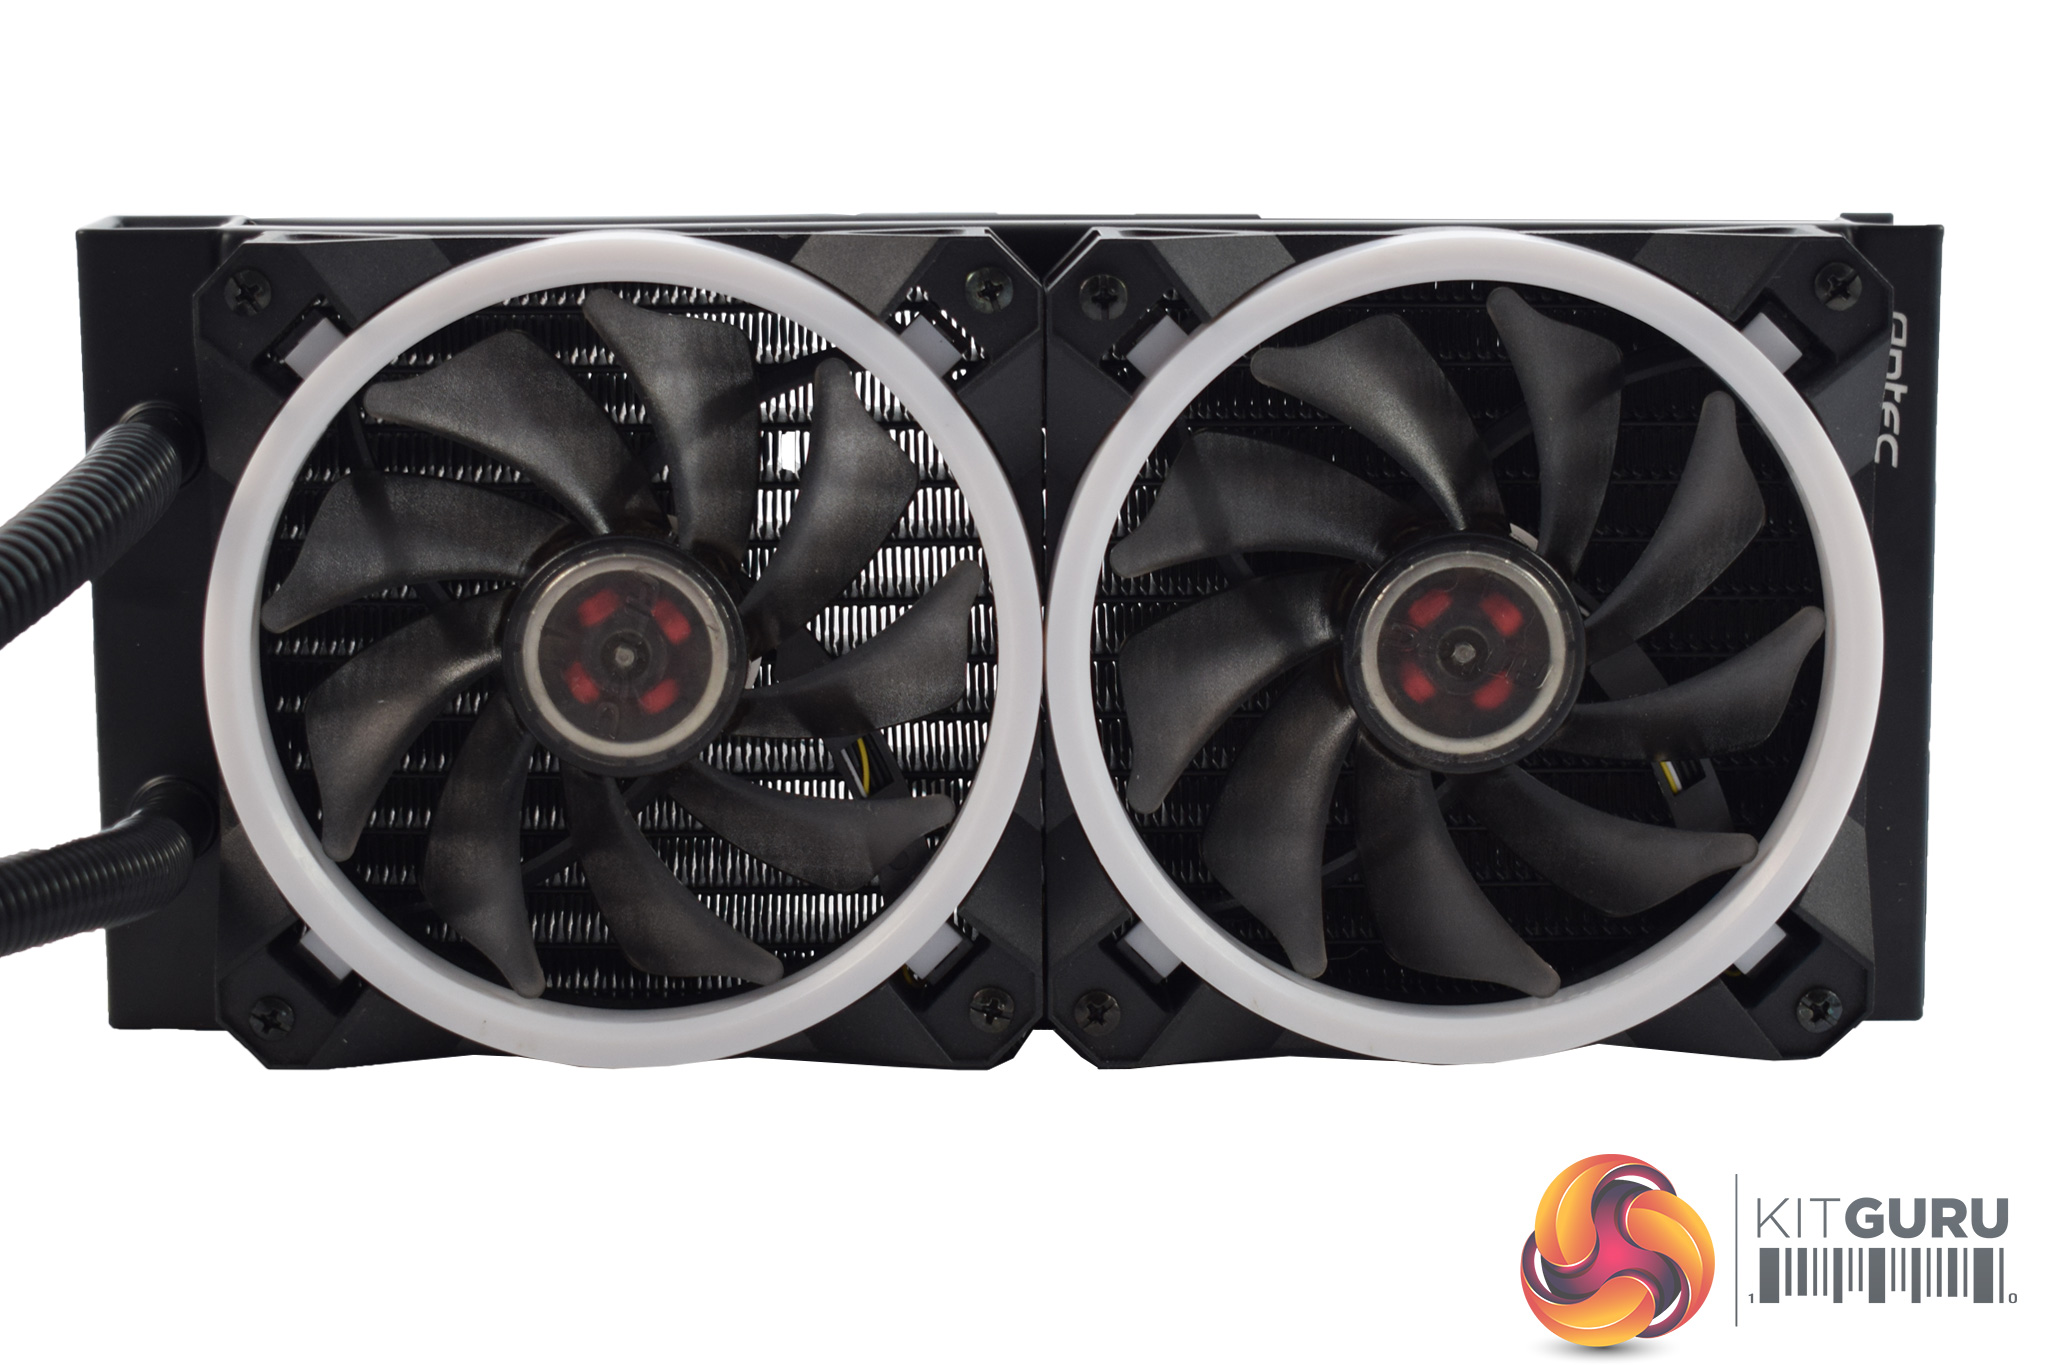
The first thing to do is screw the two fans to the radiator.
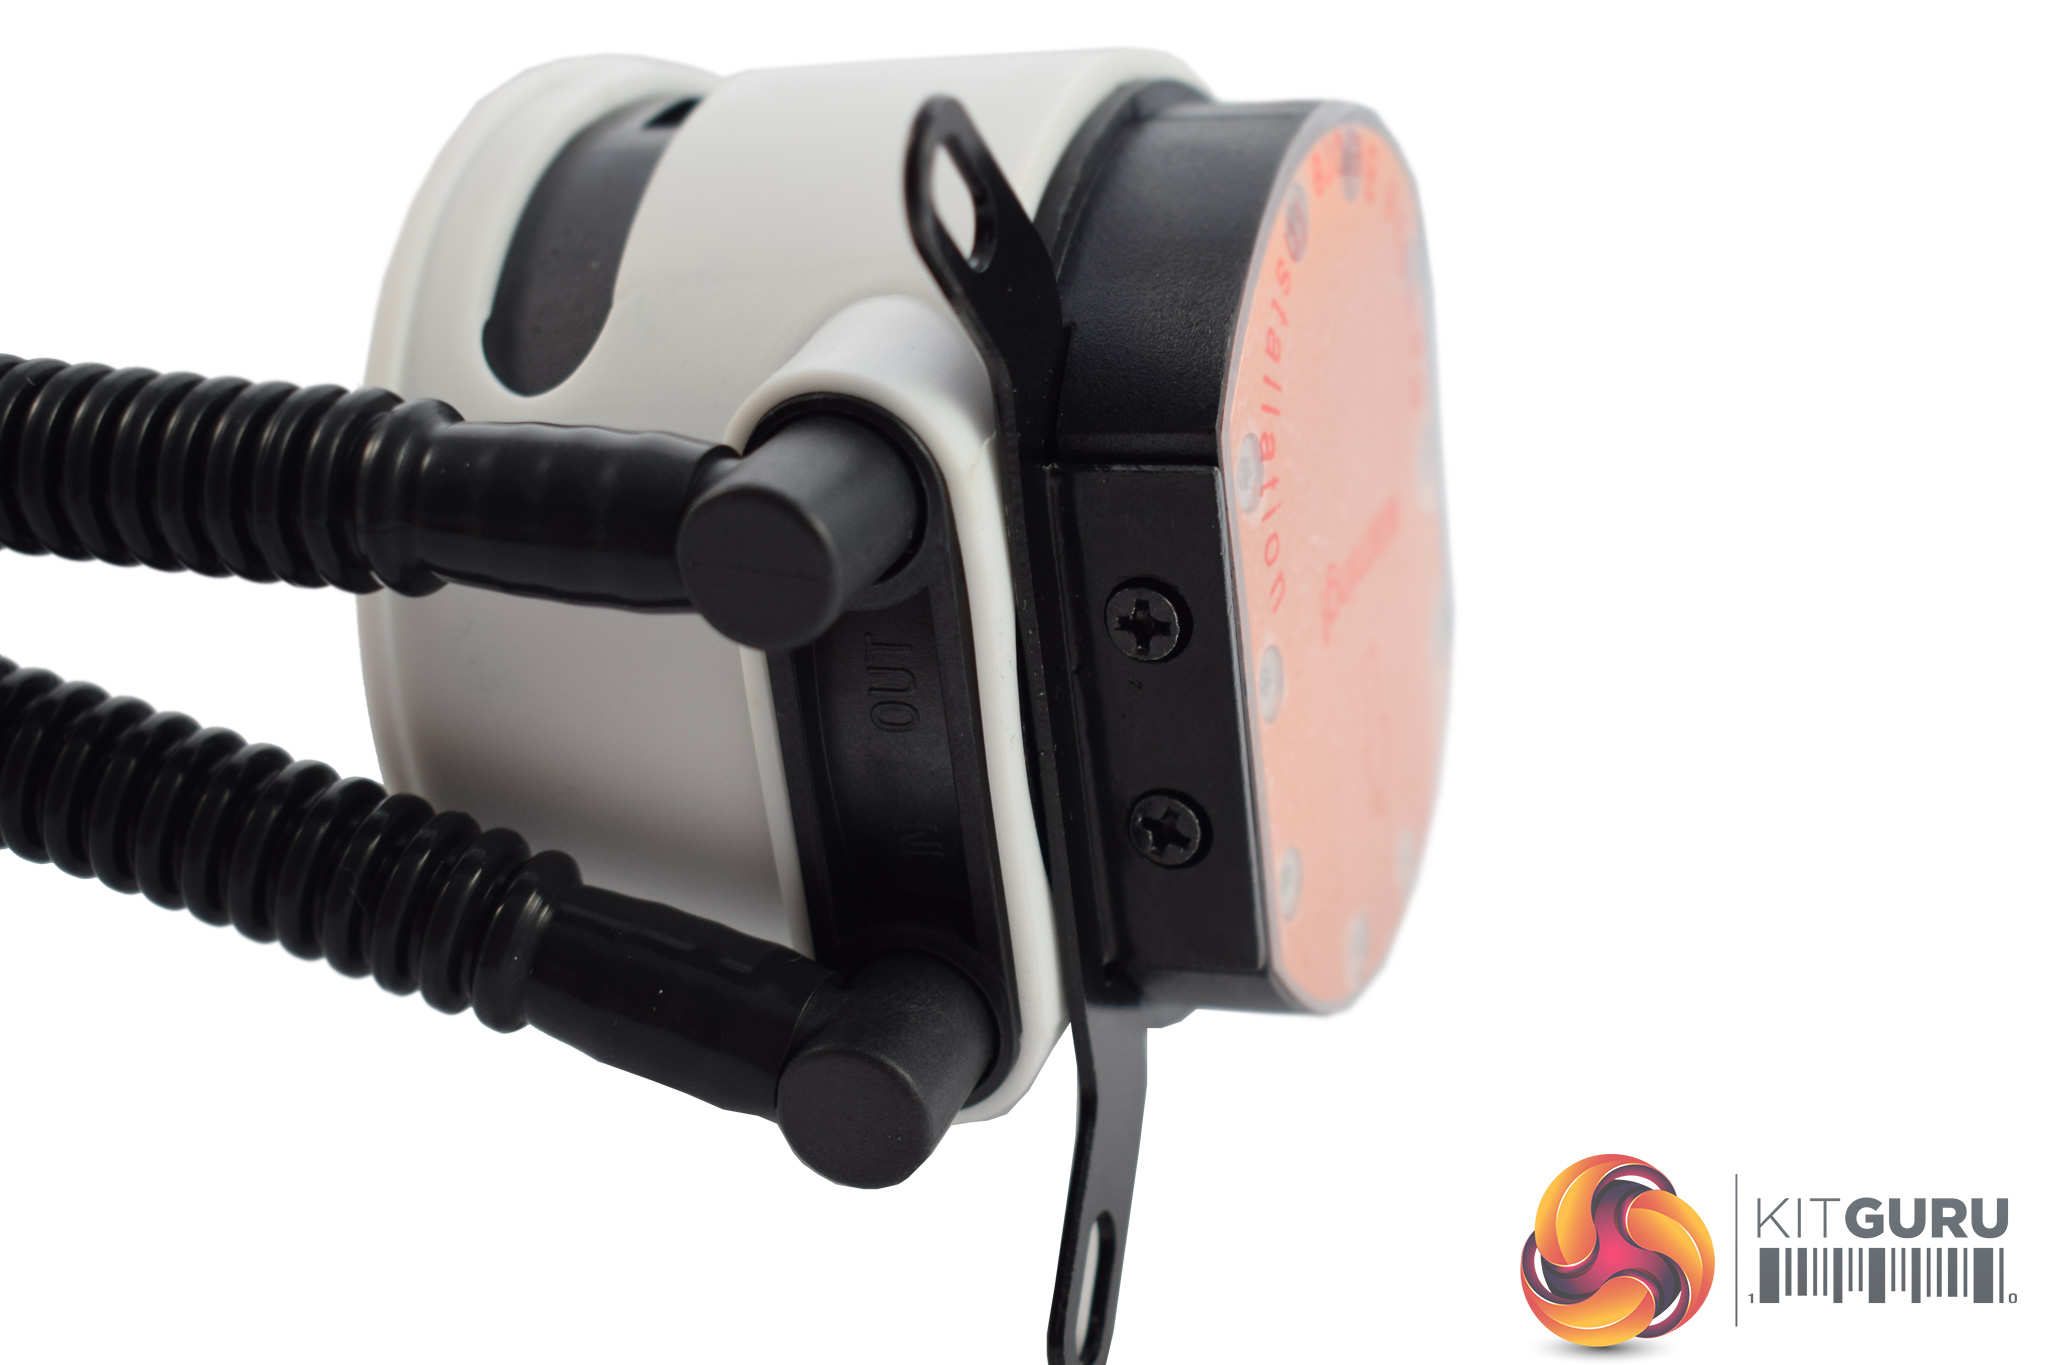
After that, two mounting brackets need to be screwed onto the pump. Each bracket uses two screws.
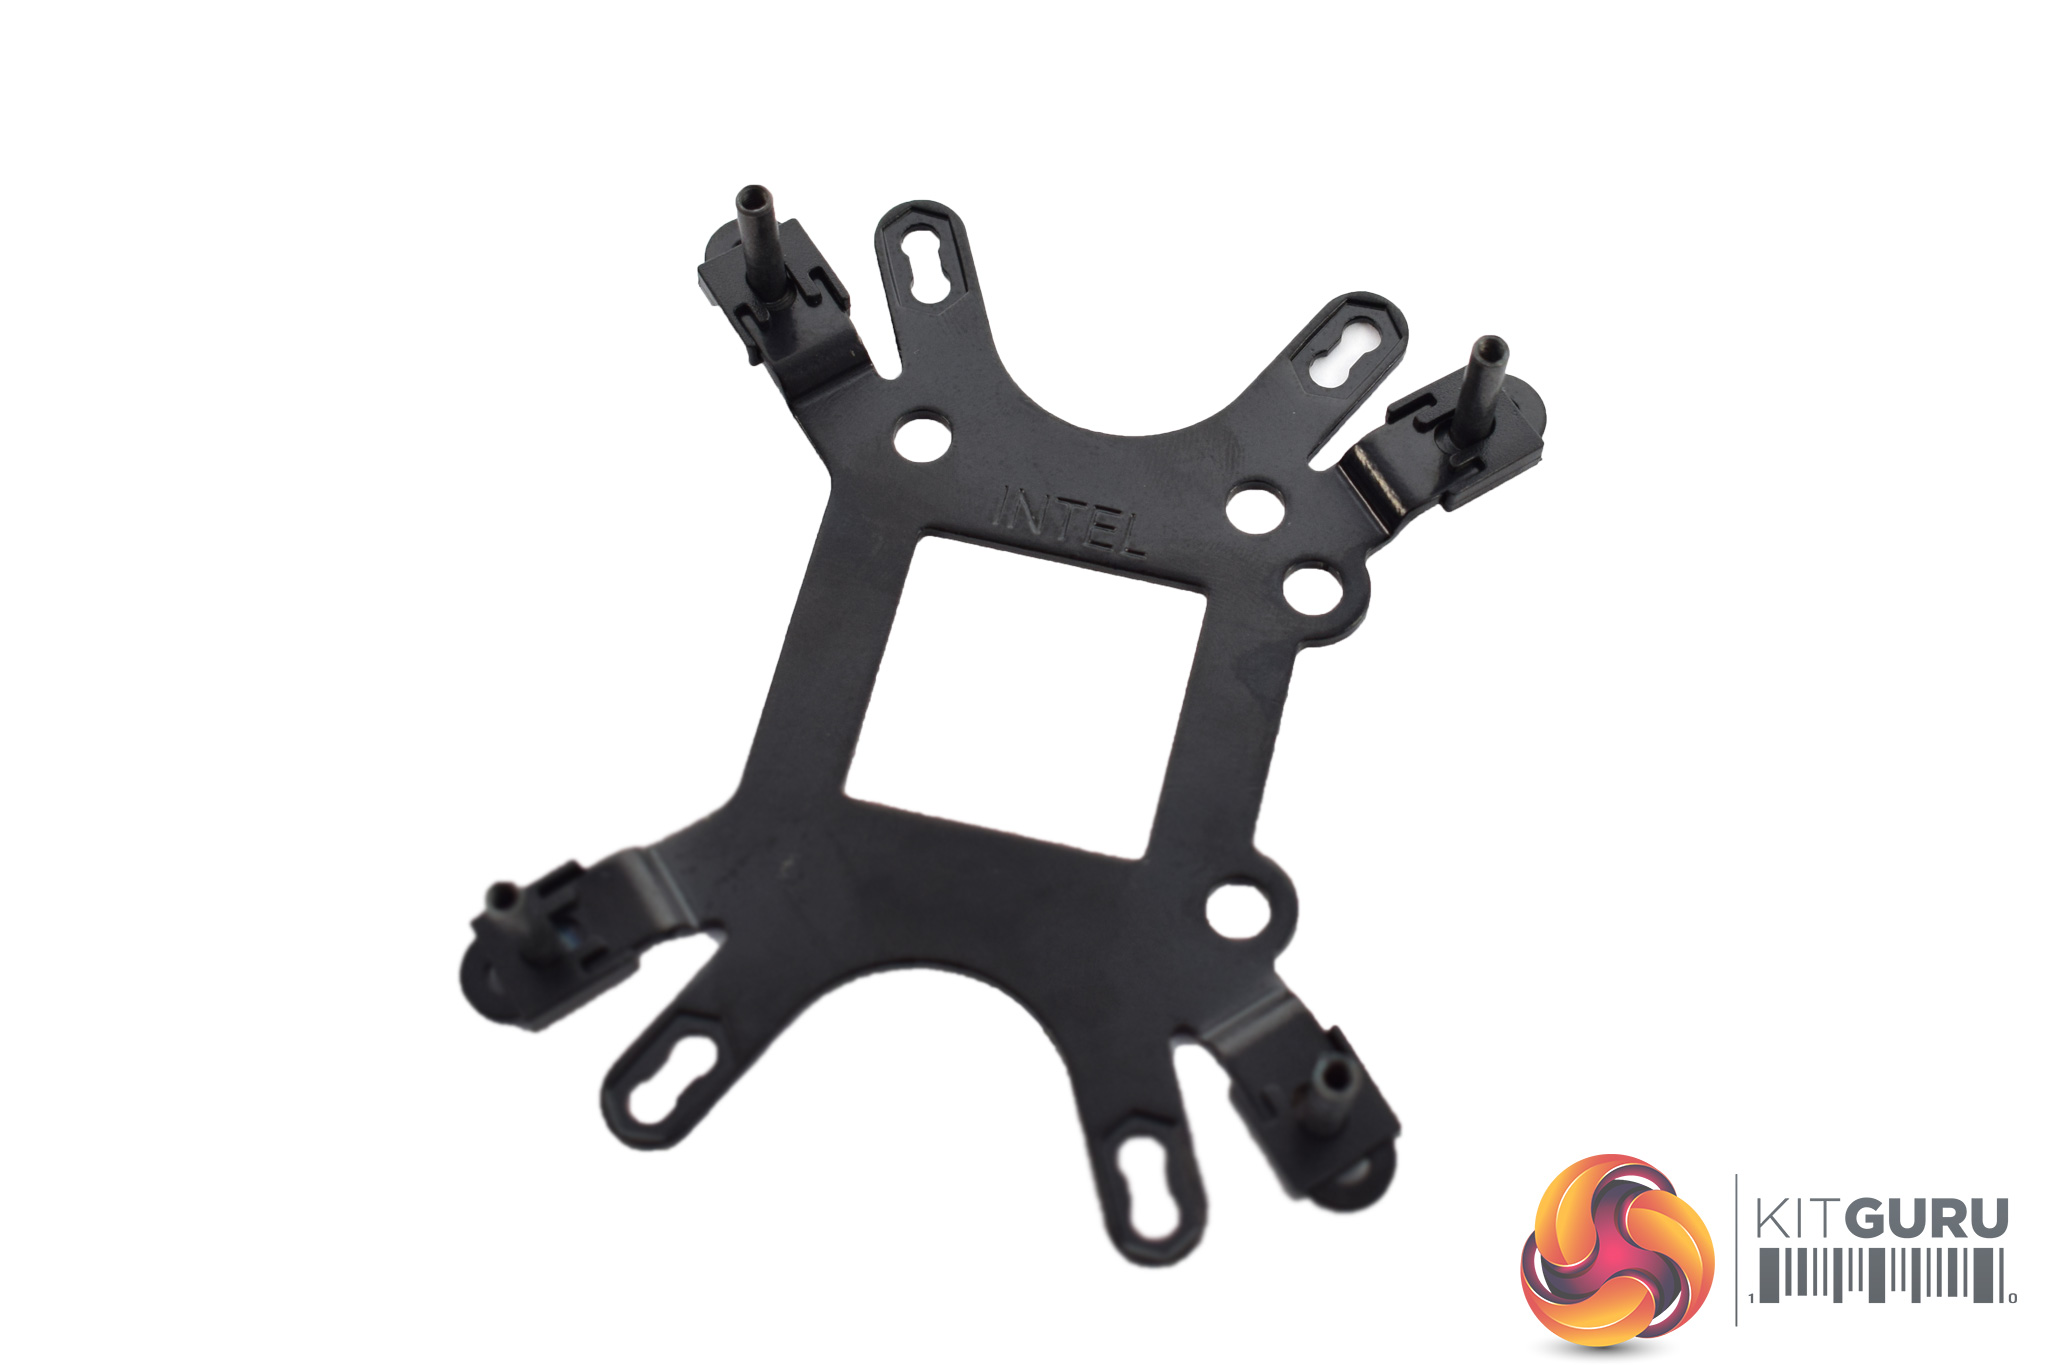
Next, prepare the backplate – pass the four screws through the central LGA 115x holes and secure them with the small plastic clips.
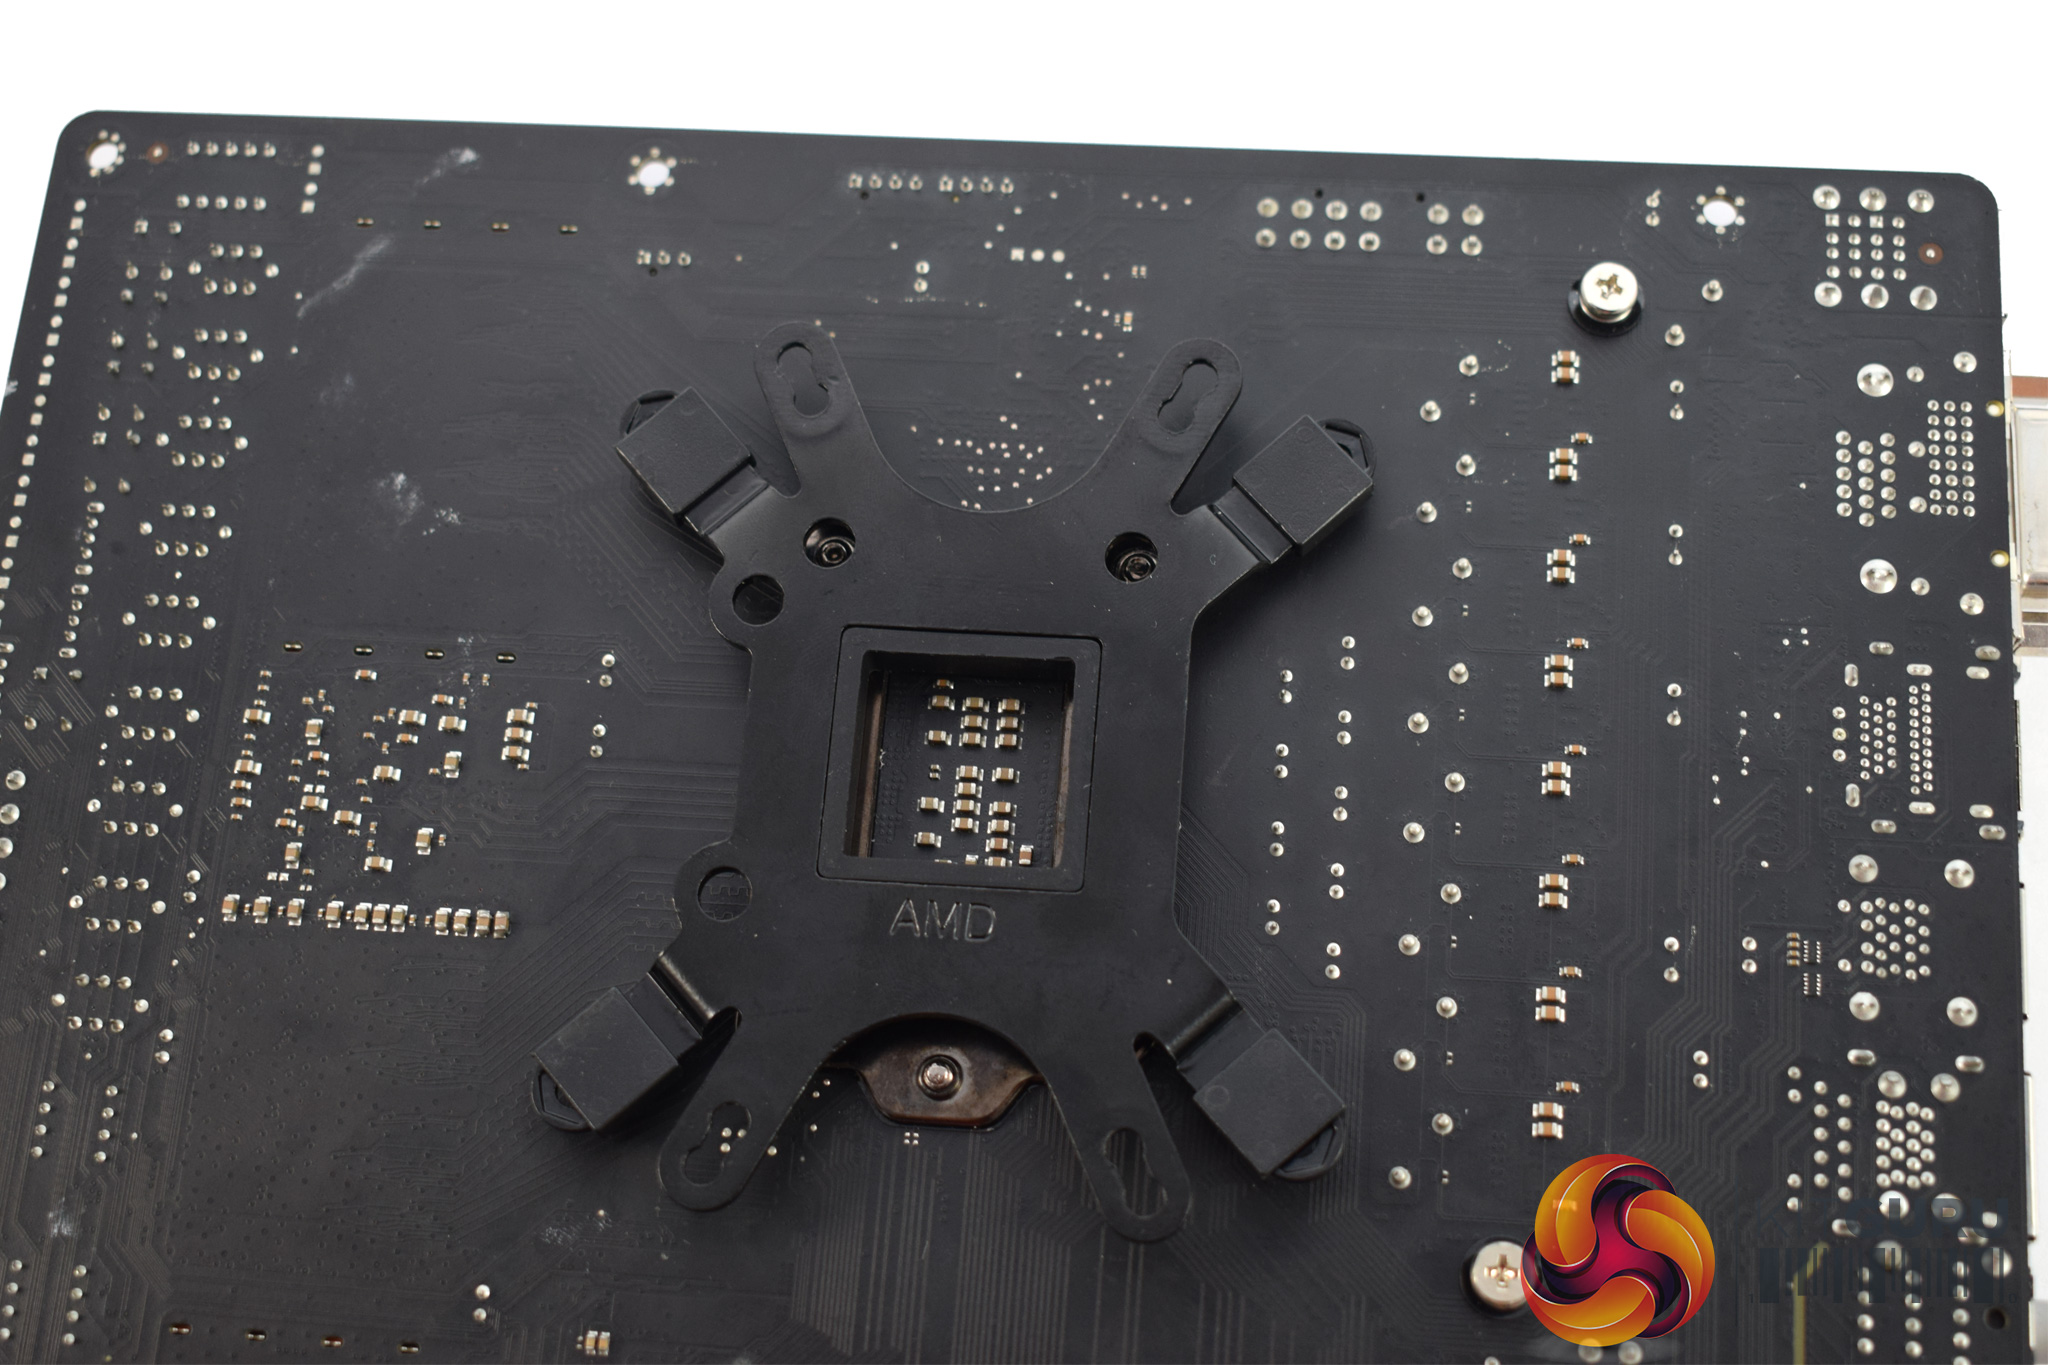
Then you can go ahead and mount the backplate behind the motherboard socket, using two small adhesive pads to keep it from falling out as you flip the motherboard over.
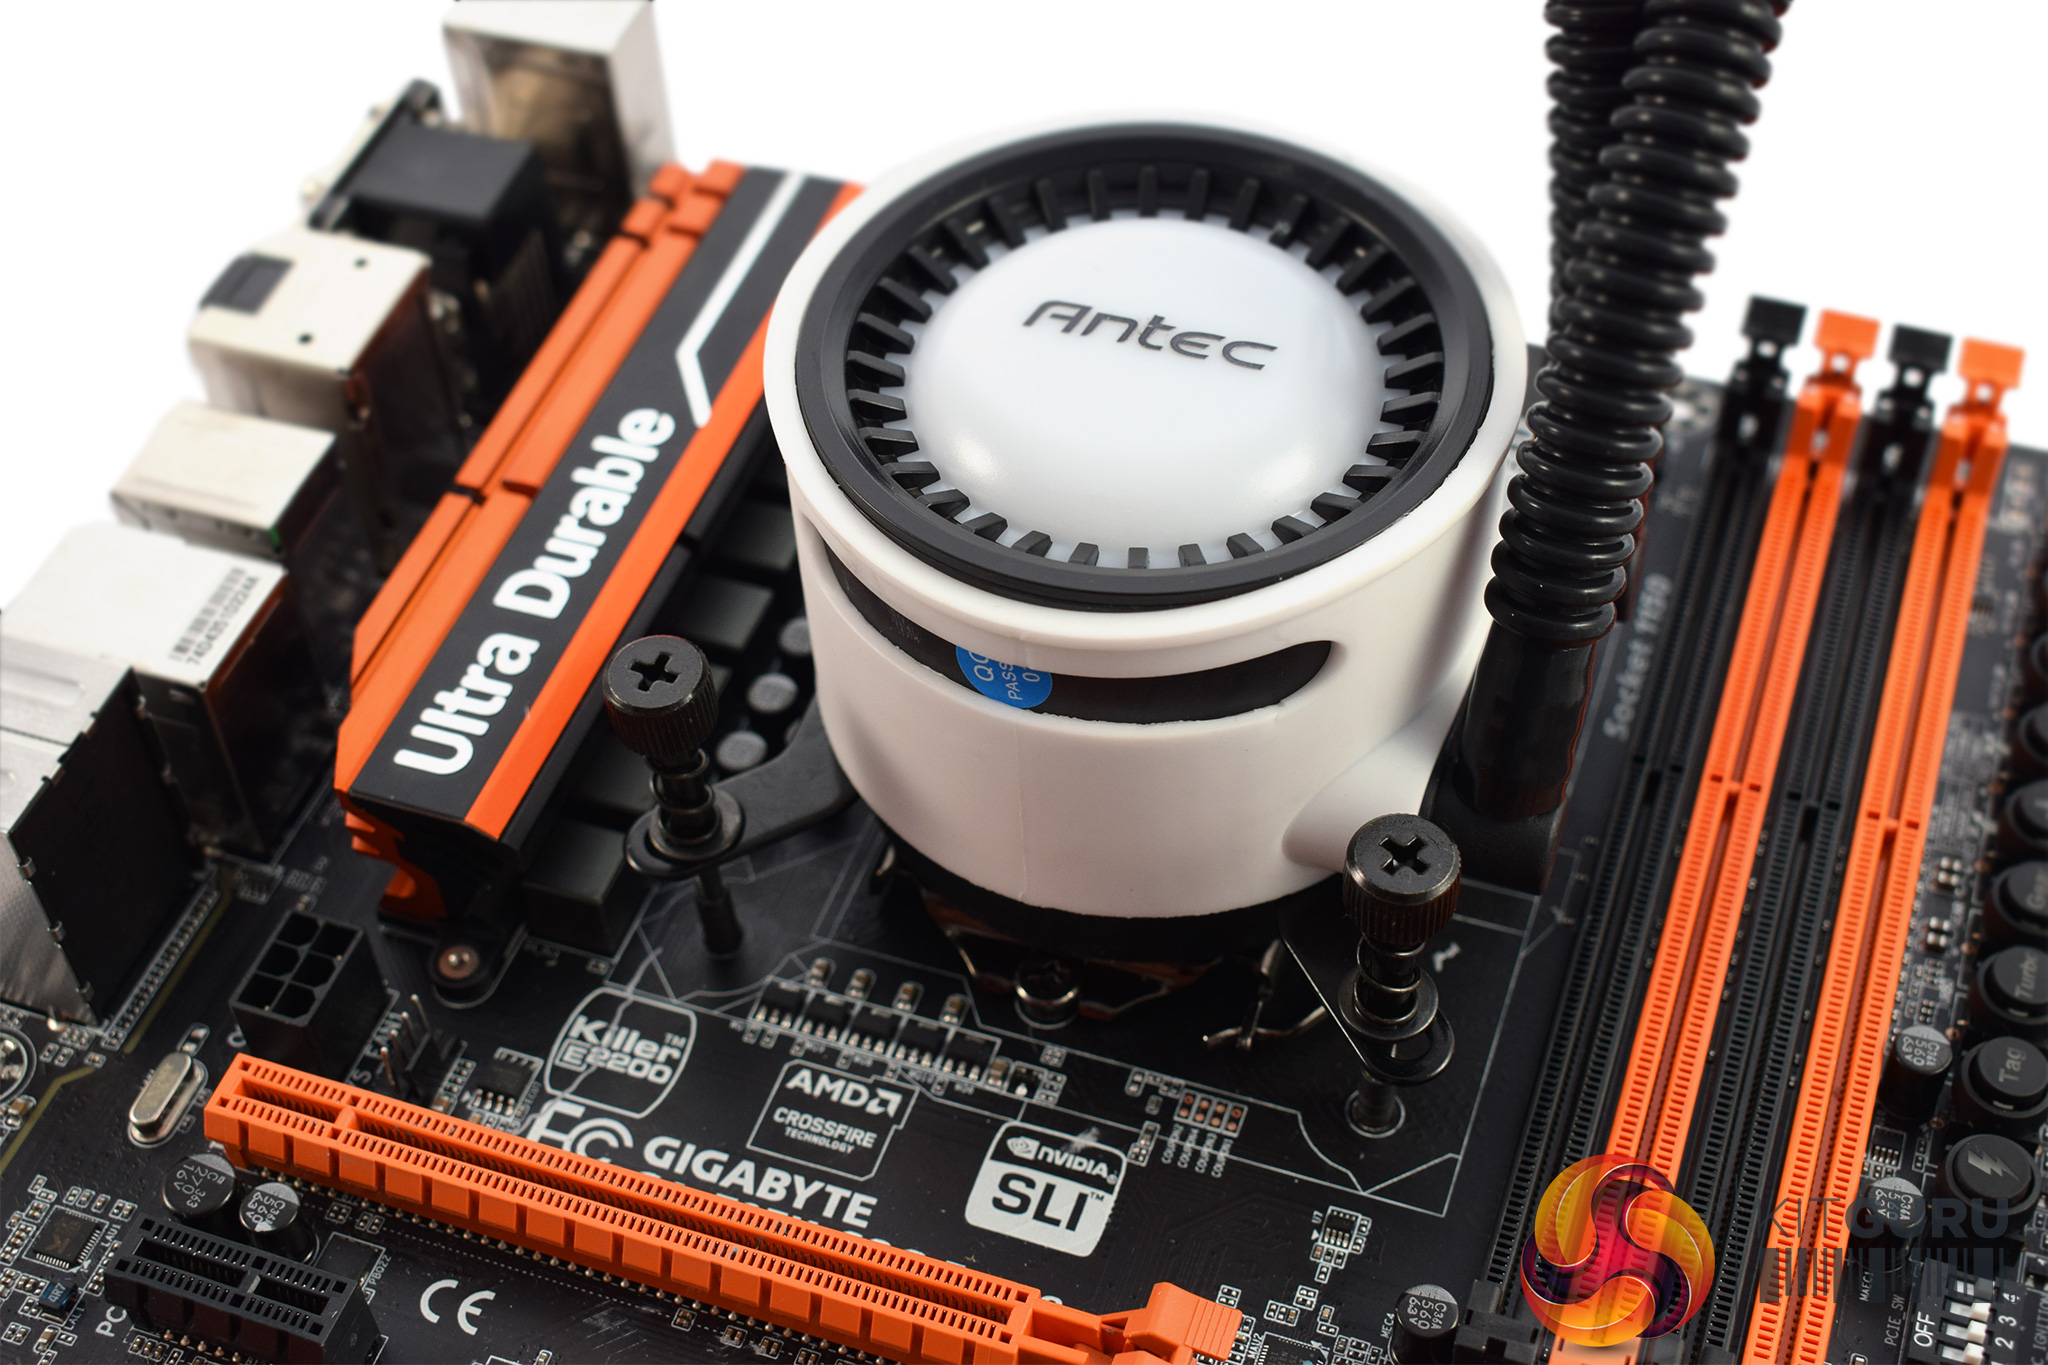
The pump is now ready to be mounted, so place it on your CPU and pass the four long screws through the mounting arms and into the backplate screws. Tighten it down until the pump is secure.
That is it for installation, and overall it is a fairly pain-free process. It is a bit long-winded compared to the Asetek method, and the instruction booklet could be clearer, but it is simple enough.
I do have to mention the tubing, though, as it is very inflexible and will really fight you if you try to get it into a desired shape. The fittings where the tubing attaches to the pump aren't rotatable, either, so getting the tubing to look neat is not very easy.
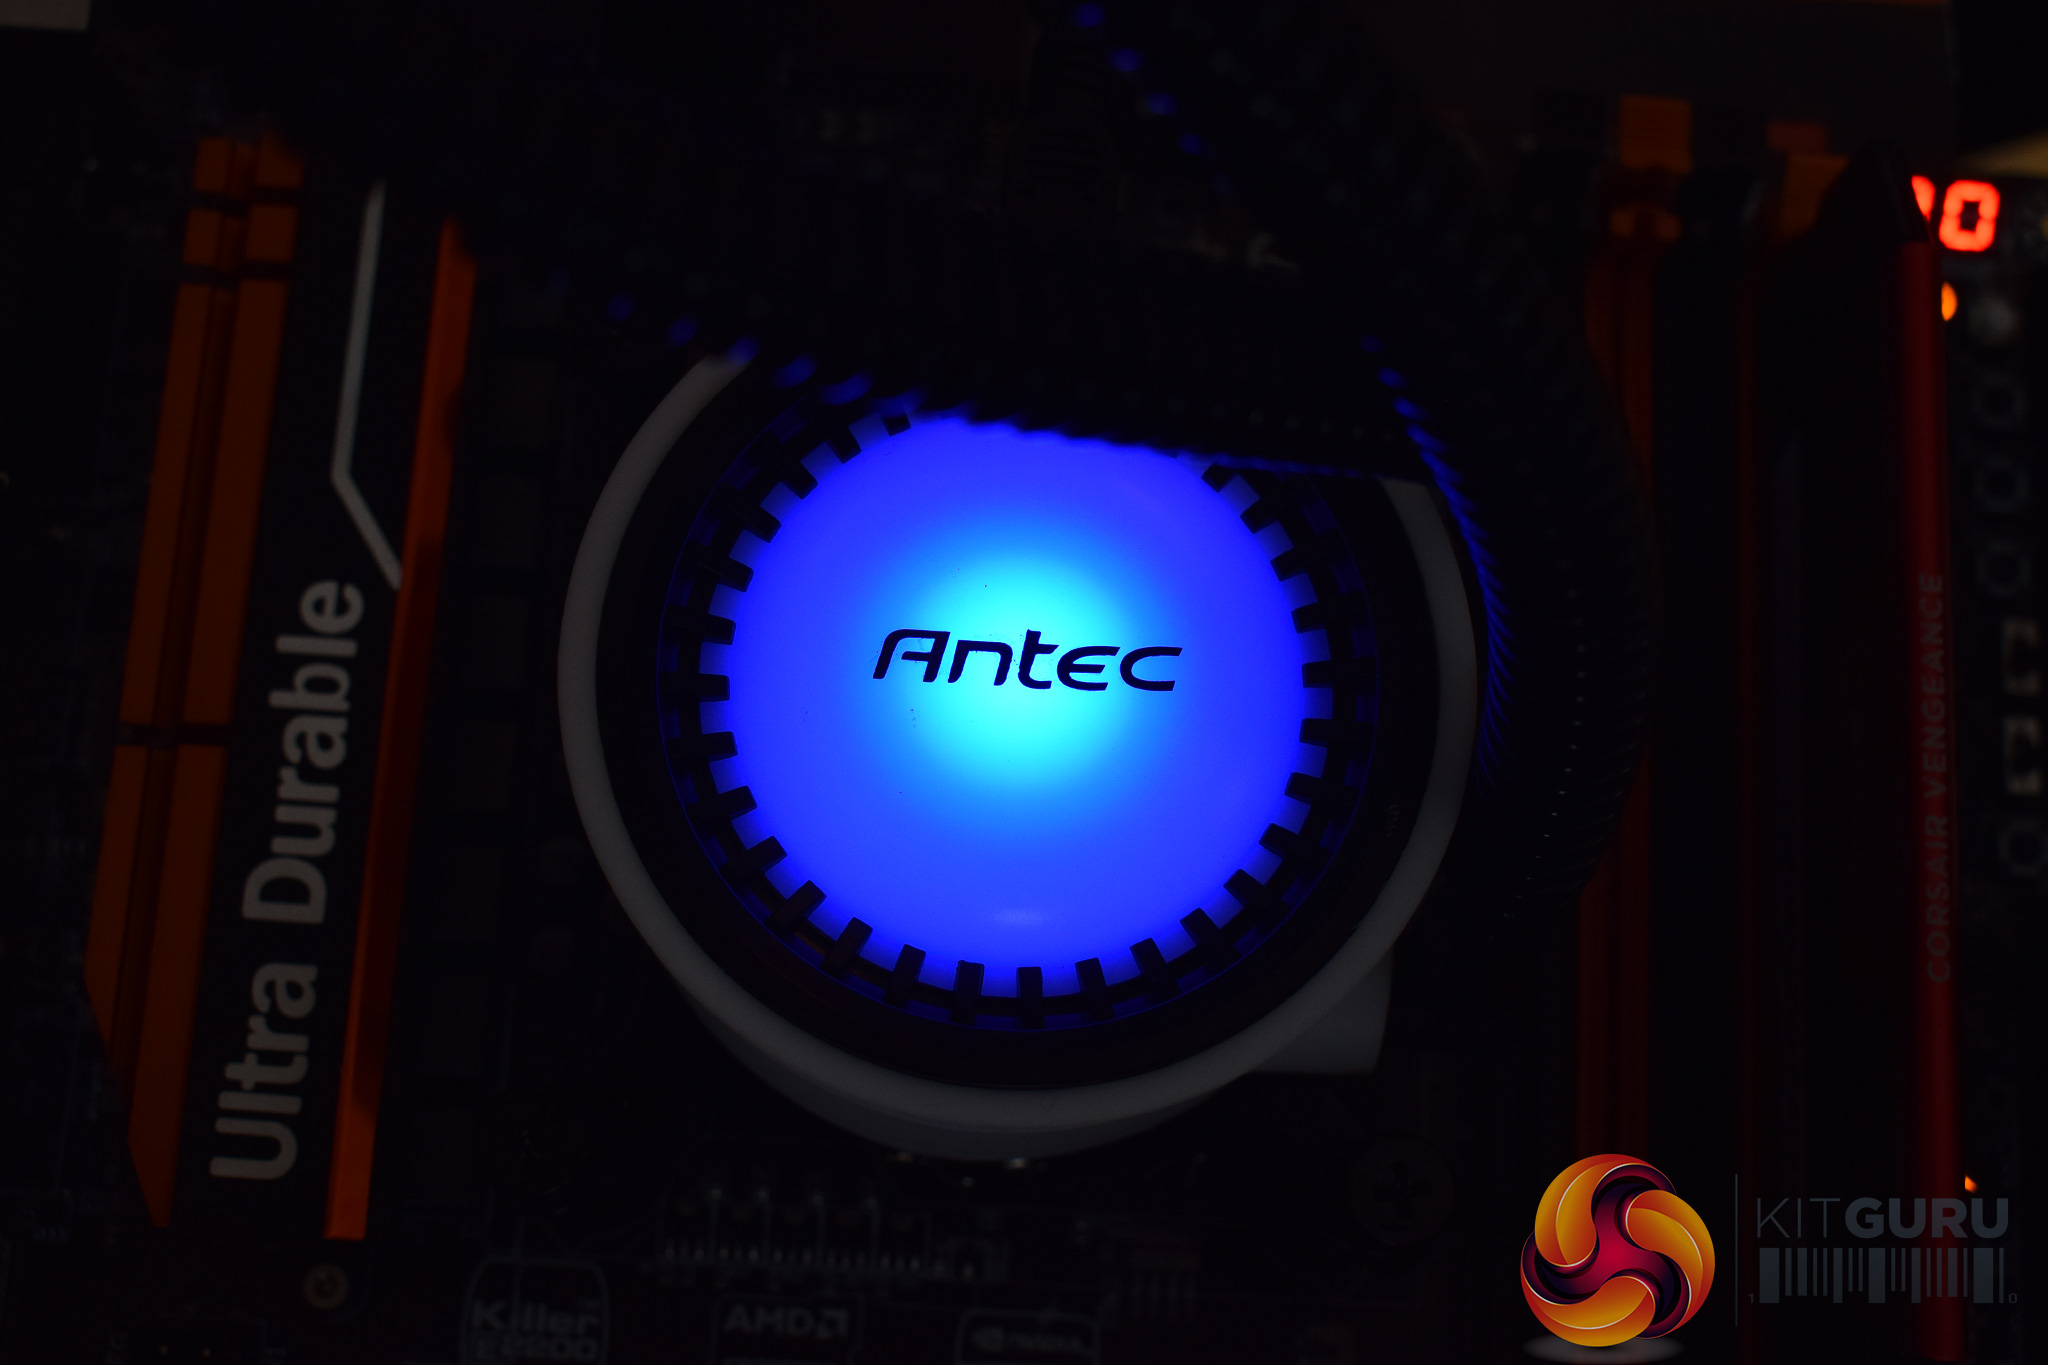
Just to show you the LED pump as well, I took that photo with the CPU idling, so the LED was blue. At 36-40C the LED is green, while it turns red once your CPU reaches over 41C.
How the f!ck (sorry for the bad word, but in this case it’s appropriate) can a 240mm AIO perform so badly?
Bad pump?
Bad fans (not a lot of static pressure)?
Air bubbles inside the rad/tubes/waterblock?
Few reasons:
At a guess, it’s the god awful pump. From their site: https://www.antec.com/product.php?id=707259&pid=58&lan=nz
Water pressure from the pump is less than half a d5 pump, and flow rate is utterly shocking at a mere 3.5L/Min. In comparison, a d5 pump does 1500L/H max, or 25L/min, about 7x the flow. Since it’s not an asetek pump like most AIO competitors, its likely the rad is sourced elsewhere too, so its fin density’s an unknown factor too.
I didn’t see the Antec site. The pump situation explains everything
Hi all, just received my Antec M360 Mercury 360mm from Scan and I have to say that it is running very well. P95 for over 30 minutes as we speak with the highest core reaching 64 degrees. At idle it hovers around 21 to 26 degrees..british weather near London. System is a 6700K at 4.4Ghz on all cores…I am impressed and looking forward to Kit Guru’s updated revue on this. One problems though… the light does not change colour from Blue..It should go to Orange and the Red when it is at max load but always stays blue on mine…Not sure why. Temps are better than my Corsair H110i GTX especially at load and it is quieter.
I found similiar results to you also. Not sure on how KG got such results.
https://uploads.disquscdn.com/images/f32c6742b2bc71418dd20a05c4b379a8e7807f0cb487e38c3dfac61cd74ef616.jpg I have now been using the Antec for nearly 3 months and as I look at my temps, which are currently idleing at 21 degrees whilst writing this and having VLC player running a movie in the background and at full load in Prime95, aida, Intel Burn has never topped 65 degrees…Do not understand those results at all, maybe its the 360 version that I am running but boy does it do a good job at keep my CPU running cool in all circumstances..
KG, I would also mention that the Antec does not change colour to Red at 41C as this has never happened on my one. I did get a response from Antec and this is what I was told, which after checking on my one is correct:
From Antec – https://uploads.disquscdn.com/images/b4549f594c0da3013b78cce1d65b727e0fa4a1be9a238a6a830122d32a1e96f1.jpg Regarding to our Mercury 360, the heat dissipation is very good, if the CPU core temperature is 65 degrees, the CPU surface temperature is about 55 degrees, the cooling water and CPU temperature is about 20-25 degrees lower, so it doesn’t reach the heat temperature of change colour, ( our design has installed the thermistor inside the head of water cooling )
If you want to test the water cooling head colour changes, you can try to unplug the power from the two water fans, afterwards the fan will stops and the heat cooling function ability will go down, and then CPU temperature will rise up, after a few minutes later you should see the cold head colour changes. But remember to plug the fan back in afterwards.