

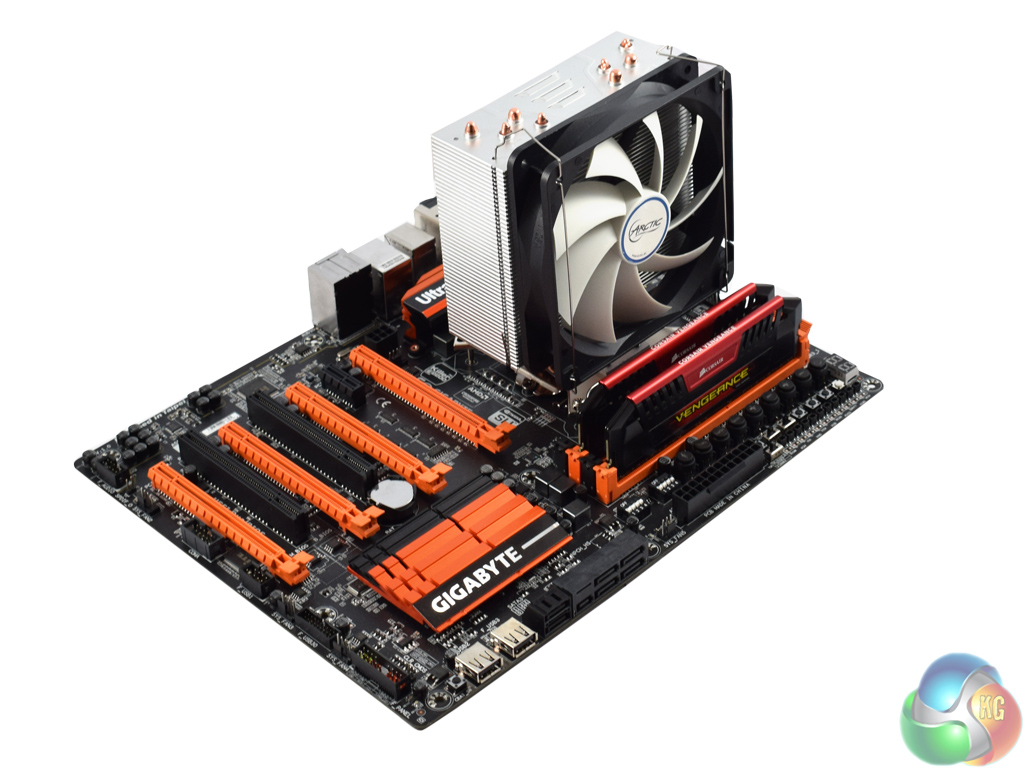
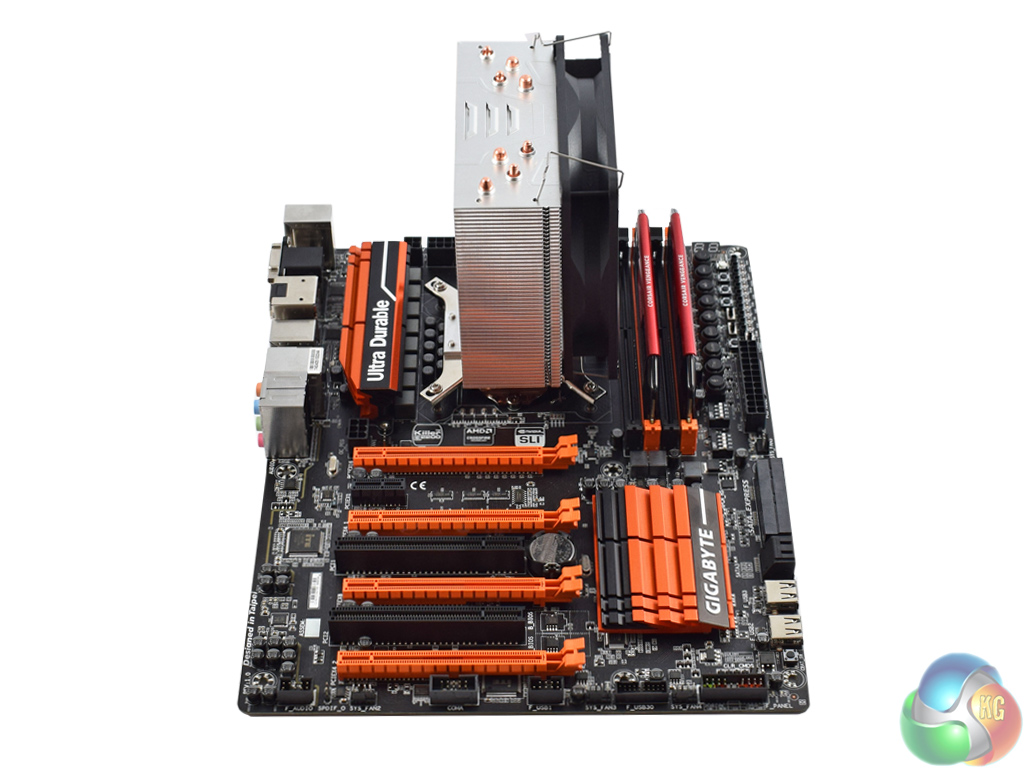
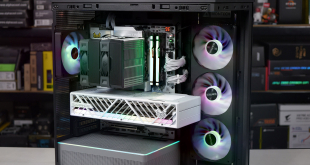
Installation of the Freezer i32 is straightforward but slightly fiddly in parts.
As a disclaimer, we installed the cooler on a motherboard using the LGA 1150 socket. The process below reflects that.
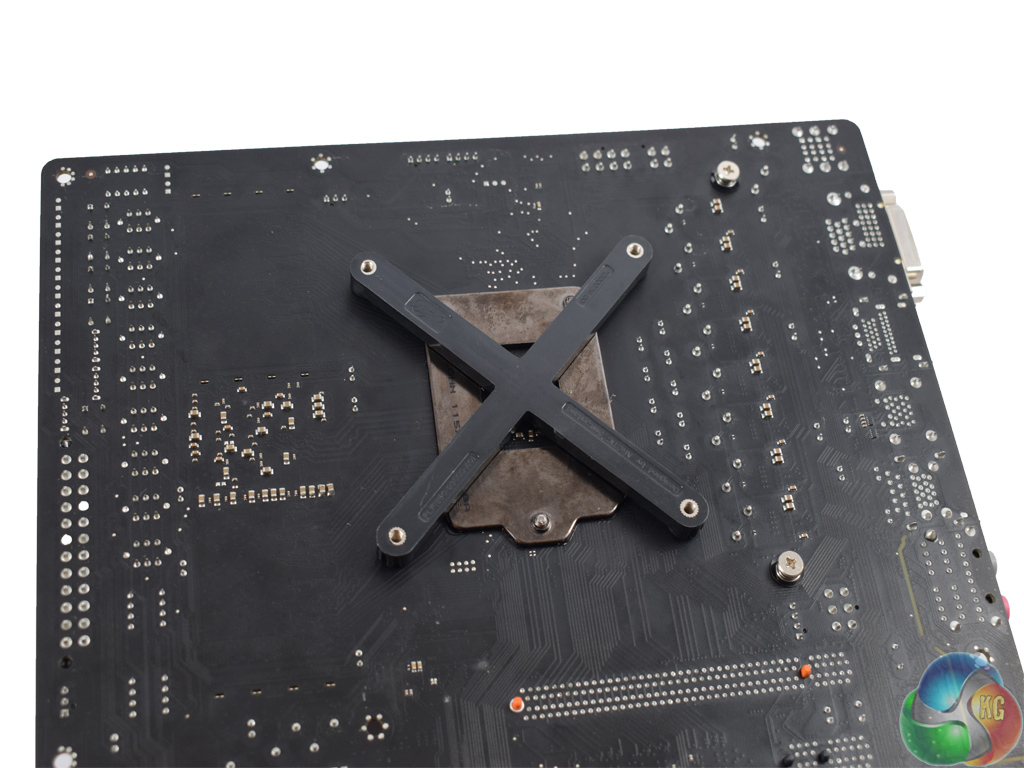
First, slot the backplate into place. It can only be oriented one way due to protrusions on the motherboard socket, which prevent it from lying flush otherwise.
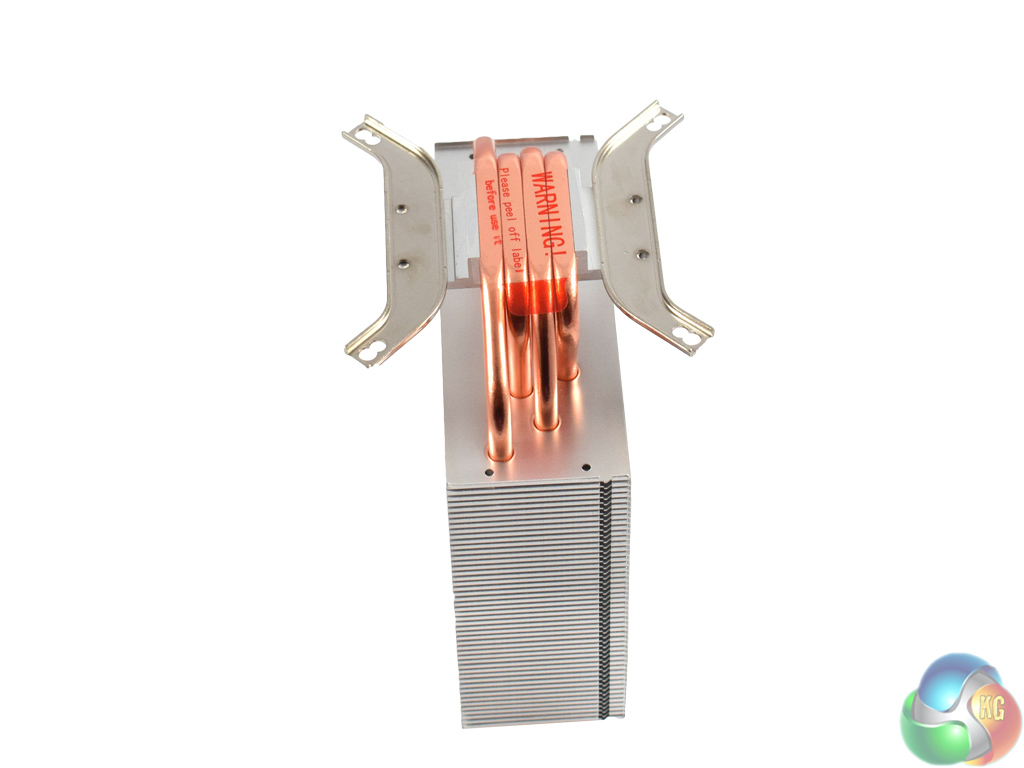
Next, the mounting brackets need to be screwed to the base of the cooler. Flip the heatsink upside-down and align the brackets with the screw holes on the base of the cooler. Then, simply screw each bracket in place – the smallest four screws are the ones you want.
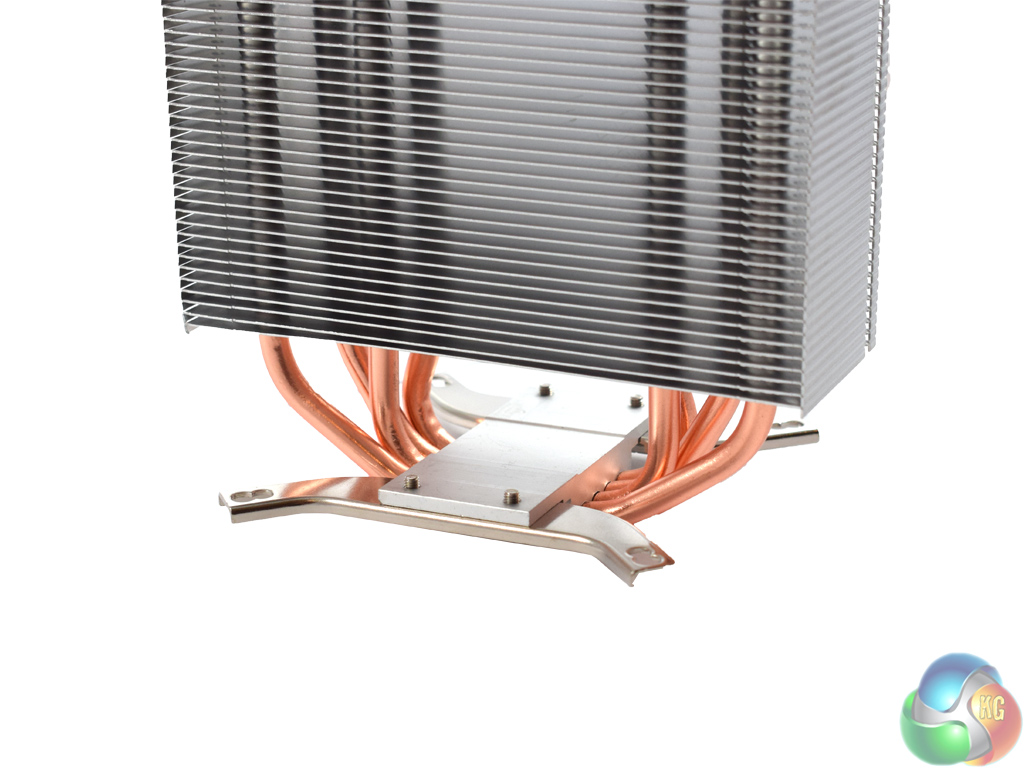
Once you have done that, all you need to do is screw the cooler into the backplate and the heatsink is attached.
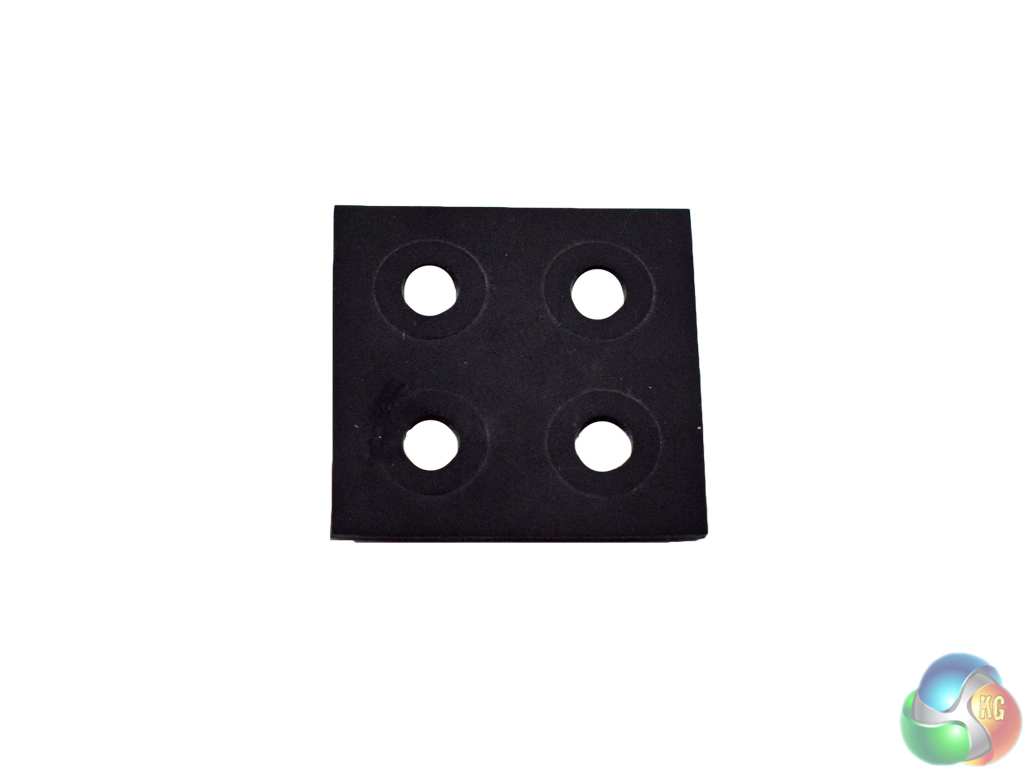
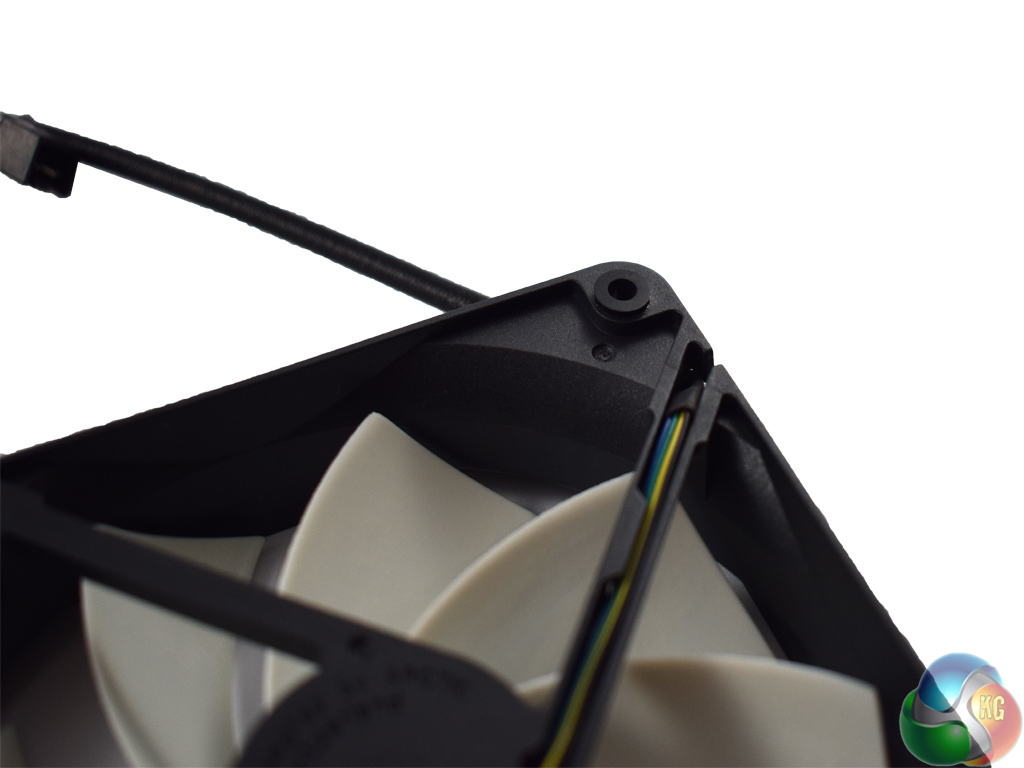
Before attaching the fan, Arctic recommend installing a rubber washer to each corner of the fan. This should dampen any vibrations, reducing noise.
However, I found this part of the installation to be painfully fiddly. The washers come as part of a bigger sheet of rubber and you have to try to separate them from the rest of the rubber. This is much easier said then done and it took me a good 5 minutes to eventually prise the washers free and stick them in place.
Once you have stuck the washers in place, though, the fan attaches with two standard fan clips. Job done!
I had their cooling all recommendations
It’s good but when its main competitor is Fera 3, it loses. It has almost identical performance but is cheaper and much better looking(the new revision has really clean looking heatpipe caps and a black top: https://www.silentiumpc.com/en/fera-3-he1224/ ).
On the other hand both are great. I used hardware from both companies and their customer service is absolutely top notch.
Zero fan feature is a good selling point, really looking forward this cooler for my next build when Kaby Lake comes out.
Too bad it is too heighty for my Thermaltake Core V1. If it is 5mm shorter I might change my choice. Either way, Cryorig H7 is my choice (barely hit the top by 1-2mm).
Google is paying 97$ per hour! Work for few hours and have longer with friends & family! !mj153d:
On tuesday I got a great new Land Rover Range Rover from having earned $8752 this last four weeks.. Its the most-financialy rewarding I’ve had.. It sounds unbelievable but you wont forgive yourself if you don’t check it
!mj153d:
➽➽
➽➽;➽➽ http://GoogleFinancialJobsCash153TopHouseGetPay$97Hour… ★★✫★★✫★★✫★★✫★★✫★★✫★★✫★★✫★★✫★★✫★★✫★★✫★★✫★★✫★★✫★★✫★★✫★★::::::!mj153d:….,….
I would dig this cooler so much if optional mounting brackets would allow the cooler to be mounted rotated 90 degrees, actually looking at it, that would really interfere with the RAM, maybe a future version that is a bit taller so the radiator grid can be raised it to clear the memory
The stock pictures are without the washers by the way. I have them with. The i32 is quiet always, and cooling is average for this kind of a cooler. So perfect for light overclocking. However, during hot summerdays, better to have a good ventilated case. Source: me being an owner.