

Here I will walk you through the installation process. It is worth noting we test using a Z97 motherboard – socket LGA 1150. The process below reflects that.
As the H150i Pro is still an Asetek design, it features the same installation process as other Hydro coolers.
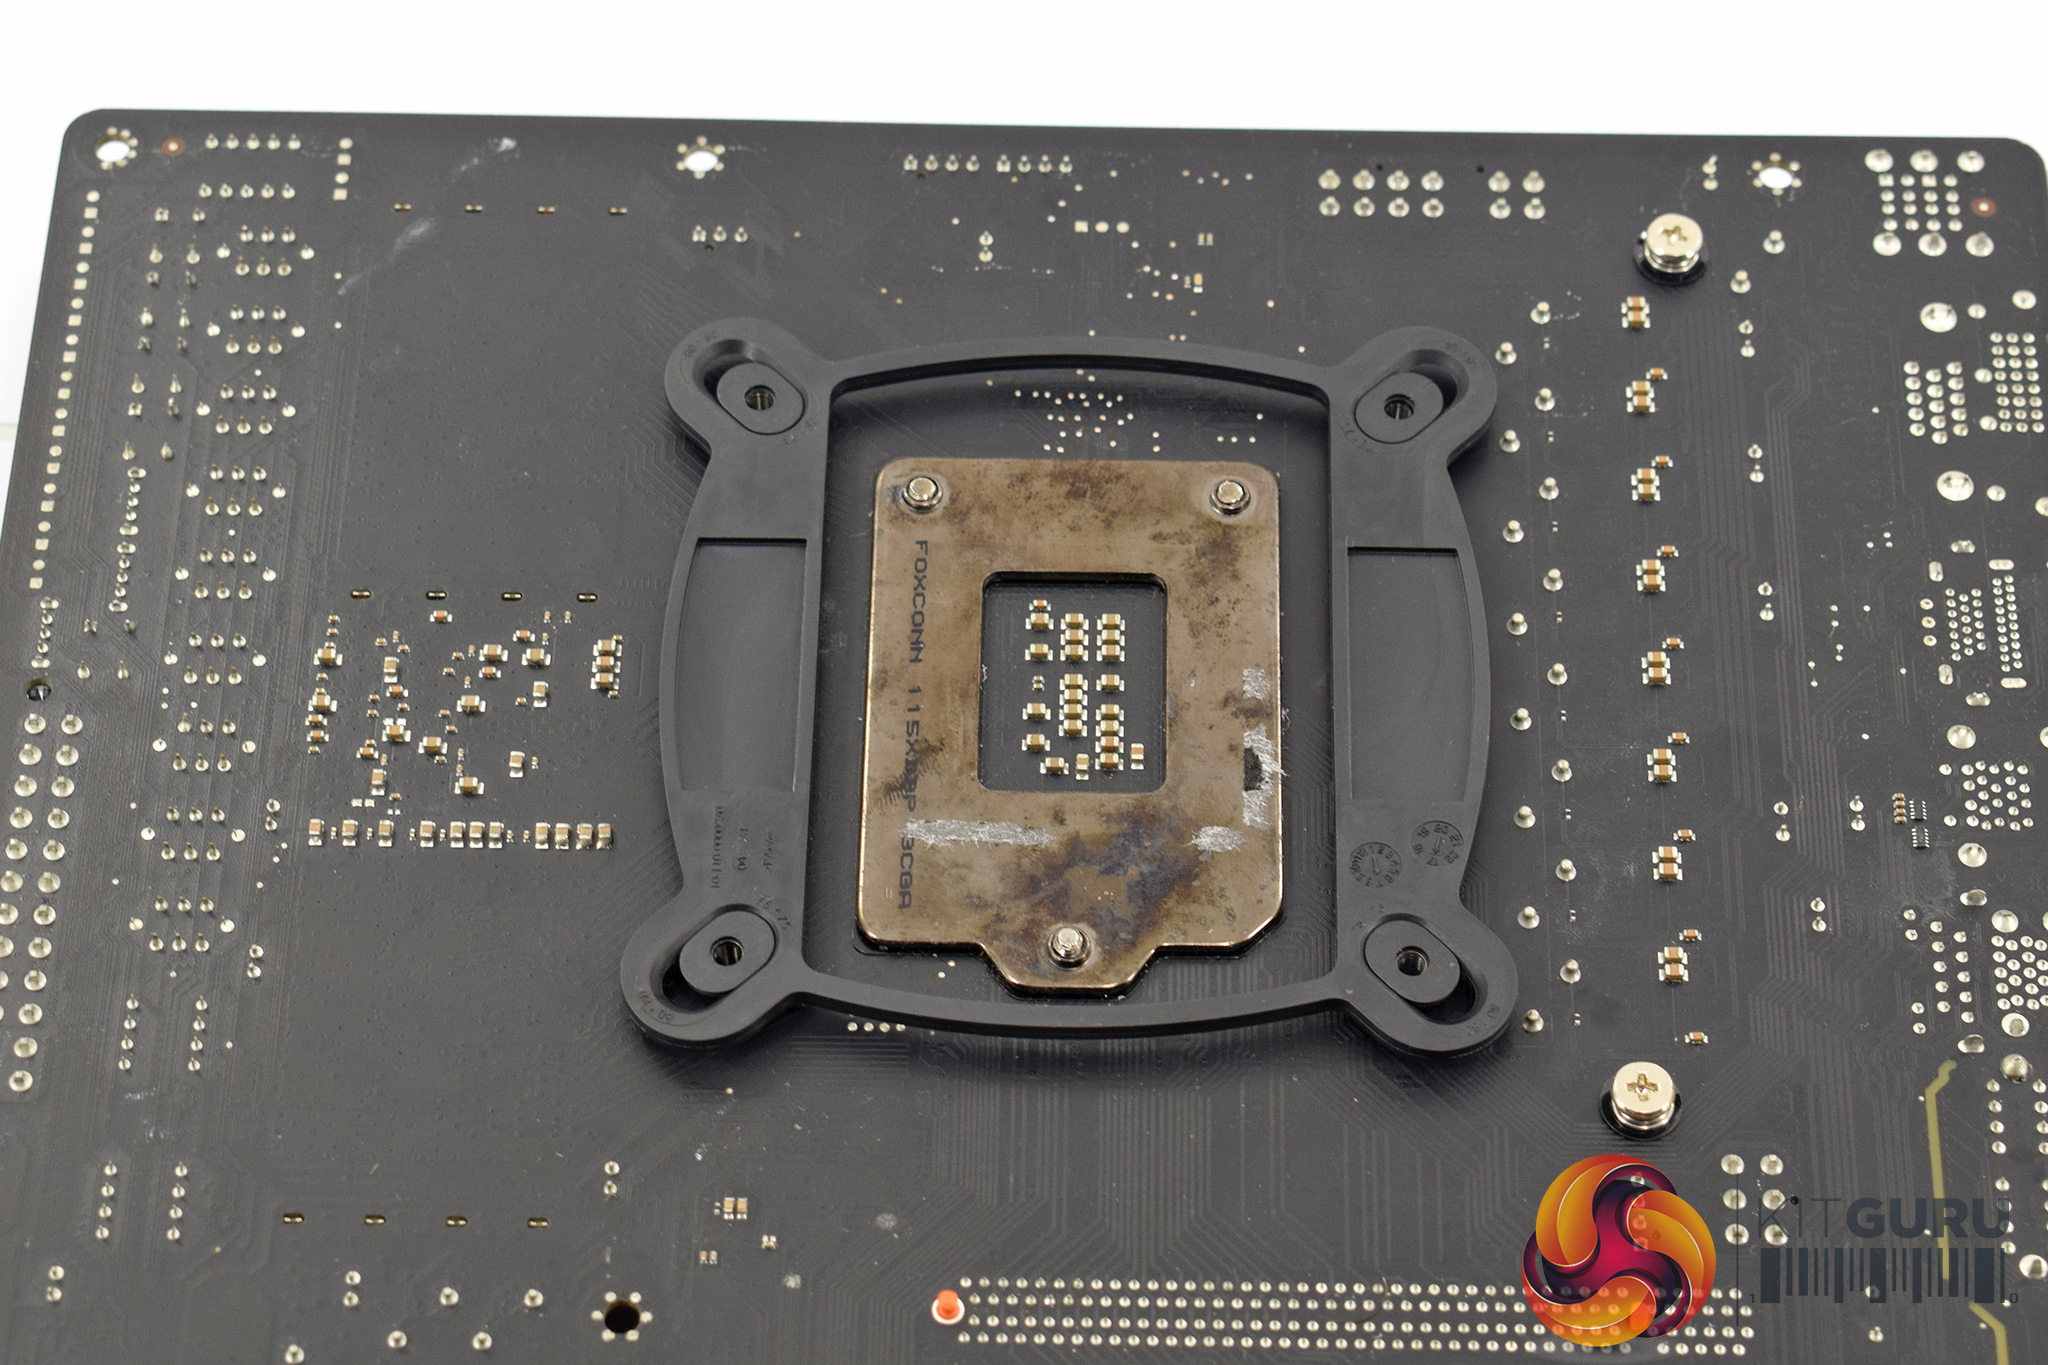
First, the backplate must be prepared – for our Z97 motherboard, the screws should be in the inner-most position.
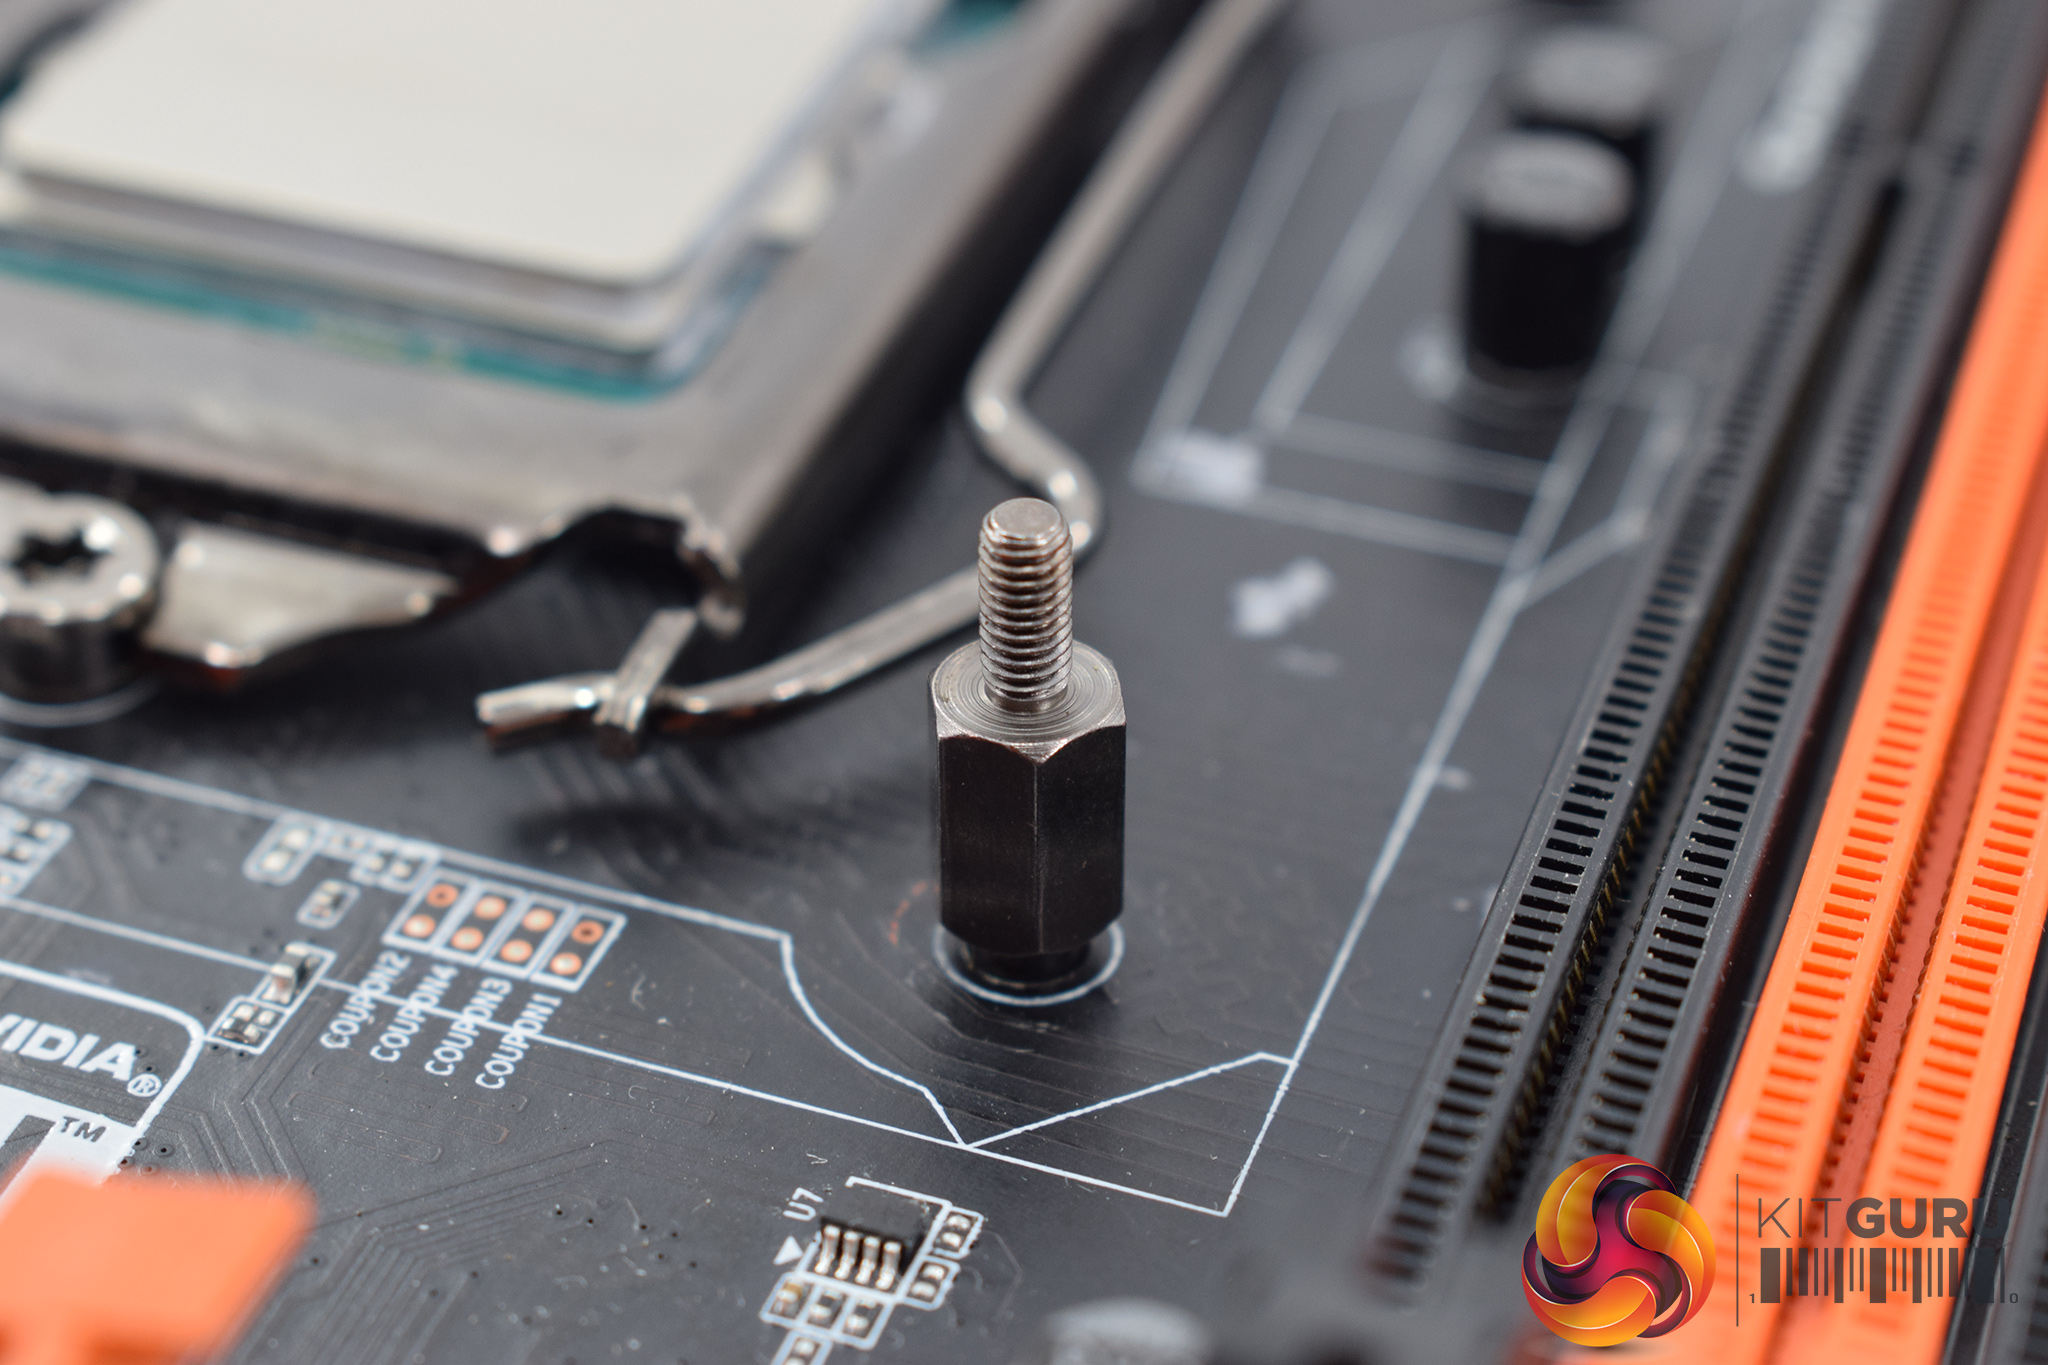
Once the backplate has been positioned behind the motherboard, four standoffs can be screwed into the backplate.
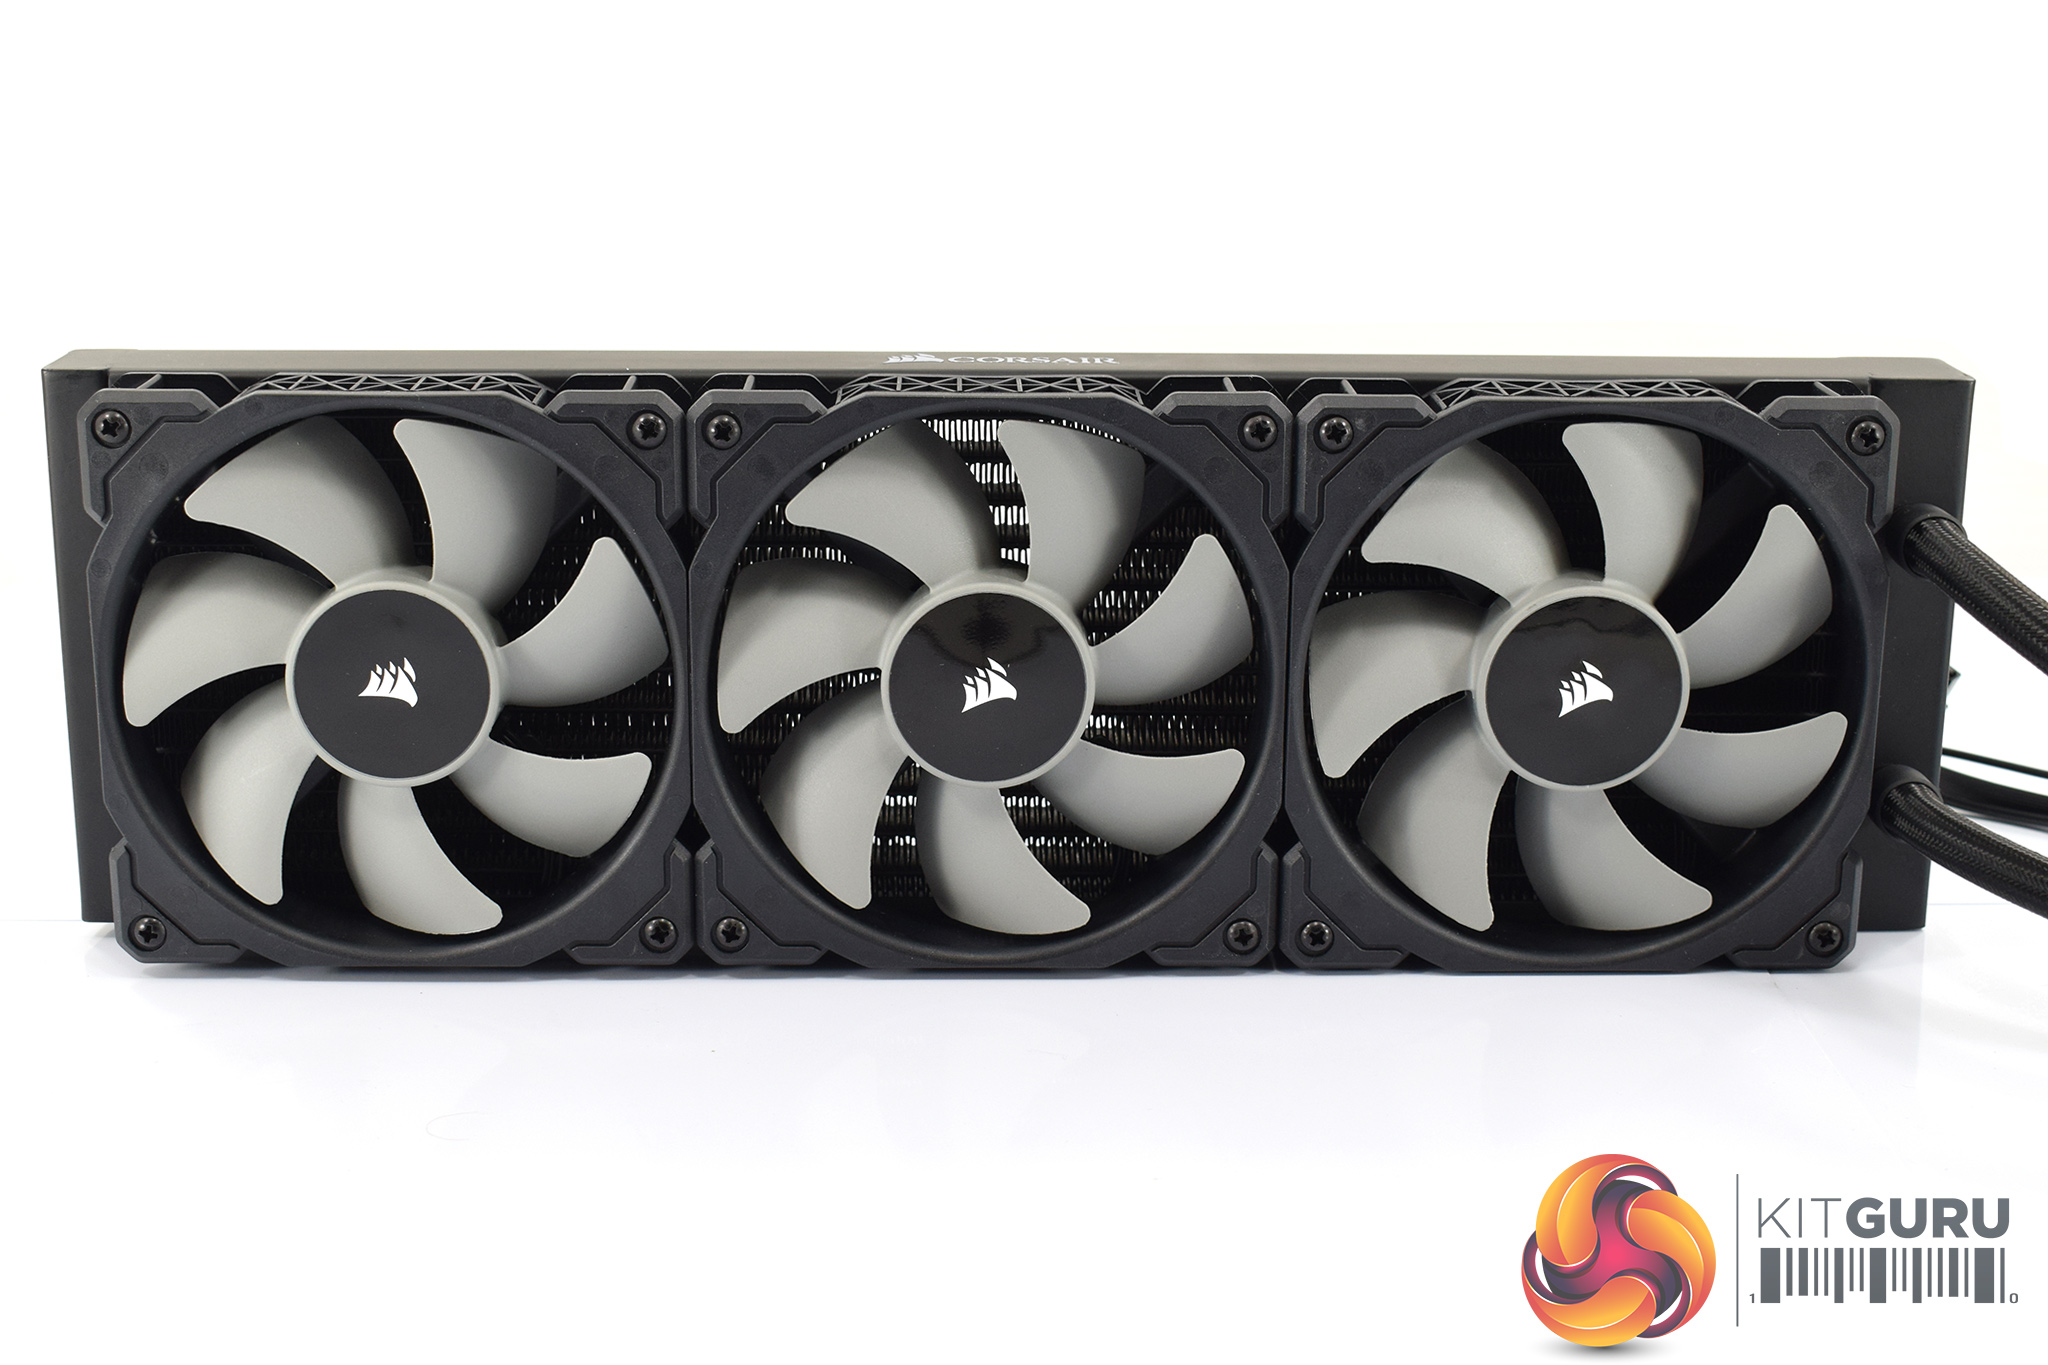
With that done, now is as good a time as any to install the three ML-series fans to the radiator.
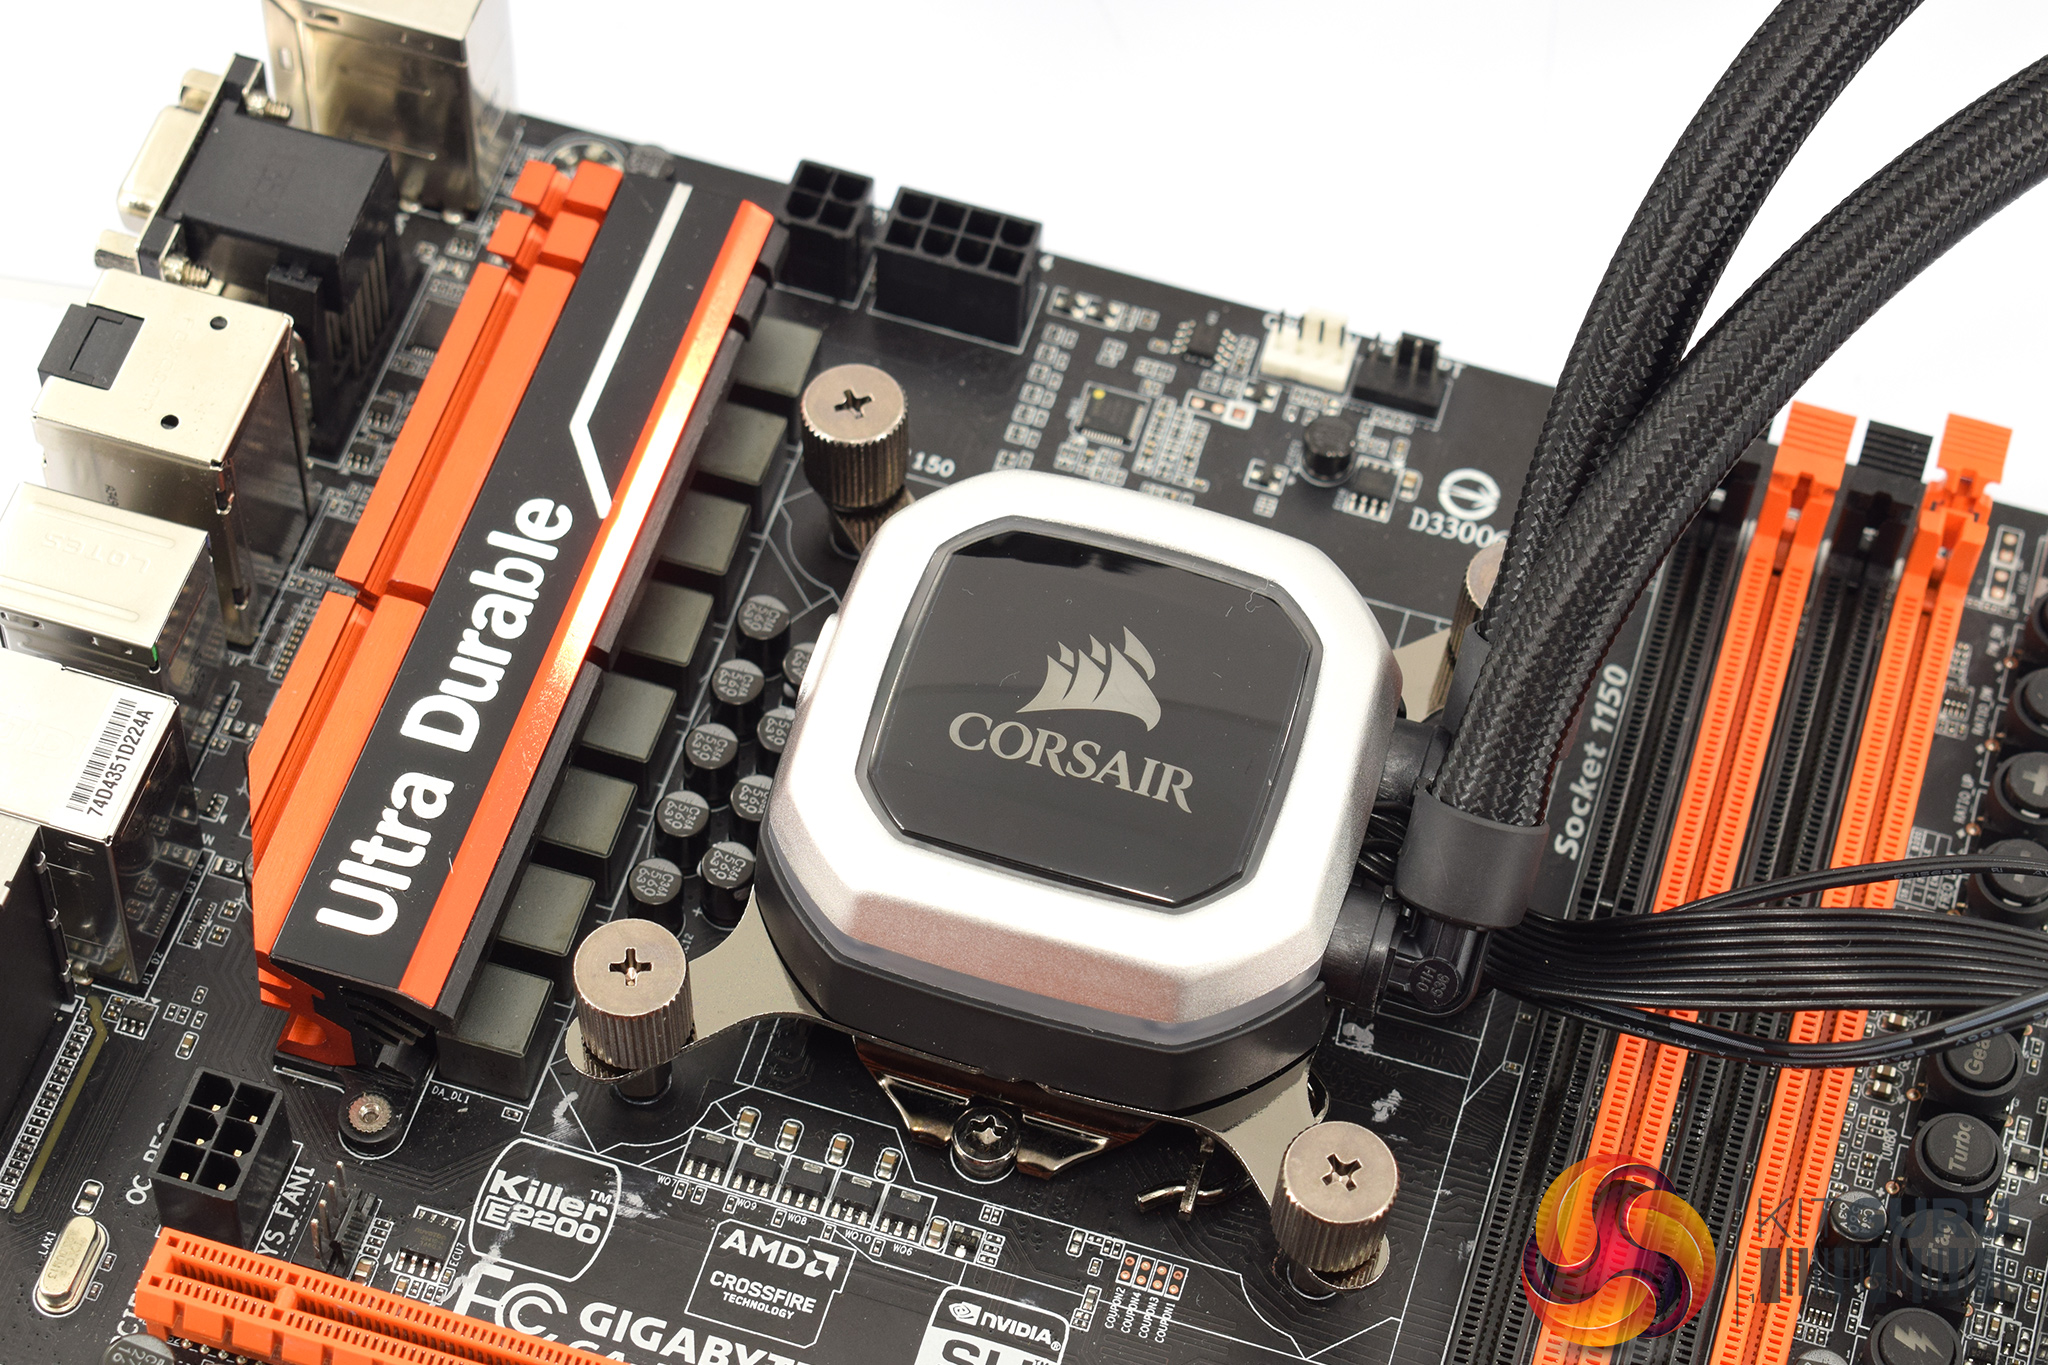
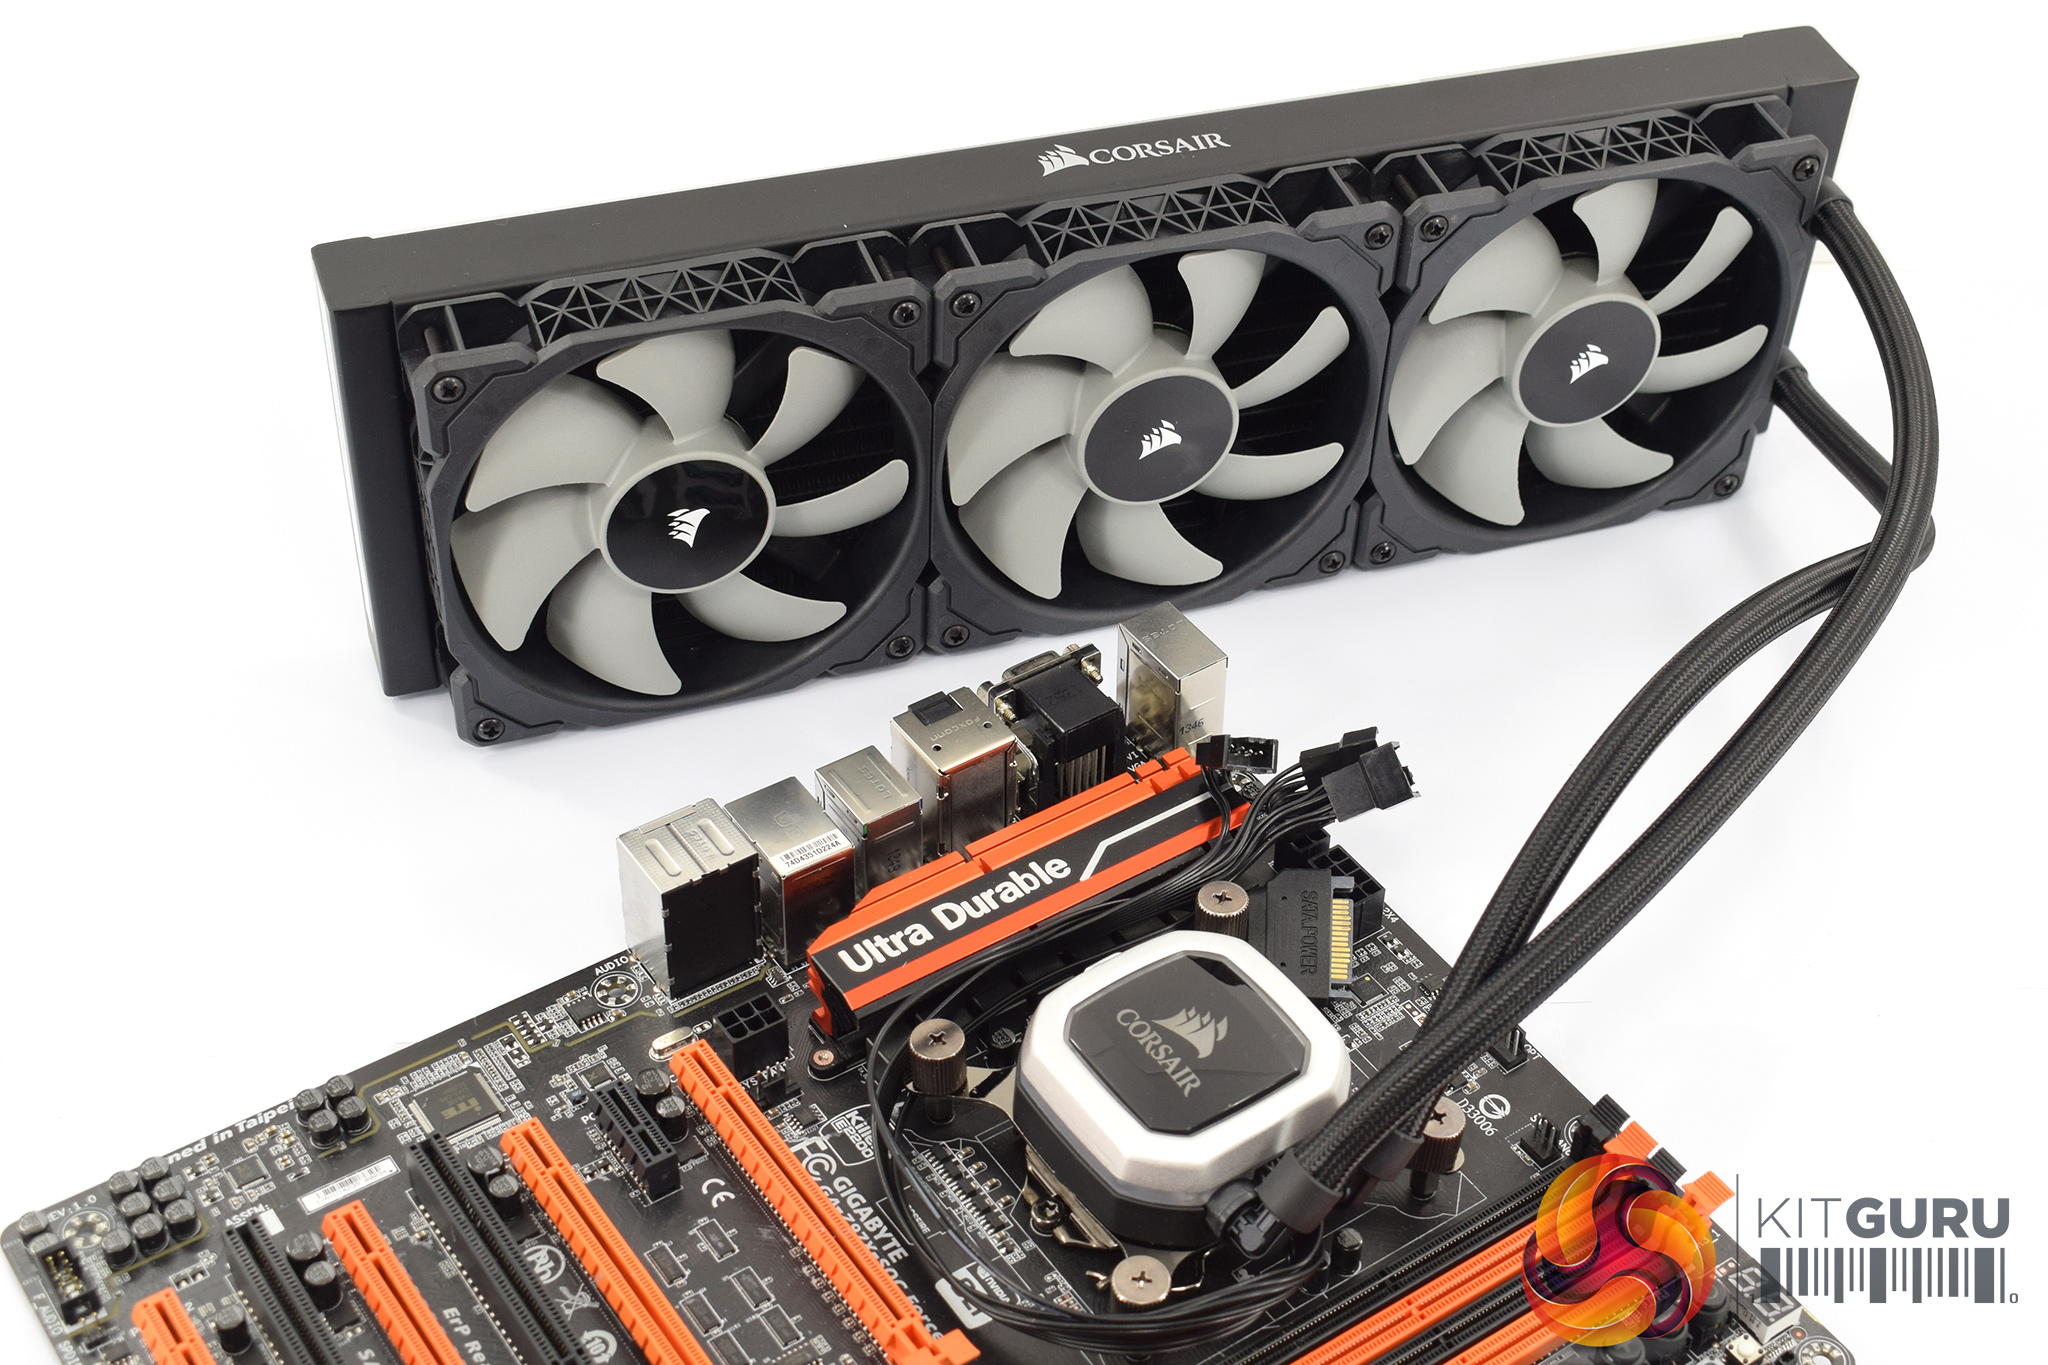
All that leaves is for the pump to be placed over the CPU and secured with four thumbscrews.
So that's it – job done! I've said for a long time that the Asetek method of installation is the most pain-free (and thus beginner-friendly) and I stand by that here. Bravo.
Note: if you cannot see the above gallery, please disable AdBlock as it is known to interfere with our display code.
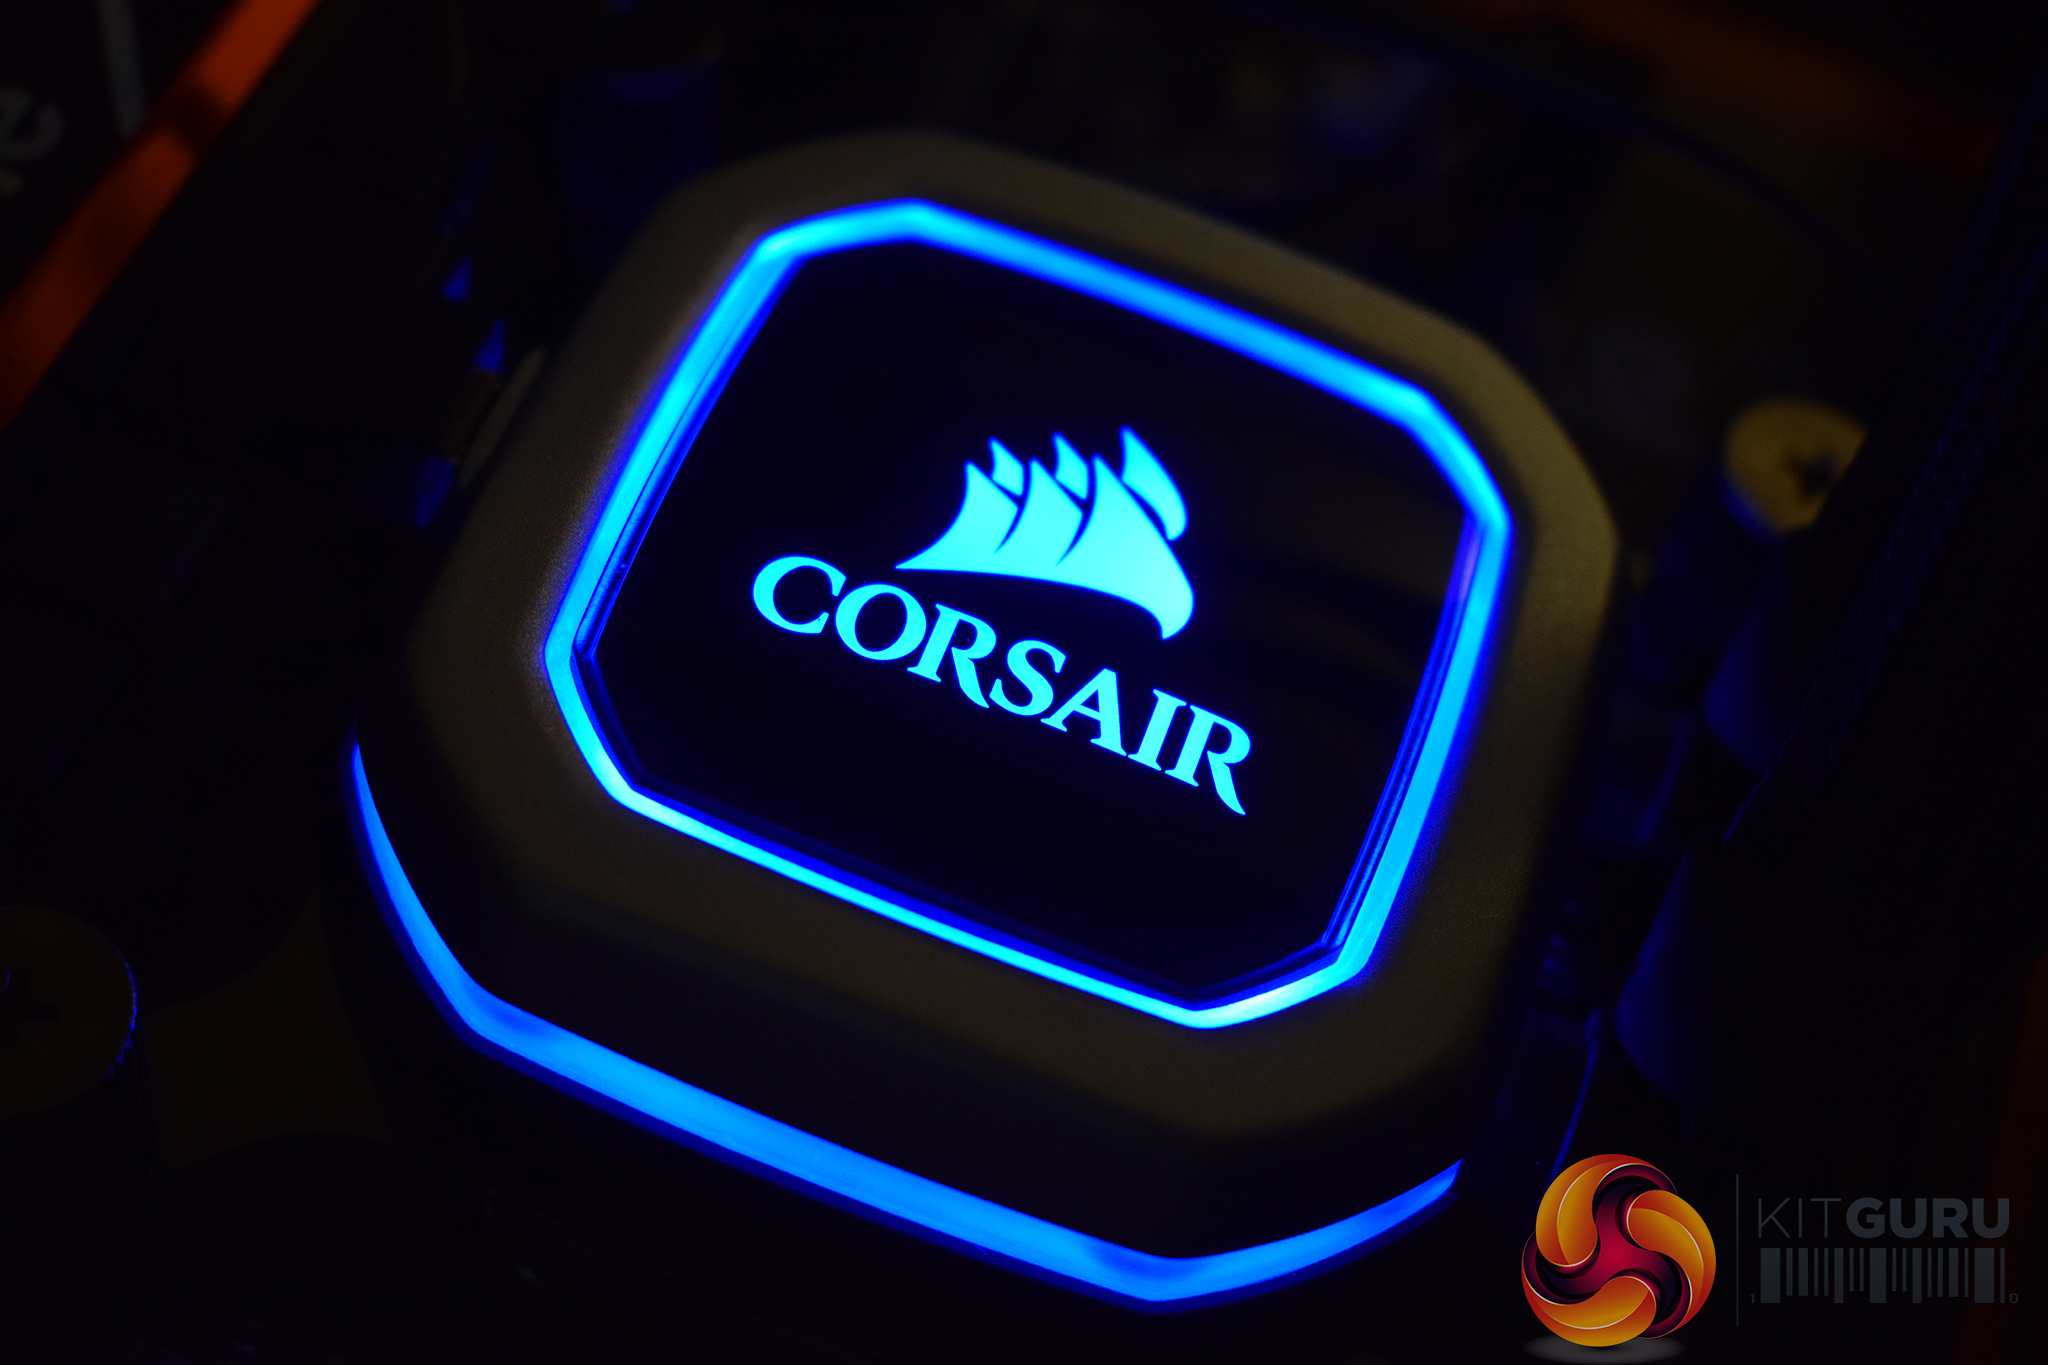
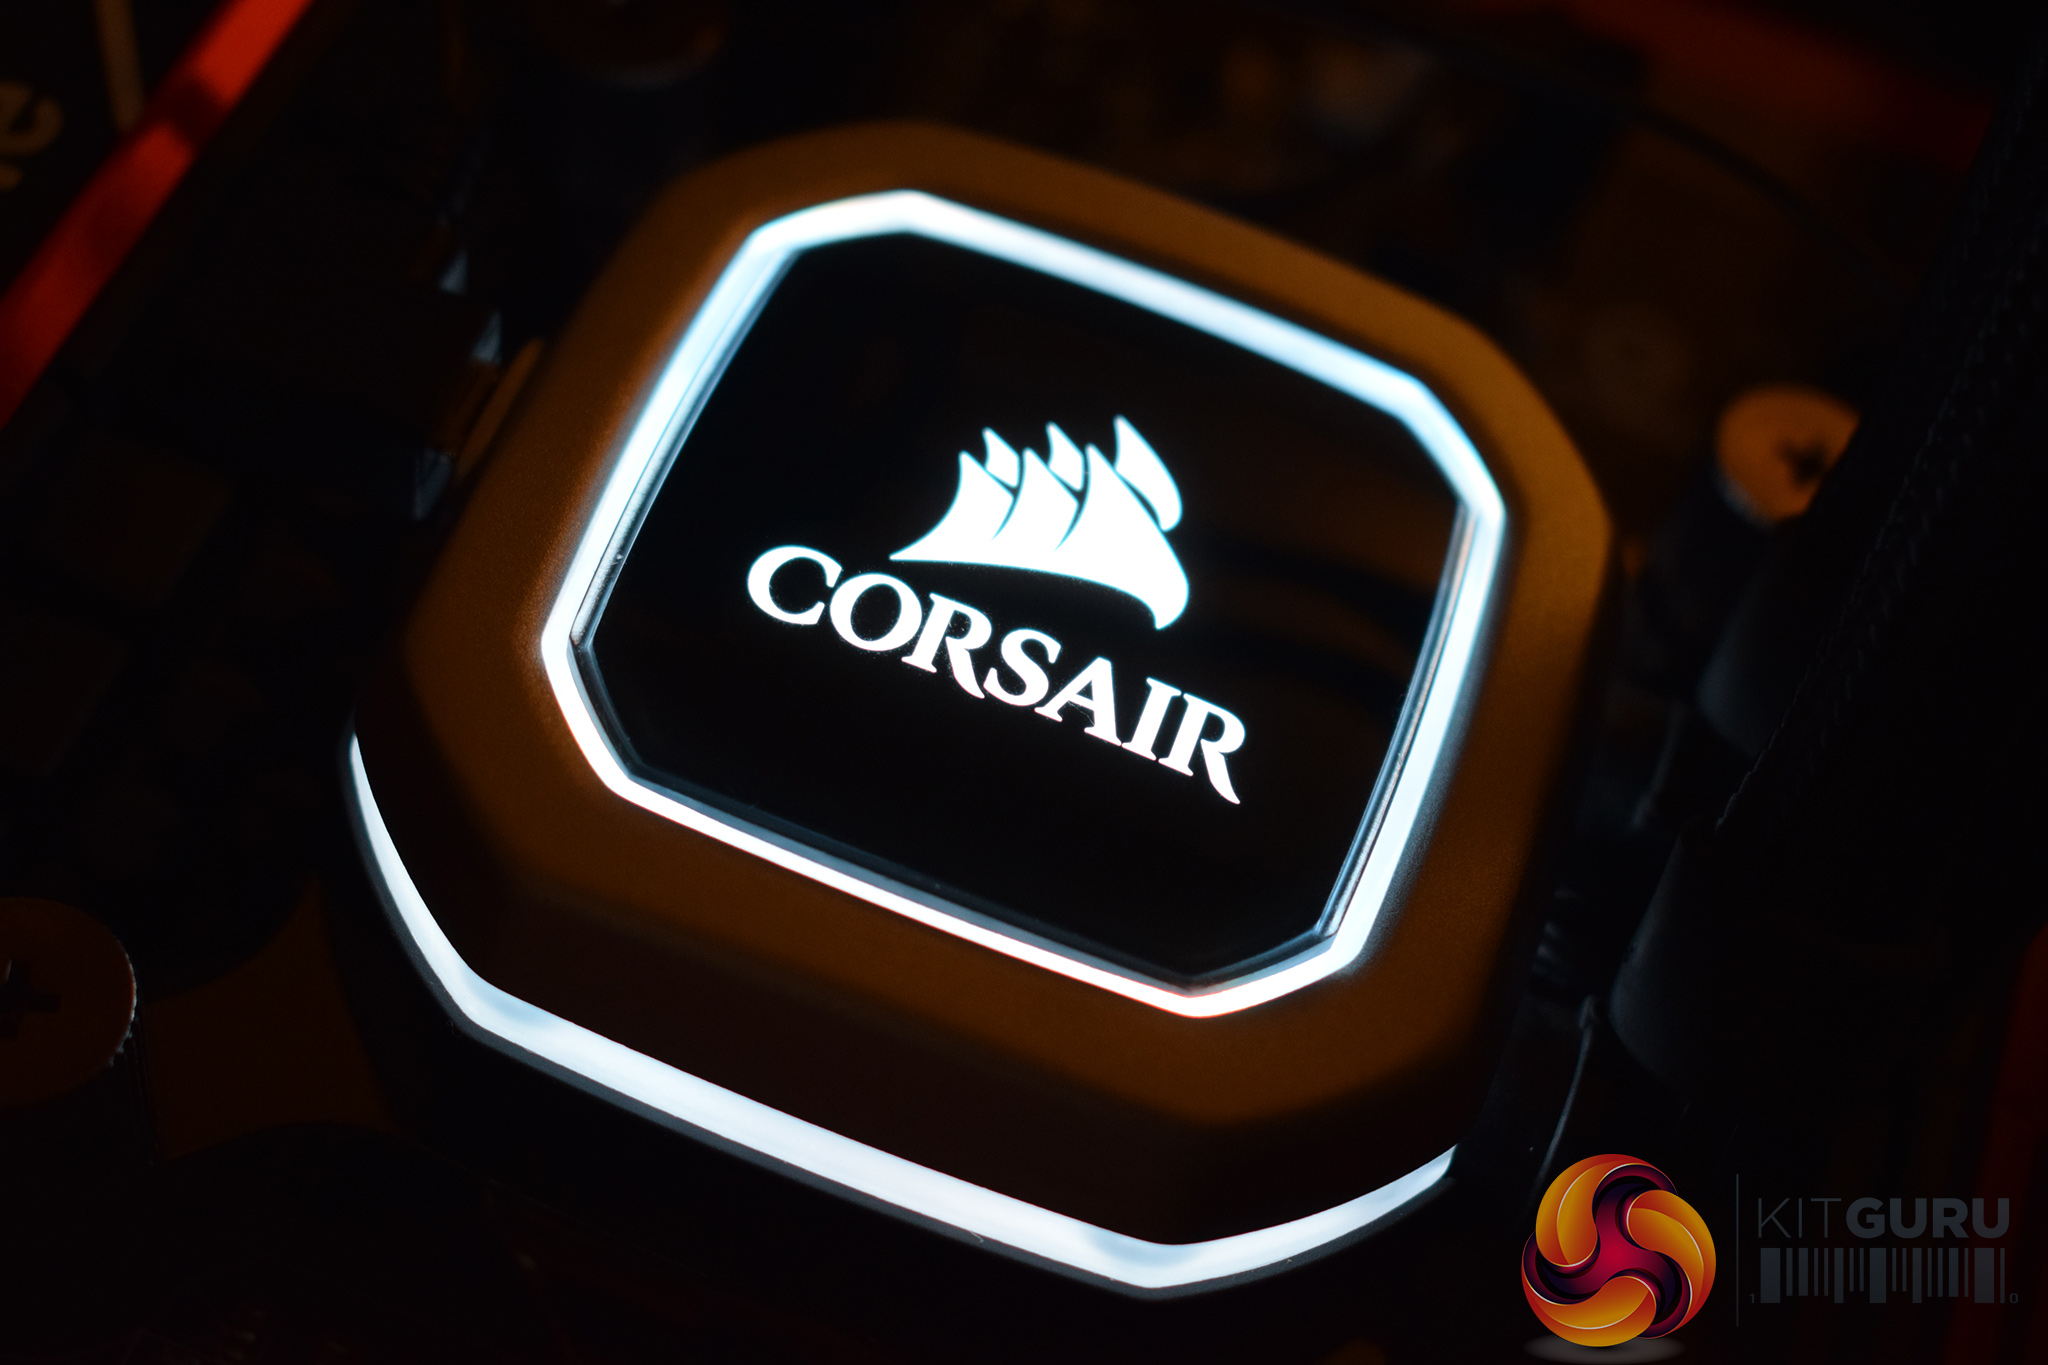
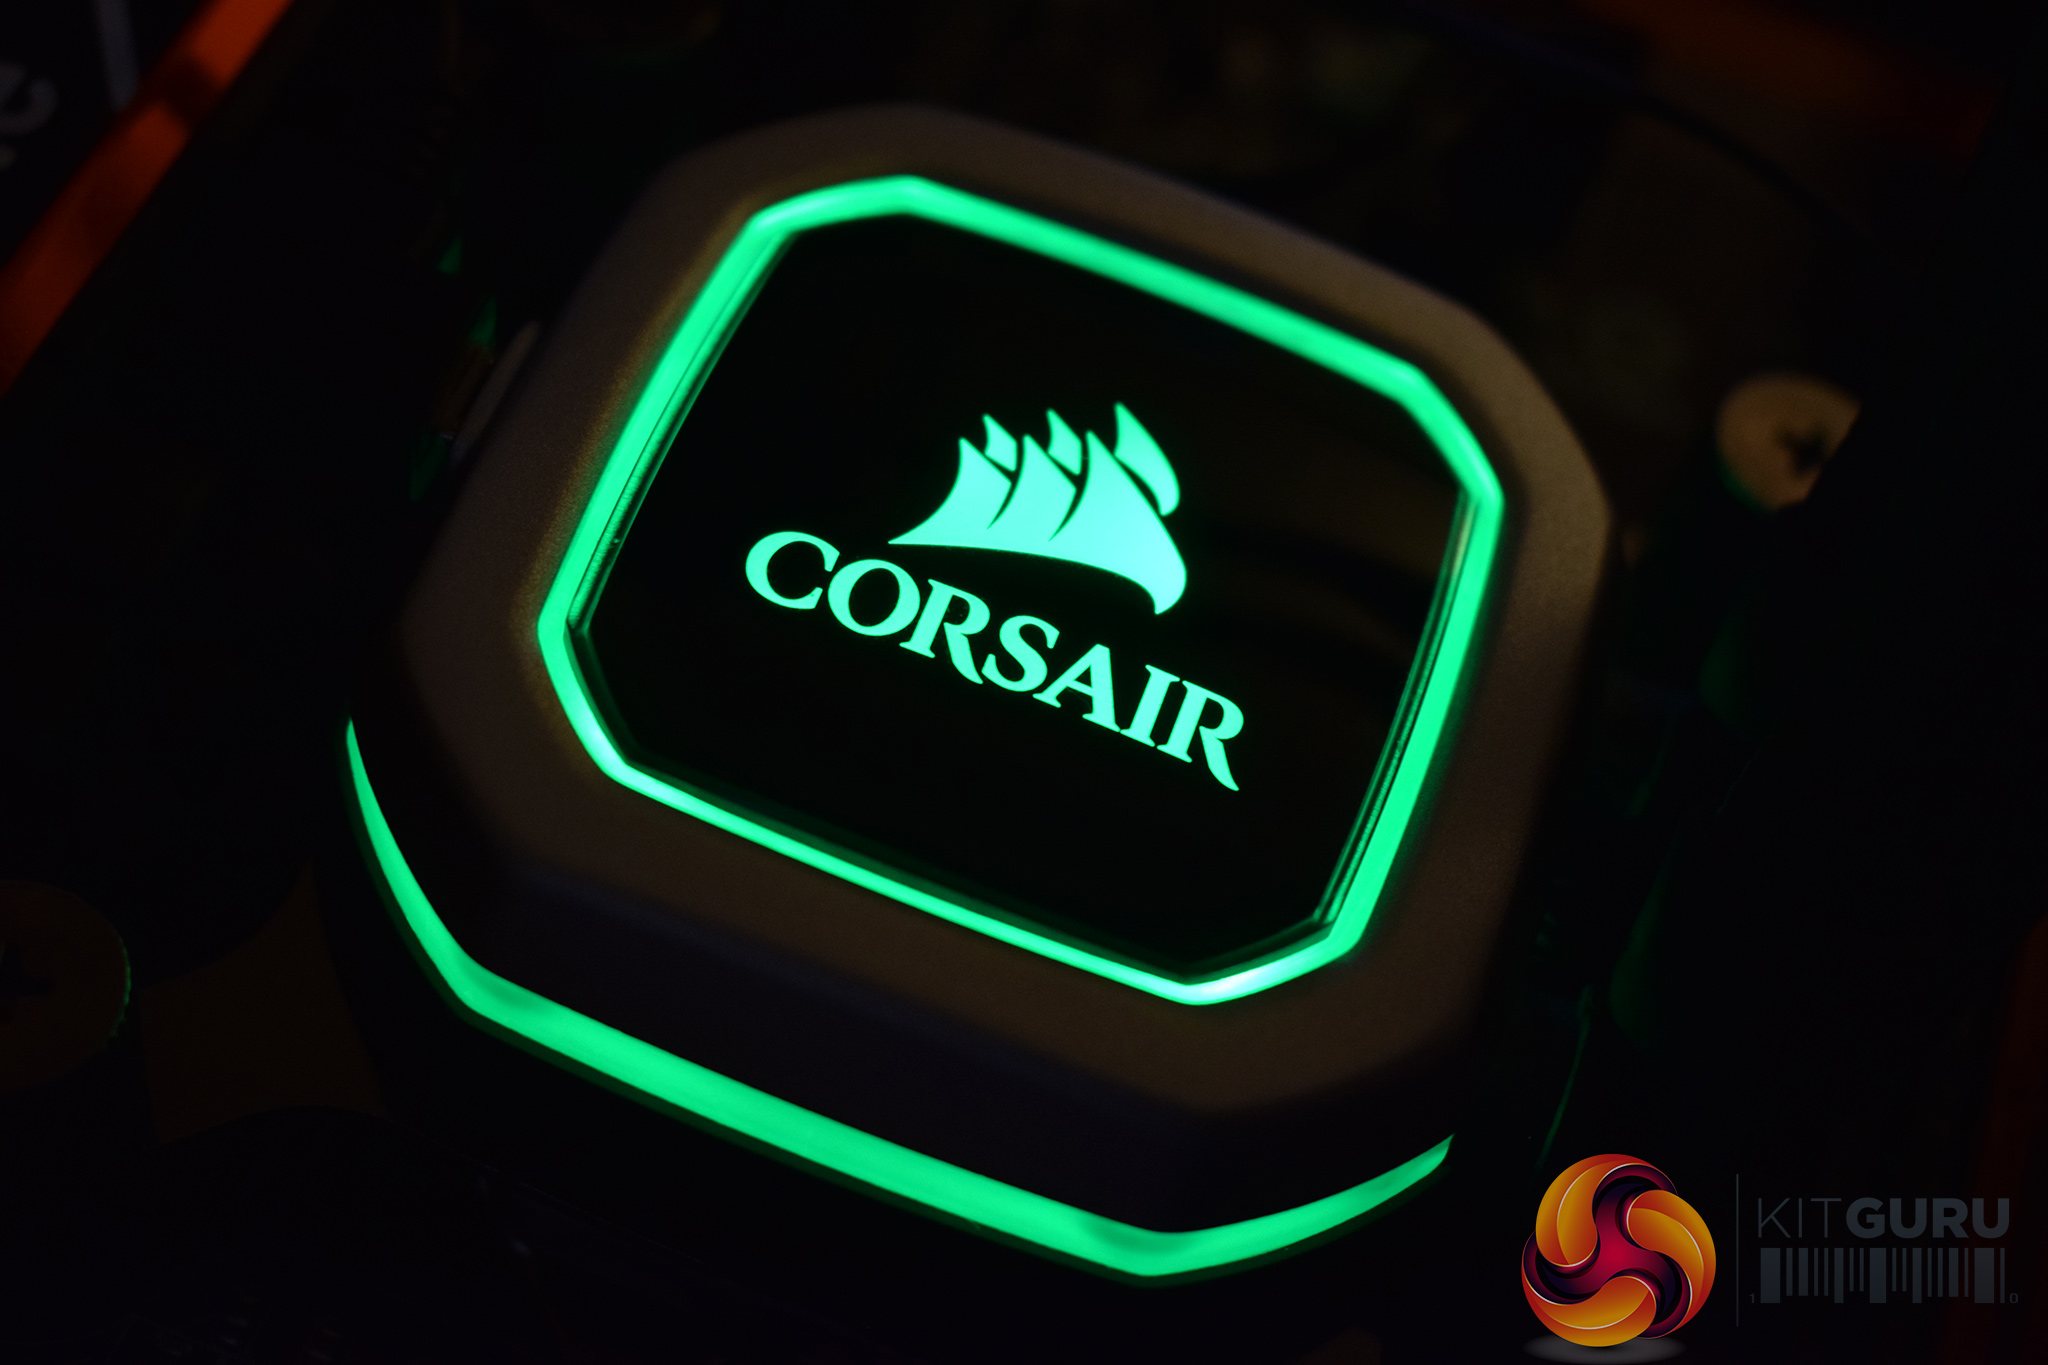
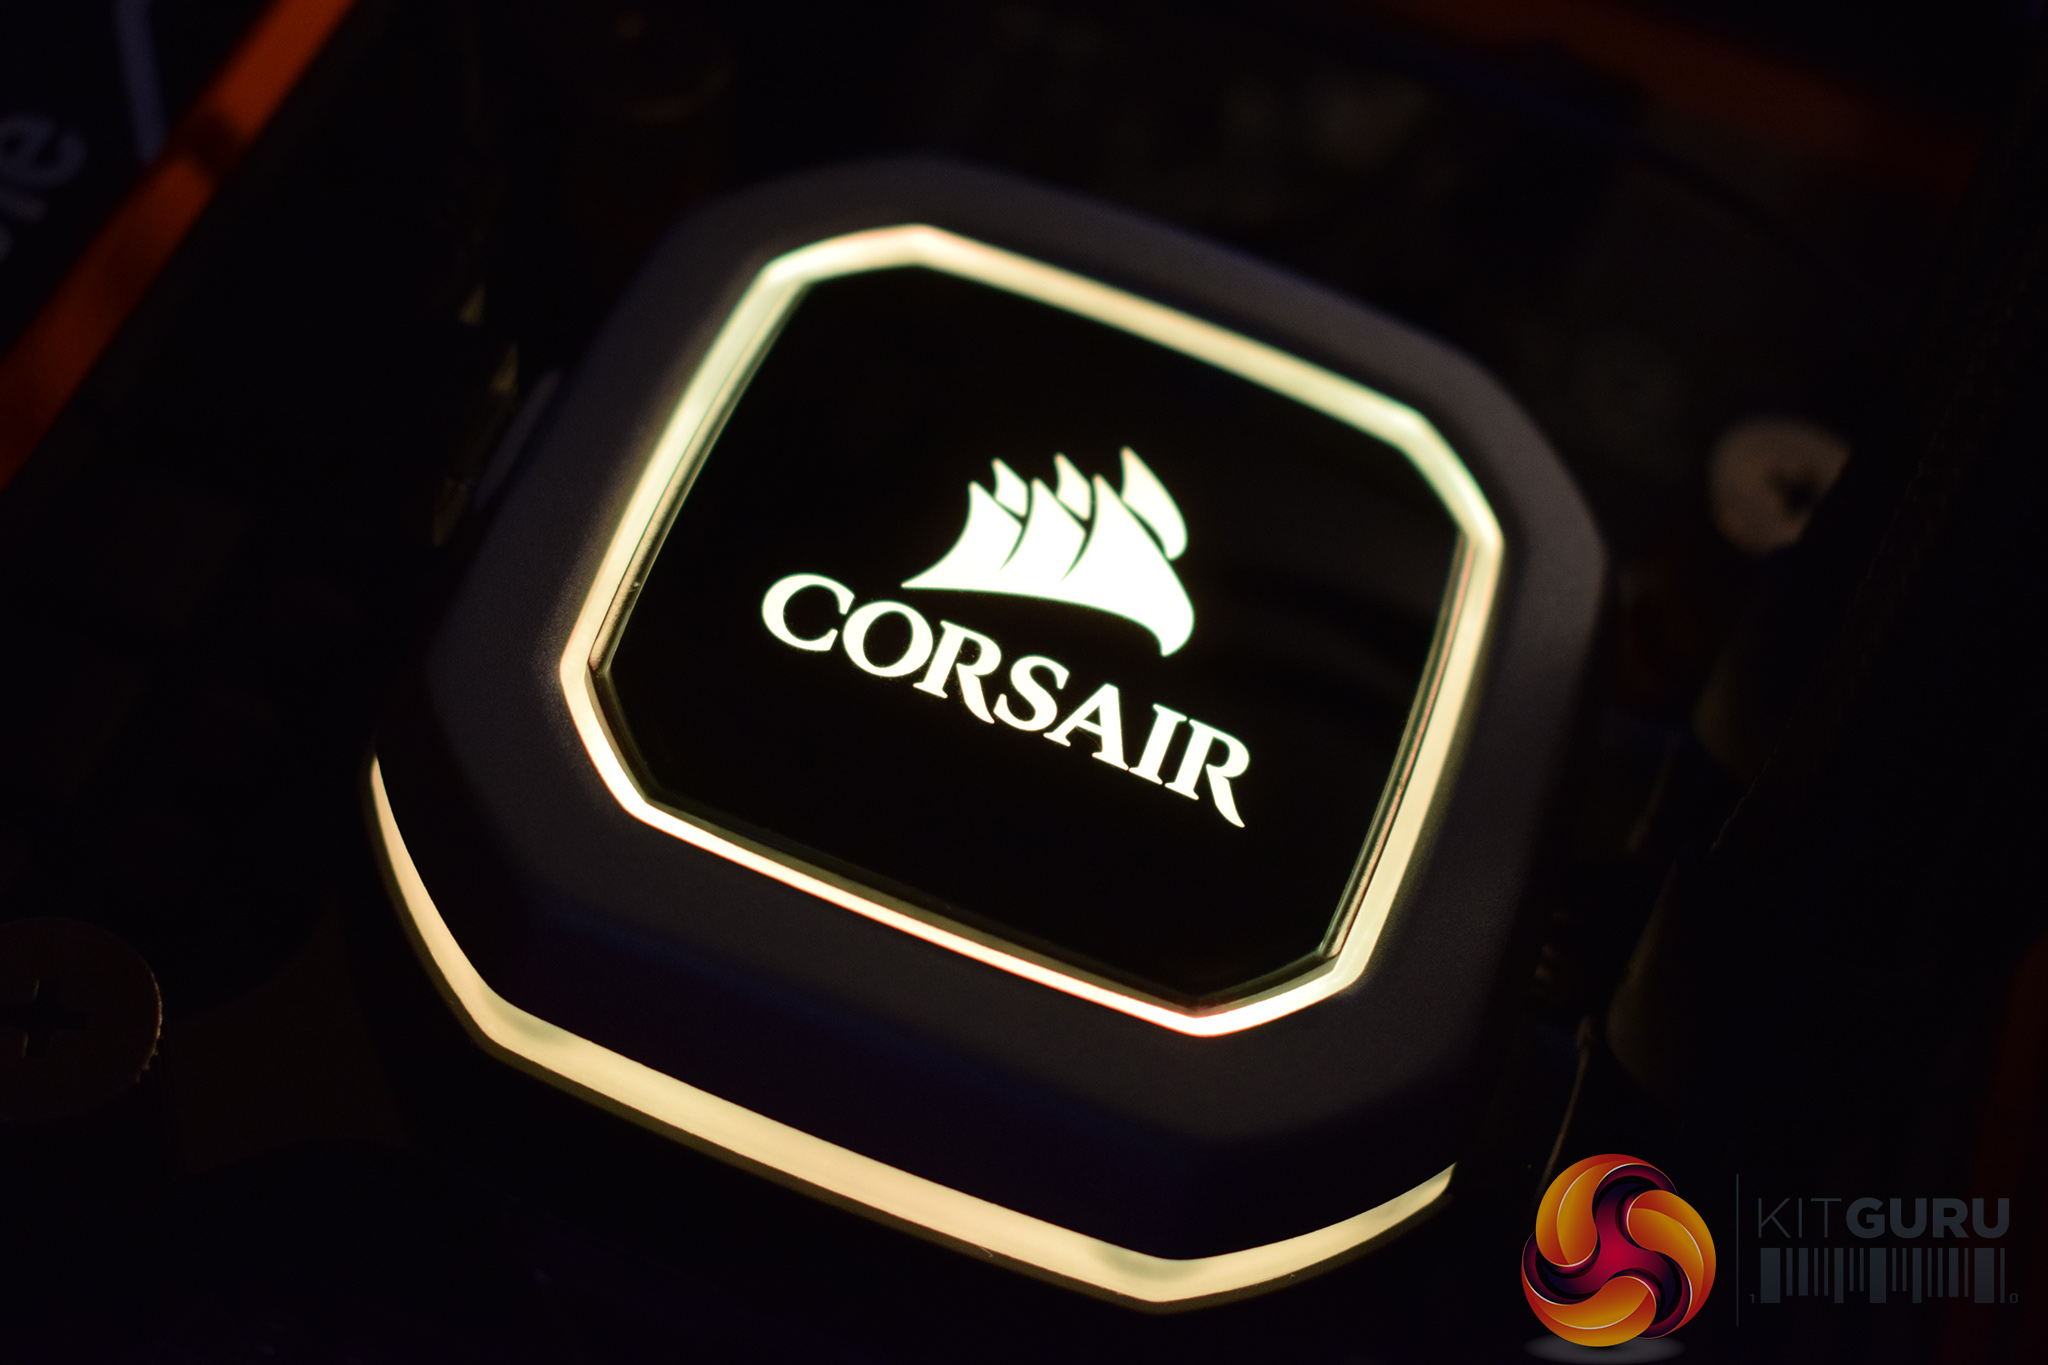
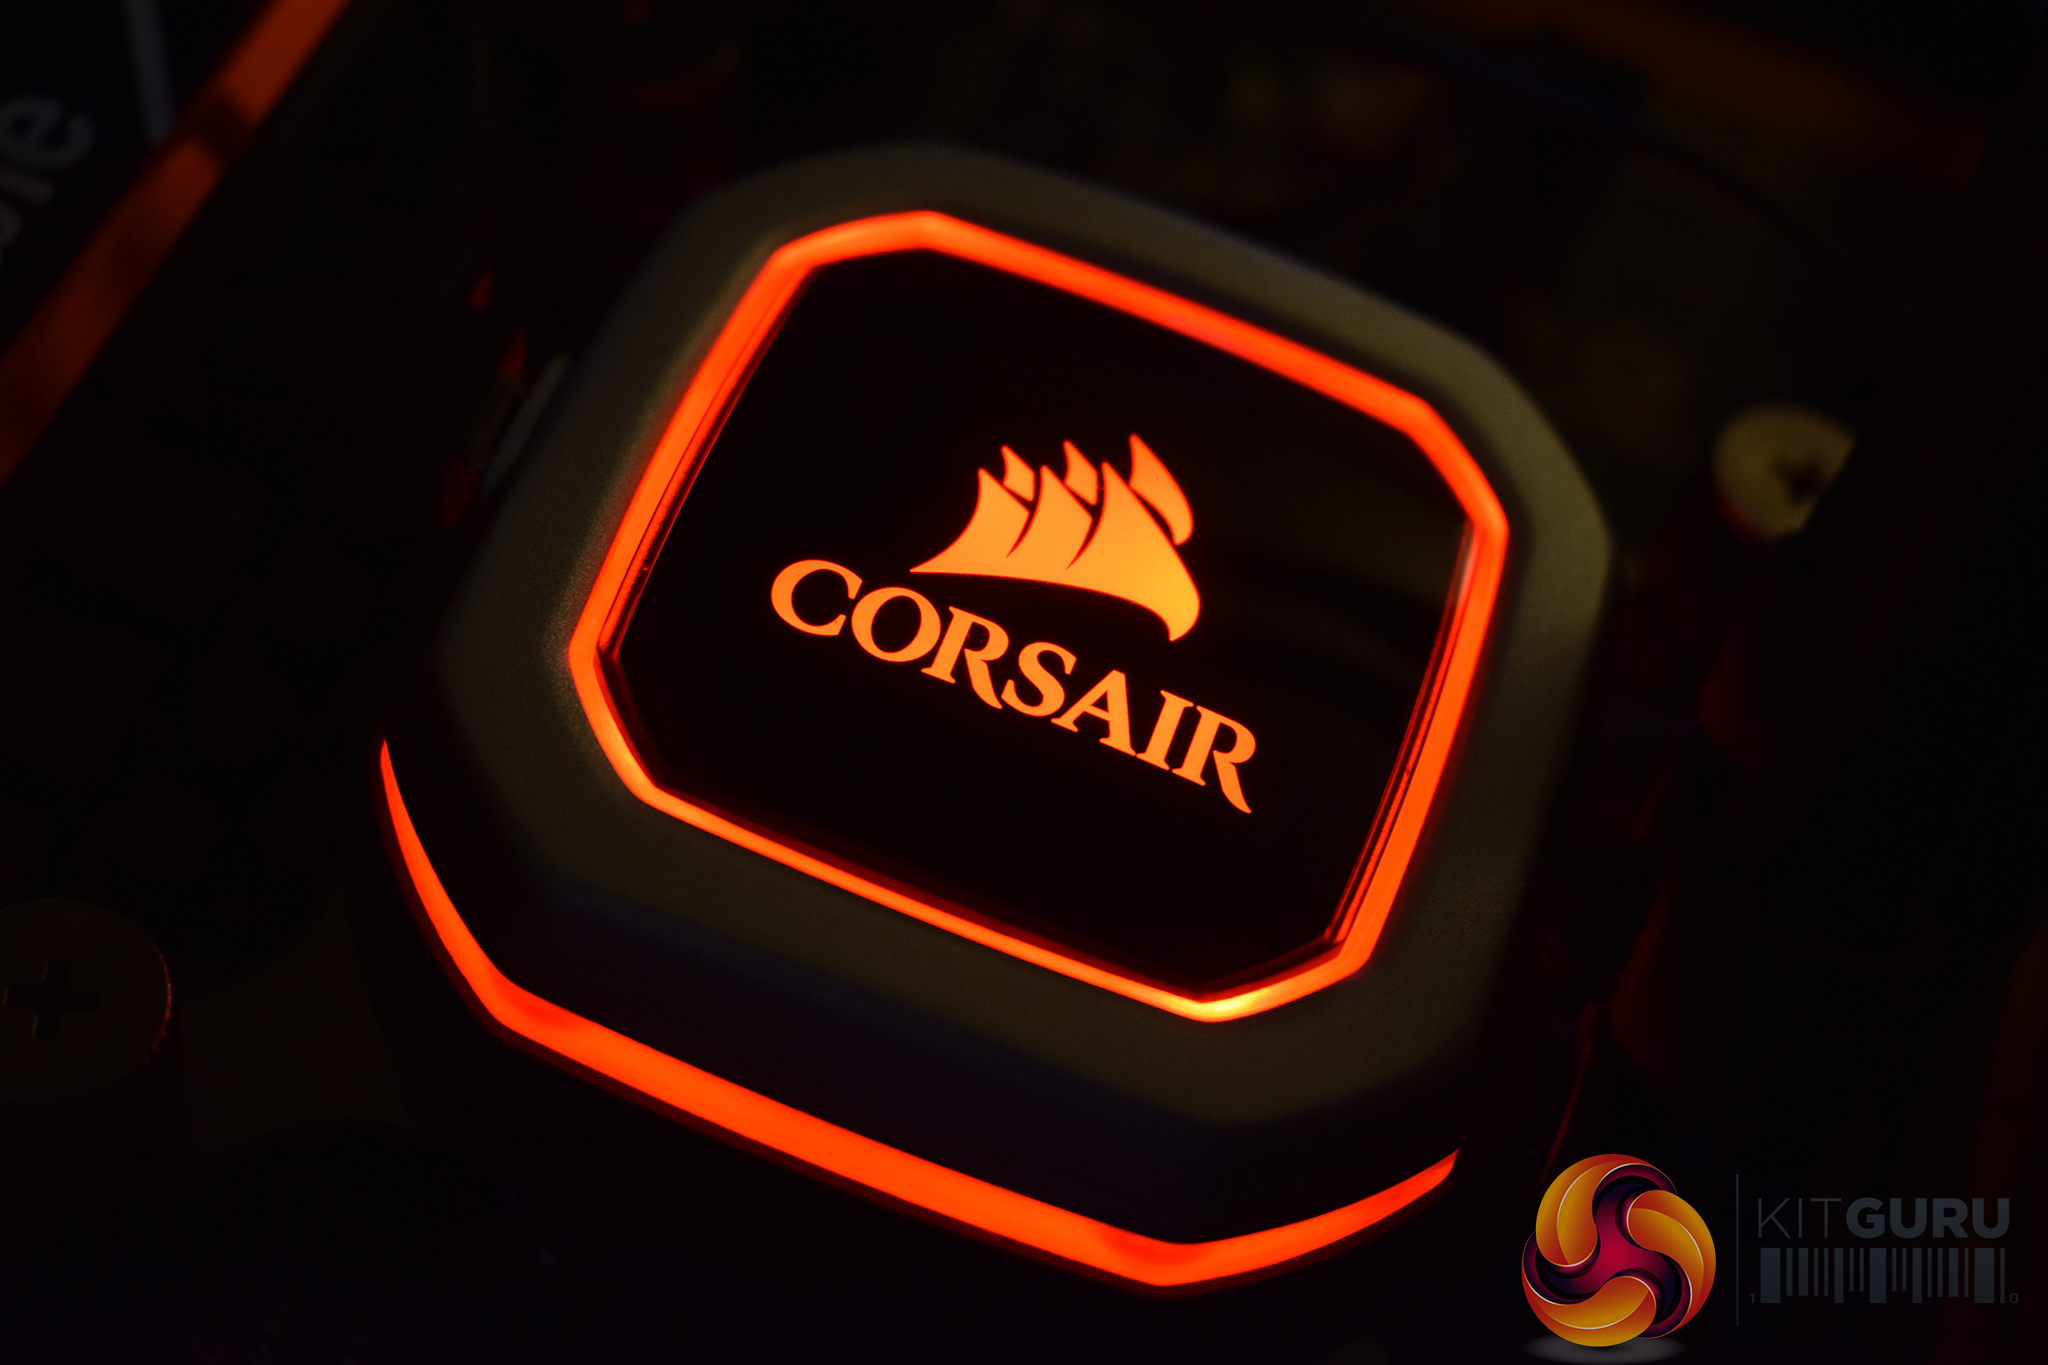
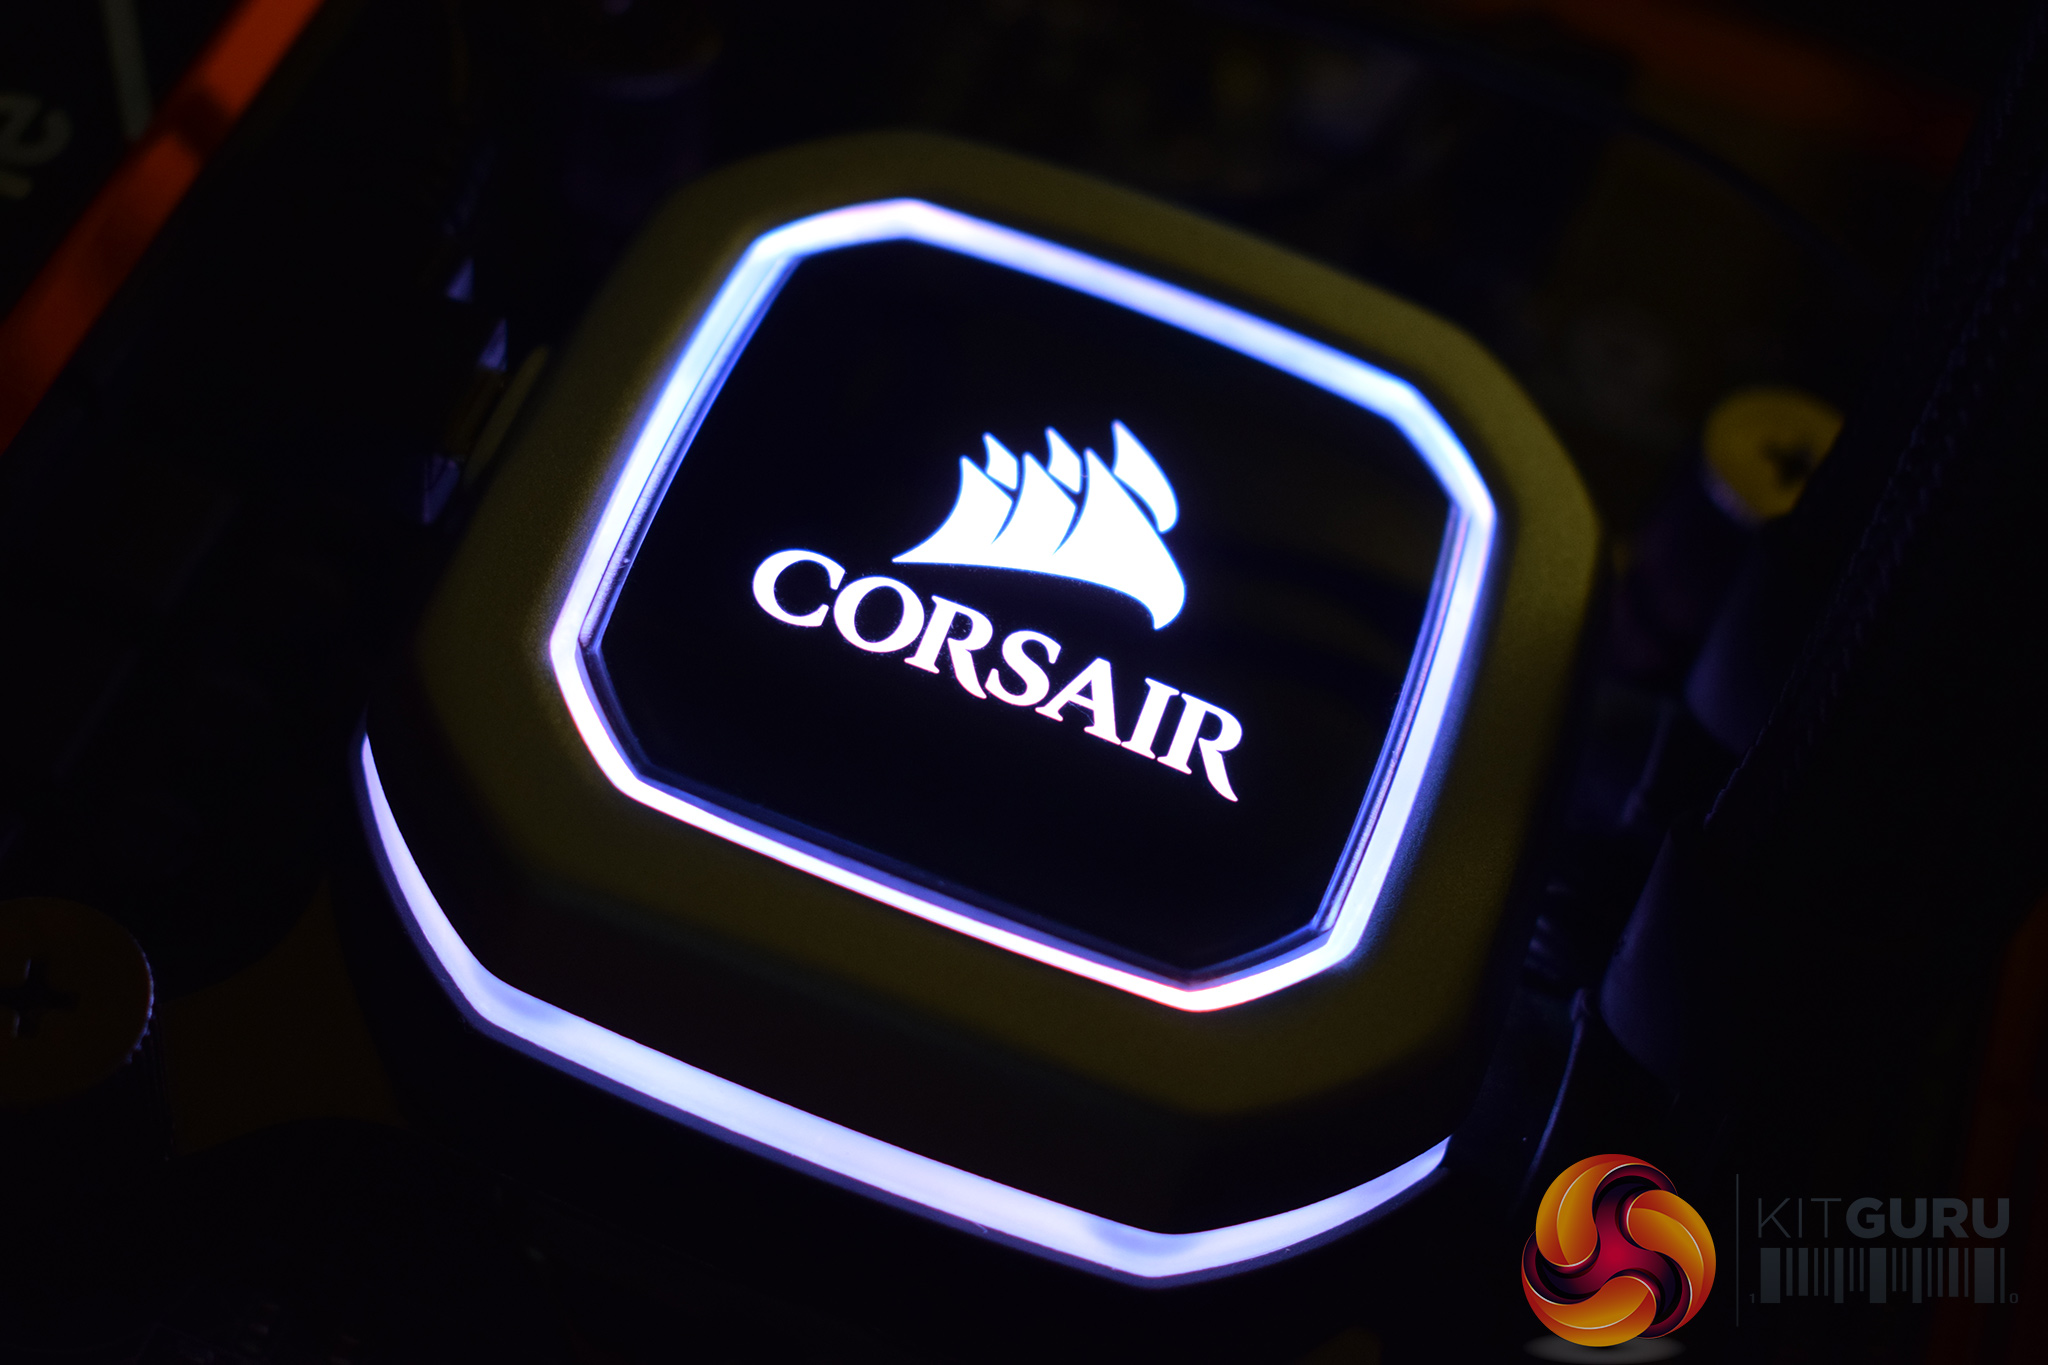
Moving onto the RGB lighting, this is controlled by Corsair's Link software, as the pump connects to your motherboard via an internal USB header. As such, there are plenty of options to play with – users can choose between static, blink, colour pulse, colour shift, rainbow or temperature modes, and the colours themselves are bright and vibrant.
There are no RGB fans, so the pump lighting is all you get, but I think it looks sleek and subtle so it's a thumbs-up from me.
I want one….great review..
In your review you did not mention whether it can support threadripper.
Why didn’t they use 1,200rpm fans like the h115i is using? I wonder how it compares to a NHD15 noise/perf wise..
Usually AIO’s have always been louder, would be nice if that’s changed now.. It’s taken long enough.
It doesn’t. The list of supported platforms is on the first page of the review.
Intel LGA 1150 • Intel LGA 1155 • Intel LGA
1156 • Intel LGA 1366 • Intel LGA 2011 • Intel LGA 2011-3 • Intel LGA
2066 • AMD AM2 • AMD AM3 • AMD AM4 • AMD FM1 • AMD FM2
it has been mentioned in other reviews that a threadripper plate may be available as an accessory
I know you tested it with the fans connected to the motherboard but would that not have spun the fans up a lot higher speed then using the pumps cables. I think the idea is the LINK software will let you set the mode and its aimed at QUIETER . Would the results here be different by much ? Would have been nice to see another test done using these just so we could compare and changing cables would take less then a minute 🙂
It must really suck to be these websites that get paid by Corsair to do advertising then they can’t do a proper review. On all reviews I saw, the 360 model lost to 280/240 AIO’s (like on this one) on the comparisons chart, yet, on the conclusion part no one mention it and said “great product”.
What is “great” about a 360mm that loses to a 280mm AIO that is more cheap? Wtf..
How difficult would it be to swap out those bland fans with RGB fans, Let’s say.. AZZA Hurricane RGB Fans for example?
I’d have to agree. Marketing it as an RGB item only because of the cooling block is kinda lame. For that price, stop being cheapskates and put on some RGB fans as well. Bland black fans are kinda, well.. boring as hell.
well have the 115i RGB and have changed my mind slightly, the RGB on the head is a lot better then the previous version and unless you have the RAD at the front you wont get any use from the RGB fans.
still should be RGB fans………..