

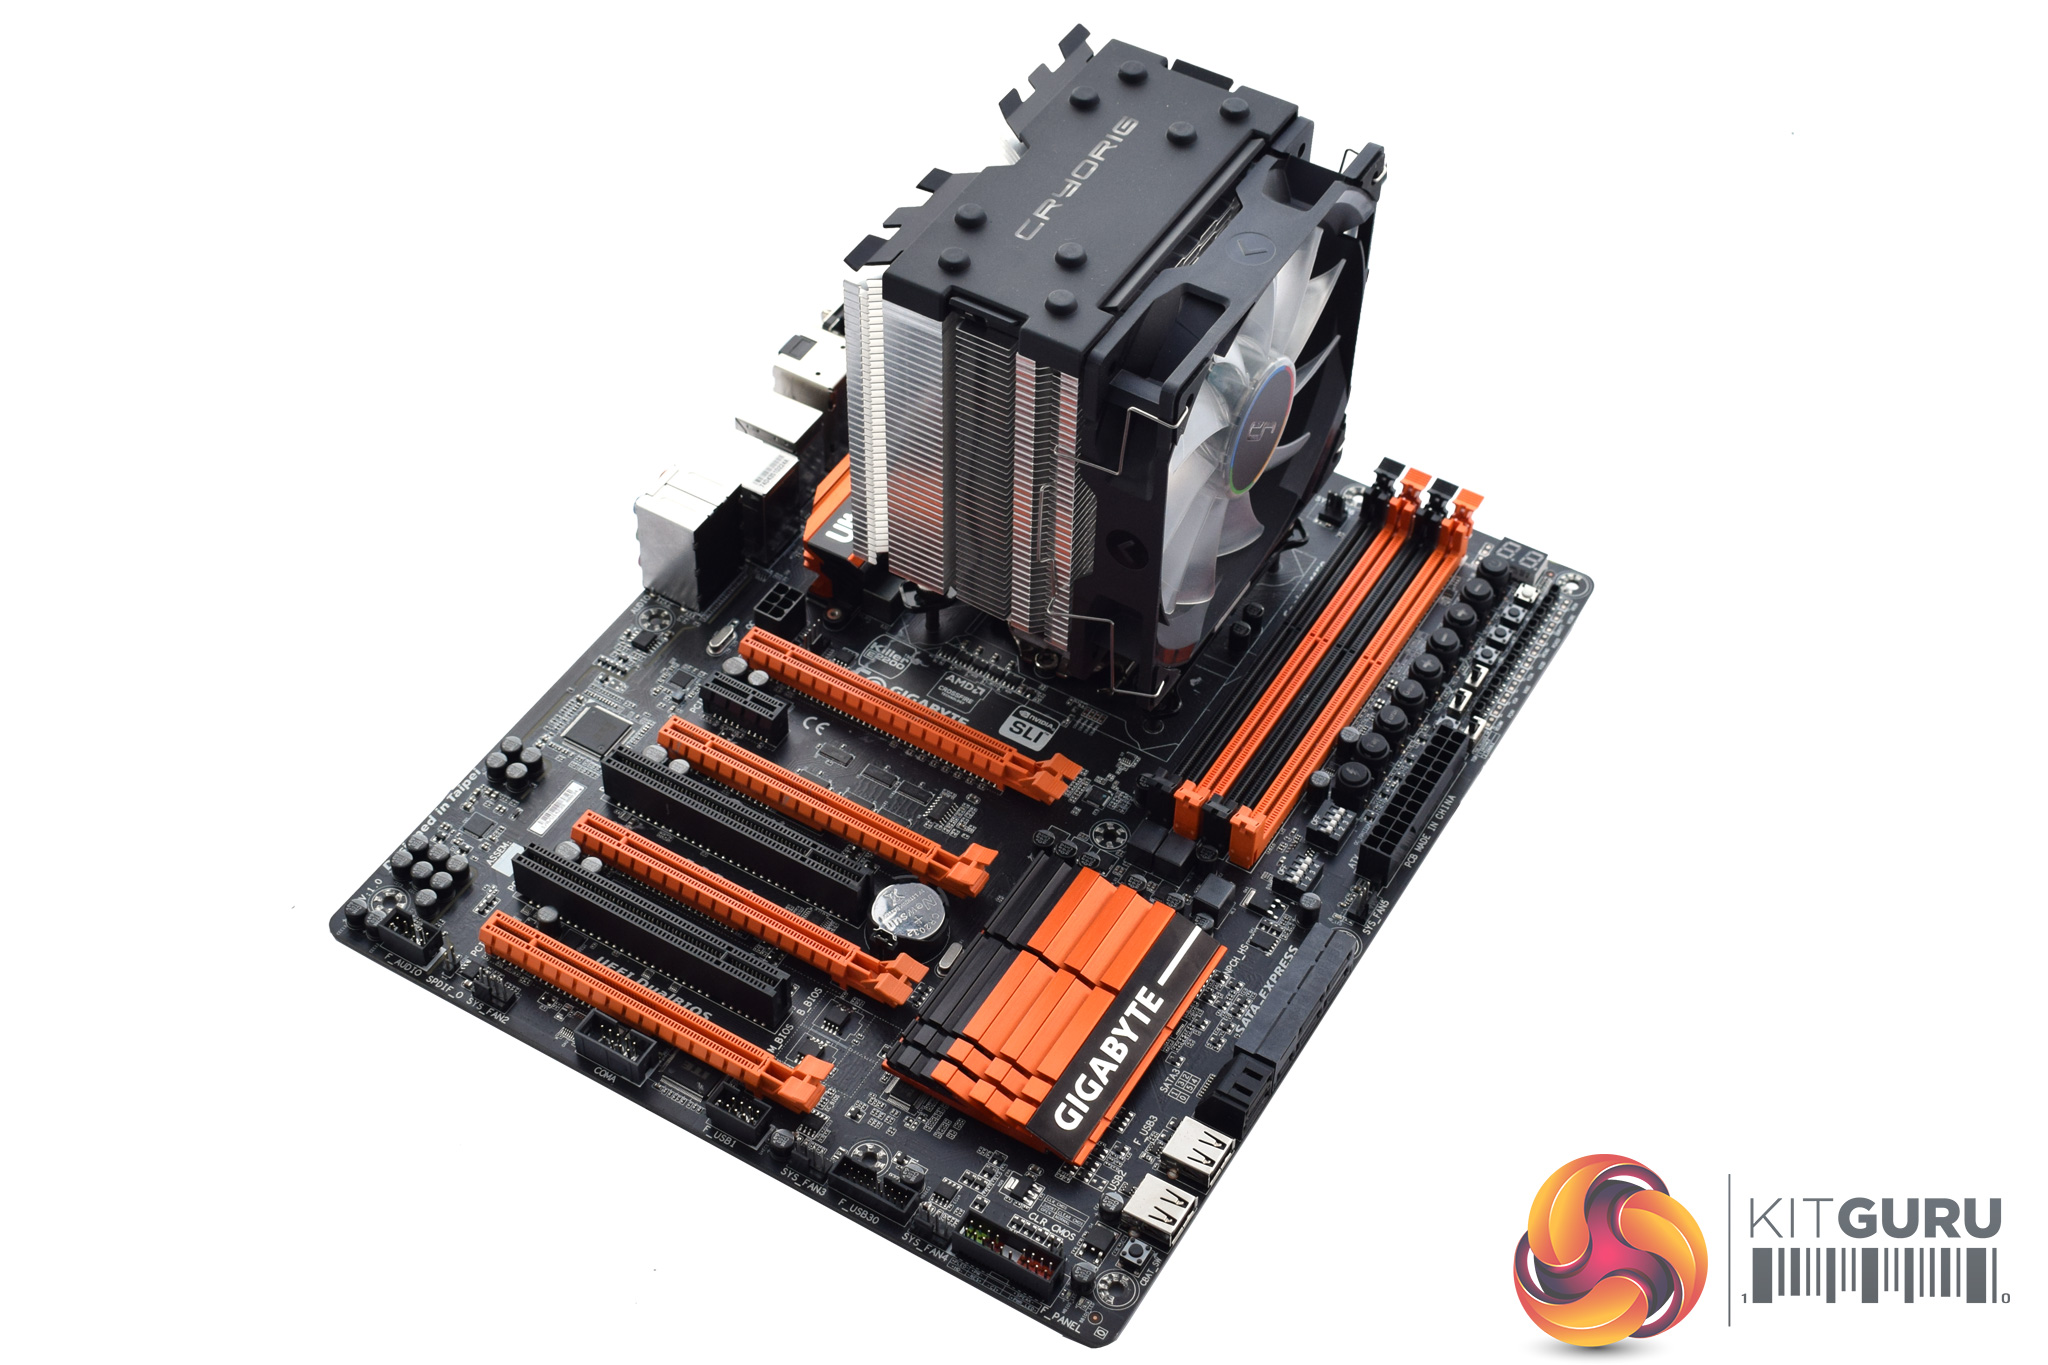
Here I will walk you through the installation process. It is worth noting we test using a Z97 motherboard – socket LGA 1150. The process below reflects that.
Interestingly, Cryorig has revamped the entire installation process for the H7 Quad Lumi – something I appreciate after having a couple of issues with the method used to install the original H7.
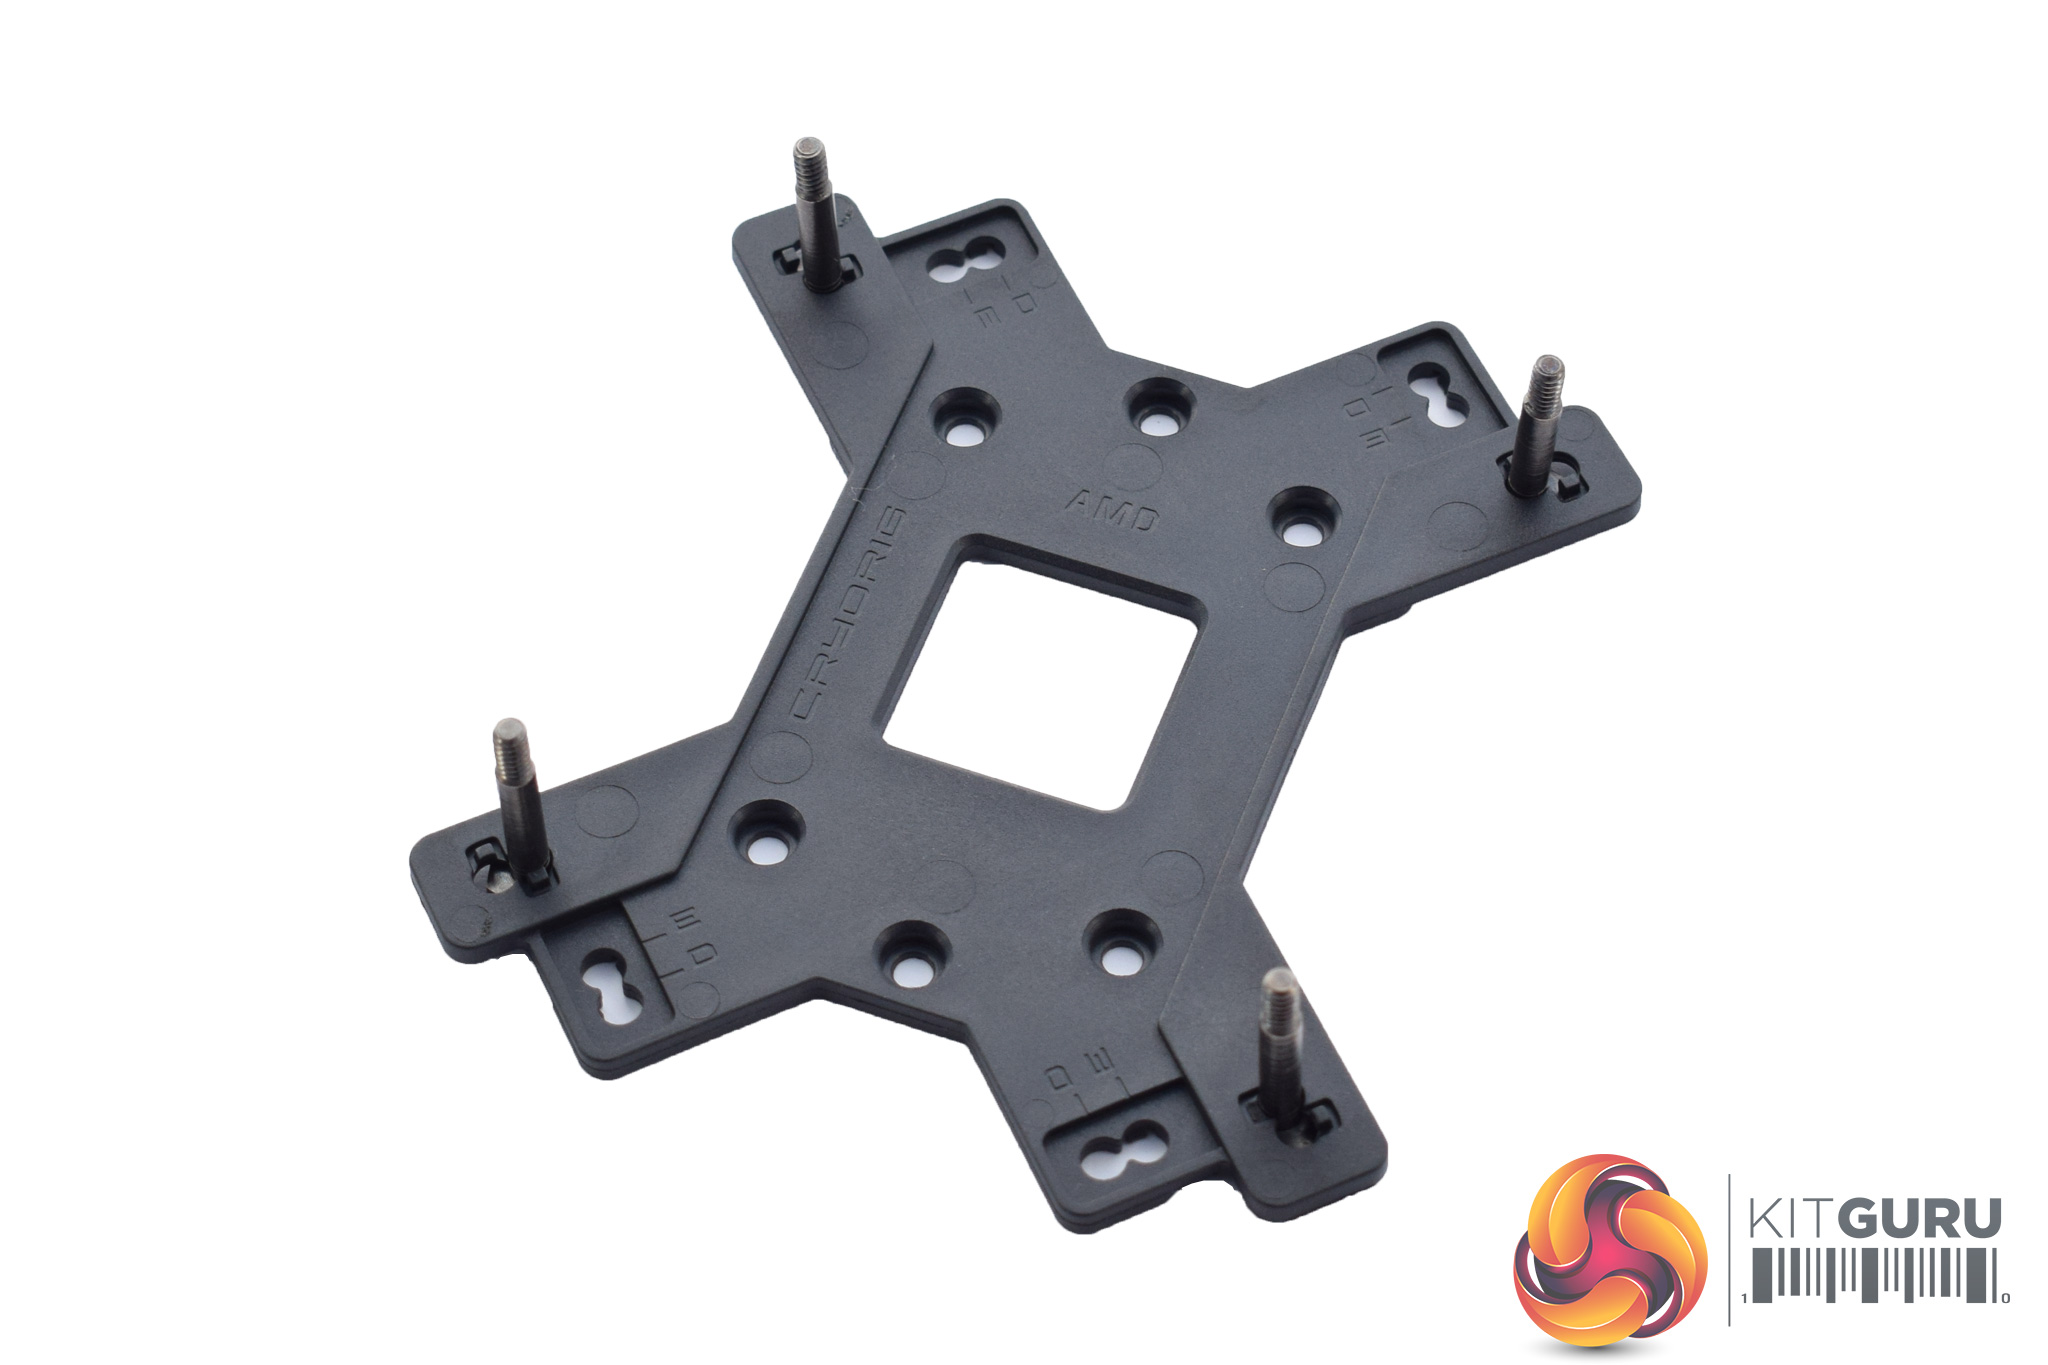
The first thing to do is prepare the backplate – the four screws should slot and lock into place. However, I should mention that when I put my four screws in, one of the clips that locks them in-place actually broke off almost straight away. The other three were fine, but a sturdier locking clip would have been appreciated.
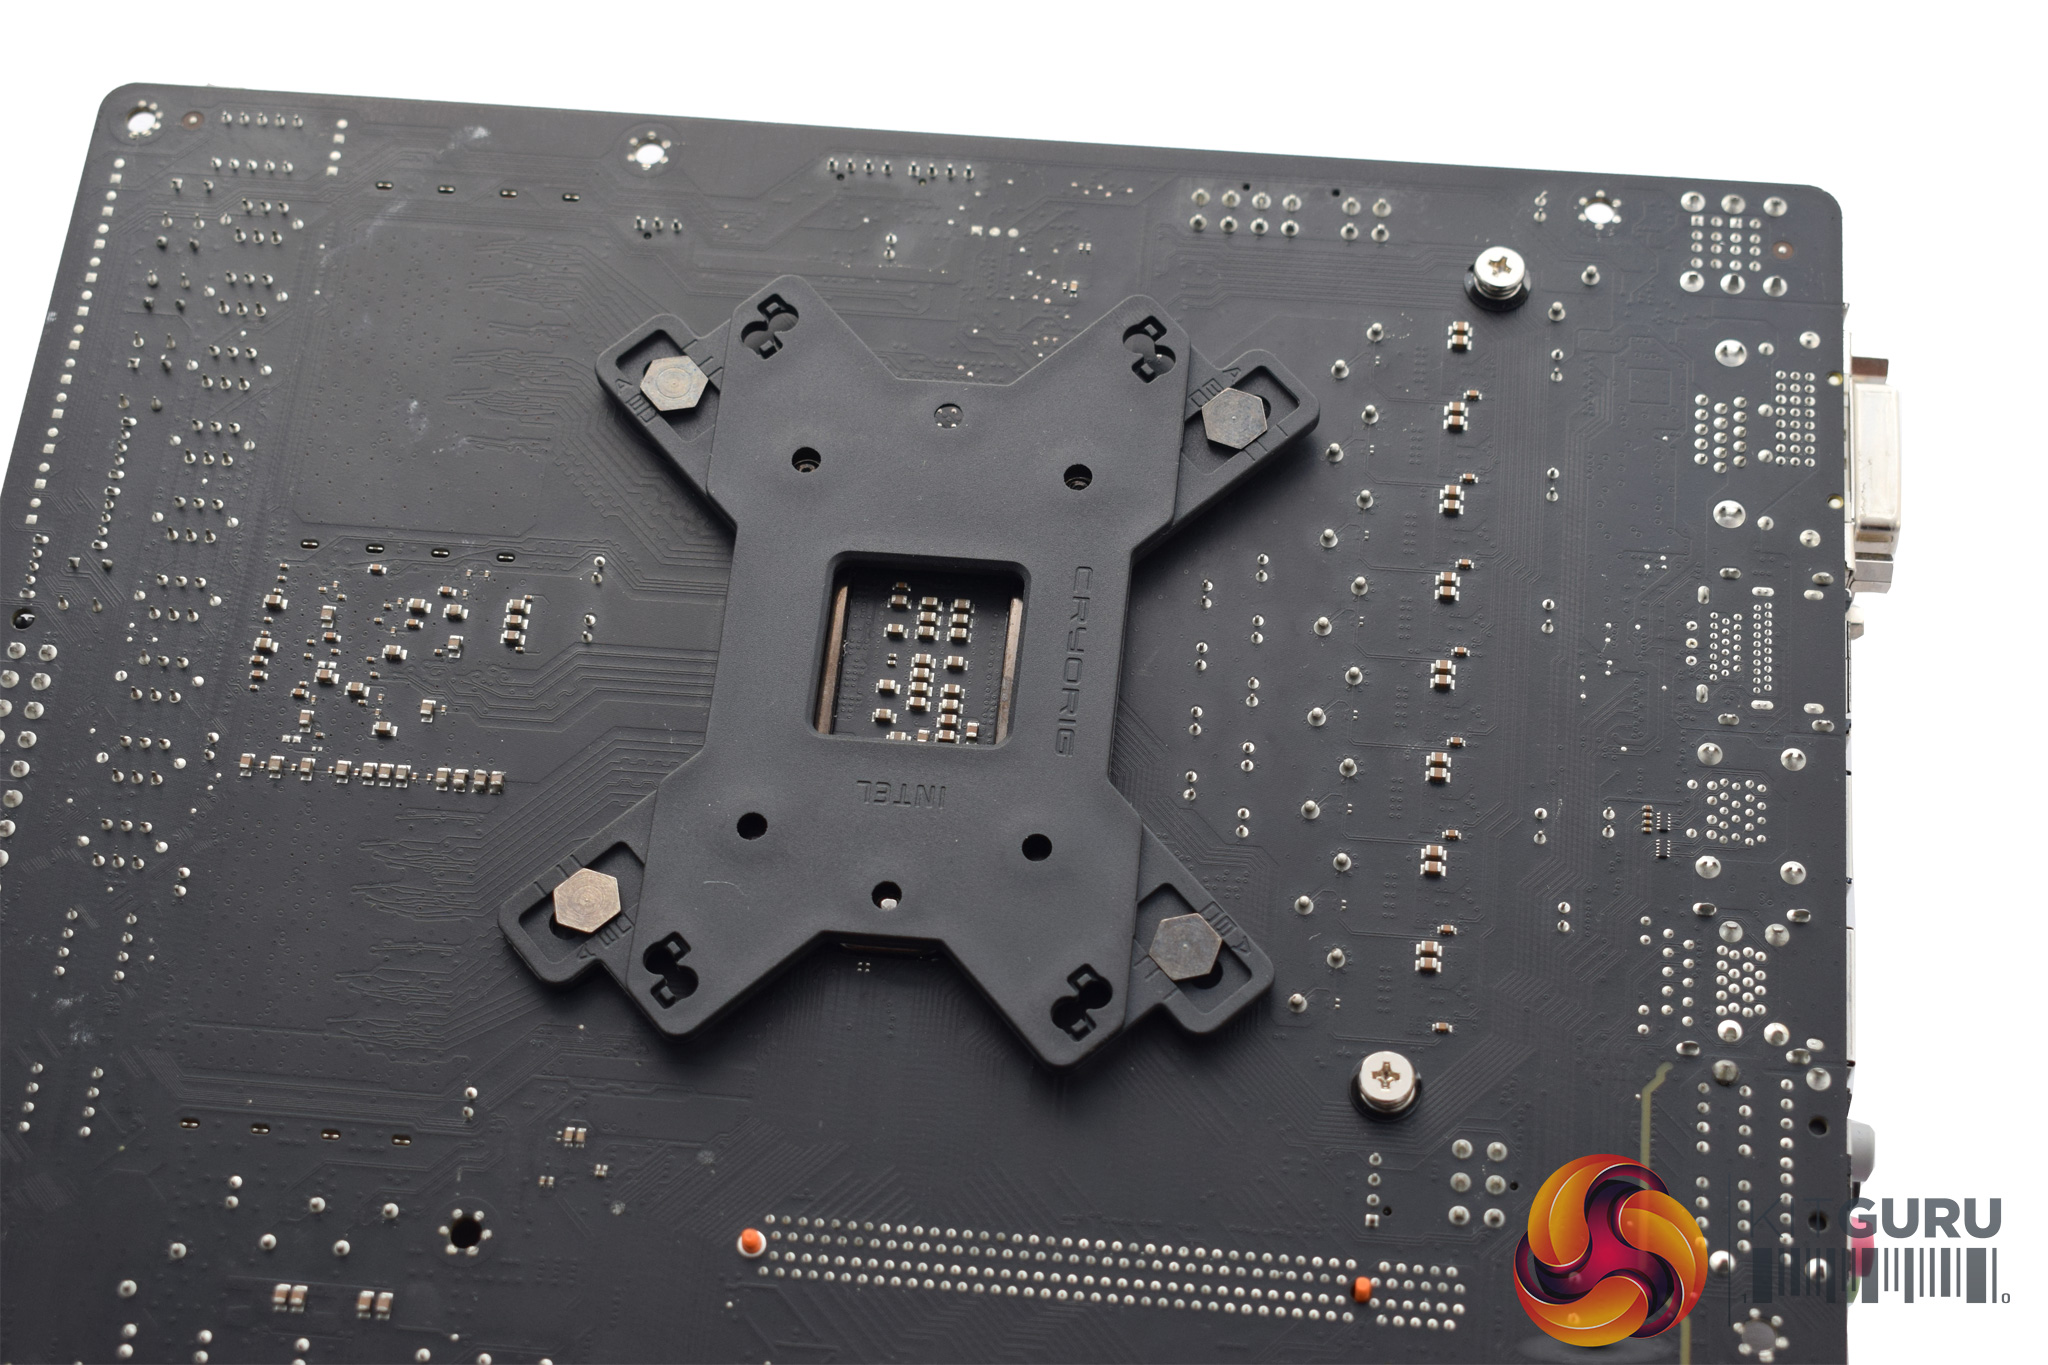
Once the backplate is ready, place it behind the motherboard socket area so the screws go through the socket holes.
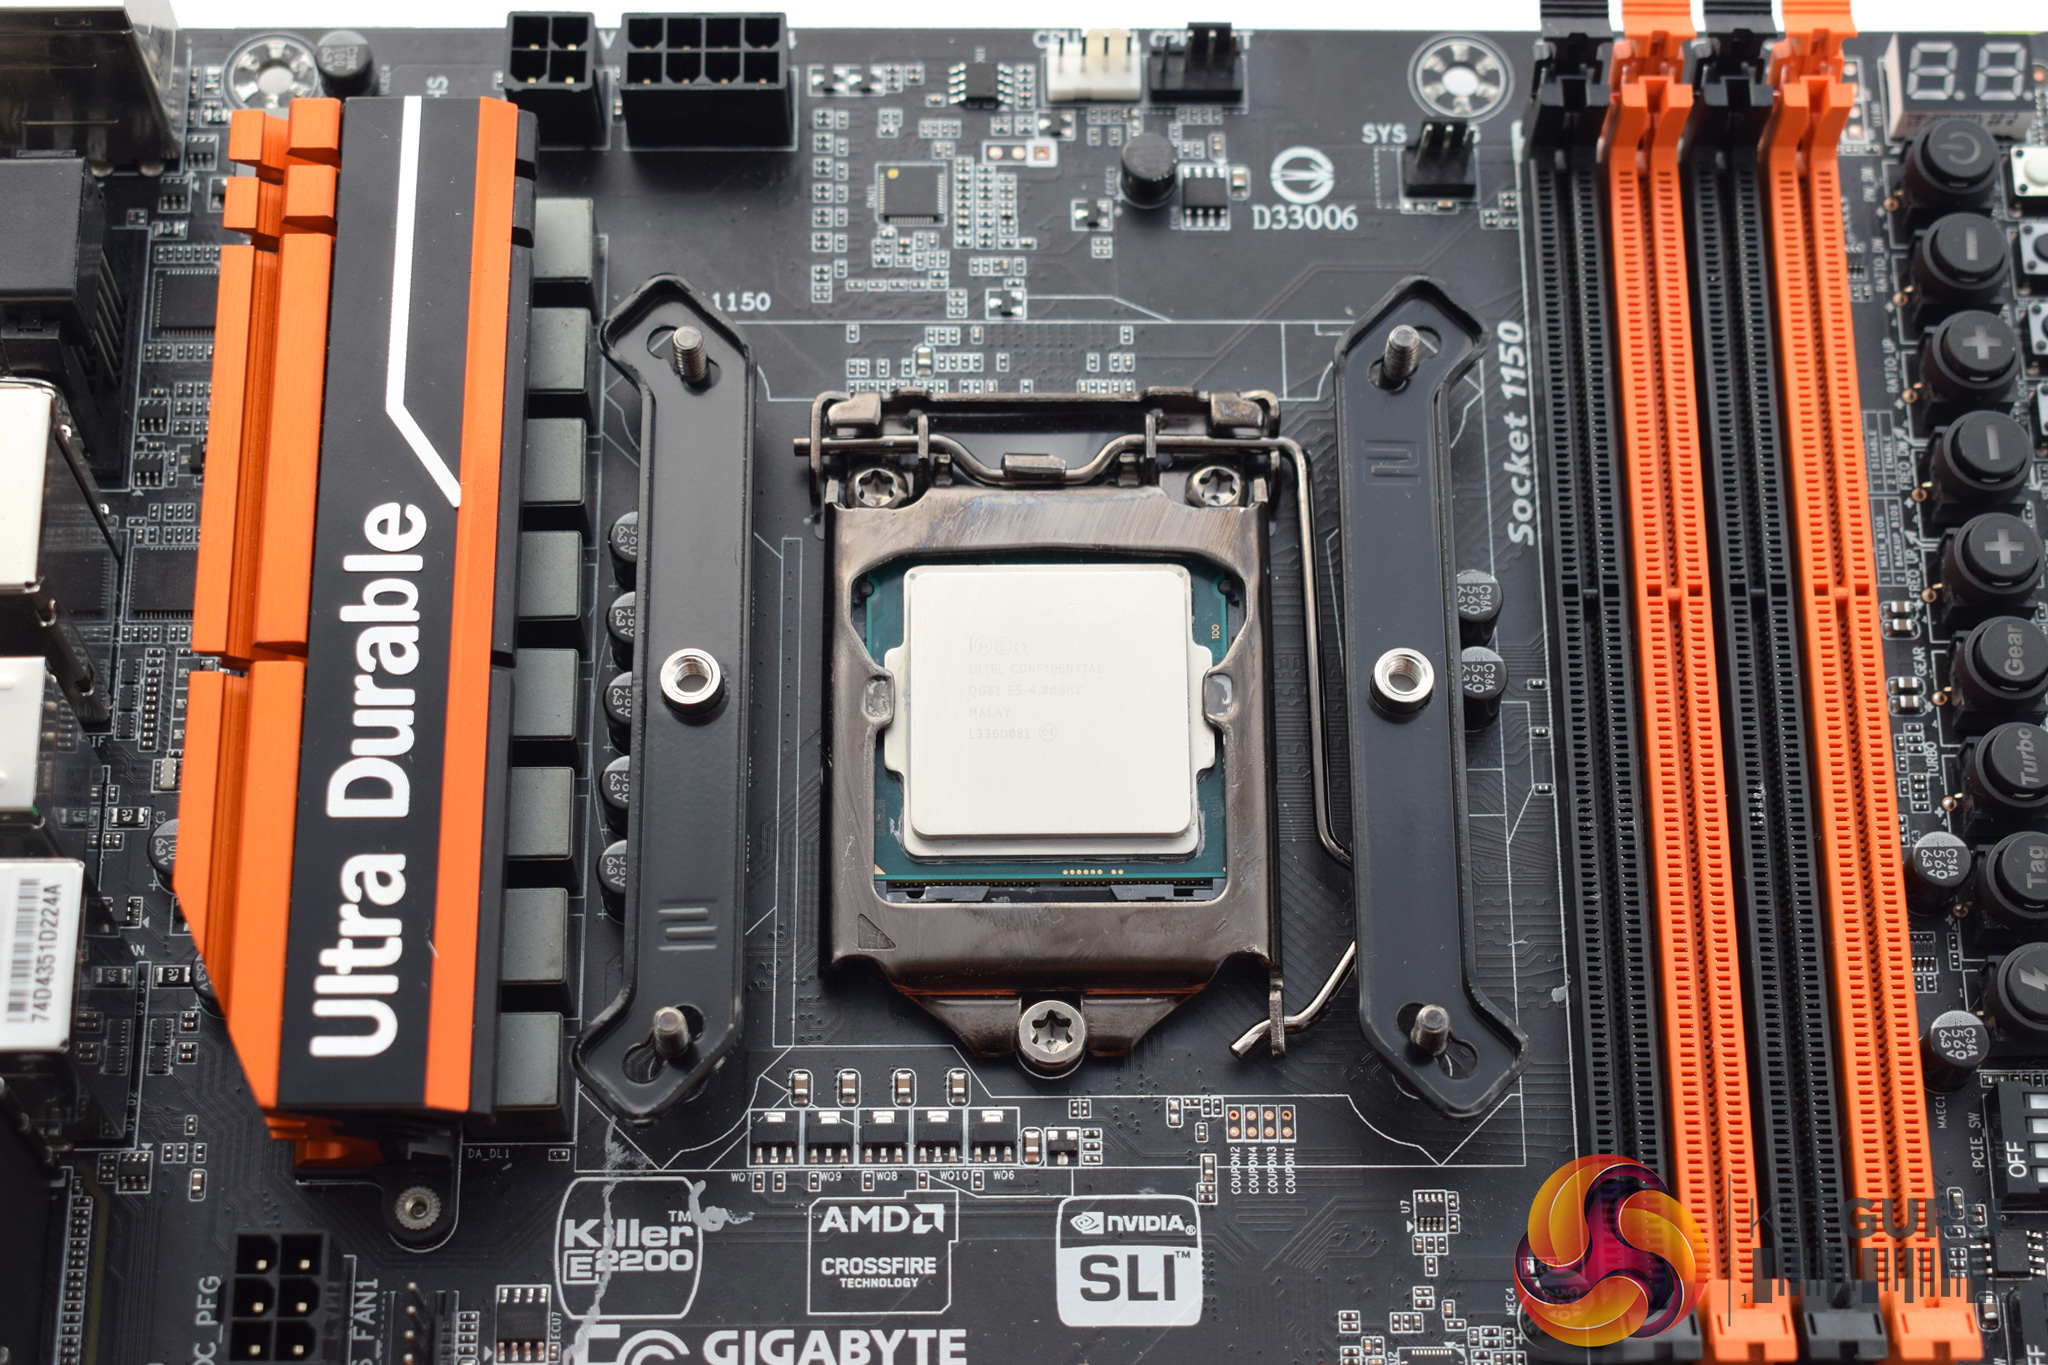
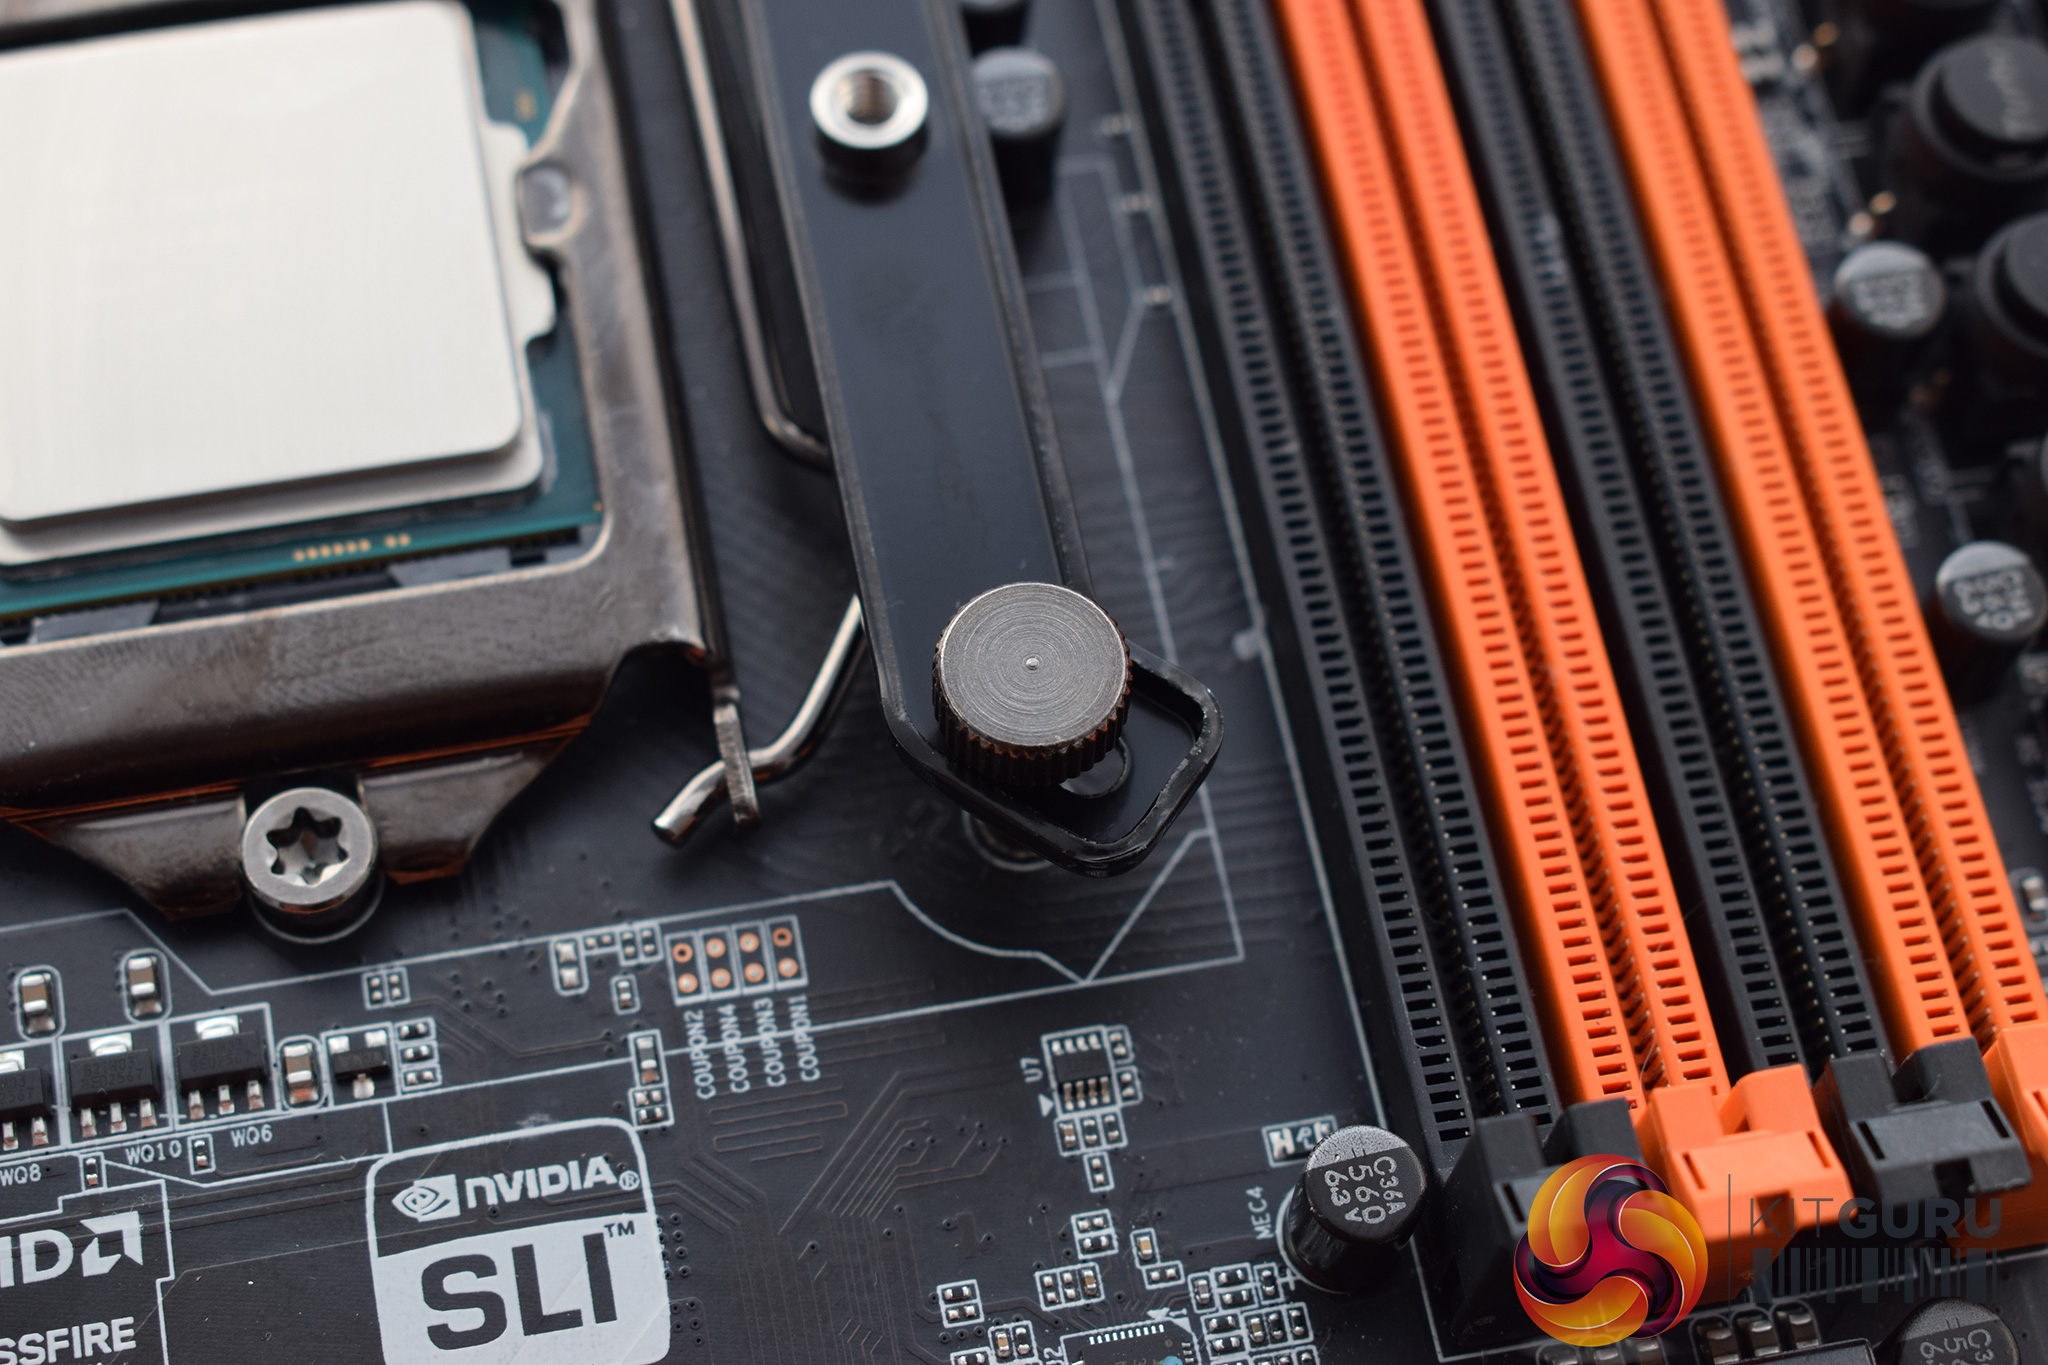
Next, two rails can be placed over the backplate screws. Those rails are secured by four small studs.
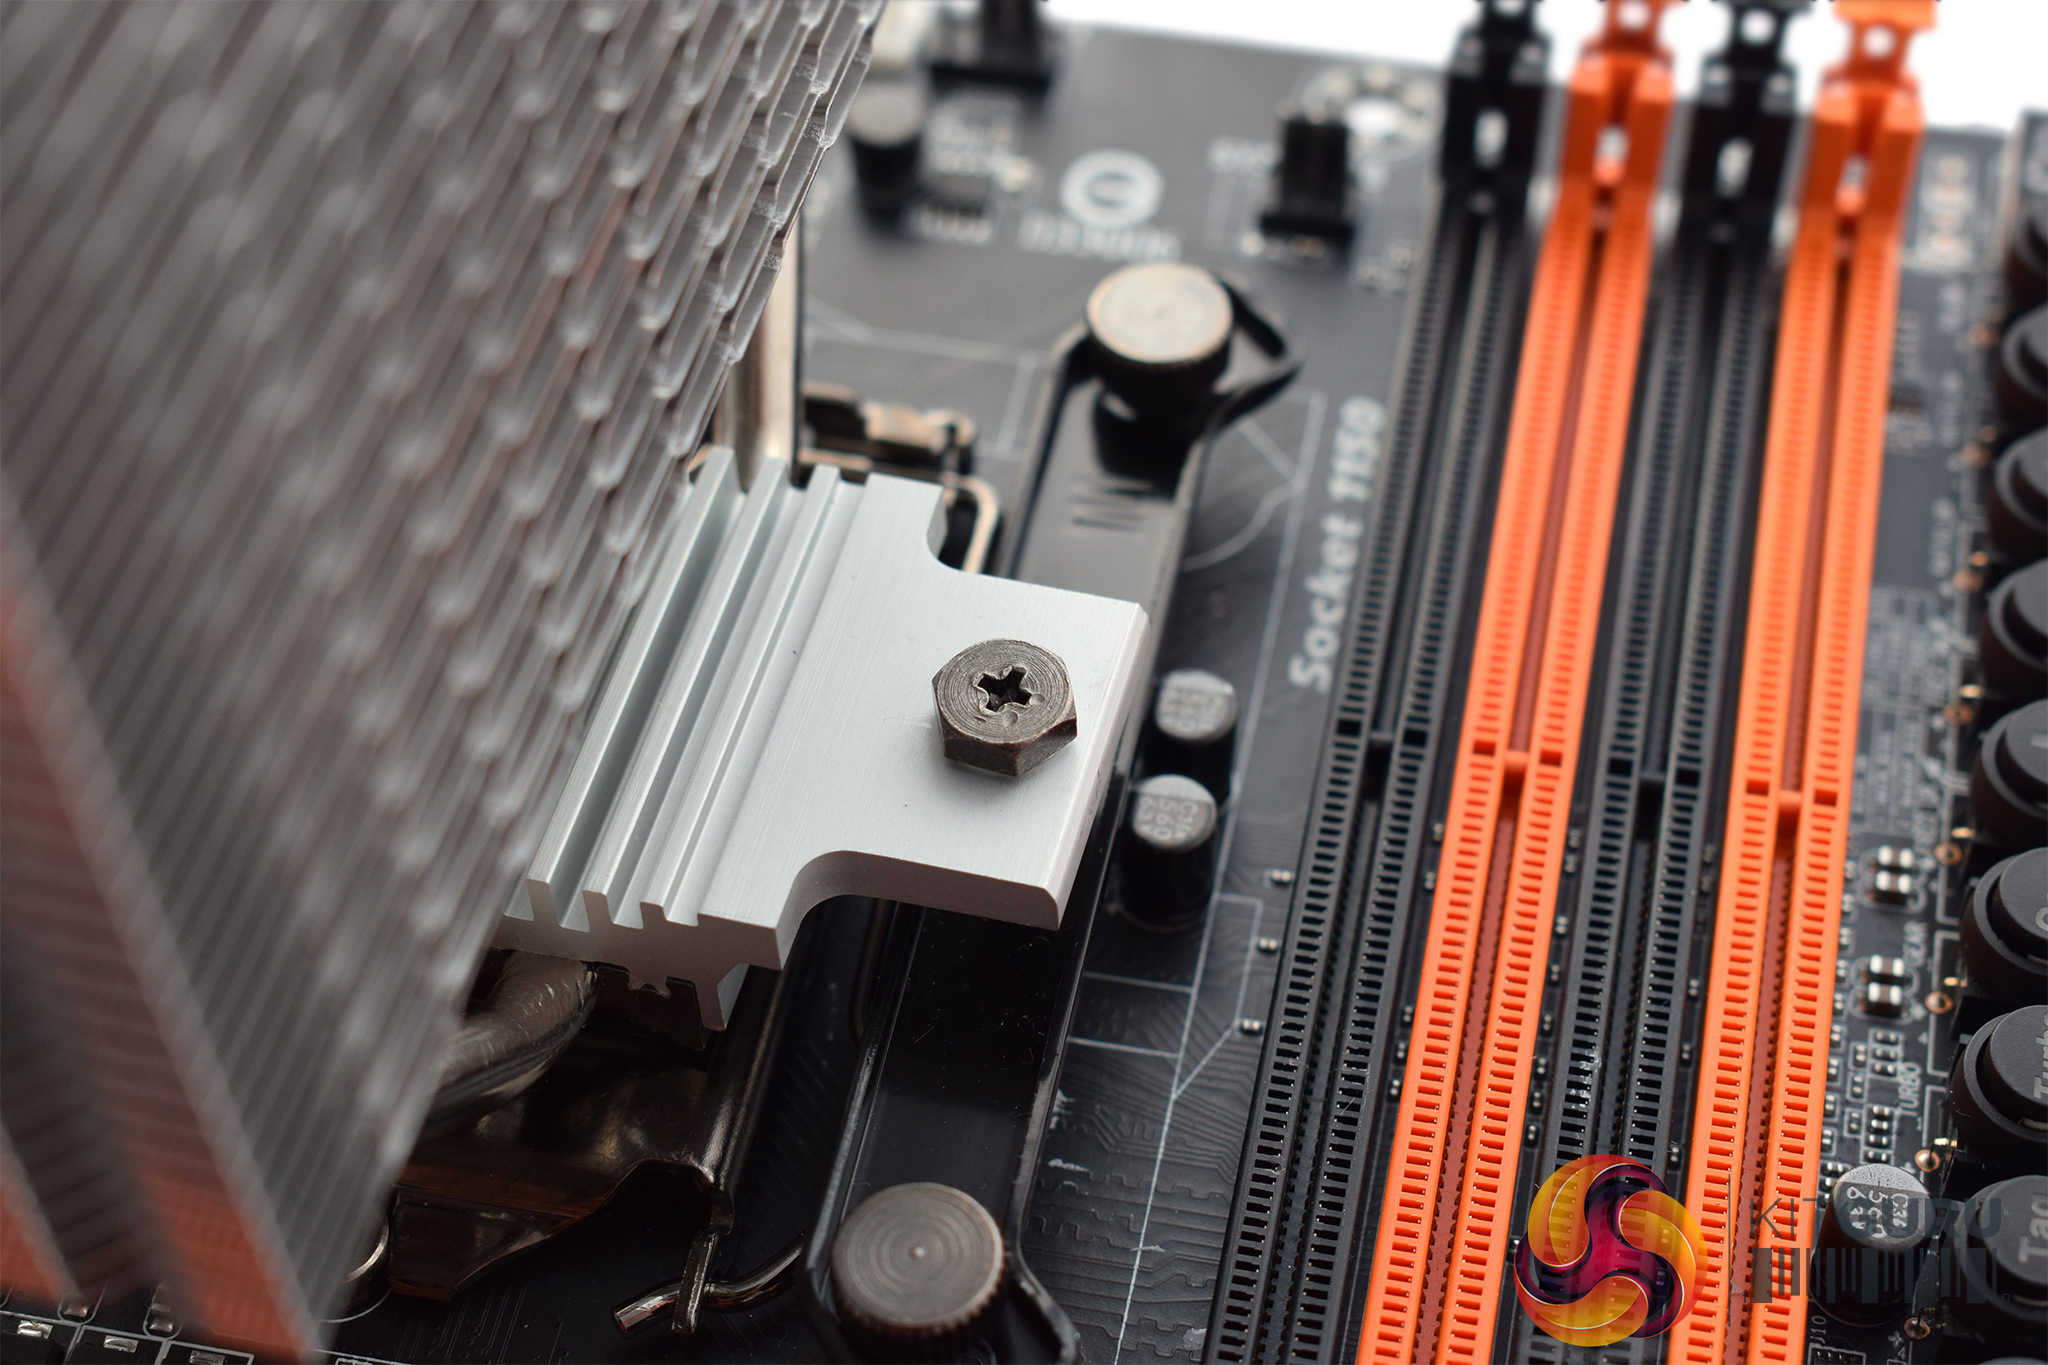
After that, the cooler can be mounted – it has a pre-installed mounting bracket with a screw either side. These screws should align with the holes on the rails, so tighten them down to lock the heatsink in-place.
That's it for installation, and overall I am very glad Cryorig changed the installation method. Apart from a single dodgy backplate clip, I had no issues and the whole process is quite fast.

CRYORIG R1 Ultimate vs Cryorig H7 Quad Lumi RGB
which one is better stronger? Would be helpful thanks.
Ultimate is bigger and better cooler. But also much more expensive