

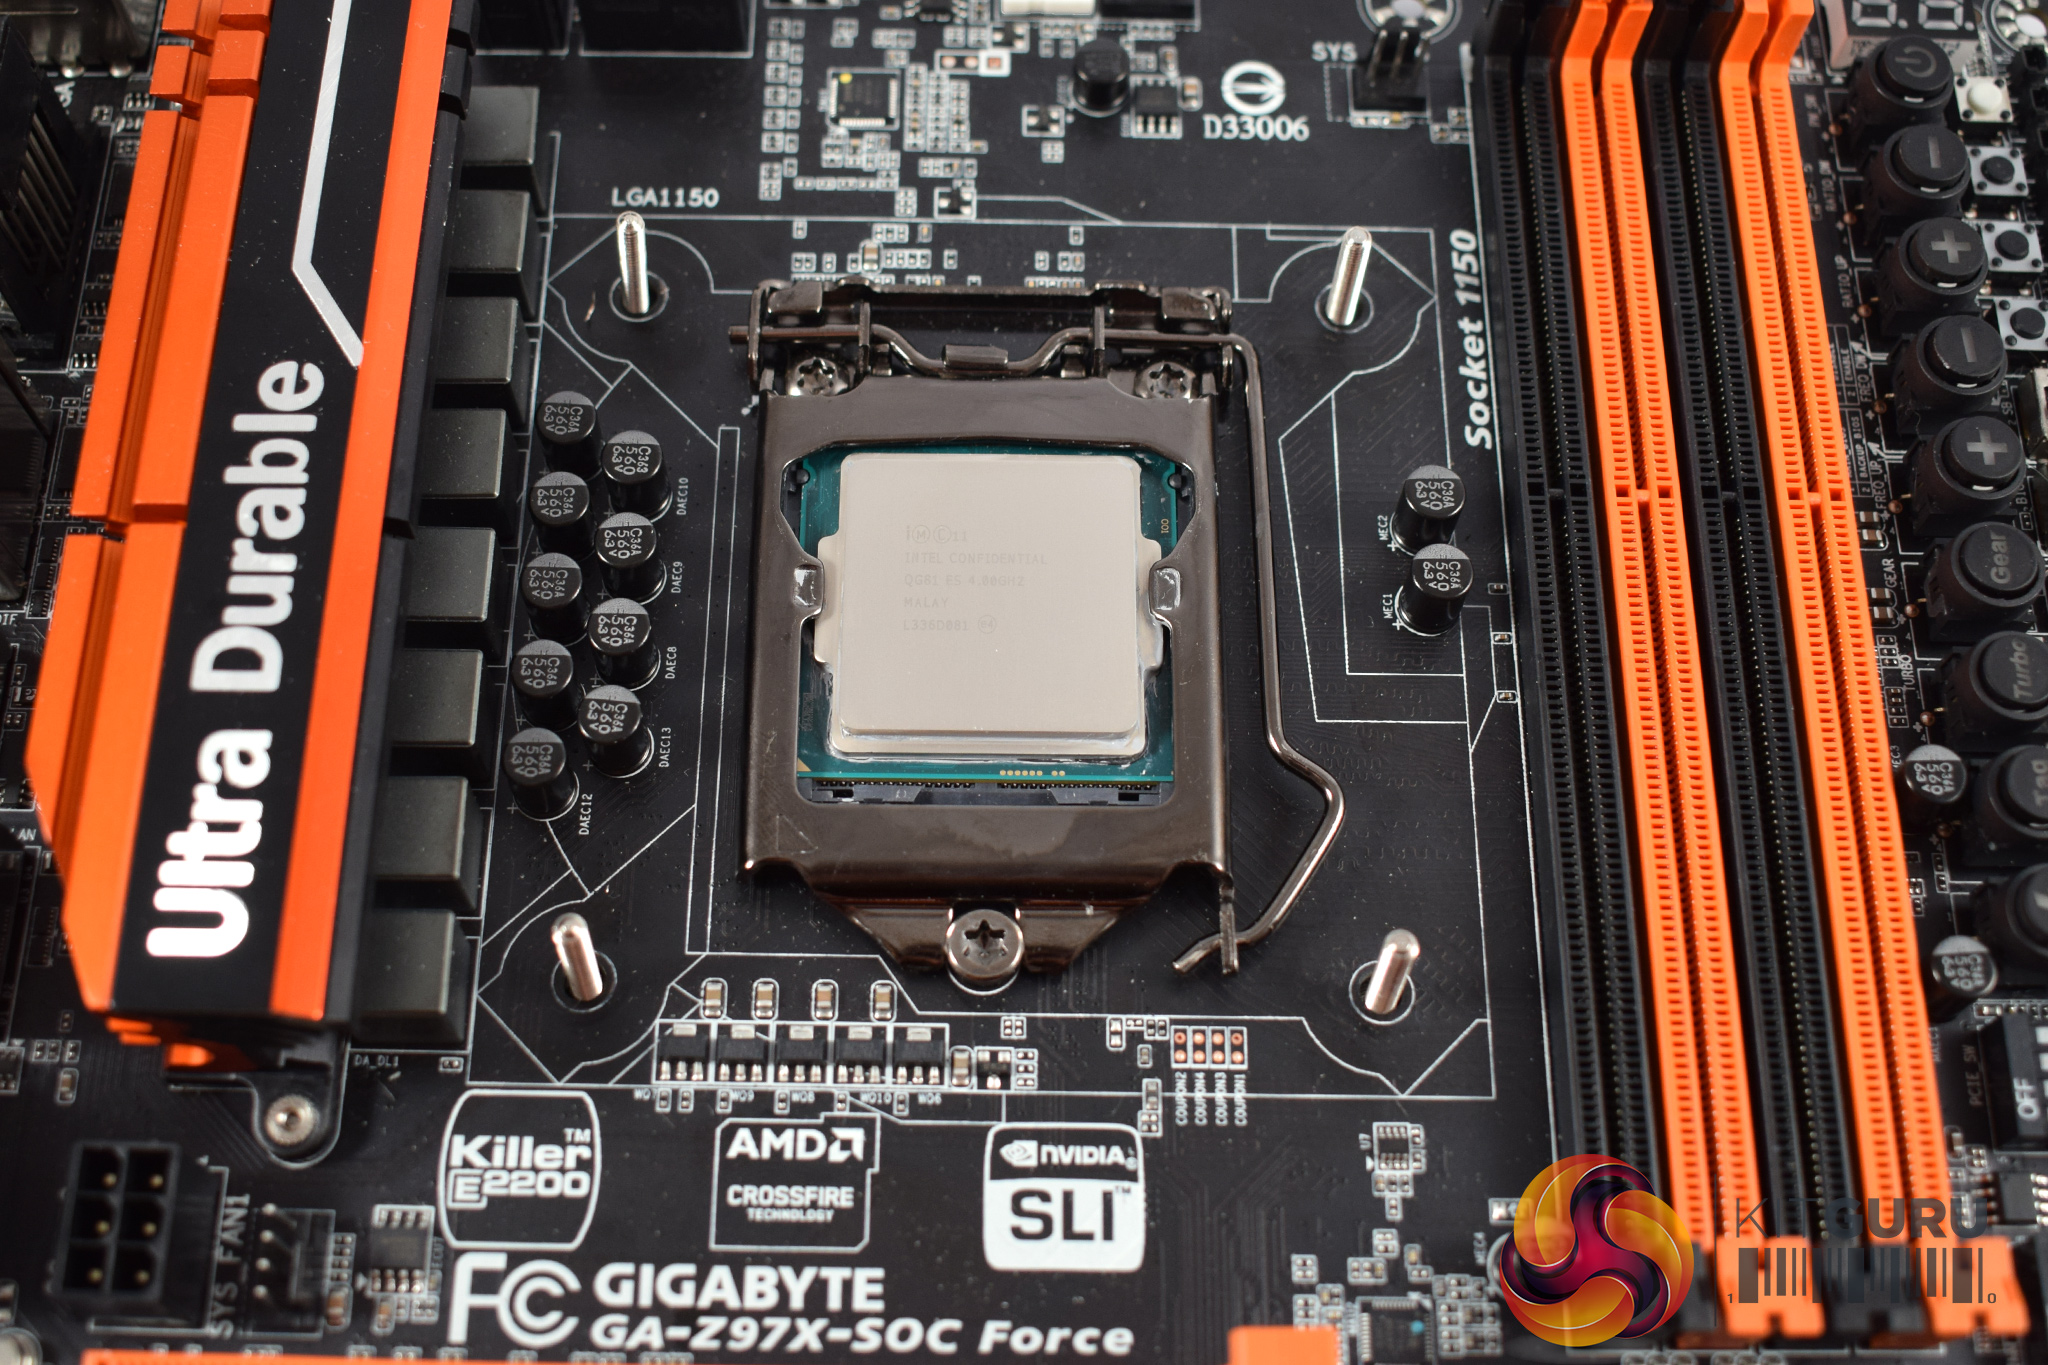
Here I will walk you through the installation process. It is worth noting we test using a Z97 motherboard – socket LGA 1150. The process below reflects that.
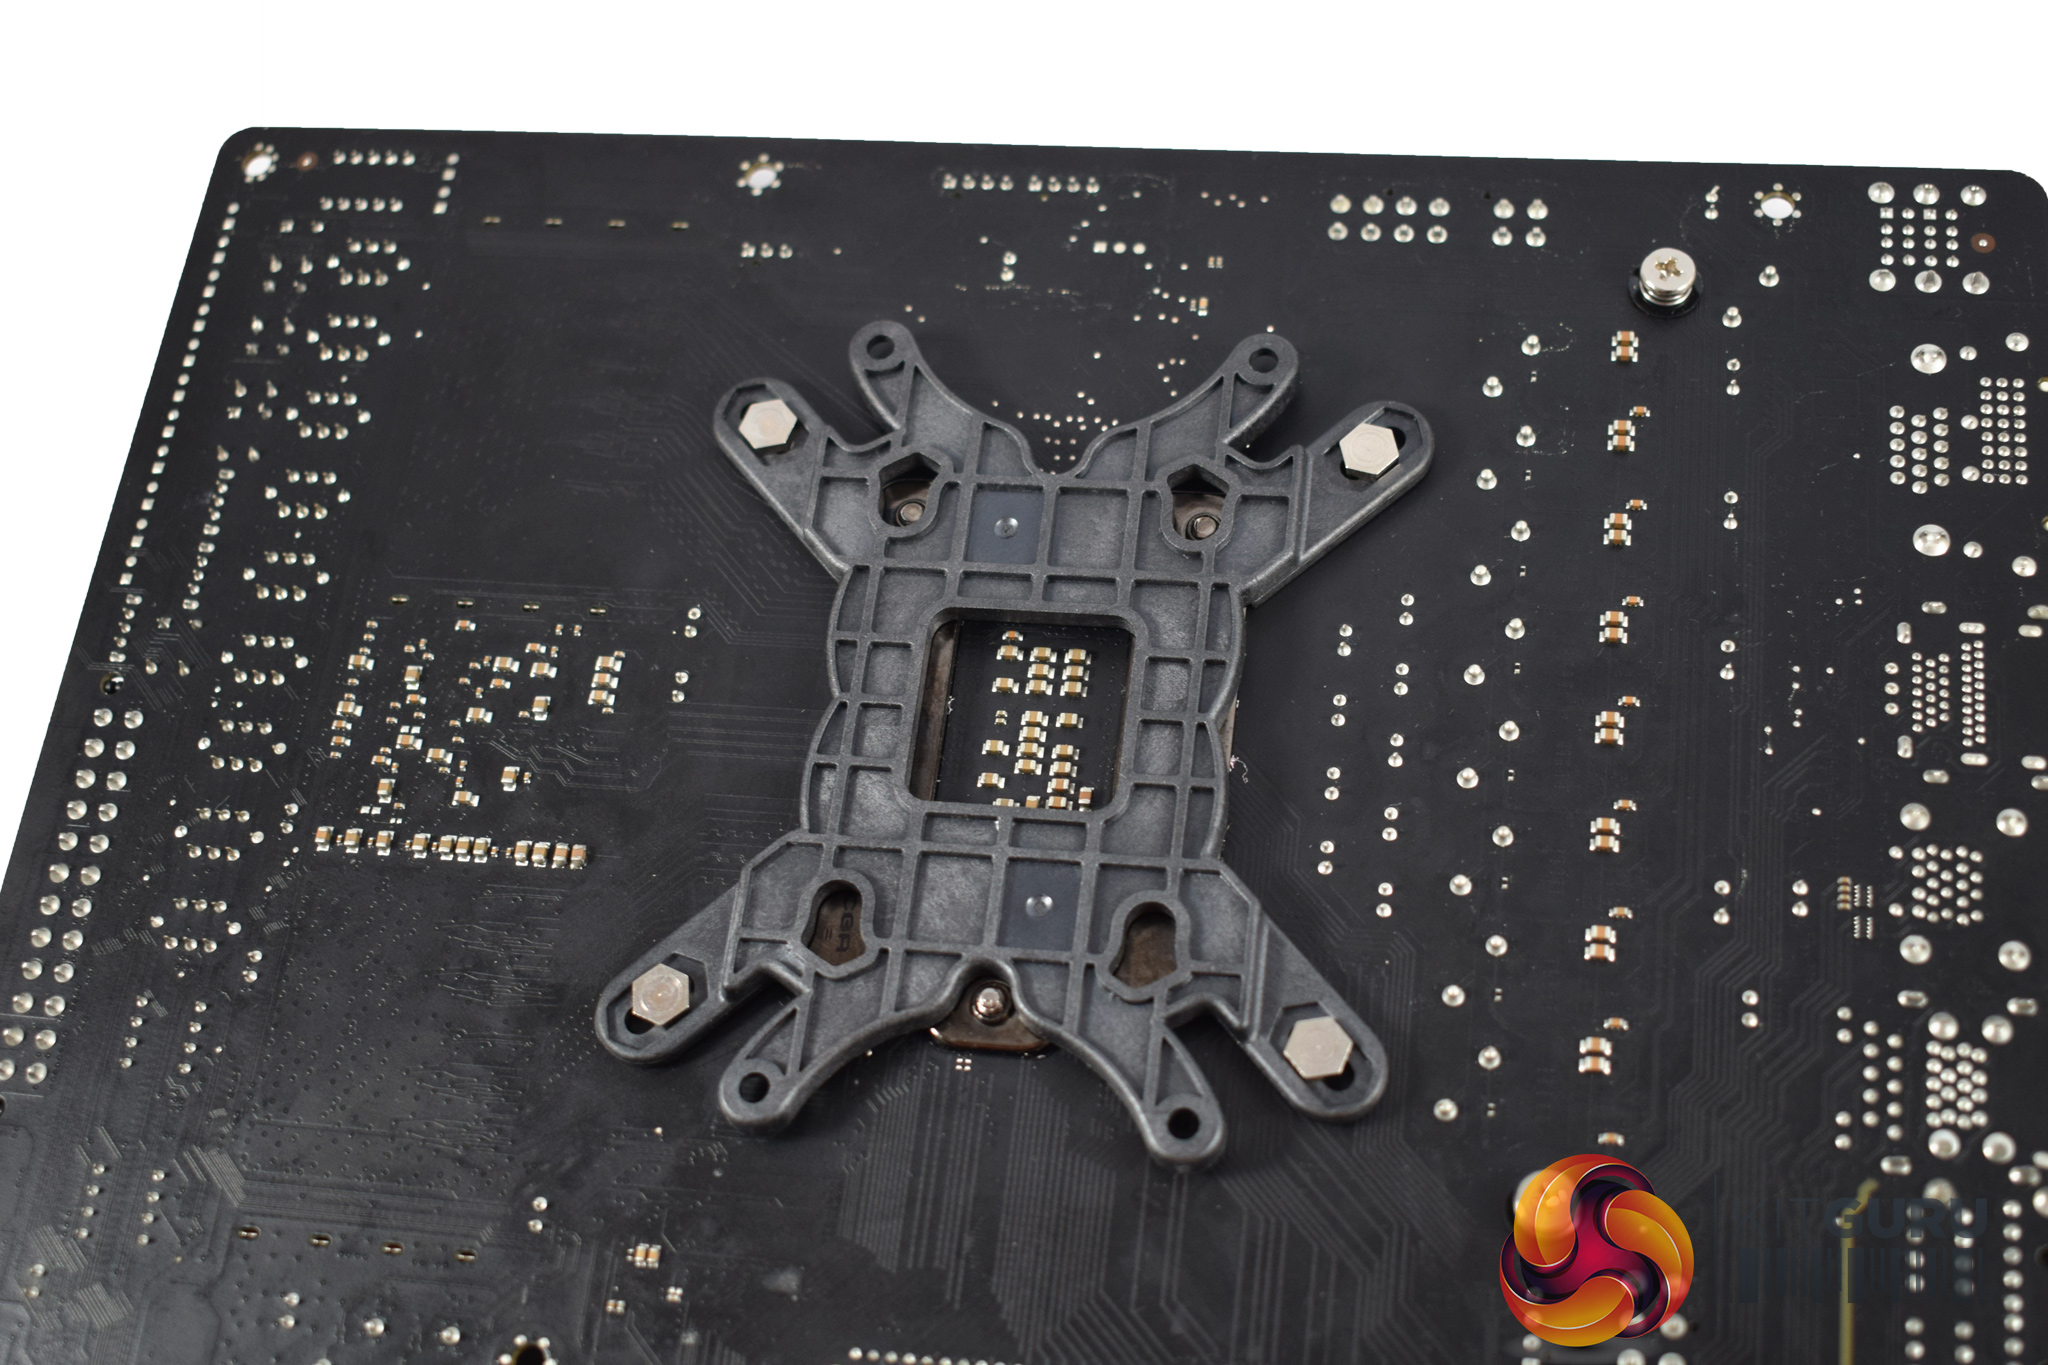
The first thing to do is prepare the backplate: for our Z97 motherboard, four screws should be slotted into the middle of the 3 mounting positions.
However, while this may seem like the easiest thing in the world, I actually encountered an issue at this very first stage of the installation process. Essentially, two of the four screws would not ‘lock-in' to the backplate fully, so they were quite loose and prone to slipping out. The other 2 screws were fine, though, so it seems to be a QC issue.
![]()
Once you have prepared the backplate, slot the screws through the motherboard socket holes.
After that, four plastic spacers should be placed over the screws.
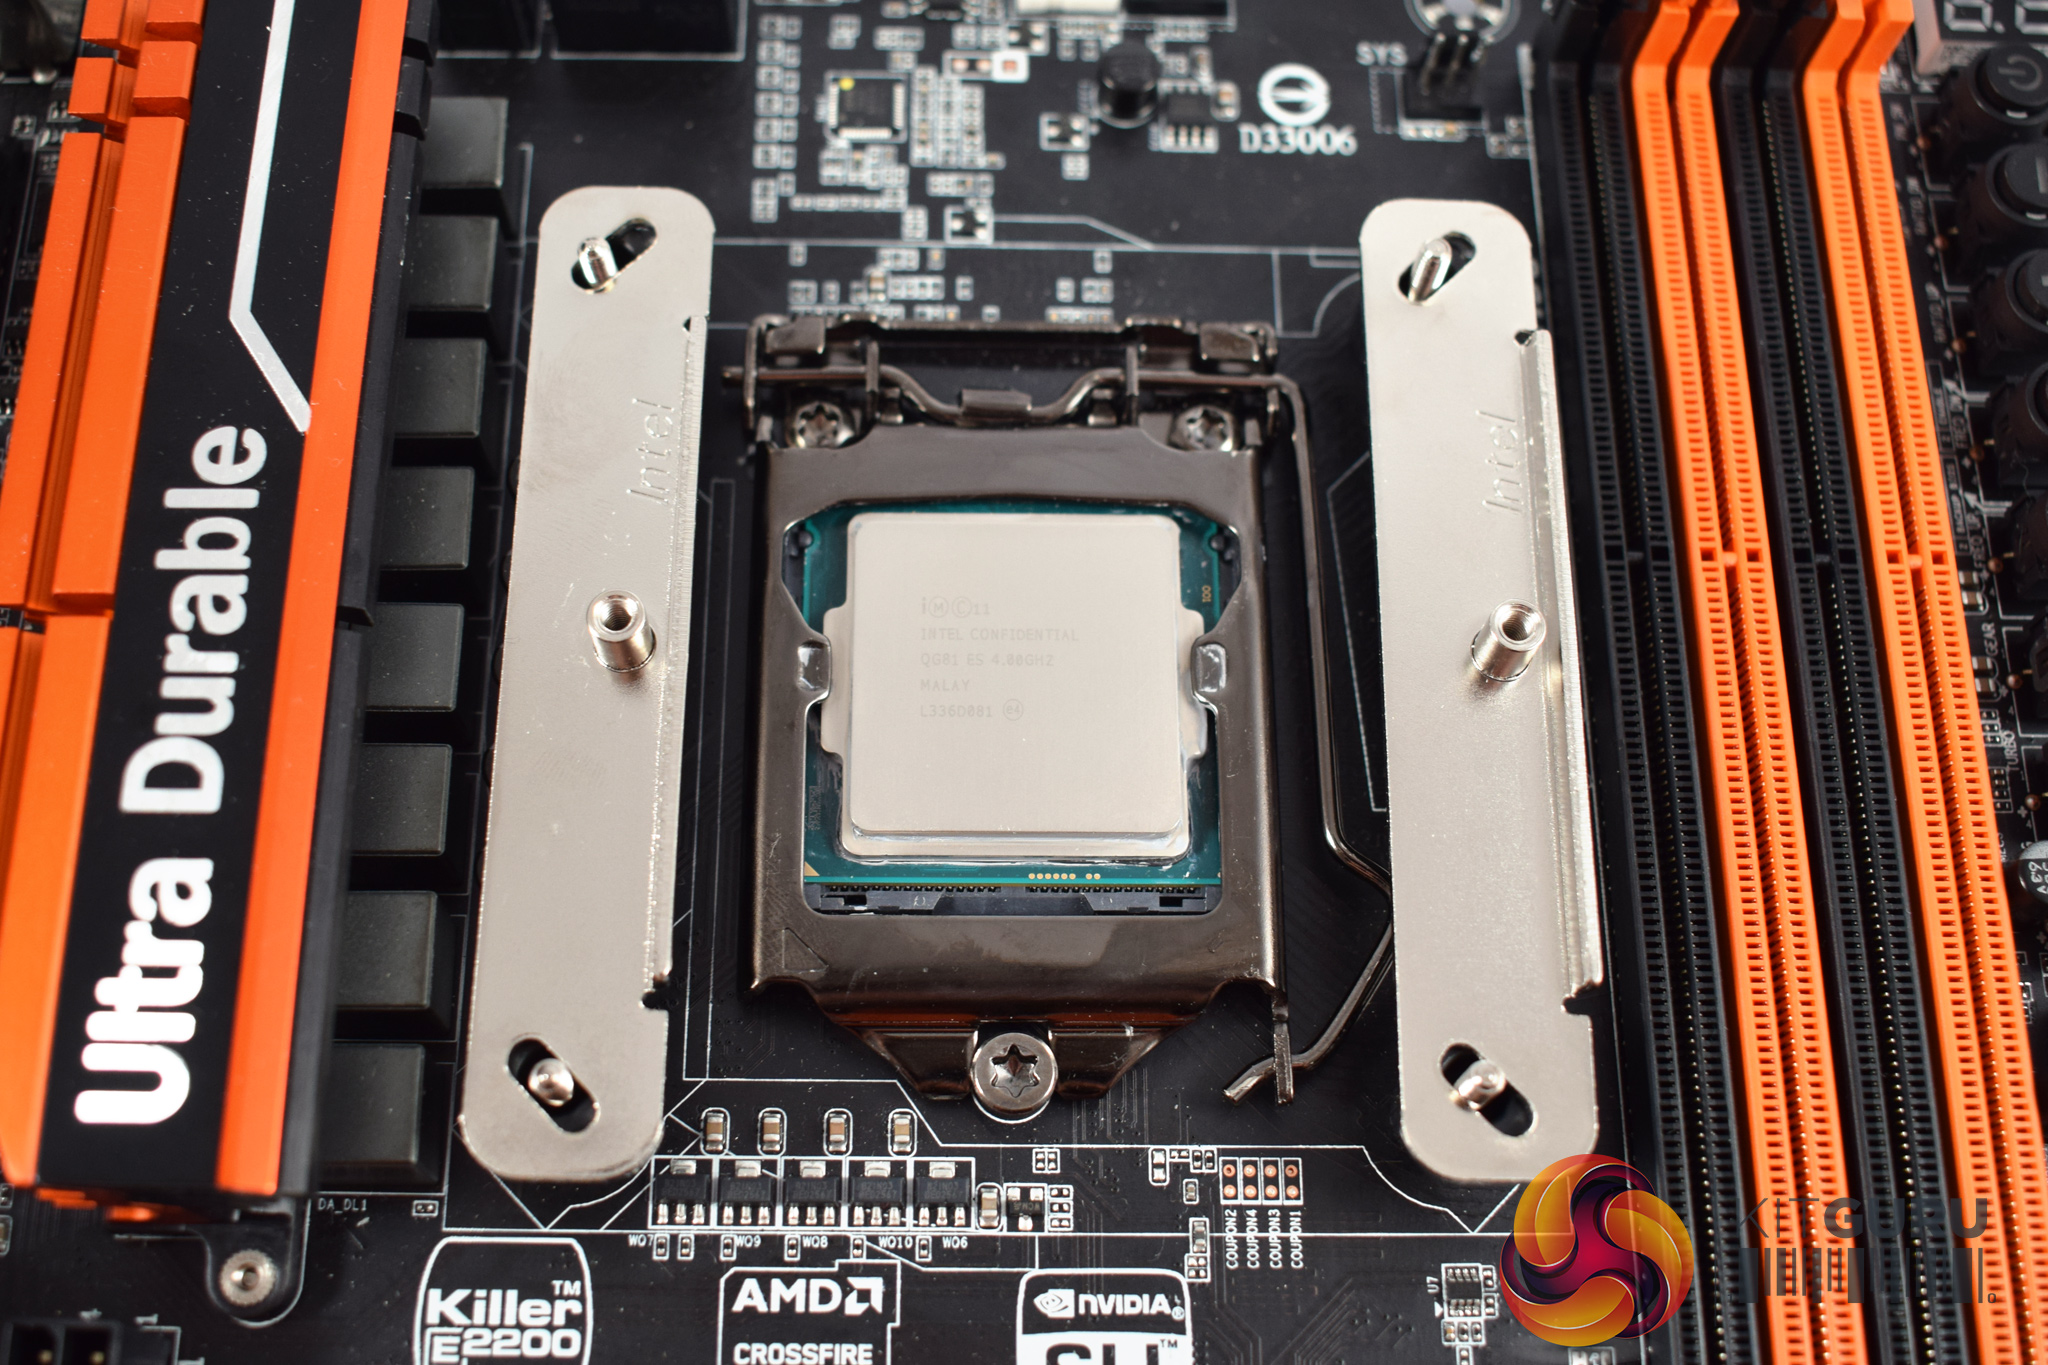
Next, place the two Intel-compatible rails on-top of the spacers, as above.
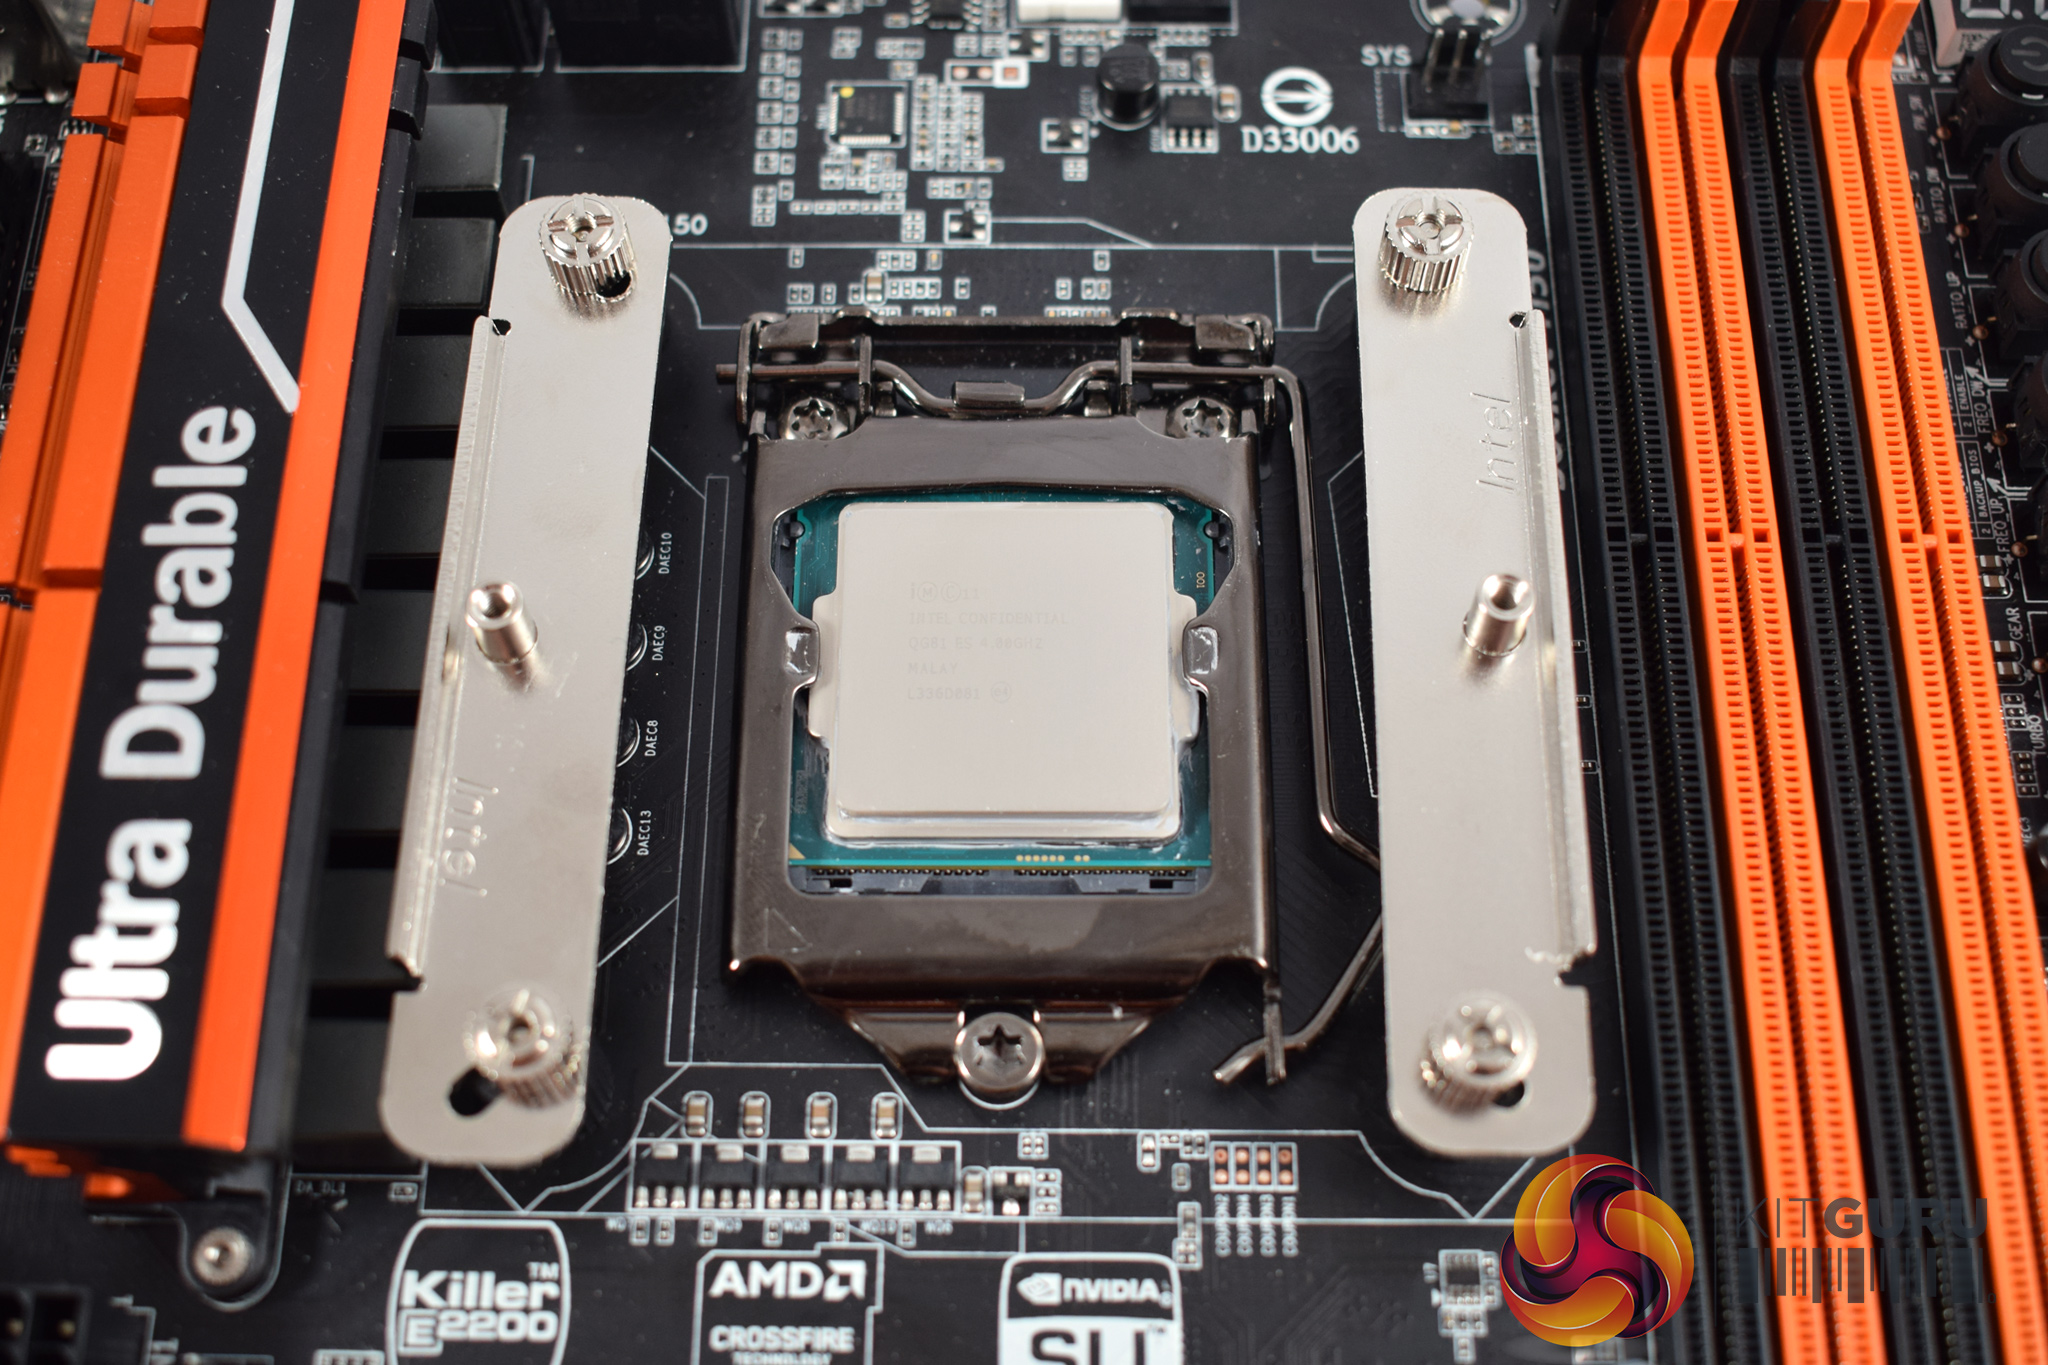
Once the rails are in place, you can use the four thumbscrews to secure the rails in-place.
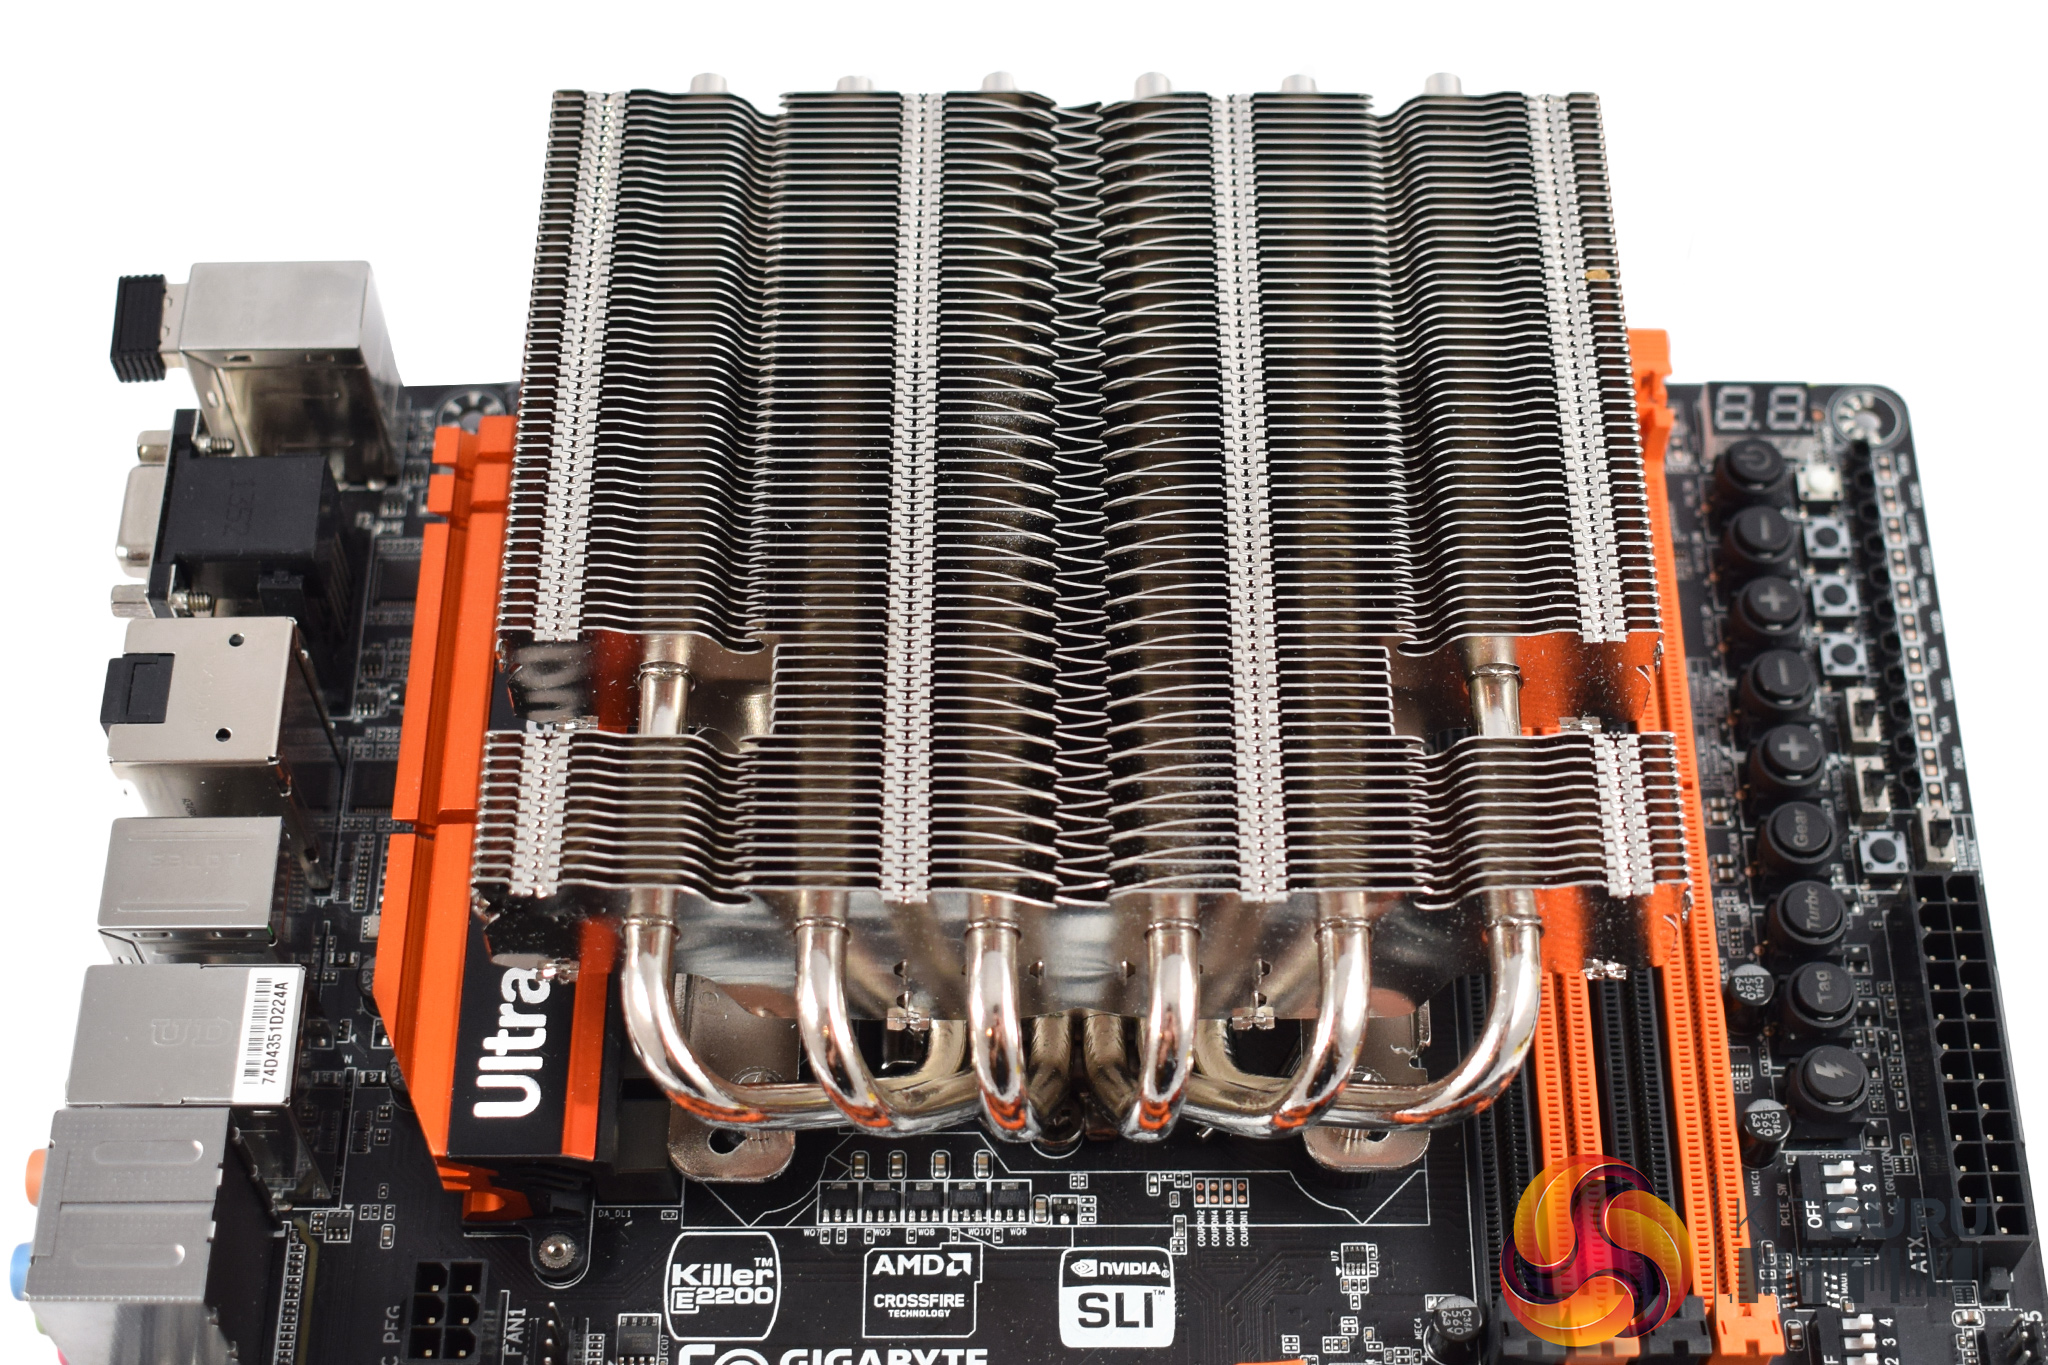

Following that, the heatsink is ready to be mounted. There are two small cut-outs in the heatsink (as you can see above, right), and you can squeeze your screwdriver into these gaps to screw the heatsink in-place.
However, these gaps are quite thin, and I actually found my screwdriver would not fit – eventually I found a very old, thin screwdriver to use, but the situation was not ideal. If Raijintek provided a compatible screwdriver (as Cryorig do with some of their coolers) that would be the perfect solution.
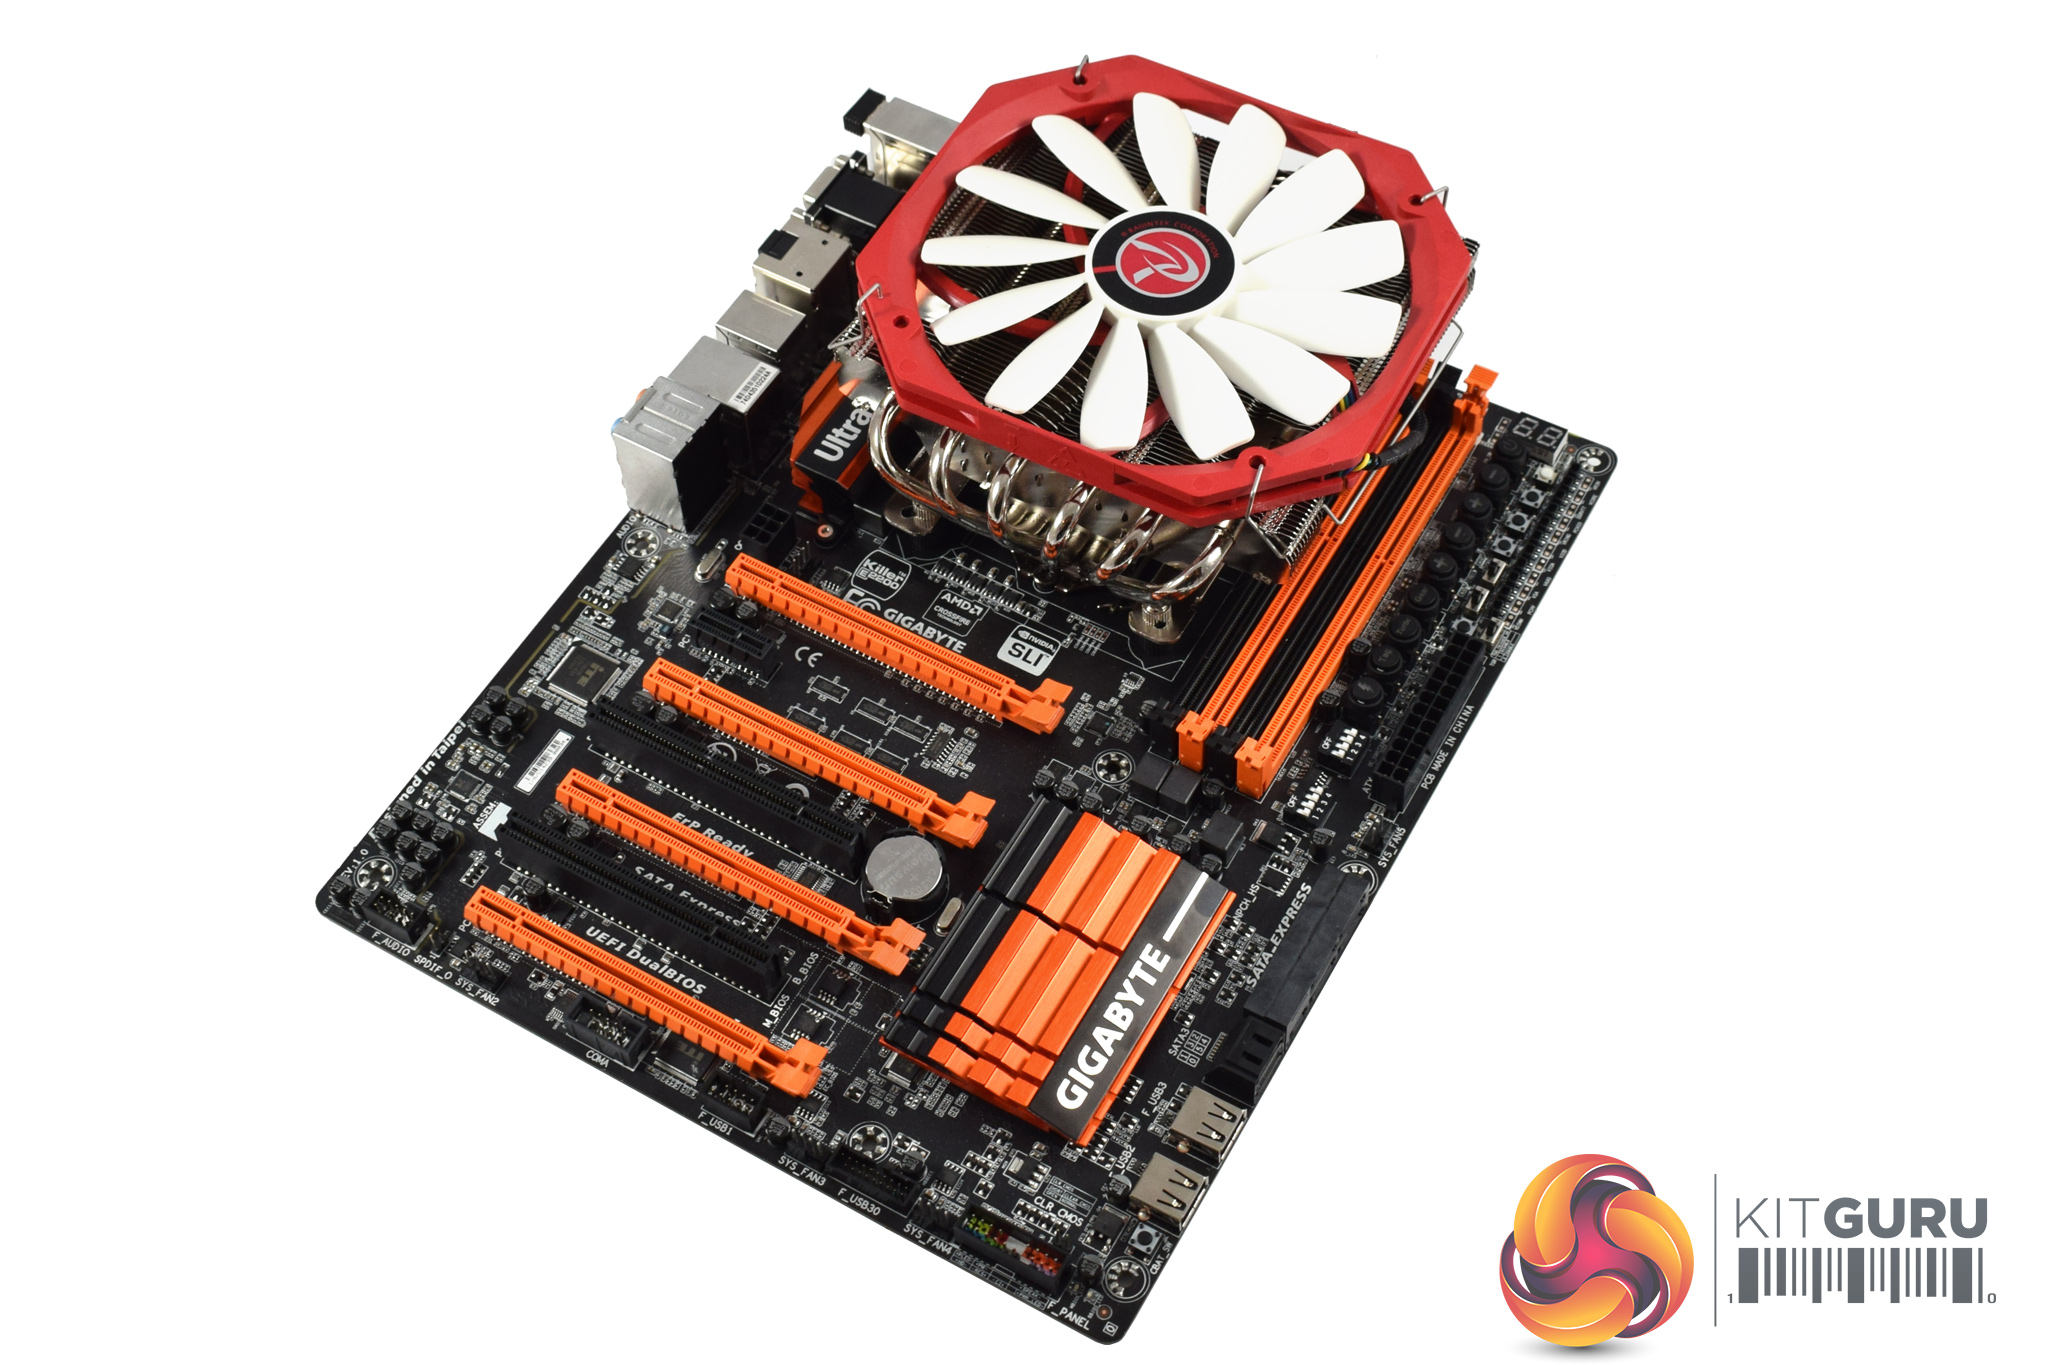
Lastly, the fan needs to be attached to the heatsink – it uses two clips which simply hold the fan to the heatsink.
After that, installation is complete. That being said, I ran into an issue with the Pallas pretty fast: with the cooler oriented as you can see above, I was not able to plug in the CPU 8-pin power connector – it simply would not fit underneath the heatsink. This was the case after I followed the Pallas' manual to the letter.
As such, I would advise users to ignore the manual and mount the cooler 90 degrees counter-clockwise. This would mean the bulk of the cooler is hanging over the I/O, leaving a lot more room for your 8-pin CPU connector to fit.

Looks like Thermalright
Managing director of Google!, is explaining to users to start off “Work at home” method, that People have been doing for about one year now. These days alone, I generated close to $36,000 until now with no more than my home computer as well as some spare time, despite that i have a fulltime 9 to 5 job. Even everyone not used to this, can make $89/per h easily and the earnings can go even higher over time… This is how i started
!wr115c:
➽➽
➽➽➽➽ http://GoogleFinancialCashJobs115NationBusiness/GetPaid$97/Hour… ★✫★★✫★✫★★✫★✫★★✫★✫★★✫★✫★★✫★✫★★✫★✫★★✫★✫★★✫★✫★★✫★✫★★✫★✫★★✫:::!wr115u:…….
It can’t be made entirely (except for the base) of nickel… It’s nickel-PLATED aluminium
Thanks for the review! I was hoping you’d use a mini ITX motherboard to test this thing with, but I still got enough information to make my decision!