Today we have a new product from the folks at Cooler Master, which will be put through its paces on our Intel Core i9-9900K test bench. The Cooler Master MasterAir MA620M is the company’s latest high-end air cooler. Can it compete with the likes of the Noctua NH-D15 and the Deepcool Assassin III? We find out today.
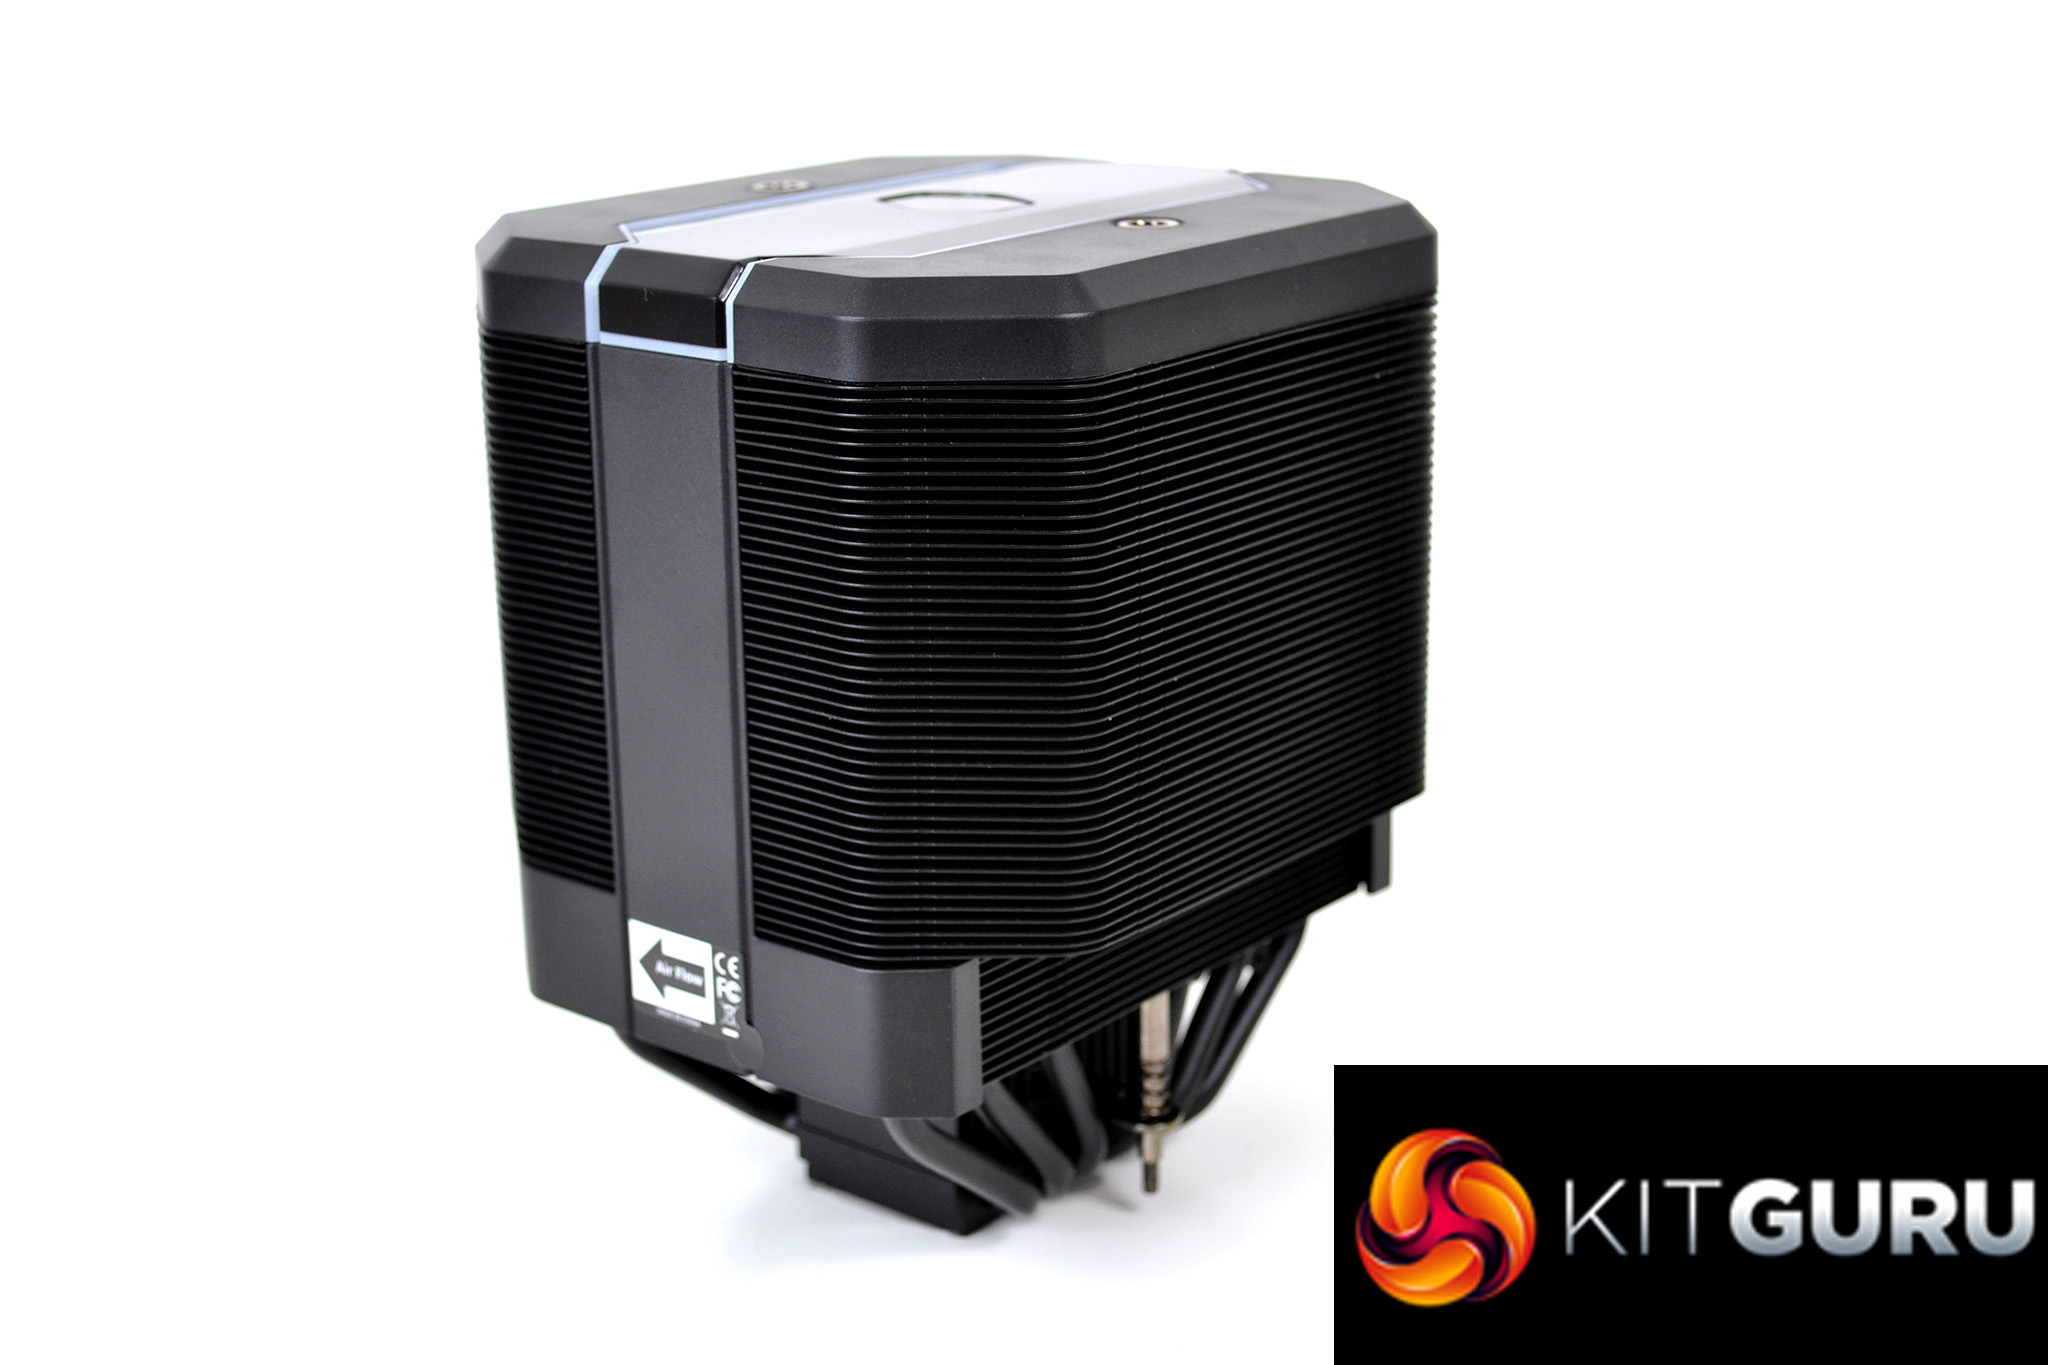
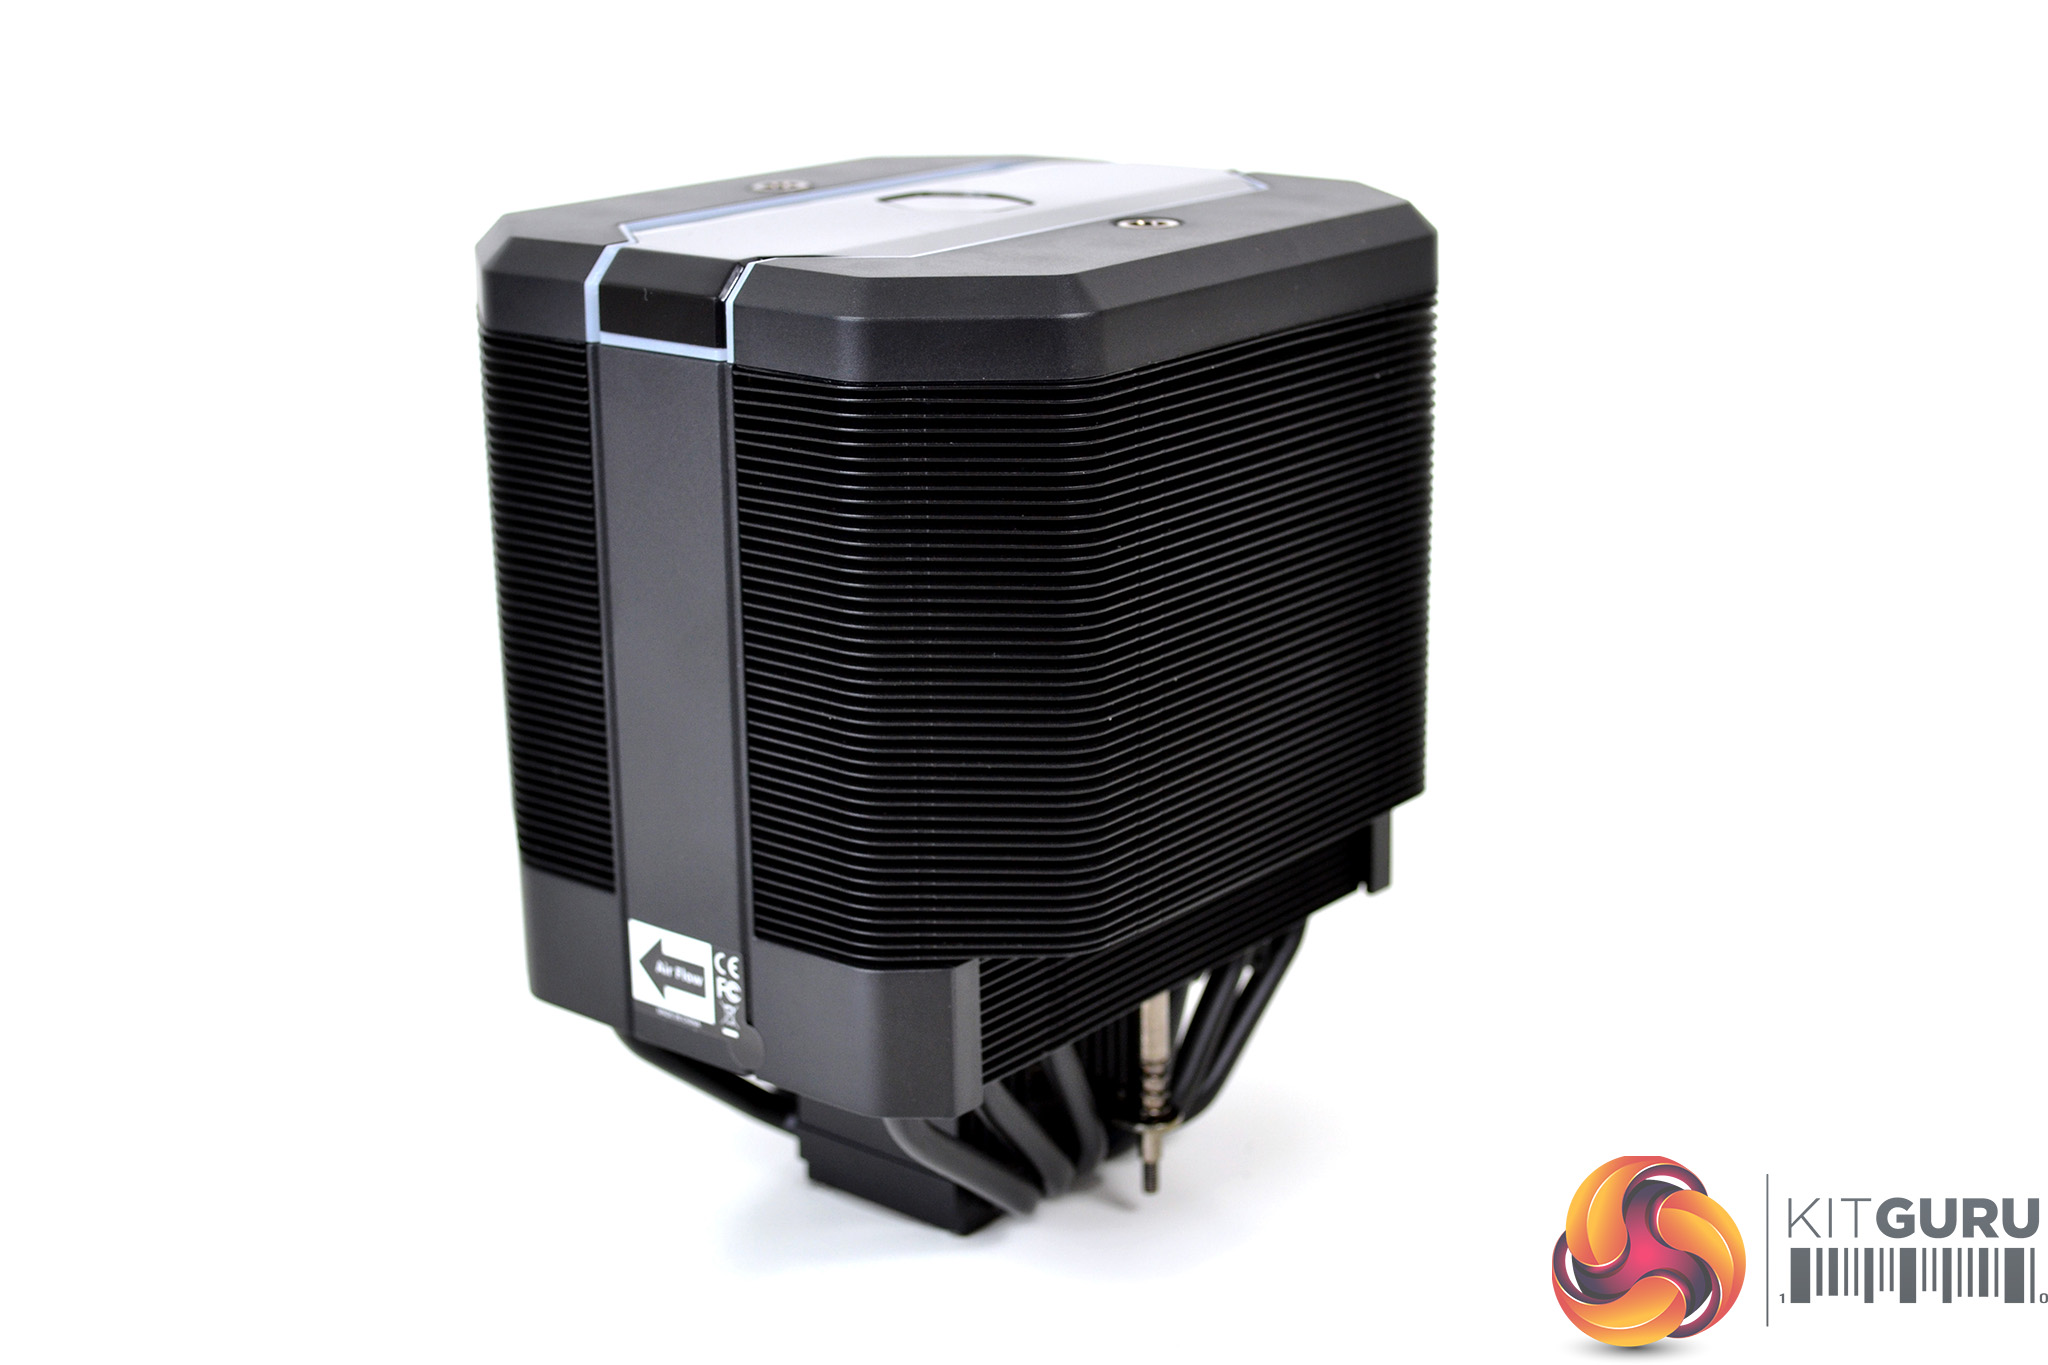
The MasterAir MA620M is Cooler Master’s latest take on what a high-end air-cooling solution should be, featuring a dual tower heatsink design with a centrally located SF120R 120mm fan. The MA620M exterior design and functional attributes are inspired by its older sibling, the Wraith Ripper.
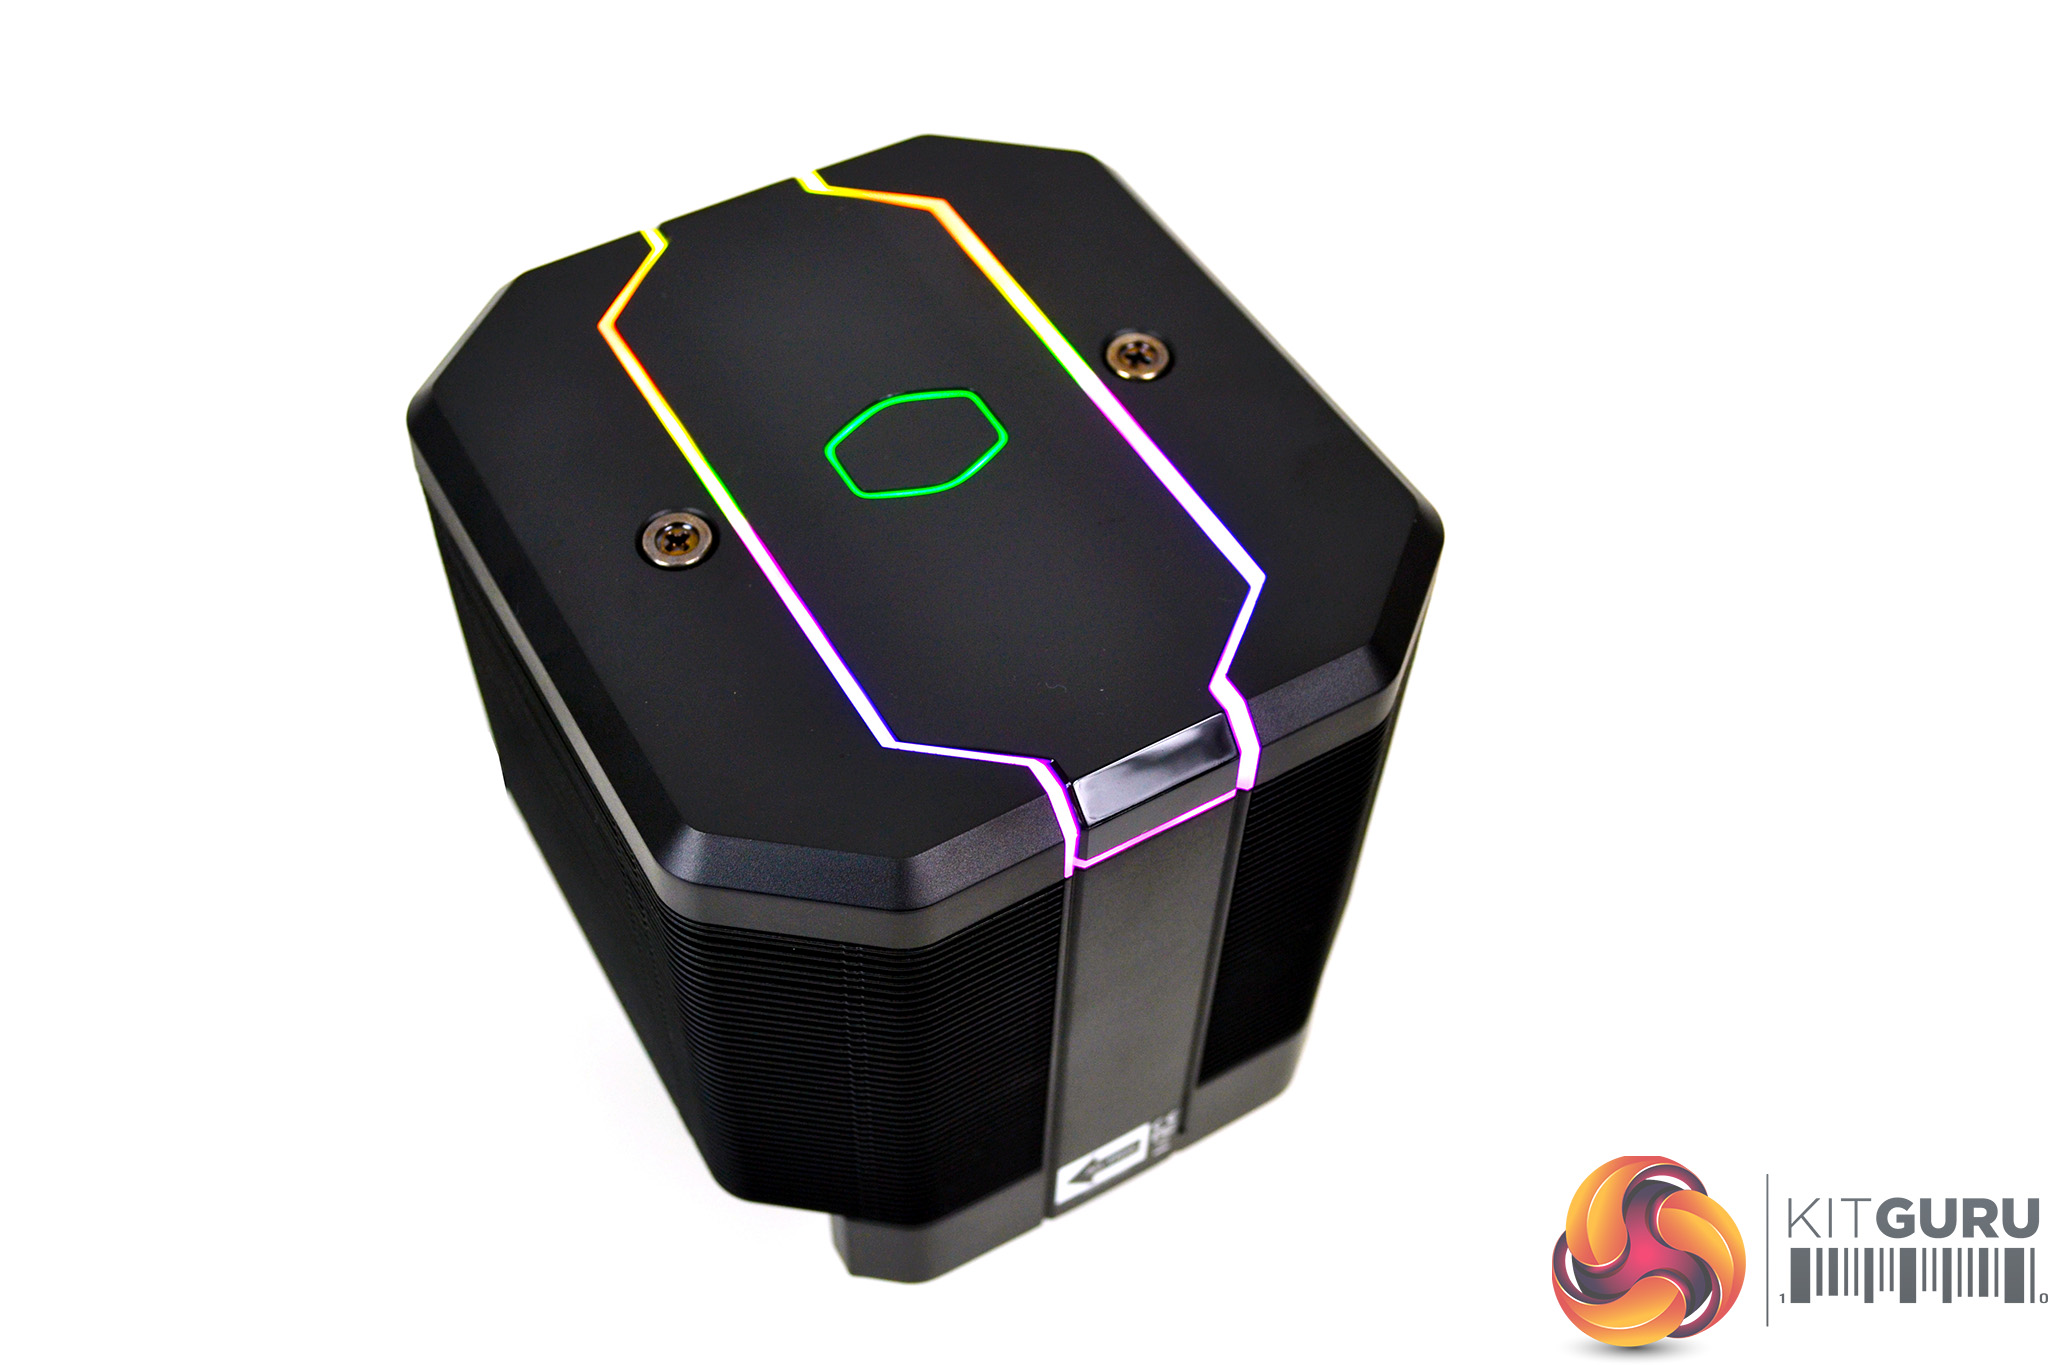
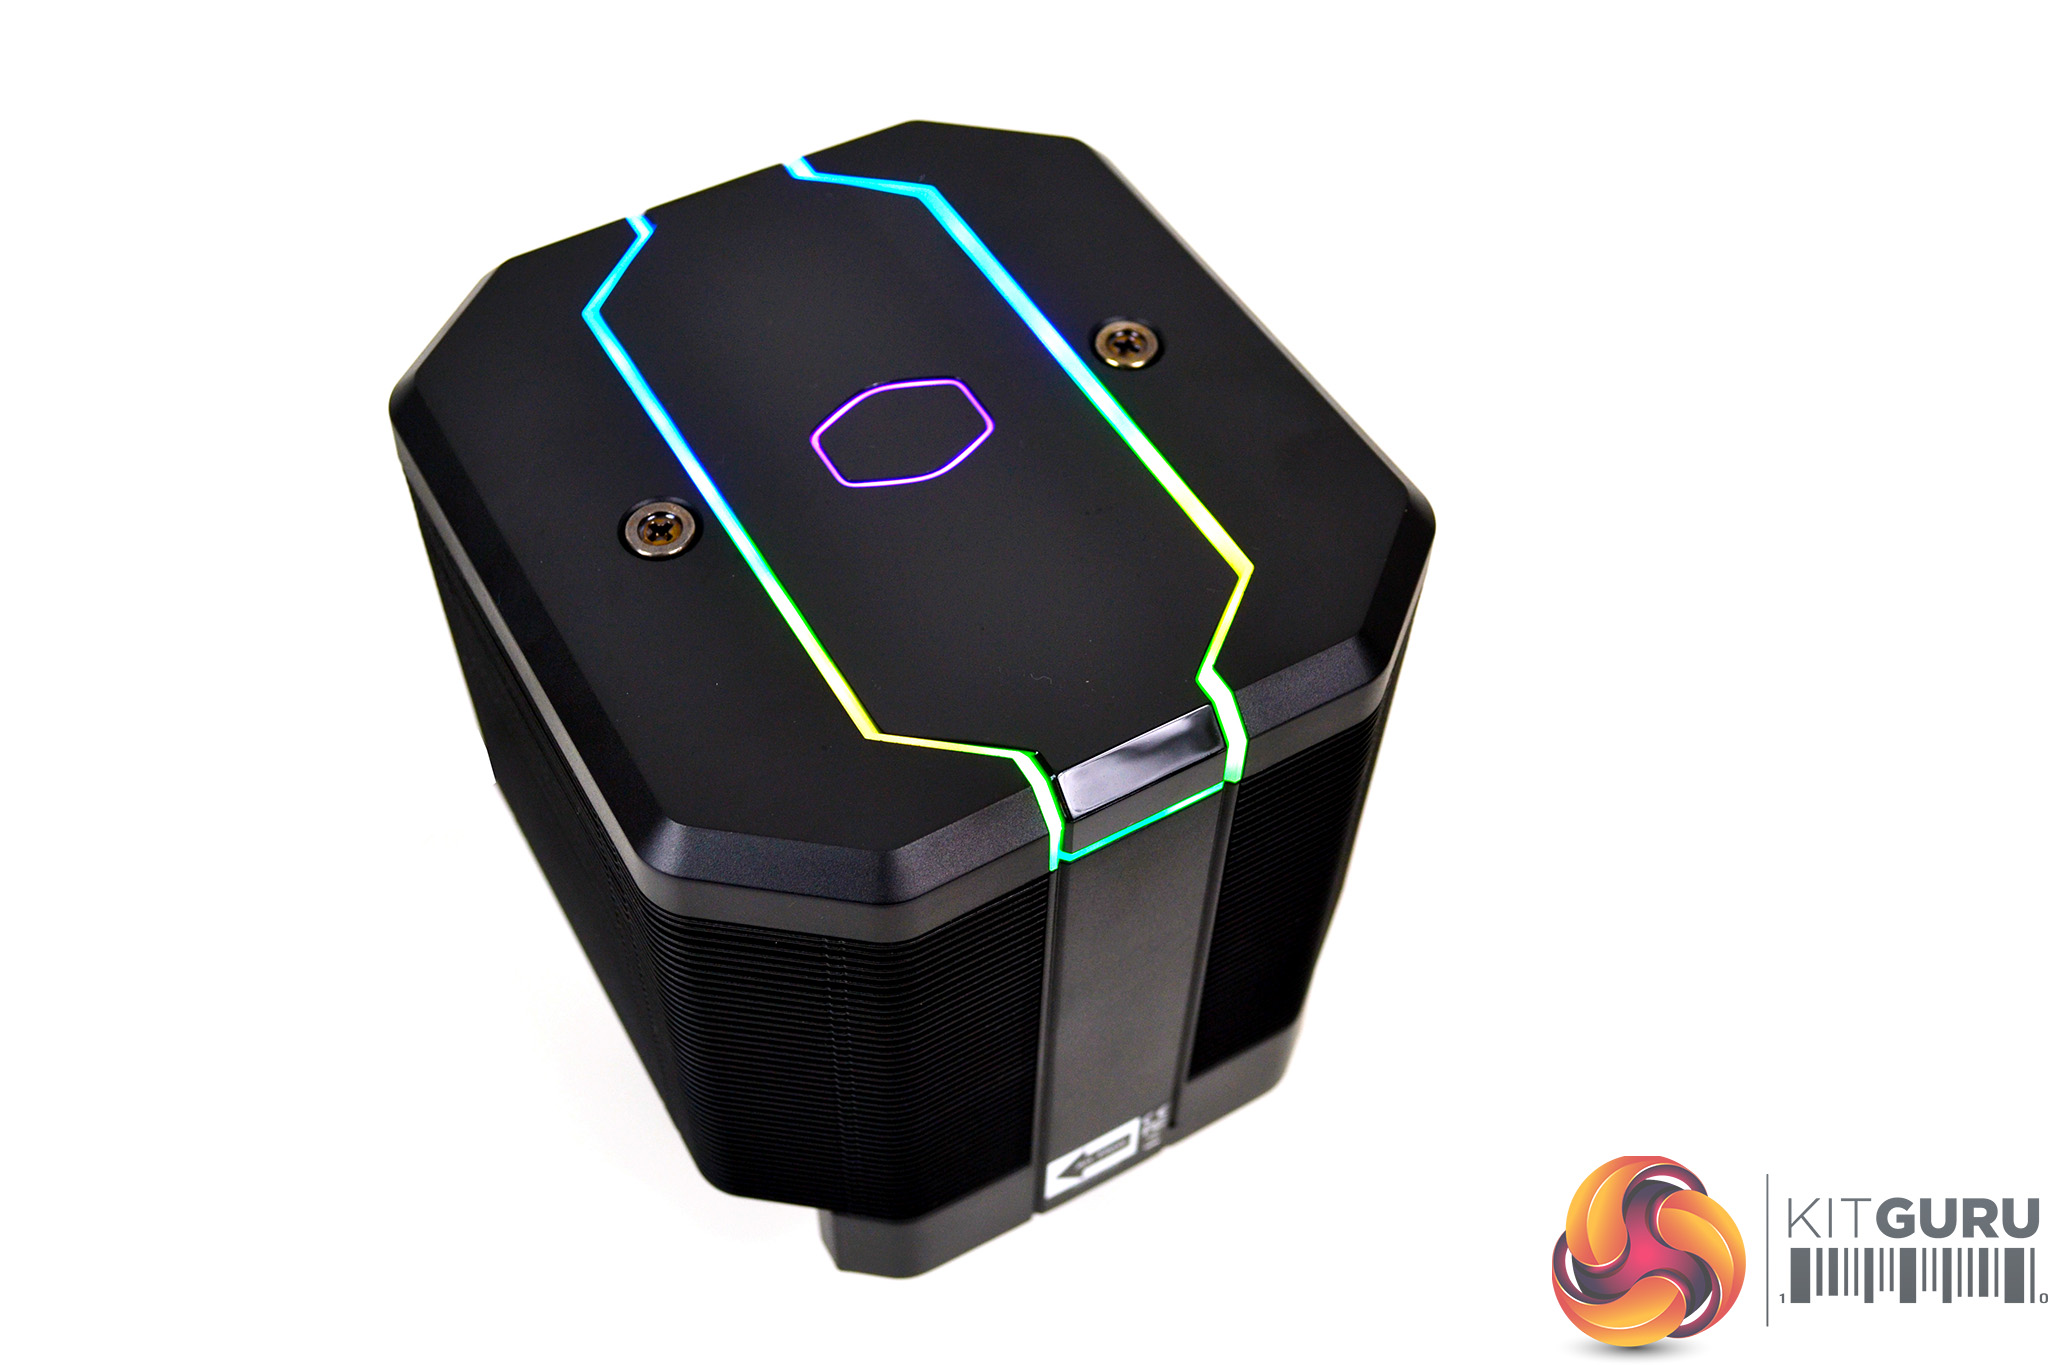
Cooler Master has stayed true to the all-black design with the MasterAir MA620M and features addressable RGB lighting just like the Wraith Ripper. However, this time around the MA620M is designed for consumer desktop processors and offers a high-end air-cooling solution for those platforms.
Featuring a total of six heat pipes, the overall size of the MA620M is a more compact unit compared to the Wraith Ripper that inspired the design. Additionally, the MasterAir MA620M’s dual cooling towers have been elevated to provide up to 67mm of RAM clearance with an all-in-one locking mechanism for an improved installation experience.
Along with six copper heat pipes for high thermal performance to size ratio, the dual towers have a total of 55 aluminium cooling fins on each tower to provide a larger equally spread surface area for efficient heat dissipation.
The MA620M features a centrally mounted 120mm fan with 4-pin PWM connectivity for full control over temperature-based fan RPM. Cooler Master has gone to the trouble of labelling fan airflow direction on the cooler, which eliminates guesswork during installation. However, swapping the airflow direction doesn’t look like a simple job and would require dismantling the cooler to some degree. The cooler can be rotated 180° on the mounting, so effectively reverses airflow.
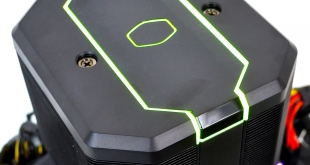
Addressable RGB has been implemented into the design, with a Cooler Master logo outline positioned on top of the cooler and a frame surrounding the logo sporting RGB lighting. The MasterAir MA620M has a 5v 3-pin ARGB cable which can connect to a motherboard header. Alternatively, a Cooler Master ARGB wired controller is provided in the box.
Key features
- Dual tower heatsink design
- Six heat pipes
- Elevated tower for 67mm RAM clearance
- Easy 2 part installation system
- Addressable RGB lighting
Specification
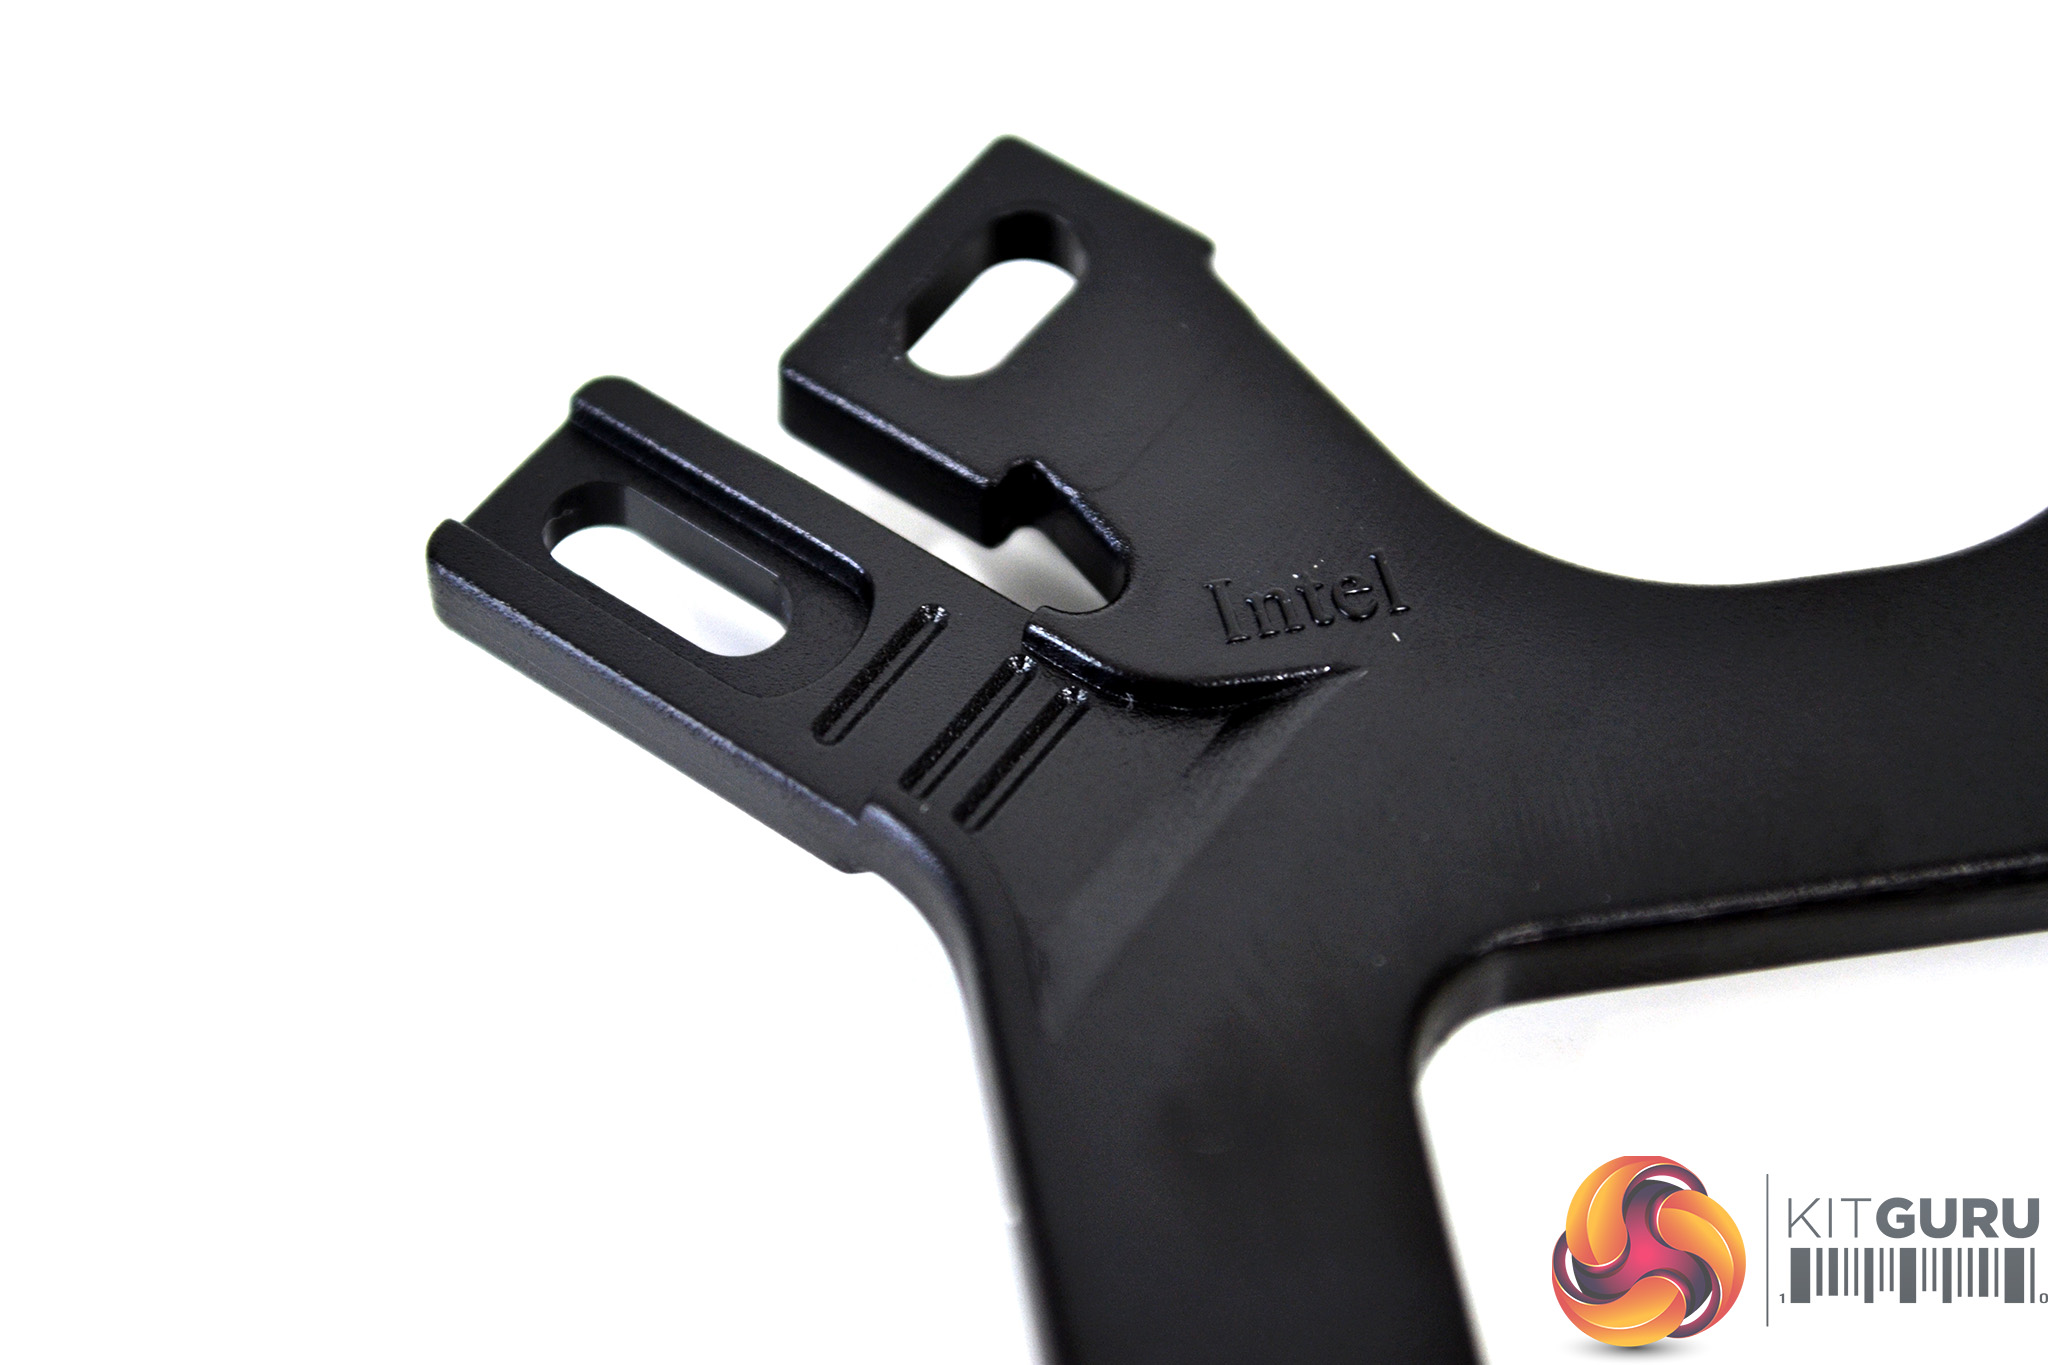
- CPU socket compatibility – LGA2066, LGA2011-v3, LGA2011, LGA1151, LGA1150, LGA1155, LGA1156, AM4, AM3+, AM3, AM2+, AM2, FM2+, FM2, FM1
- Dimensions (L X W X H) – 135 x 125 x 165 mm / 5.3 x 4.9 x 6.5 inch
- Heat sink material – 6 Heat Pipes, aluminium Fins
- Fan dimensions (L X W X H) – 120 x 120 x 25 mm / 4.7 x 4.7 x 1 inch
- Fan quantity – 1 PCS
- Fan speed – 650-2000 RPM (PWM) ± 10%
- Fan airflow – 57.3 CFM (Max)
- Fan air pressure – 2.0 mmH2O (Max)
- Fan MTTF – 160,000 Hours
- Fan noise level – 30 dBA
- Fan power connector – 4-Pin (PWM)
- Fan rated voltage – 12V DC
- Fan rated current – 0.16 A
- Fan safety current – 0.37A
- Fan power consumption – 1.92W
- Warranty – 5 years
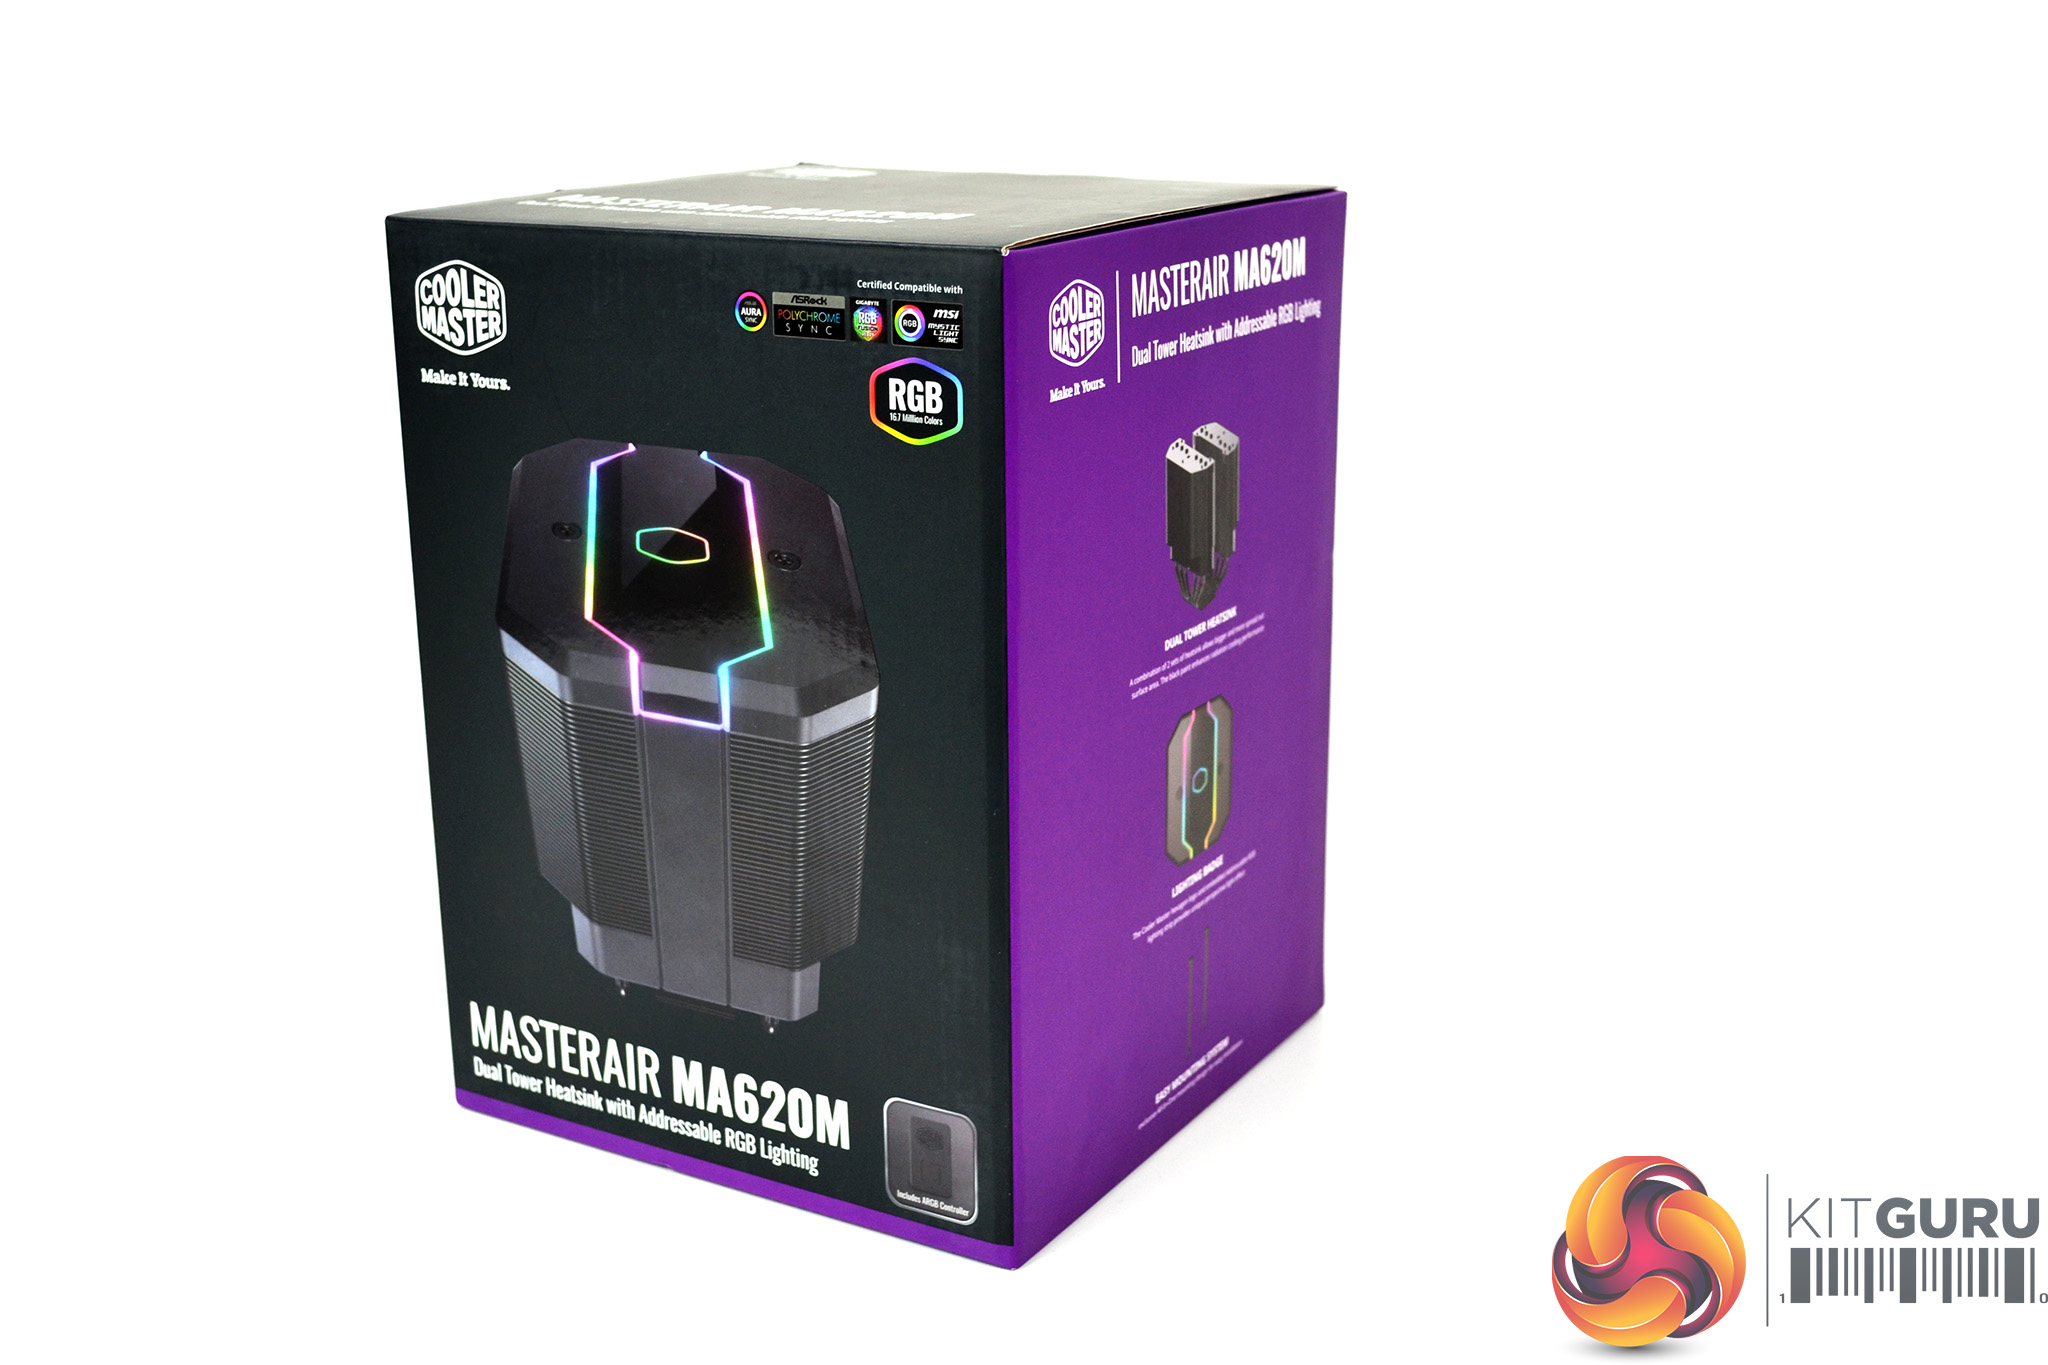
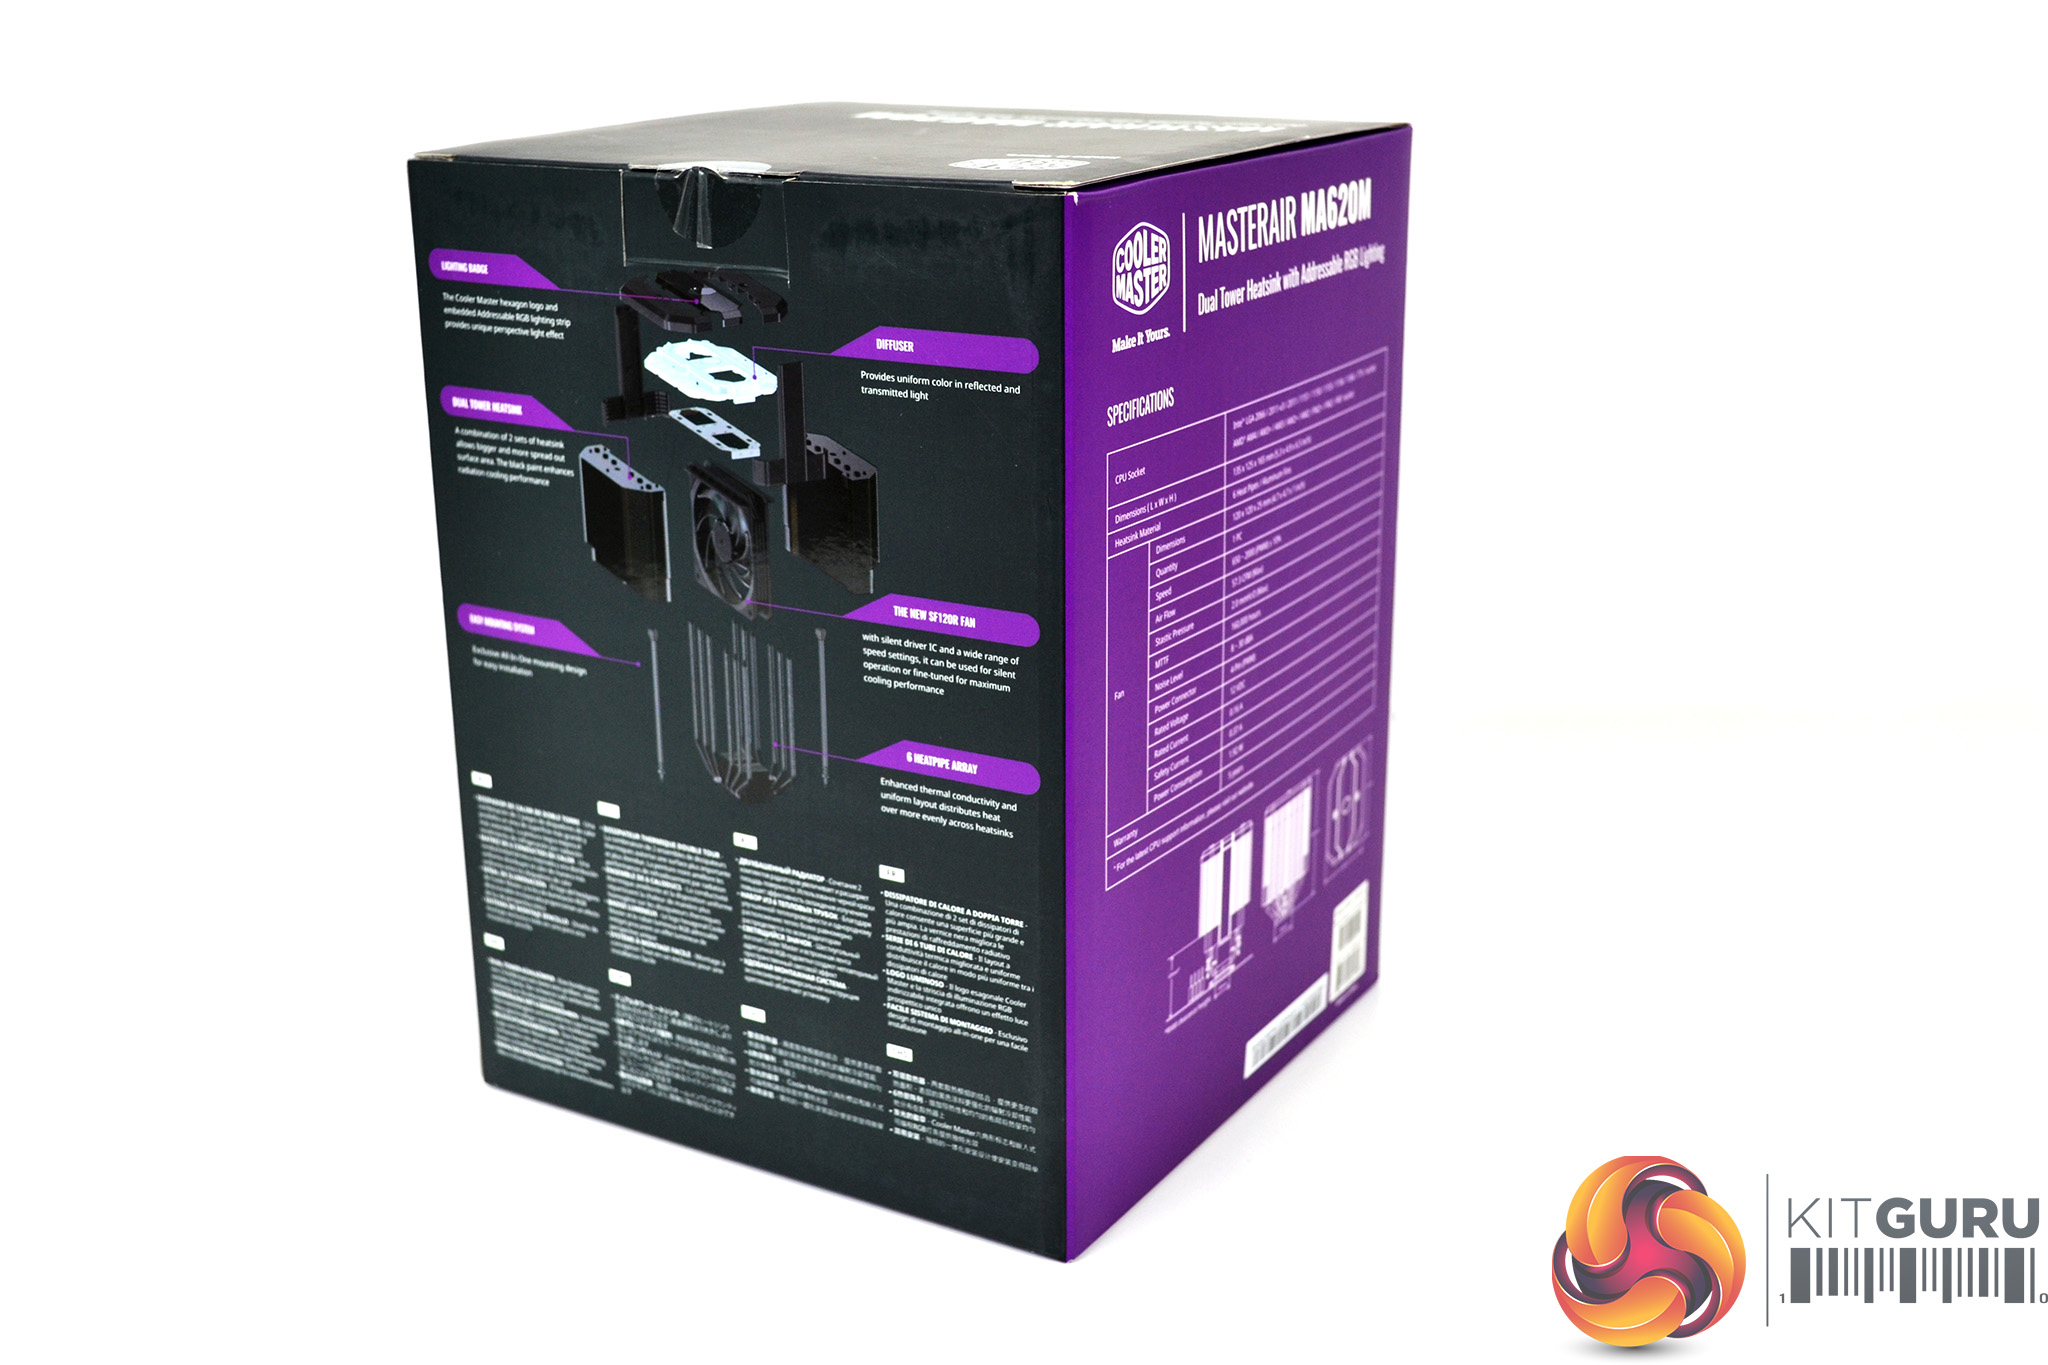
Cooler Master has packaged the MasterAir MA620M in a cardboard box that follows the company’s traditional black and purple design. On the front of the box is a large image of the cooler along with its name and Cooler Master branding. On the rear is an exploded diagram of the cooler and a short description in various languages.
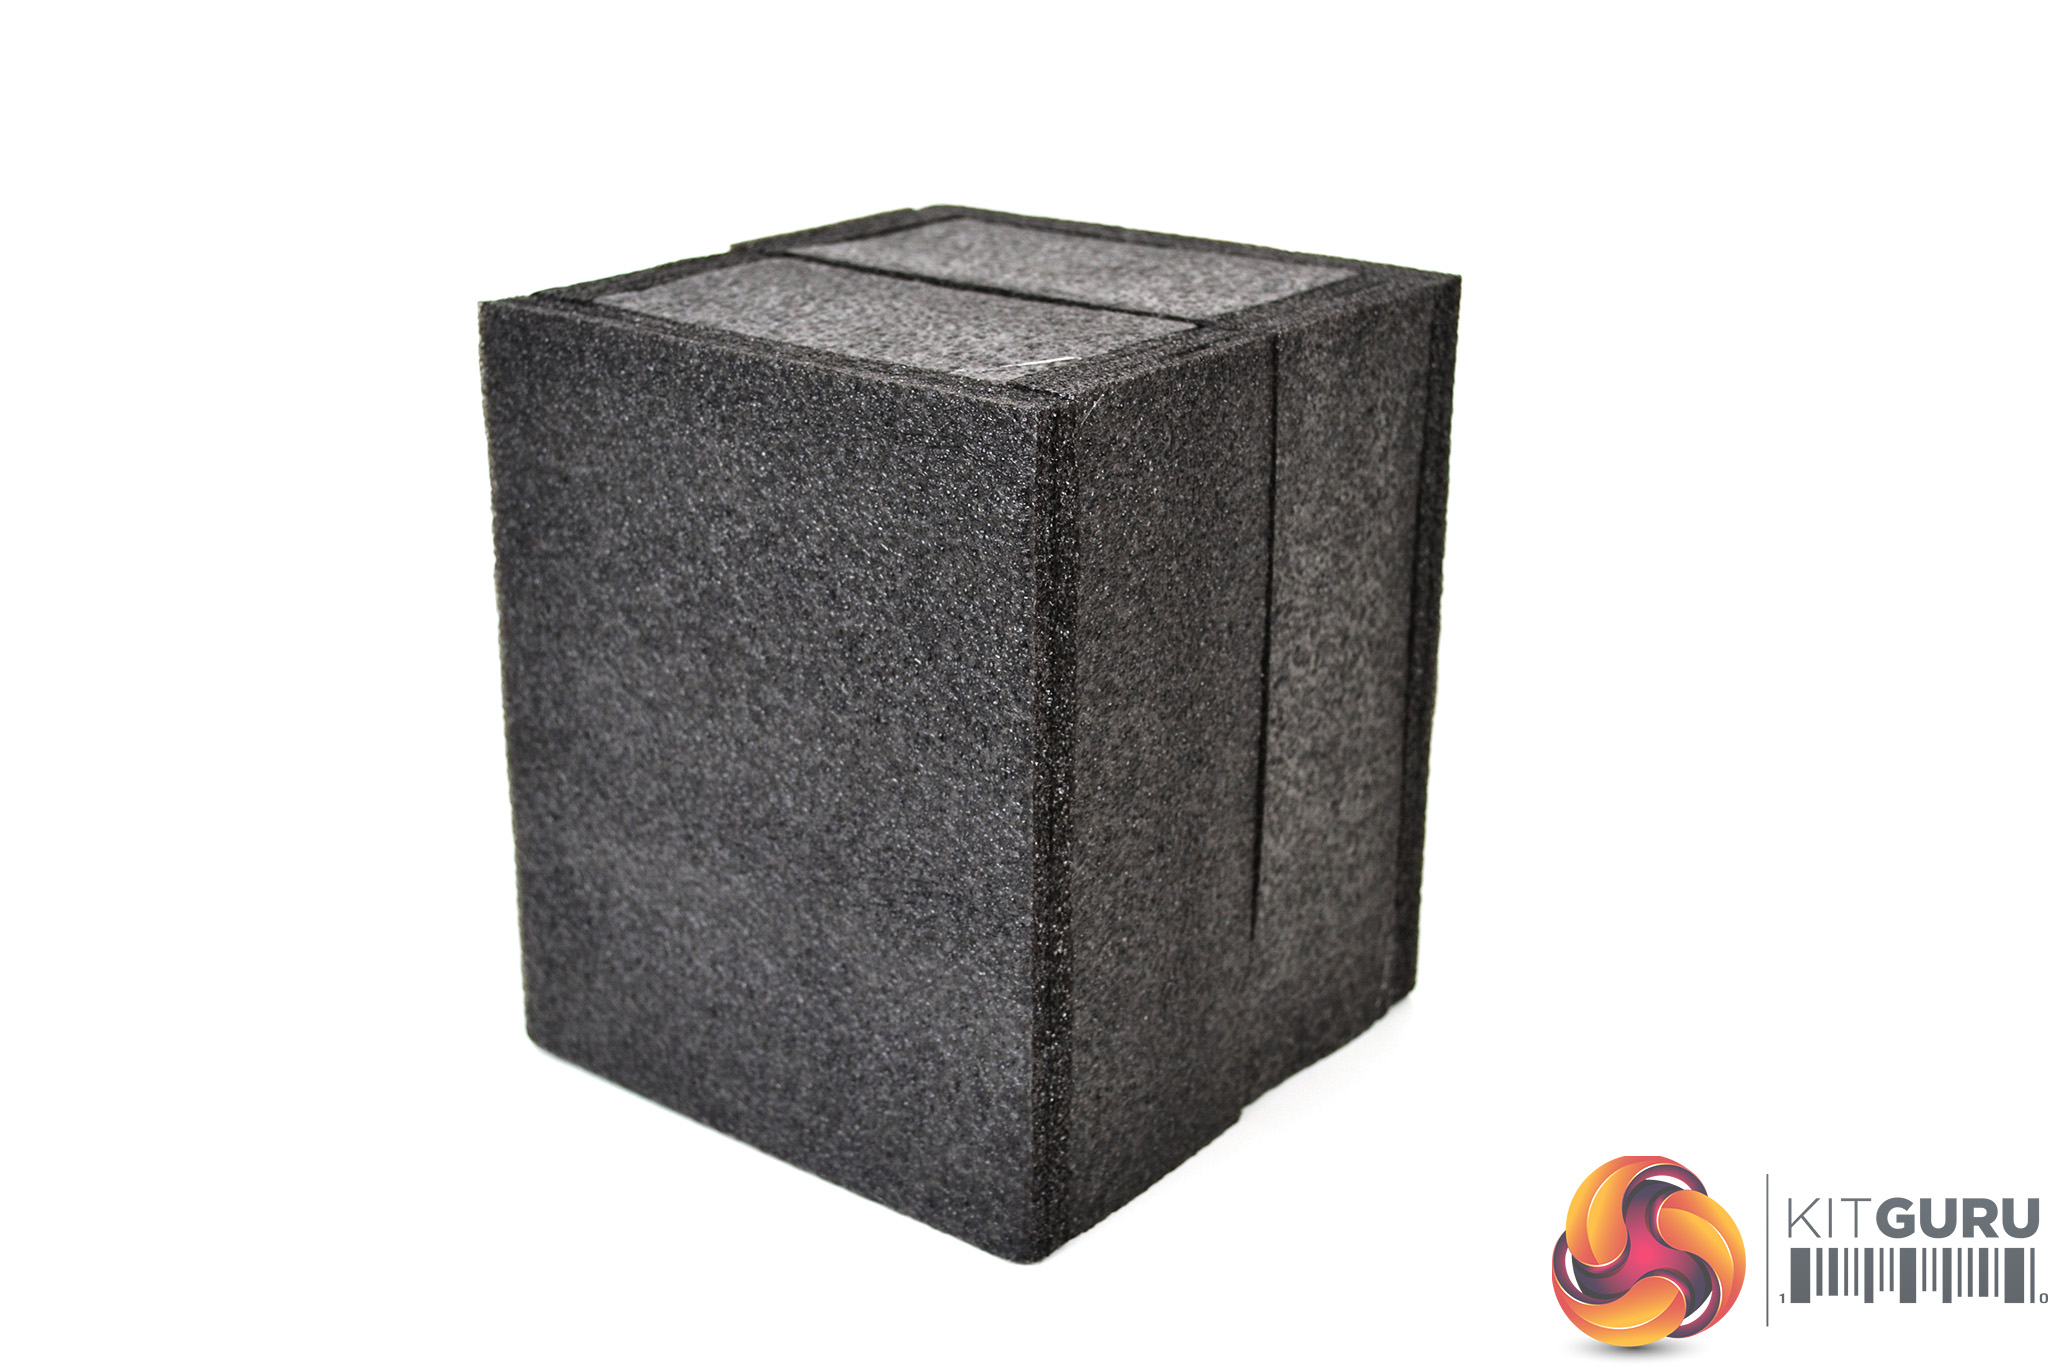
Inside the box, the cooler is covered with thick foam padding to offer a high level of protection during transit. An additional smaller box contains mounting hardware and accessories.
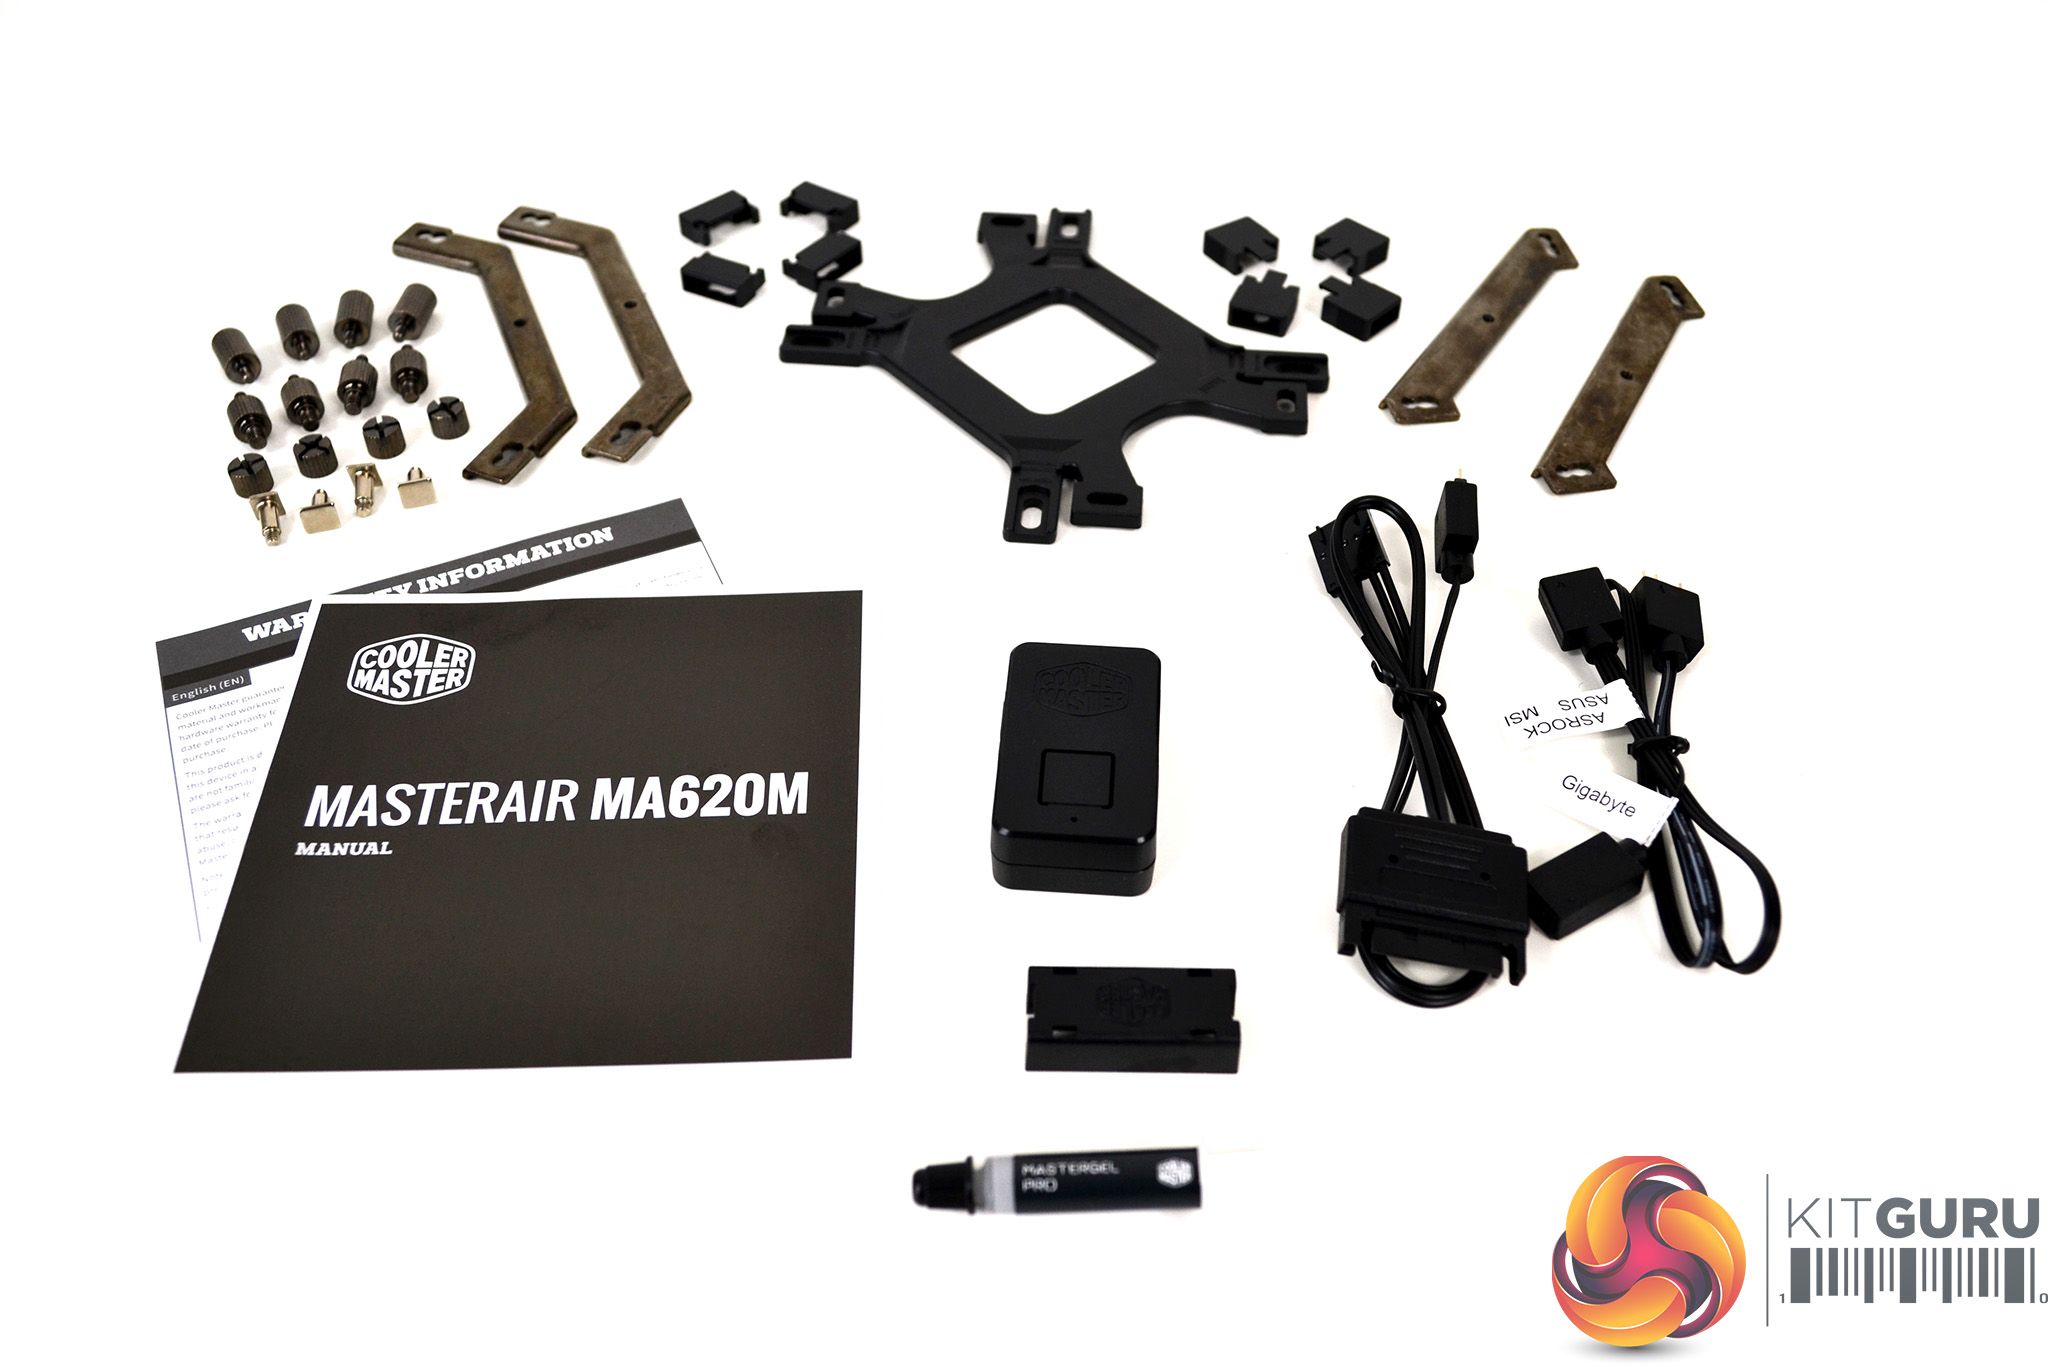
Once completely removed from the packaging, we can clearly see what is included. The cooler itself is supplied with a comprehensive range of accessories, including mounting hardware for both Intel and AMD platforms, an additional RGB controller with extra cables for a range of motherboard manufacturers, thermal compound, installation manual and warranty card.

Due to the design, the MasterAir MA620M arrives fully assembled with the 120mm fan and mounting hardware, meaning no additional preparation for installation of the cooler is necessary, which should save time later when fitting.
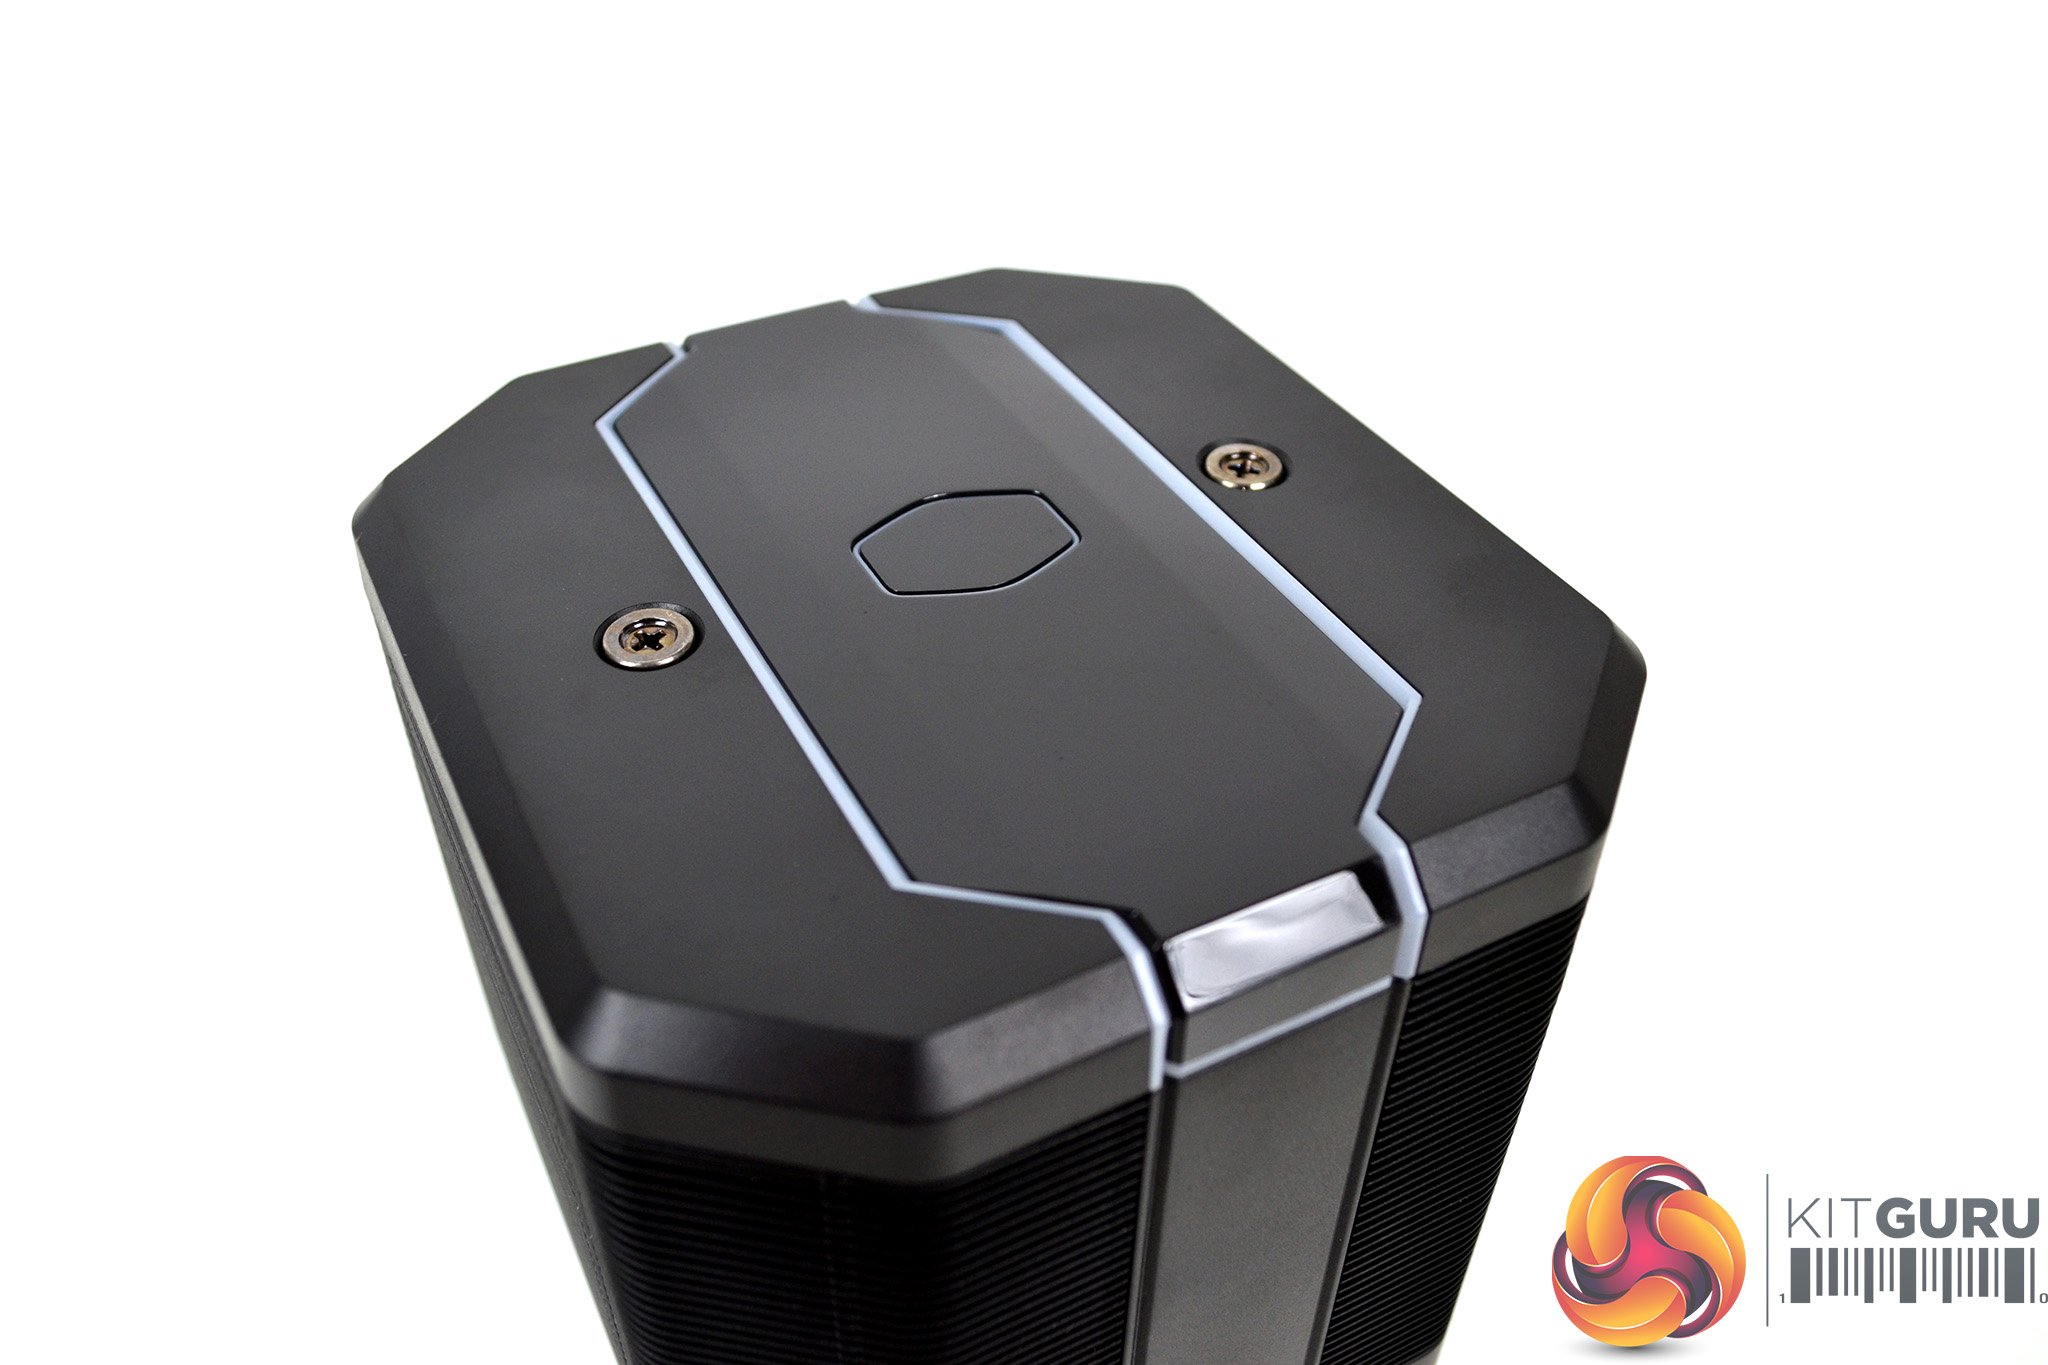
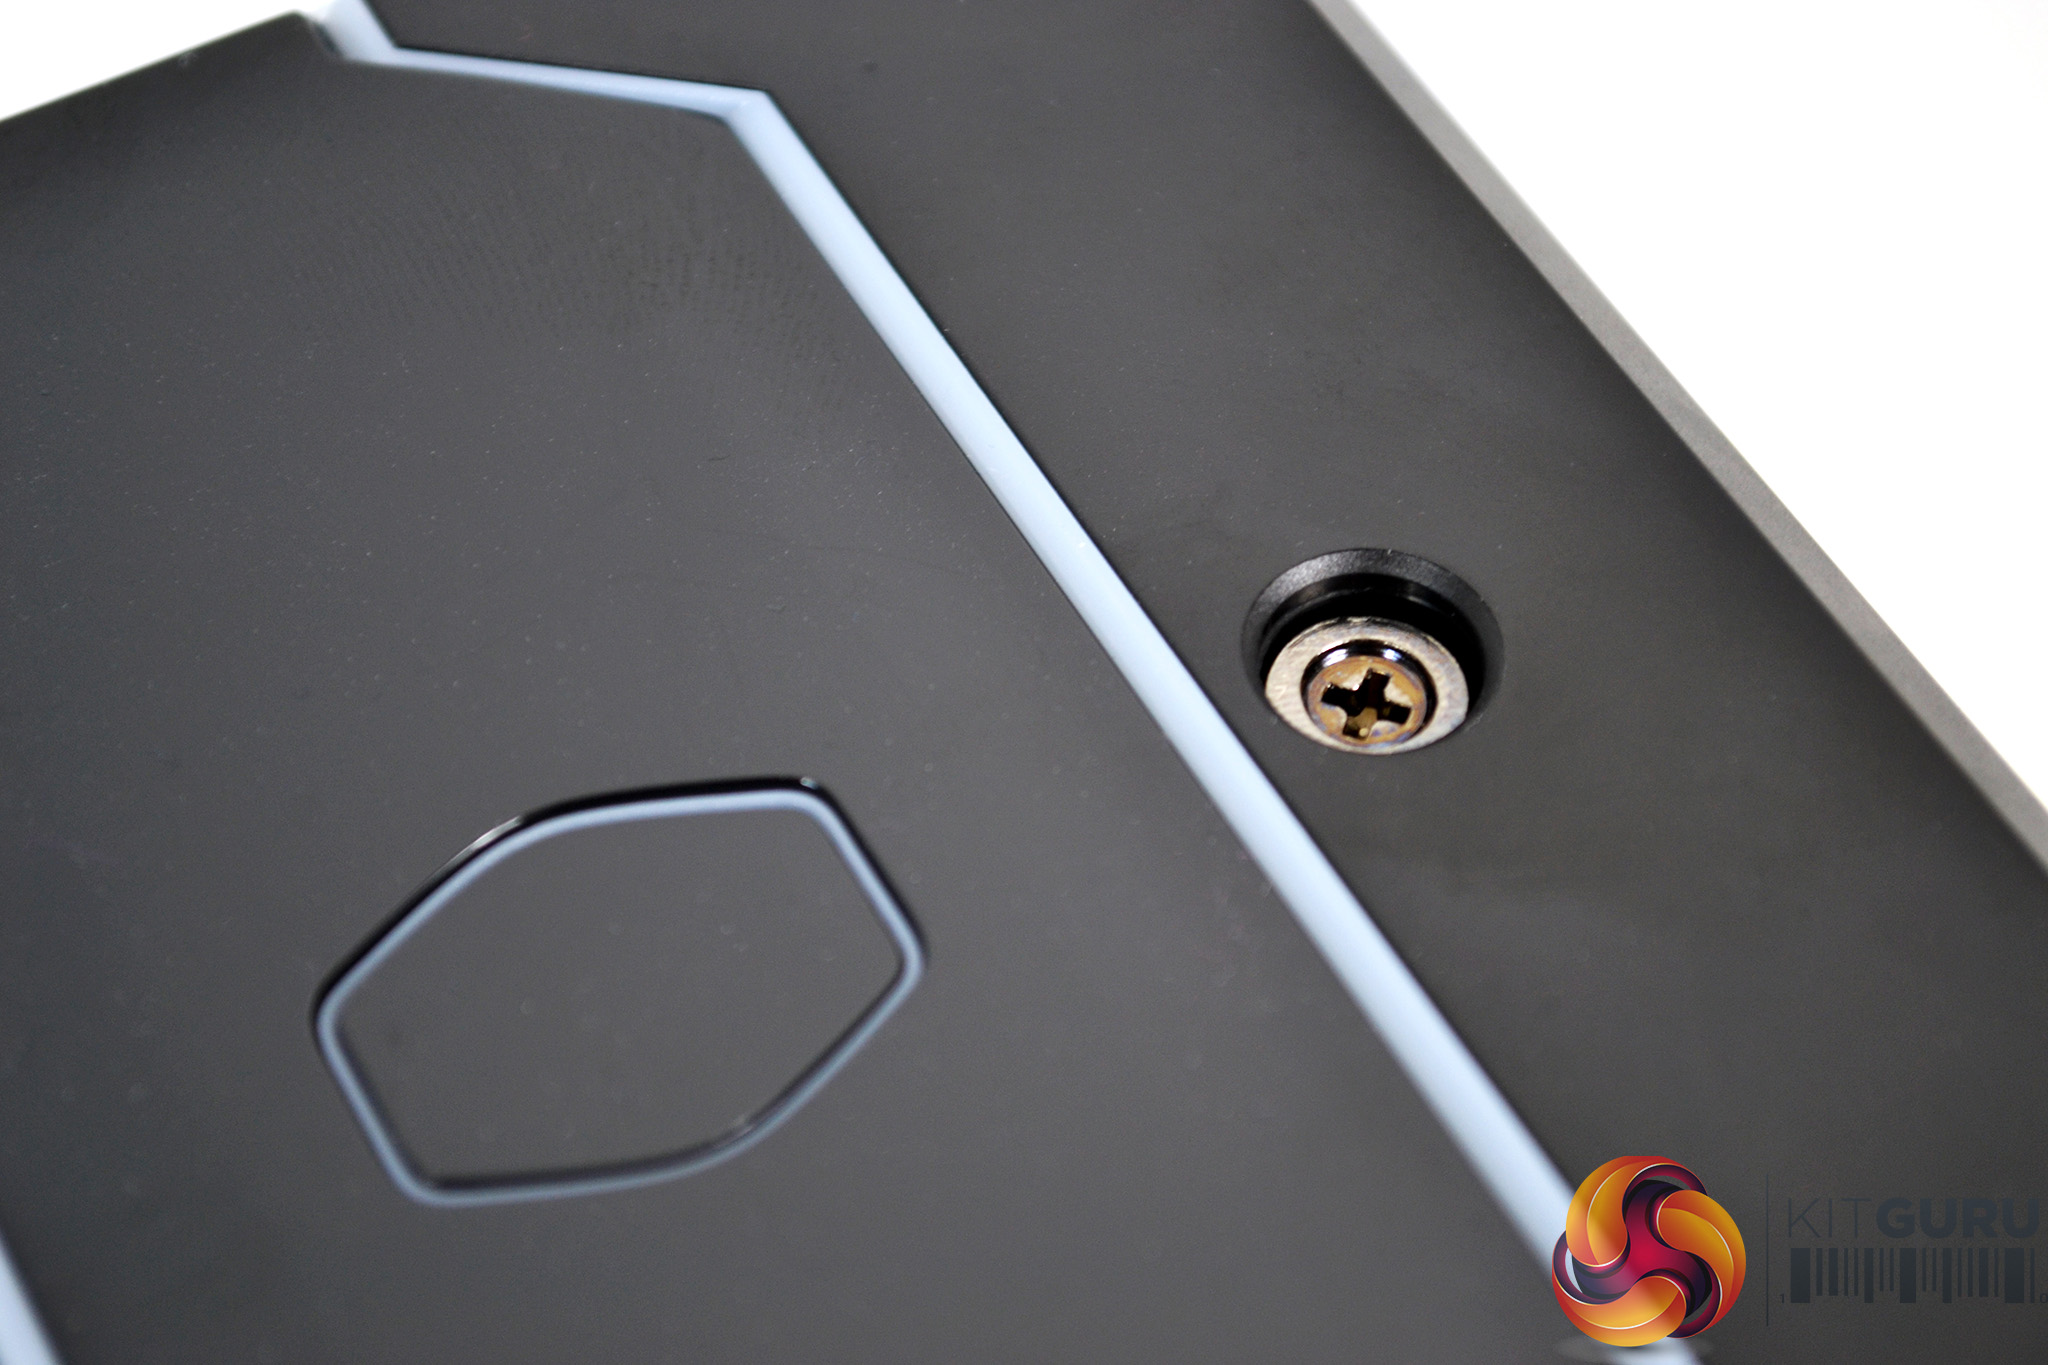
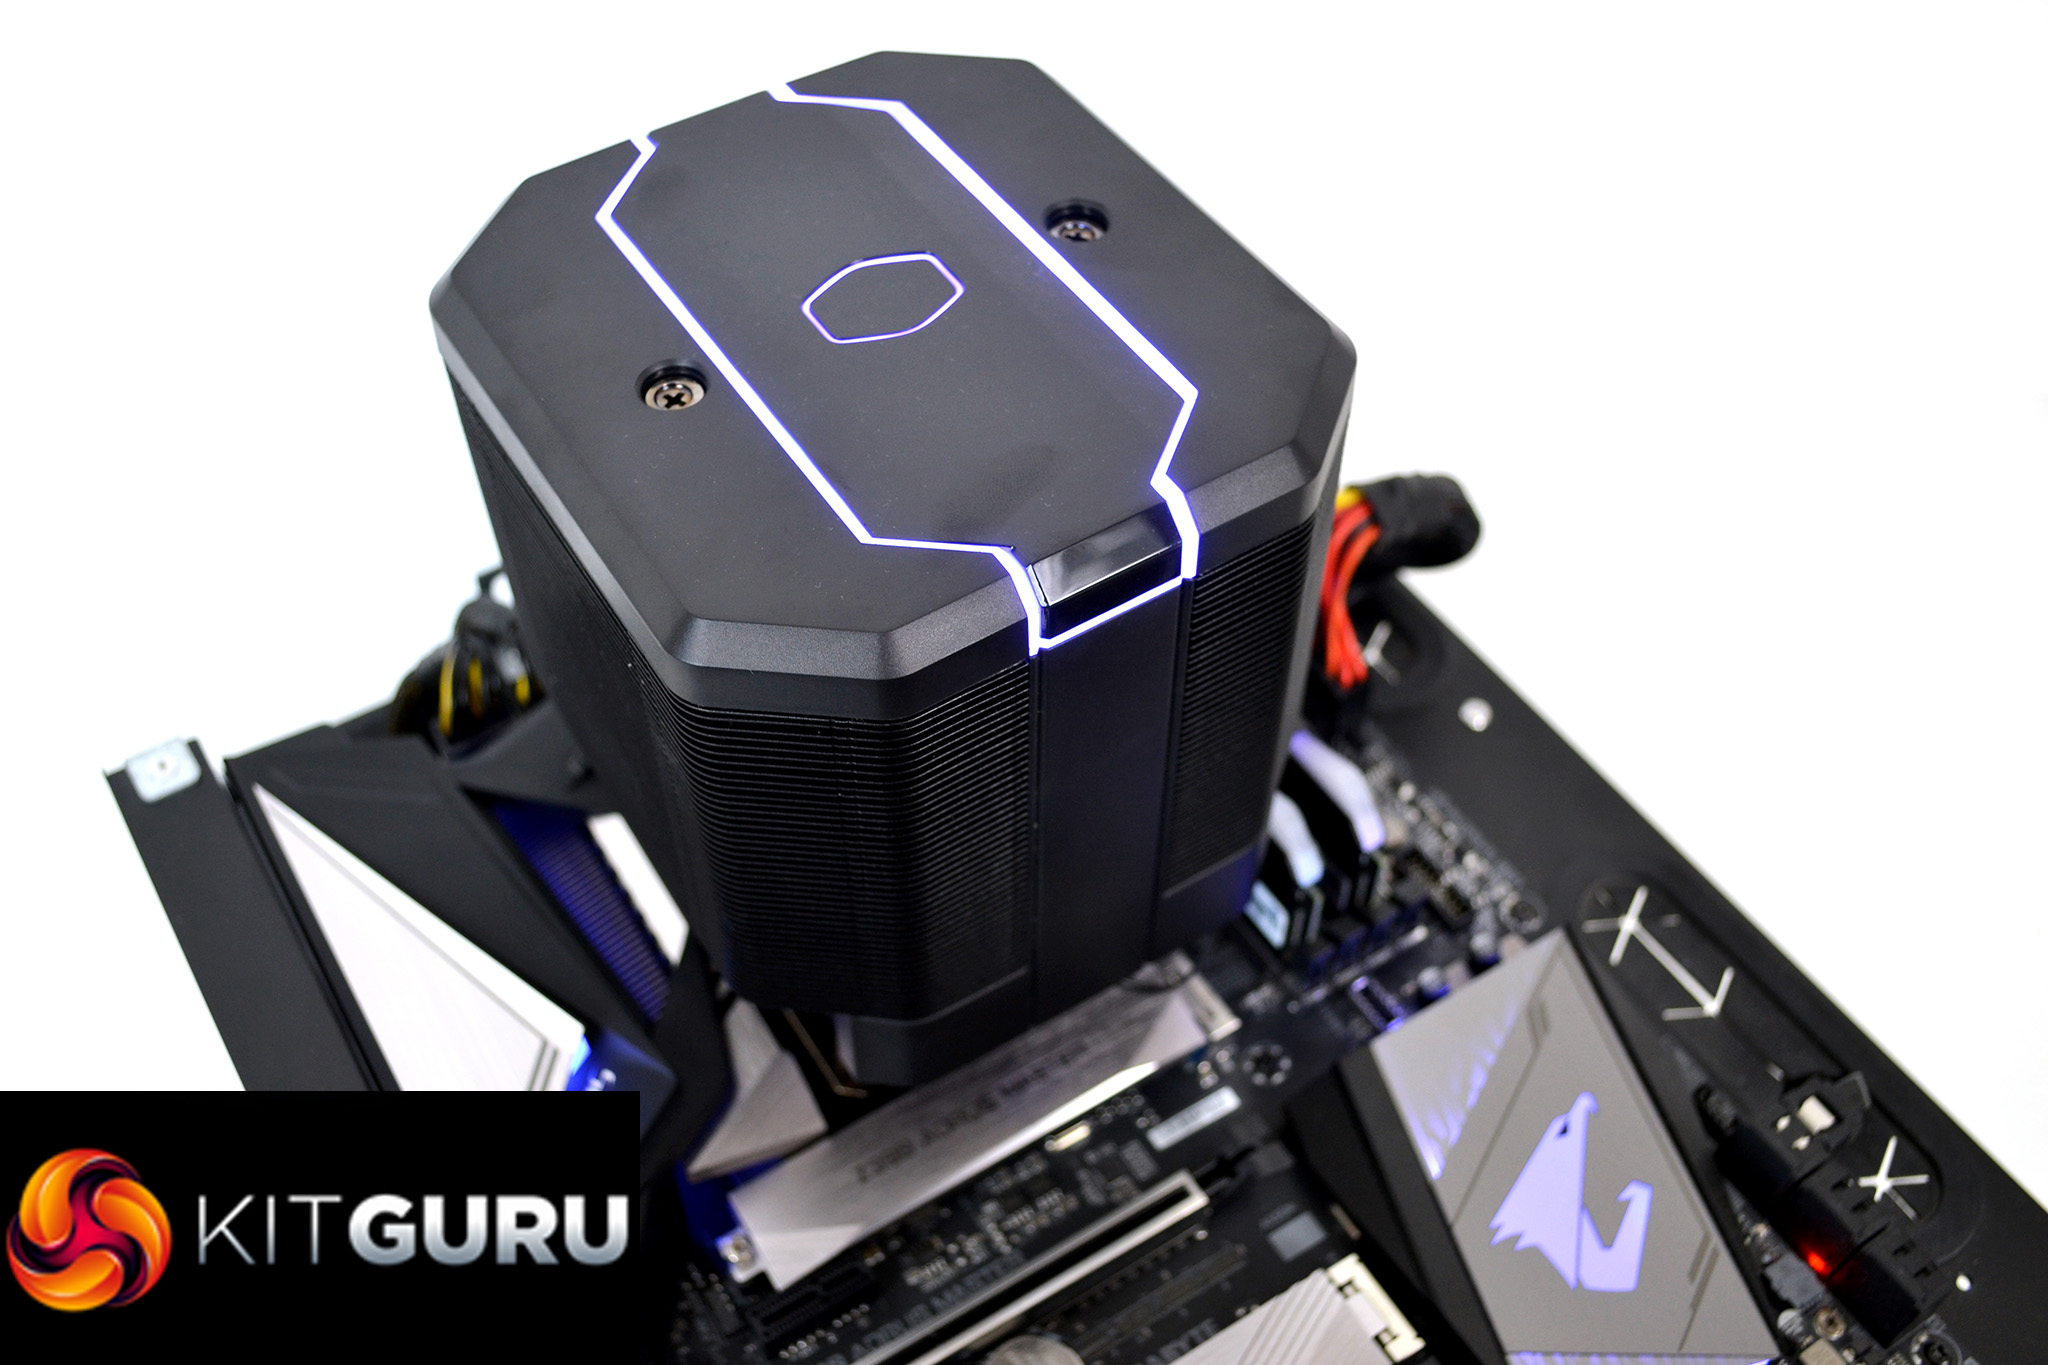
On the top of the cooler is a black plastic shroud which contains the RGB Cooler Master logo and frame. Also visible on the top are the two cooler retaining screws for installation. This is a very similar design and installation system to the current Cooler Master Wraith Ripper, which is very straightforward.
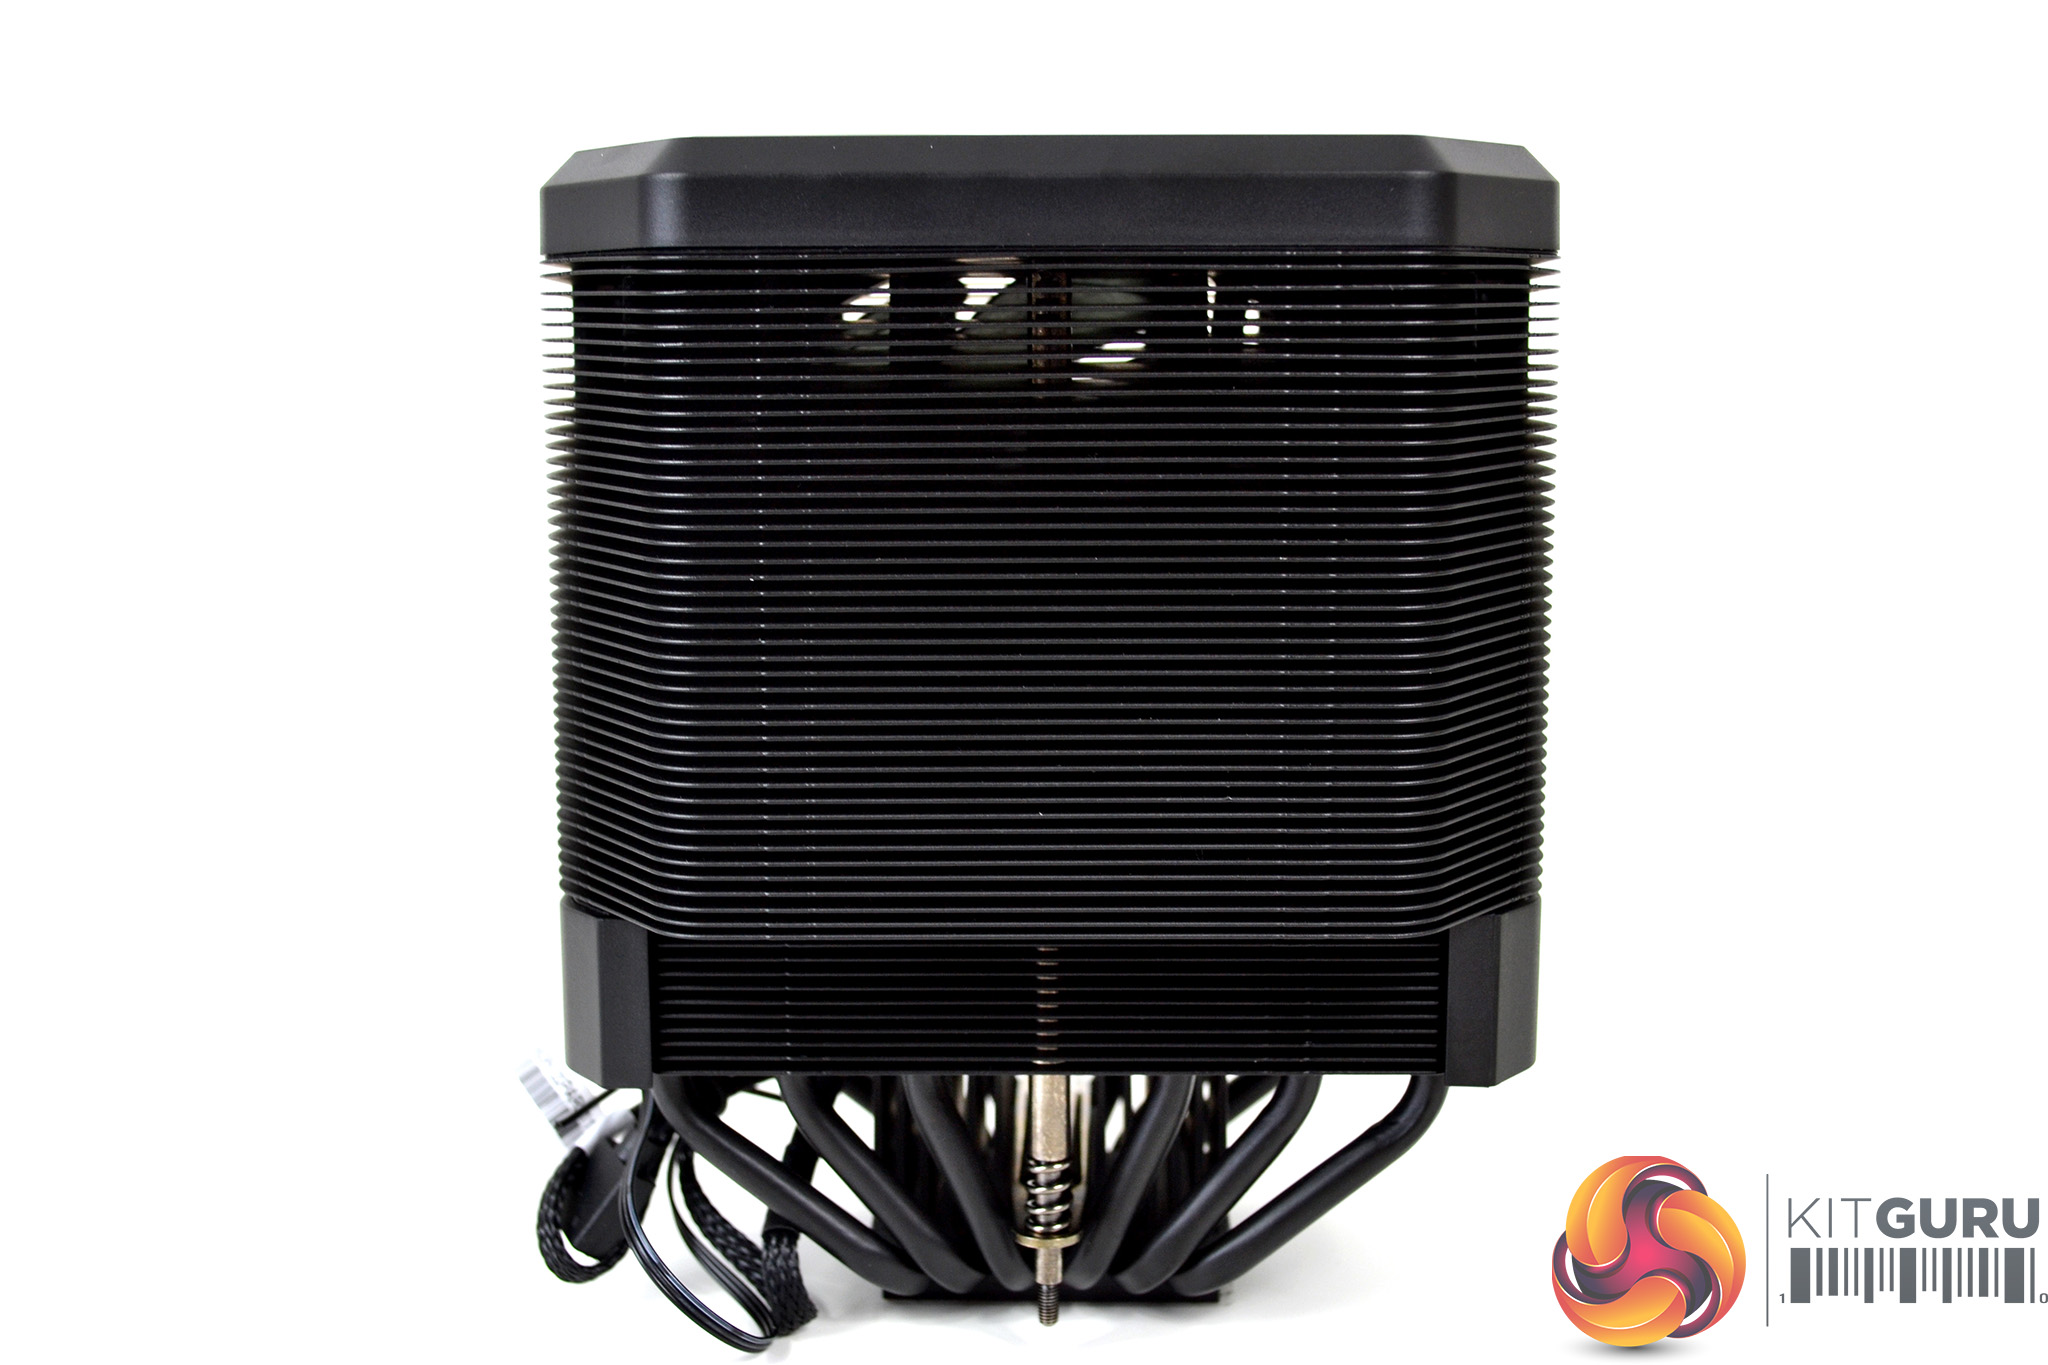
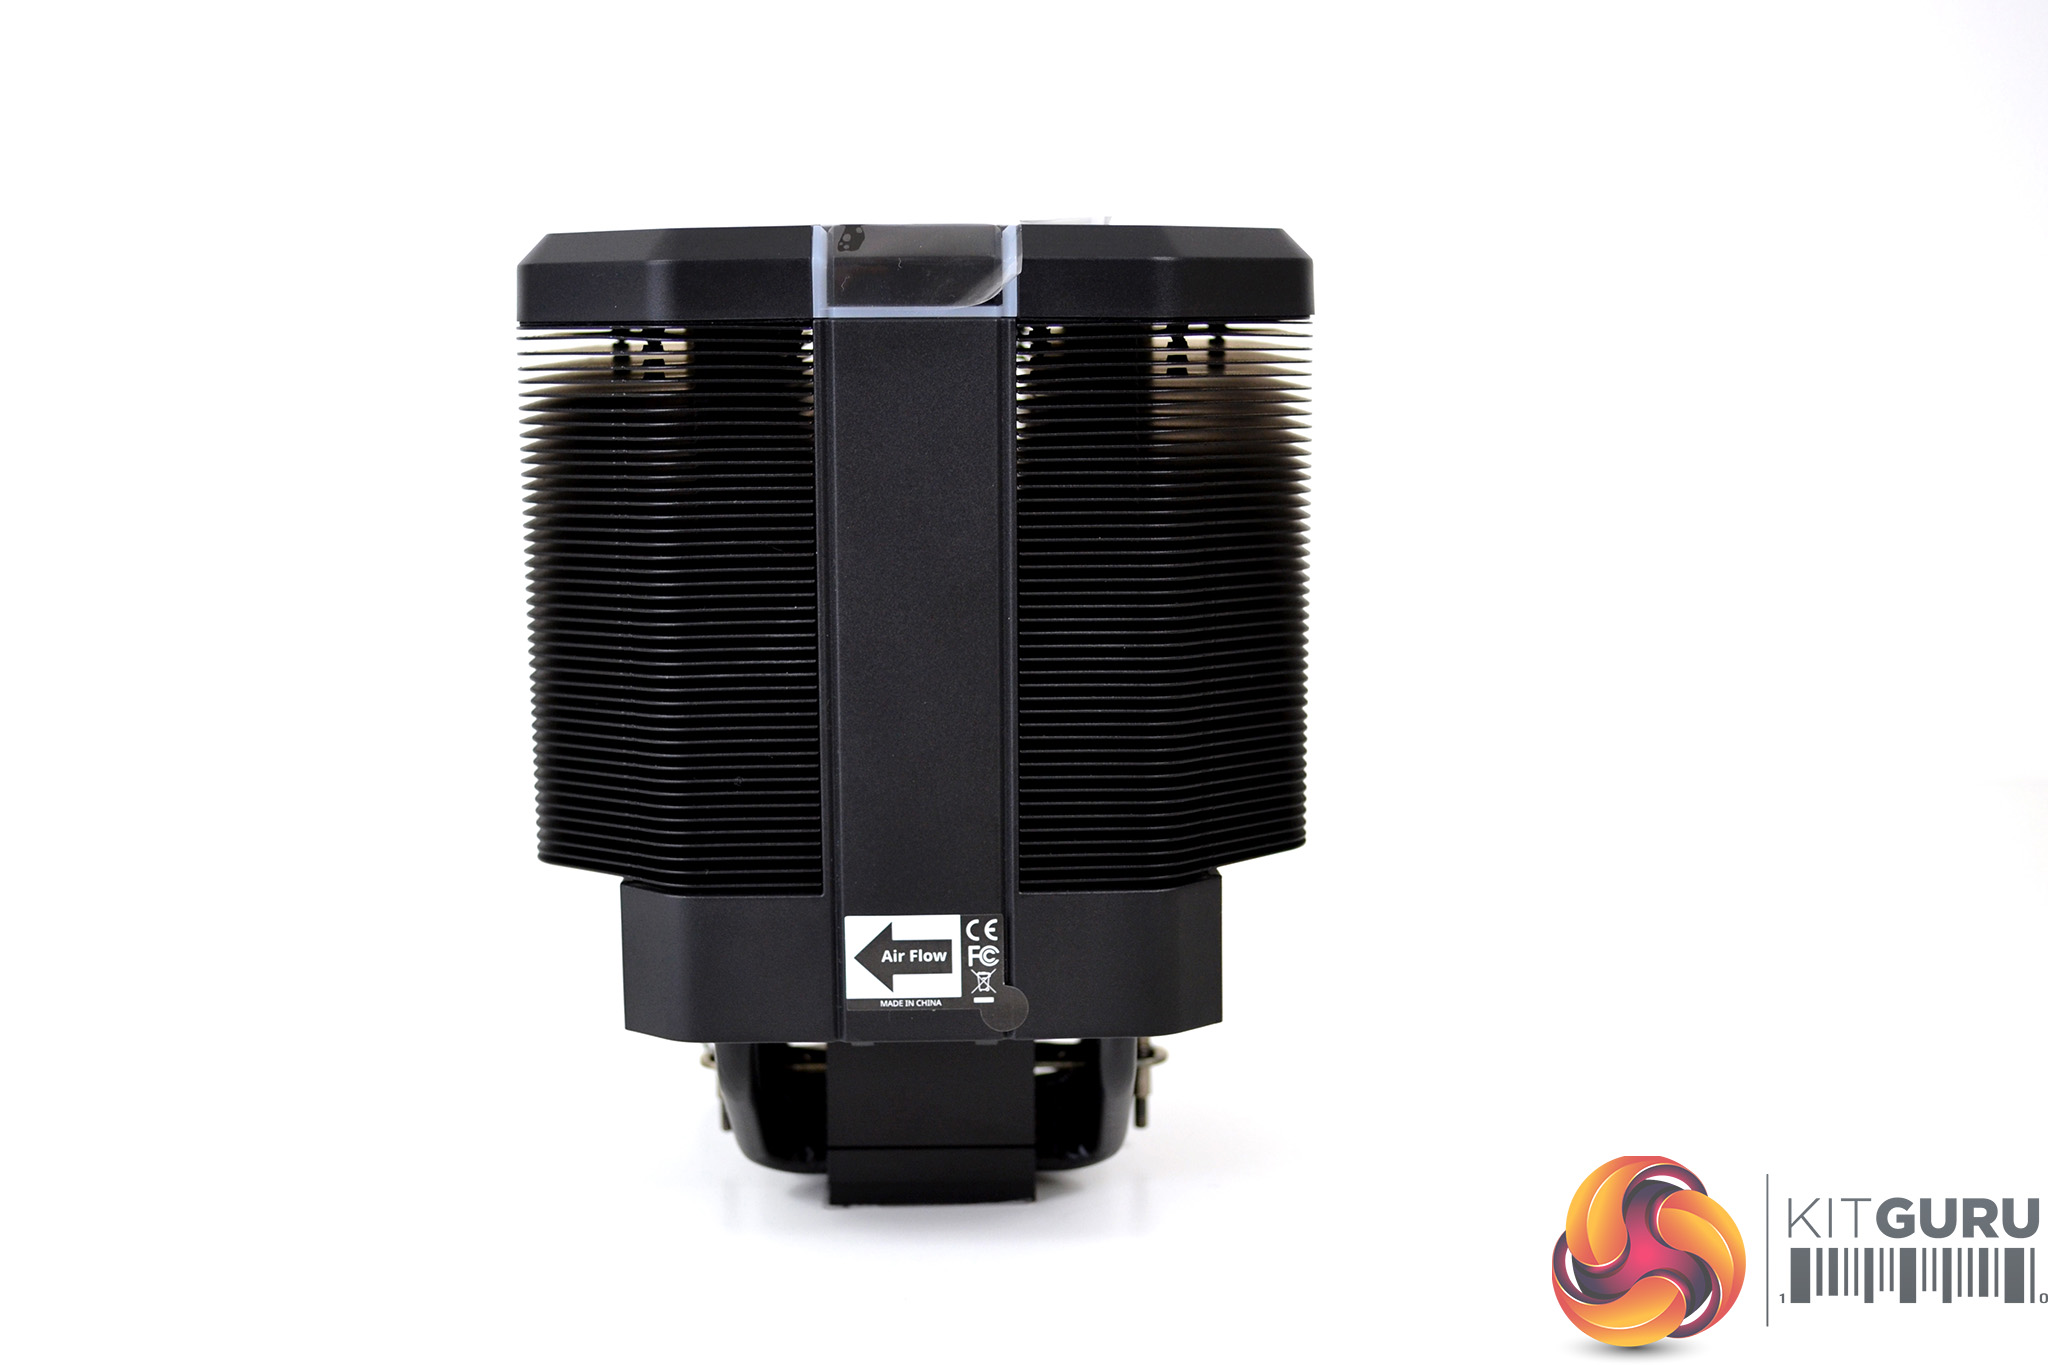
Below the plastic shroud is the dual cooling towers, featuring 55 individual aluminium fins each, which are covered in a black coating to match the aesthetics of the rest of the cooler. The coating seems to be evenly applied and provides a minimalist appearance.
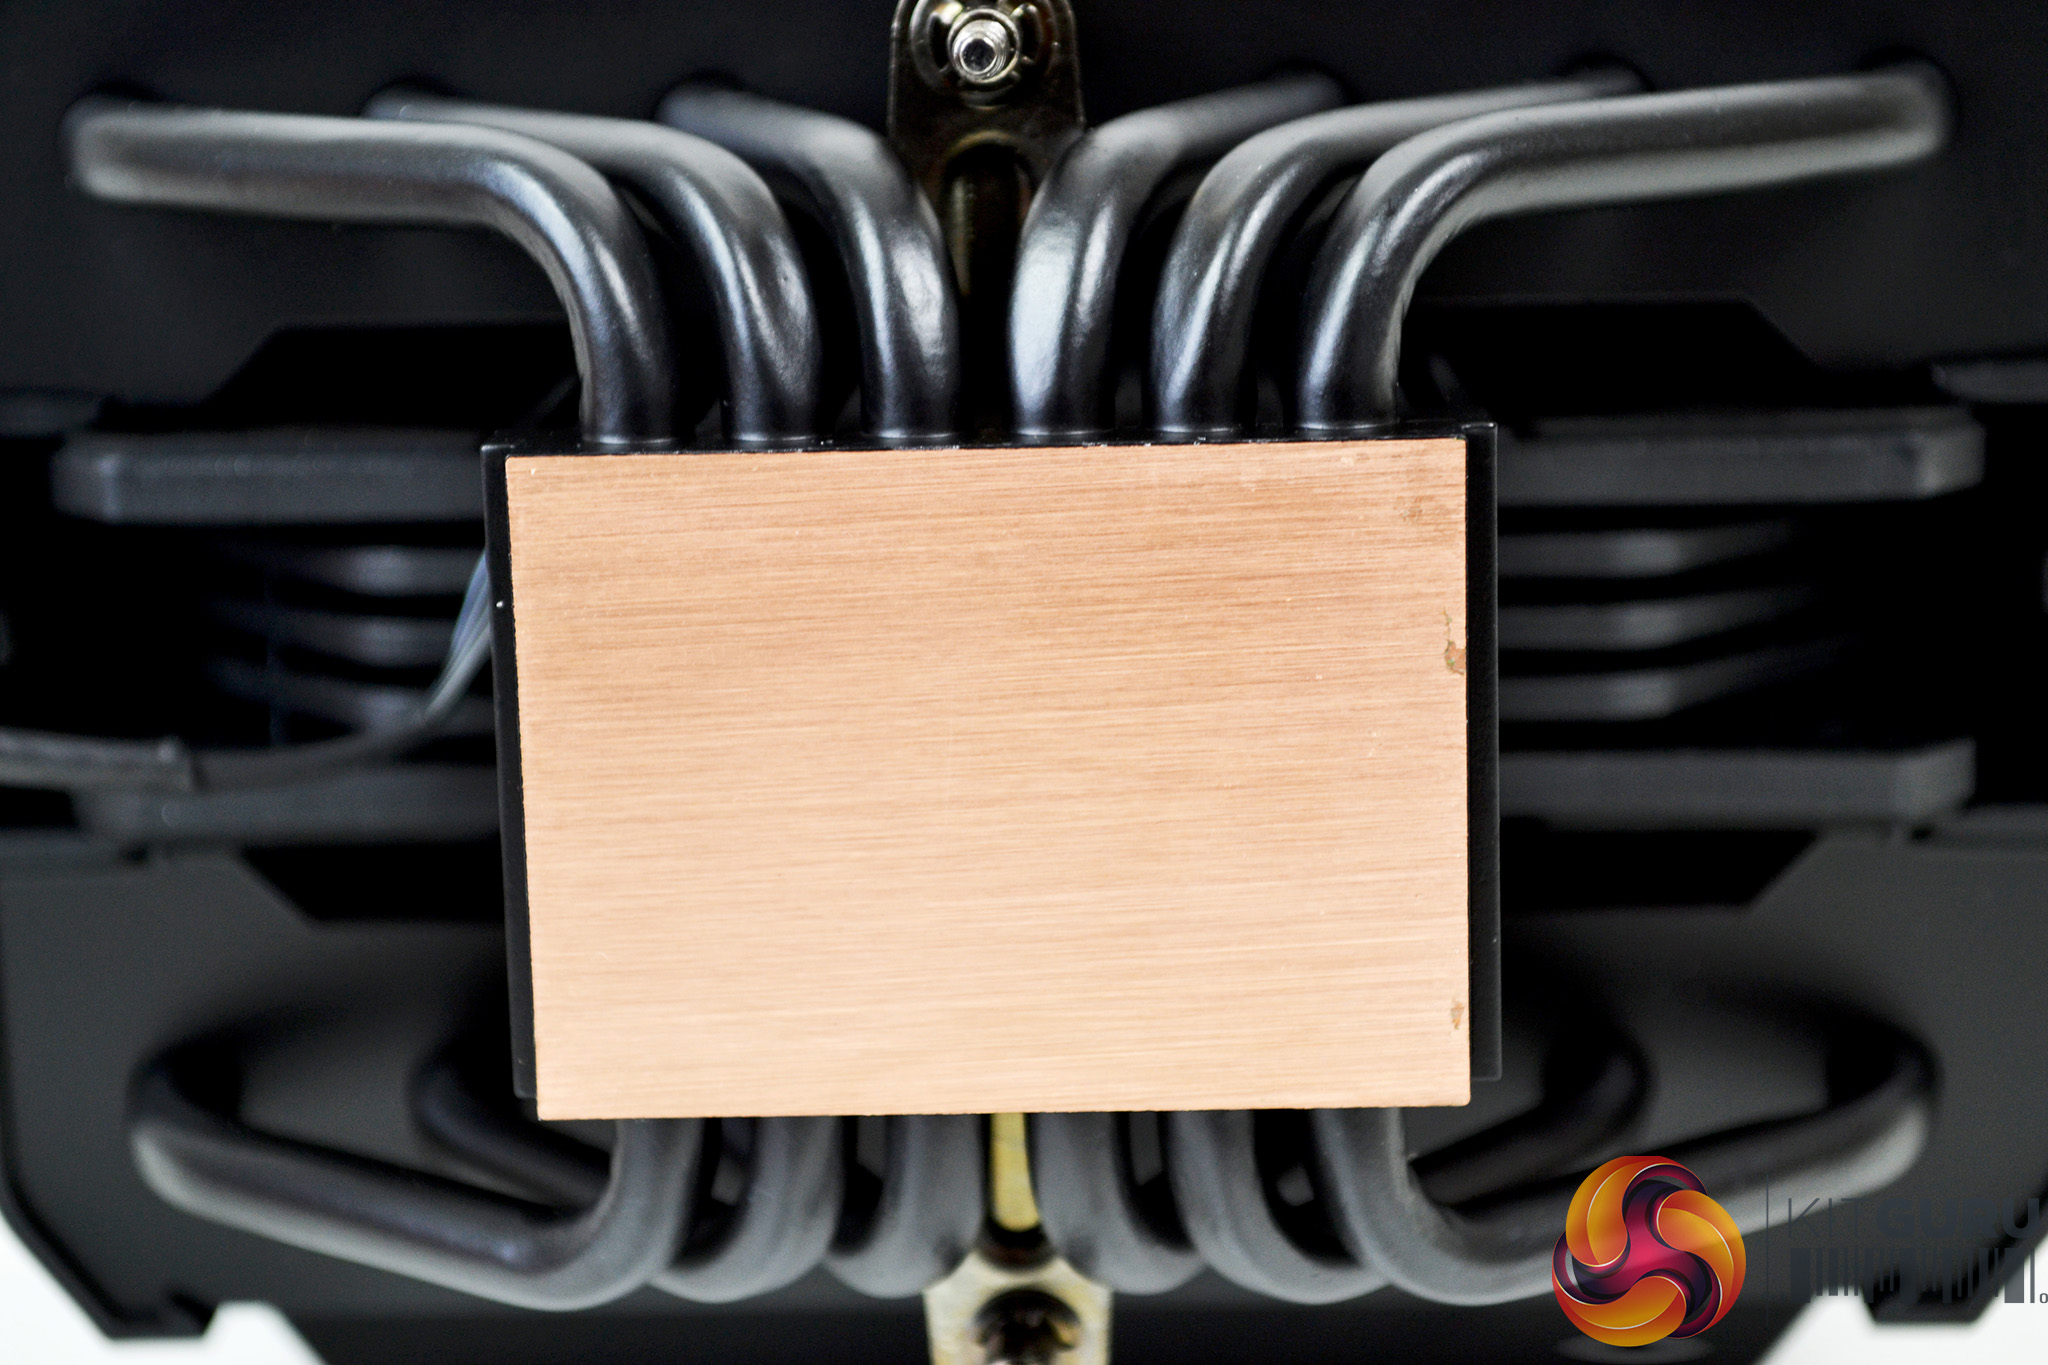
On the underside of the cooler is a copper base plate with heat pipes running directly through. The copper base looks to be accurately machined with what seems to be a very flat surface. Notice the two mounting screws are visible too.

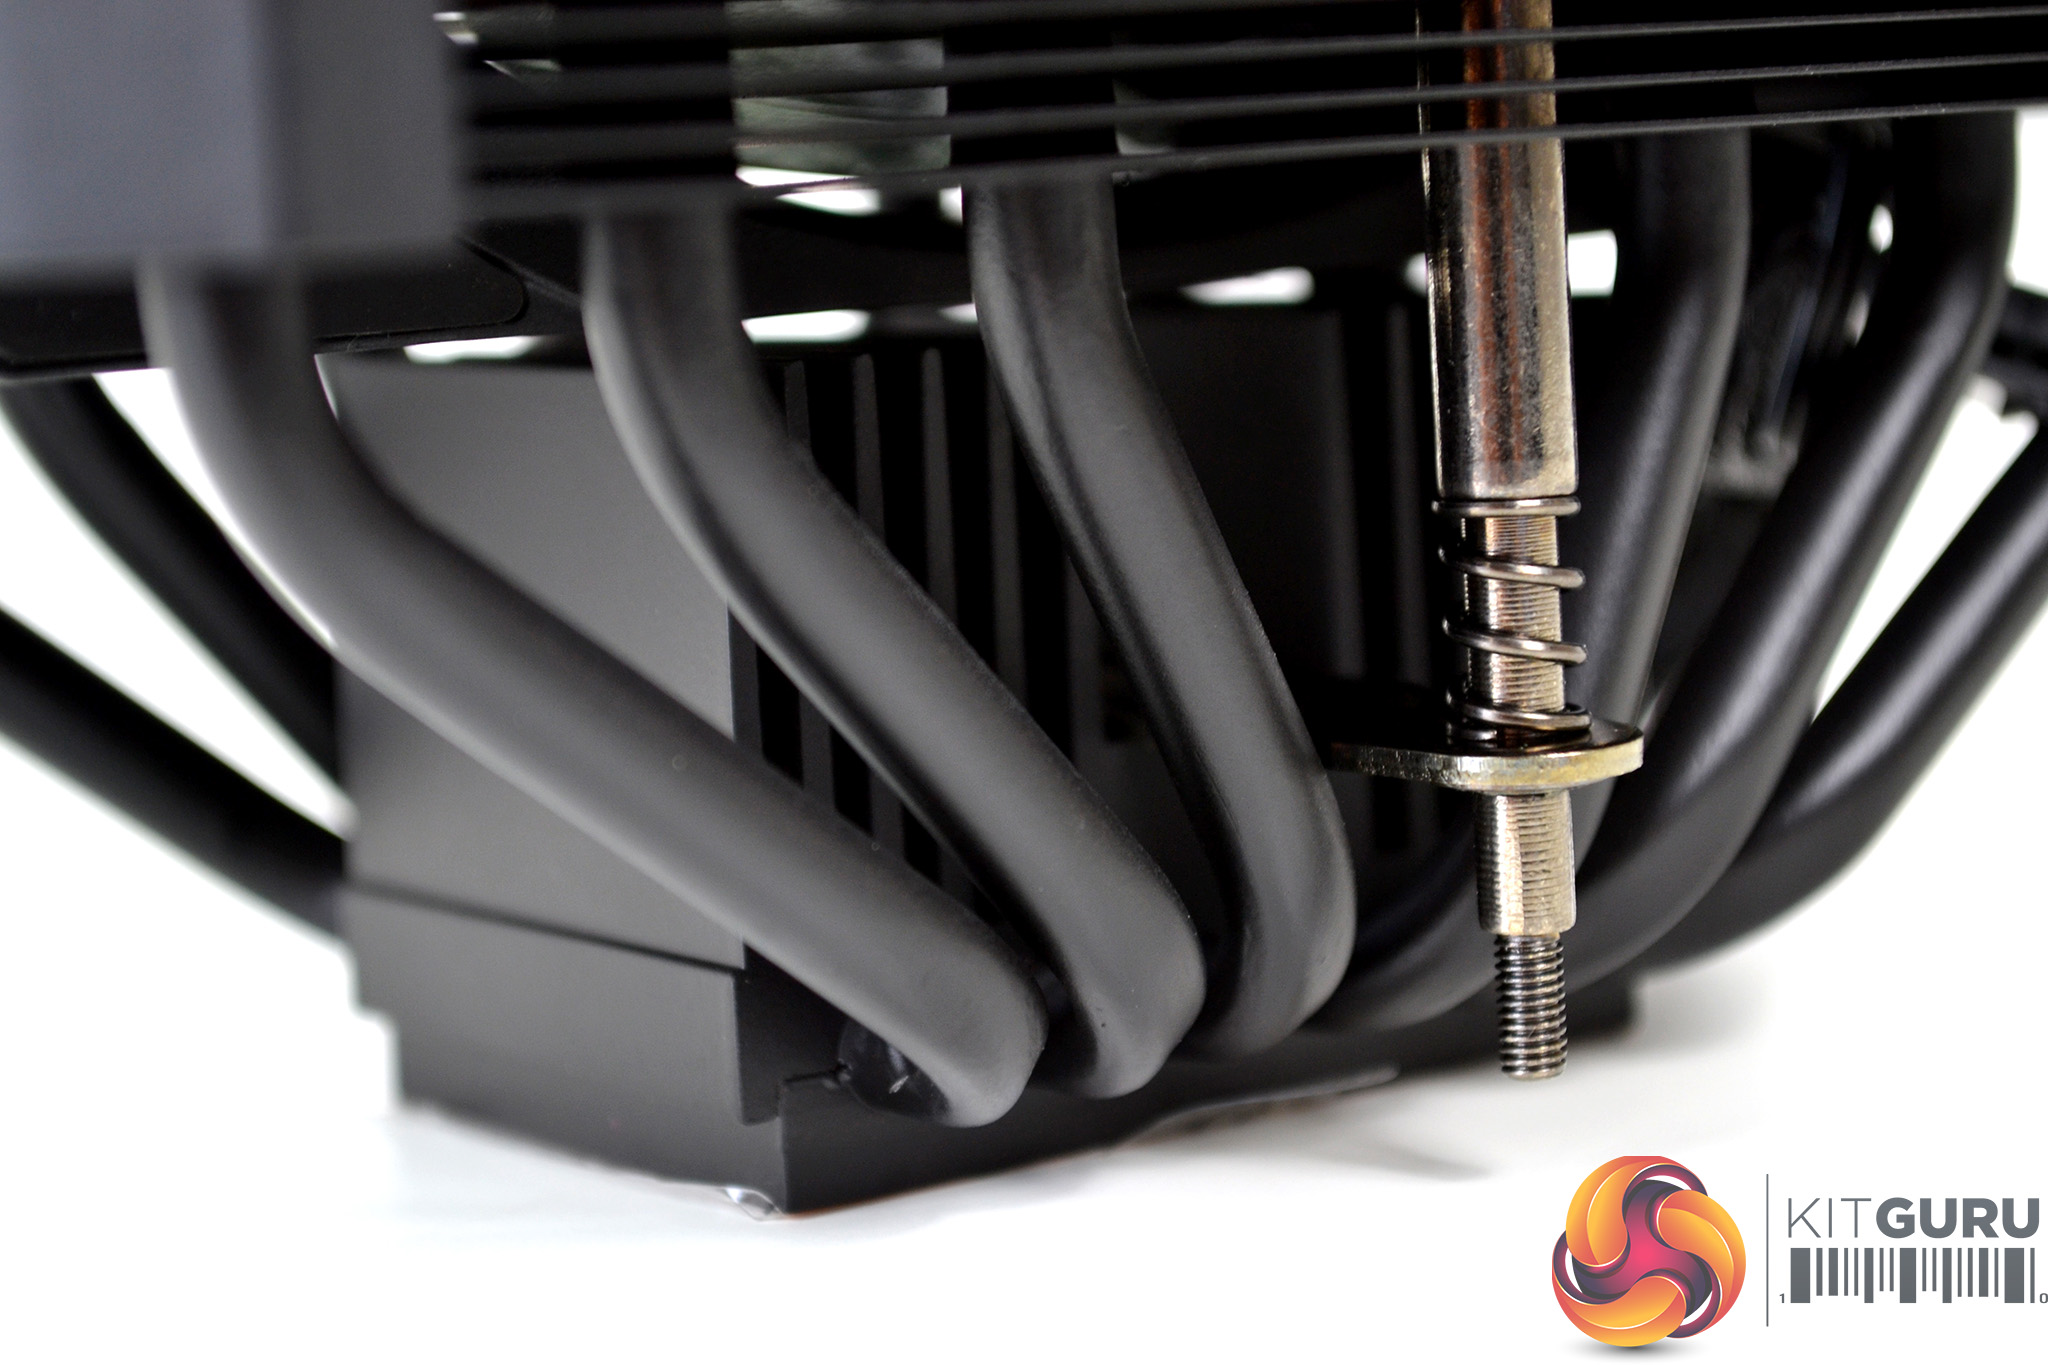
Just above the base plate is a rather chunky heatsink with large fins covered in the same black coating as the rest of the cooler. This could provide additional heat dissipation directly from the CPU which in turn could help keep temperature under control.
Overall, the Cooler Master MasterAir MA620M has a weighty and sturdy feel to its design with a high-quality feel to the materials used. The all back design with a hint of RGB lighting provides a pleasing, minimalist aesthetic.
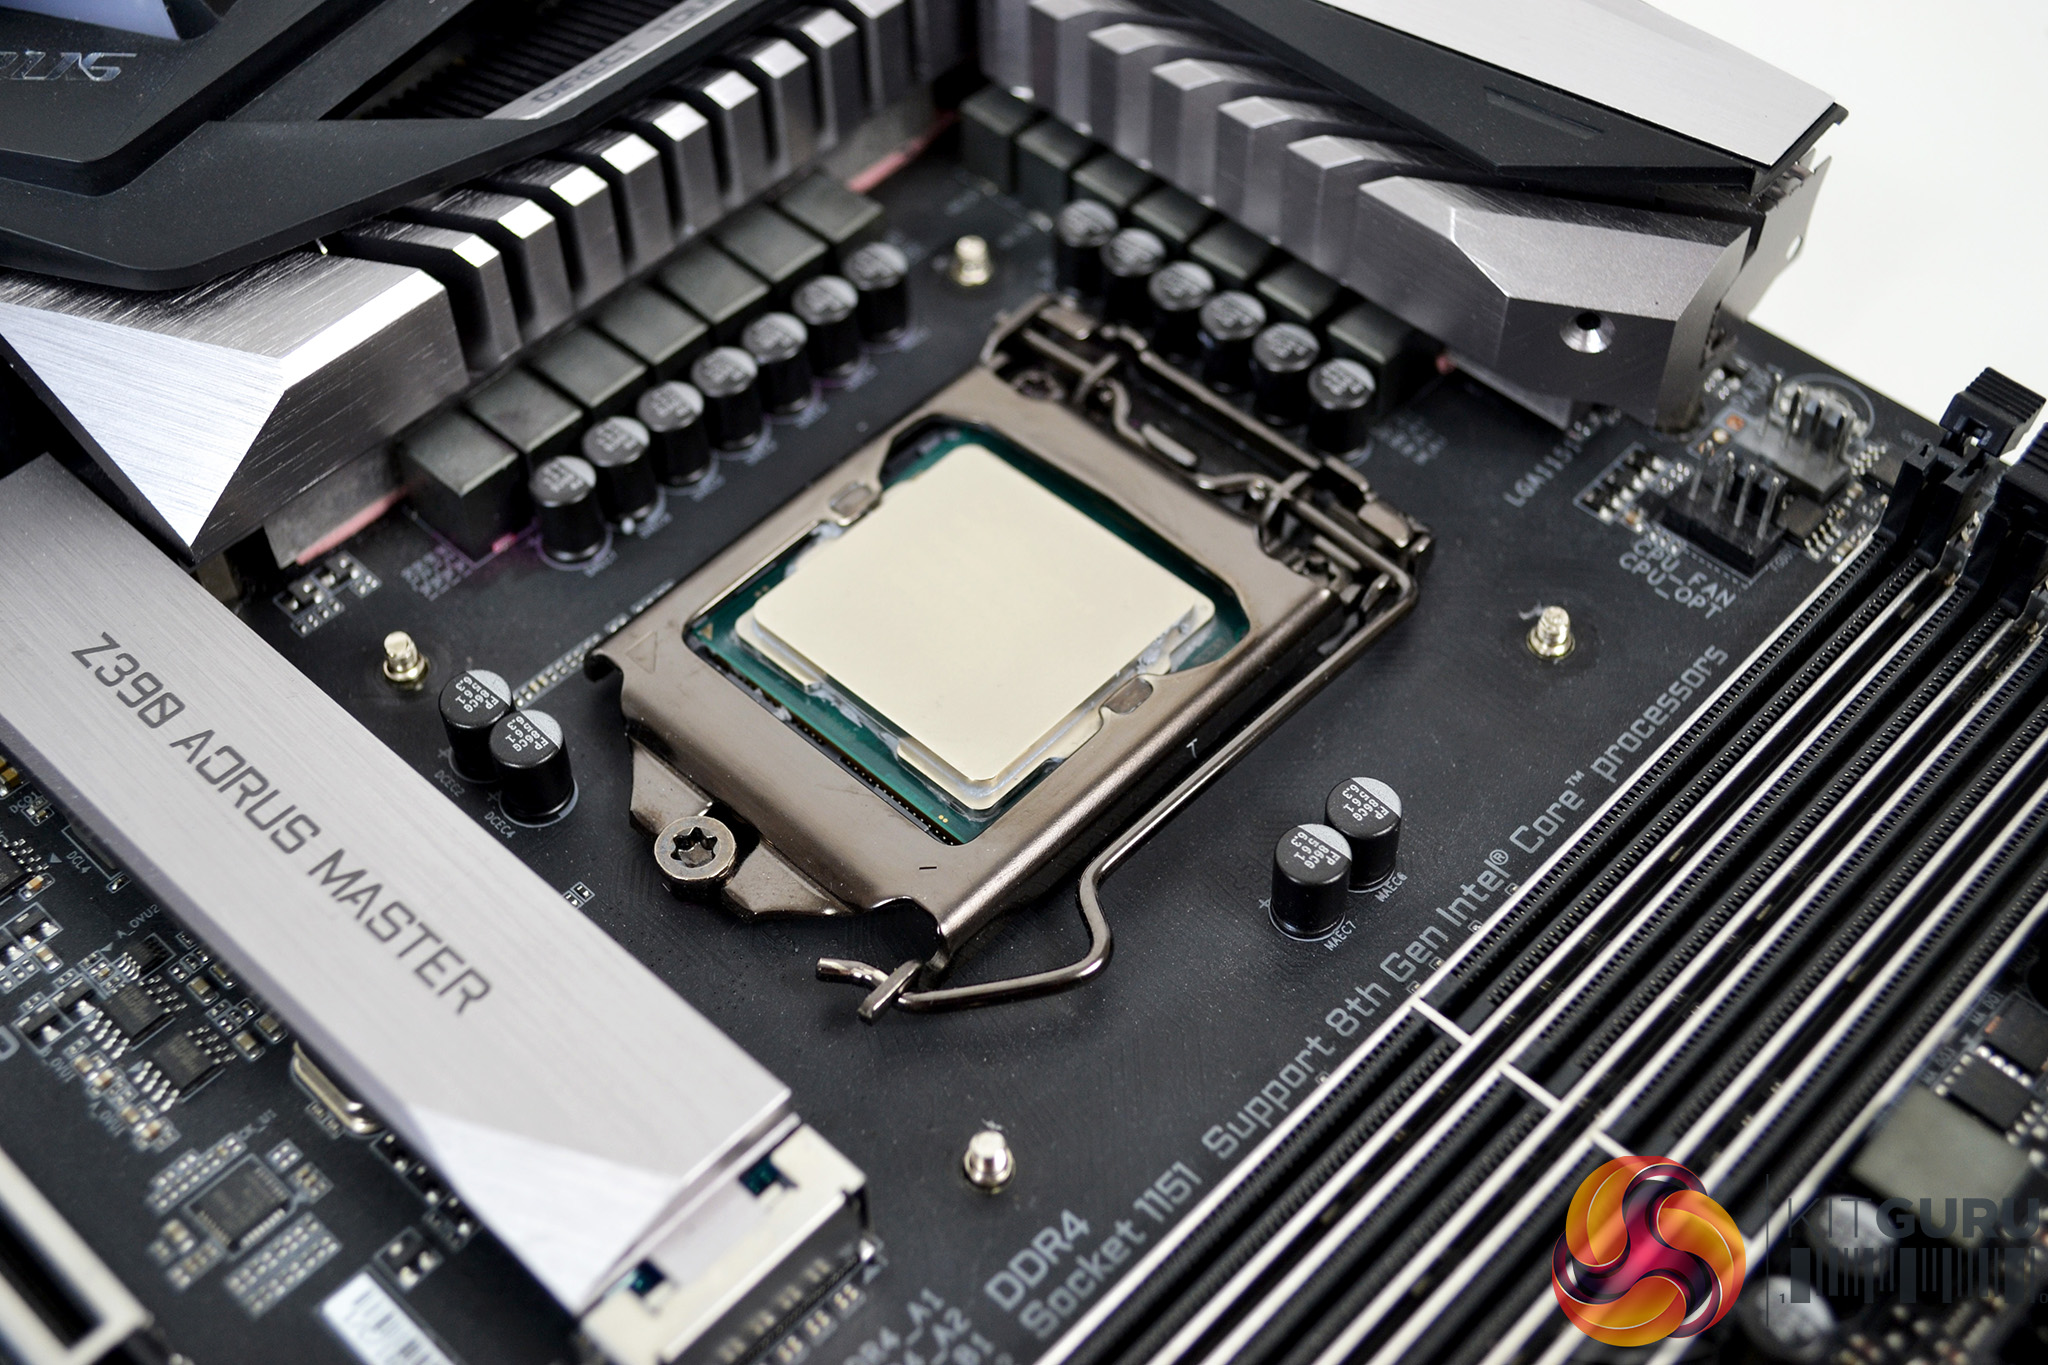
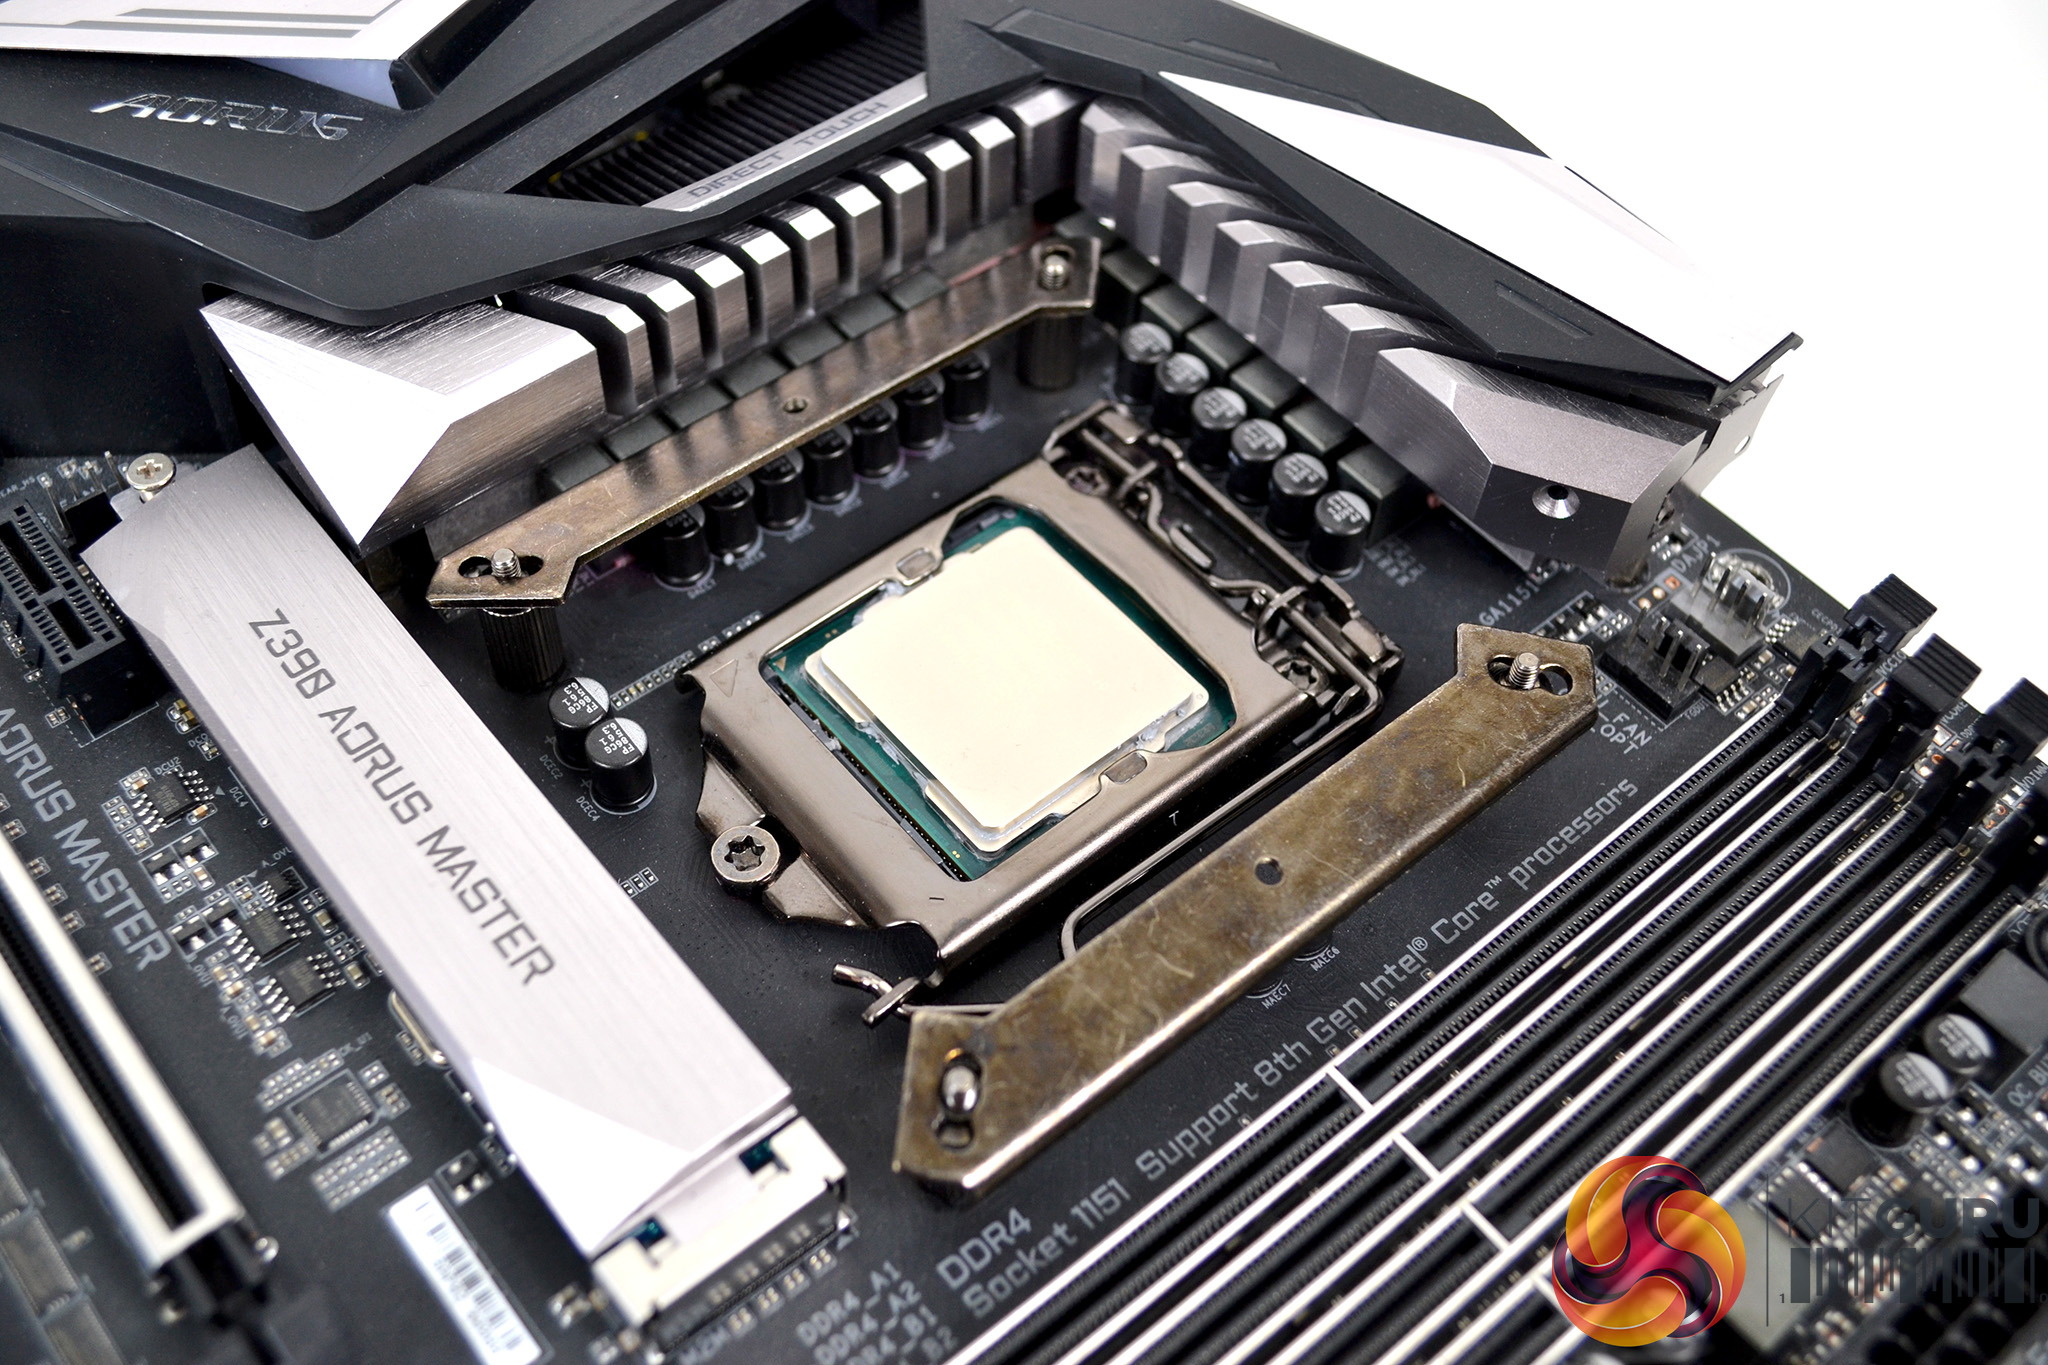
Our test system is Intel Z390 based, therefore, we will be following the relevant 115X socket installation procedure.
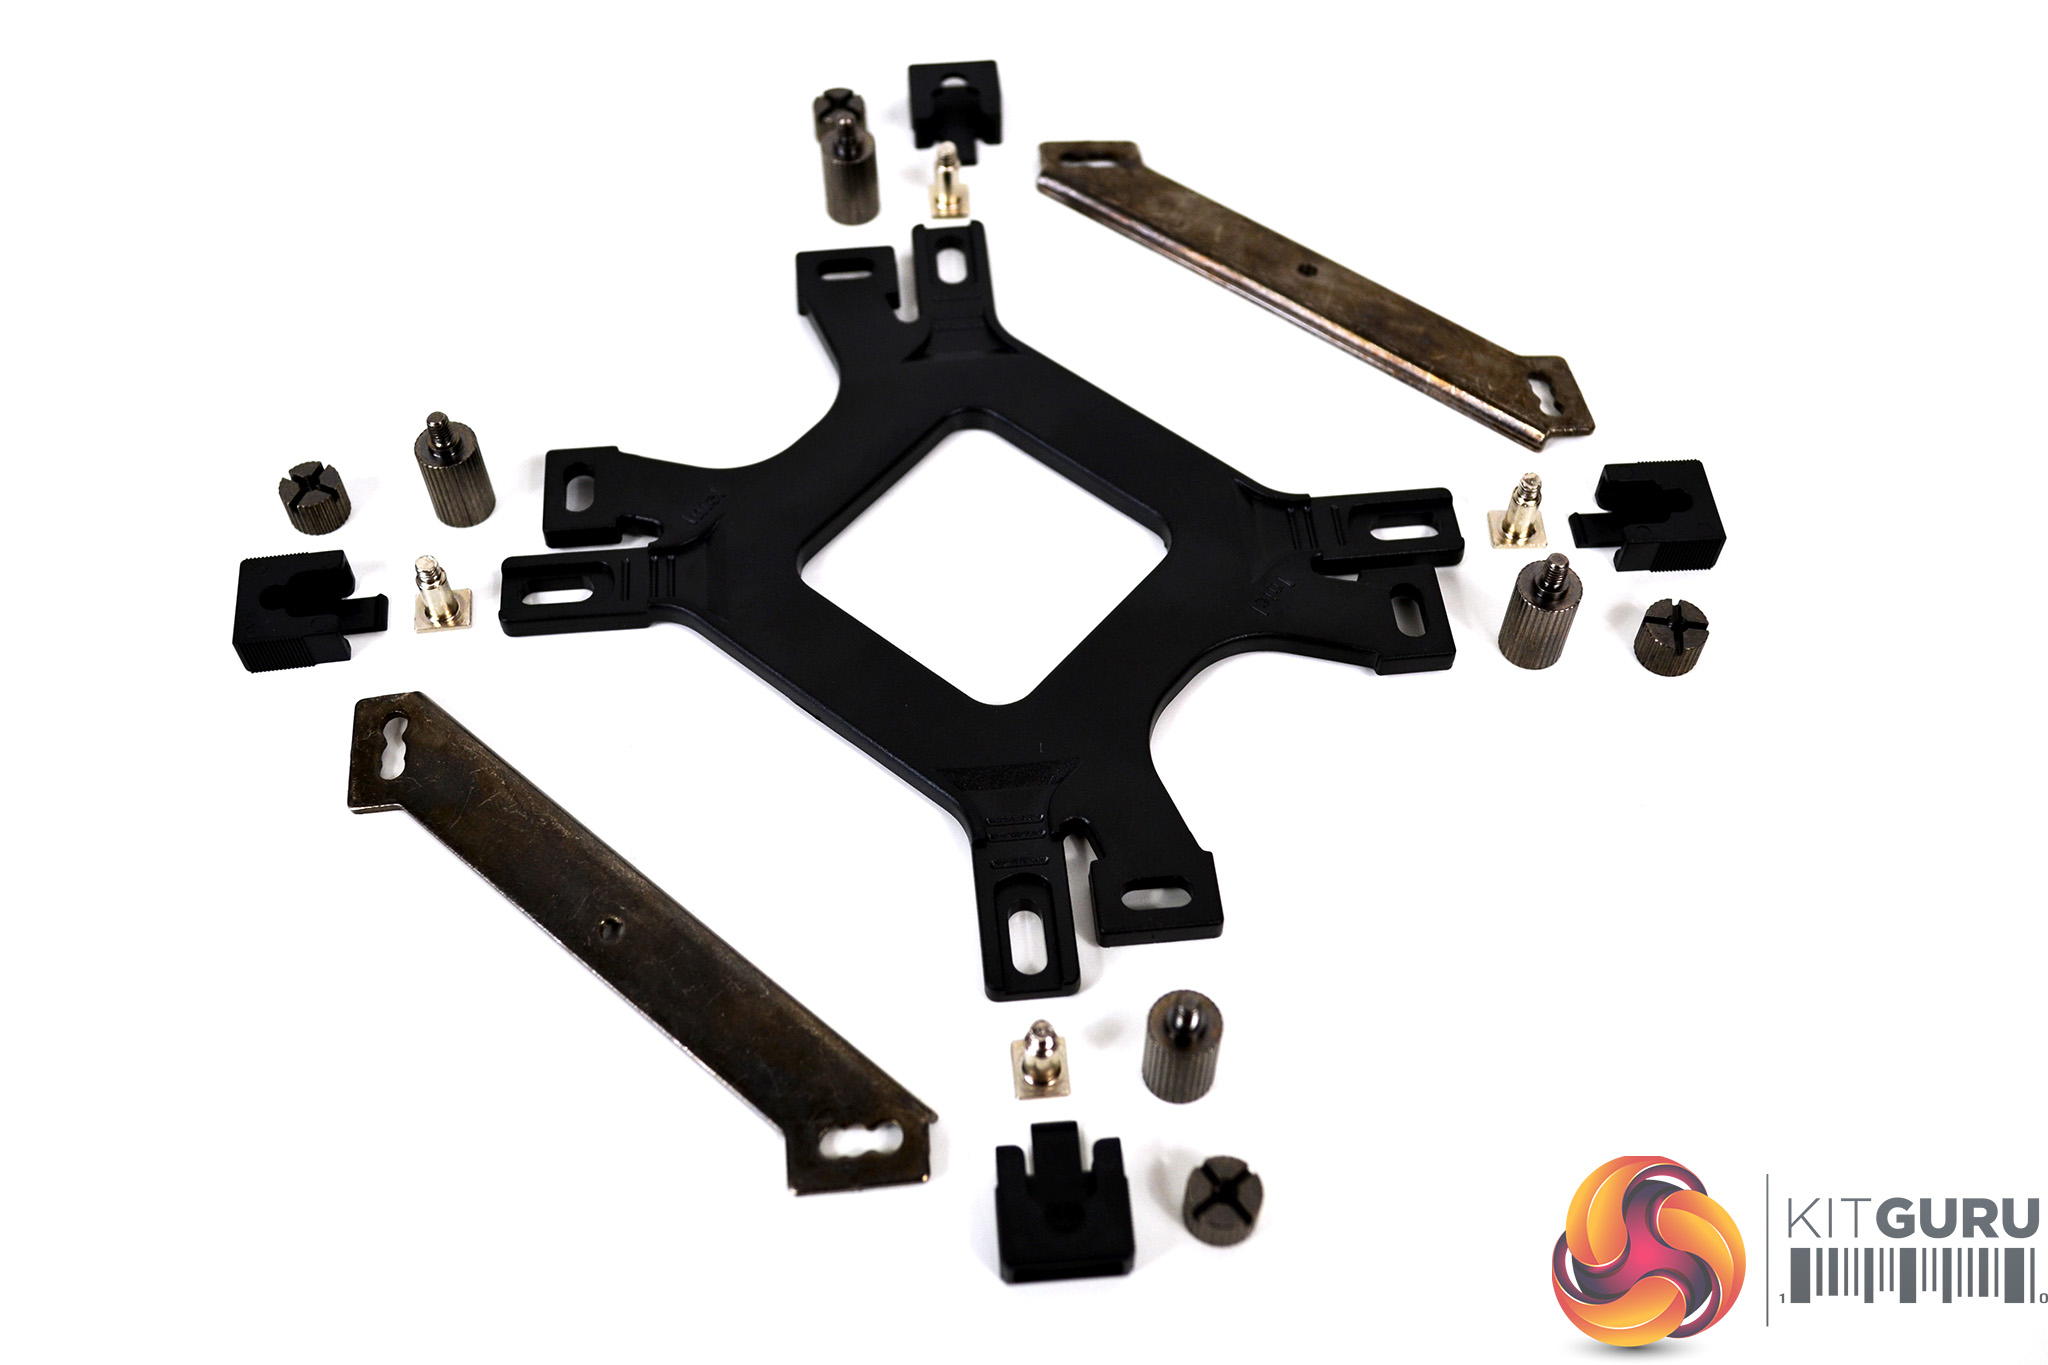
Due to the two-step installation process that Cooler Master has implemented in the MasterAir MA620M, there is no additional preparation for the cooler. All the mounting hardware, along with the fan, is pre-installed, so installation should prove straightforward and not time-consuming. With all the relevant mounting hardware for Intel 115X installation laid out on the bench, we can begin.
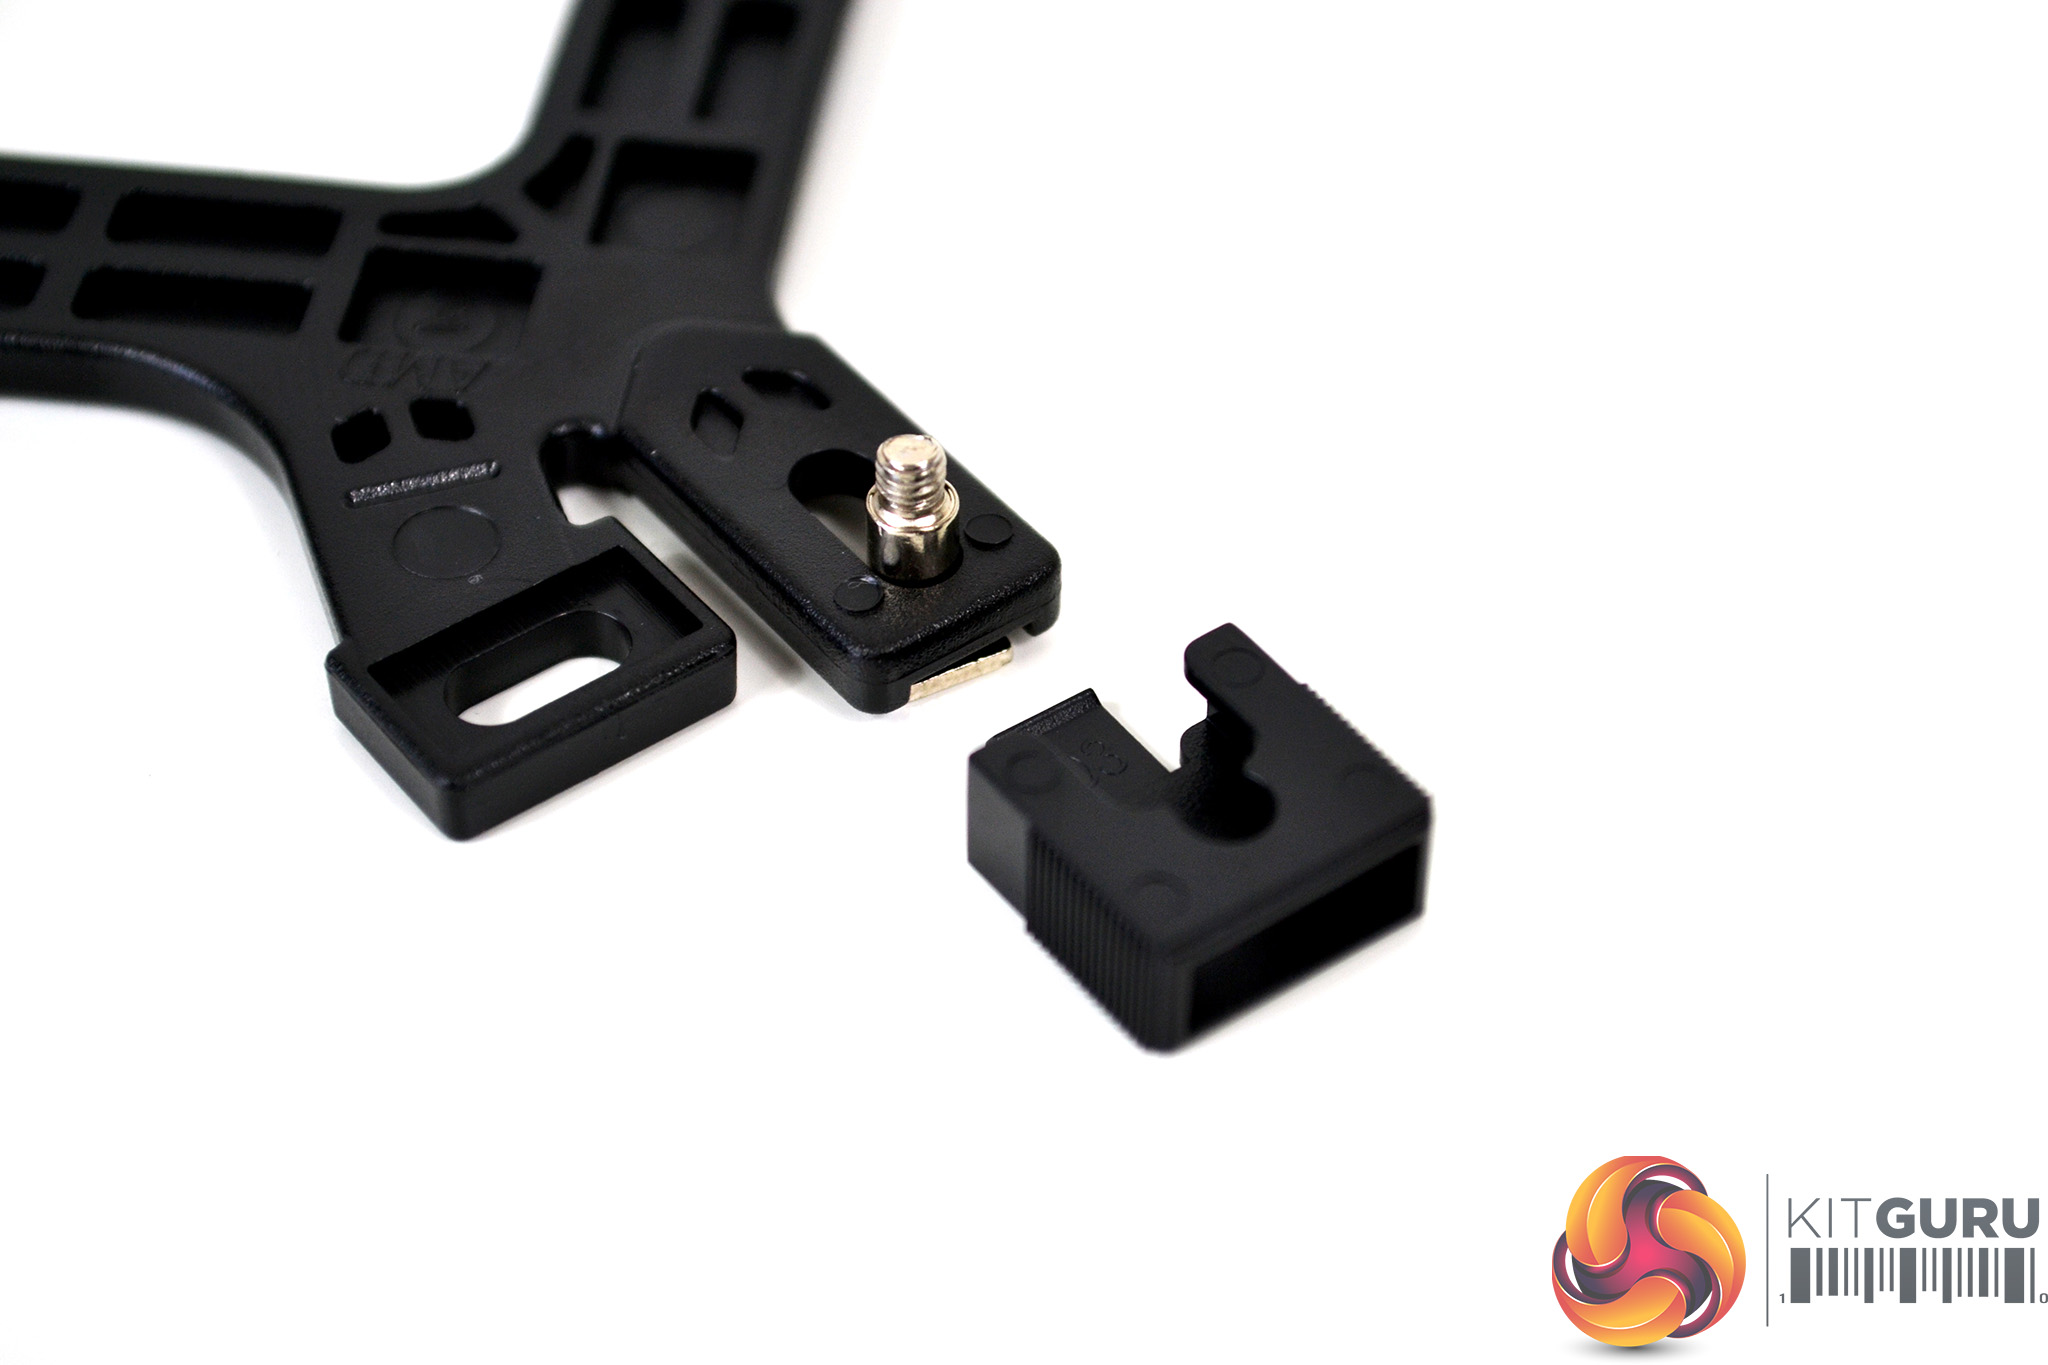
To begin with, take the universal mounting backplate and insert the retention screws in the brackets elongated holes. Using the four plastic retaining clips, push them over the legs of the bracket and on to the mounting screws. When you hear an audible click, the clips are correctly attached to the screw.
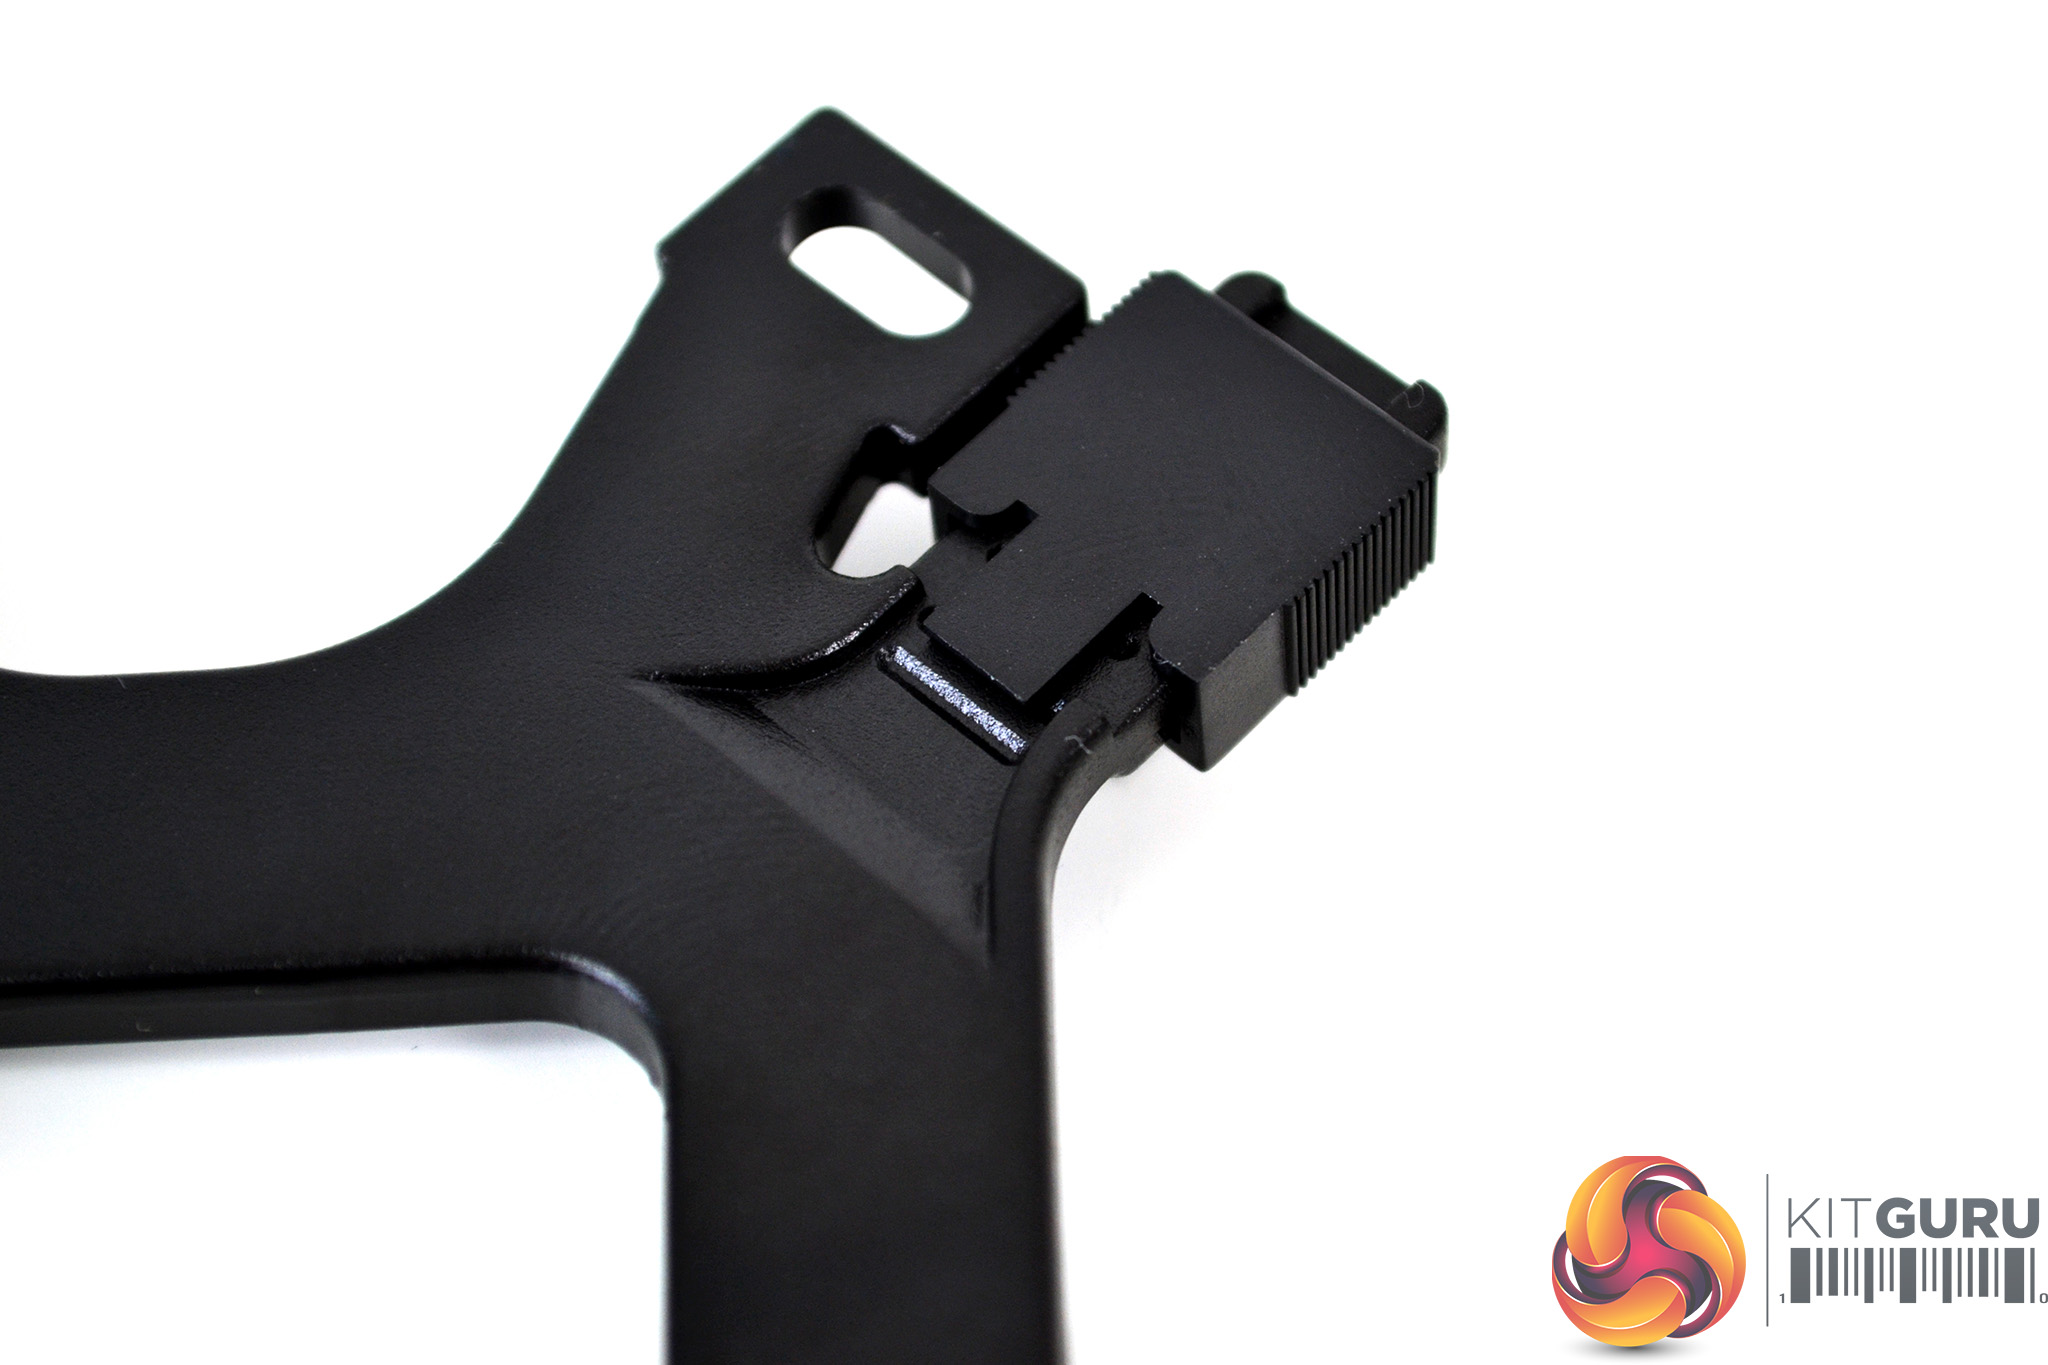
There are three notches in the retention bracket legs for the retaining clips to locate in. For Intel 115X, the tab on the plastic clips must be located in the central notch for correct mounting screw alignment.
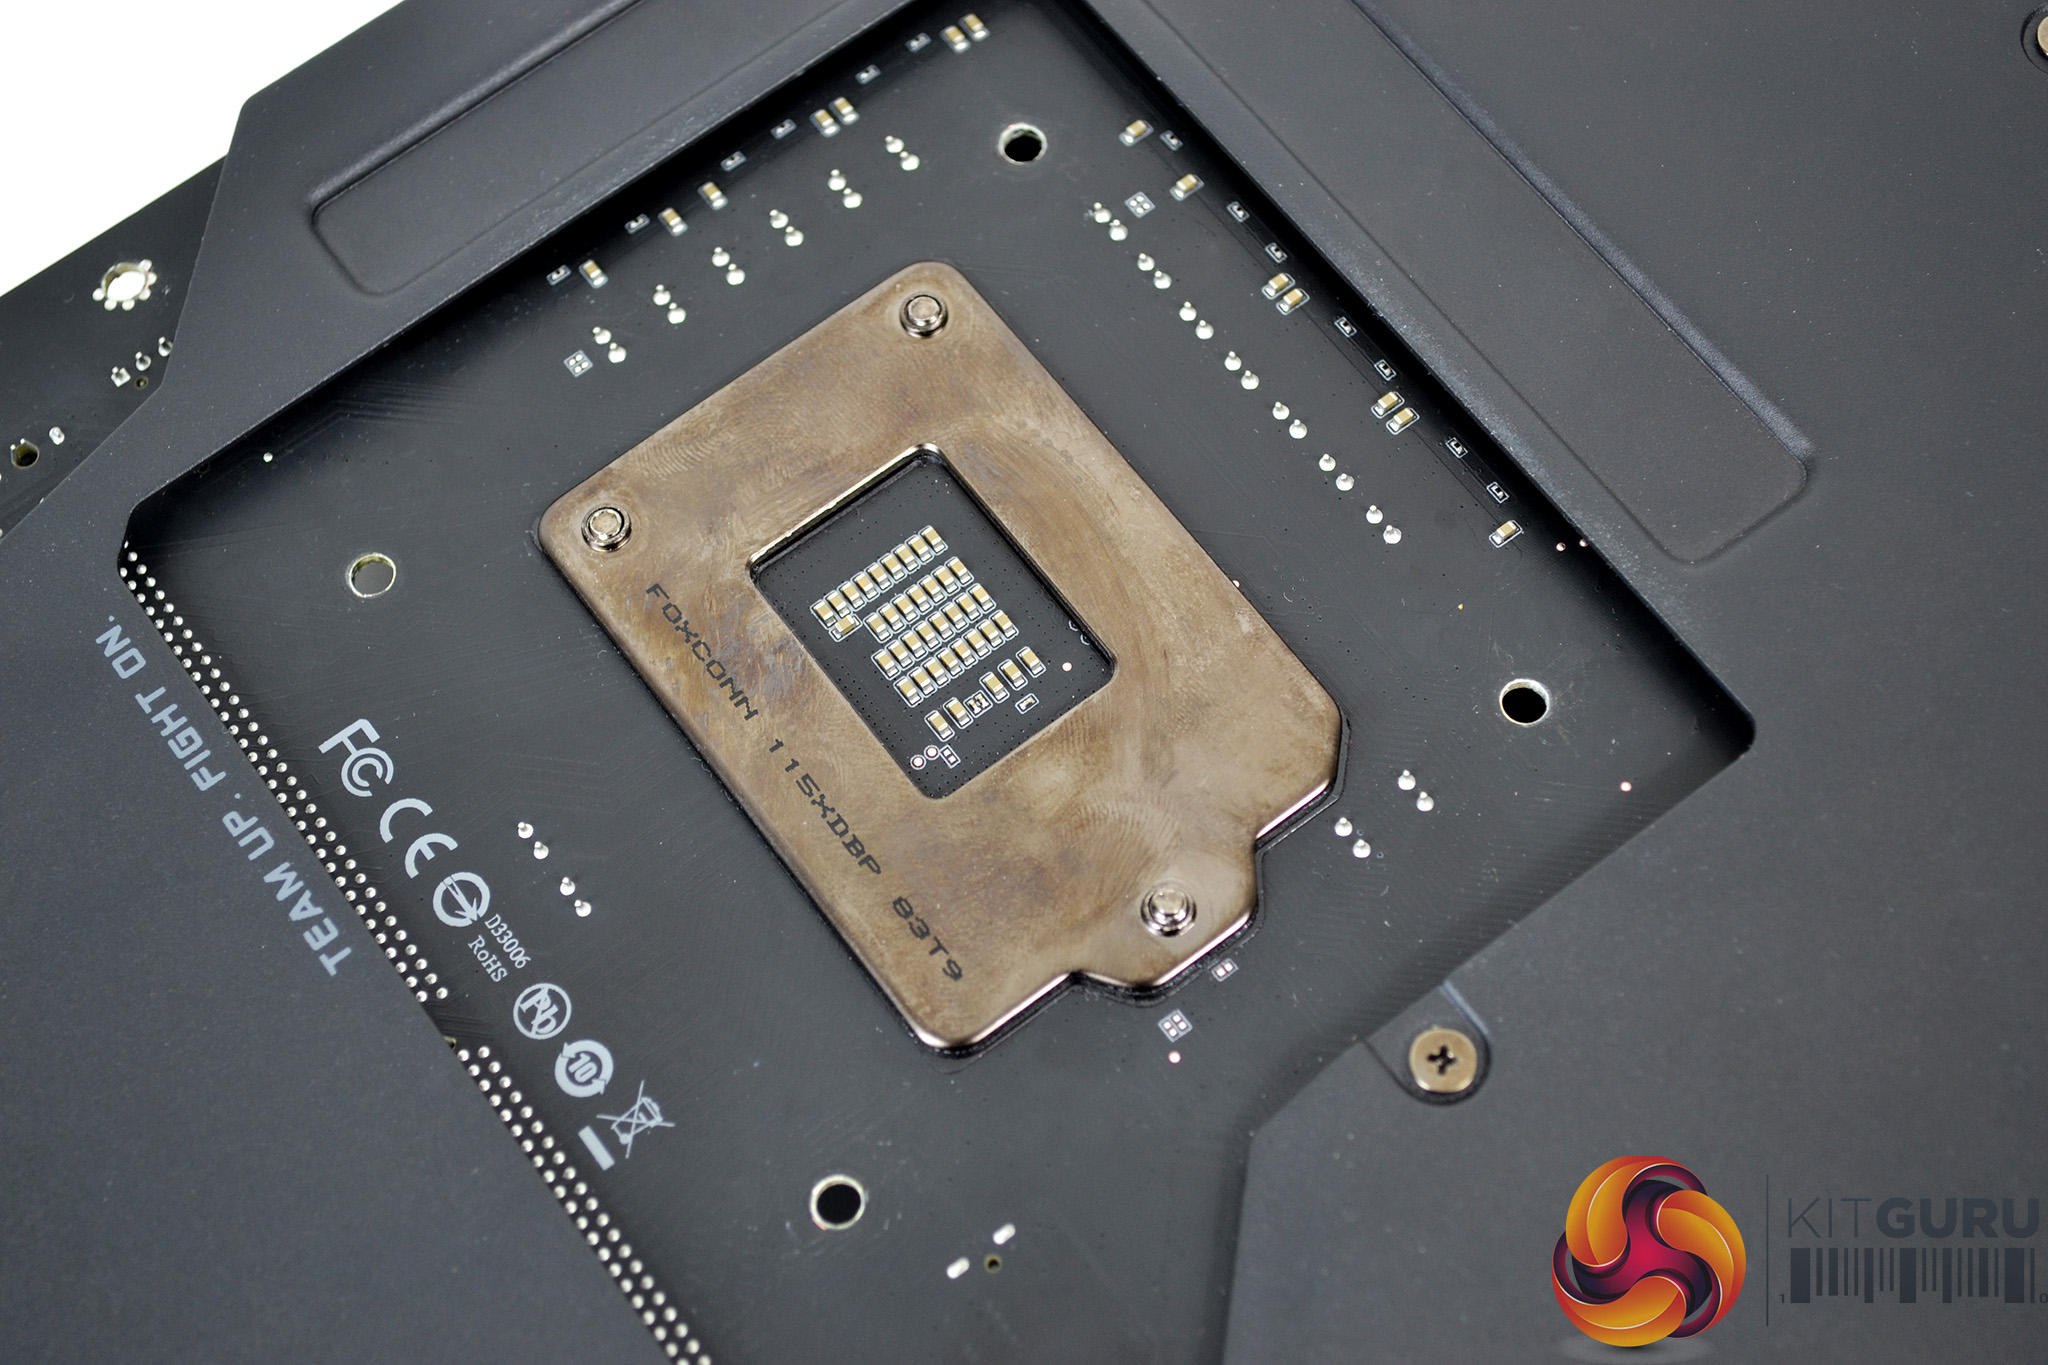
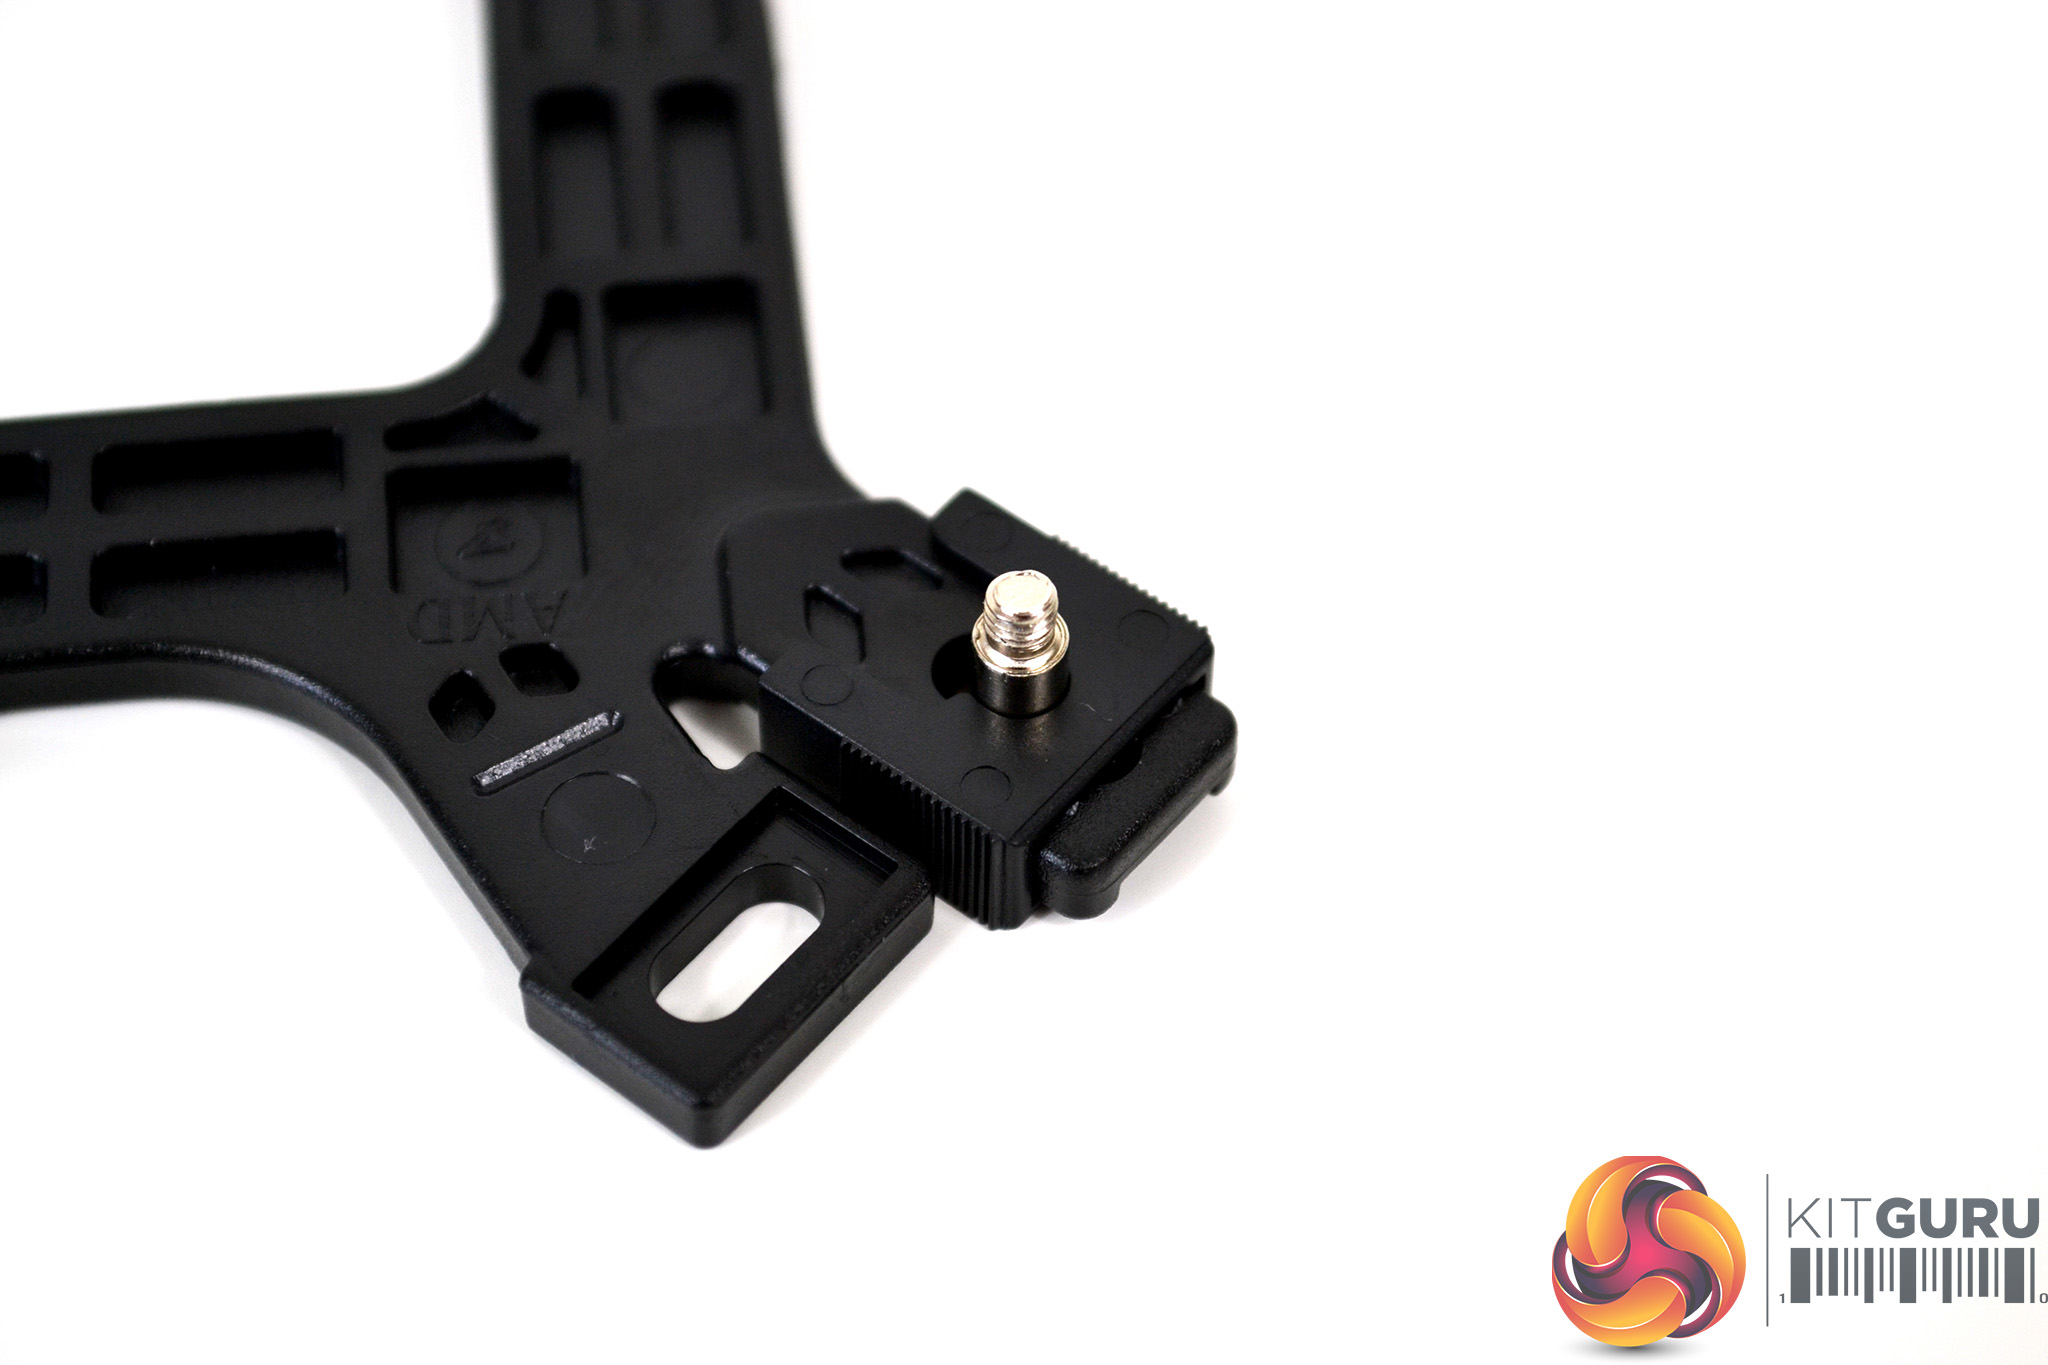
Once the retaining screws and plastic clips are installed and in the correct orientation on the backplate, place the backplate on the underside of the motherboard and align with the mounting holes around the CPU socket.

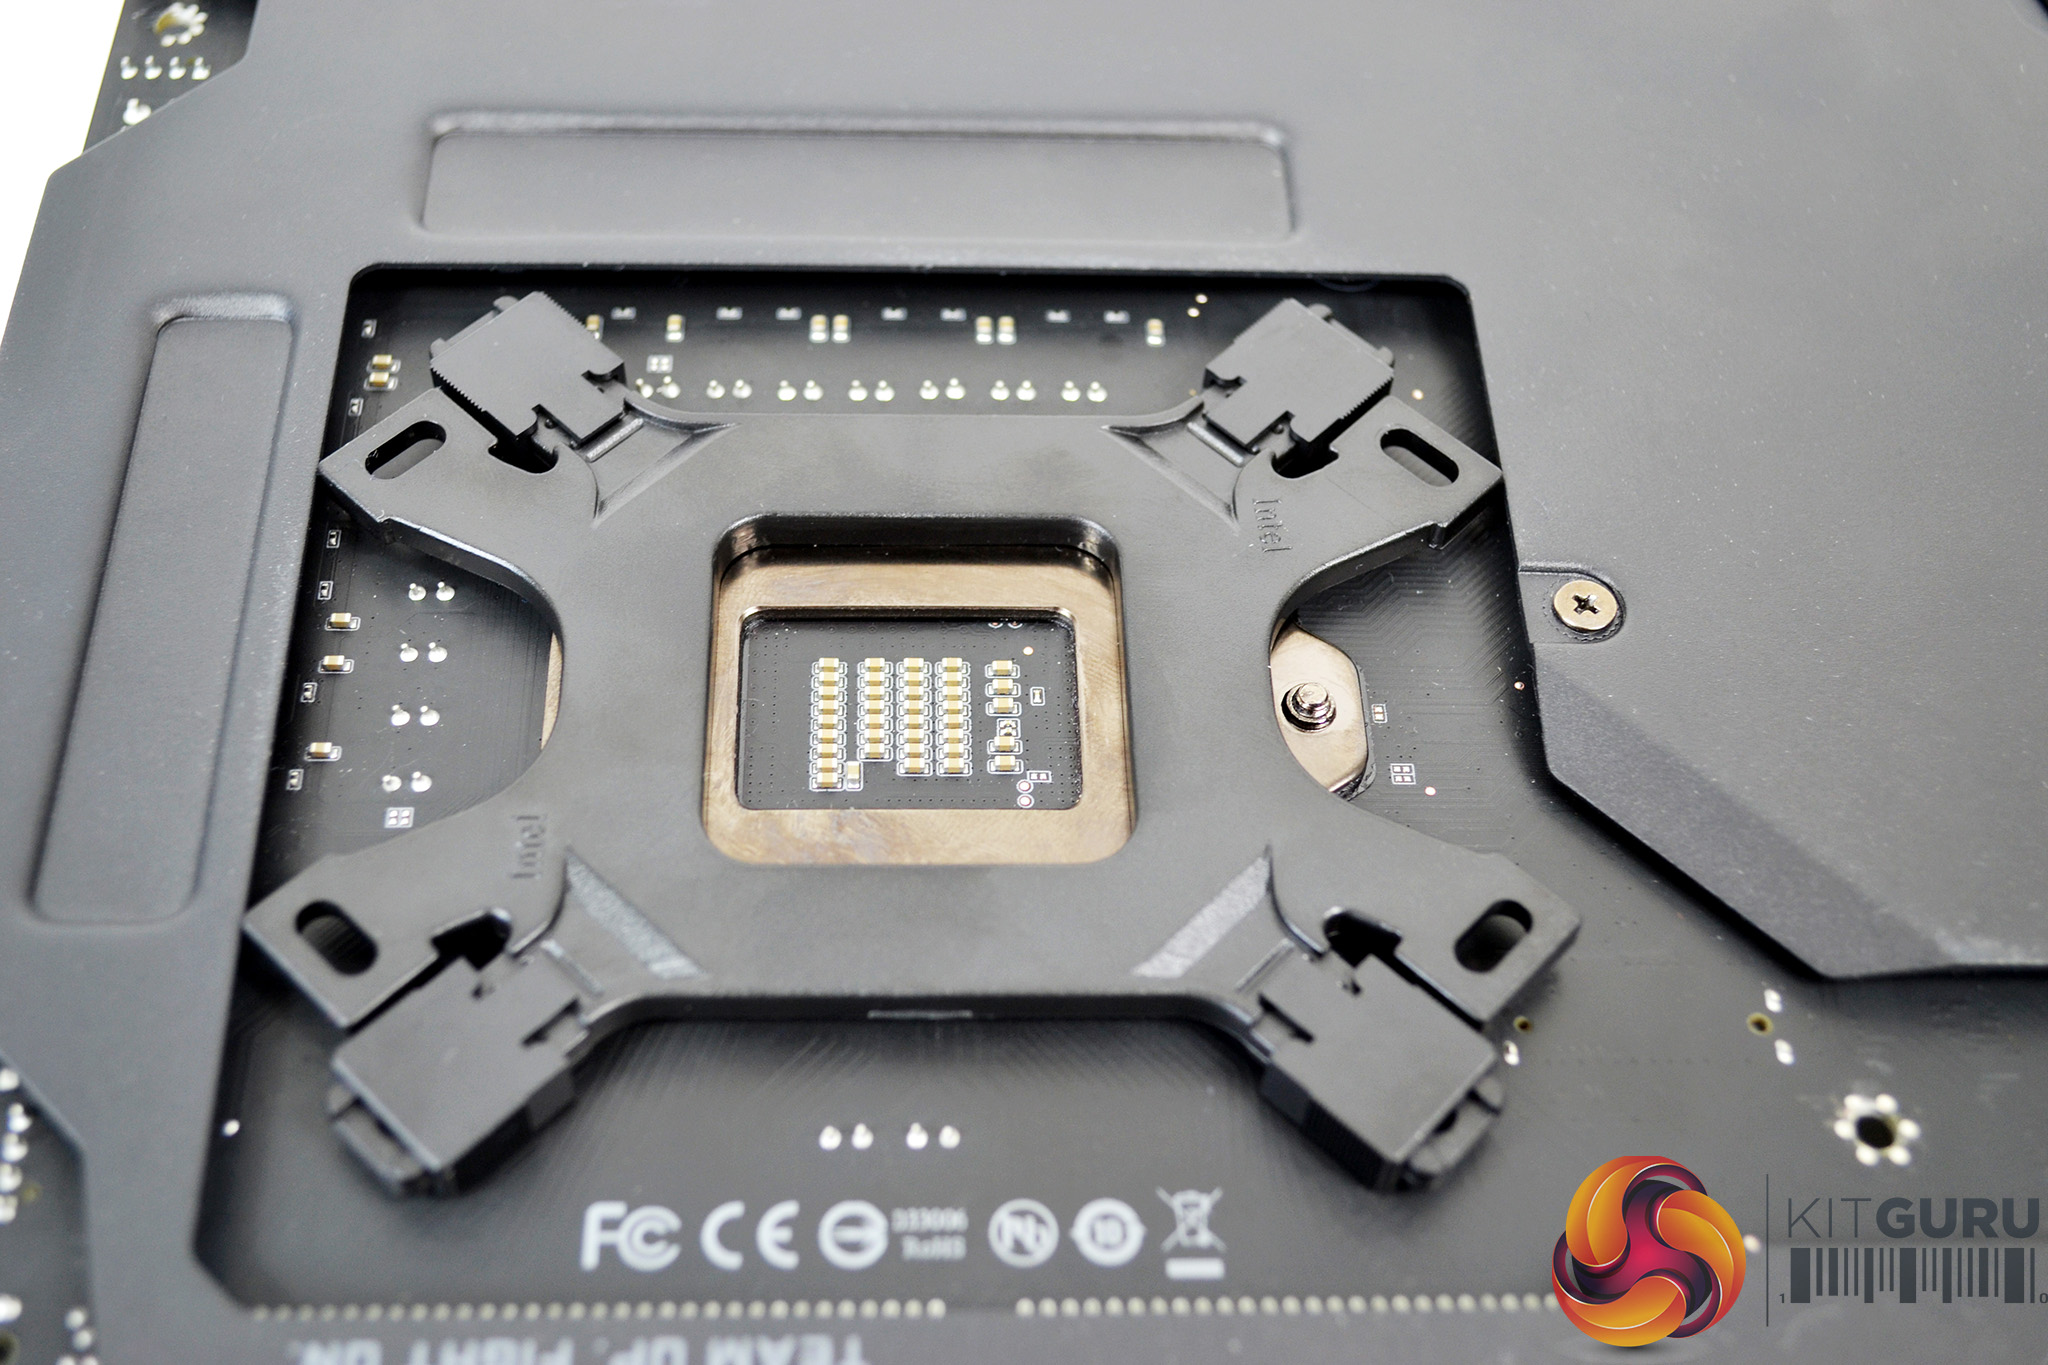
Next, flip the motherboard back over so it’s the correct way up – notice the cooler retaining screws should be slightly protruding from the PCB. Now take the four Intel mounting posts and tighten them down over the mounting screws by hand.
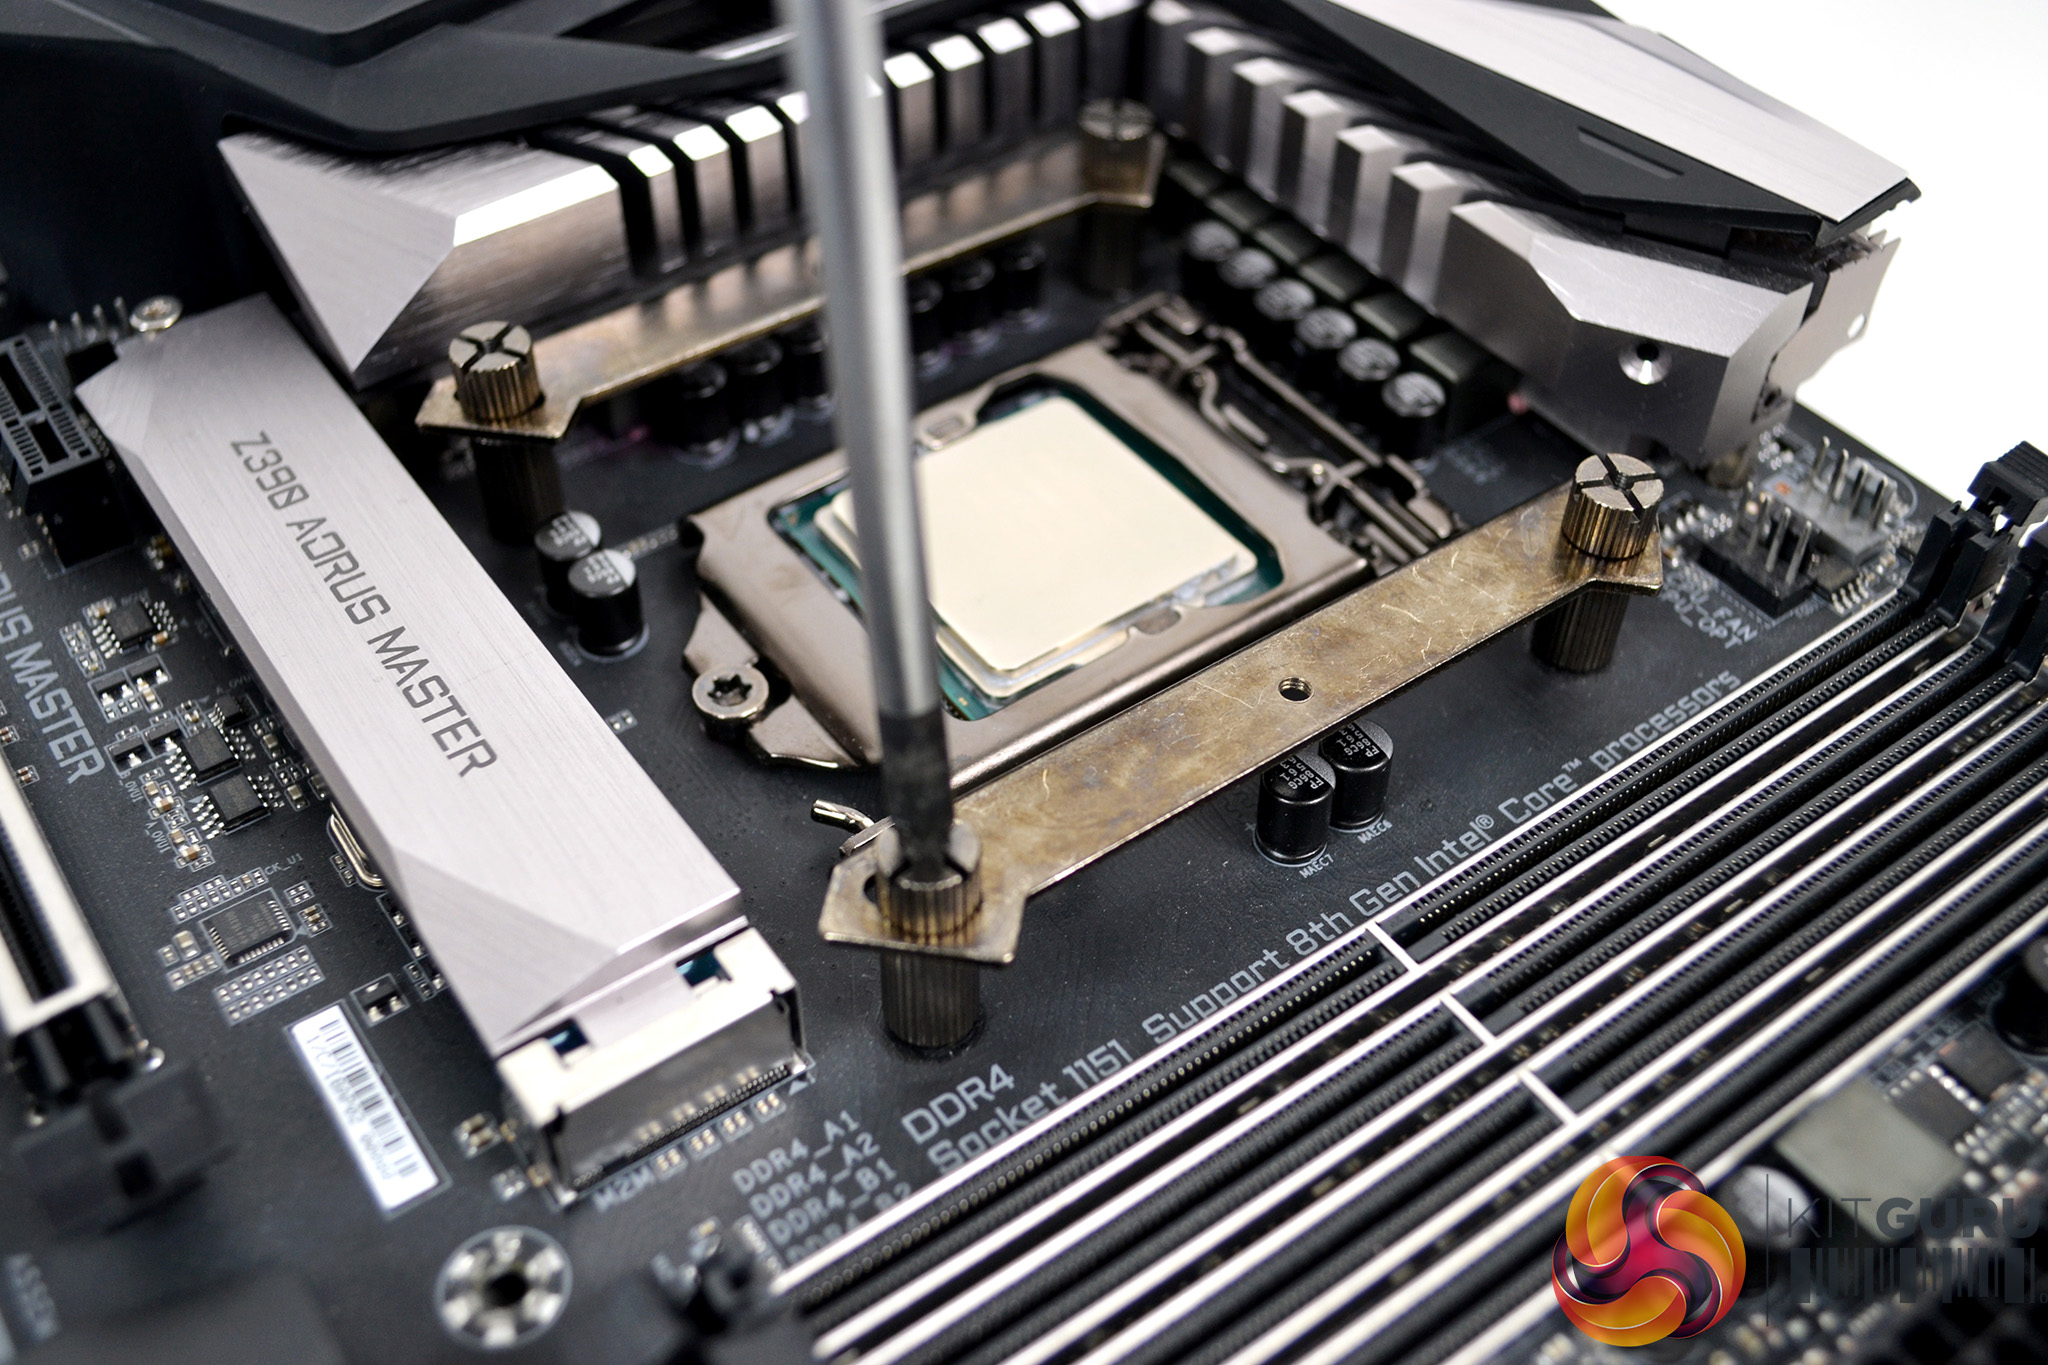
Once all the mounting posts are fitted, take two Intel upper mounting brackets and offer them on to the posts, aligned with the central holes. Using the four thumbscrews, tighten the upper brackets in place. Final tightening can be achieved by using a Philips screwdriver if required.
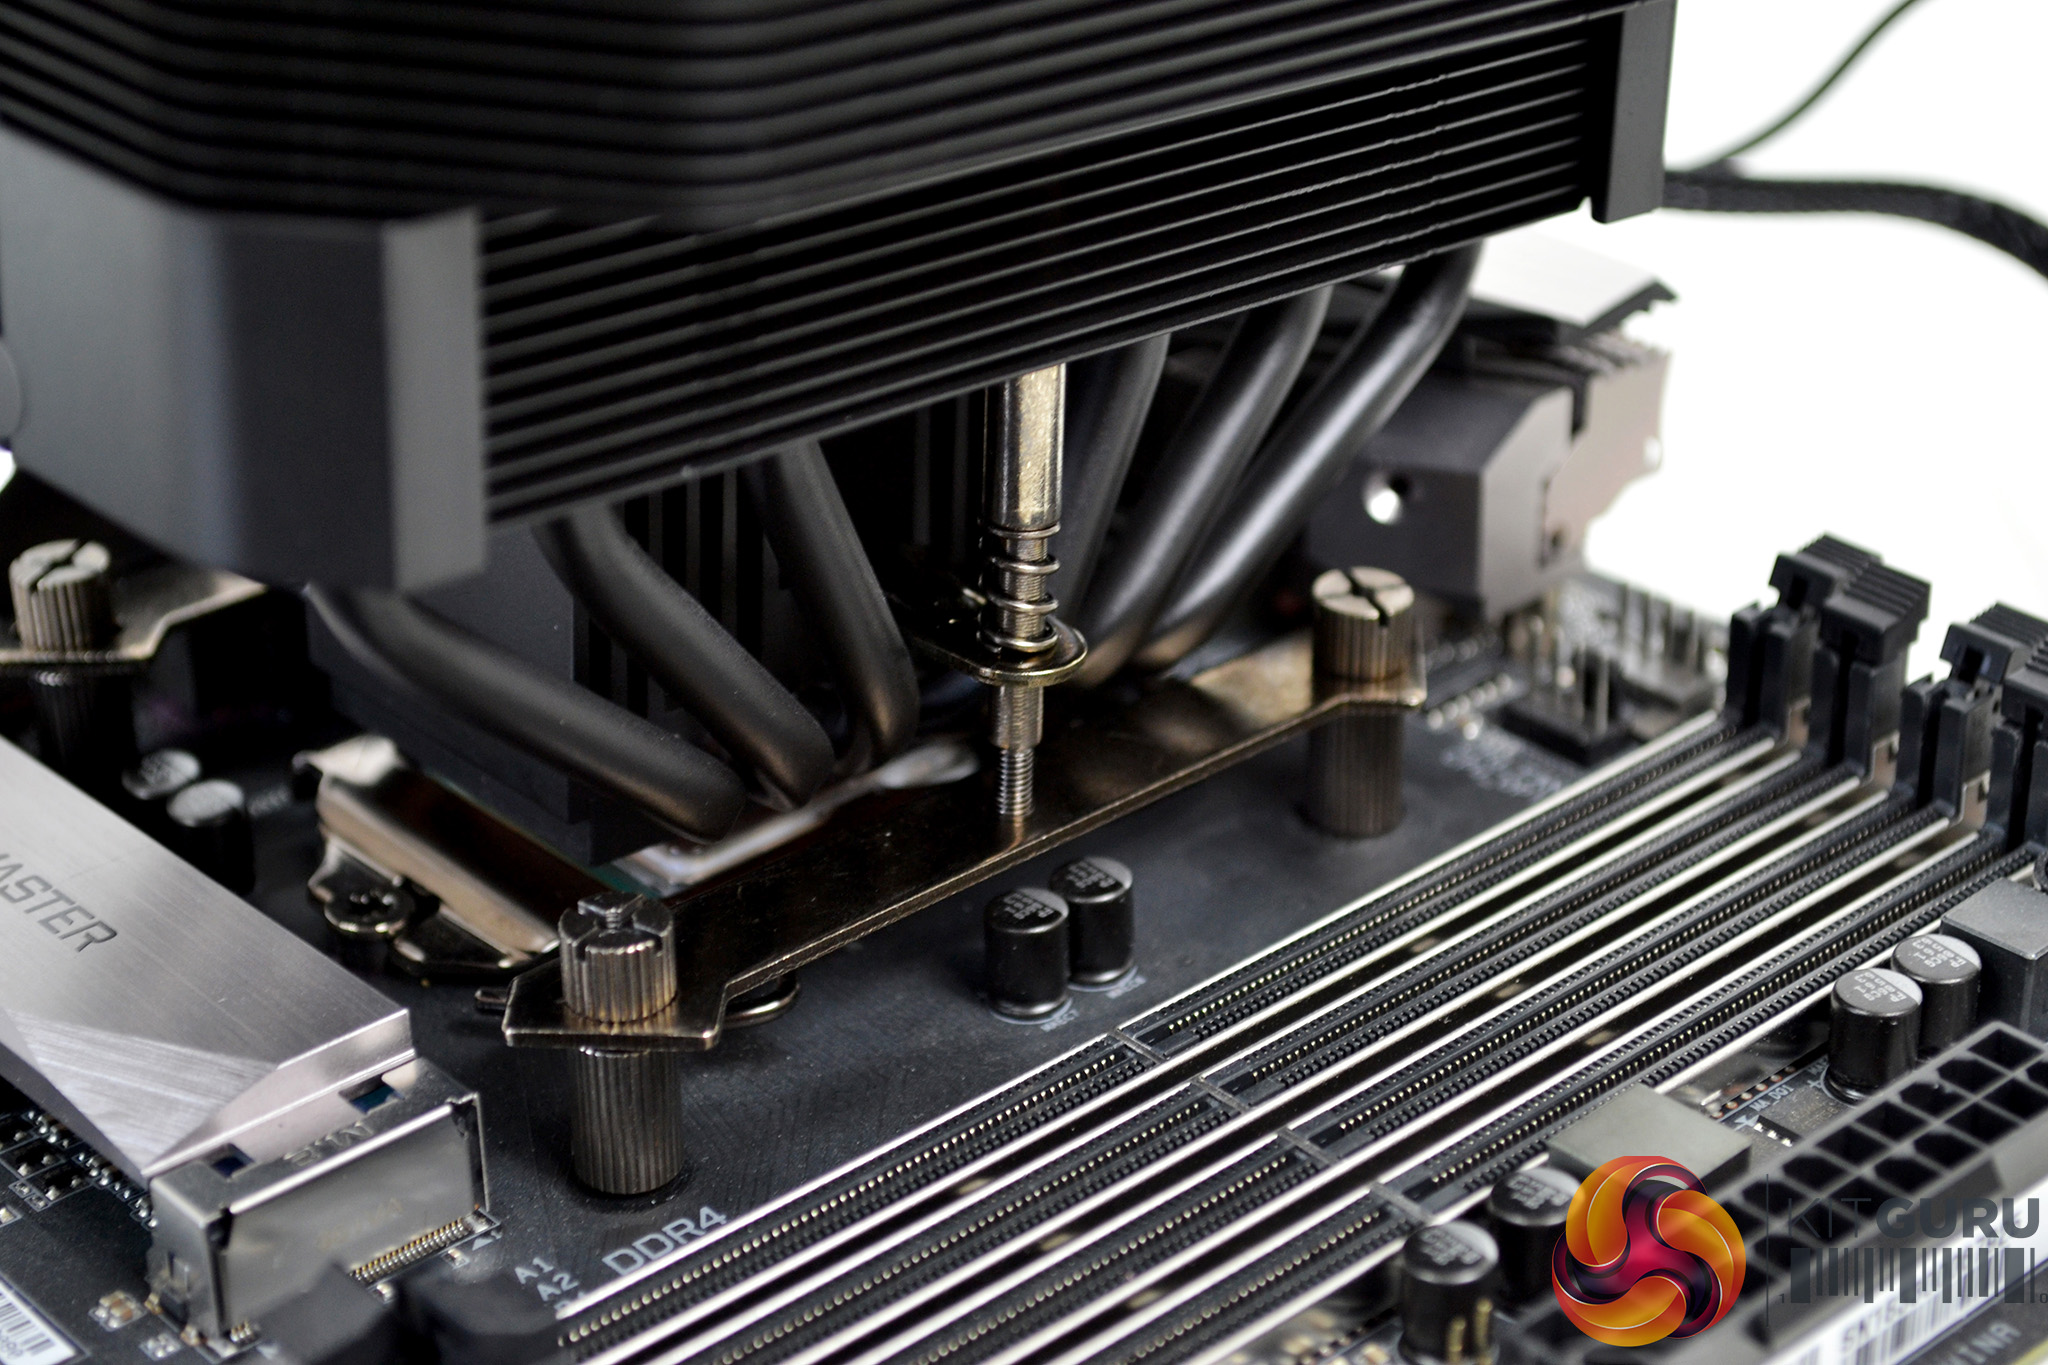
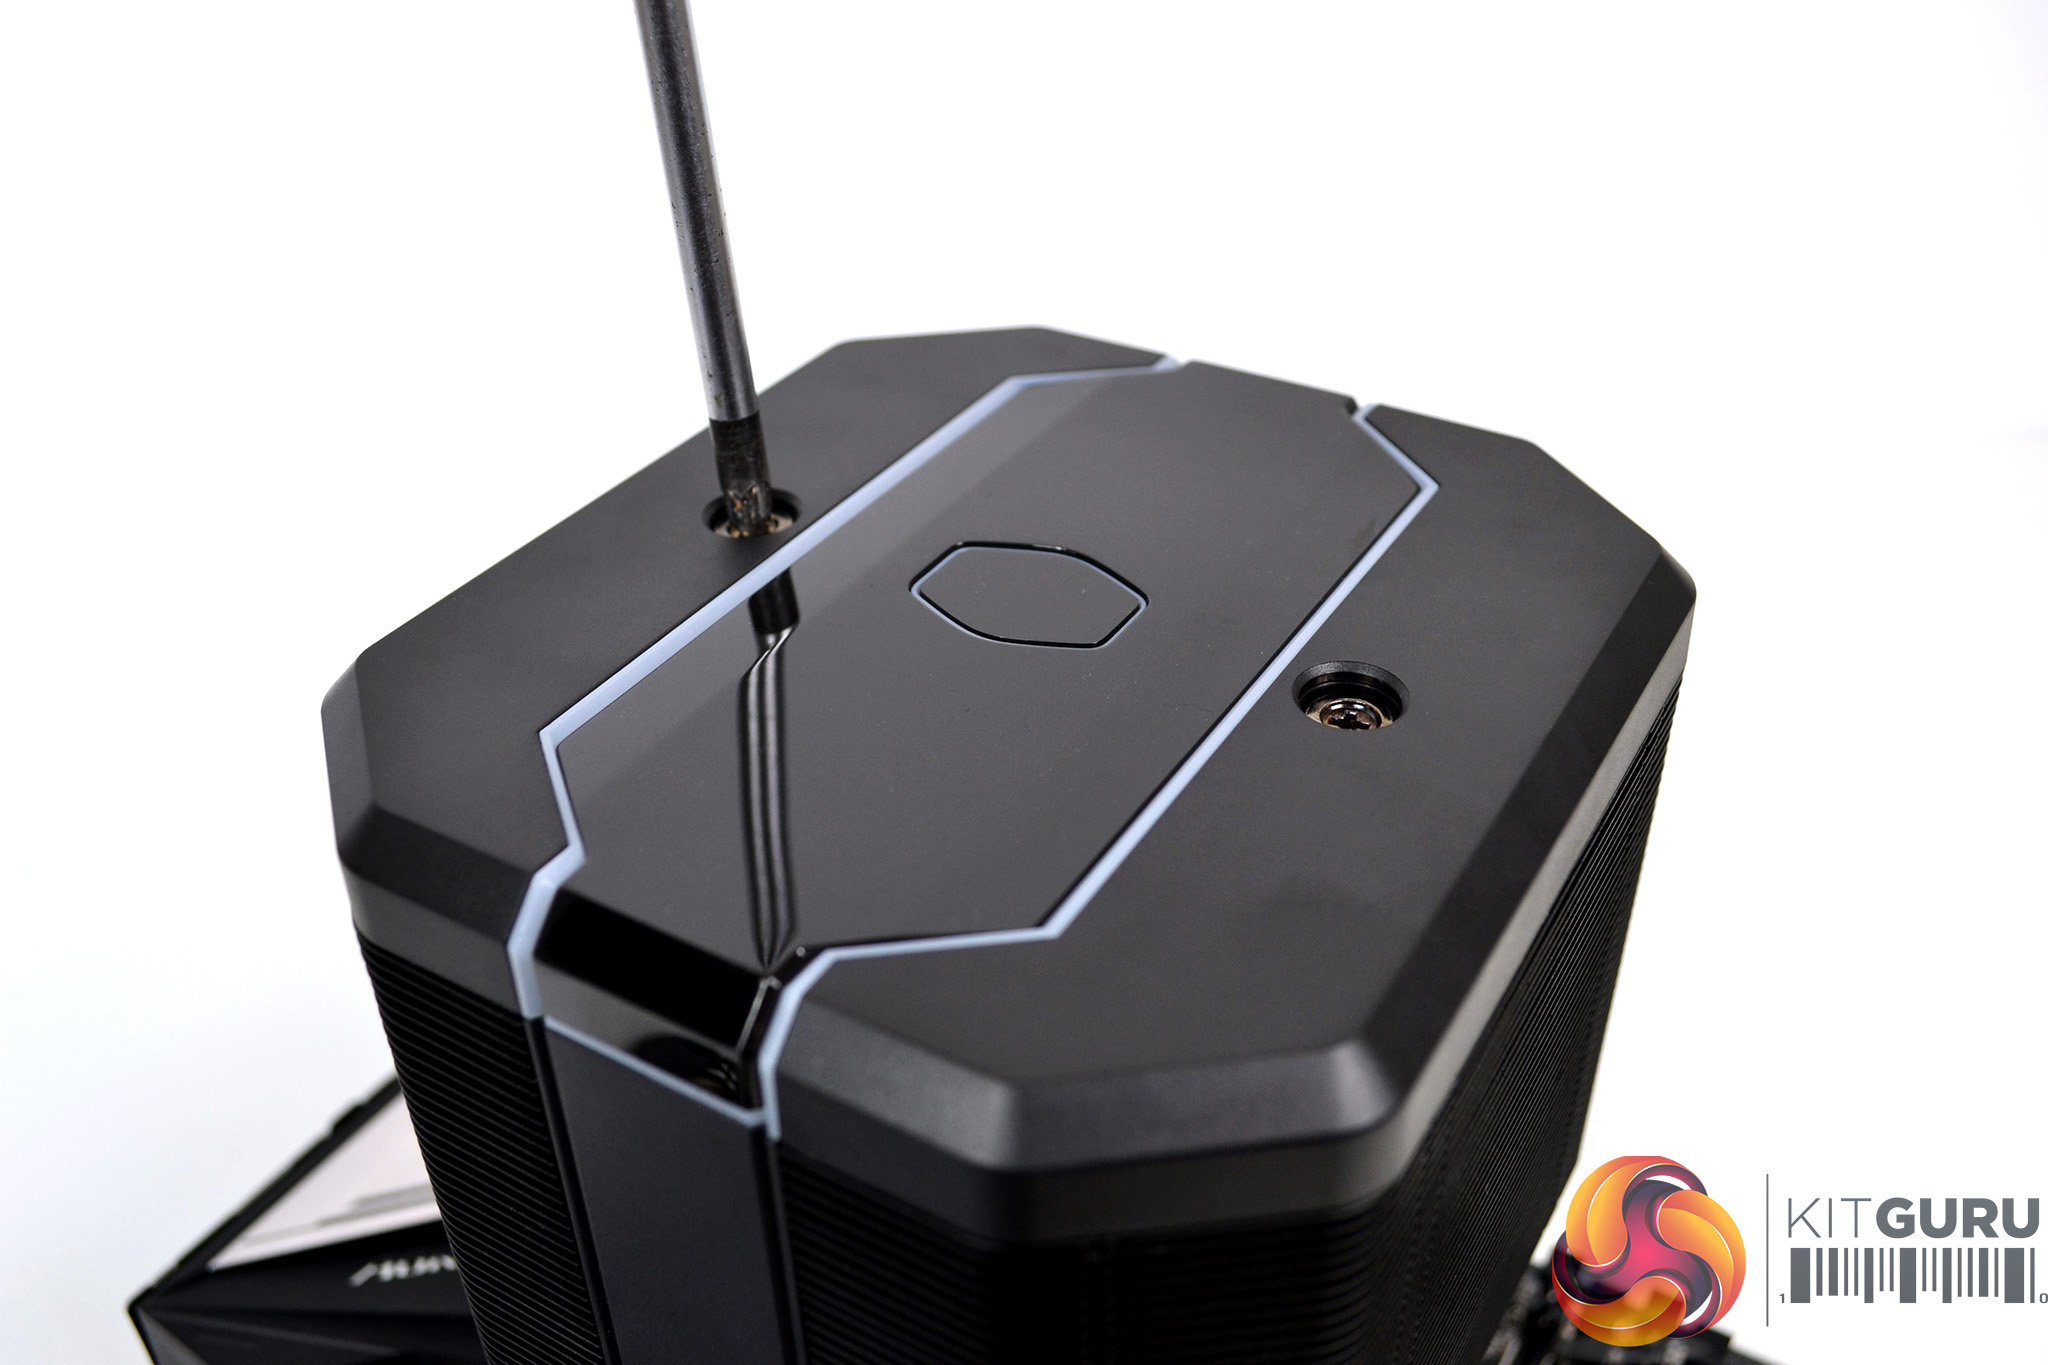
Once all the mounting hardware is correctly fitted to the CPU socket, all that’s left to do is apply thermal compound via your chosen method. Then lower the cooler into place and tighten down the two retaining screws – via holes on the top of the cooler- gradually, to ensure even spread of pressure over the CPU IHS.
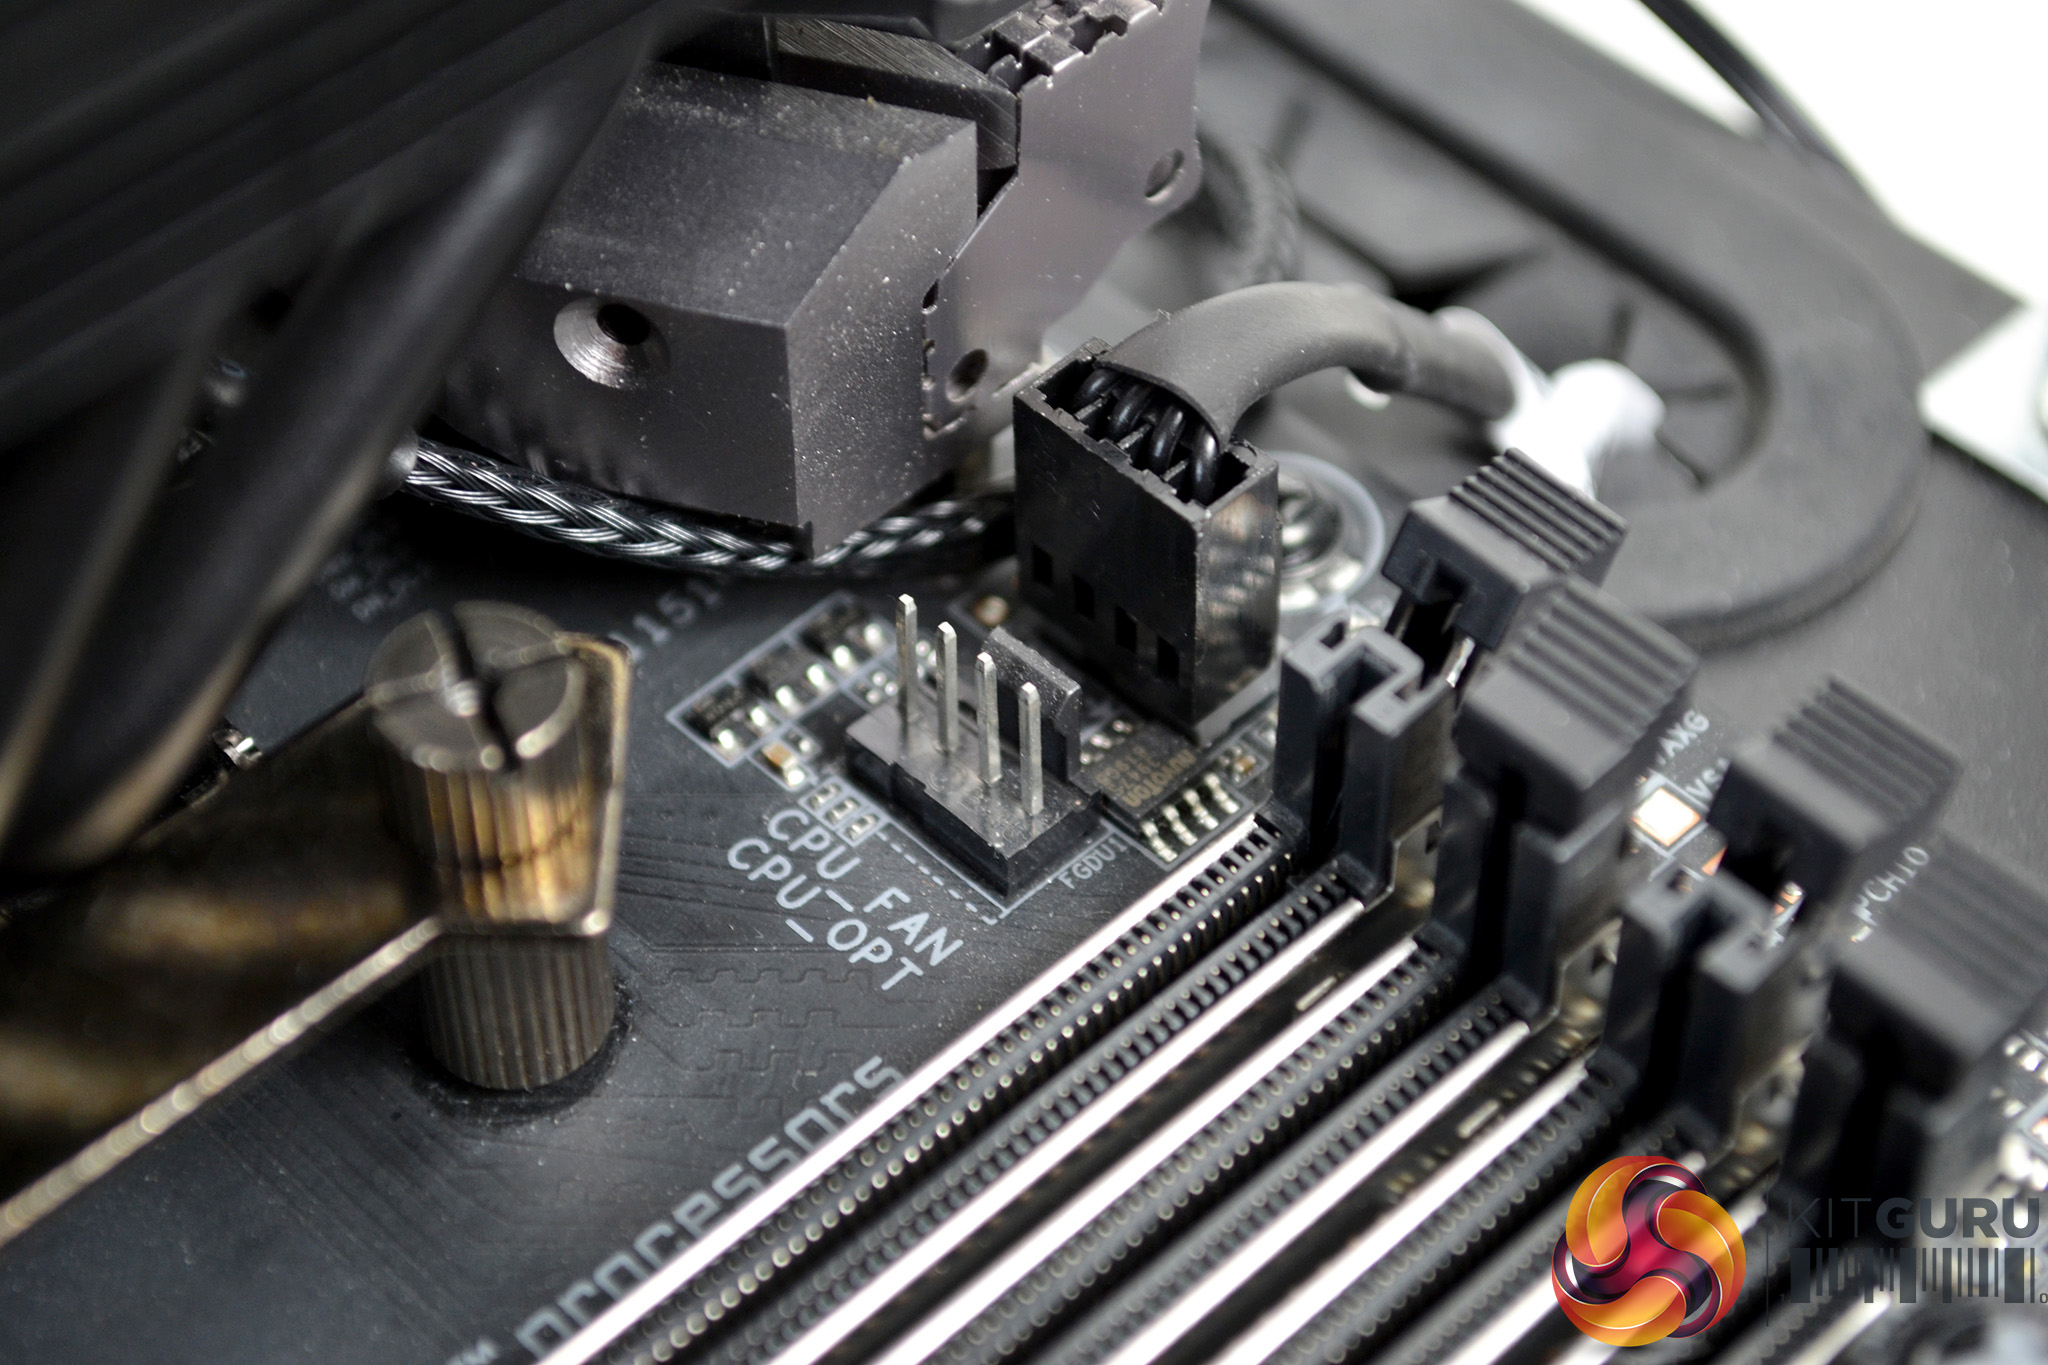
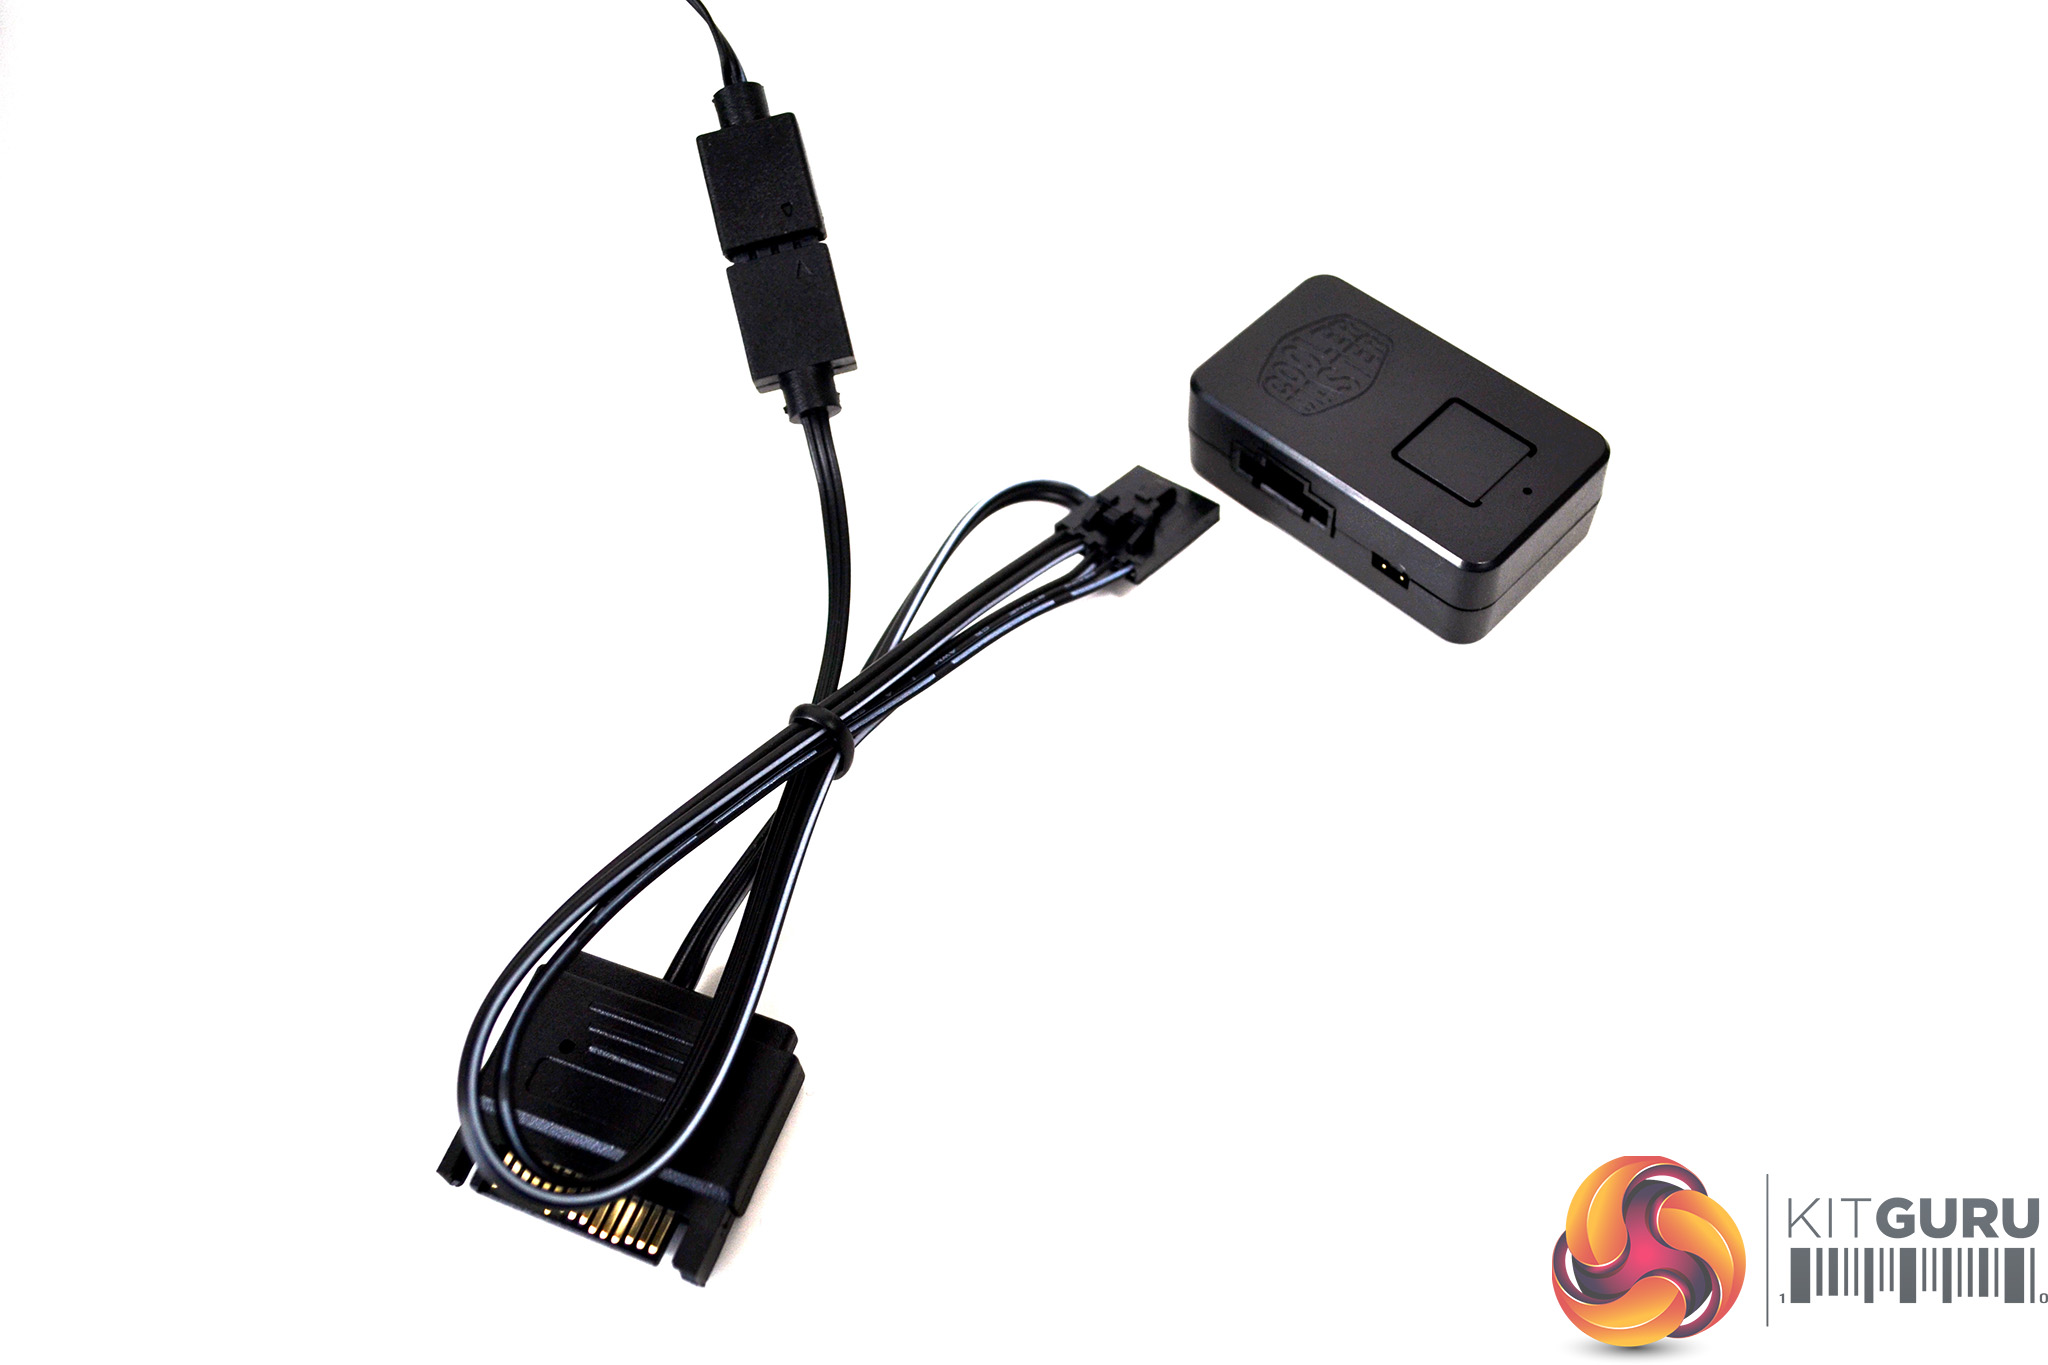
Finally, connect the 4-pin PWN fan cable to the motherboard CPU_FAN header and the 3-pin 5V ARGB cable to a motherboard LED 5V 3-pin LED header. Alternatively, use the provided adaptor cable to connect the RGB lighting to the Cooler Master RGB controller.
Testing Methodology: Thermals/Acoustics
To measure the performance of CPU coolers, we devised an easily repeatable series of tests. The only variable is the coolers themselves to ensure the results can be accurately compared against one another.
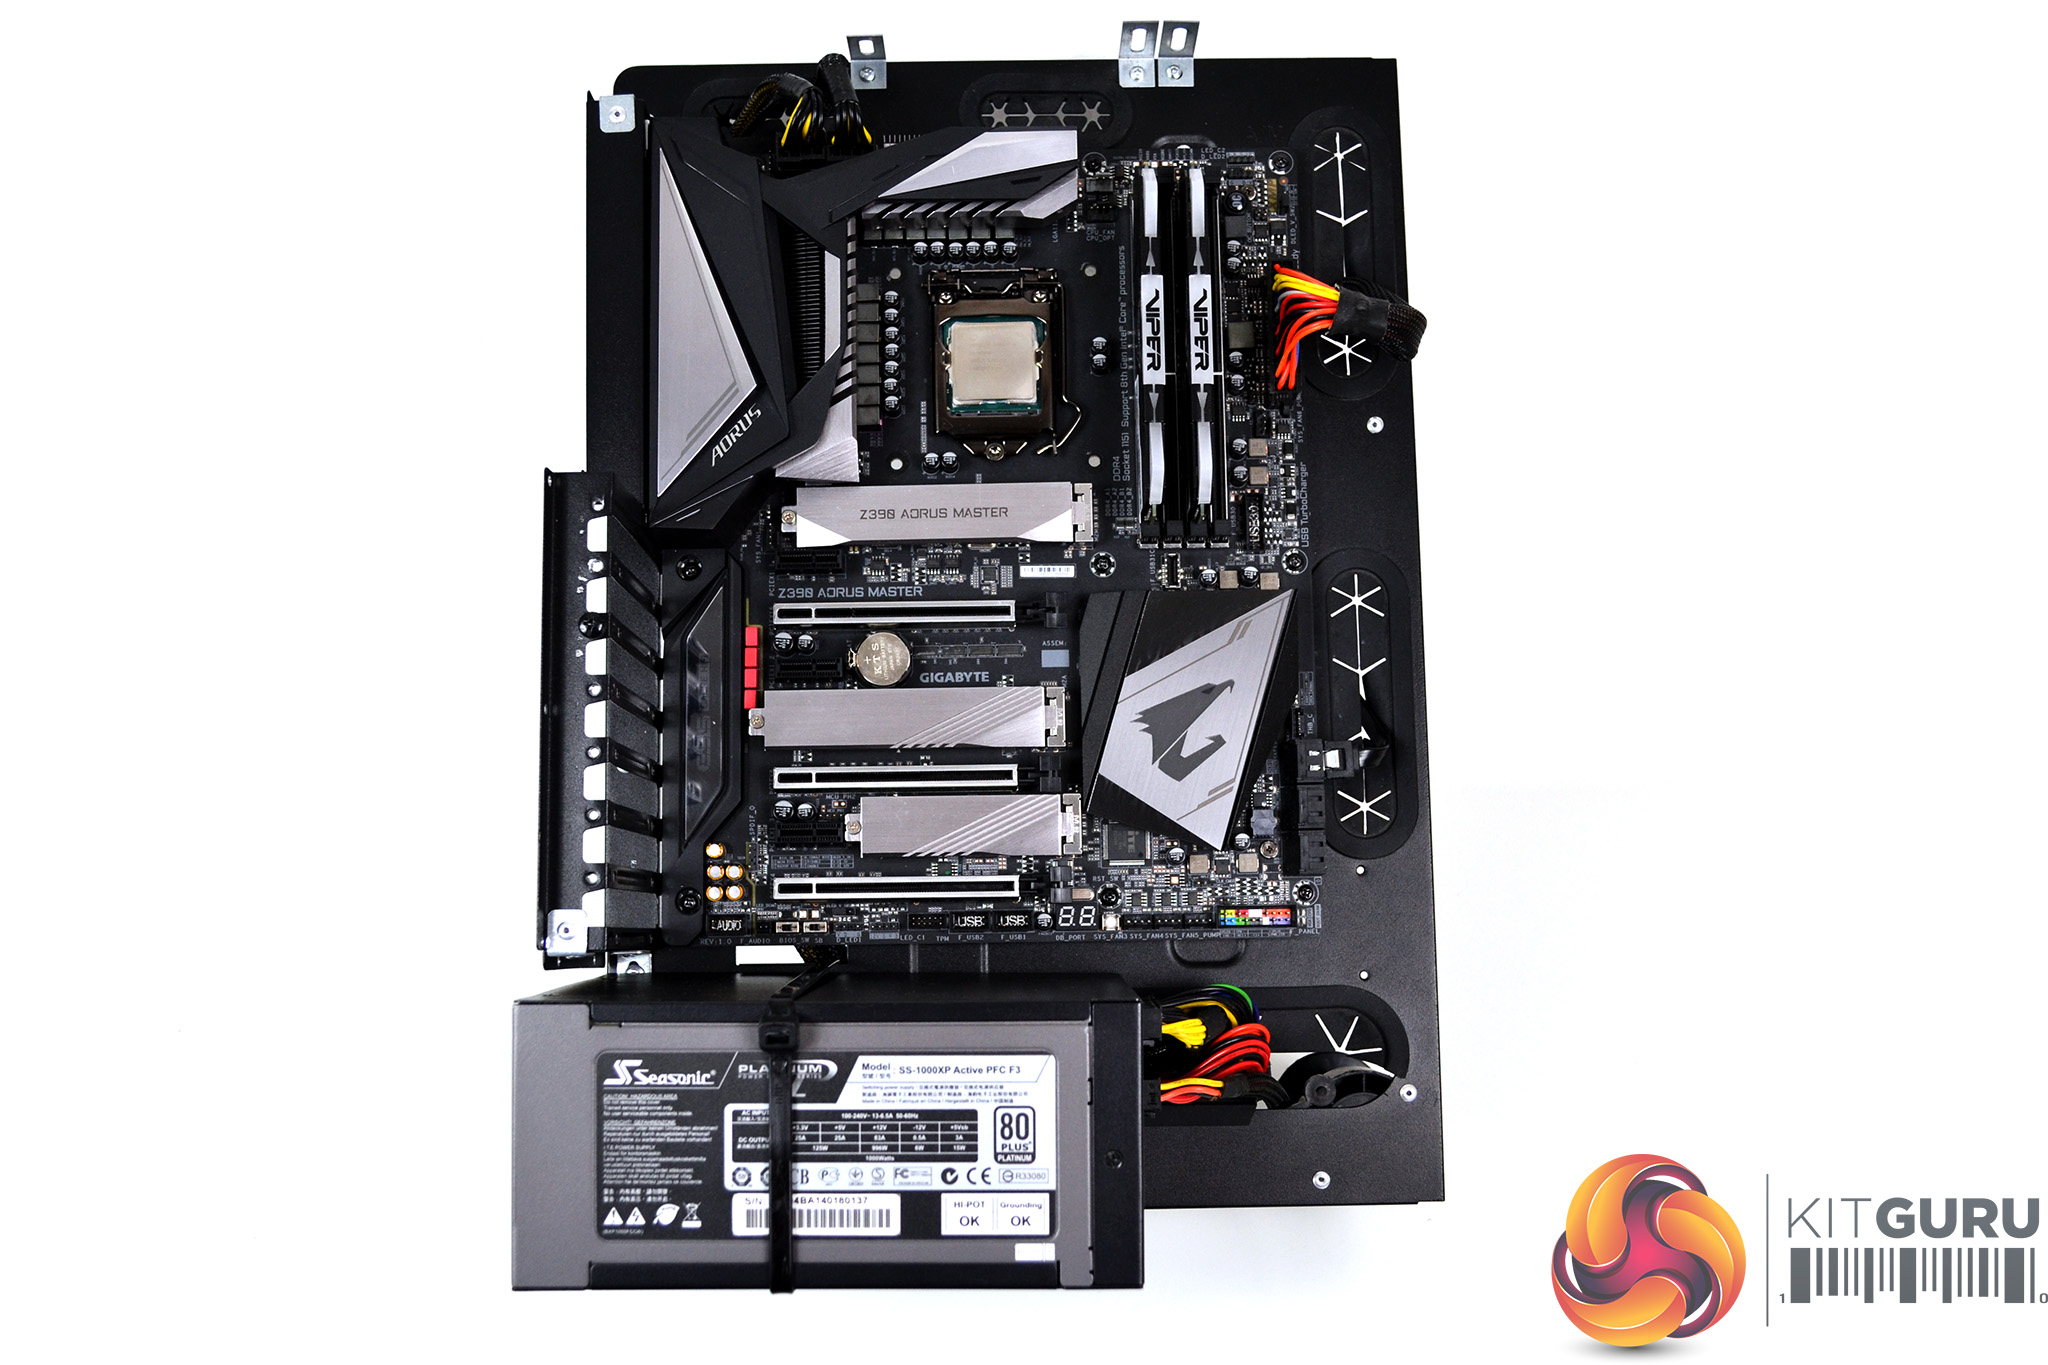
To reflect current hardware demands, we have updated the test system at KitGuru. It now comprises of a Z390 platform and included is the Intel Core i9 9900k CPU, mated with a Gigabyte Z390 Aorus Master motherboard and 16GB (2x 8GB modules) Patriot Viper RGB running at 3600MHz CL16. Our storage device is a Corsair Force LE 120GB SATA SSD. Power to the test system is managed by a Seasonic Platinum Series 1000w PSU. Corsair TM30 thermal compound is used at all times to ensure consistency.
Thermal Testing Procedure
The procedure will consist of several tests, that will produce six temperature readings for each cooler. The data can then be used to compare cooling performance.
First, we will lock the 9900k at its 3.6GHz all-core base clock speed, with a 1.15V Vcore applied in the BIOS. Then, let the system idle in windows for 15 minutes and measure temperature. At the same frequency, we will then measure the load temperature.
To simulate overclocked frequency, we will then lock the 9900k to 4.7GHz on all cores with a 1.20V Vcore and run the same idle and load test again. To measure an extreme overclocking situation, we will lock the 9900k frequency to 4.9GHz on all cores with 1.30V Vcore and run the tests one final time – this should push the limits of the cooling performance of even the very best CPU coolers.
Admittedly, the overclocked frequencies/voltage may not be the highest achievable, nevertheless, it will give us a good set of data to compare the effect frequency/voltage changes have on temperature.
The temperatures presented in the graphs will be average Delta temperatures measured over the length of the test. We will calculate the Delta temperature by deducting the ambient temperature in the test room from the measured CPU temperature, both at idle and under load.
All idle temperatures are measured by letting the system idle in Windows for 15 minutes. Load temperatures are achieved by running AIDA64 stressing CPU, FPU and cache again for 15 minutes. This should give the CPU enough time to reach its maximum temperature. Throughout testing, Load Line Calibration will be set to level 6 (turbo) in BIOS and all CPU Fans/pumps set to maximum RPM.
Noise Testing
Noise levels will be measured with our sound meter at a distance of 1 meter from the test bench. The cooler’s fans will be set to their maximum RPM rating. Ambient noise level in the room is measured at 37.5dBA and the peak noise level of the cooler will be recorded in dBA.
Thermal Performance
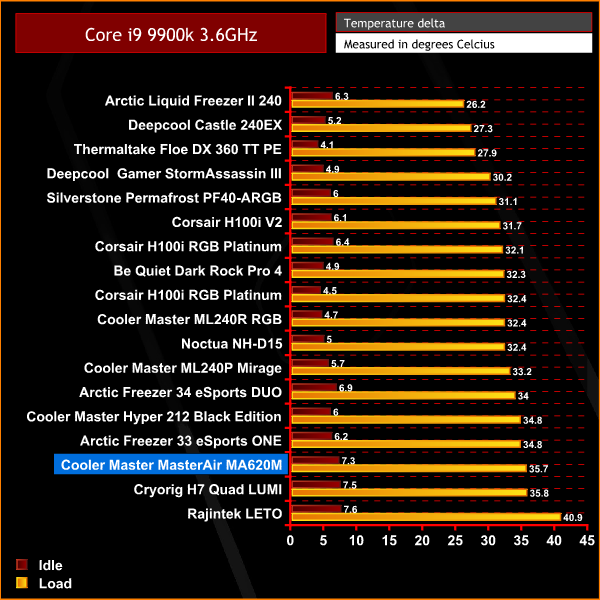
It's a rather poor start to thermal performance testing from the Cooler Master MasterAir MA620M. Under load, it struggles to keep up with similar dual tower air coolers of its type and only just outperforms the much cheaper Raijintek LETO single tower cooler.
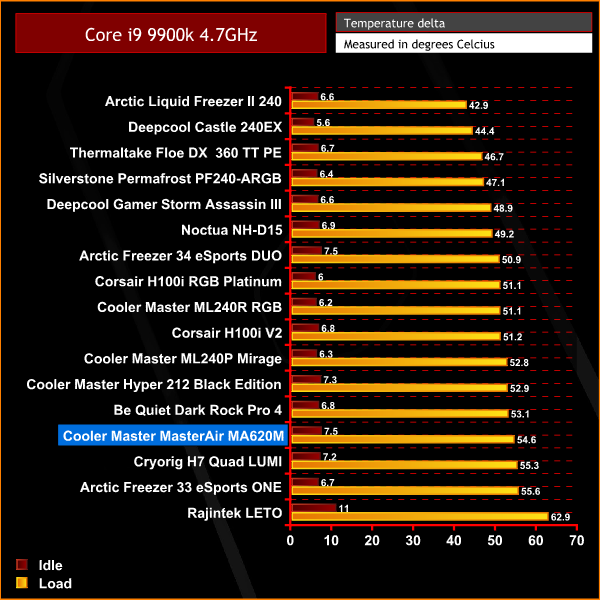
Again we see similar thermal performance at our initial 4.7 GHz overclock test. The MasterAir MA620M really struggled to keep our Core i9-9900K temperature under control, the MA620M is outperformed by much cheaper alternatives.
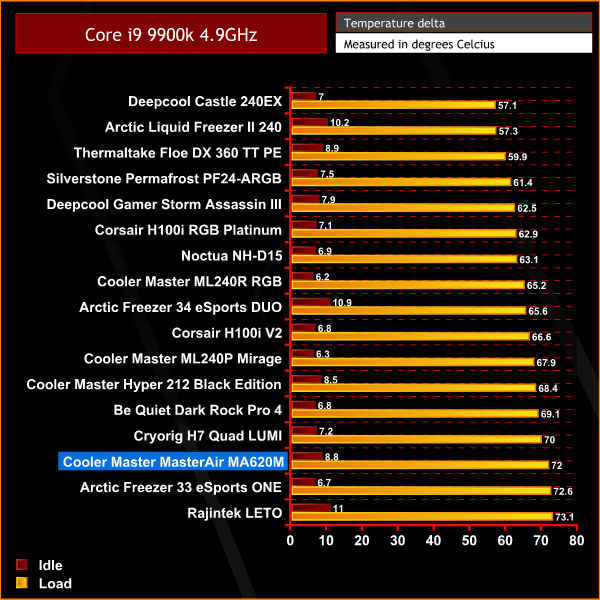
In our final overclocking test at 4.9 GHz, it becomes apparent that the MA620M isn't up to the job of cooling the Core i9-9900K at higher all-core frequencies. We really did expect more from a large dual-tower air cooler of this type. During the final overclocking test we saw the I9-9900k frequency throttle up to 10% at times, due to exceeding thermal limits of the CPU.
Acoustic Performance
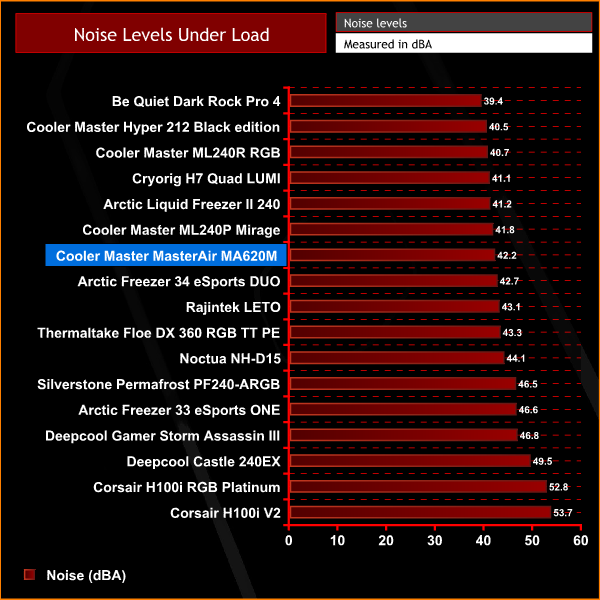
Although the Cooler master MasterAir MA620M isn't the best when it comes to thermal performance, it does a pretty good job with noise levels. Considering its 120mm fan runs at 2000 RPM, it is one of the quieter coolers we have tested. At idle, when the fan is running slower, it is virtually silent.
To begin with, the Cooler Master MasterAir MA620M was shaping up to be a great CPU air cooler. The dual-tower design is aesthetically pleasing with its design providing a very clean and minimalist appearance – when installed into the system, it looks very neat with few cables to manage.
Its pleasing appearance is further bolstered by the all-black coating, with a sprinkling of RGB lighting on the top shroud. The only thing which slightly detracts from the clean looks is the two silver screws on the top panel. Although not a huge issue, these would have fit in much better with the design if they had the same black coating as the rest of the cooler.
The overall build quality of the Cooler Master MasterAir MA620M is great. It has a really sturdy feel to it, the materials used in manufacture seems to be of high quality. Not only for the main cooler itself, this high-quality feel extends to the brackets and mounting hardware too, so removal and refitting the MA620M multiple times shouldn’t be a problem, we expect the hardware to stand the test of time.
Not only does the MA620M look great, it also offers excellent acoustic performance. During our acoustic test, the MasterAir MA620M placed high in our charts. When you take into account the fact that the fan is spinning at 2000 RPM, the relatively low noise level proves to be quite an achievement, which Cooler Master deserve credit for. Other models of 120mm fans running at 2000 RPM have been known to be much louder. At low RPM when the CPU temperatures are lower, the MA620M is virtually silent.
Unfortunately, looks aren’t everything, especially where CPU coolers are concerned. A CPU cooler's primary objective should be to keep the temperature under control, this is one area where the Cooler Master MasterAir MA620M falls short, especially when overclocking comes into the equation.
During our initial stress tests at stock CPU frequency, the MA620M kept our Core i9-9900K within its operating temperature range. By no means was it up there with some of the best coolers we tested, but it did an OK job.
Once we pushed the CPU further with higher frequencies, this is where the MA620M started to struggle. In our basic overclocking stress test at 4.7 GHz, CPU temperature did start to rise quite rapidly, and while it never reached the thermal limit of the CPU, it did get close.
However, during our final ‘extreme’ stress test with the CPU overclocked to 4.9 GHz on all cores, the Cooler Master MasterAir MA620M was unable to prevent thermal throttling of the CPU. Actual readings from the CPU temperature sensors exceeded 100°C and CPU core frequency throttled by up to 10%. Therefore we would not recommend this CPU cooler to anyone who may attempt overclocking on a high-end CPU, such as the Intel Core i9-9900K.
Although we wouldn't recommend the MA620M for overclocking, it may be suitable for cooling mid-range CPUs at stock frequency, which do not require such a high TDP cooling solution. Furthermore, the MA620M features a very simple installation process that takes very little time to complete, which is a bonus.
![]()
The Cooler Master MasterAir MA620M is available to buy for £89.99 from Overclockers UK HERE.
Pros
- Aesthetically pleasing design.
- Fast installation process.
- Tall RAM compatibility.
- Quiet operation.
Cons
- Poor cooling performance.
- No option to mount extra cooling fans.
KtGuru says: It is a shame the Cooler Master MasterAir MA620M was let down by its poor thermal performance. Its stunning aesthetics, quiet operation and quick installation process could have provided the recipe for something brilliant.