Our CPU cooler test system is Intel Z390 based, therefore, we will be following the relevant Intel 115X socket installation procedure.
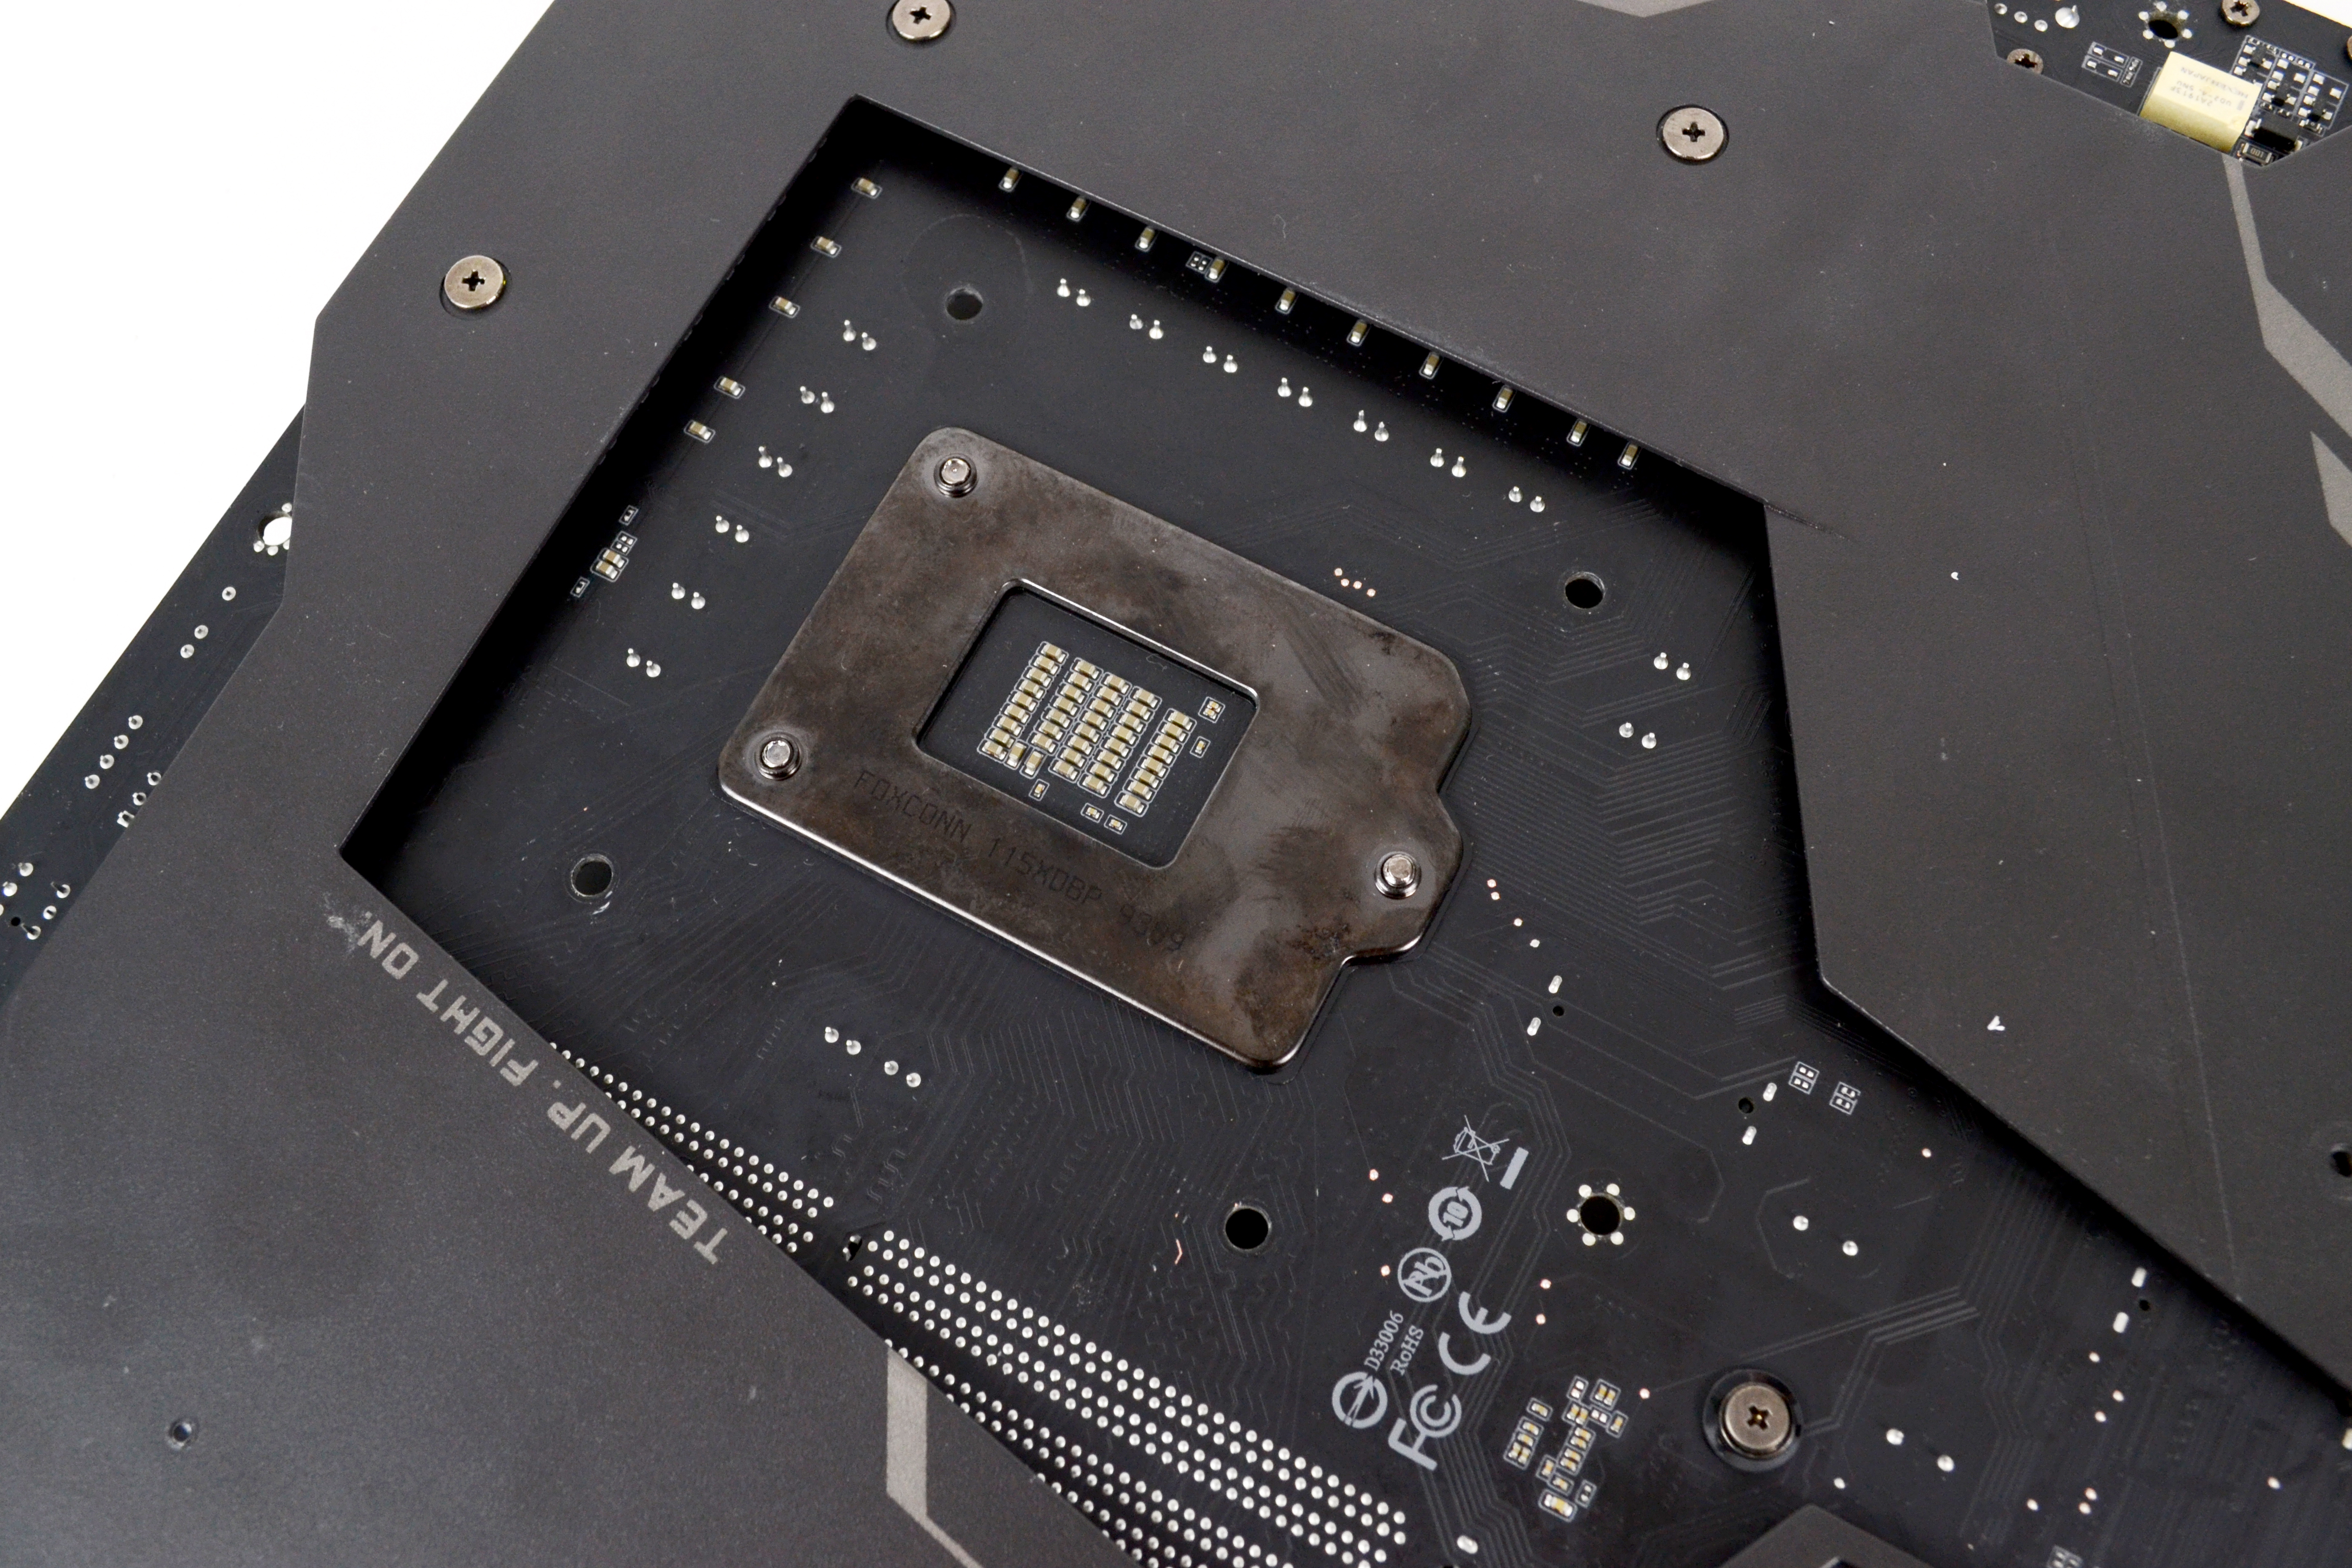
To begin installation on an Intel LGA 115x or 1200 platform, working from the rear of the motherboard, align the Intel specific backplate with the hole on the motherboard and place it in position. A Self-adhesive backing is applied to the backplate to retain its position while fitting the standoffs.
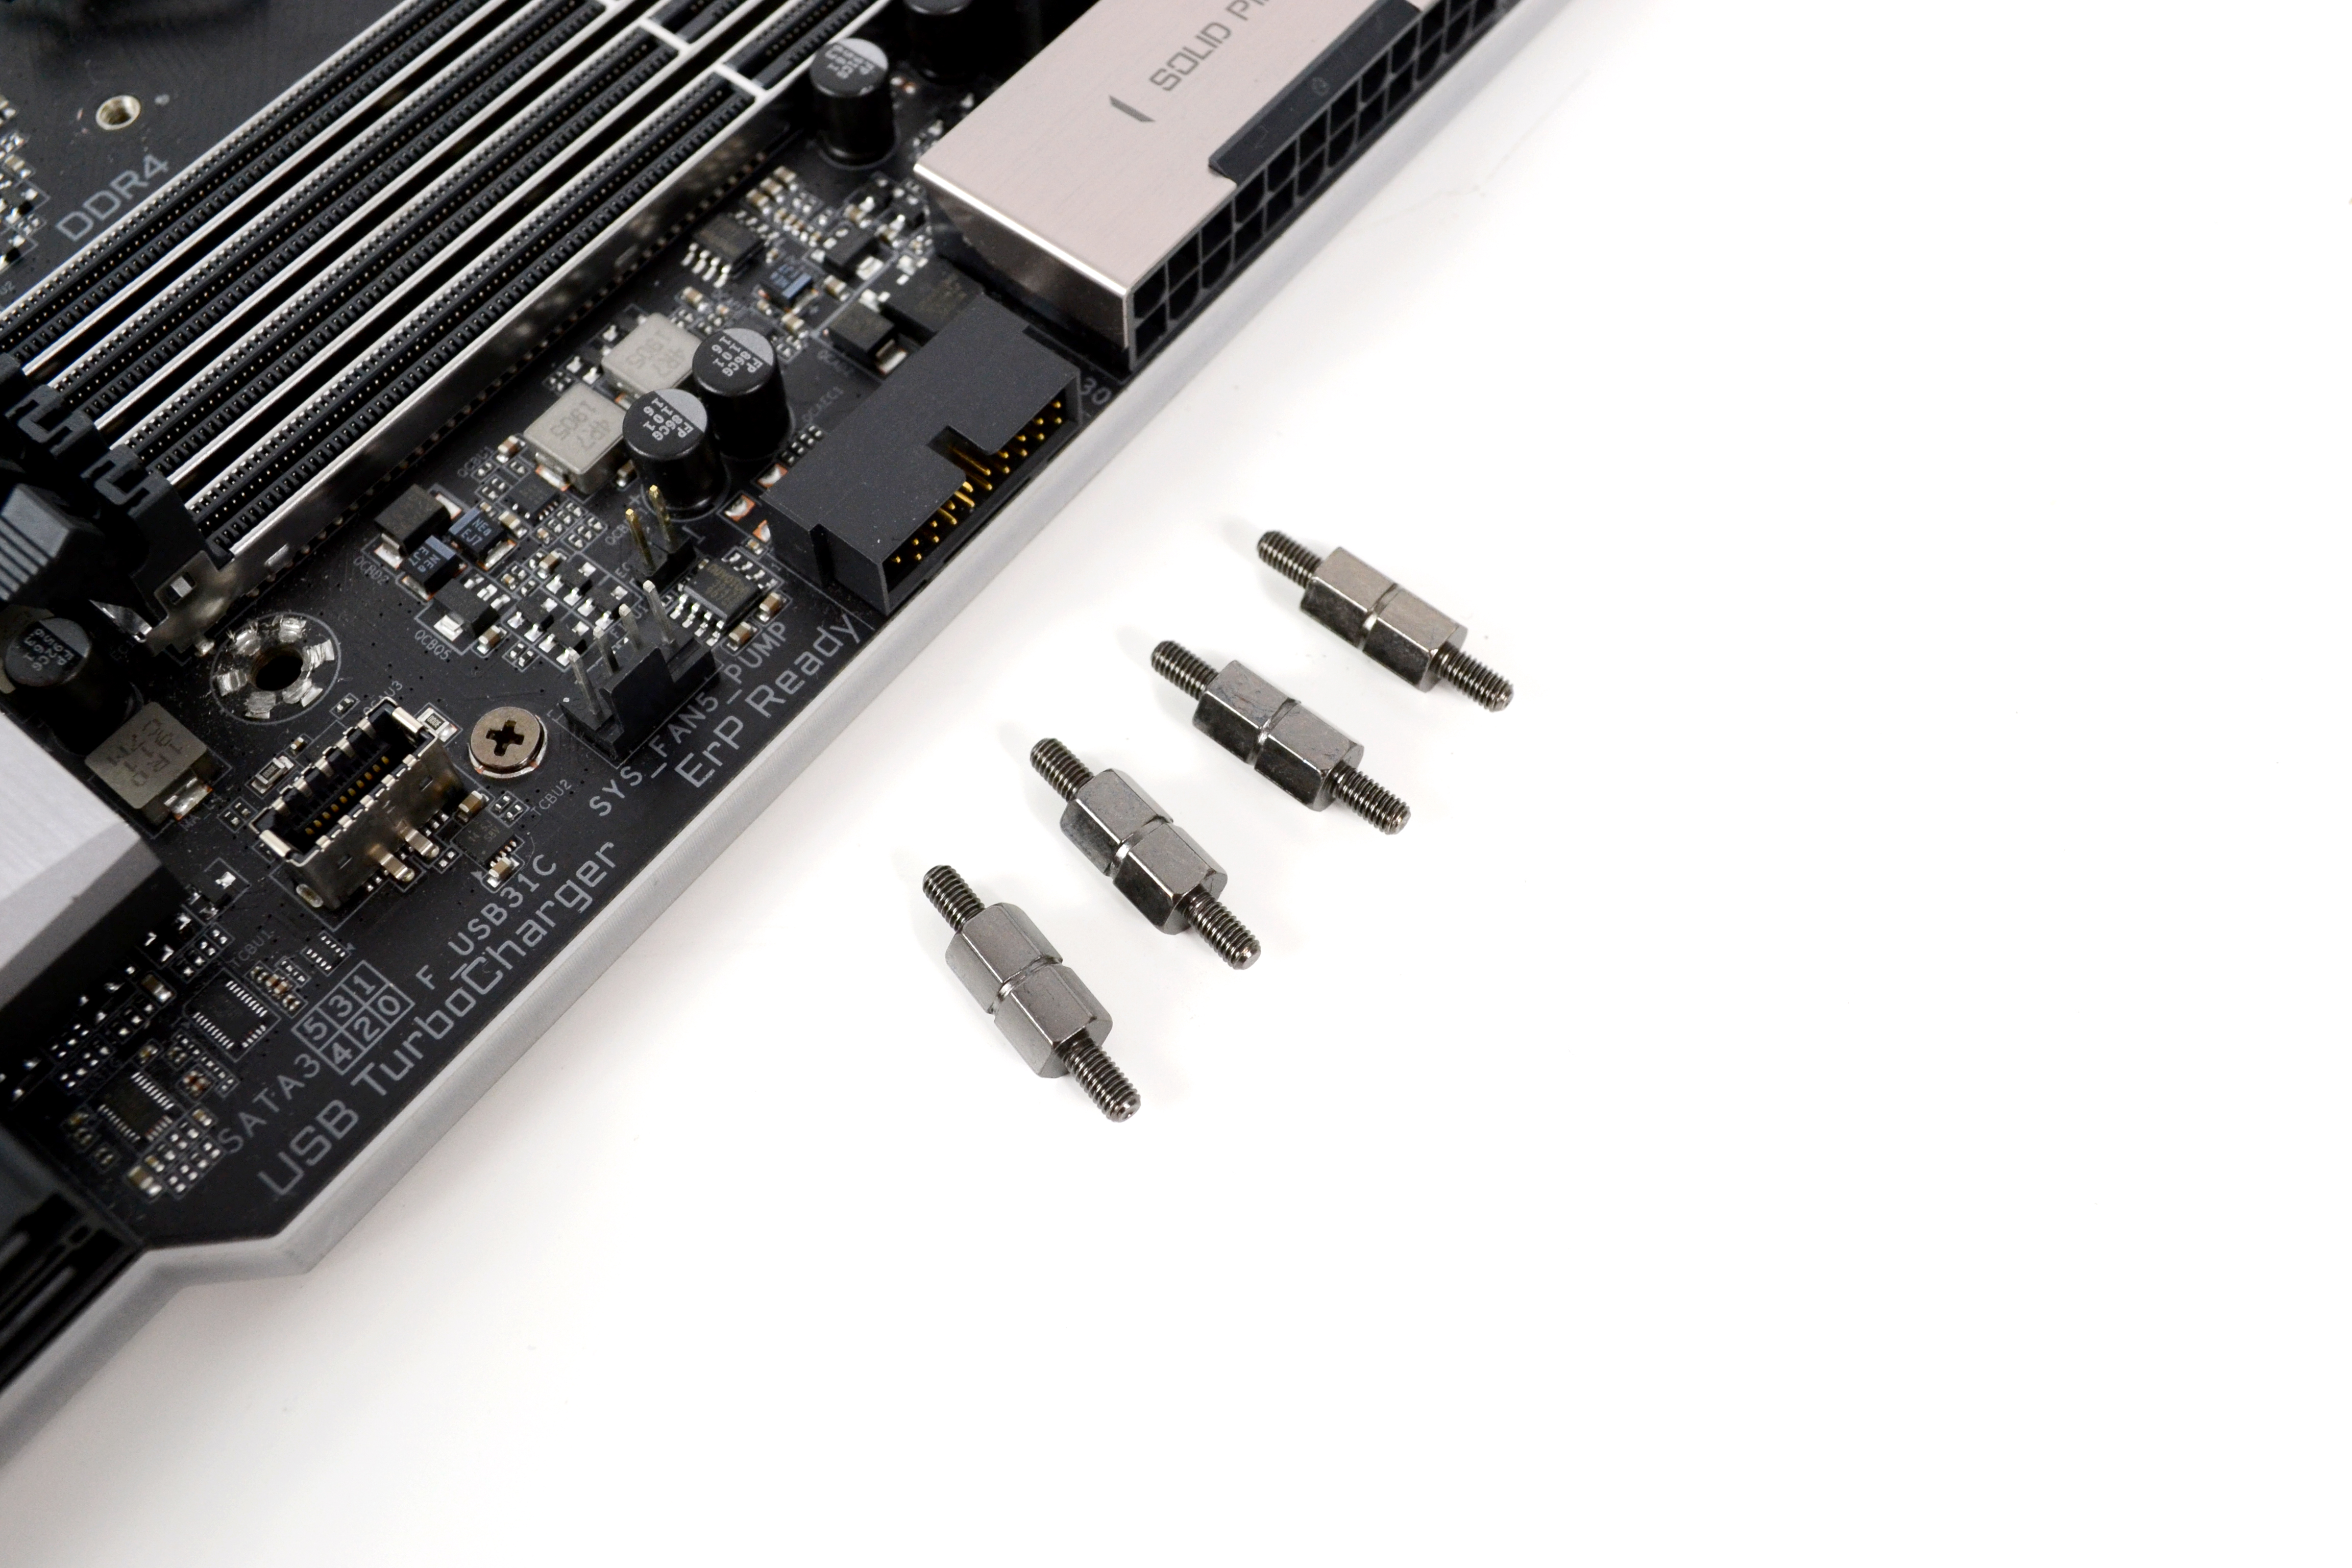
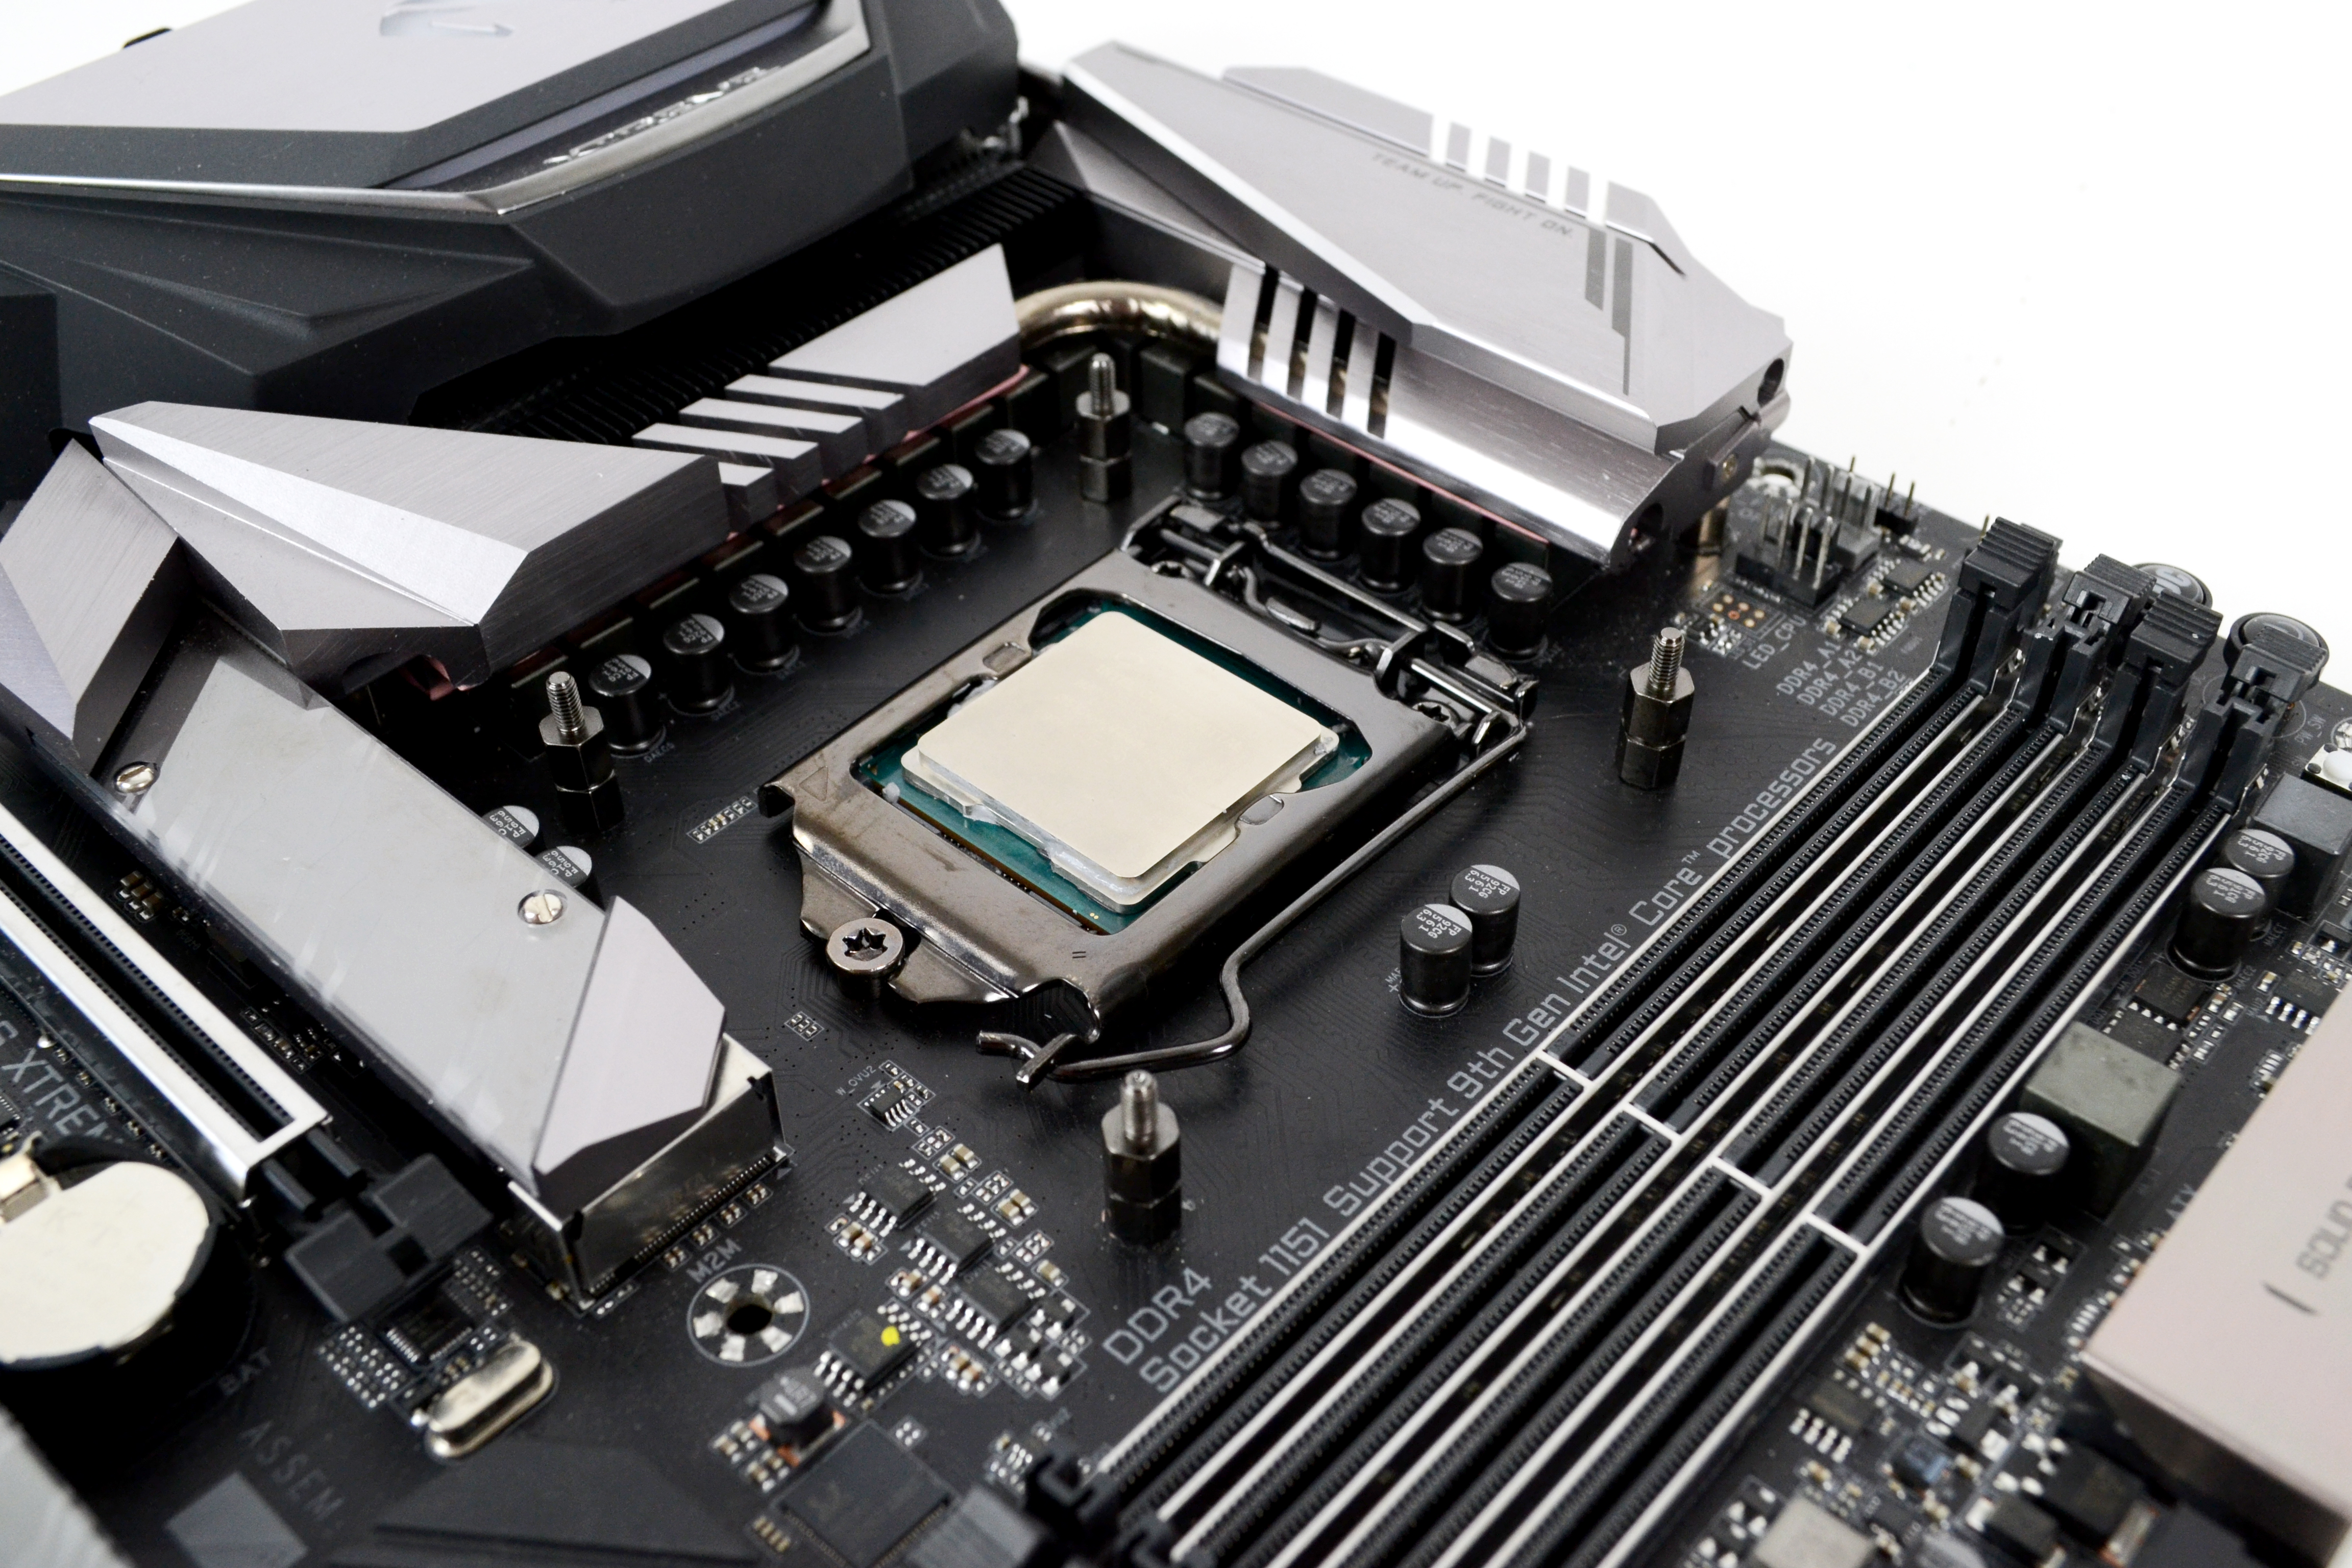
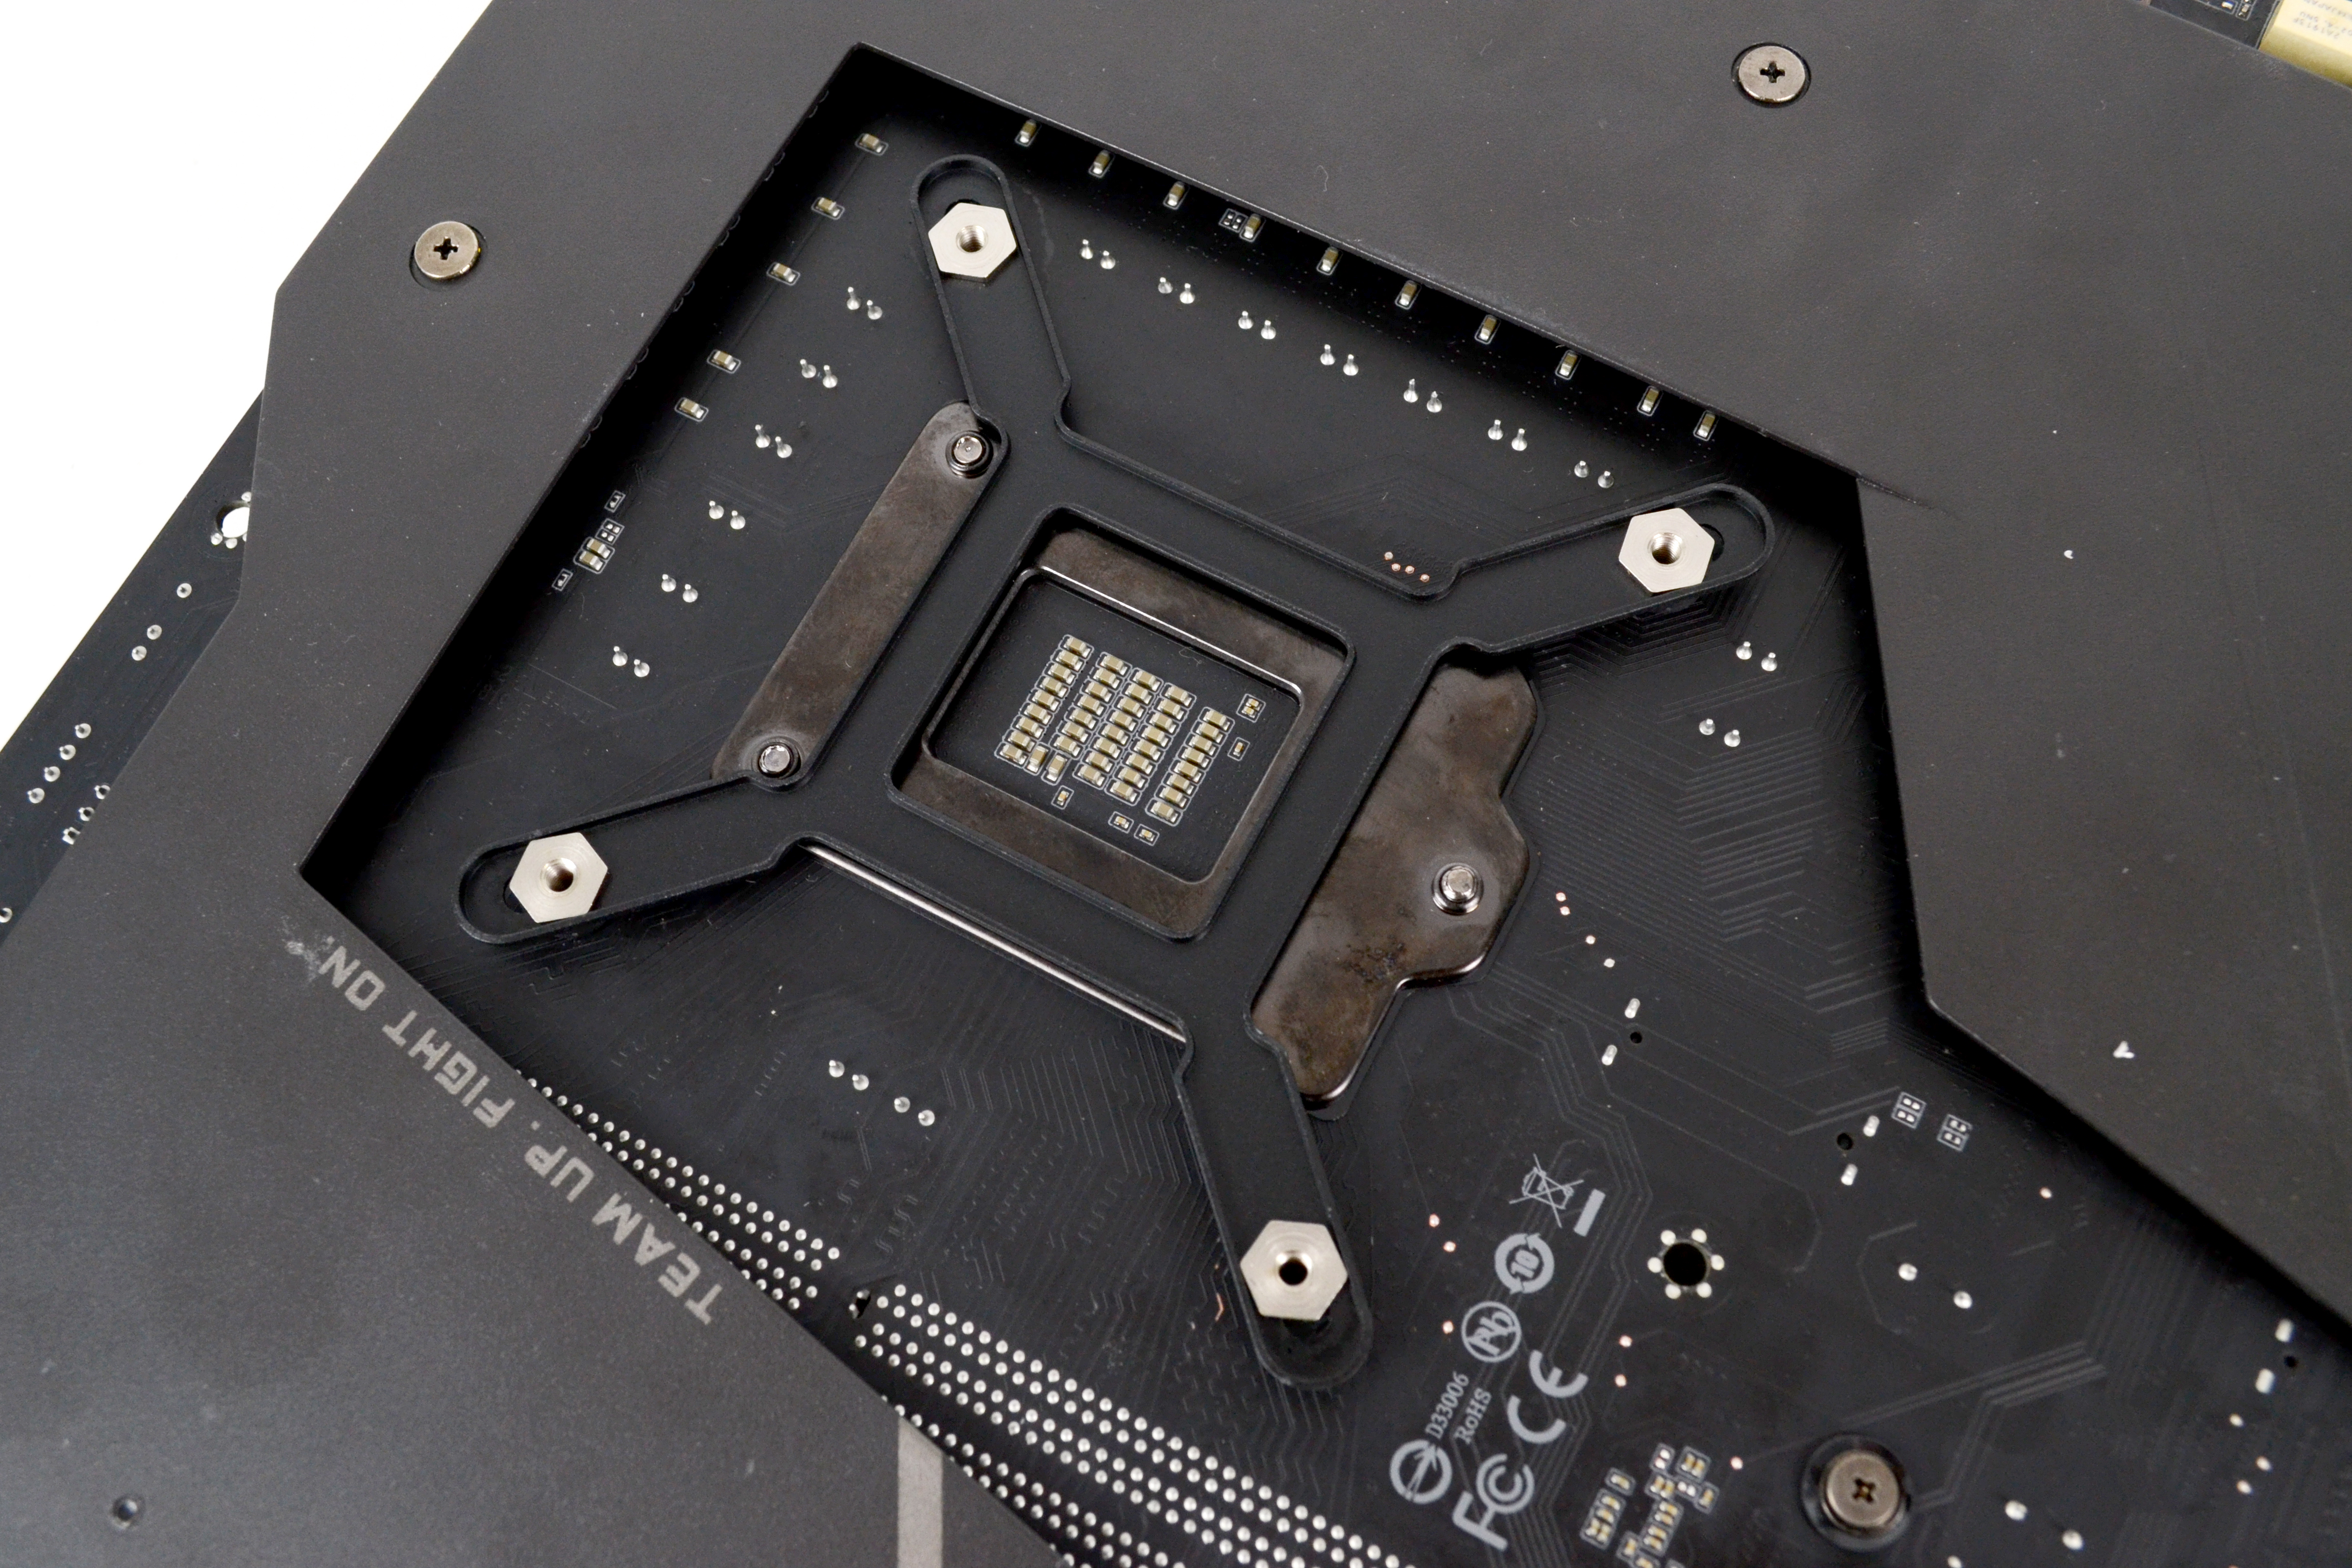
Now select the relevant Intel LGA 115x/1200 standoffs and working from the top side of the motherboard, screw the standoffs to the backplate. Tightening the standoffs by hand will provide the required amount of torque, no tools are needed for this part of the installation.
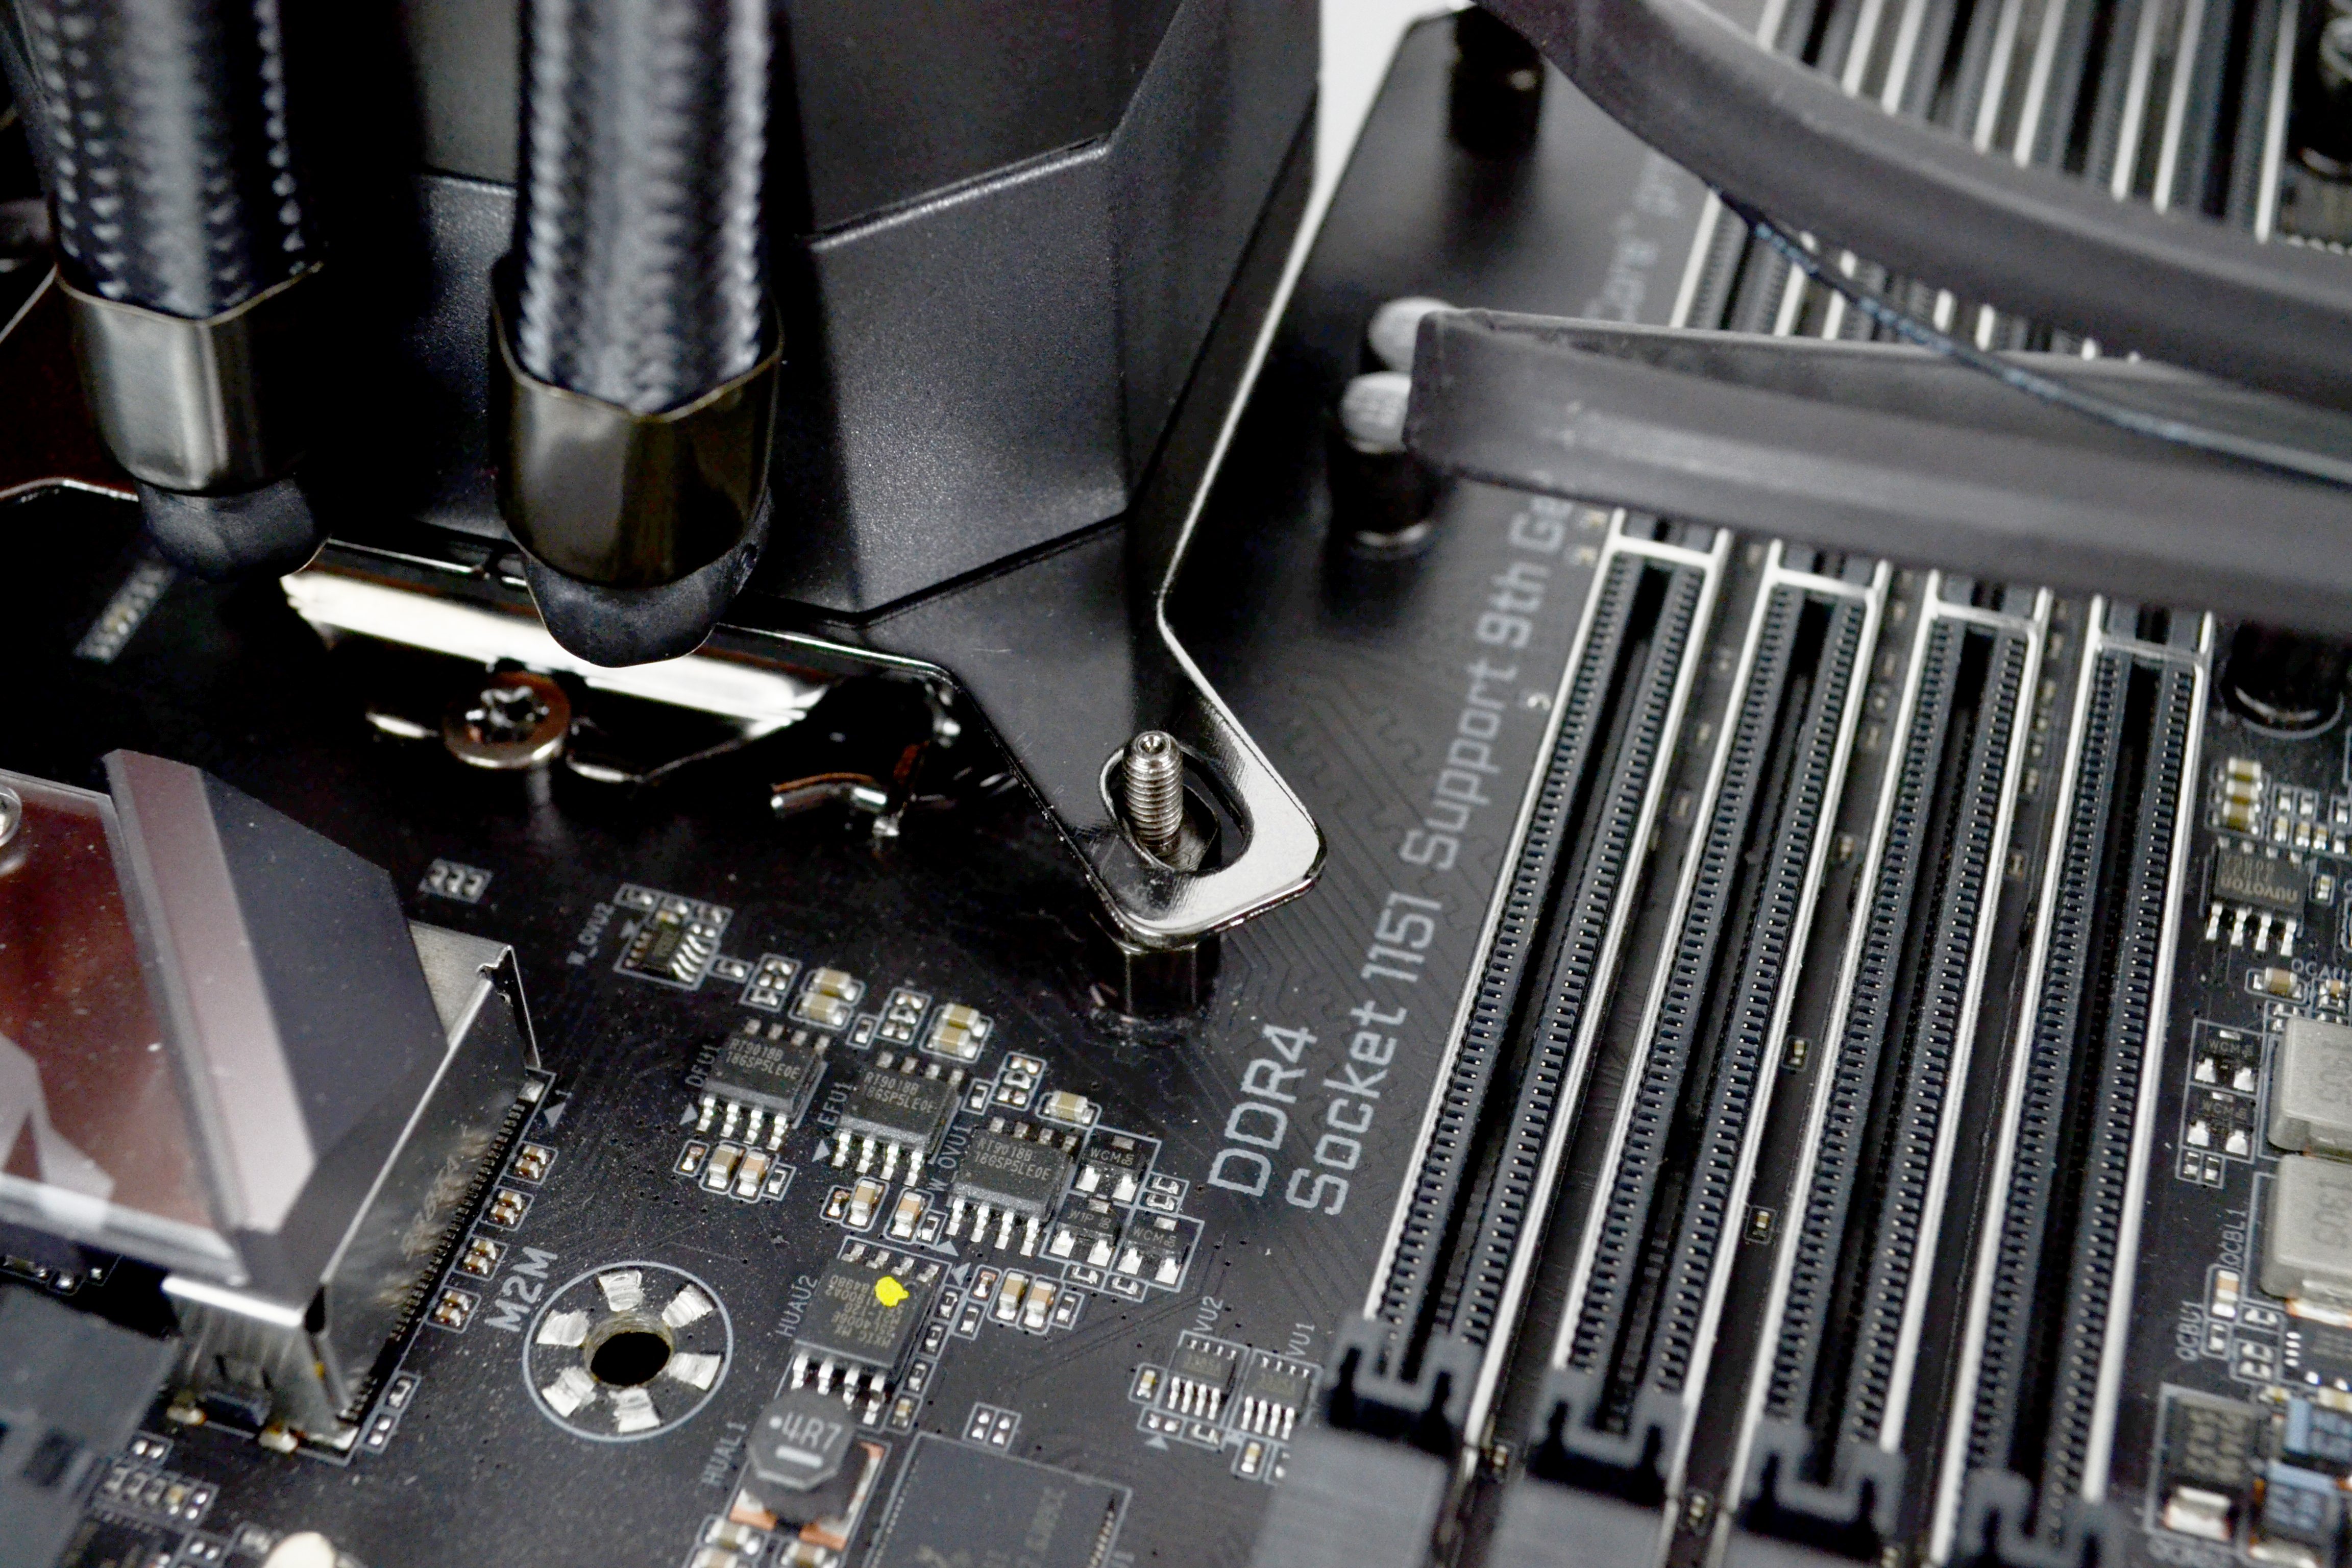

Since the coolers base plate comes with a pre-applied thermal compound coating, there is no need to apply additional thermal compound to the CPU heat spreader. Simply lower the CPU block down on to the CPU, aligned with the standoffs and using the four thumbscrews, tighten the CPU block progressively using an X shape pattern to evenly spread pressure over the CPU for optimal contact.
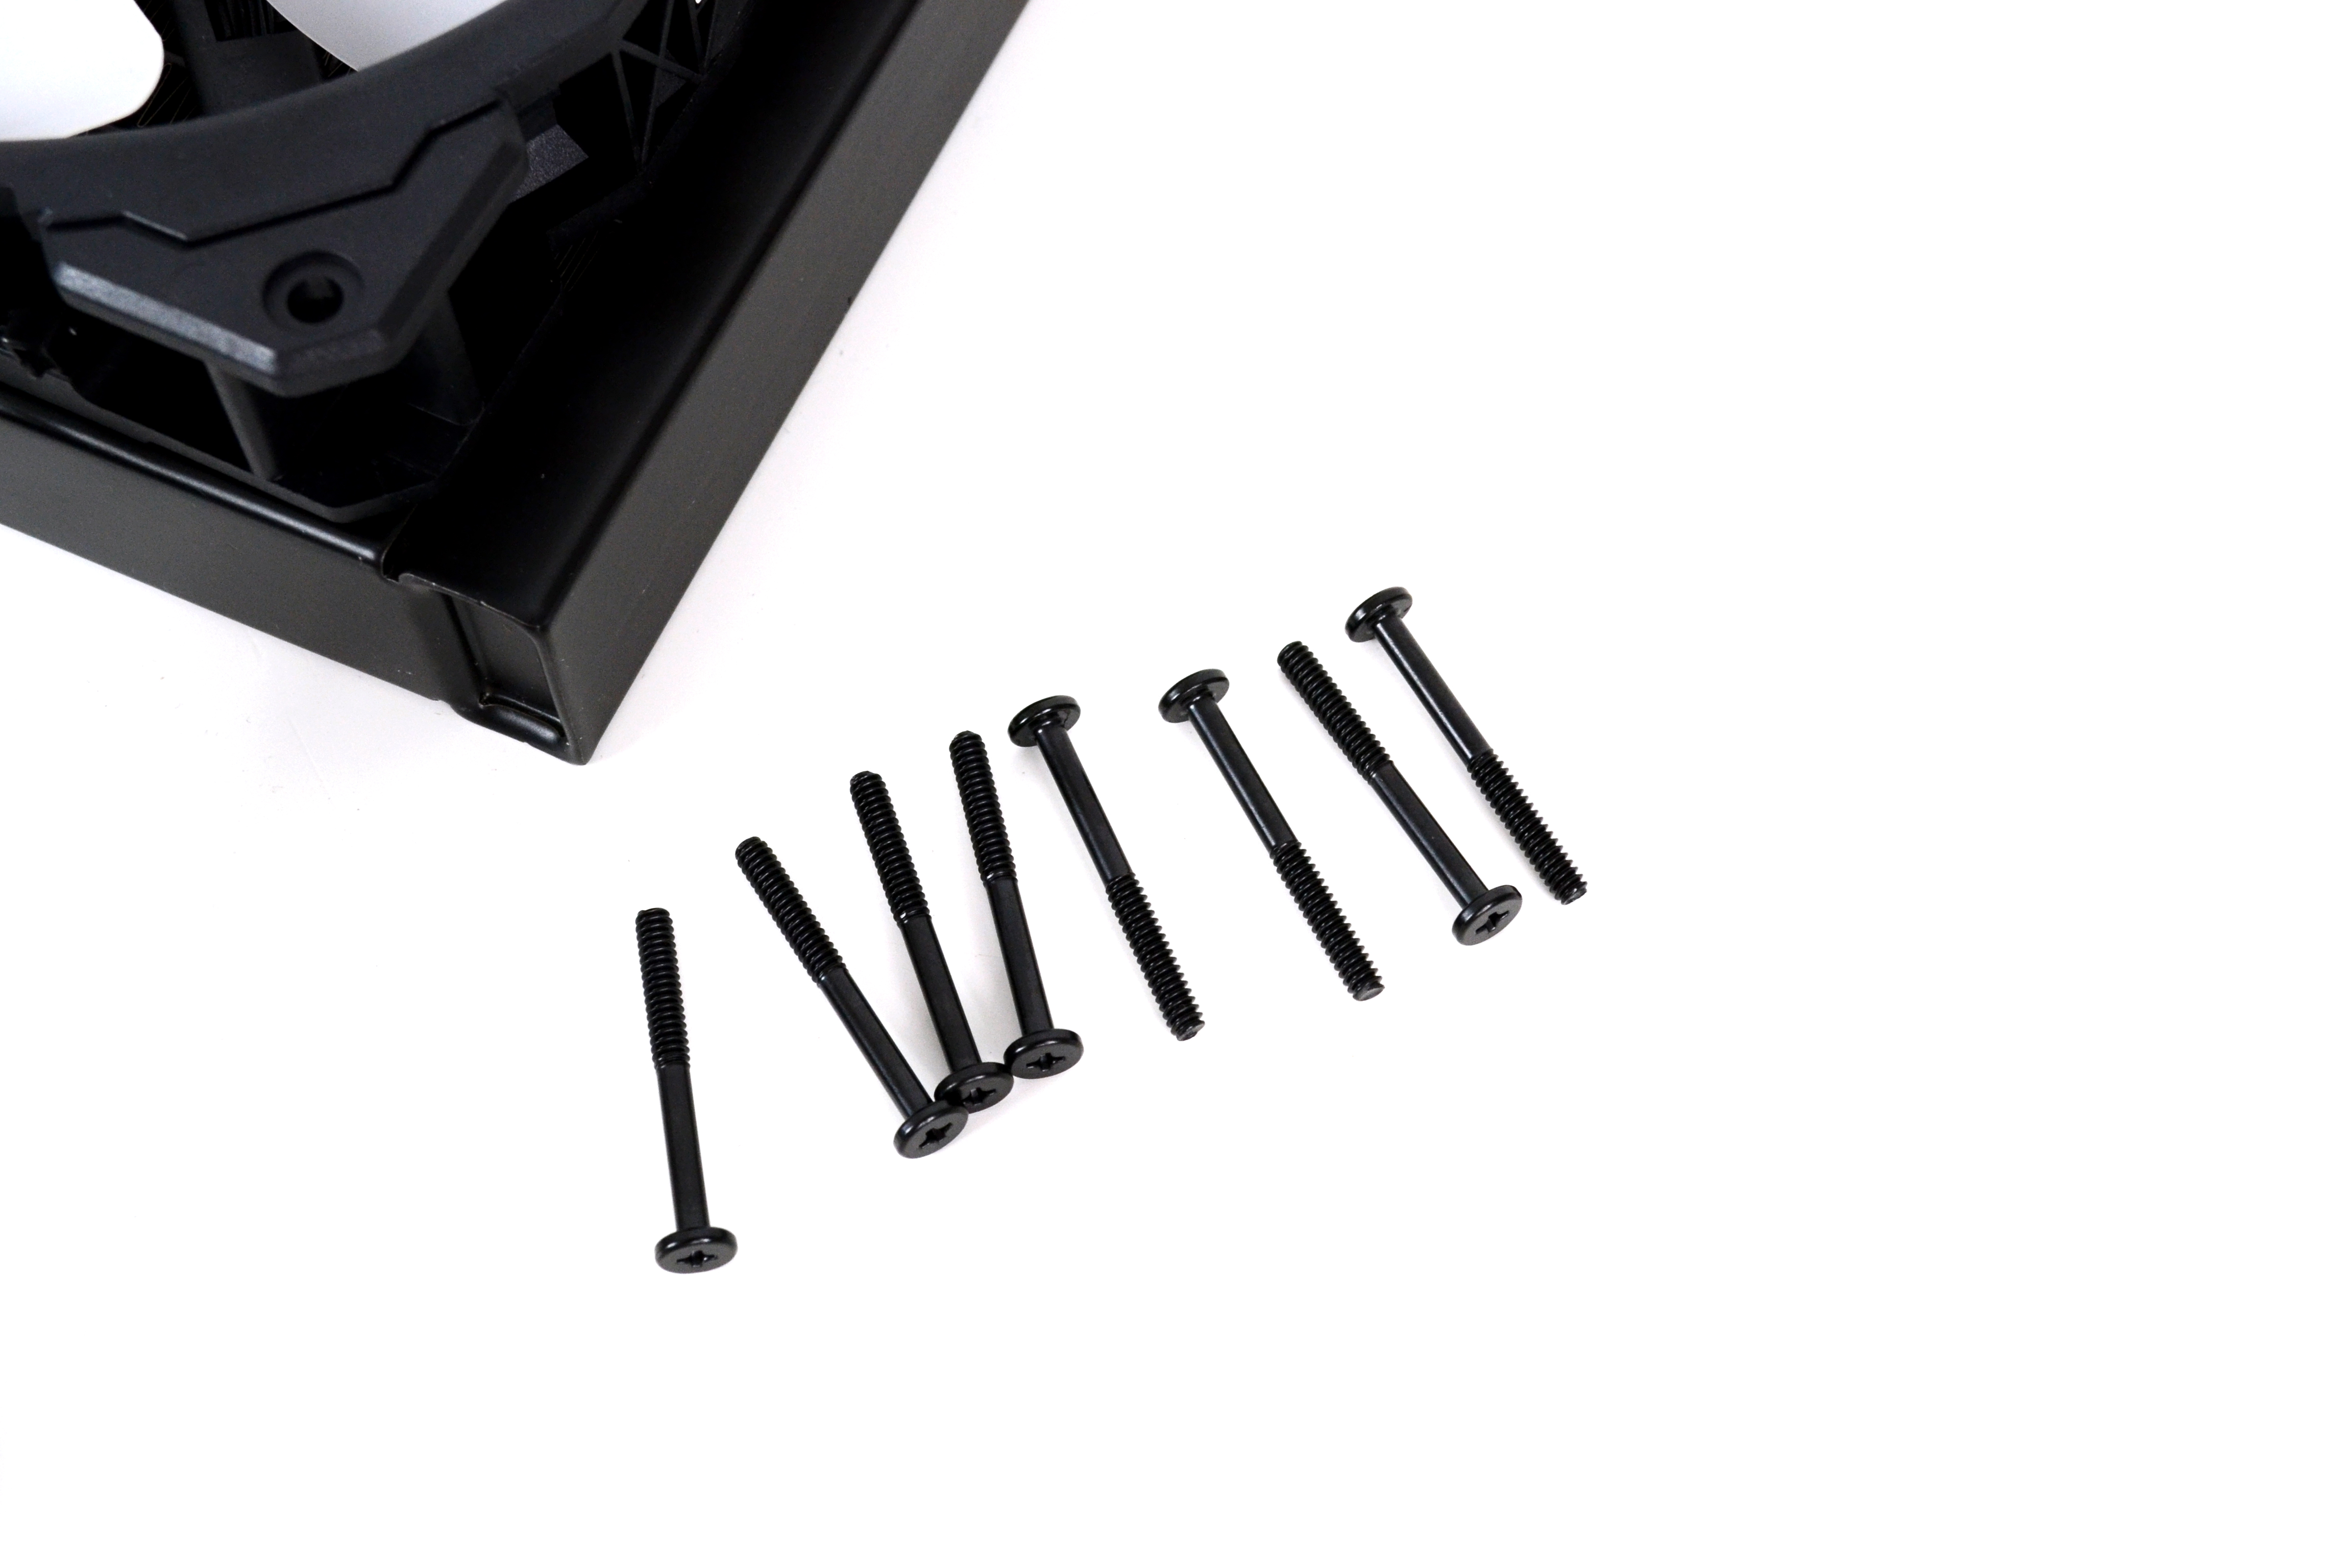
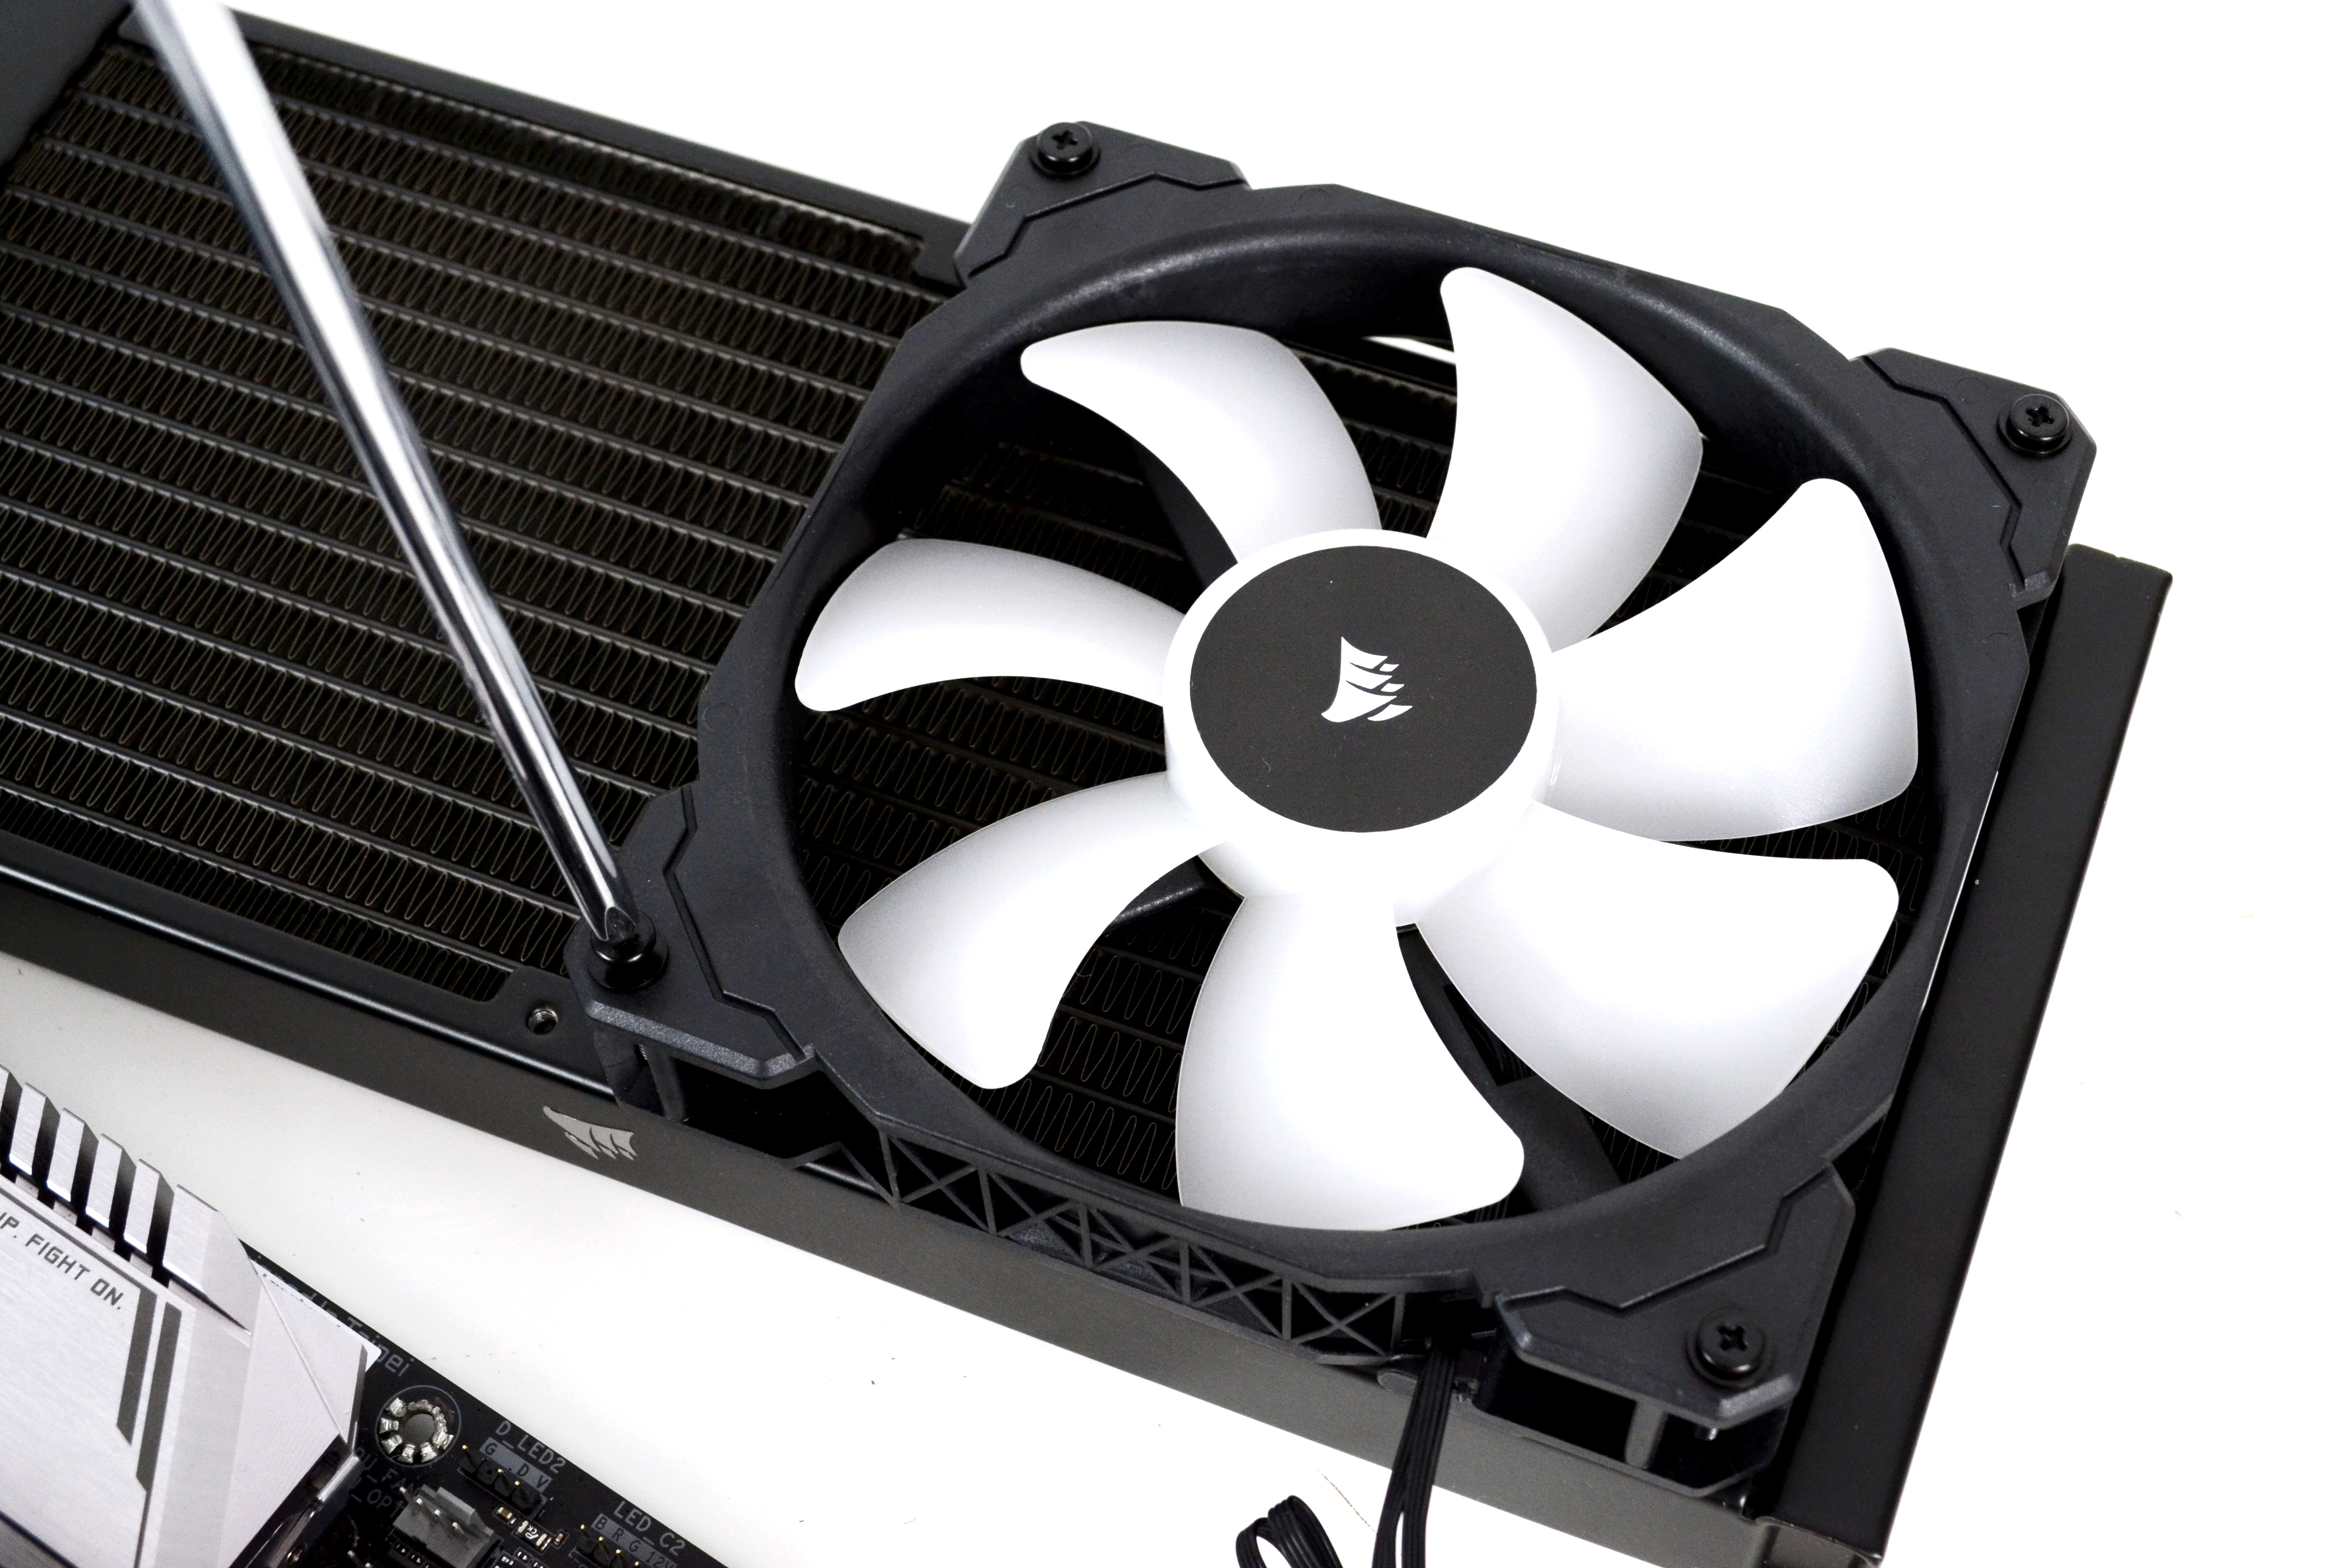
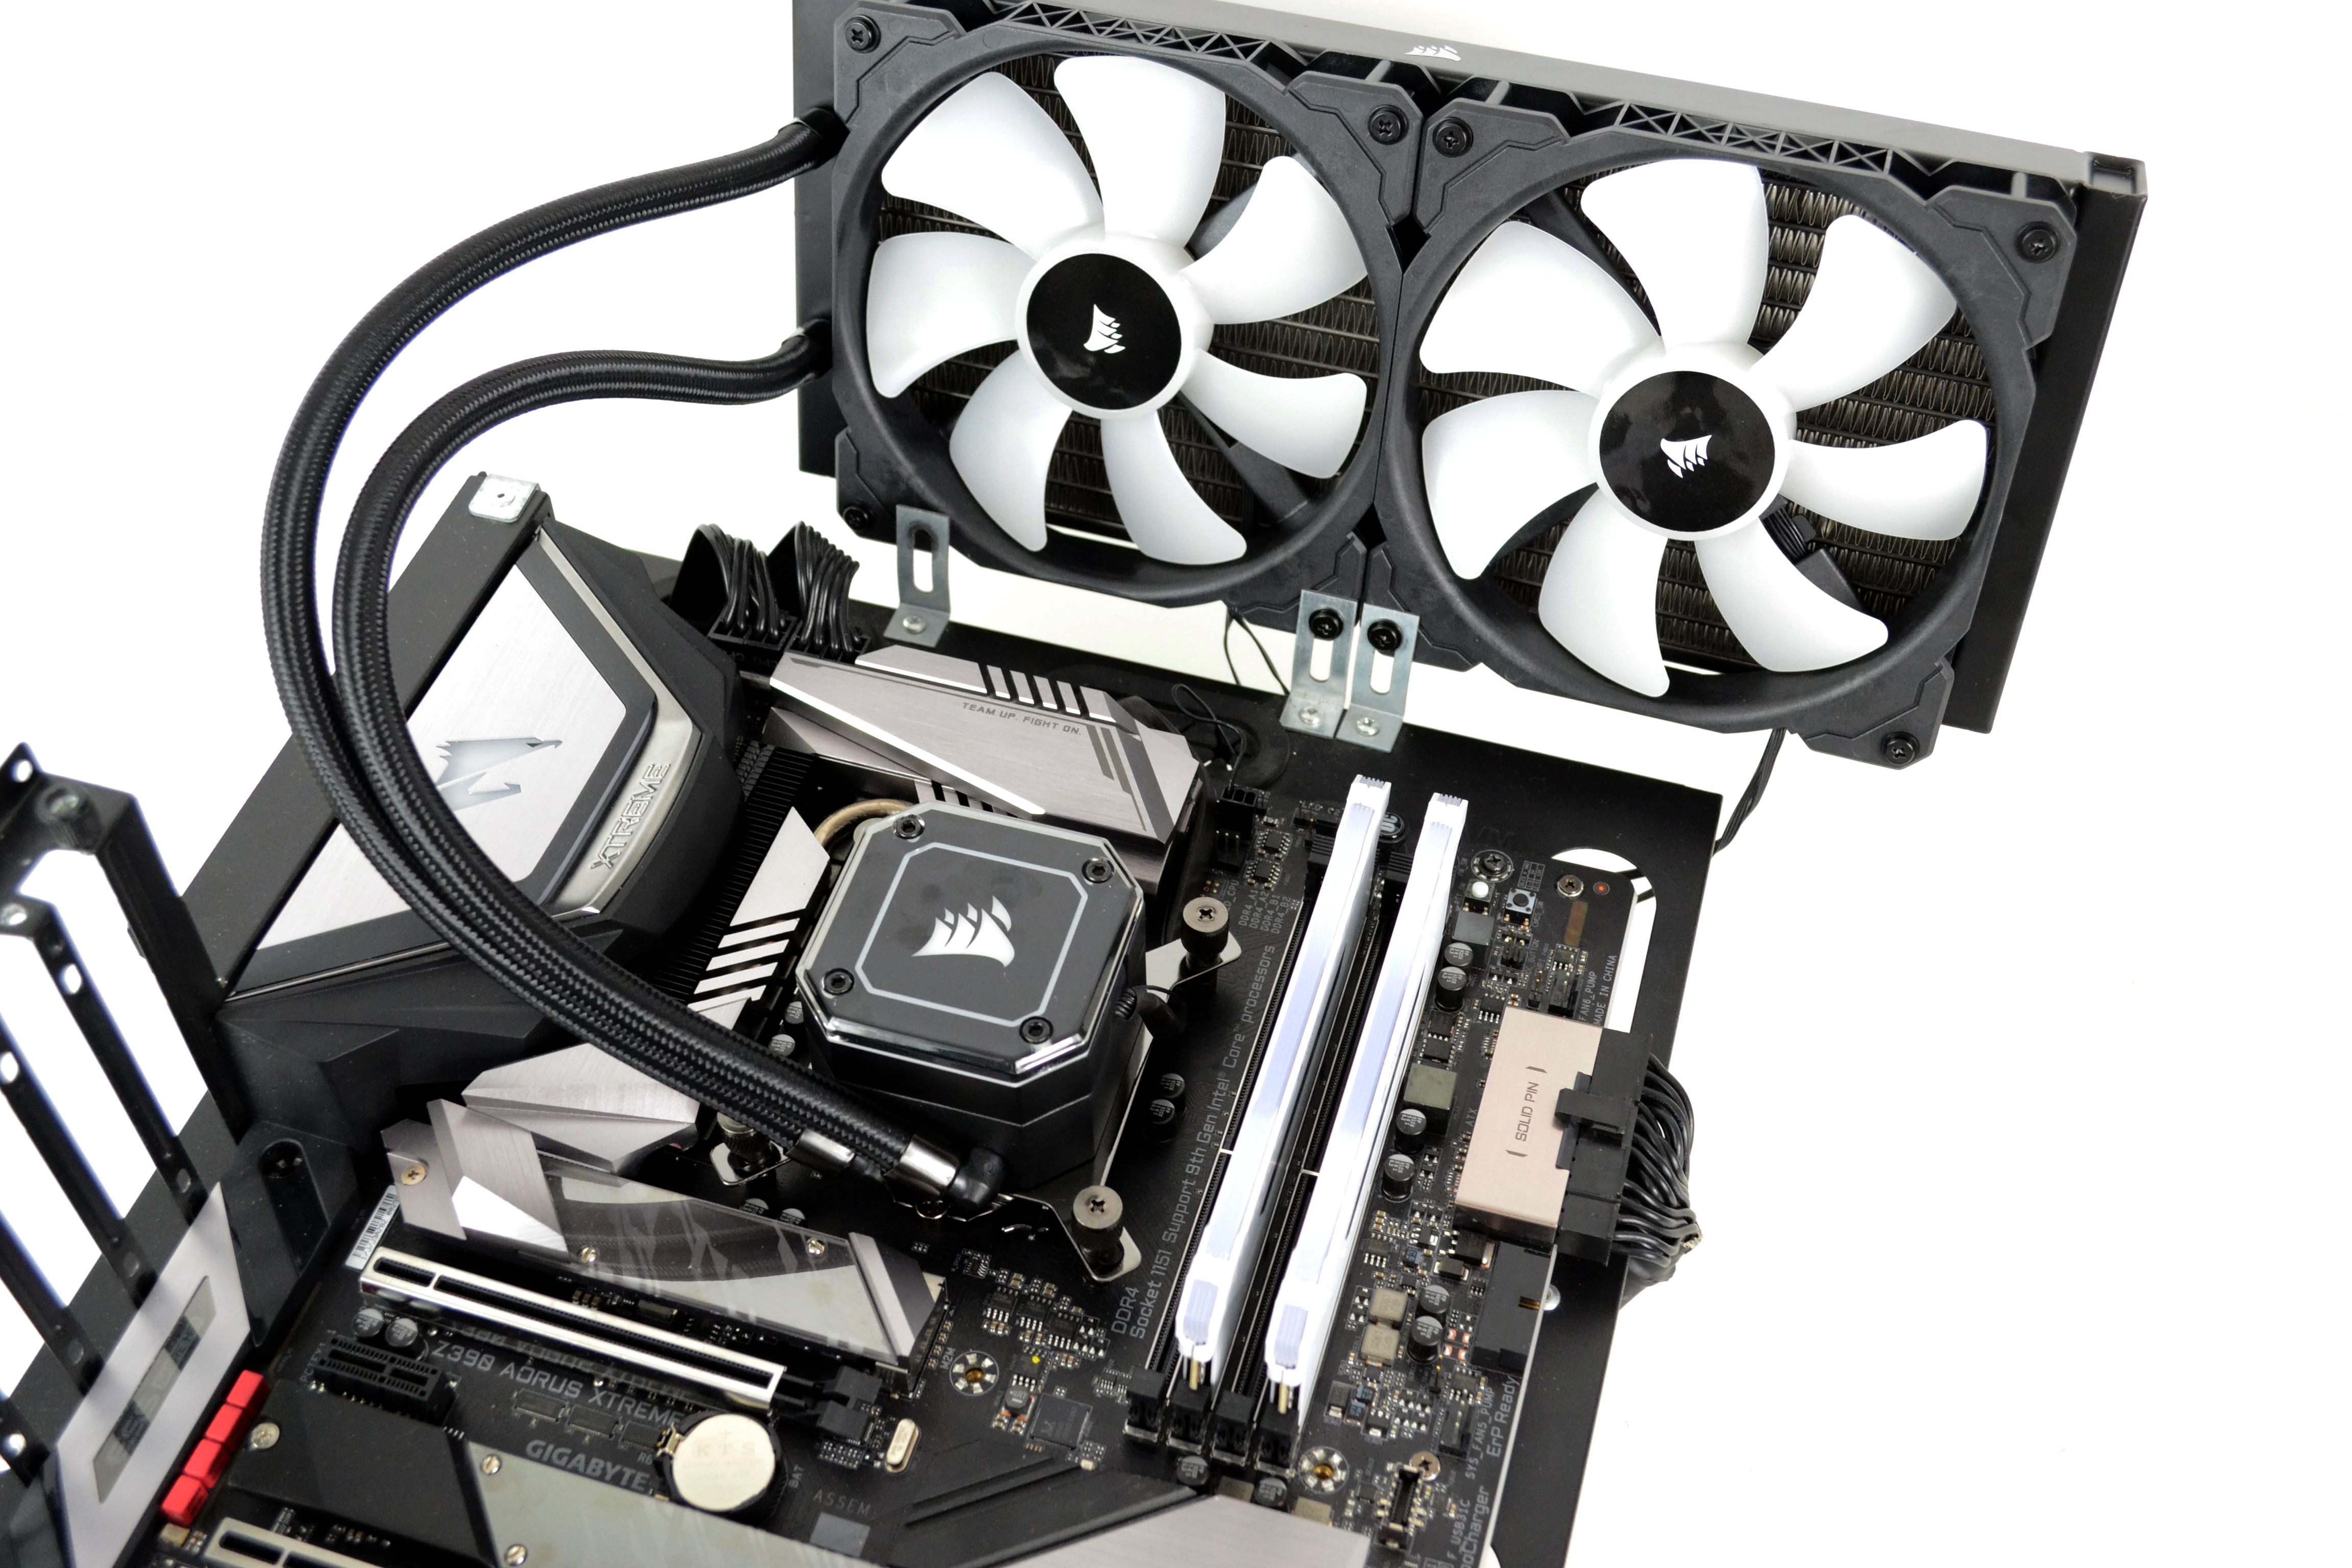
Now would be a good time to choose the location of the radiator inside your case. Mounting the cooler on our test bench is a little different to mounting inside a case so we can fit the fans to the radiator now using the long black screws and washers provided.
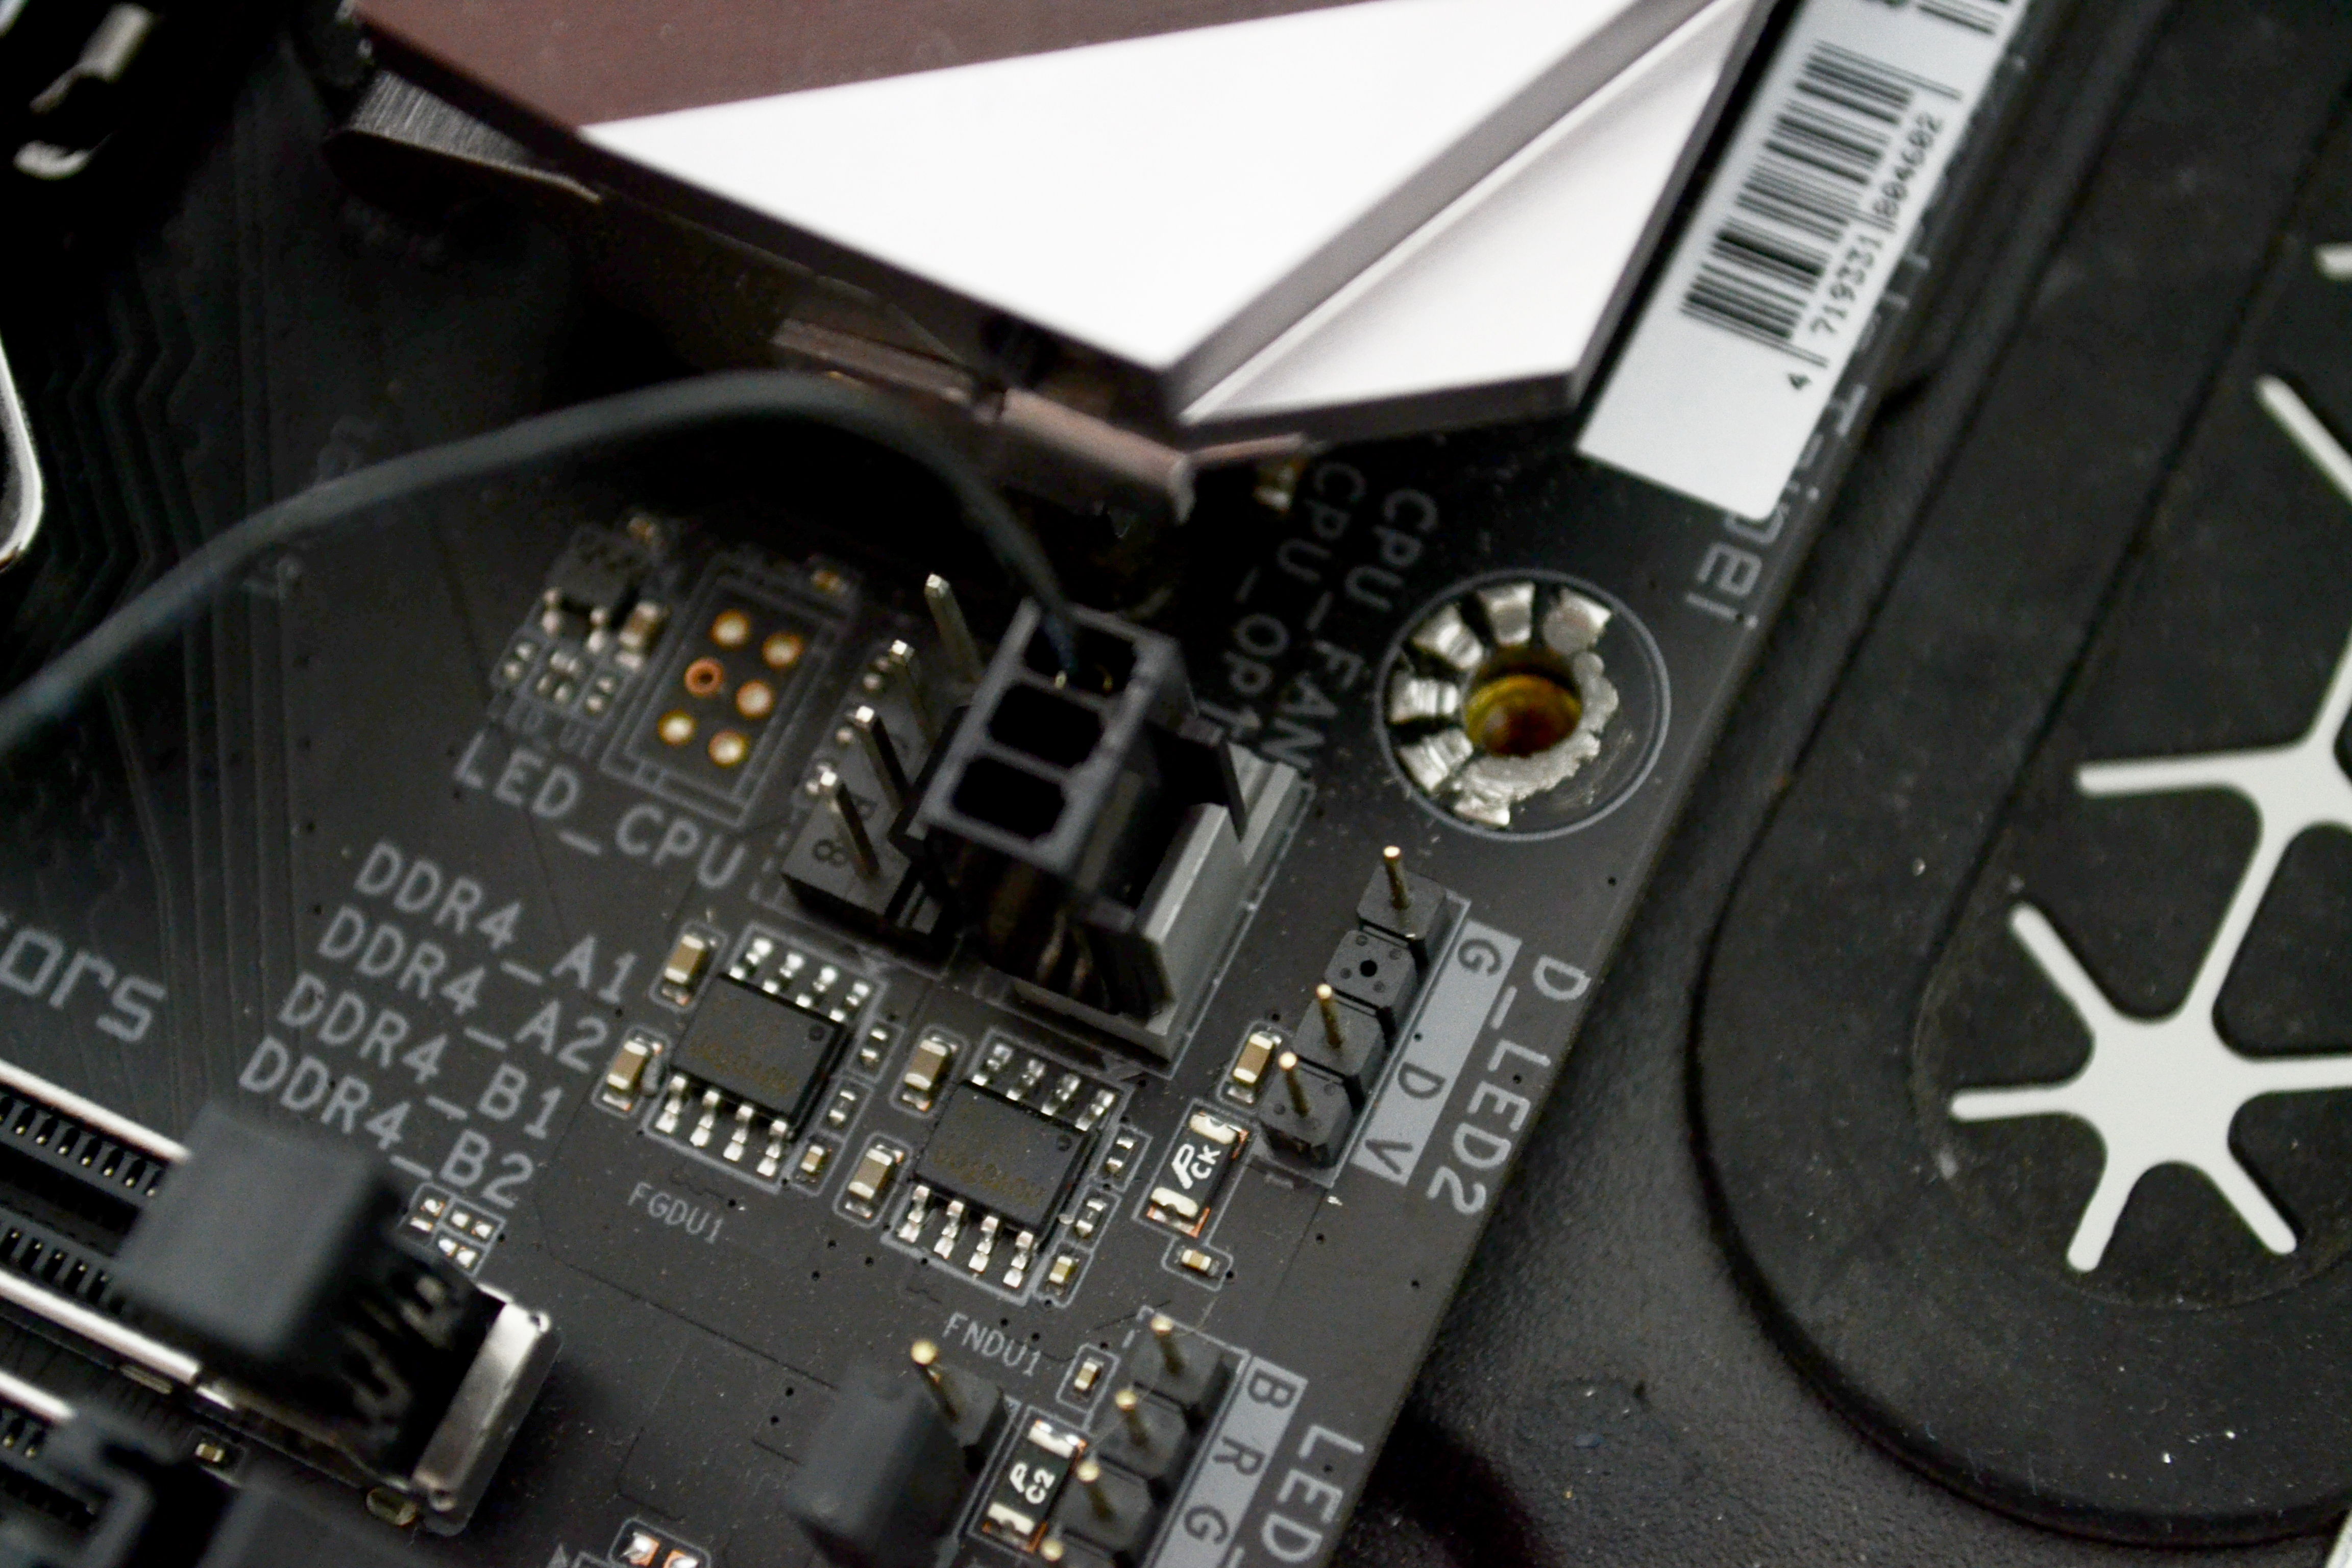
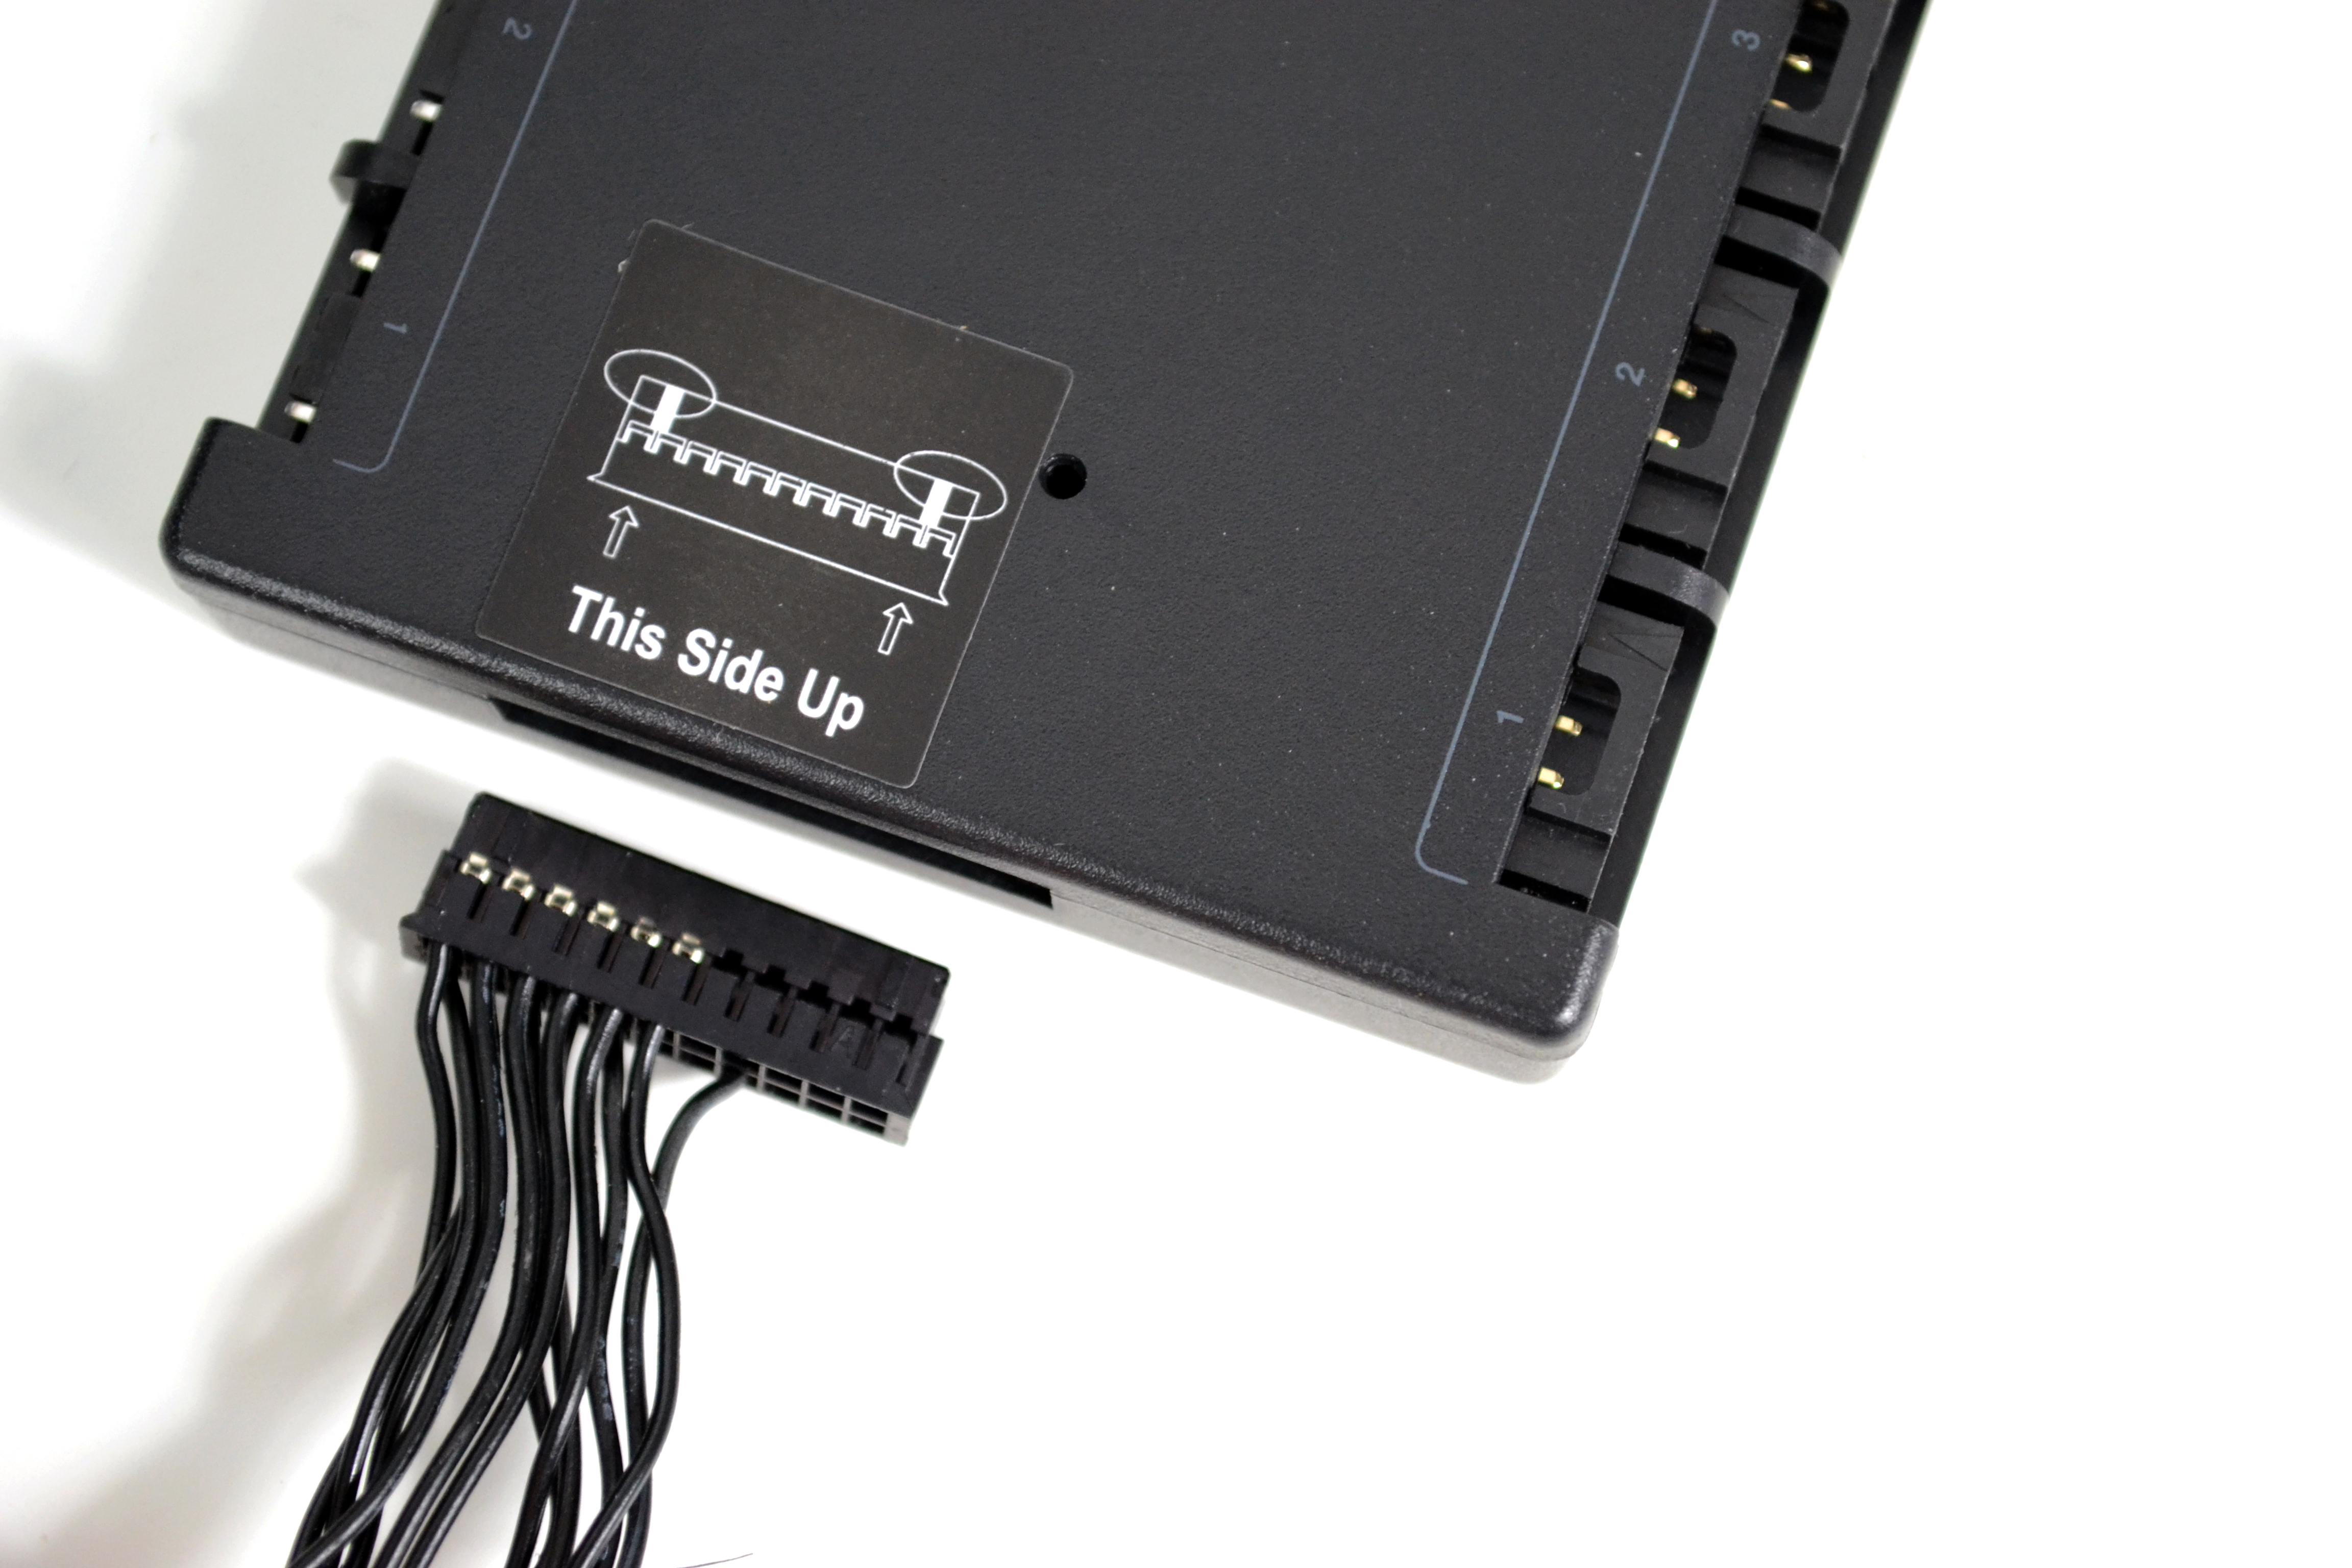
With the motherboard and cooler installed on our test bench, we can move on to connecting up all the cables. First, connect the 3-pin pump tach cable to the motherboard CPU_FAN header, then connect the large multi-pin connector from the CPU block to the Corsair Commander Core RGB controller as shown.
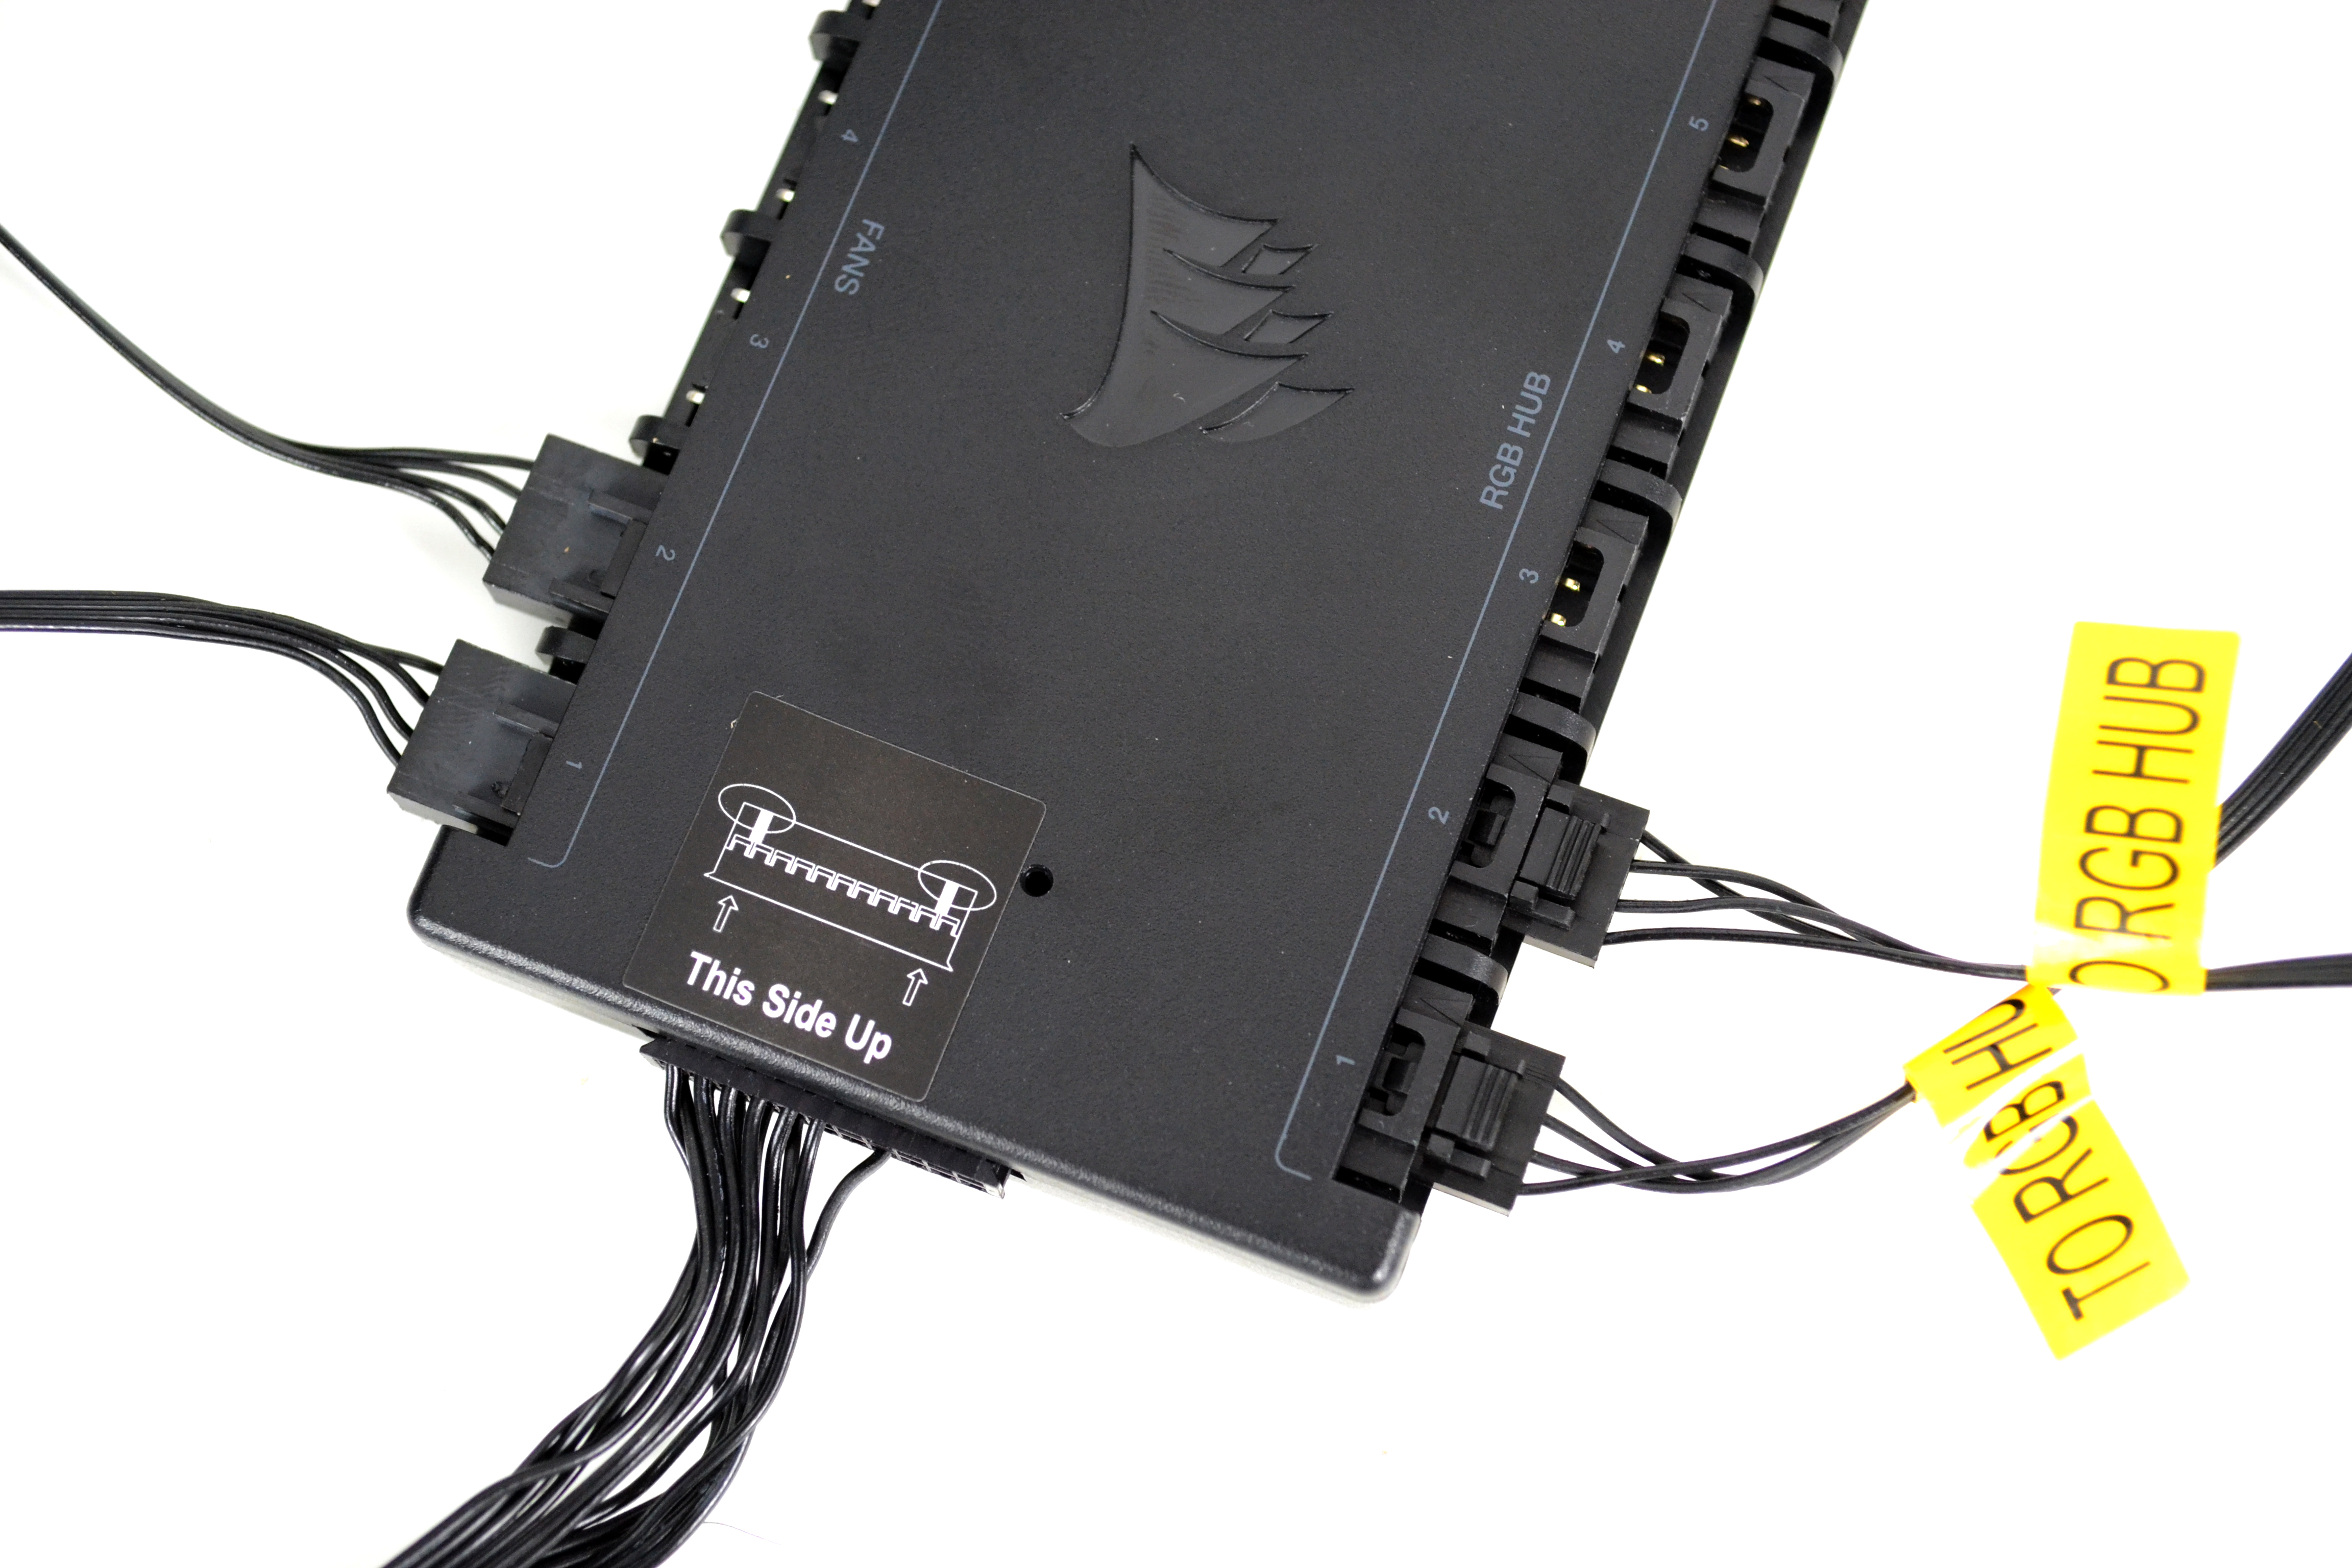
The 3-pin RGB fan cables and PWM control cables are then connected on opposite sides of the Commander Core RGB unit for full RGB and speed control starting from port number one.
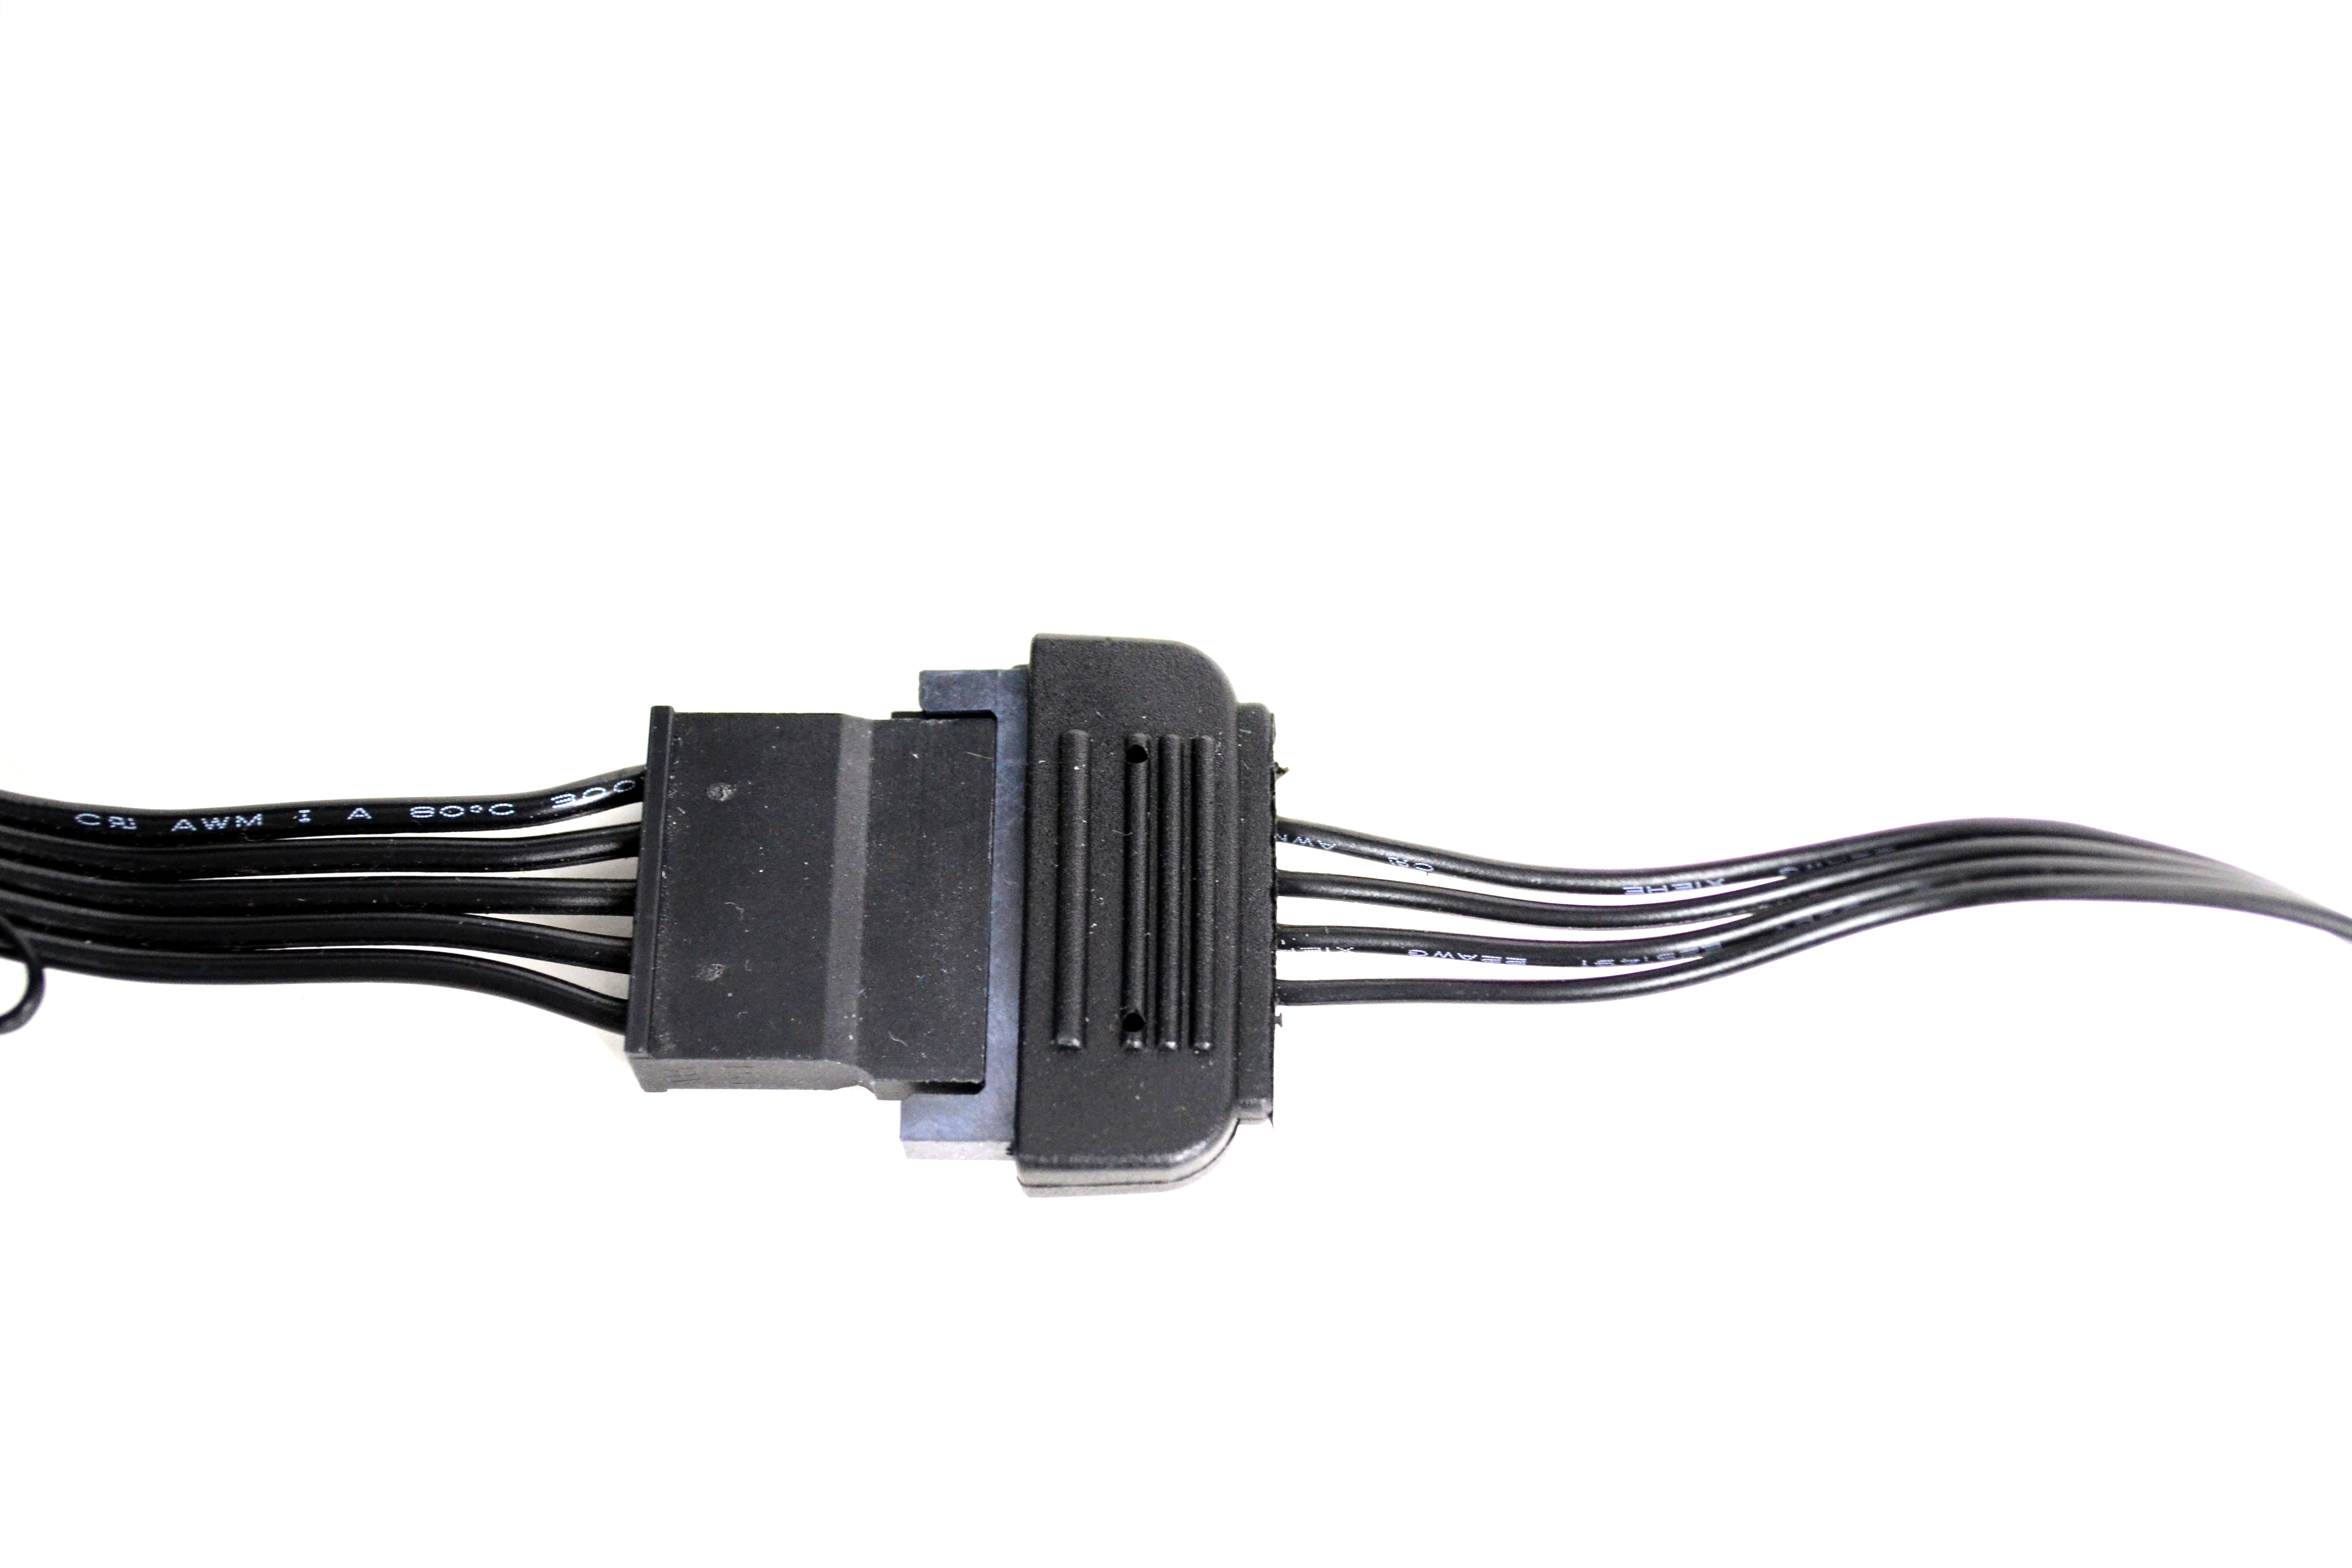
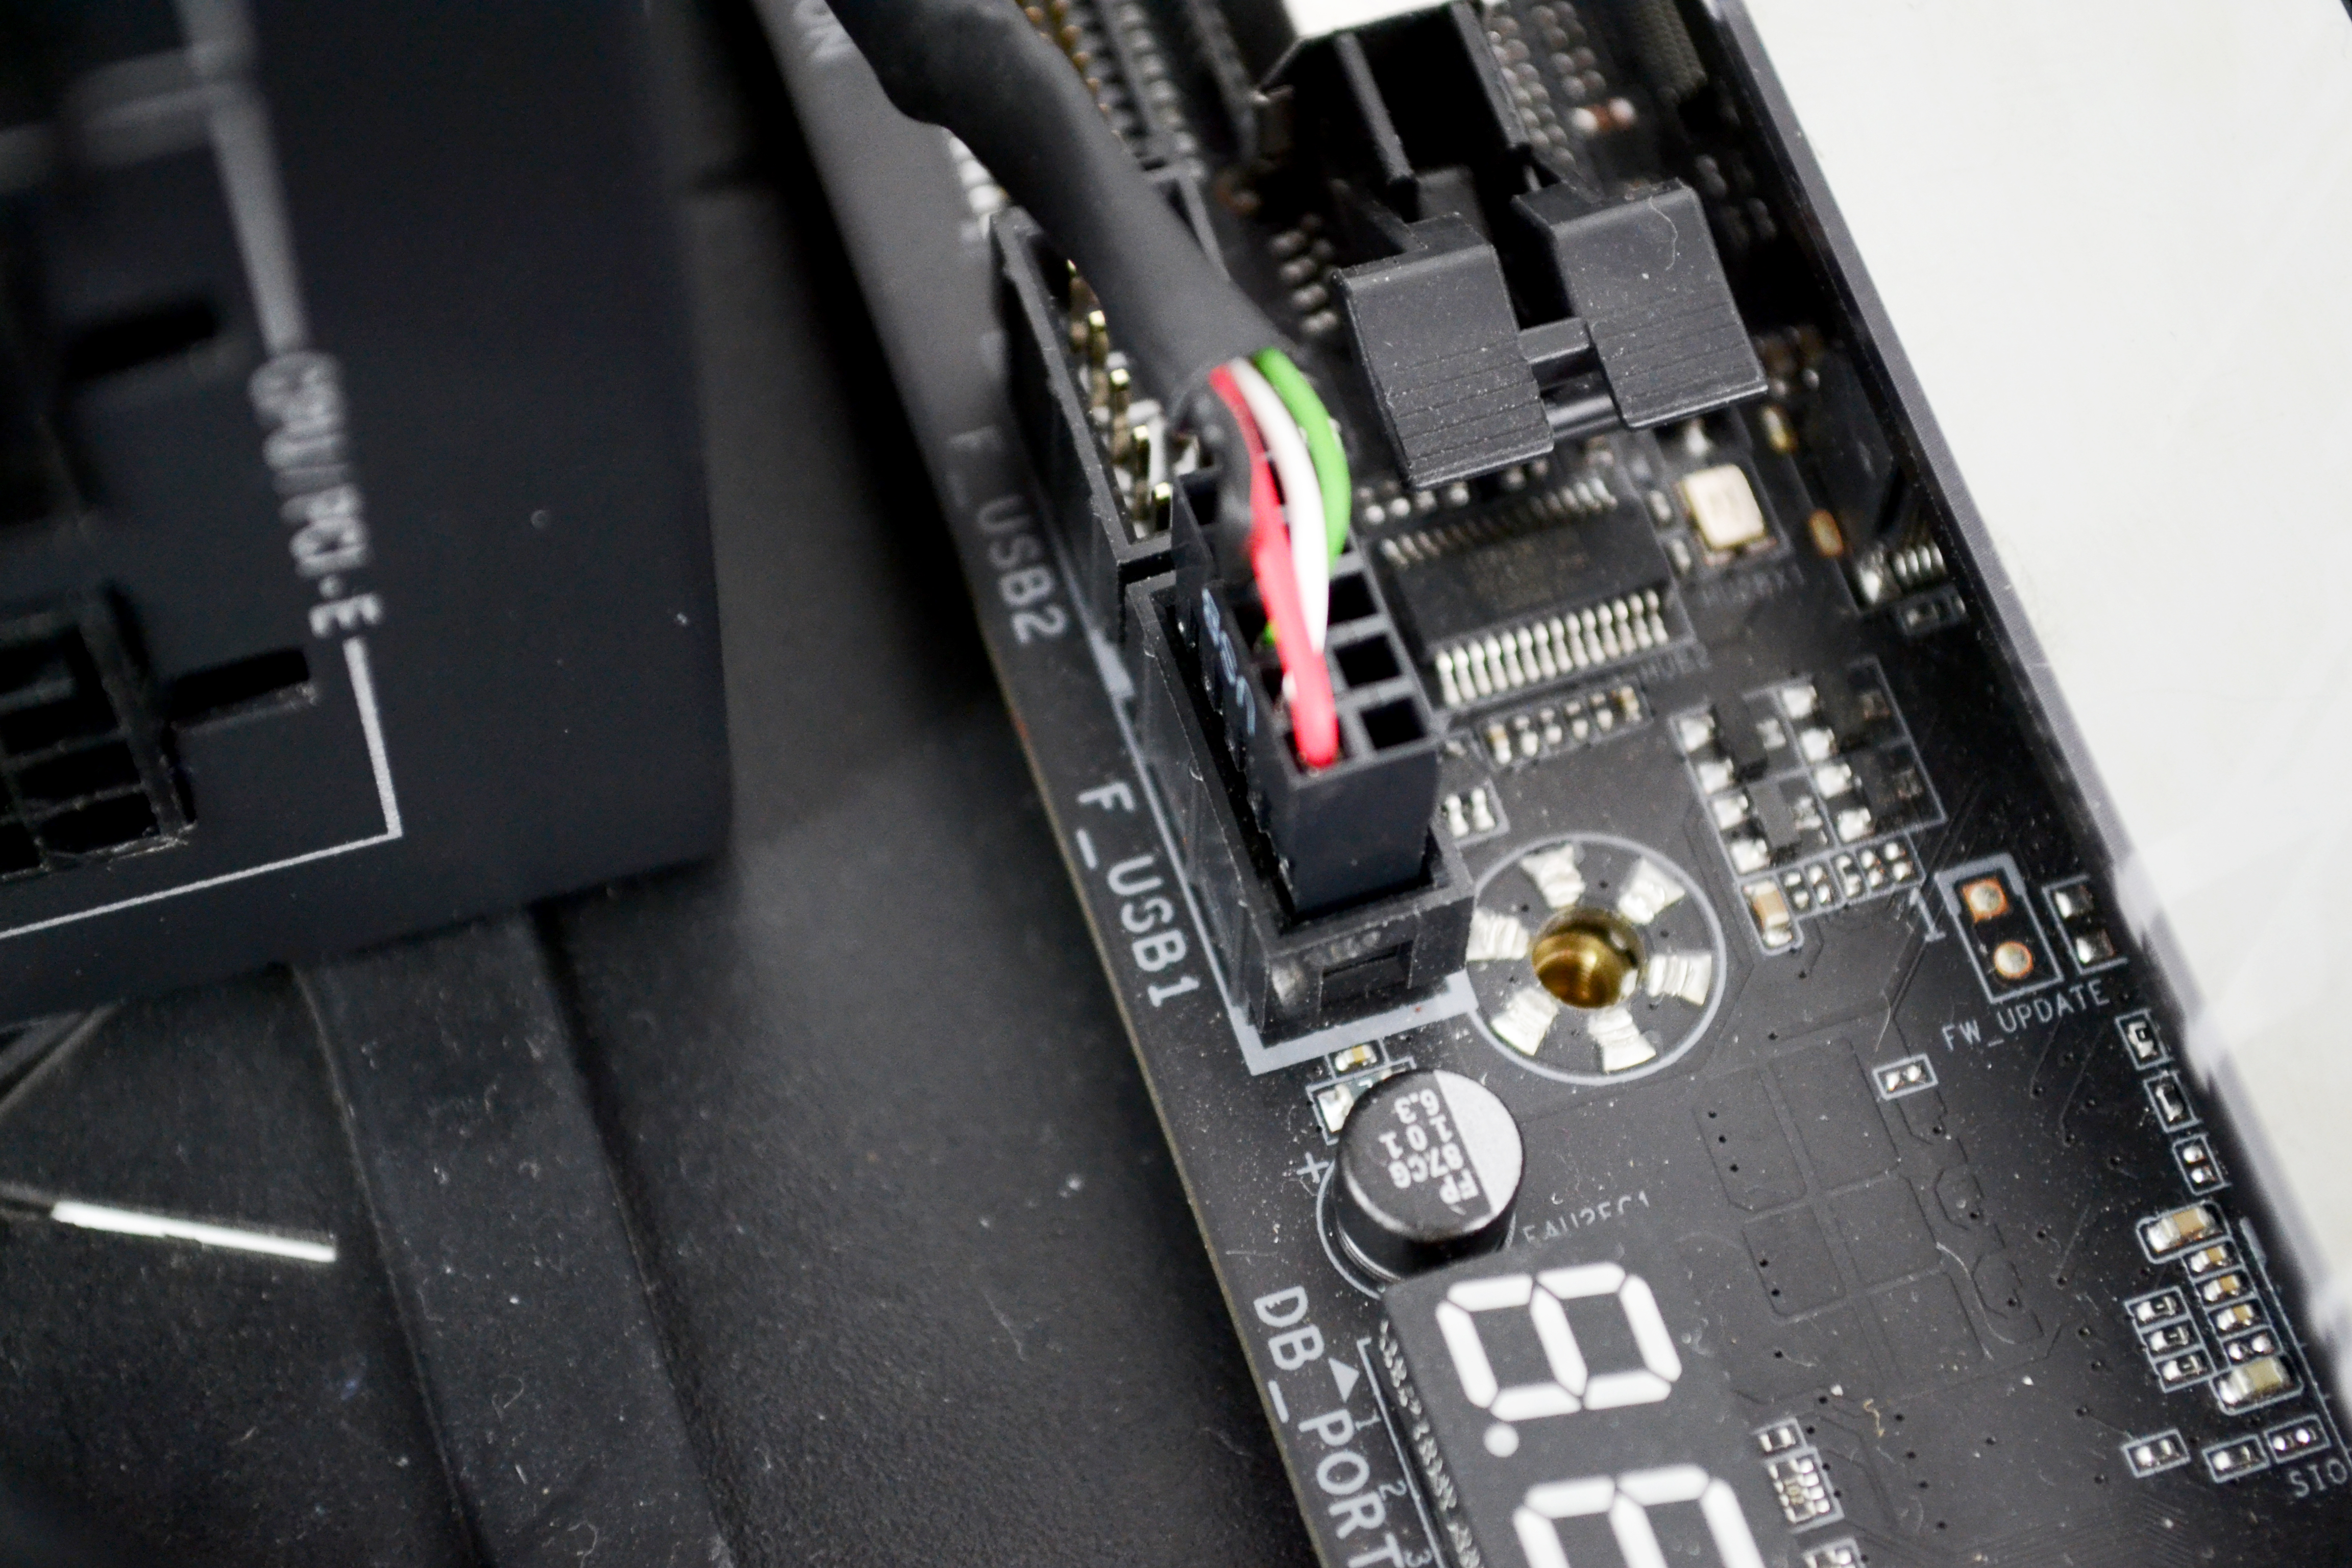
Next, the power cable from the Commander Core RGB controller must be connected to a spare SATA power connector from the PC’s main power supply, then the Commander Core USB cable is connected to a spare USB 2.0 header on the motherboard.

That is the hardware installation complete, it is a very straightforward process and takes approximately 15-20 minutes overall. To take advantage of the full RGB lighting effects and PWM control of the pump/fan speed, the installation of Corsair’s iCUE software is necessary which can be downloaded HERE.
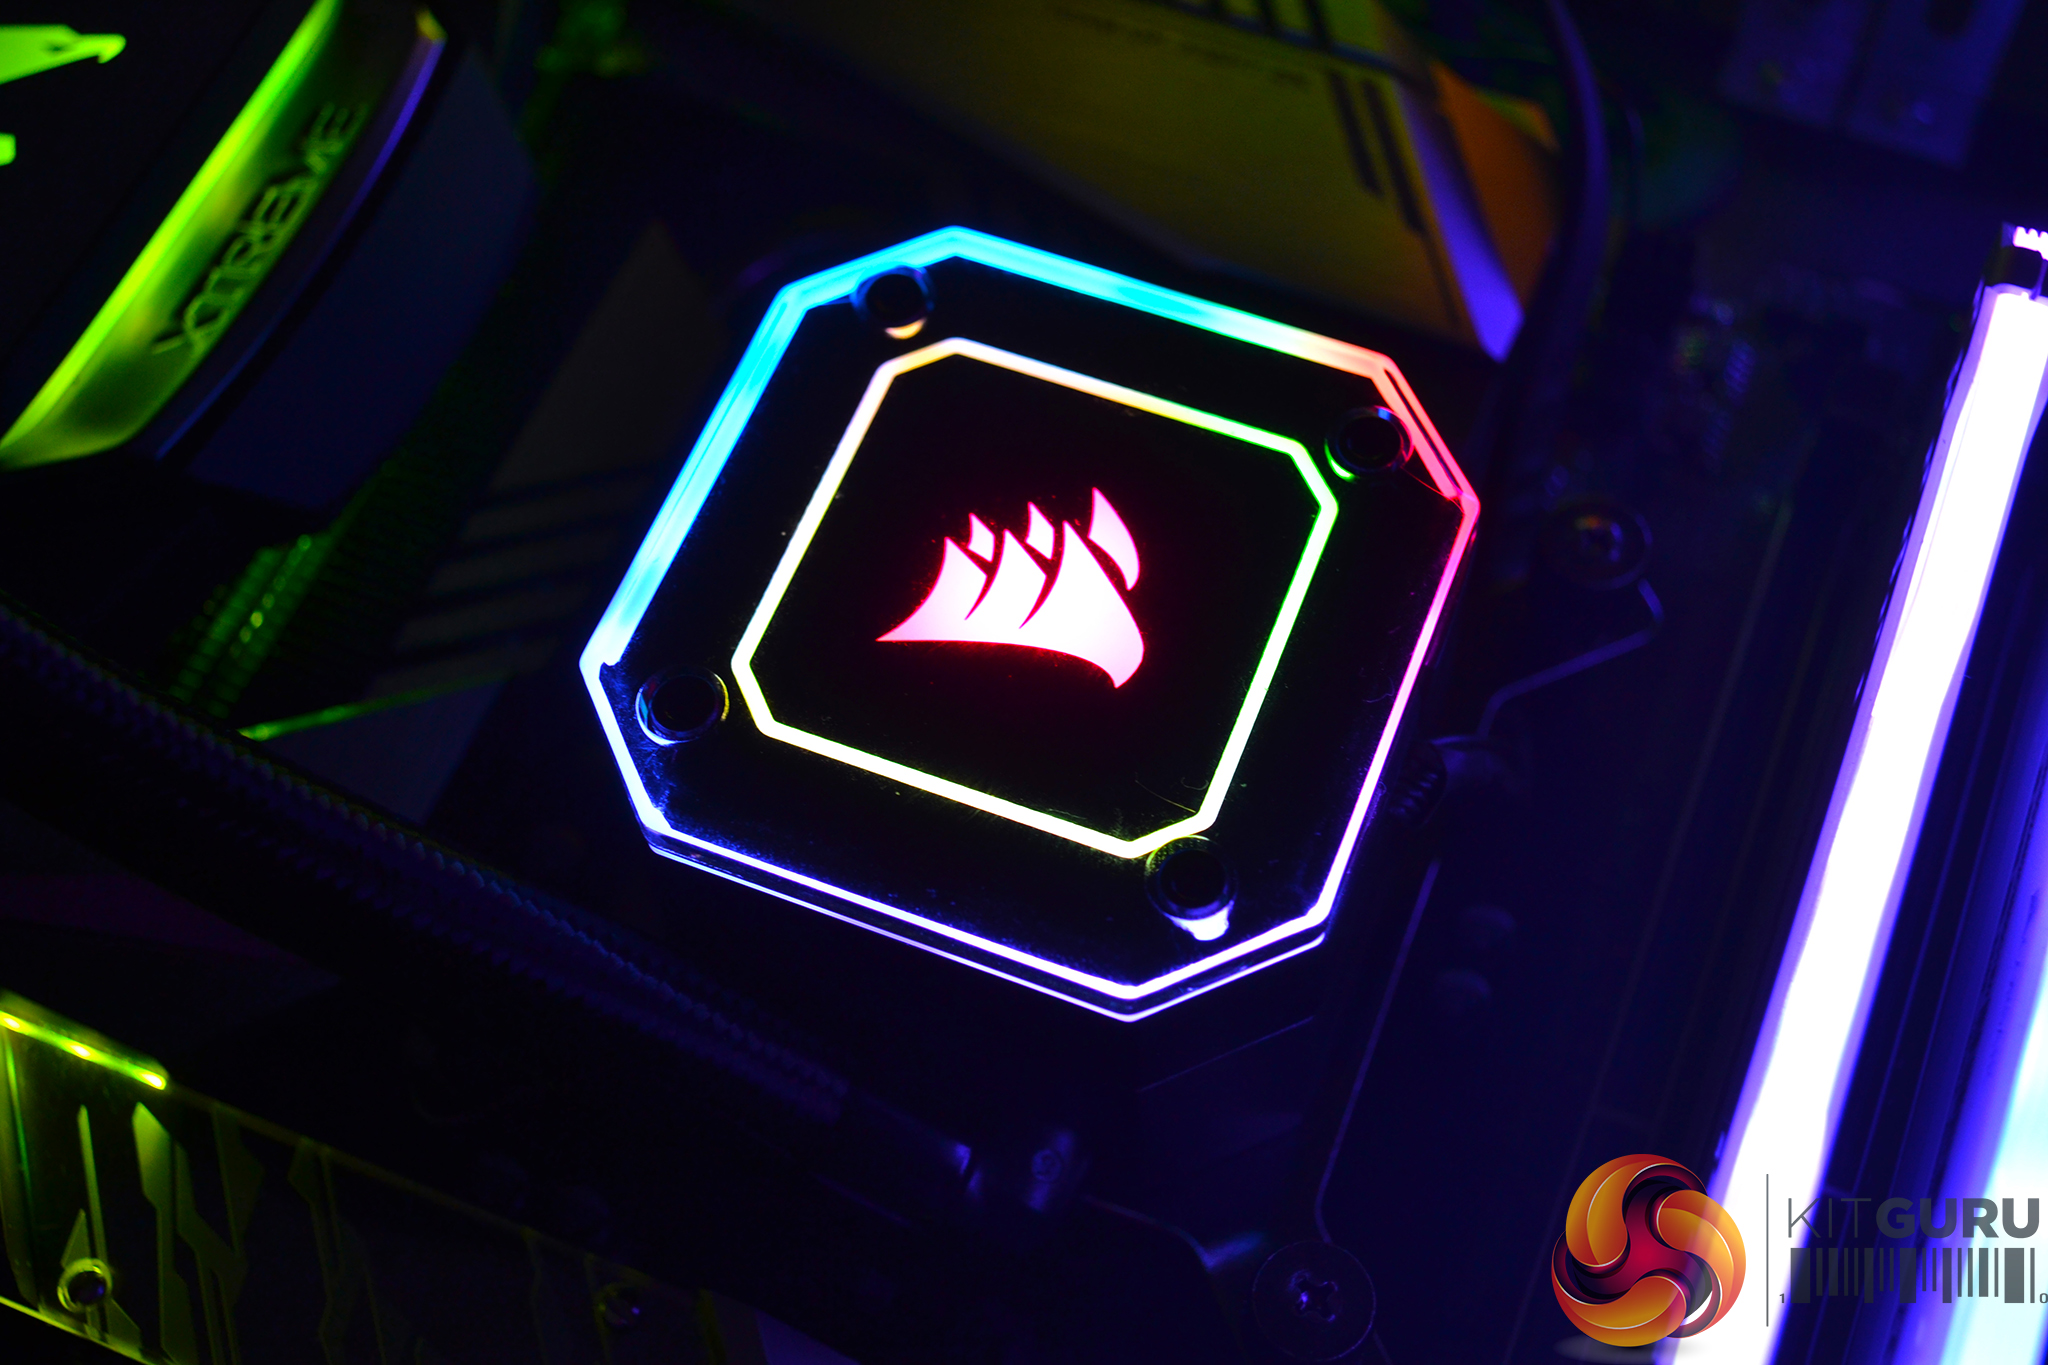
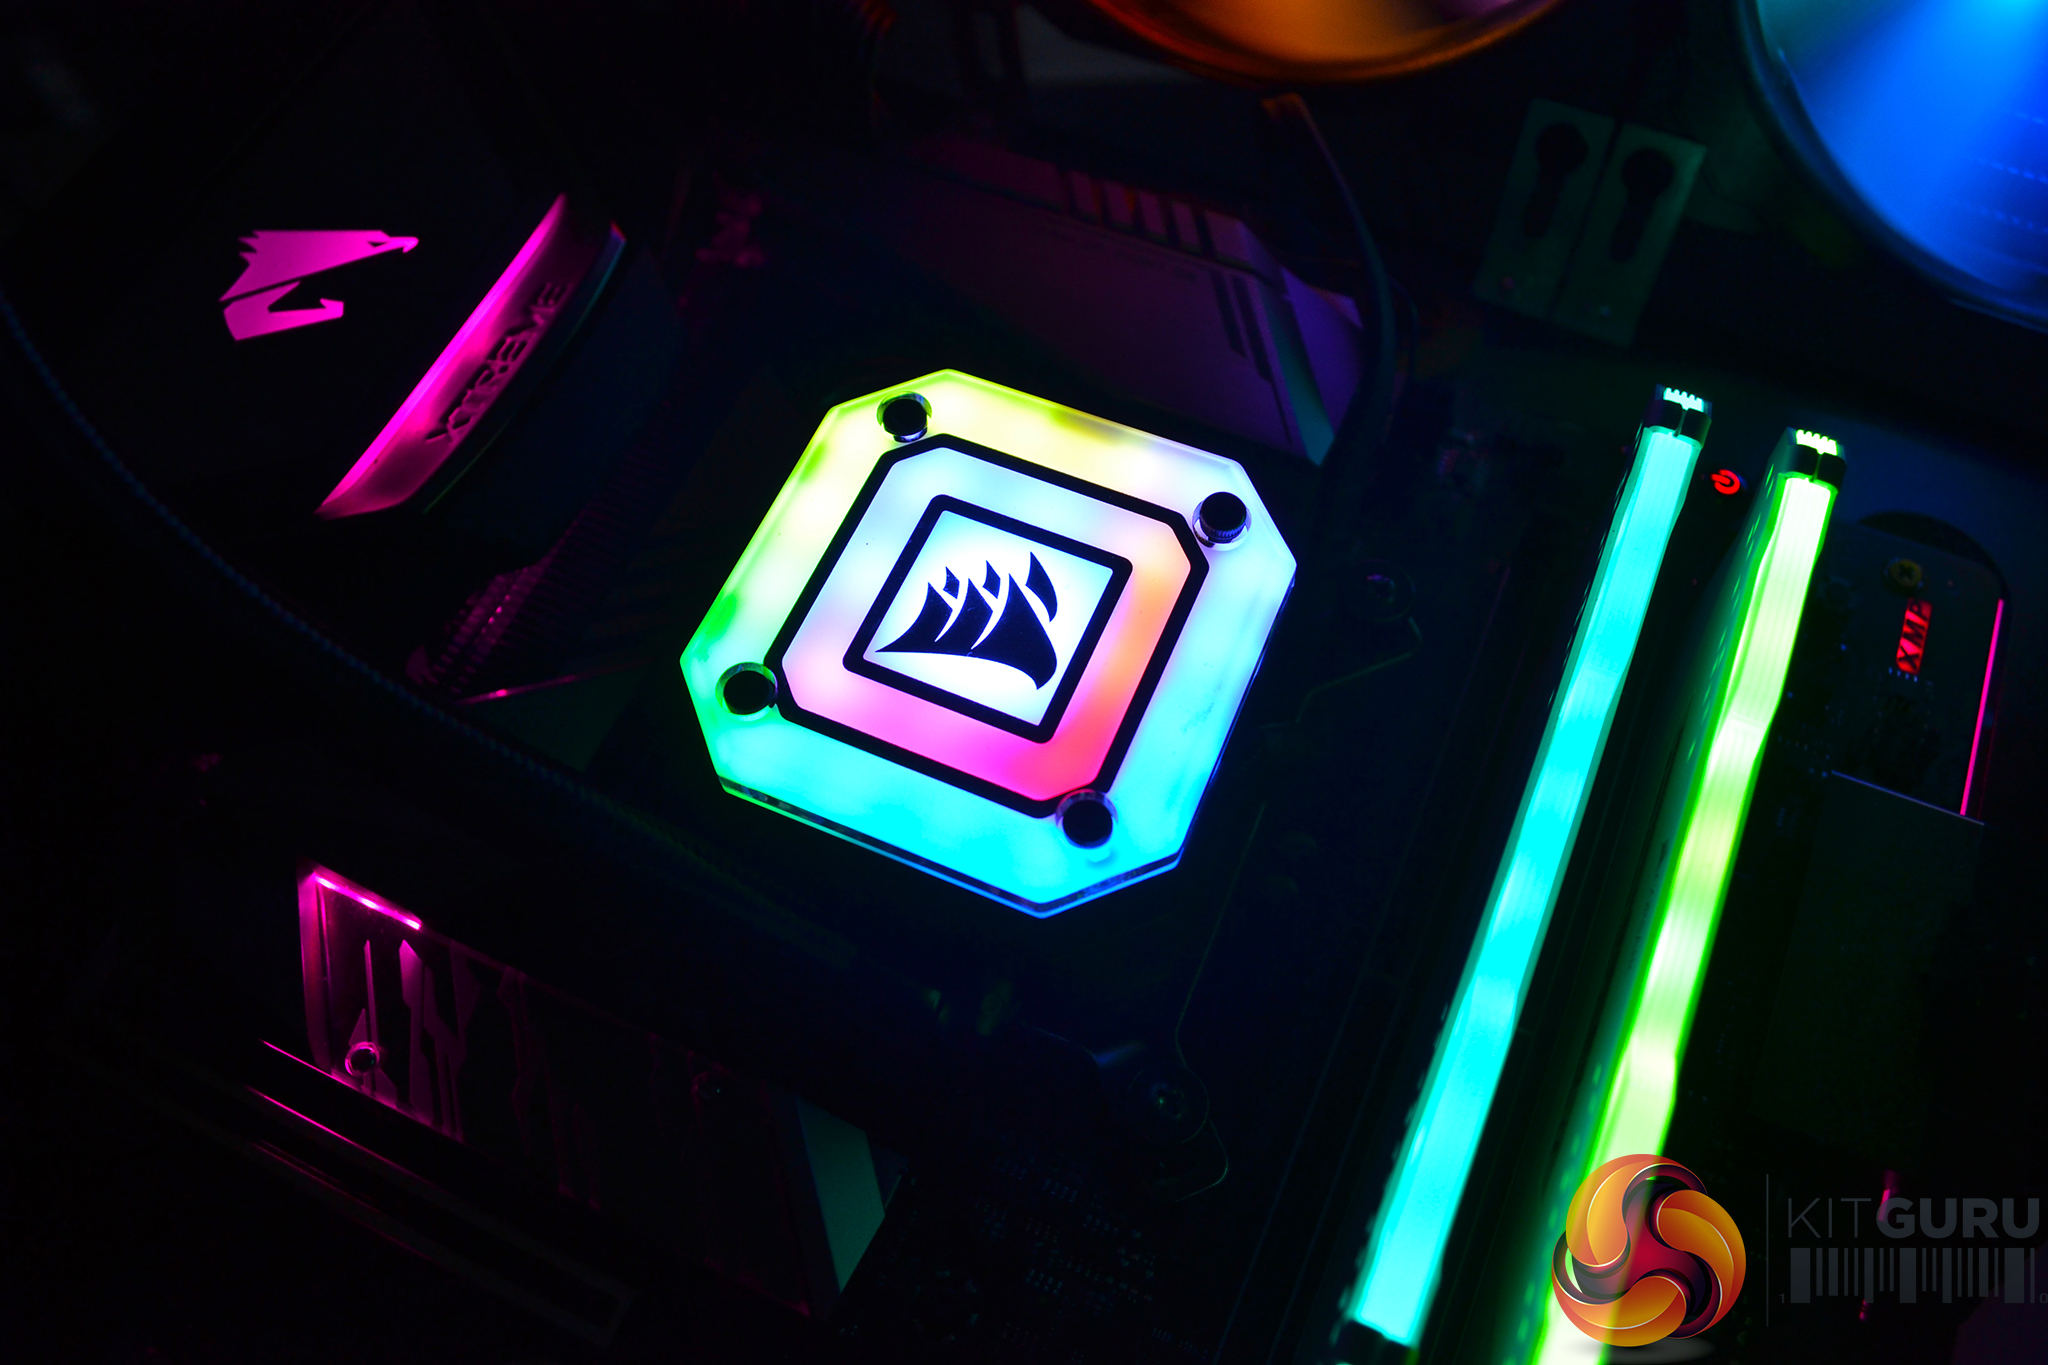
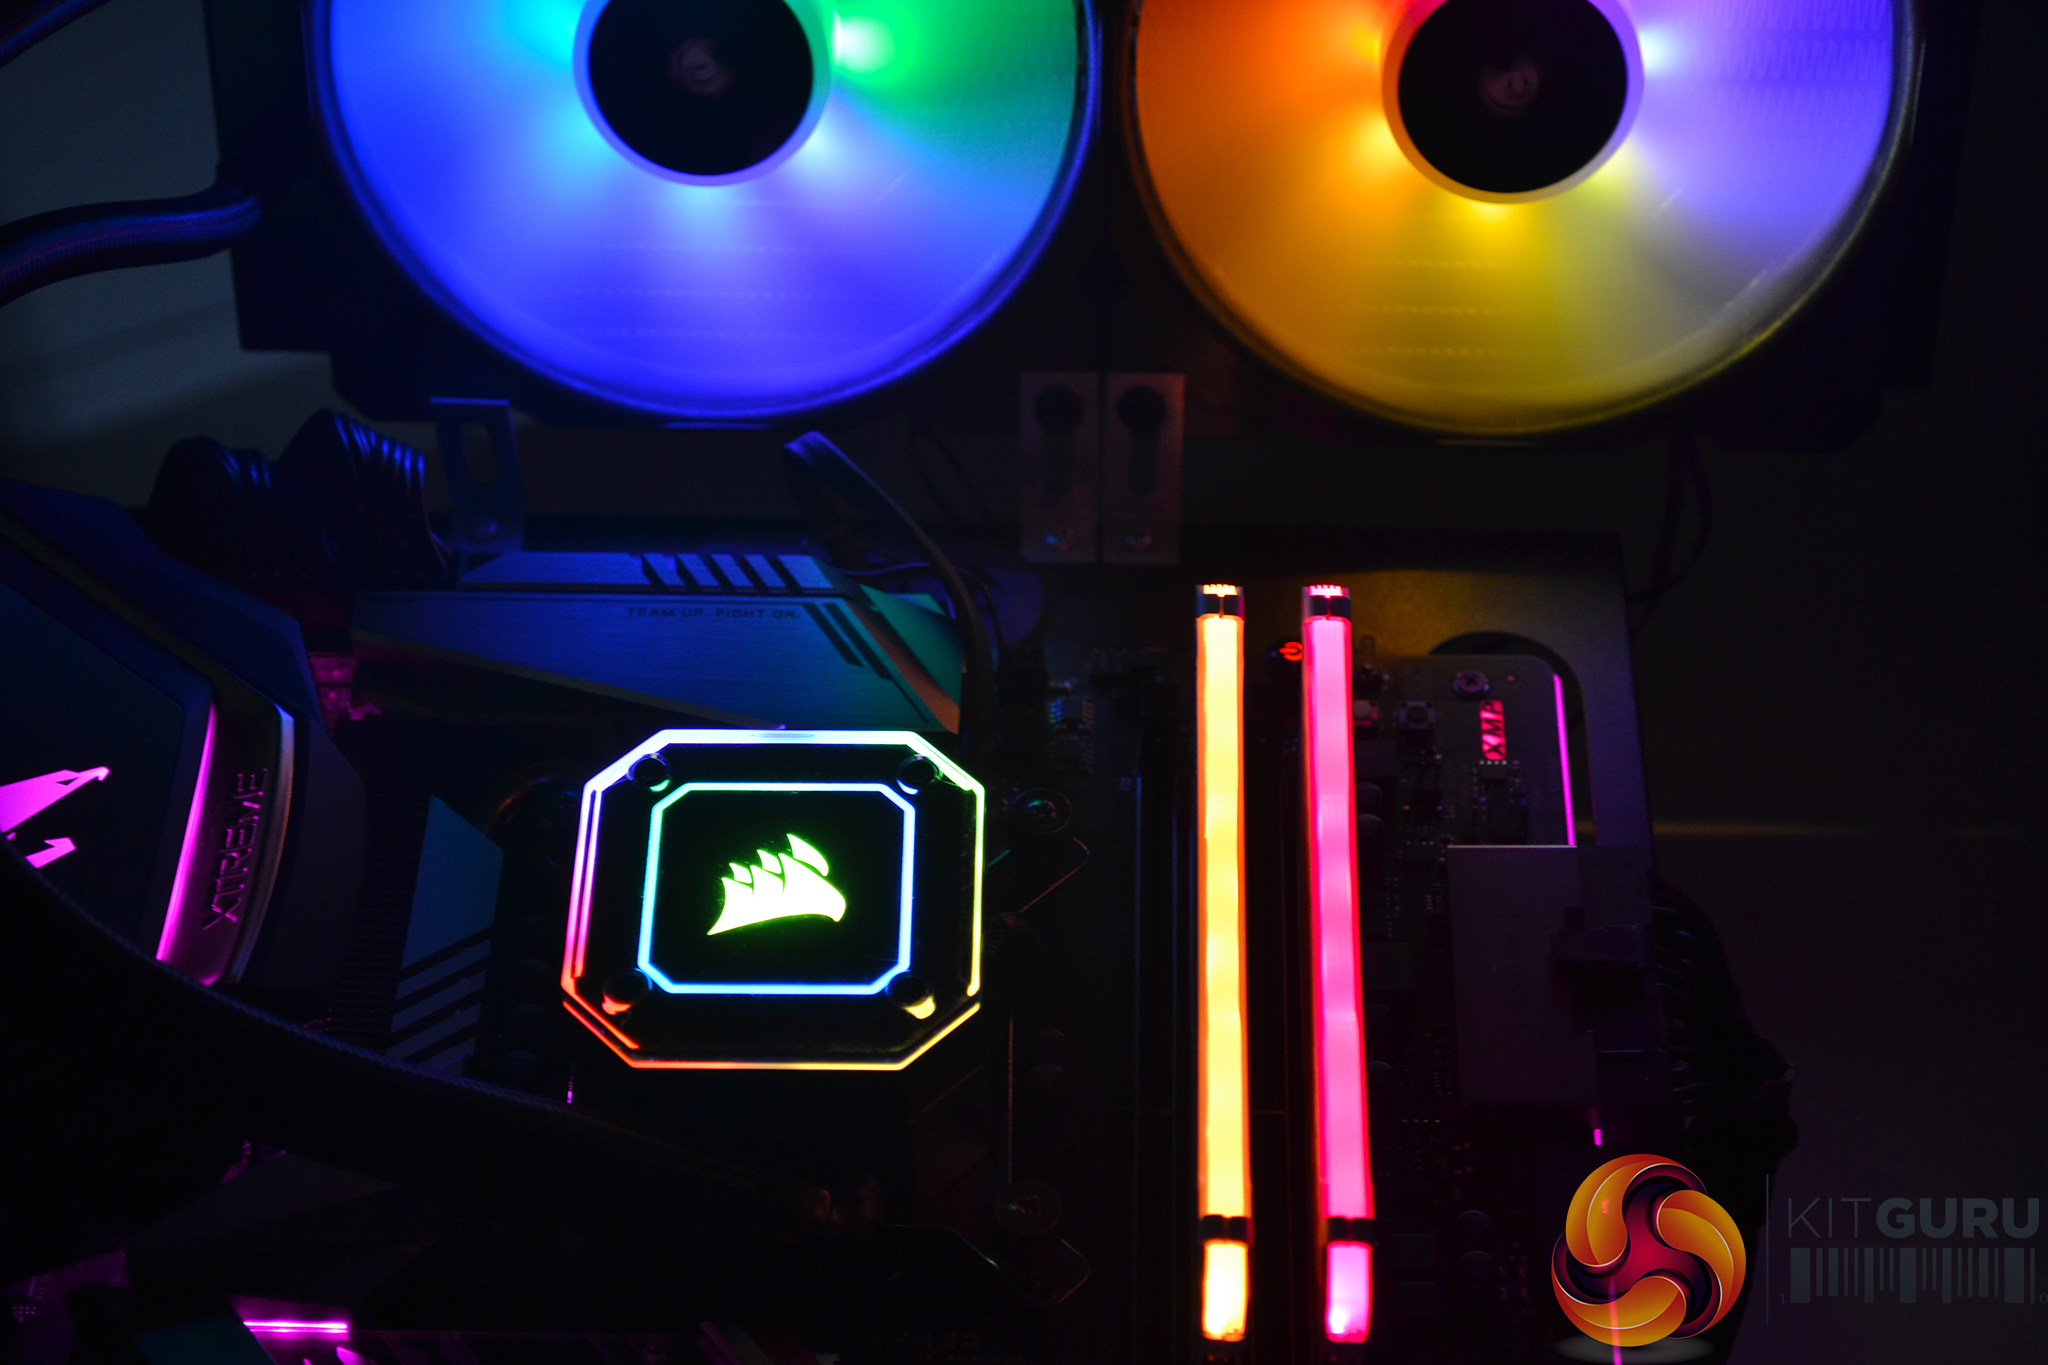
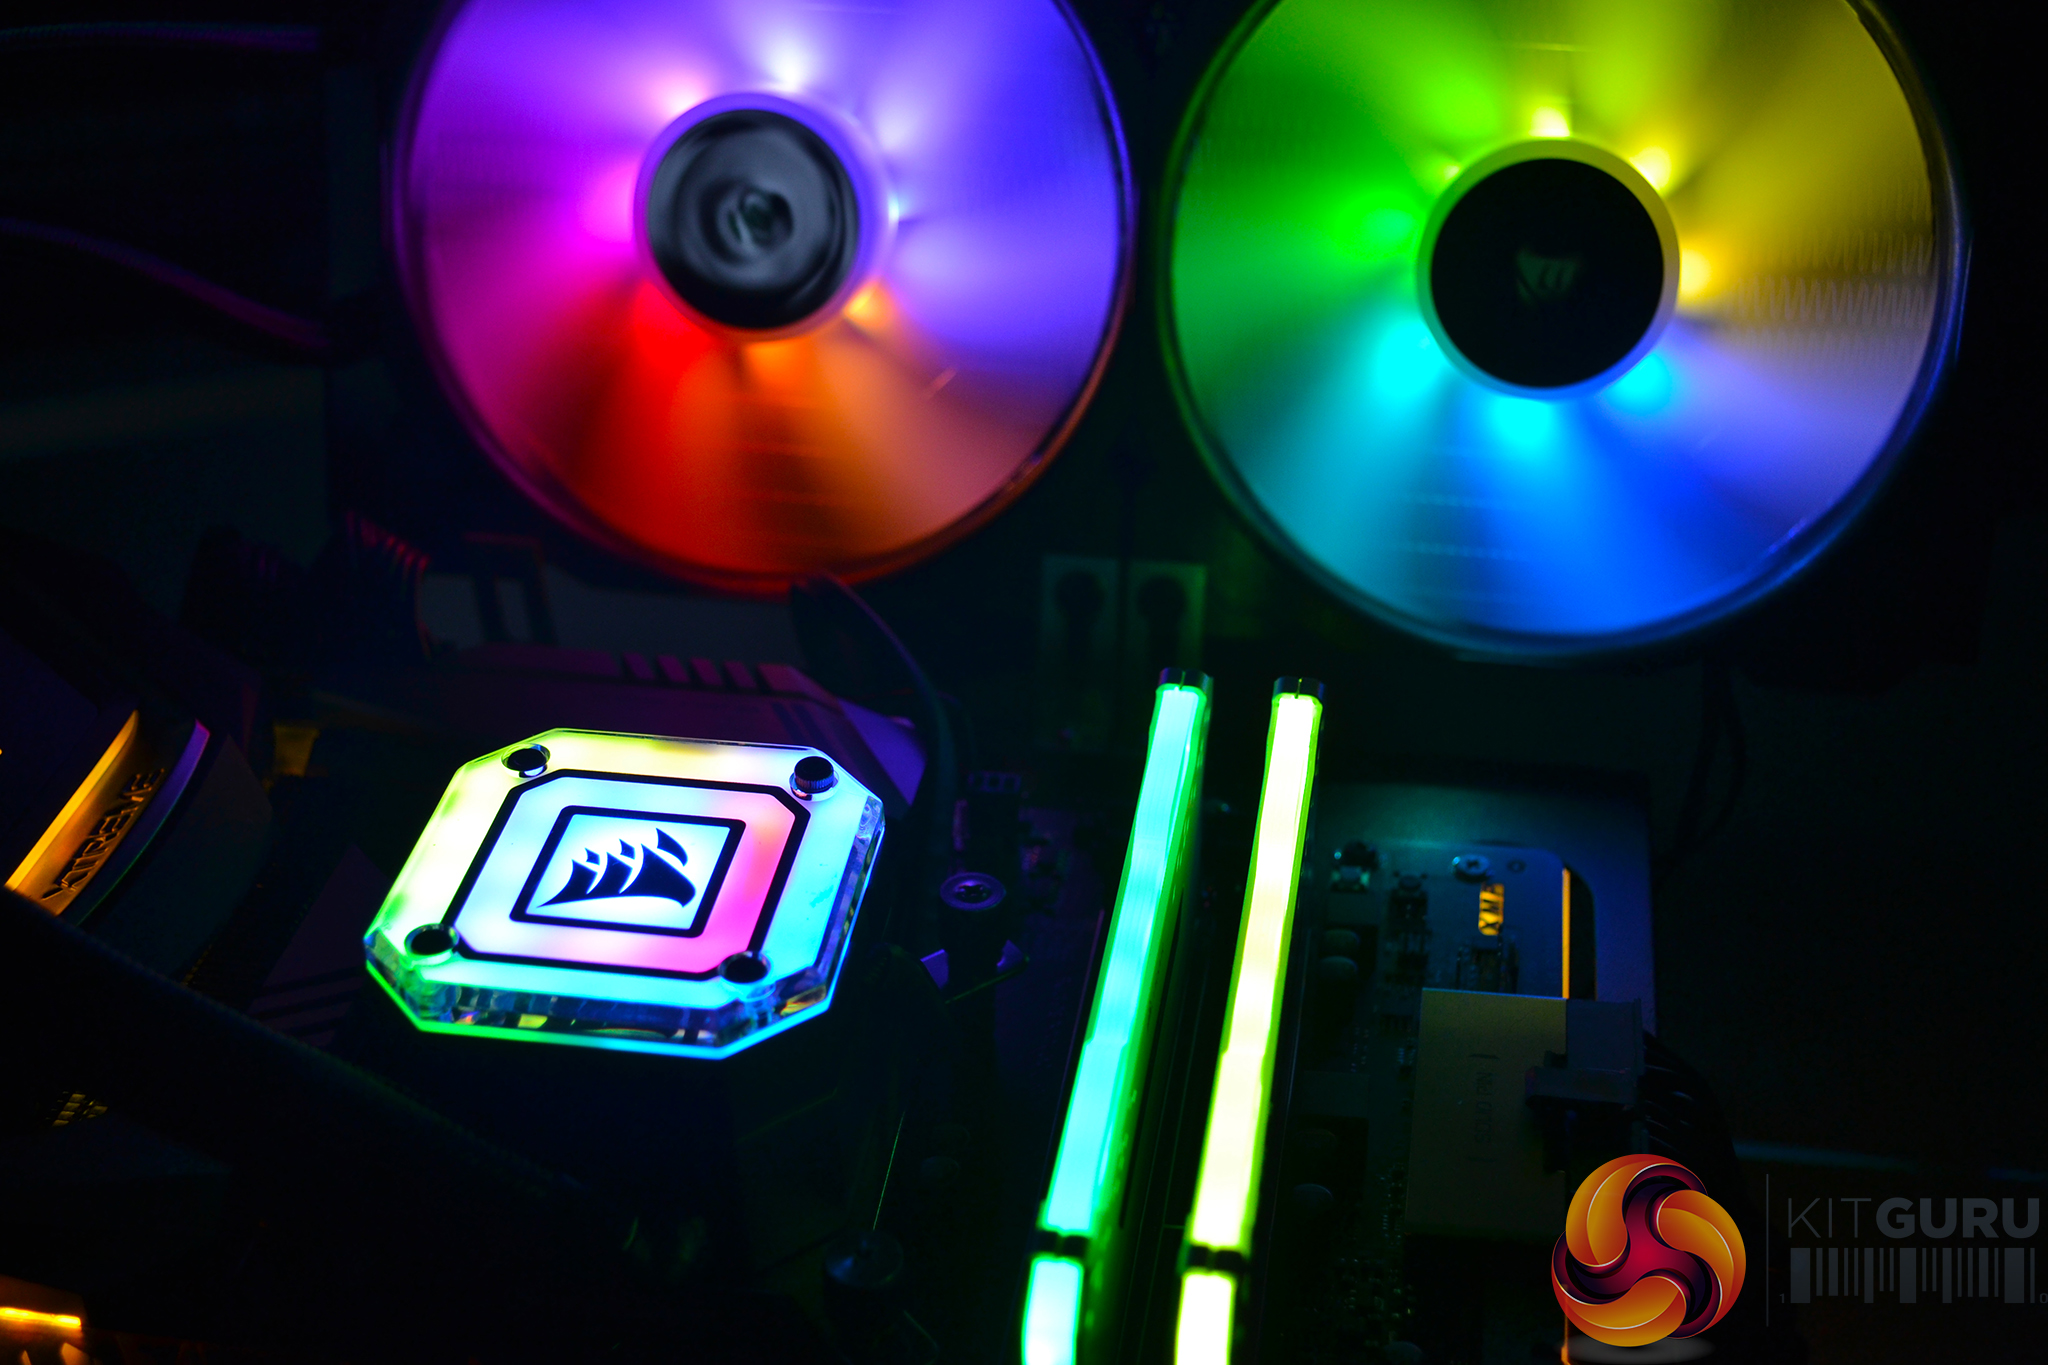
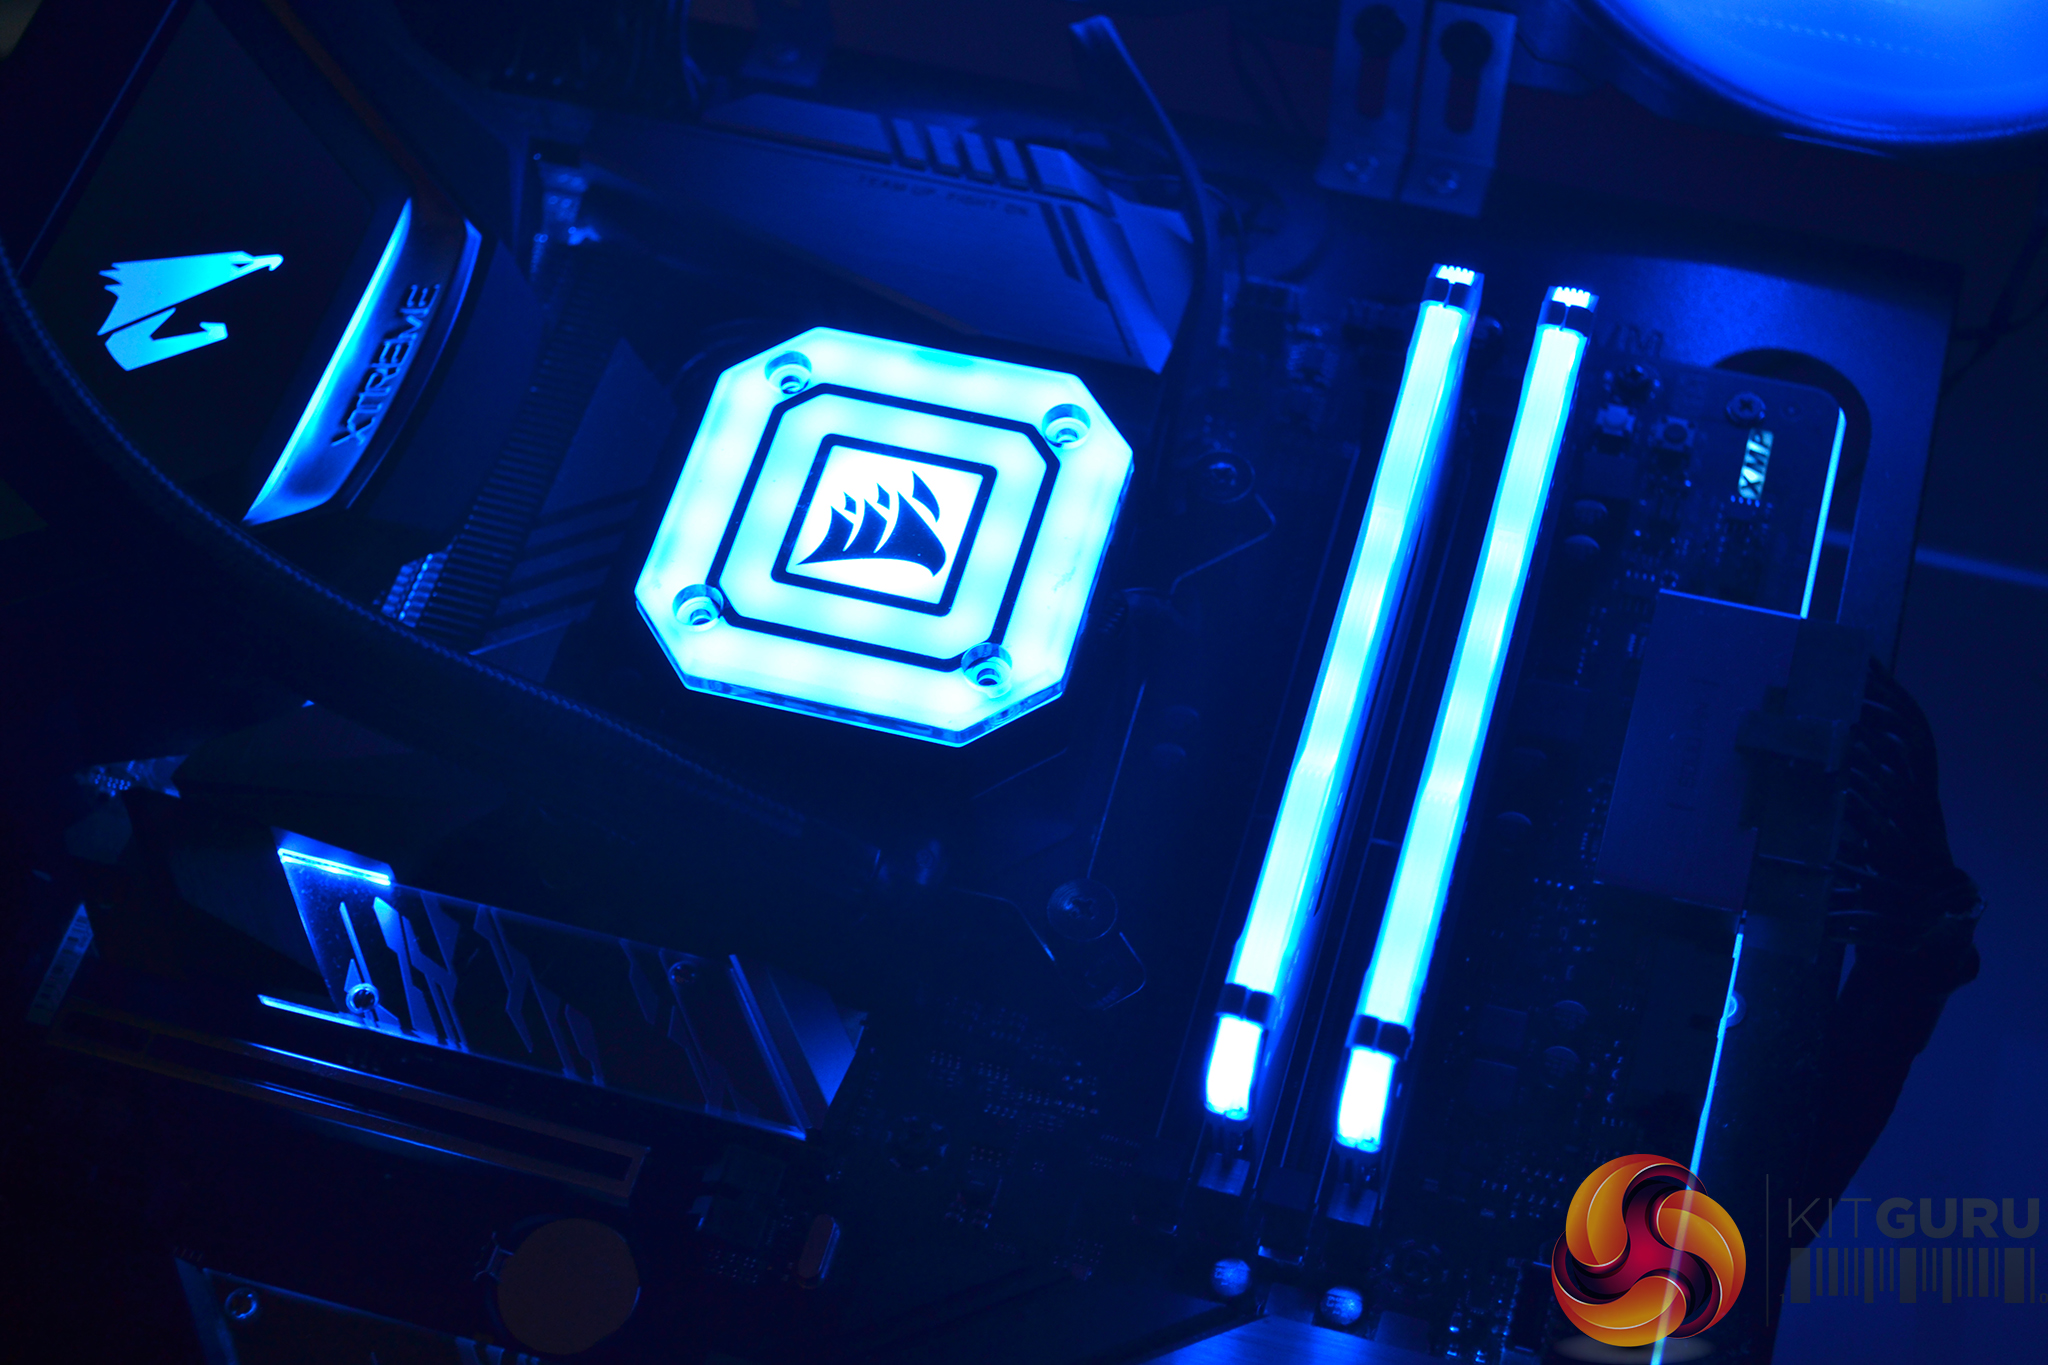
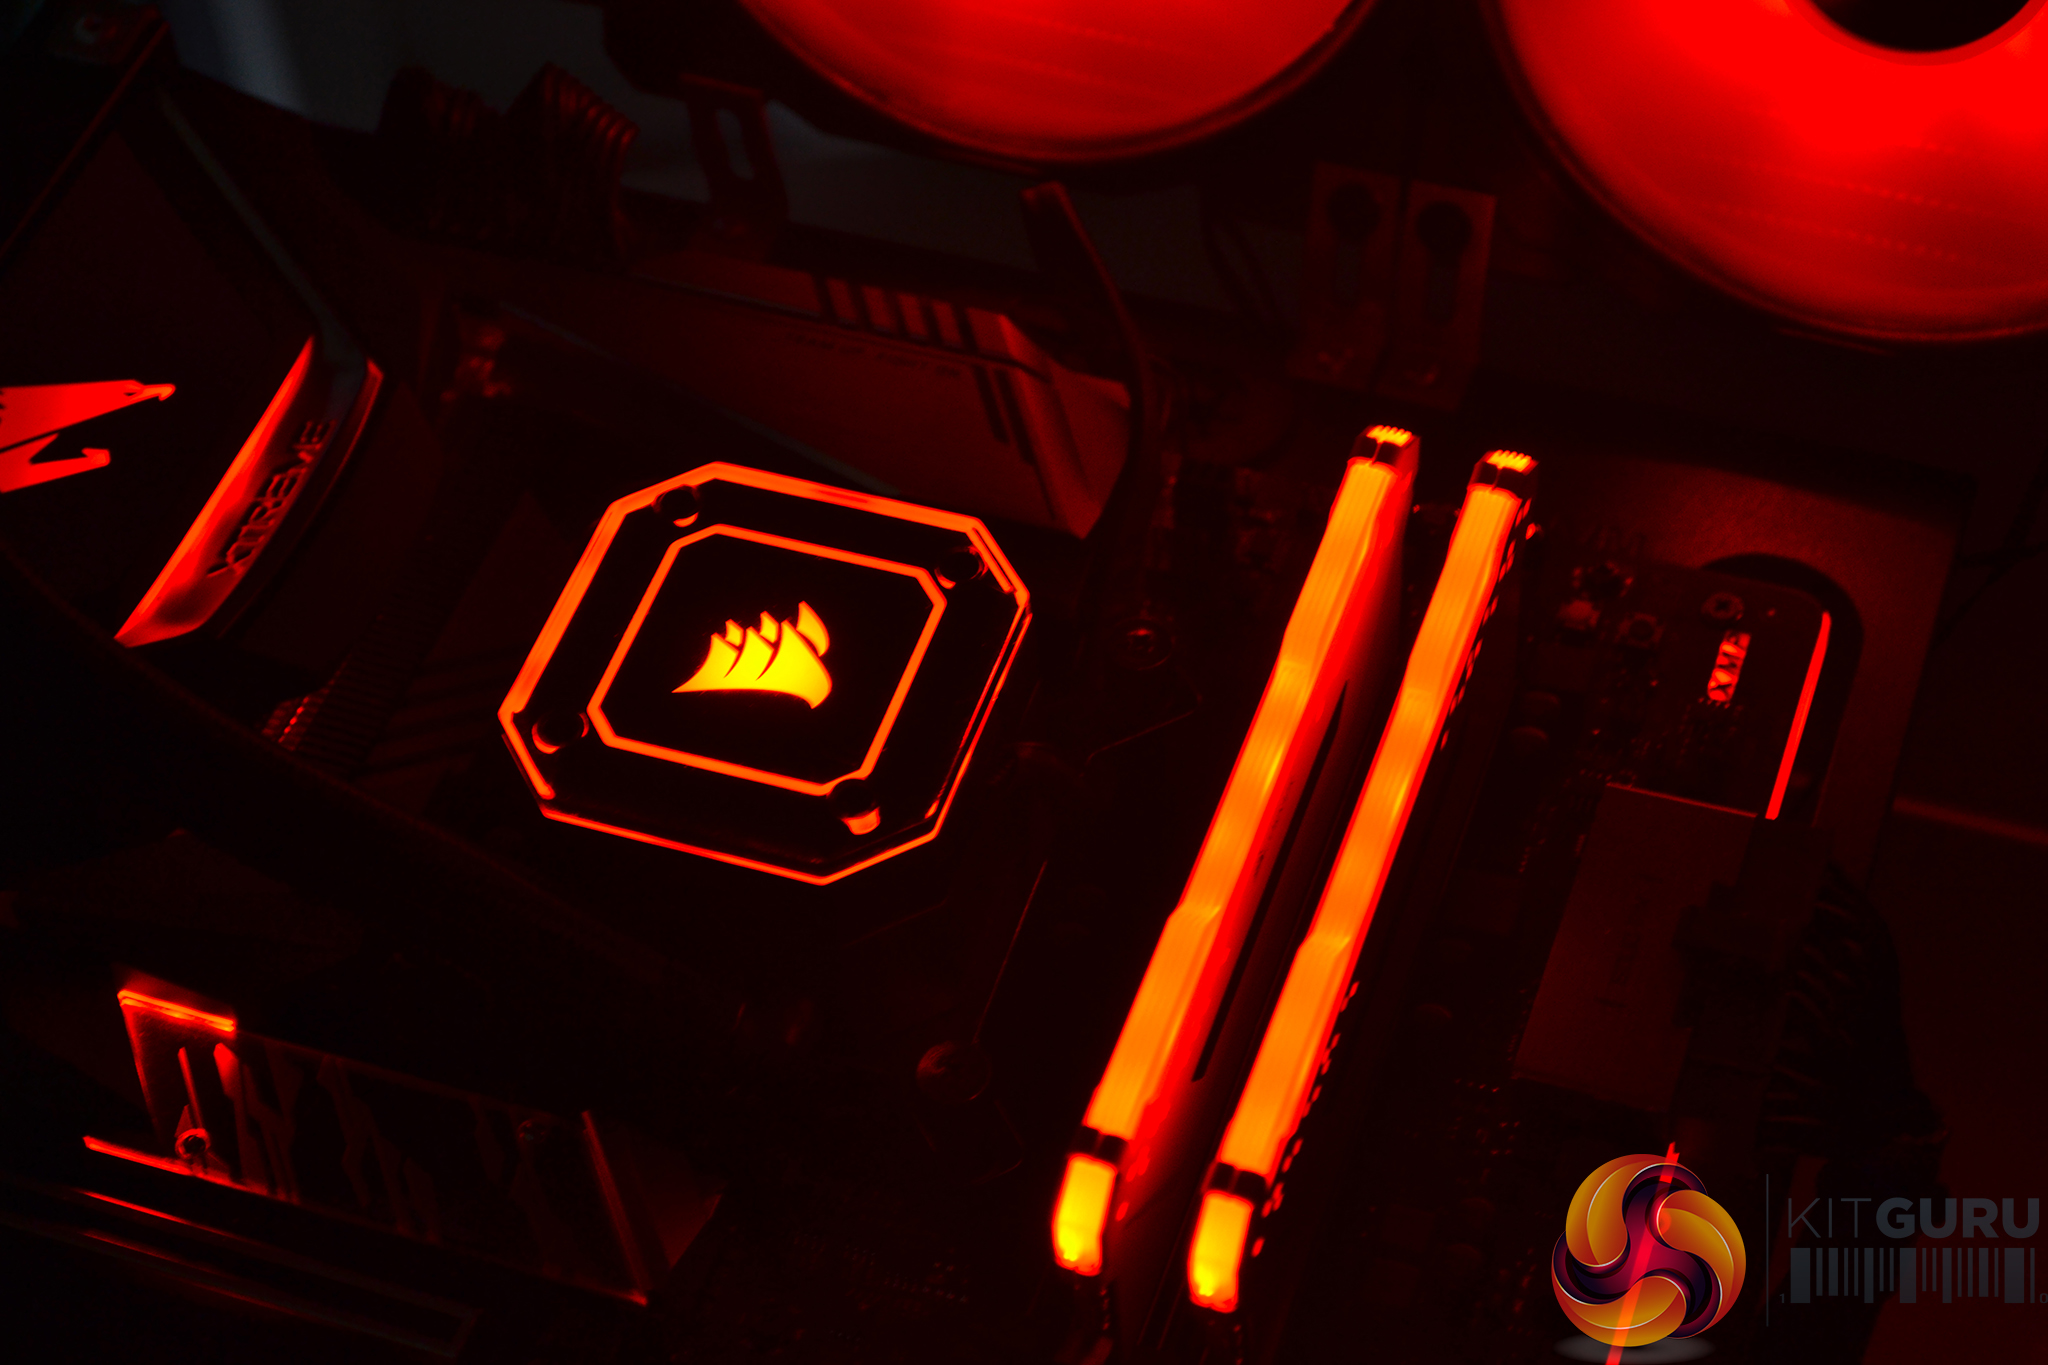
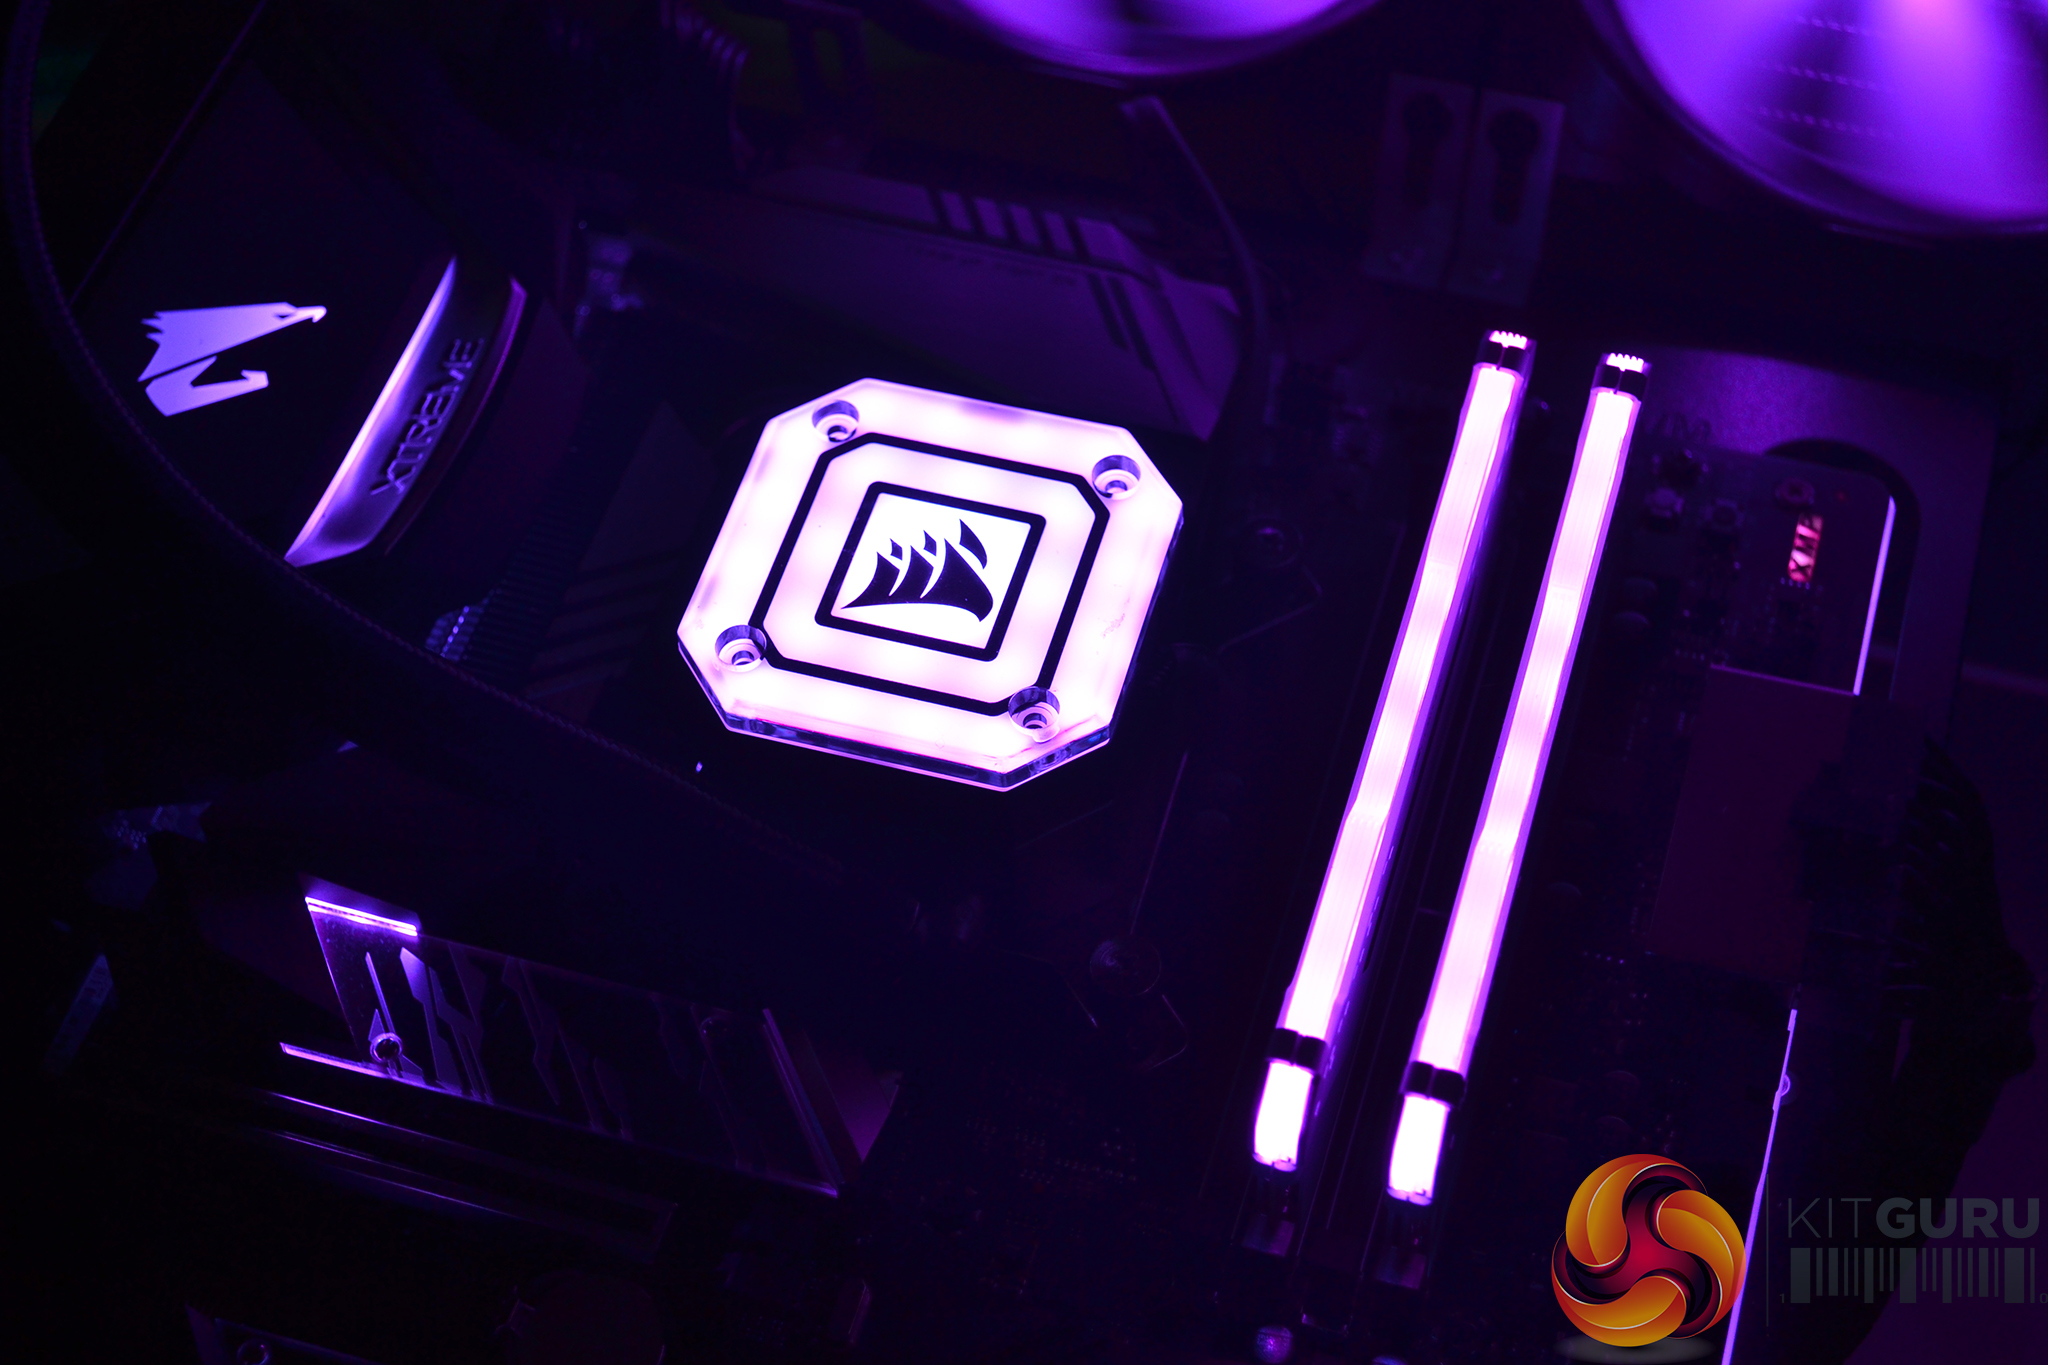
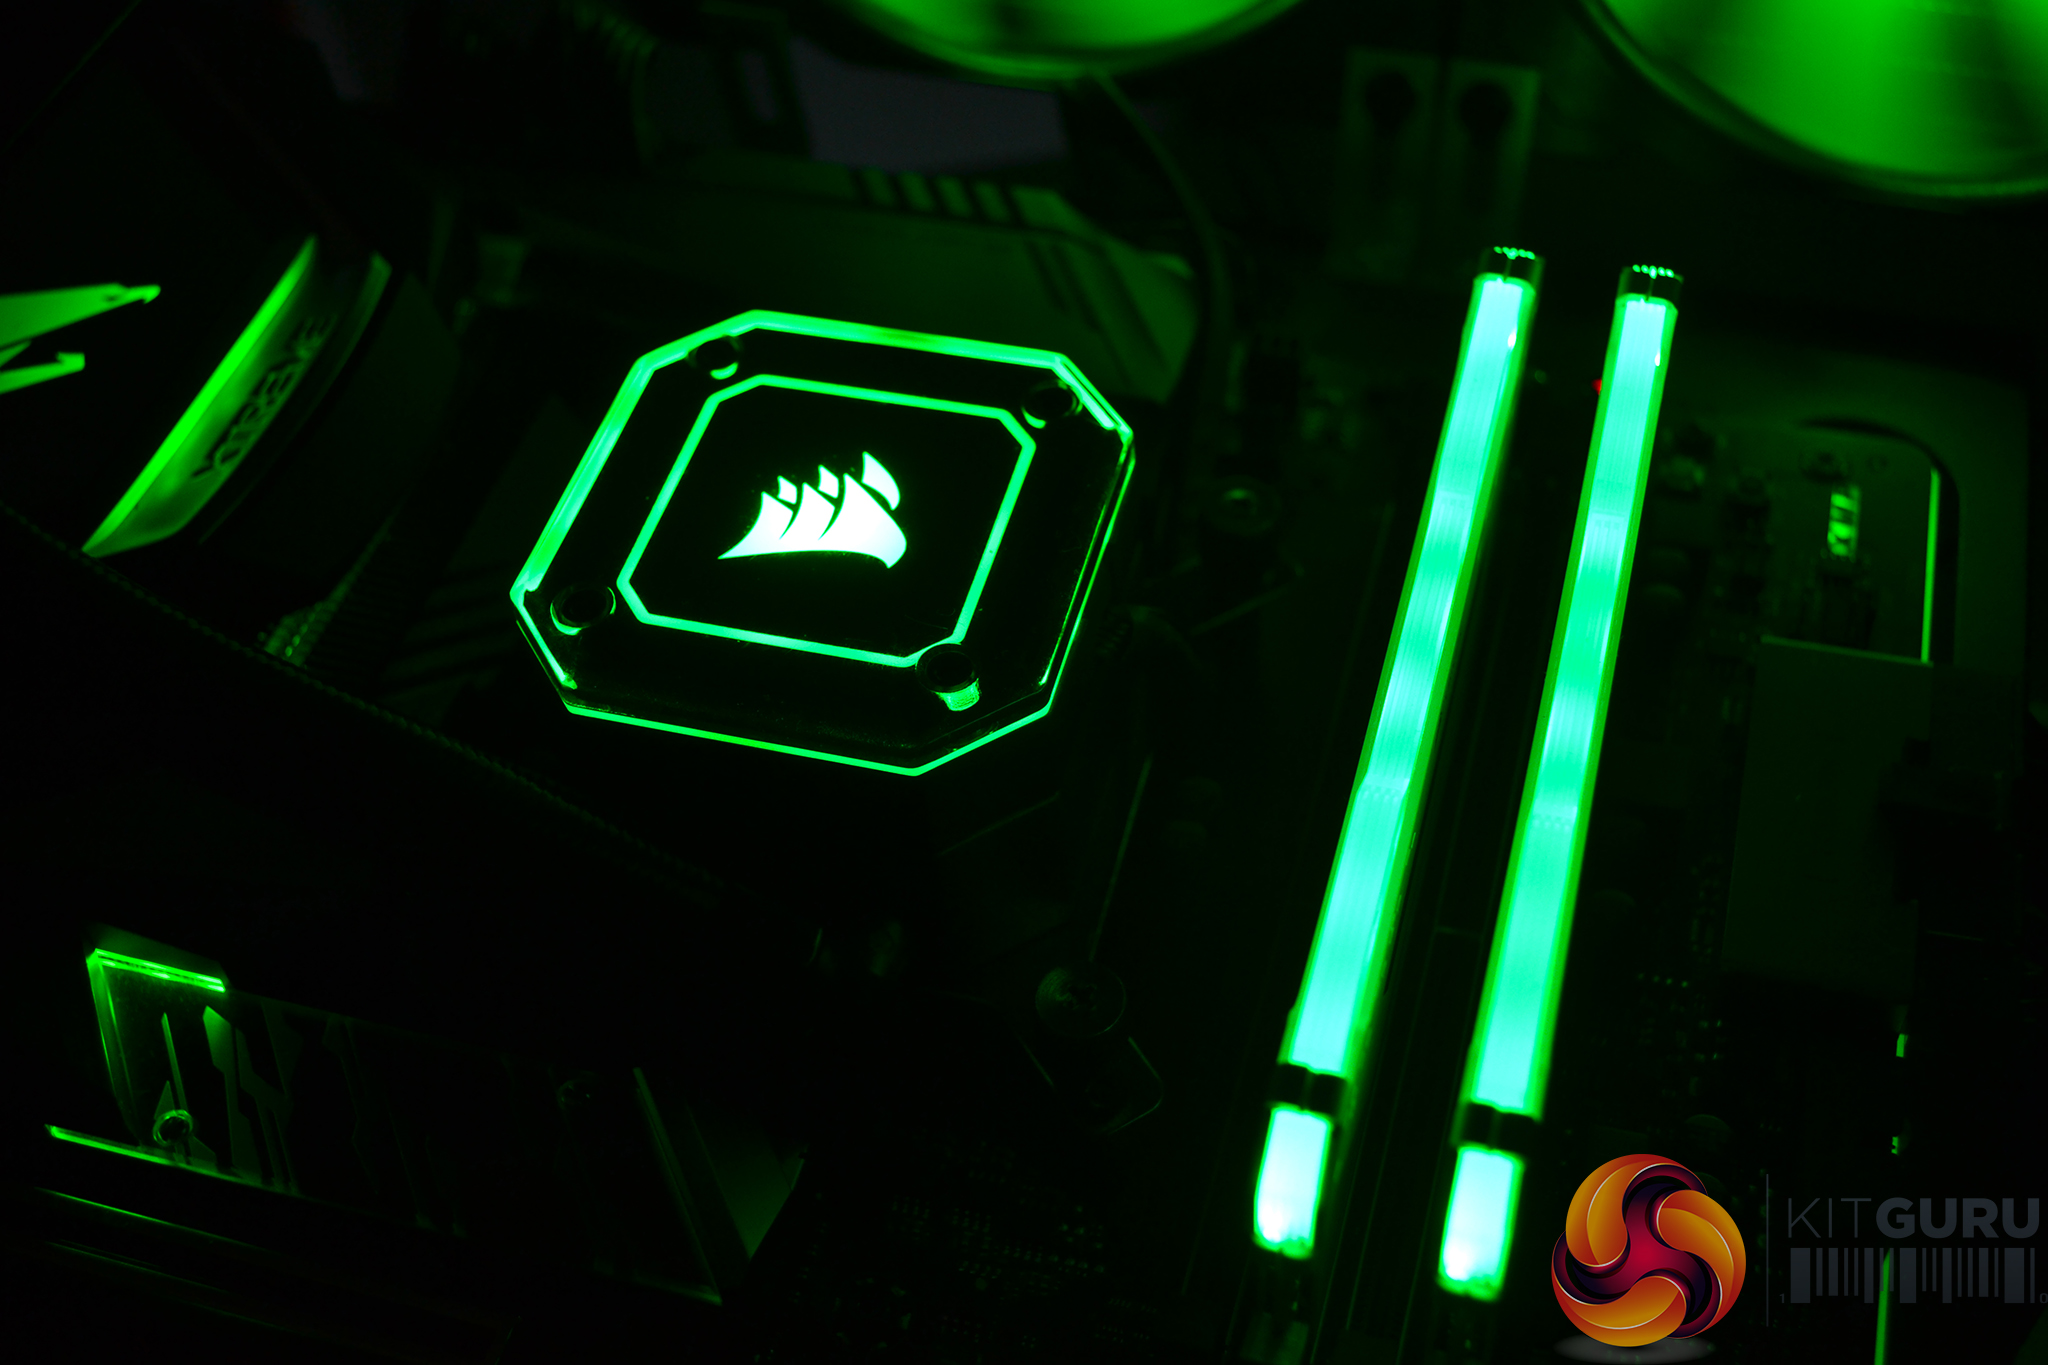
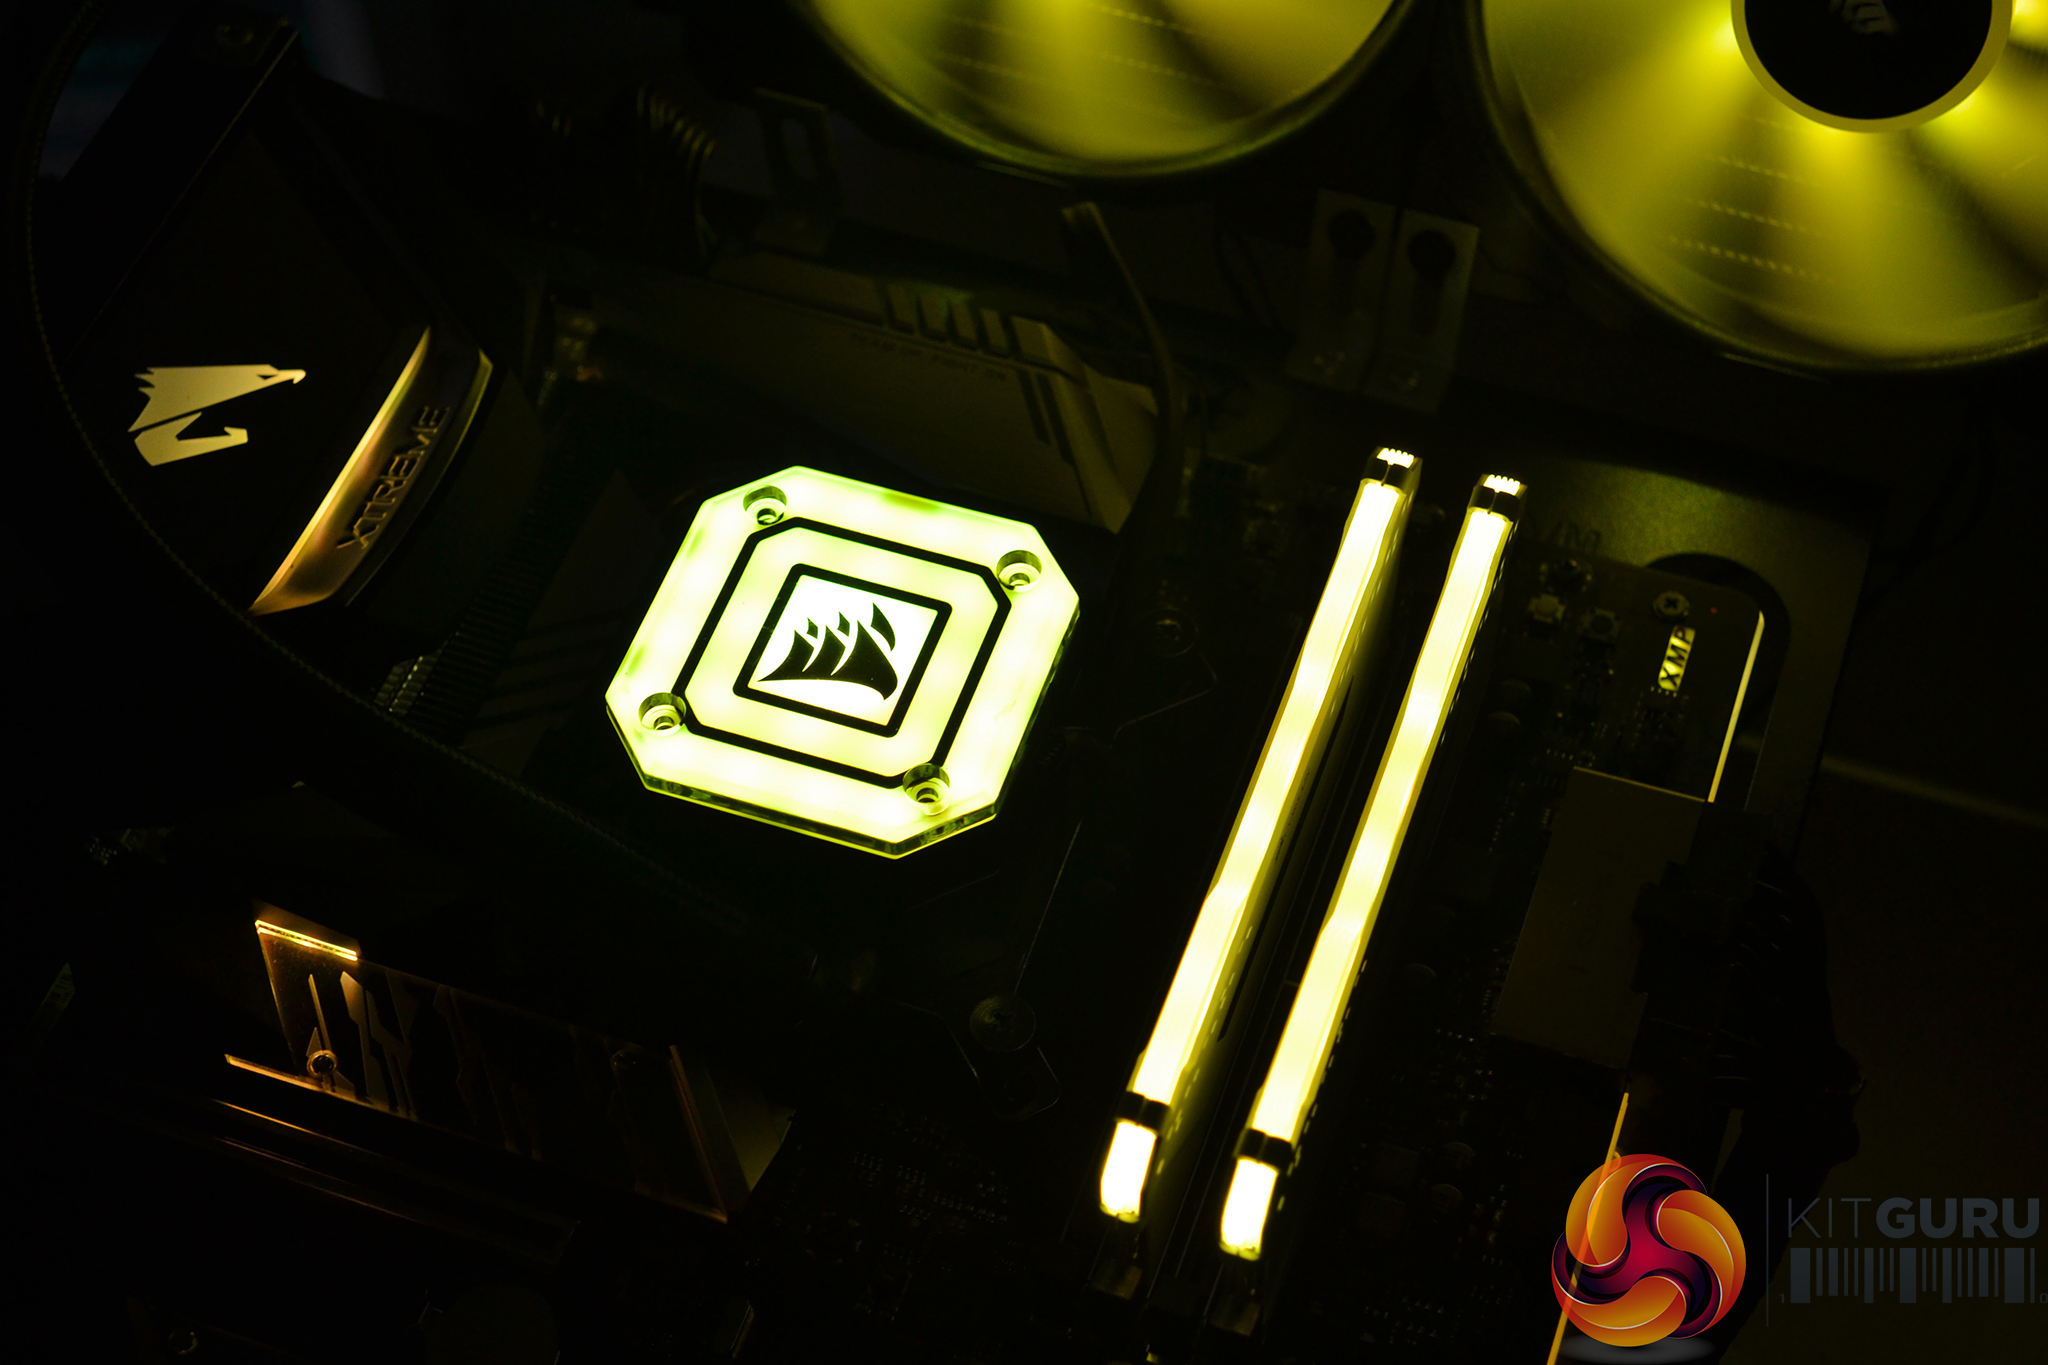
RGB Gallery