Installation Process
Our test system is Intel Z390 based, therefore, we will be following the relevant Intel 115X socket installation procedure.
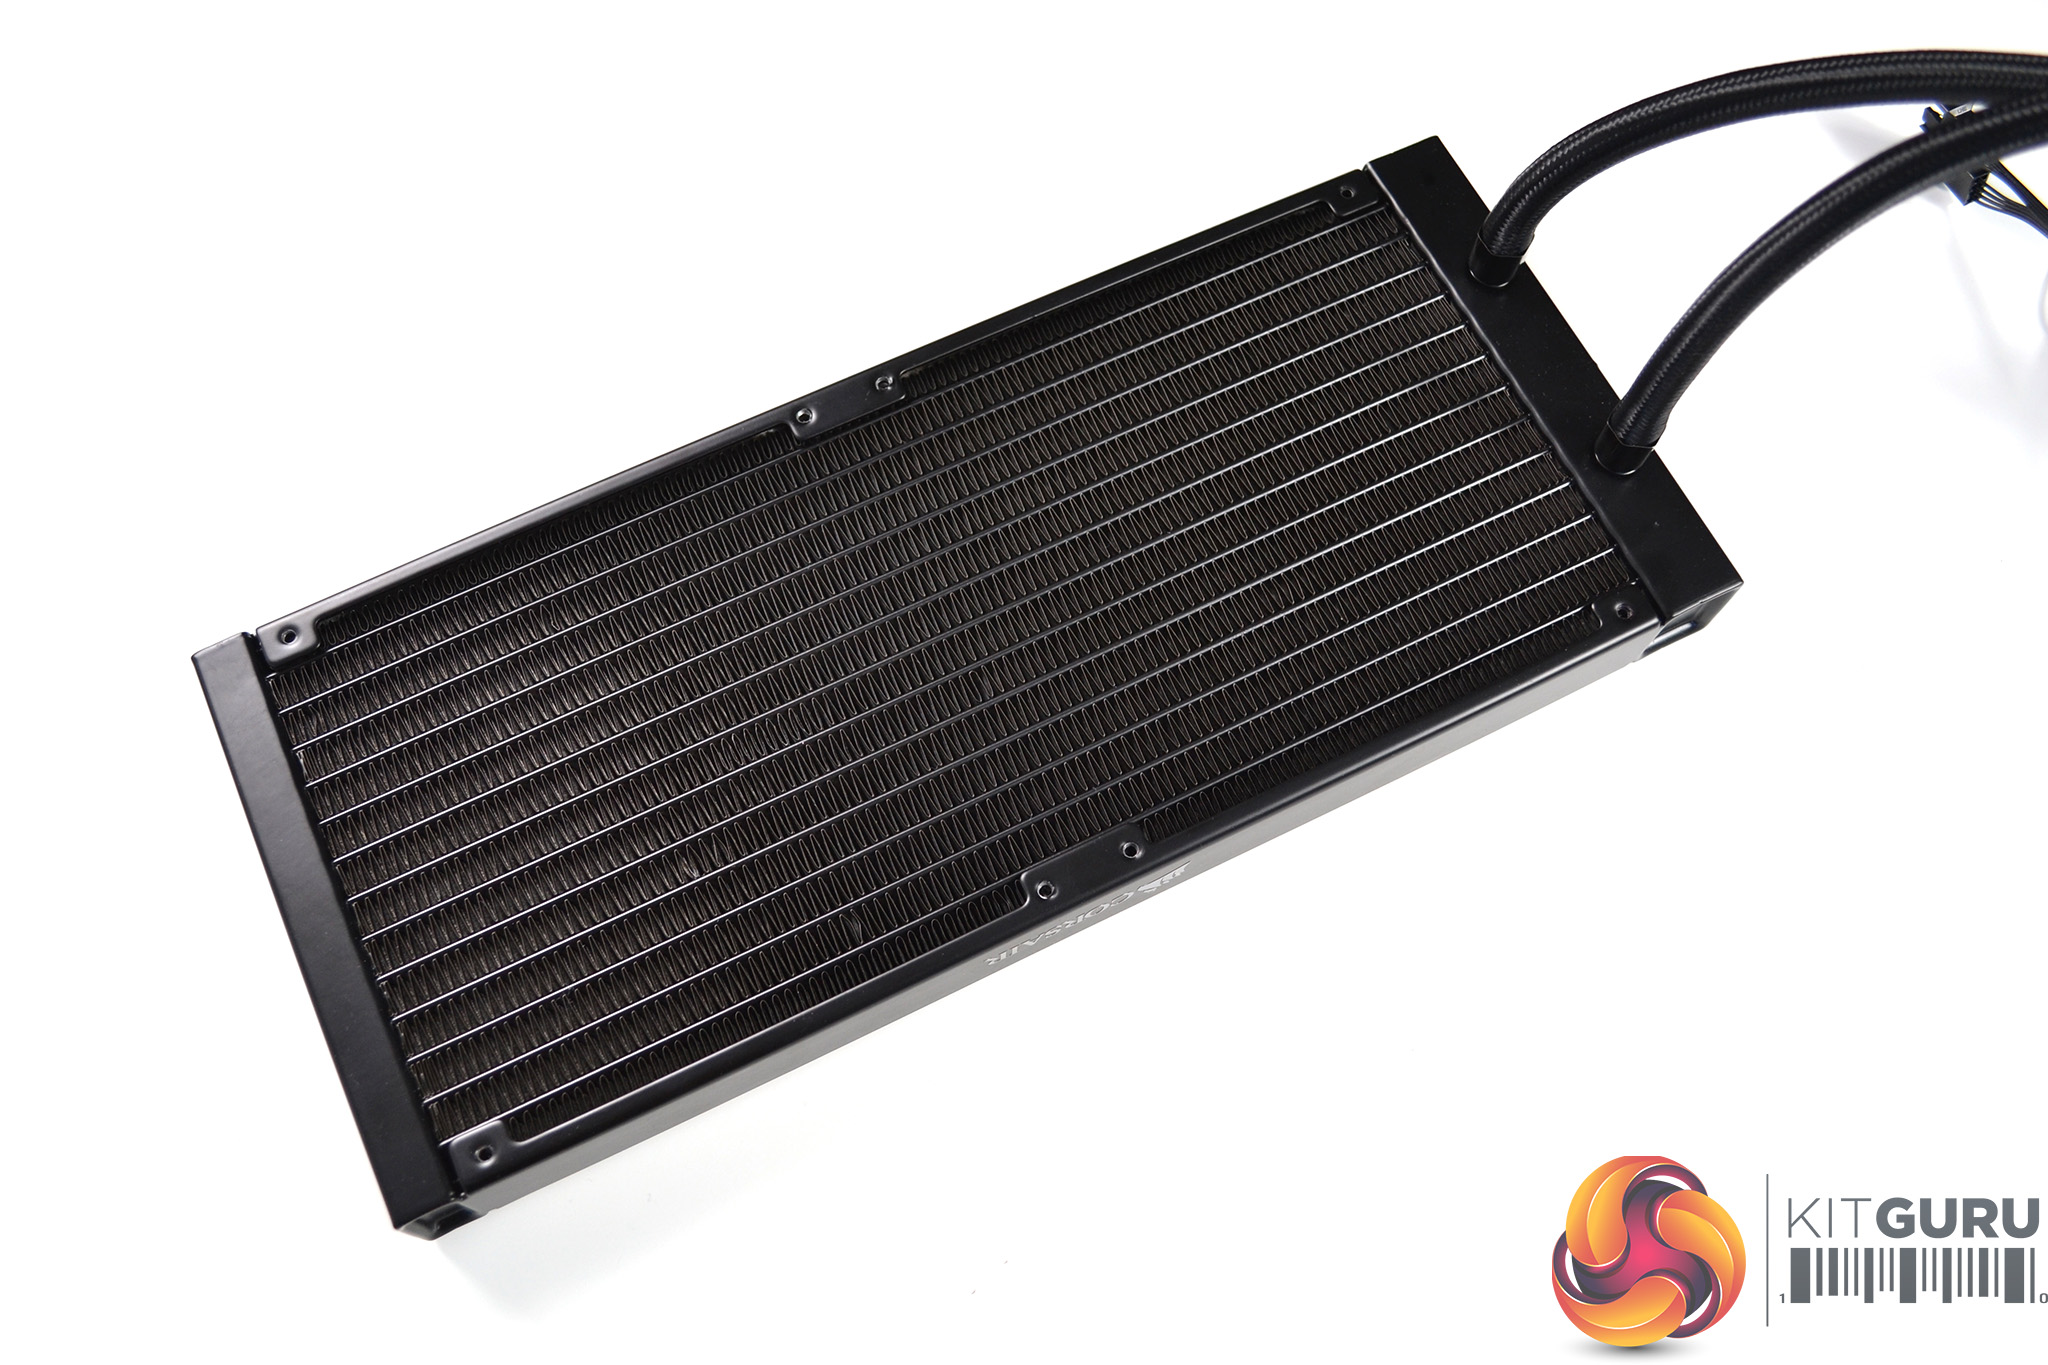
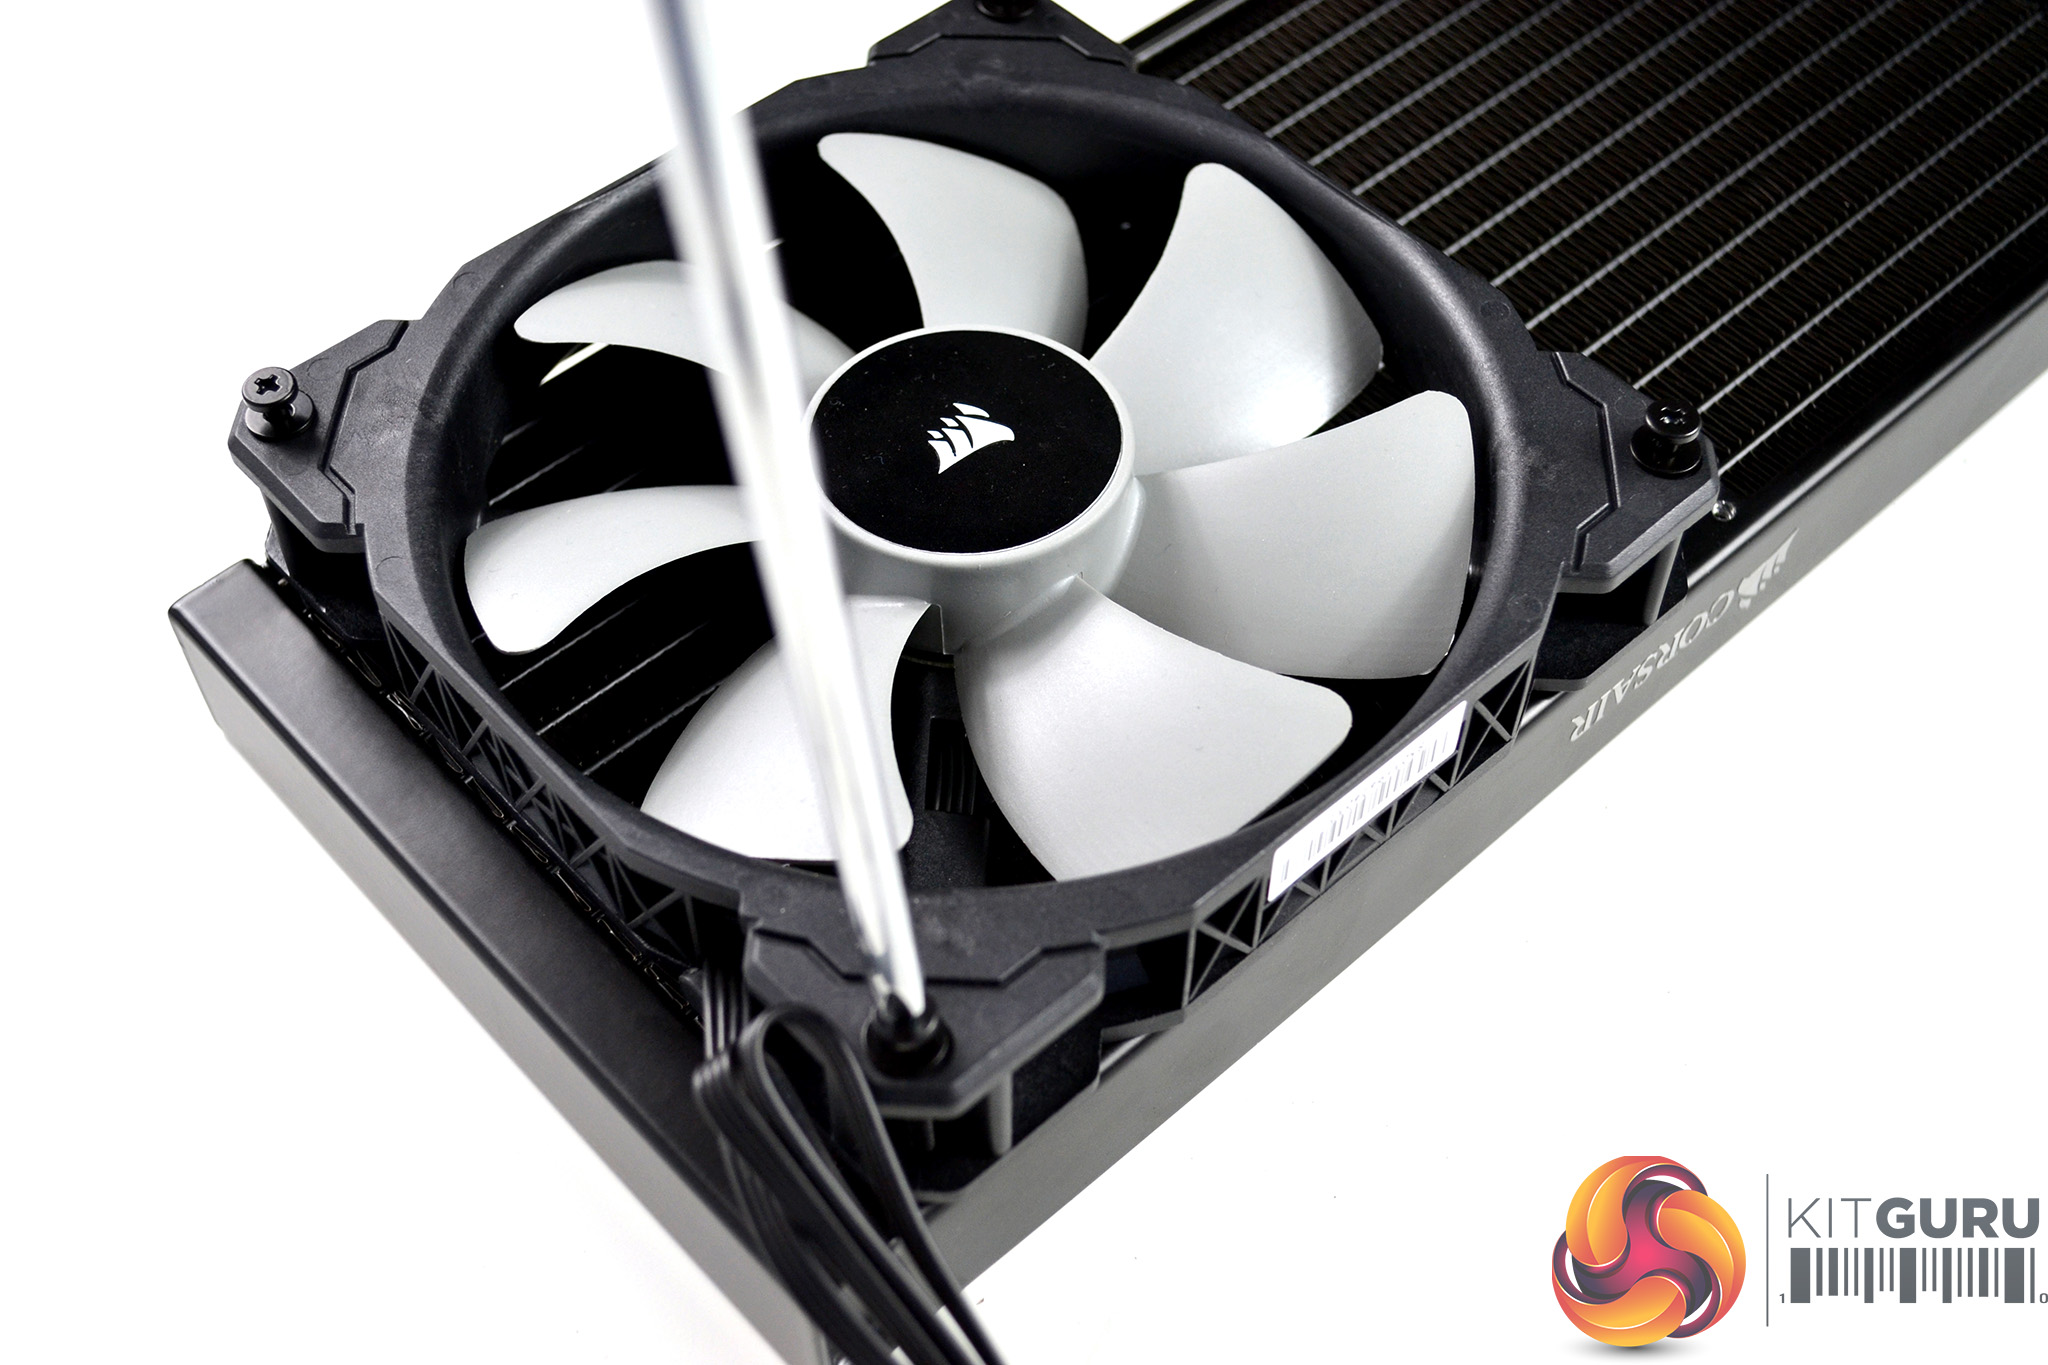
First, to install the fans to the radiator, take the eight long black Philips head screws and black steel washers and place the fans over the radiator in either push or pull configuration, depending on preference. Using a Philips screwdriver, tighten the screws until they are fully nipped up. Be careful not to overtighten as it may distort the plastic frame.
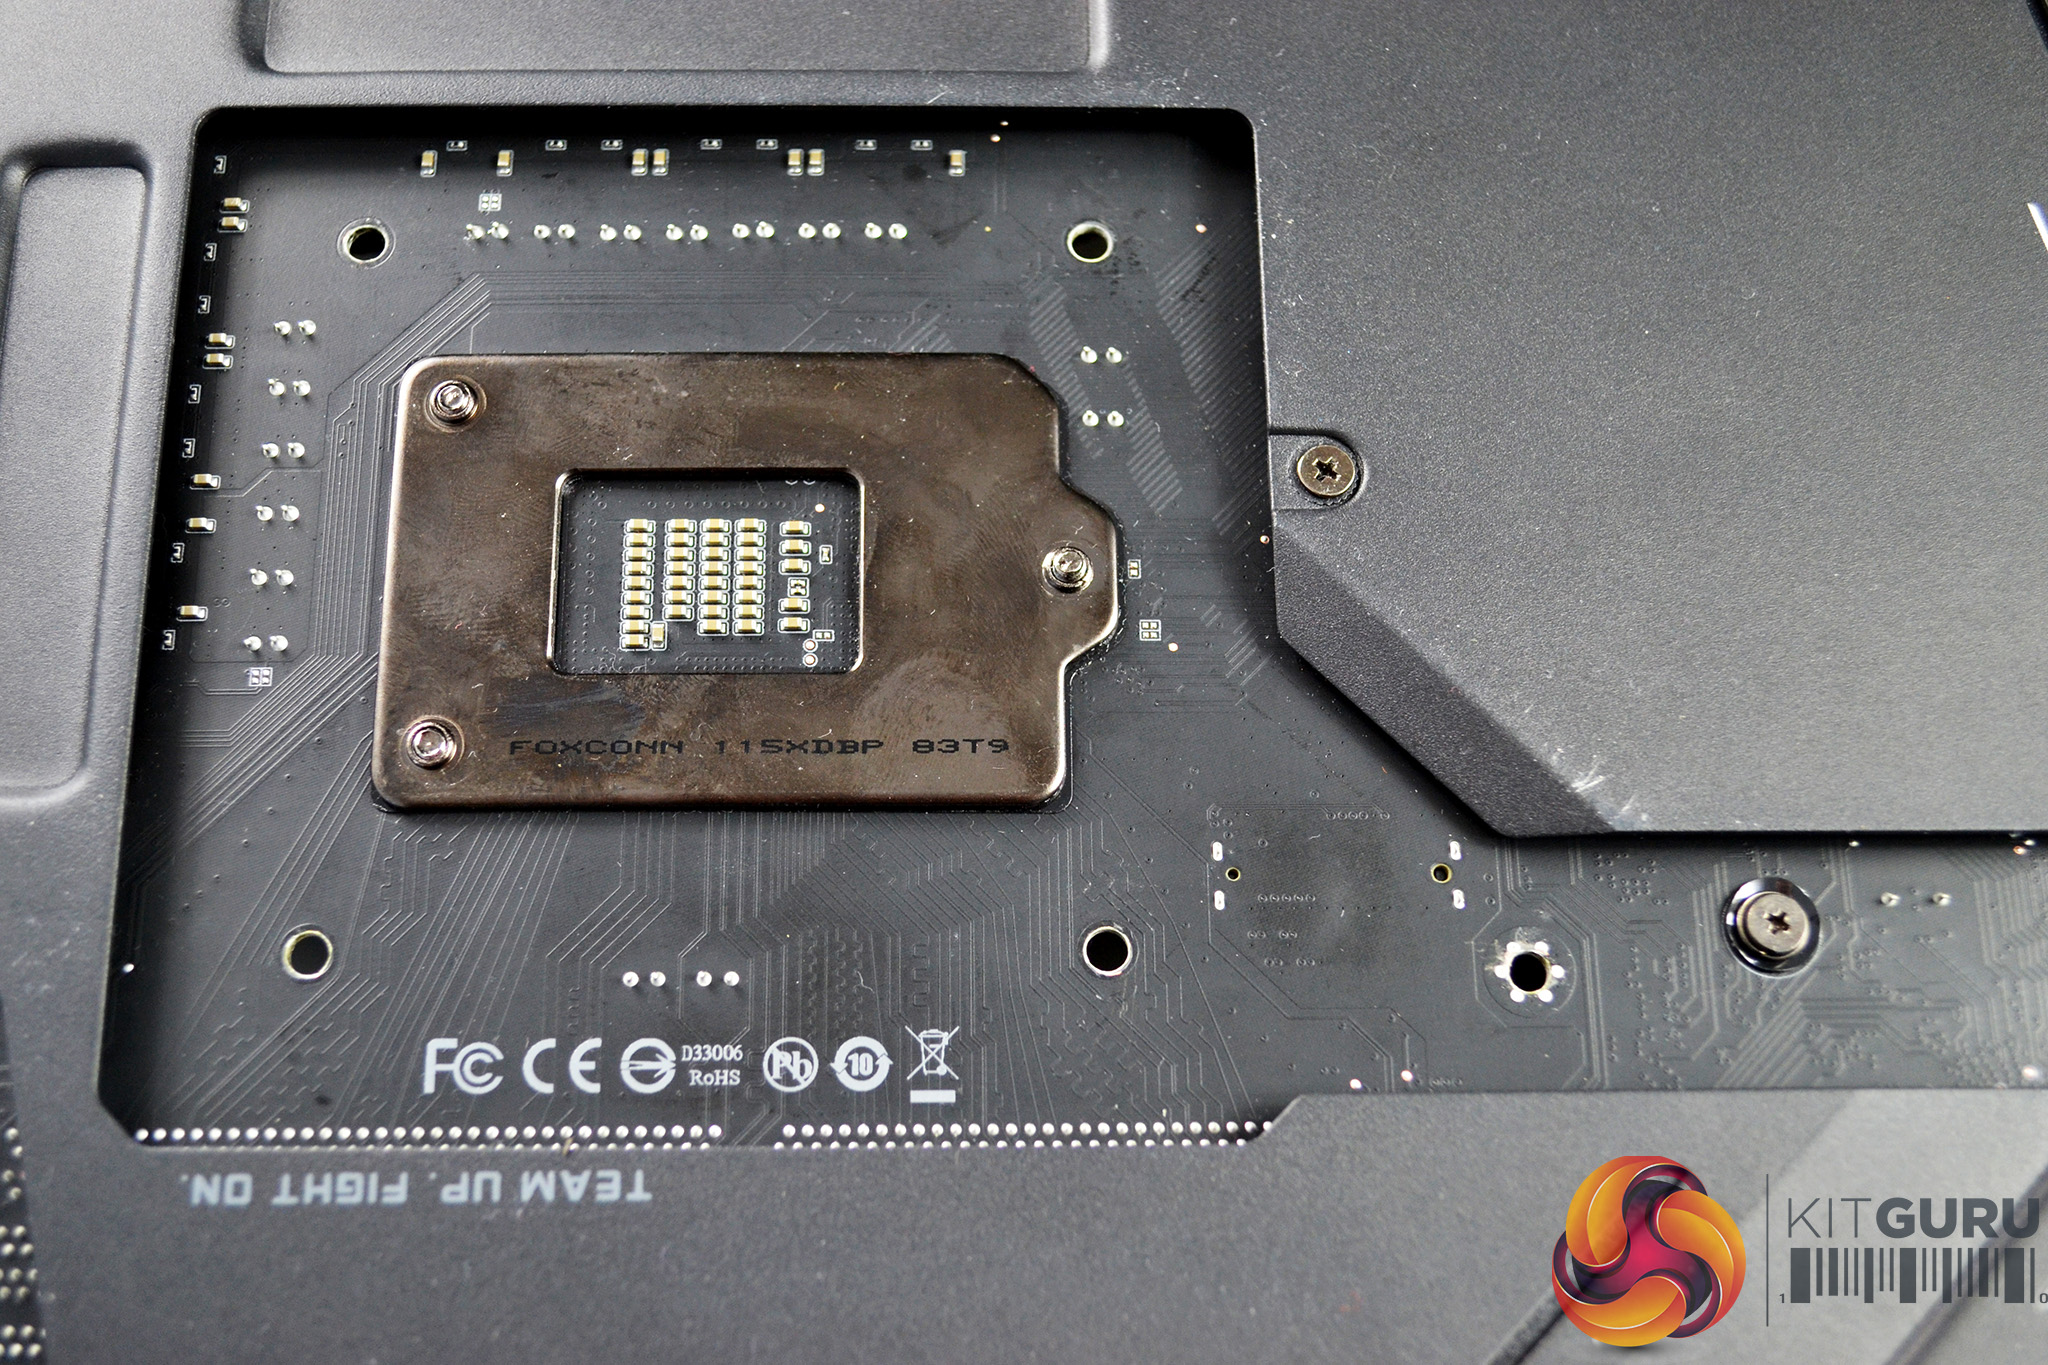
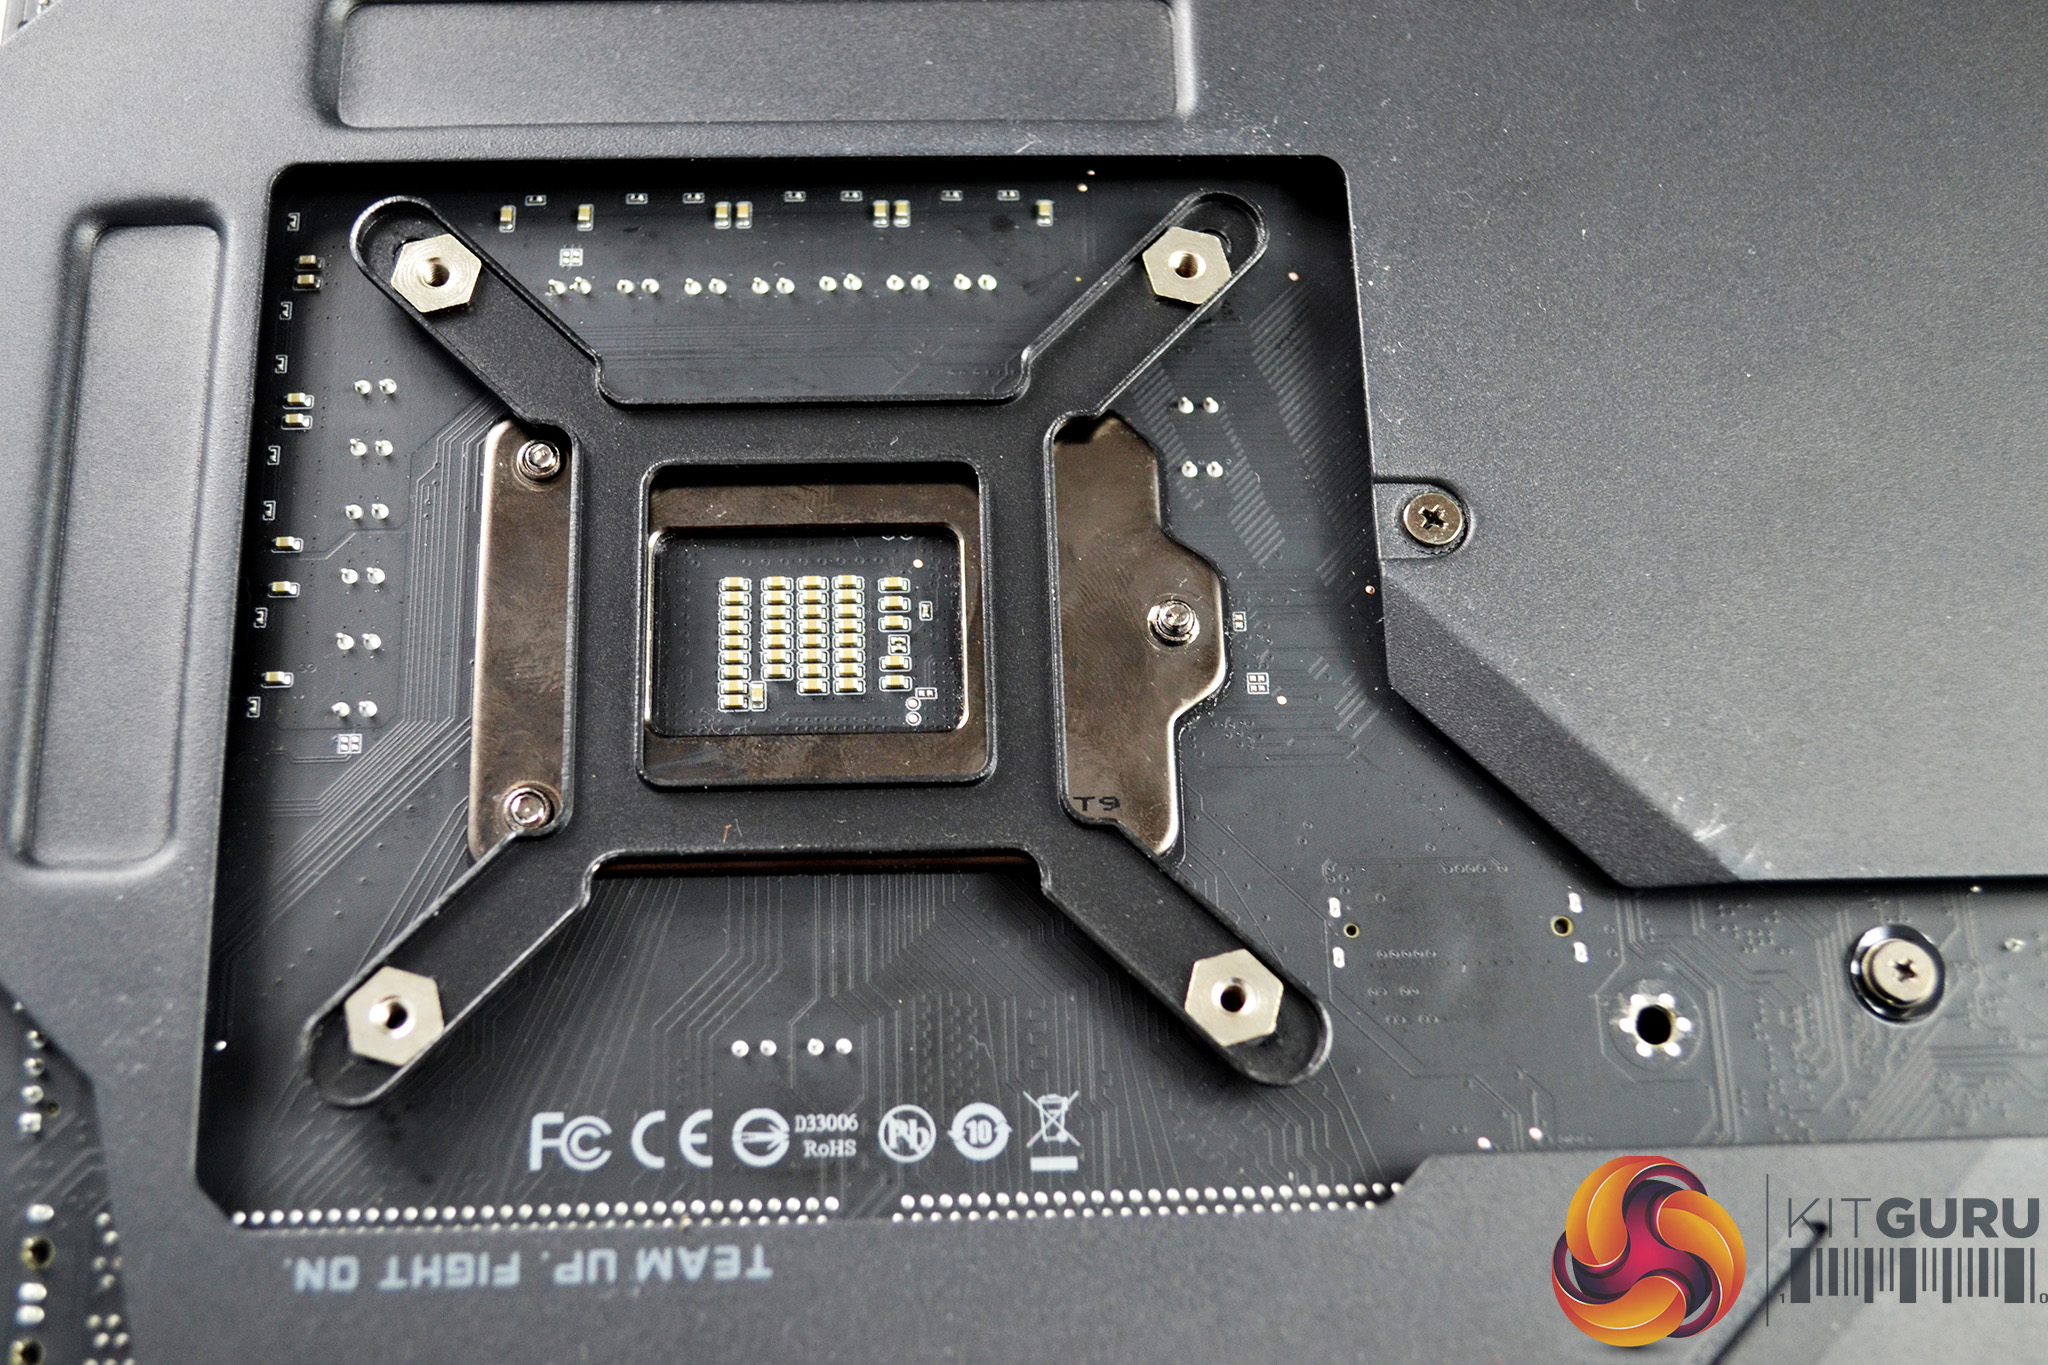
Next up is to prepare the motherboard. For Intel installations, it is necessary to fit the provided retention backplate. Turn the motherboard upside down and align the backplate mounts with the holes in the motherboard. Hold the backplate in place while you flip the motherboard back over ready to install the standoffs.
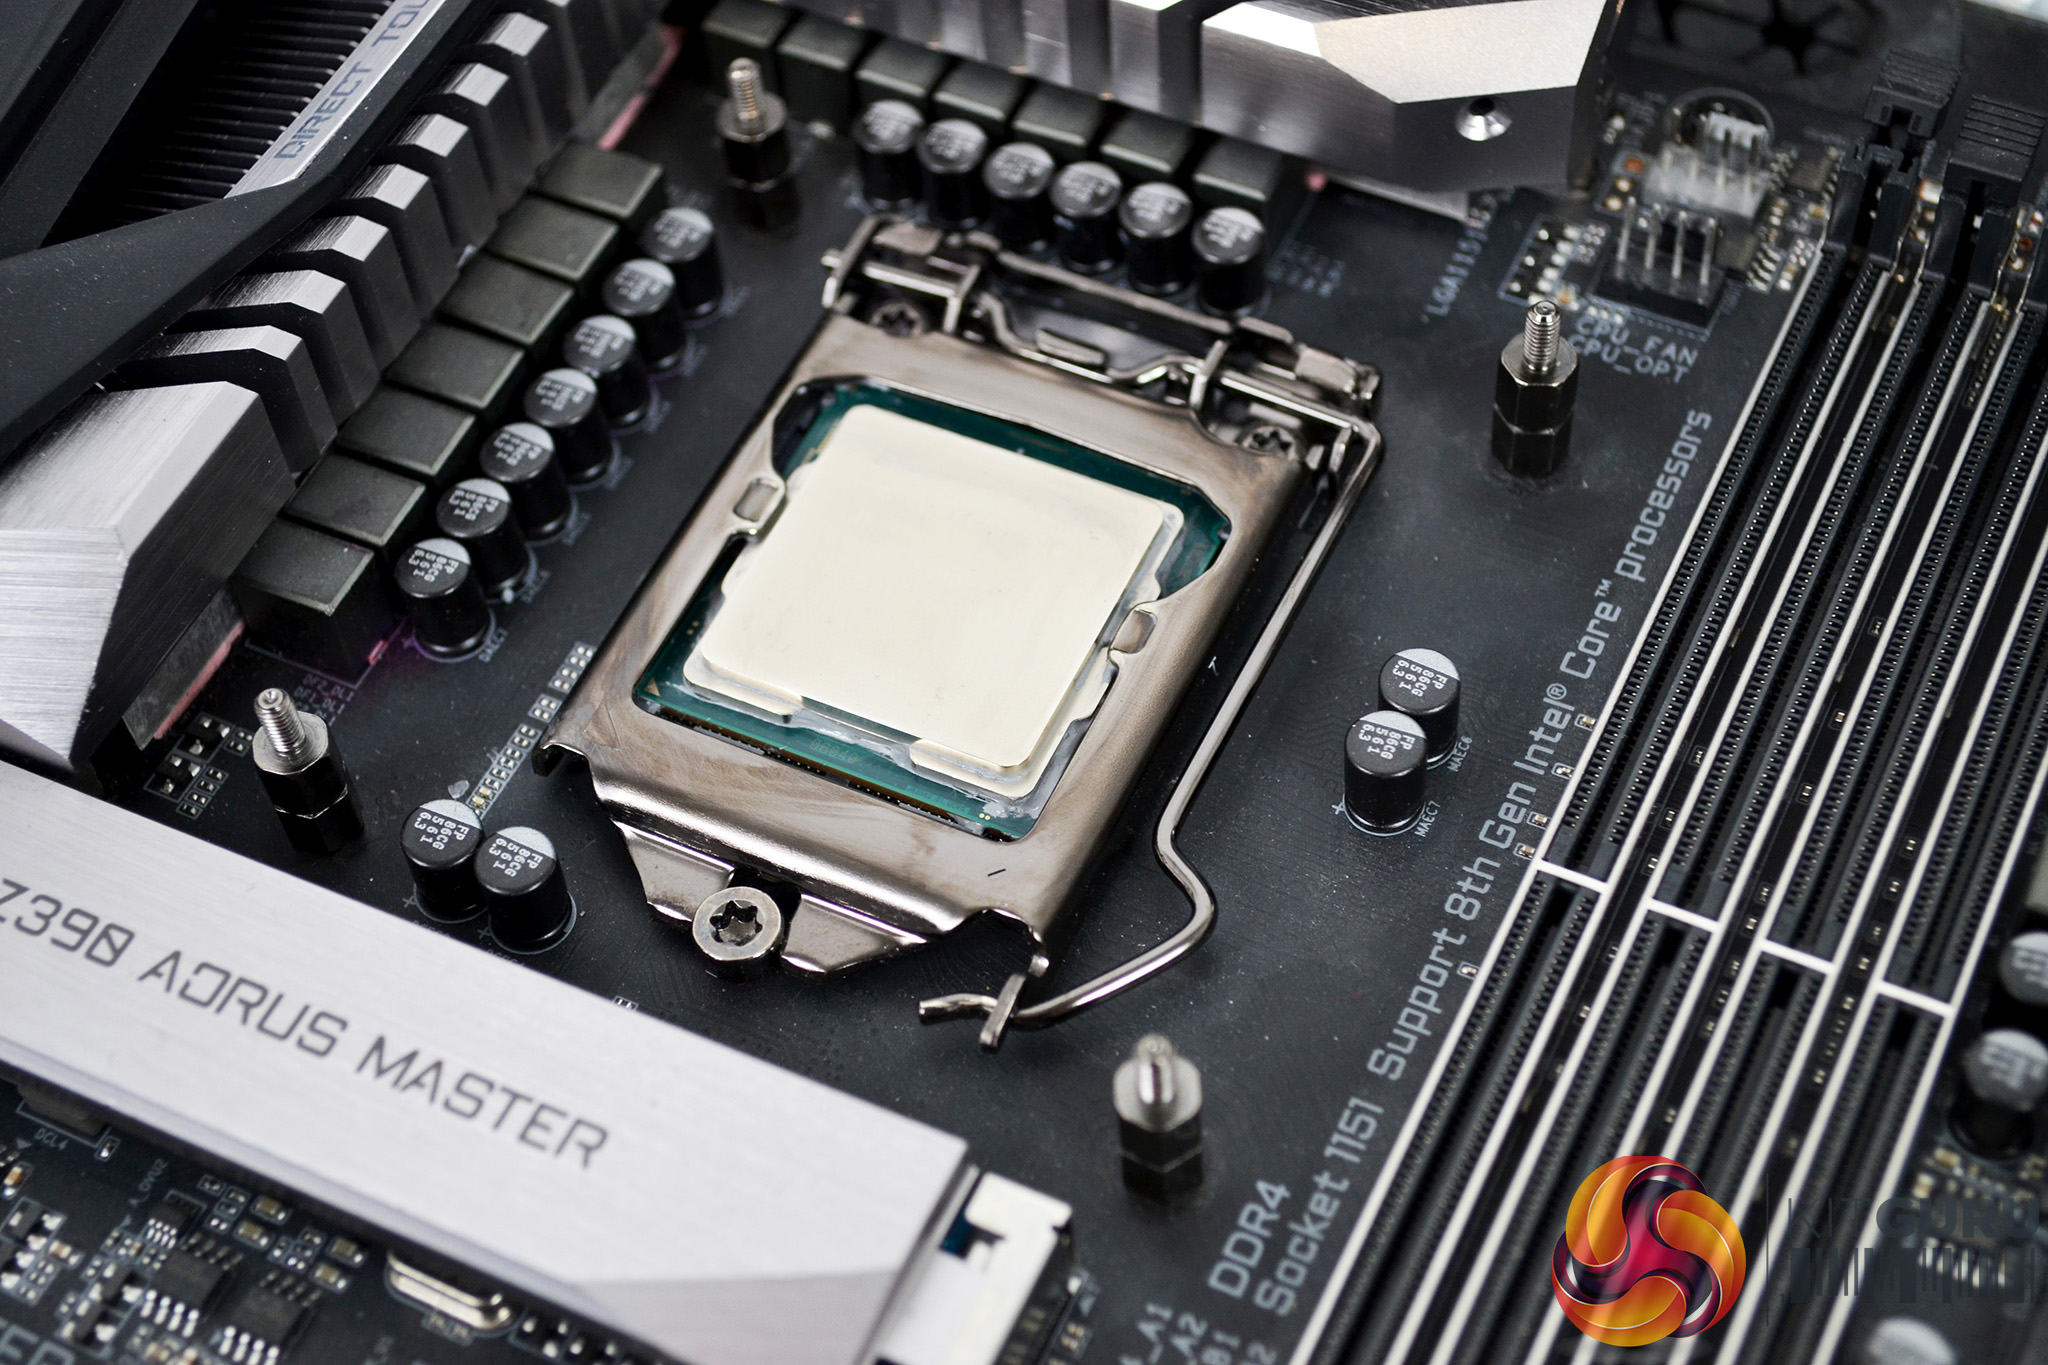
Consult the manual to select the correct standoffs for your socket type. Intel 115x installation uses the type labelled ‘B’ in the manual, with a fine thread on both ends. Tighten the standoffs in place by hand until firmly secured to the backplate.
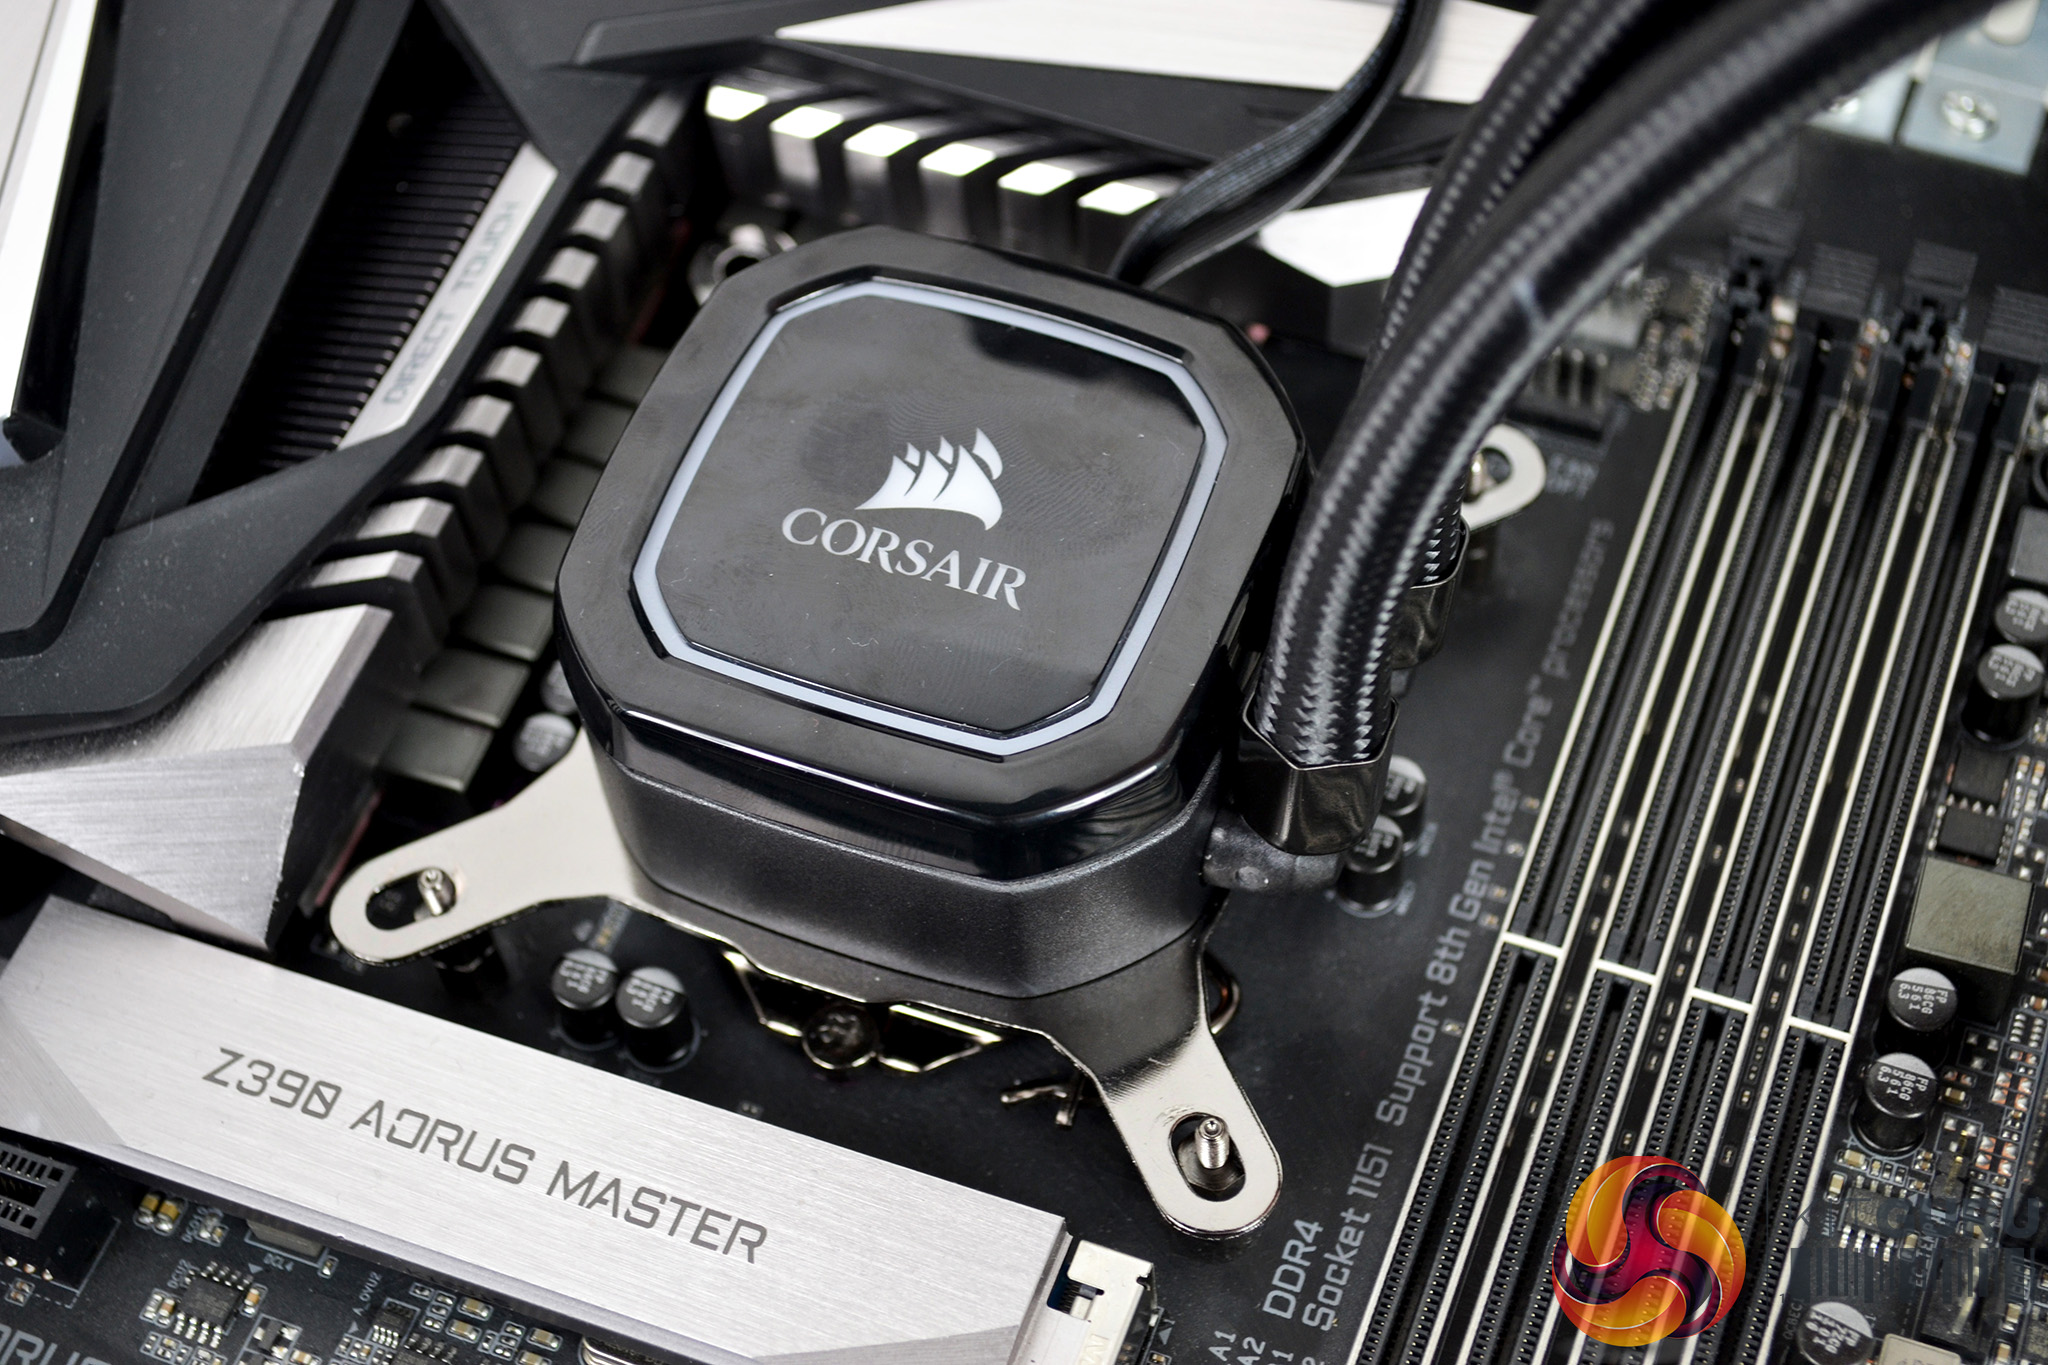
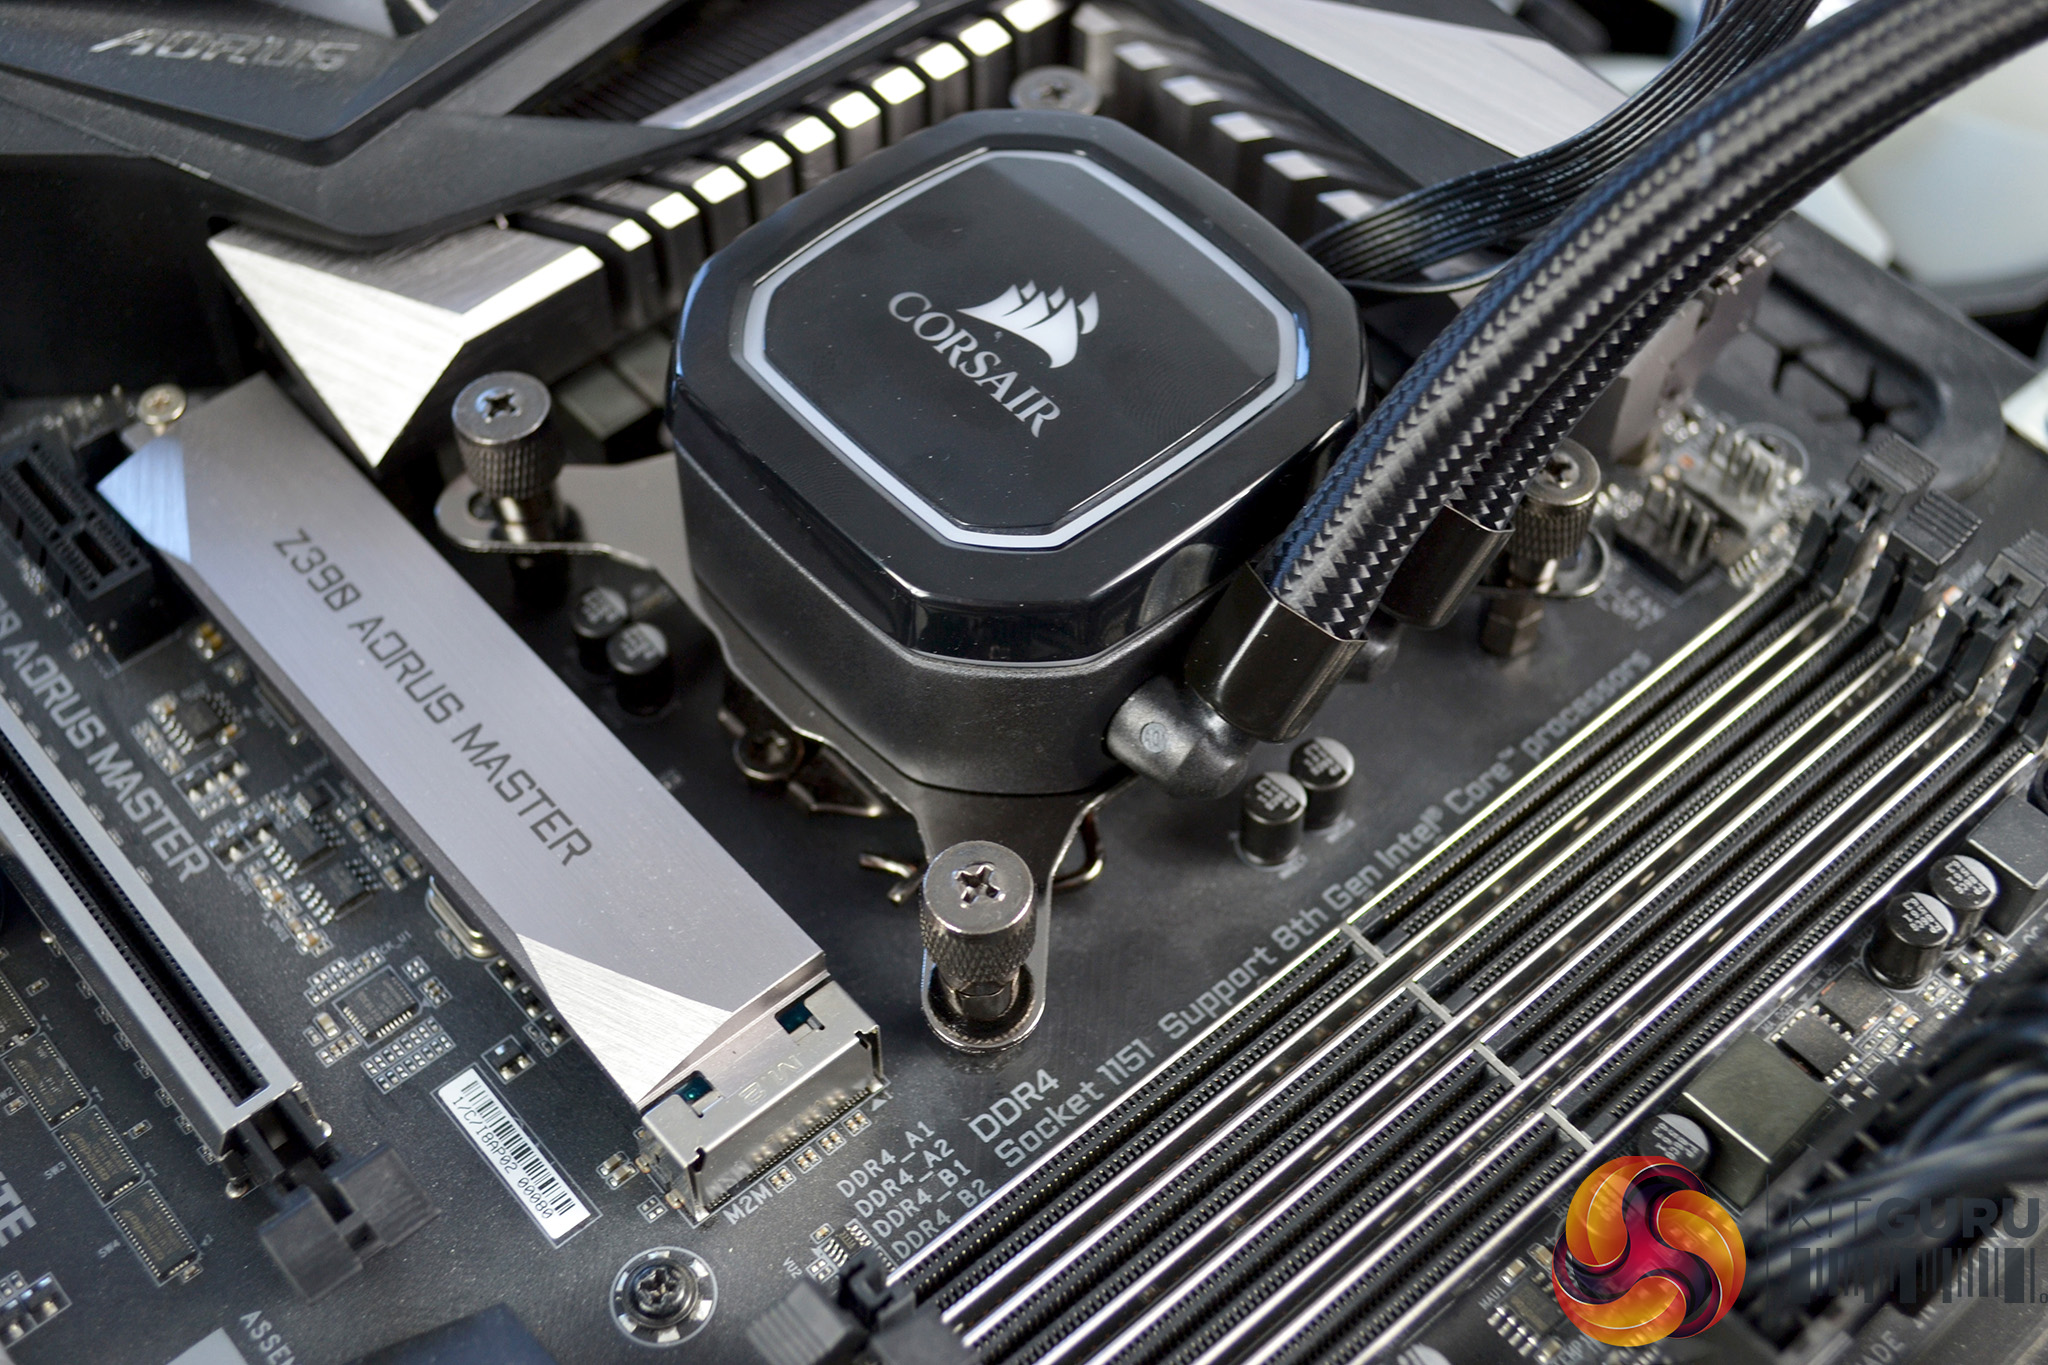
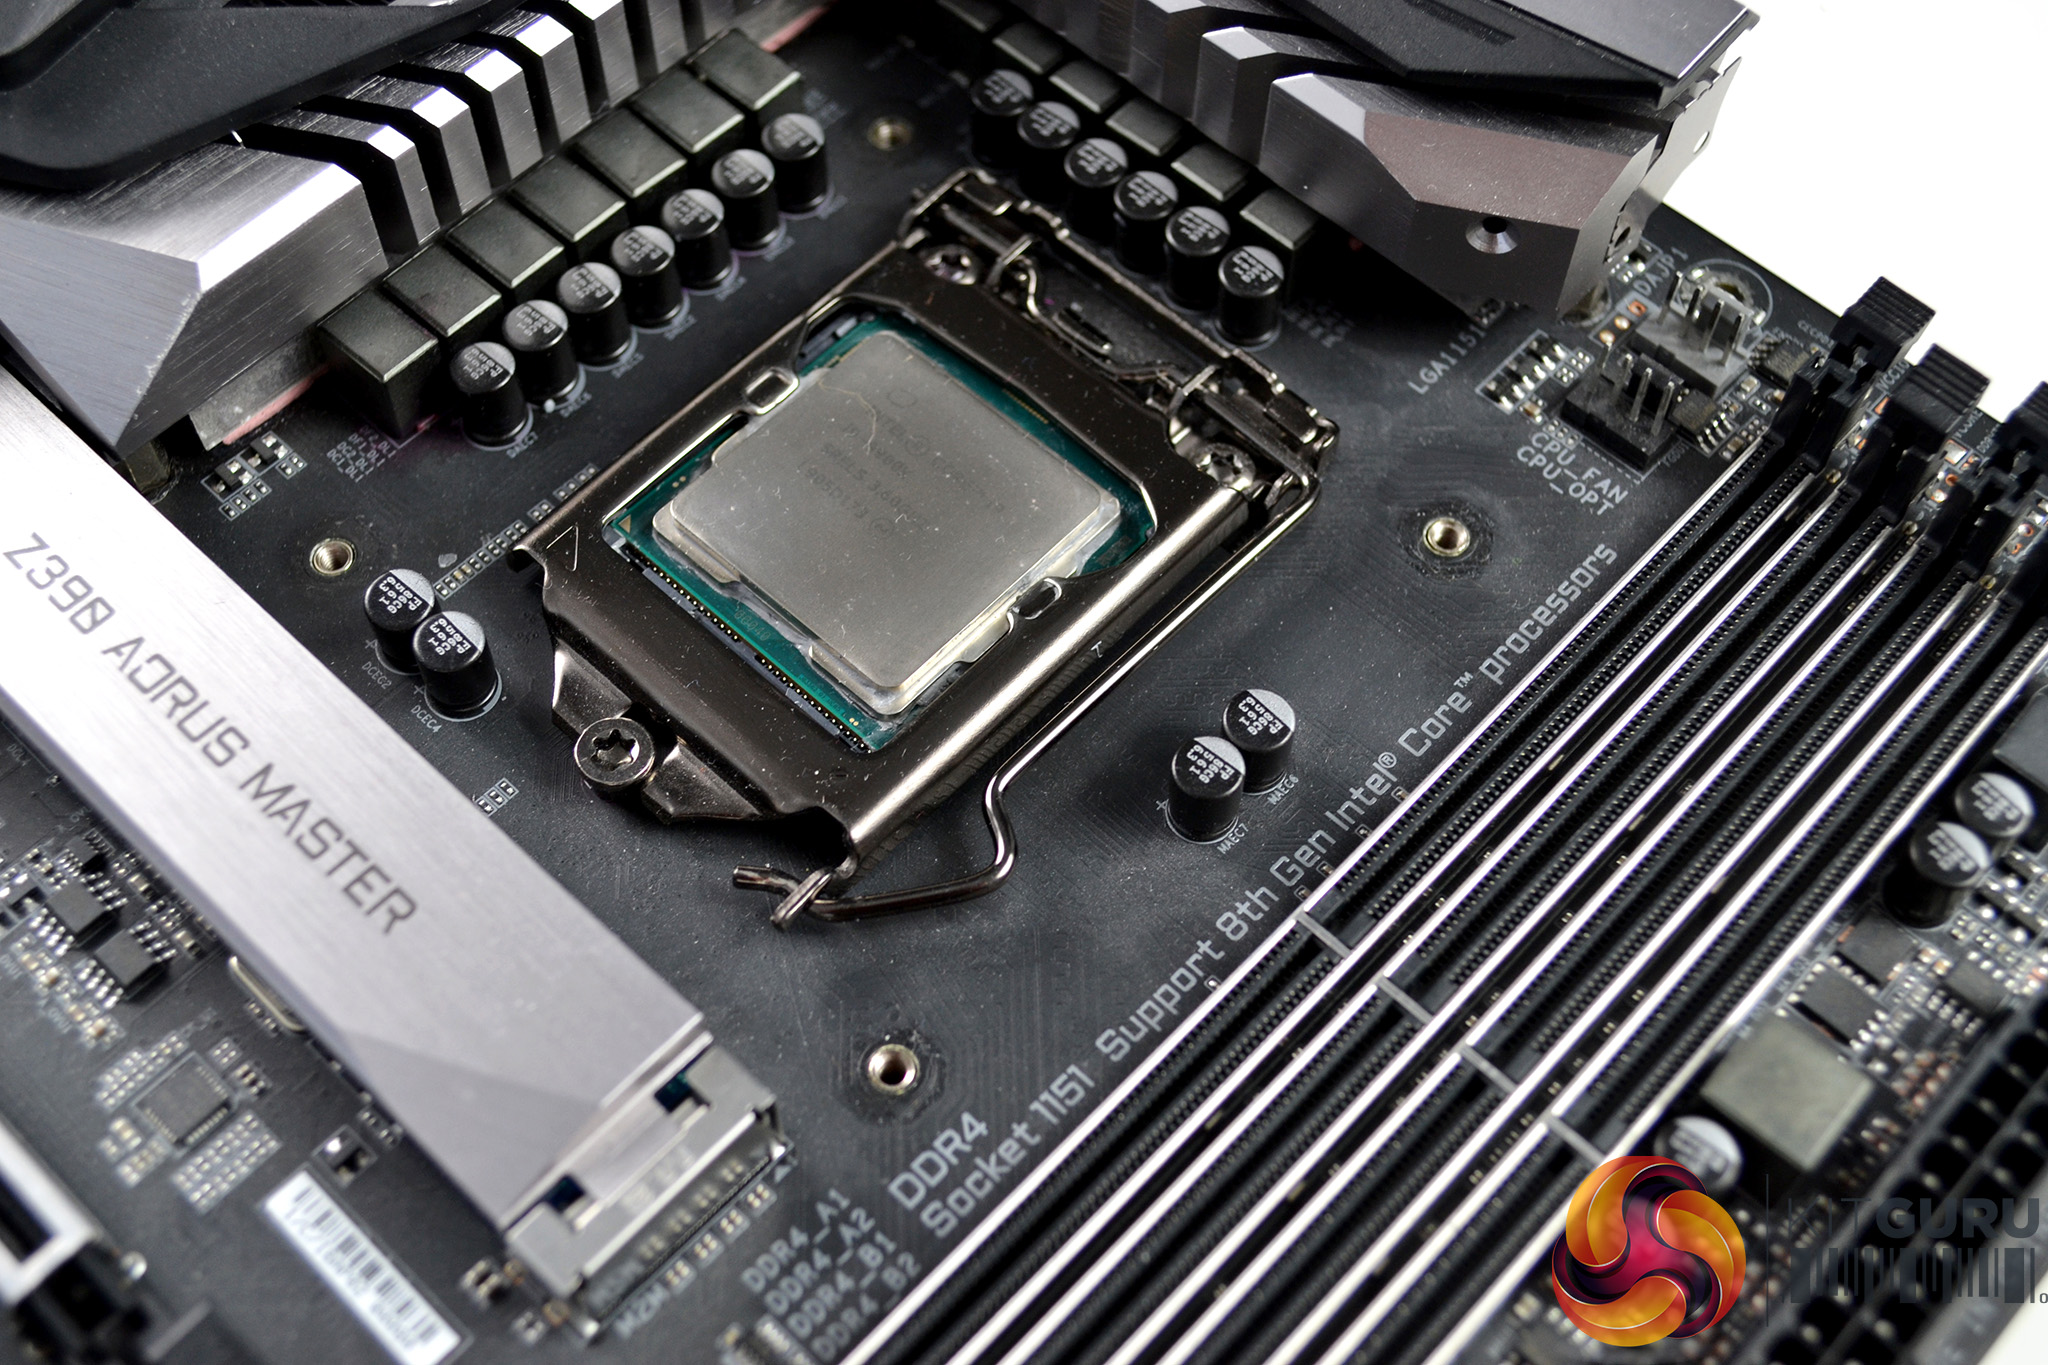
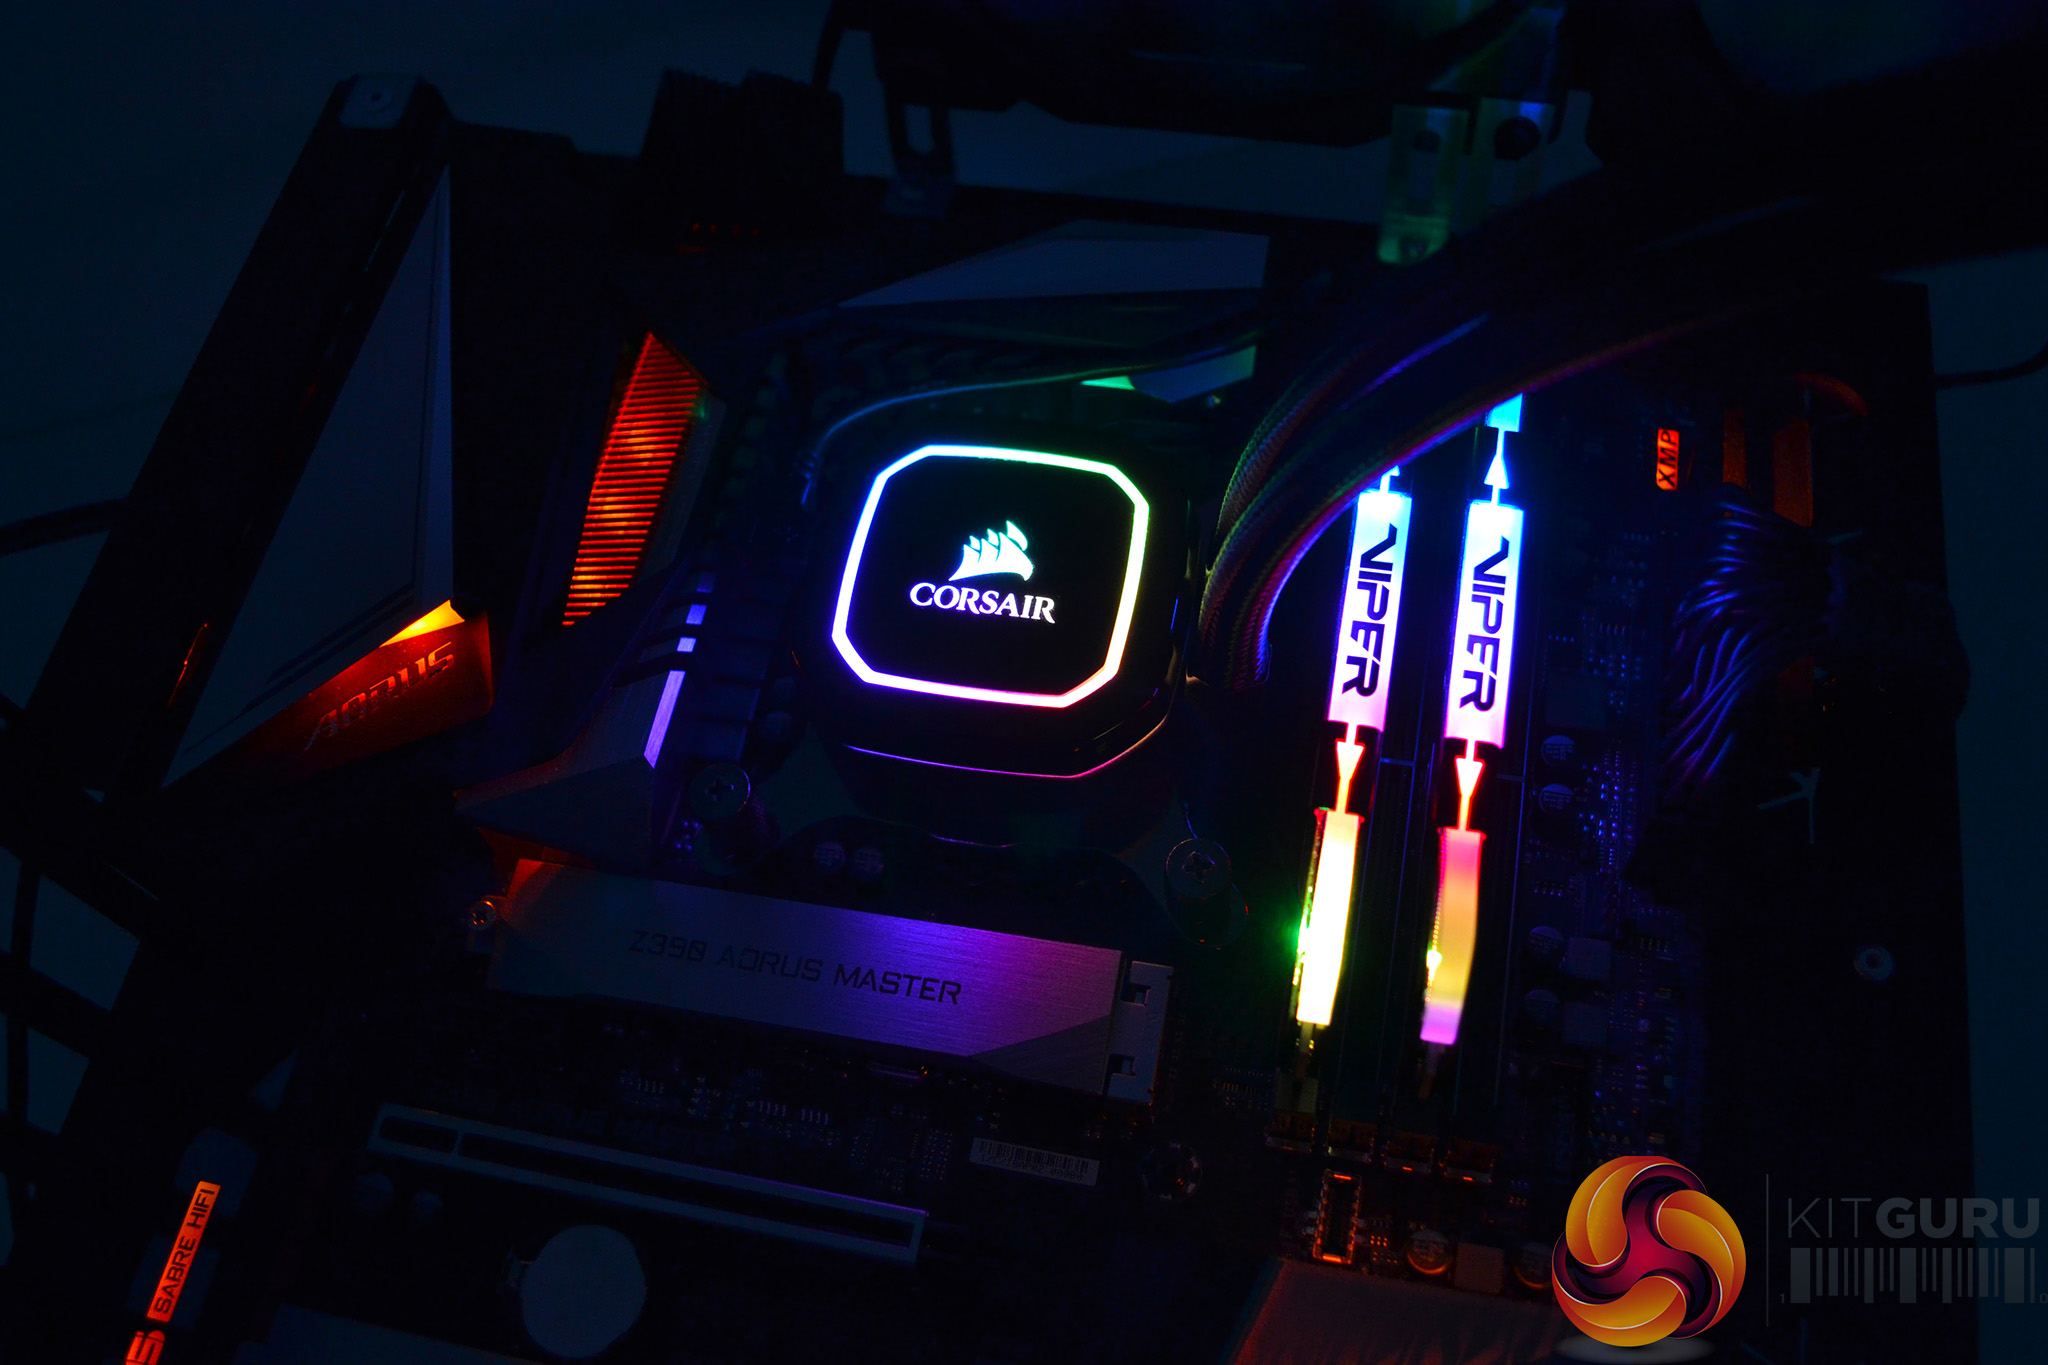
Next, lower the pump head down onto the CPU and align with the standoffs. Take the four thumbscrews and tighten the pump head in place using an X pattern to evenly spread the pressure on the CPU IHS. Final tightening can be finished off with a screwdriver if necessary.
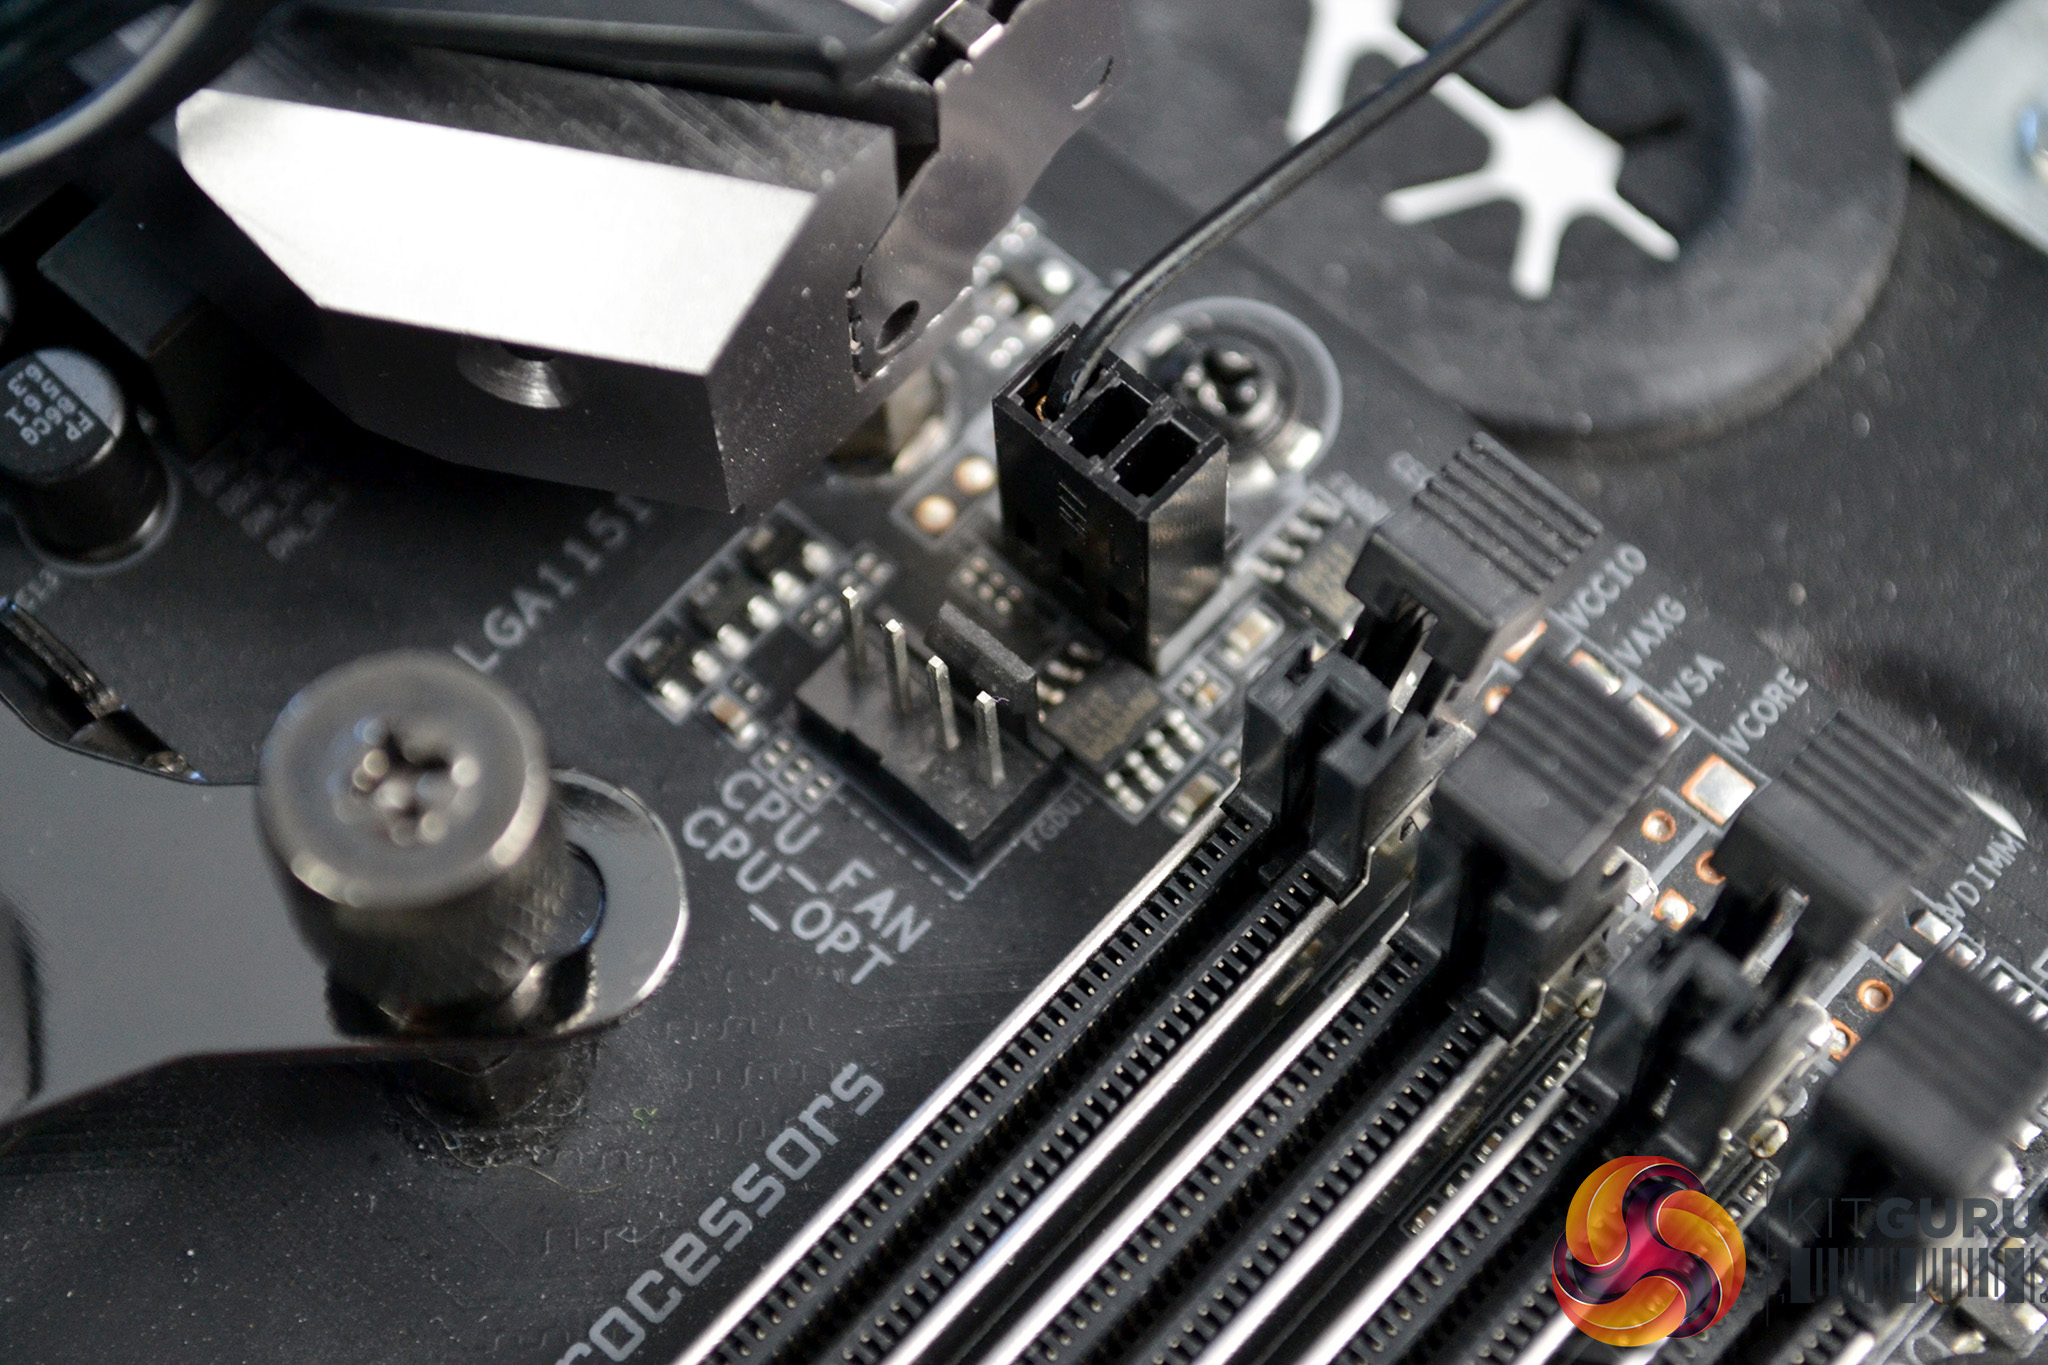
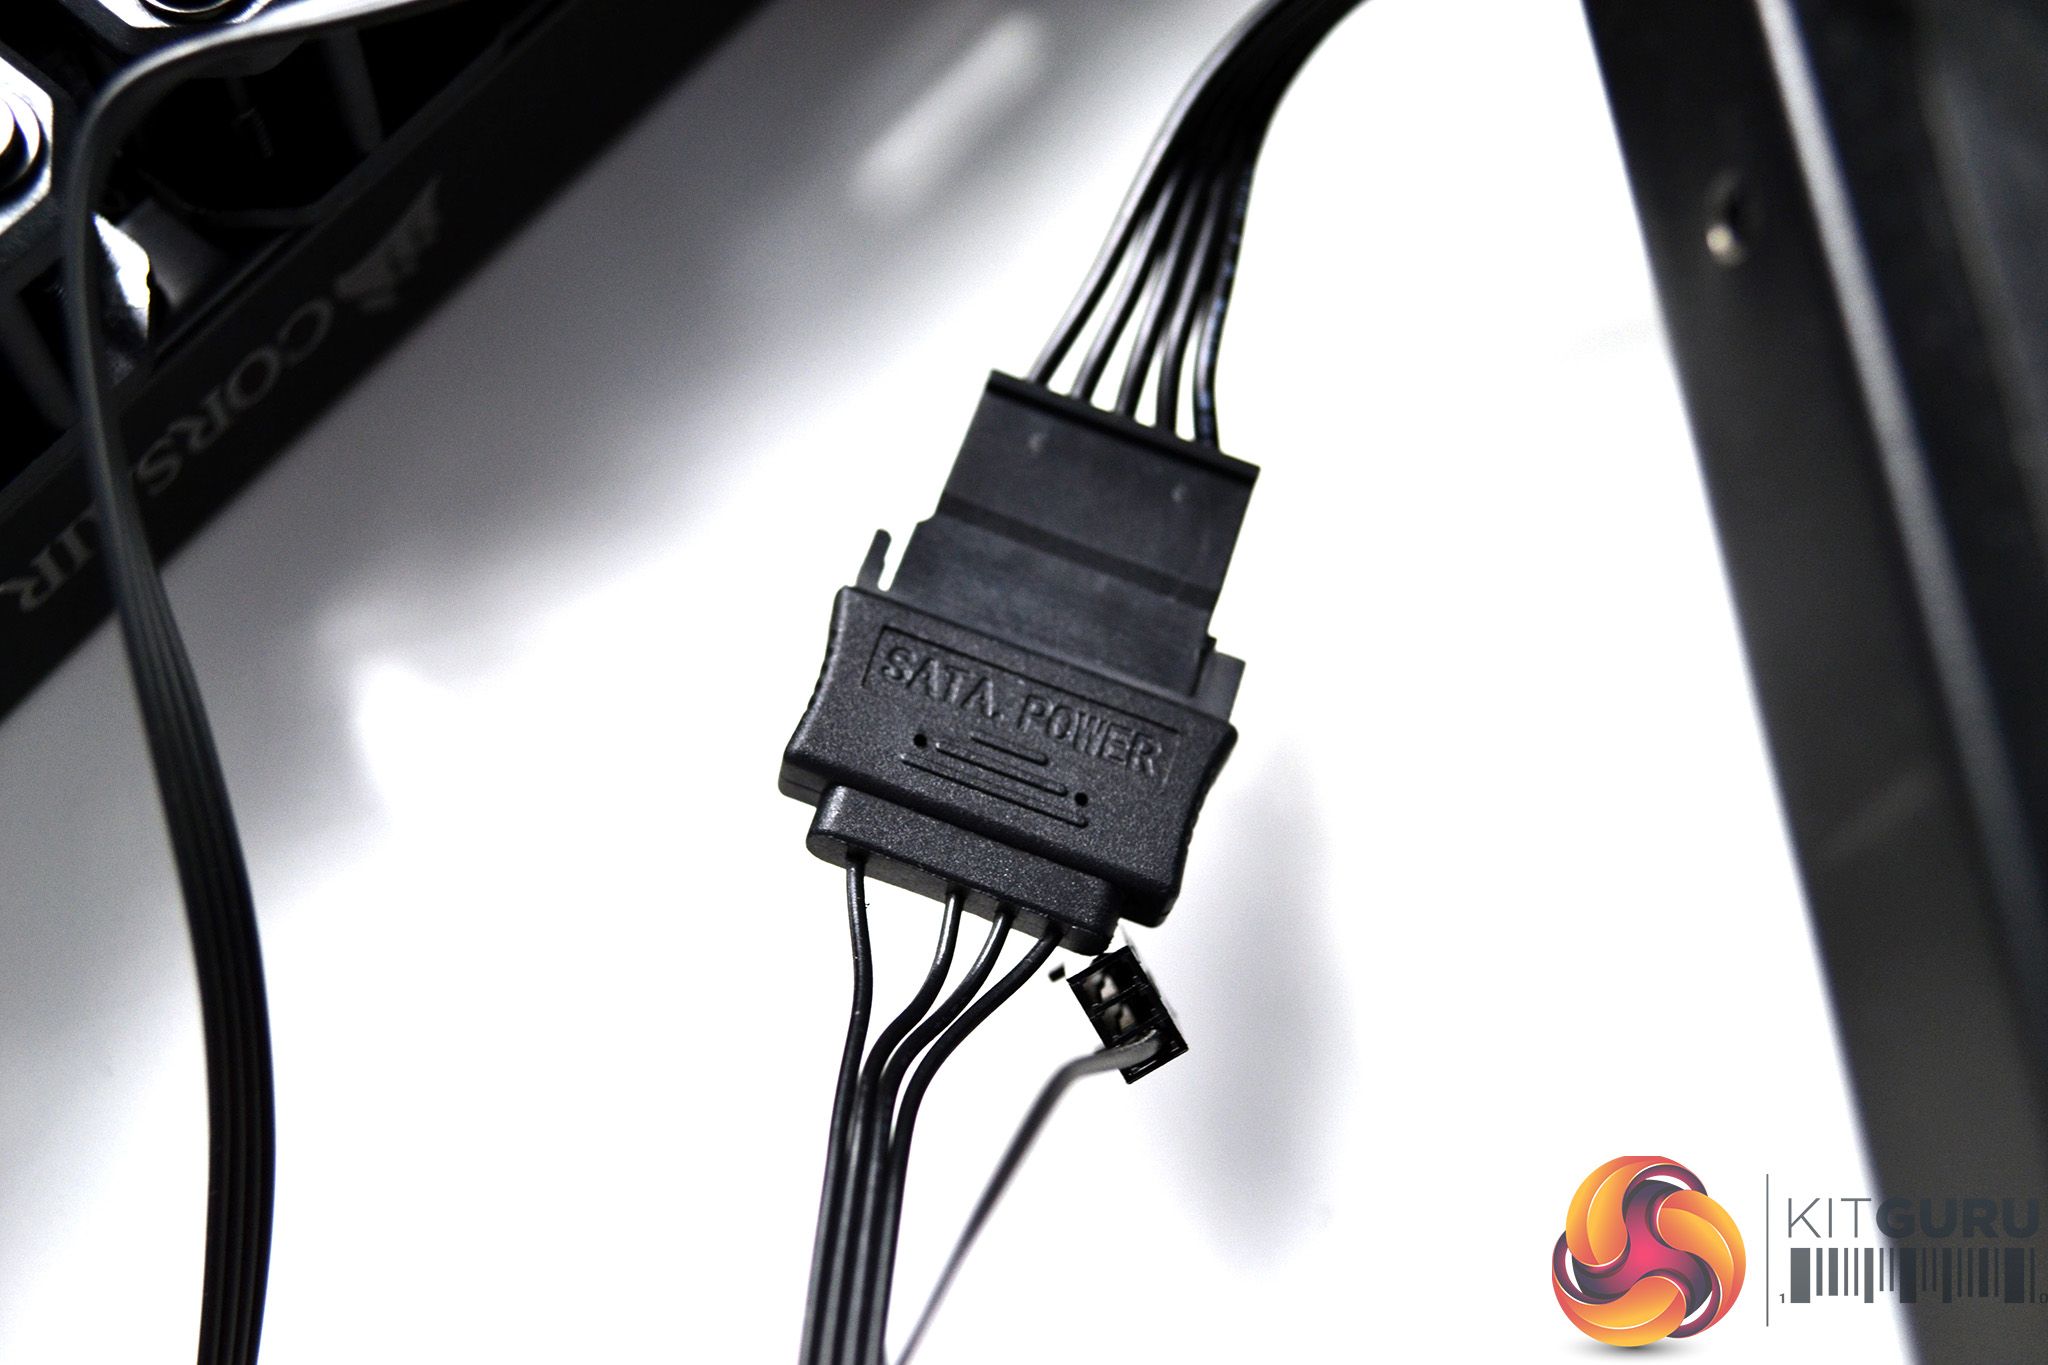
All that is left to do now is connect the wiring, plug the 3-pin pump tach cable to the CPU_FAN header on the motherboard and the pump power cable to a spare SATA power connector. The two 4-pin fan cables are connected to the splitter coming from the pump head to control fan speed via the Corsair iCUE software. Alternatively, the fans could be connected directly to motherboard Fan headers for PWM speed control.
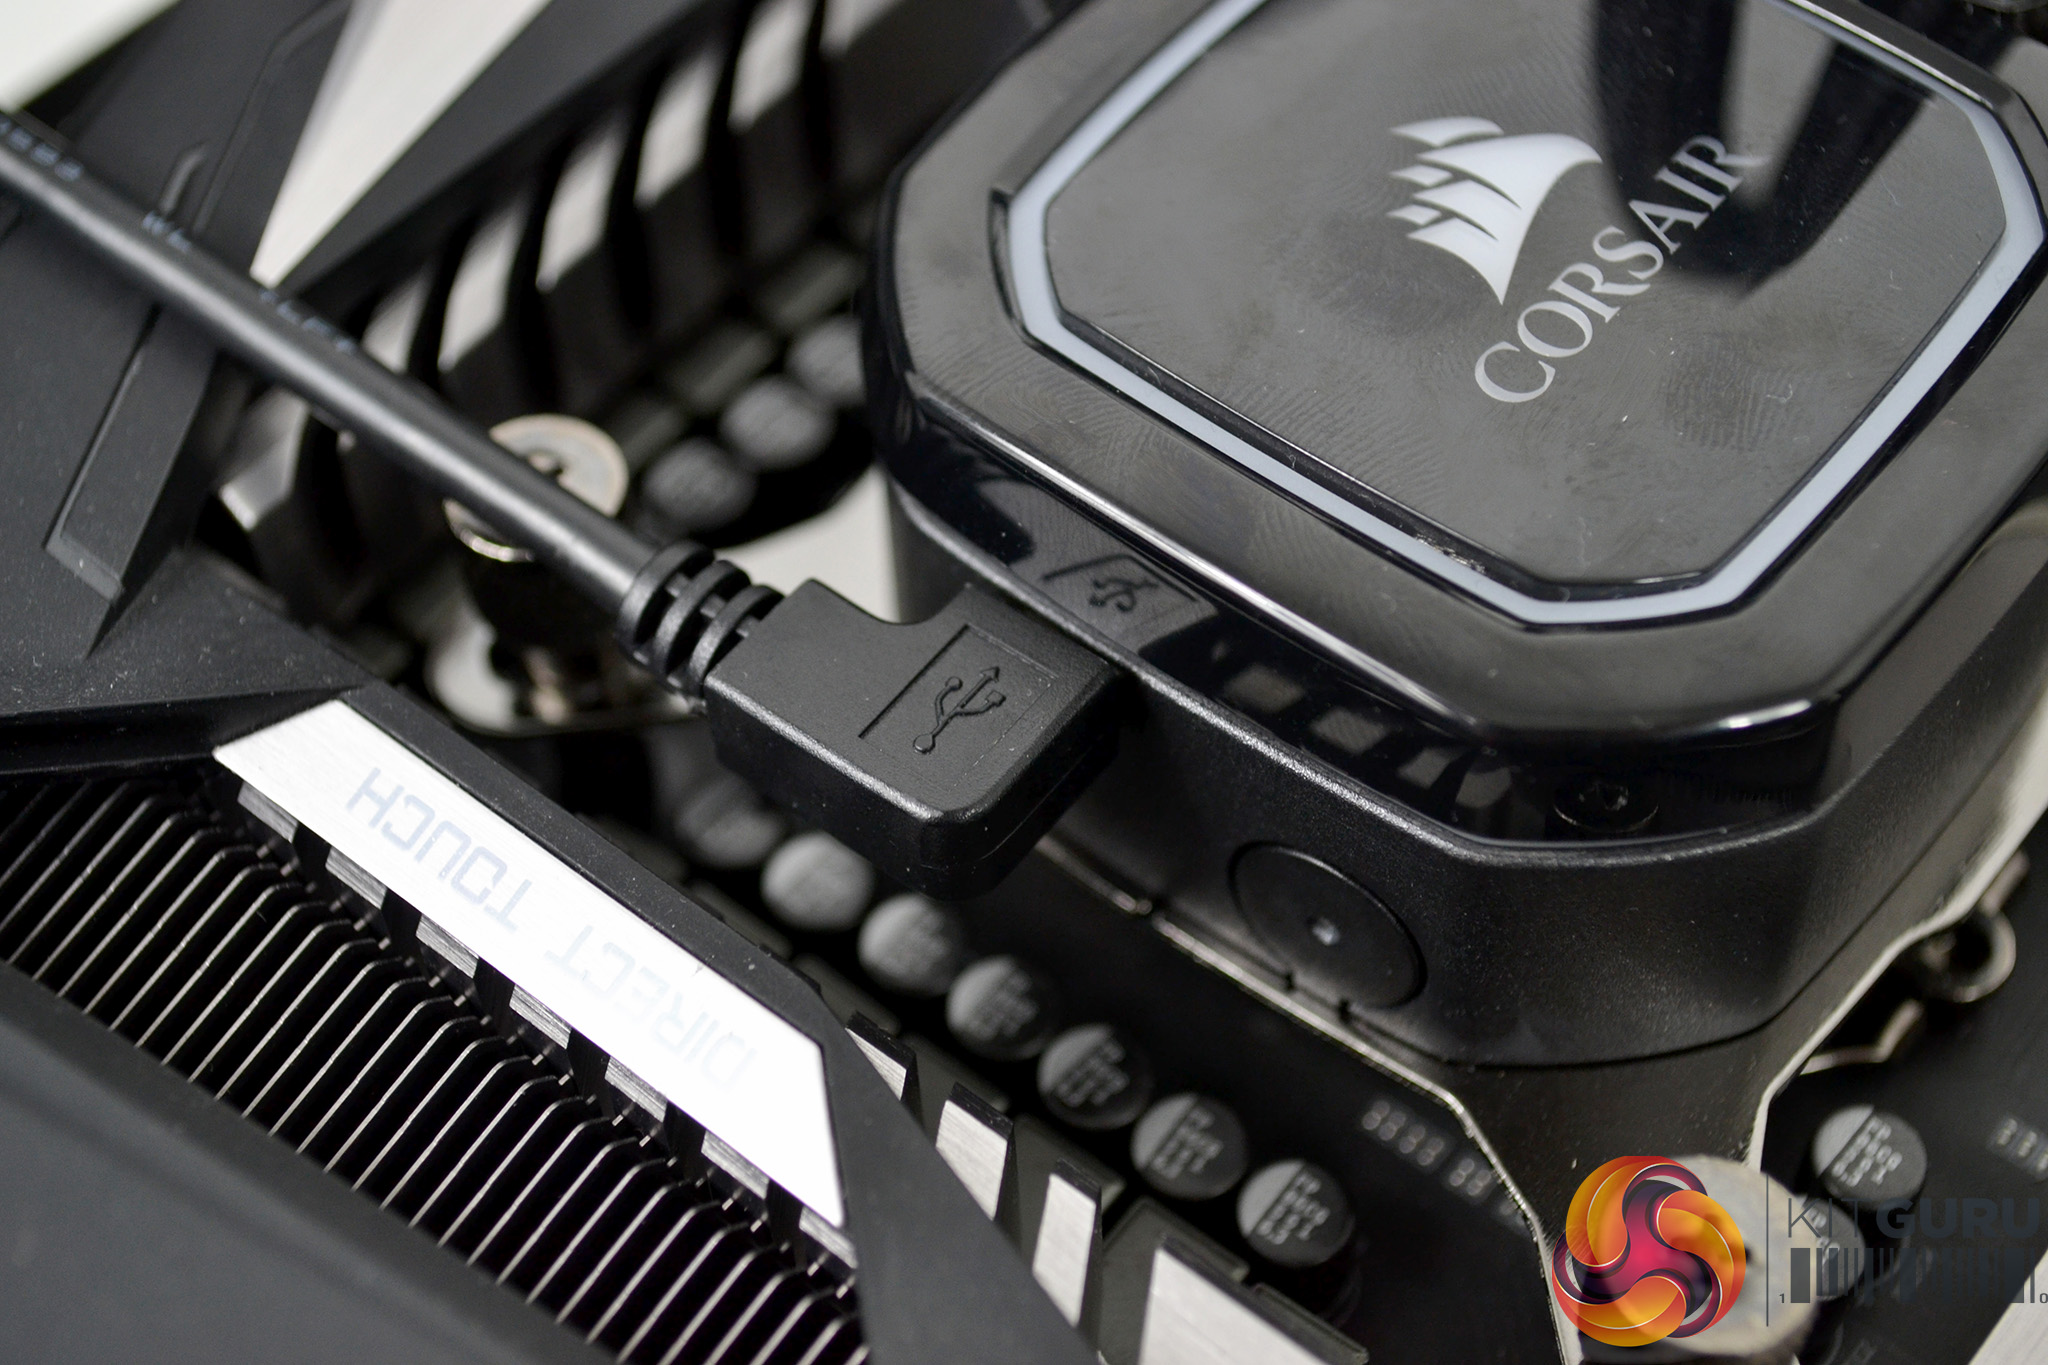
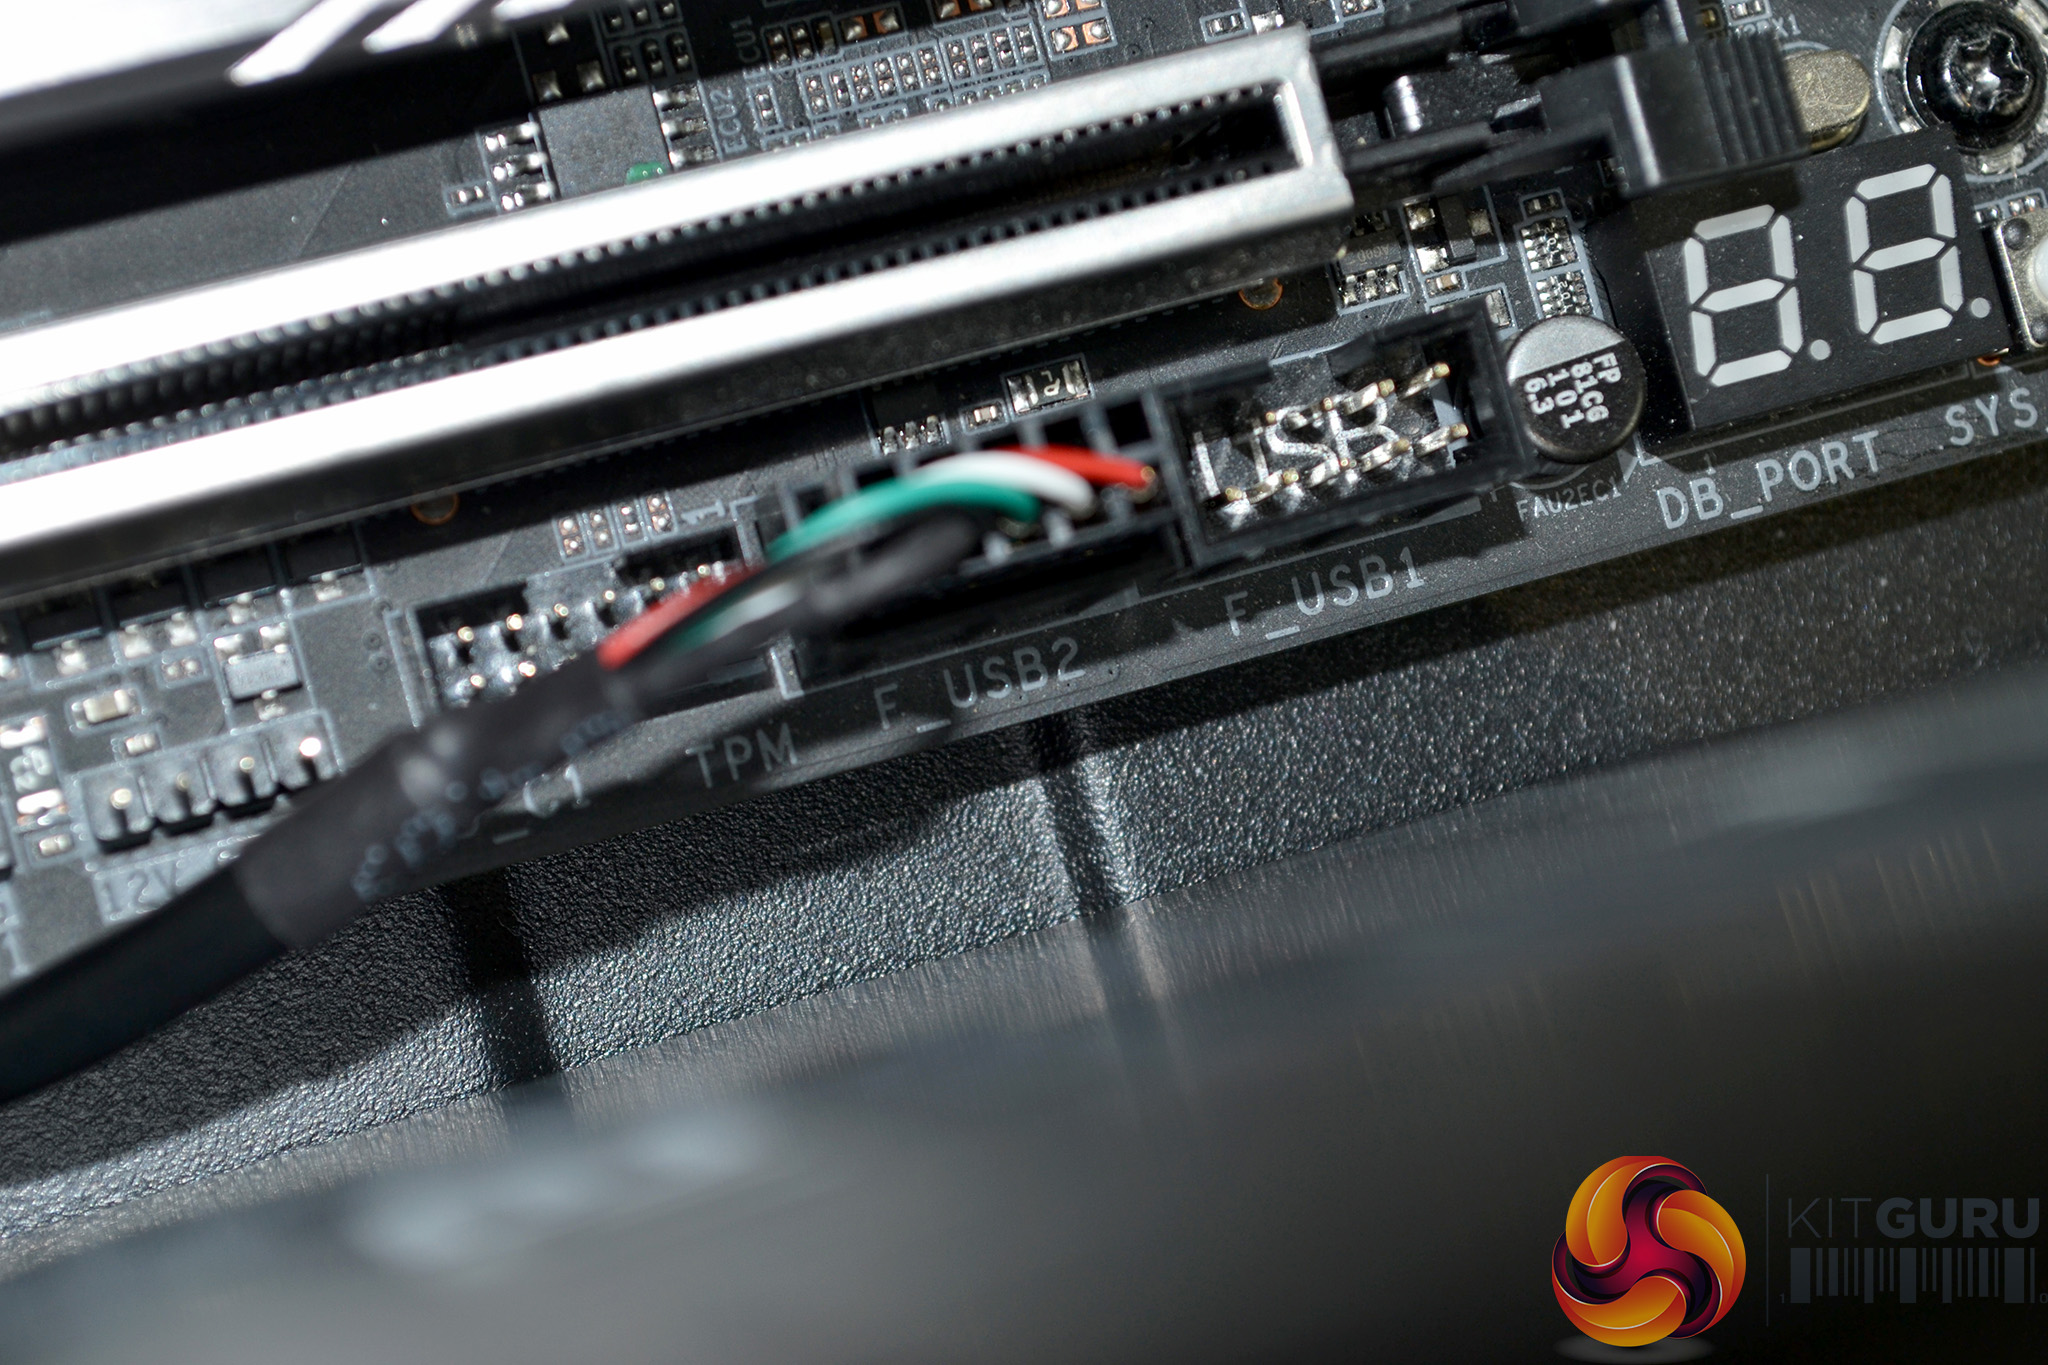
Finally, if you choose to use the Corsair iCUE software to control fan speed and RGB lighting, connect the iCUE USB cable from the pump to a USB header on the motherboard. Routing the cable should be easy as Corsair has supplied a generous length.
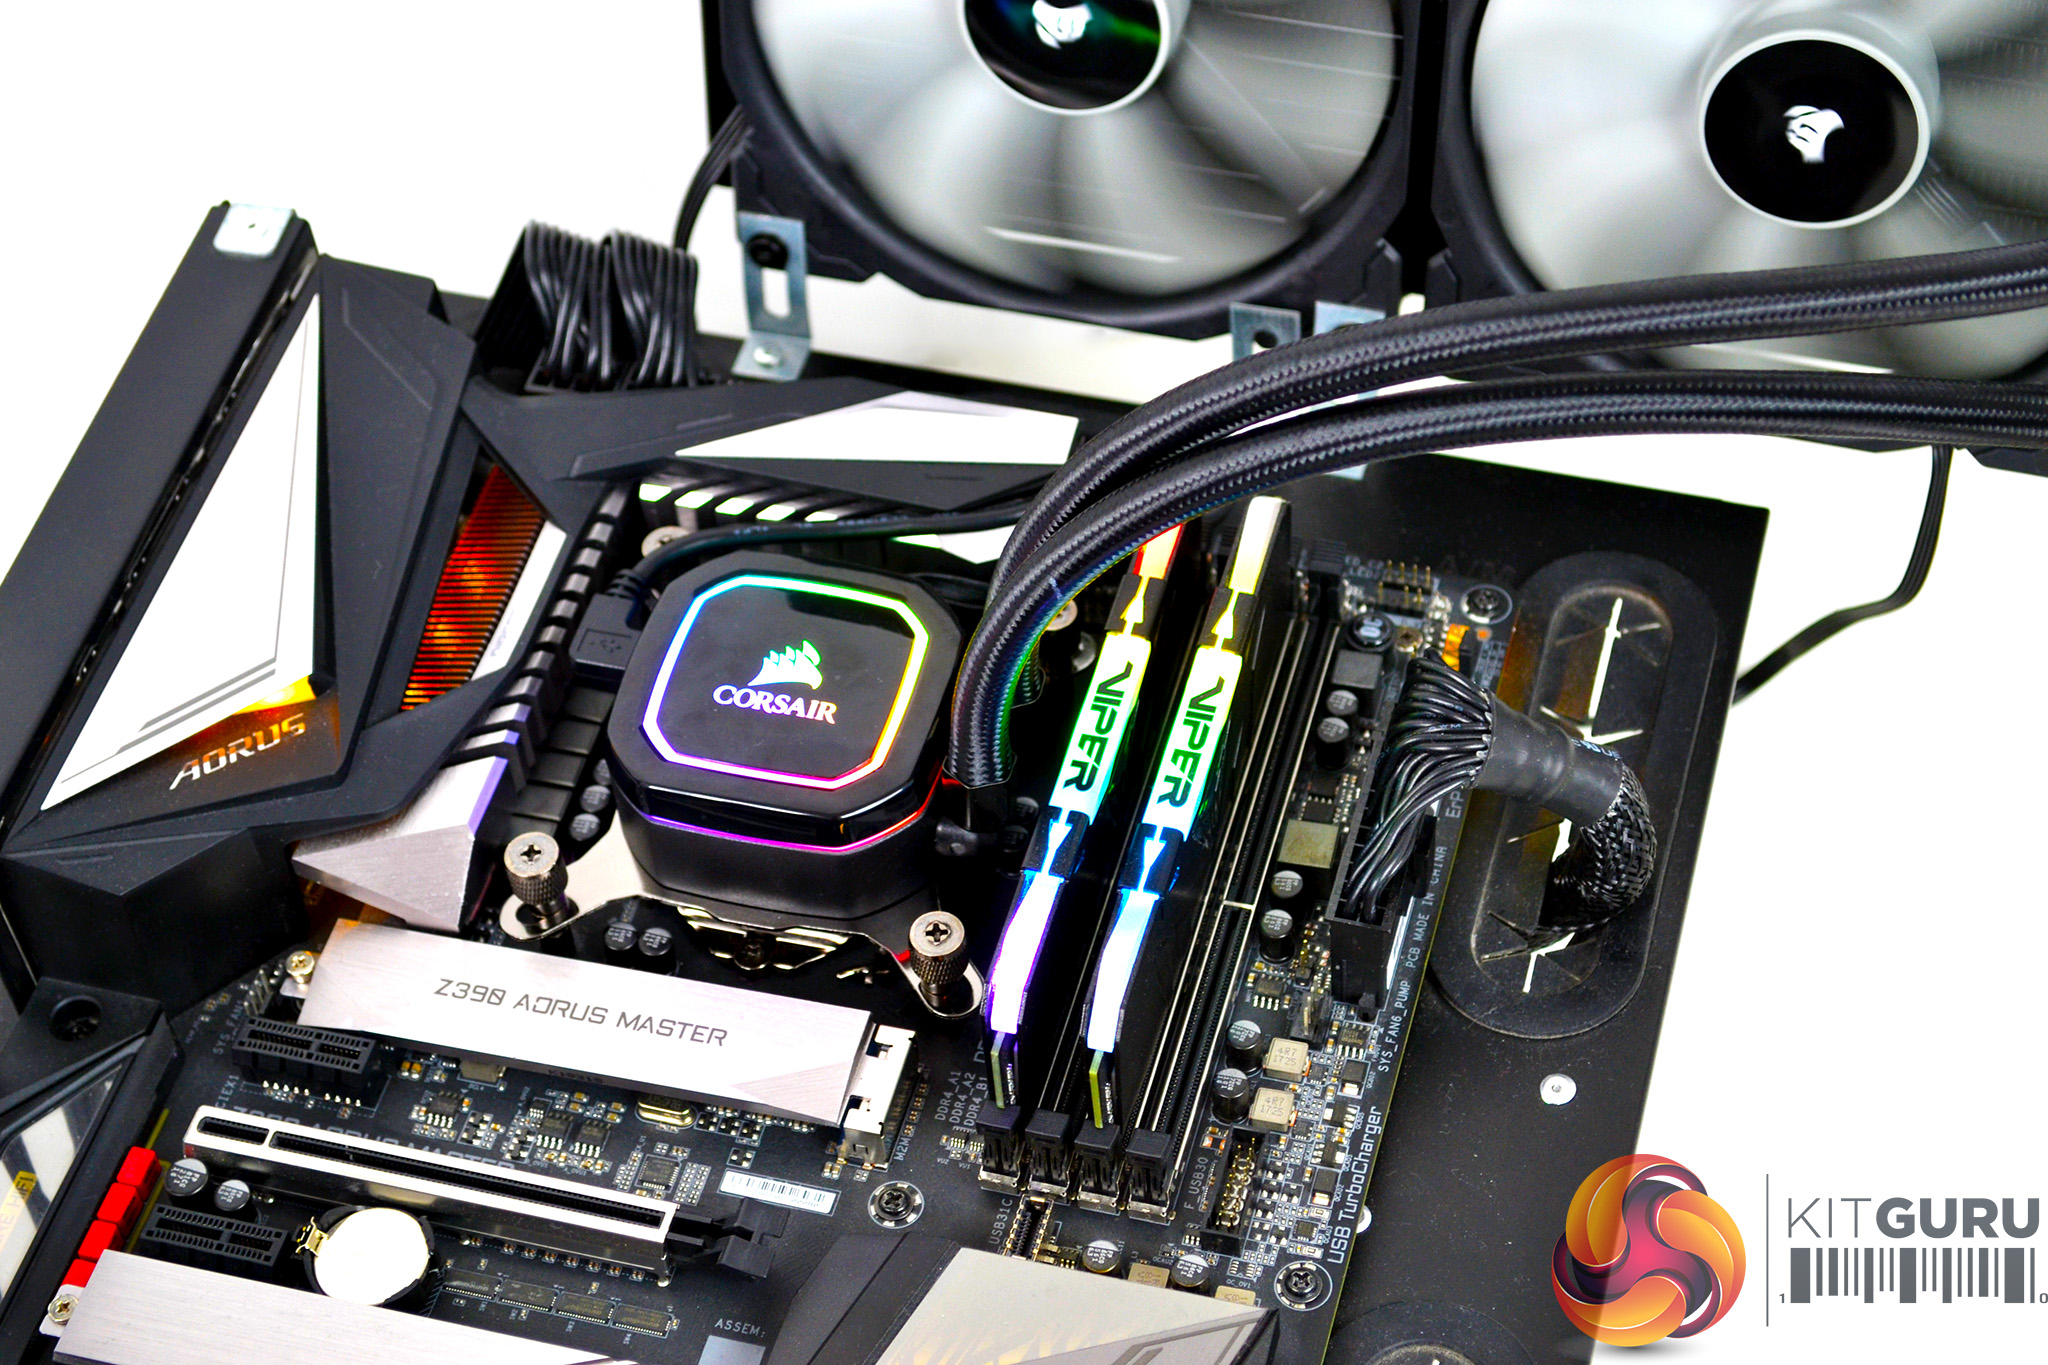
Overall we found the installation process to be very straightforward and simple. To complete the installation process takes around 10-15 minutes in total which is made easier due to the lack of RGB fans and no additional RGB controllers or extra RGB cables to manage.
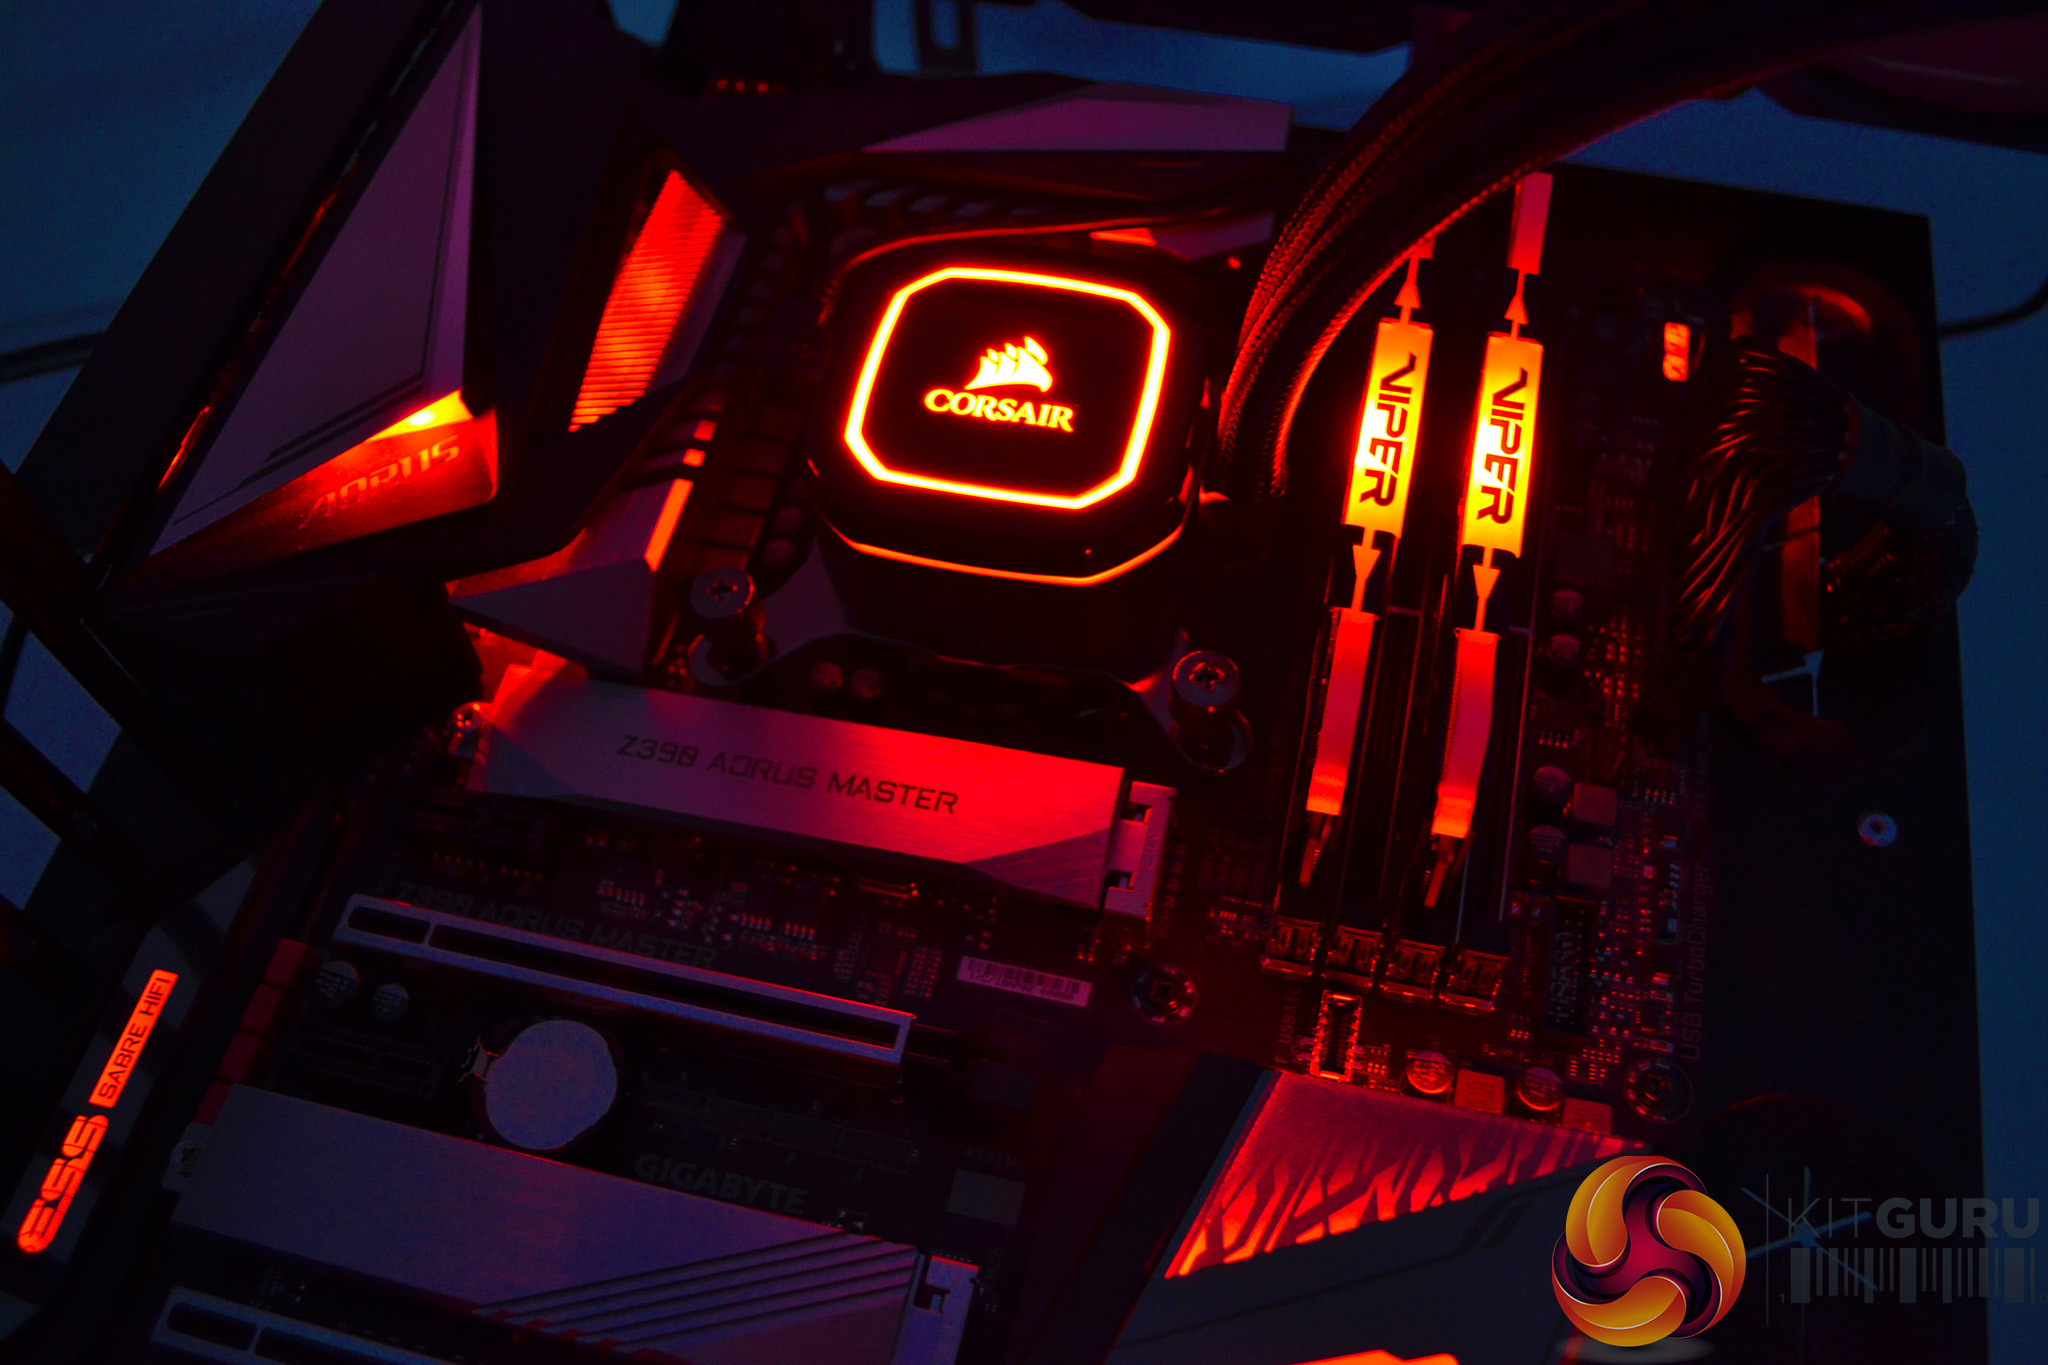
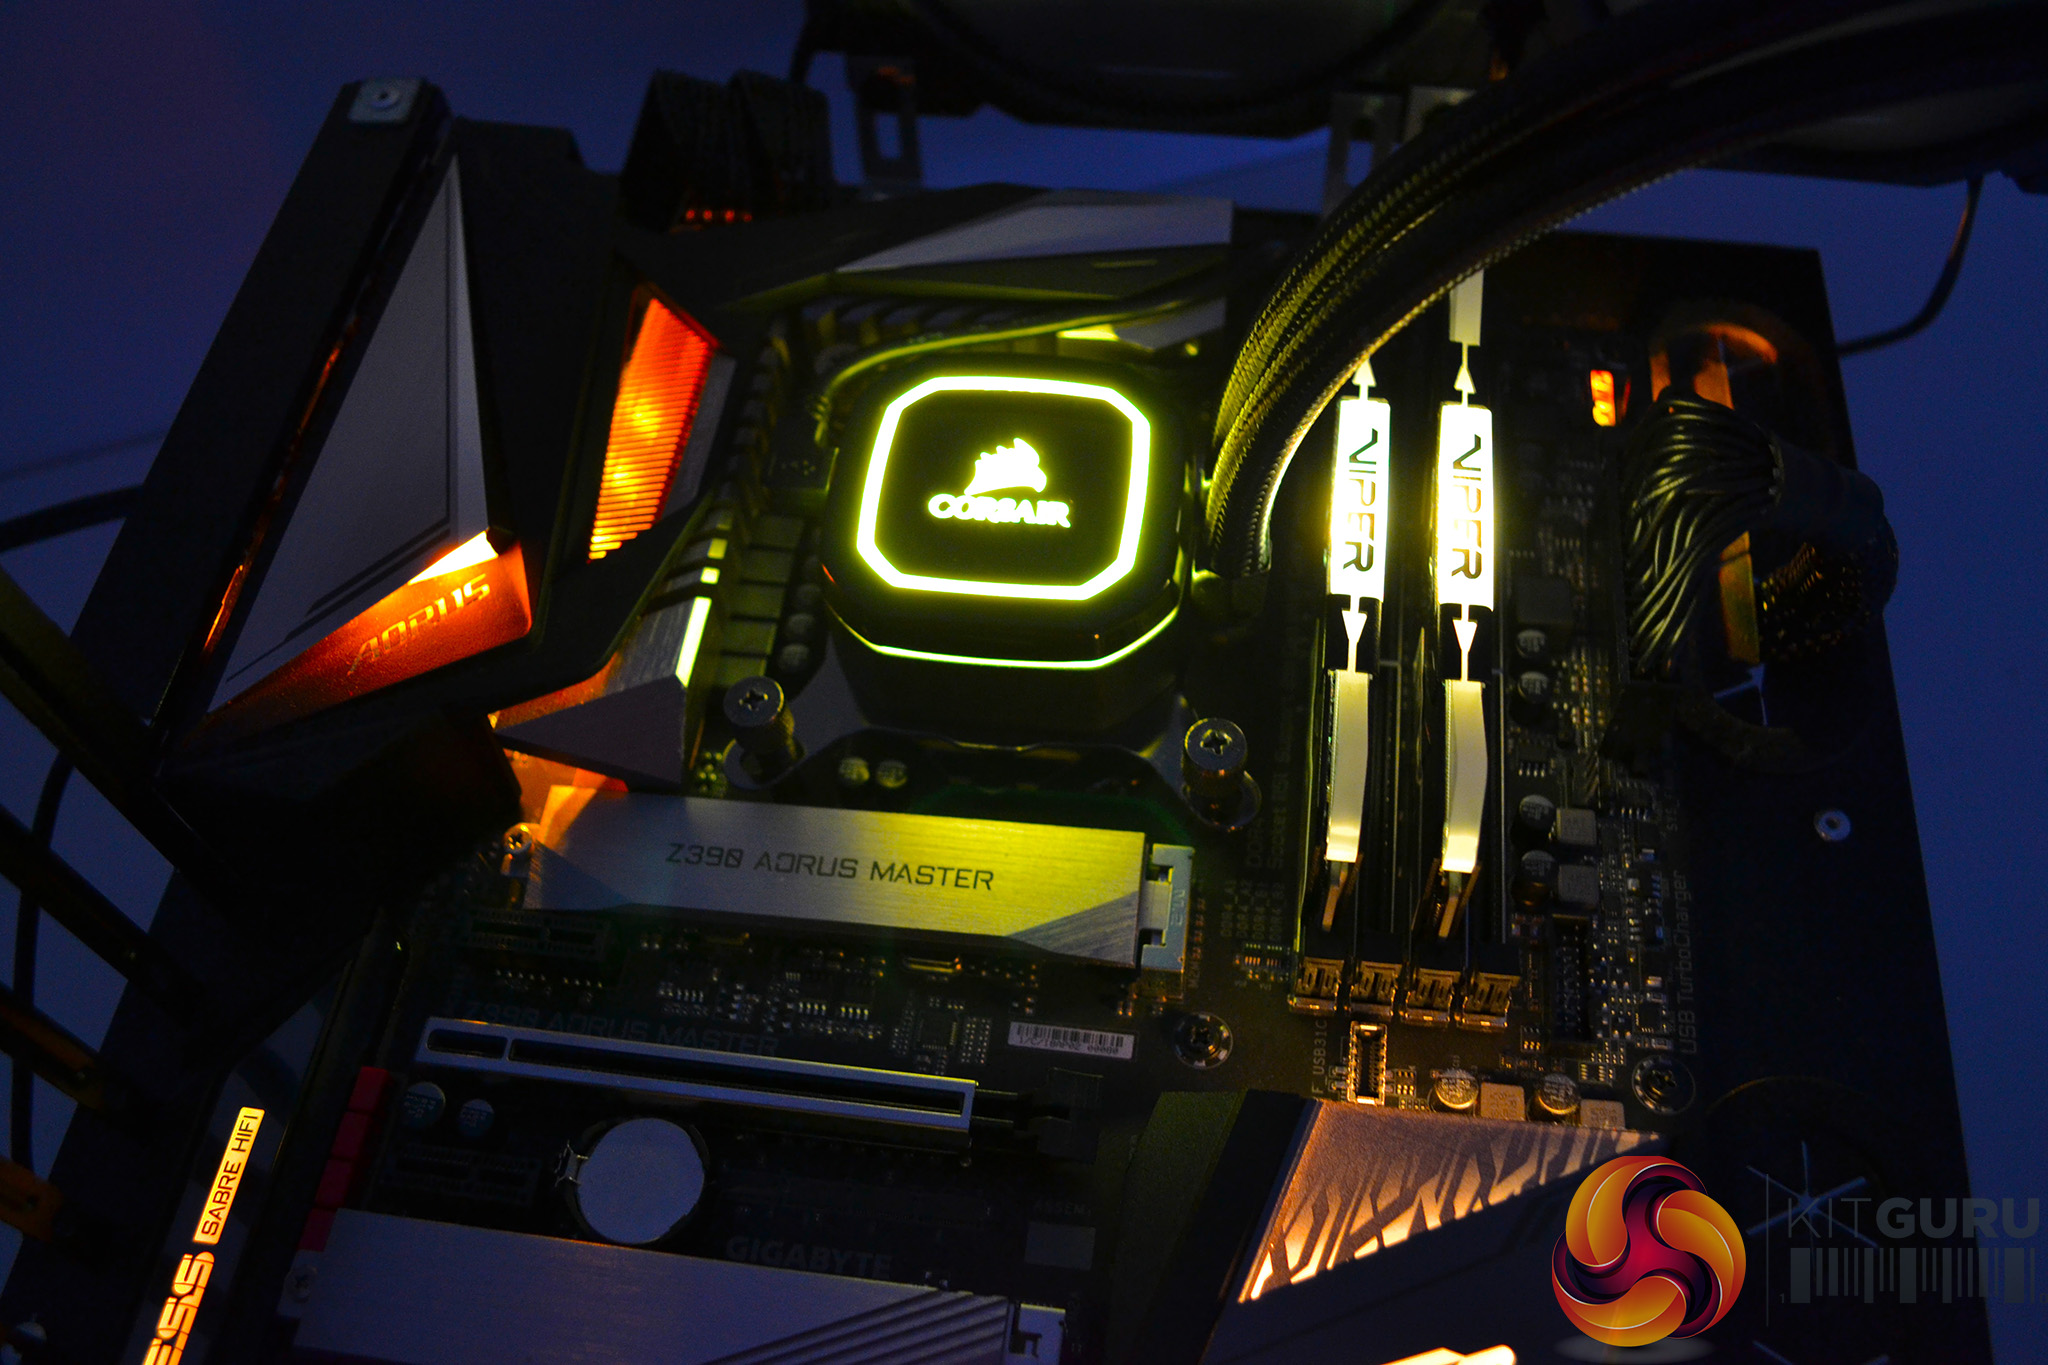
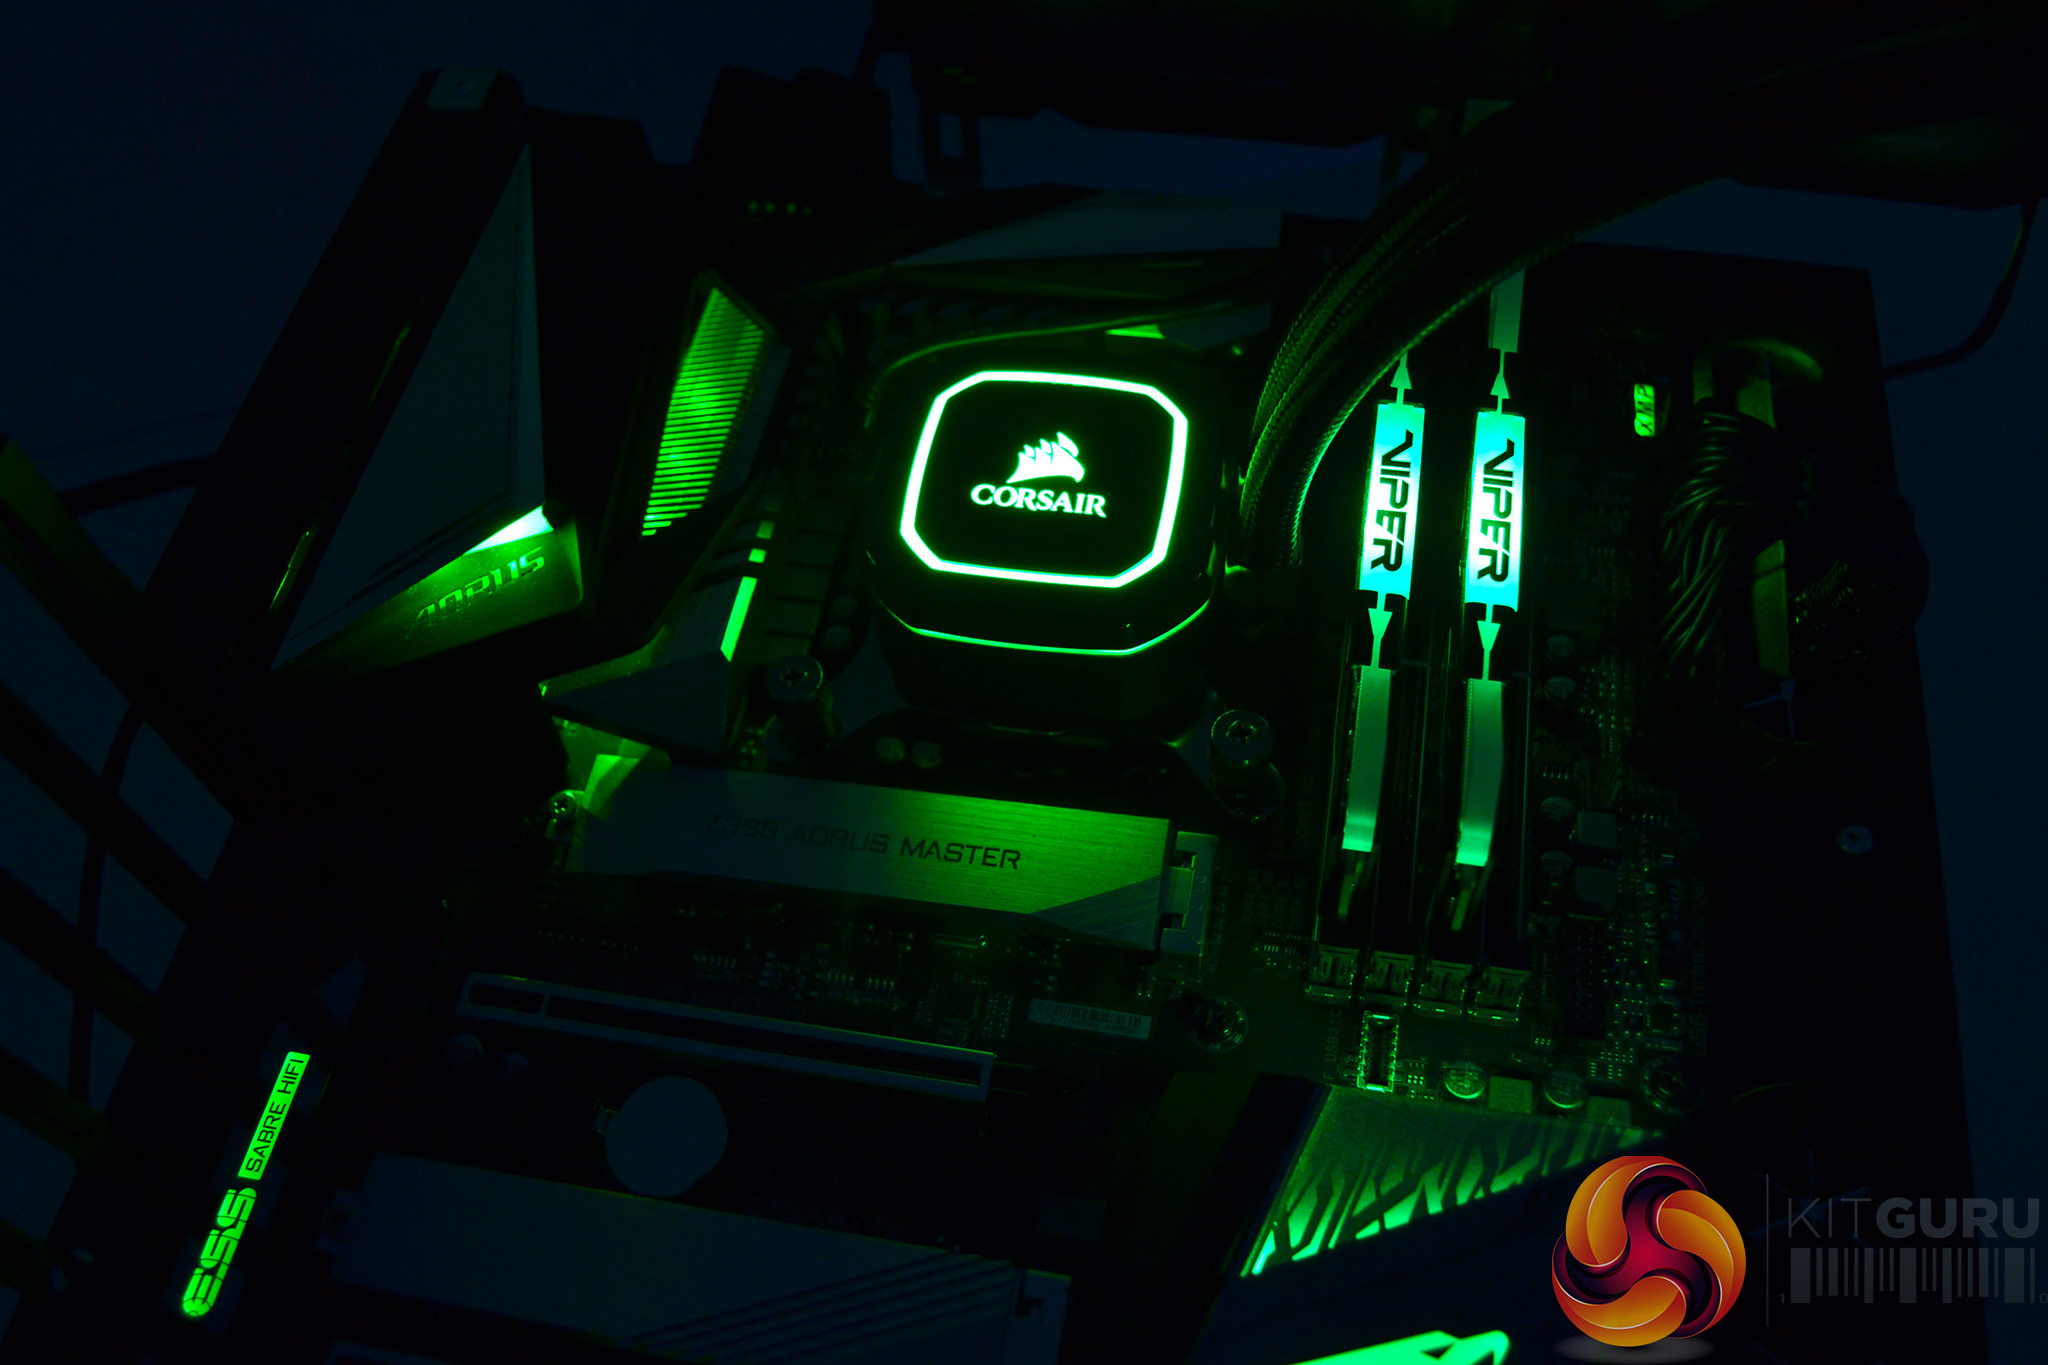
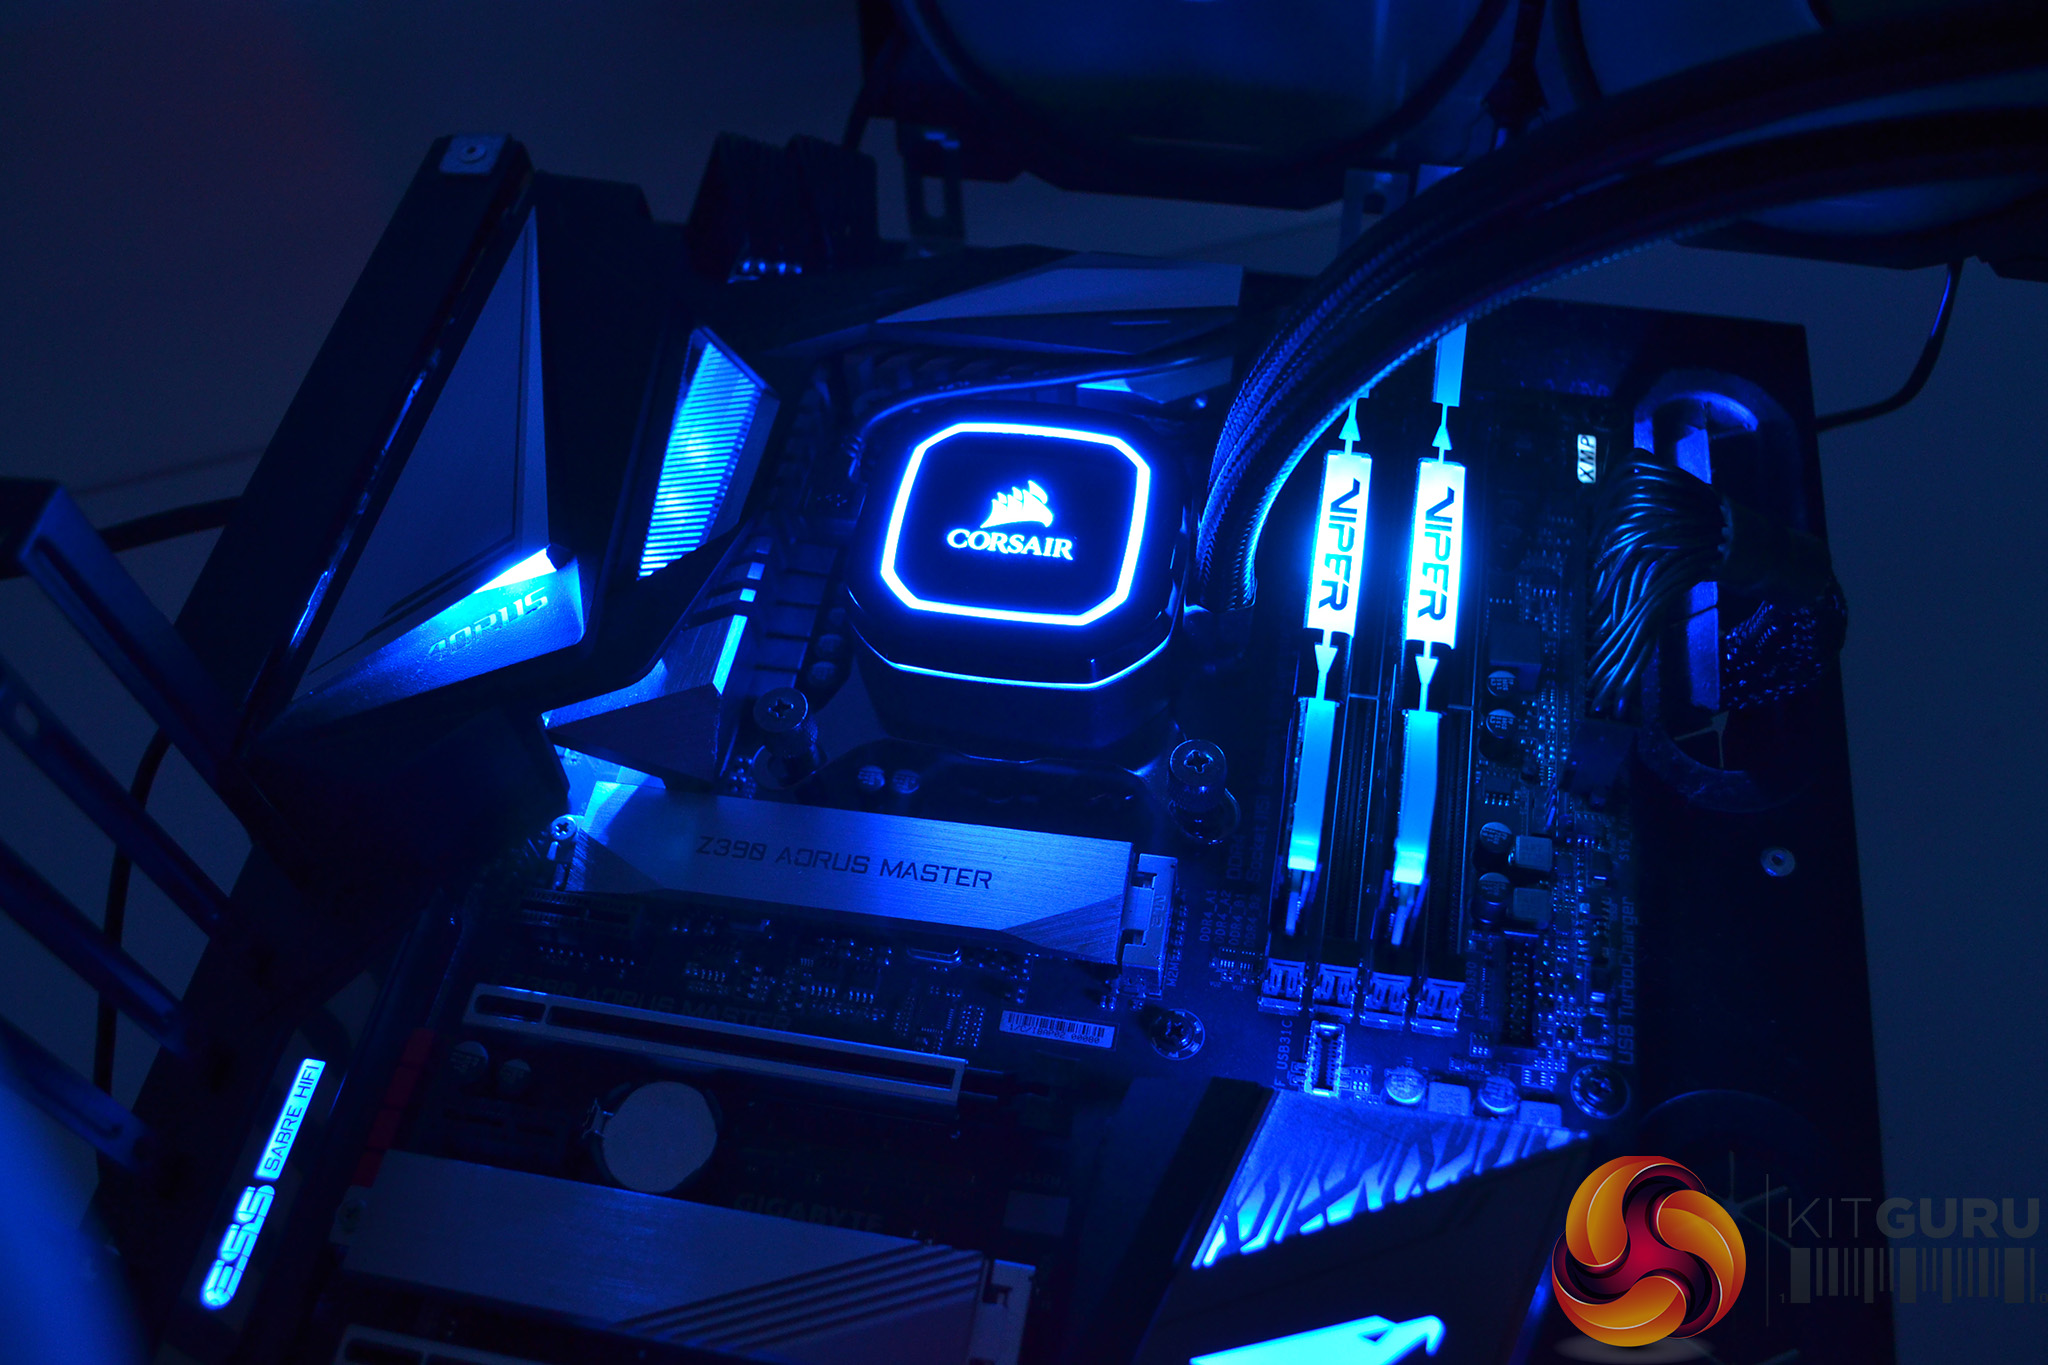
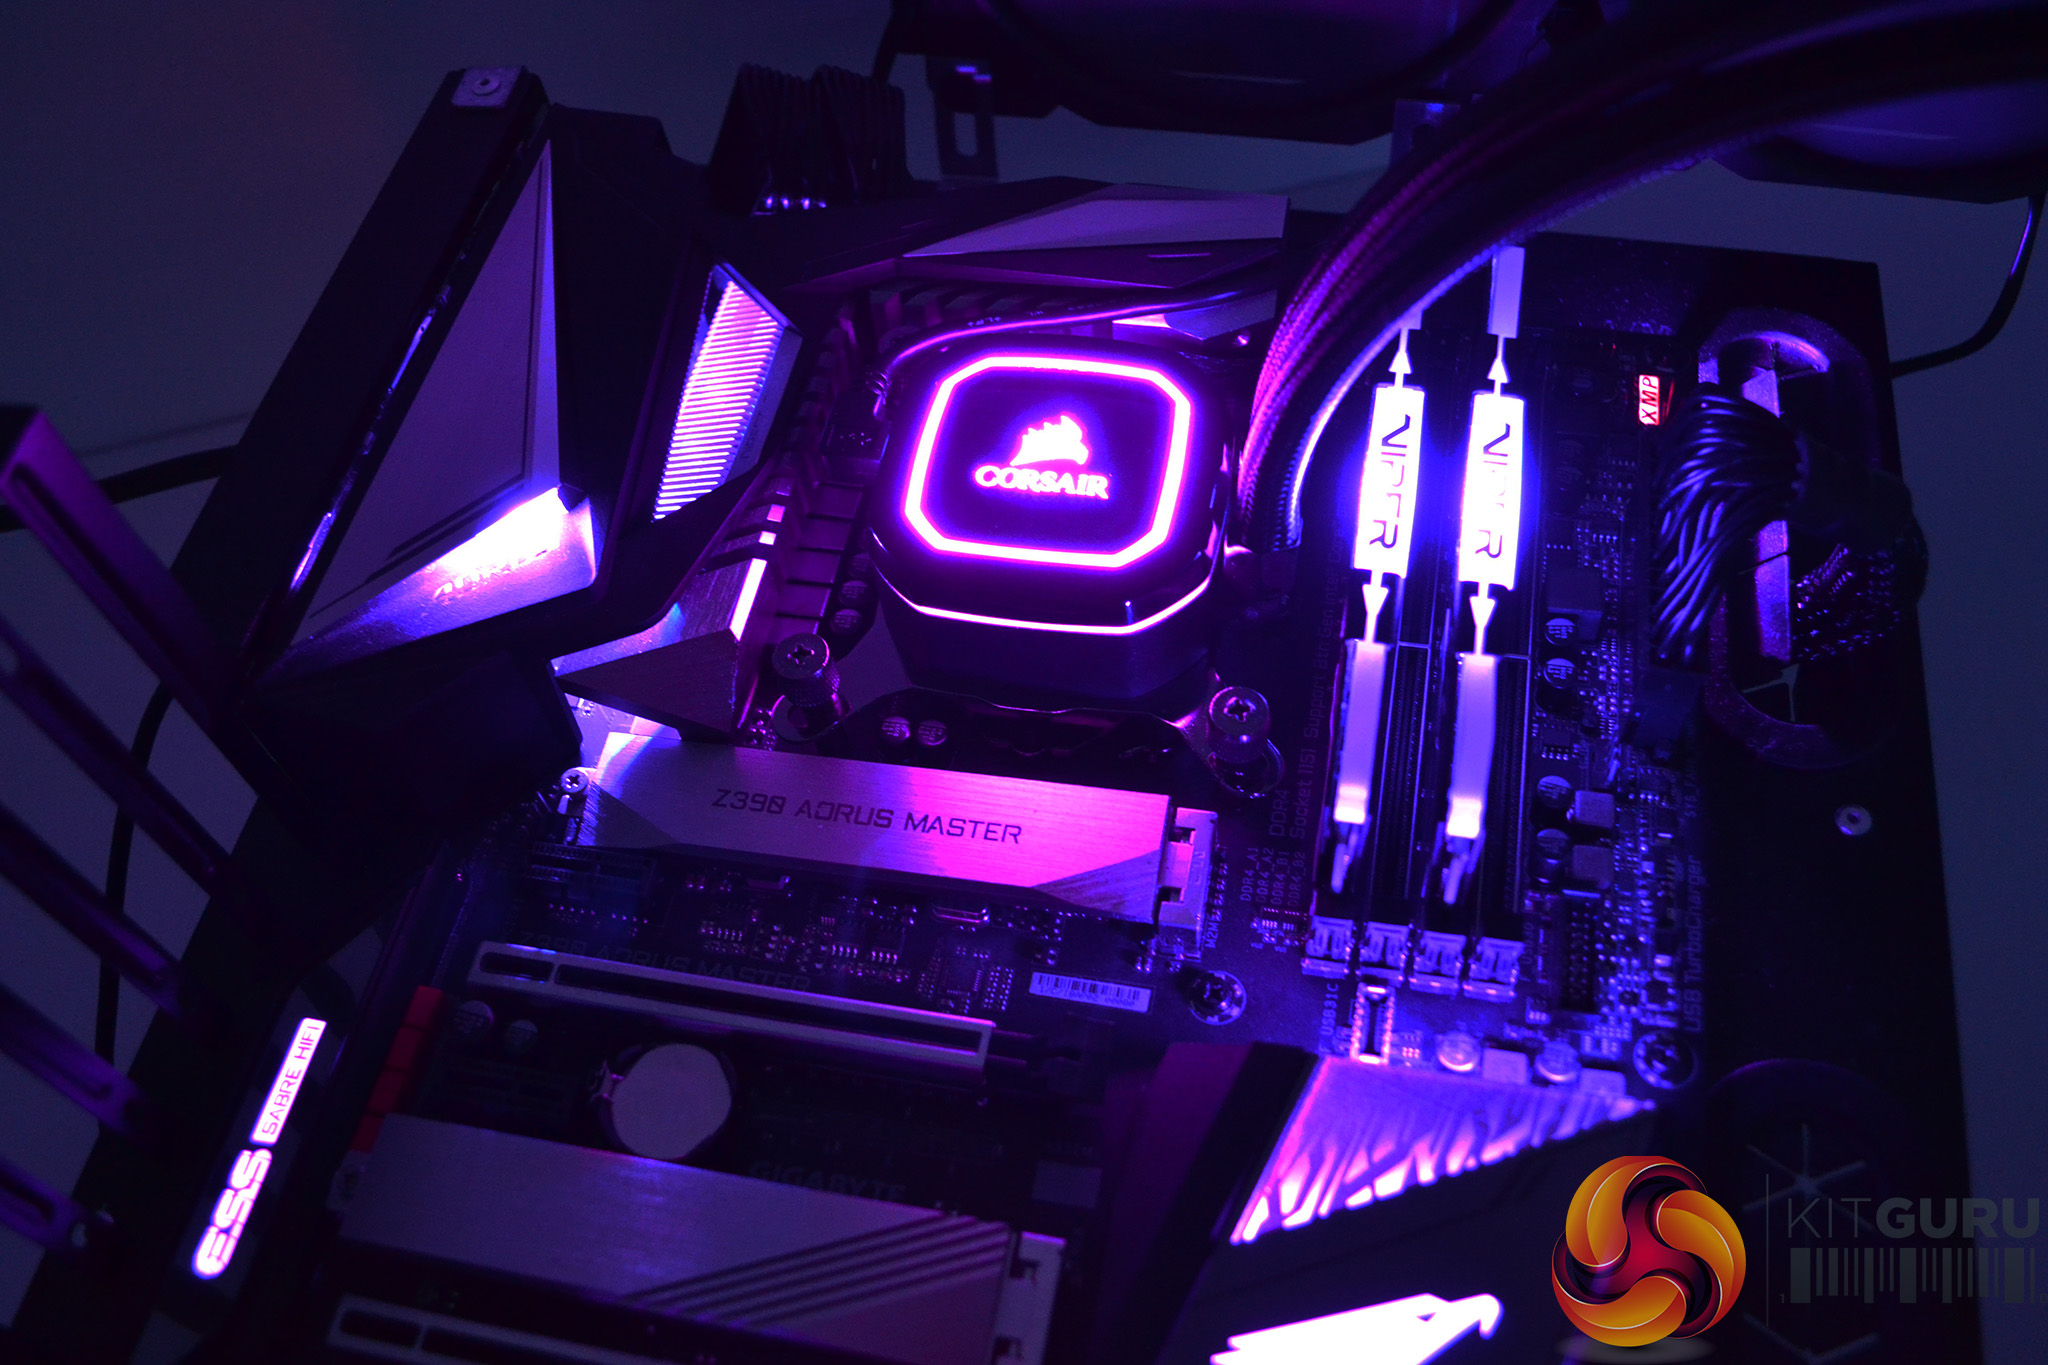
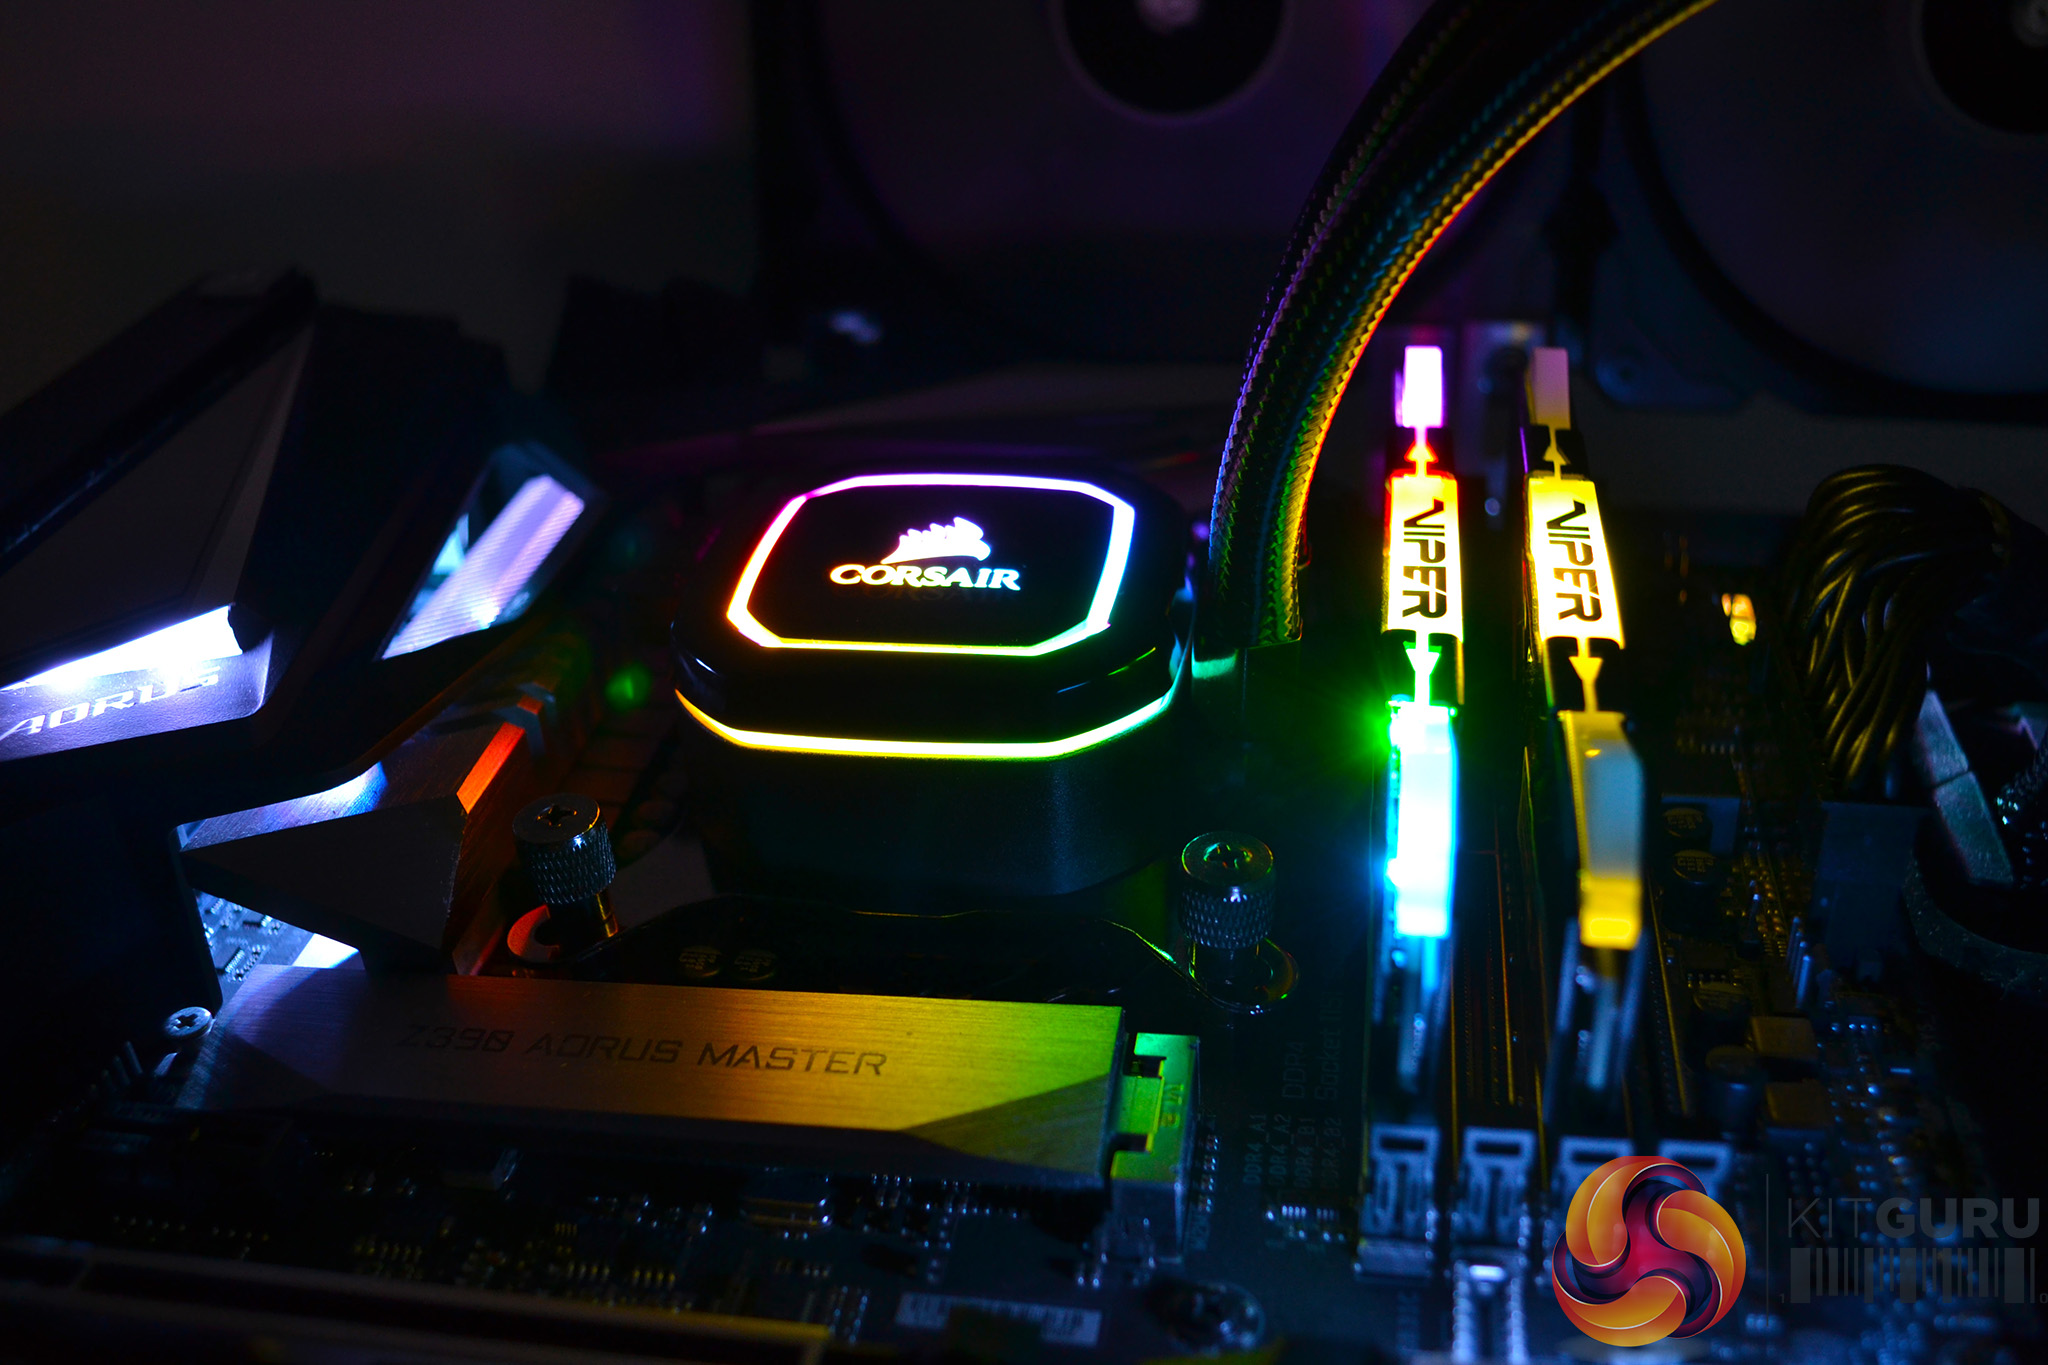
RGB Gallery