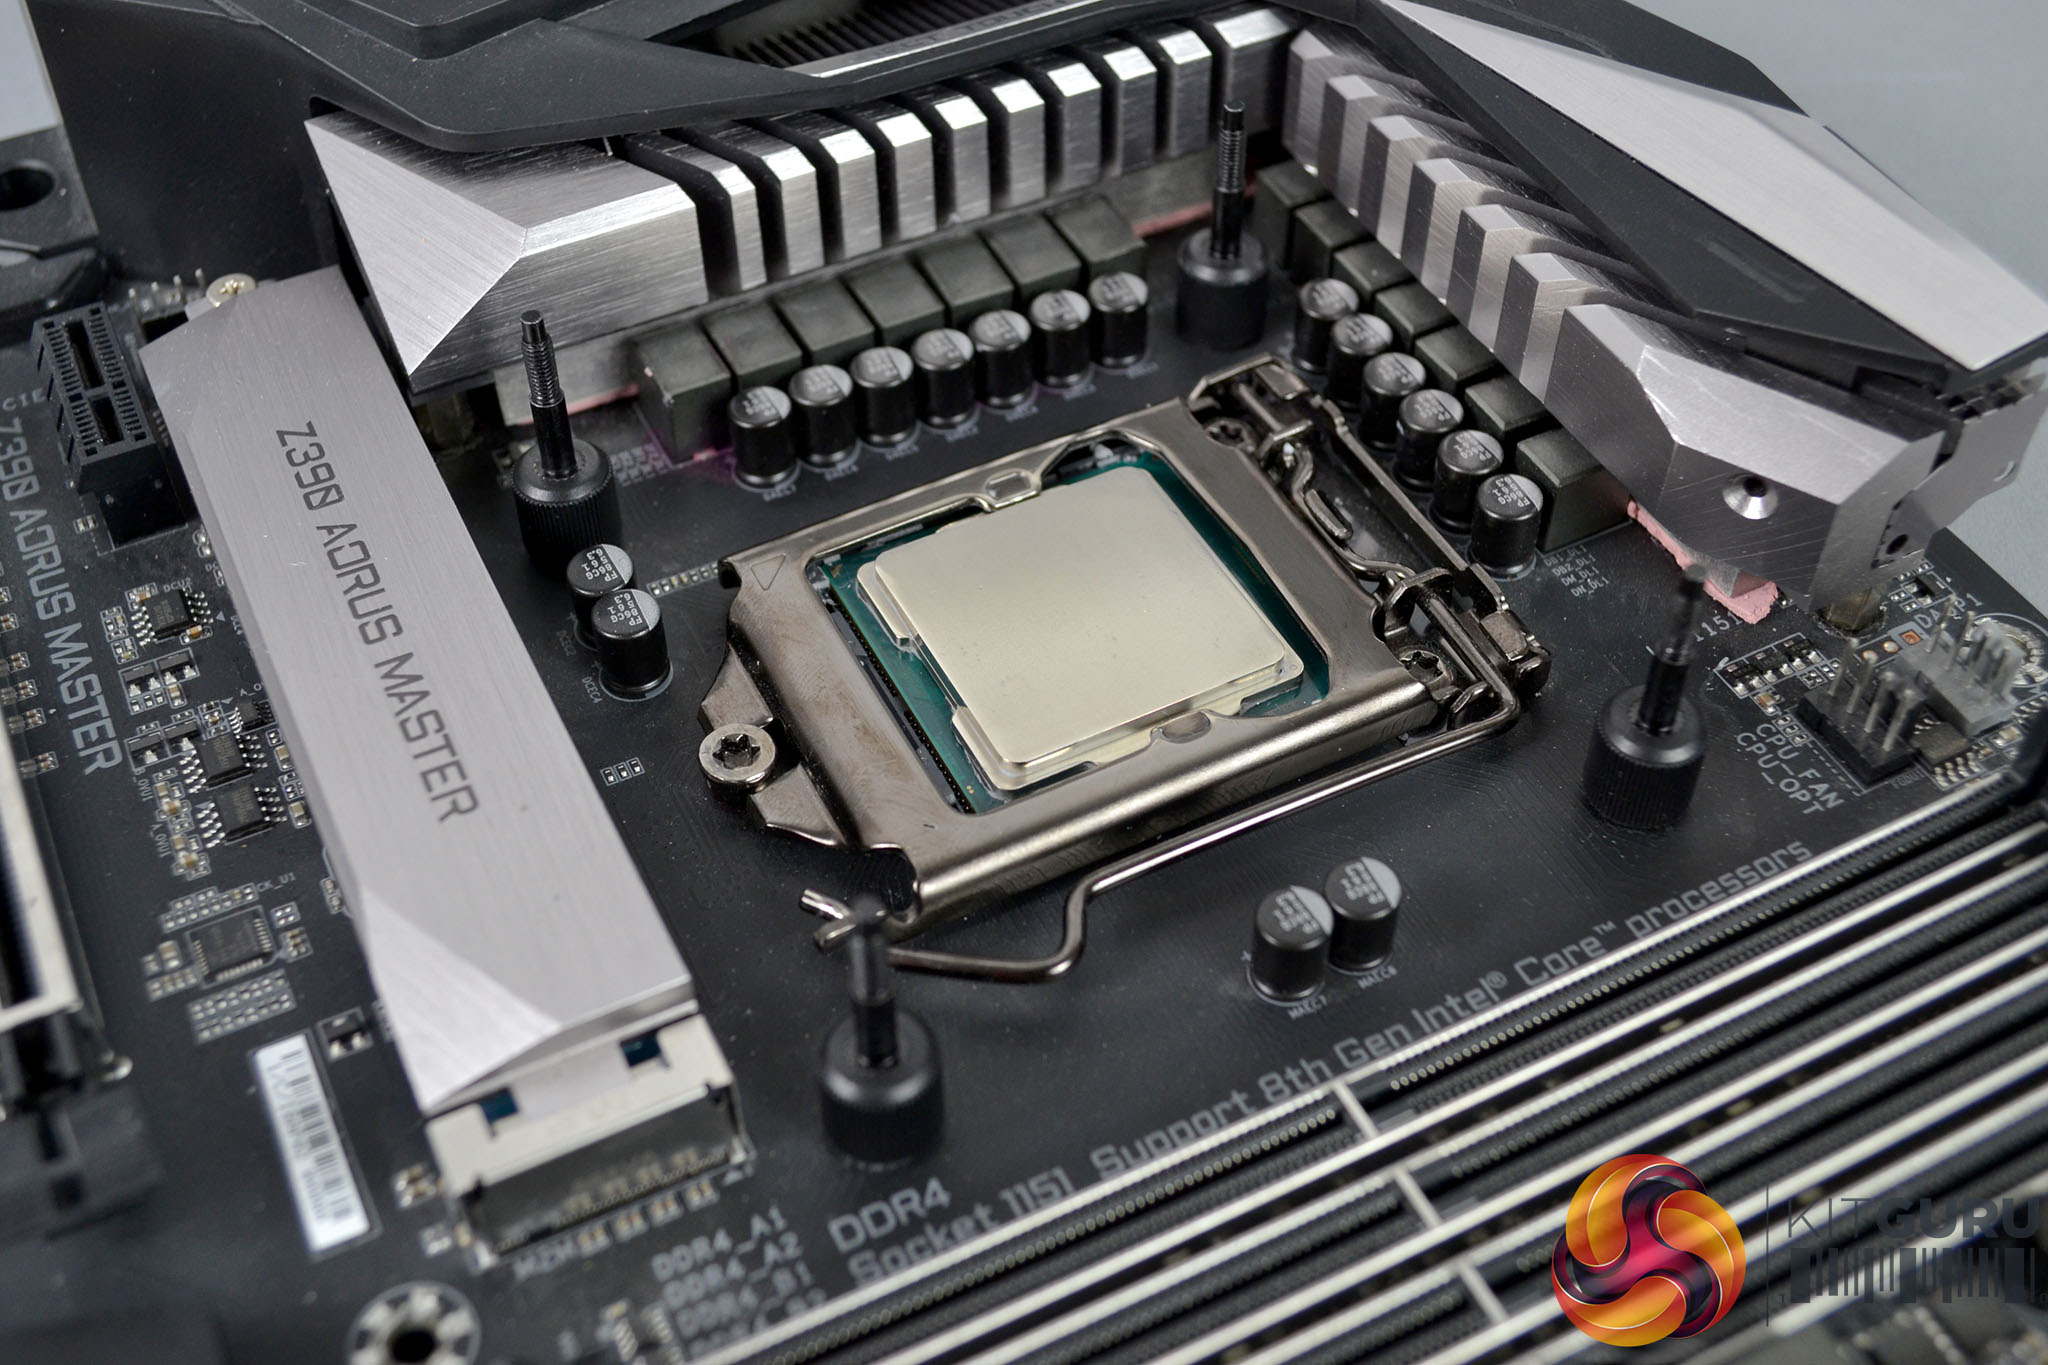
Our test system is Intel Z390 based, therefore, we will be following the relevant Intel 115X socket installation procedure.
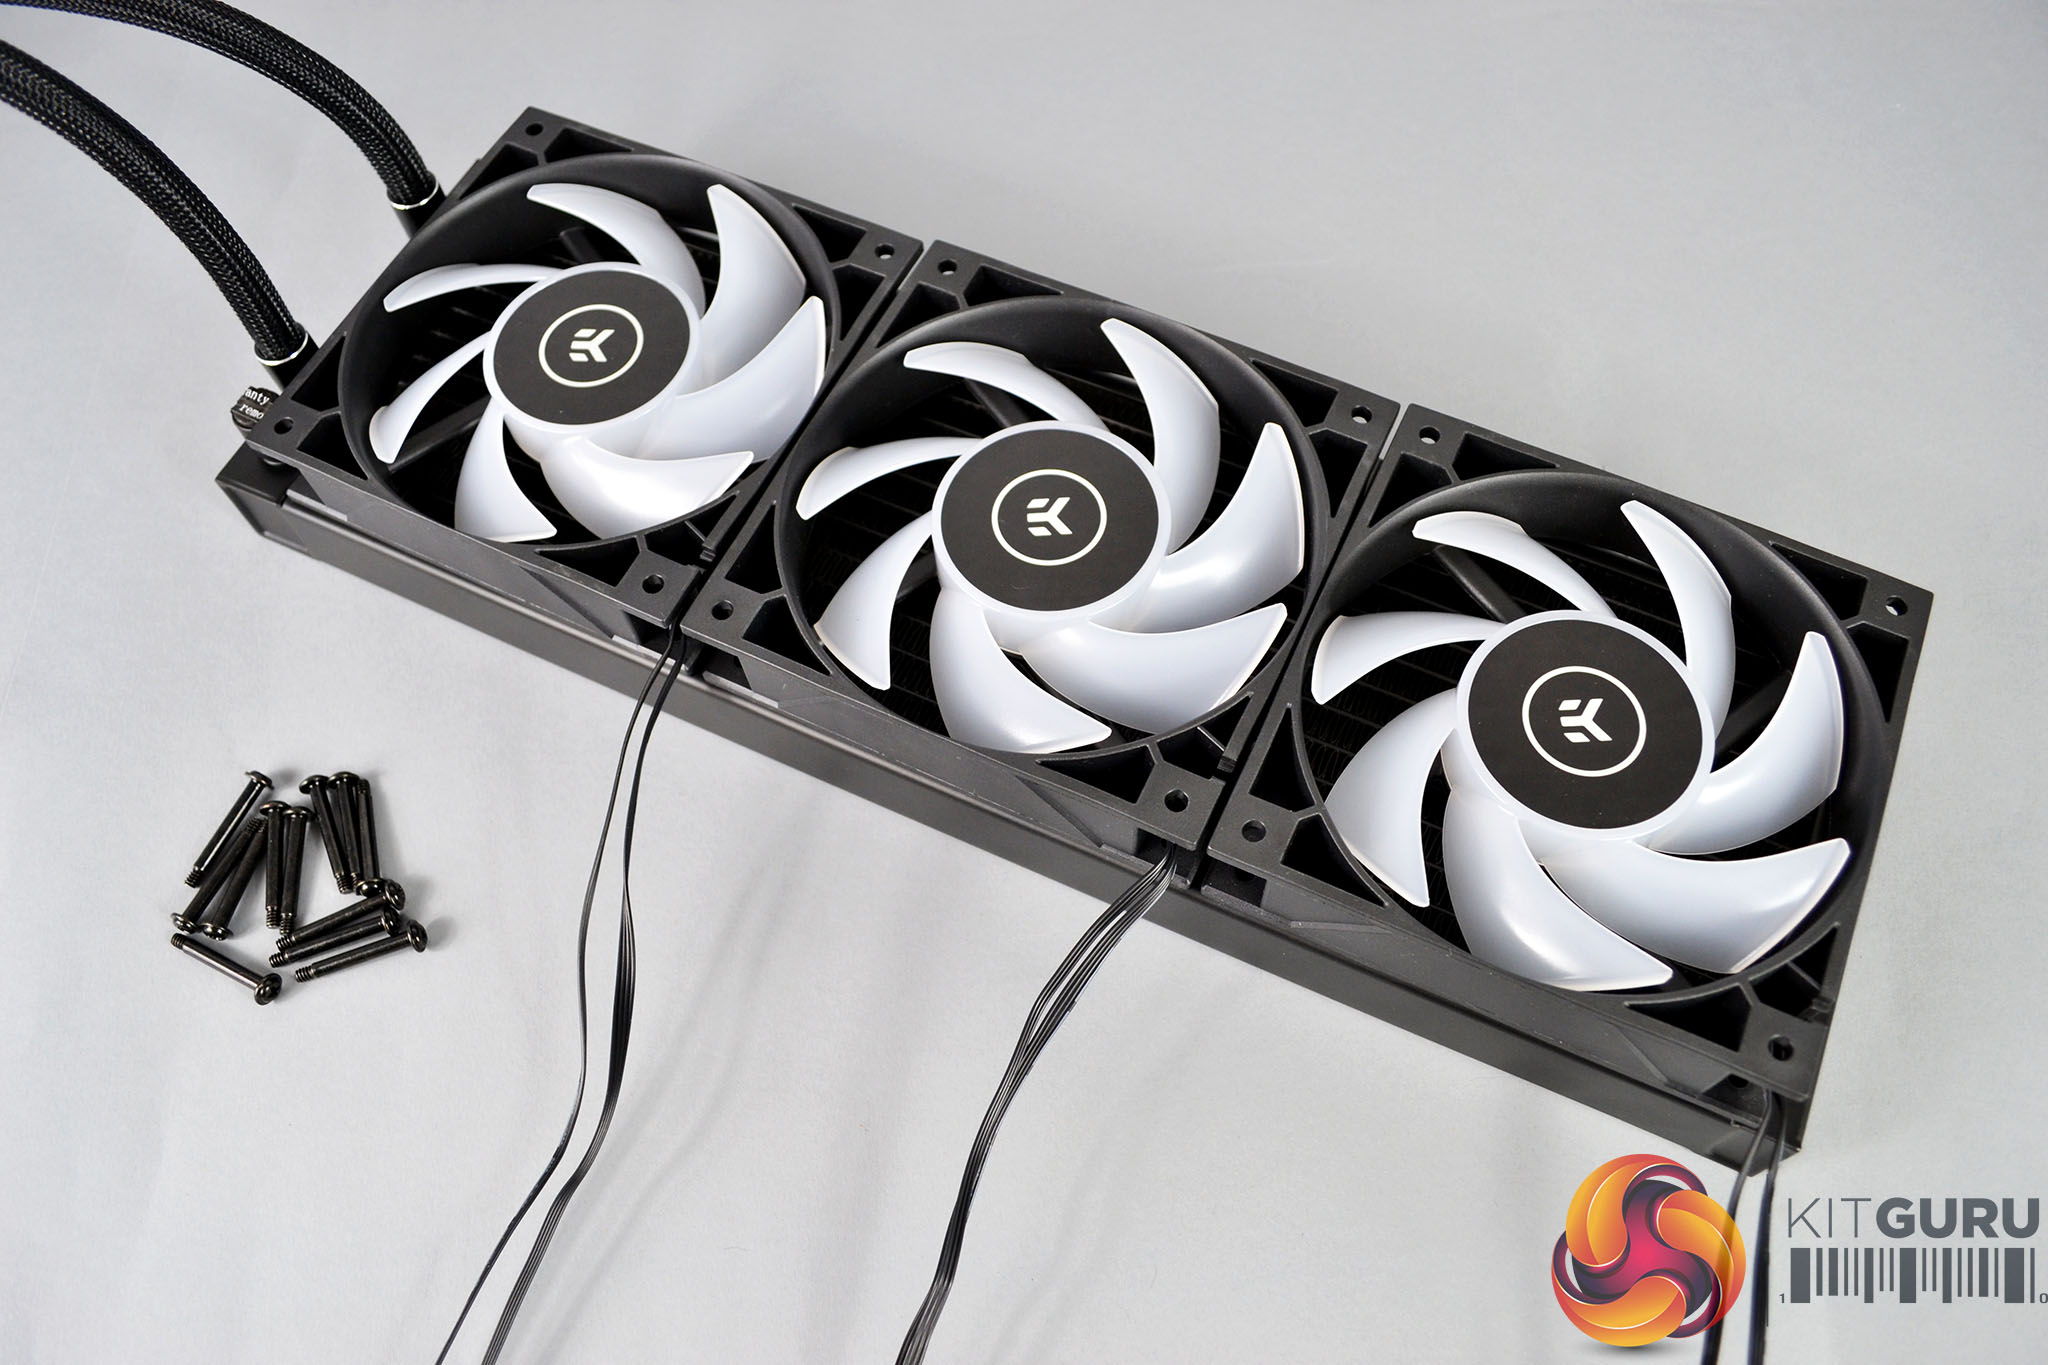
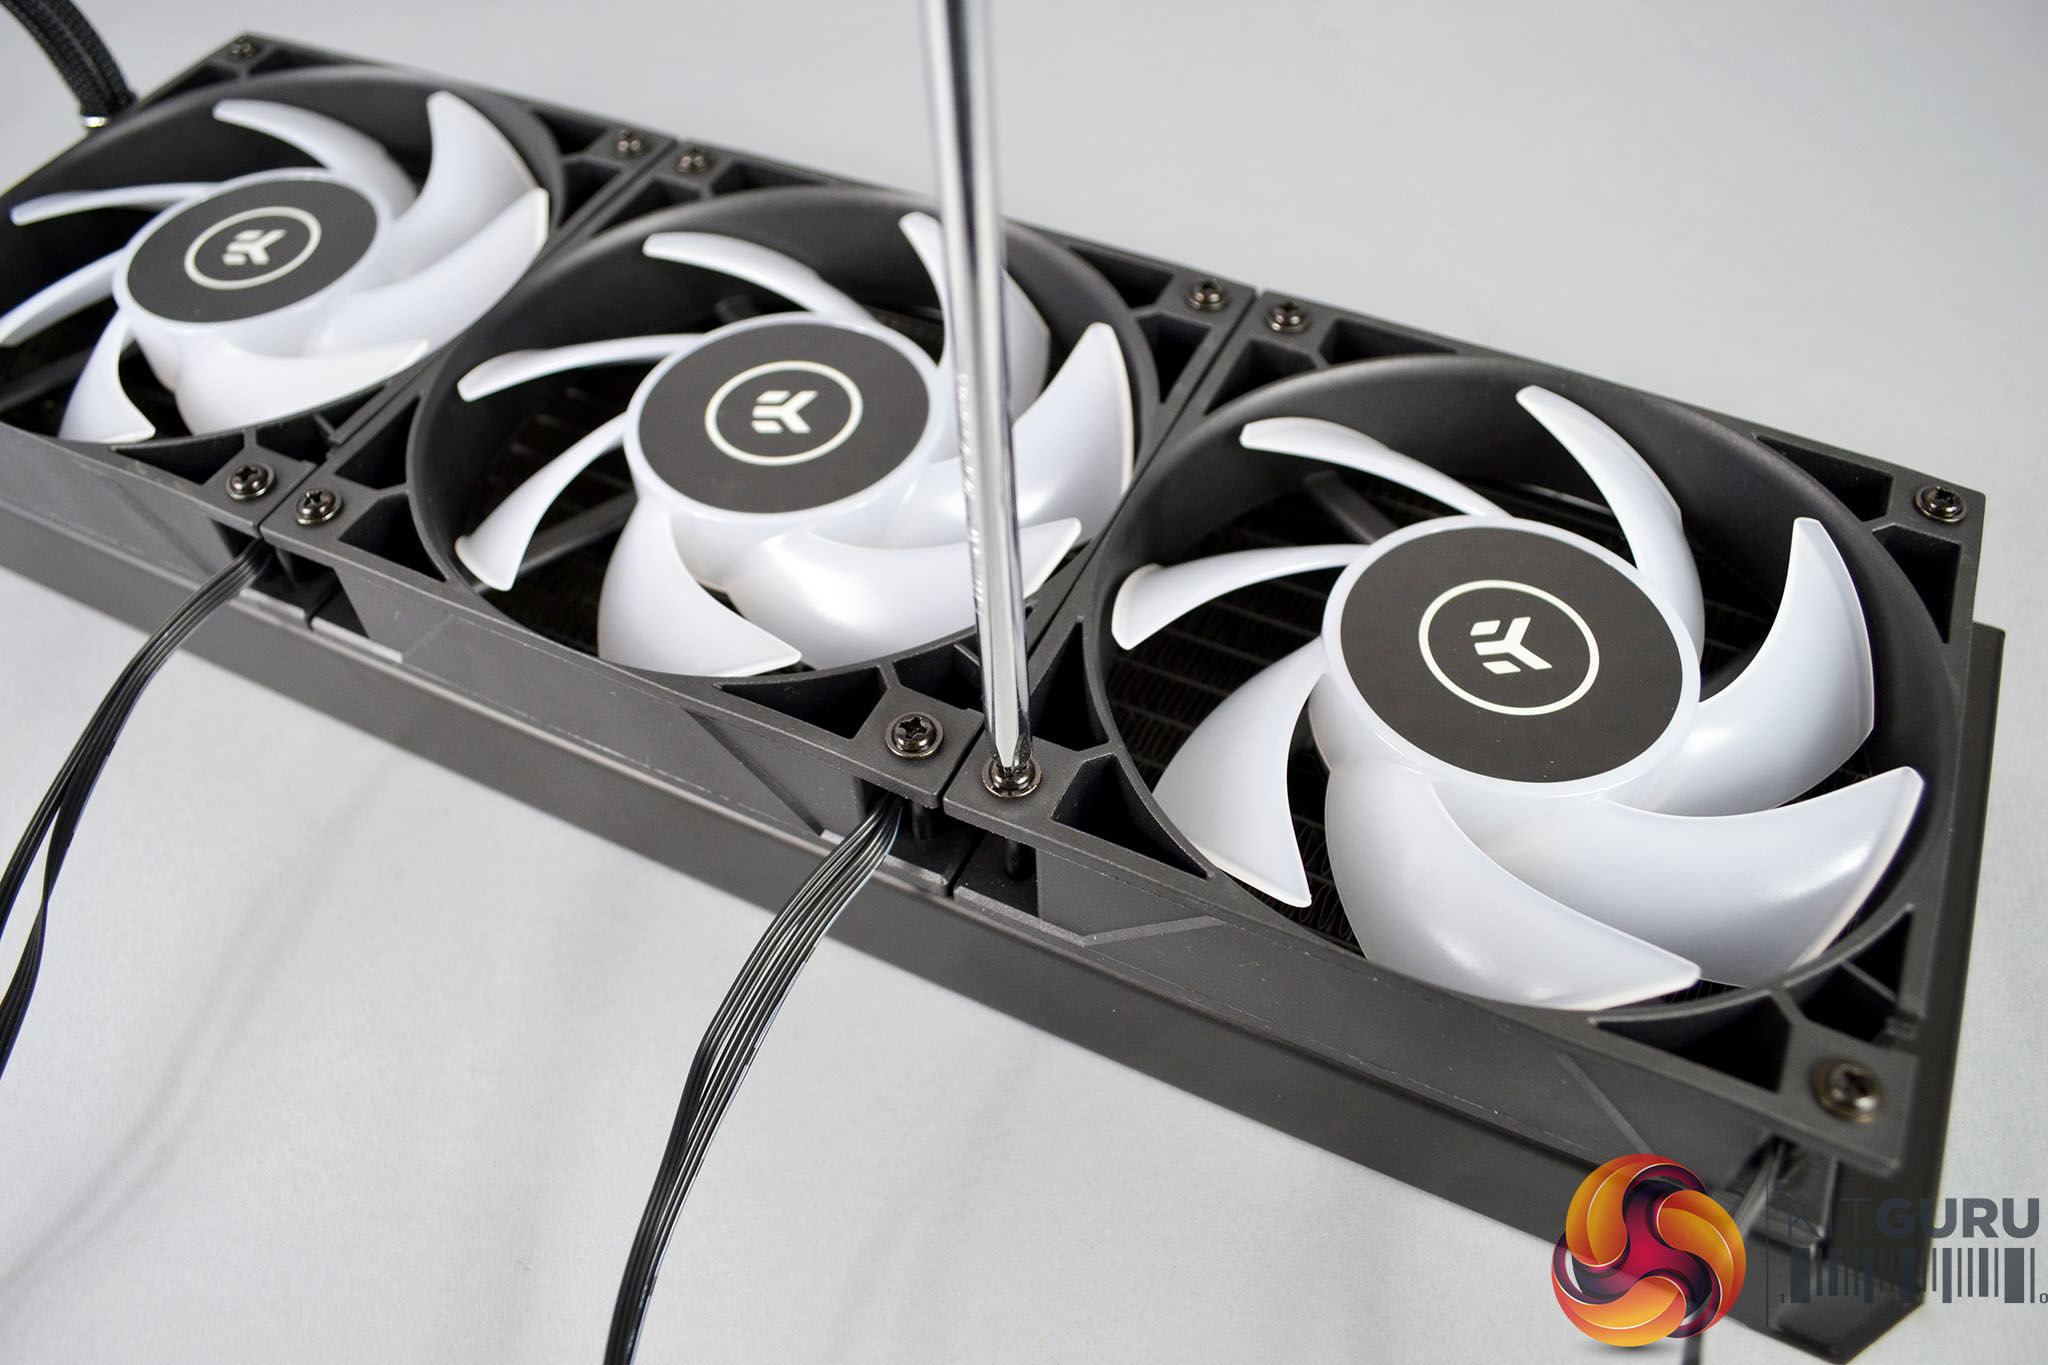
For the first step of the installation, place the three fans on the radiator in your preferred push or pull airflow configuration and using the twelve long black fans screws, tighten the fans down to the radiator using a Philips screwdriver until they are firmly fixed in position.
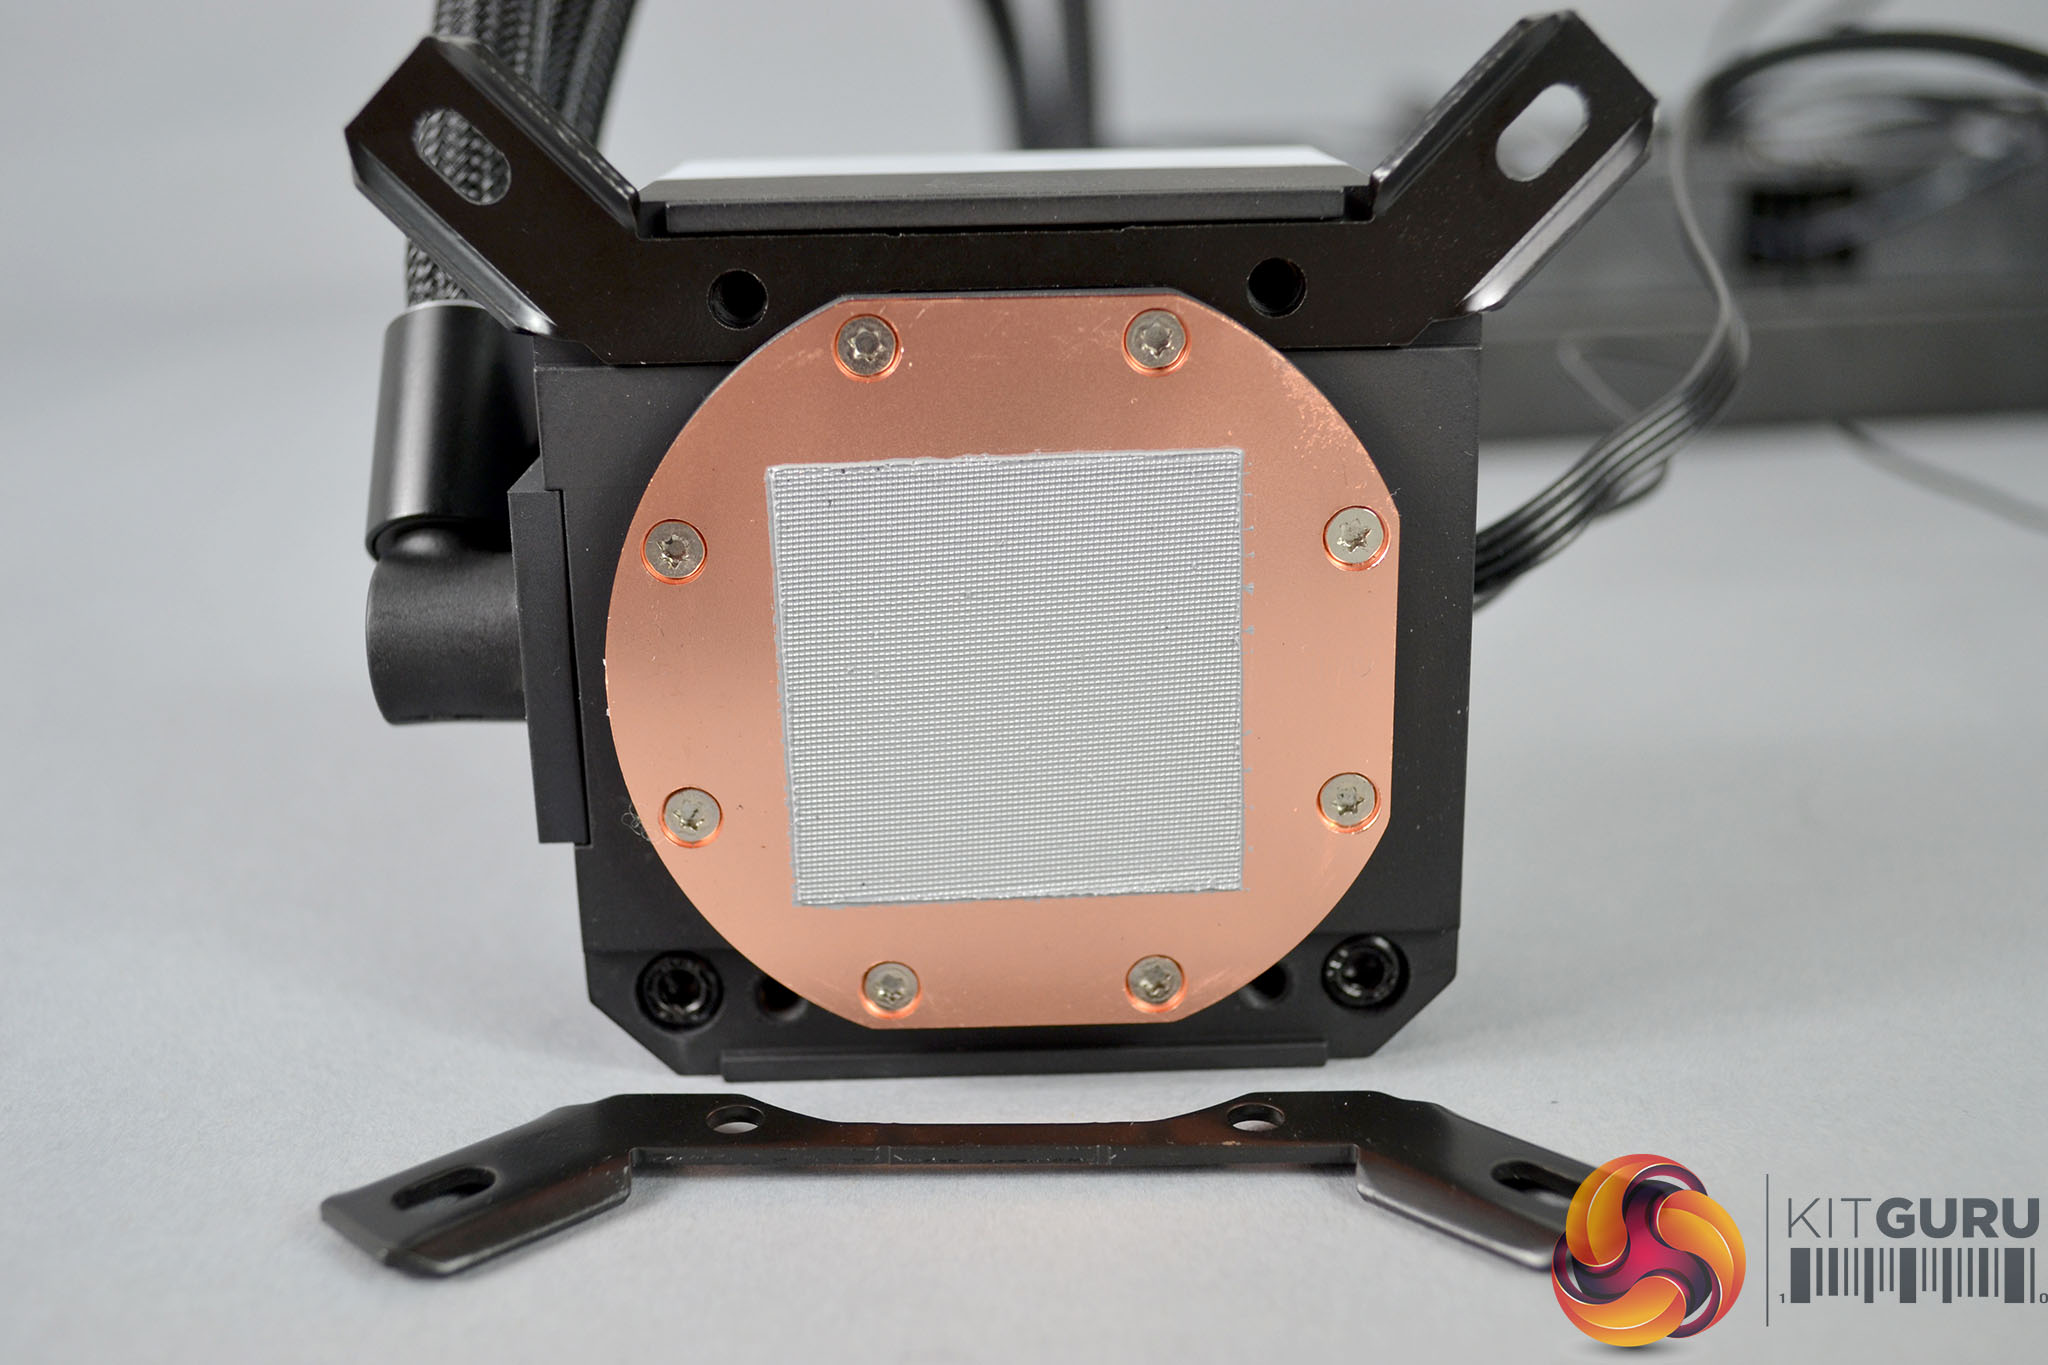
To prepare the CPU block, use the upper mounting brackets that correspond to your CPU socket type and locate them in the slot aligned with the holes on the underside of the block. Tighten them in place using the four short silver Philips head screws provided.
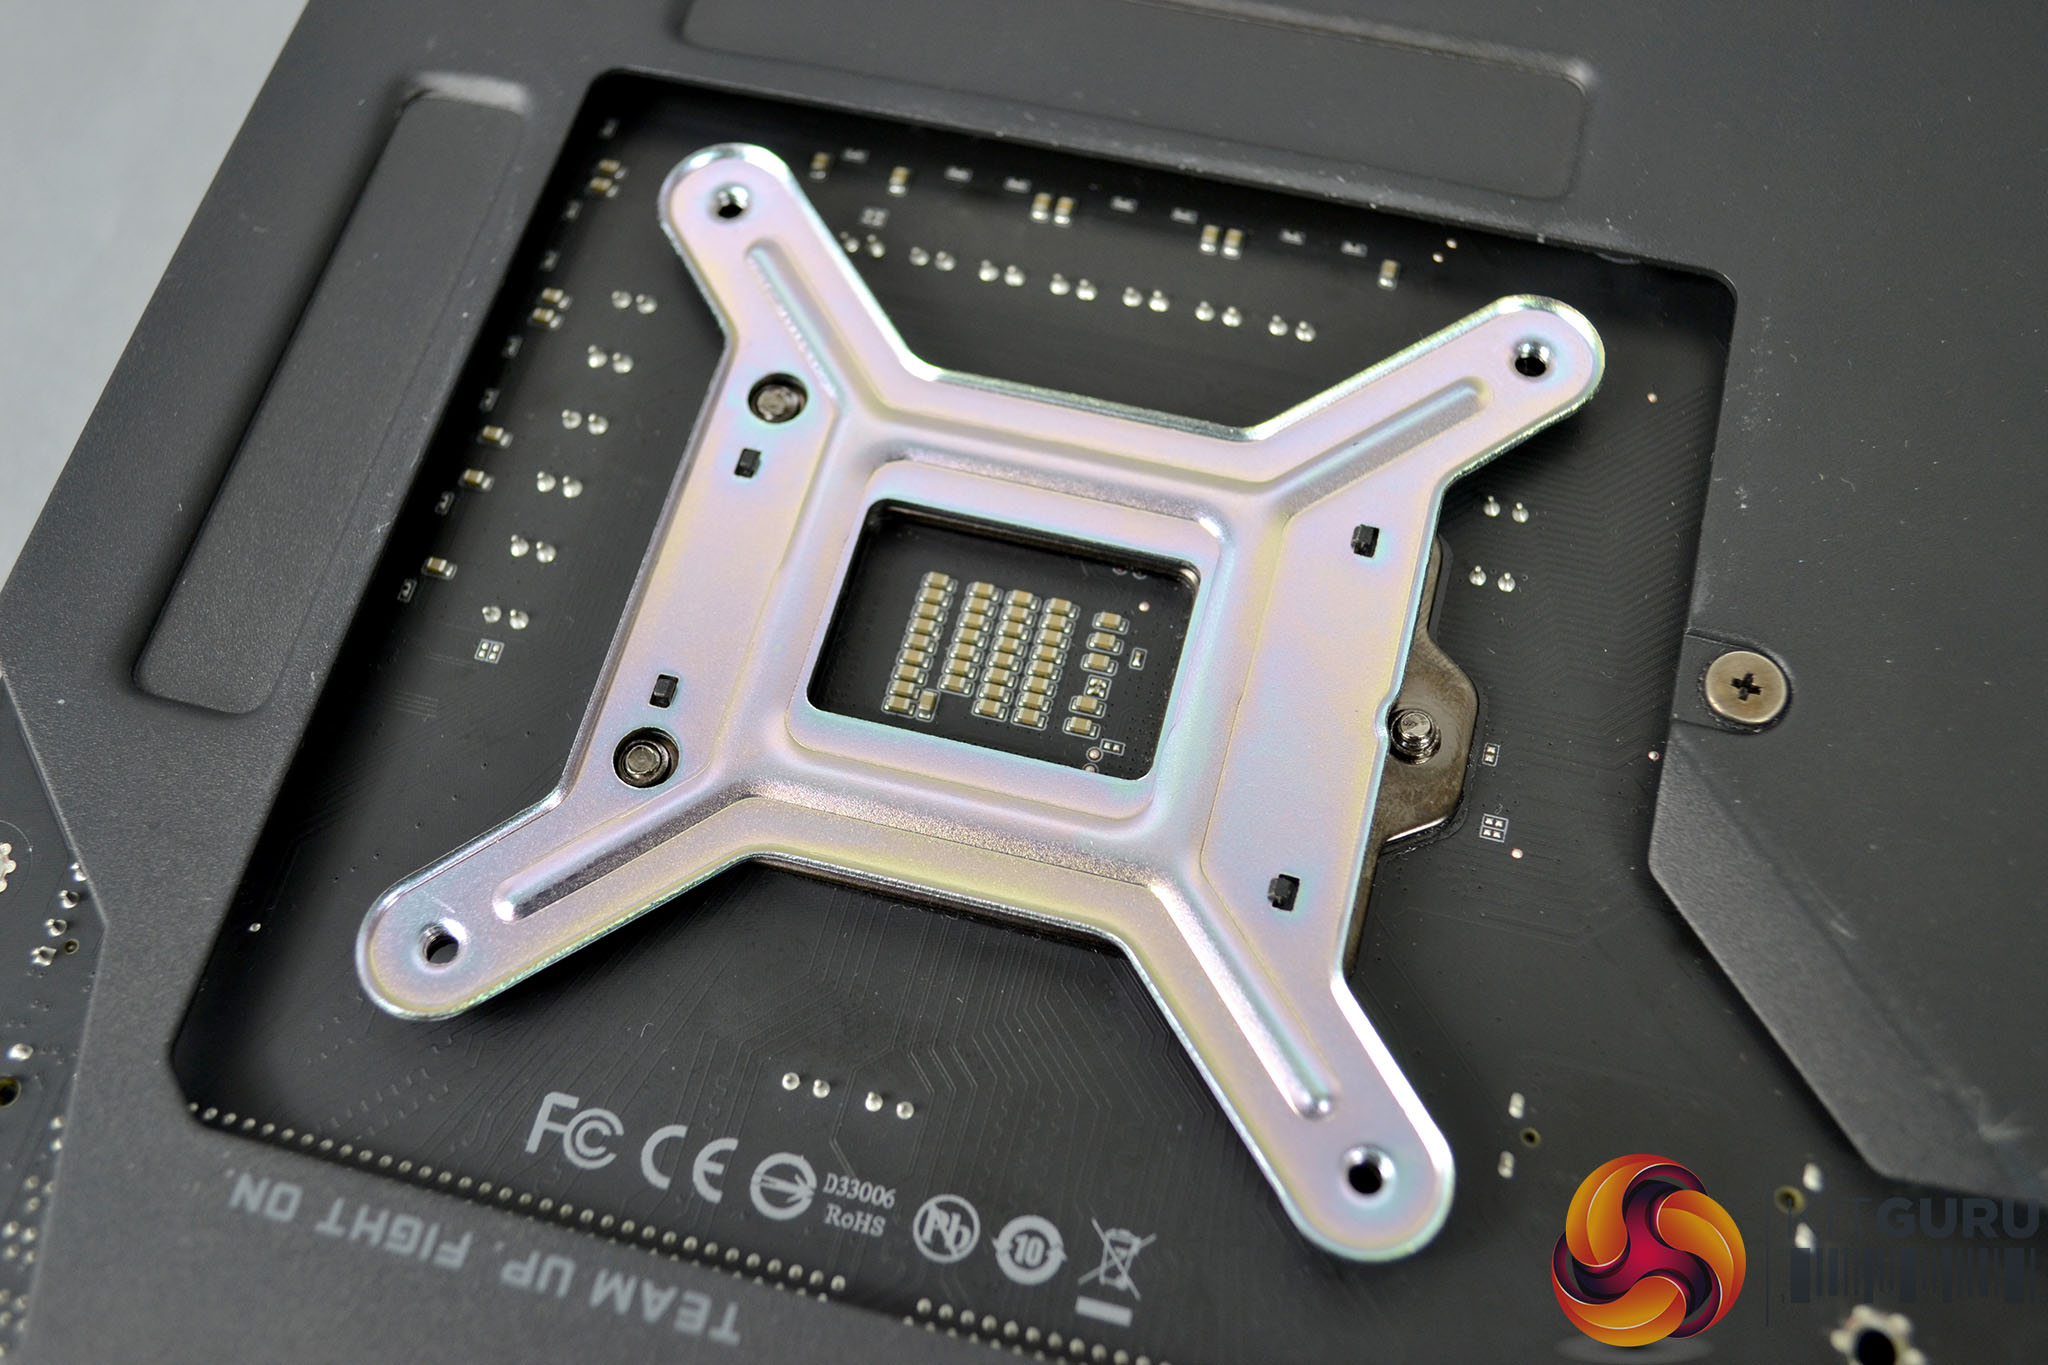
Now we can move on to prepare the motherboard. Intel installation requires the fitting of an EK backplate, AMD installations retain the stock backplate. To proceed, place the backplate over the rear of the CPU socket aligned with the holes. Then flip the motherboard back over and install the Intel specific standoffs, which are the longer of the two types.
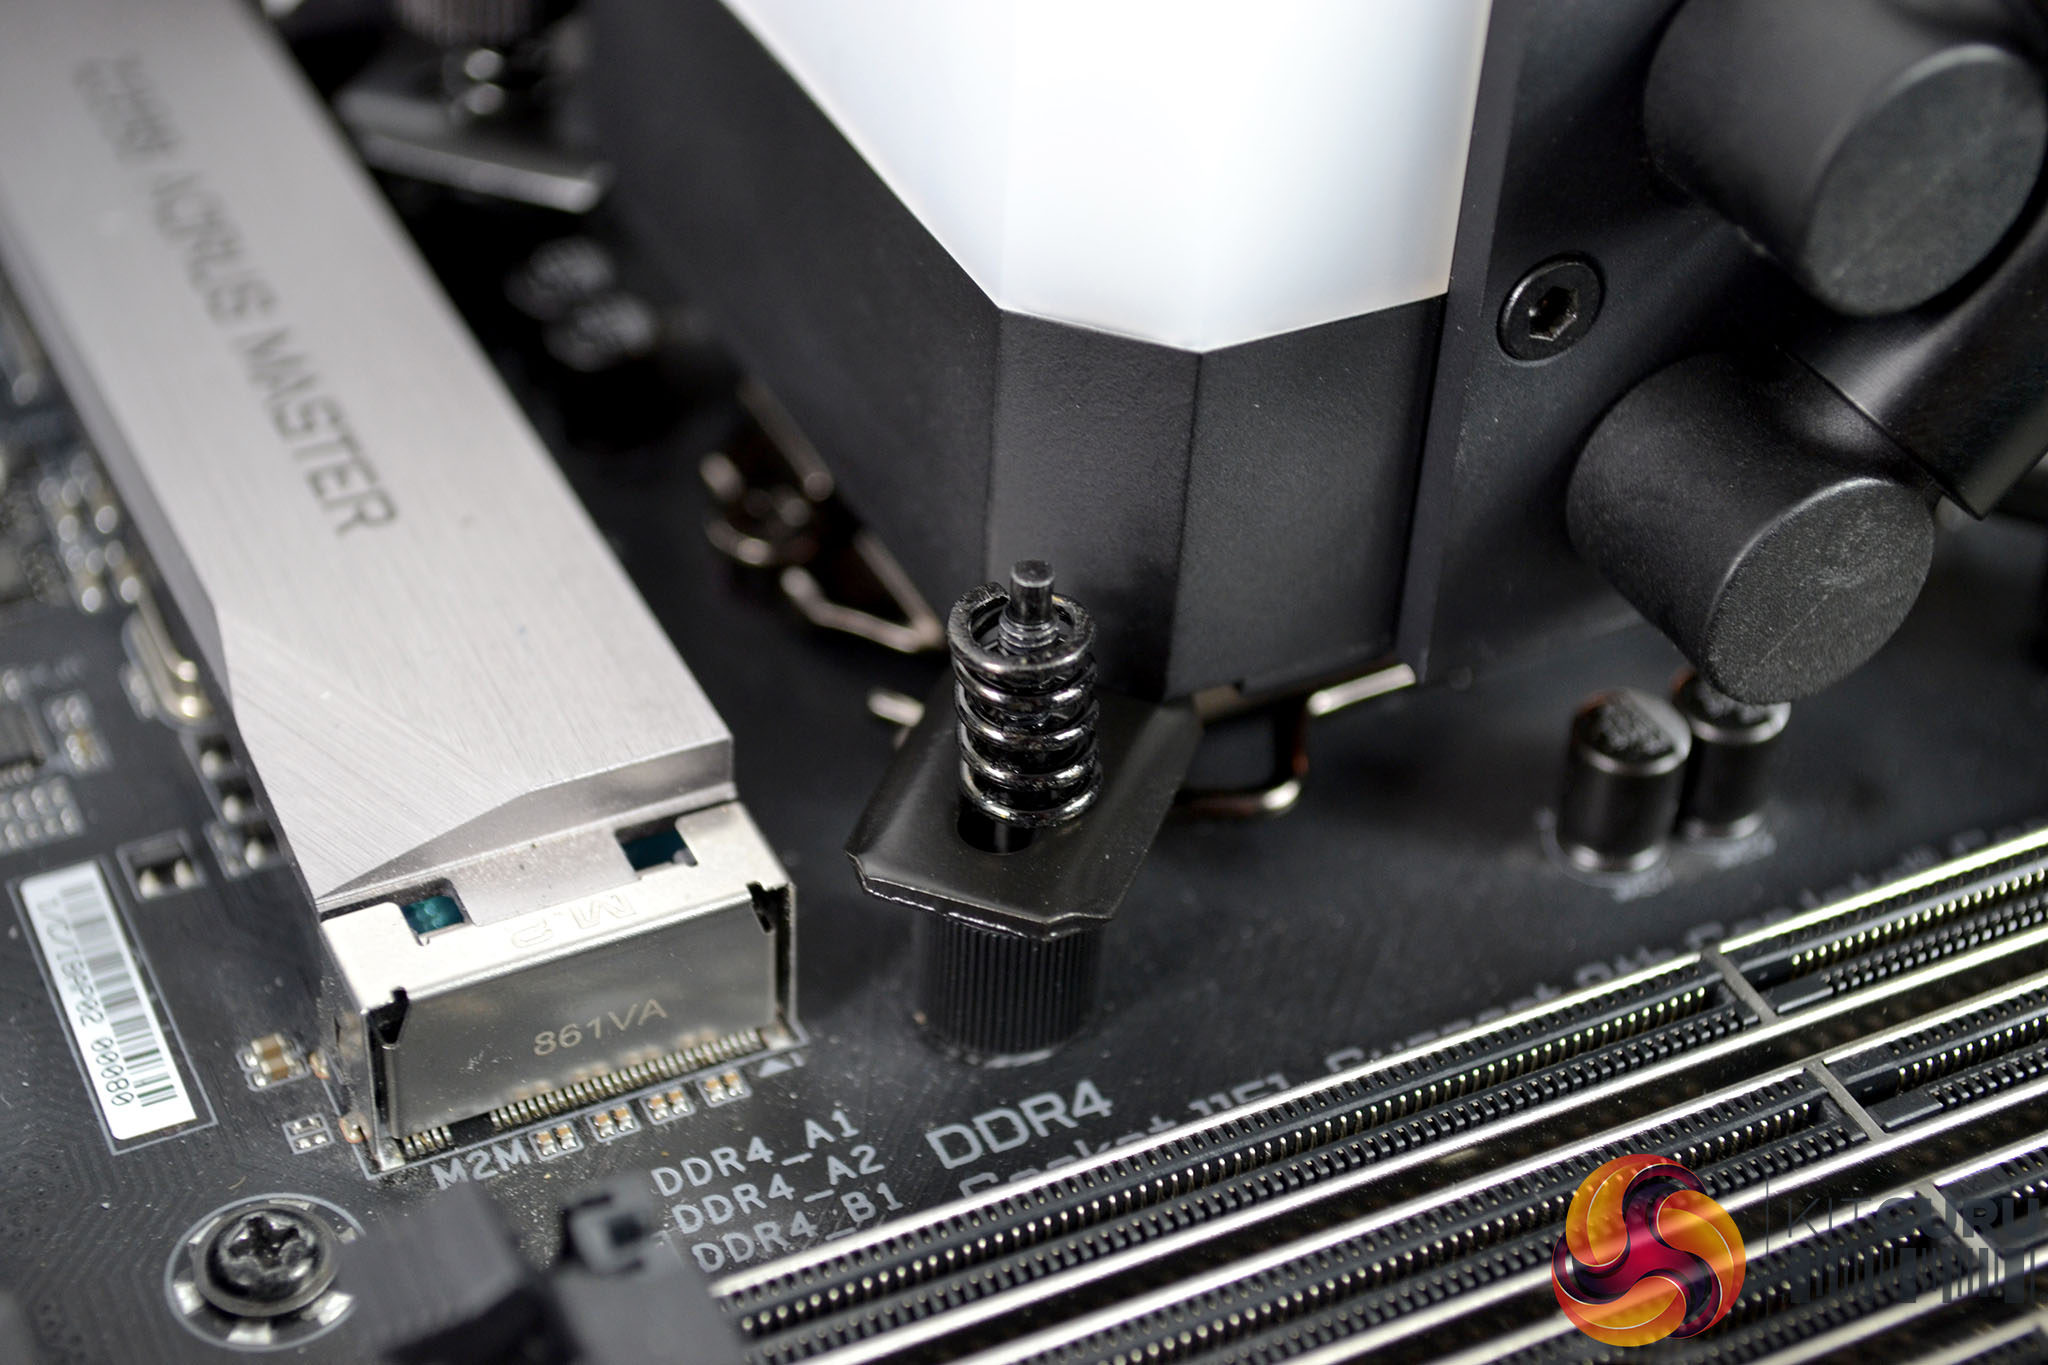
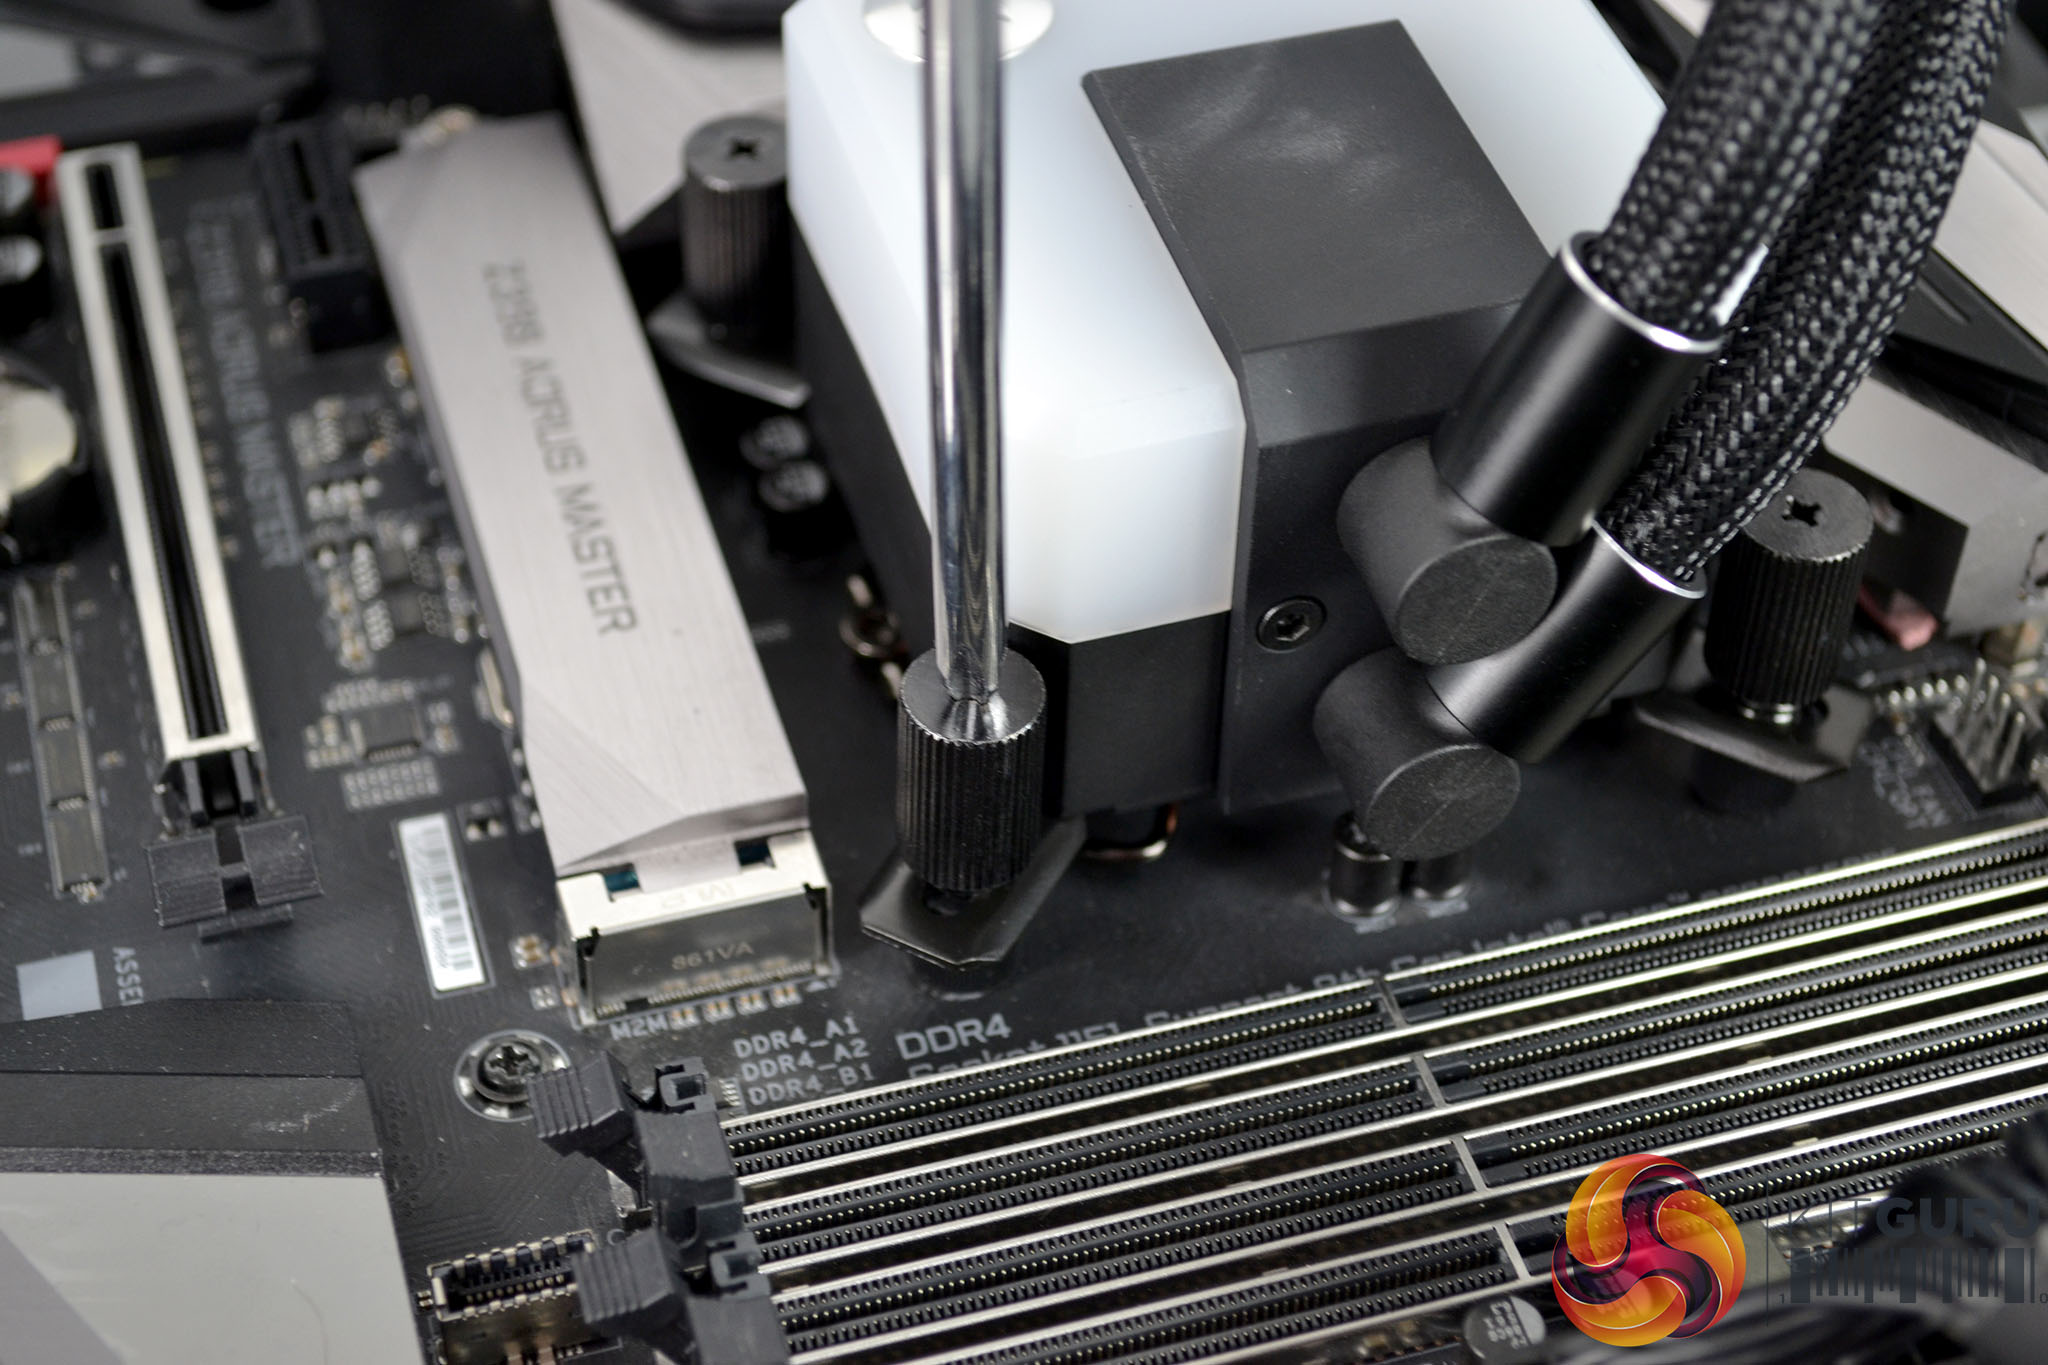
With the motherboard prepared we can now lower the CPU block down over the CPU with the bracket holes aligned with the standoffs and place the springs in position. Next, we just need to use the four large black thumbscrews and tighten down the CPU block evenly using an X shape pattern to distribute pressure over the CPU IHS for optimal contact. Final tightening can be achieved using a Philips screwdriver if necessary.
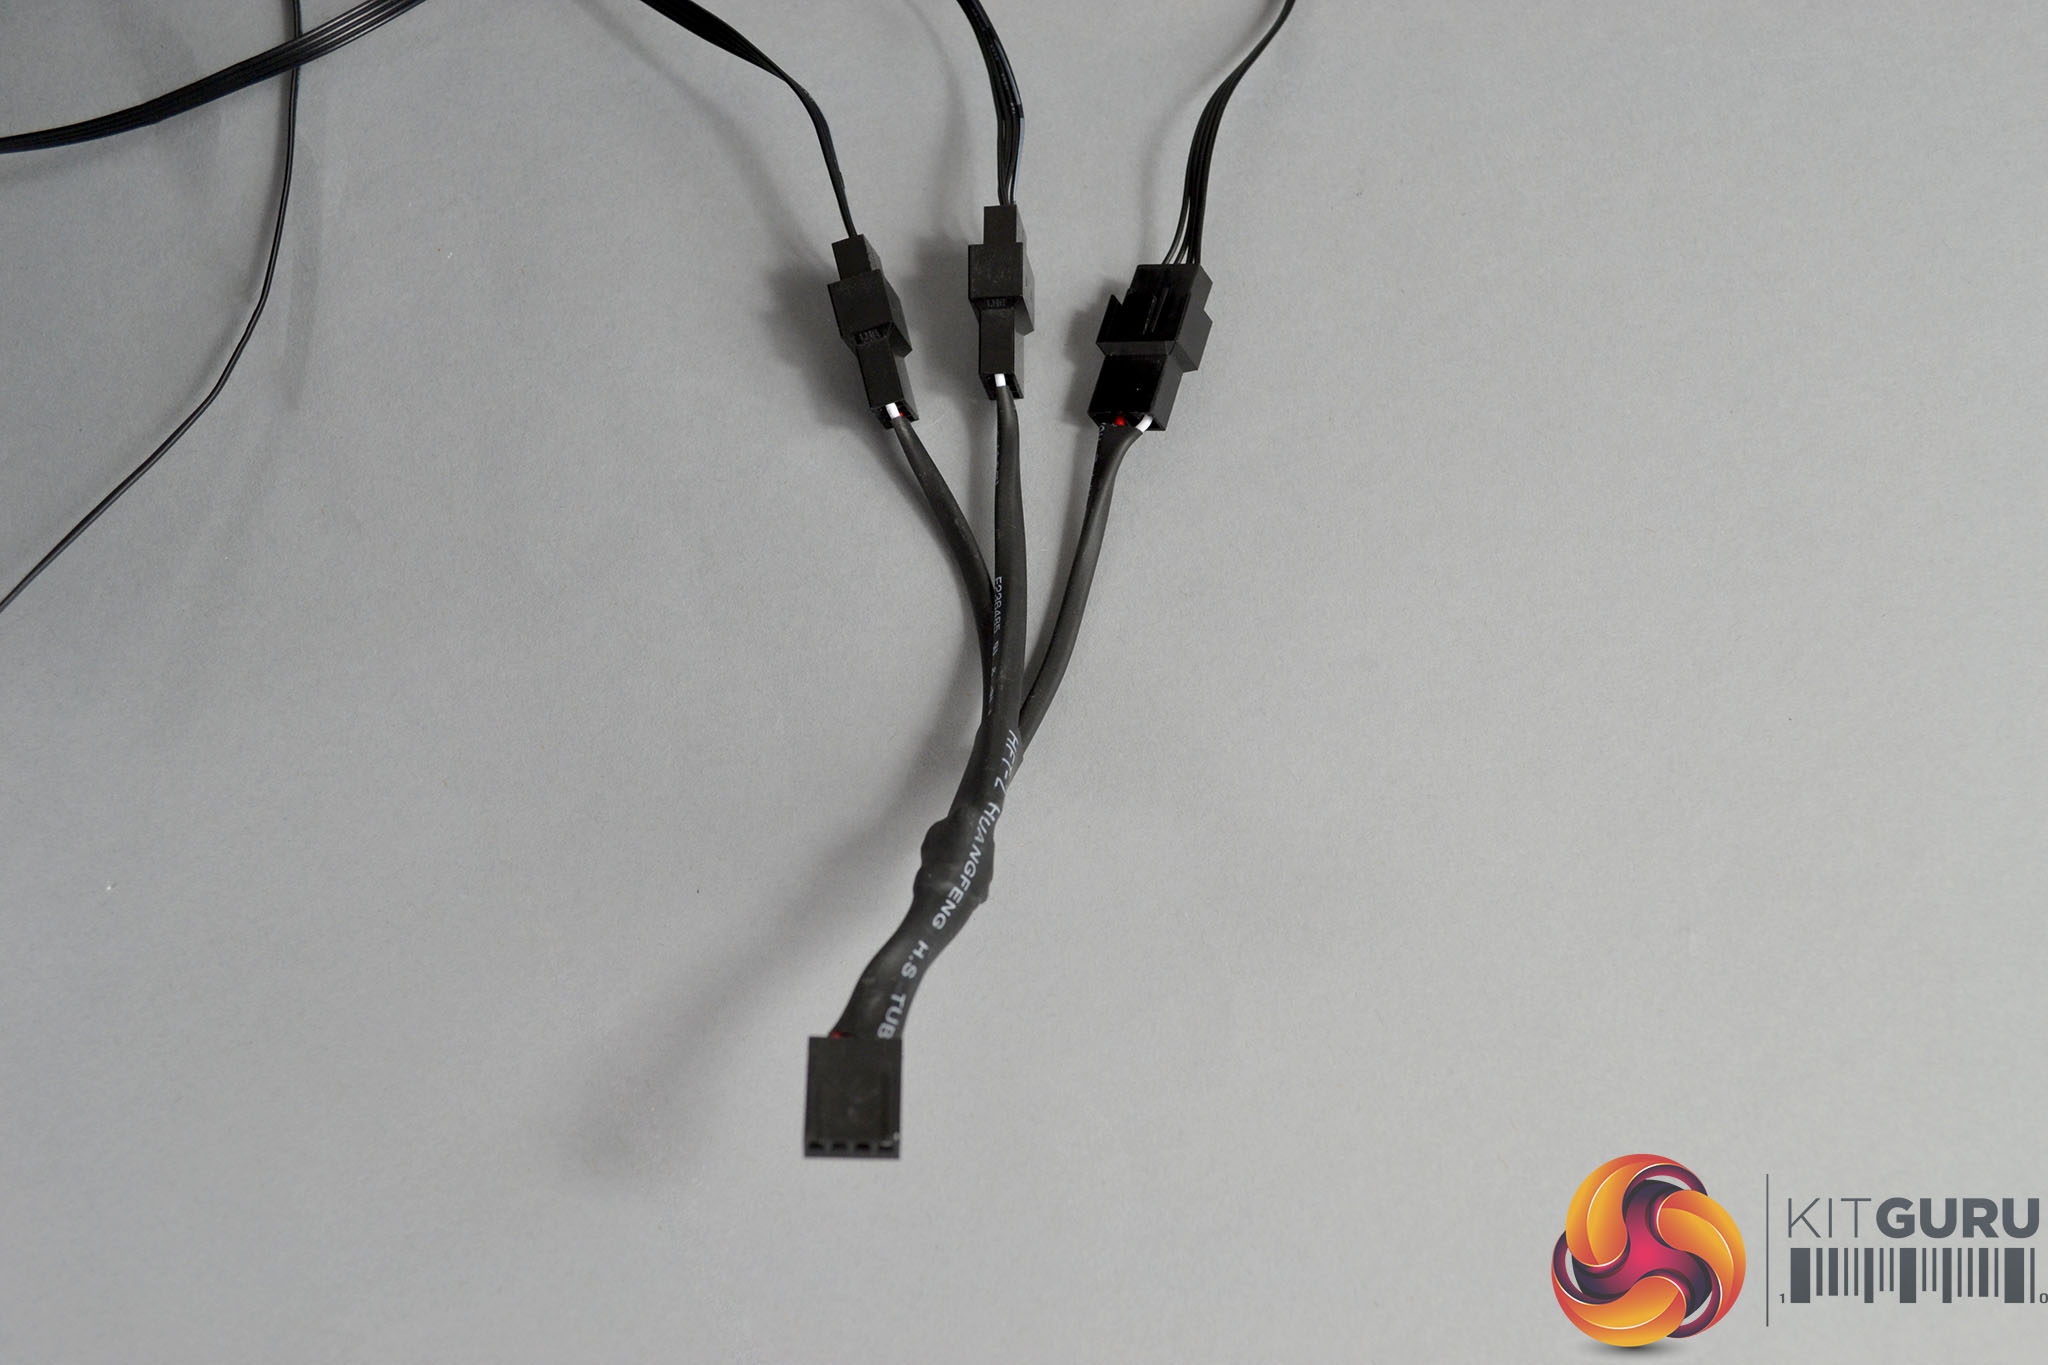
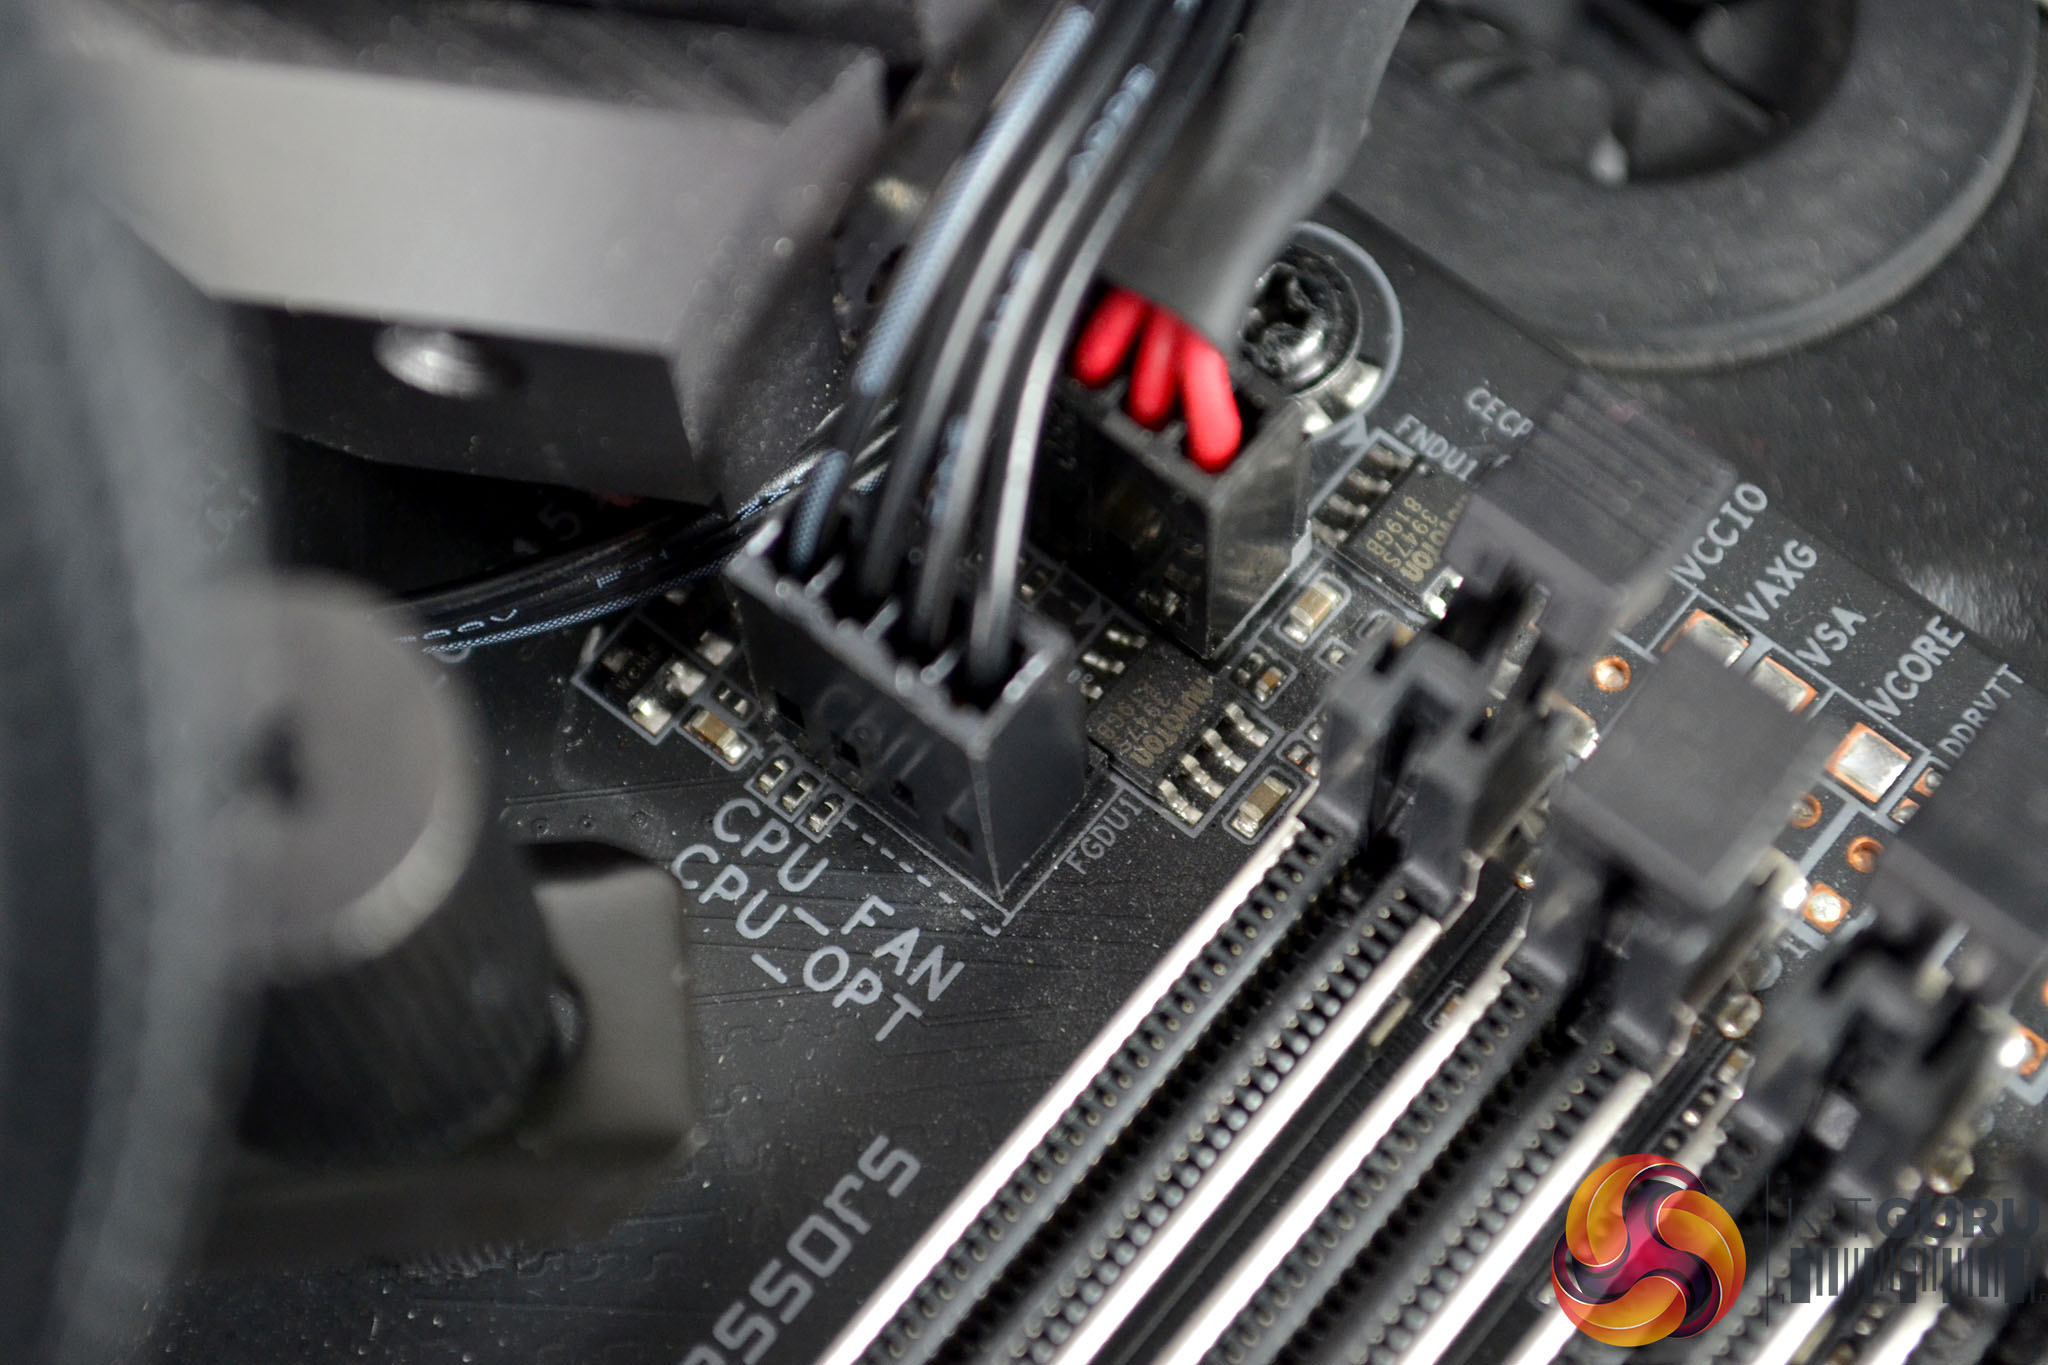
The next step of the installation process is to connect all the wiring. Attach the 4-pin PMW power cables from the fans to the included 3-way splitter cable and then connect the other end of the splitter cable and the 4-pin PWM cable from the pump to the motherboard CPU_FAN and CPU_OPT headers respectively.
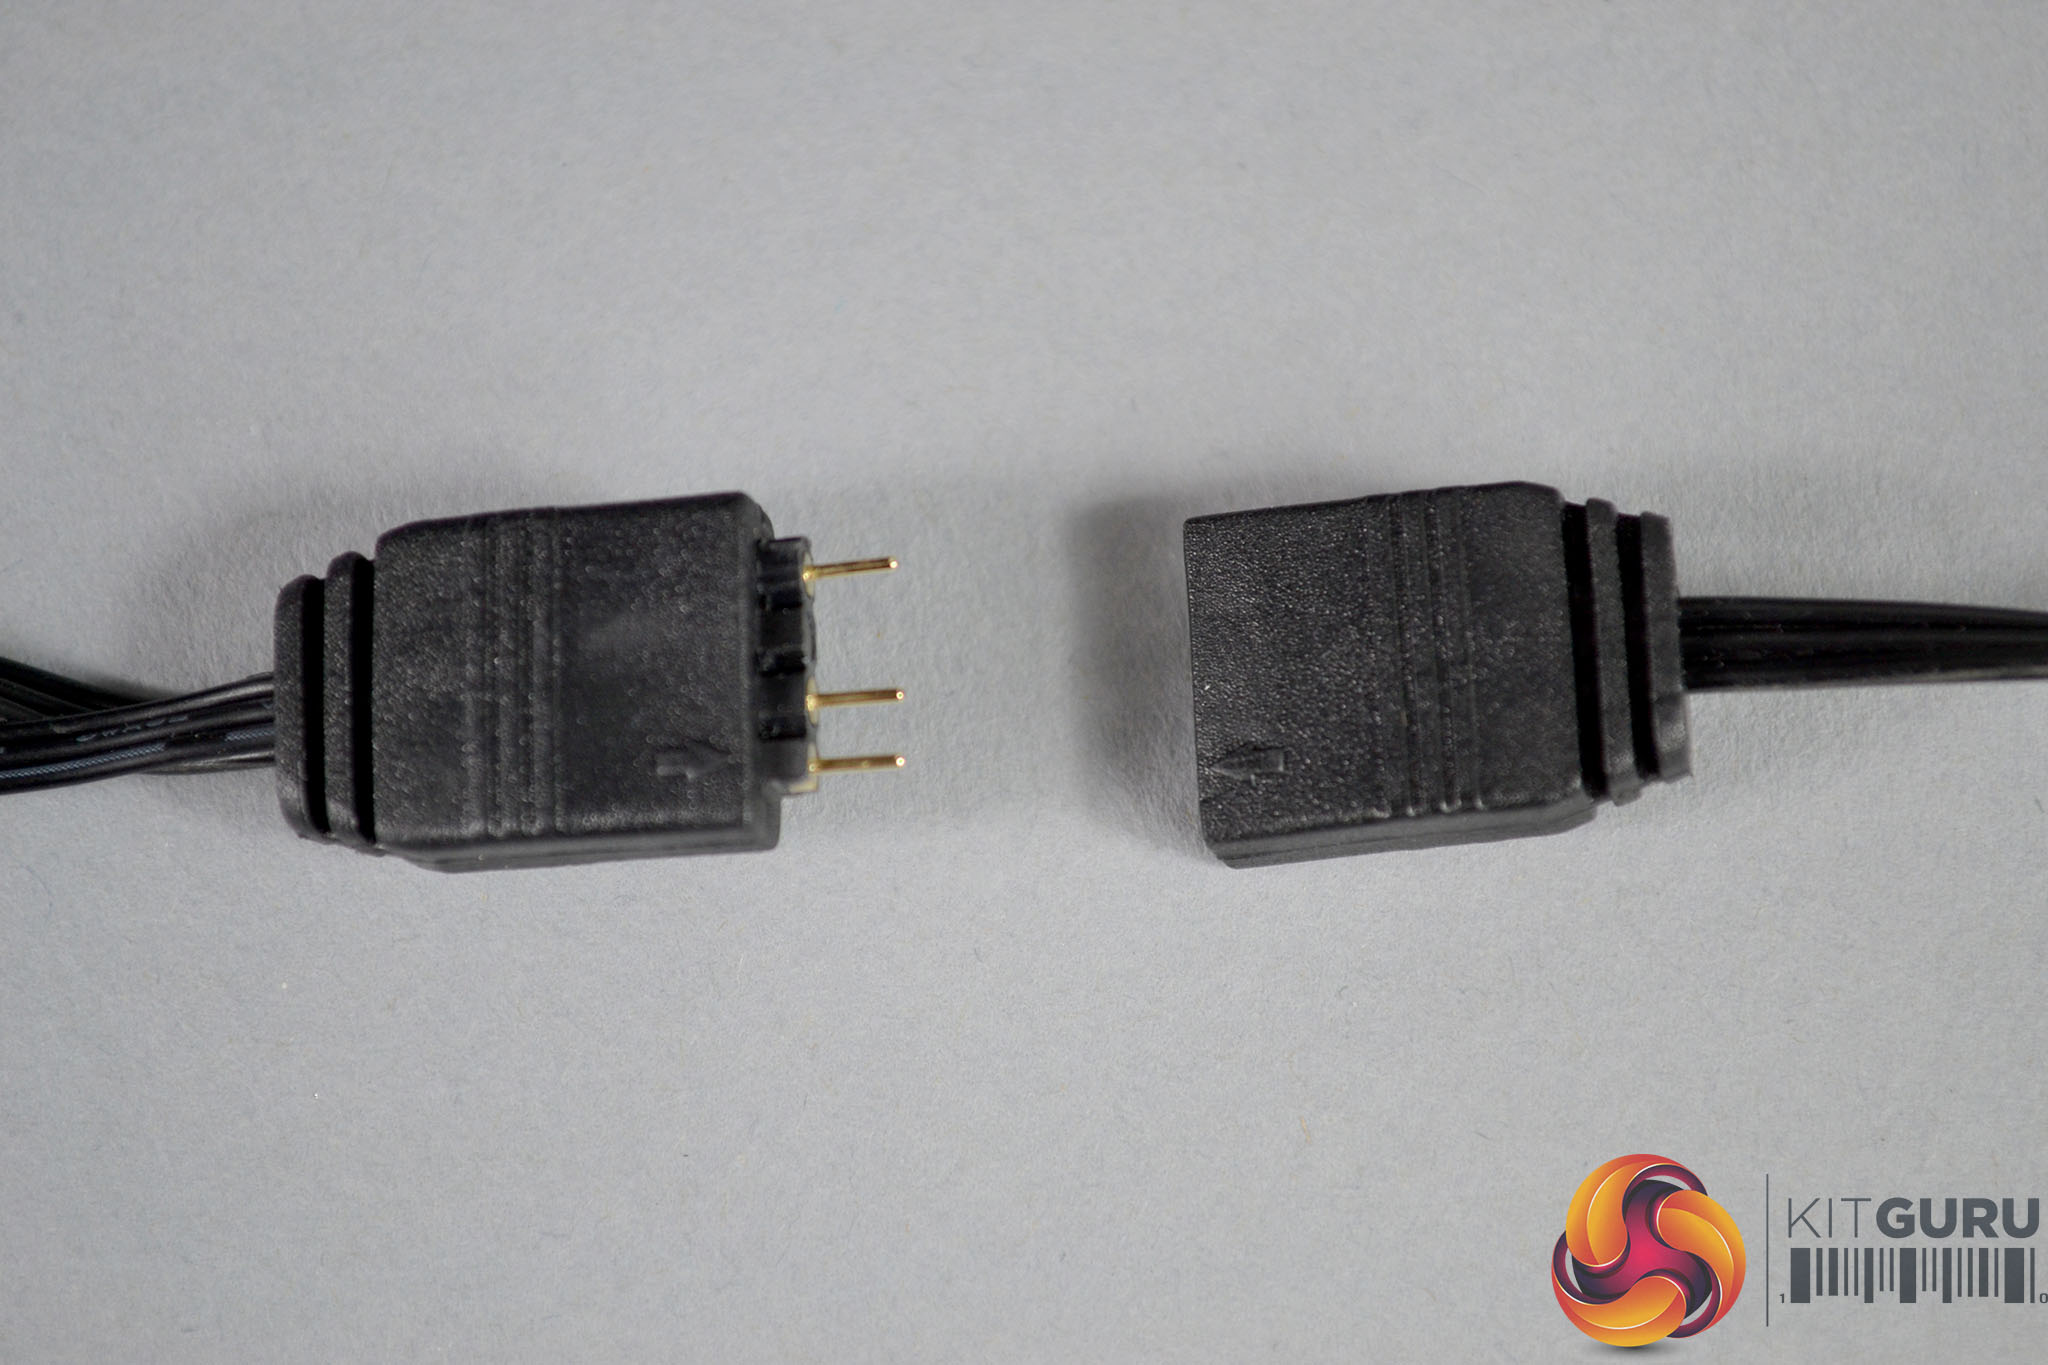
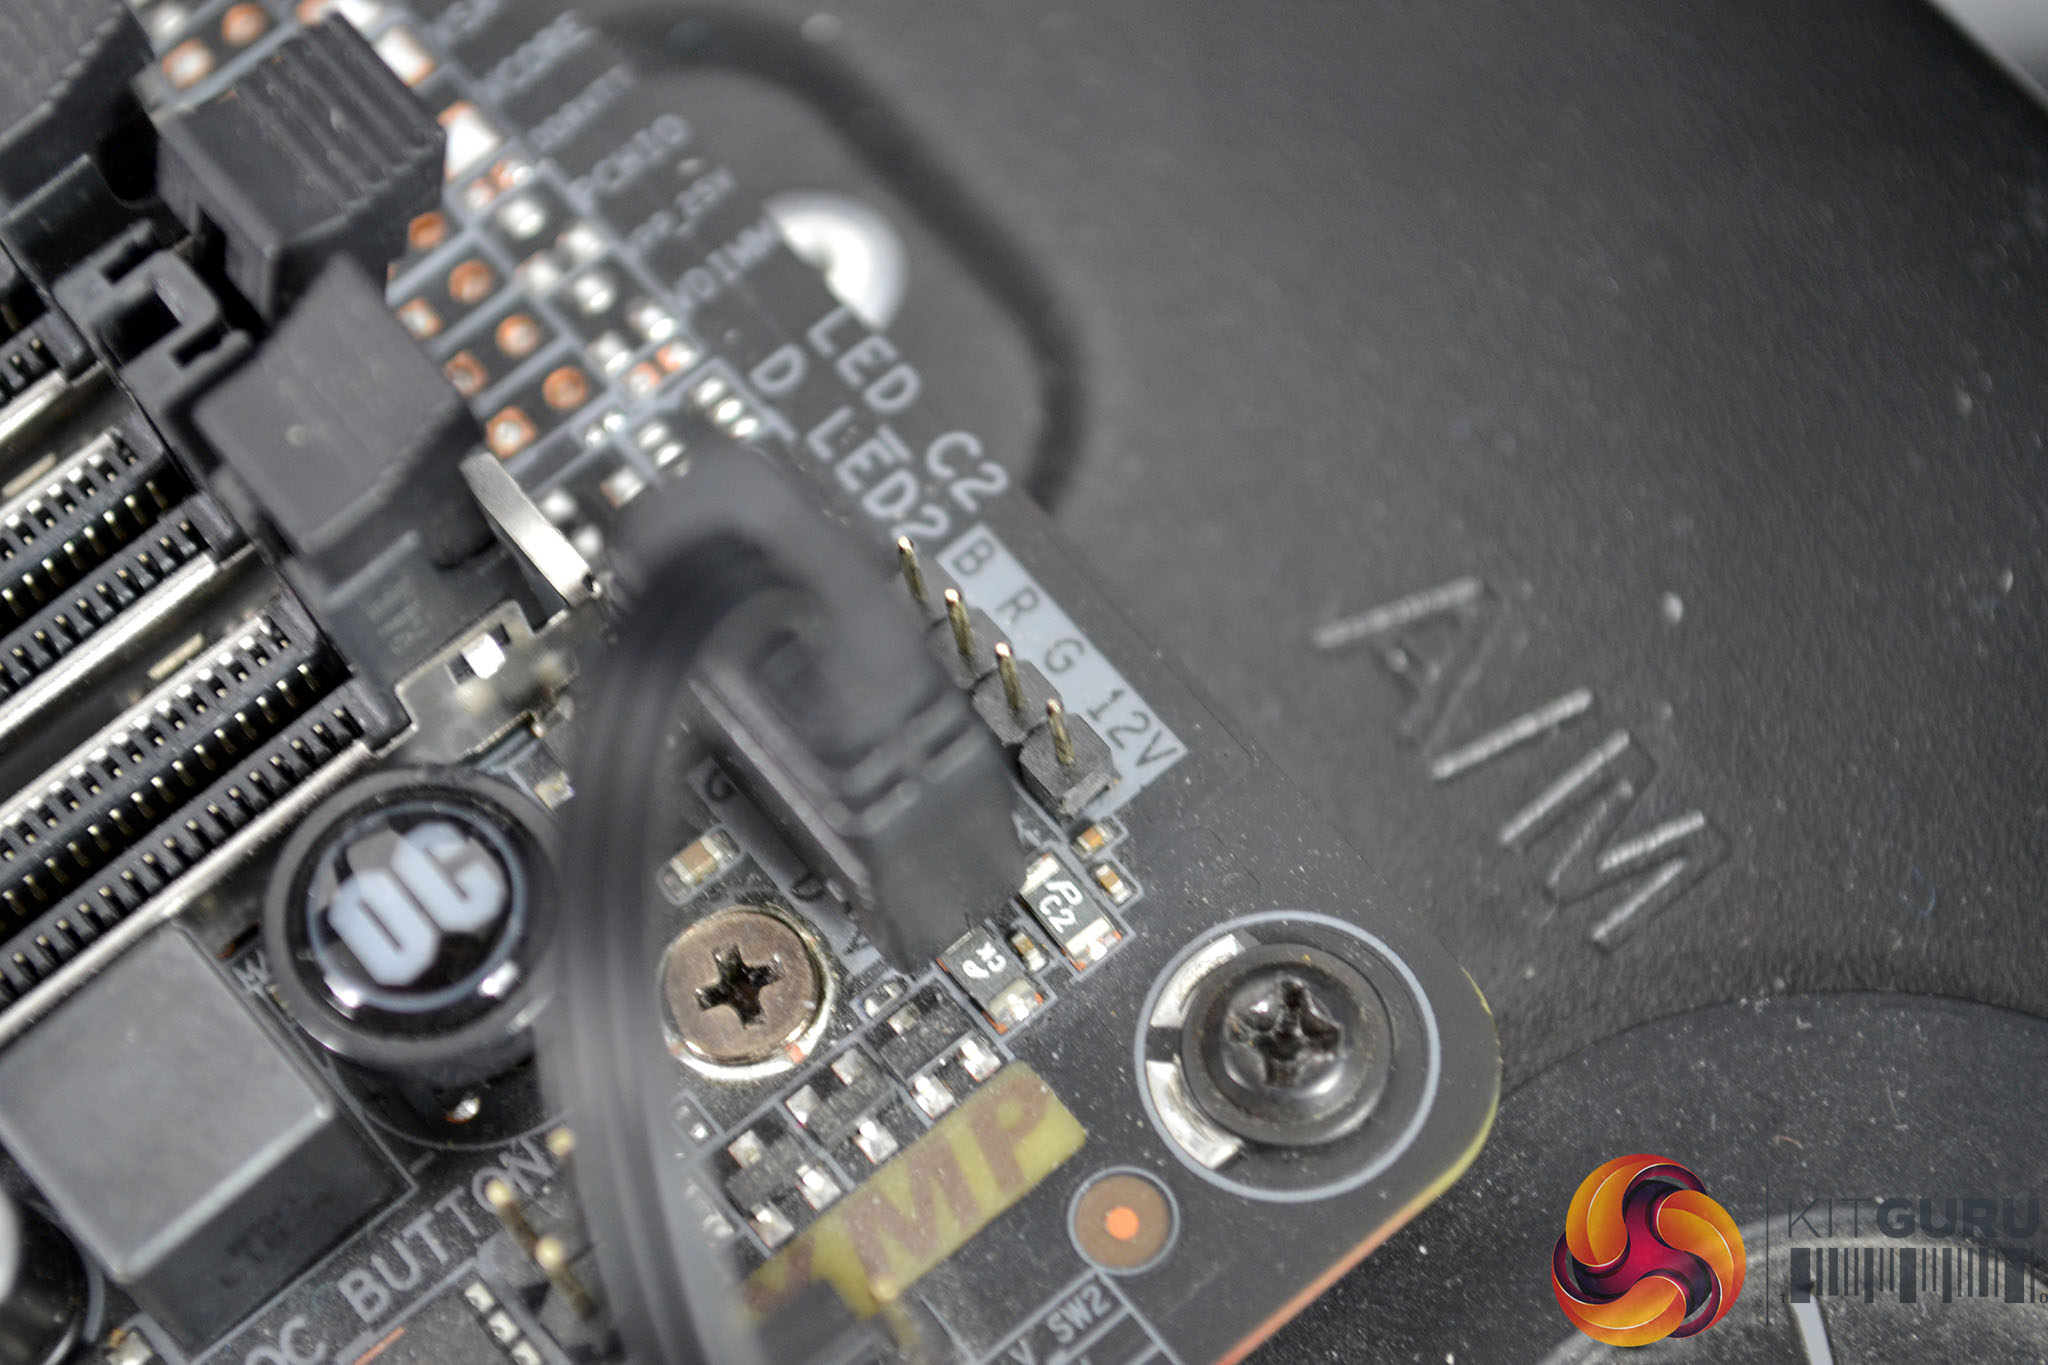
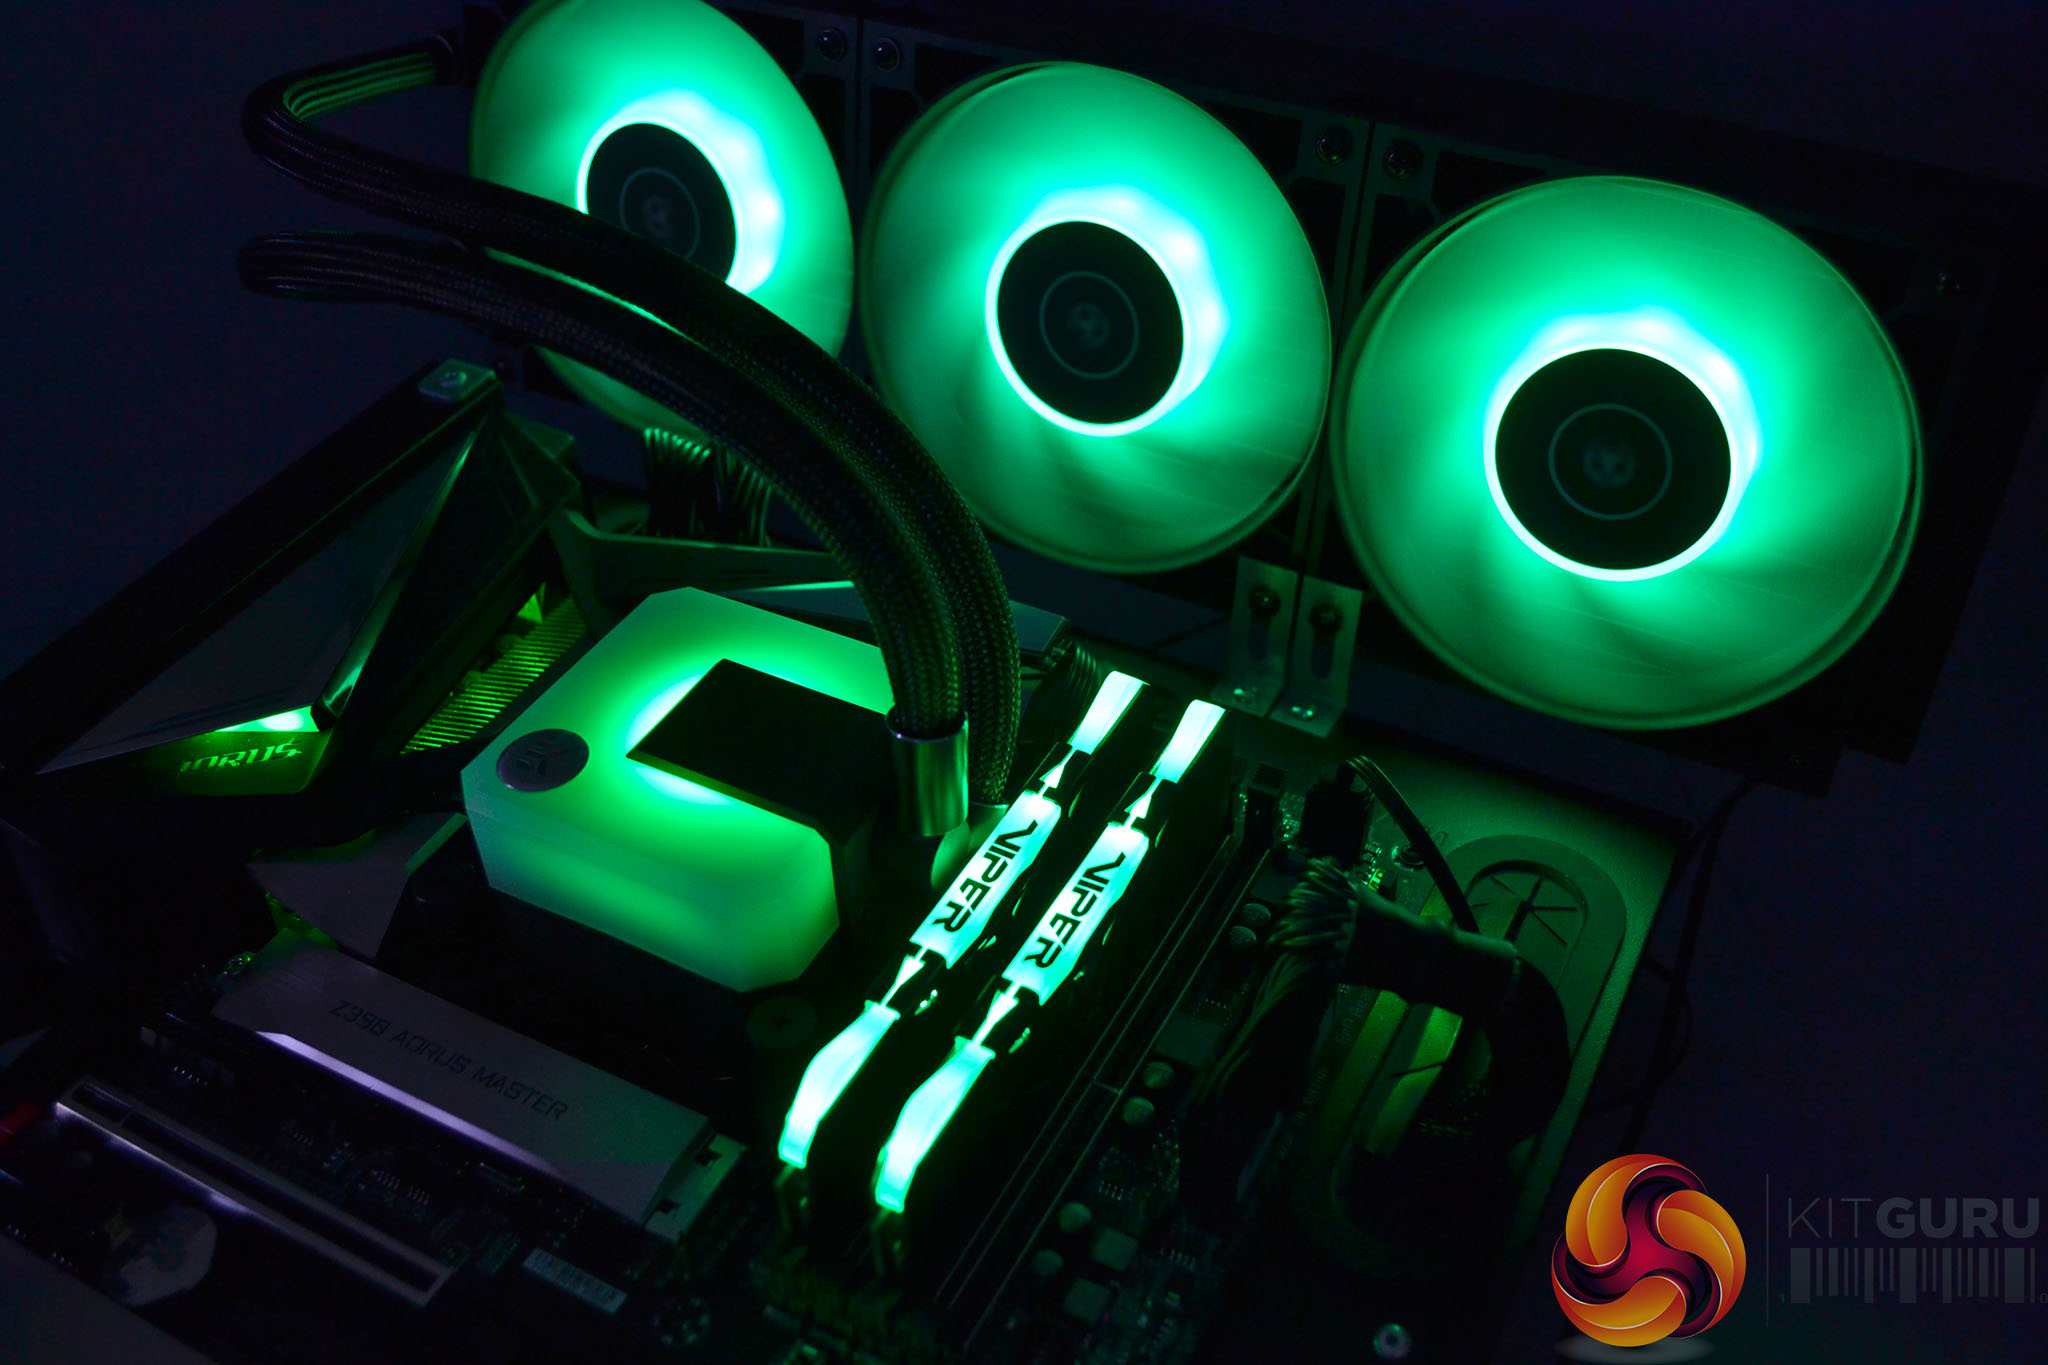
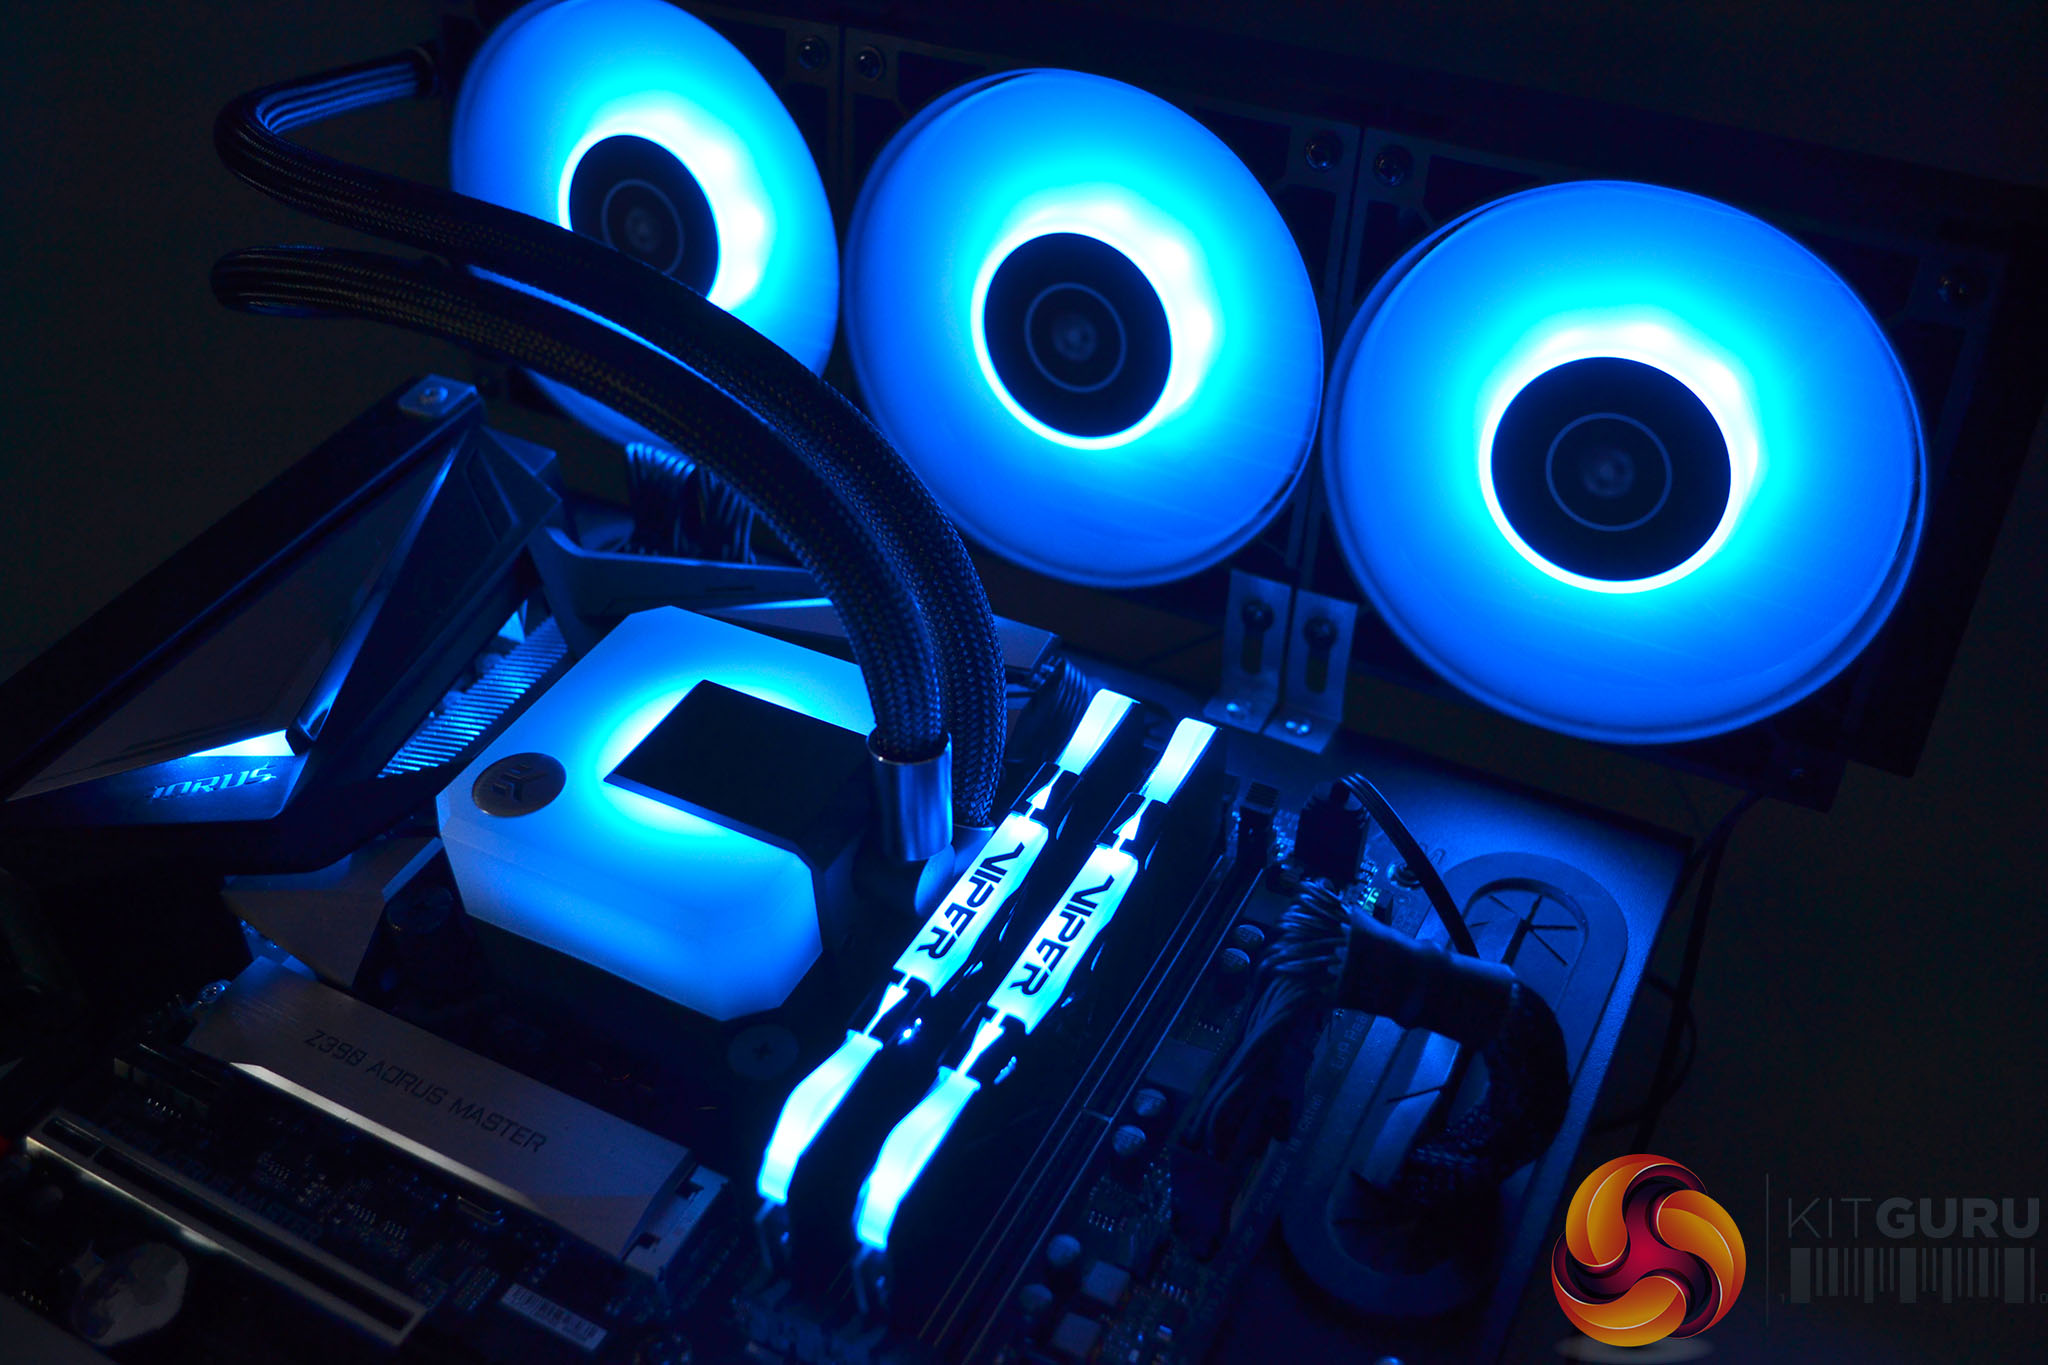
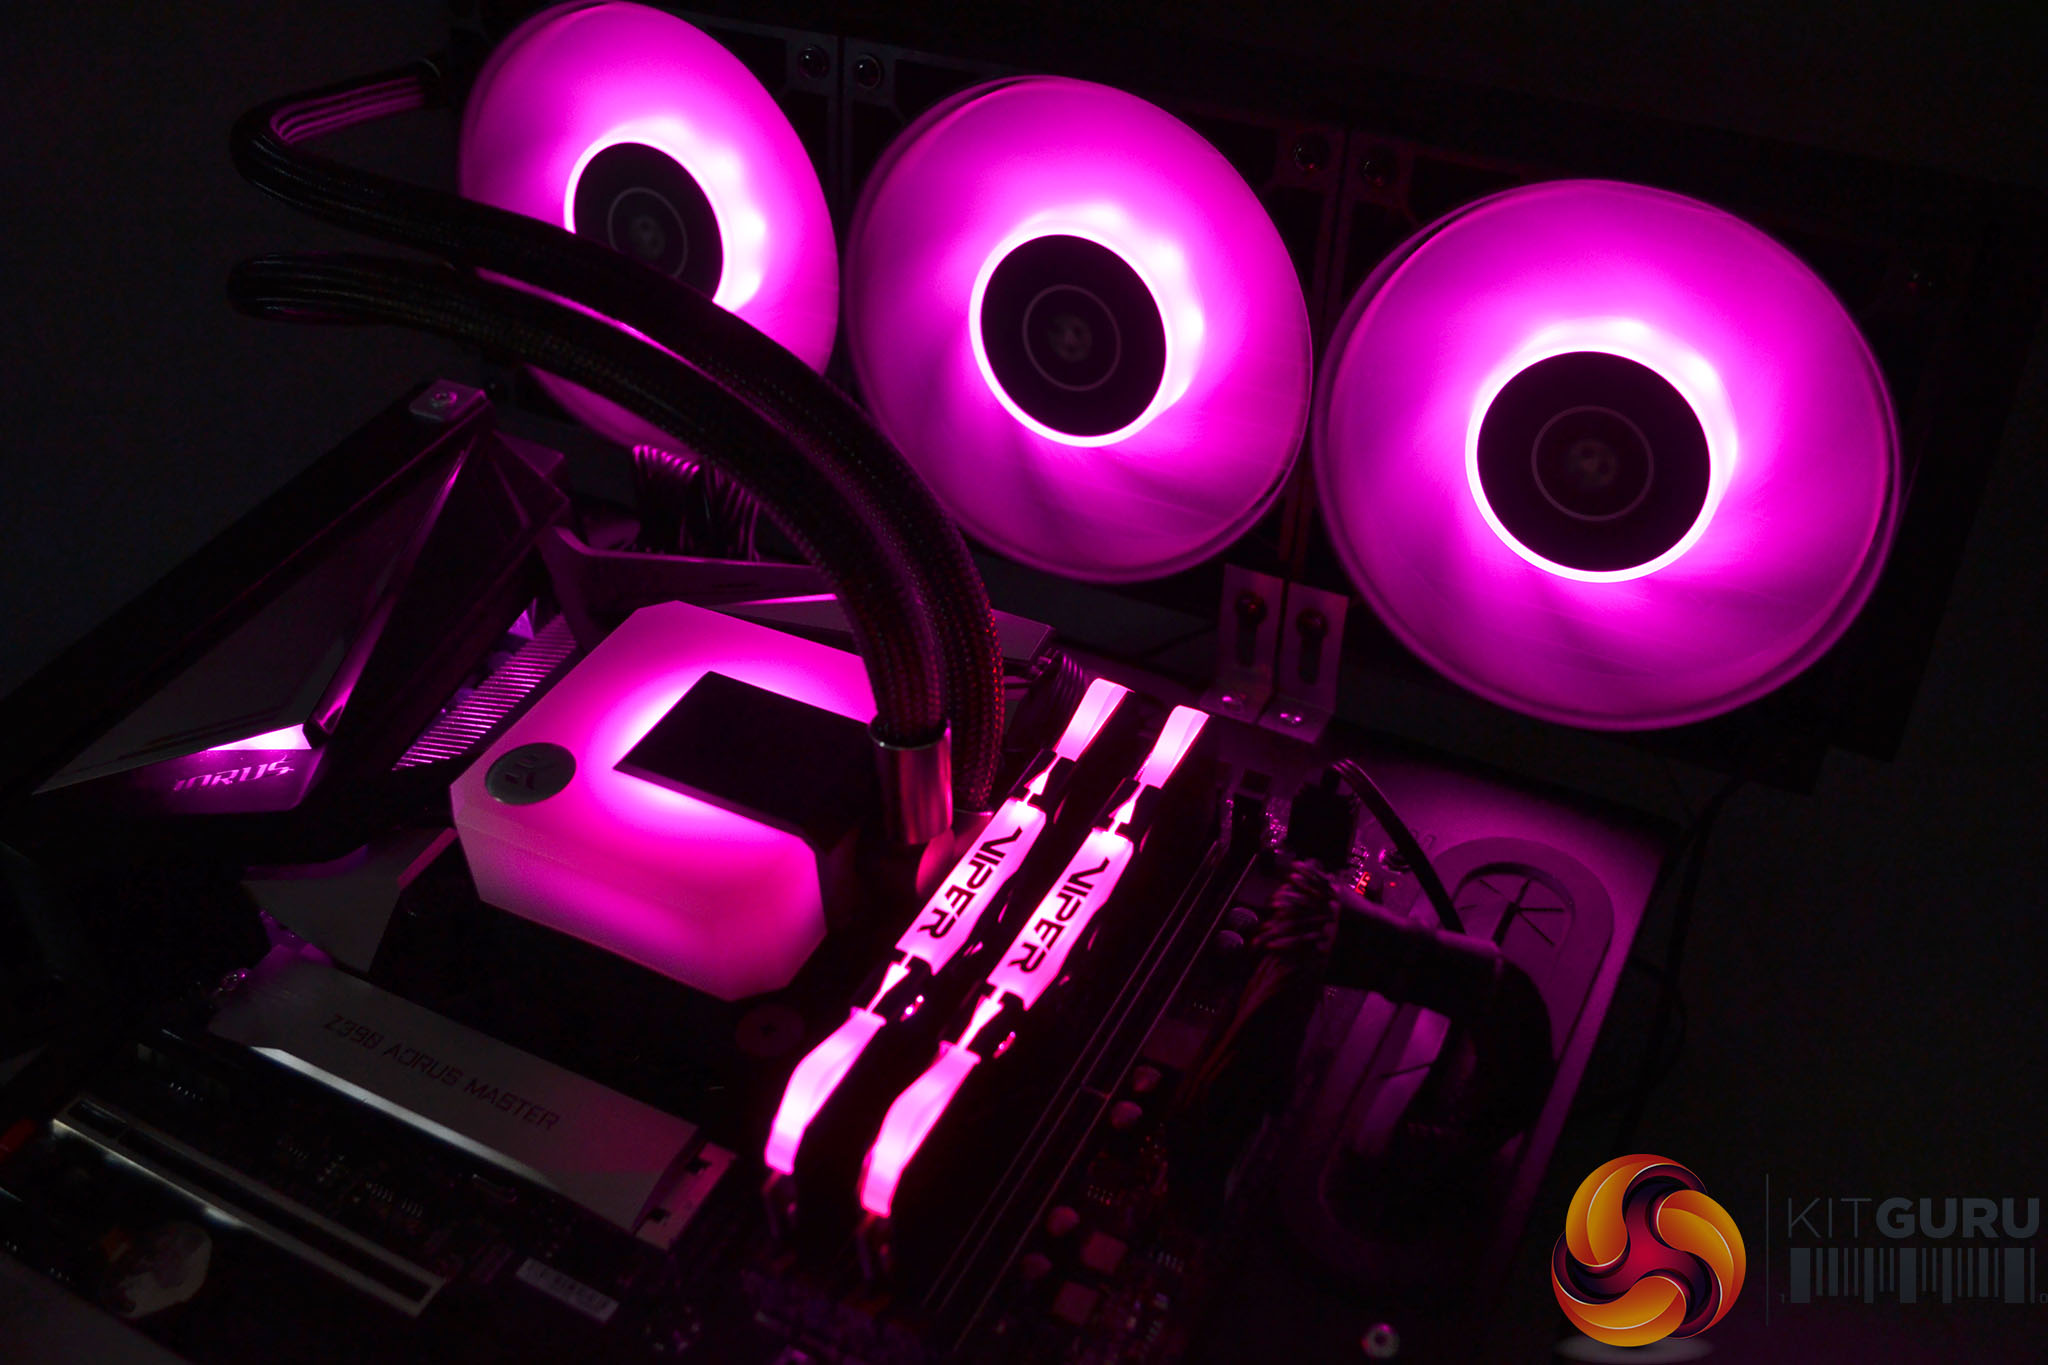
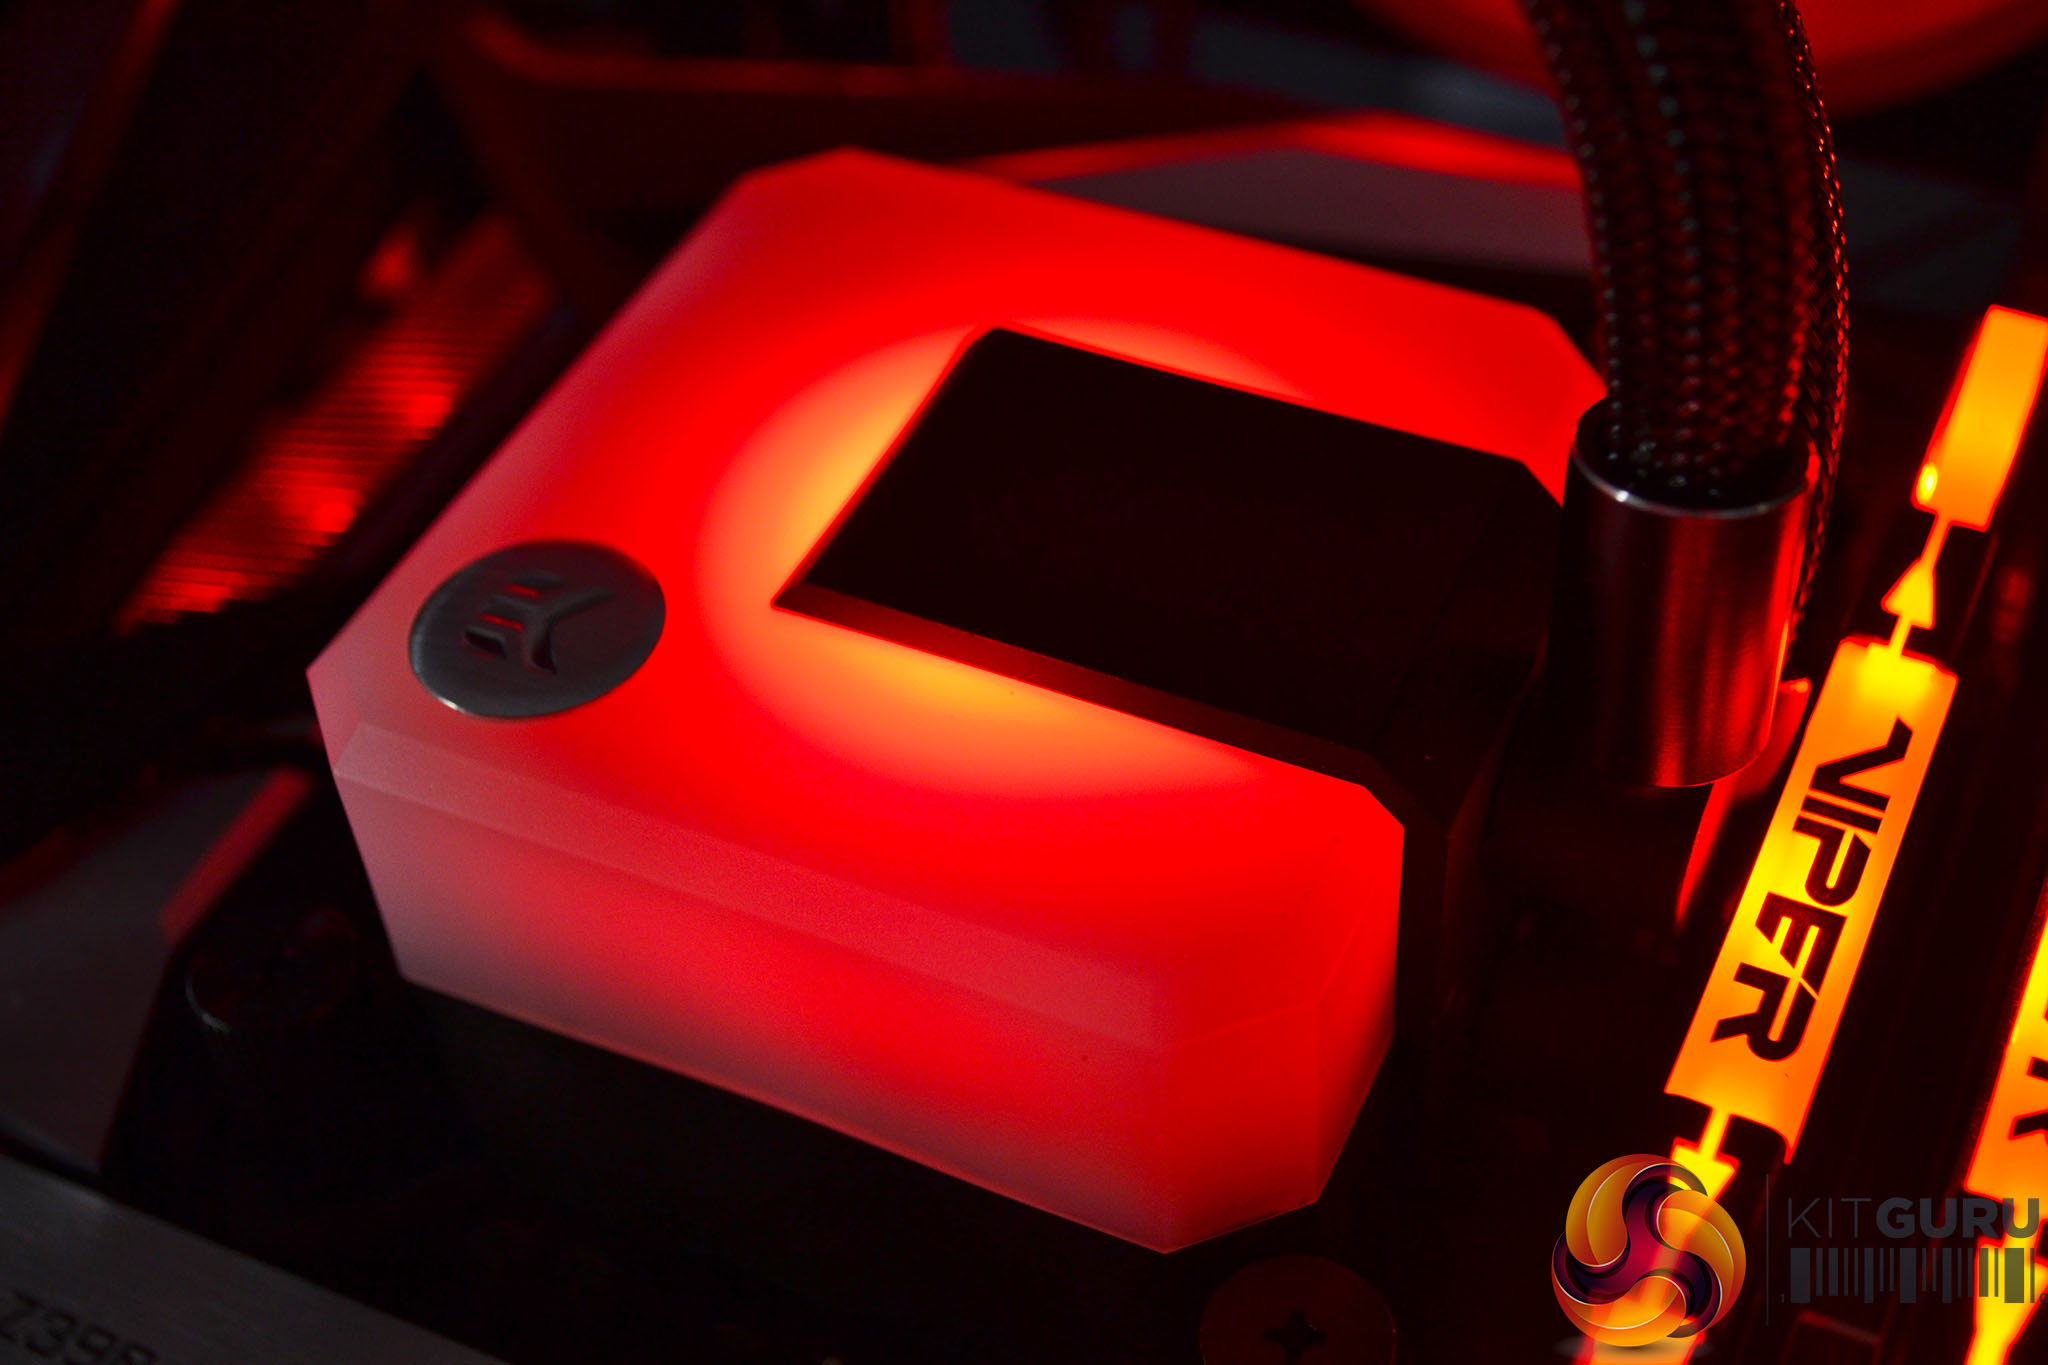
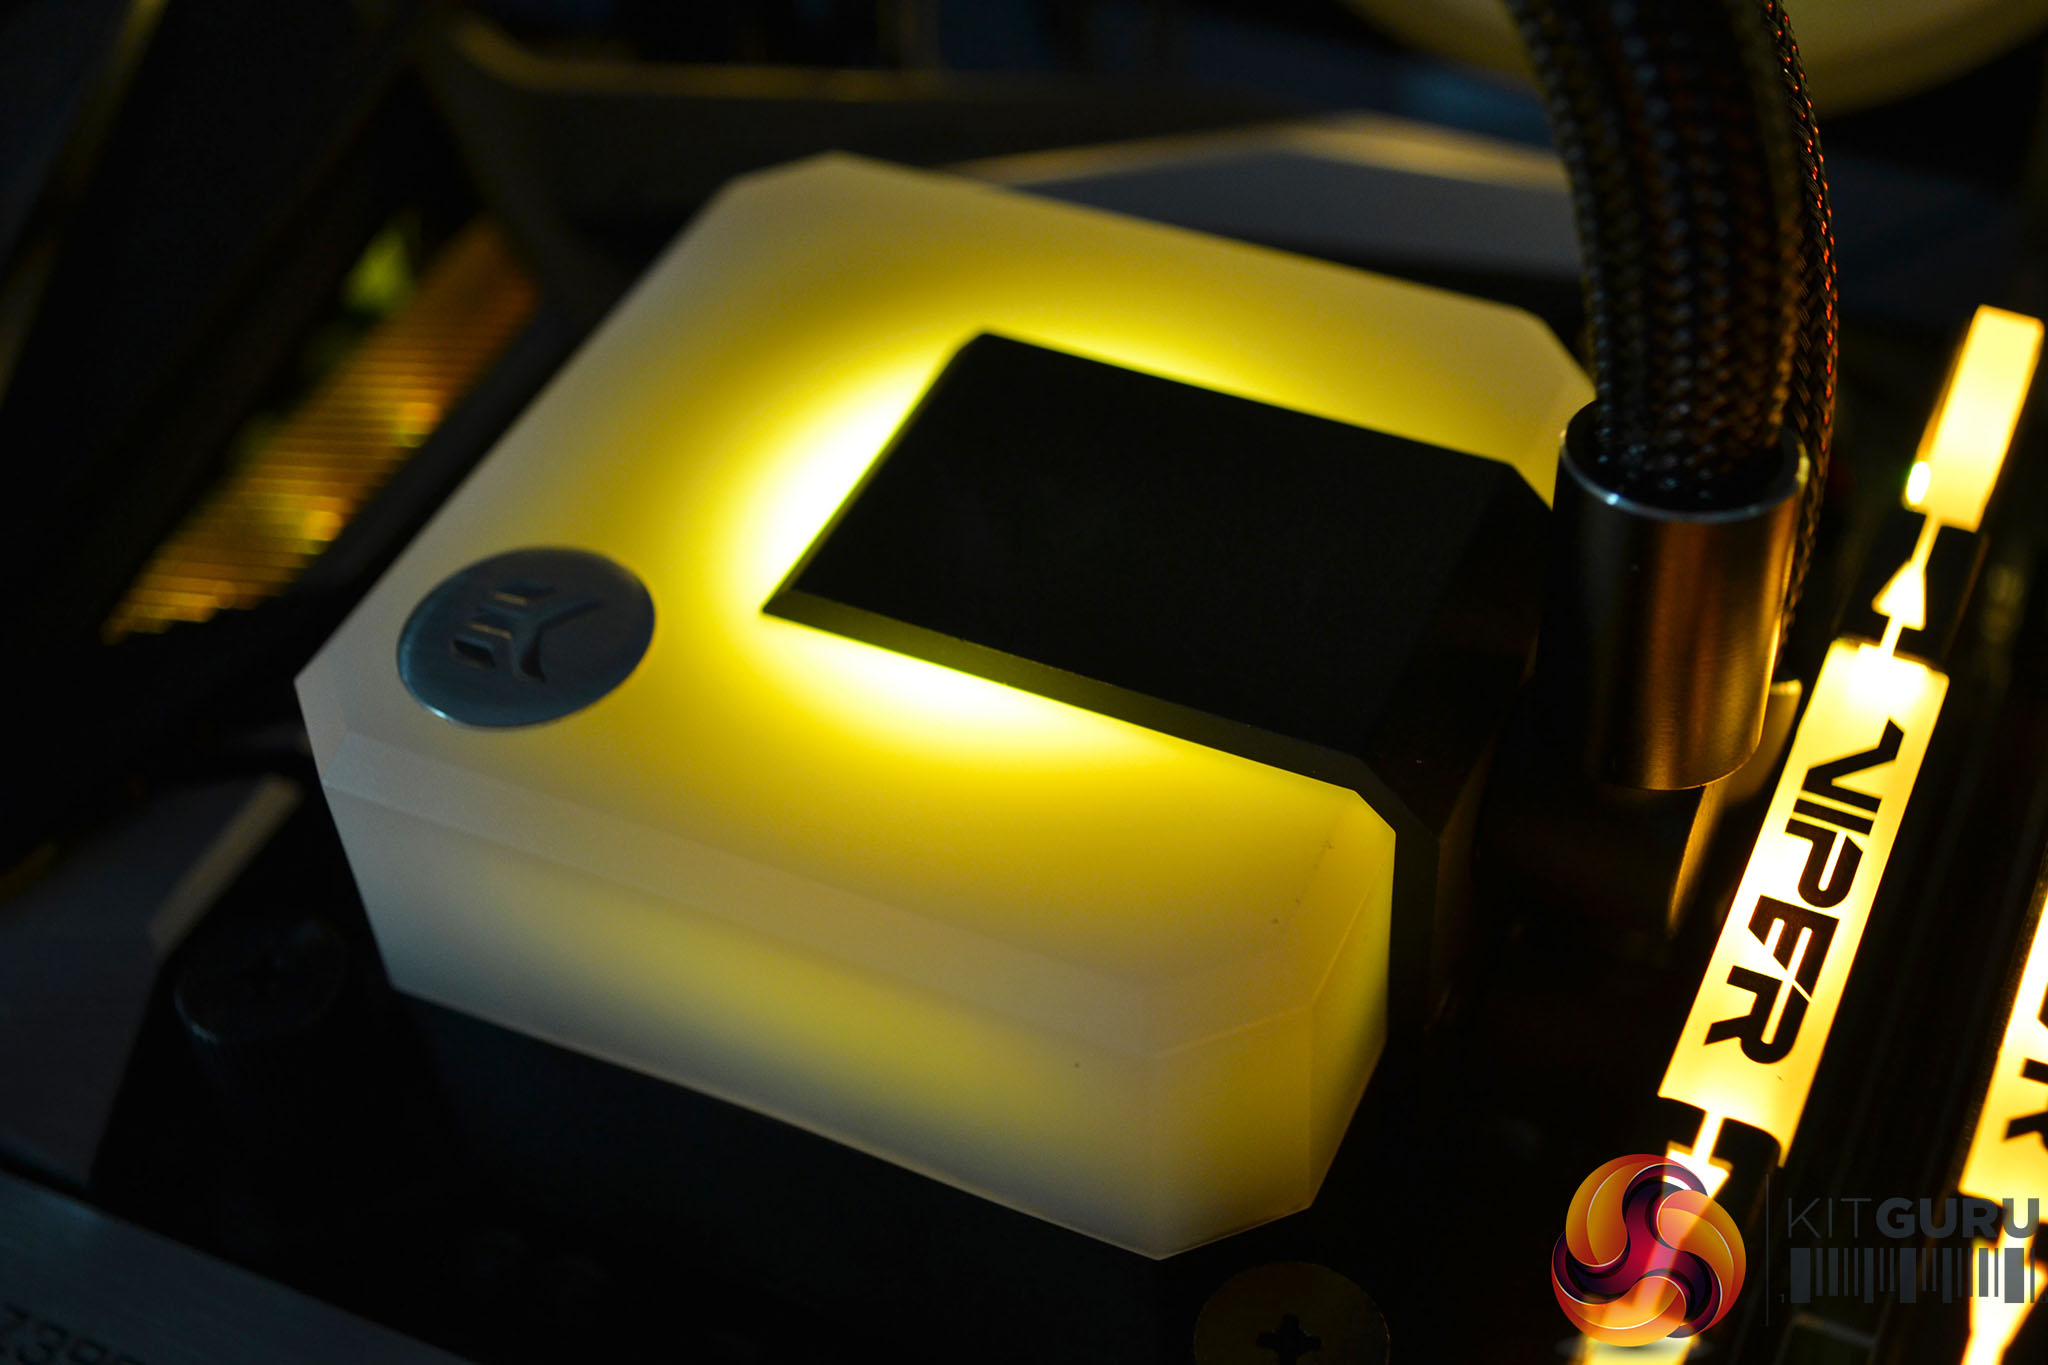
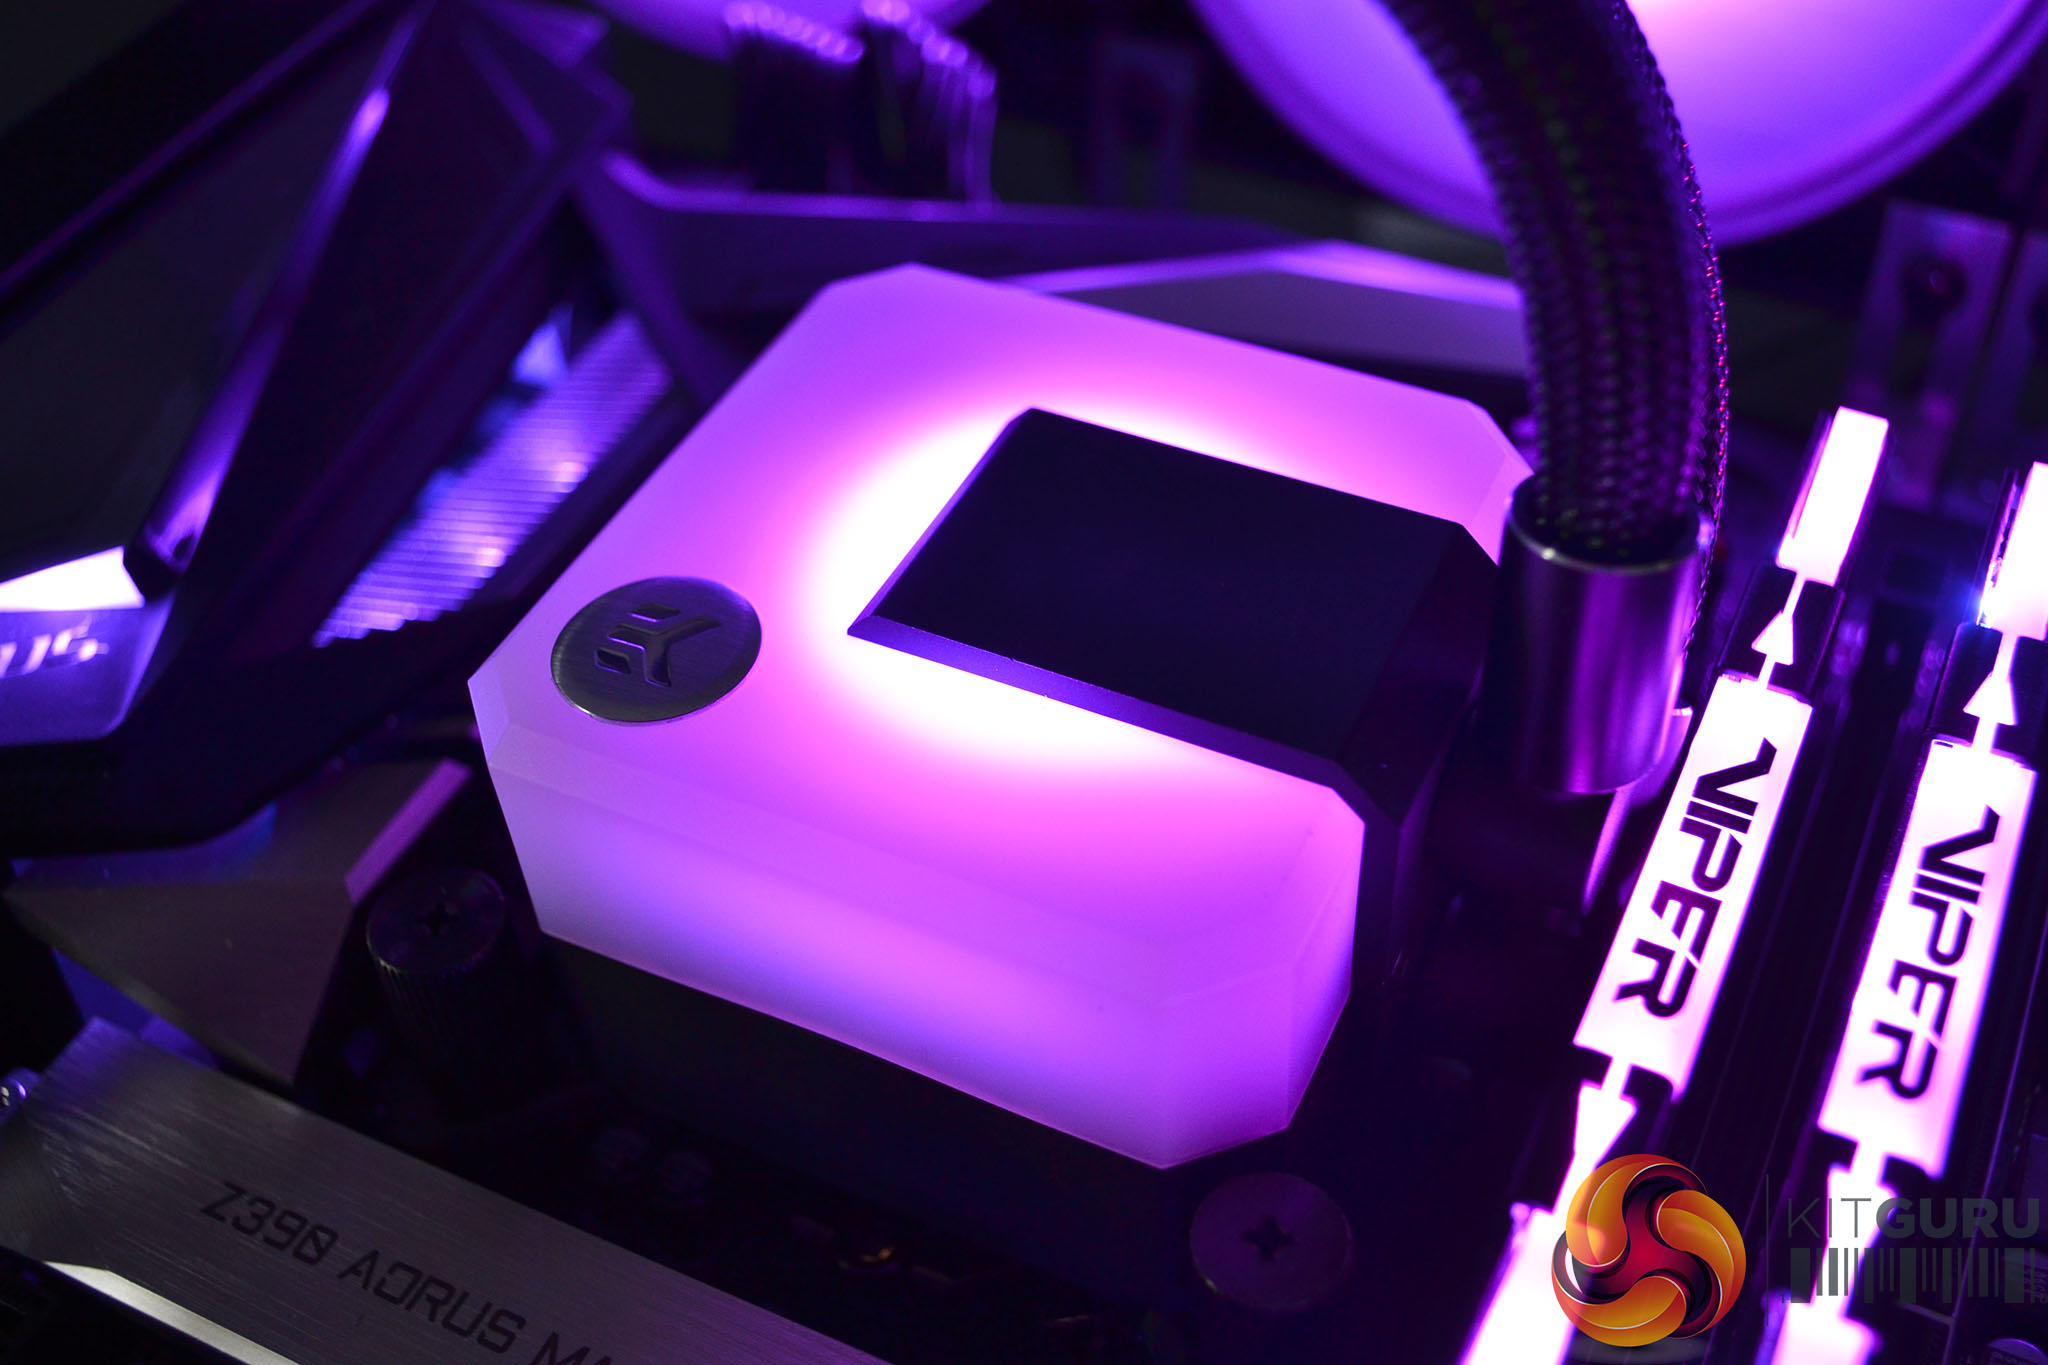
Since the Gigabyte Z390 Aorus Master motherboard in our test bench is equipped with 3-pin 5V ARGB headers, we can connect the EK-AIO RGB lighting directly to this. We simply daisy chain the fans and pump RGB cables to each other and then connect the final cable in the loop to the motherboard 3-pin 5V RGB header to allow full control and synchronisation of the RGB lighting using the Gigabyte RGB Fusion software.
The whole installation process isn’t too difficult but for the novice user who has not installed an AIO or an EK Water Blocks product previously, following the installation manual is recommended. The whole process takes approximately 15-20 minutes and during the installation process we didn’t come across any challenges or issues, everything fitted in place as it should.
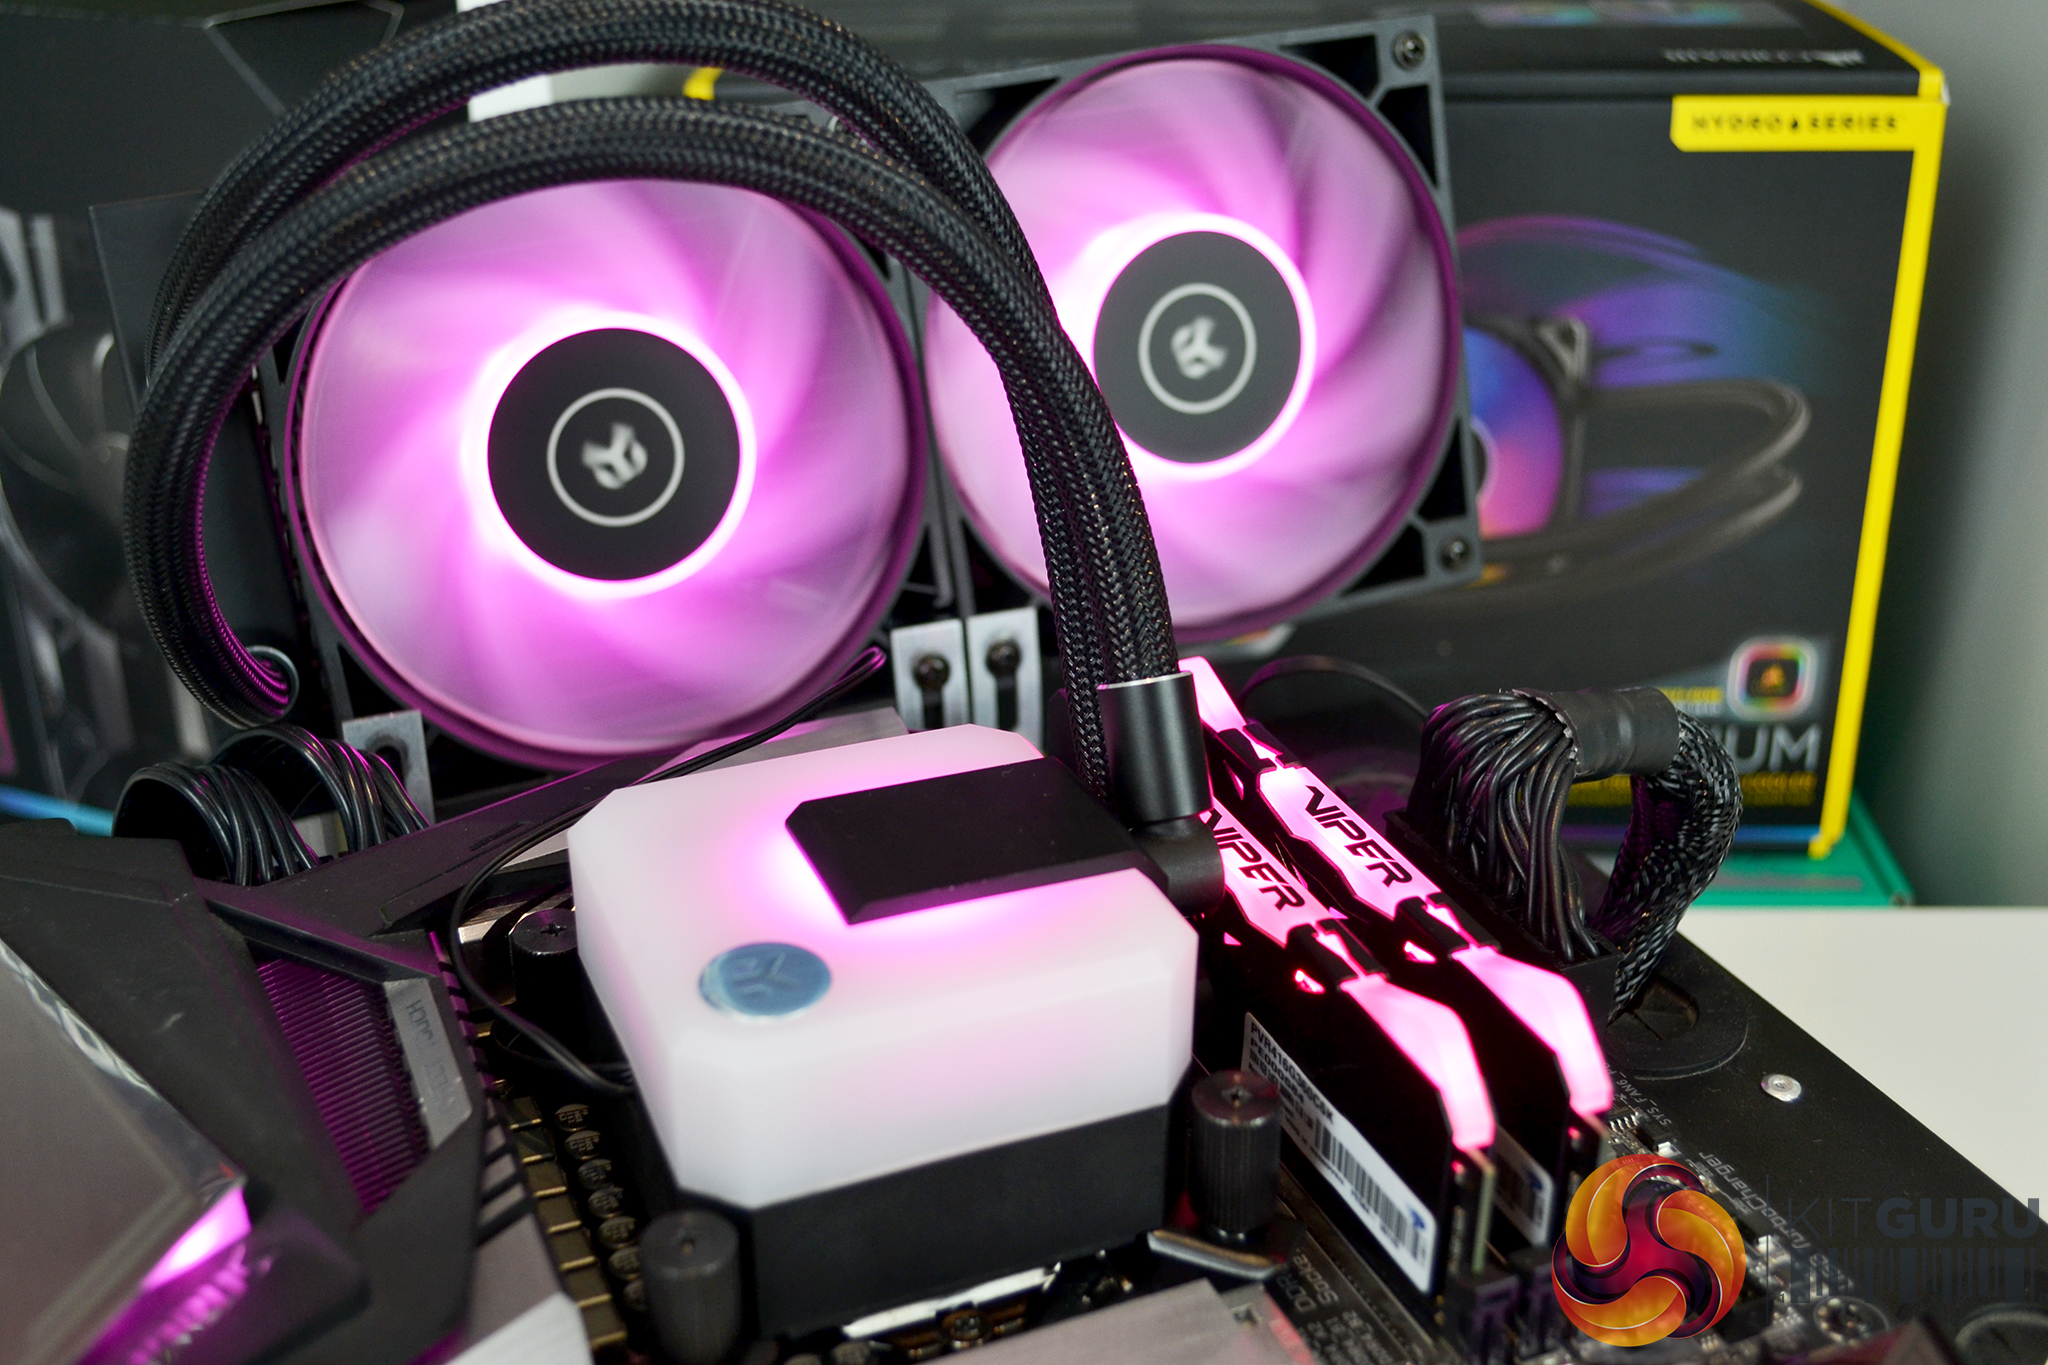
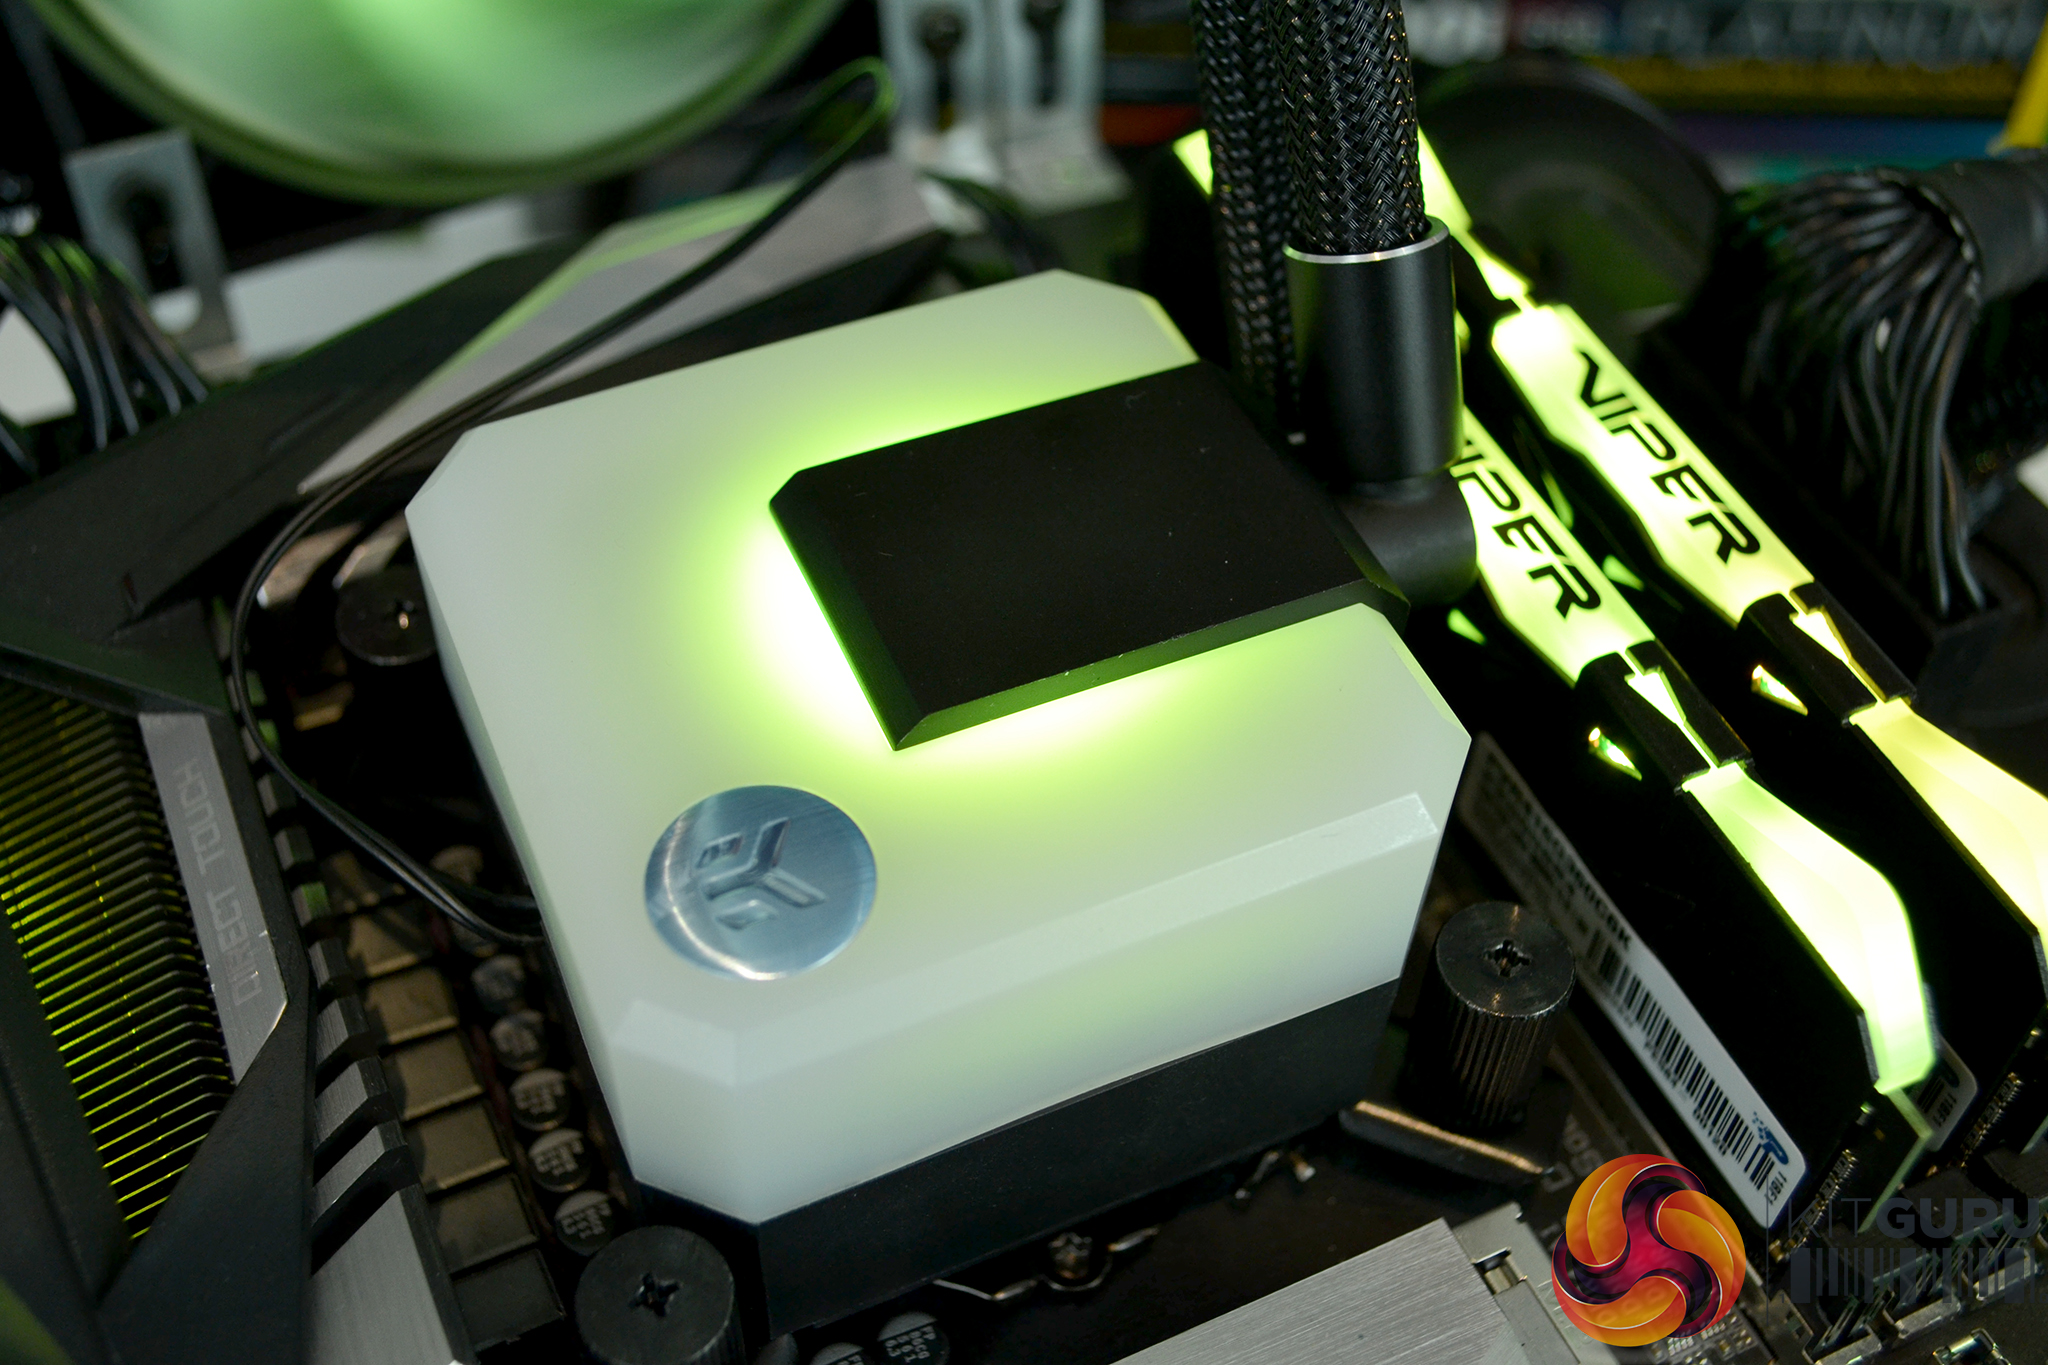
RGB Gallery