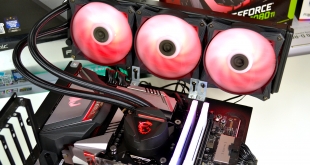
MAG CoreLiquid is a brand new all-in-one closed-loop liquid CPU cooling solution from MSI. Unlike many of the alternative AIO liquid coolers on the market that mount the pump to the CPU block, MSI has chosen an entirely different approach with the MAG CoreLiquid series. MSI claims that its new radiator-mounted pump AIO will “drown the opposition”. Let’s find out if they are right.
/h4>
To say that this is a ‘revolution' in AIO closed-loop liquid cooler design would be inaccurate, but it does make you wonder why more companies do not go down this route and instead stick with the “trusty” Asetek and CoolIT CPU block mounted pump units. As far as I can remember, there is only one other mainstream manufacturer that has tried the rad-mounted pump design.
NZXT used this strategy for its M22 AIO CPU cooler series but have since switched back to Asetek as the company's closed-loop AIO supplier. MSI has moved in the completely opposite direction, by switching from an Asetek-style design with its previous Dragon 120mm AIO series, to the pump-in-radiator design of the new MAG CoreLiquid series.
The obvious and only reason I can think that MSI has taken this approach is to avoid any infringement of the Asetek patent of a CPU block mounted pump. Other companies have found ways around the Asetek patent while technically keeping the pump mounted on the CPU block, by designing a dual-chamber arrangement of the pump housing, which has proven to work well for them.
So, this is by no means a brand new design, neither is it one of MSI’s own ideas, in actual fact the CoreLiquid series is designed and manufactured by the same company that supplied NZXT with the M22. The company in question is Apalcool (Apaltek) who holds the patent for this design and manufactures various AIO liquid coolers for desktop systems as well as data centre and servers.
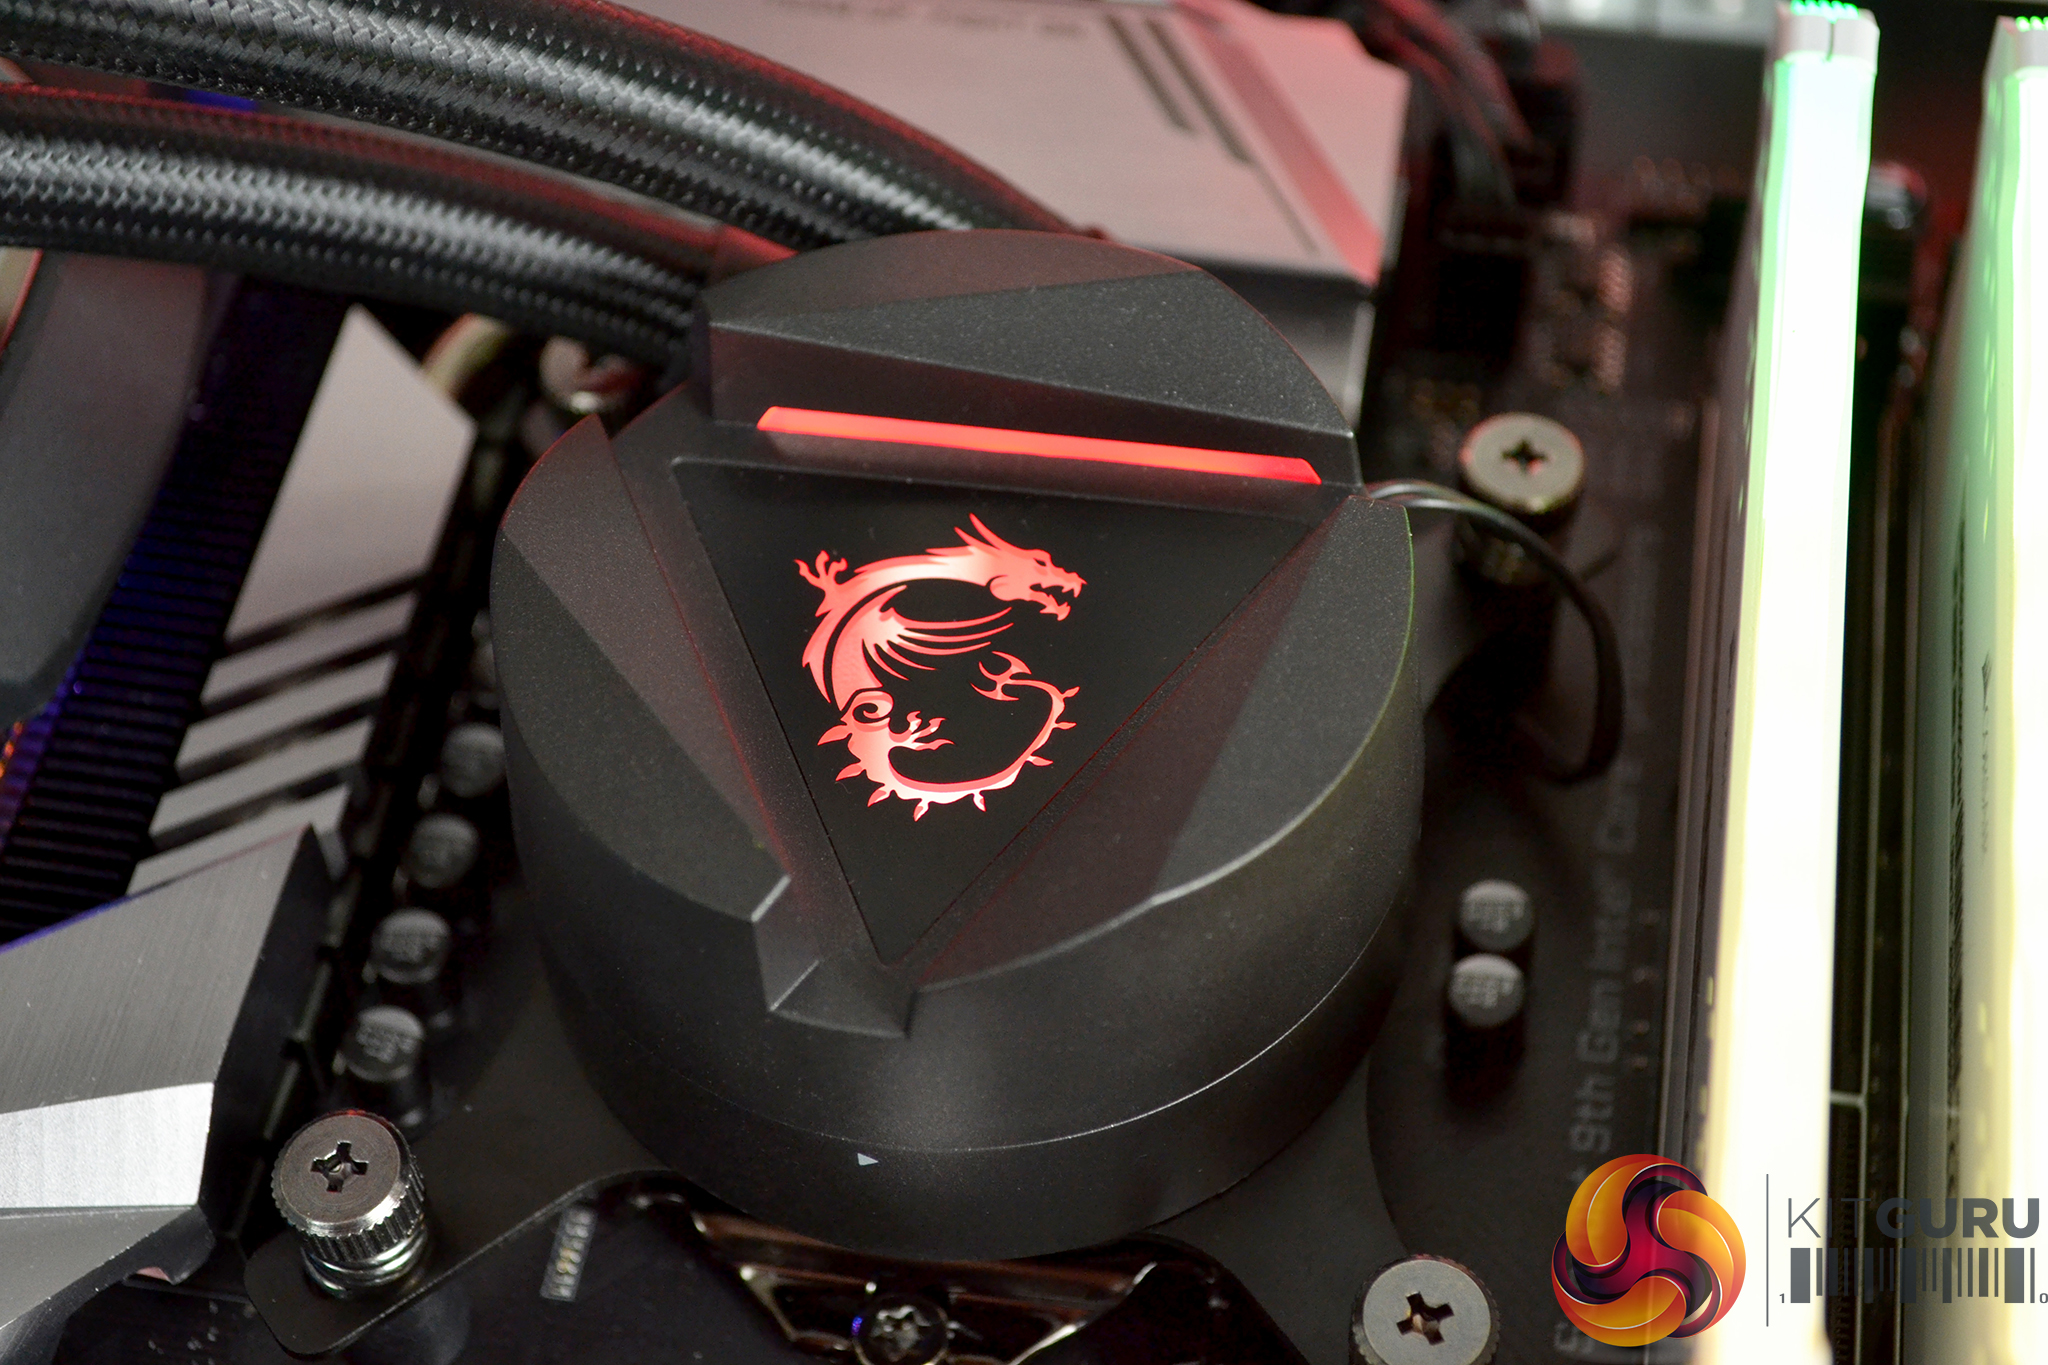
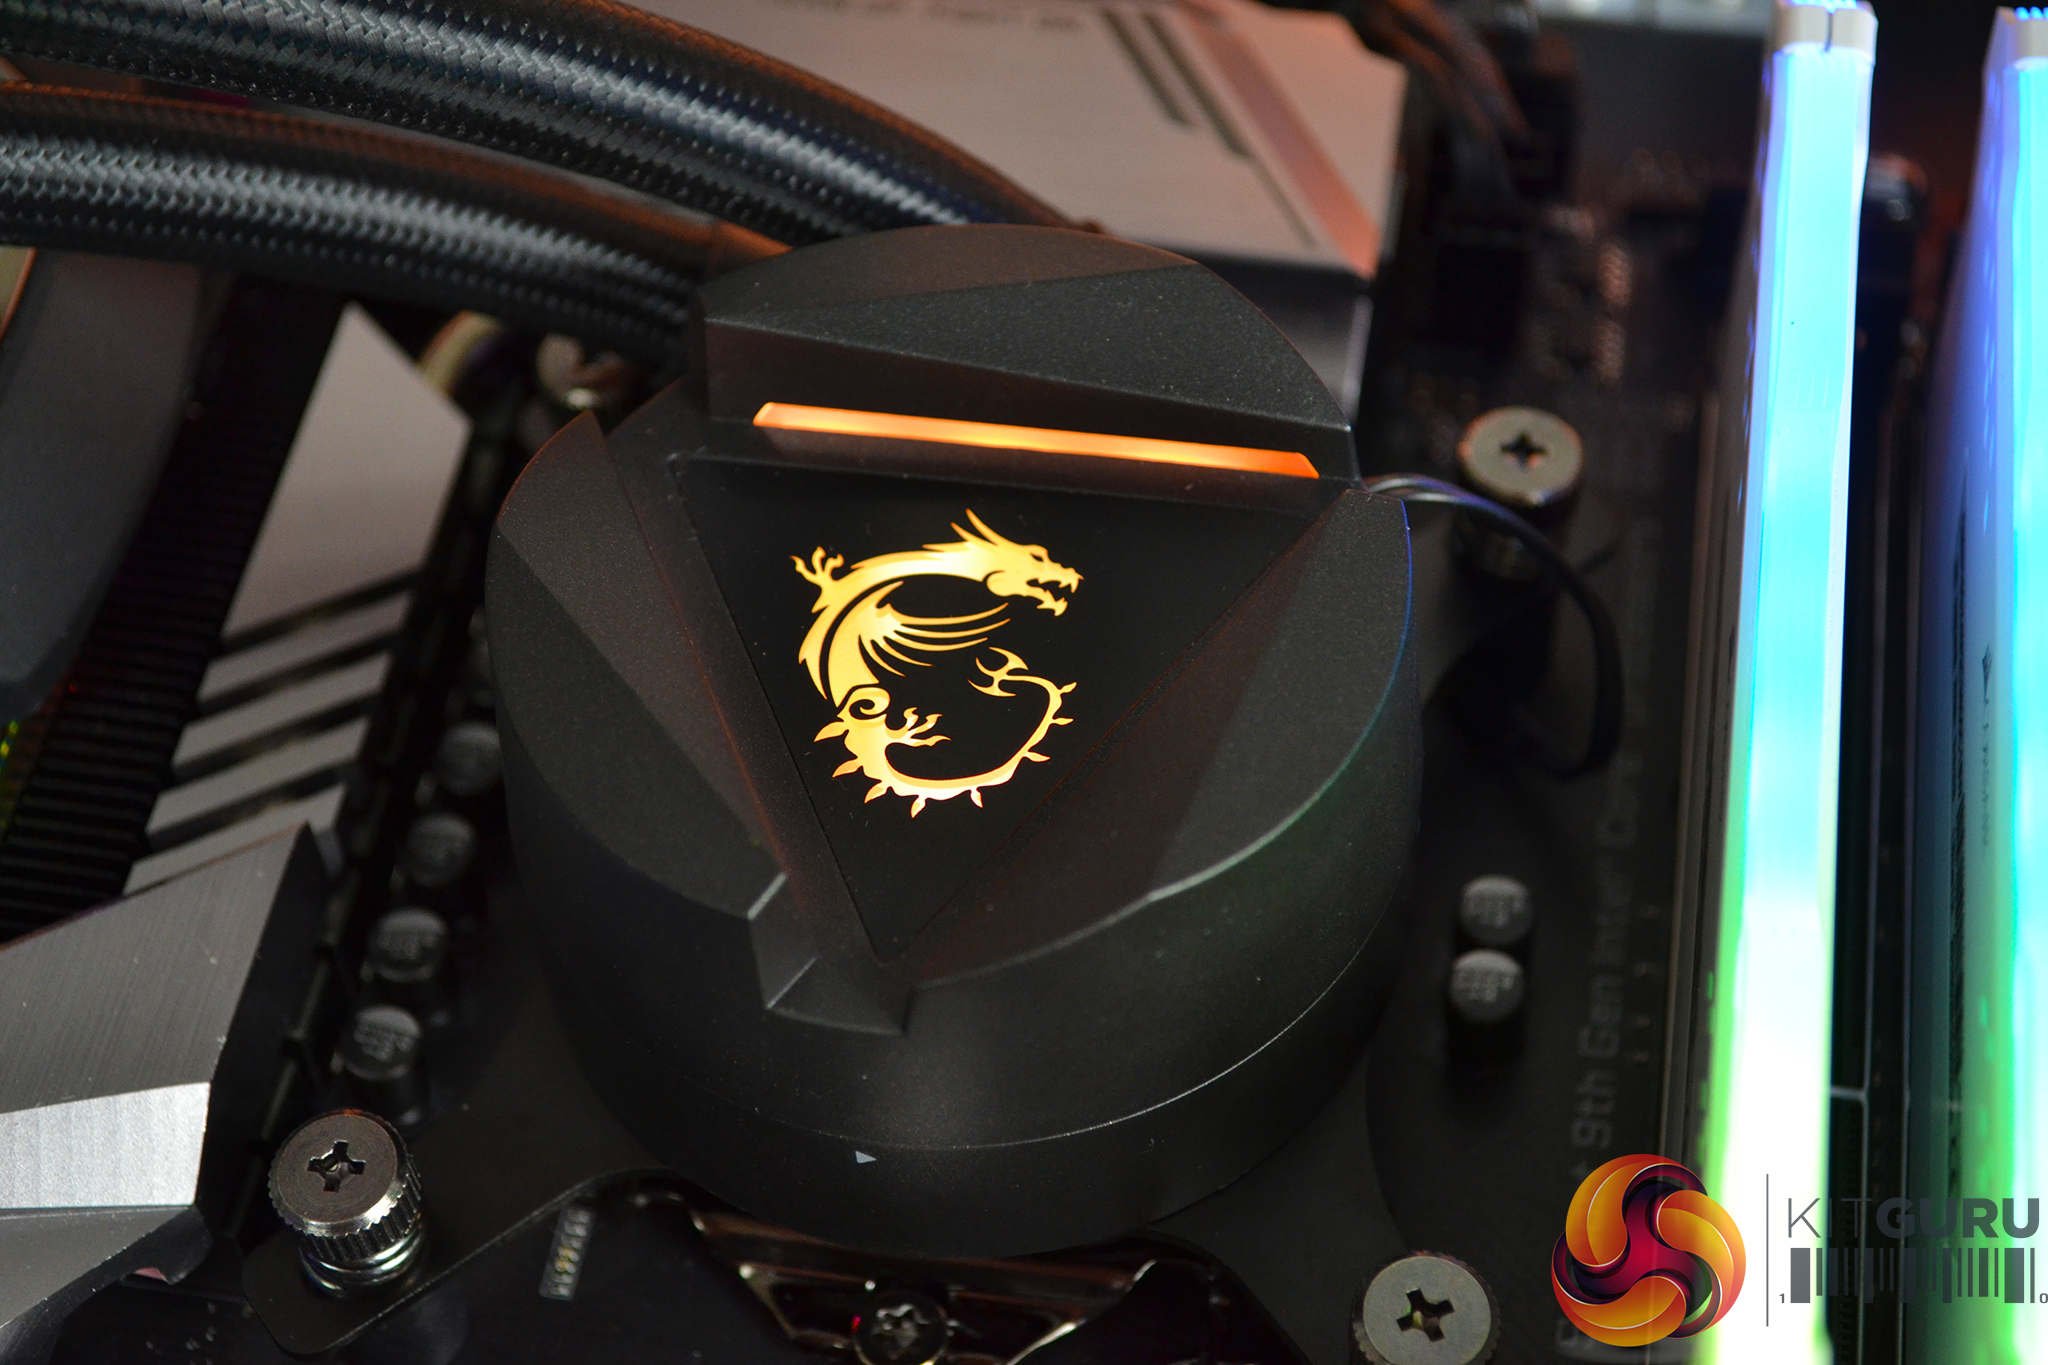
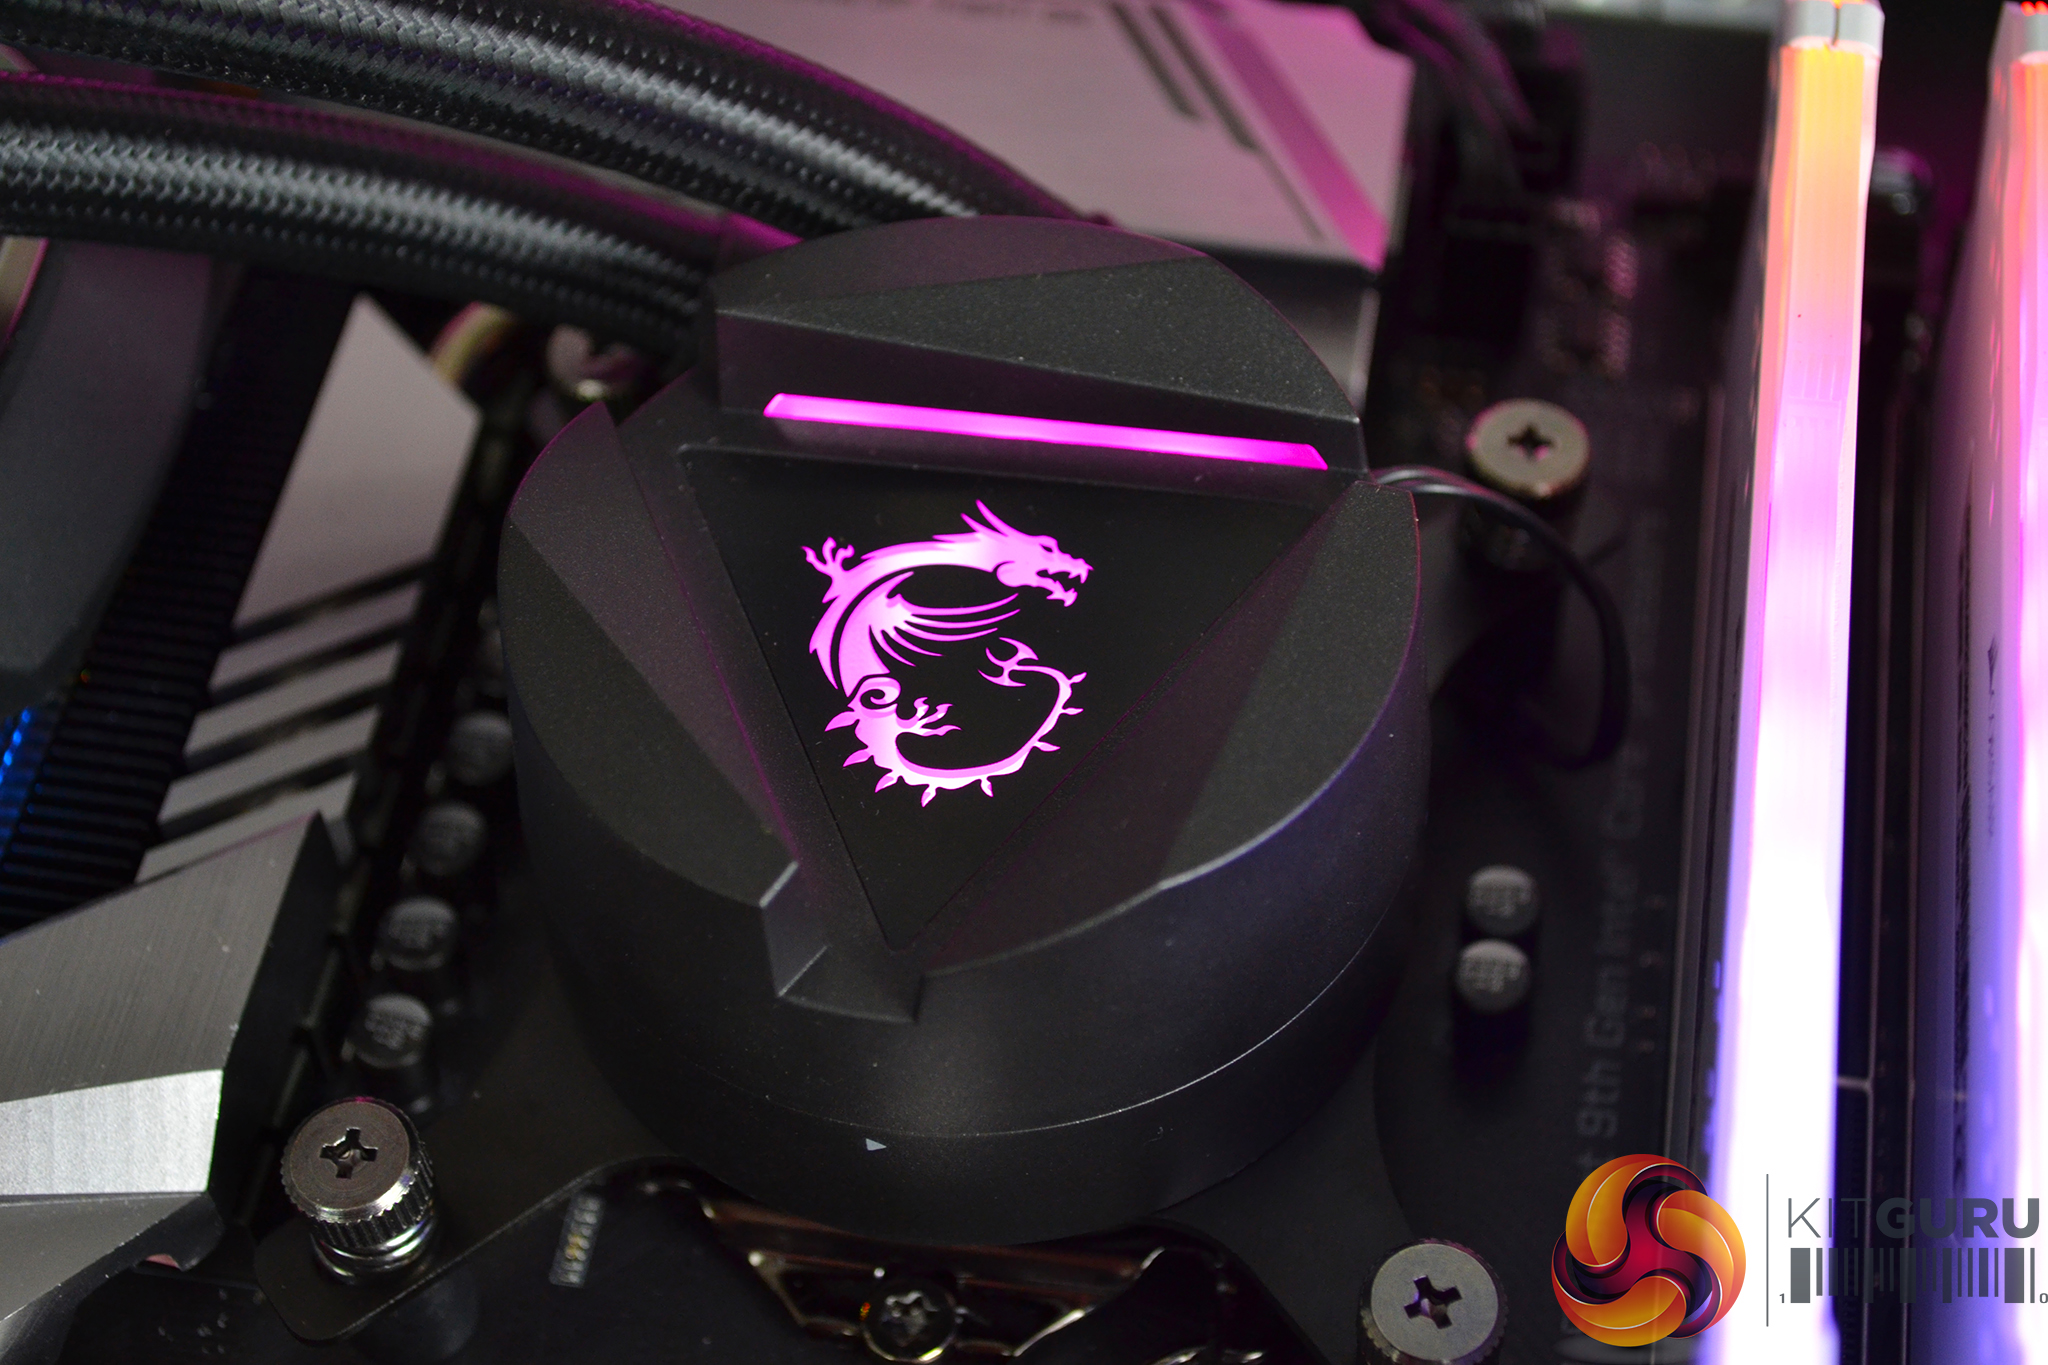
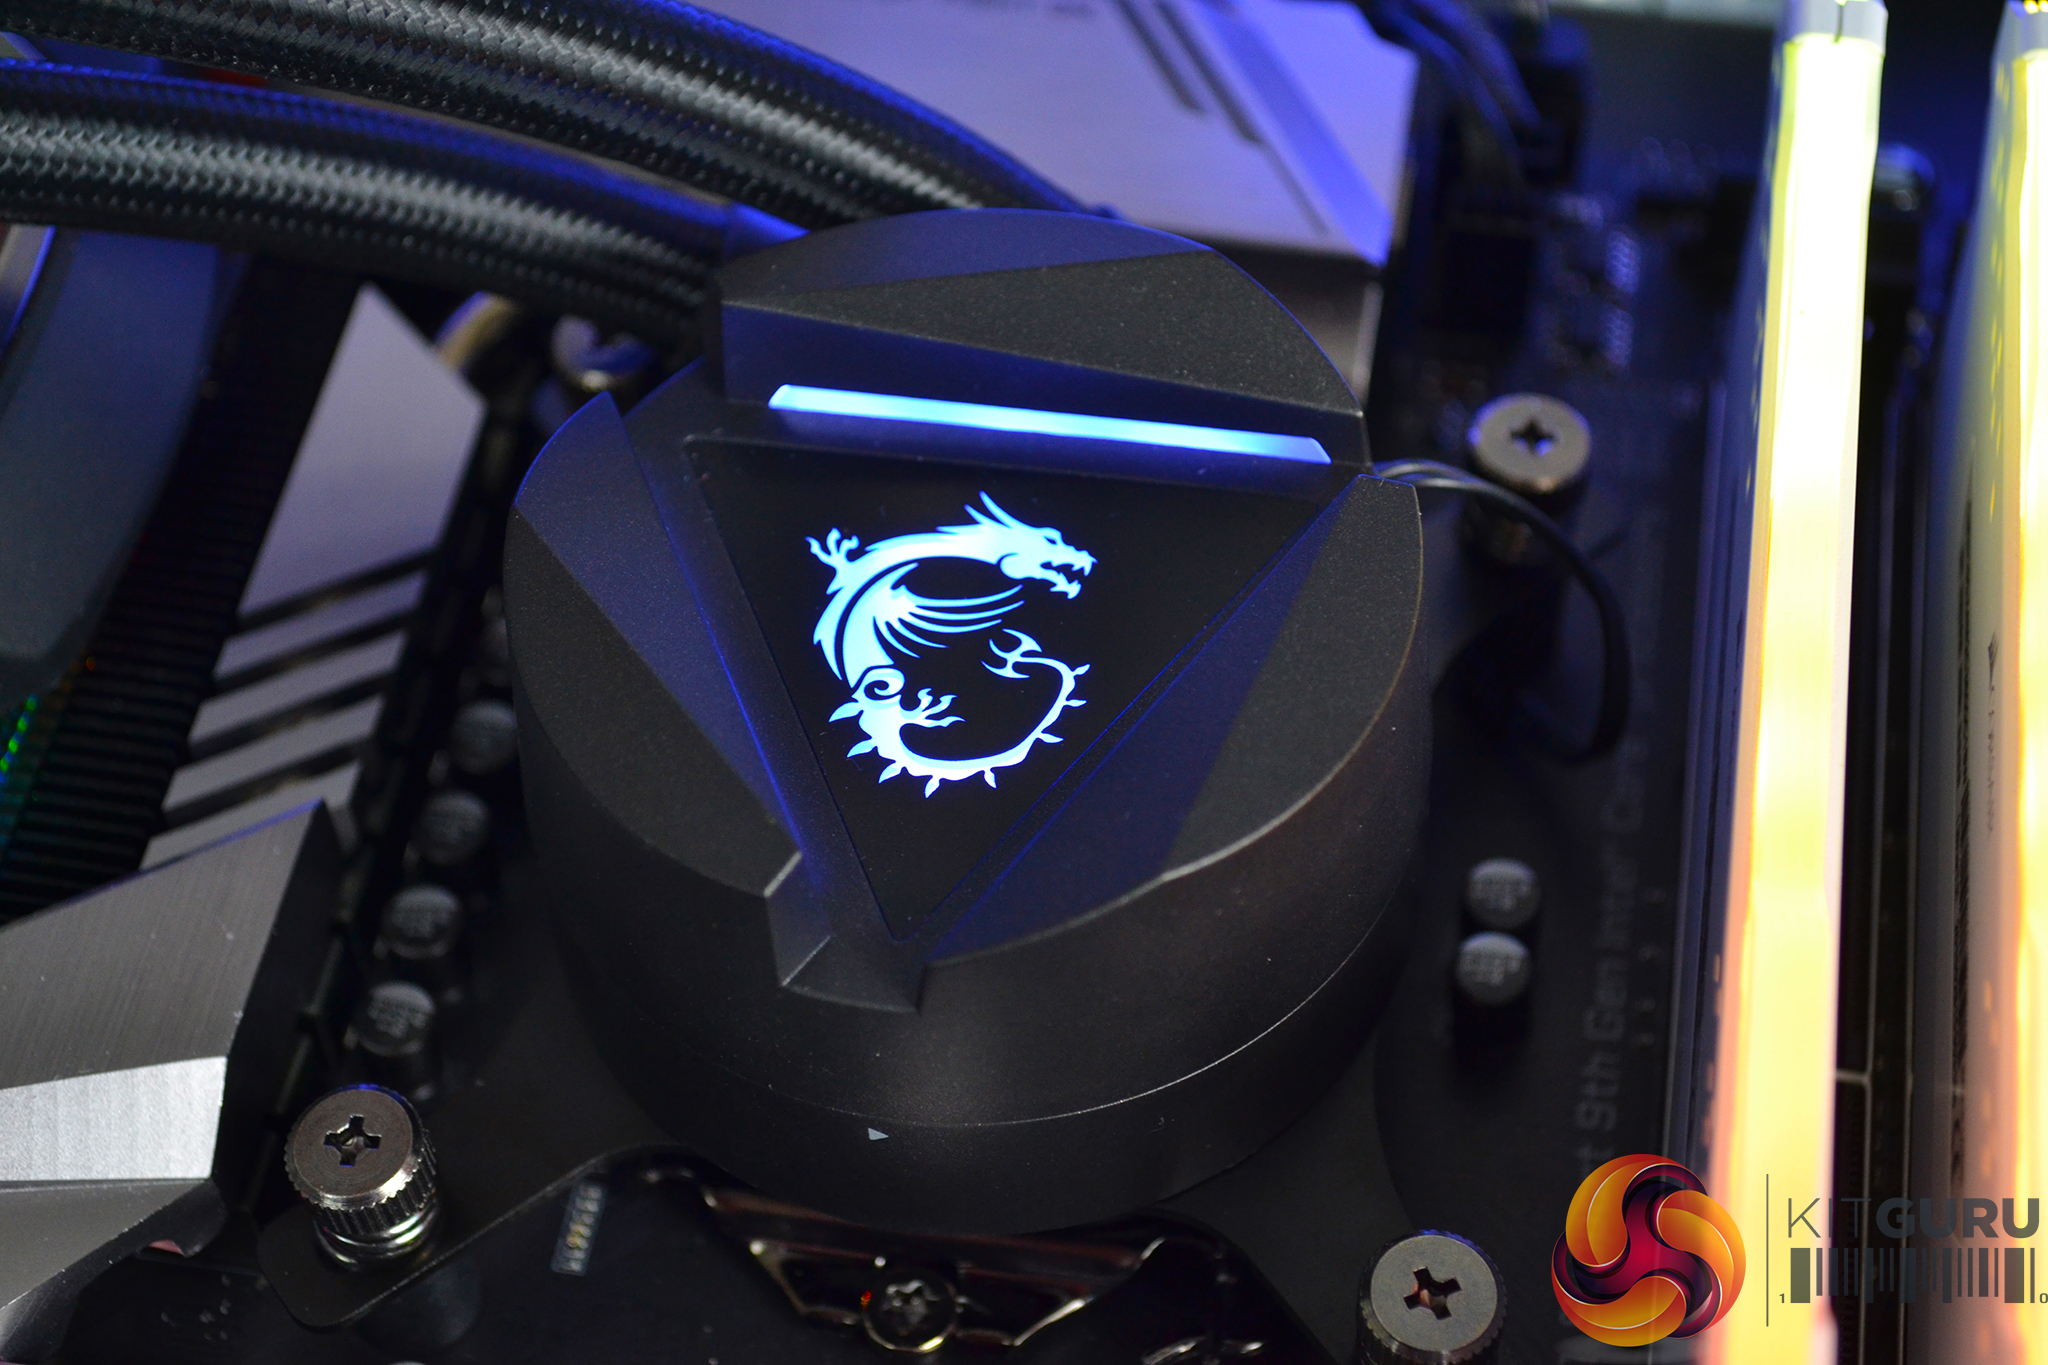
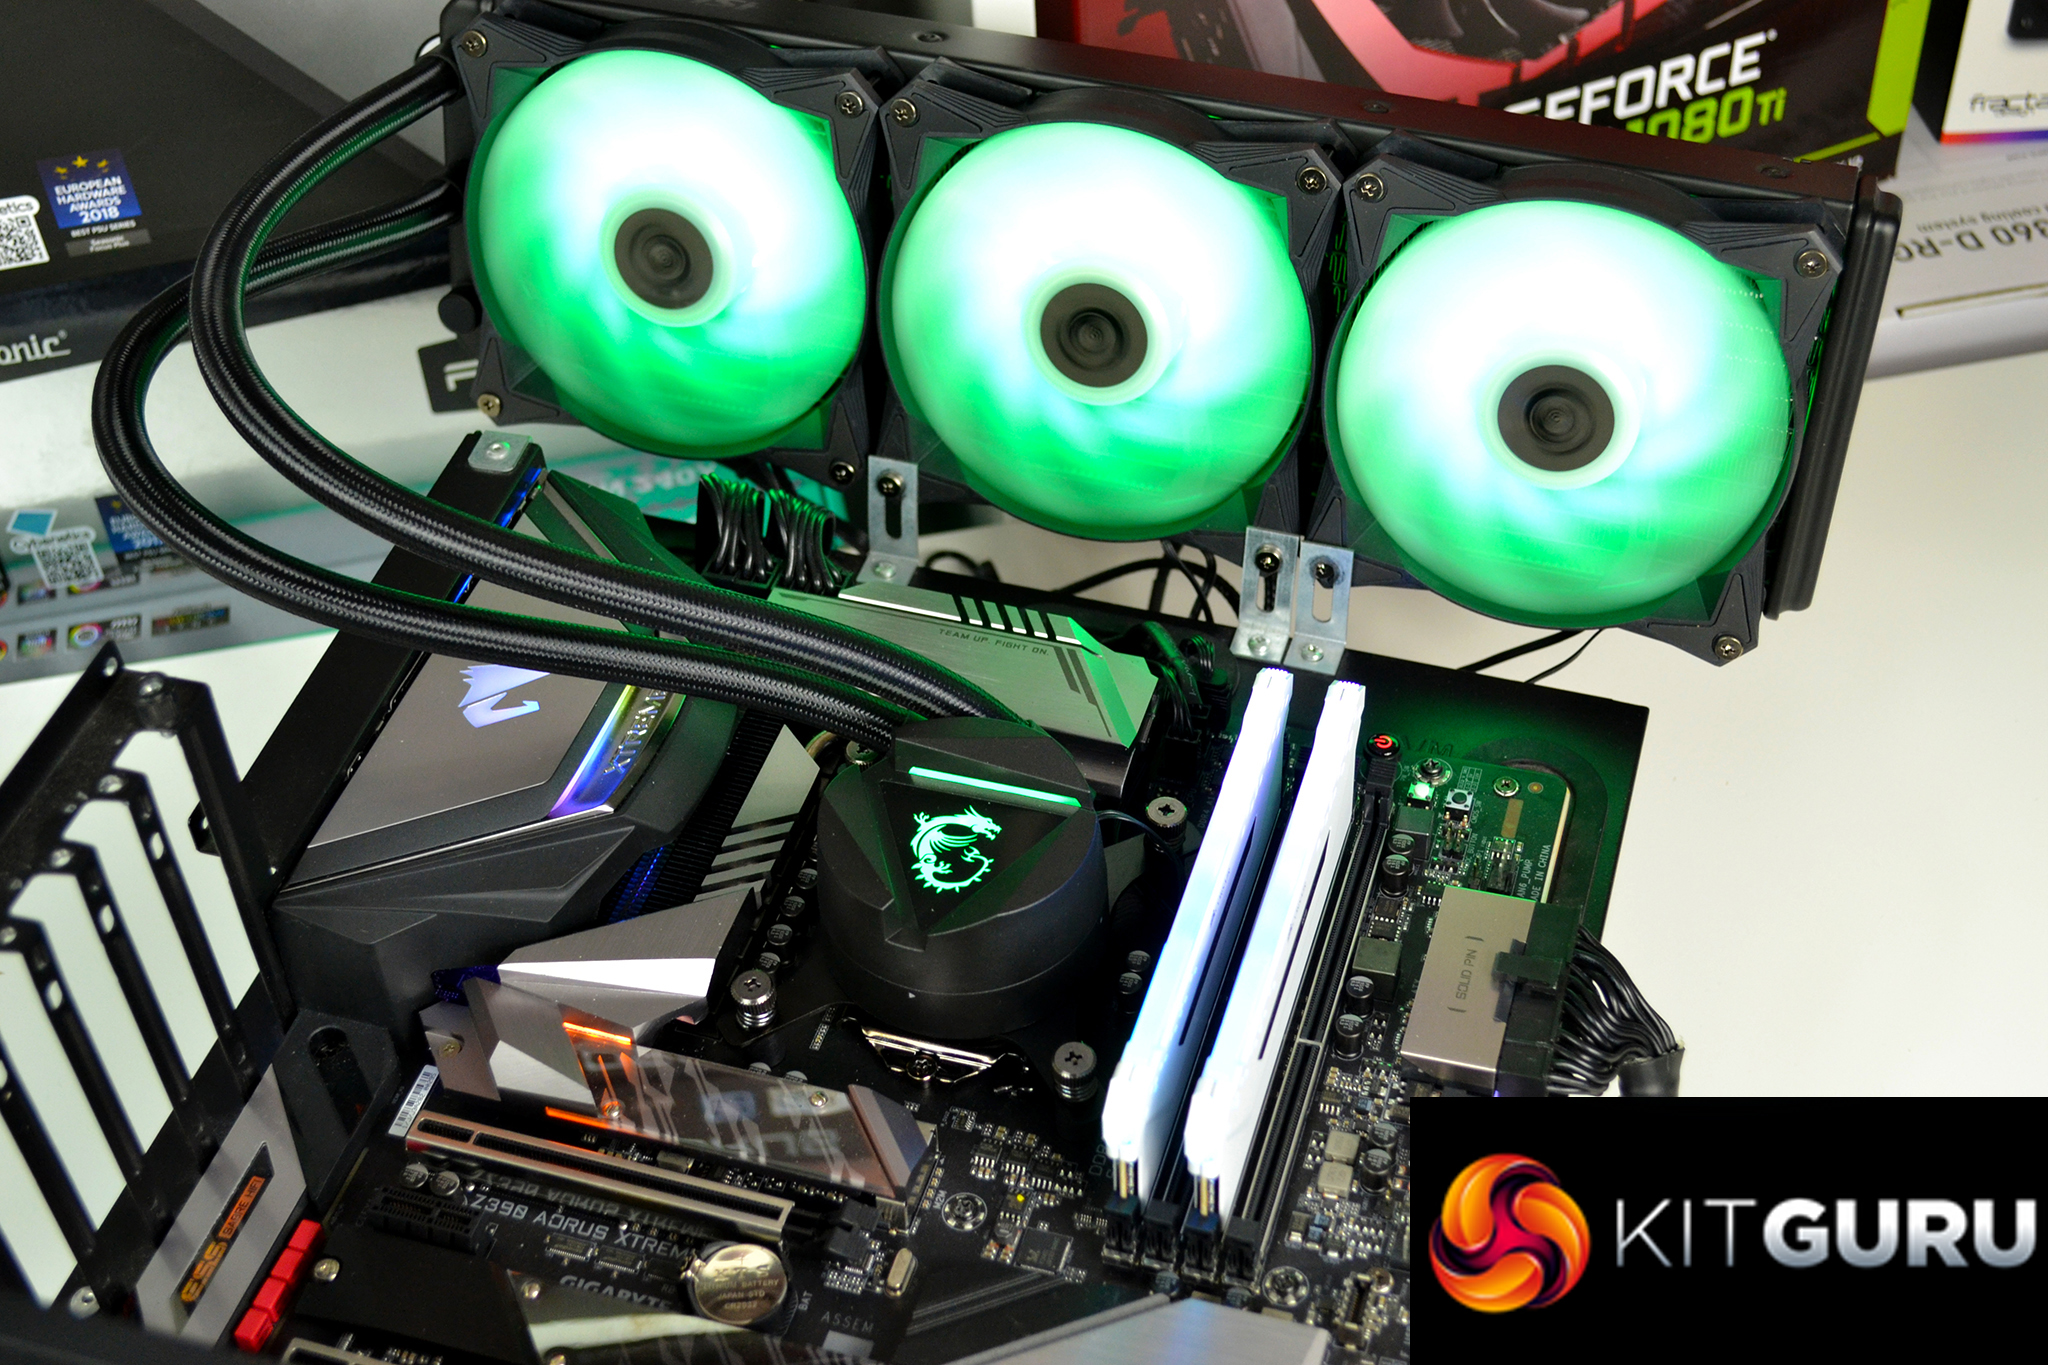
However, the MSI MAG CoreLiquid series does have a number of its own unique features. The CPU block is equipped with an MSI dragon logo which is illuminated by Addressable RGB lighting, as well as a top cover that can be rotated 270-degrees to ensure the MSI dragon is facing in the correct orientation no matter which position the CPU block is installed to the socket.
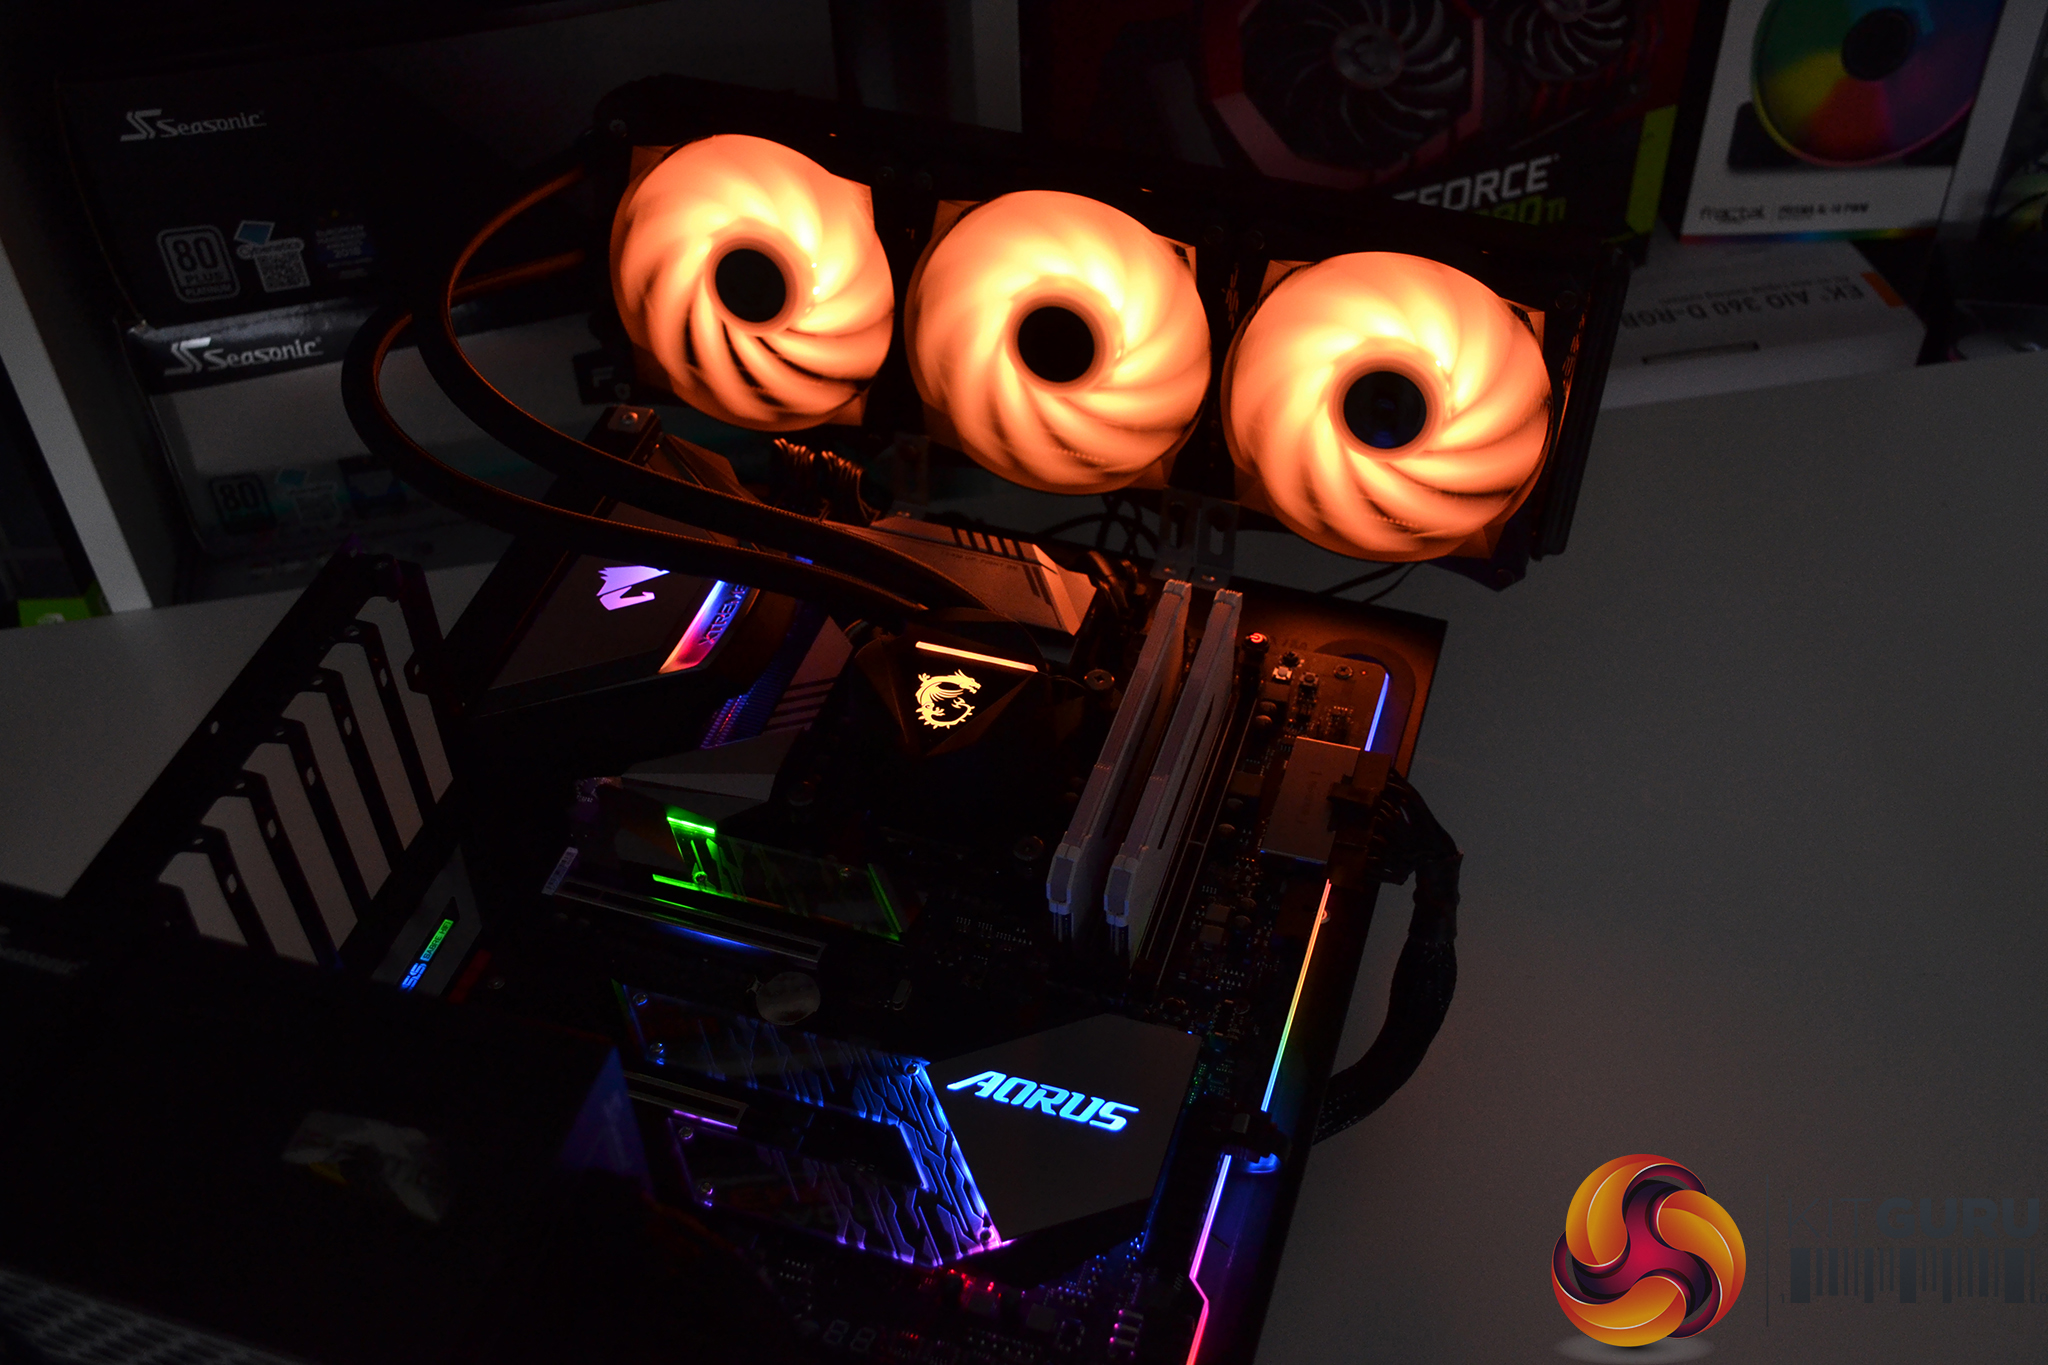
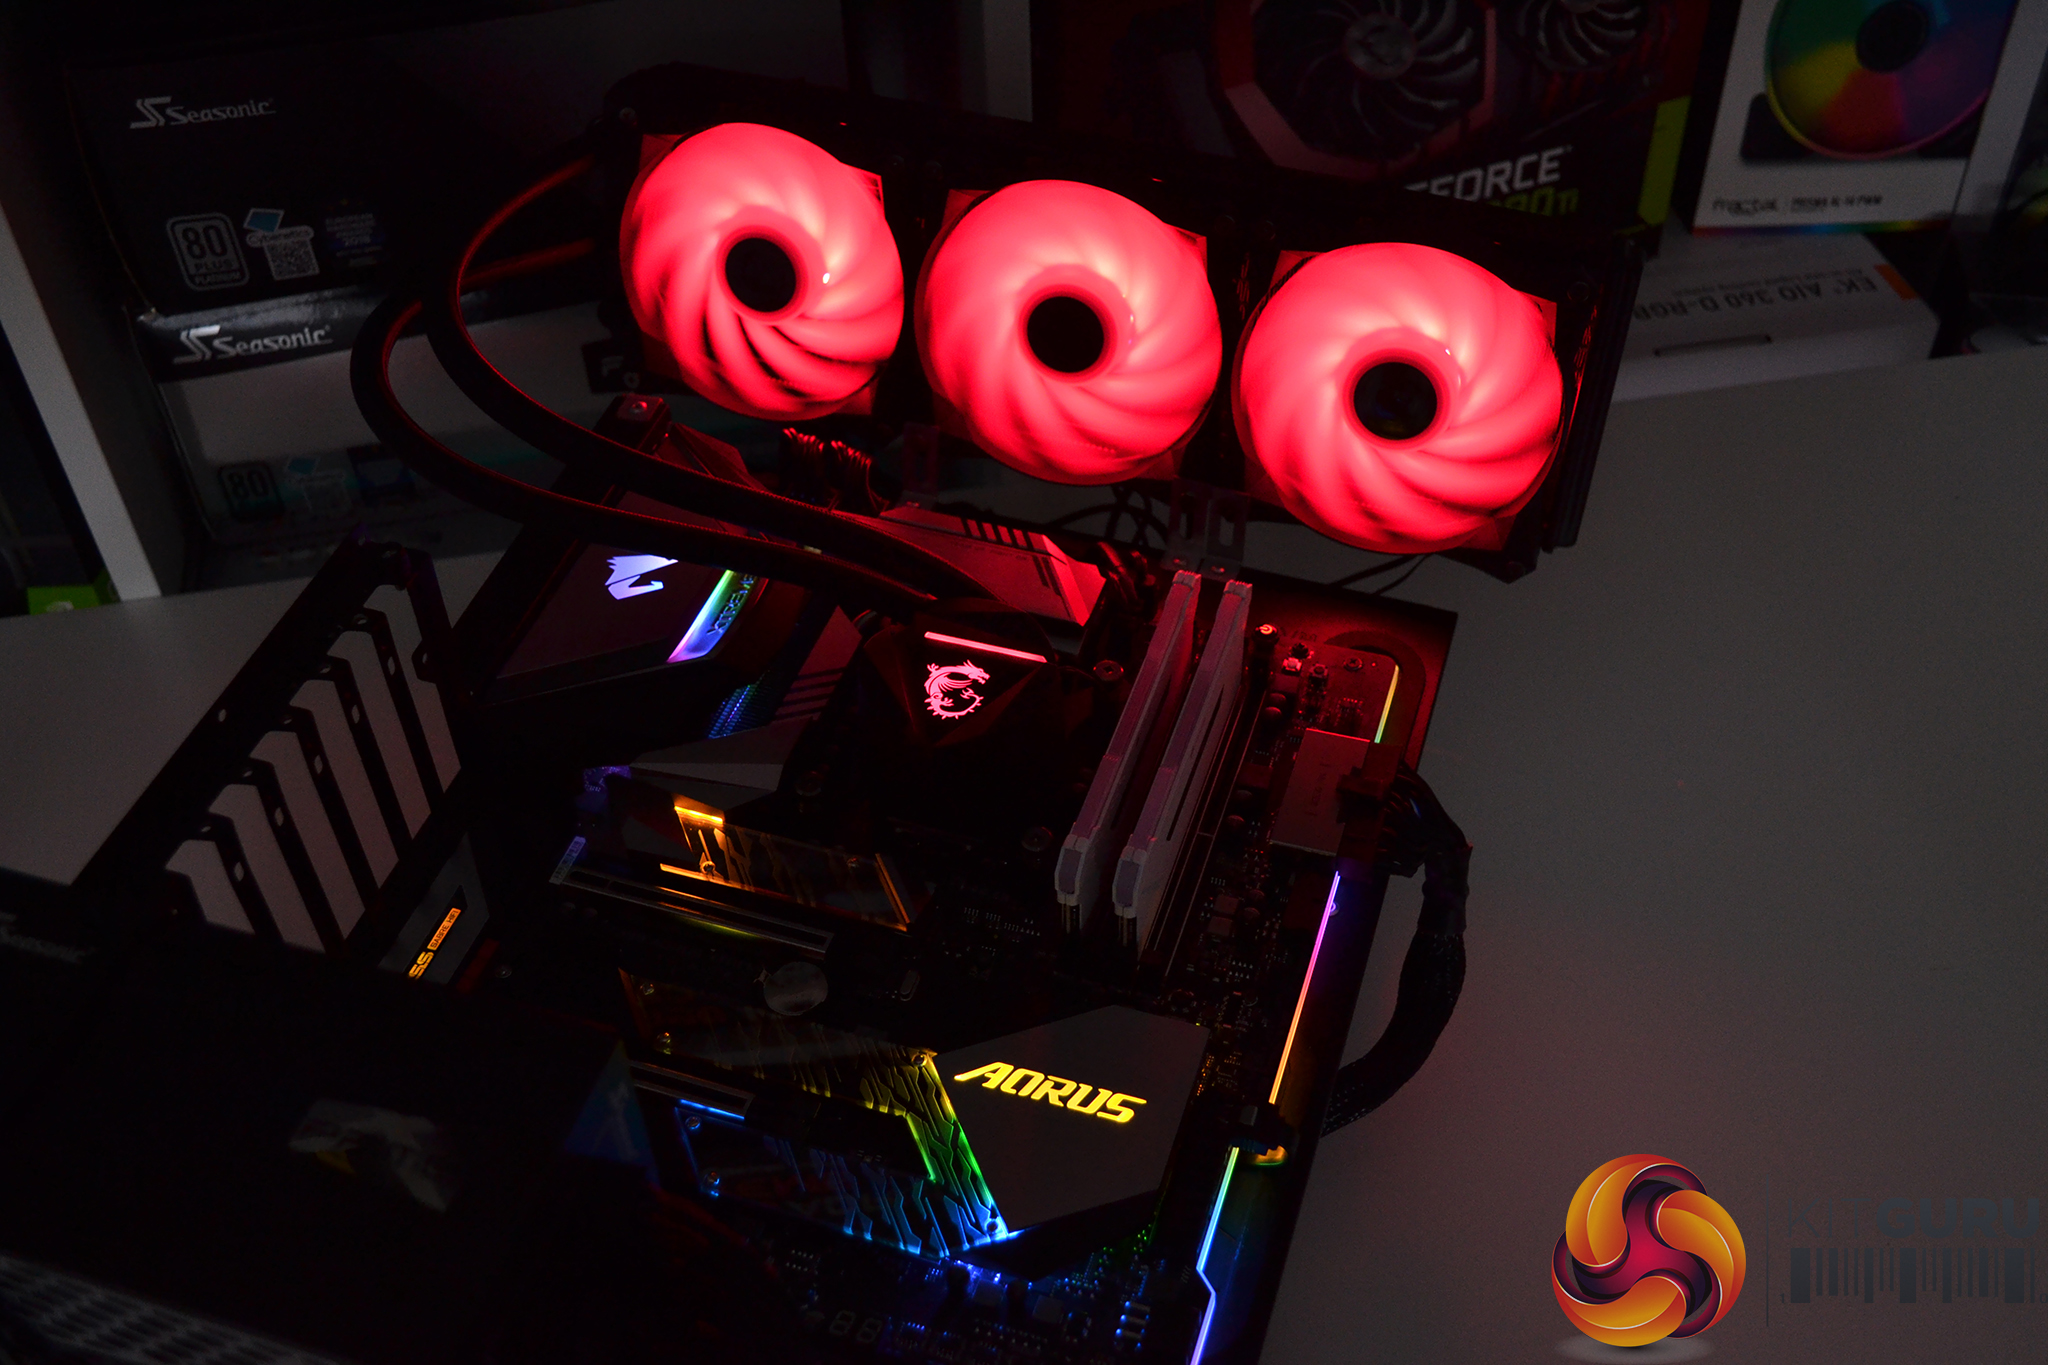
The RGB lighting of the MSI MAG CoreLiquid 360R extends to the fans, giving users two RGB lighting zones to configure and customise. RGB lighting effects can be synchronised and controlled either by motherboard manufacturer software such as MSI Mystic Light via a 3-pin 5v ARG header or by using an RGB HUB. However, a standalone RGB hub isn’t included with the MAG CoreLiquid, so if you plan to use this with an older motherboard without ARGB headers, then the RGB features will not work out of the box.
In terms of technical specifications, the MSI MAG CoreLiquid 360R is outfitted with a durable three-phase motor driving the pump with a maximum speed of 4200 PRM and low noise levels of 18 dBA, along with 120mm dual ball-bearing fans that have a speed range of 500-2000 RPM controlled by a 4-pin PWM connection and a maximum airflow rating of 78.73 CFM.
As is typical with AIO closed loop coolers, the CoreLiquid 360R features a 27mm thick aluminium radiator and low evaporation reinforced rubber tubing covered with a premium-looking braided sleeving. One noticeable and a rather unconventional feature of the MSI MAG CoreLiquid is a removable plug in the radiator that looks like it could be used to refill the system. Whether this is intended for the end-user to top up liquid or for initial factory filling hasn't been disclosed.
CPU socket support of the MSI MAG CoreLiquid 360R is extensive, all current mainstream desktop platforms from both Intel and AMD are covered, including the new Intel socket LGA1200 for 10th generation Core processors as well as AMD high-end desktop TR4/TRX40 Ryzen Threadripper platforms.
Key Features
- Radiator mounted pump design
- Rotating CPU block top cover
- Two-zone ARGB lighting
- Extensive CPU socket support
Specifications
| Radiator Dimensions | 394 x 120 x27mm |
| Radiator Material | Aluminium |
| Tube length | 400mm |
| Pump Speed | 4200 RPM |
| Pump Noise | 18 dB(A) |
| Pump Connector | 3-pin |
| Pump Rated Voltage | 12 VDC |
| Pump Load Current | 0.34 A |
| Pump Power Consumption | 4.08 W |
| Fan Dimensions | 120 x 120 x 25 mm |
| Fan Speed Range | 500 ~ 2000 RPM |
| Fan Noise Level | 14.3 ~ 34.3 dBA |
| Fan Air Flow | 21.63 ~ 78.73 CFM |
| Fan Connector | 4-pin PWM |
| Bearing Type | Two Ball Bearing |
| Fan Rated Voltage | 12 VDC |
| Fan Rated Current | 0.15 A |
| Fan Power Consumption | 1.8 W |
| LED Type | Addressable RGB LED |
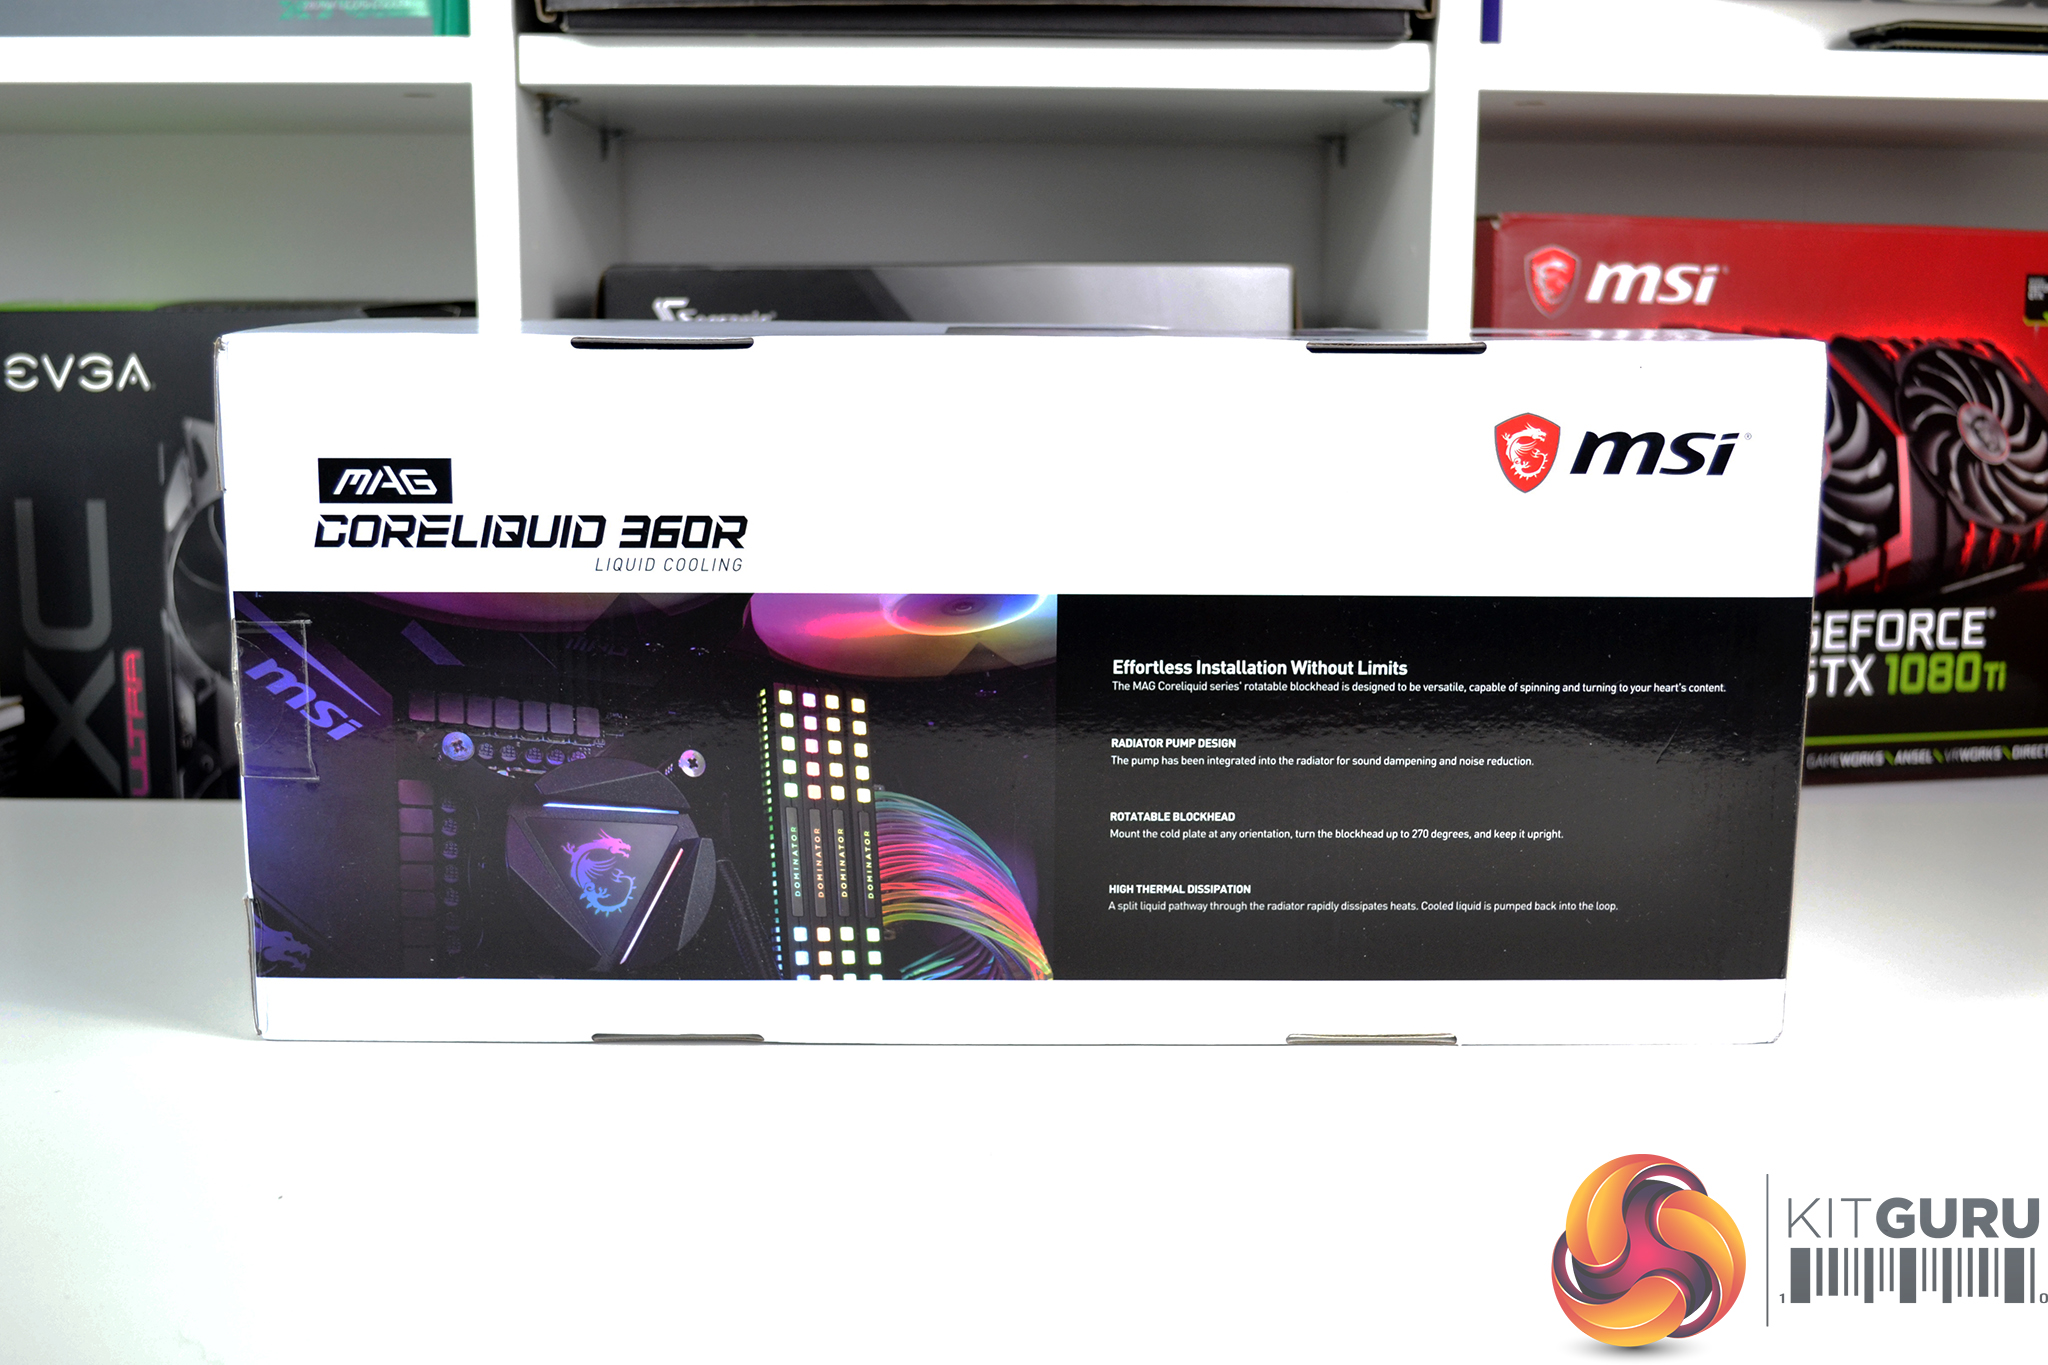
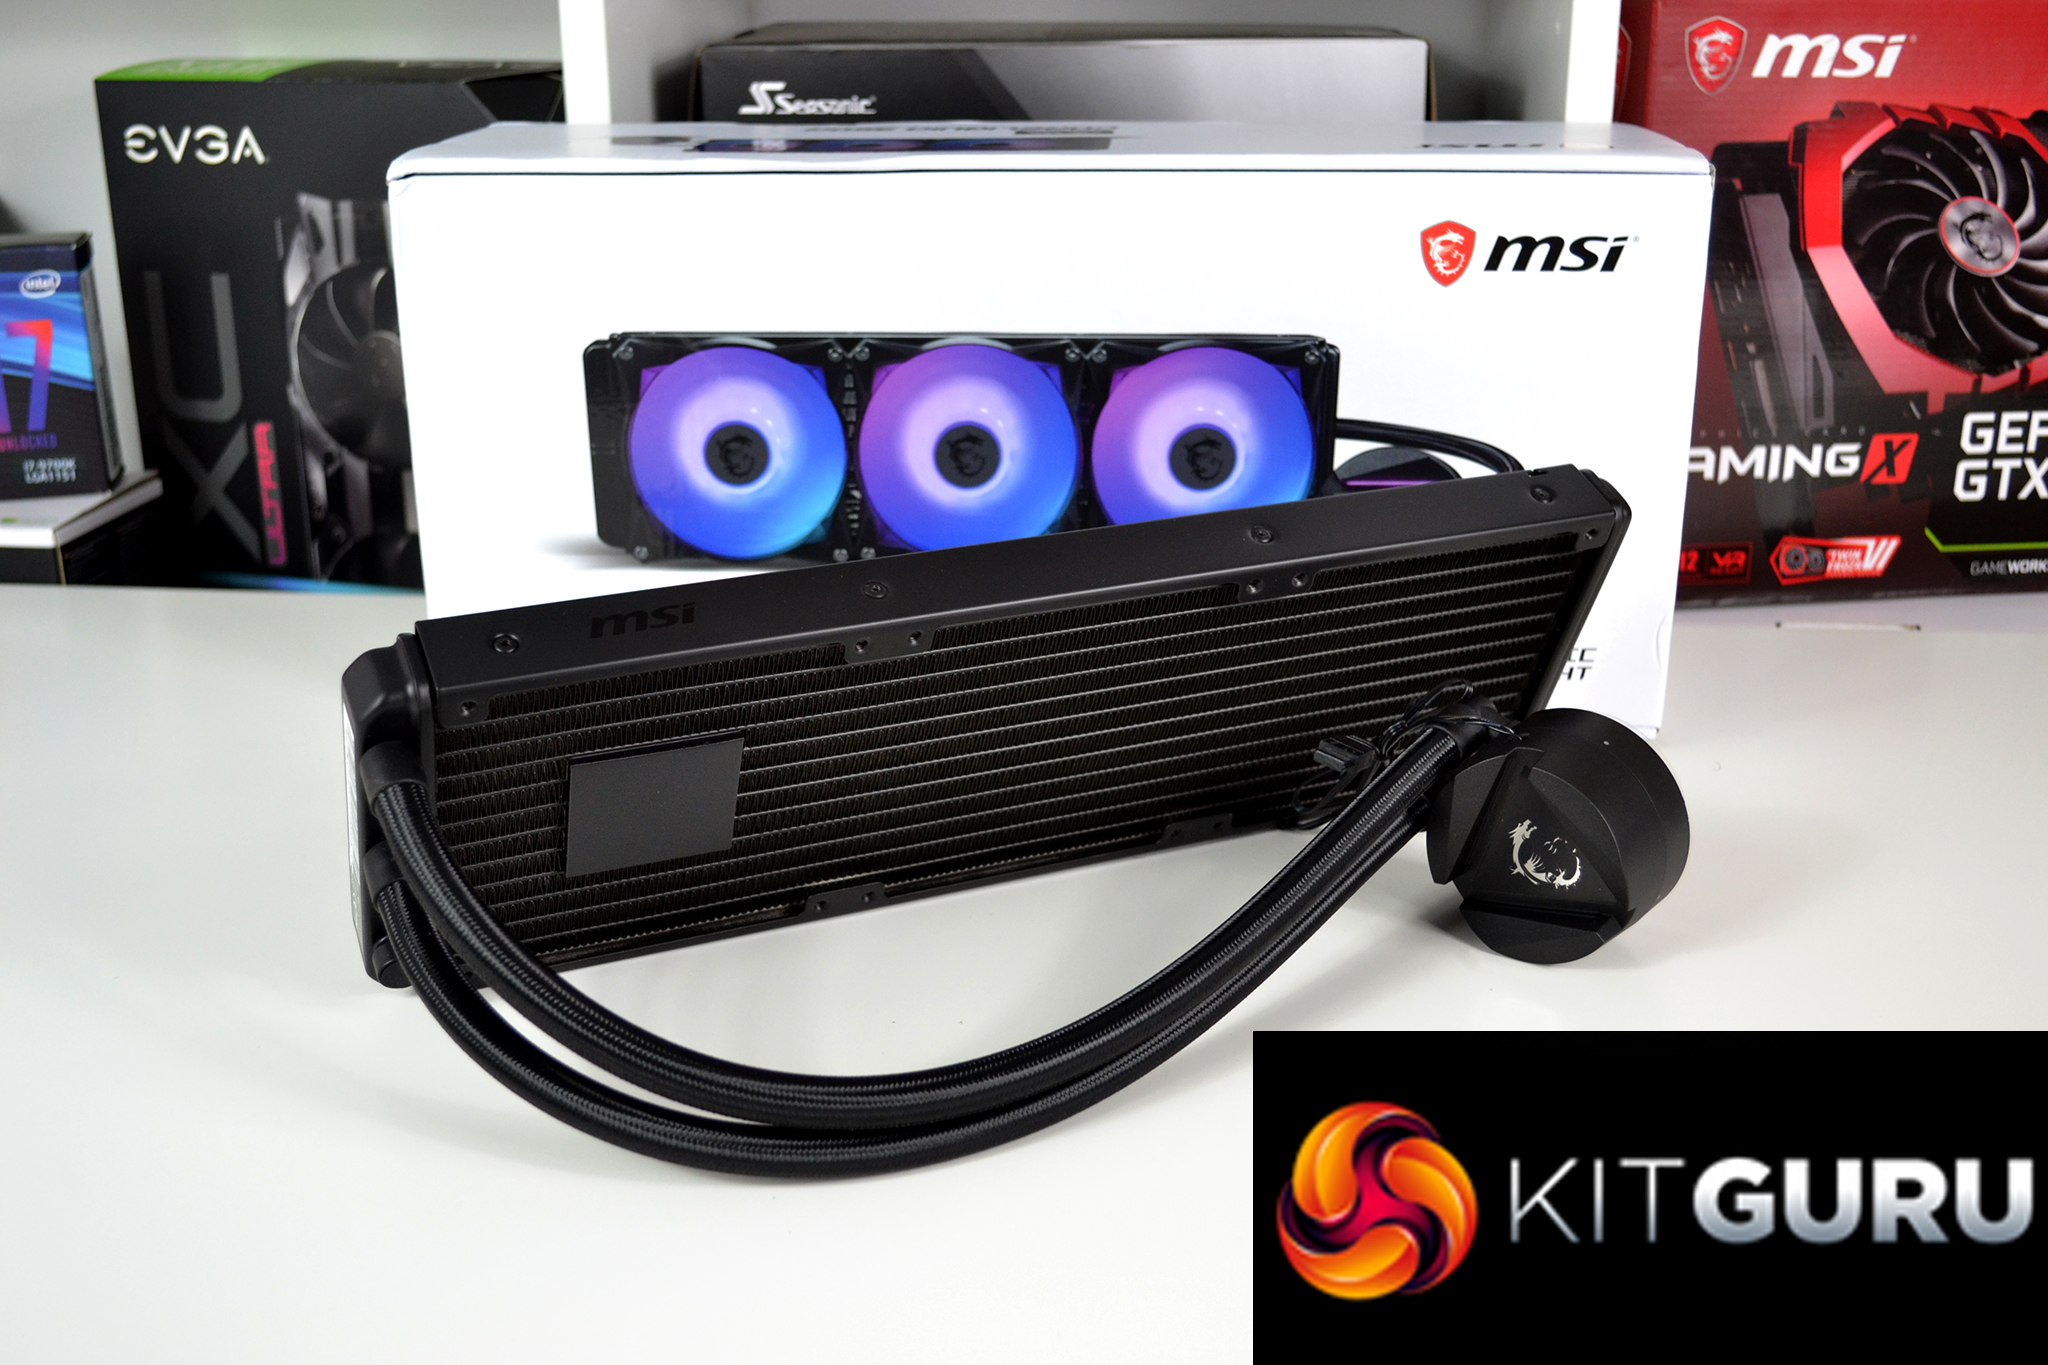
MSI MAG CoreLiquid 360R is packaged in a simple cardboard box with a modern white background that accentuates the large image of the cooler on the front. On the rear of the box is a section that details the MAG CoreLiquid keys features and on the side of the box is a comprehensive list of specifications.
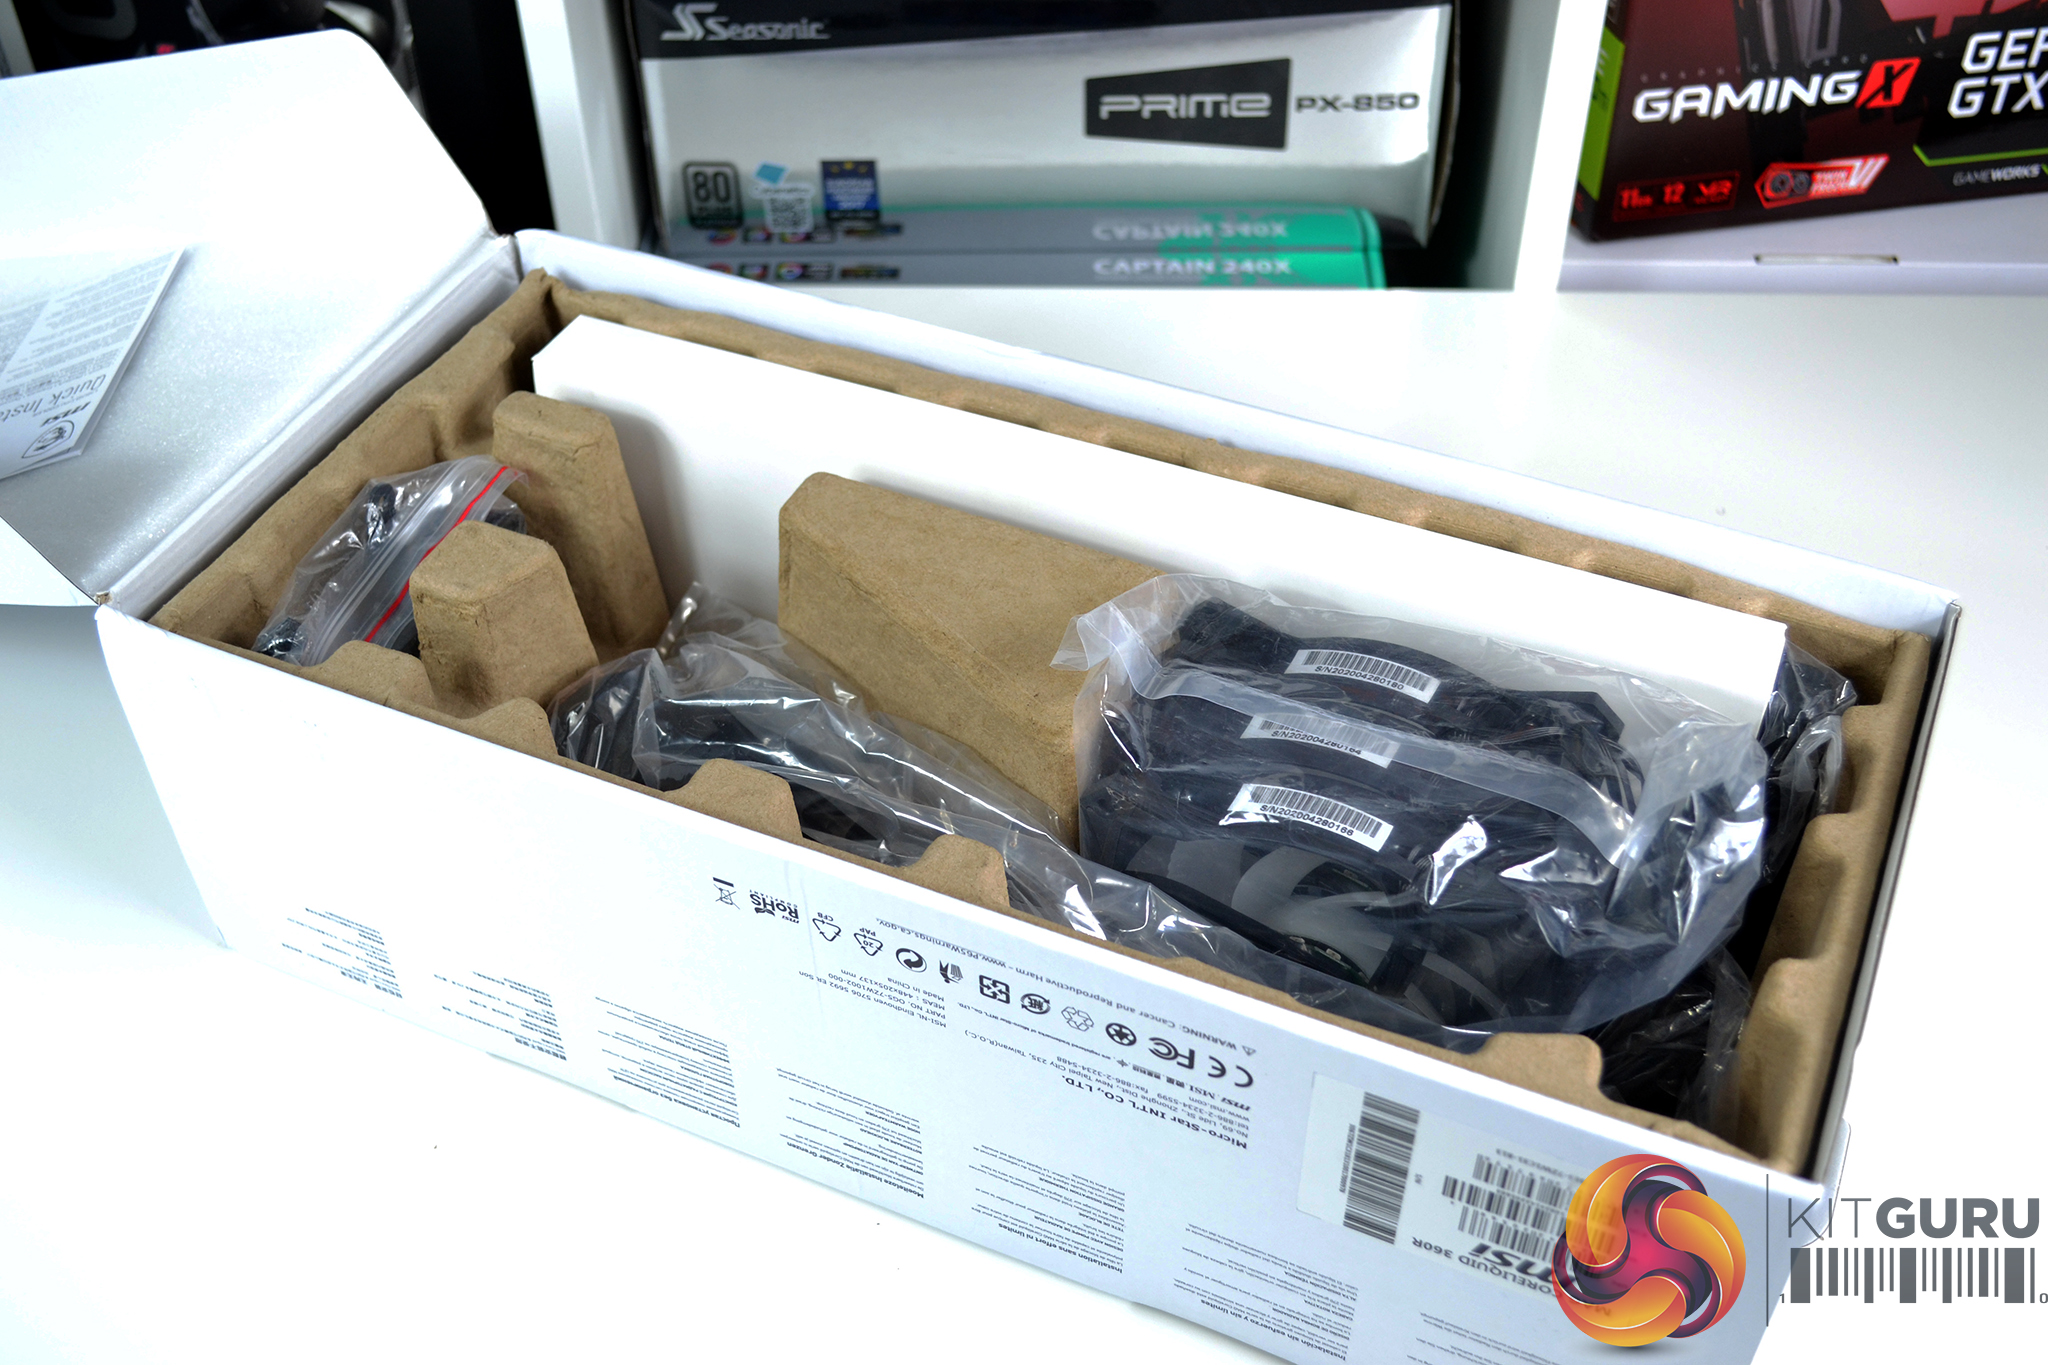
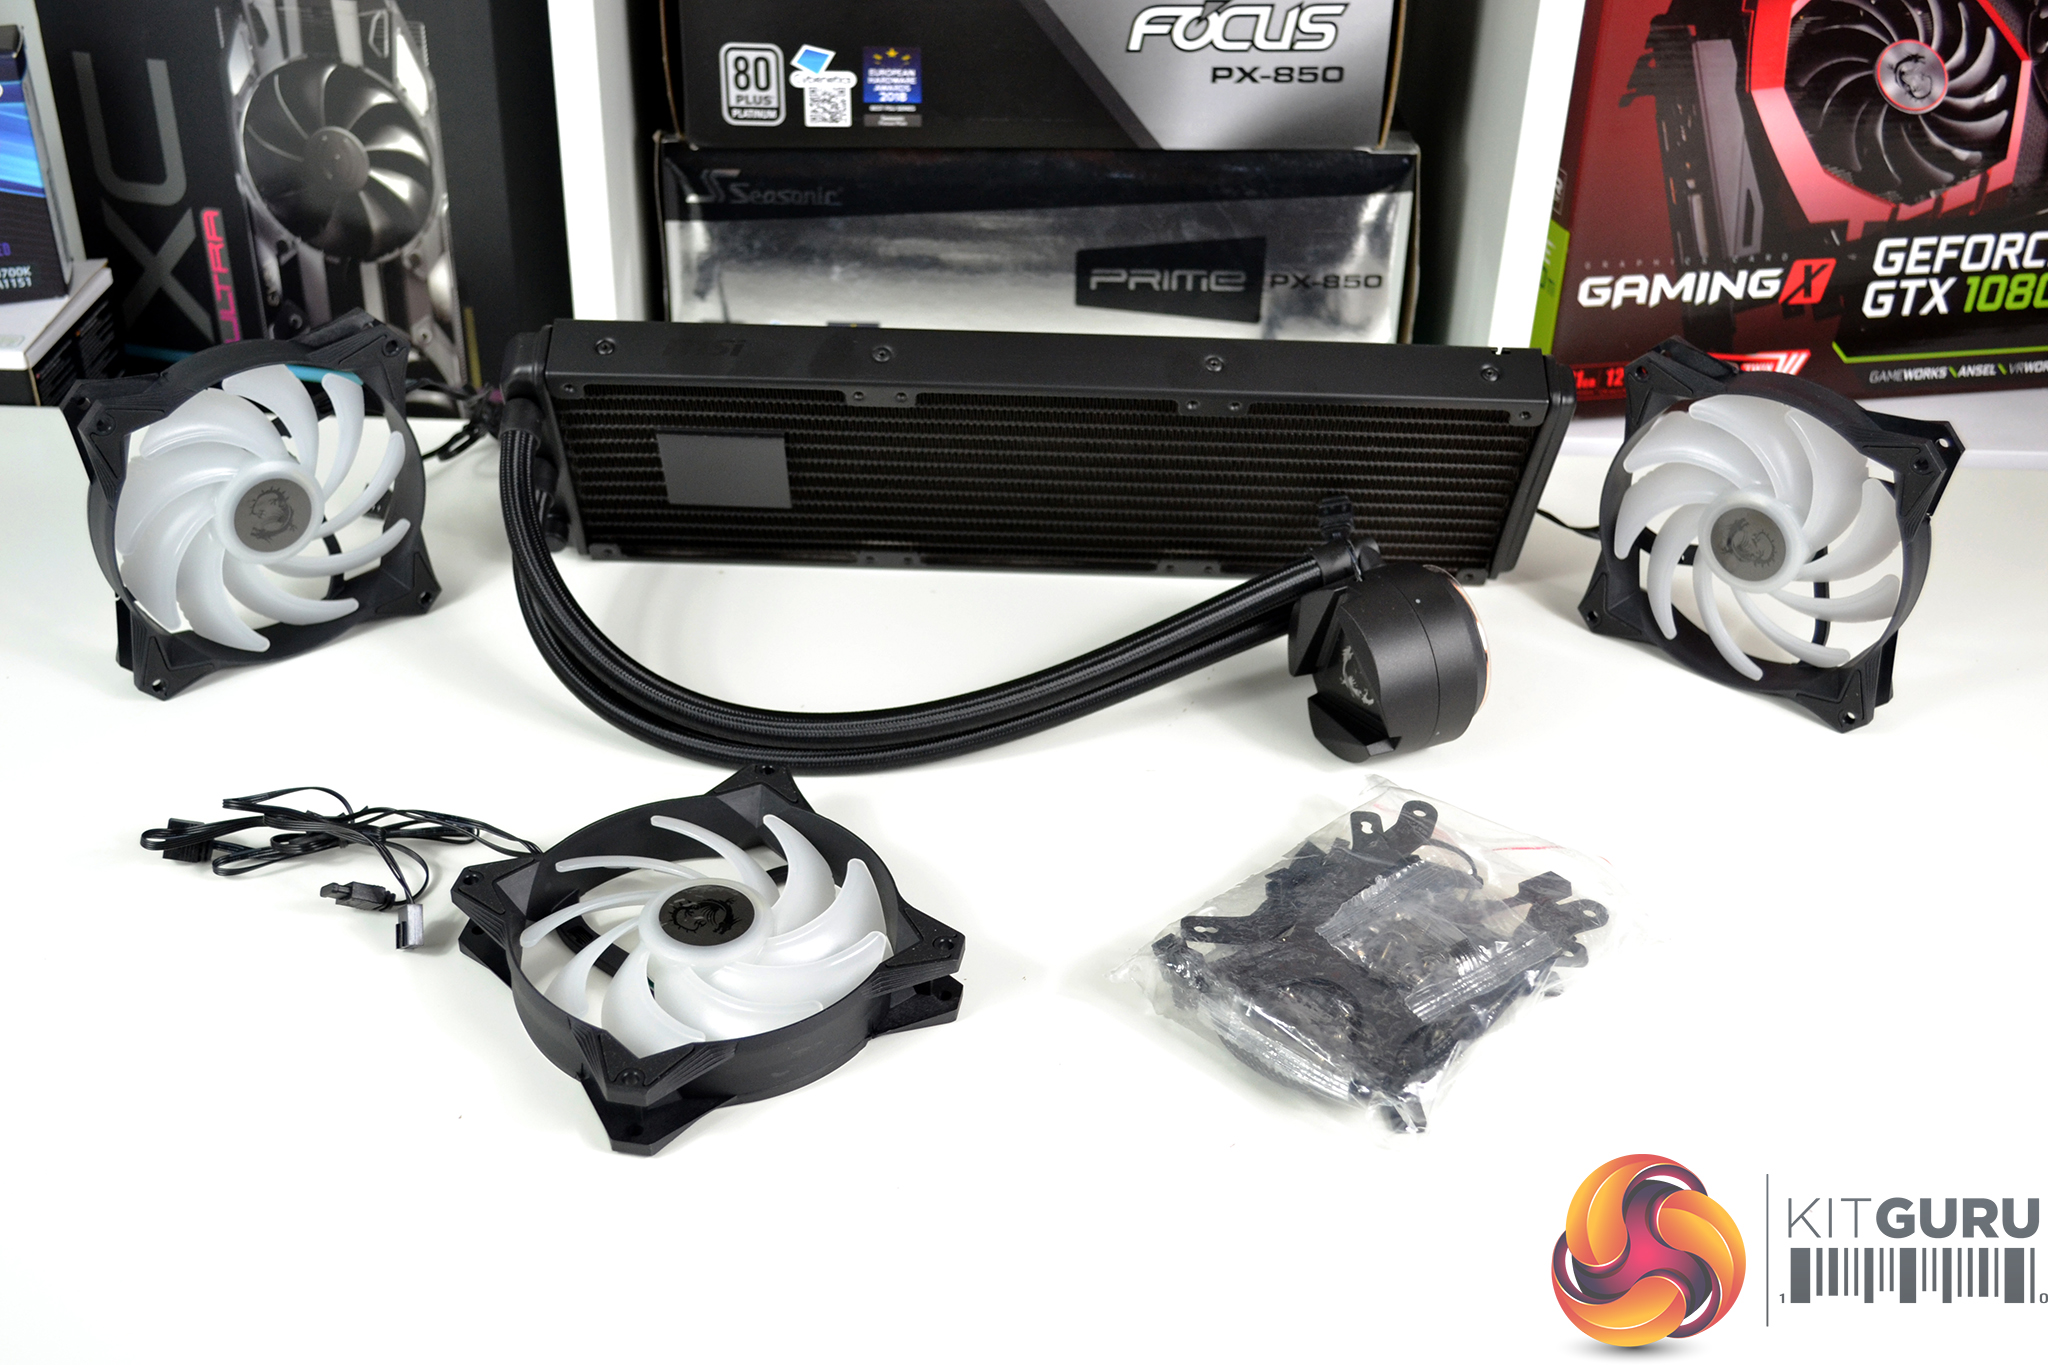
Inside the box, all the contents are protected by a simple cardboard crate, which is typical of AIO cooler packaging. Found inside the box are three 120mm fans, a ziplock bag filled with various screws, fixings, mounting brackets, cables and a small tube of thermal compound, as well as a user guide and, of course, the cooler itself.
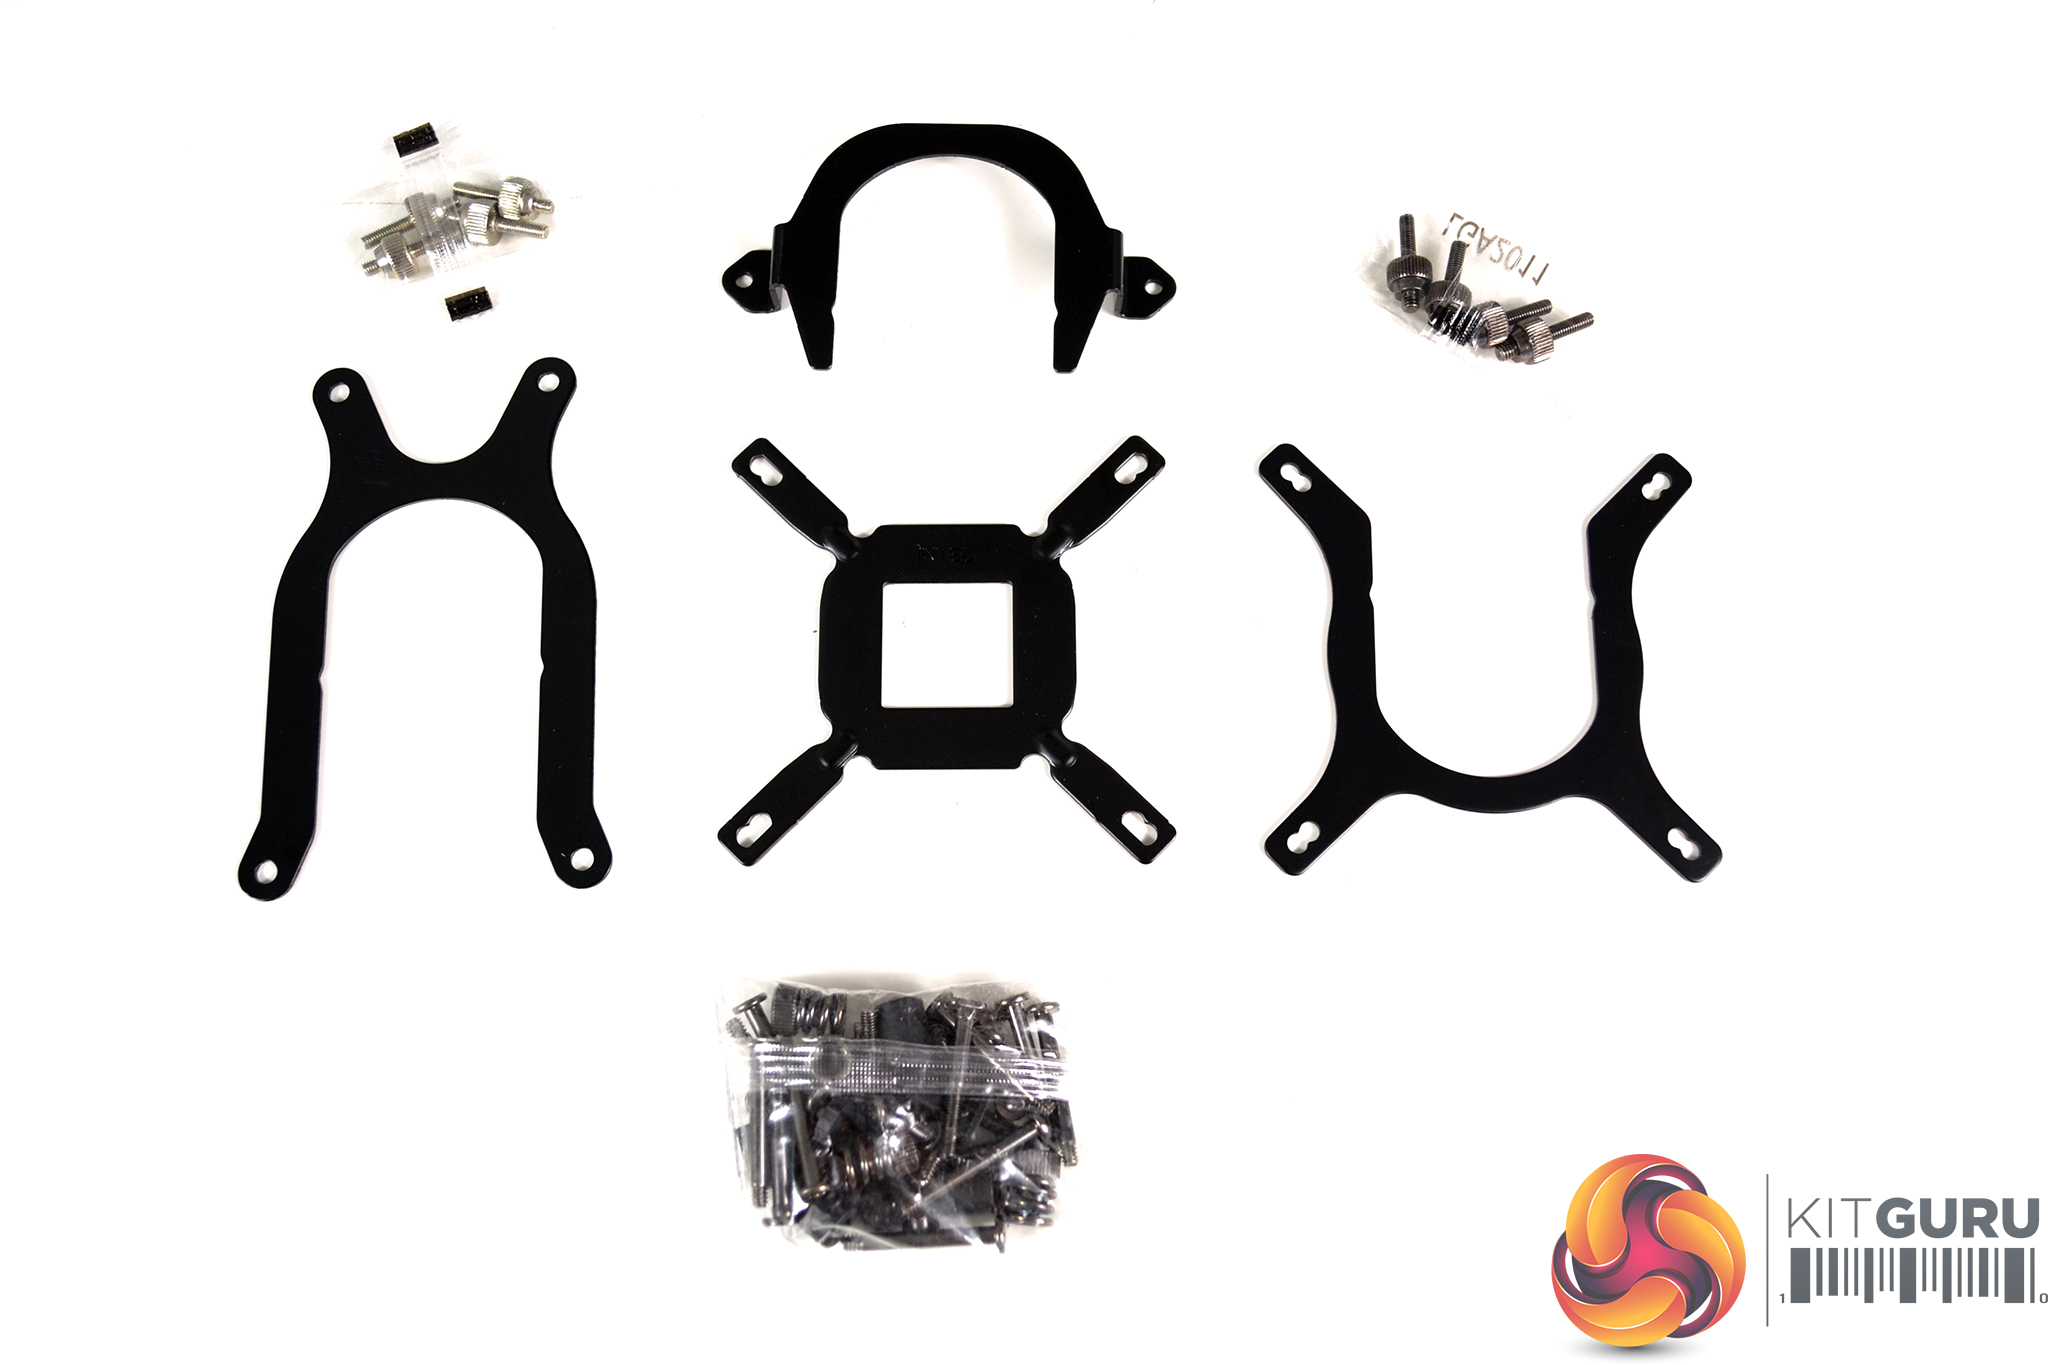
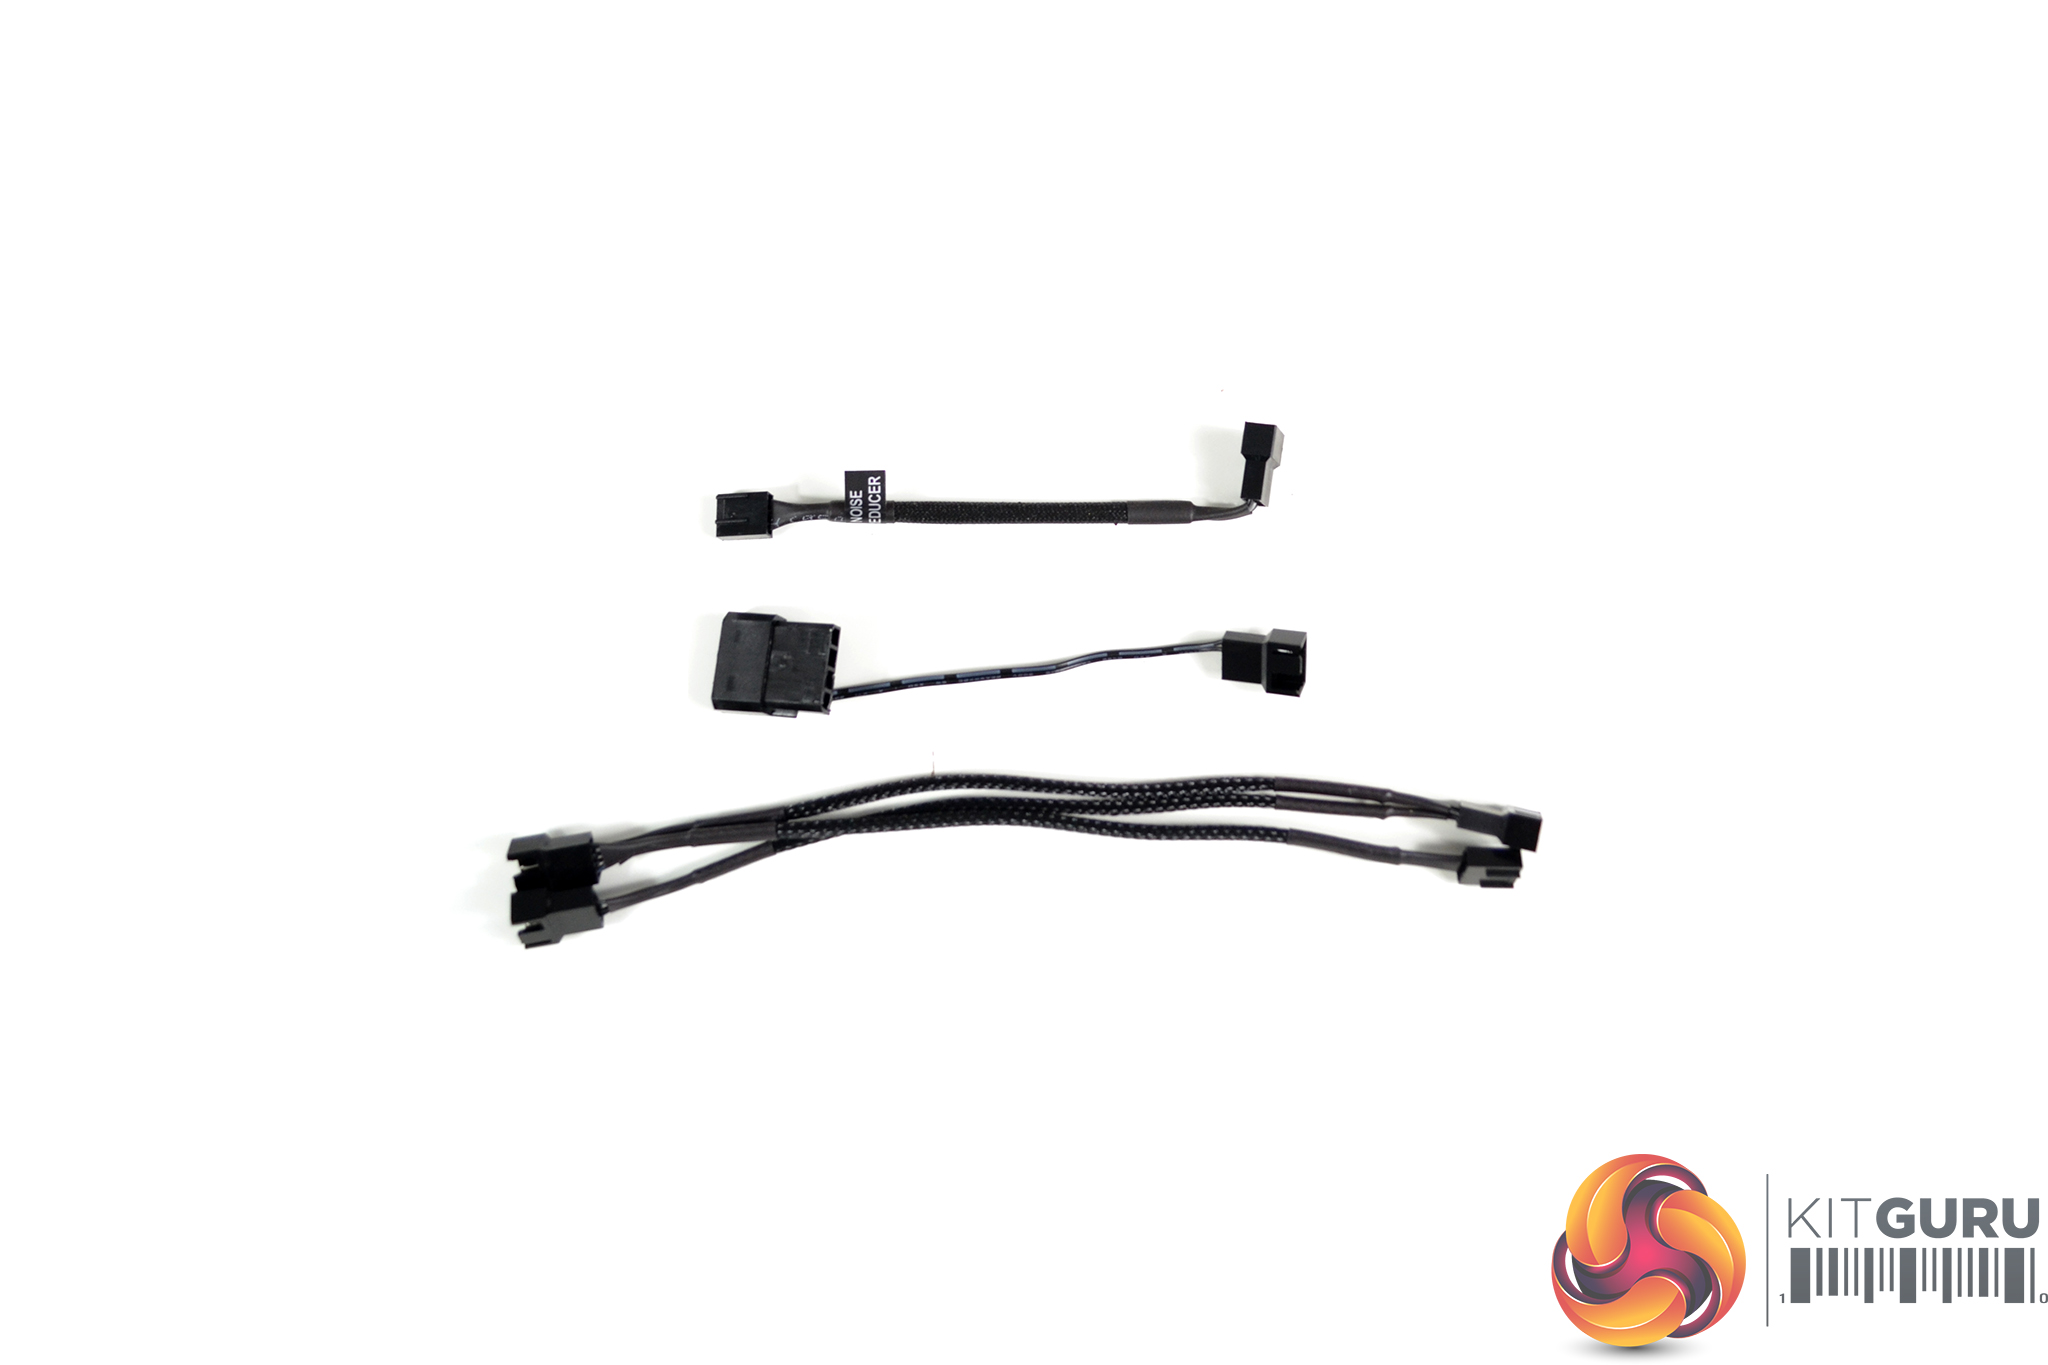
With the contents of the ziplock bag emptied out on to the desk, we can see that there are three separate upper mounting brackets required for installing the cooler on Intel and AMD platforms, a backplate for Intel installation, various standoffs for each CPU socket type, a bag full of mounting springs, spacers and screws, along with a three-way fan splitter, a Molex to 4-pin power cable and a 4-pin noise reducing fan adaptor cable.
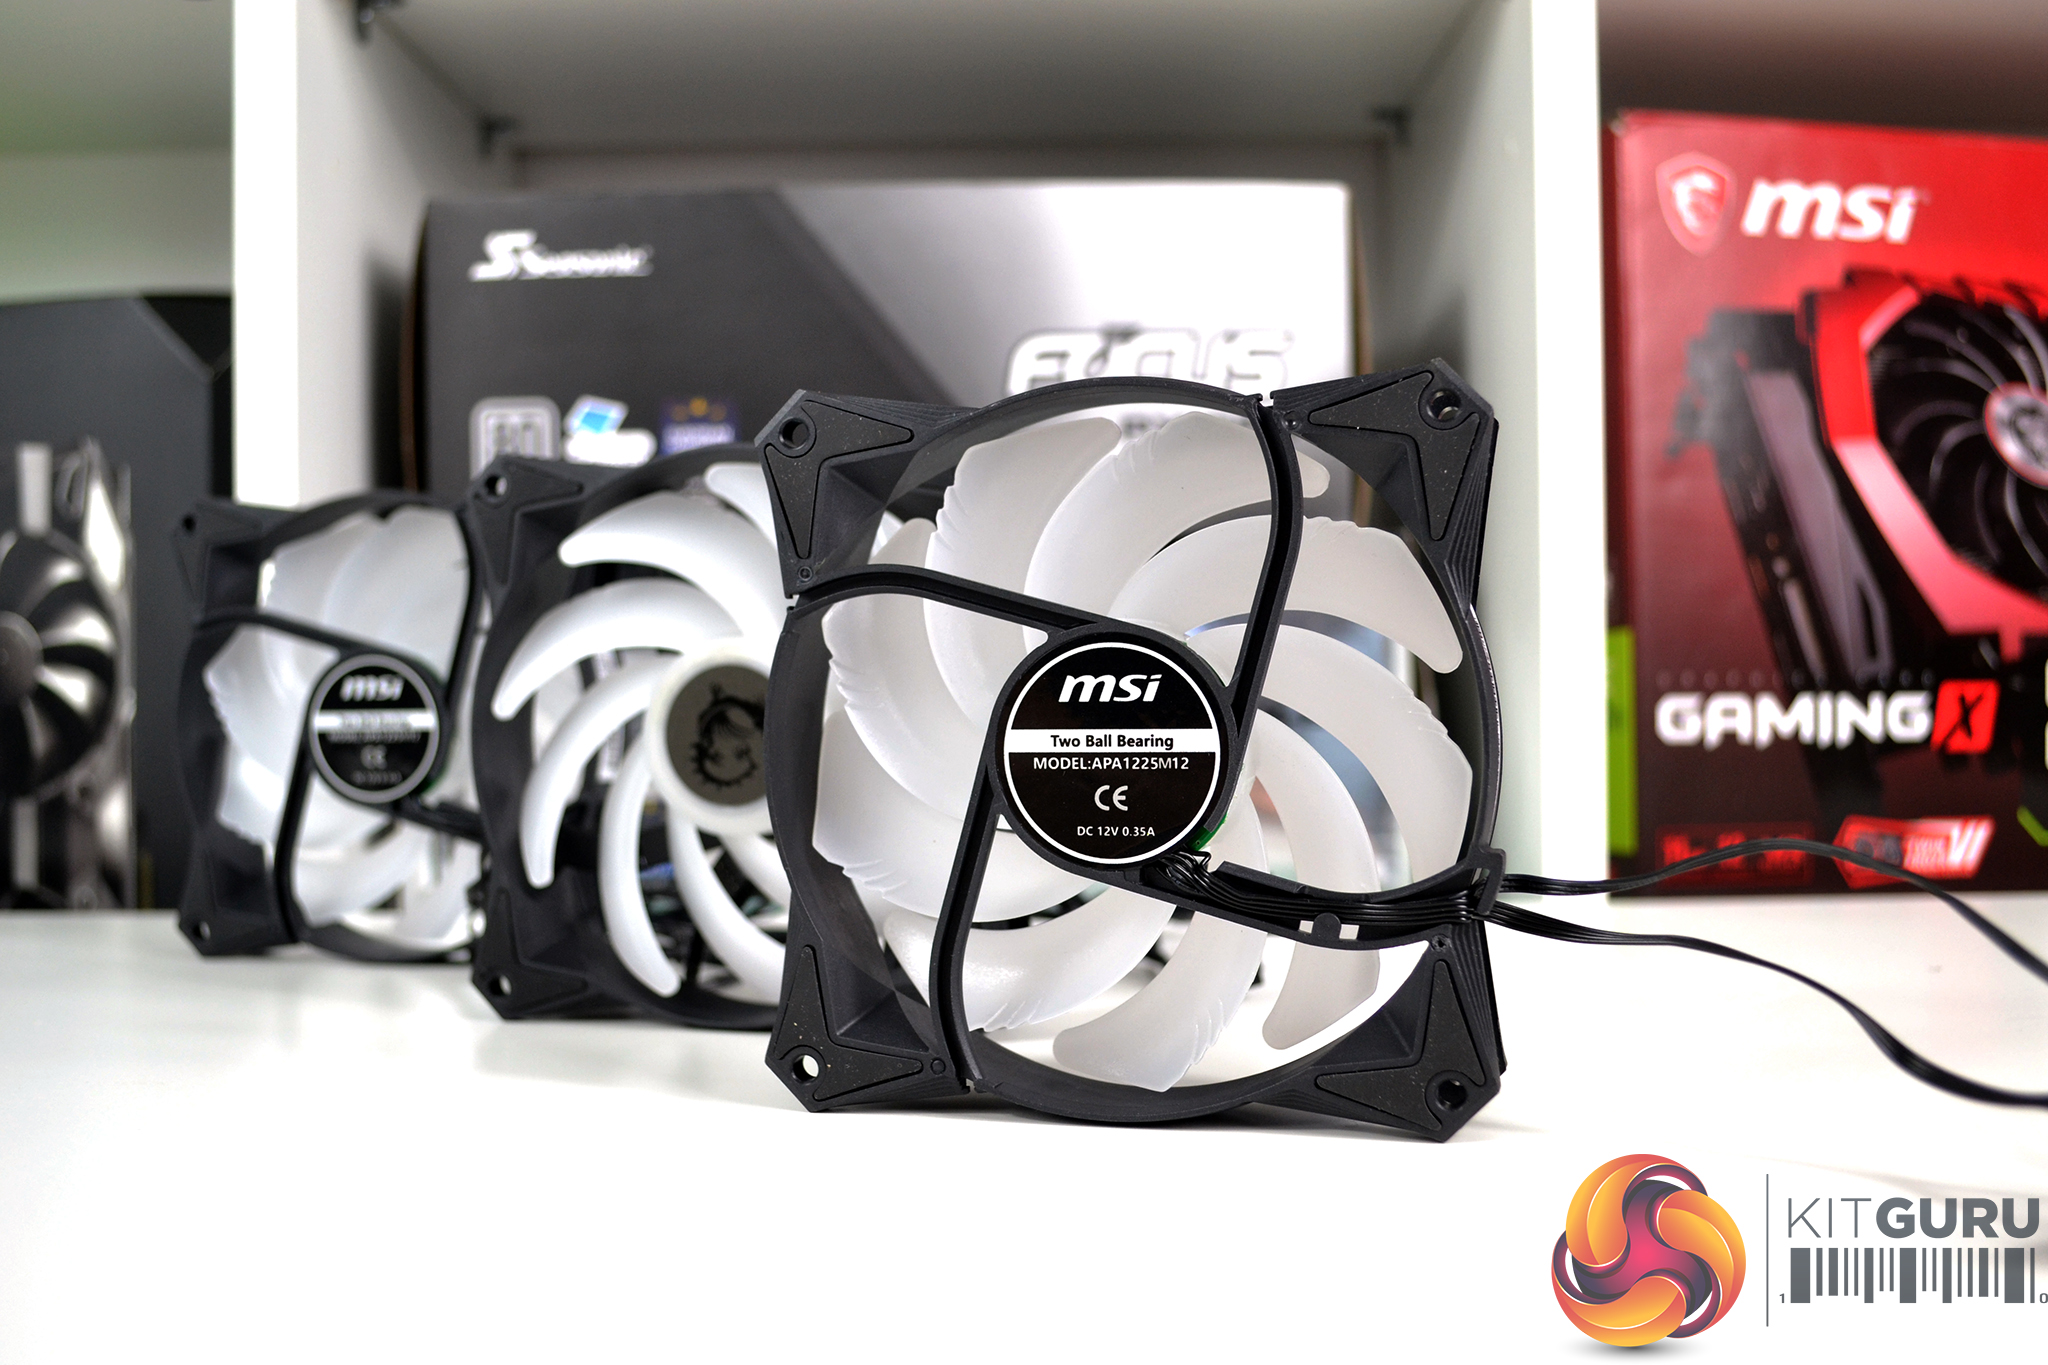
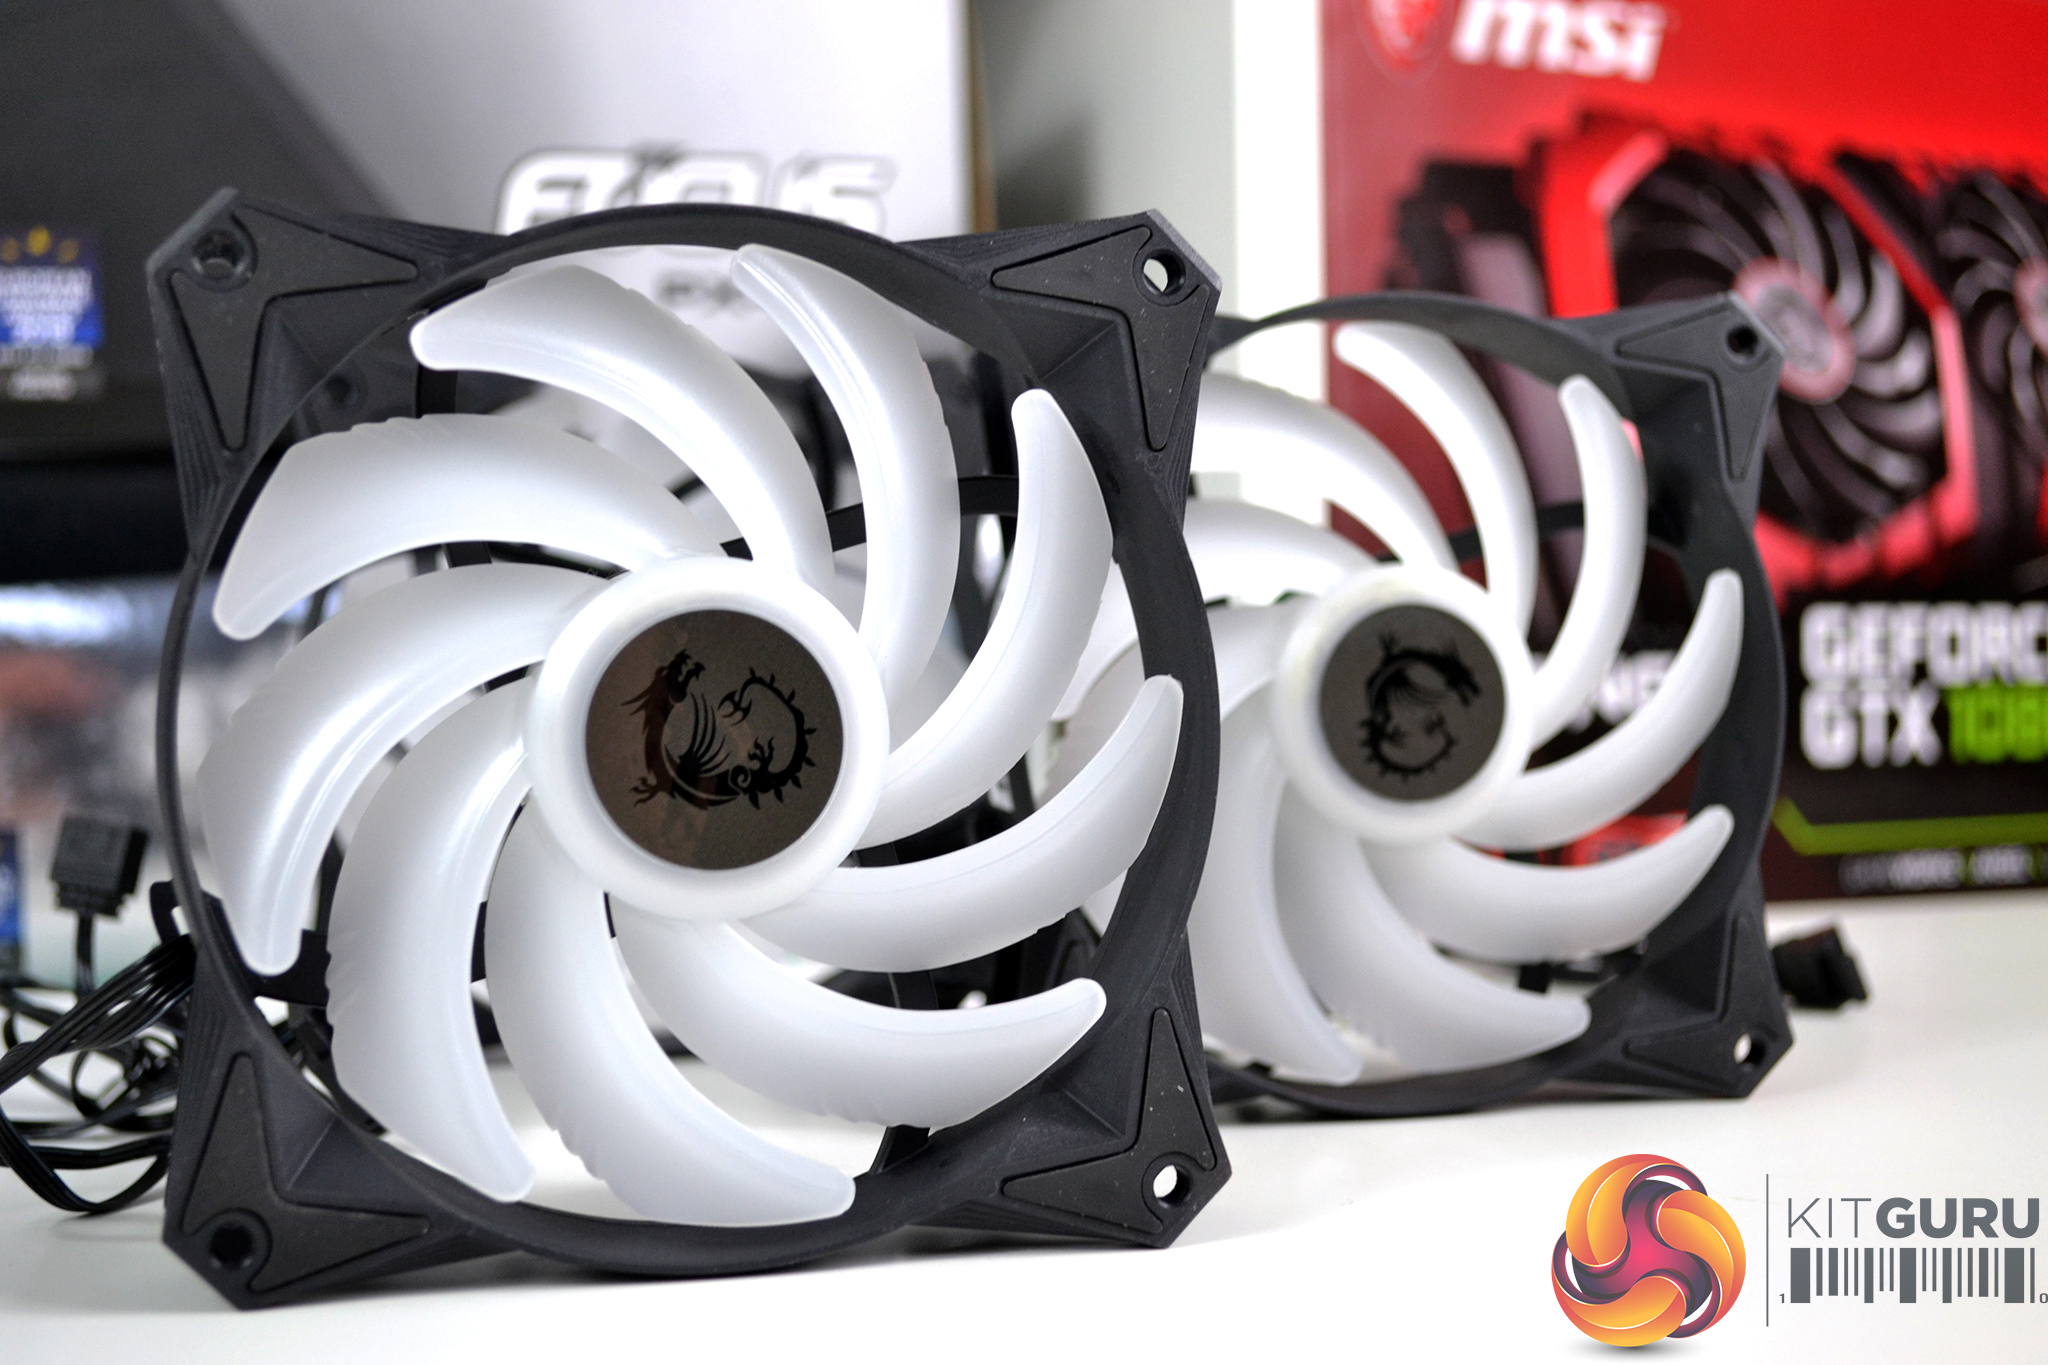
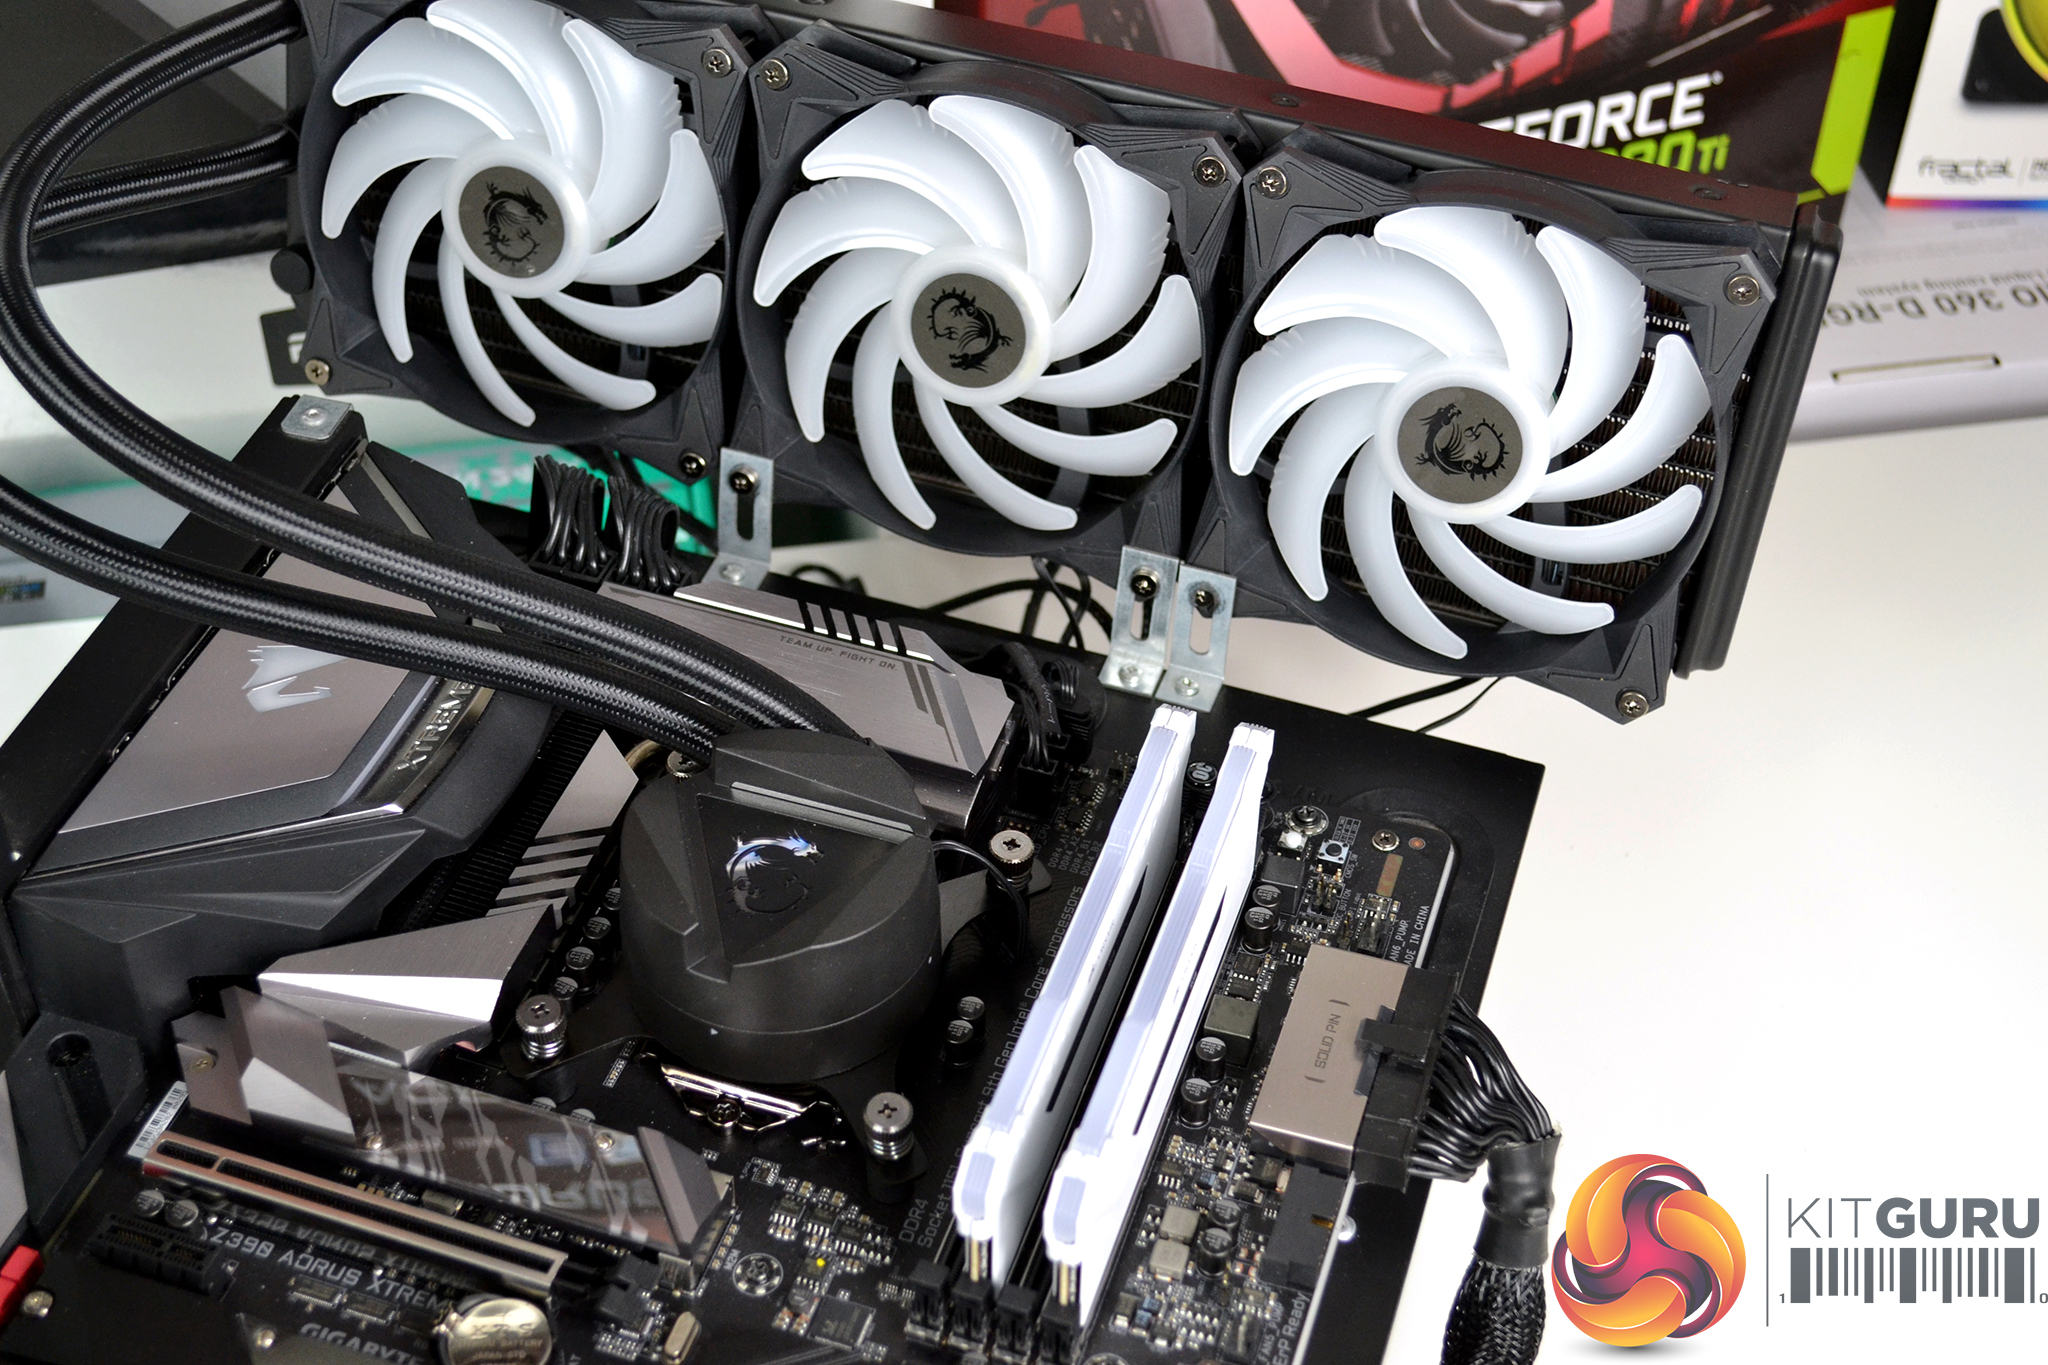
Three 120mm fans bundled with the MAG CoreLiquid 360R are labelled with a model number that suggests they are supplied along with the cooler by Apaltek, this same fan model number has also cropped up before in the Silverstone Tundra AIO series too. The fans are equipped with nine opaque curved blades, anti-vibration rubber mountings with an MSI dragon logo sticker on the central hub and feature a PWM speed range of 500-2000 RPM.
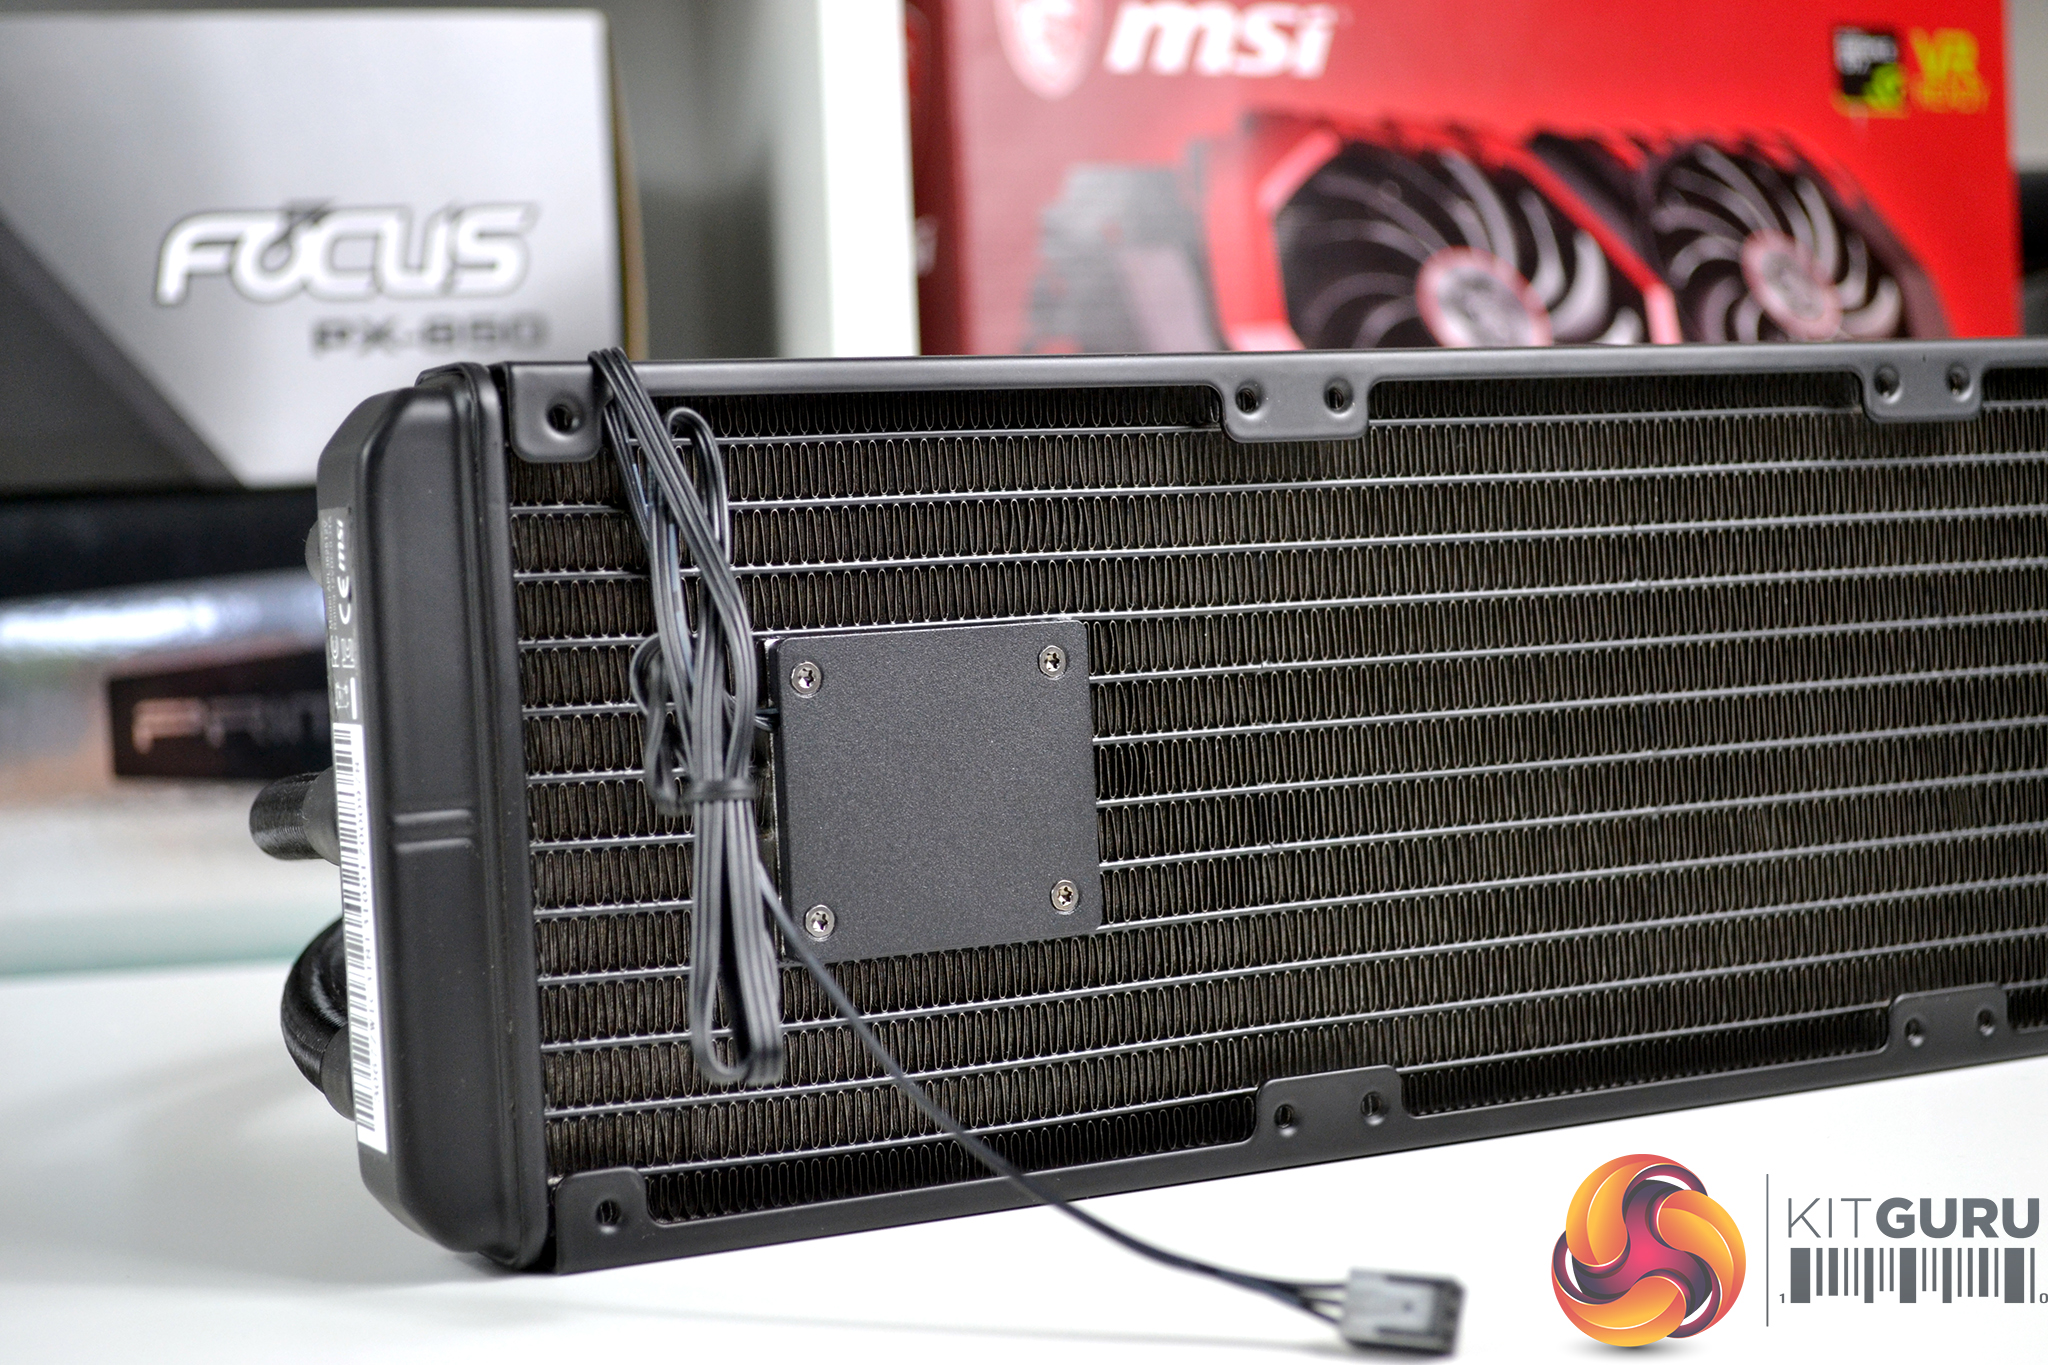
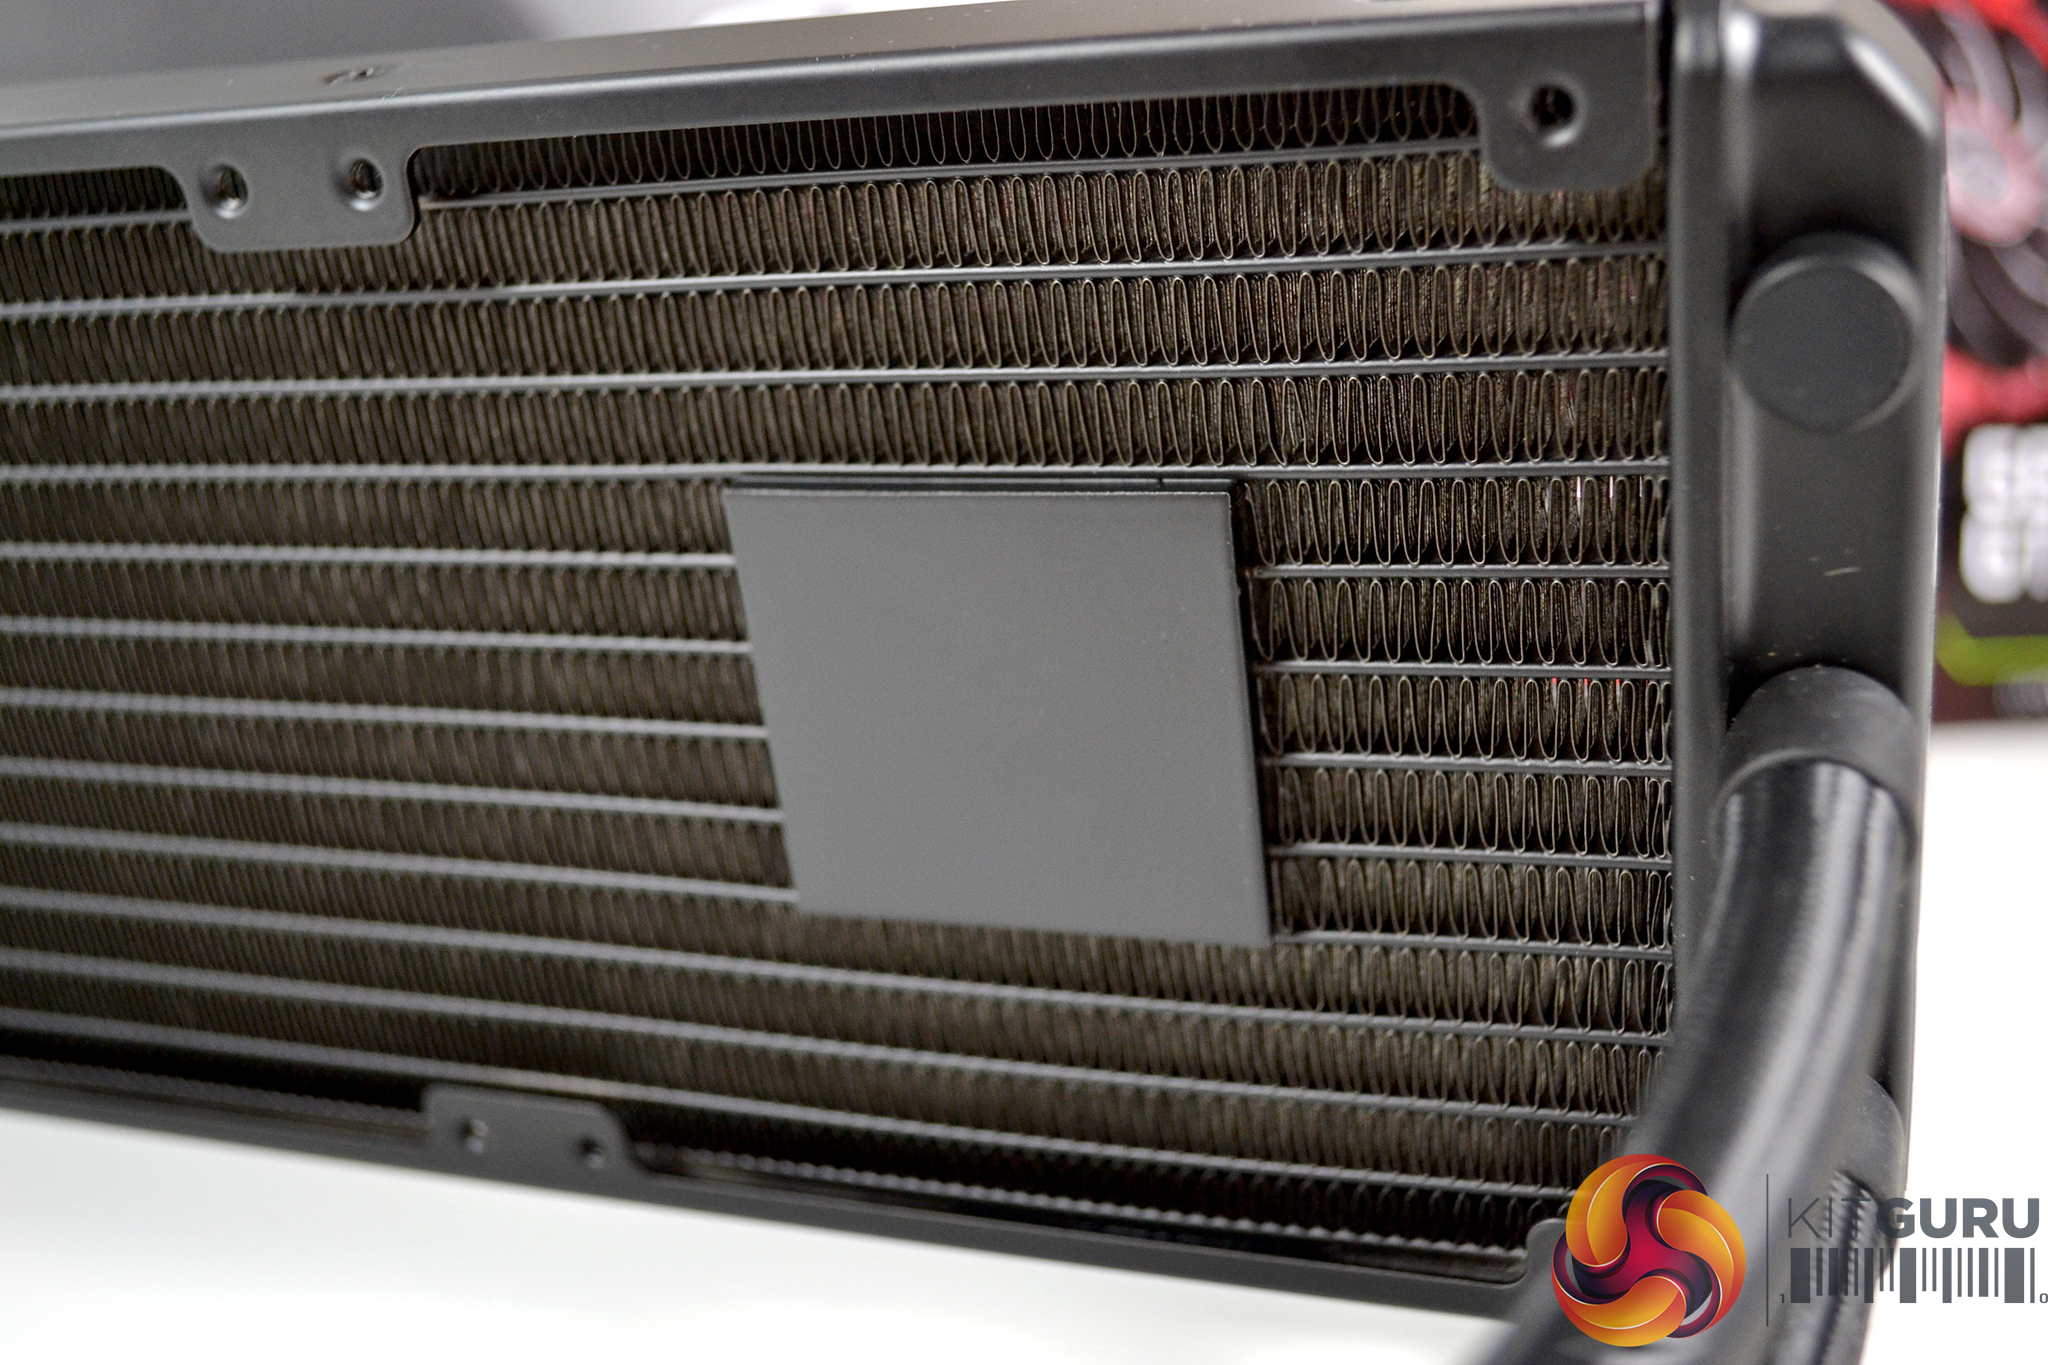
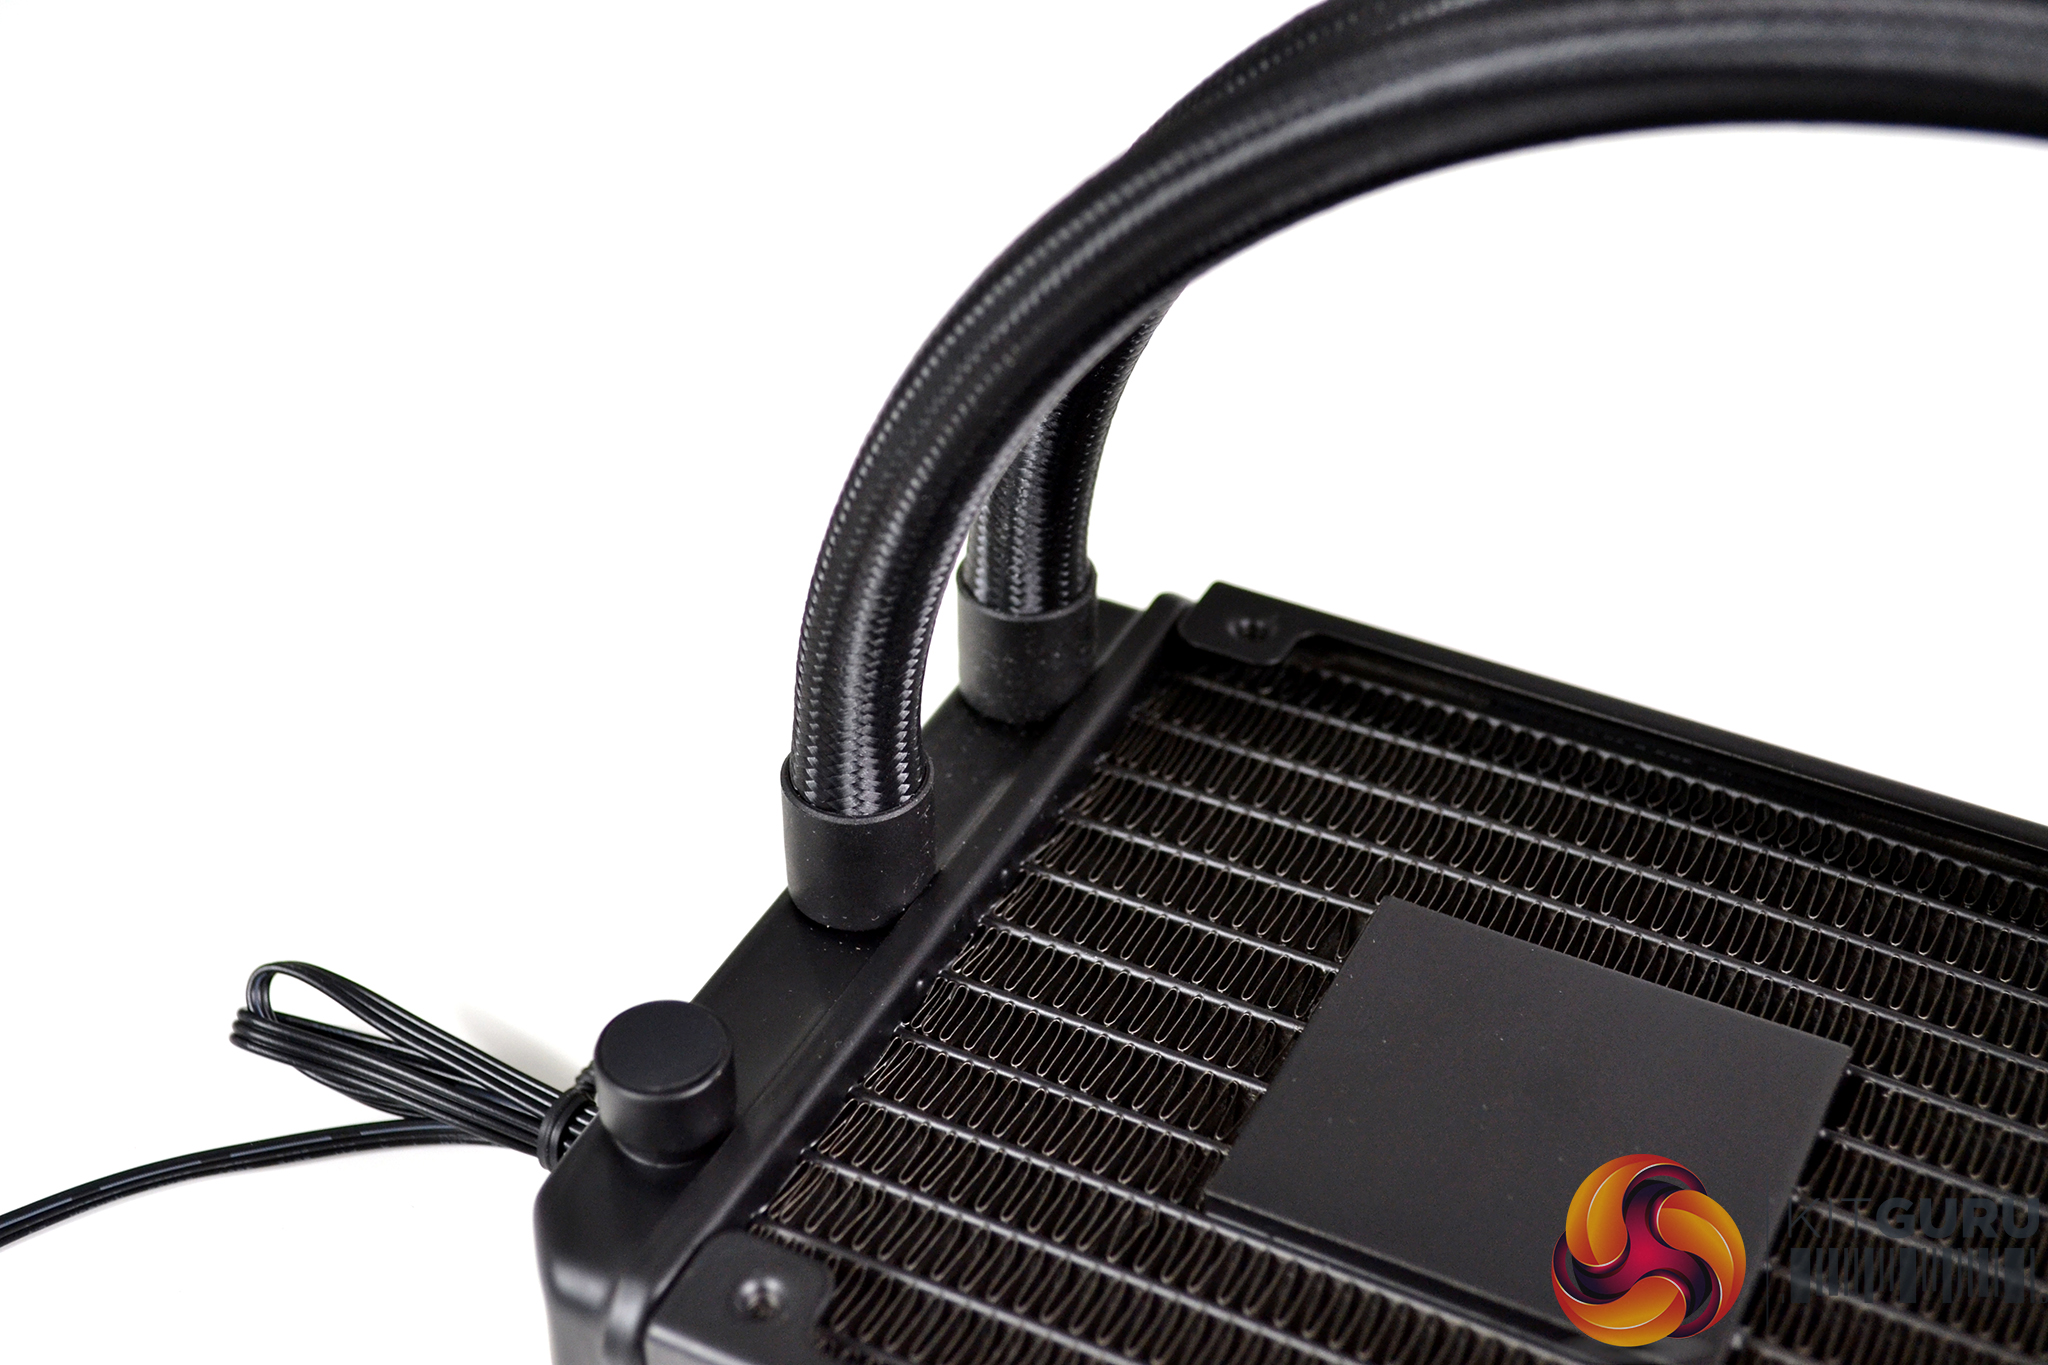
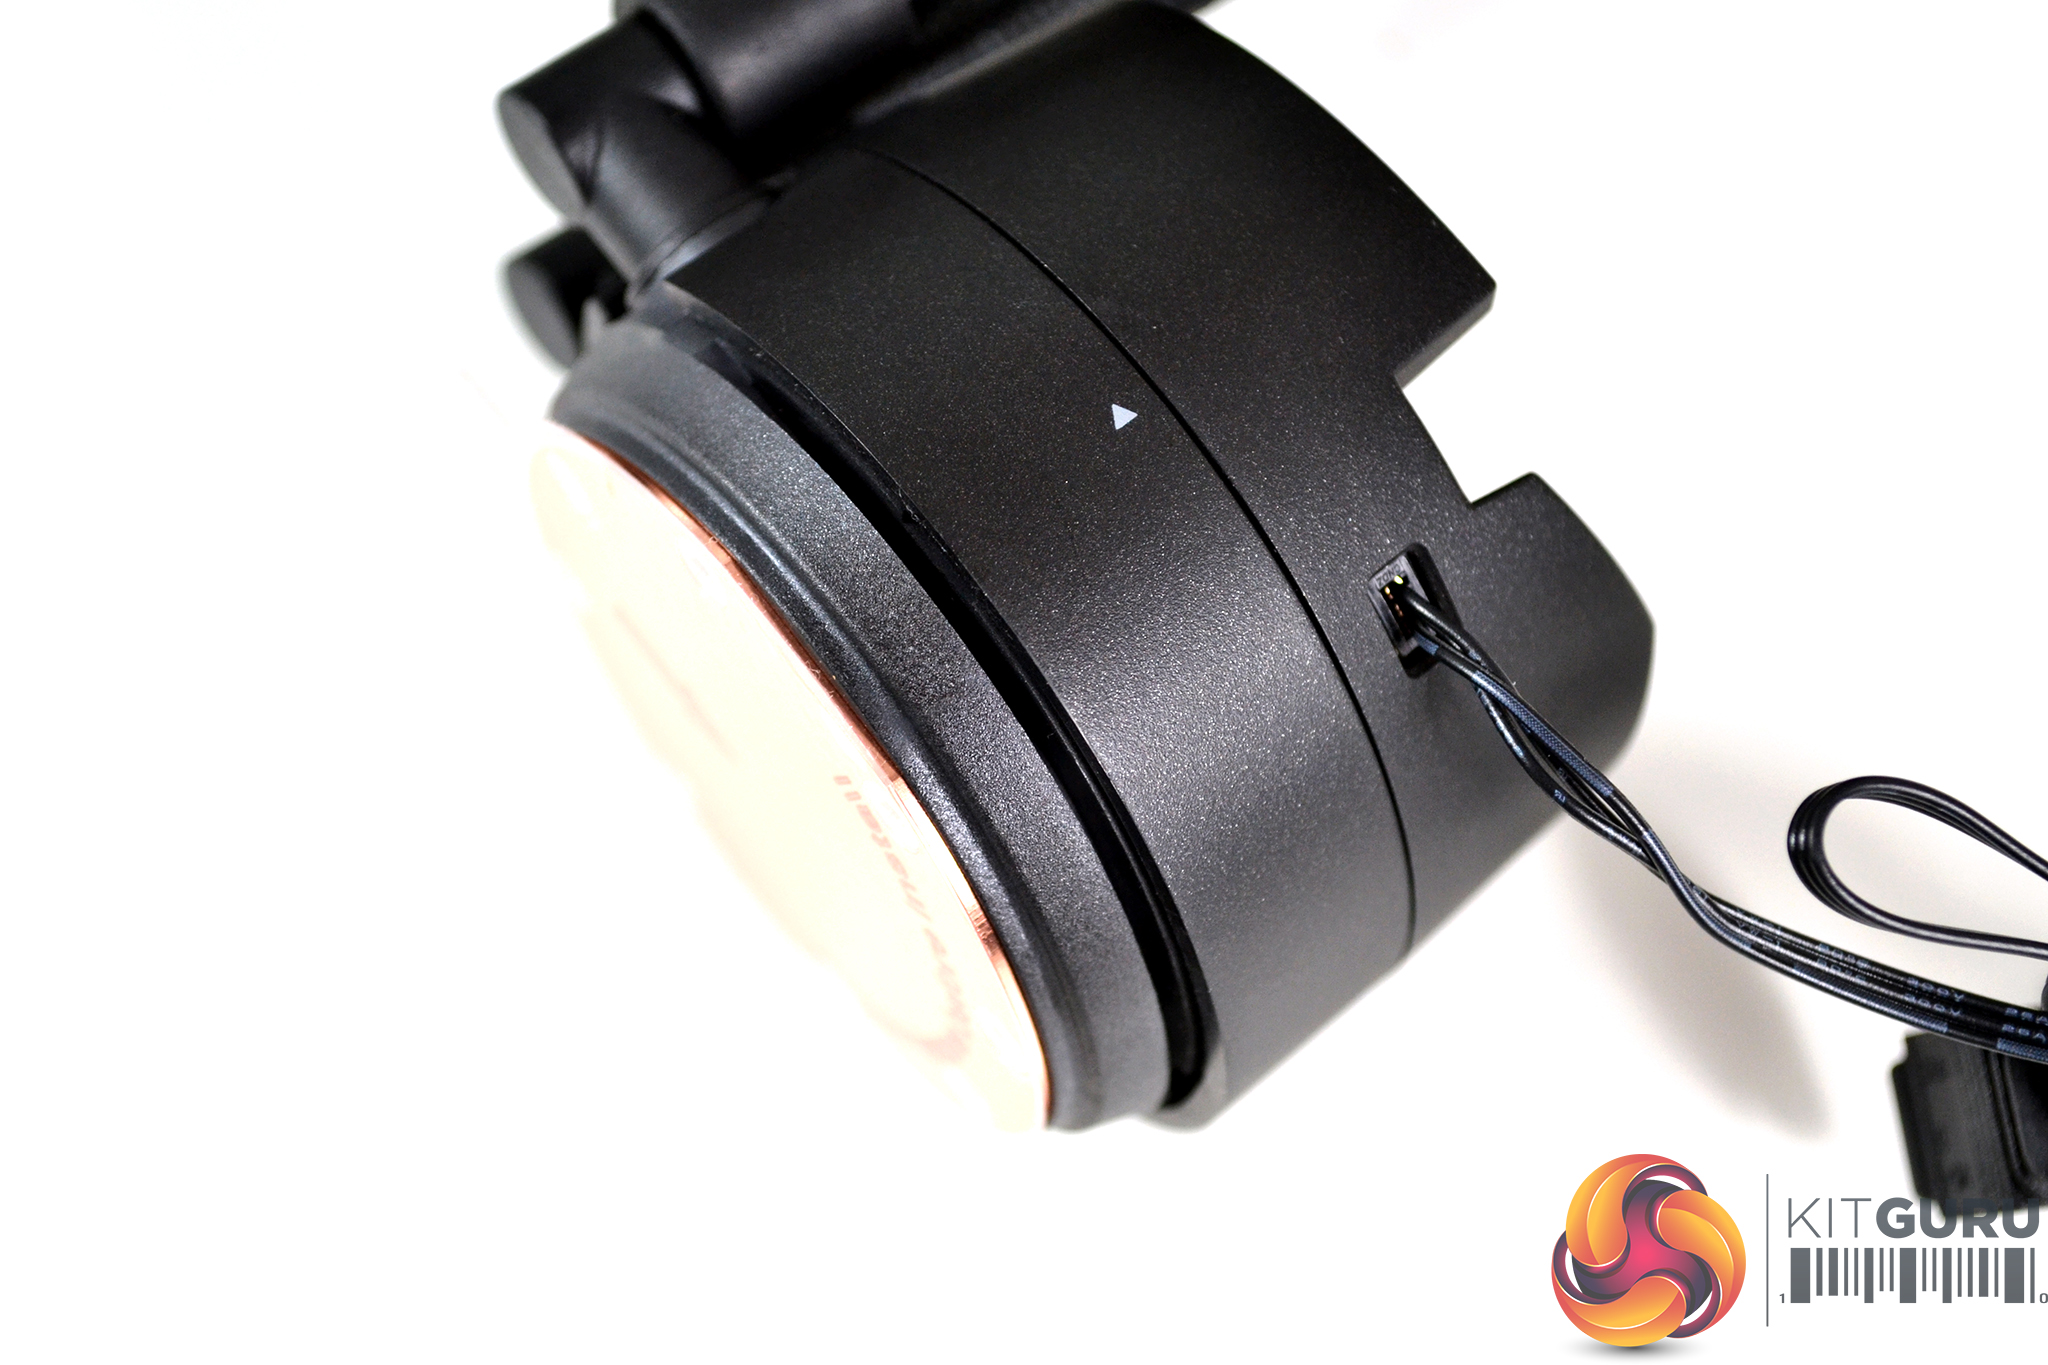
The most interesting highlight of this AIO cooler is the pump mounted radiator, it has been a while since we have seen a mainstream AIO liquid cooler featuring this design. The pump is positioned towards the tubing side of the radiator in the centre, which will no doubt have some effect on airflow and radiator surface area, so it will be interesting to see what effect this has on thermal performance if any.
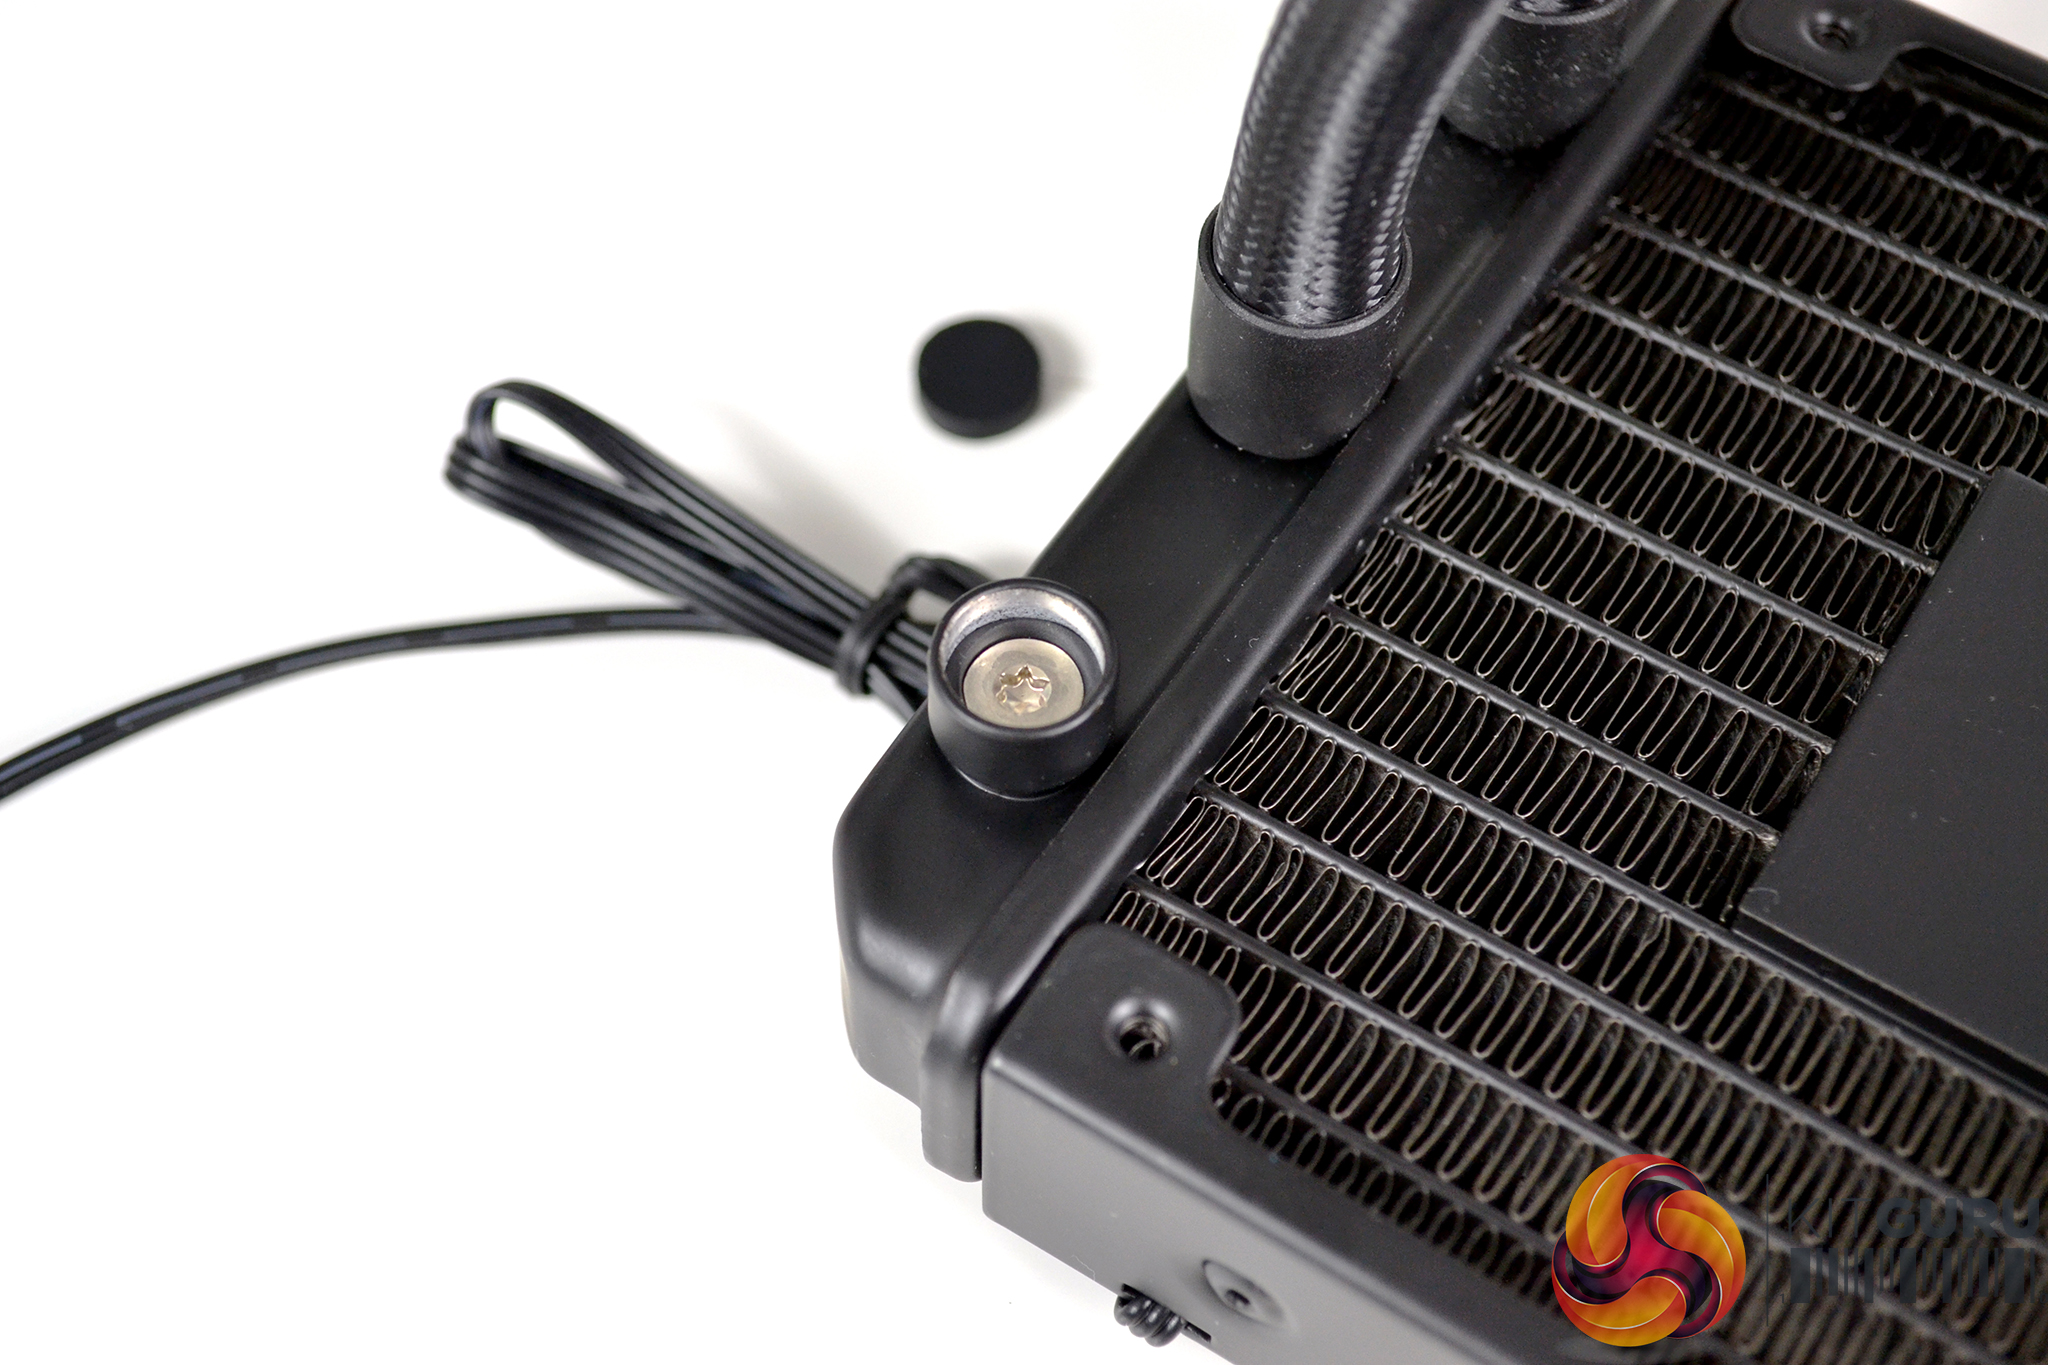
Another point of interest with the radiator is what looks like a fill port next to the tubing inlet/outlets and concealed by a rubber grommet which is easily removable by hand. Along with the pump that is also accessible by removing some Torx screw, this fill port potentially means that the cooler could be drained, flushed and refilled for maintenance, whether this is what it is intended for is another question.
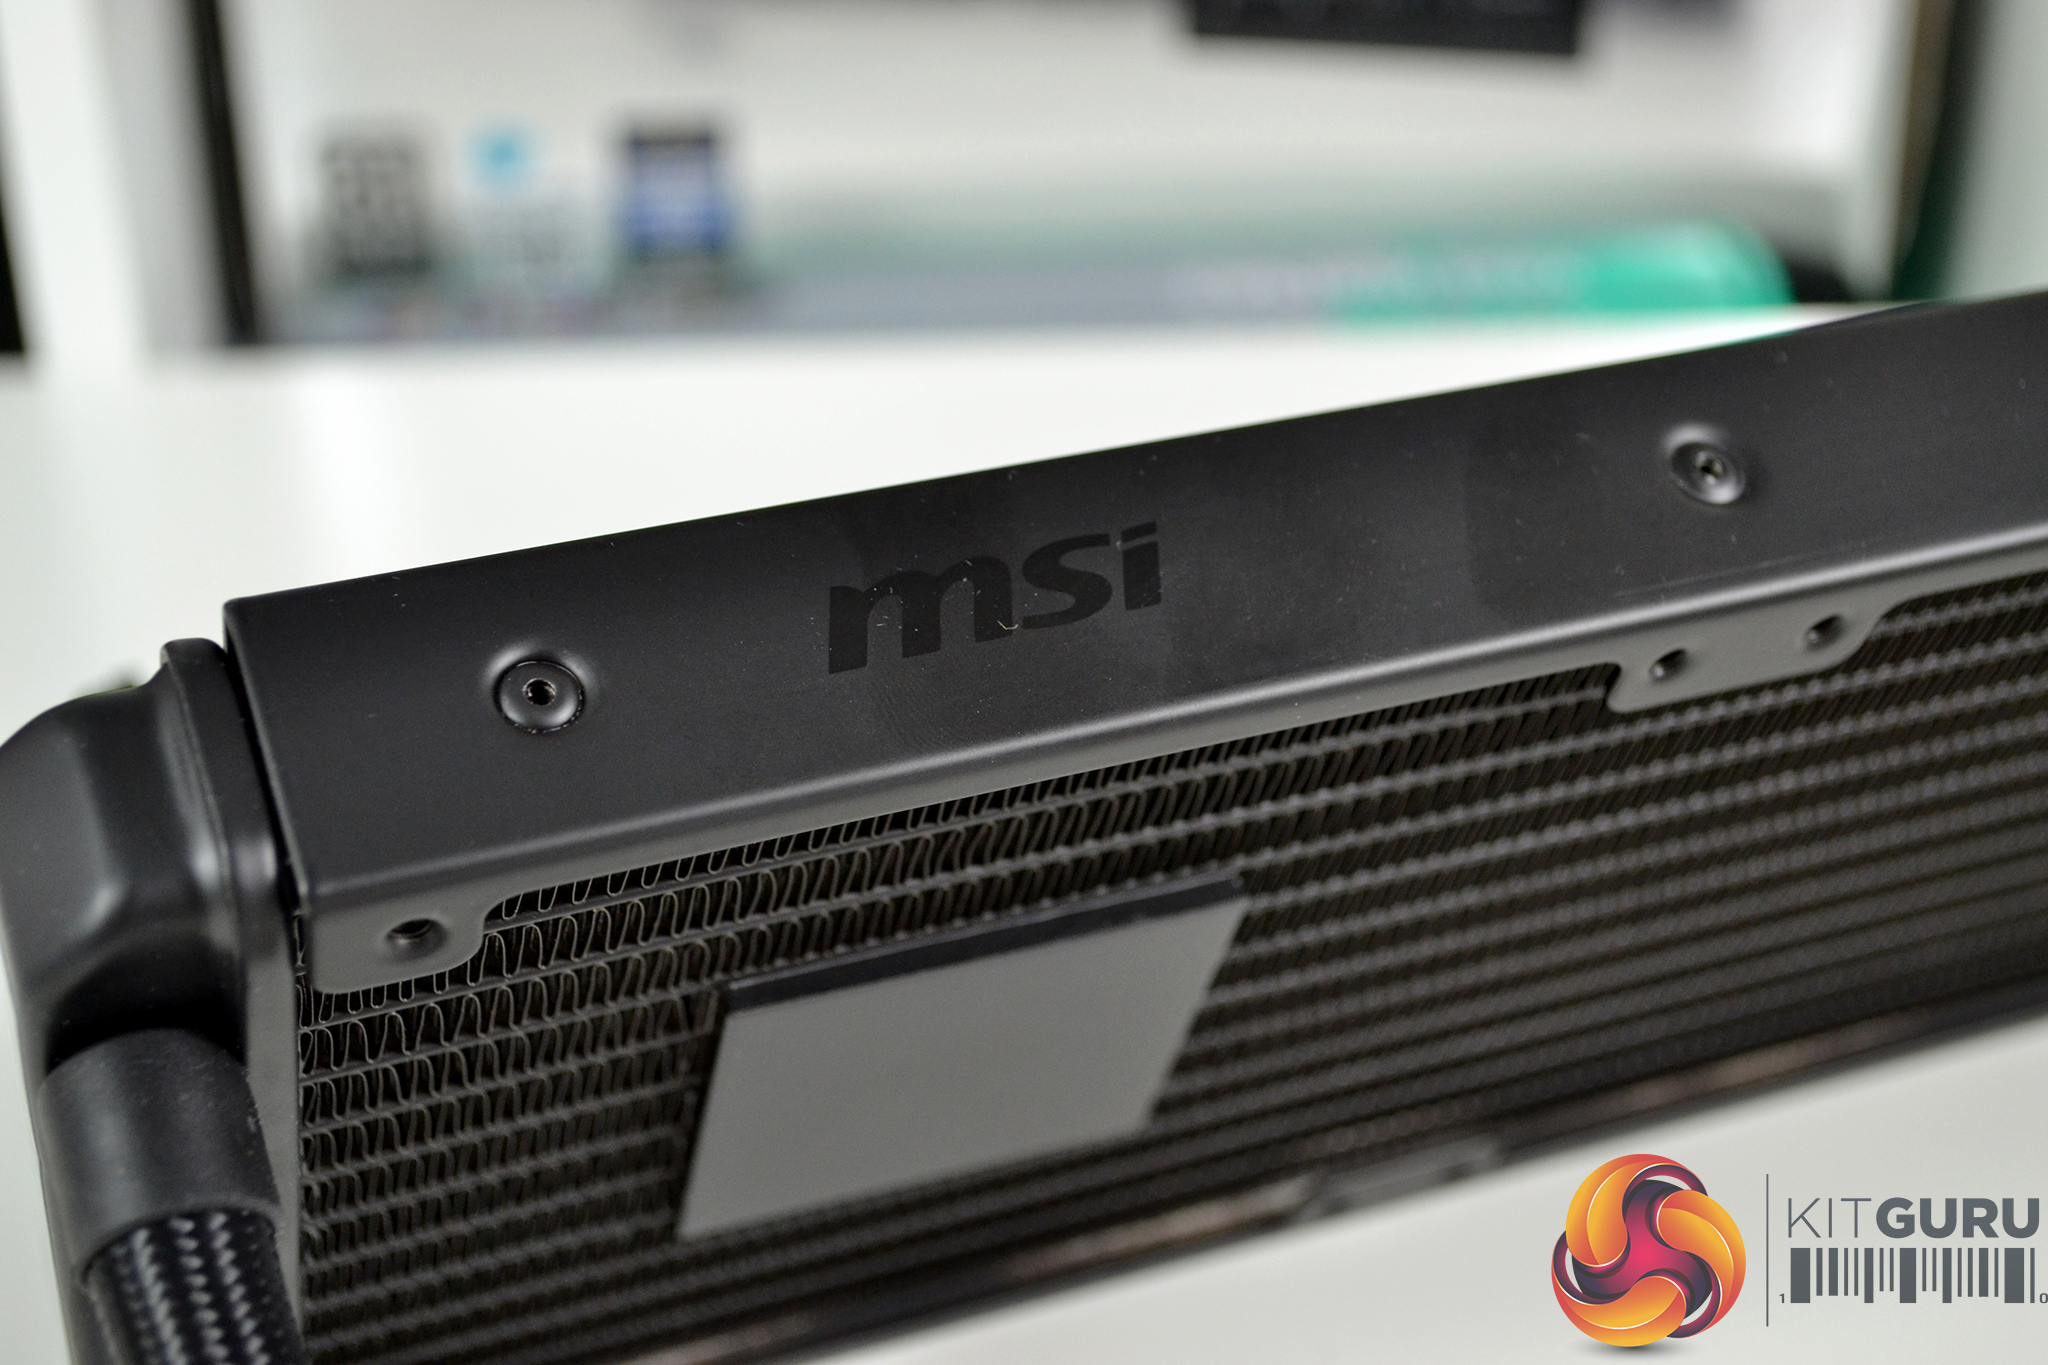

In addition to these unconventional features, the radiator looks very similar to units found in AIO coolers from other manufacturers. The whole radiator is covered by a smooth satin black coating which gives it an understated appearance and along the top and bottom of the radiator are fan mounting brackets riveted in place with MSI logos on each side.

At the radiator side, tubing is fixed in position, there is no rotation or angle adjustment. At the CPU block, the tubing is equipped with articulating 90-degree elbow fittings to allow for rotational adjustment to accommodate the various orientation the CPU block can be installed to the motherboard.
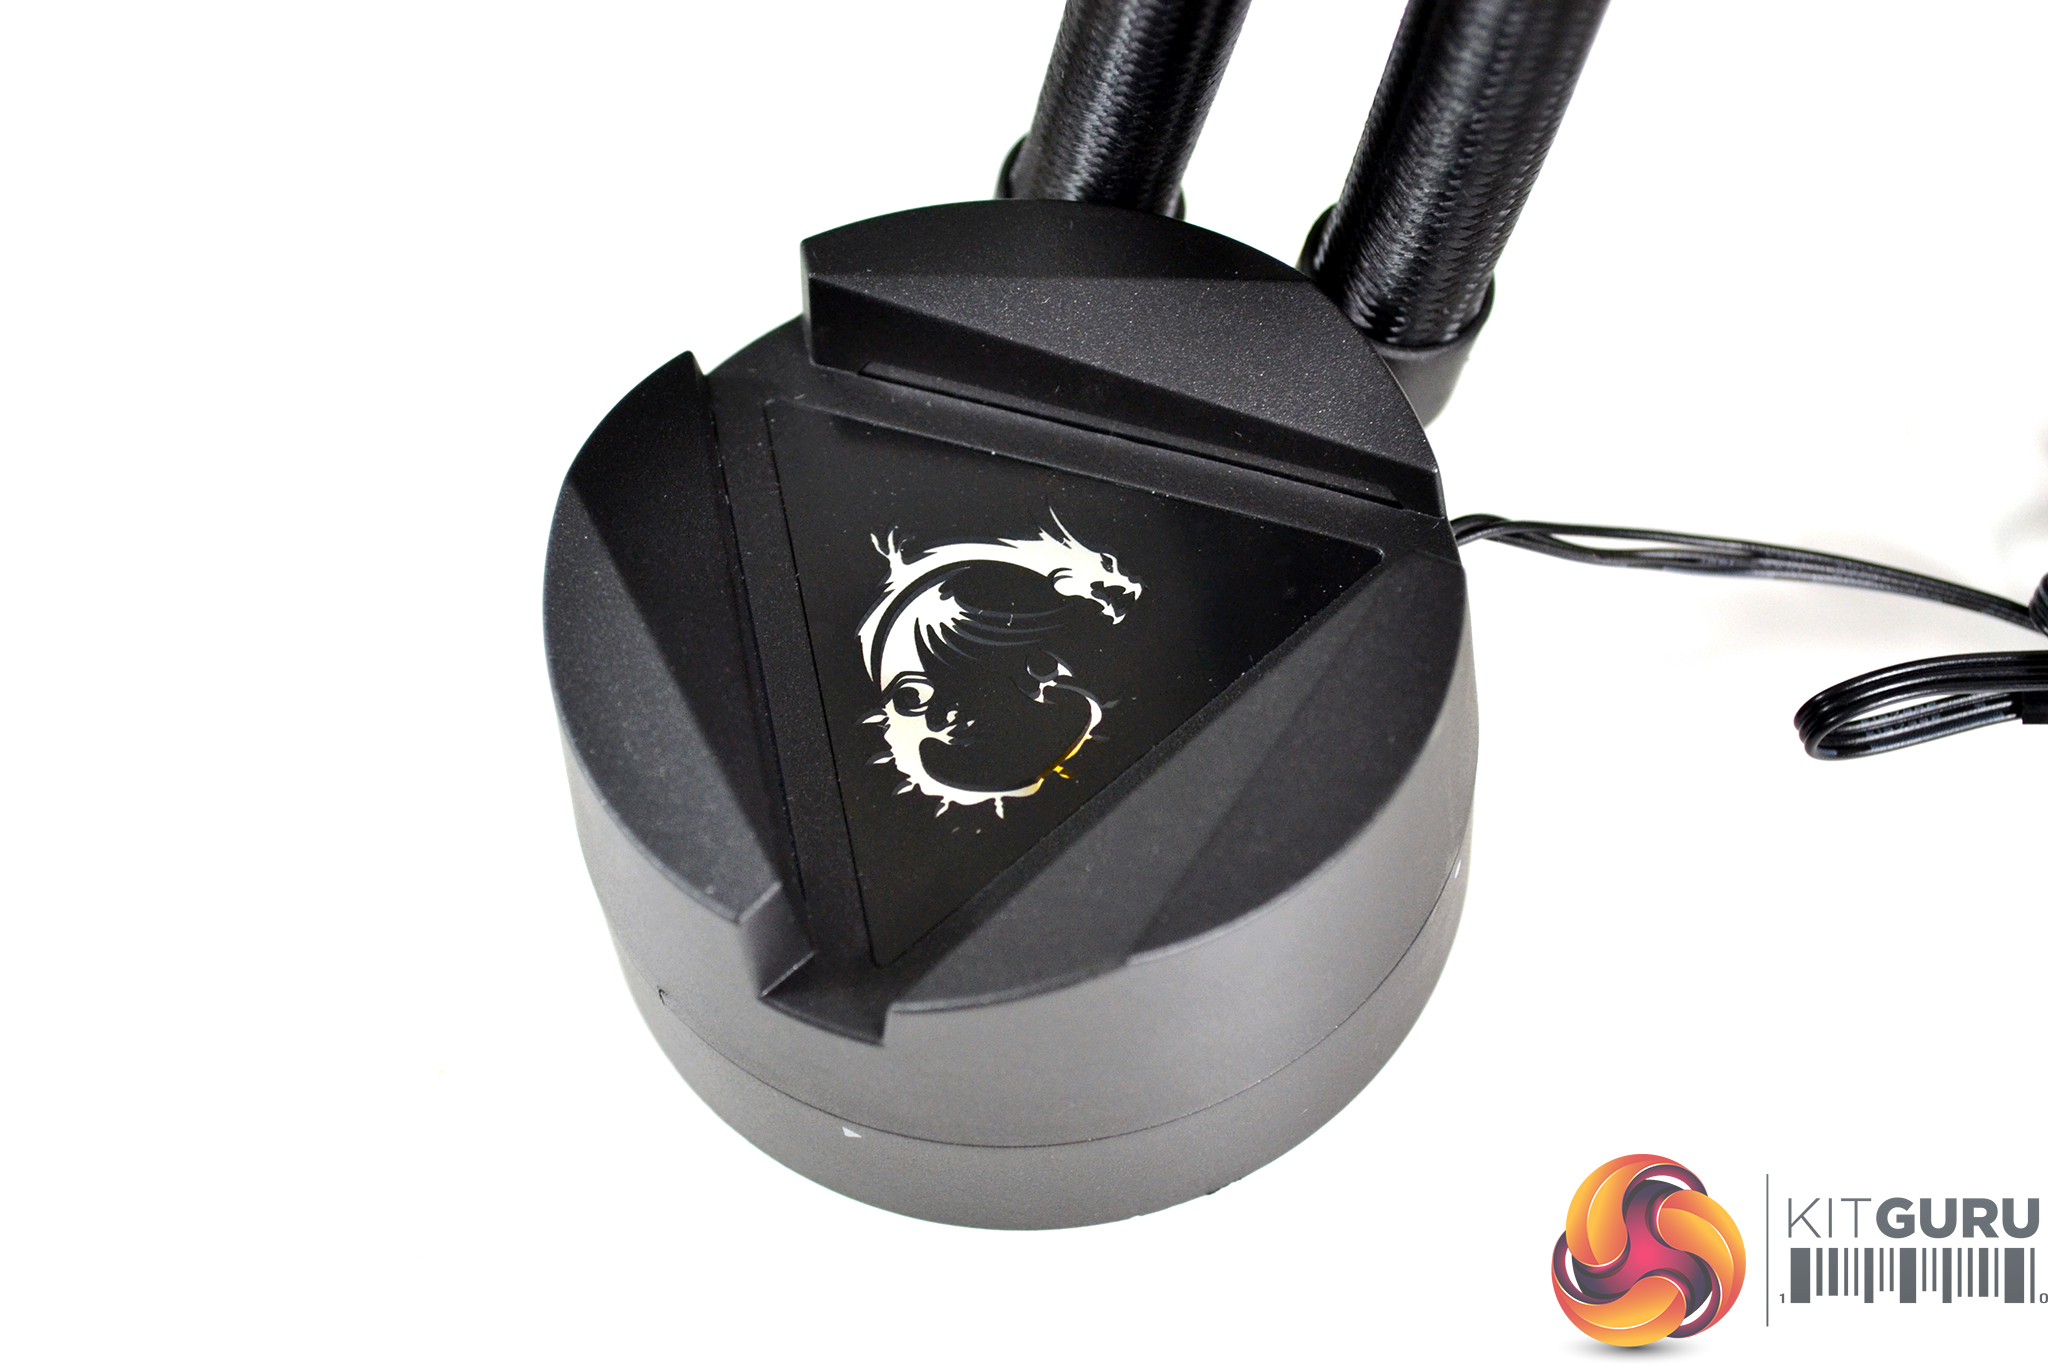
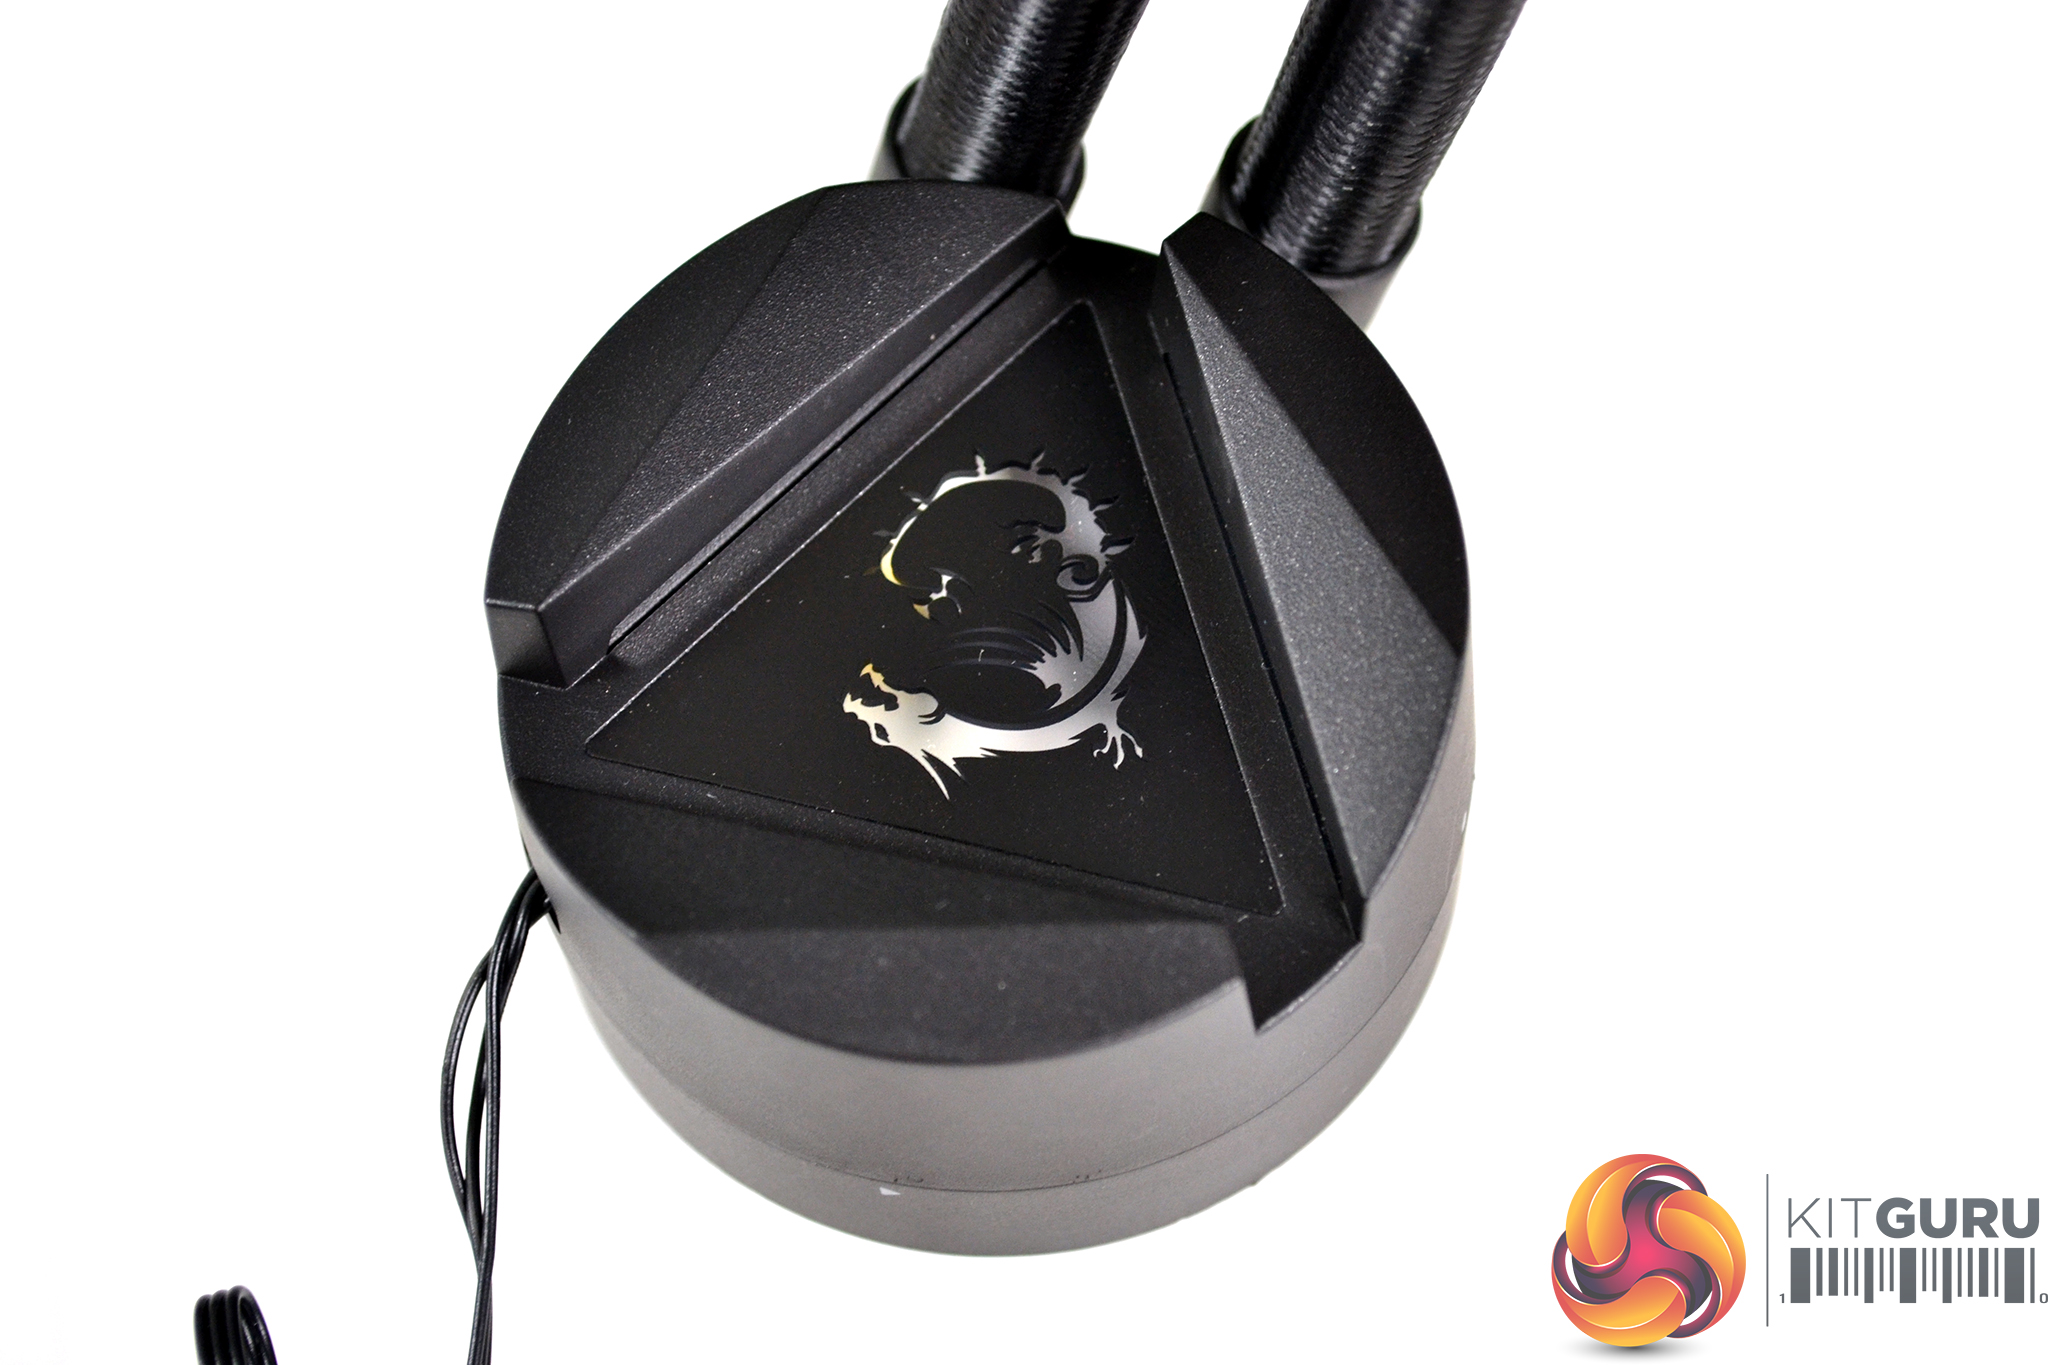
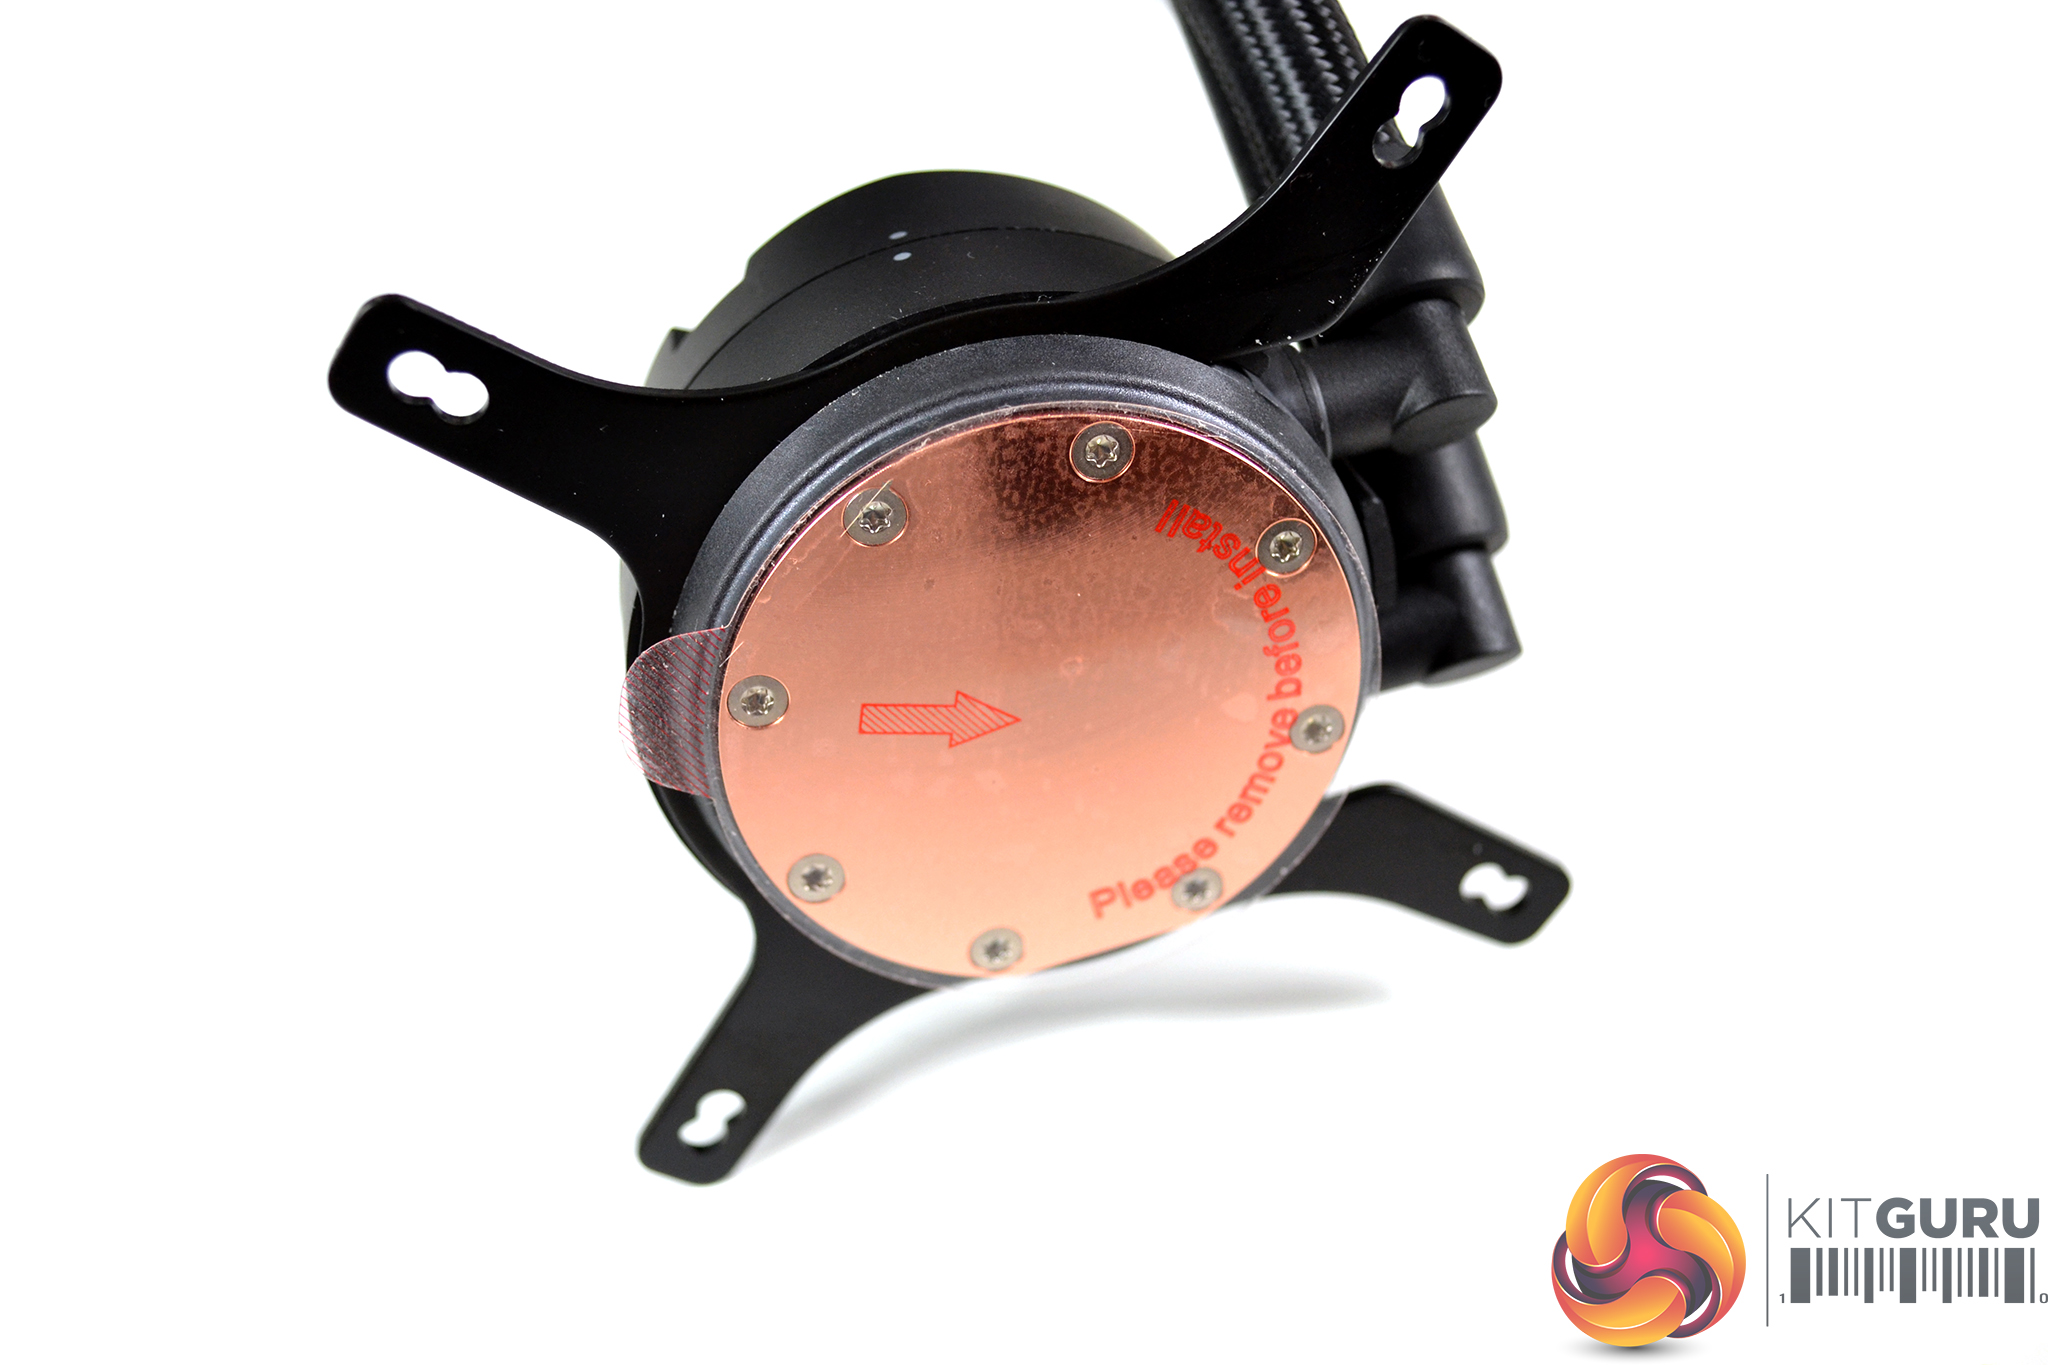
Another feature of the CPU block is the top cover with an MSI dragon logo that can be illuminated with RGB lighting. The top cover can also be rotated 270-degrees in 90-degree increments, so the MSI dragon logo will be positioned facing the correct way around regardless of the orientation the CPU block is installed.
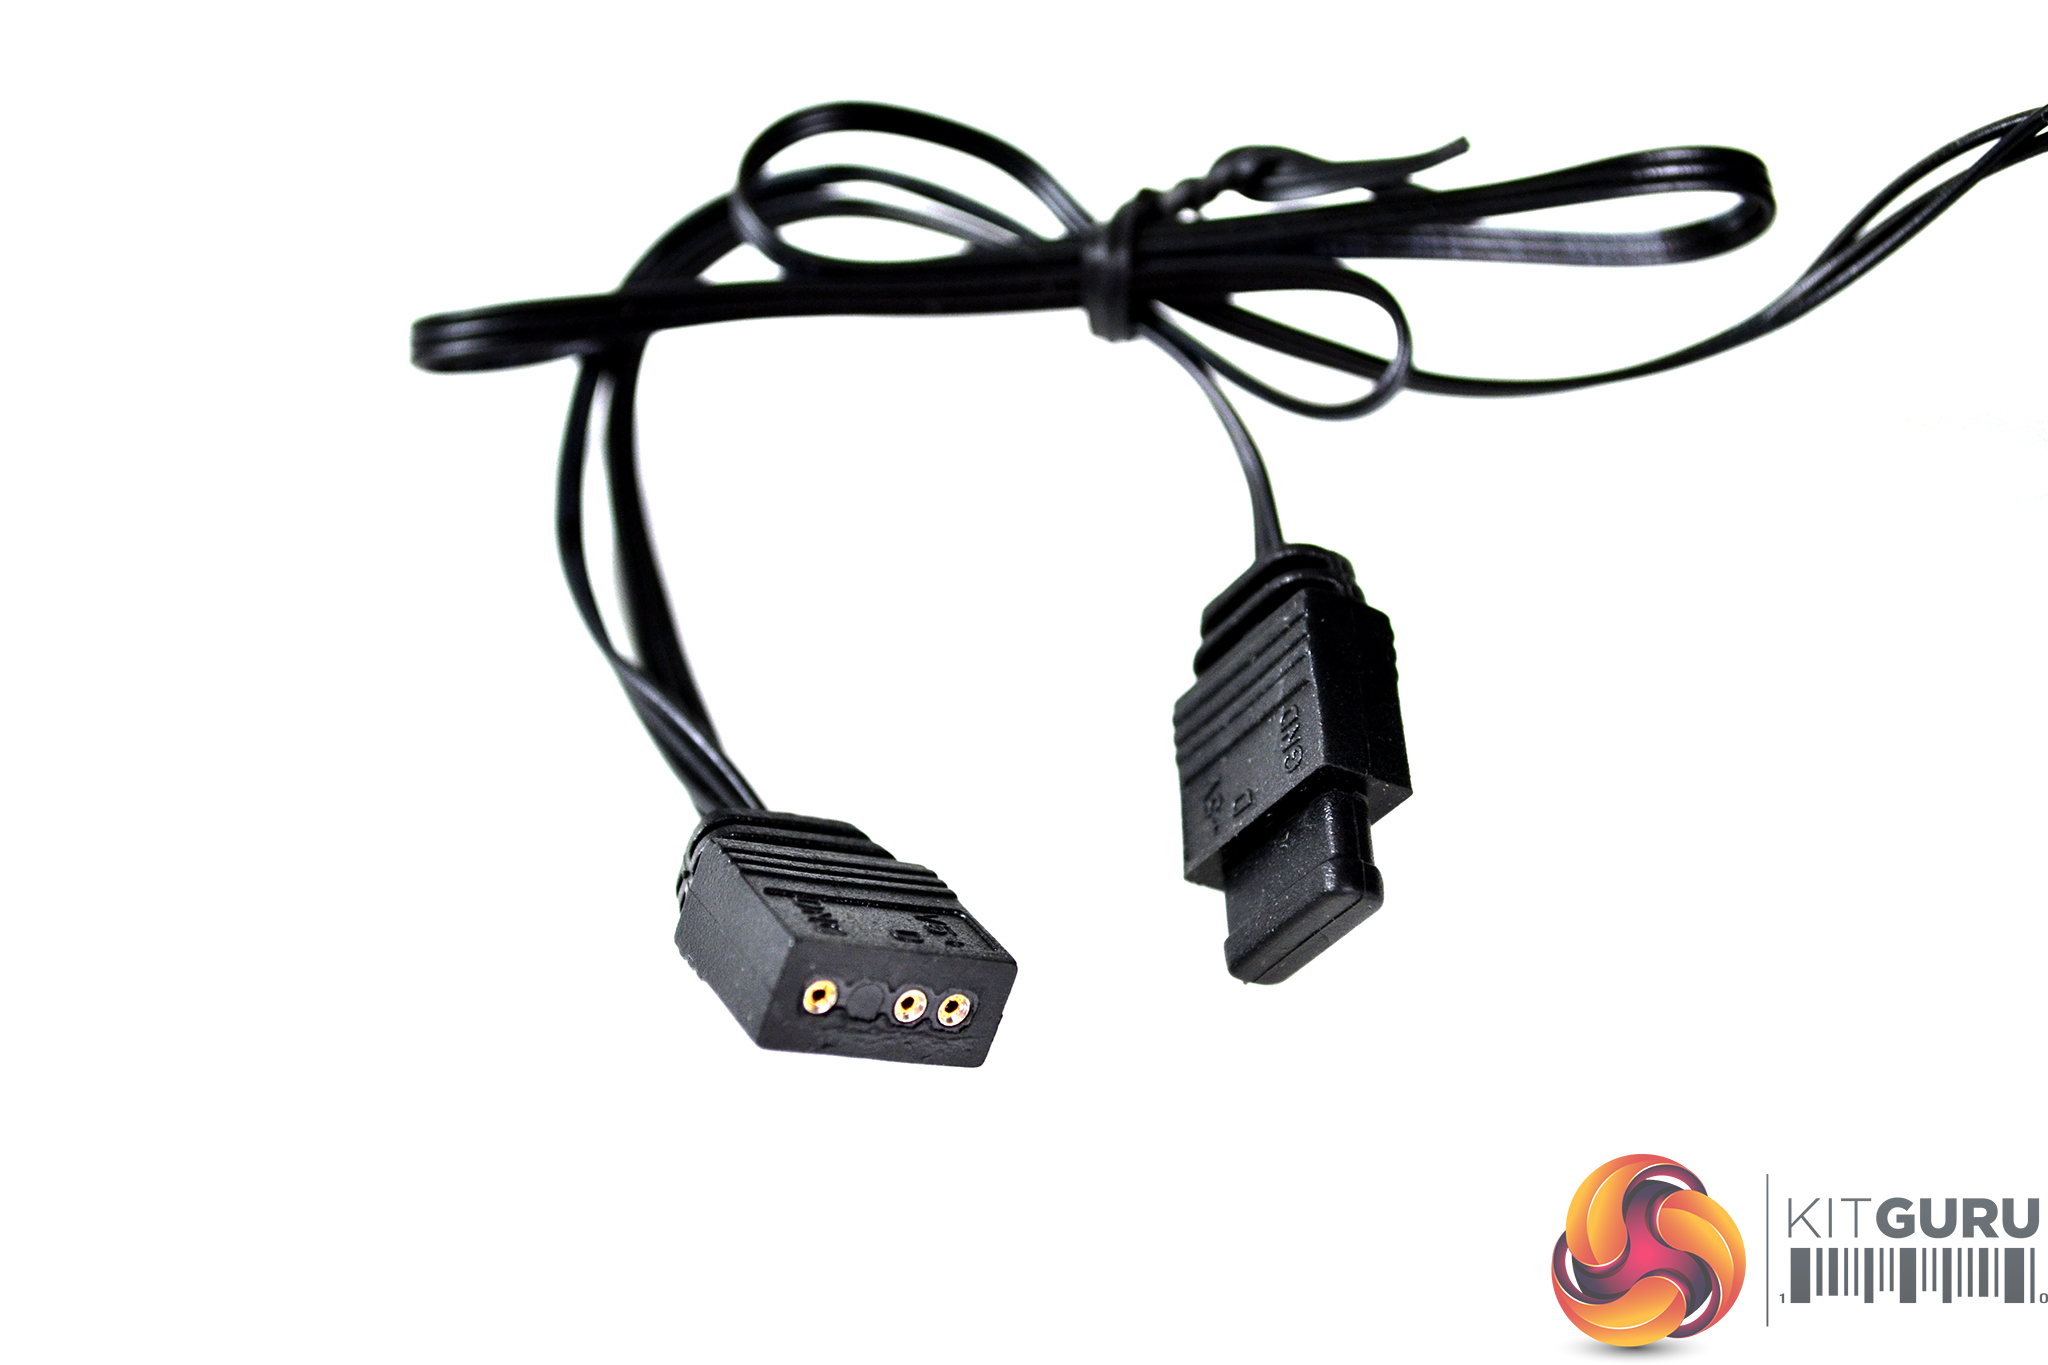
Since there is no pump inside the CPU block housing, the block is rather compact compared with other AIO coolers. There are no power cables connected to the CPU block, only and RGB splitter cable that allows the RGB lighting from the fans to be connected, and then plugged into a 5v 3-pin ARGB motherboard header to control the RGB lighting effects of both the CPU block and fans in synchronisation.
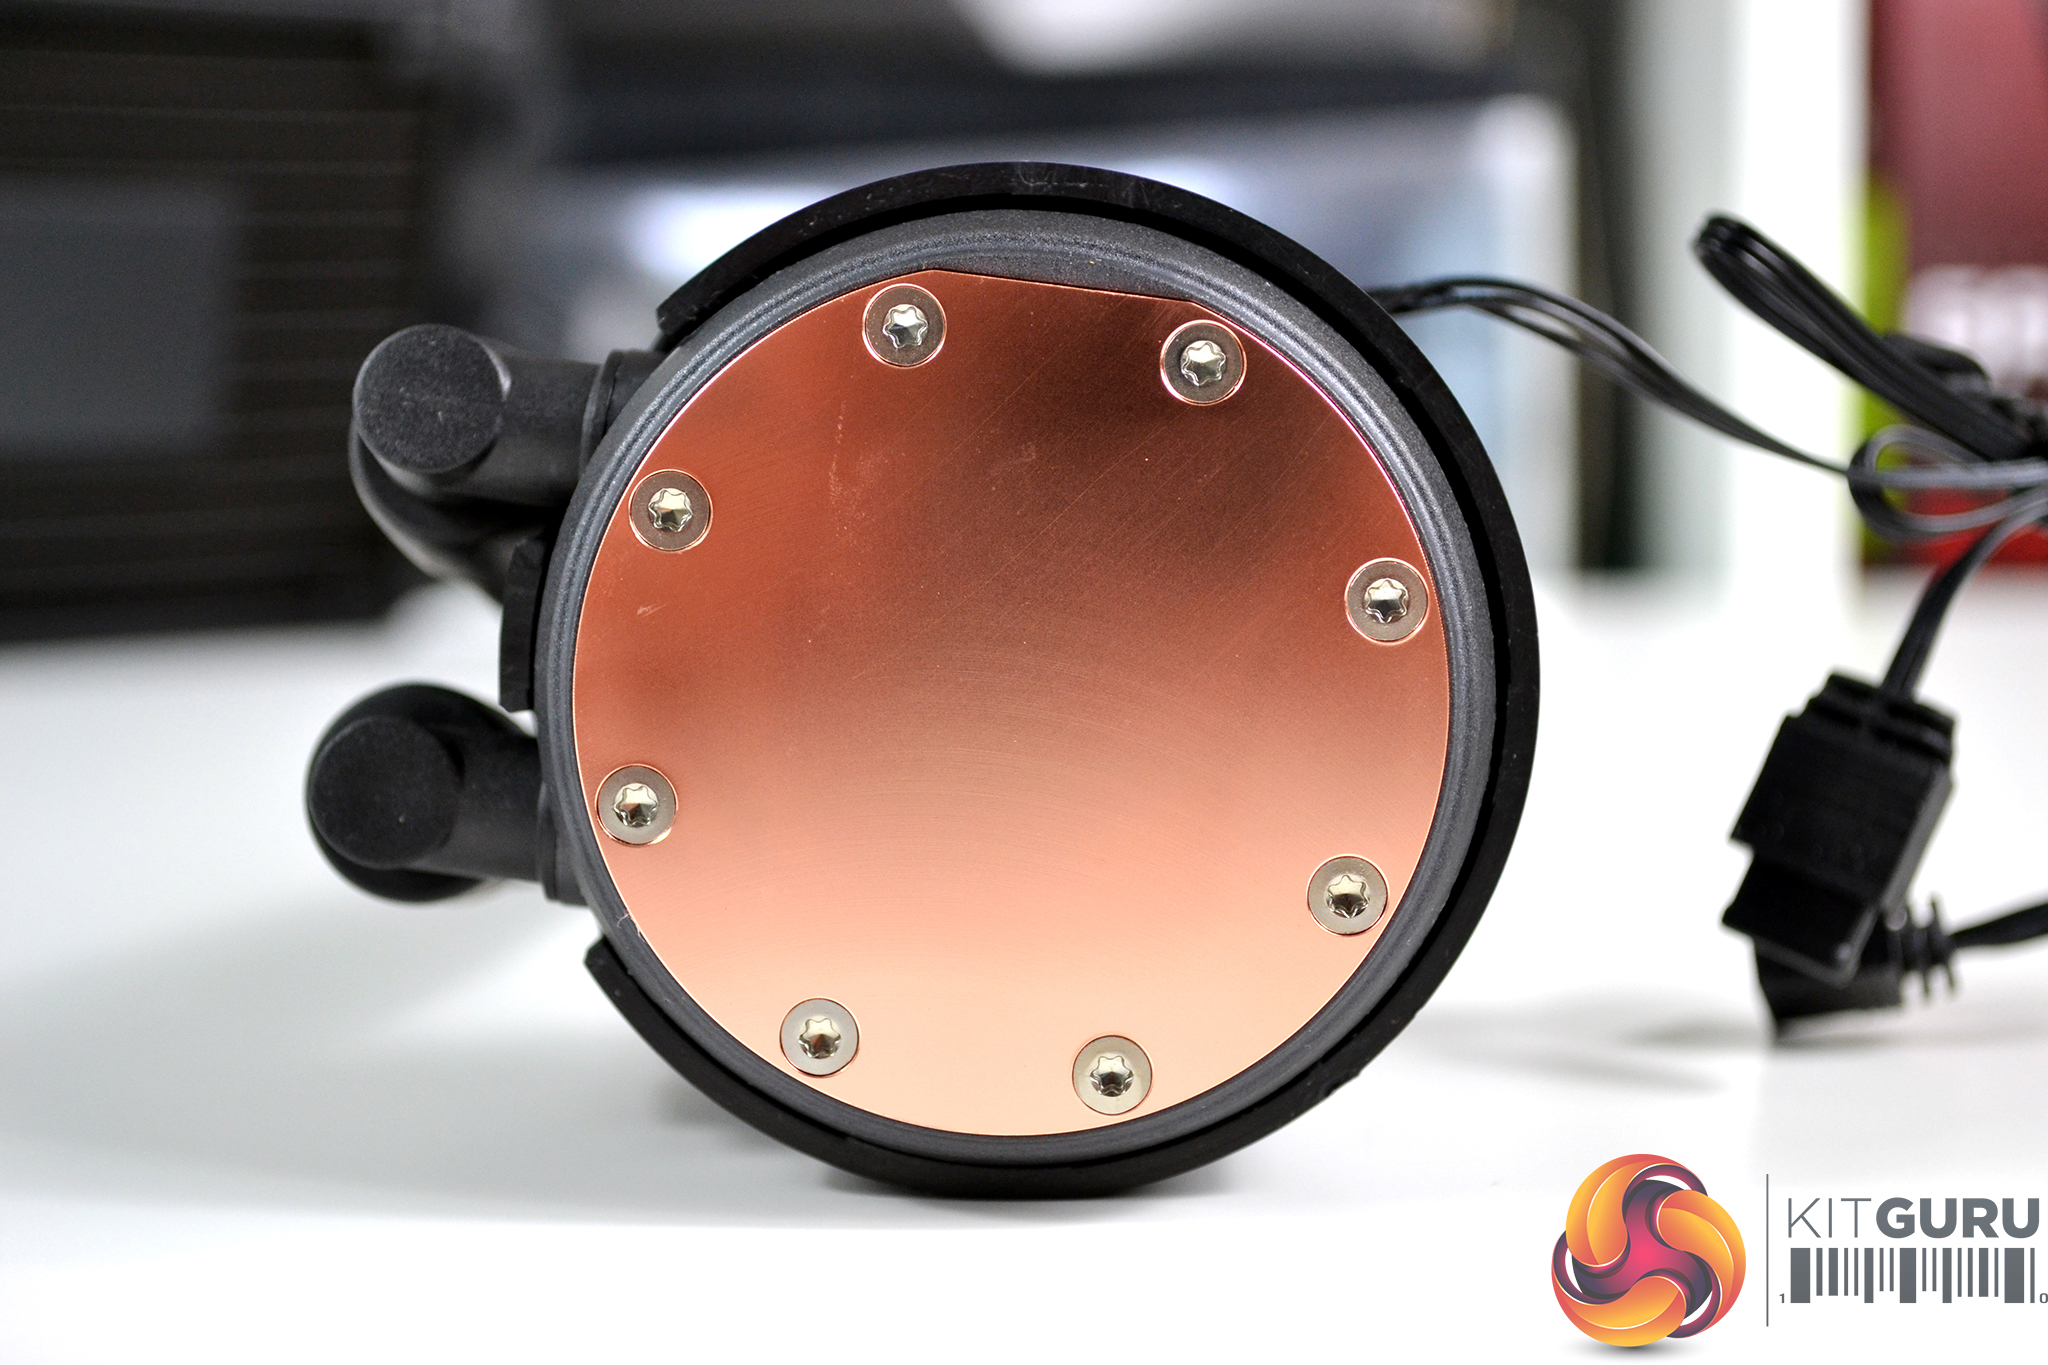
A groove around the CPU block housing is used to slide and retain the upper mounting bracket into position, without the need for any fasteners to secure it. At the base of the CPU block is a circular microchannel thermal transfer plate with a high quality looking smooth machined surface. The size of the thermal transfer plate is large enough to cover the IHS of mainstream desktop processors but will obviously not offer full coverage of AMD Ryzen Threadripper heat spreaders, so it may not be the optimal solution for these platforms.
Our test system is Intel Z390 based, therefore, we will be following the relevant Intel 115X socket installation procedure.
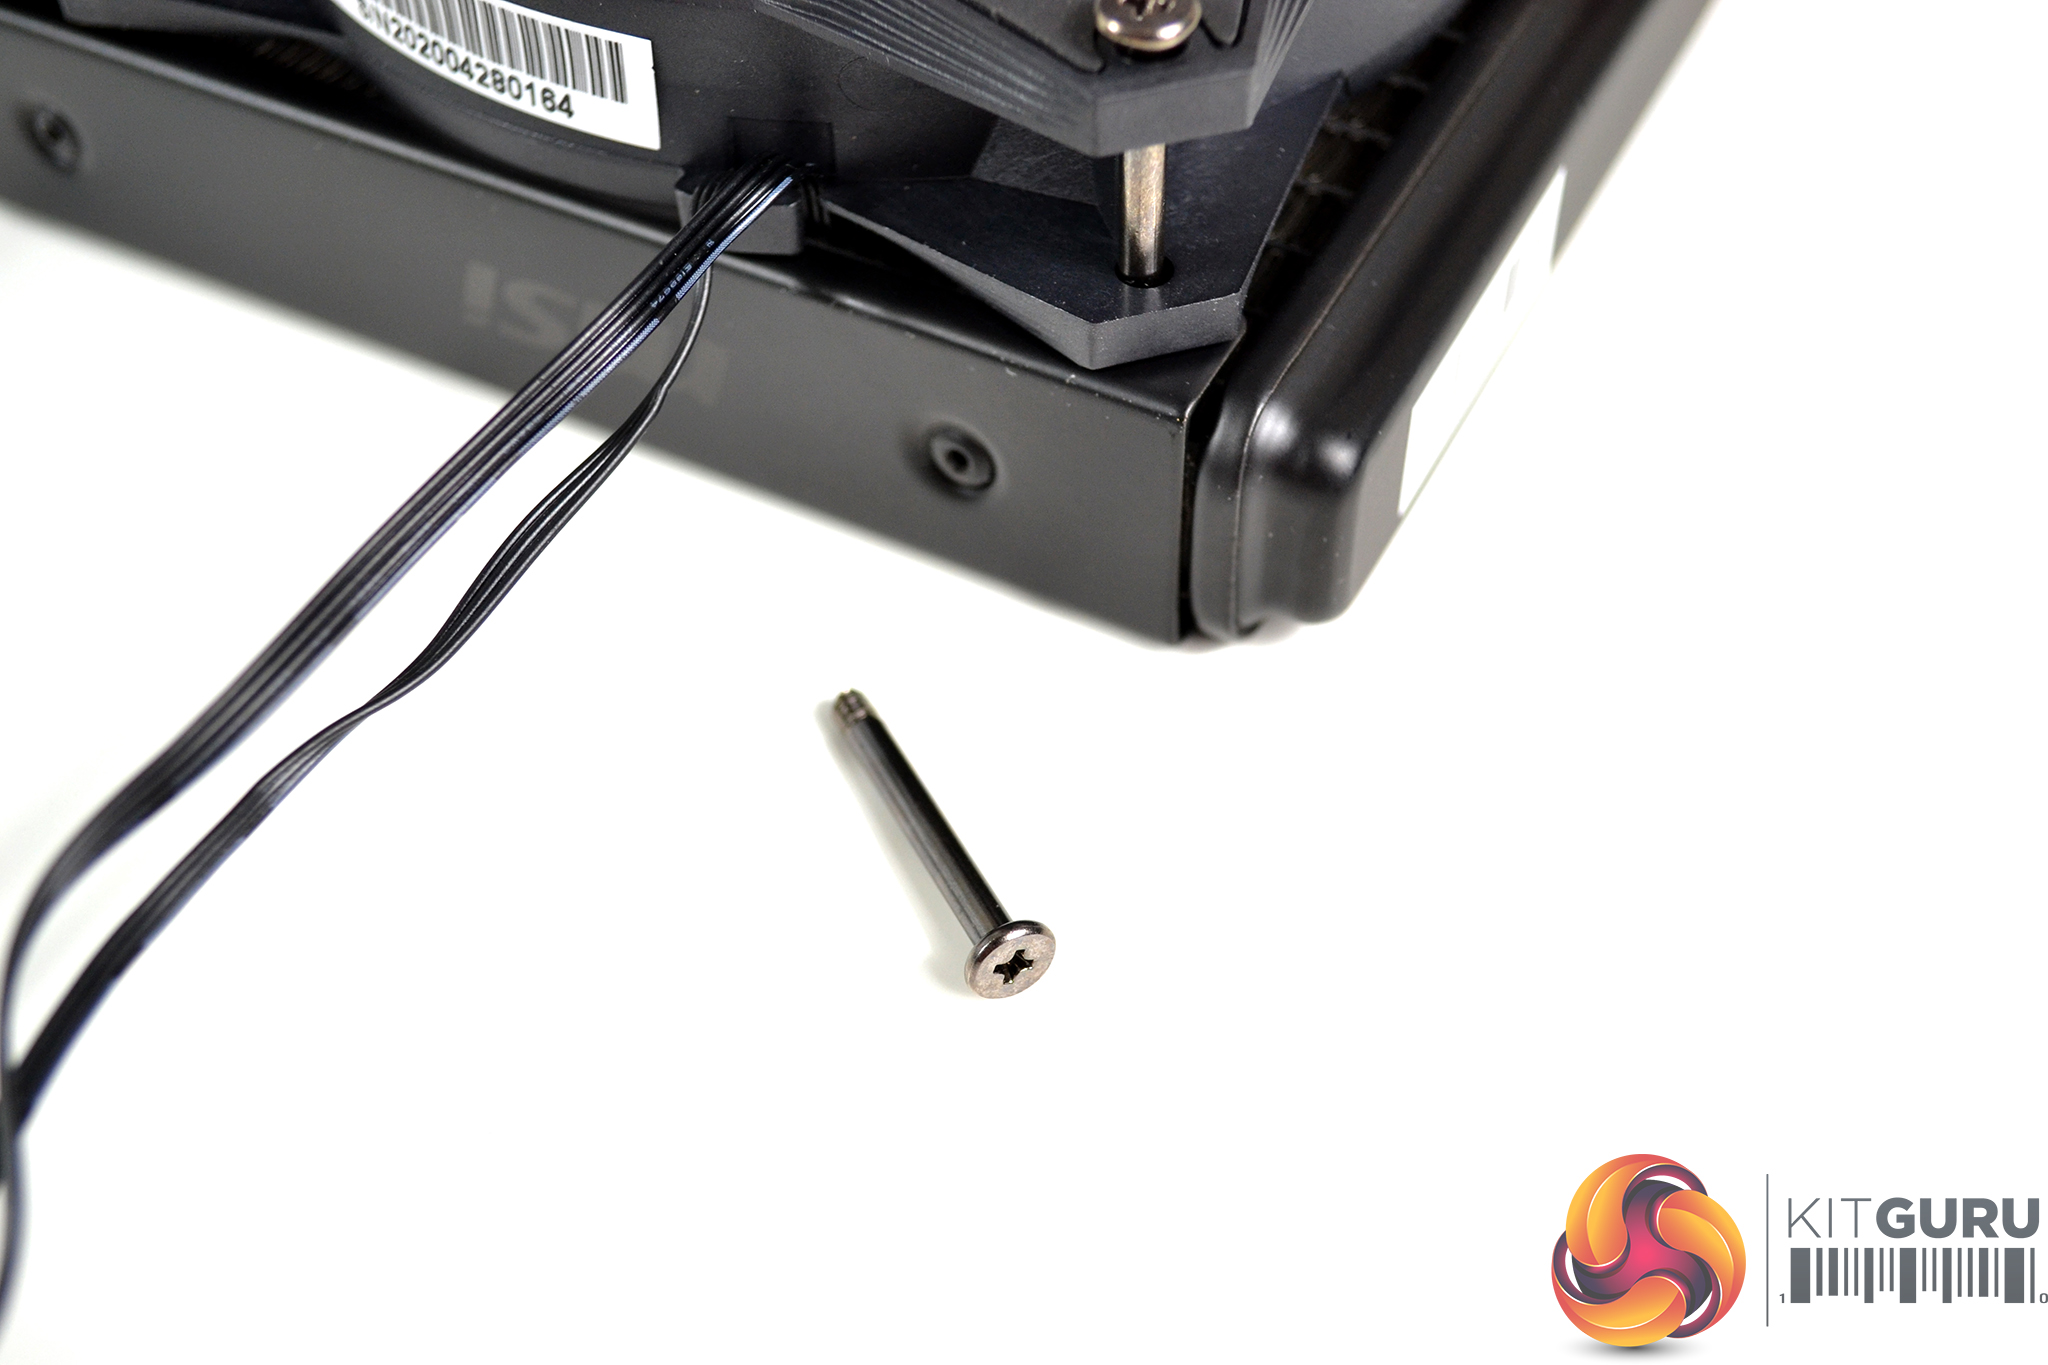
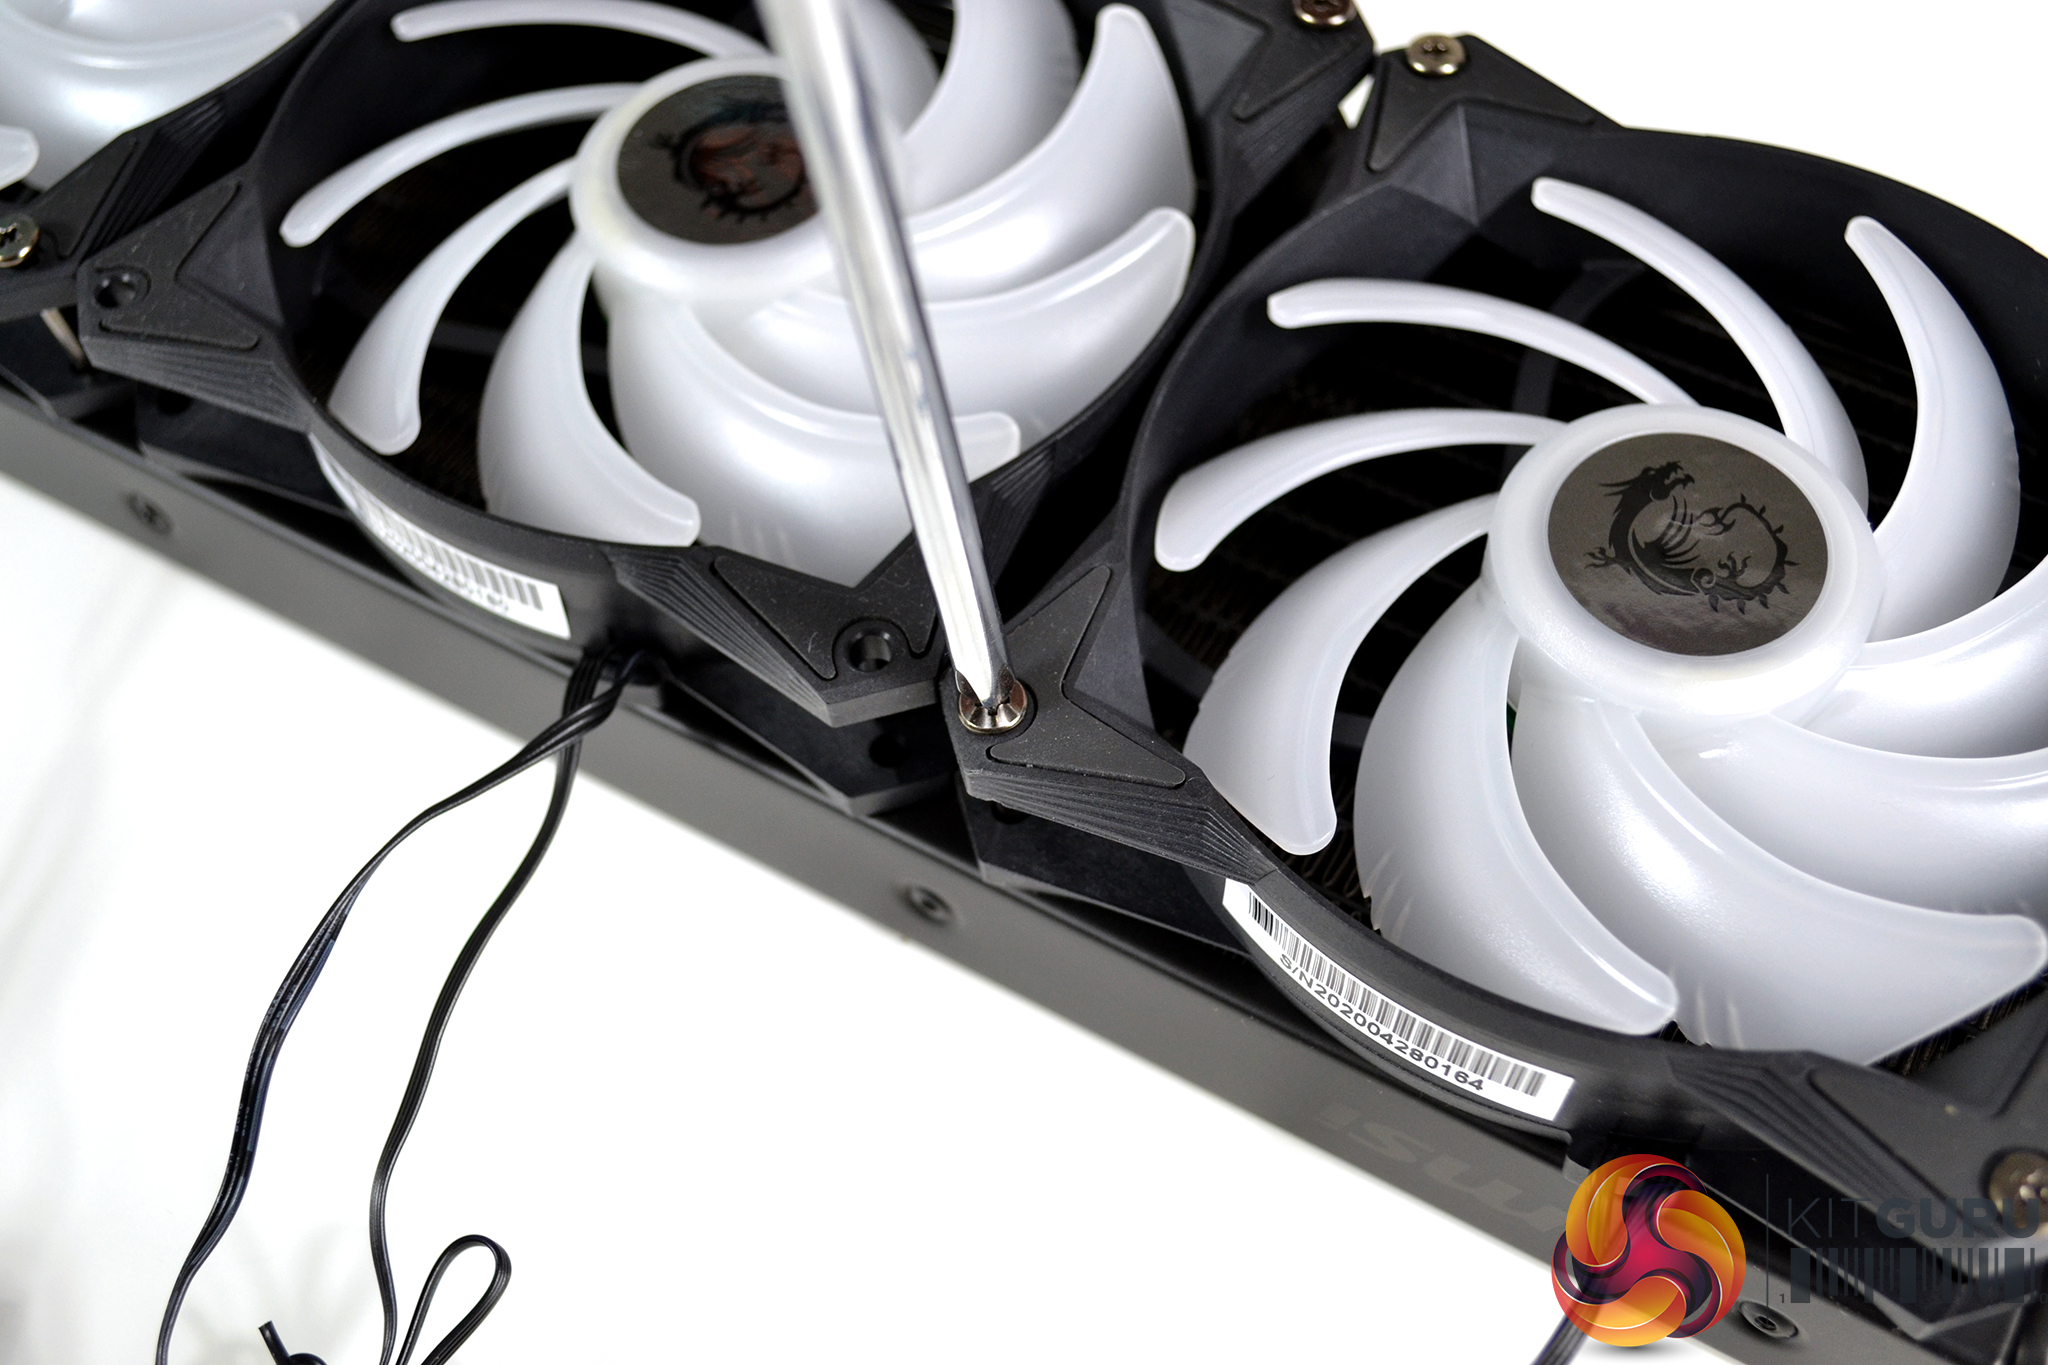
To install the MSI MAG CoreLiquid 360R on our test bench, we can first fit the fans to the radiator. To do this, place the fans in your favoured pull or push configuration on the radiator aligned with the screw holes and fix the fans in position using the twelve long nickel-plated Philips head screws provided.
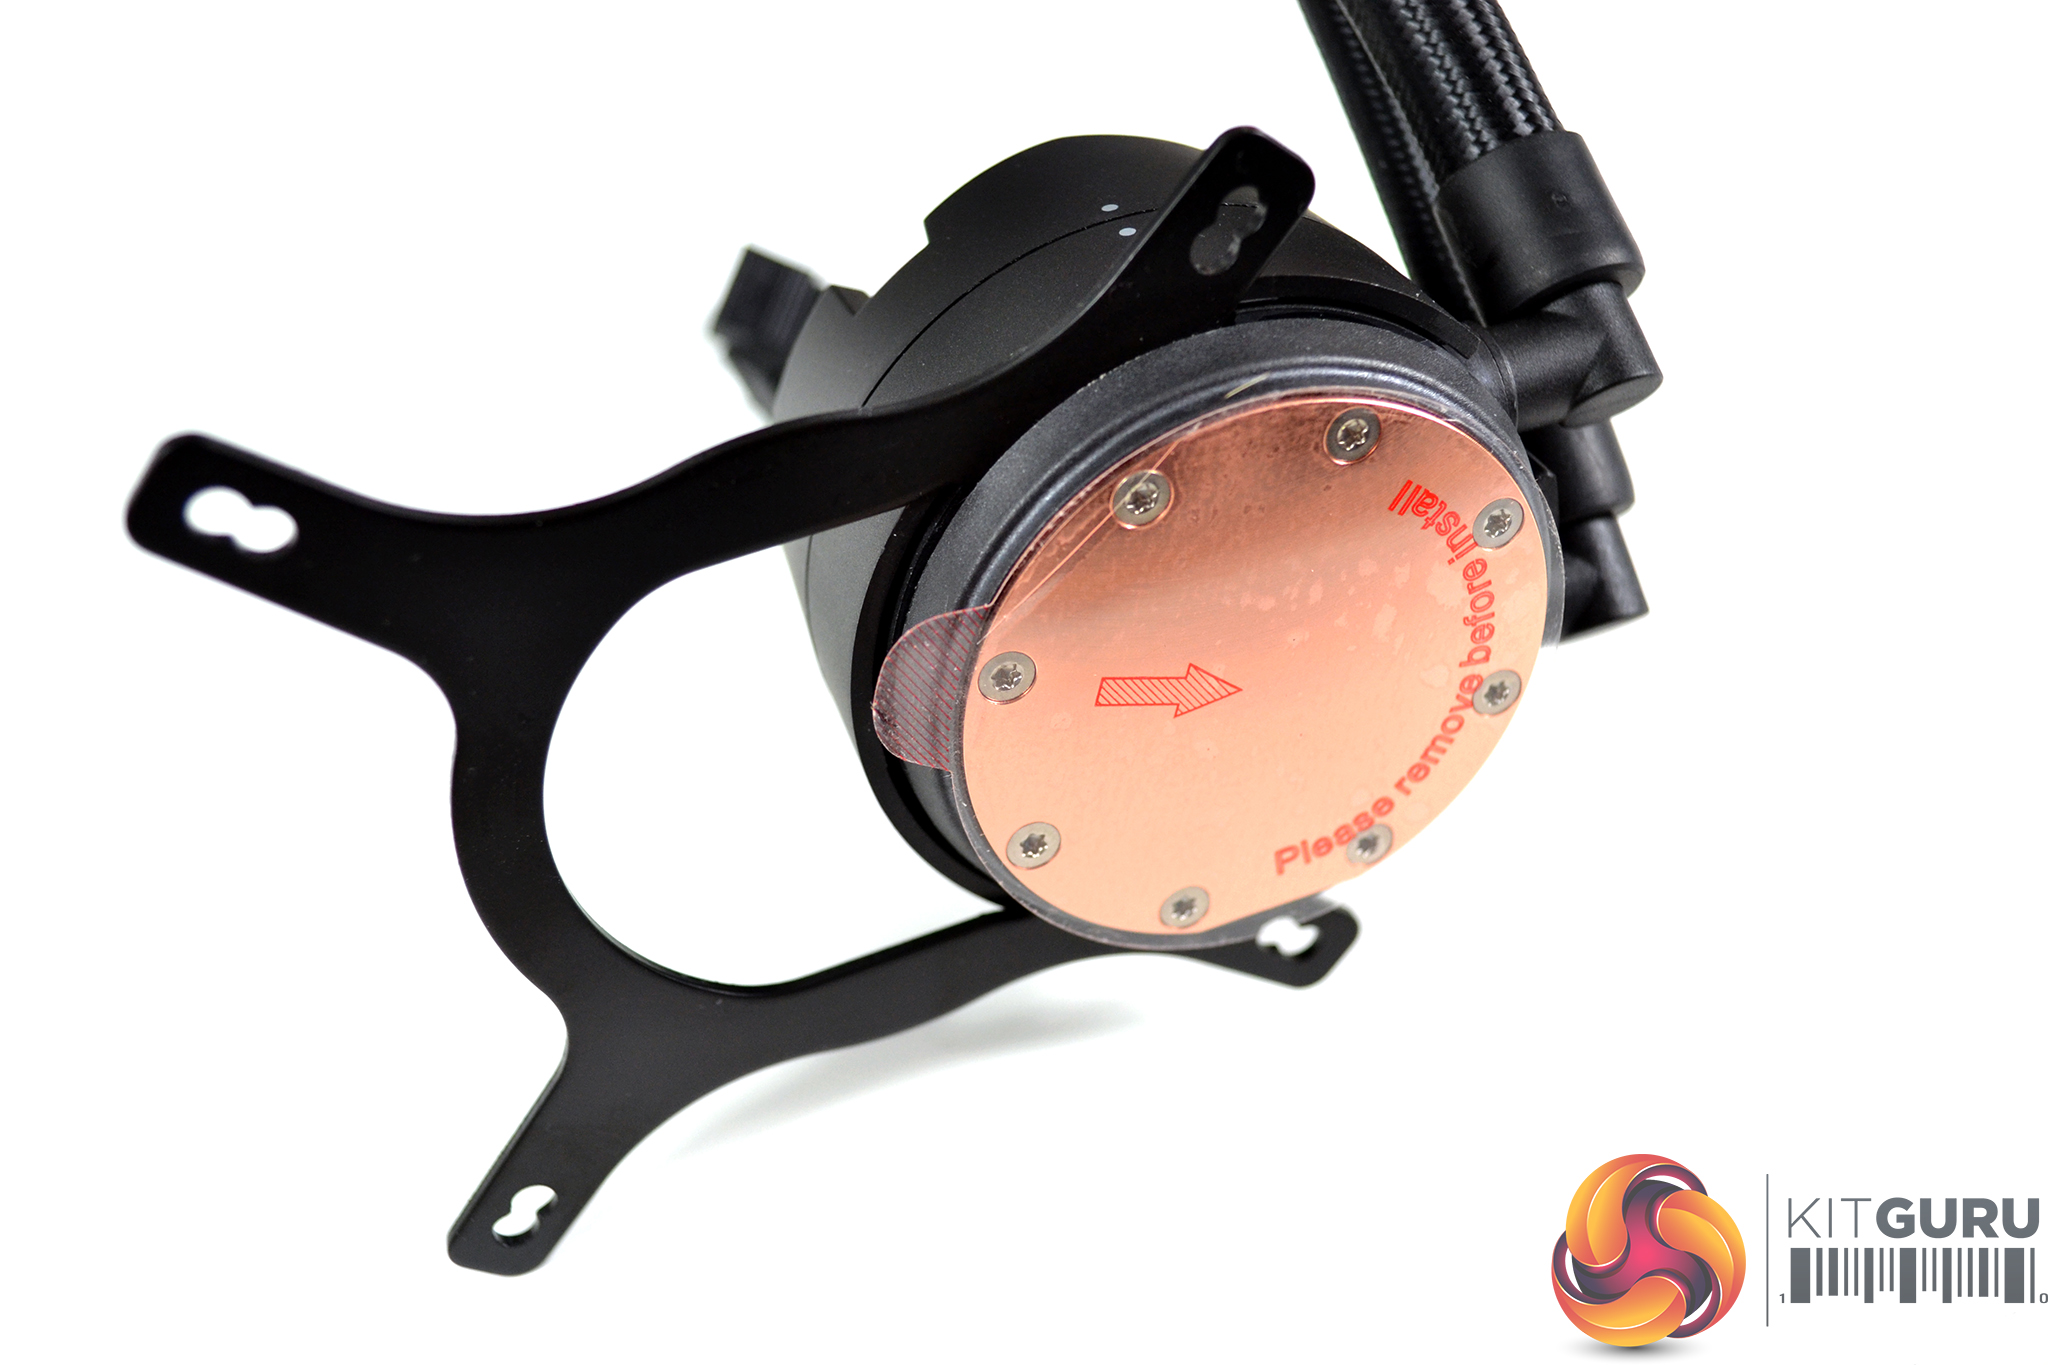
Now that the fans are fitted to the radiator, we can complete the preparation of the cooler by installing the upper mounting bracket to the CPU block. For Z390 platforms, select the Intel upper mounting bracket as shown in the installation manual, locate the bracket in the CPU block groove as show and slide it into position until it is fully engaged.
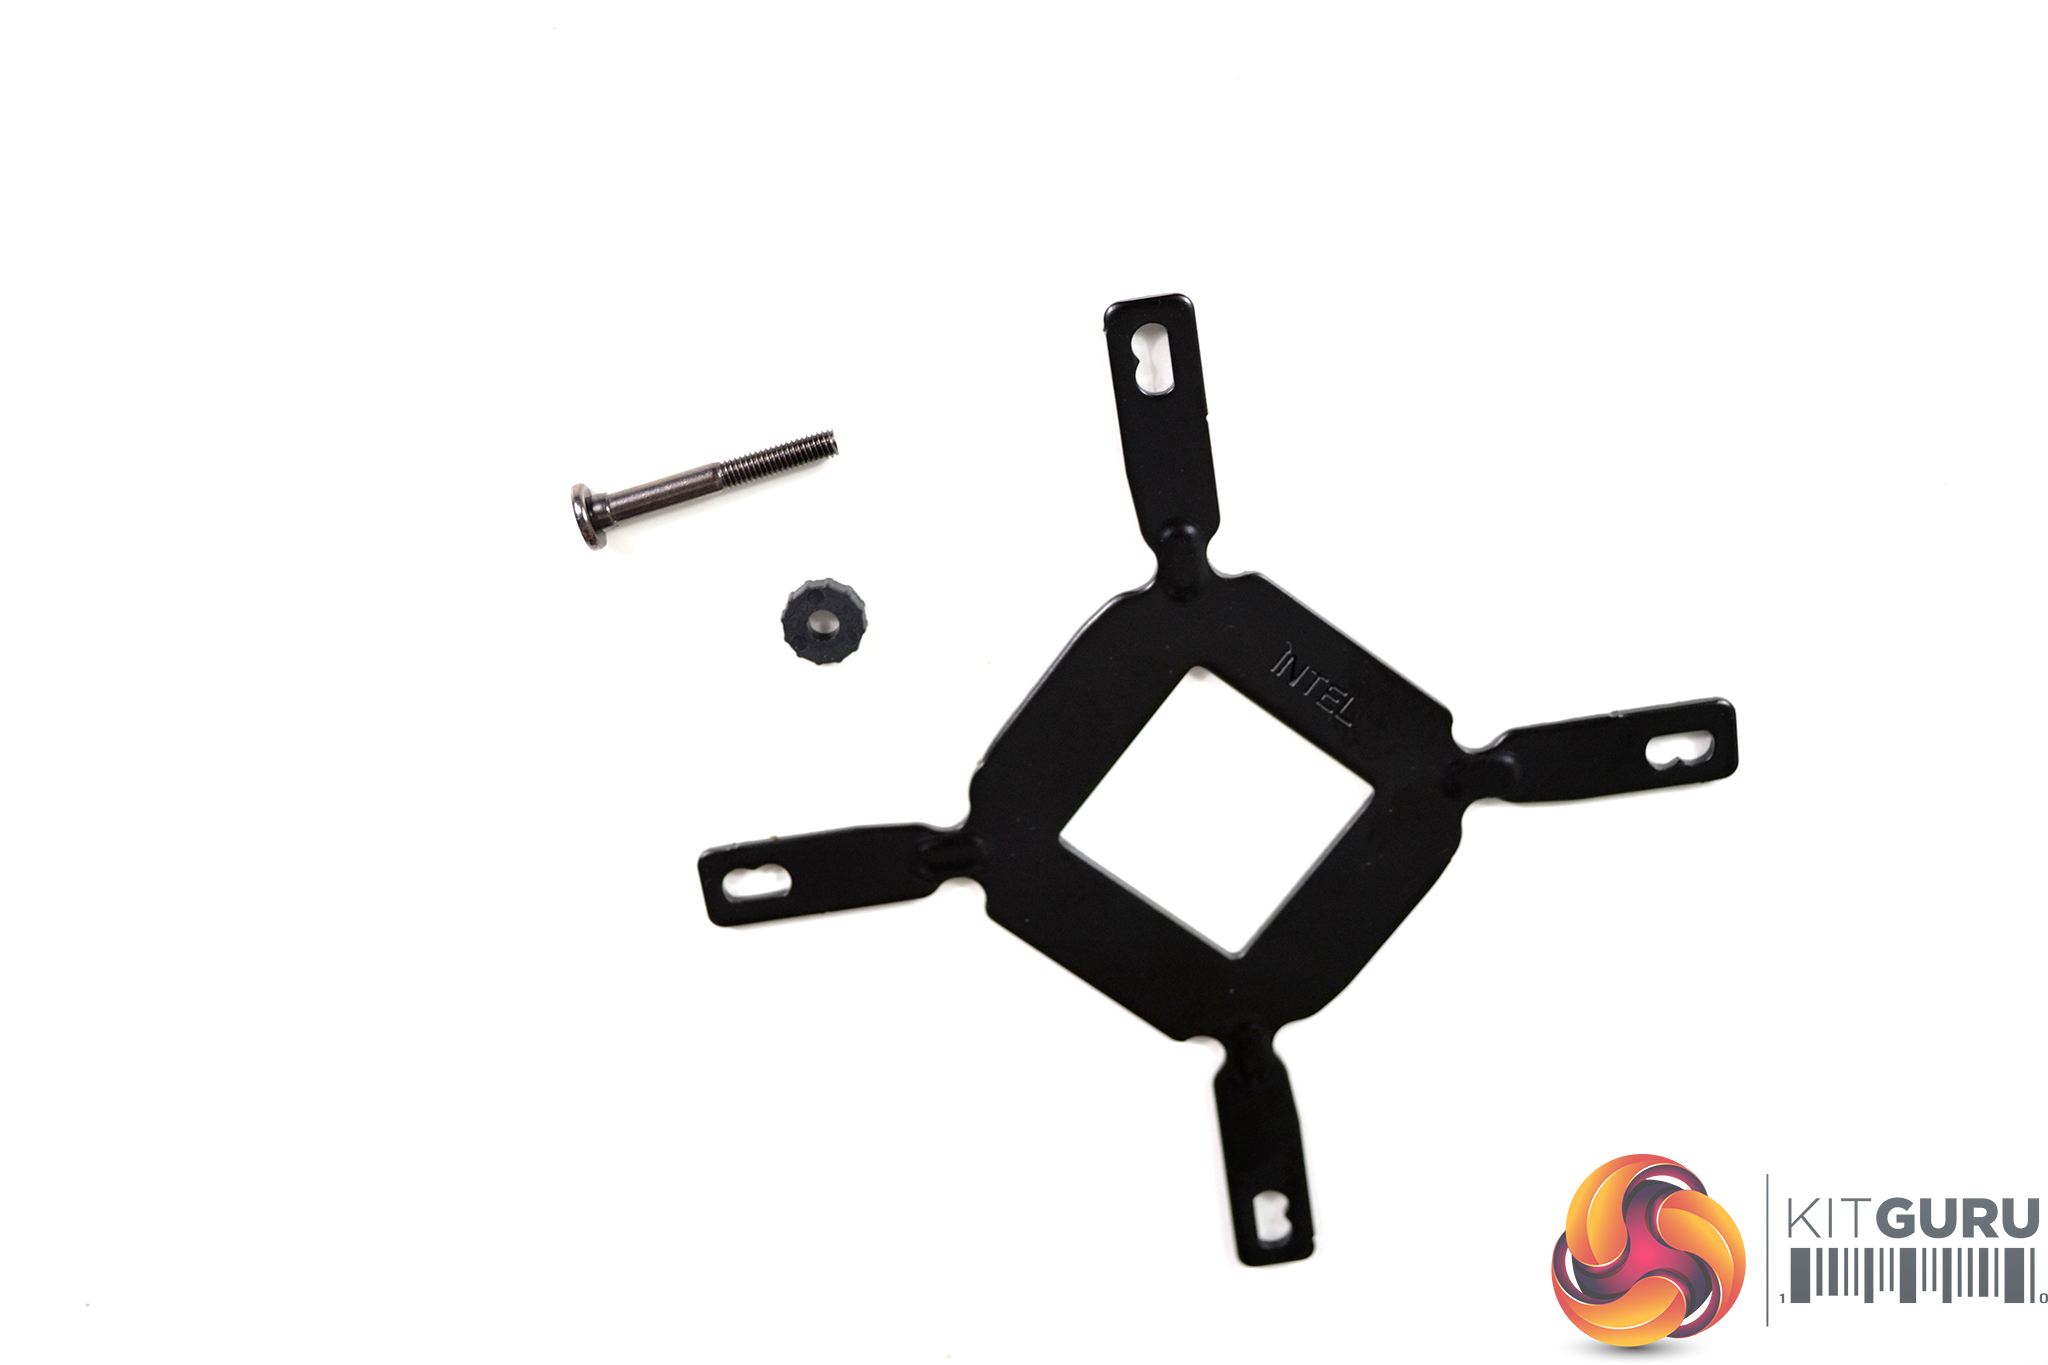
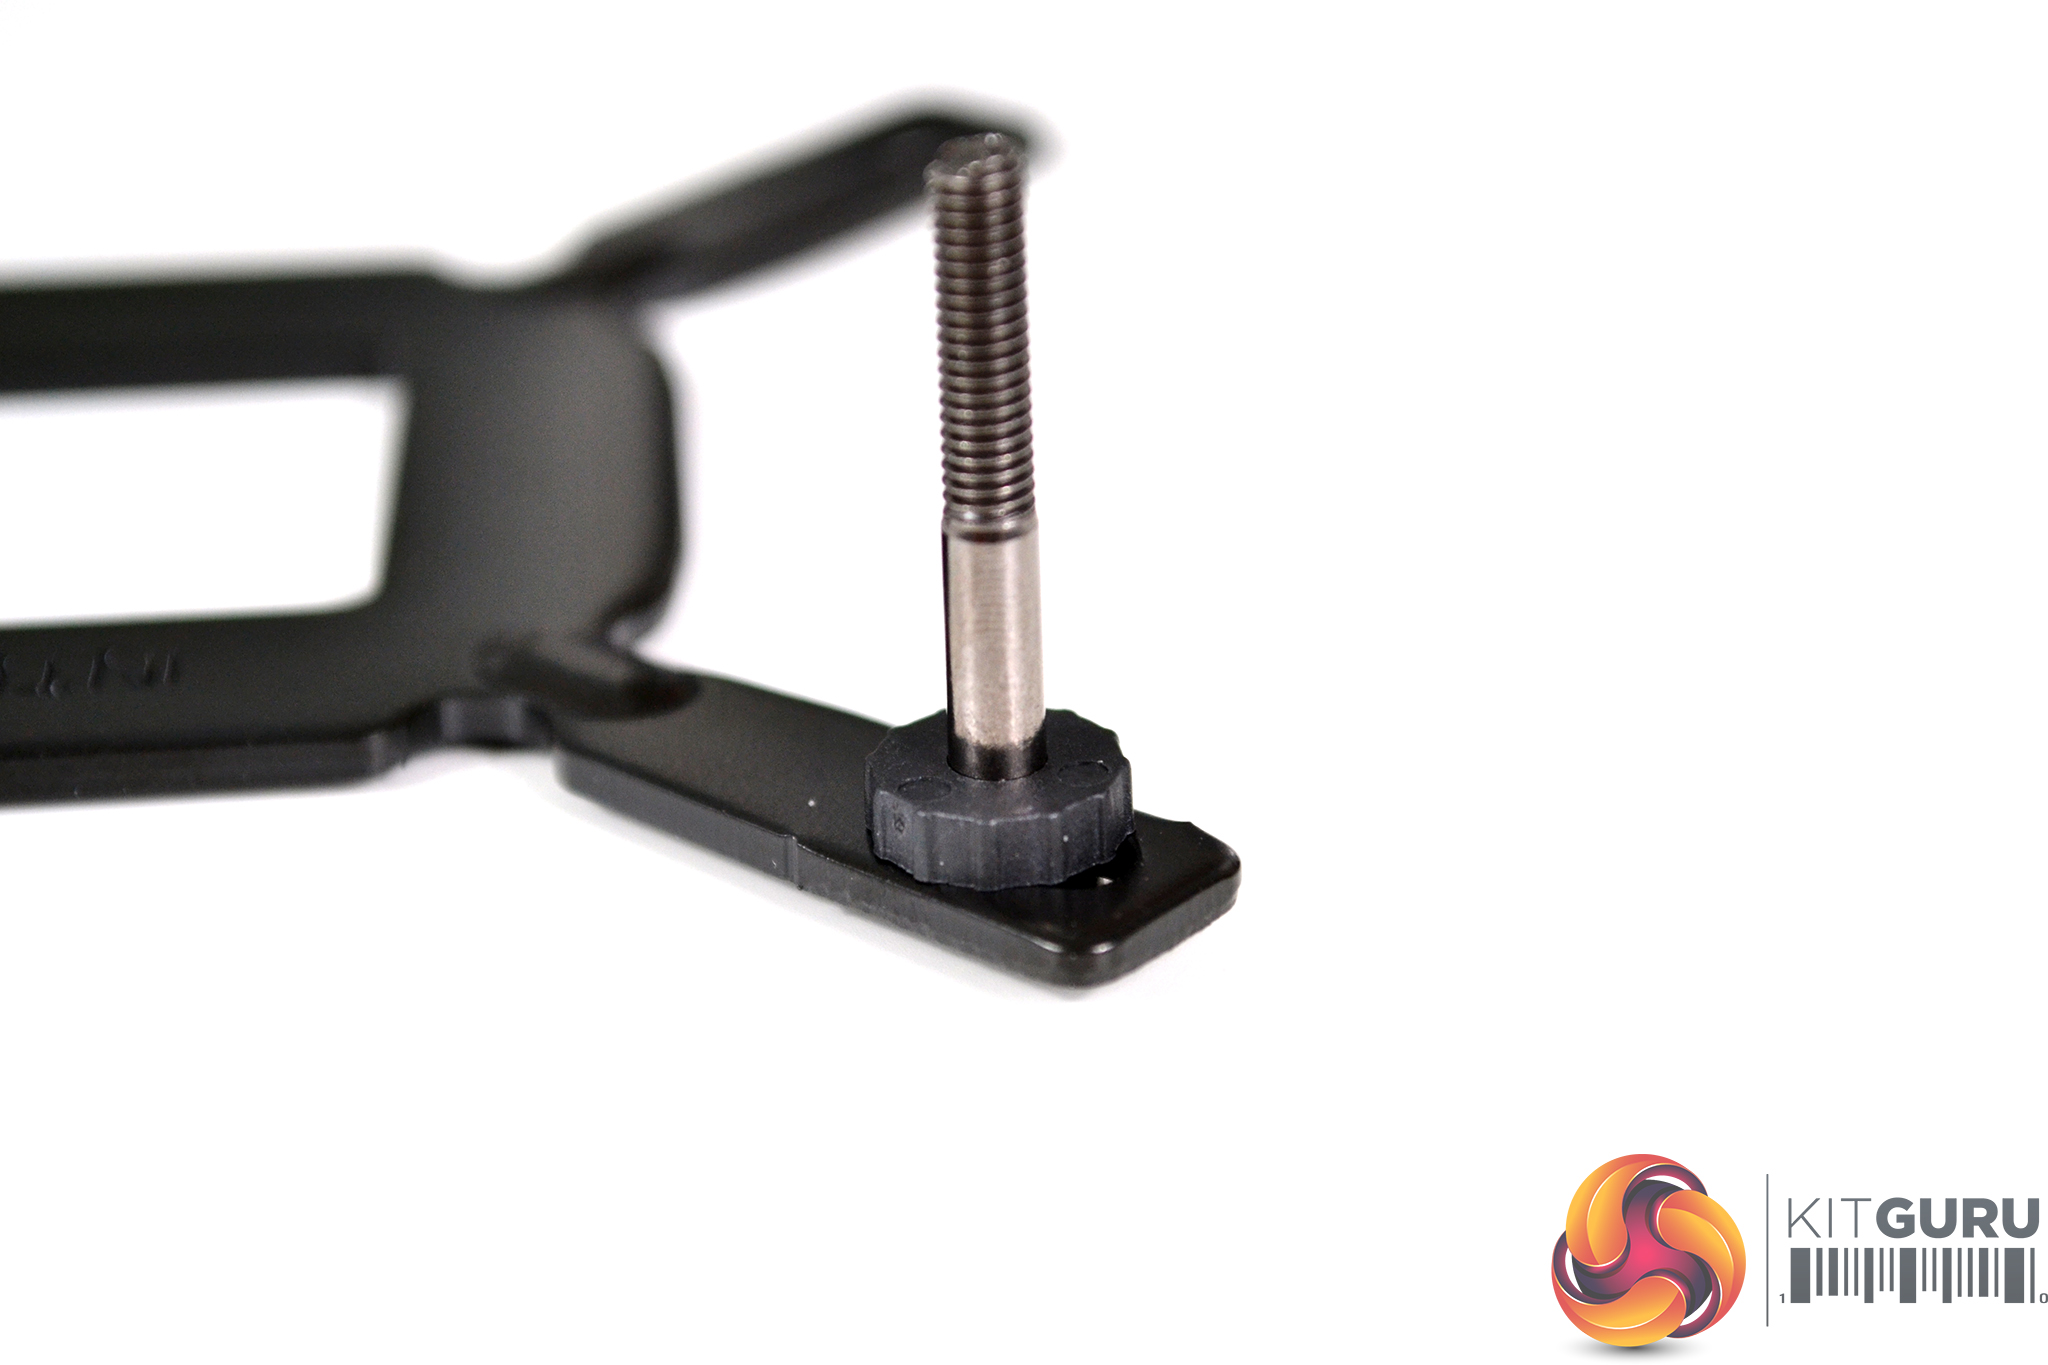
Next up is the preparation of the motherboard. For Intel 115x platforms, select the relevant Intel specific backplate, standoffs and retention washers. Push the nickel-plated standoffs through the holes that correspond to 115x on the backplate and secure the standoffs to the backplate using the plastic retention washers.
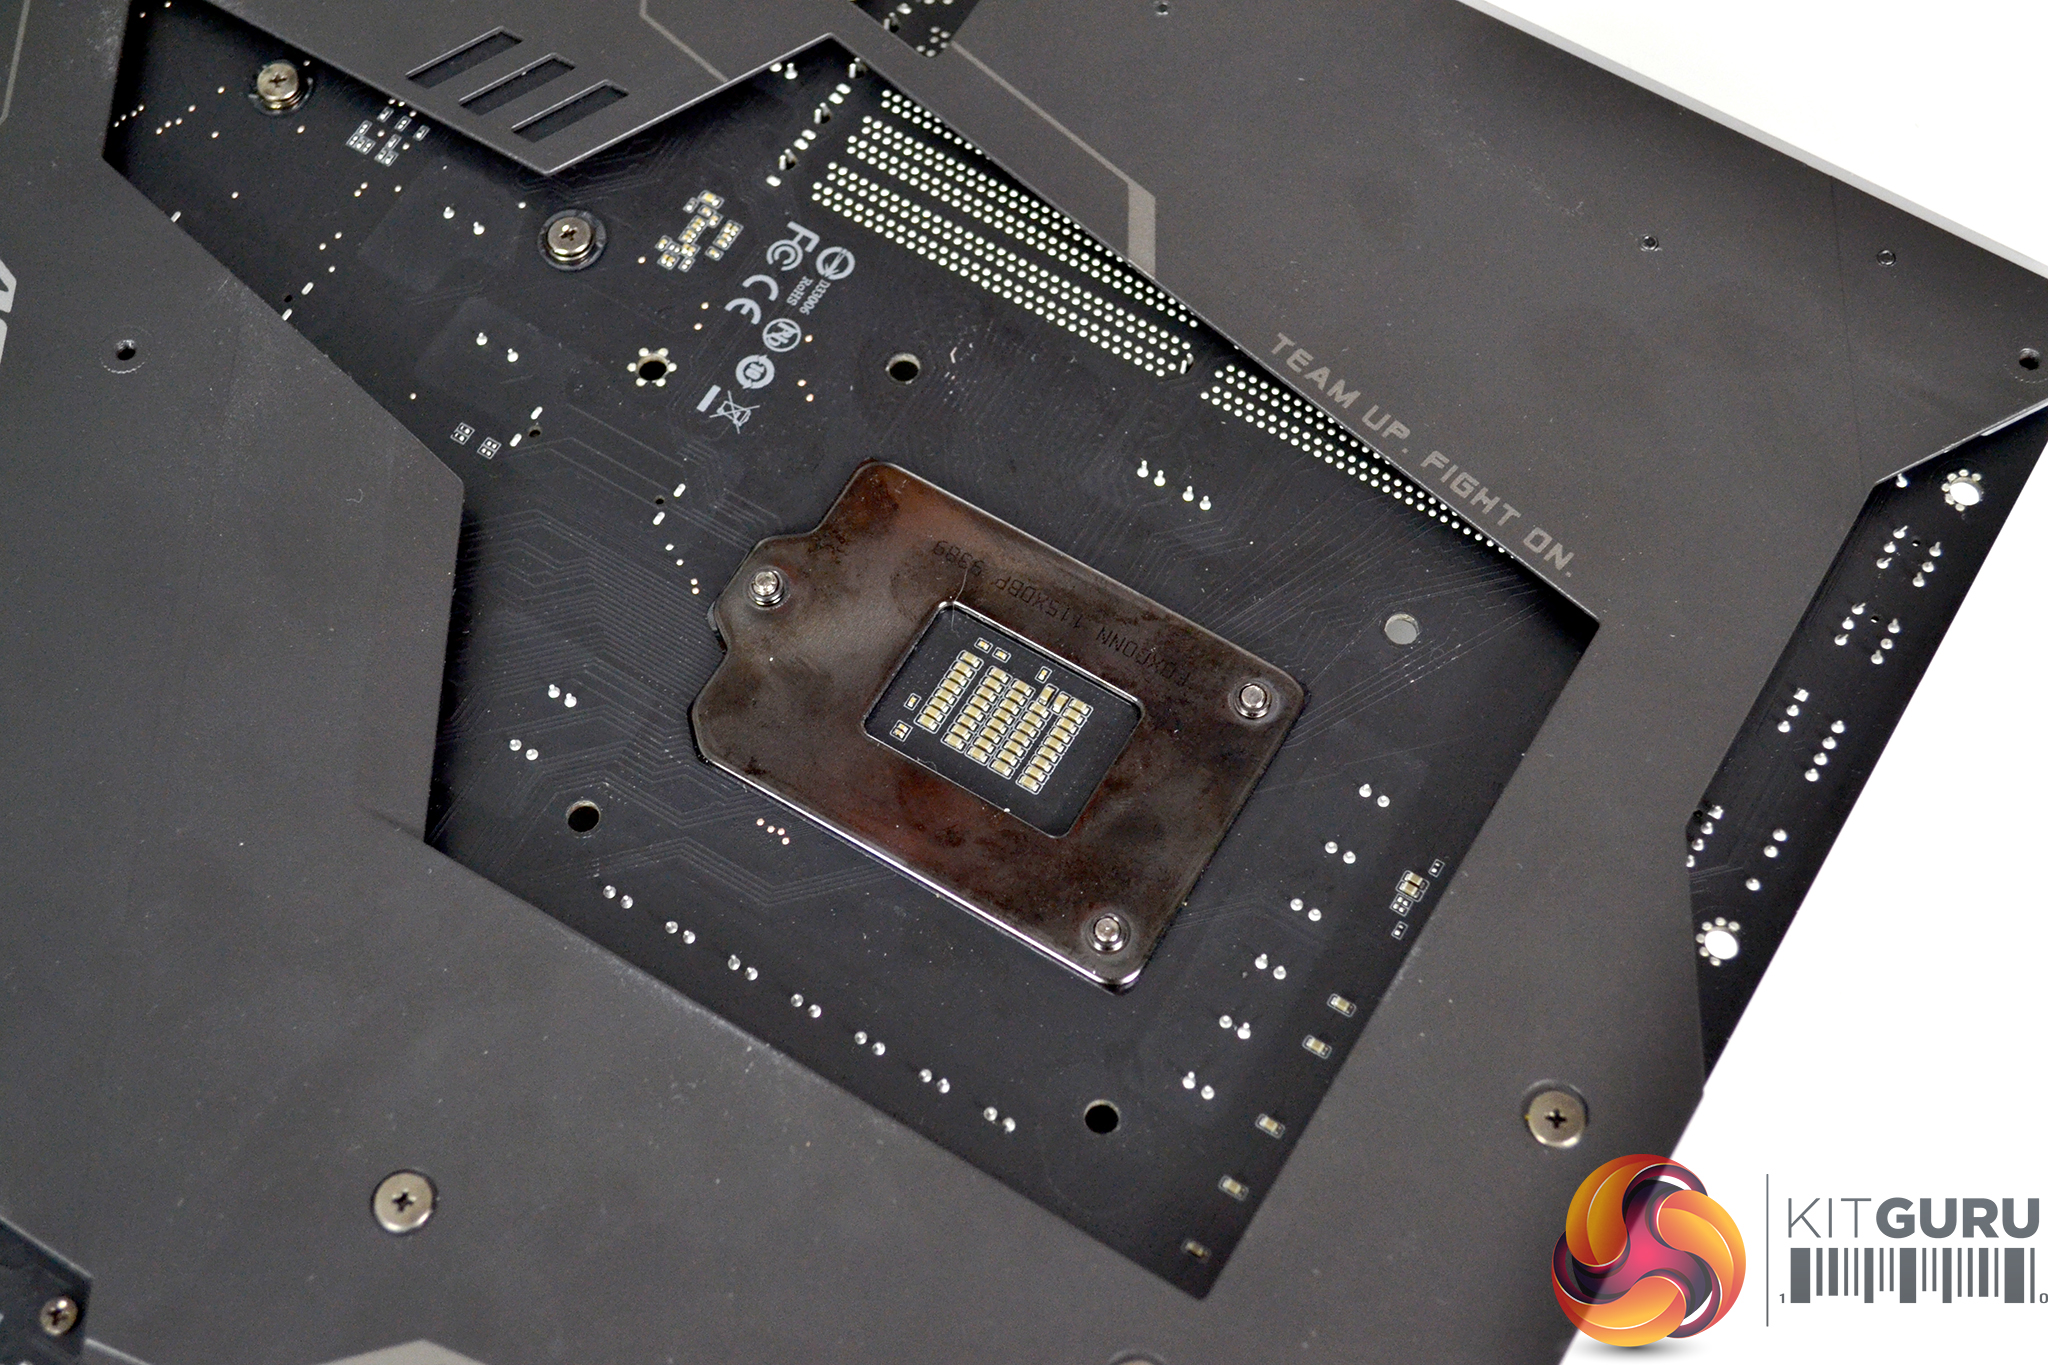
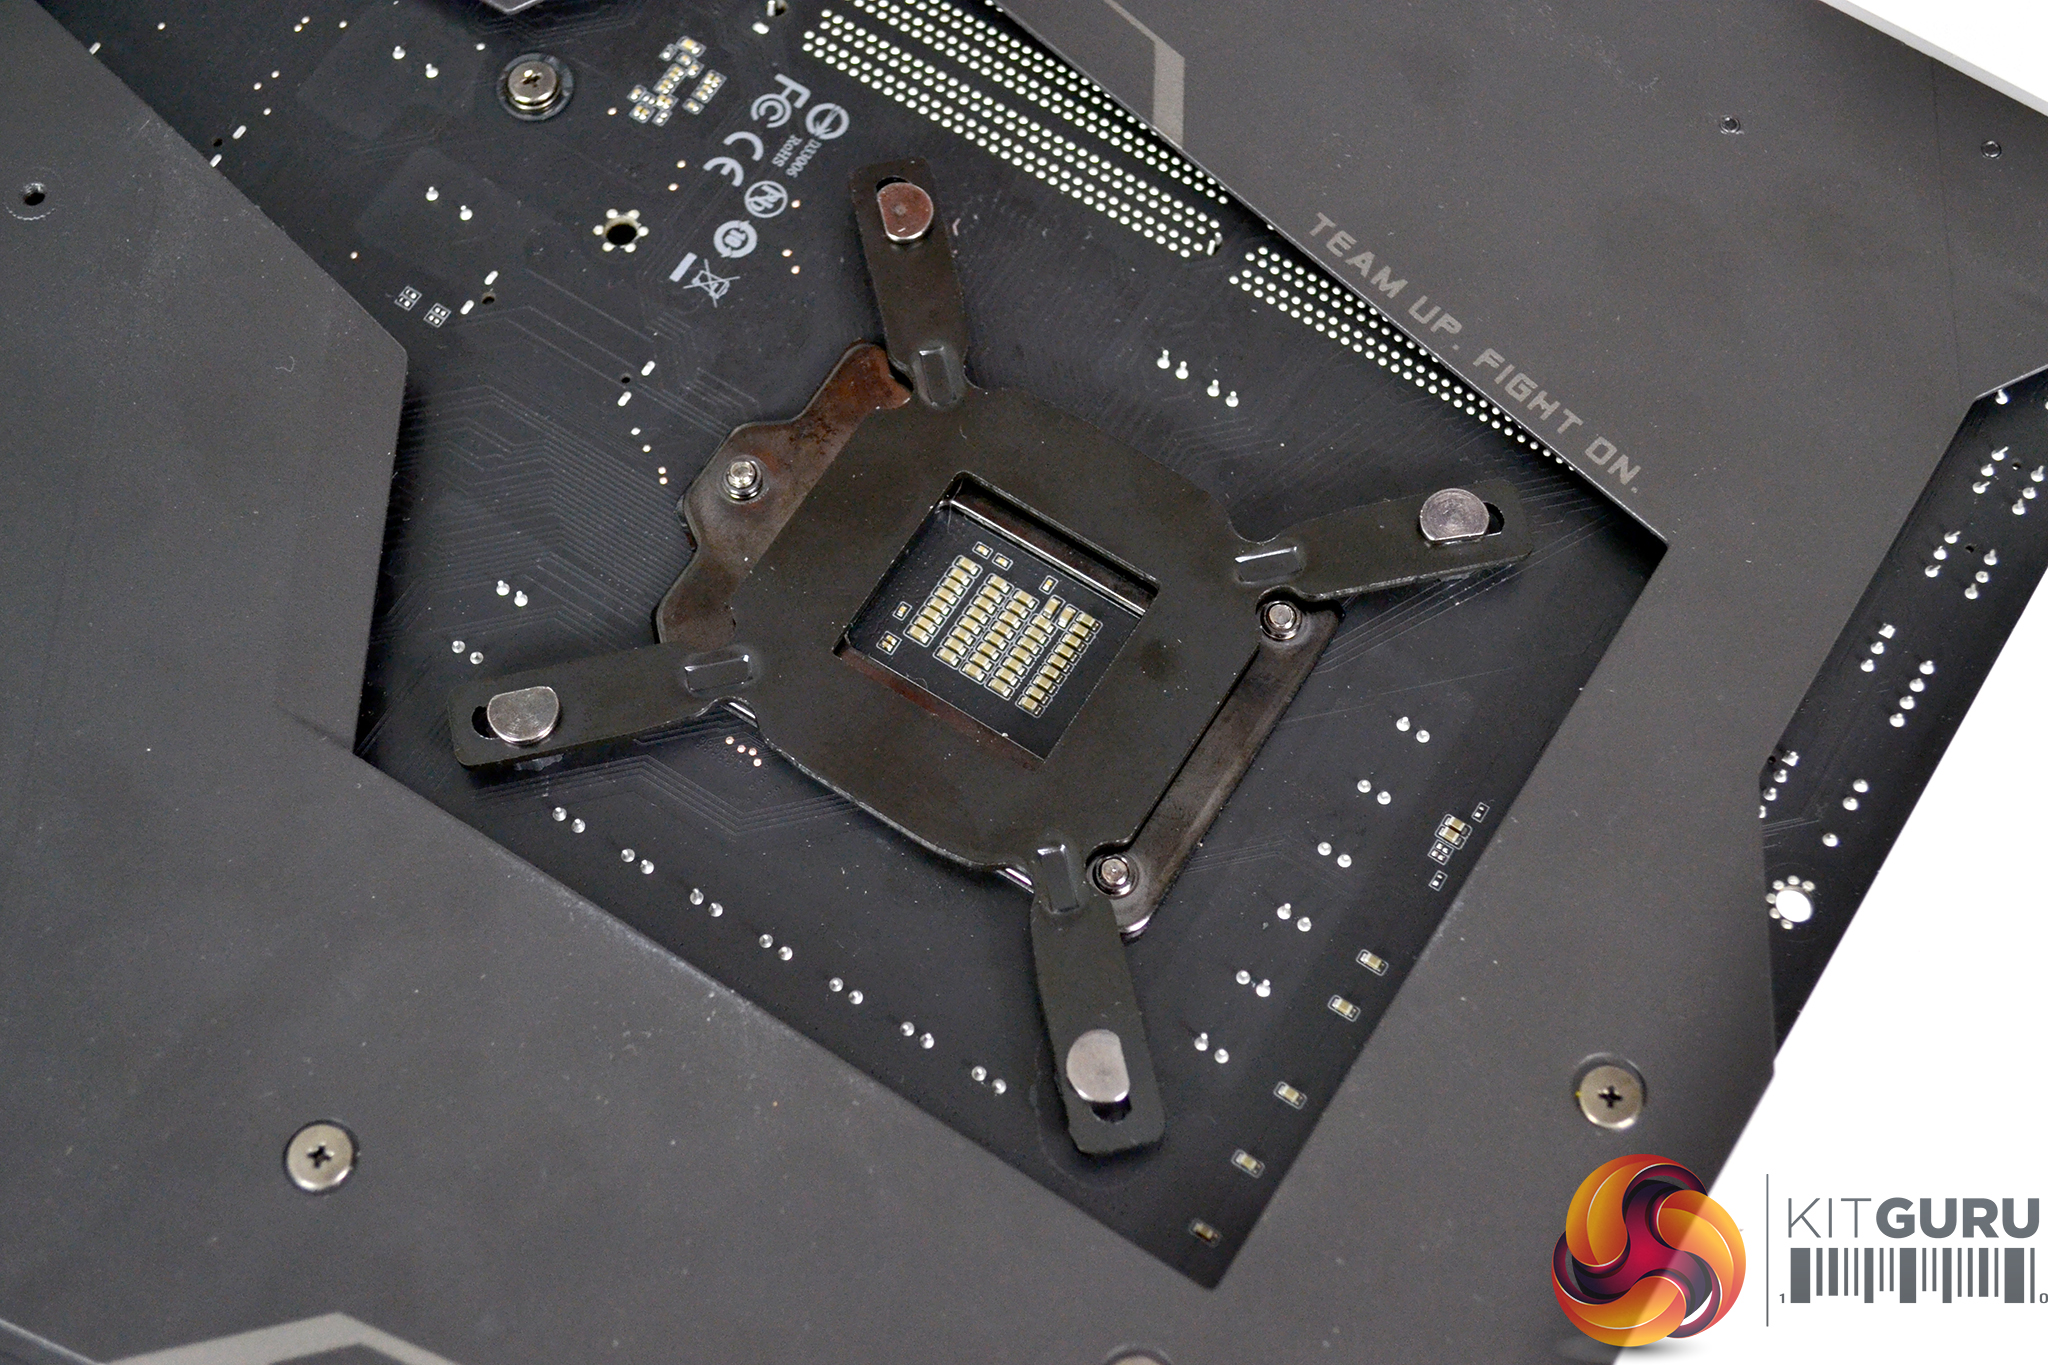
Now working from the back of the motherboard, align the backplate standoffs with the motherboard mounting holes and drop the assembled backplate into position before turning the motherboard back the correct way up.


Take the four black plastic spacers and slide them over the standoffs. The spacers are designed to be fitted only one way around and, in this orientation, they grip on to the standoffs to hold the backplate in position while the rest of the installation is being completed.
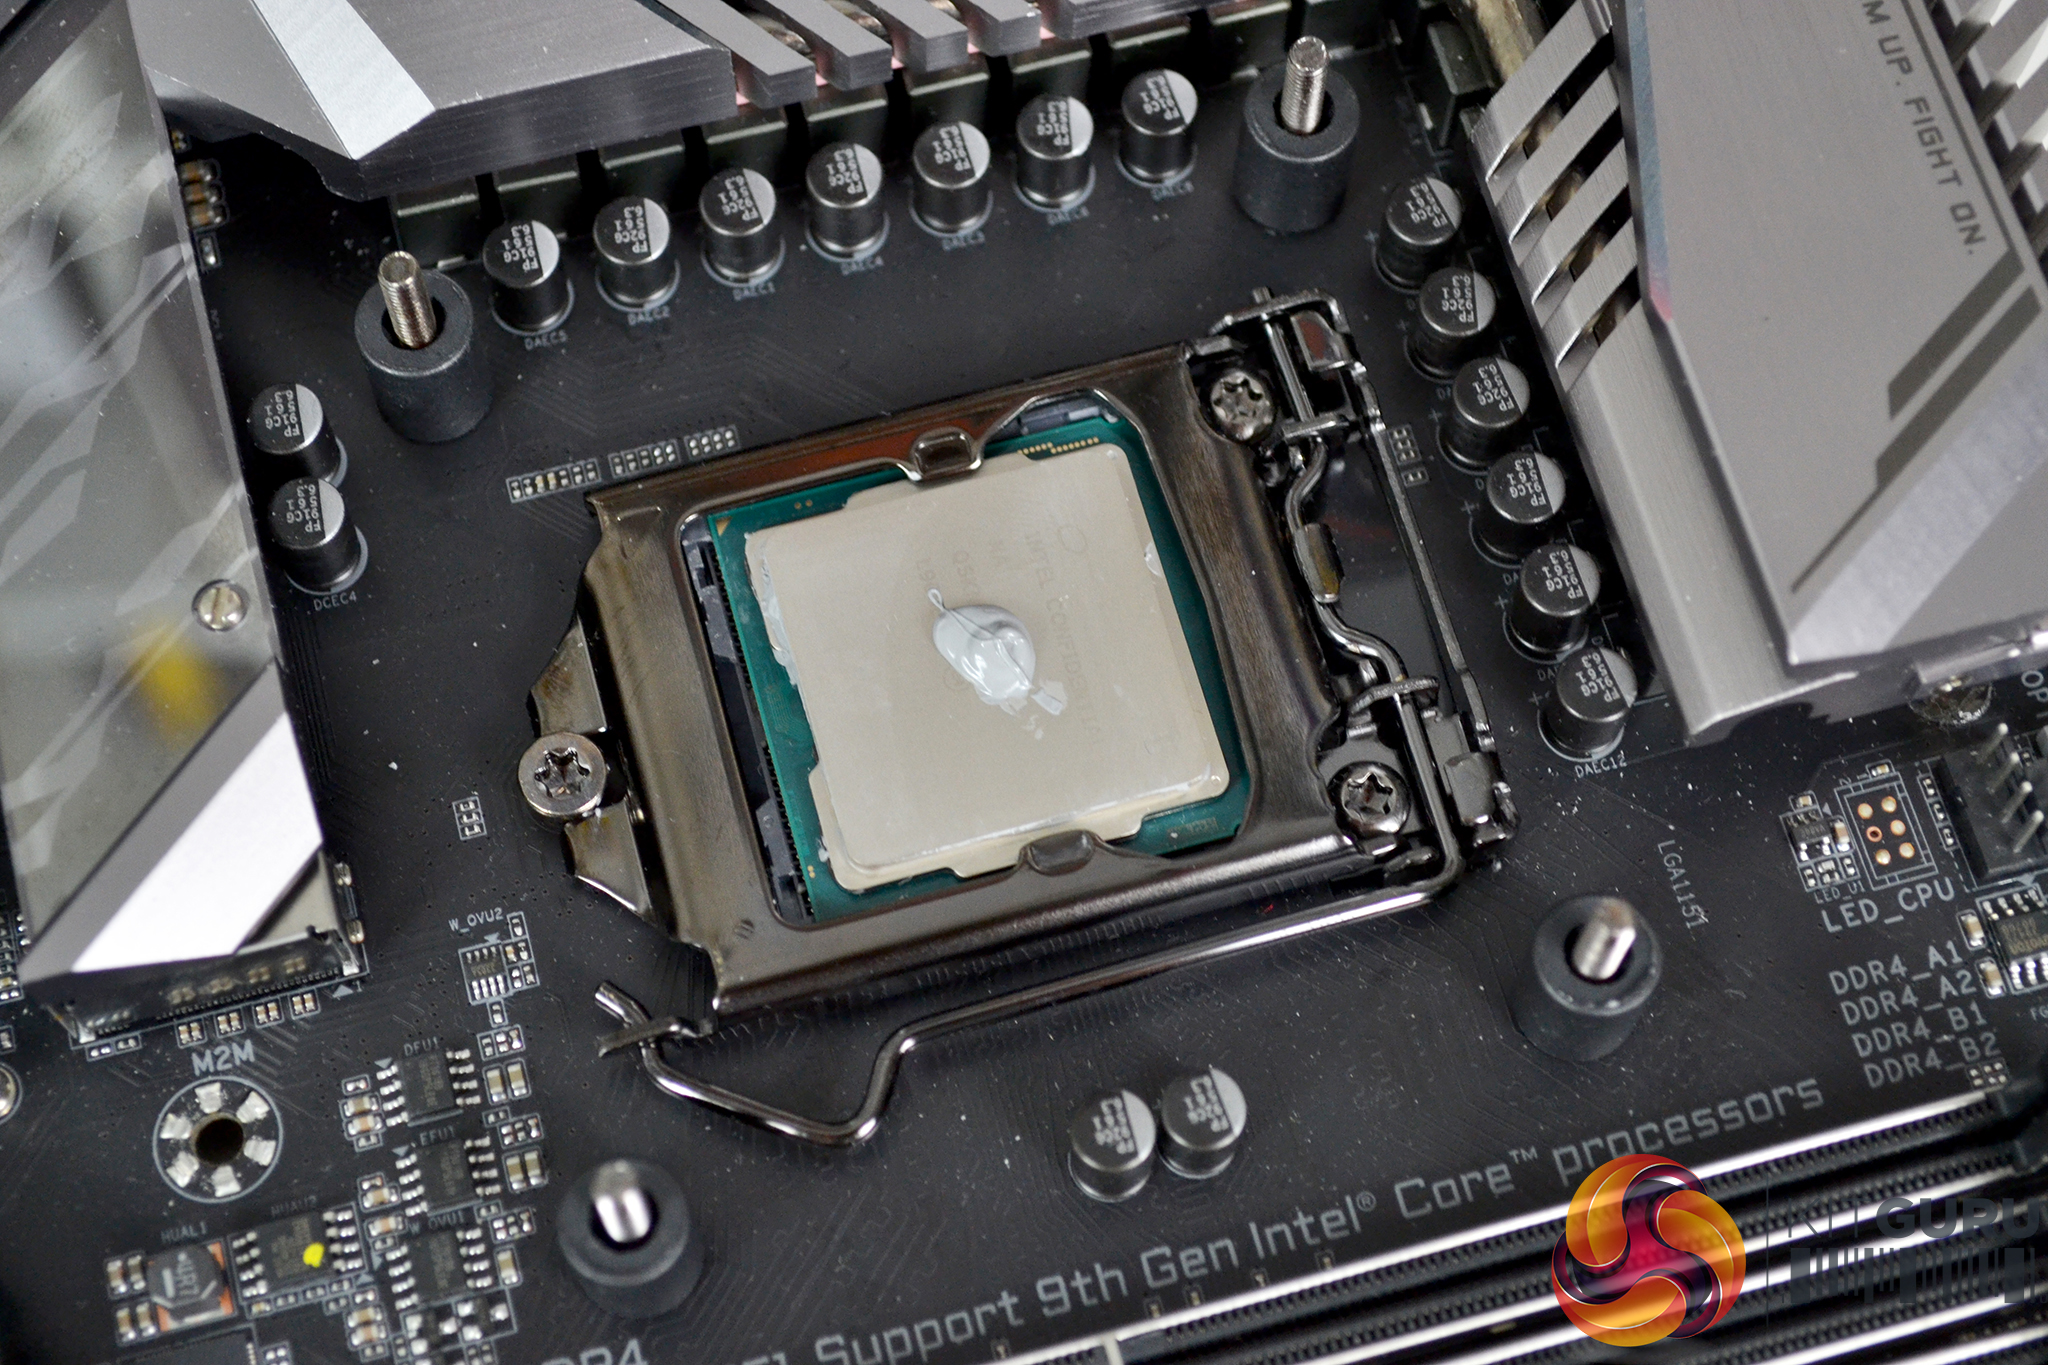
Since the MSI MAG CoreLiquid 360R has no pre-applied thermal compound coating of the thermal transfer plate, use the small tube of thermal compound and apply it to the CPU IHS using your preferred method. A pea-size blob in the middle of the CPU HIS usually works well but other methods are also just as effective.
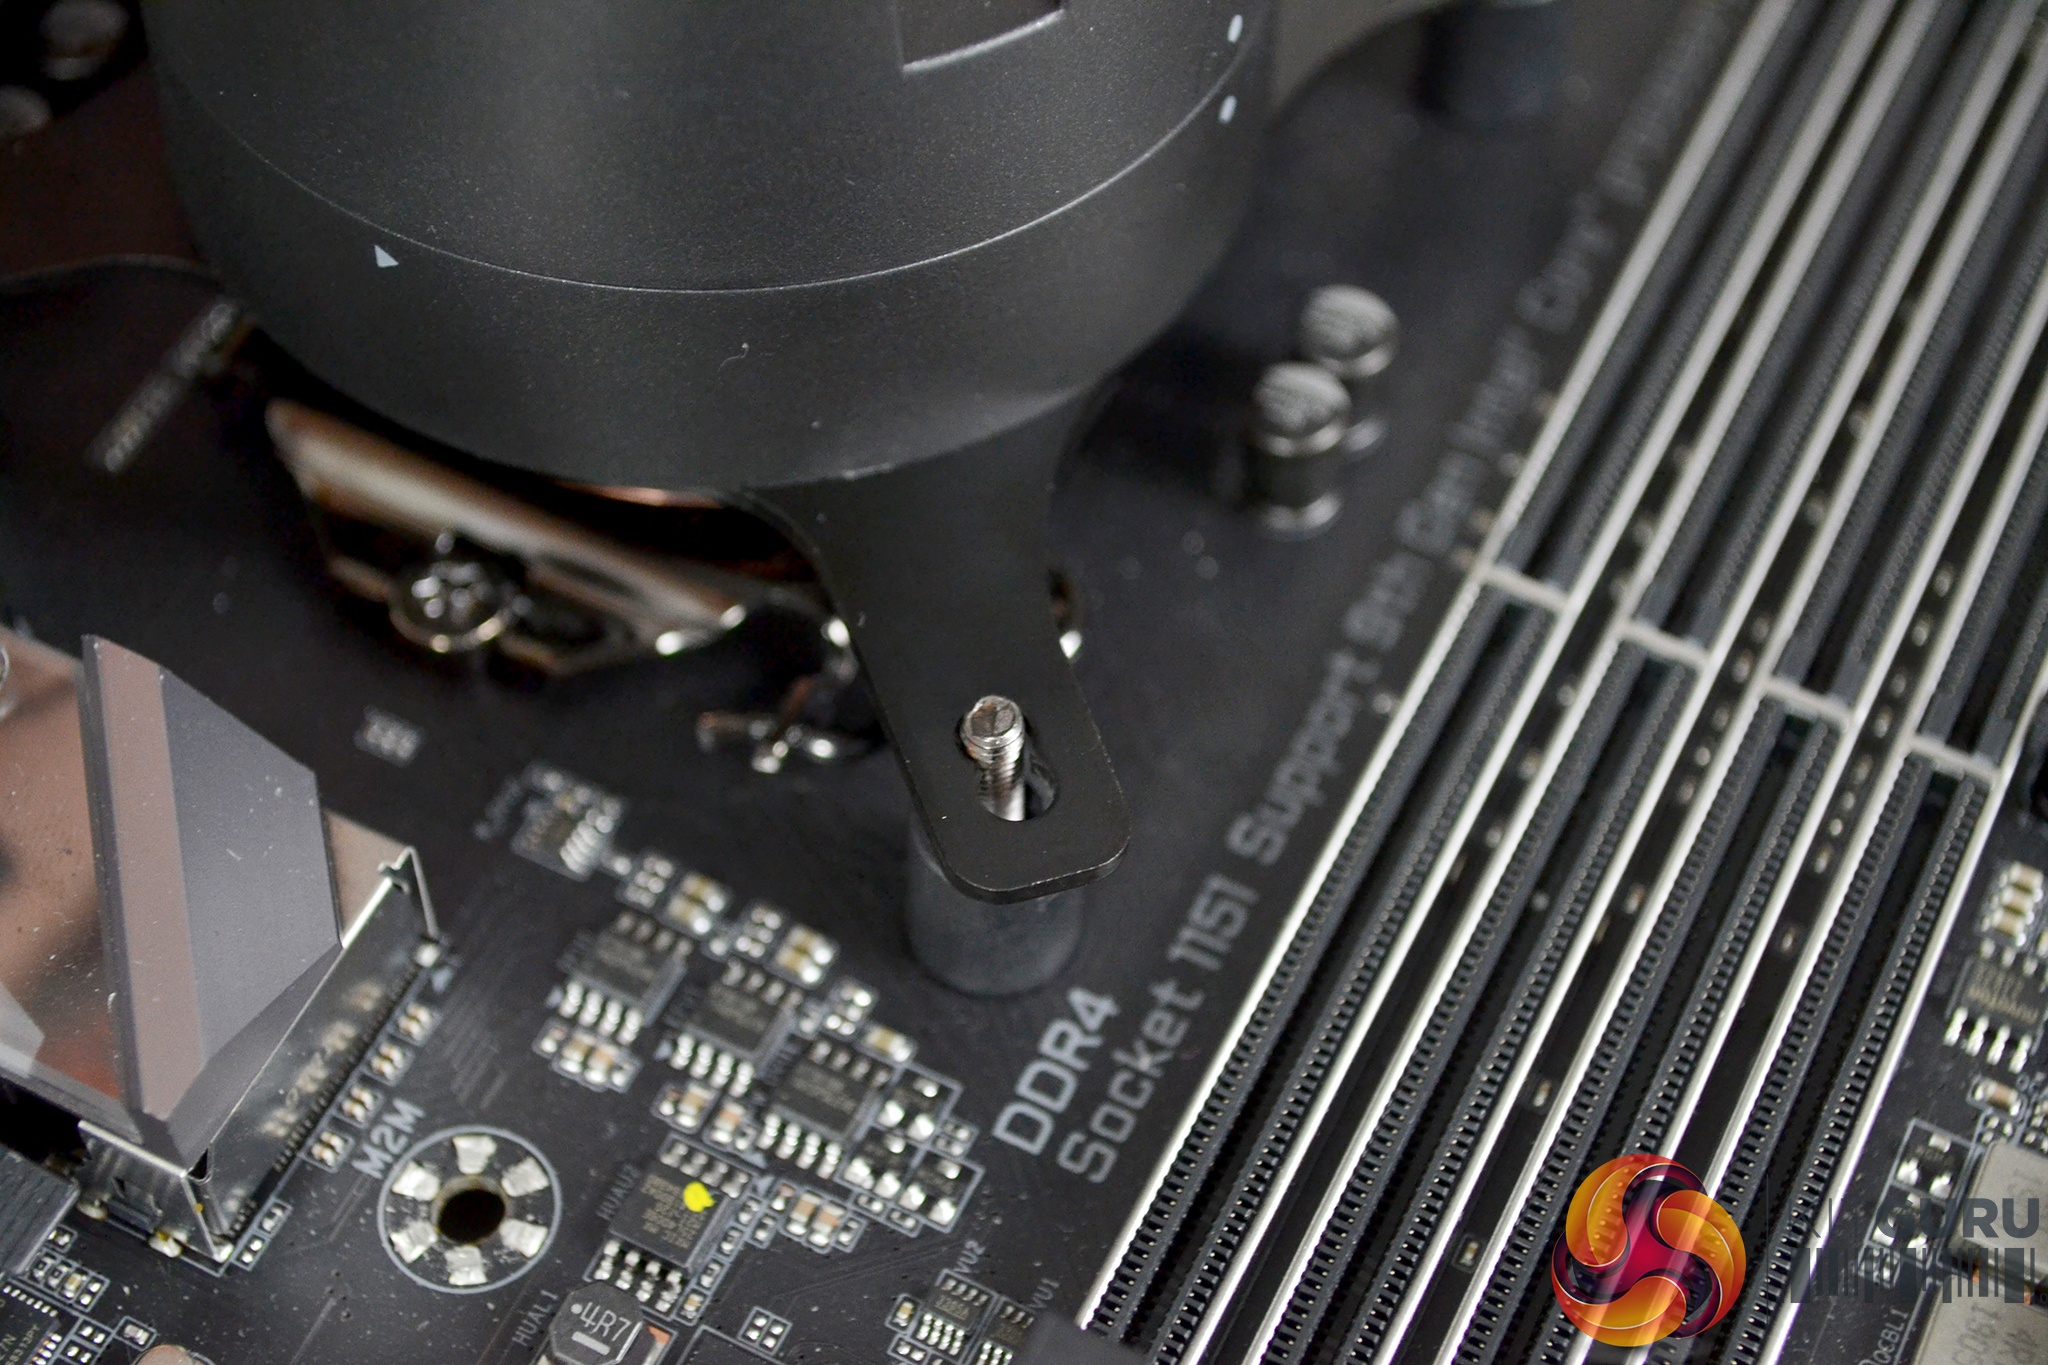
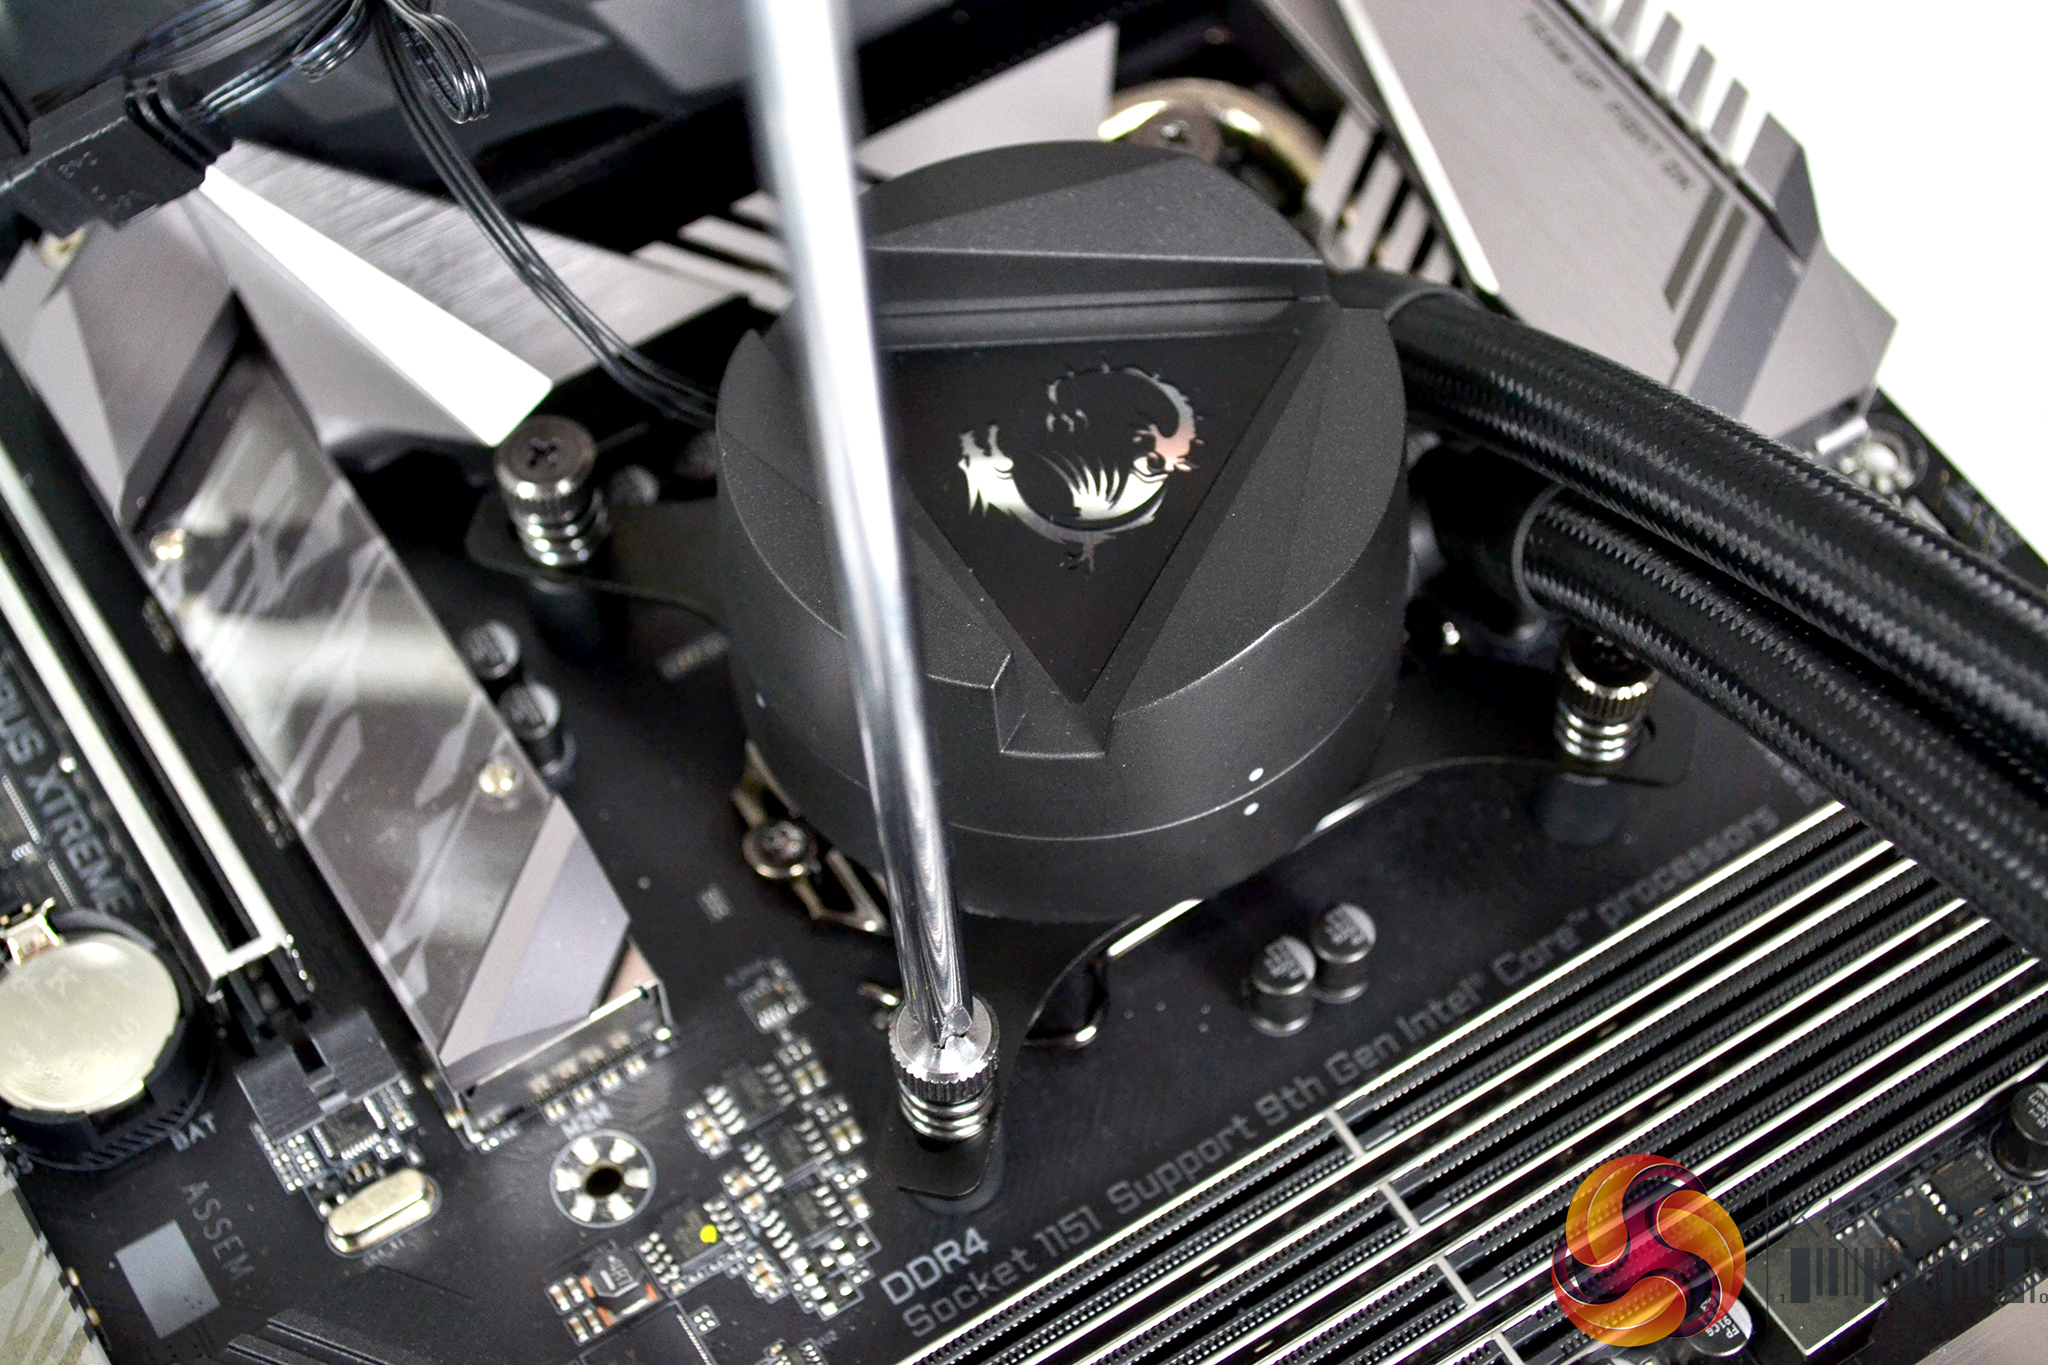
Once the thermal compound coating is applied, remove the protective label from the underside of the CPU block and lower the block down over the CPU with the holes in the upper mounting bracket aligned with the standoffs. Using the four spring-loaded thumbscrews, tighten the CPU block progressively in position in an X shape pattern to evenly spread the pressure across the CPU heat spreader for an optimal block to CPU contact.
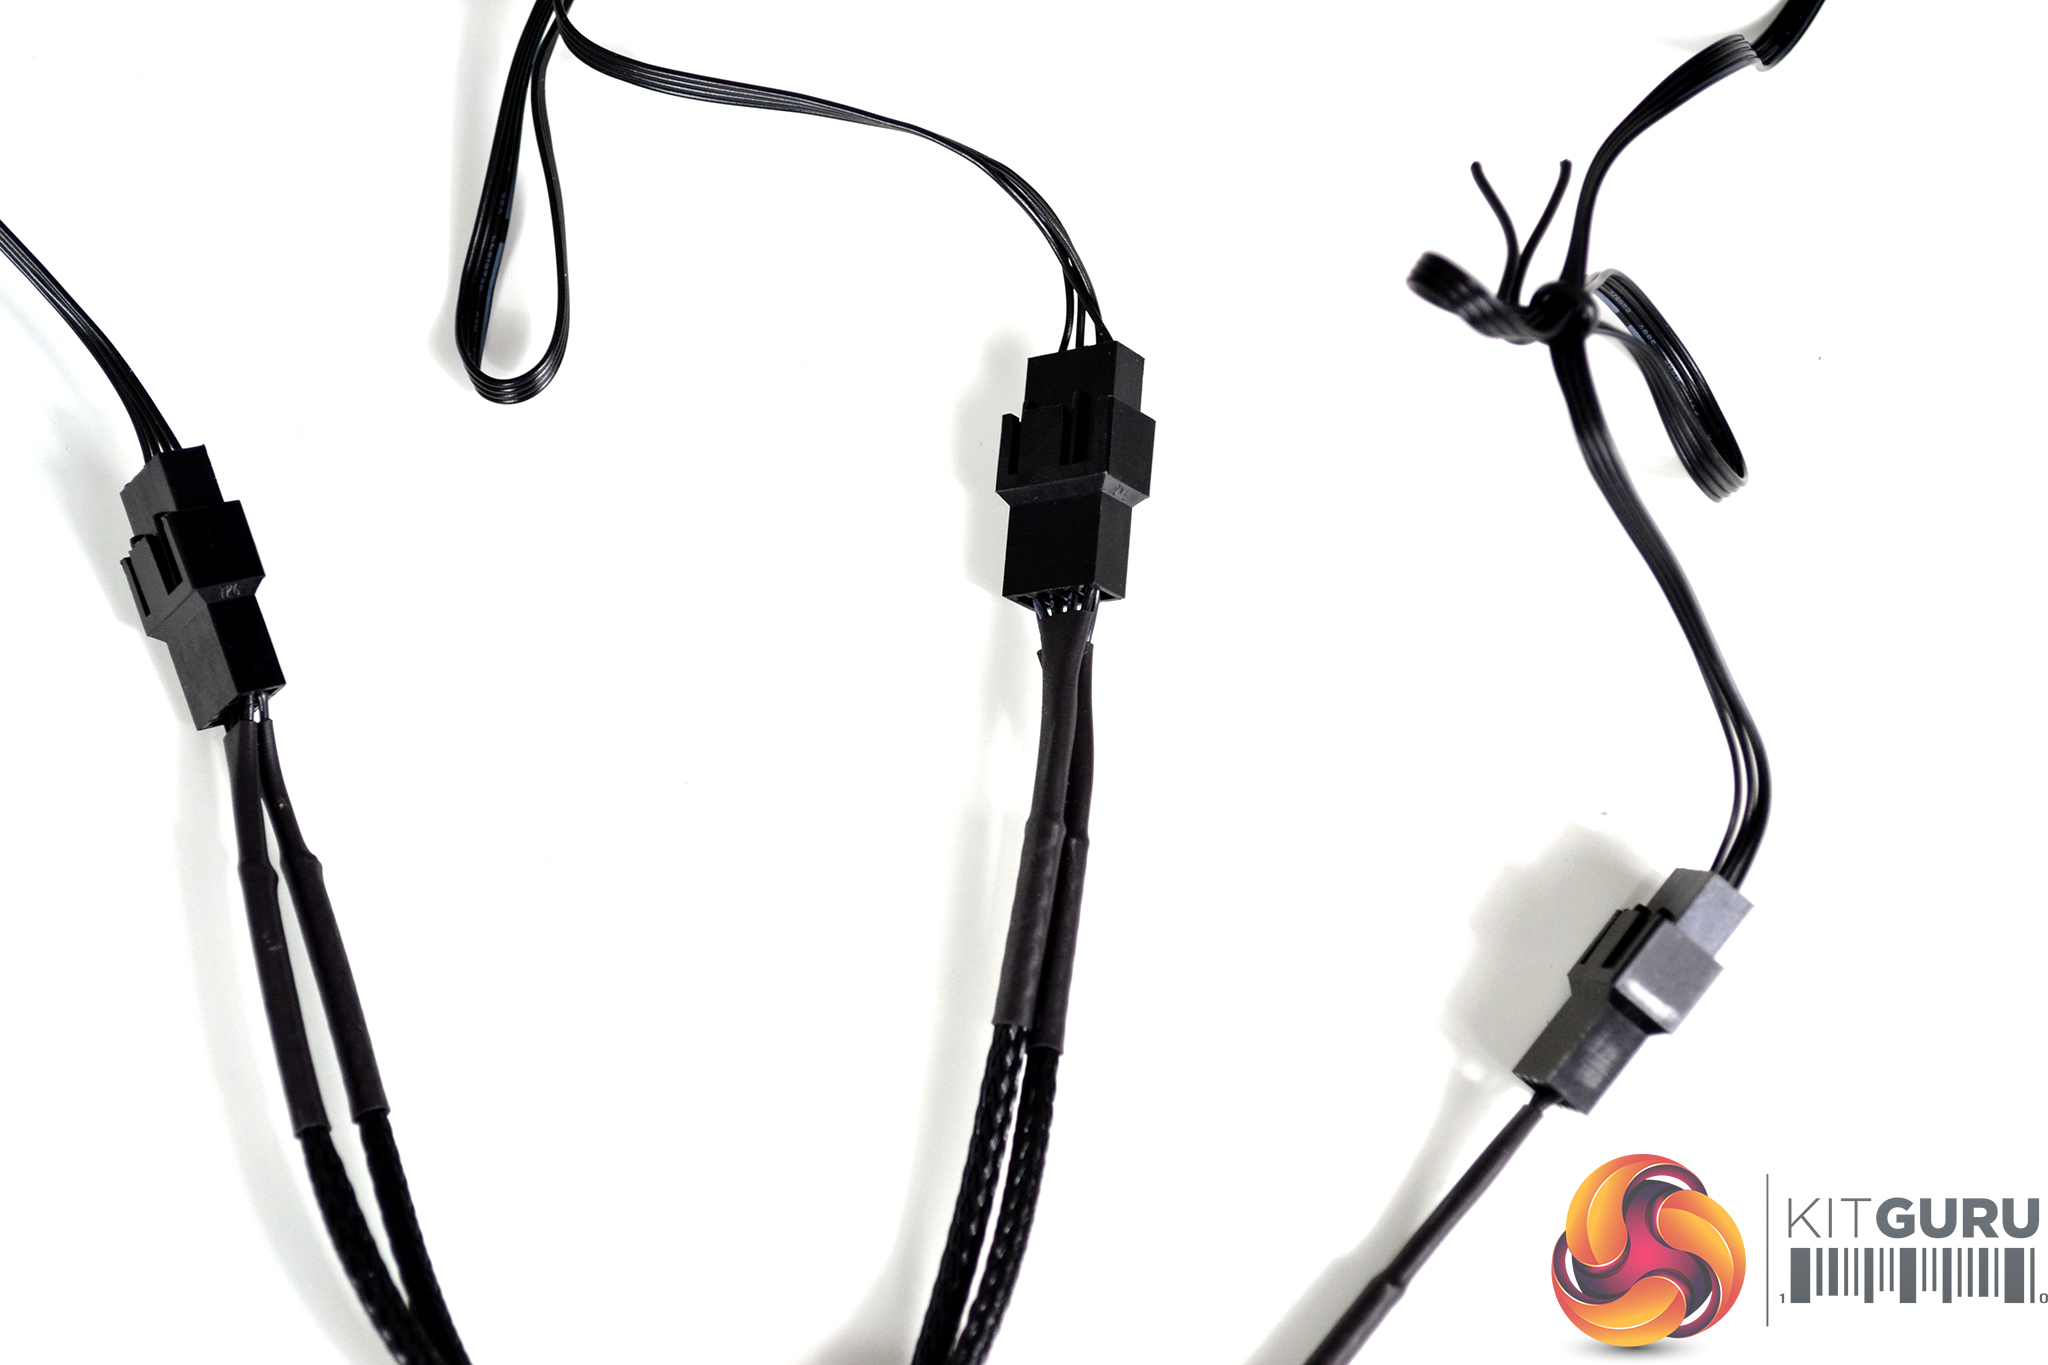
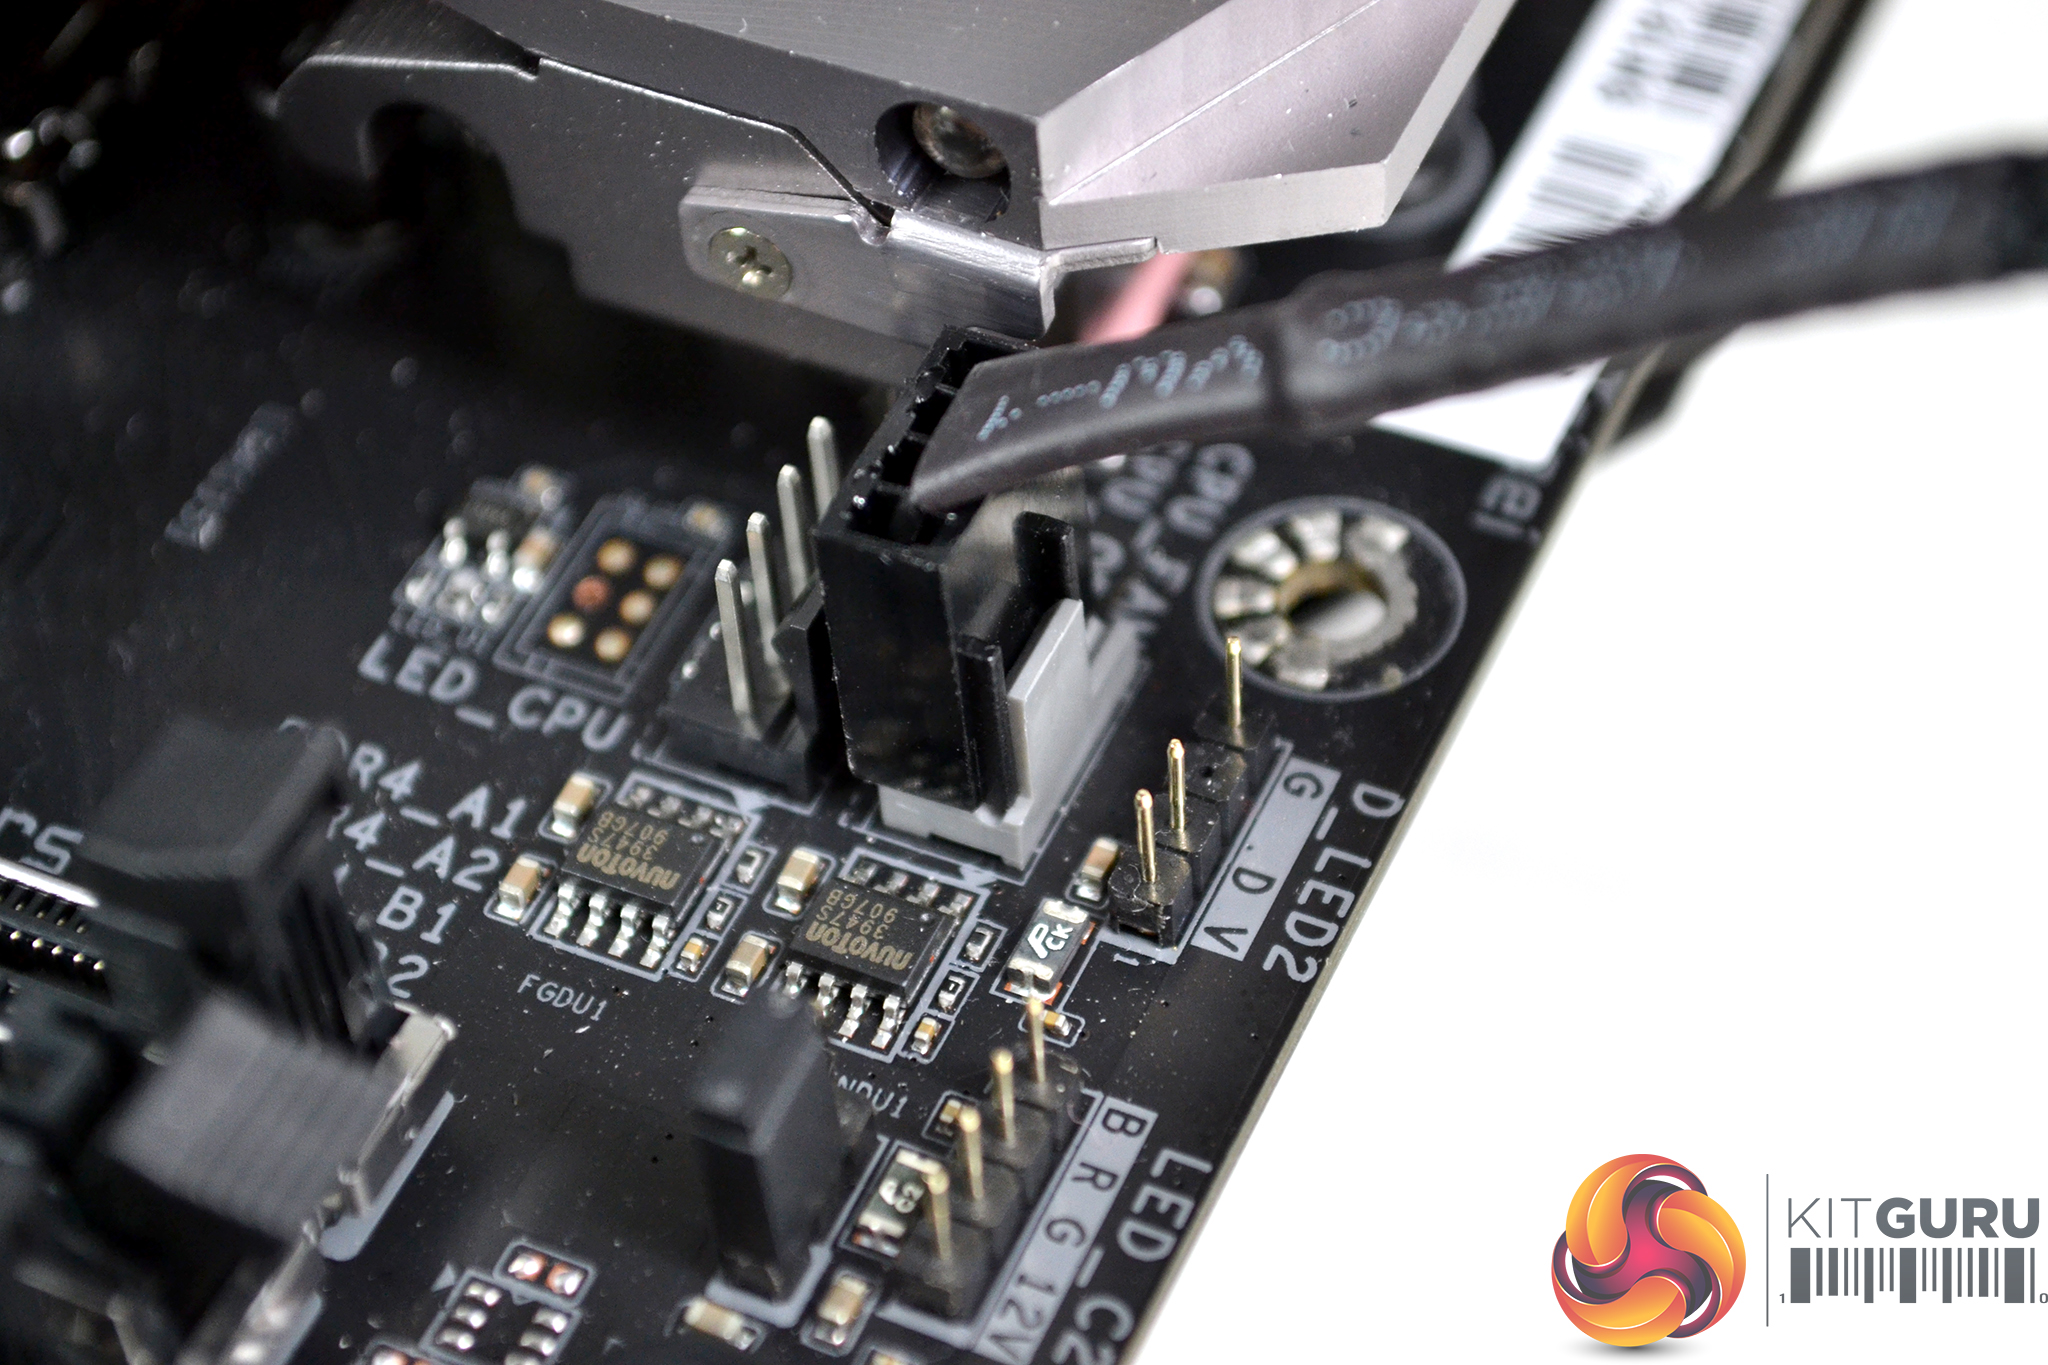
MSI has opted for standard cable connections throughout the MAG CoreLiquid 360R which means connecting up the cables is a simple job. Use the provided 4-pin PWM fan splitter cable to connect all three fans together, then connect the female end of the cable to the motherboard CPU_FAN header.
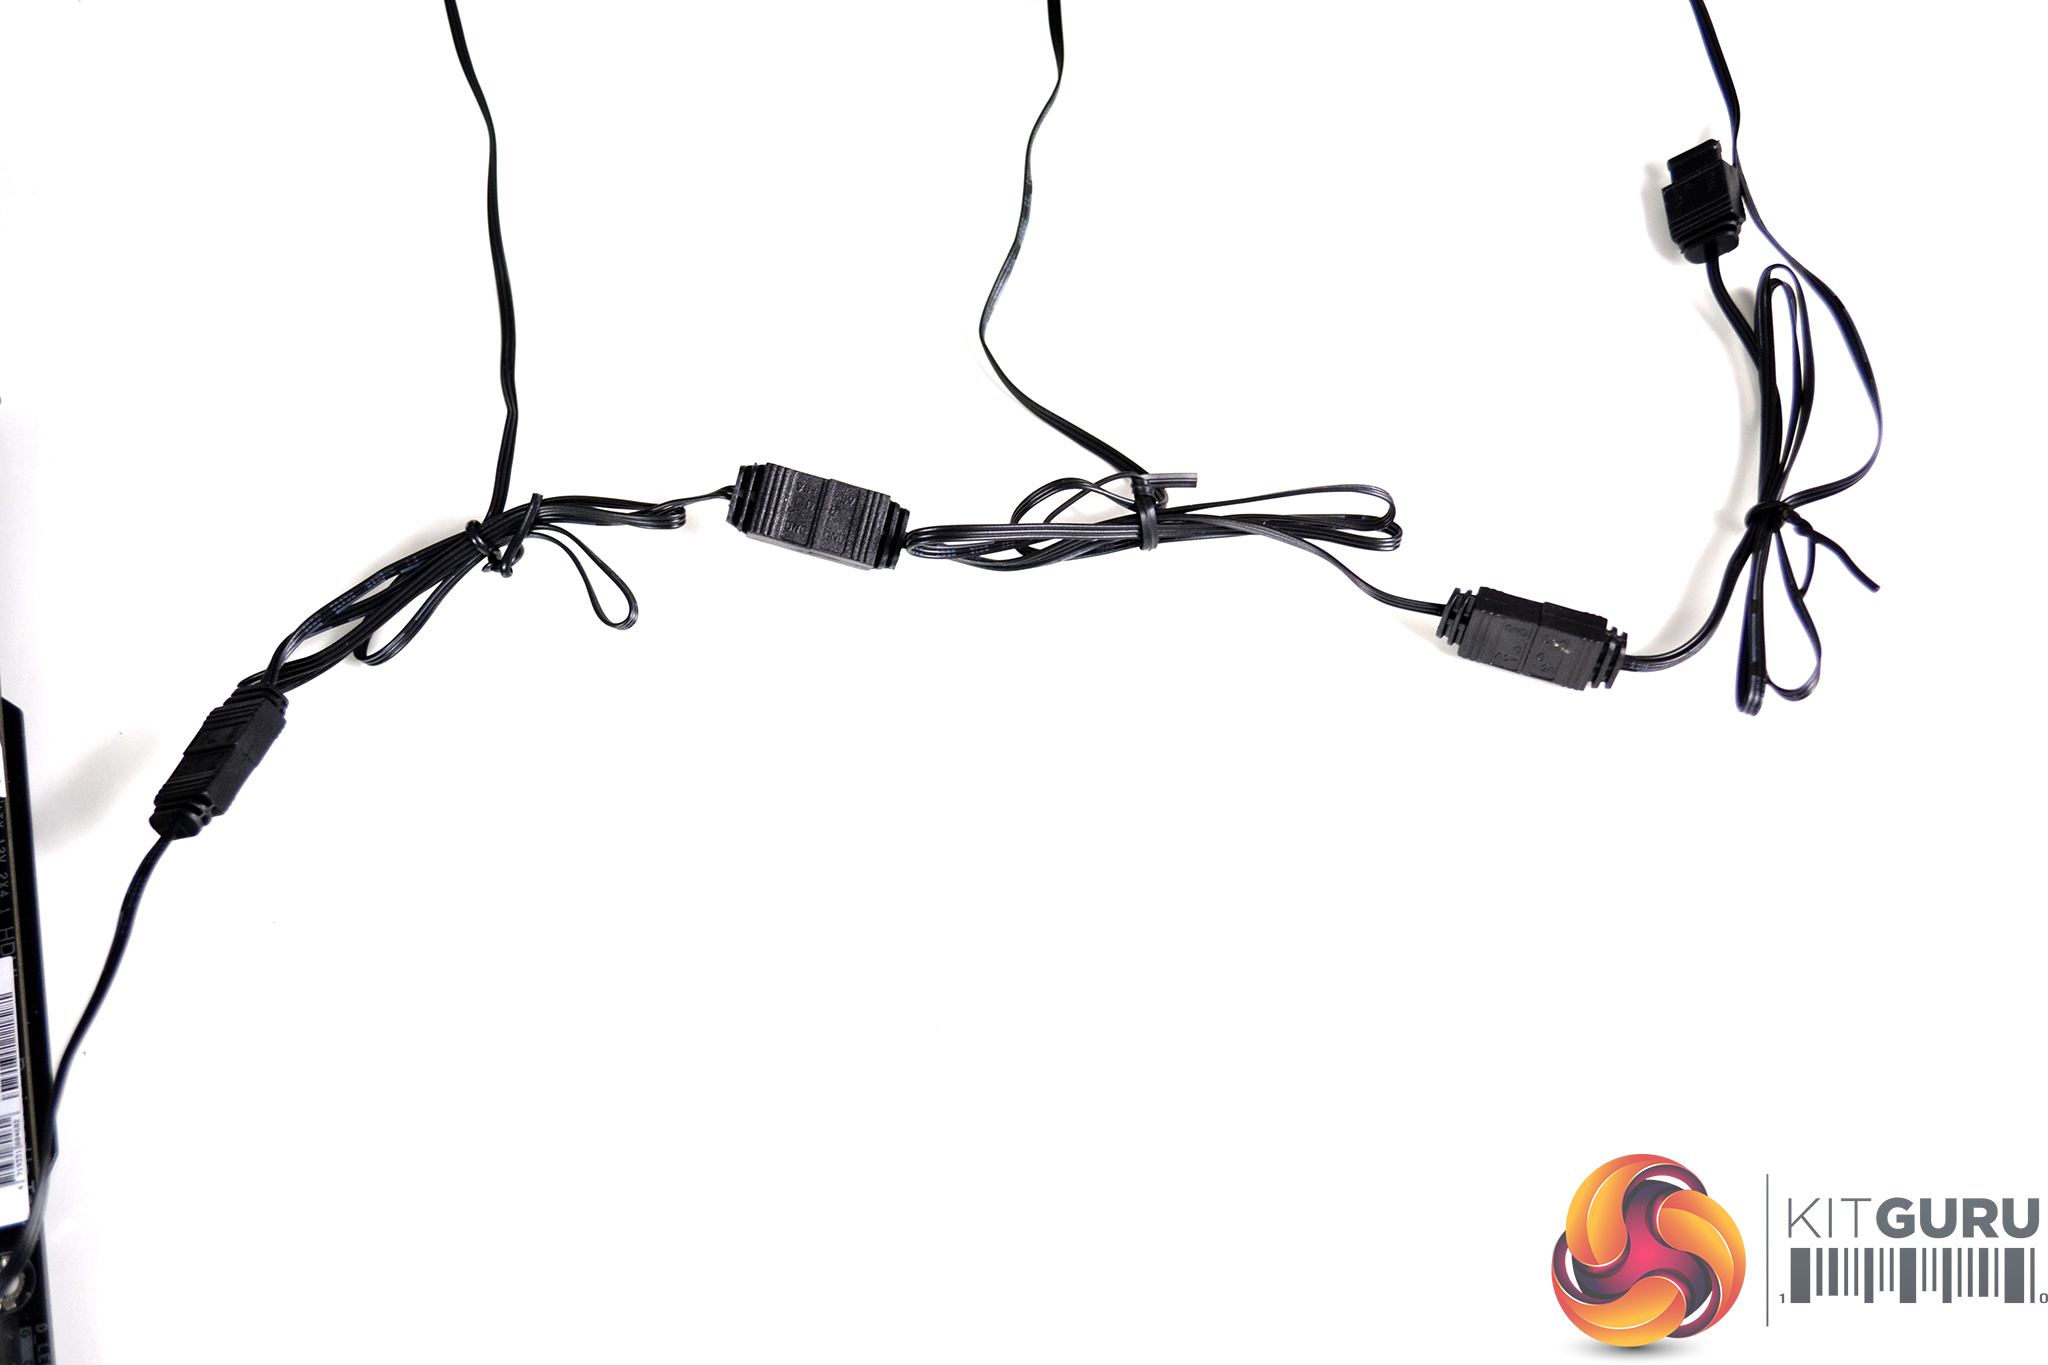
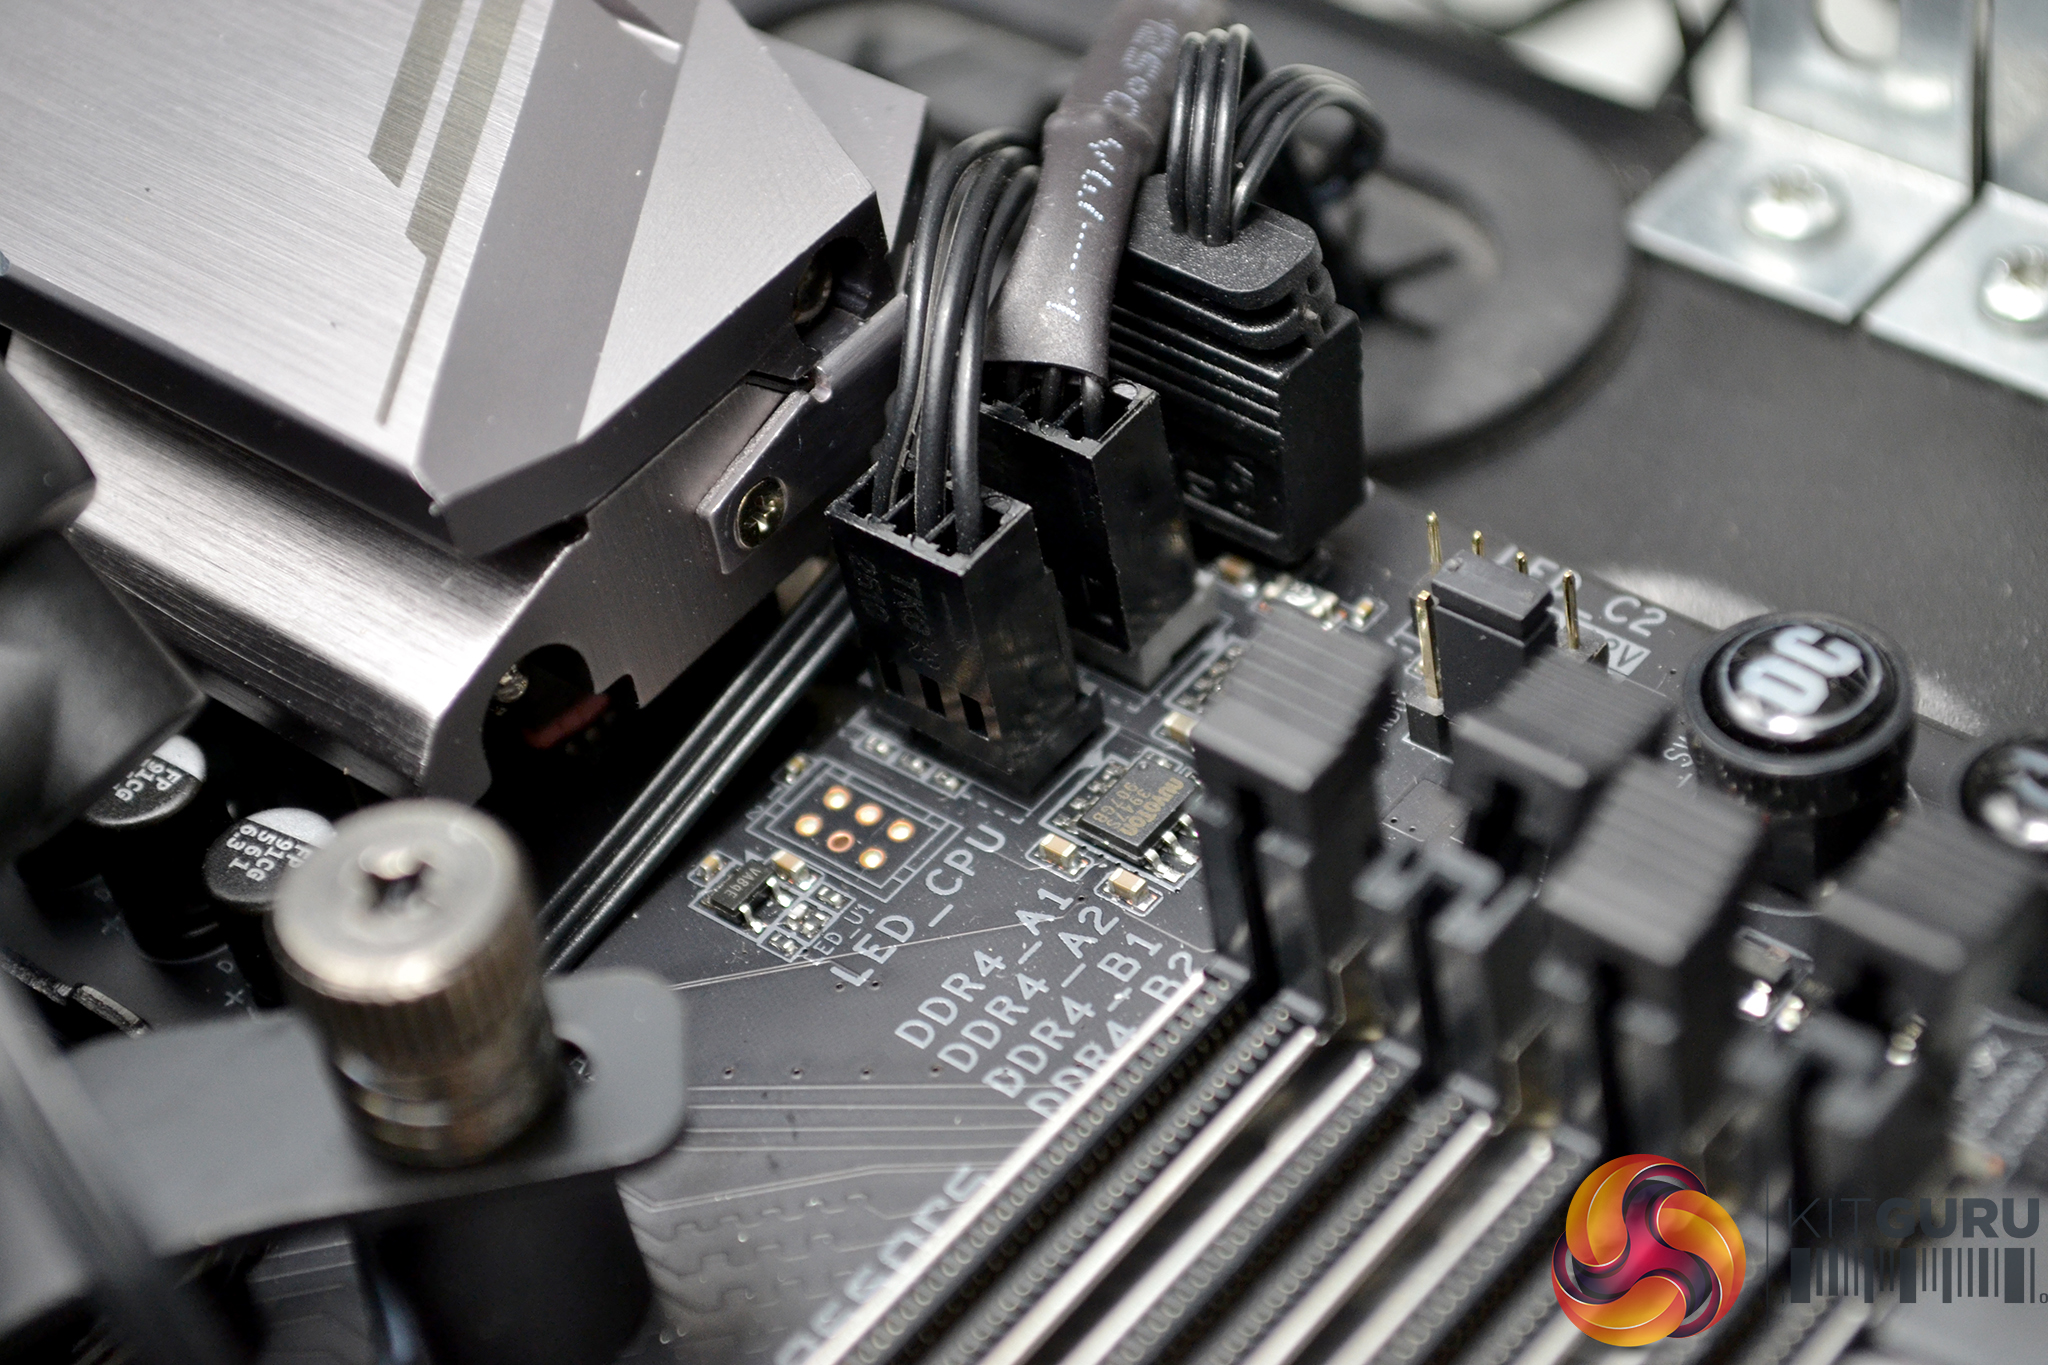
Connect the 3-pin pump cable to the CPU_OPT or AIO PUMP header on the motherboard, daisy chain all the RGB cables together and connect the last female RGB cable to a 5v 3-pin ARGB header on the motherboard for control and synchronisation of RGB lighting using the motherboard RGB software or BIOS.
That completes the installation on an Intel platform, the whole process isn’t too difficult. On our test bench the installation takes approximately 15 minutes to complete, it may take a little longer with the system installed inside a PC case, but even the most novice DIY system builder shouldn’t find it too challenging.
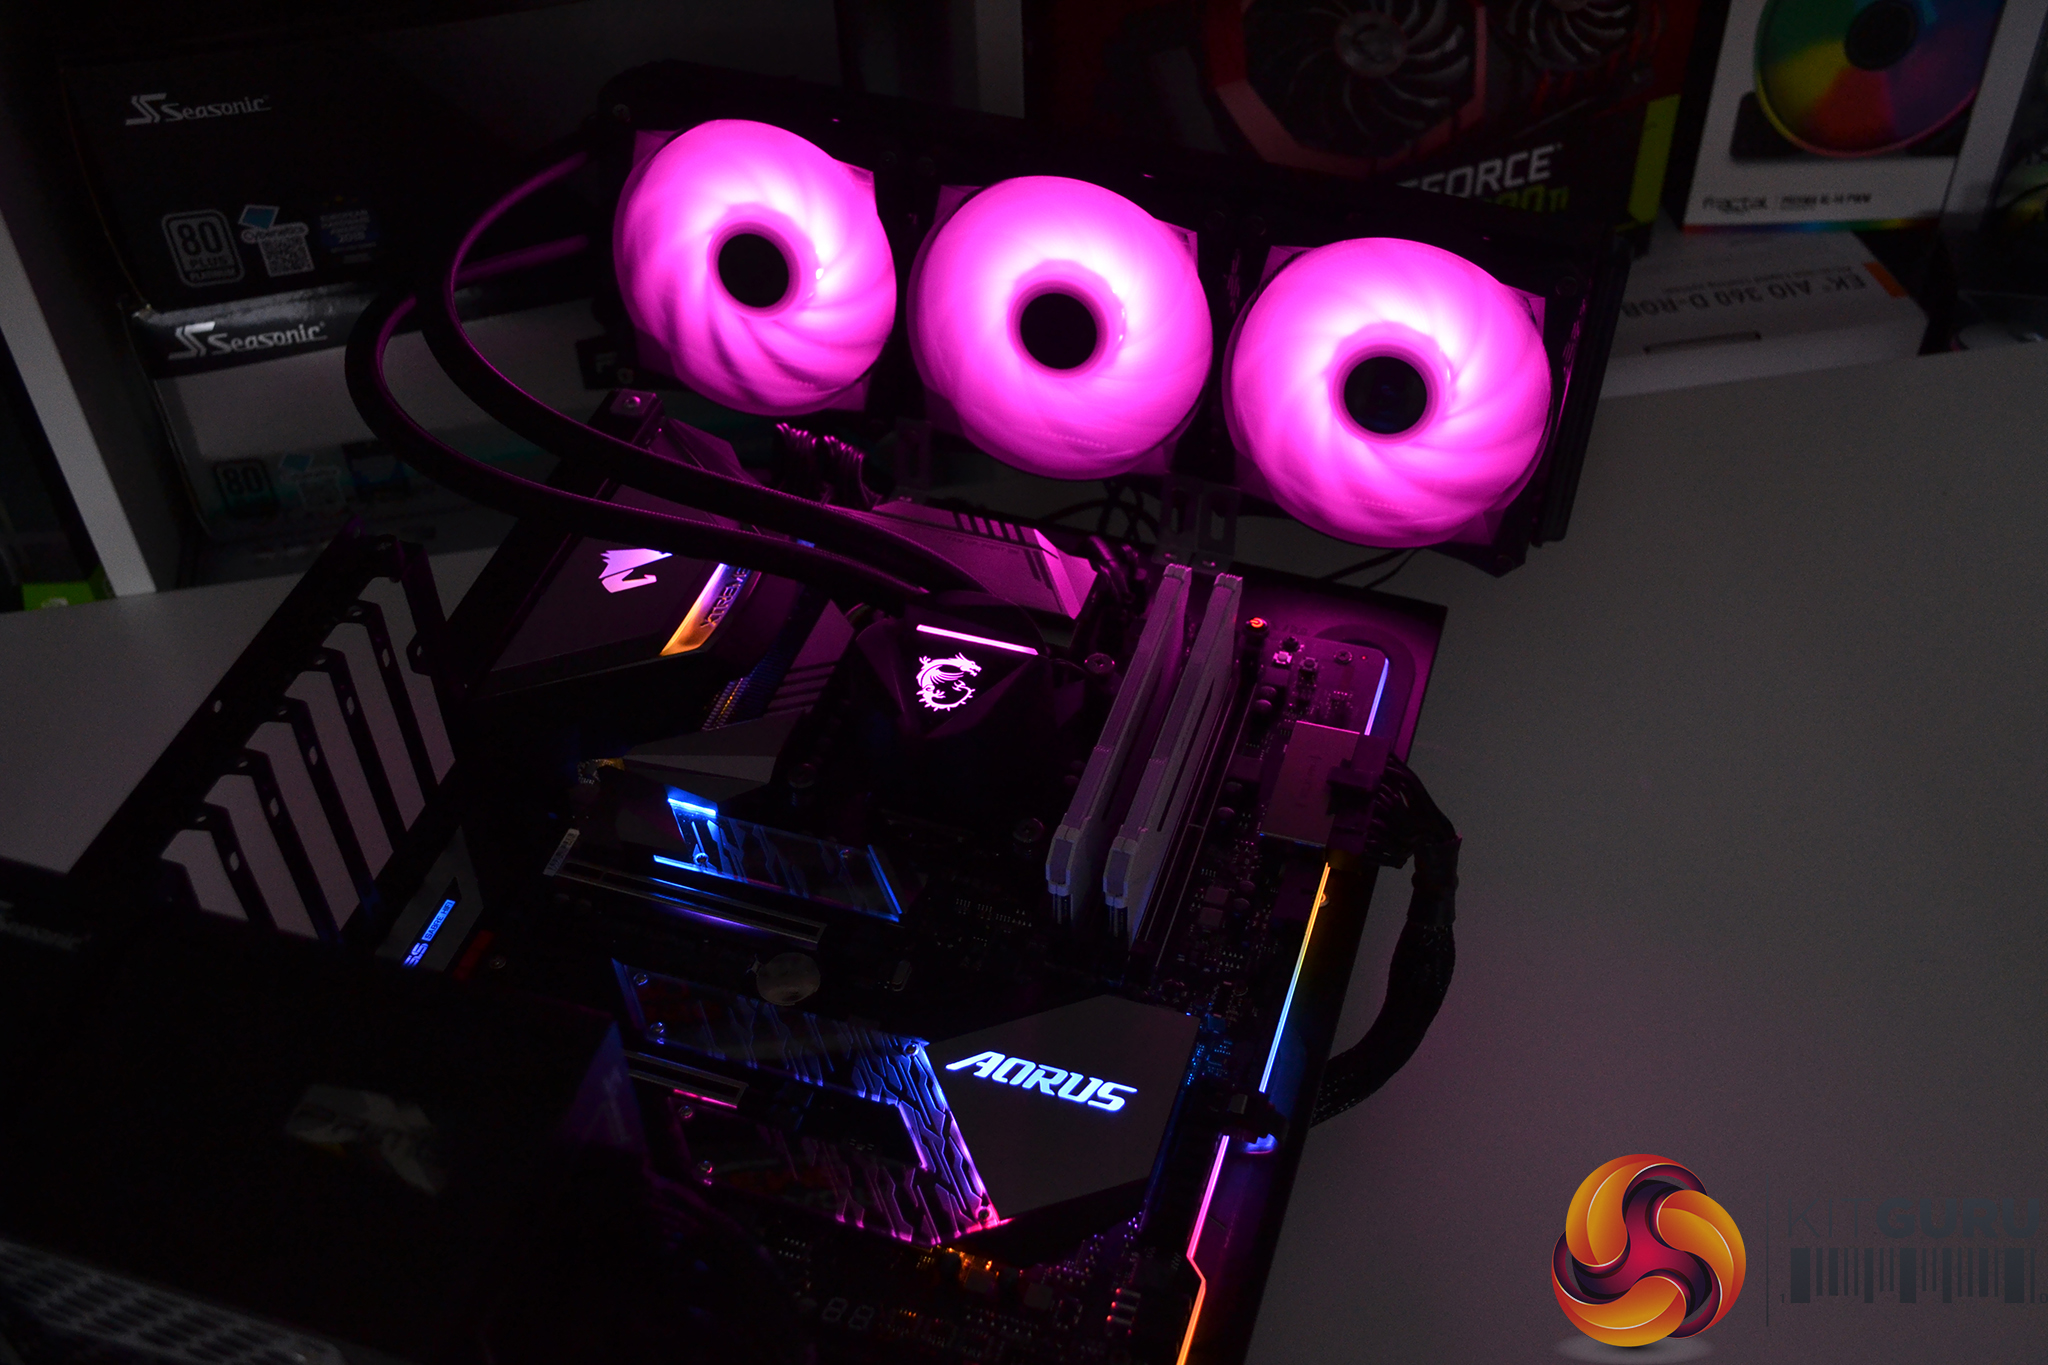
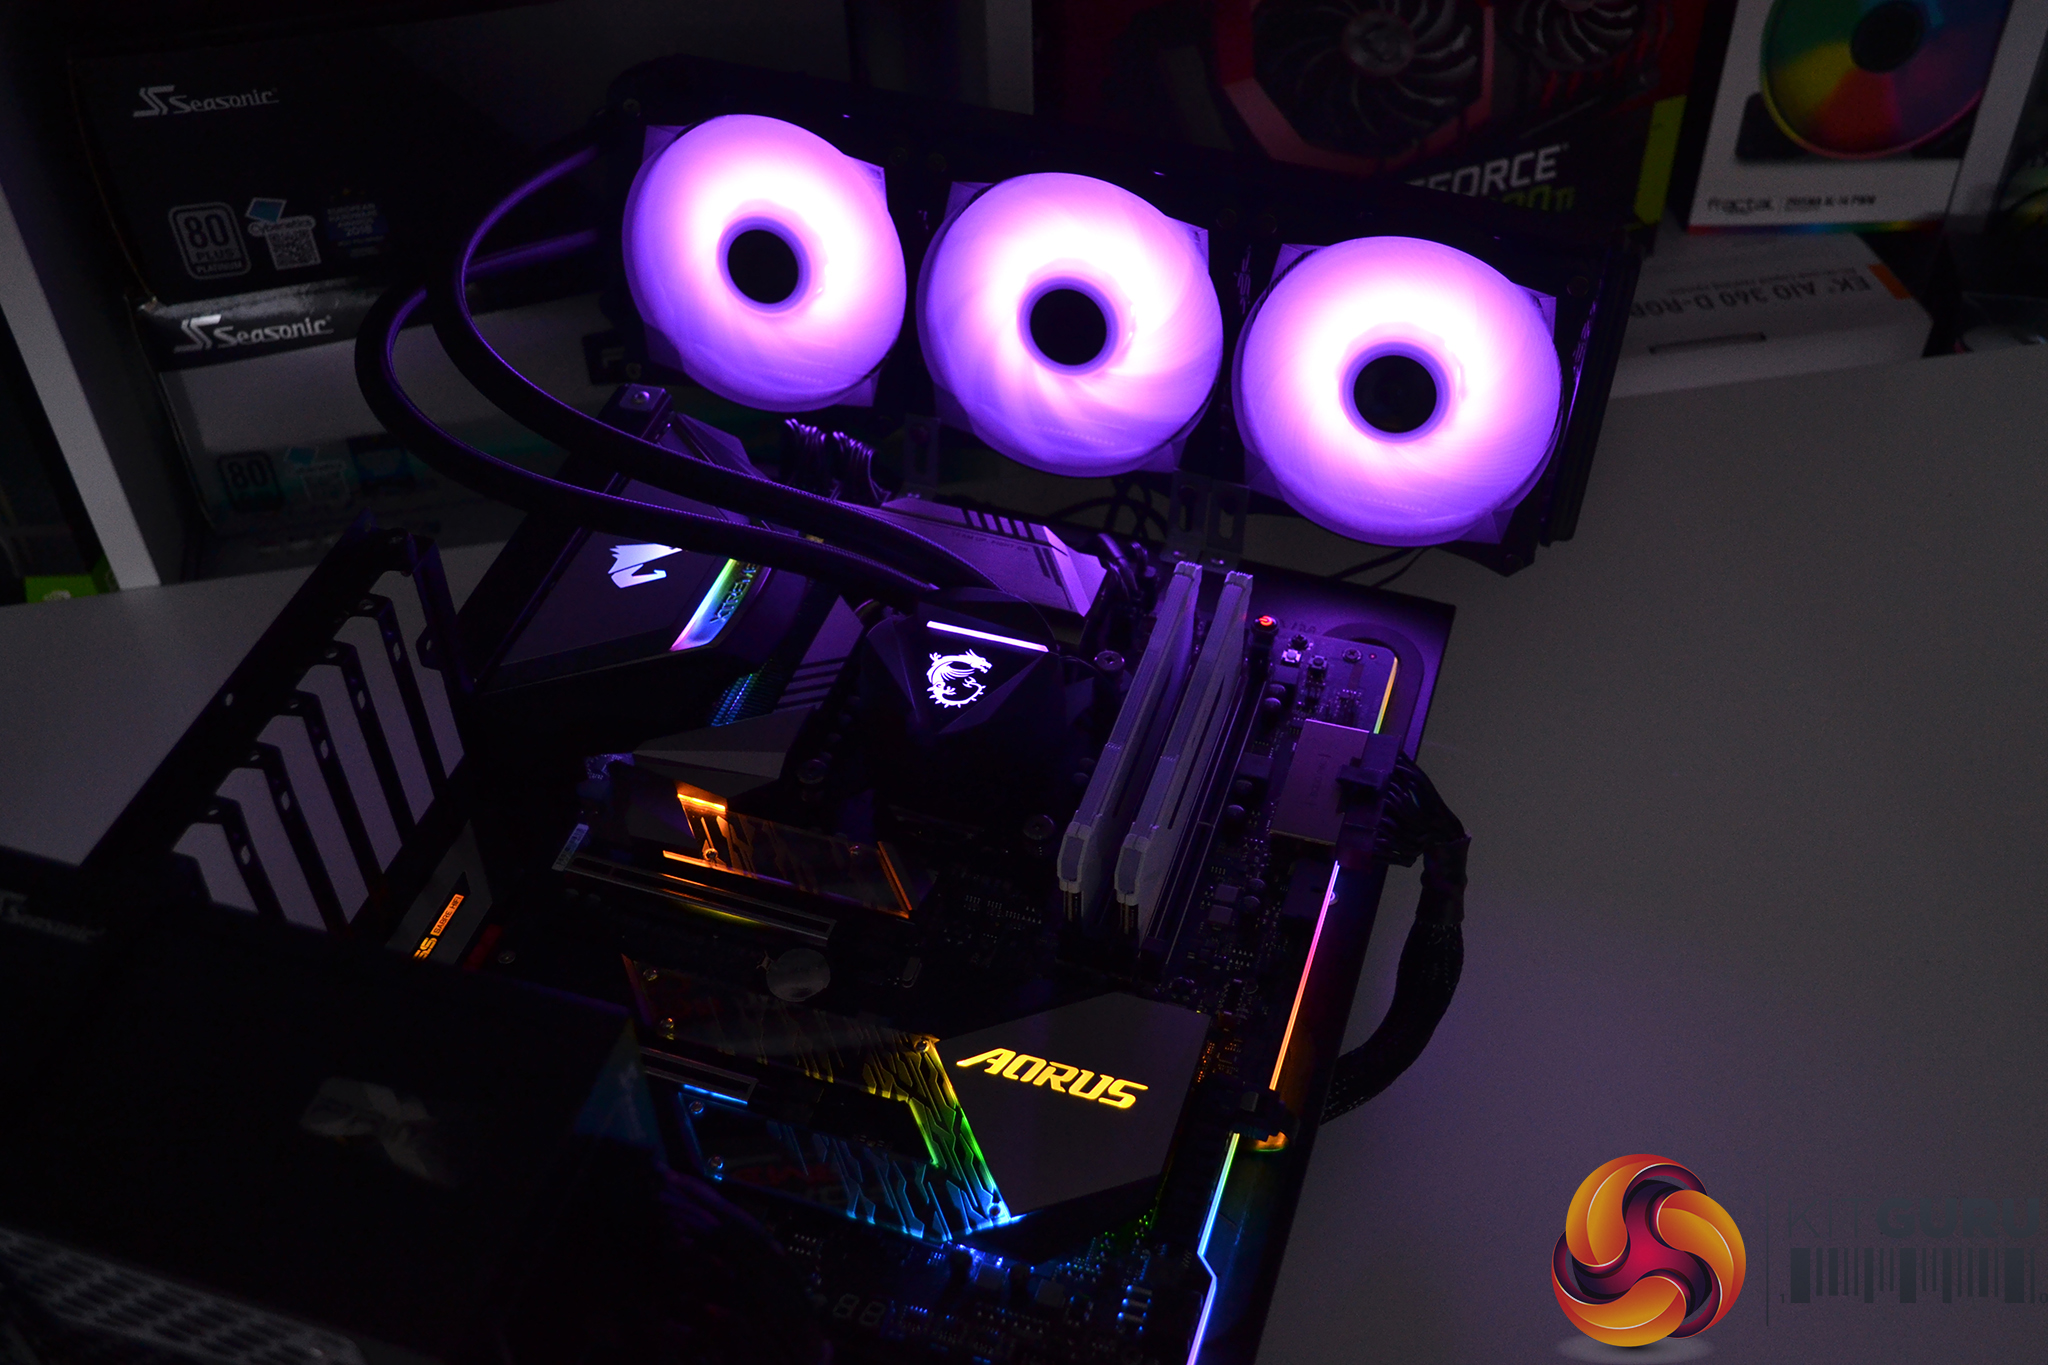
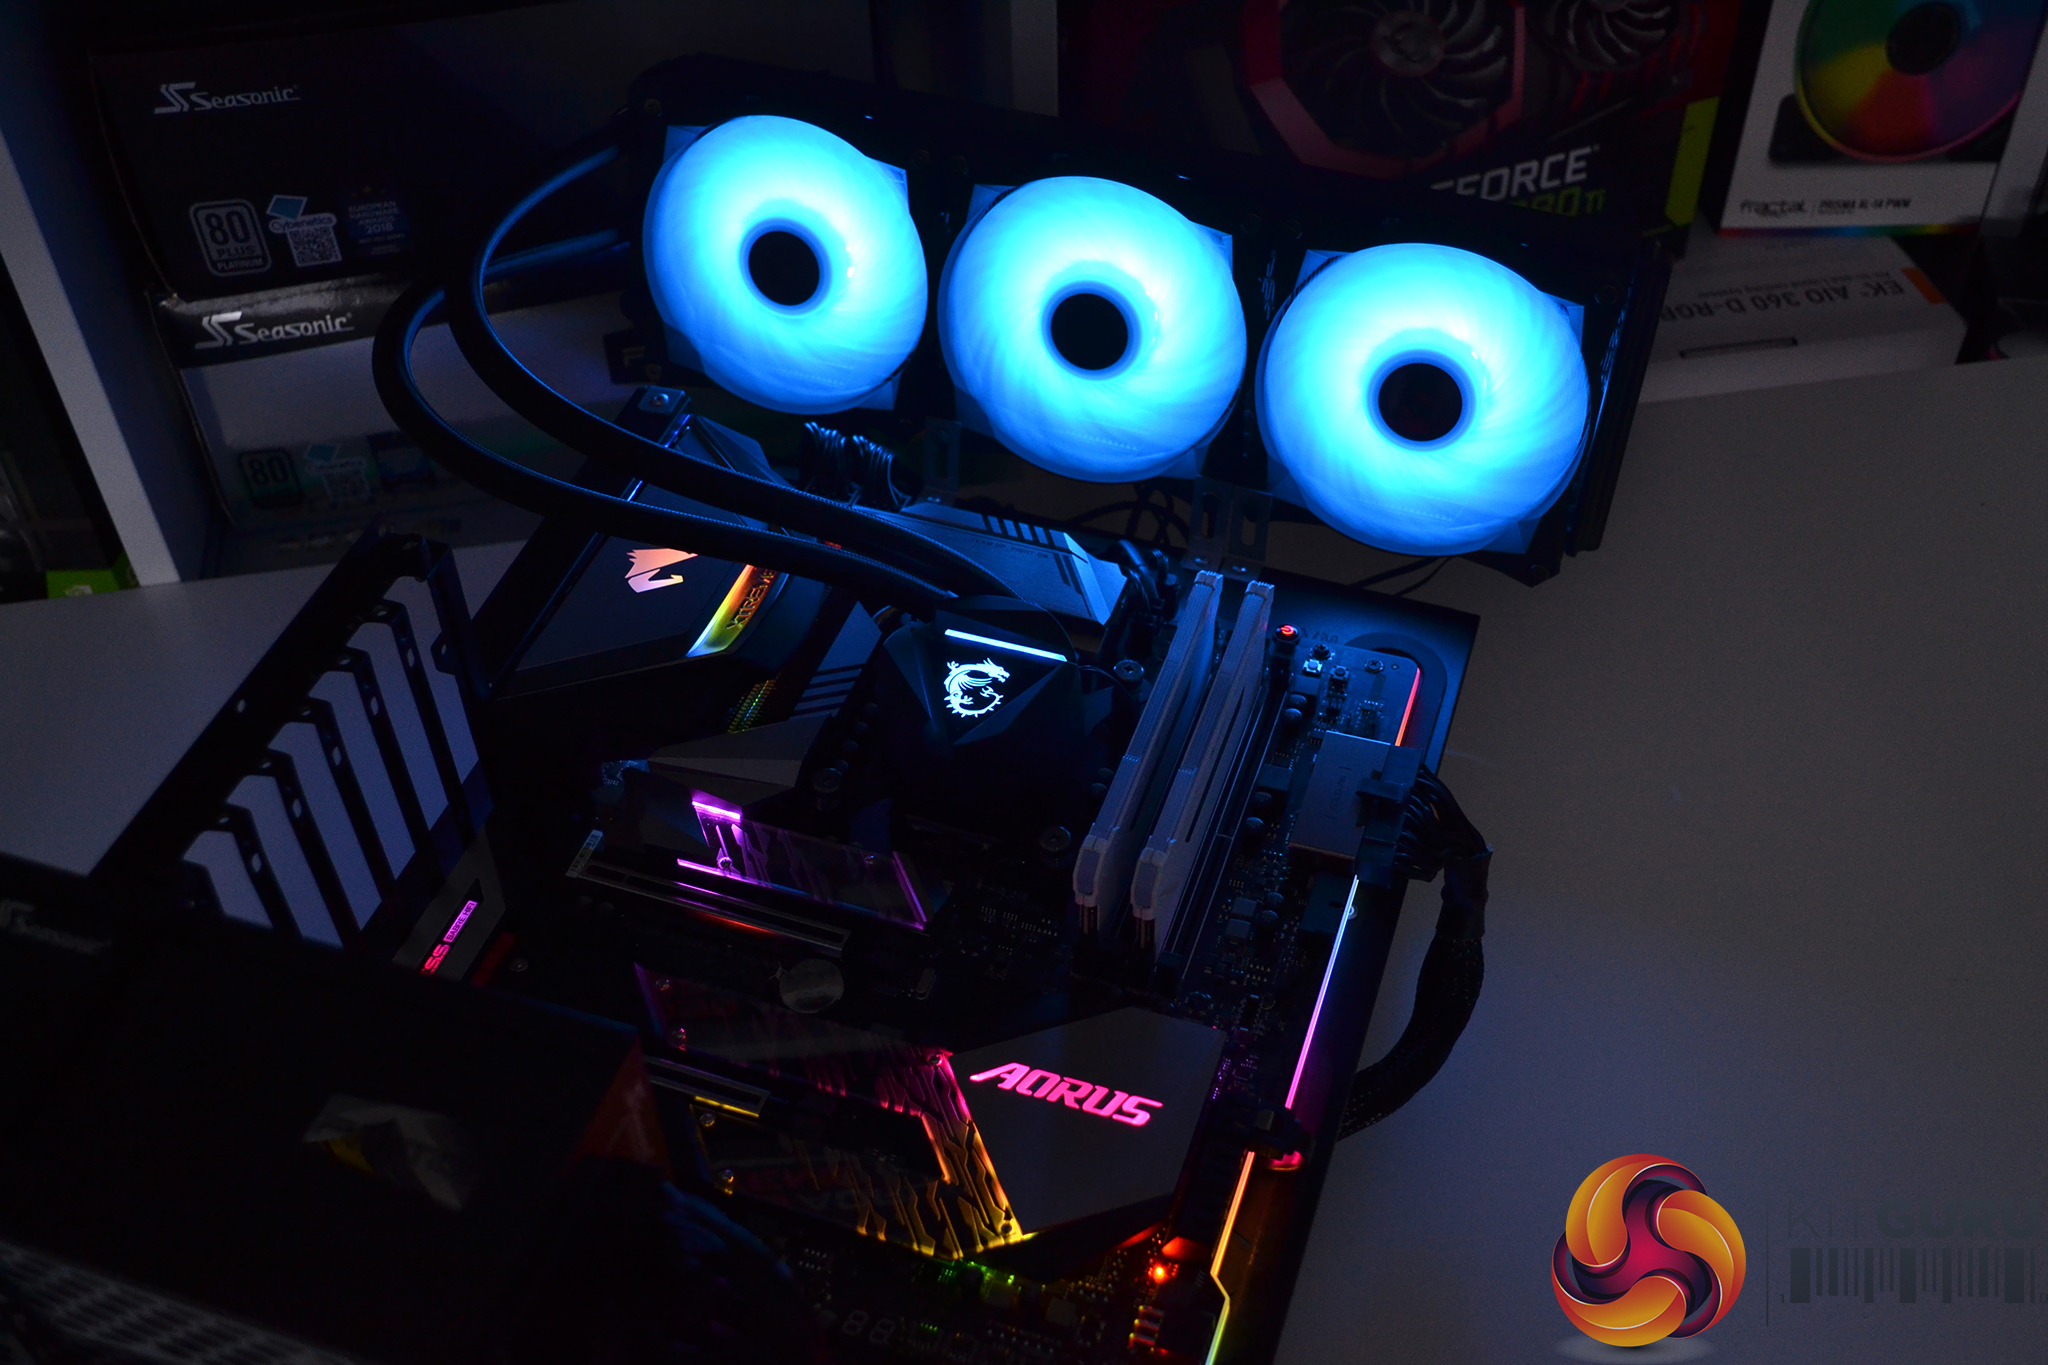
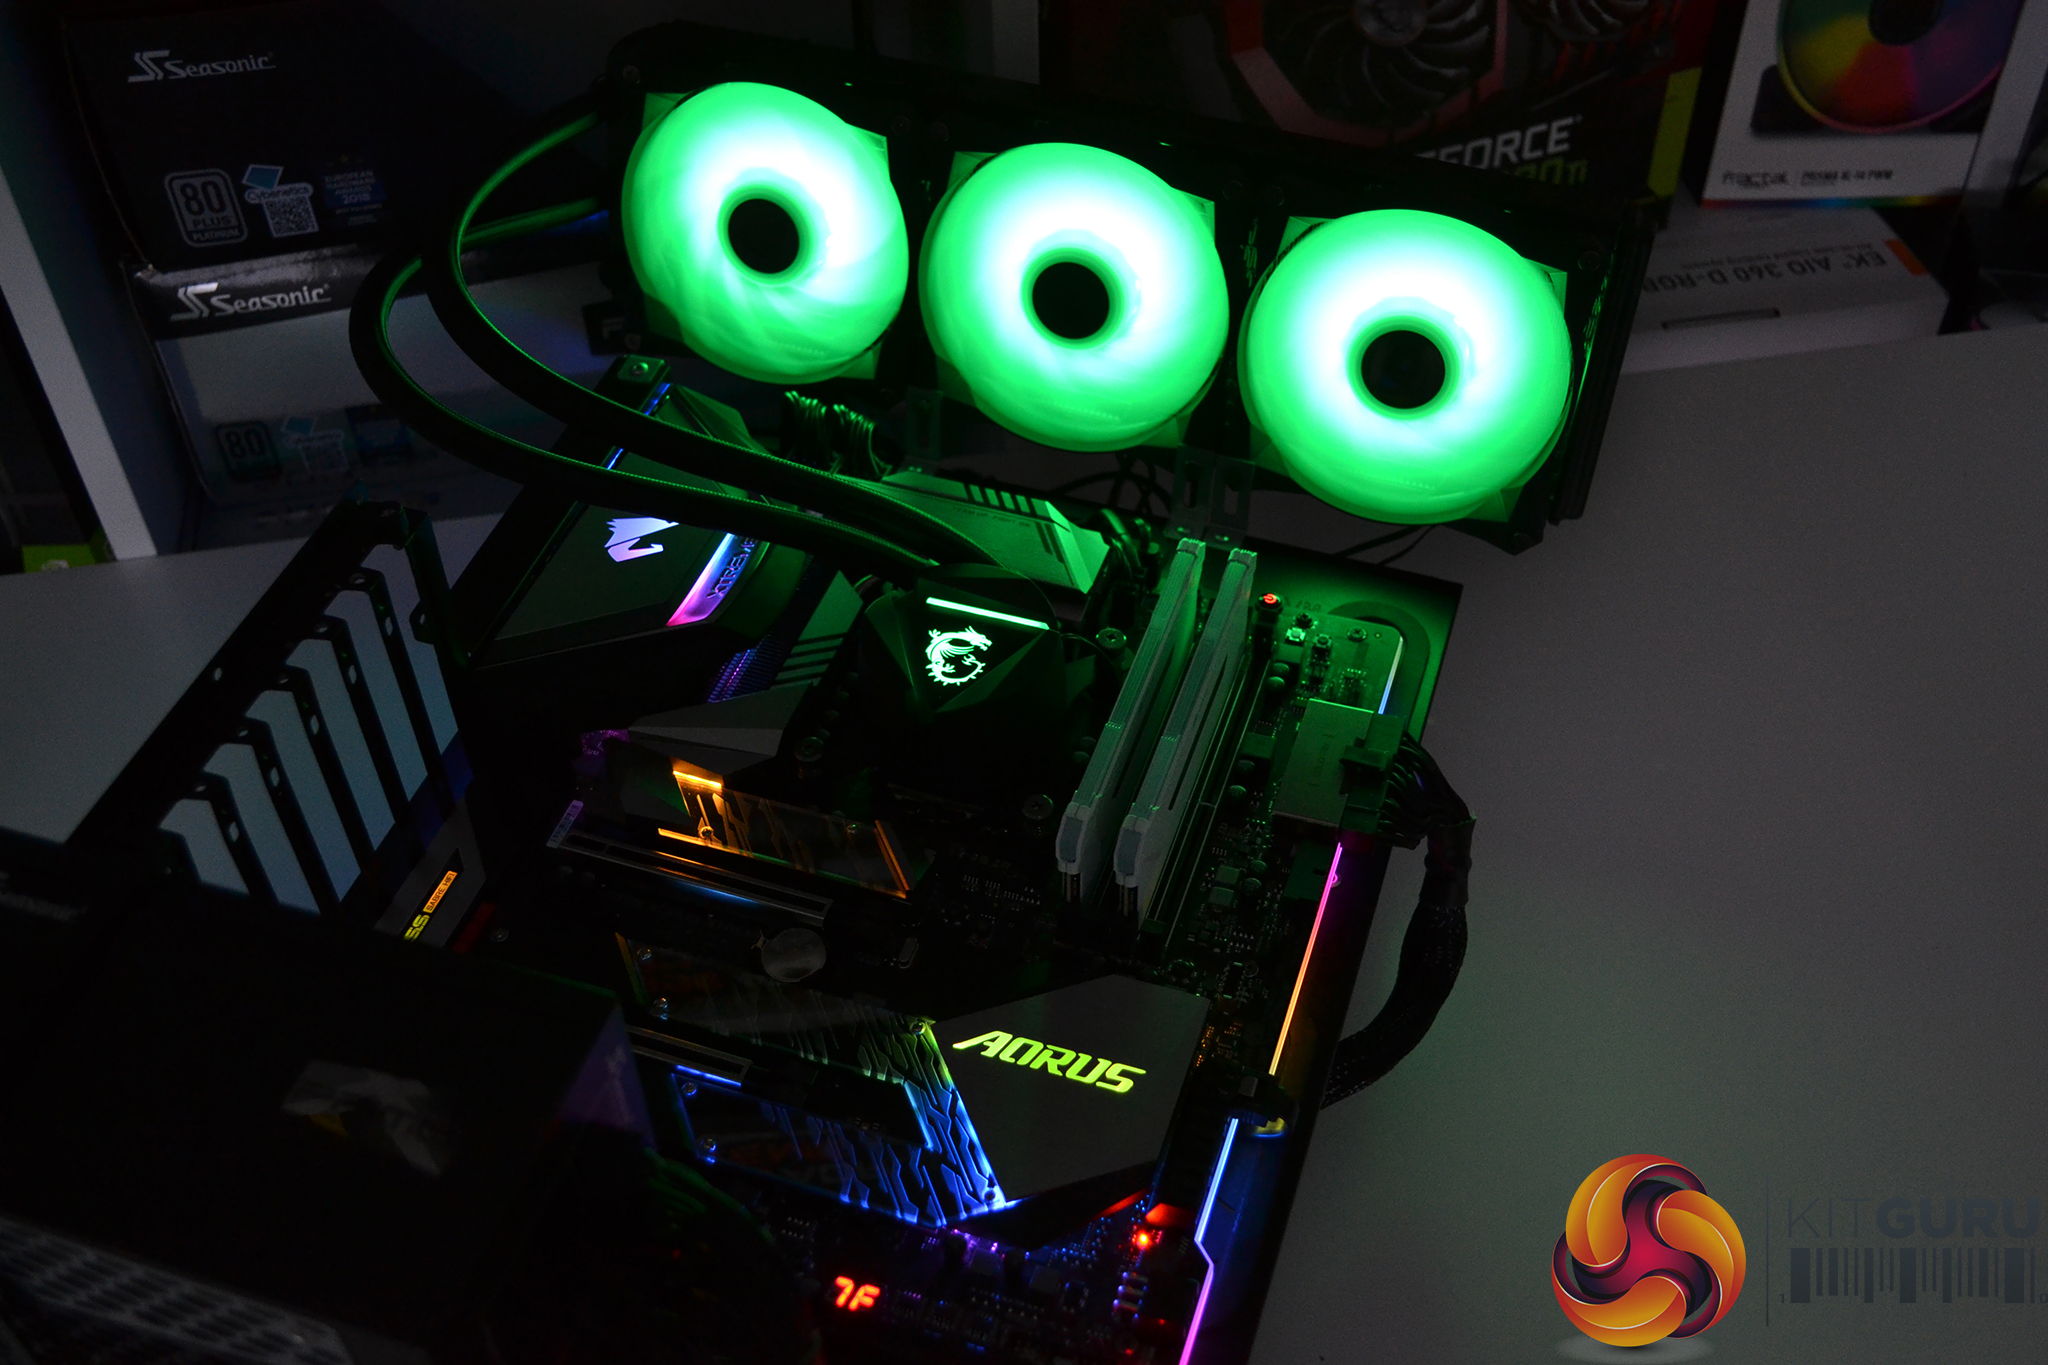
RGB Gallery
To measure the performance of CPU coolers, we devised an easily repeatable series of tests. The only variable is the coolers themselves to ensure the results can be accurately compared against one another.
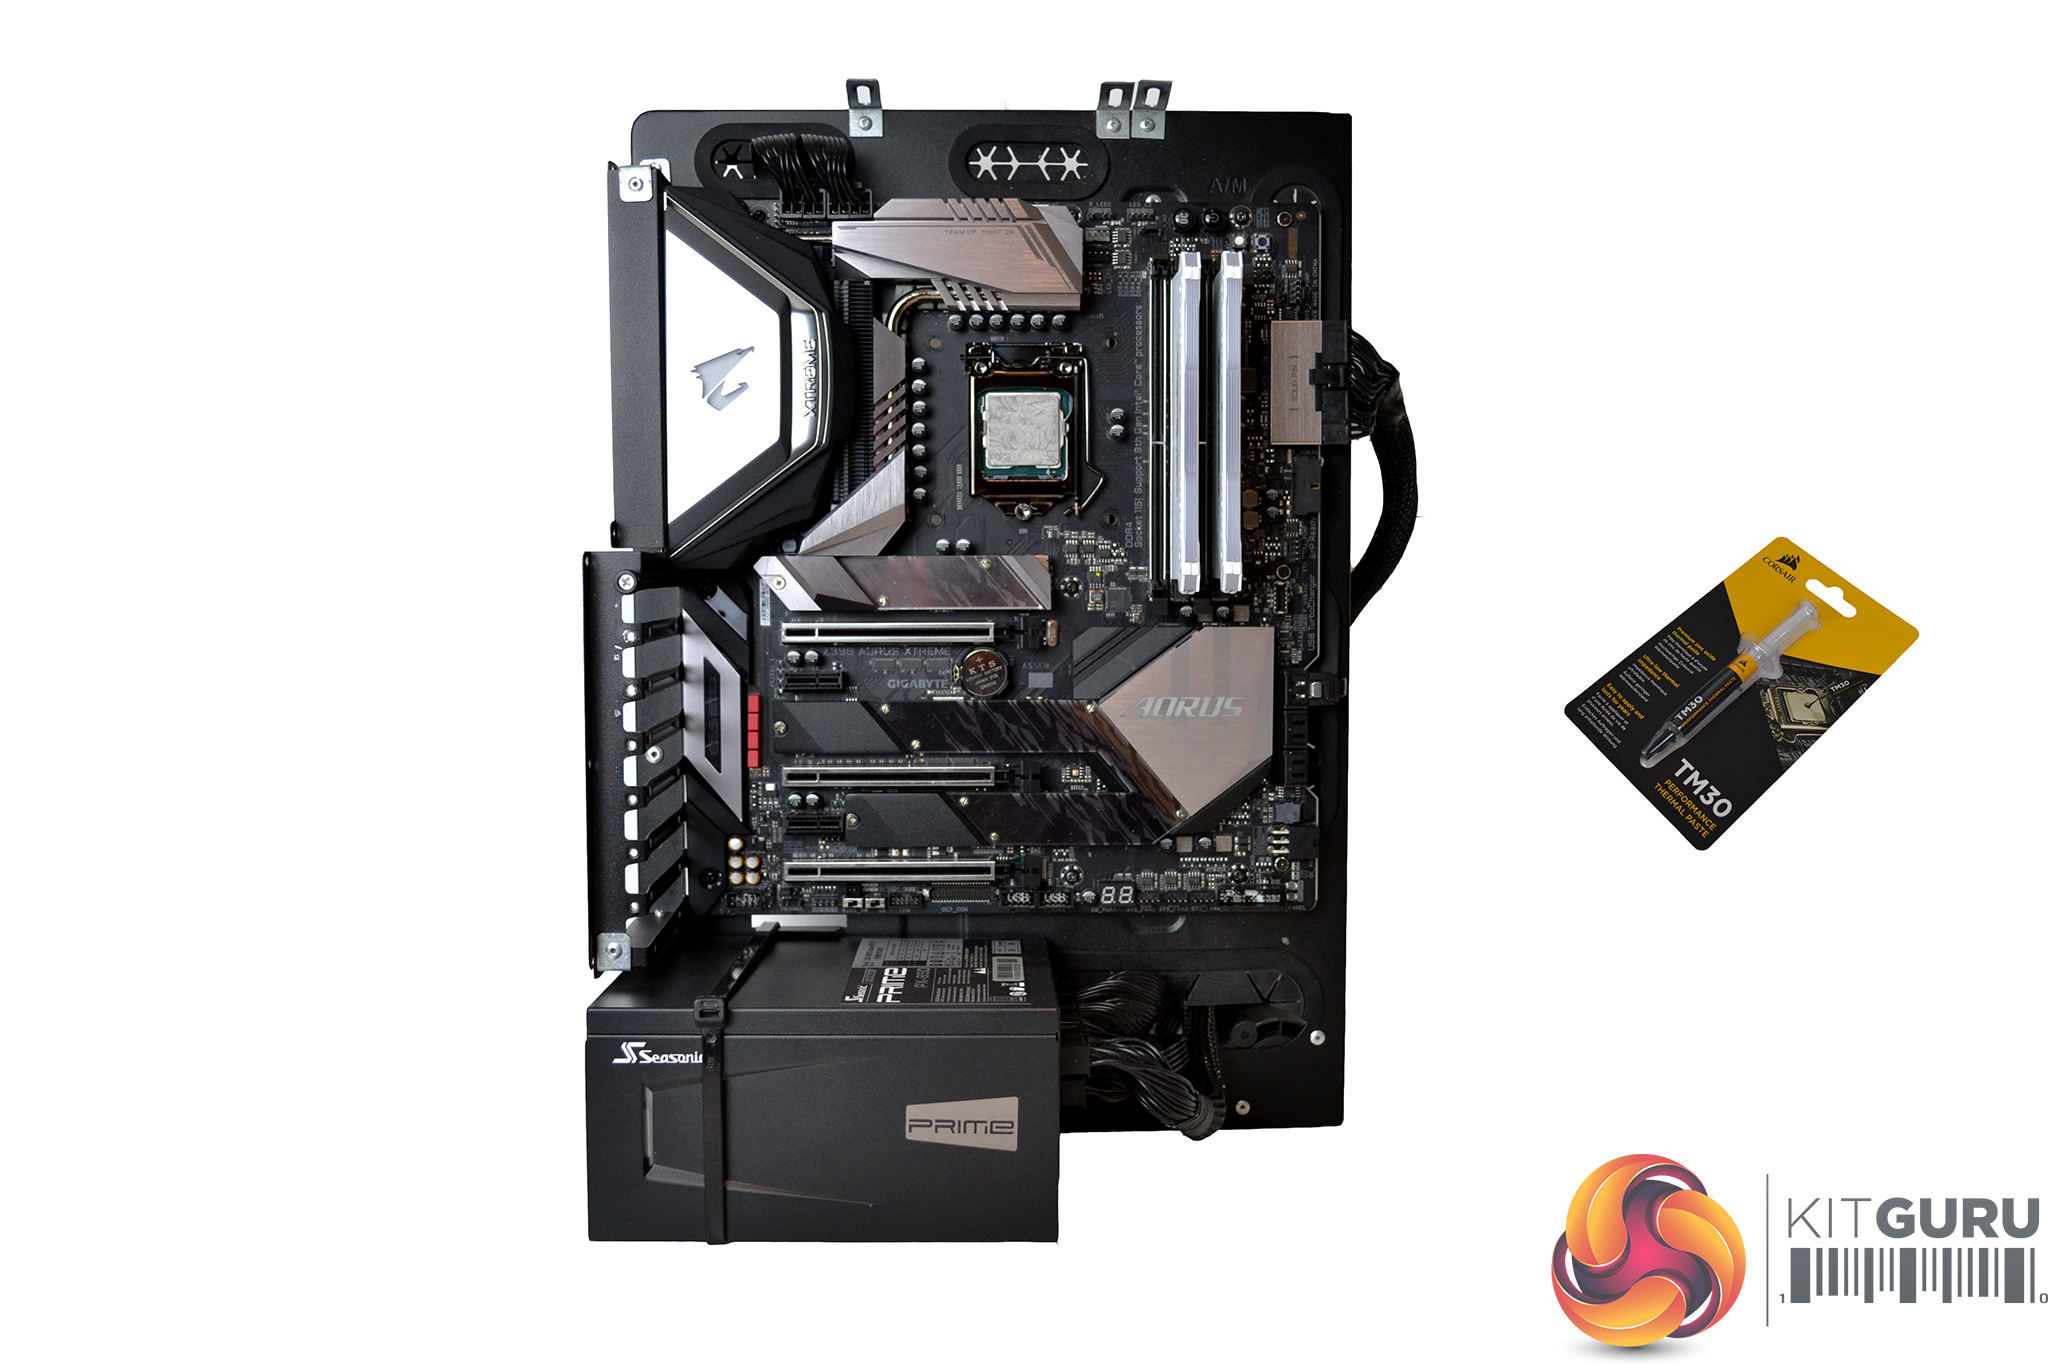
Test Rig
- CPU – Intel Core i9-9900KS
- Motherboard – Gigabyte Z390 Aorus Xtreme
- Memory – 16GB (2x 8GB modules) Corsair Vengeance DDR4 3200 C18
- Storage – Corsair Force LE120 120GB SATA SSD
- Power supply – Seasonic Prime PX-850 850W 80+ Platinum
- Thermal compound – Corsair TM30
- Chassis – Open test bench
- Operating System – Windows 10 1903
Thermal Testing Procedure
The procedure will consist of several tests that will produce four temperature readings for each cooler. The data can then be used to compare thermal dissipation performance.
First, we will lock the Intel Core i9-9900KS at its 4.0GHz all-core base clock frequency, with a 1.15V Vcore applied in the BIOS. Then, run a 20 minute CPU stress test using Aida64 with CPU, FPU and cache stress tests selected.
To simulate overclocked frequency, we will then lock the Core i9-9900K to 4.7GHz on all cores with a 1.20V Vcore applied and run the same 20 minute load test again. To measure an extreme overclocking situation, we will lock the Core i9-9900KS frequency to 5.1GHz on all cores with 1.30V Vcore and run the tests one final time – this should push the limits of the cooling performance of even the very best CPU coolers.
Admittedly, the overclocked frequencies/voltage may not be the highest achievable, nevertheless, it will give us a good set of data to compare the effect frequency/voltage changes have on temperature.
The temperatures presented in the graphs will be average Delta temperatures measured over the length of the test. We will calculate the Delta temperature by deducting the ambient temperature in the test room from the measured CPU temperature, both at idle and under load.
Load temperatures are achieved by running AIDA64 stressing CPU, FPU and cache again for 20 minutes. This should give the CPU enough time to reach its maximum temperature. Throughout testing, Load Line Calibration will be set to level 6 (turbo), CPU power limits and c-states disabled in BIOS and all CPU Fans/pumps set to maximum RPM to find the raw thermal performance of each cooler. During the 20 minute load stress periods, CPU temperature is logged by HWINFO and an average CPU temperature is calculated from this data.
To measure the thermal performance of each CPU cooler with noise normalised, we will run the 4.7GHz load test one final time with the noise output of the CPU cooler set at 40dBA, which is measured using a sound meter placed 1 meter from the test bench. Noise normalised testing will determine the efficiency of the cooler at a given noise level.
Noise Testing
Maximum noise levels will be measured with our sound meter at a distance of 1 meter from the test bench. The cooler’s fans/pump will be set to their maximum RPM rating. The ambient noise level in the room is measured at 37.3dBA, the peak noise level of the cooler will be recorded in dBA.
Performance
Thermal Performance: 100% fan/pump RPM
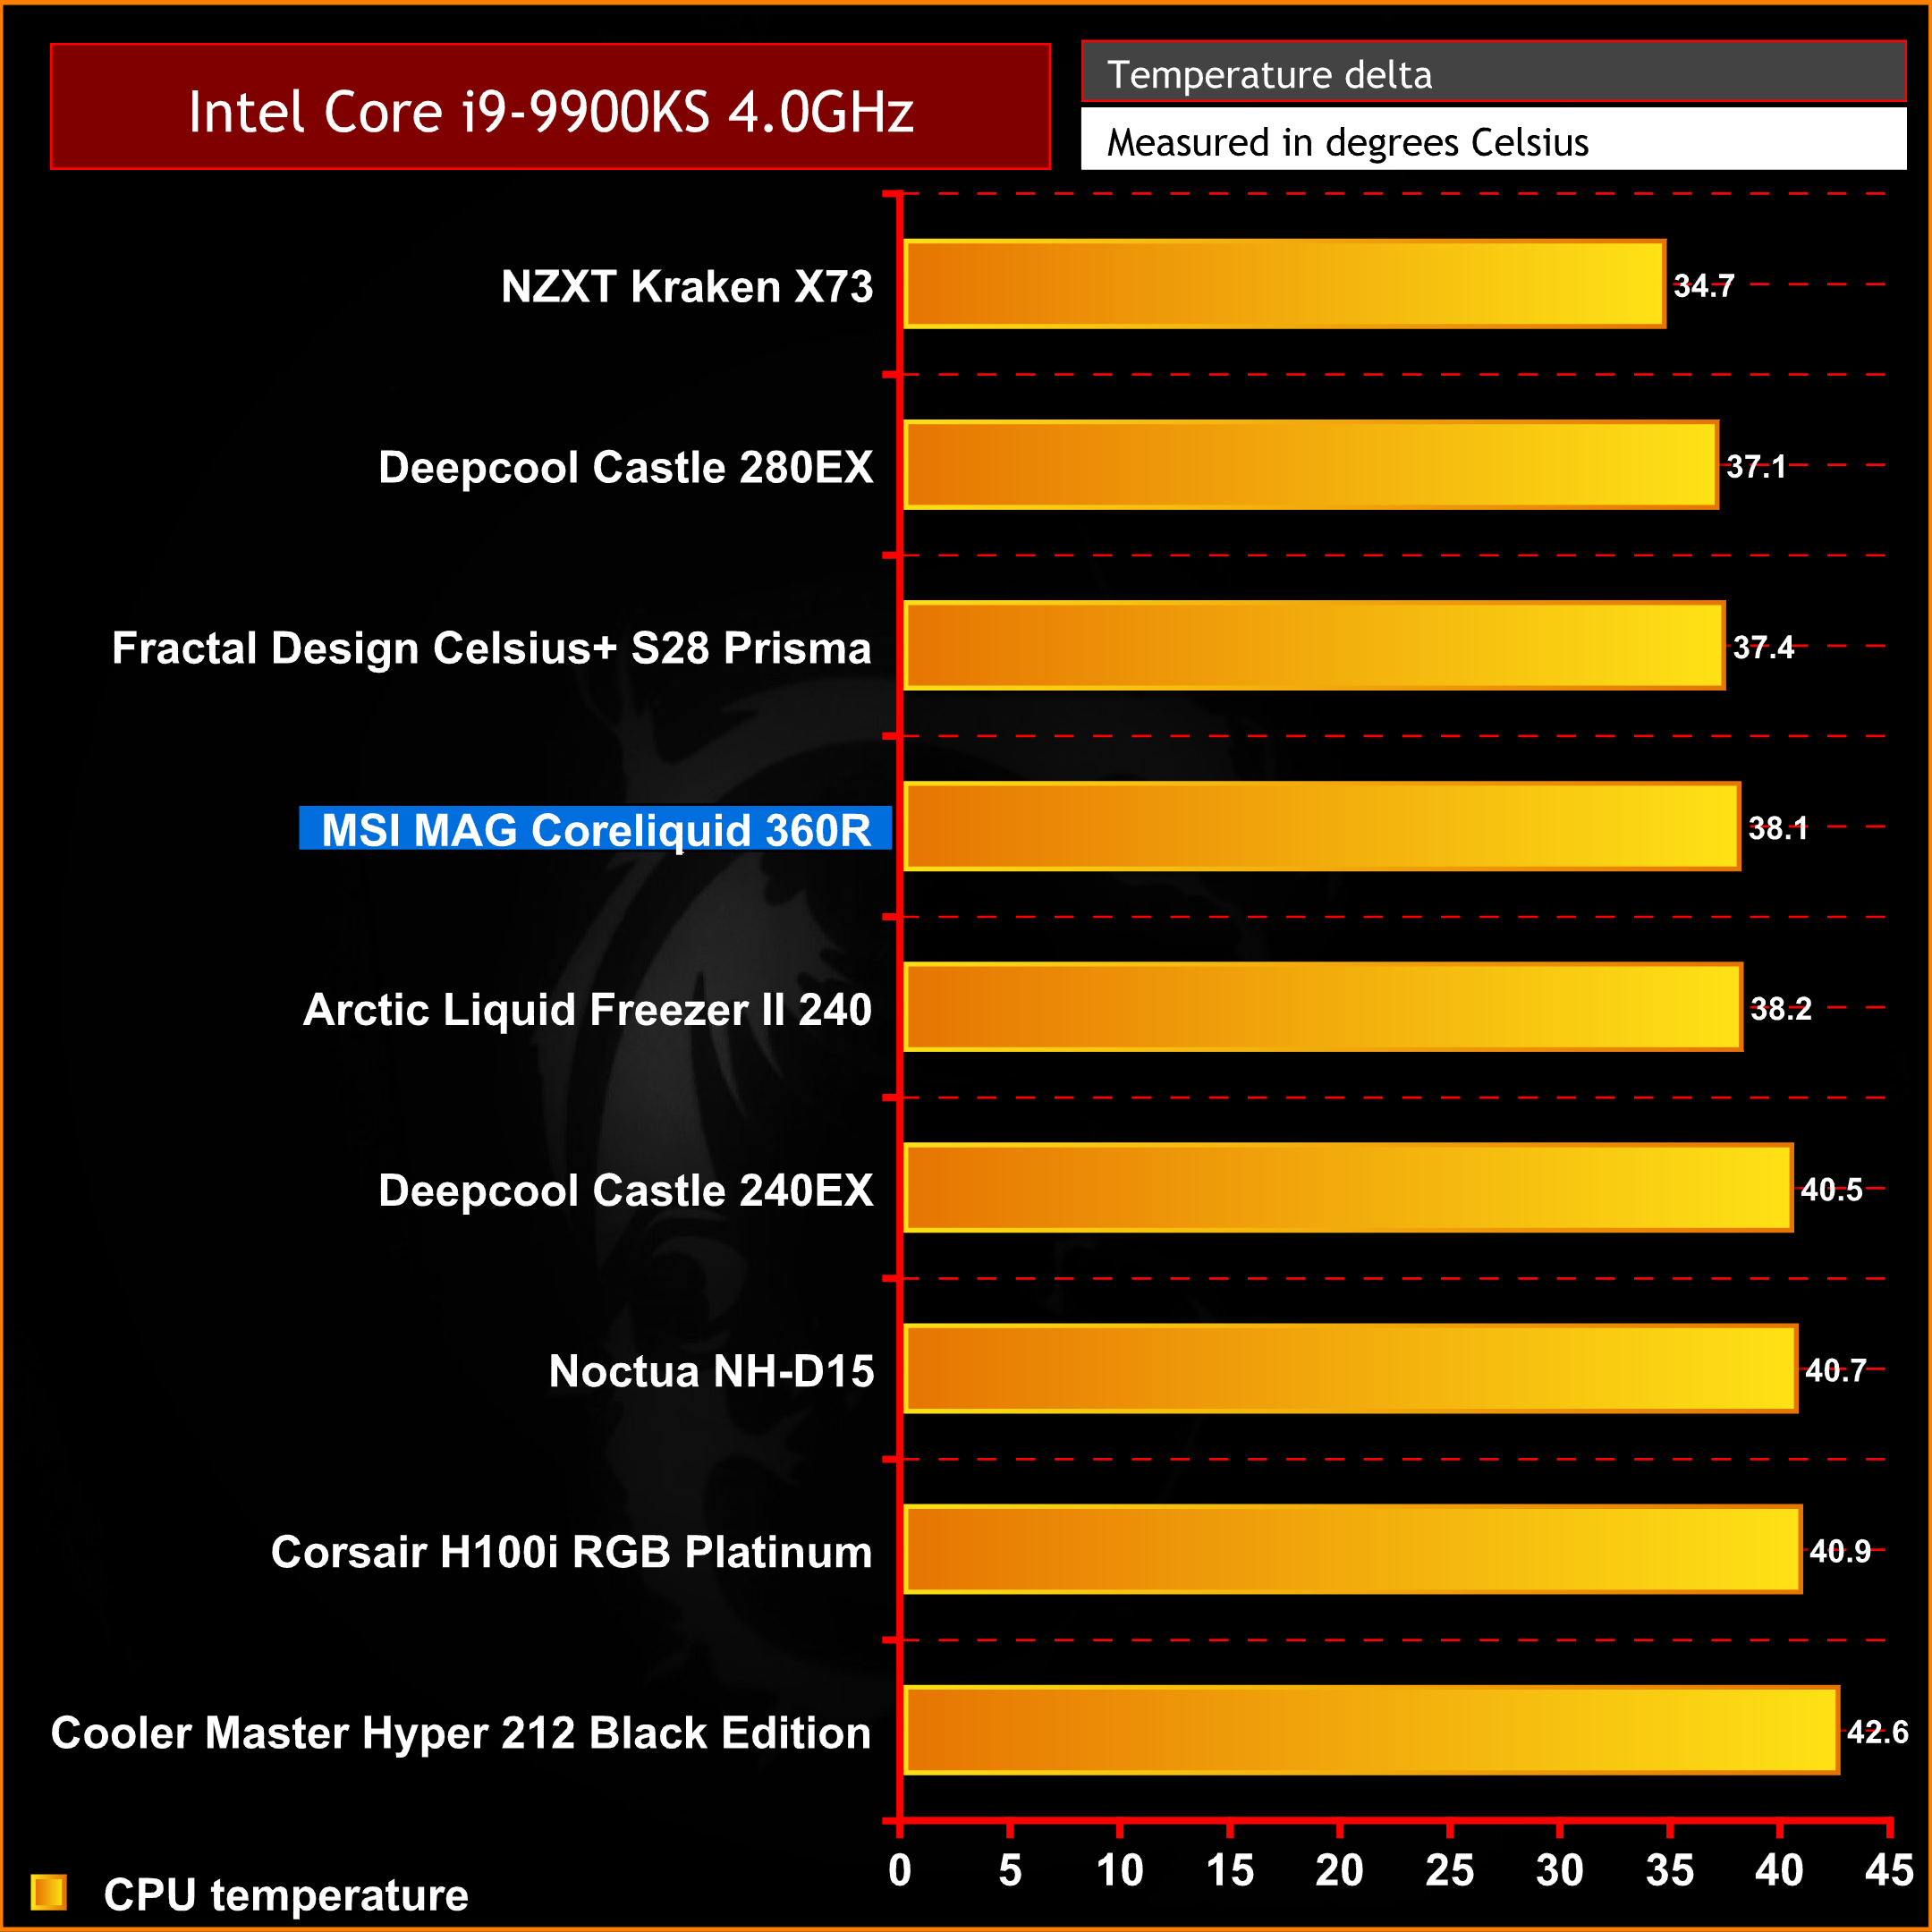
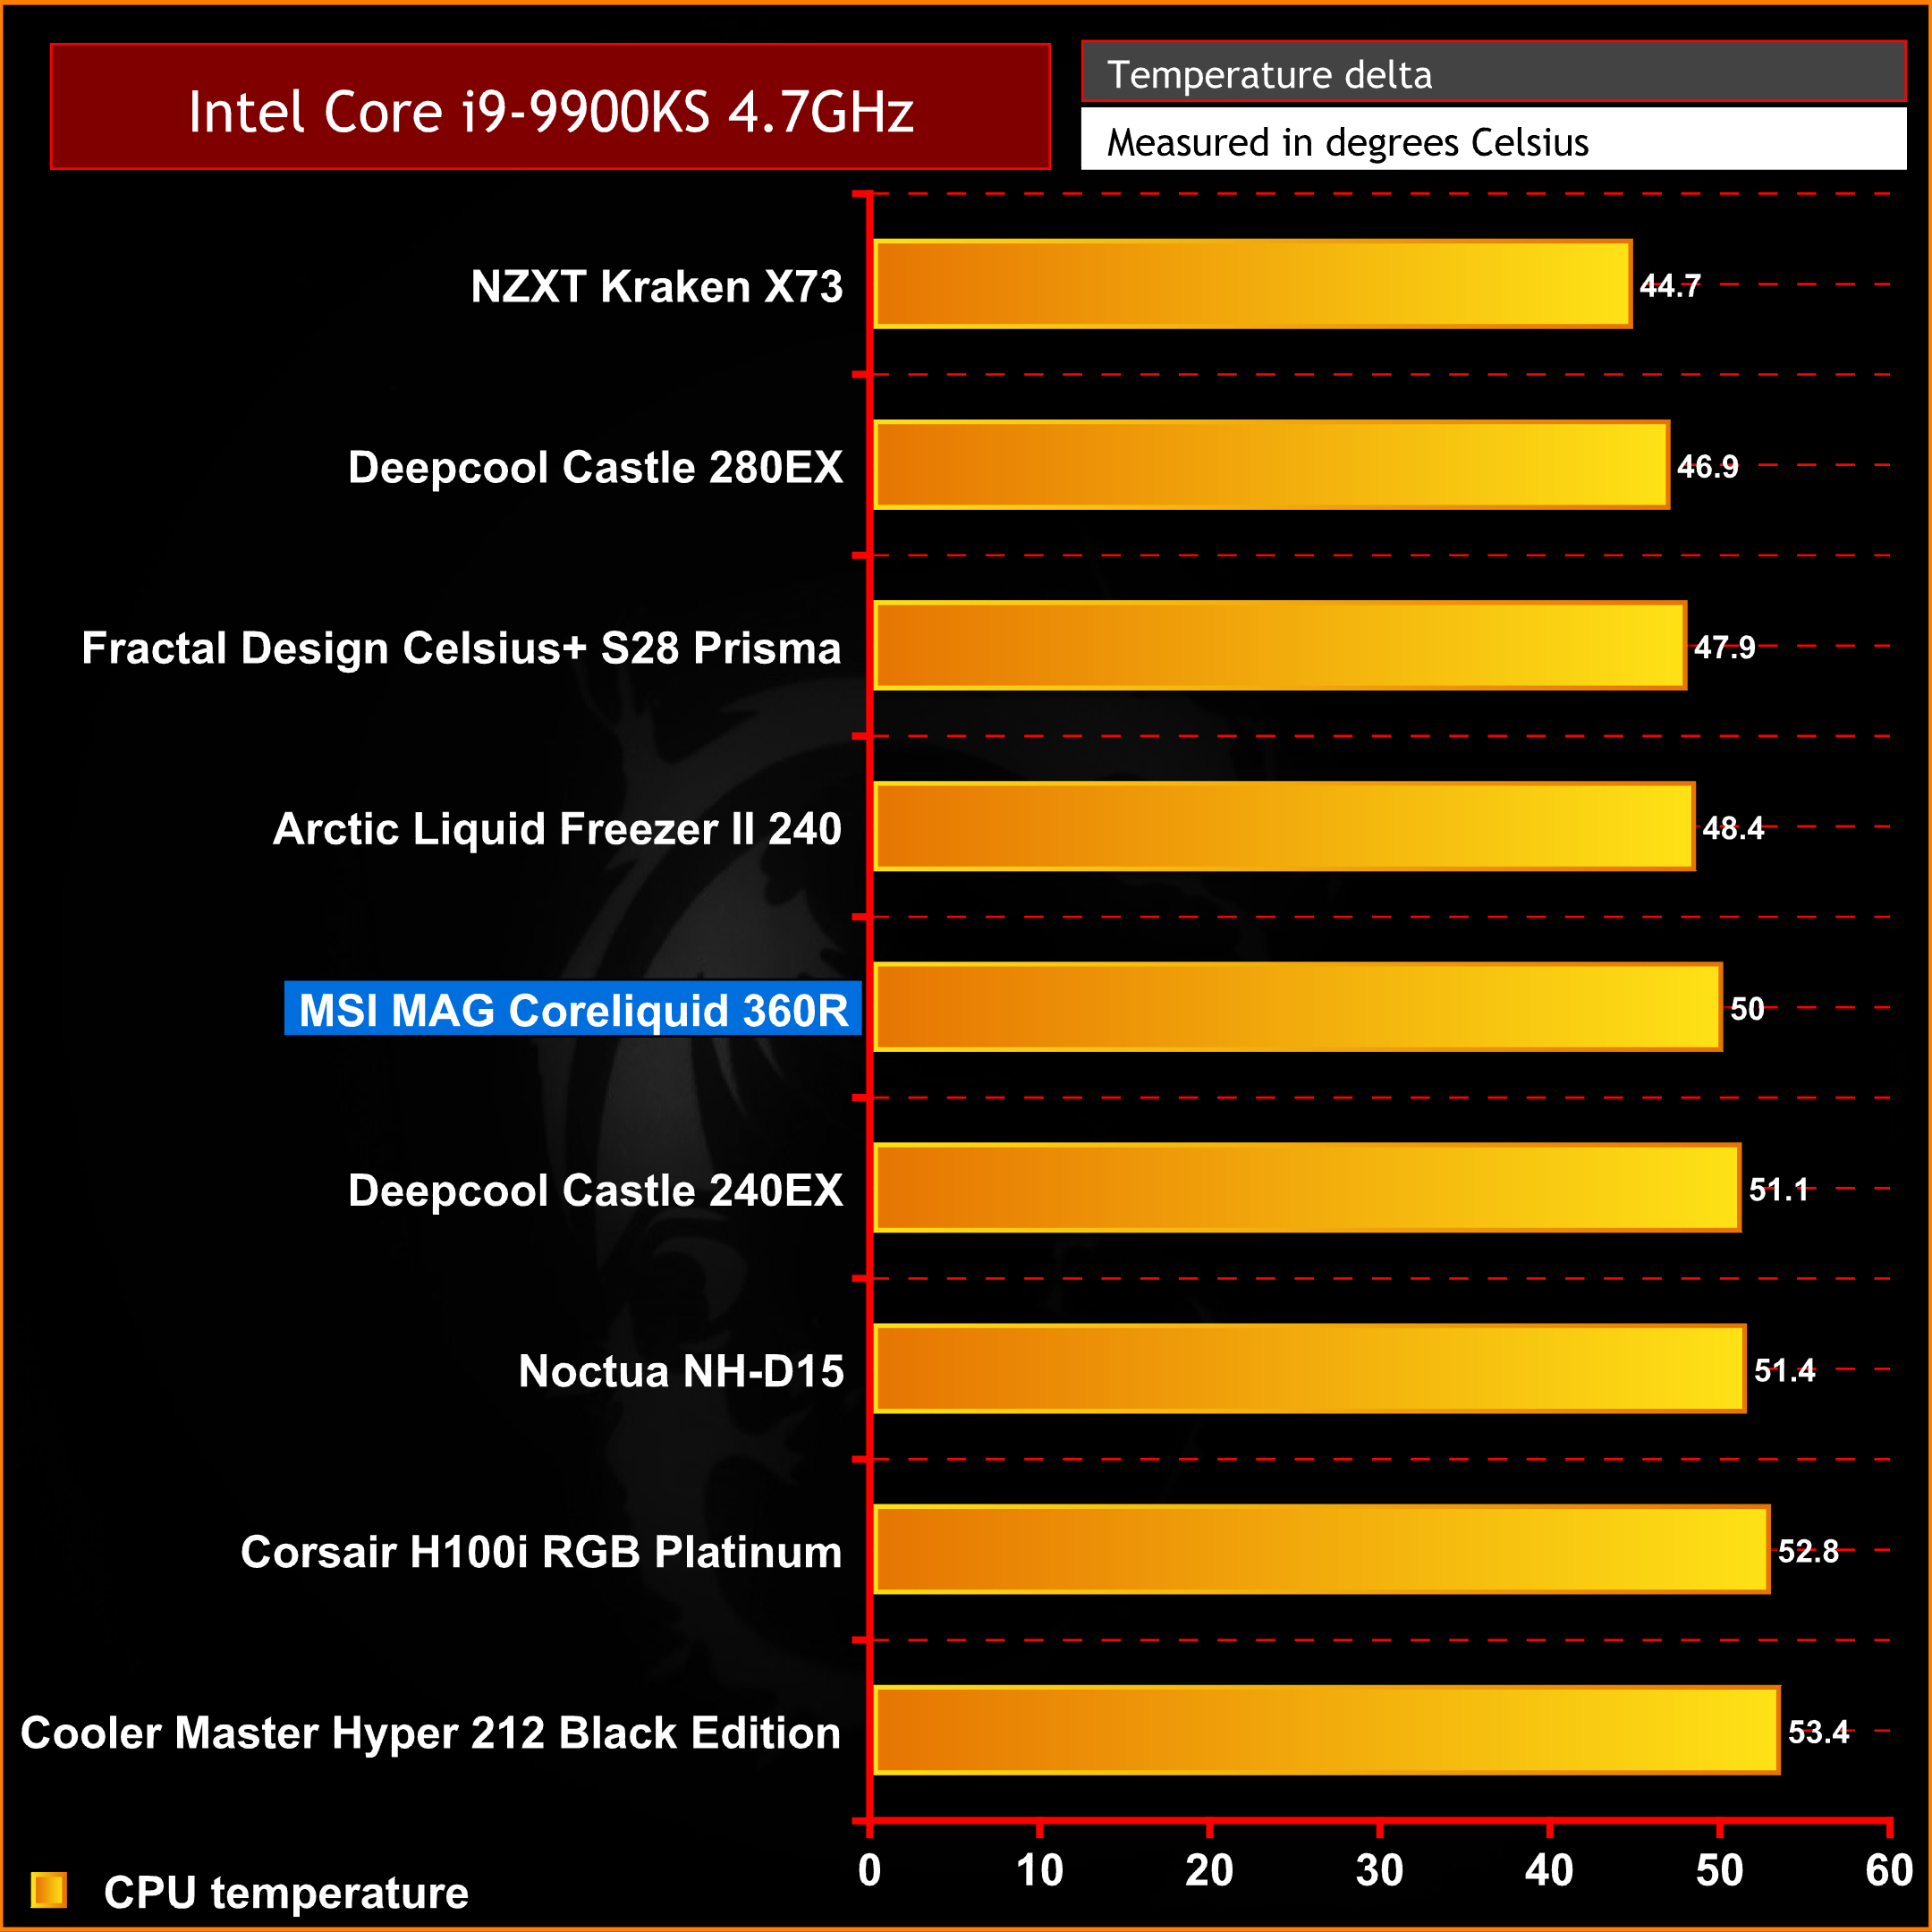
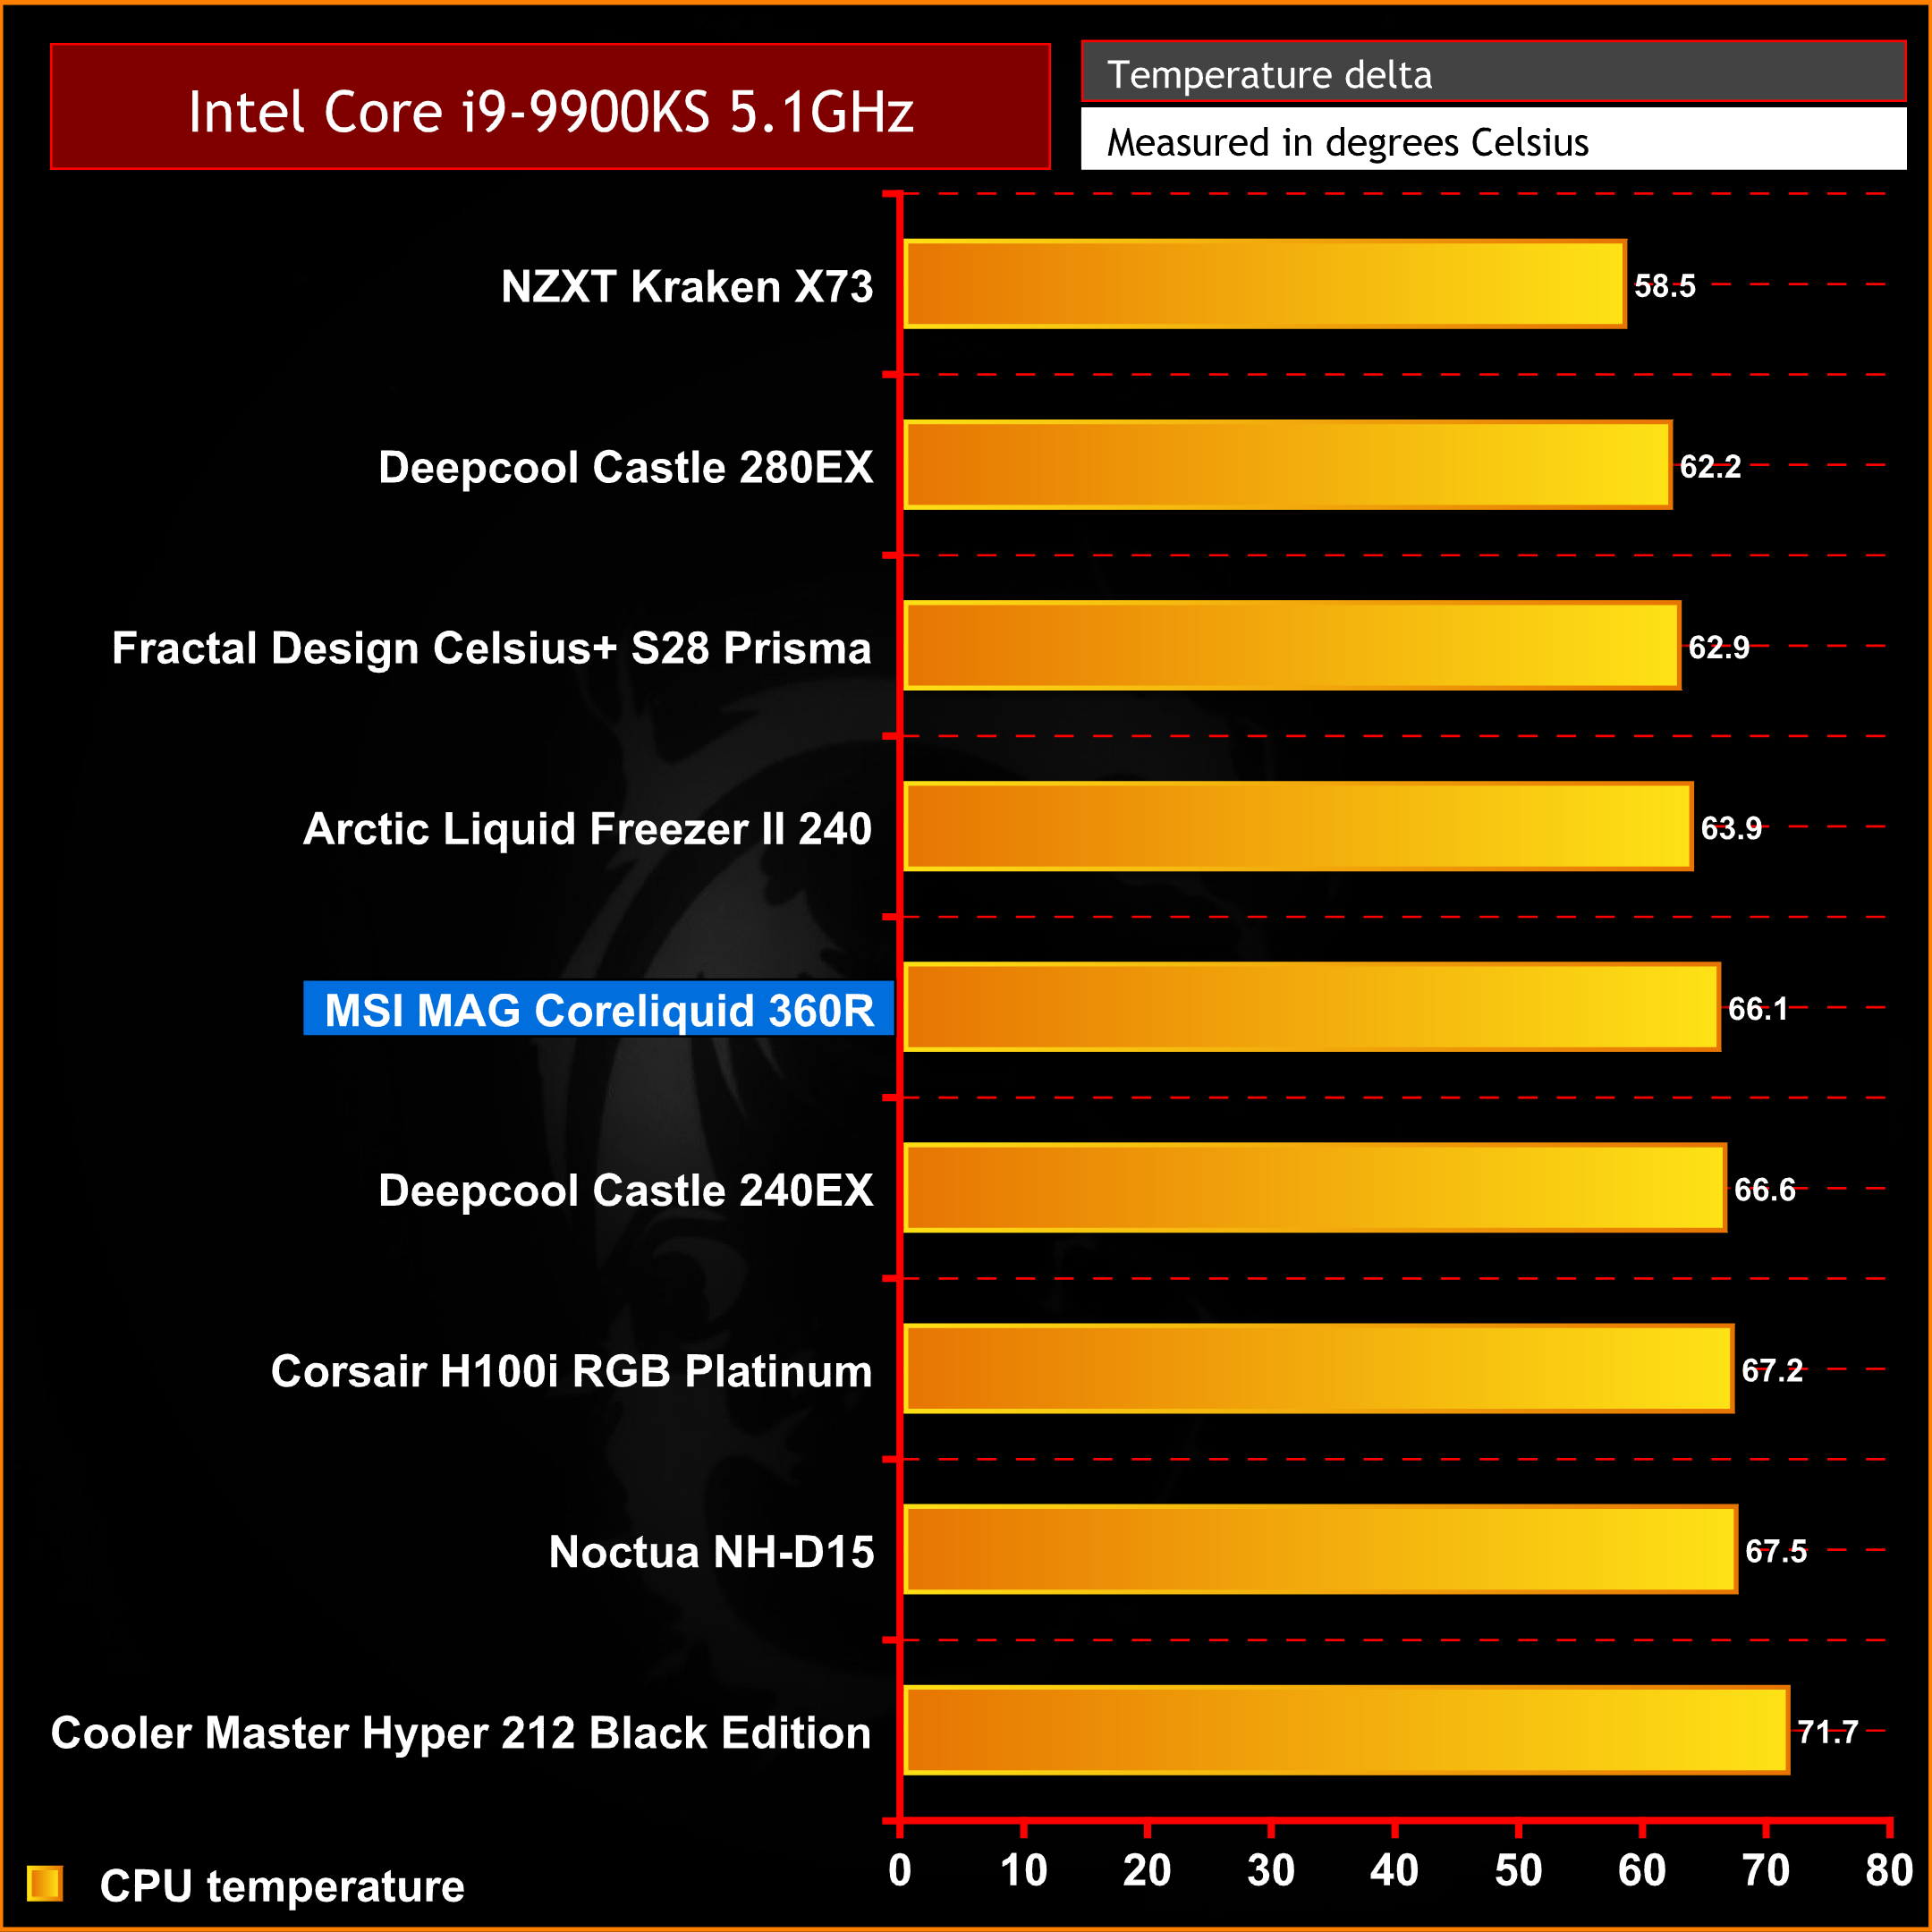
During our raw thermal performance tests with pump and fan speed set to maximum RPM, the MSI MAG CoreLiquid 360R gets off to a promising start when the Core i9-9900KS CPU is running at 4.0 GHz. However, as the CPU frequency is cranked up, performance tails off and becomes a little disappointing for an AIO of this size.
Thermal Performance: Noise normalised (40dBA)
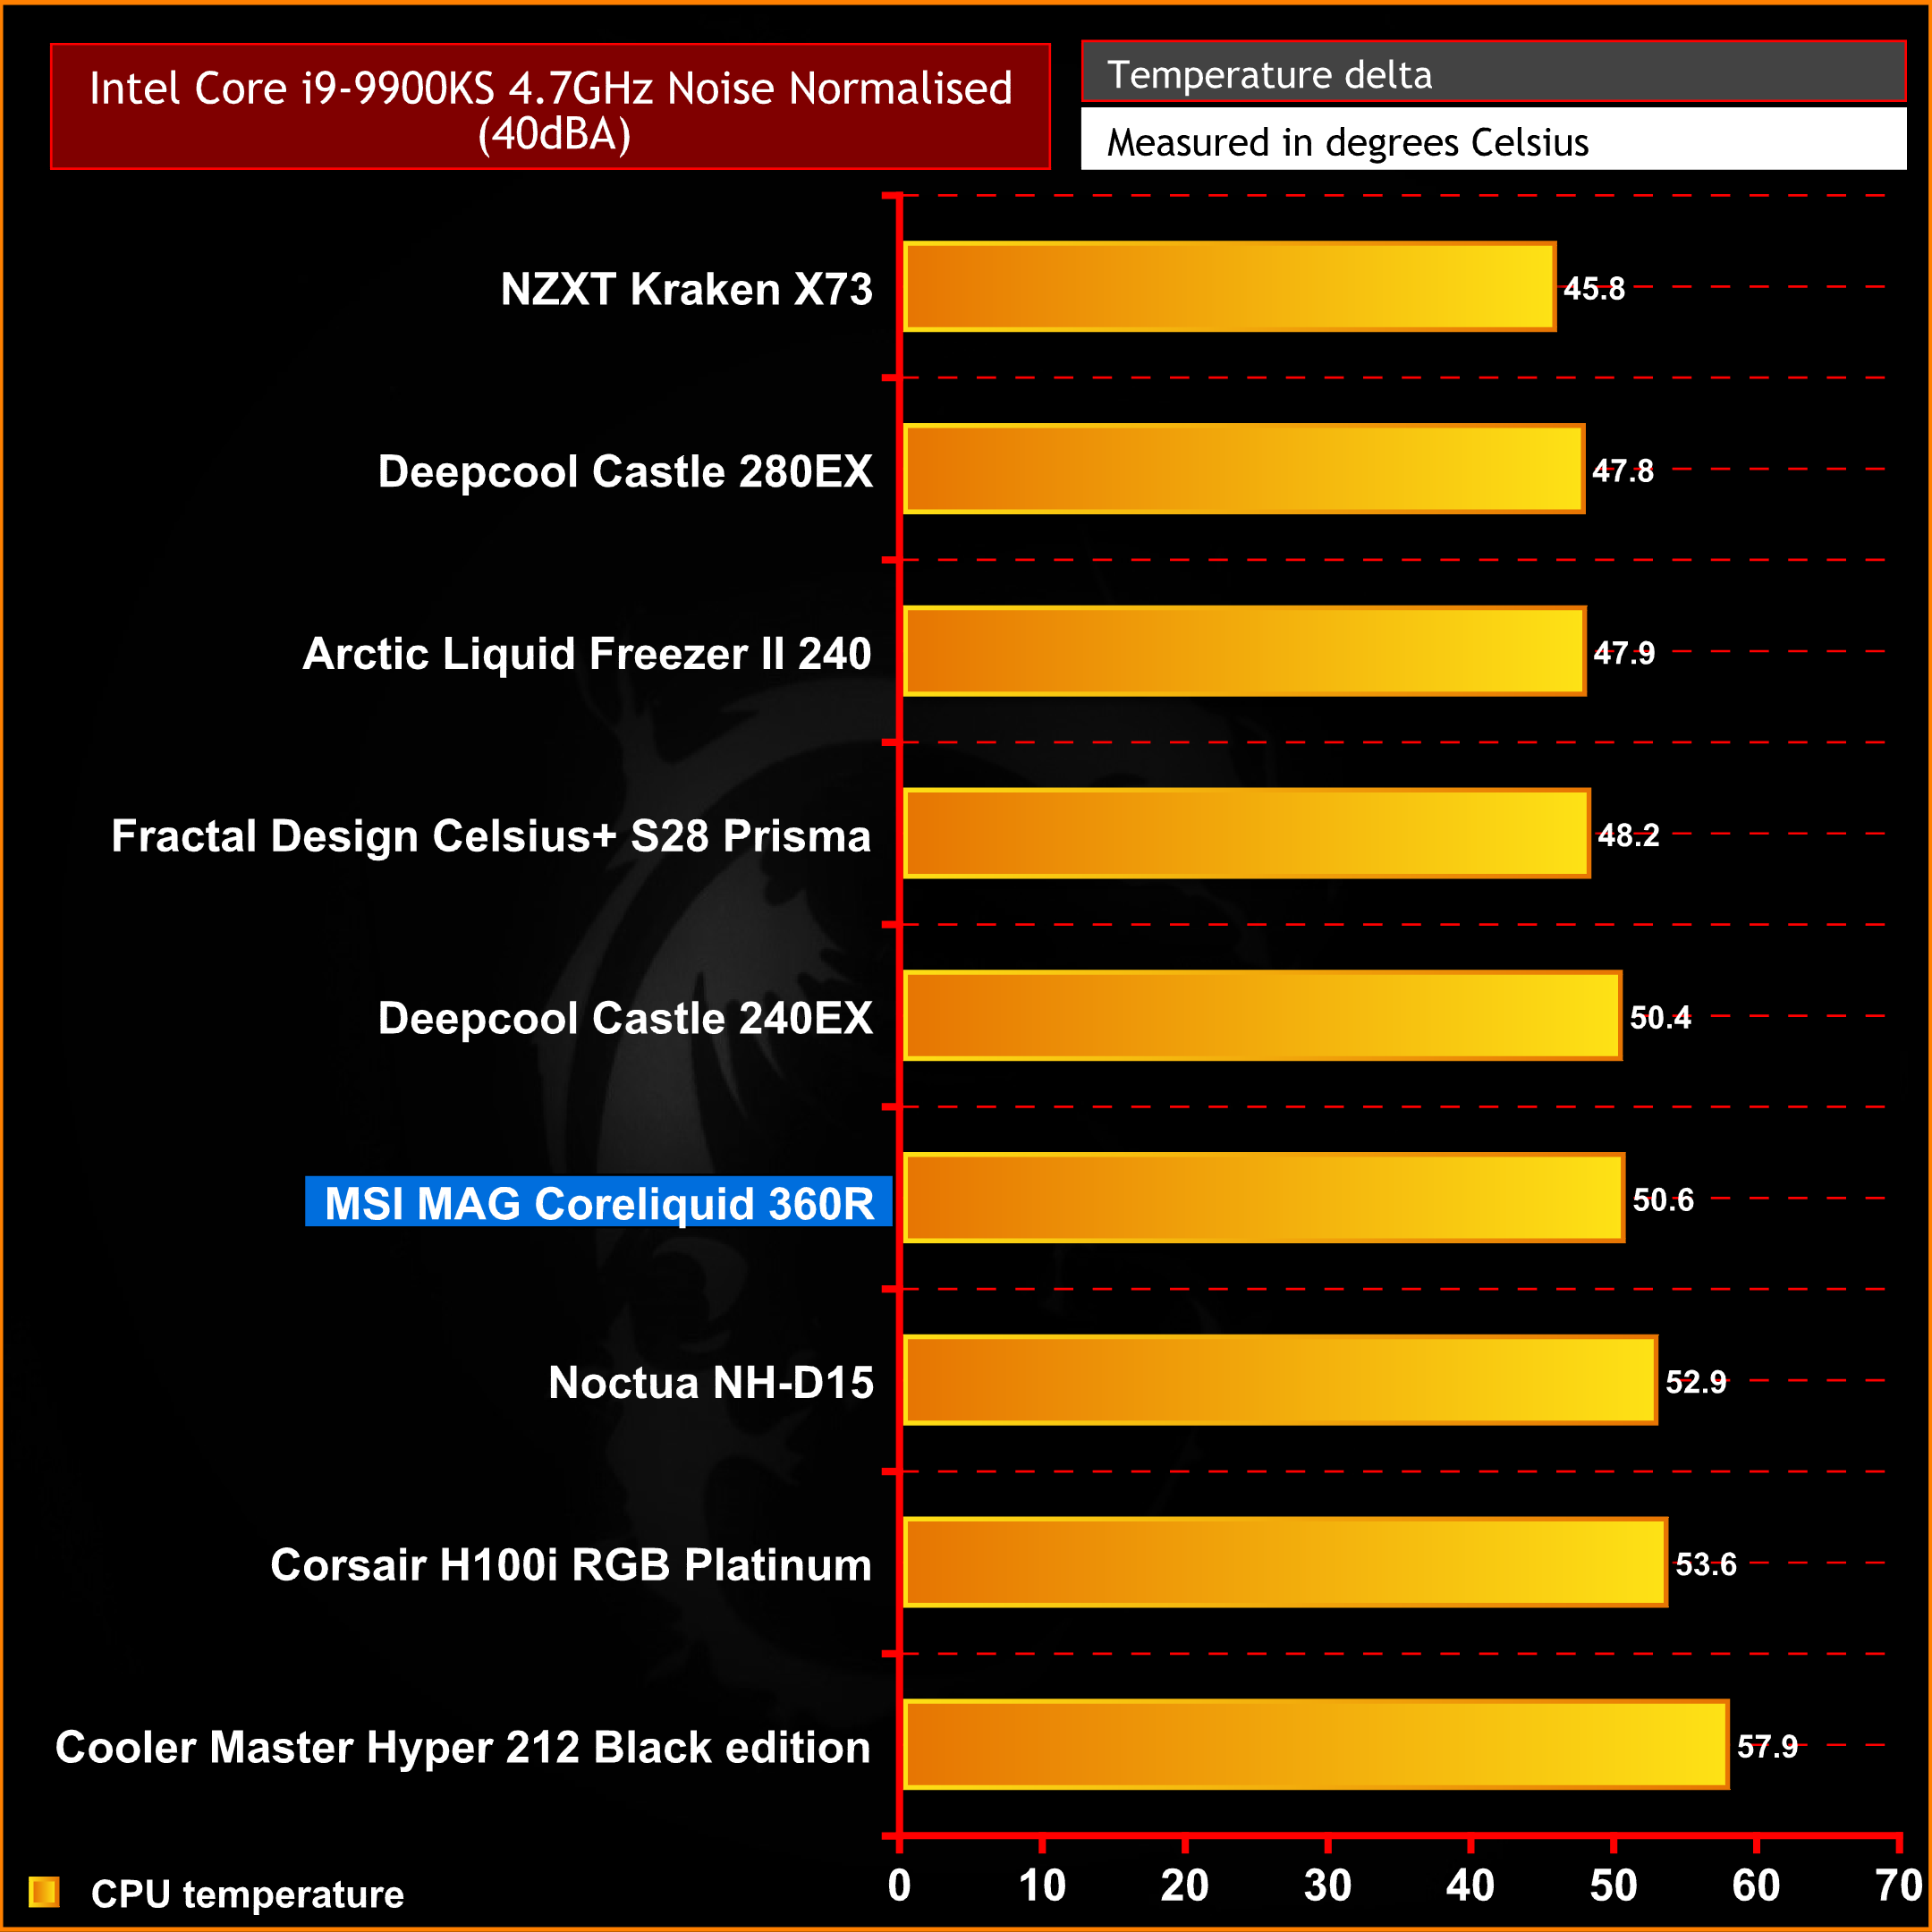
It is a similar result during our noise normalised test. When the noise output level of the coolers is equalised at 40dbA, the MAG CoreLiquid 360R struggles to show the performance of similar size AIO coolers we have previously tested. Even the smaller 240mm units from Arctic and Deepcool record better thermal performance than the CoreLiquid 360R which again is quite disappointing.
Acoustic Performance: Maximum noise levels

Maximum noise levels of the MSI MAG CoreLiquid 360R hit 45.3dbA with the fans and pump running at full speed. This noise level is audible but not distracting and is noticeably quieter than some other AIOs we have tested in the past, but still quite a way above the extremely low noise levels produced by the Arctic Liquid Freezer II.
MSI chose not to follow the in the footsteps of other manufacturers by using an Asetek based design for its new MAG CoreLiquid AIO series, and I commend them for this. However, I can’t help but feel a touch of disappointment when looking at the MSI MAG CoreLiquid 360R as a whole package. I was looking forward to testing this alternative approach to closed-loop coolers, with the pump integrated into the radiator, and was hoping to see a performance gain over the typical CPU block mounted pump setup.
In the end, the thermal performance proved to be slightly underwhelming, as the MSI MAG CoreLiquid 360R was even outperformed by smaller 240mm coolers from other manufacturers. That's not to say thermal performance of the CoreLiquid 360R is outright bad, but it simply cannot match the performance of other coolers of a similar size.
Both the Deepcool Castle 240EX, and the Arctic Liquid Freezer II especially, are considerably cheaper to purchase than the MSI MAG CoreLiquid and offer similar features and improved thermal performance, while the other 360mm cooler in our comparison data, the NZXT Kraken X73, is only about £10 more expensive than the CoreLiquid 360R, yet it offers significantly improved cooling abilities.
Currently priced at around the £150 mark, the MSI MAG CoreLiquid 360R isn’t exactly cheap, so for this price, I would expect a high-quality product. While the radiator, tubing and fittings all appear to be manufactured from good quality materials, the CPU block top cover and the fans are a little cheap looking in my opinion. The fan frames are quite flimsy in certain areas and the plastic CPU block top cover feels like a bit of an afterthought.
However, there are some design features of the MAG CoreLiquid I rather like. Moving the pump from the CPU block to the radiator means that the CPU block is less bulky and takes up less space on the motherboard, leaving plenty of RAM clearance. RGB lighting effects on both the CPU block and fans are bright with vivid colour.
Installation of the MSI MAG CoreLiquid is reasonably straightforward, the upper mounting bracket that slides in place on the CPU block speeds up installation time and all the screws and fixing have a high-quality appearance with the black chrome nickel-plated coating. CPU socket support is extensive and even covers high-end desktop AMD Ryzen Threadripper platforms, something you don’t always get from some other AIO coolers.
Another area of the CoreLiquid 360R design I’m quite fond of is the use of all standard cables for connecting the fans, pump and RGB lighting. Often, other manufacturers use proprietary cable connections which means the extra hassle of installing additional fan controllers or RGB hubs, leading to more cabling and extra work needed to make the system look neat and tidy.
This is not a problem with the CoreLiquid series, the fans are equipped with standard 4-pin cables that connect directly to motherboard headers, so fan curves can be set using the BIOS or motherboard software. RGB lighting cables from the fans and pump are daisy-chained together, again using standard 3-pin 5V connections and connect directly to motherboard headers for simple RGB lighting synchronisation.
The only thing that is missing from the MSI MAG CoreLiquid 360R is a simple RGB lighting hub for those who don’t have RGB headers in their system. However, that is not a big deal now since almost all recent motherboards are equipped with at least one RGB header these days, but it would still have been beneficial for one to be bundled with the cooler just in case.
So, while the MSI MAG CoreLiquid 360R may not be optimal for cooling a high-power desktop processor such as the Intel Core i9-9900KS used in our test bench, it may well have the thermal performance capacity to cool slightly lower-power CPUs perfectly well. Paired with a mid-range CPU such as an Intel Core i5 or AMD Ryzen 5 CPU, the MAG CoreLiquid 360R should do the job of keeping the CPU temperature under control while looking the part too, especially for those users with an MSI themed system.
![]()
The MSI MAG CoreLiquid 360R is available to purchase now from Overclockers UK priced at £149.99 HERE.
Pros
- Smaller CPU block due to the radiator mounted pump.
- Vivid RGB lighting effects.
- Easy installation.
- Extensive CPU socket support.
Cons
- Disappointing thermal performance.
- Questionable quality in certain areas.
KitGuru says: MSI should be commended for trying something new by not releasing just another Asetek-based AIO cooler. However, thermal performance of the CoreLiquid 360R isn't quite as good as as the competition when tested on our i9 processor.