RGB lighting has been popular with custom PC builds for quite some time now, but with newer innovations in technology comes newly updated products. Following the boom in RGB lighting comes Addressable RGB lighting. Not only do addressable RGB LEDs require a specific three-pin header on your motherboard to make use of finer software control, but as a controller is applied to each individual LED there is a far greater variance of colours, modes and effects available to the ARGB devices.
Cooler Master has decided to embrace this with the new MasterAir MA410M, a dual fan air cooler, that supports addressable RGB LEDs on both the fans and cooler shroud itself. With a host of features including a built-in CPU temperature sensor and Air Guide Armour for £59.99, how does it stack up against both AIO liquid coolers and air coolers at this relatively saturated price point?
Watch via our VIMEO Channel (below) or over on YouTube HERE
Specification:
- Model: MasterAir MA410M
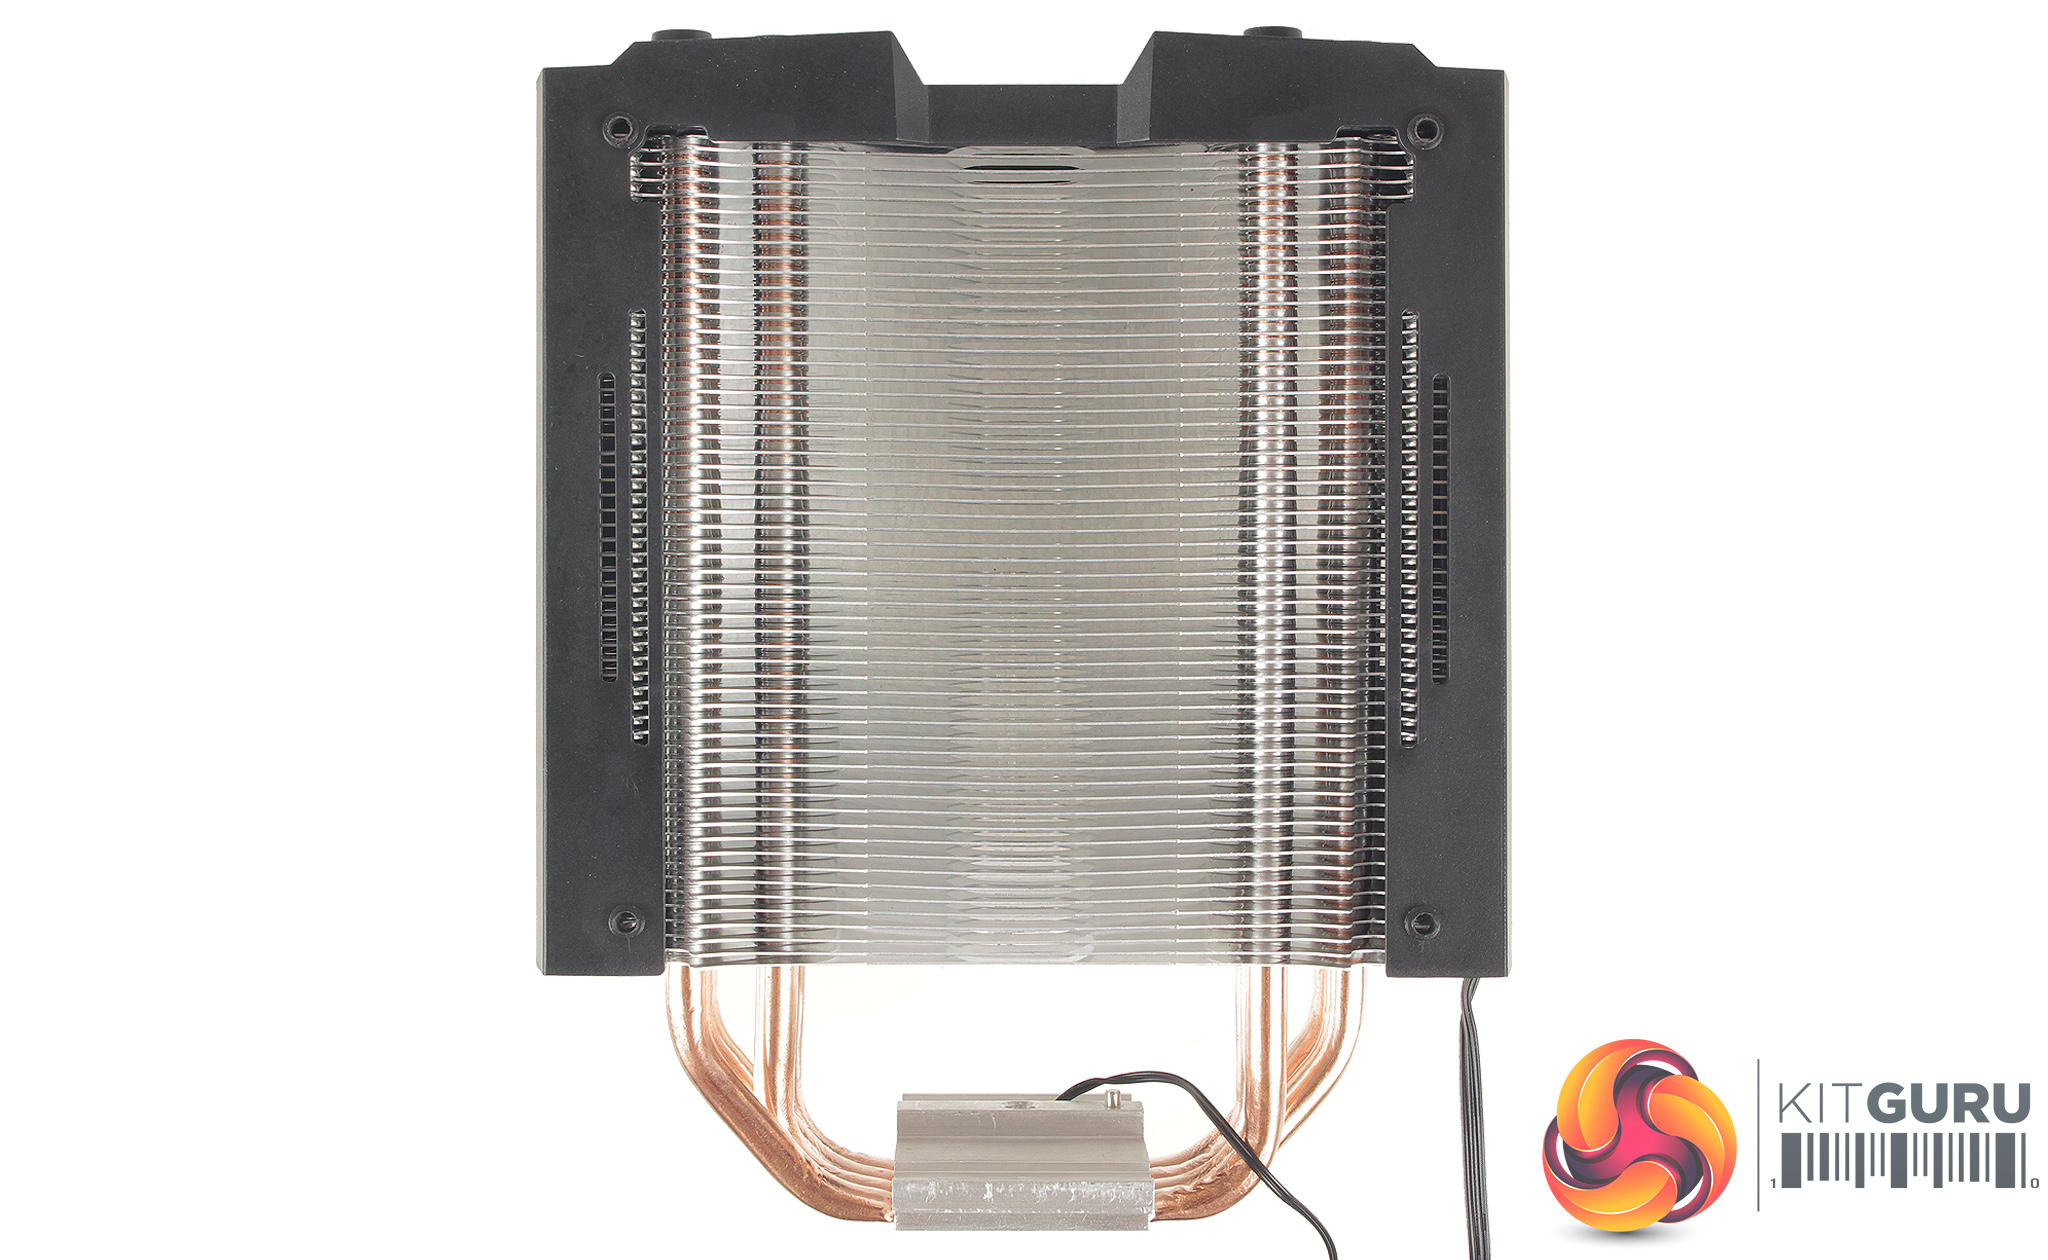
- Heat Sink Material: 4 Heat Pipes / CDC 2.0 / Aluminum Fins
- Fan Dimensions: 120 x 120 x 25 mm
- Fan Speed: 650 – 1,800 RPM (PWM) ± 10%
- Fan Air Flow: 53.38 CFM (Max)
- Fan Air Pressure: 1.65 mmH2O (Max)
- Fan Noise Level: 6 – 31 dBA
- Fan Connector: 4-Pin (PWM)
- Warranty: 5 years
- Intel socket compatibility: Intel LGA 2066, 2011-v3, 2011, 1151, 1150, 1155, 1156, 1366
- AMD socket compatibility: AMD AM4, AM3+, AM3, AM2+, AM2, FM2+, FM2, FM1
- Heat Sink Weight: 820g
- Heat Sink Dimensions (LxWxH) : 111.8 x 130.9 x 165.1 mm
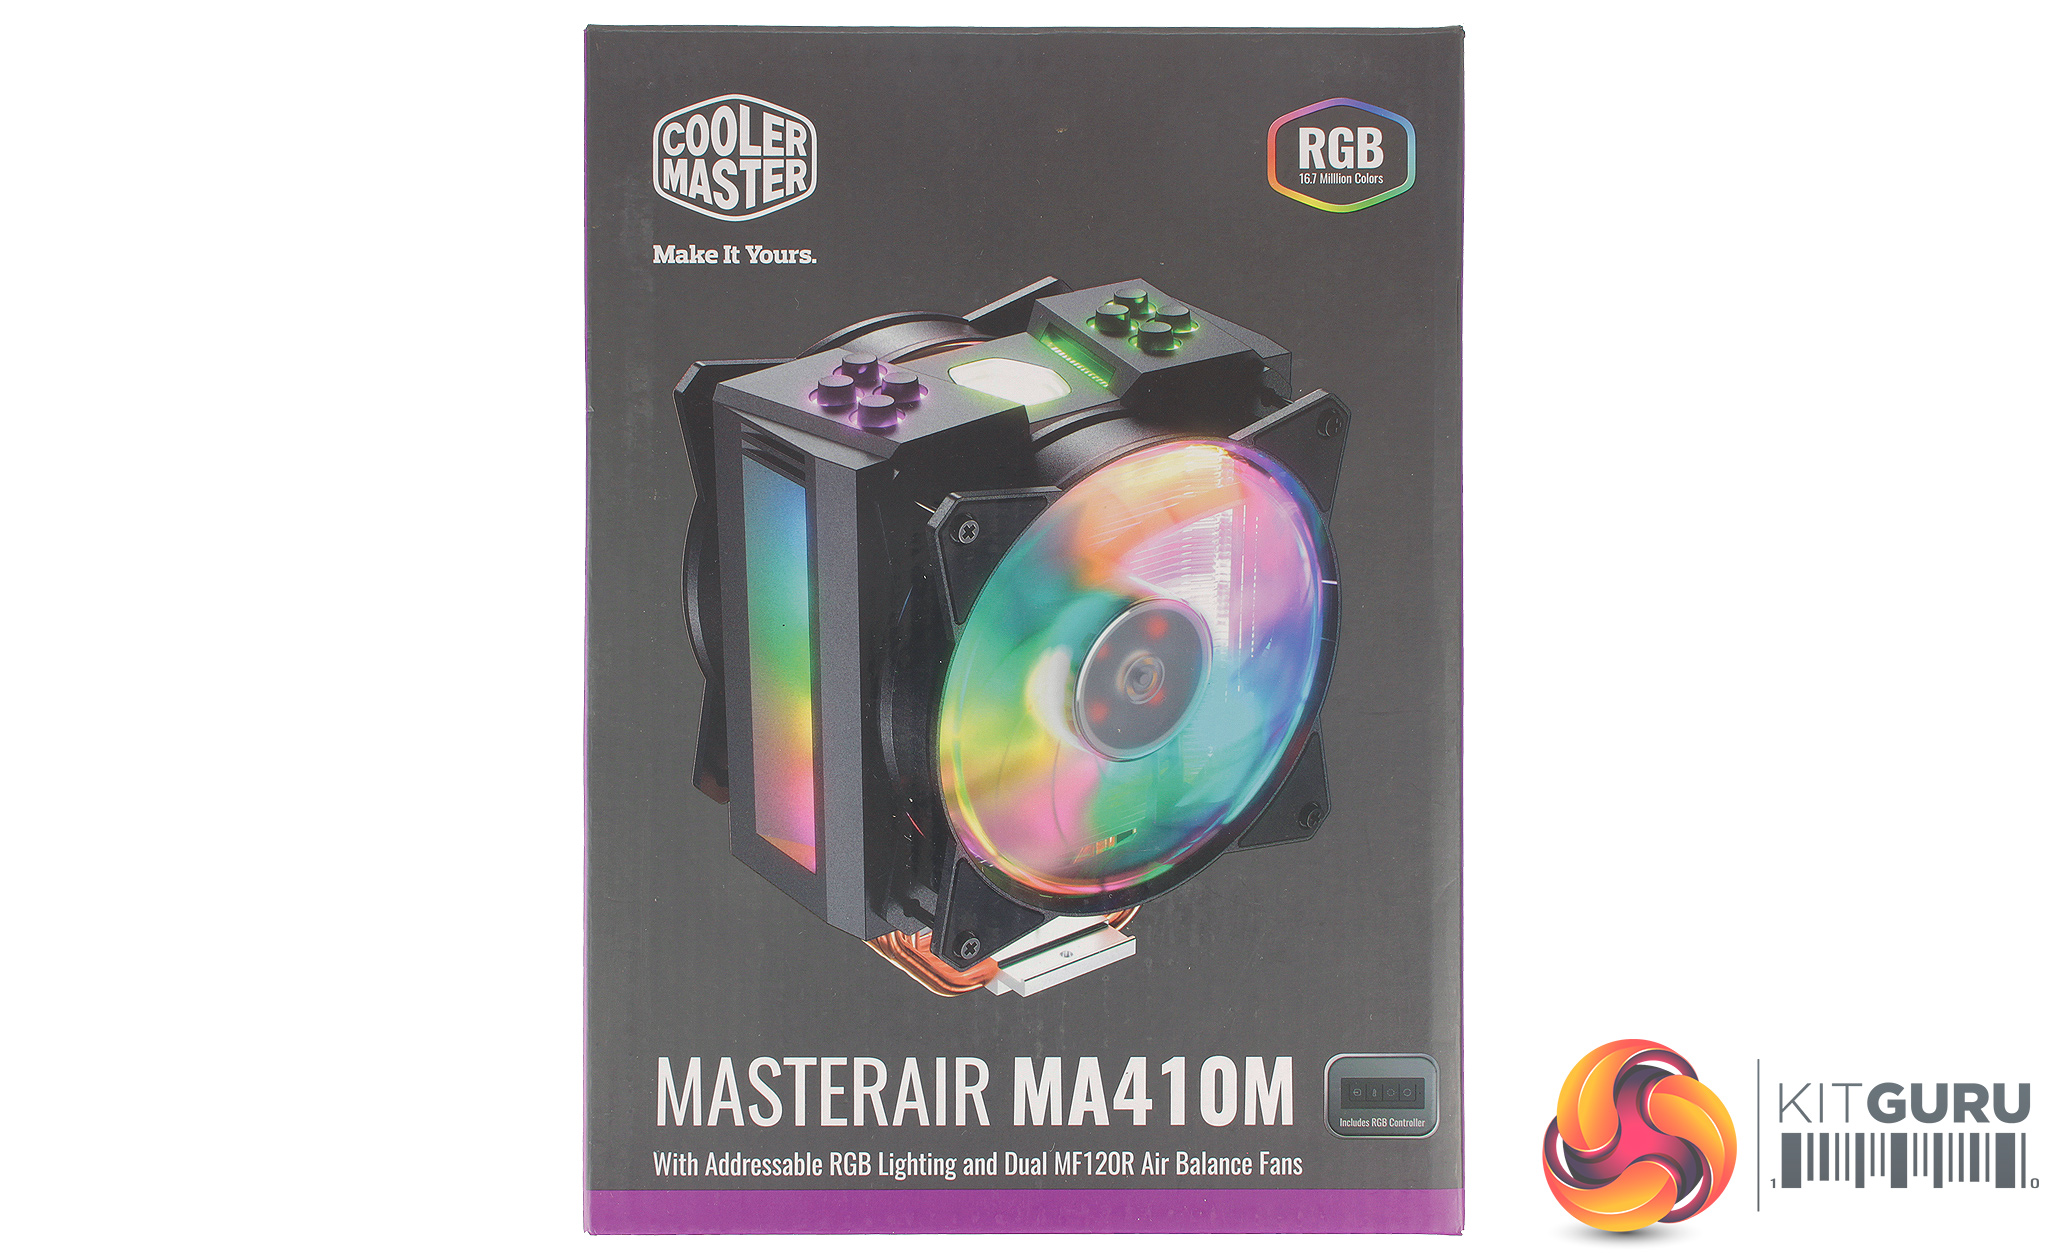

The MA410M packaging follows a very similar aesthetic to other current Cooler Master coolers, sporting a lot of purple, and the newer Cooler Master logo. The front of the box provides a very clear image of the cooler in all its glory, while the rear show an exploded view of the coolers assembly, highlighting the various innovations applicable too this cooler. In the box, we find the cooler full assembled, alongside an accessory pack.
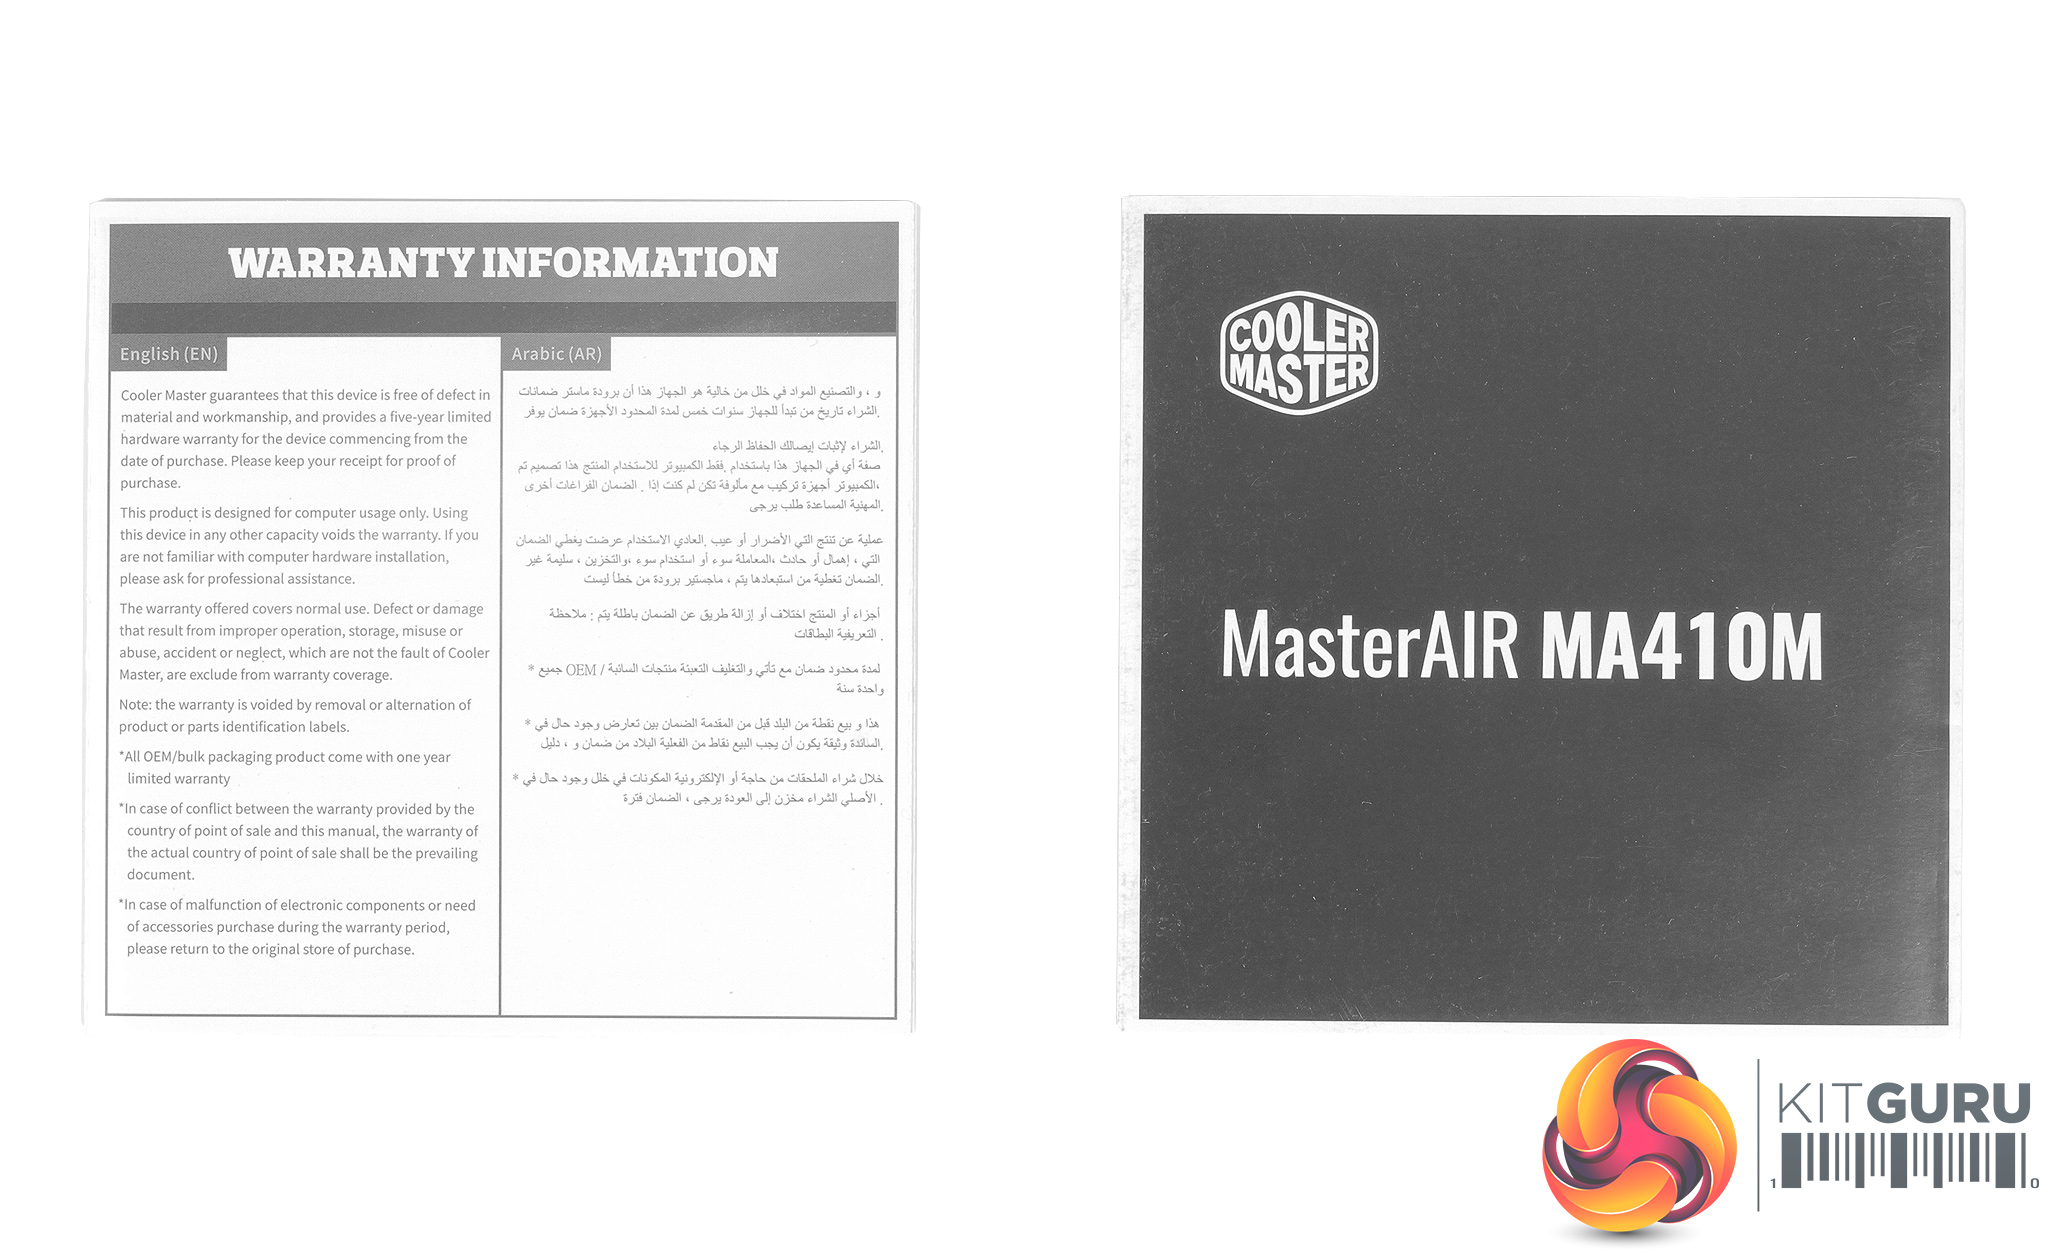

Warranty and installation guides are included, as well as a host of mounting brackets and pieces for all current CPU sockets, as well as some older ones.
A number of cables are included, with one 4-pin PWM extension cable for the two included fans, while the remaining cables are for connecting up the LEDs. A small controller is also included which is nice to see, allowing you to make use of the LED functionality if your motherboard doesn’t support the newer addressable RGB header.
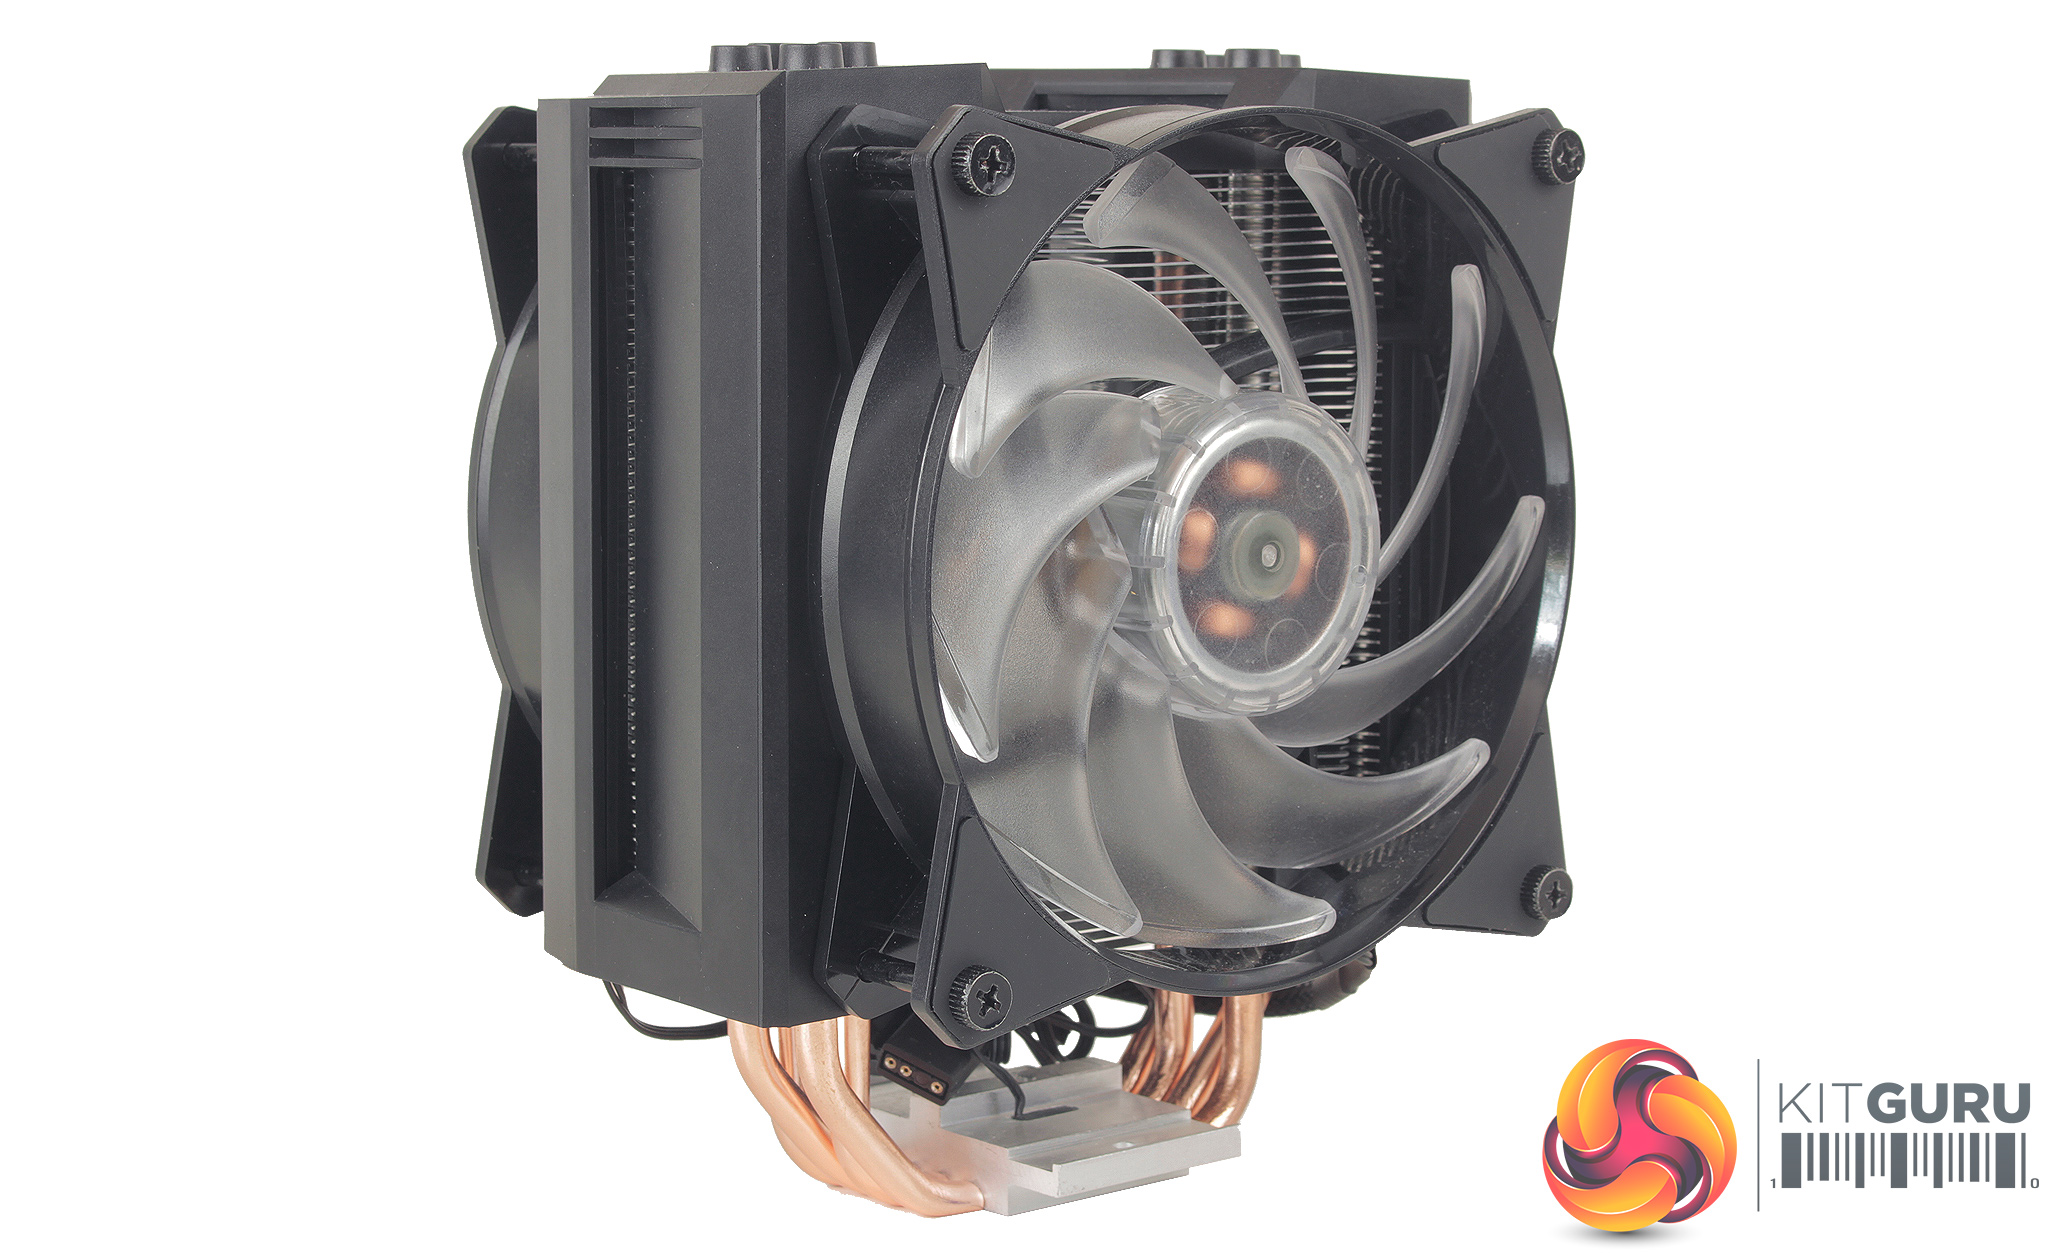
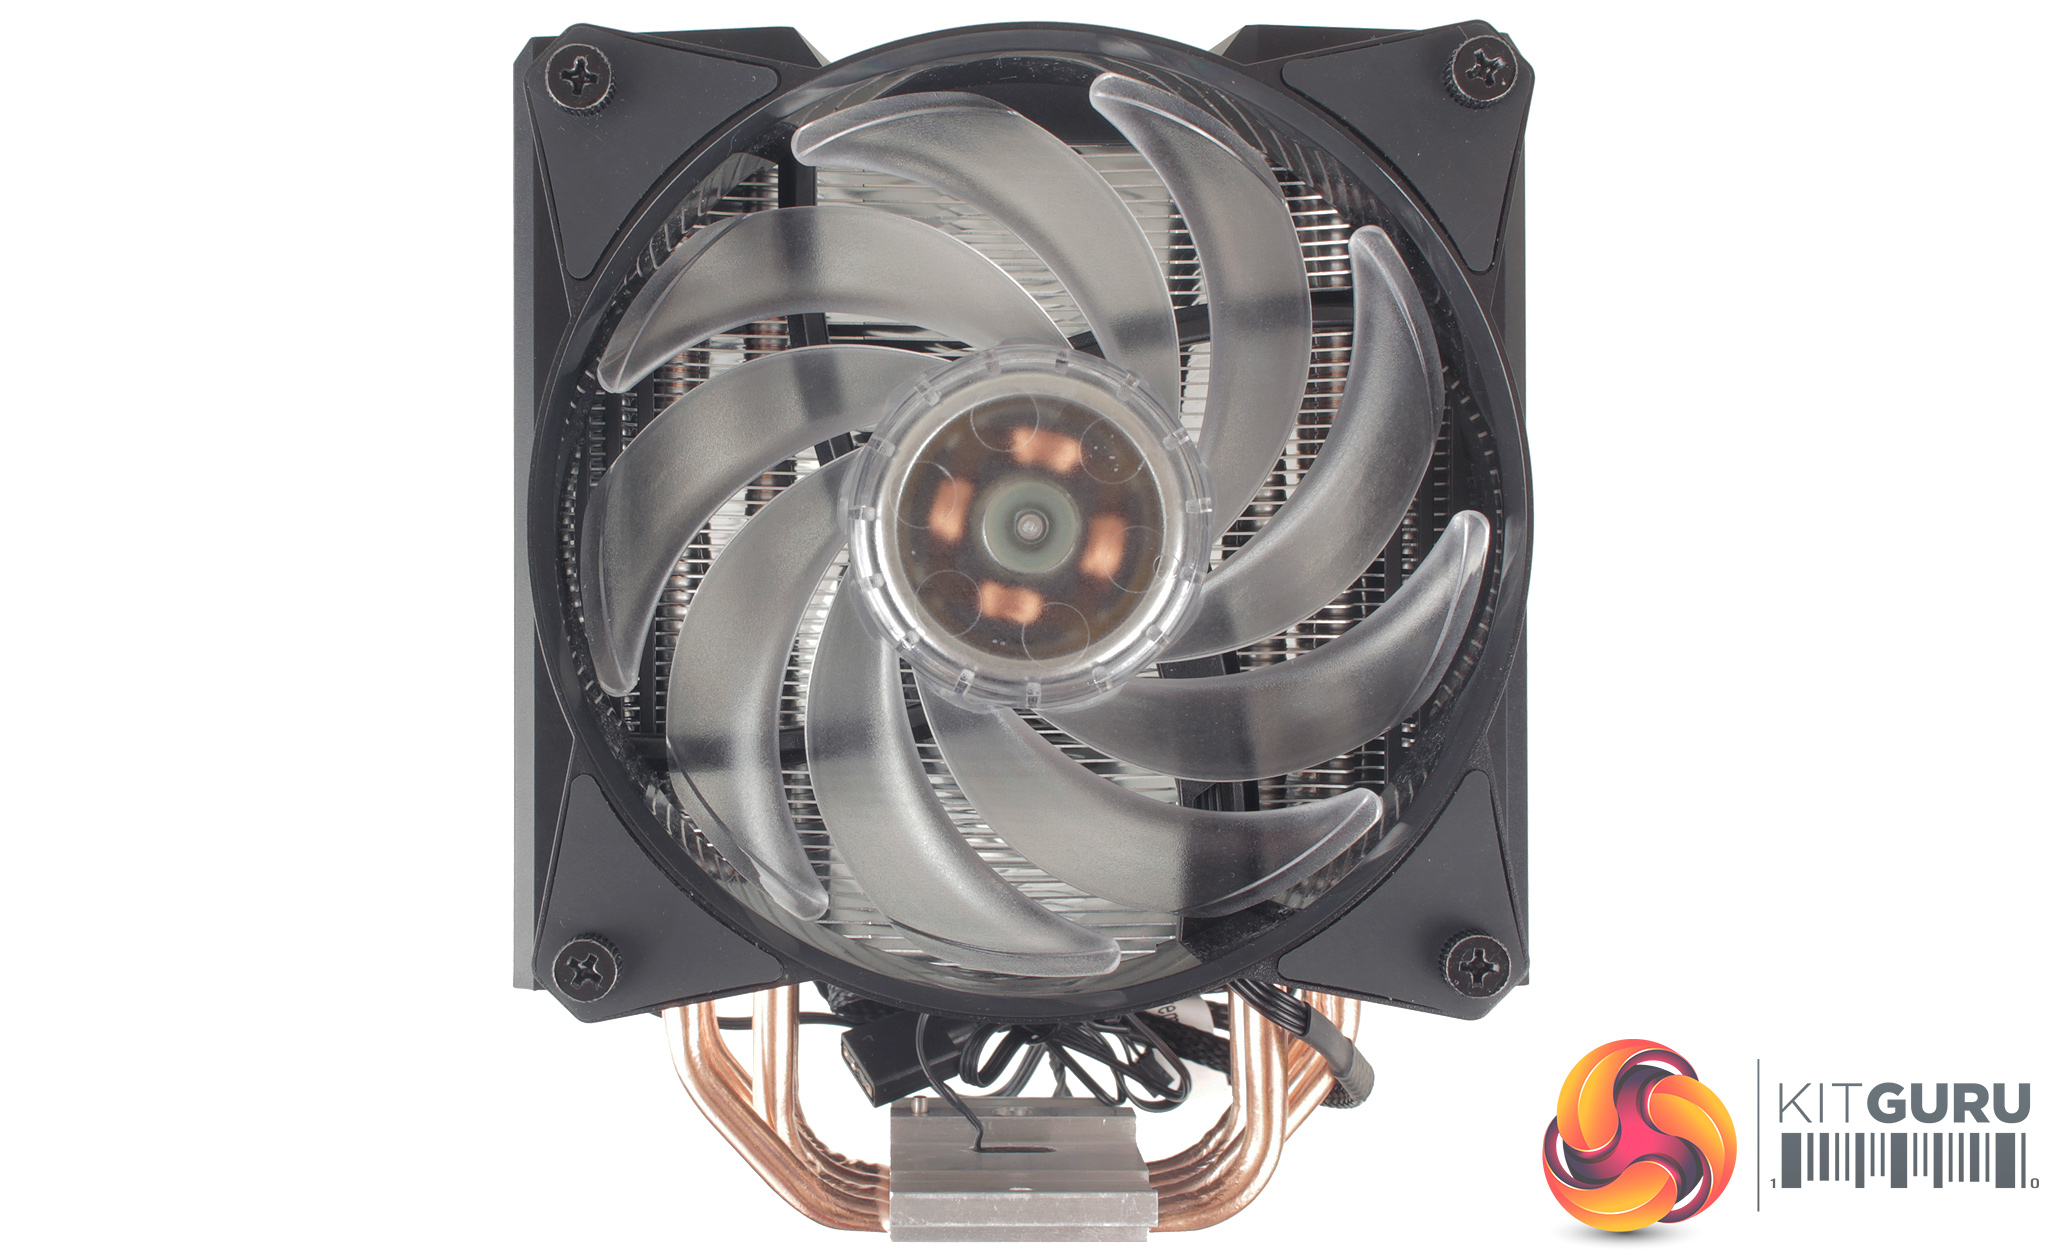
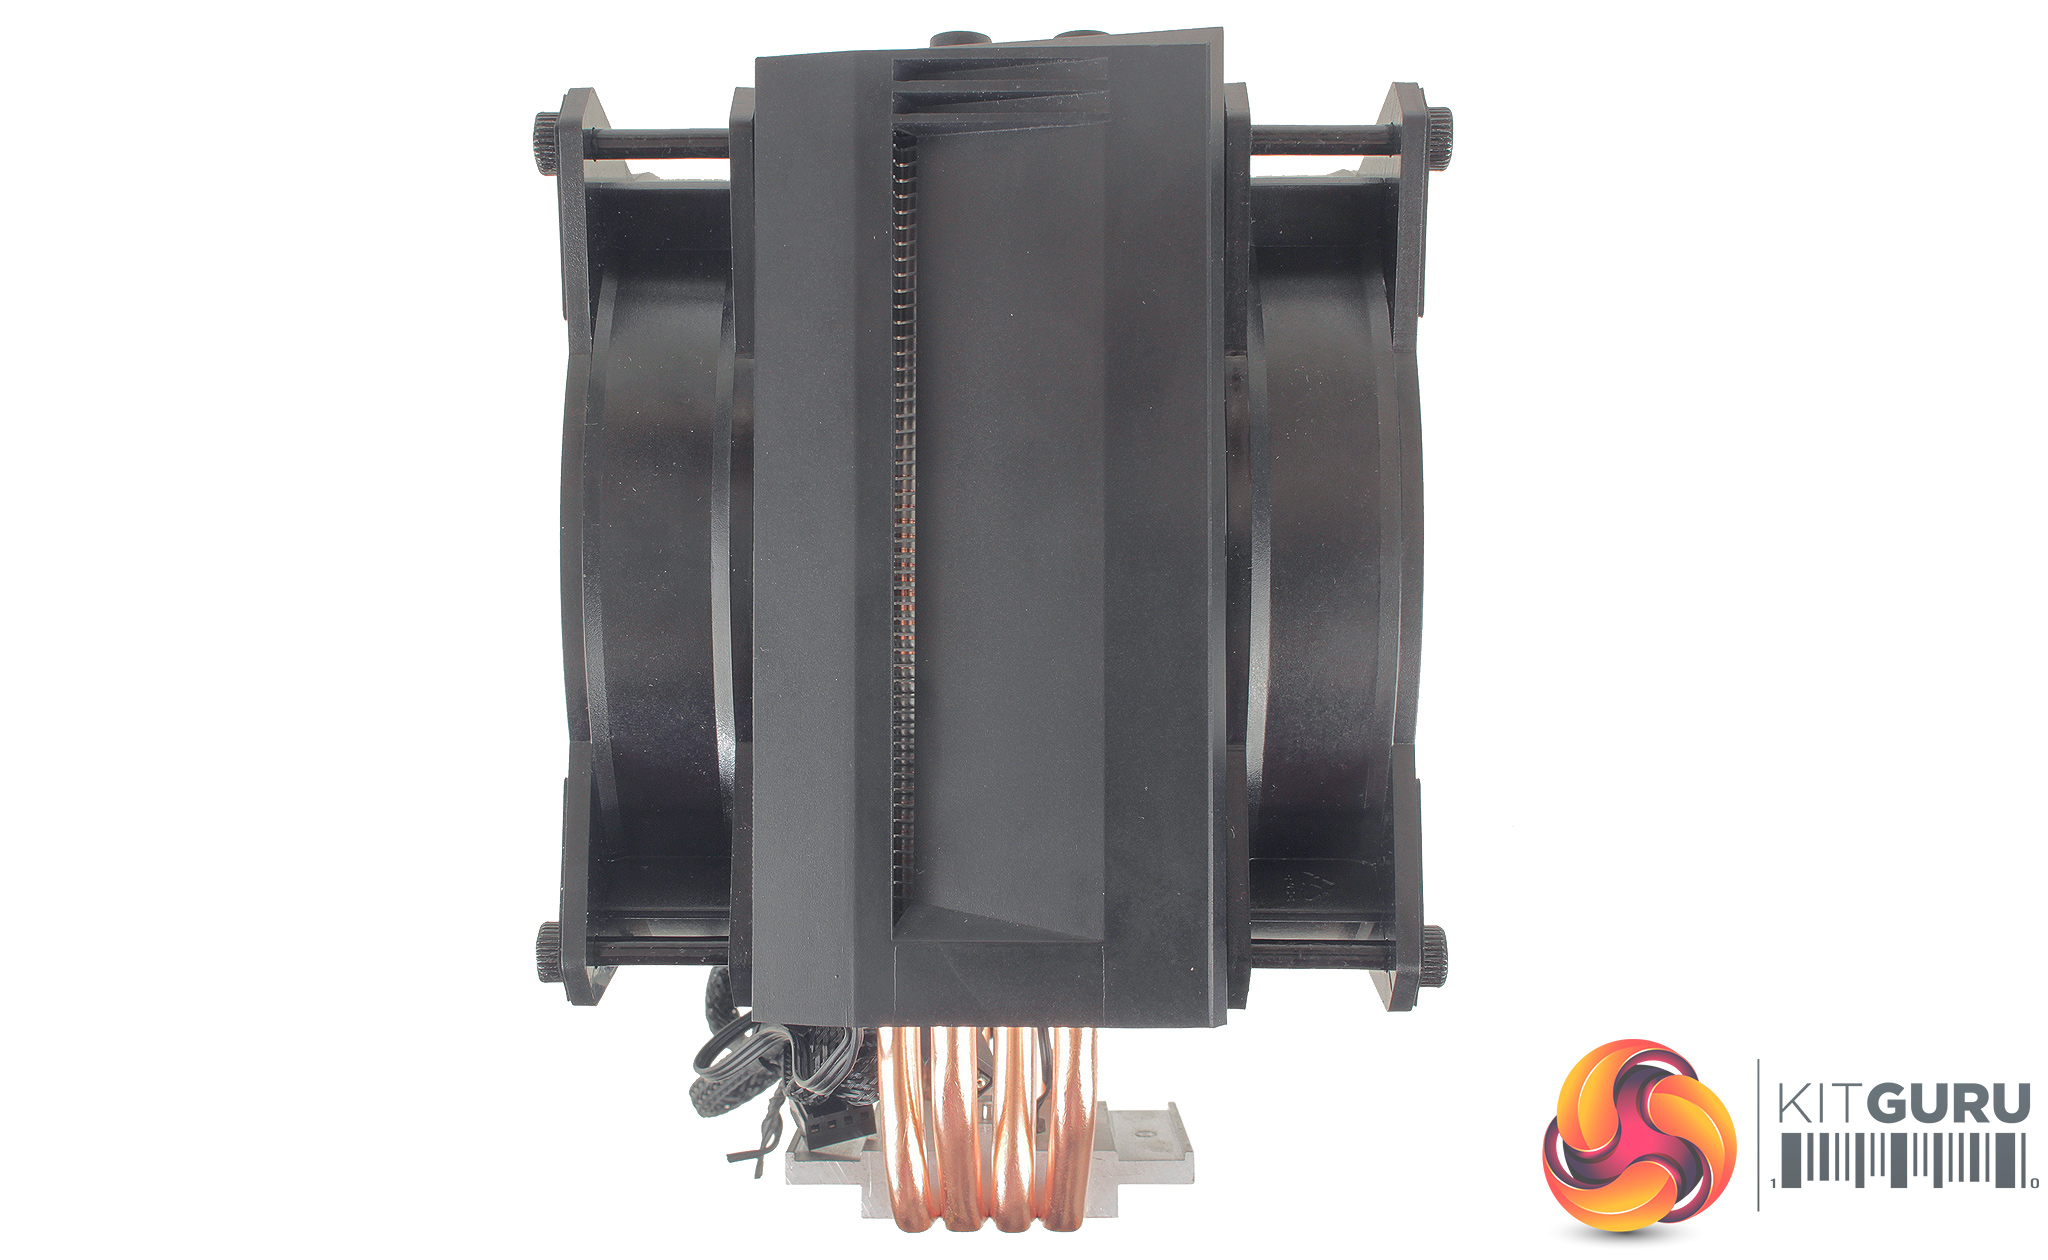
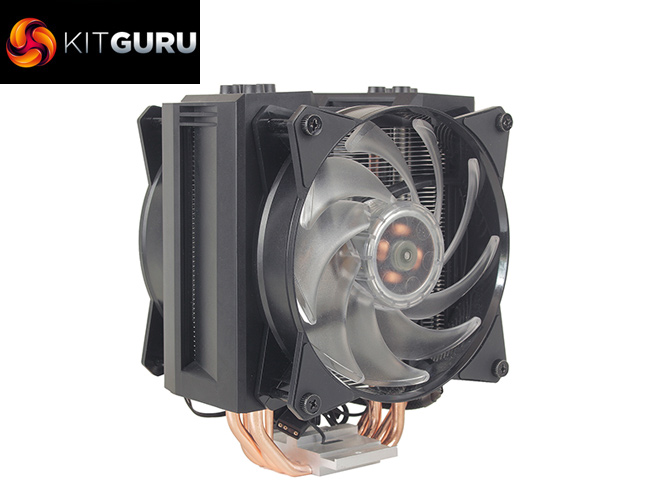
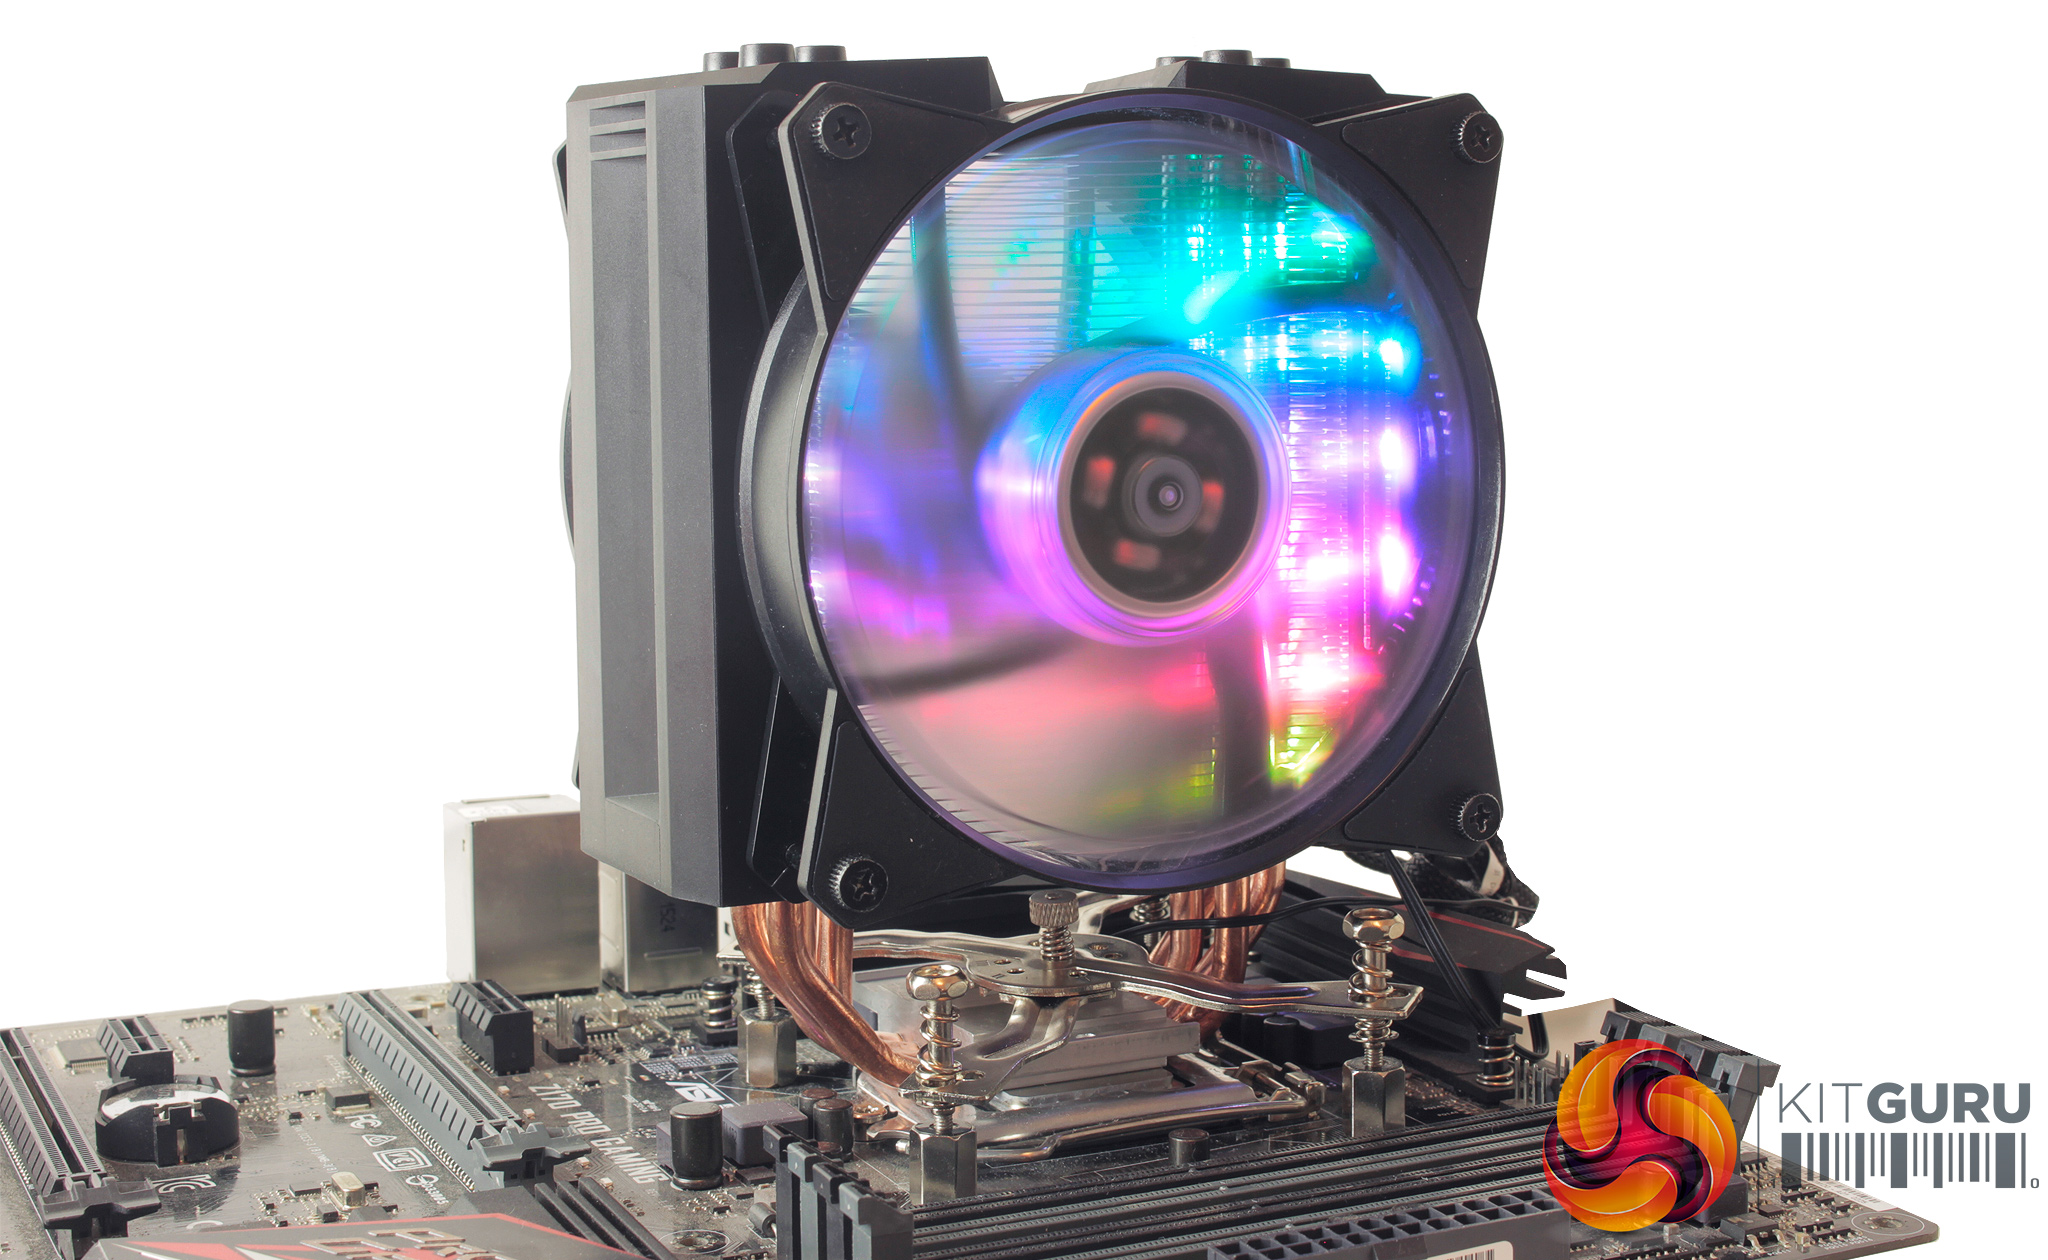
The cooler itself shares a very similar design to some previous Cooler Master coolers, like the Hyper 212 Evo, or MasterAir MA410P but the inclusion of the black plastic Air Guide Armour does provide a much more aggressive aesthetic, which should suit more modern system builds. The Master Air MA410M dimensions are 111.8 x 130.9 x 165.1 mm (LxWxH).
The installation process is OK but does include a number of steps, which don’t feature heavily with other branded coolers you may have come across in the past. This is primarily due to the unique hardware provided.
The first stage of installation requires removing both fans from the body of the cooler.
The backplate needs to be set up based on your motherboard's socket. As we now test using a Z170 motherboard socket LGA1151, the installation process below reflects this.
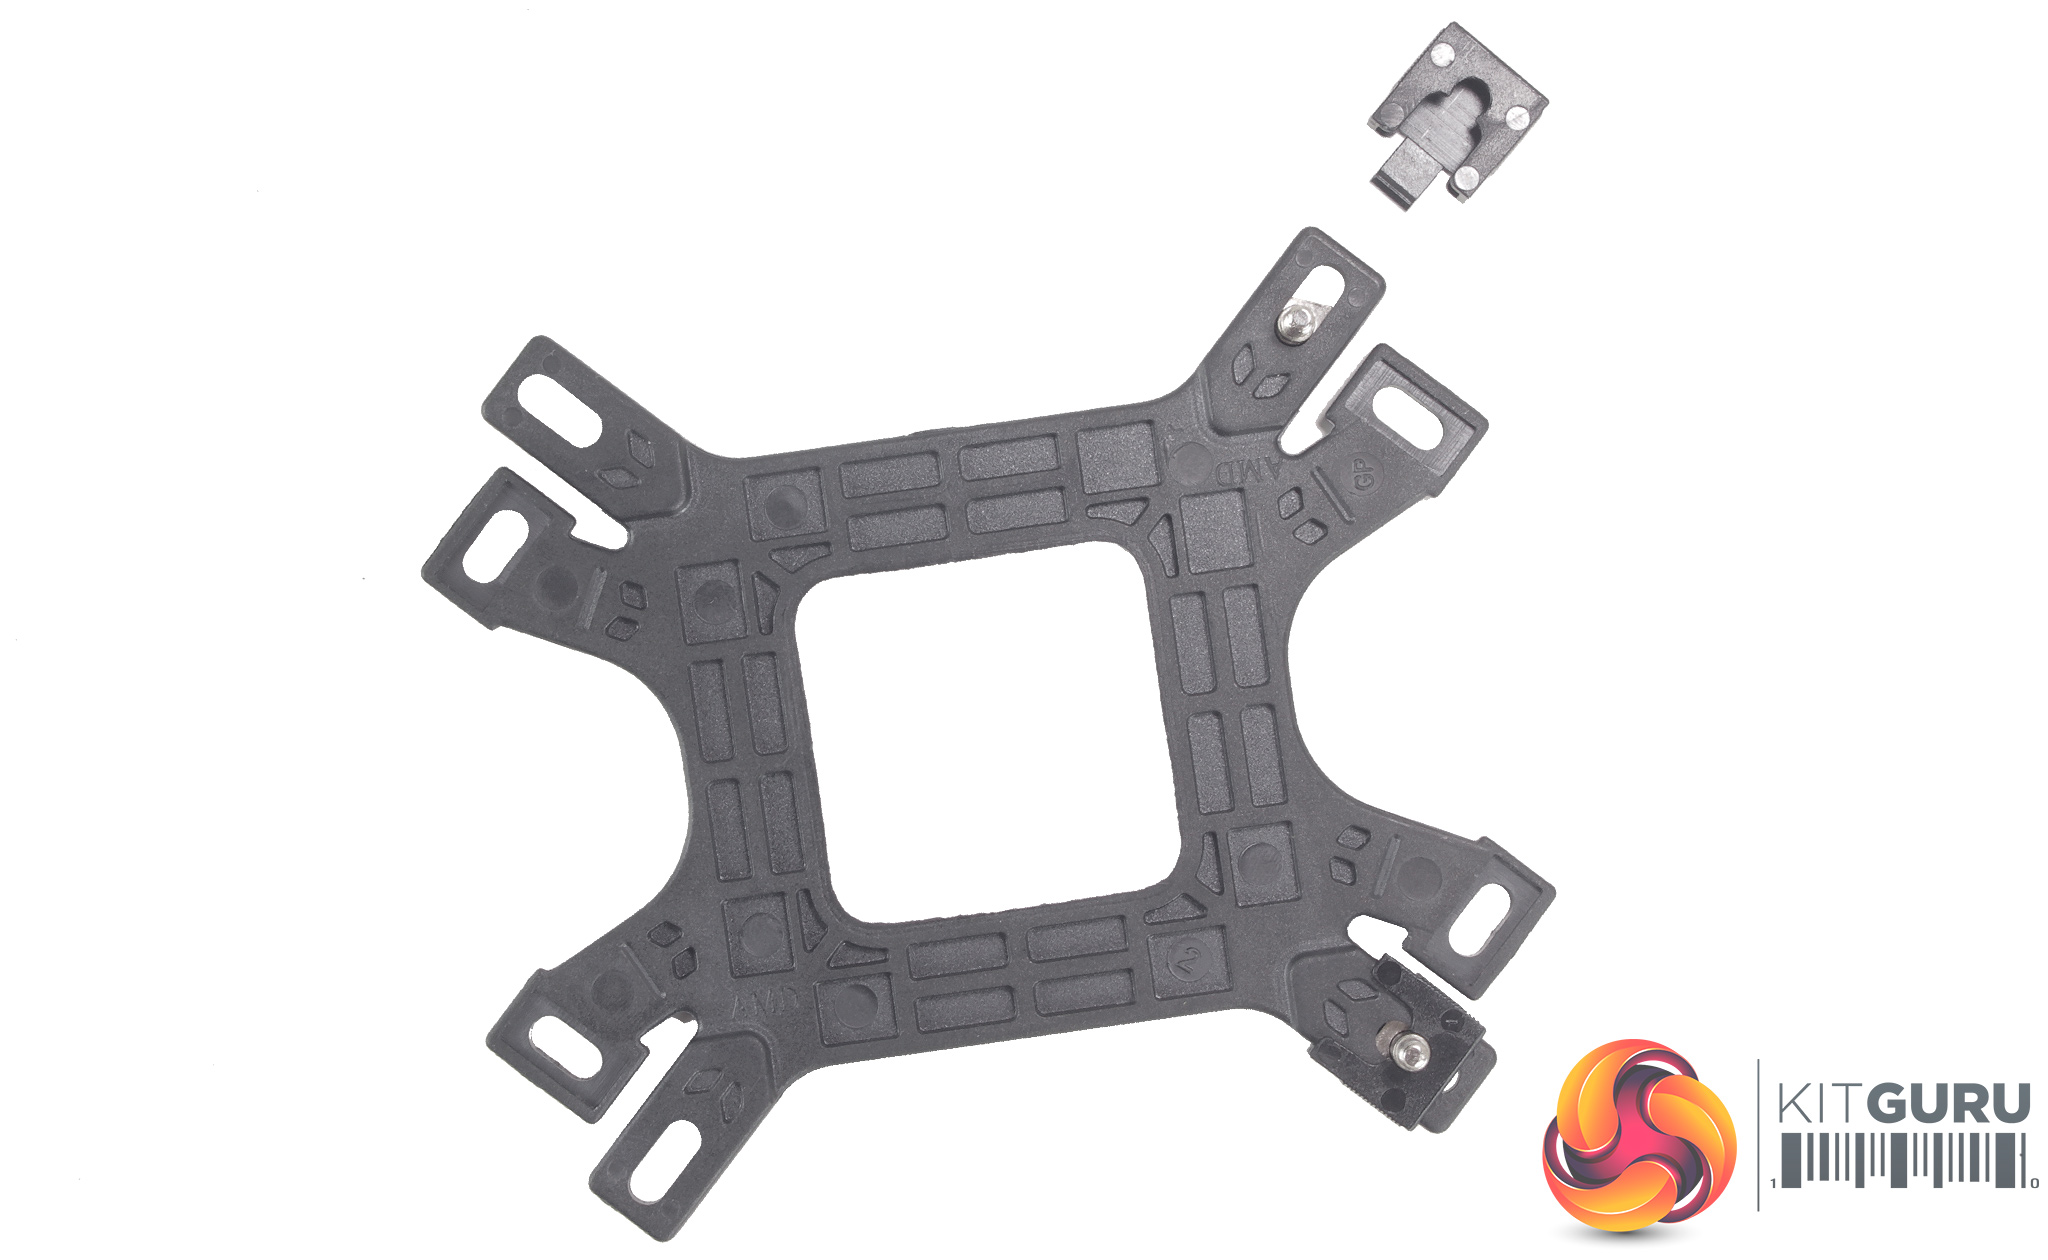
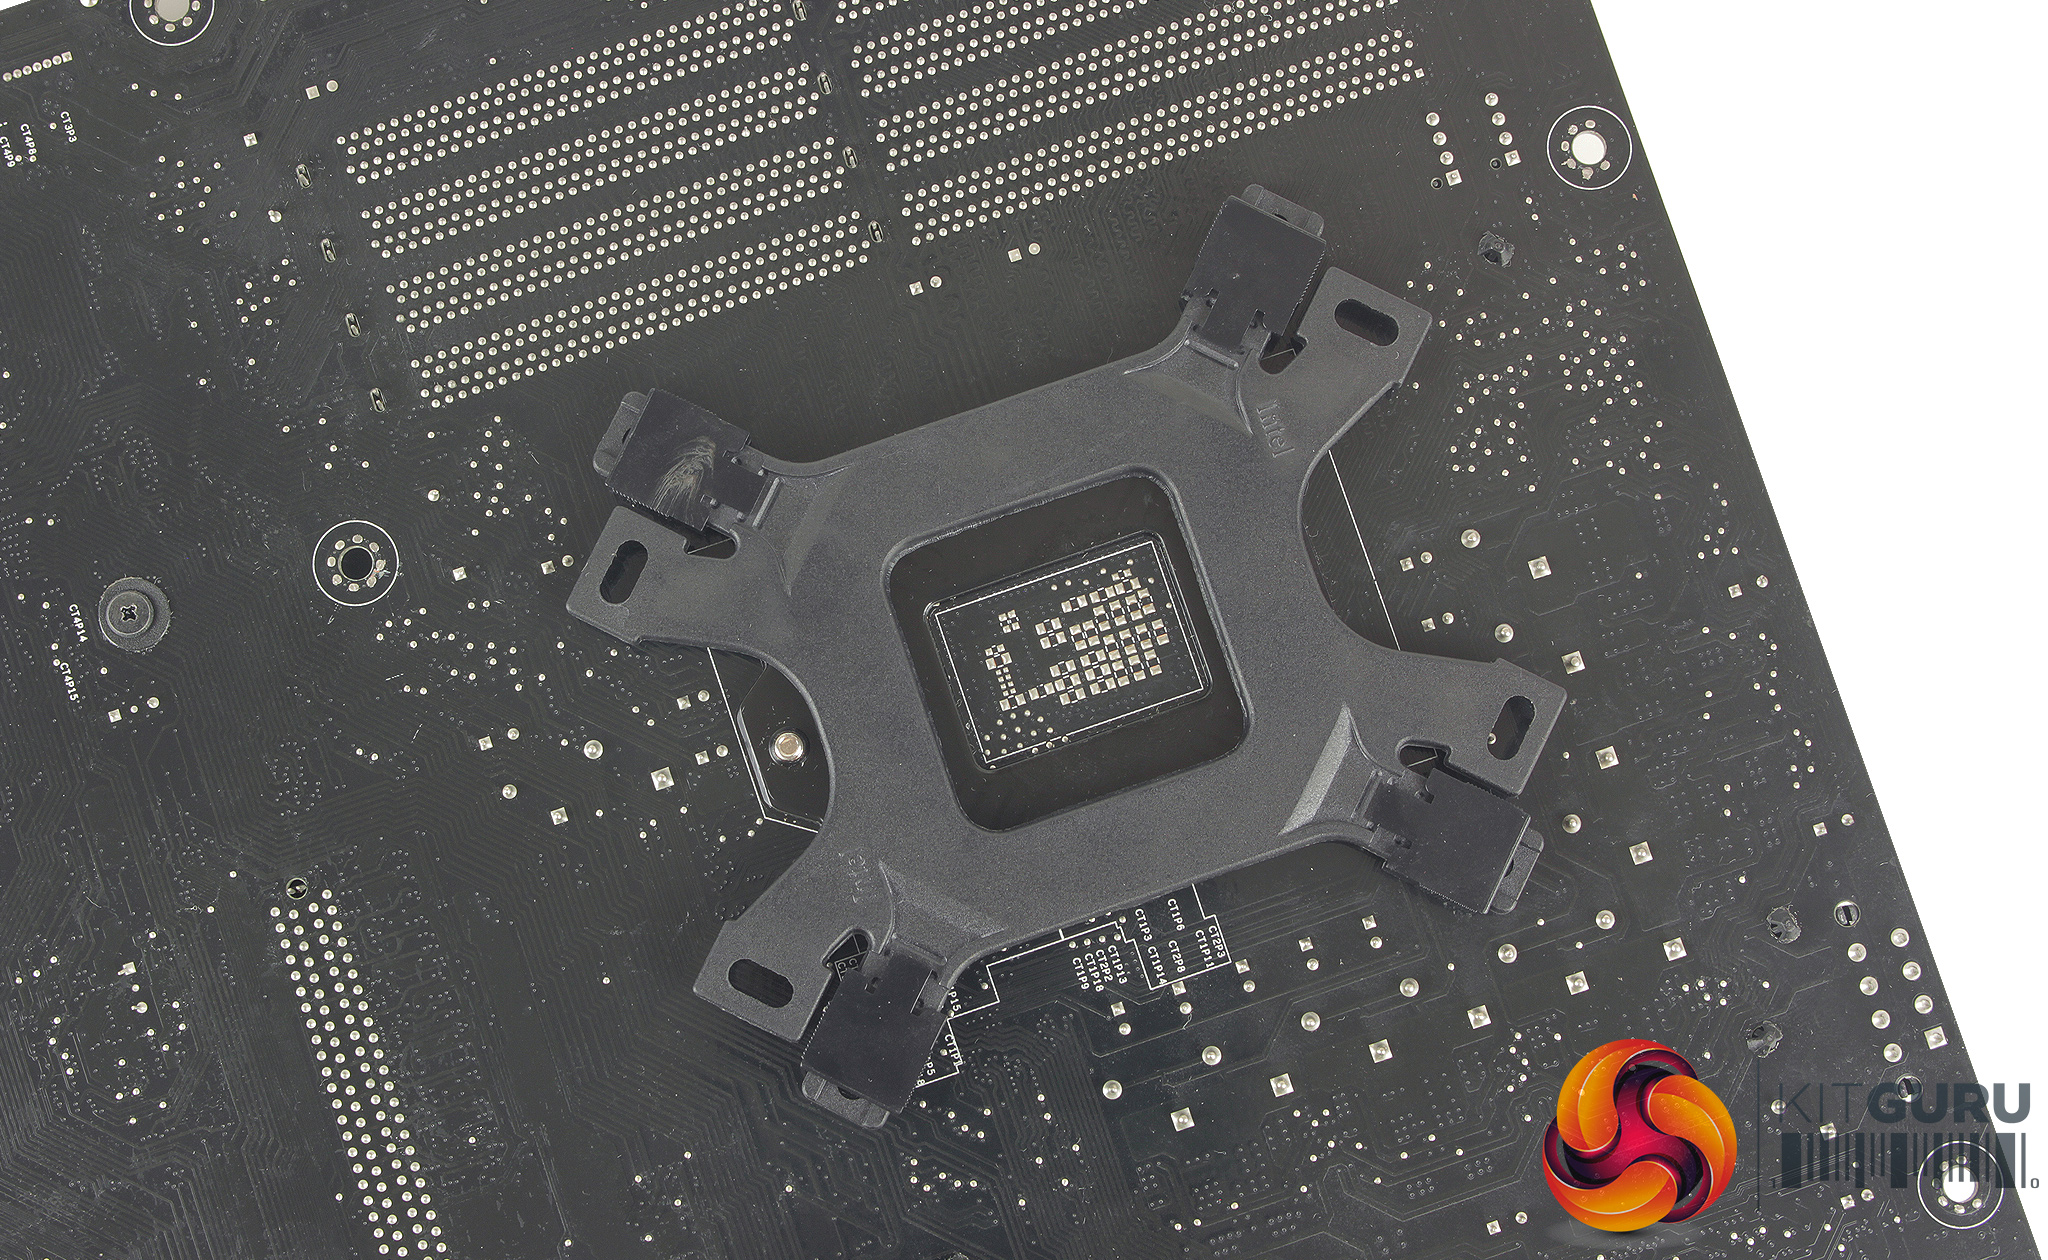
Setting up the backplate requires installing four flat square ended screws and clipping on the plastic screw covers. The backplate can then be placed behind the motherboard so that the four threaded screws pass through the motherboard socket holes.
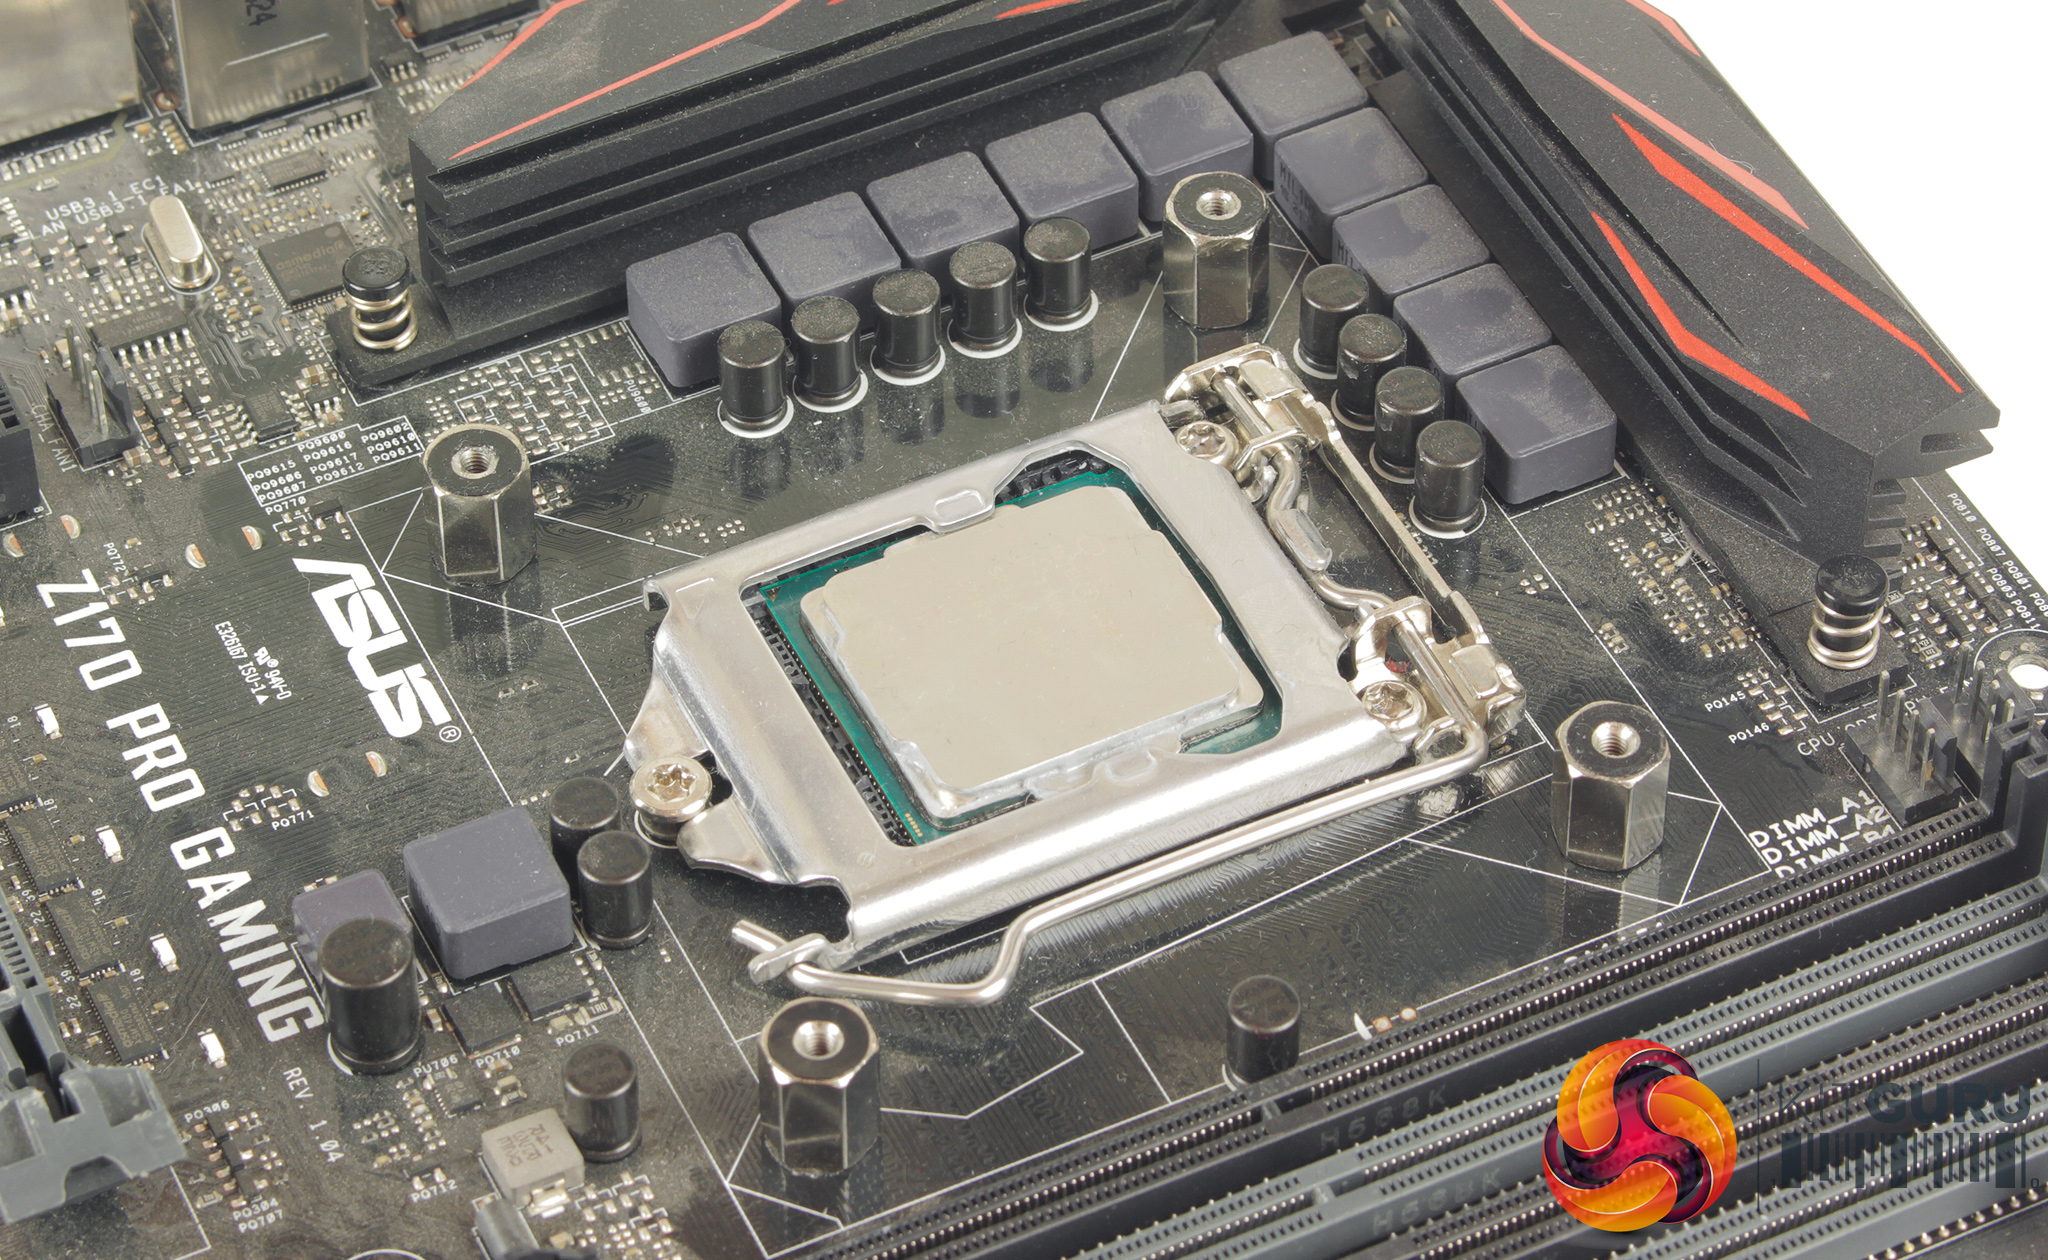
Four hex standoffs can then be threaded onto the backplate. A couple of tools are included in the accessories pack to help with this. Thermal compound is included which can be applied to the CPU heatspreader, before sliding the retention bracket through the gap between the main body of the cooler, and CPU block. There is a small thermal probe cable which needs to be avoided as it does appear a little fragile.
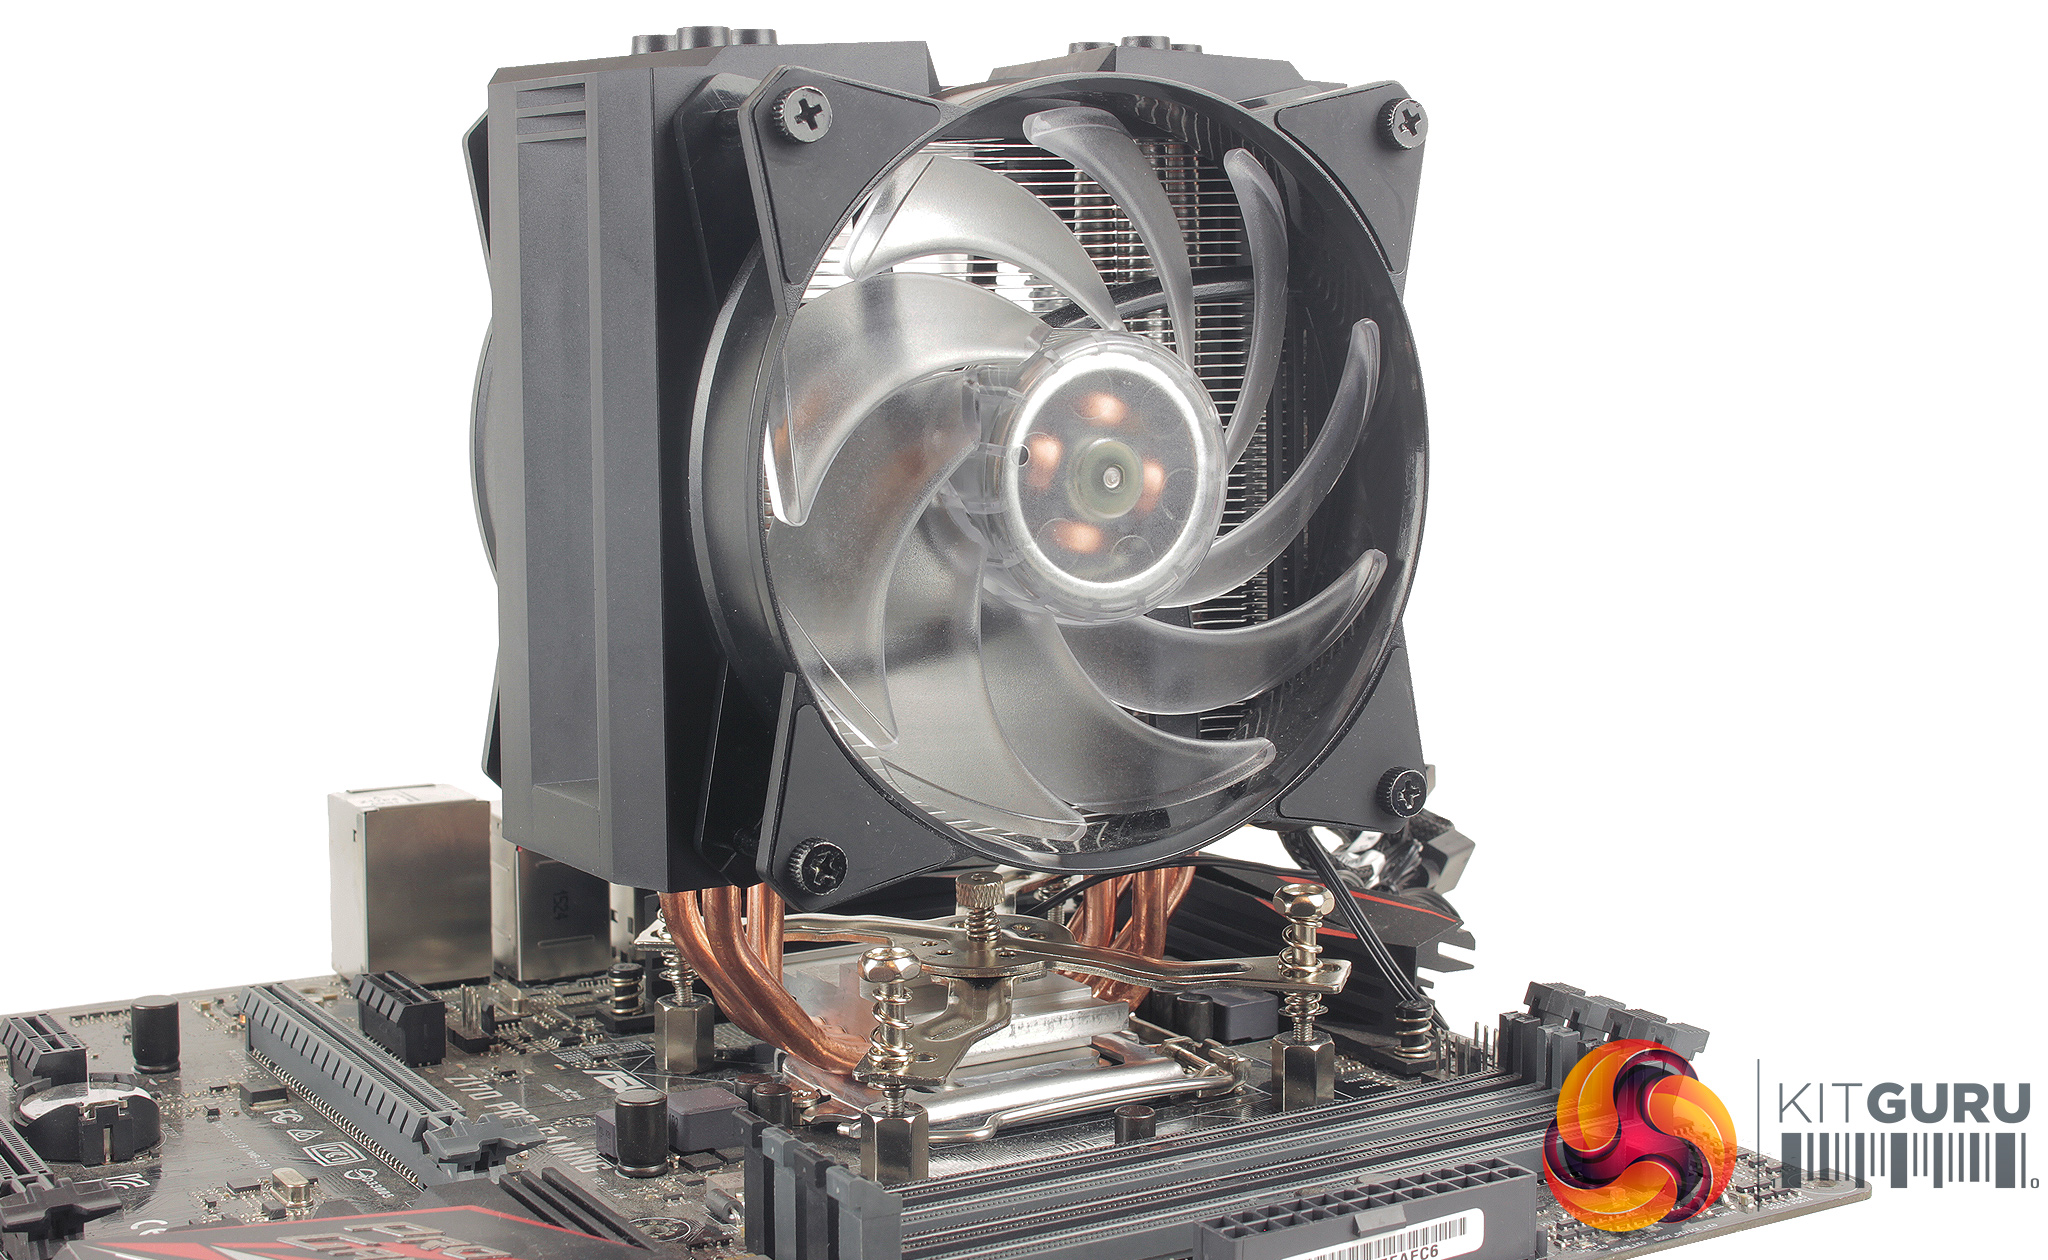
With the cooler installed, there is some cabling required, both connecting the two 4-pin PWM fans up to the splitter adapter, and then to your motherboard's CPU fan header. Connecting the LEDs requires both a temp sensor which can be connected to the first proprietary adapter, and to the controller as well. Then you connect the Addressable RGB connector from the cooler to the controller, and then to your motherboard. The SATA power cable also needs to be plugged in for the controller to receive power.
Installation does require quite a few steps, and is overall a little tricky compared to other brands. The mounting mechanism works well and does allow one or two pieces to function well for a number of different sockets but my experience with mounting coolers does lead me to believe that this could be simplified greatly, more so with good instructions. Installation did take around 20 minutes, and once you have the cooler settled and securely fastened to the motherboard, you do still need to re-install the two fans, mounting them to the cooler shroud. It's a shame the cooler couldn’t have been shipped broken down to aid this process.
To test all CPU coolers, we devised an easily repeatable test with no variables other than the coolers themselves. This ensures that figures from every cooler we test are comparable with each other.
Test rig
At KitGuru we have recently updated our testing setup, and now test temperatures on the Z170 platform. For the CPU we are testing with the Intel Core i7-7700K installed in a ASUS Z170 Pro Gaming motherboard. For RAM we have a single 8GB stick of Geil EVO X RGB for some added bling running at 3200MHz, and storage is handled by a 120GB SanDisk SSD Plus. Powering our bench is a Seasonic Prime Platinum 650W PSU.
The test process
For testing, we run a number of tests including 4 separate temperature readings per cooler. We first measure the idle temperature of the i7-7700K locked in at 4.0GHz before measuring its temperature under load at the same frequency.
For a representation of overclocks, we run the i7- 7700K at 4.5GHz with a 1.275 Vcore applied both at idle and load. The temperatures we present are temperature deltas, where the ambient temperature of the testing environment is deducted from the temperature taken from the CPU for both idle and load. We are aware that a 4.5GHz overclock with a 1.275 Vcore applied is not representative of the best setting possible for the i7-7700k, but this does allow us to simulate performance of coolers whether you are using a less powerful CPU such as an i3 or i5 processor, or a more powerful hotter CPU like our overclocked i7-7700k.
An idle reading comes from leaving Windows on the desktop for 15 minutes. A load reading comes from running Prime95’s (version 26.6) Small FFTs test for 15 minutes – enough time for temperatures to plateau. We use HWInfo64 v5.82 to measure temperatures.
Noise output
We measure noise levels with our sound meter positioned 1 foot away from the test bench. The peak noise level is presented. We have measured the noise floor (i.e. ambient noise levels of the room) to be 34 dBa, and when tested at stock clocks, the vast majority of coolers do not emit noise levels above this figure. Thus, we present one chart with noise levels taken during our overclocked CPU test run.
Temperatures
All temperature charts are sorted with lowest load temperatures at the top.
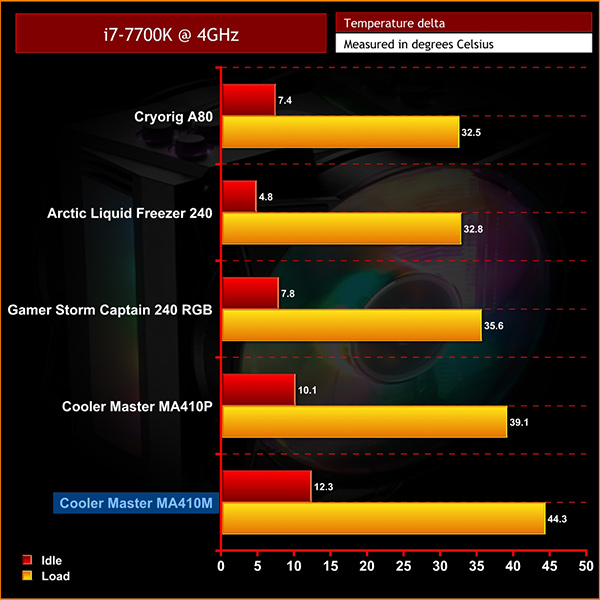
It’s a little disappointing to see that the MA410M performs worse than its cheaper counterpart, the MA410P.
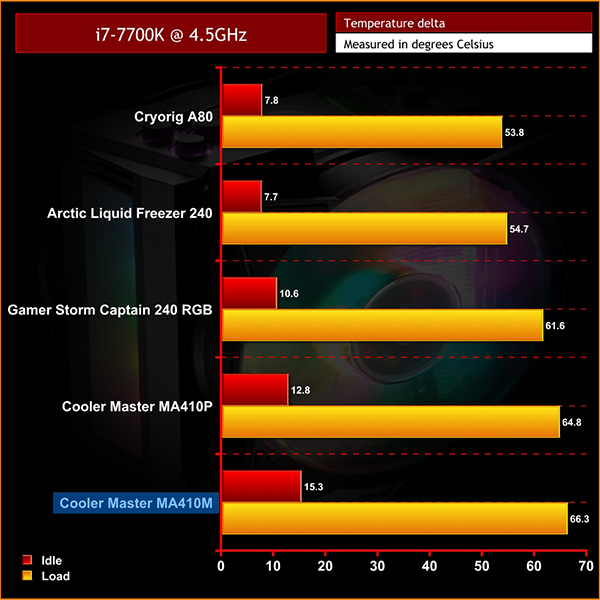
When overclocked, the same trend is displayed – compared to the MA410P performance isn’t great, with temperatures a few degrees higher in both instances.

Noise levels, however, do show the MA410M to be one of the quietest coolers we have tested on the Z170 platform which is positive. This suggests that the fans are running at slower speeds which may be affecting heat dissipation, but providing lower audible noise. When looking at the fan specification for both the MA410M and MA410P it does appear that the single fan provided with the MA410P offers higher airflow and increased static pressure, with the fan operating at a higher RPM as well, compared to both fans included with the MA410M.
Overall, it’s hard to say whether the MA410M is the best cooler for your new or existing build. Performance is fine, just not headline-making, and the benefits of lower audible noise can’t be overlooked.
Performance in our testing shows it is comparable to the MA410P, but is typically a couple of degrees warmer – which could be the equivalent to purchasing more expensive thermal compound.
The overall look and aesthetic of the cooler, however, is great. The passing of colour over the fans and body of the cooler is seamless and looks appealing. Although the controller is limited in terms of functionality, the potential for setting up more complex colour combinations or effects is available through software if you have access to an Addressable RGB header on your motherboard.

This does highlight however, that although not specifically tuned to performance, the MA410M is aimed at a more aesthetic conscious audience. If you are looking to avoid multiple points of failure with an AIO liquid cooler, and would prefer your air cooler to match your system's RGB aesthetic, then the MA410M is a really good option.
If you are chasing the lowest temperature possible, this cooler is likely not for you and at £59.99 there are a number of different options which will suit the bill.
![]()
The MA410M is currently available on pre-order from Overclockers UK for £59.99 inc. VAT HERE.
Pros
- Looks good, and Addressable RGB LEDs have you set for the future.
- Quiet in operation compared to other air coolers.
- Compatible with non-addressable RGB header motherboards.
Cons
- Doesn't perform as well as a single fan cooler.
- The mounting mechanism could definitely be improved.
- It's hard to justify the £59.99 price point from a performance perspective.
KitGuru says: If you want a cooler to match your Addressable RGB system, the Cooler Master MasterAir MA410M is certainly a viable option. Its grip on temperatures is adequate, however the main benefits lie with its great looking shroud, and heavily RGB LED’d build.