When it comes to coolers, Raijintek has always done things a little differently and the Orcus 240 is no exception. Compared to other AIO liquid coolers available the Orcus 240's CPU block features a small porthole window through which you can see a liquid flow indicator, certainly a useful inclusion to ensure everything is running smoothly, and the pump, rather than being installed in either the block, or the radiator is in line, running midway down the tubing.
The Orcus 240 is also maintainable, with an inlet for topping up the coolant which really sets it apart from the competition but following similar current trends still comes complete with RGB fans, and RGB LEDs built into the CPU block. Priced at £89.99 you do seem to get quite a bit of bang for your buck, but it will be really interesting to see if these unique features actually aid in performance or functionality, or if there’s a reason Raijintek is the only manufacturer implementing them.

Specification:
- Model: ORCUS 240
- Radiator Material: Aluminum
- Radiator Dimensions: 272 × 120 x 27mm
- Tubing Length: 350mm
- Fan Dimensions: 120 x 120 x 25 mm
- Fan Speed: 800 – 18,00 RPM (PWM)
- Fan Air Flow: 42.17 CFM (Max)
- Fan Noise Level: 23 dBA
- Fan Connector: 4-Pin (PWM), 4-Pin (RGB)
- Pump Connector: 3-Pin Pump cable
- Pump Dimension: 69.5 x 40 x 33 mm
- Accessories: 8 port RGB LED Hub, Remote Controller, Connecting to M/B RGB Cable
- Intel socket compatibility: Intel LGA 775, 115x, 1366, 201x, 2066 CPU
- AMD socket compatibility: AMD AM4, AM3+, AM3, AM2+, AM2, FM2+, FM2
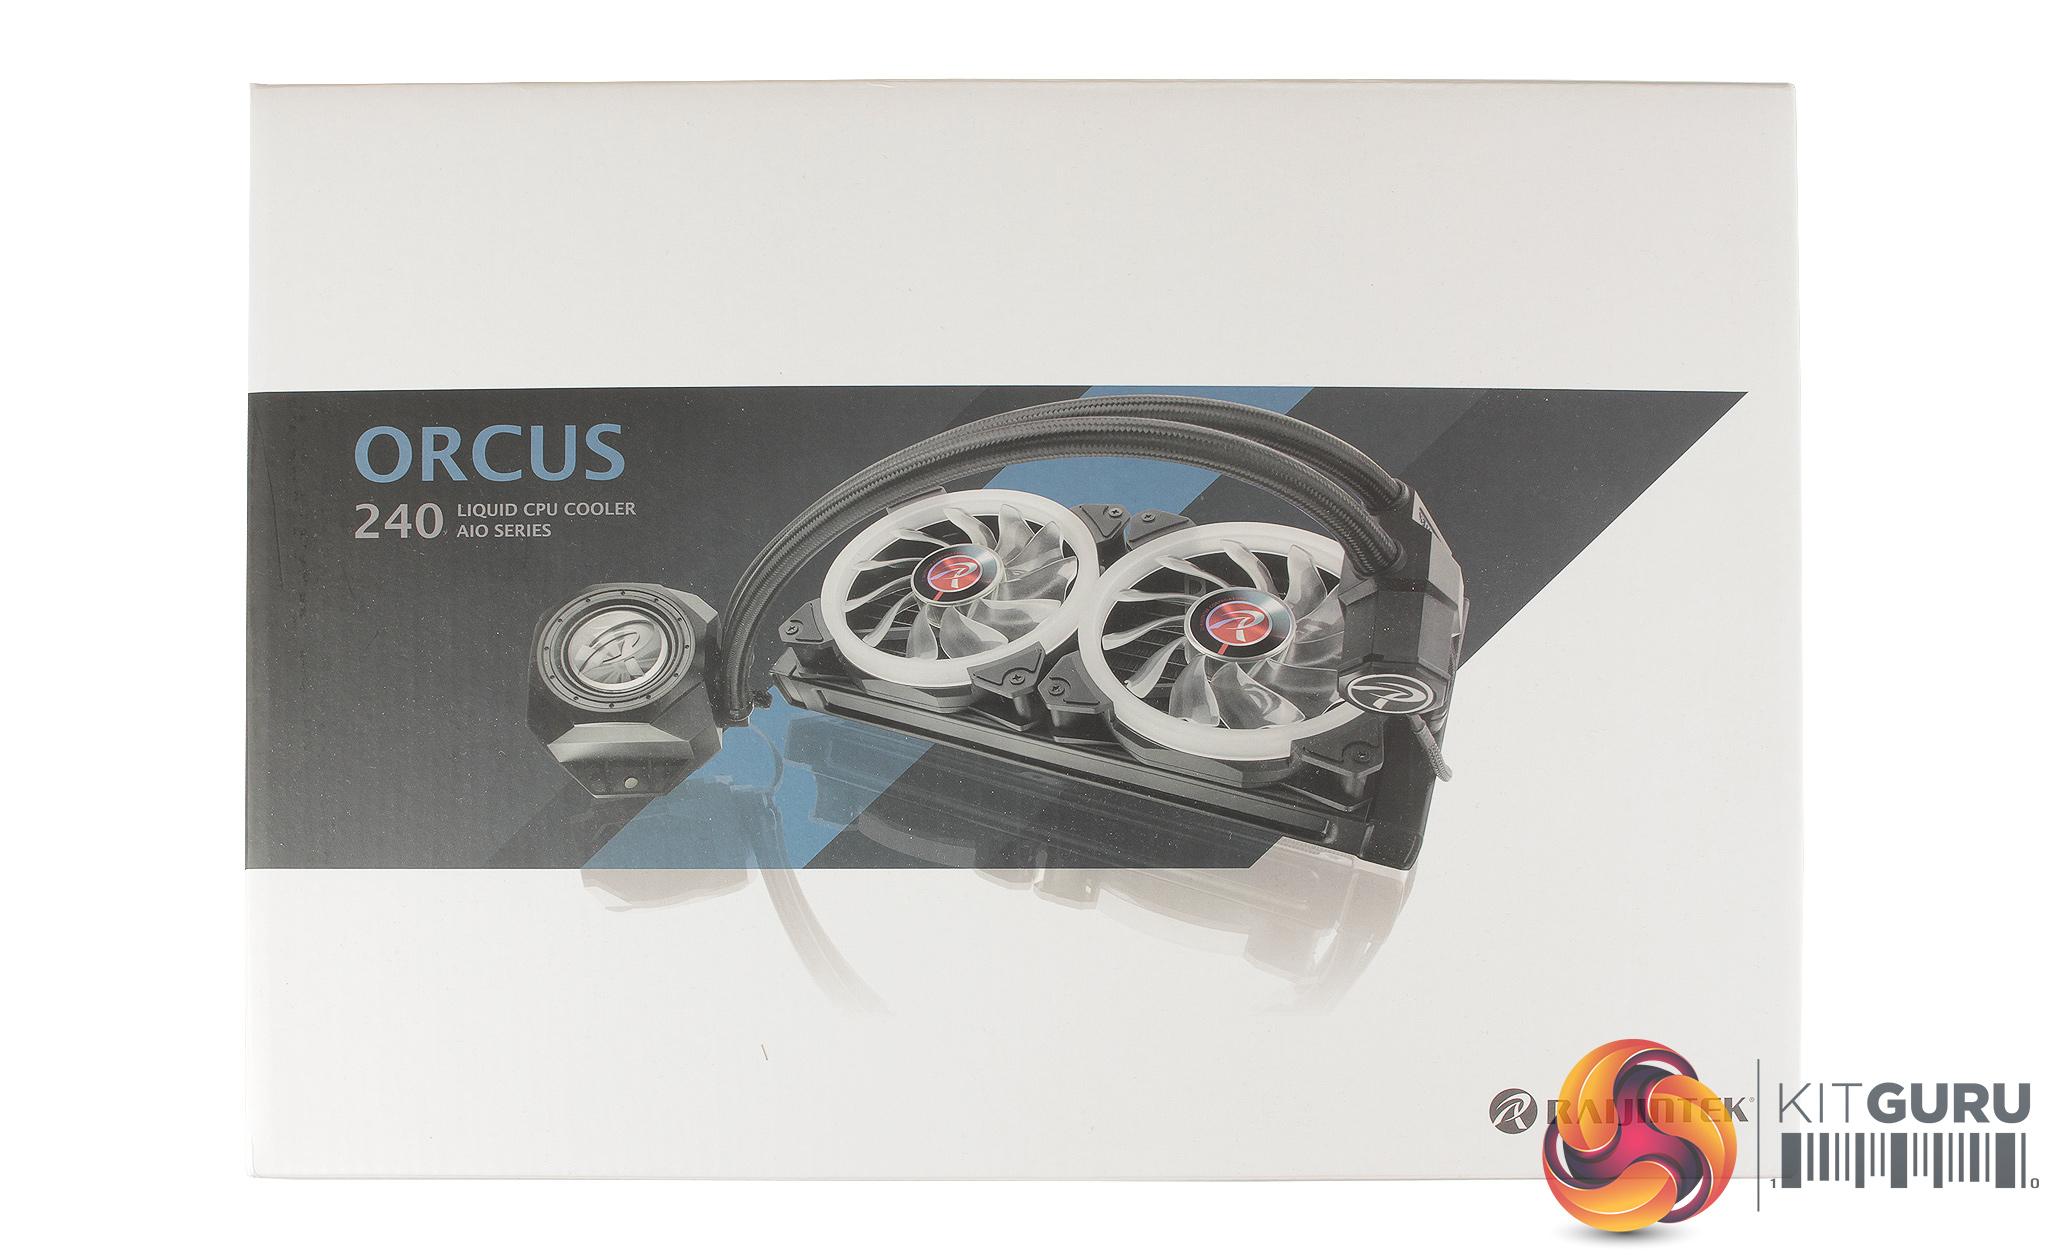
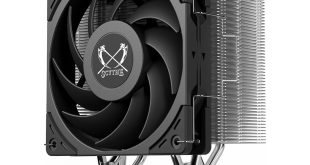
Taking a quick look at the packaging, the Raijintek Orcus 240 is shown in full, although with a slightly smaller image which doesn’t really advertise the RGB lighting and on the rear, a full list of the coolers specification and highlights some of the Orcus 240's core features like the RGB CPU block with flow indicator, external pump and RGB fans.
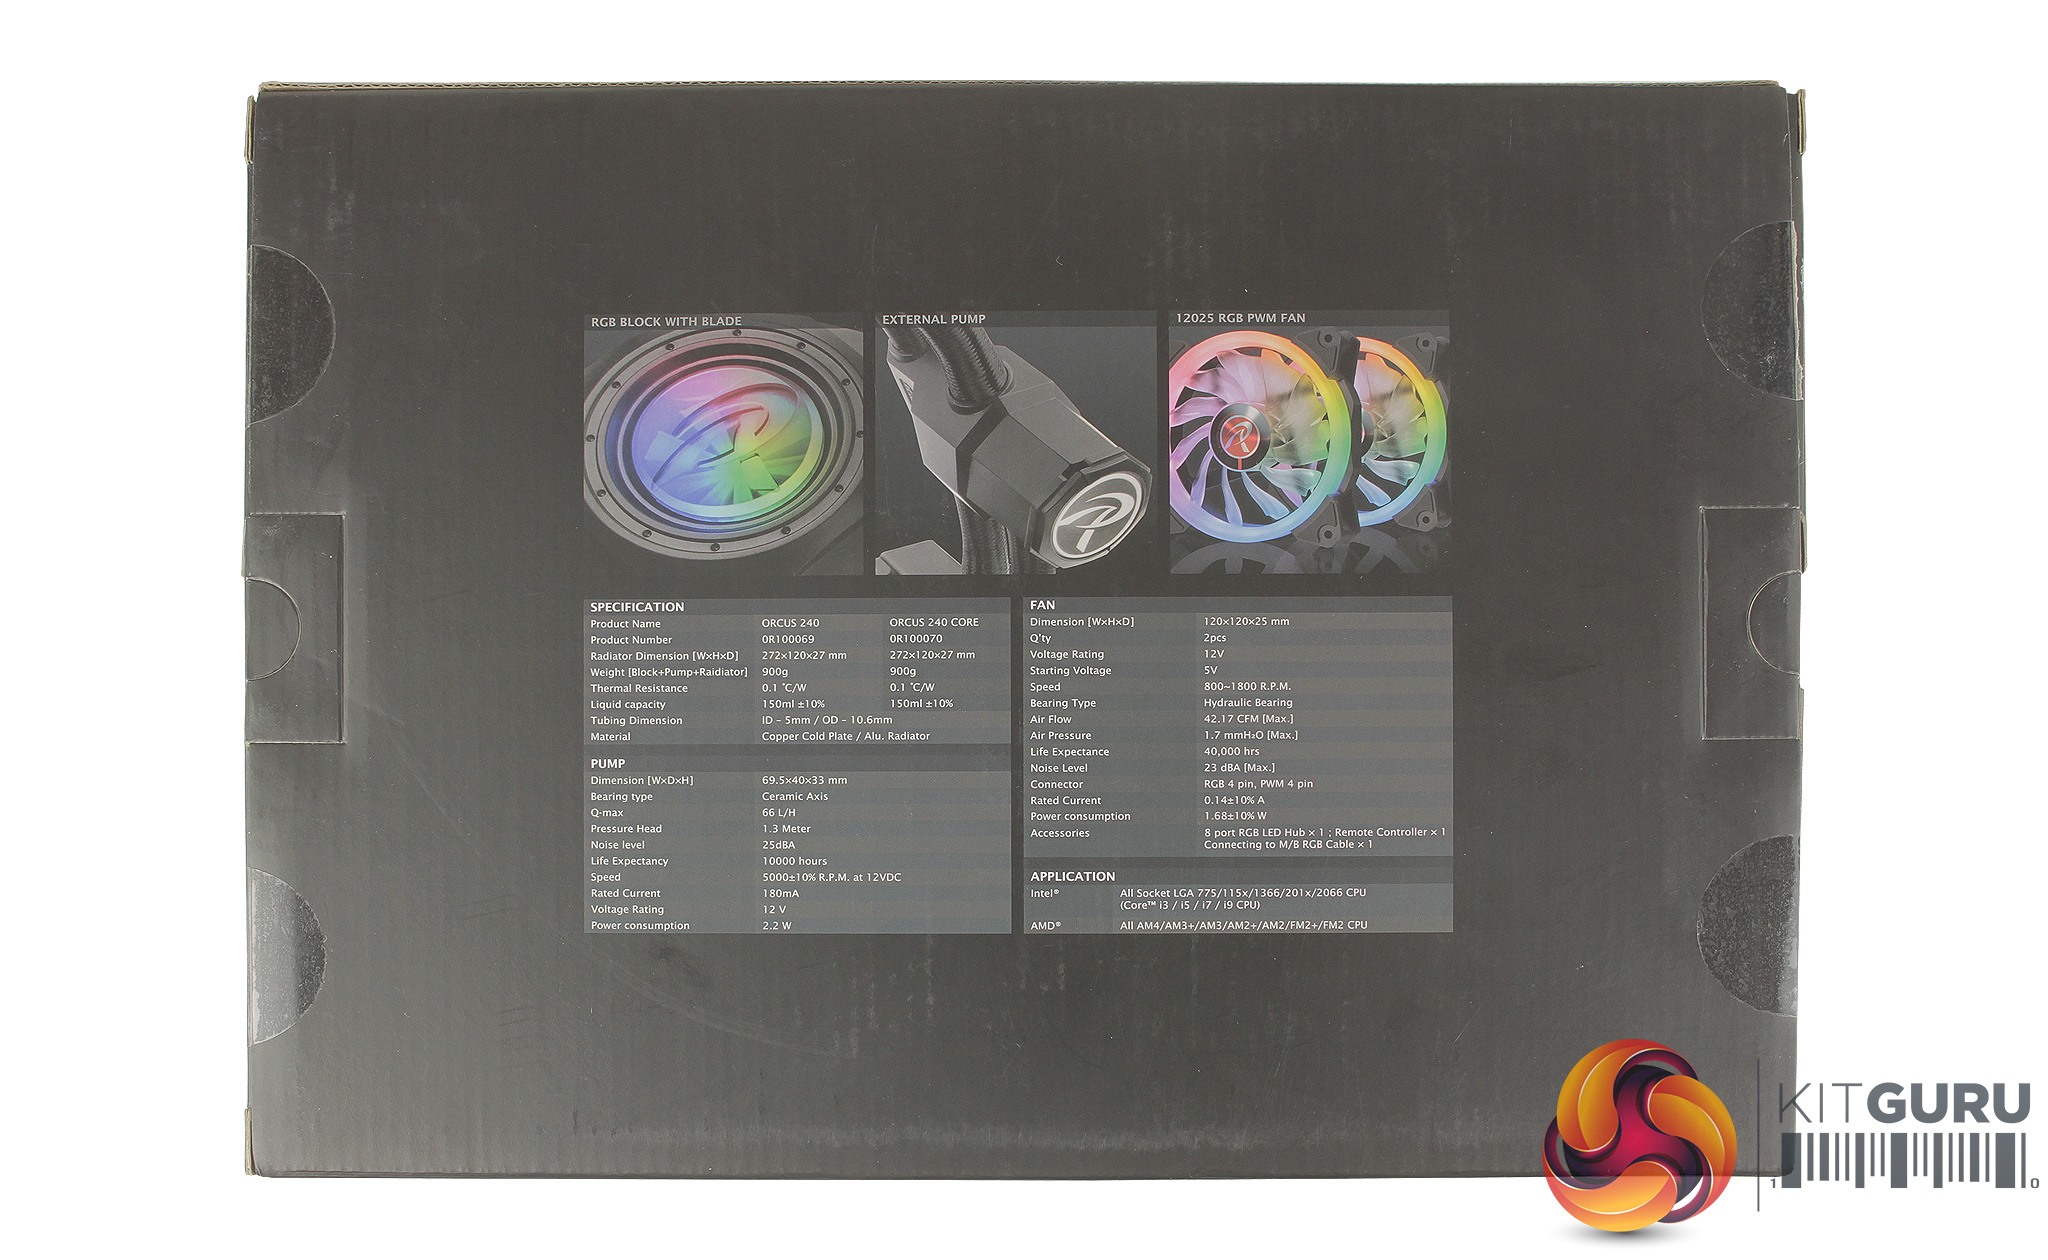
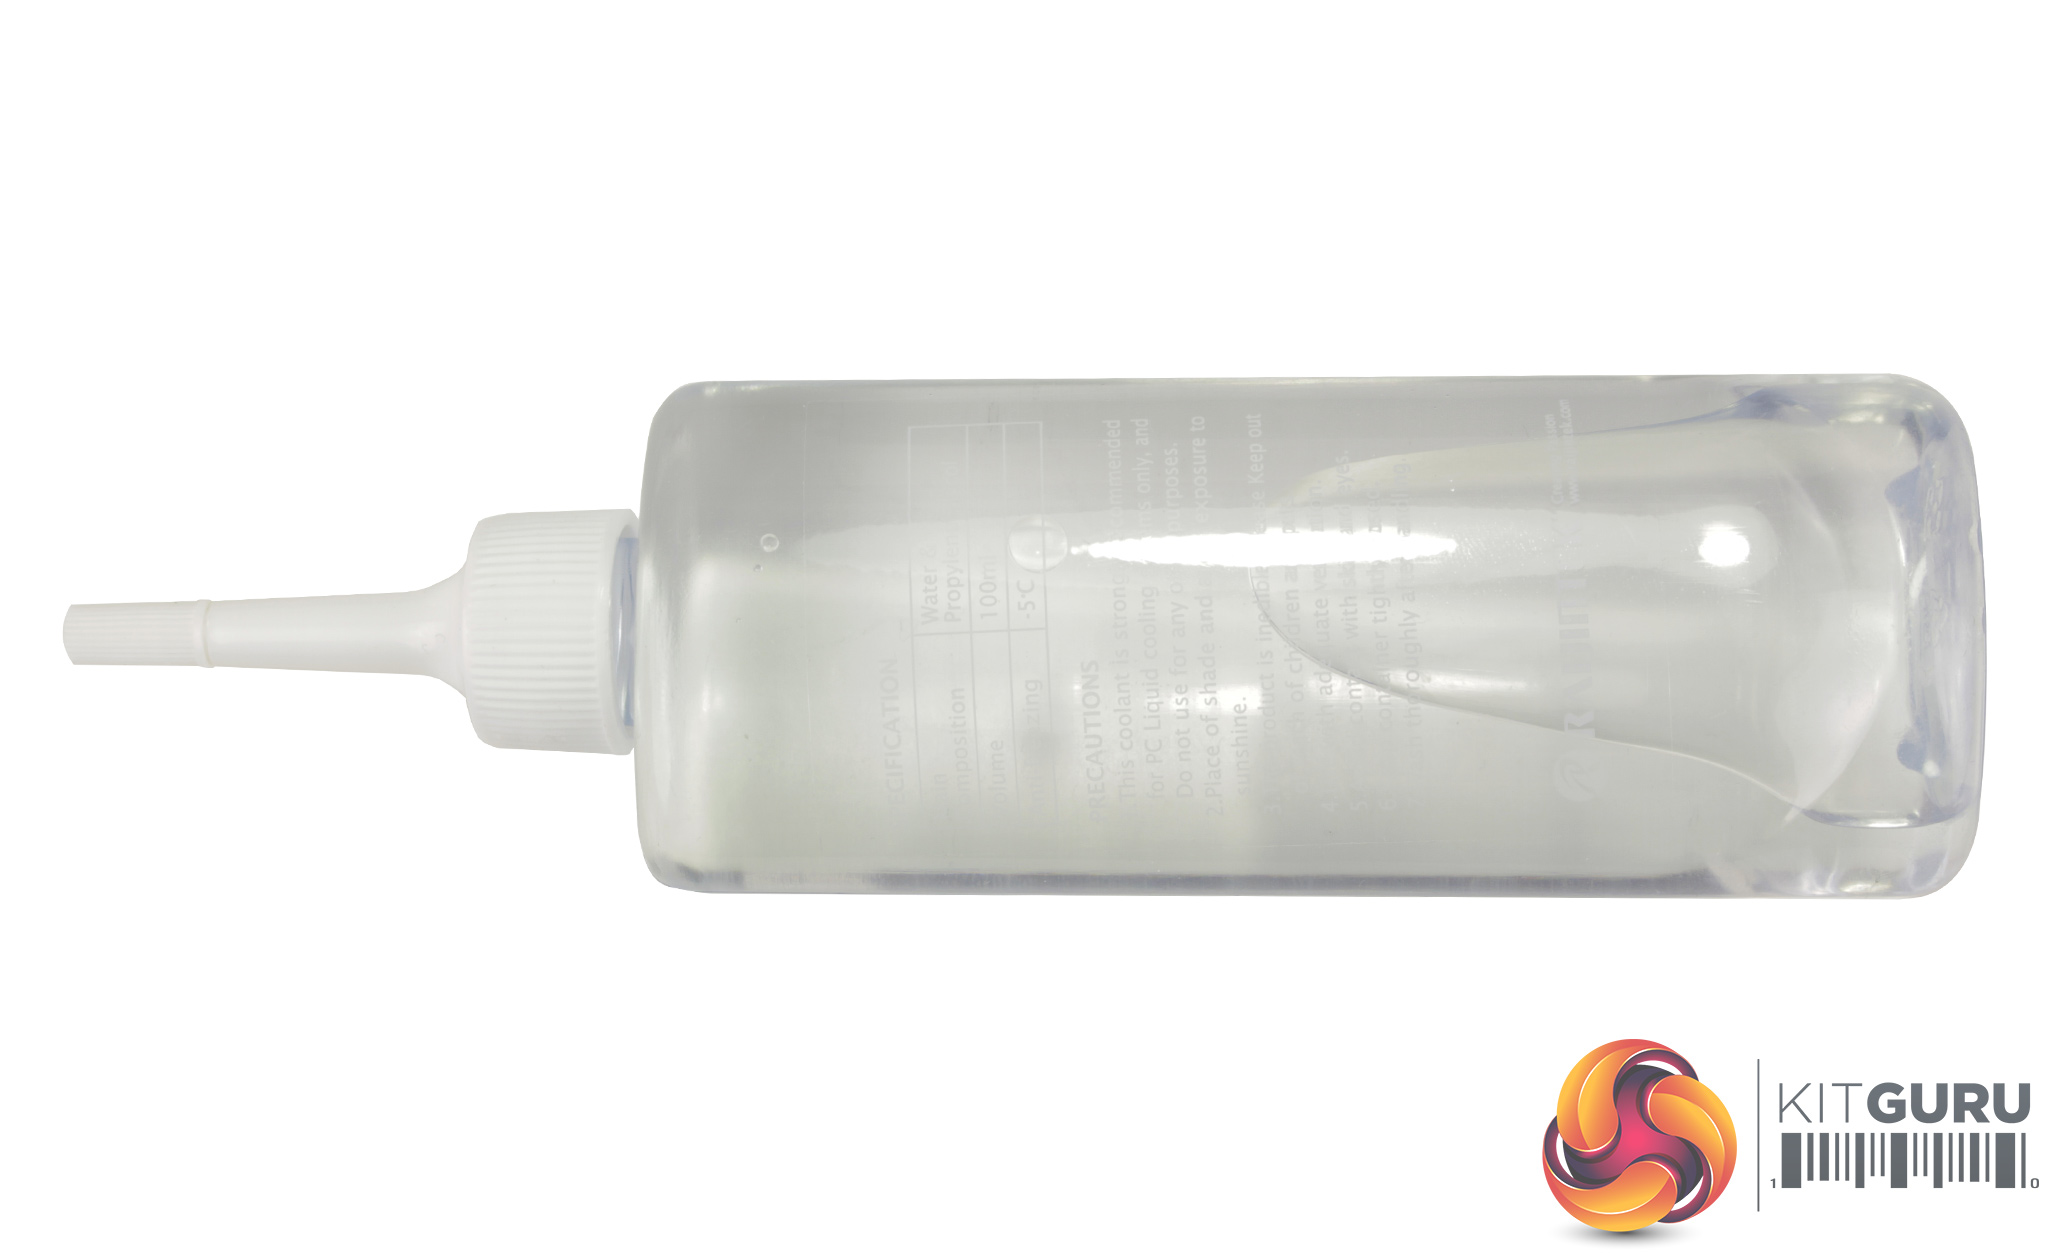
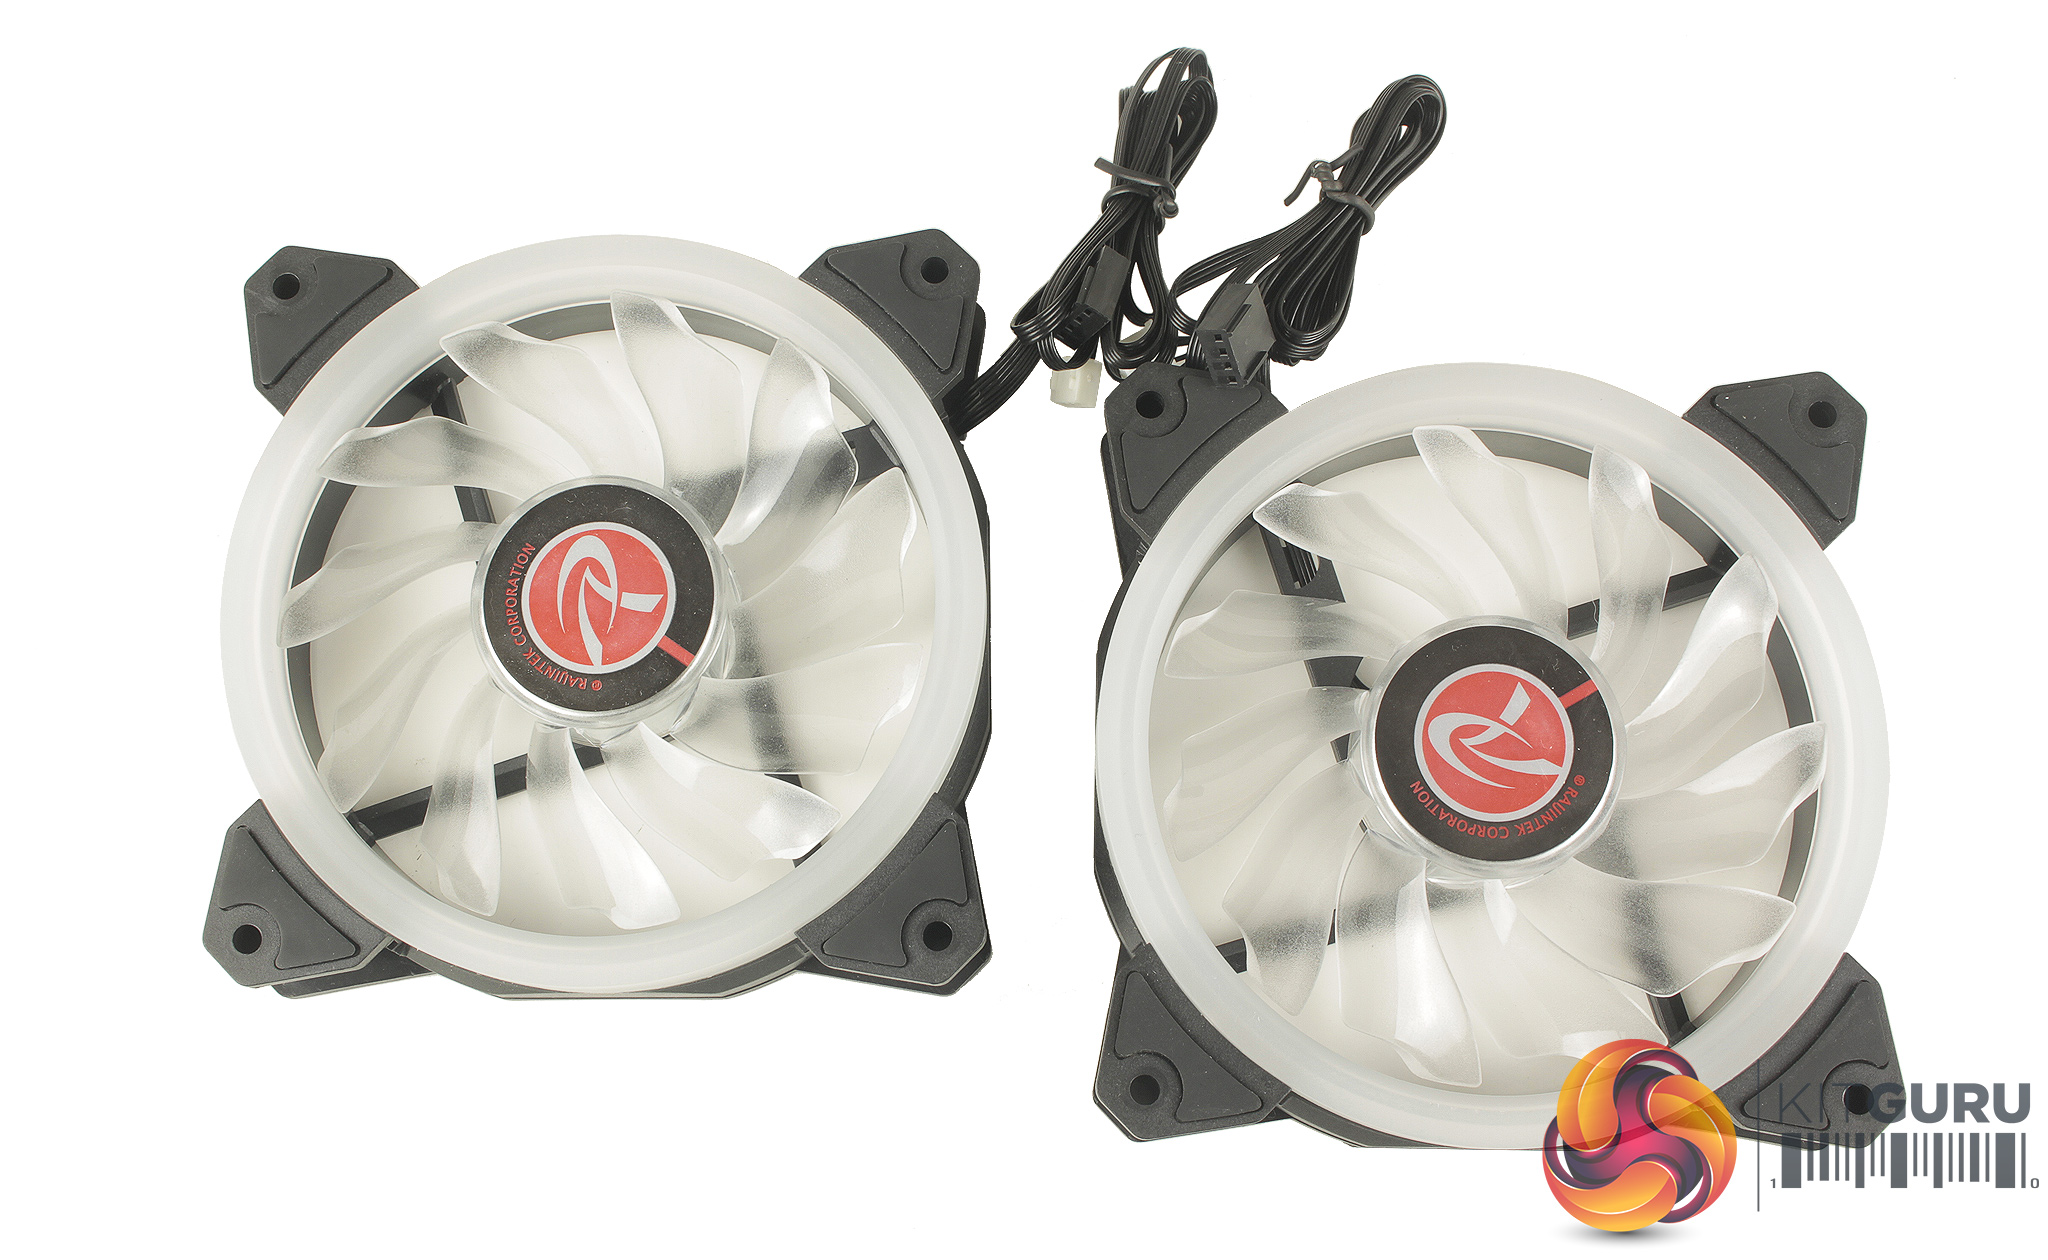
In the box, we get mounting hardware for most current Intel and AMD mounts, instructions, an RGB controller box, RGB remote, and two RGB 120mm 4 pin PWM fans. The included fans feature 11 blades a piece, and anti-vibration rubber pads on each mounting point, which should help cut down vibration. A 100ml bottle of coolant is also included which can be used to top up the cooler, ensuring there are no air bubbles.
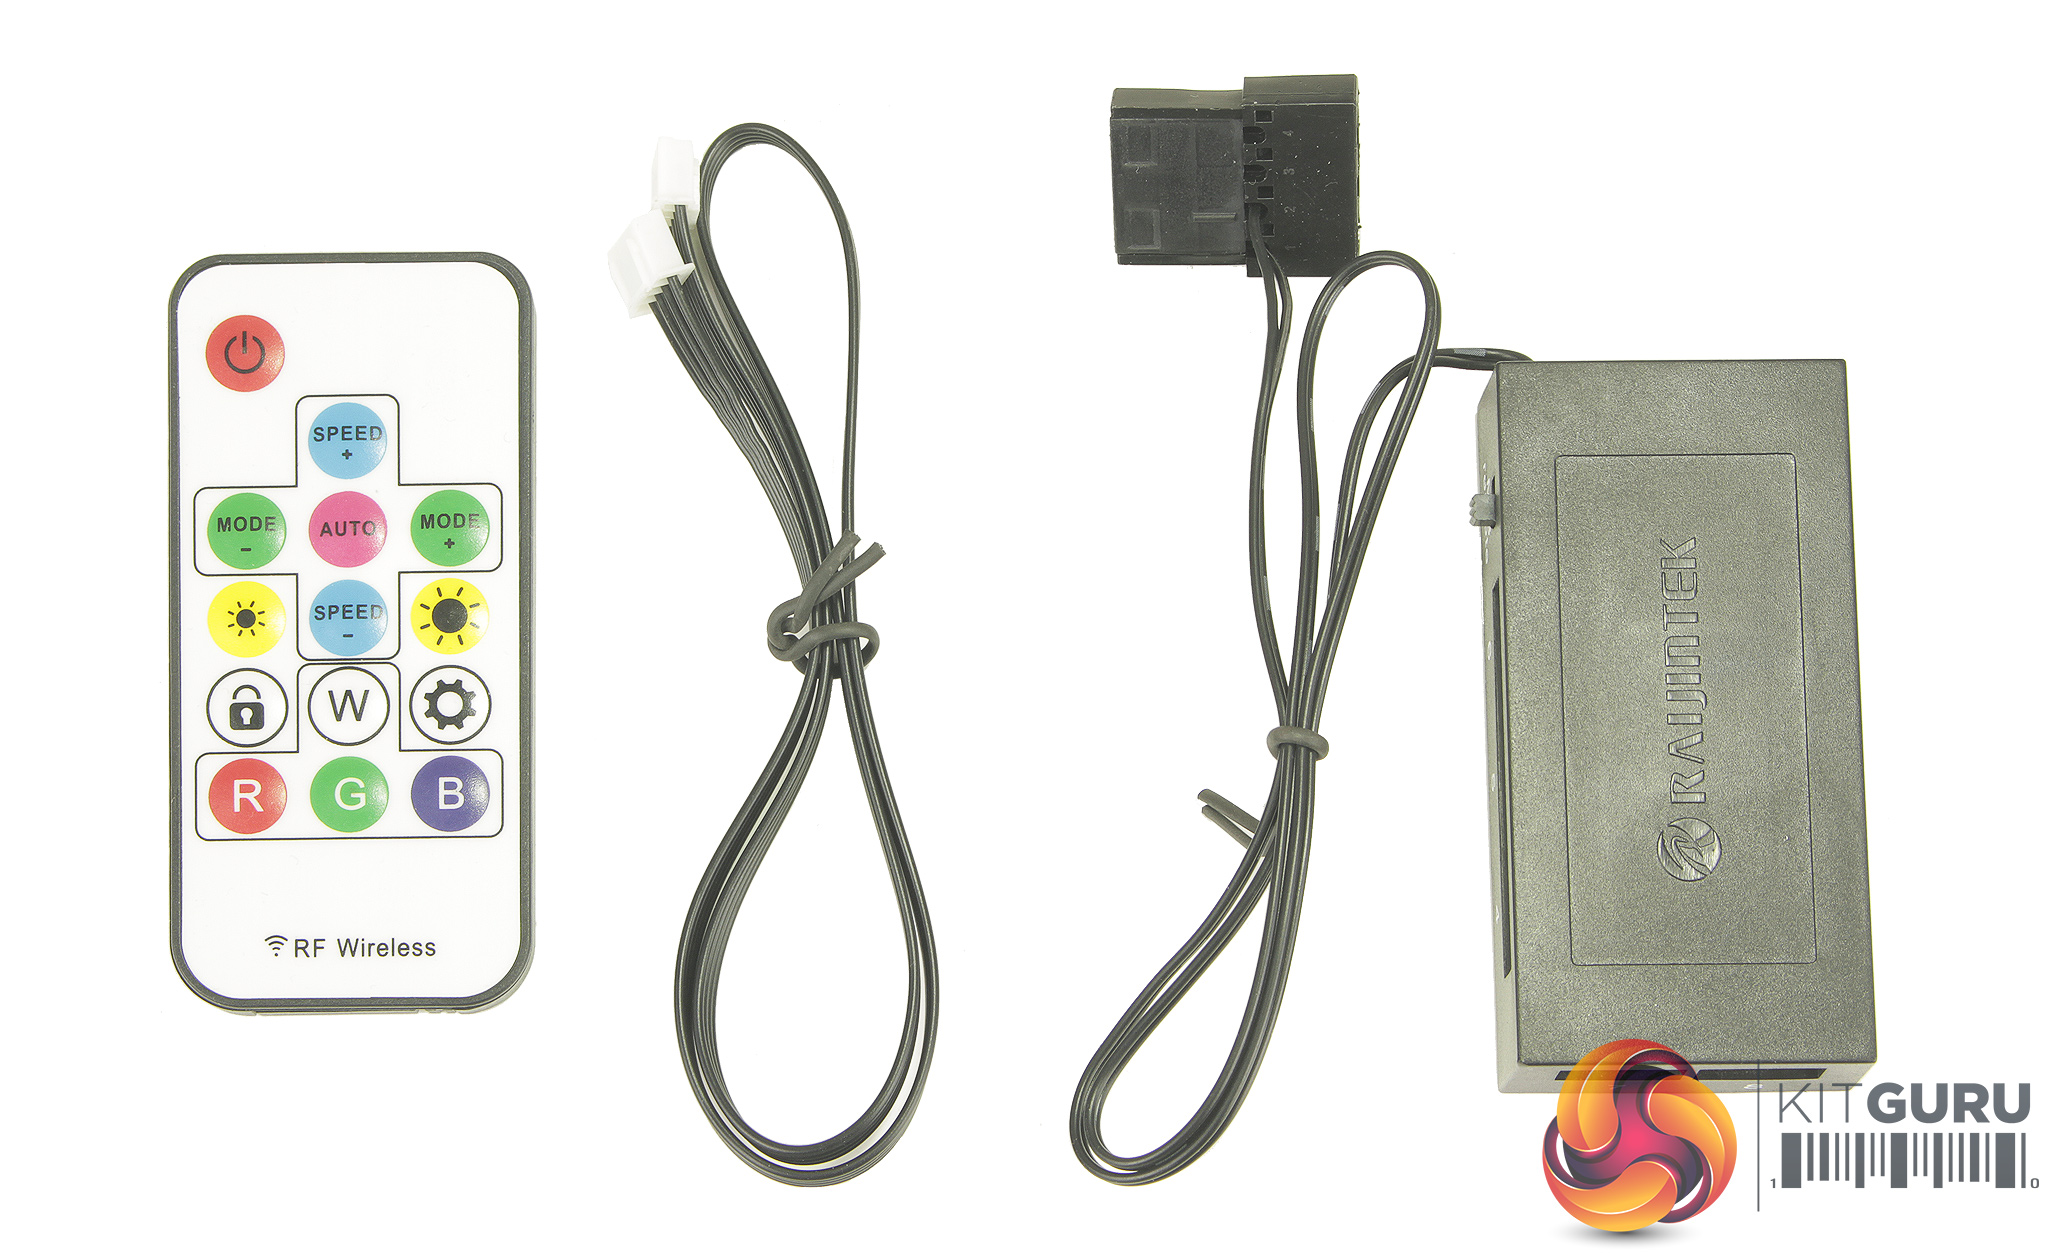
The accessories for the RGB lighting include the remote, controller box and 4 pin cable which allows the lighting to run through software, as it connects to an internal RGB header. On the side of the controller box there is a small switch which can be flipped between a motherboard RGB header, and the included remote. The RGB controller box also features connections for up to 8 RGB fan so it's nice to see there is some flexibility for expansion.
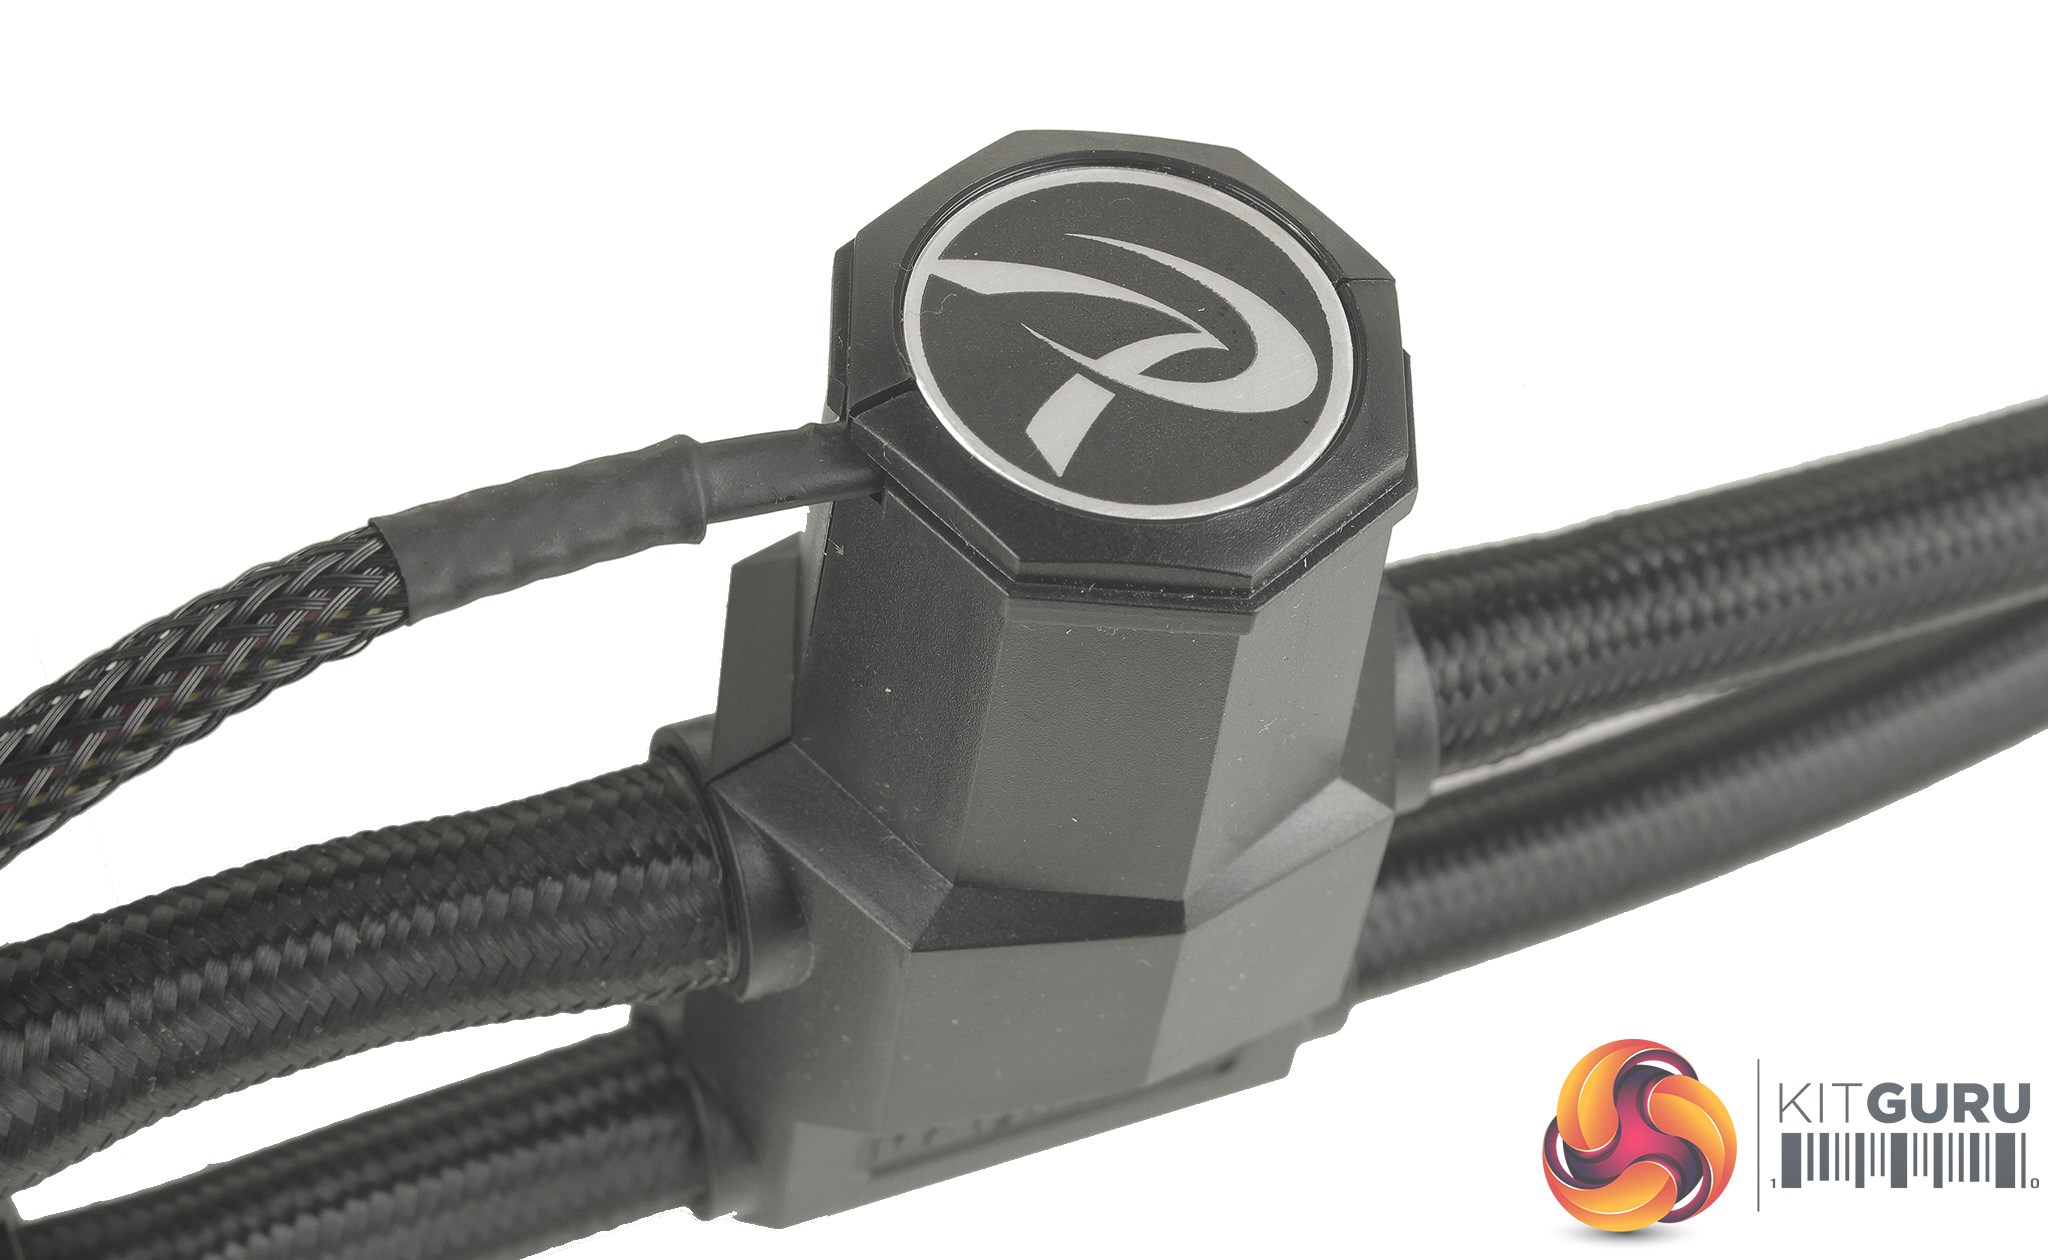
The pump though is a pretty small package, attached closer to the radiator than the block. Its only attached to just one of the tubing lines, so there is still a bit of movement which helps with tubing flexibility, allowing the tubing to slide through the loose side. The pump is controlled by a standard 3 pin connection, and the cable is also braided.
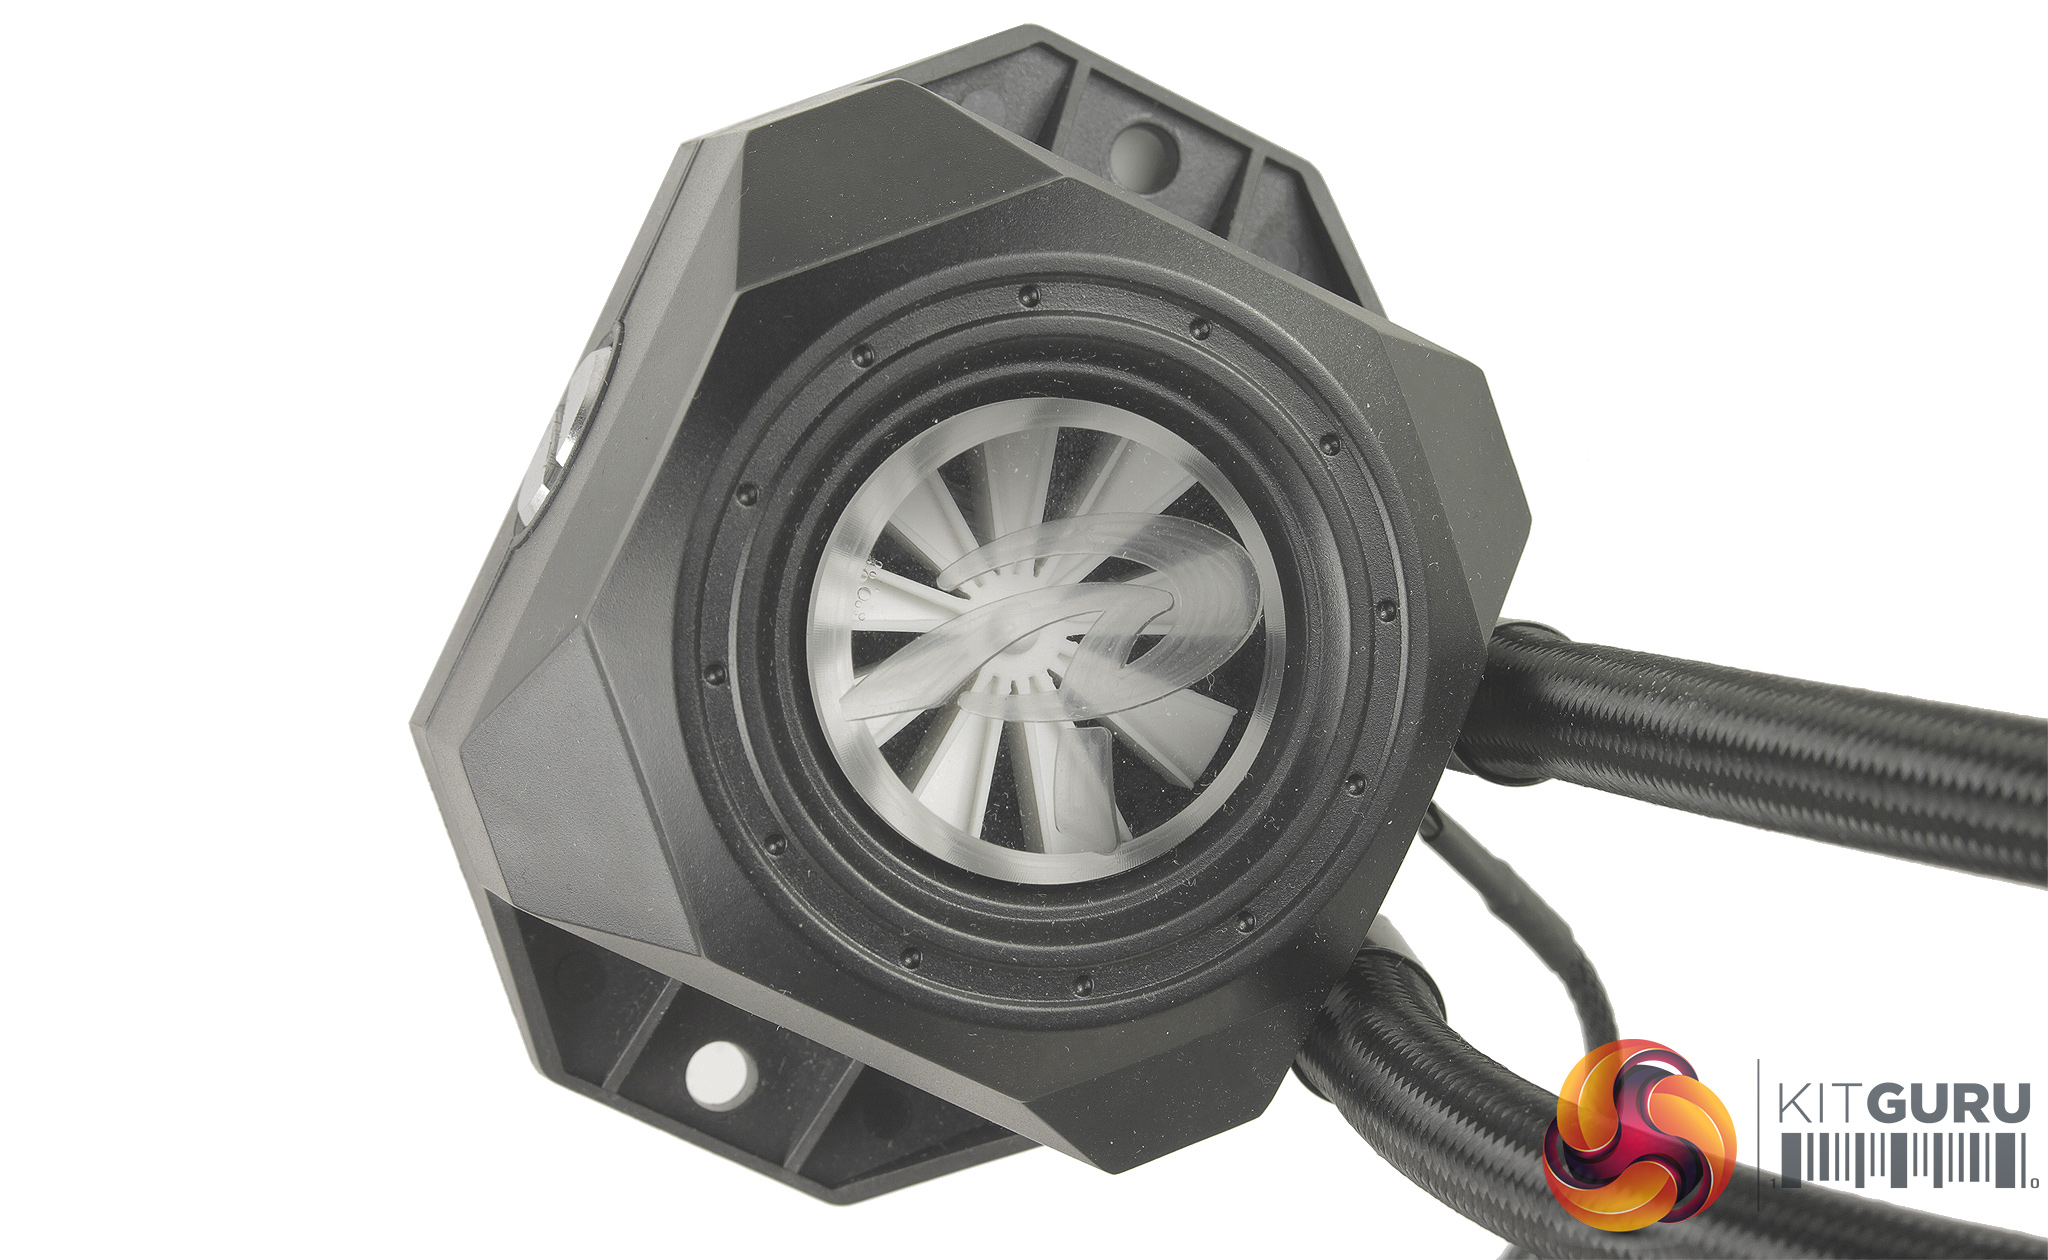
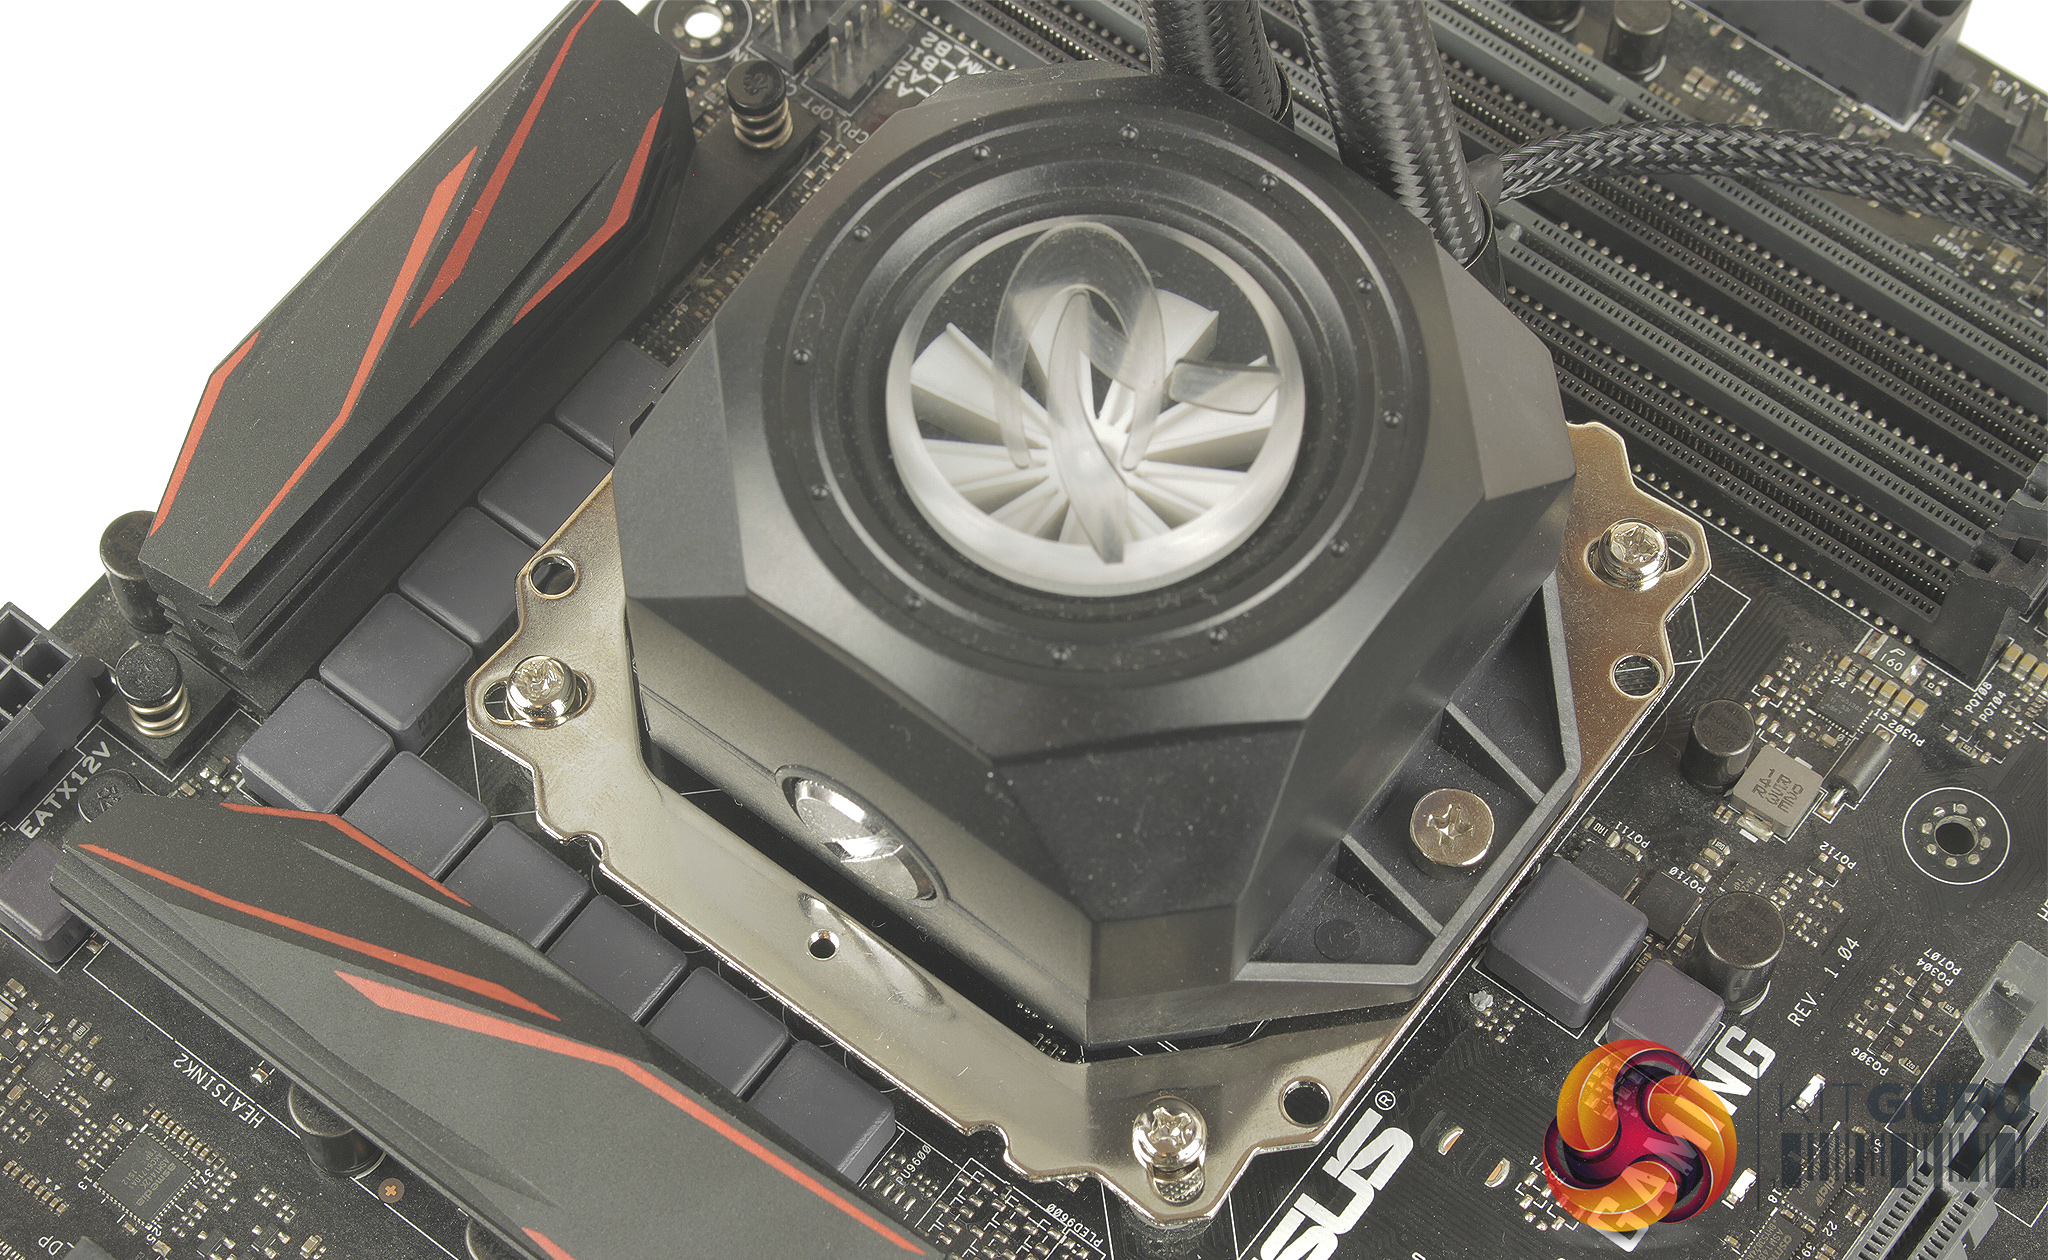
The block is a little bulky and it's clear the flow meter takes up quite a bit of space internally. Looking through the porthole we get a clearer view of the flow indicator. I will say I think this a great addition – a bit of a masterstroke from Raijintek. On one side of the block, there is also a small silver plug which brings us back to the included coolant.
Unlike most AIO coolers on the market which are sealed and maintenance free, the ORCUS 240 has been designed to be maintainable. The silver plug can be removed to allow you to top up the coolant as and when required.
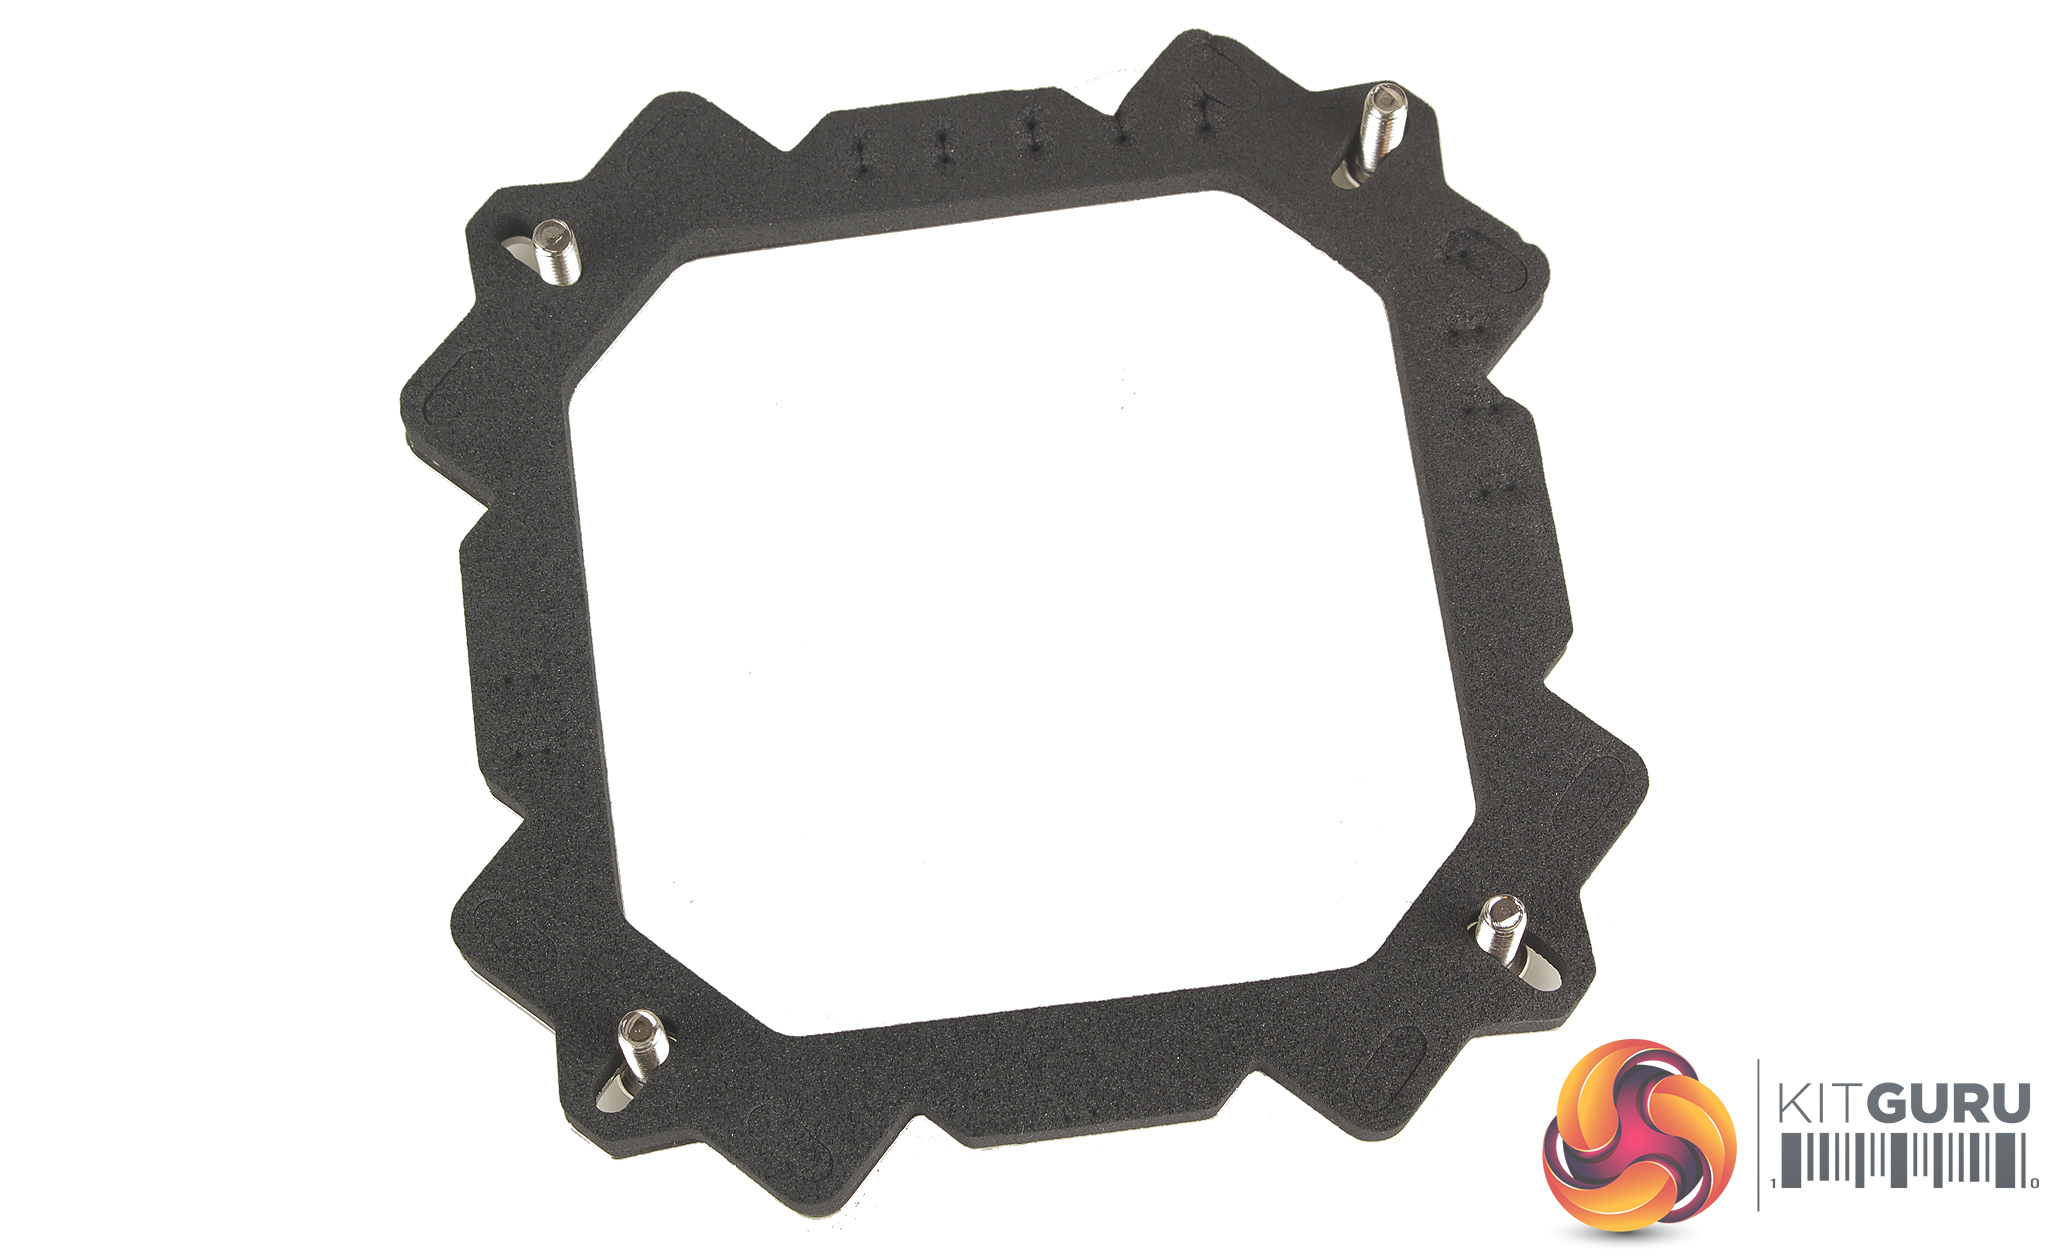
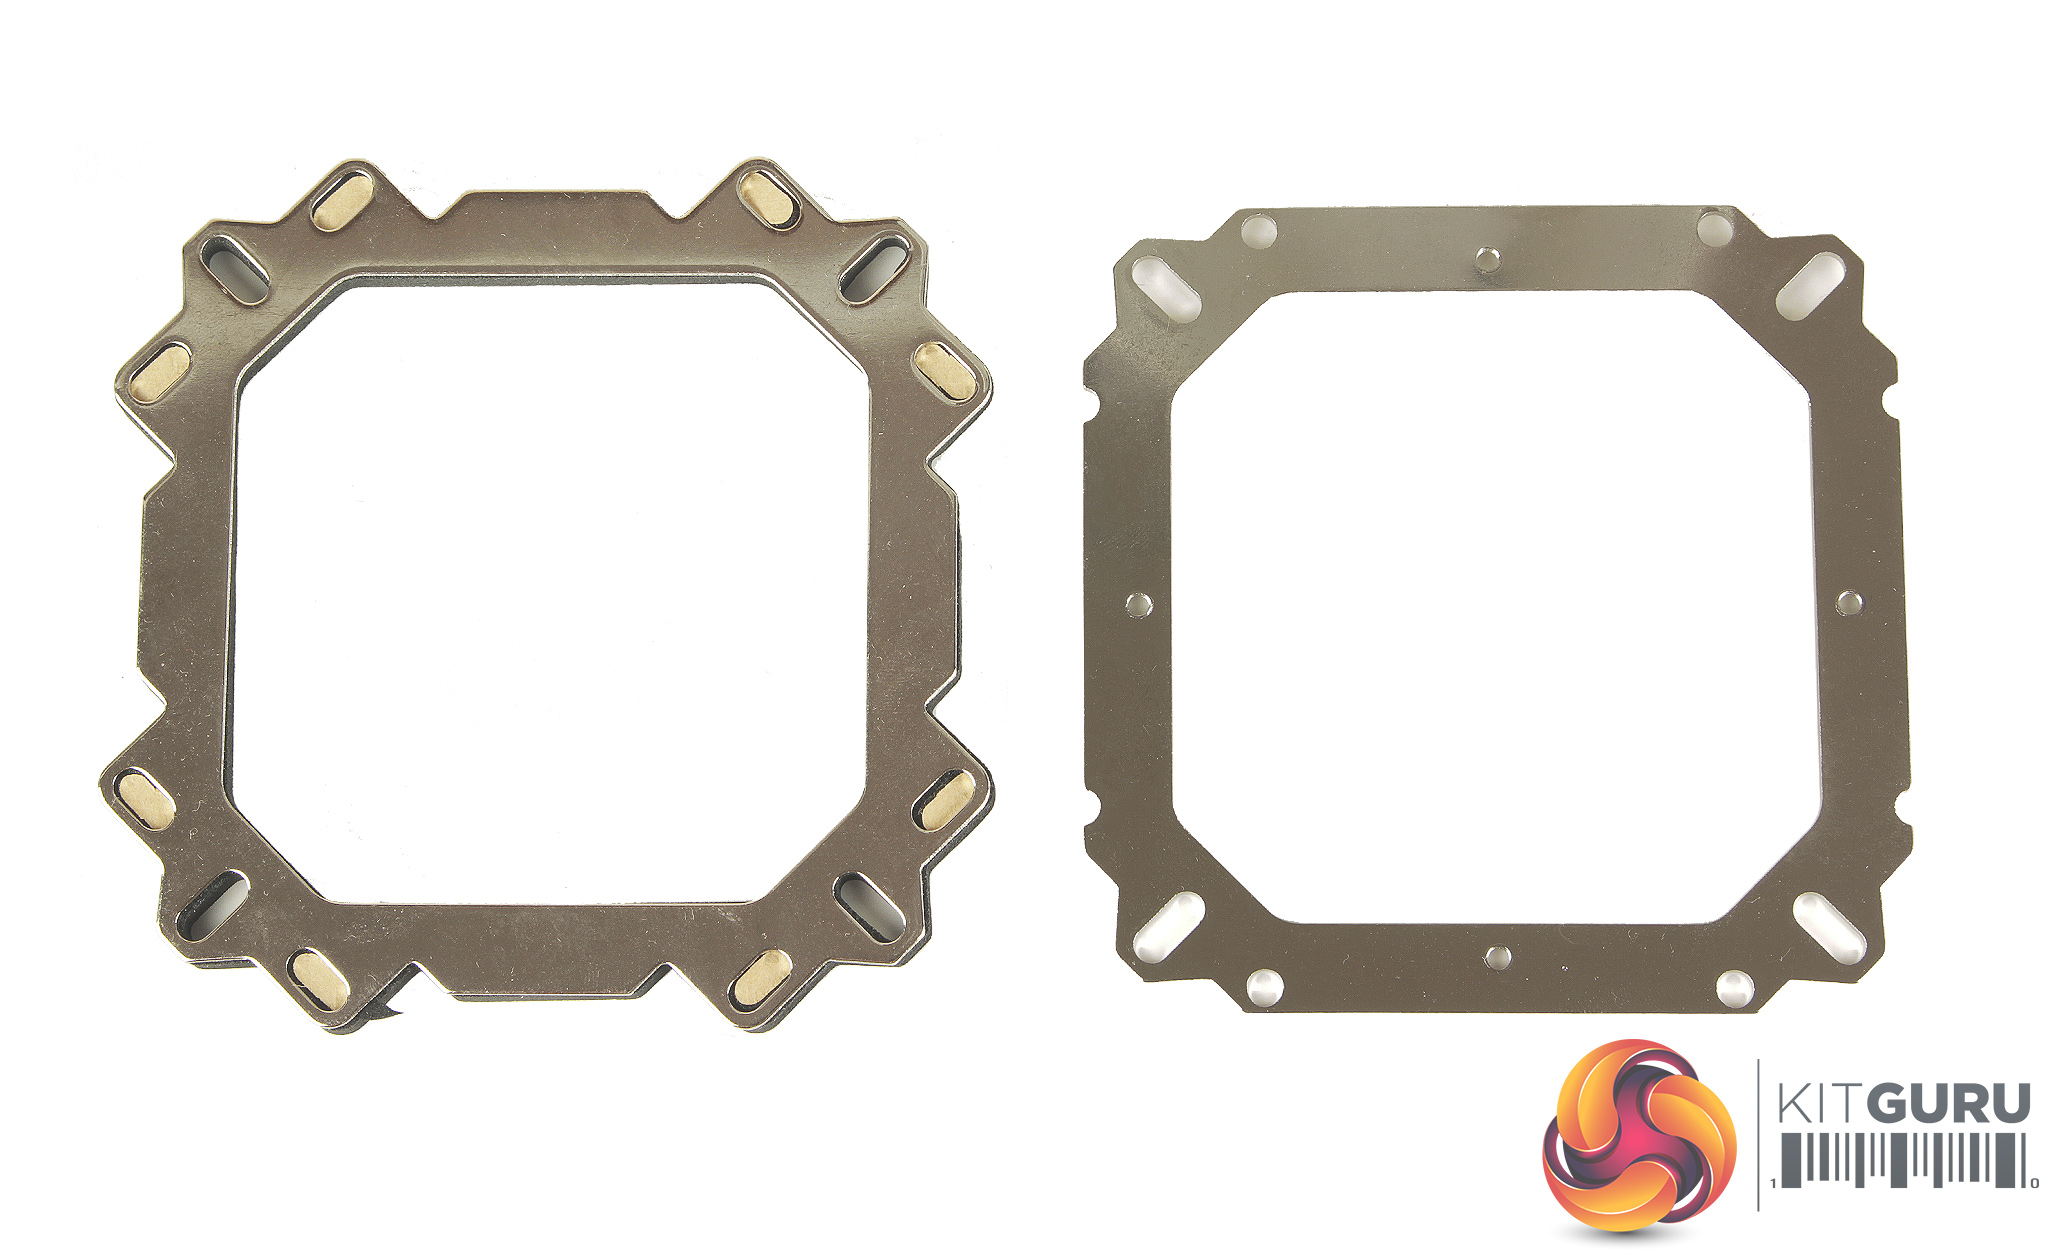
For installation you start with the back plate which is heavily padded with foam, to prevent direct contact with the back of your motherboard. You start by placing four longer screws through each corner of the backplate and then installing on the rear of your motherboard.
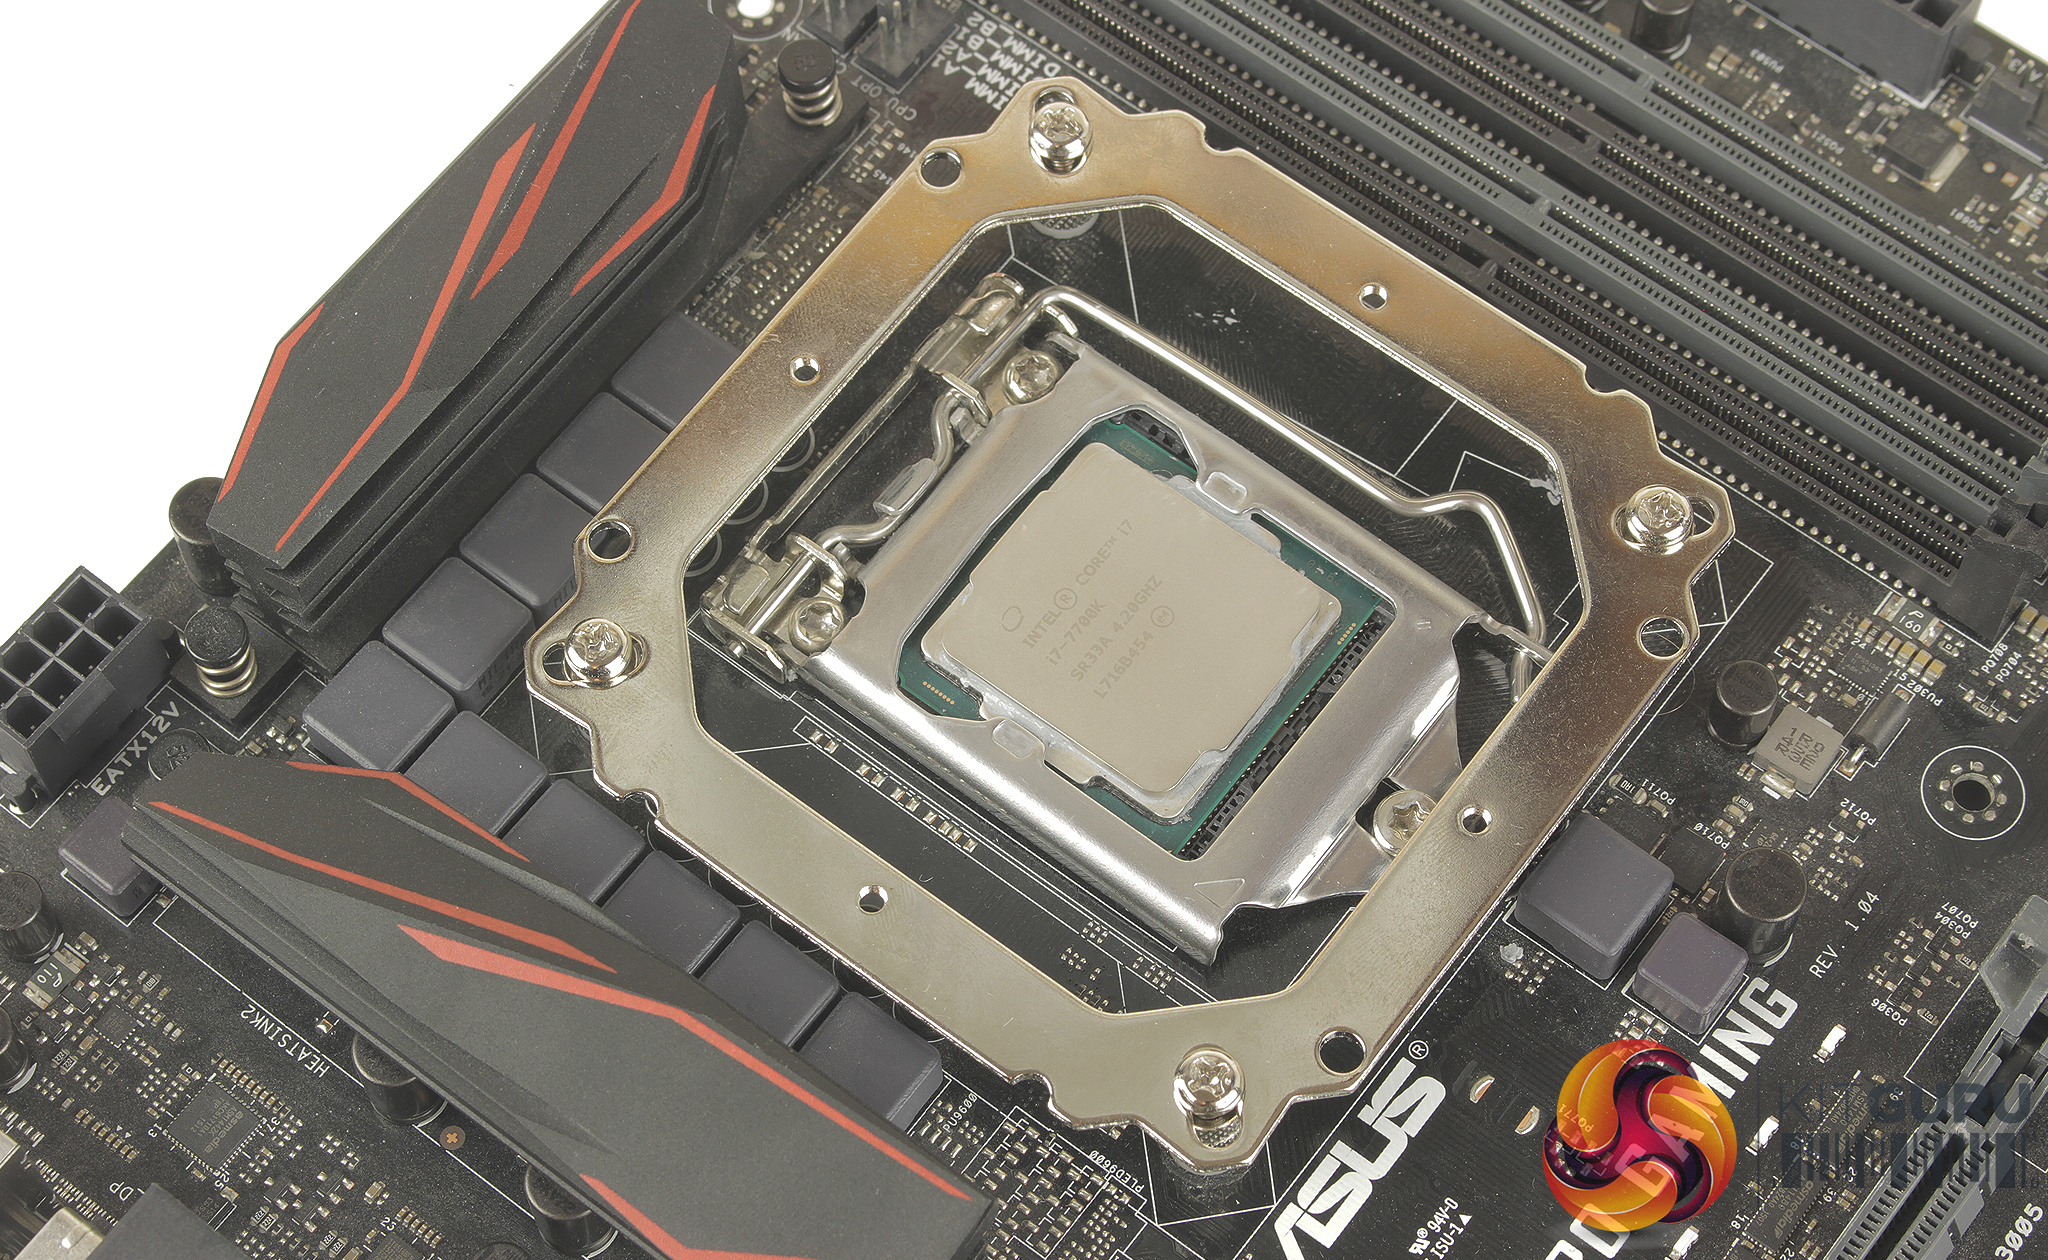
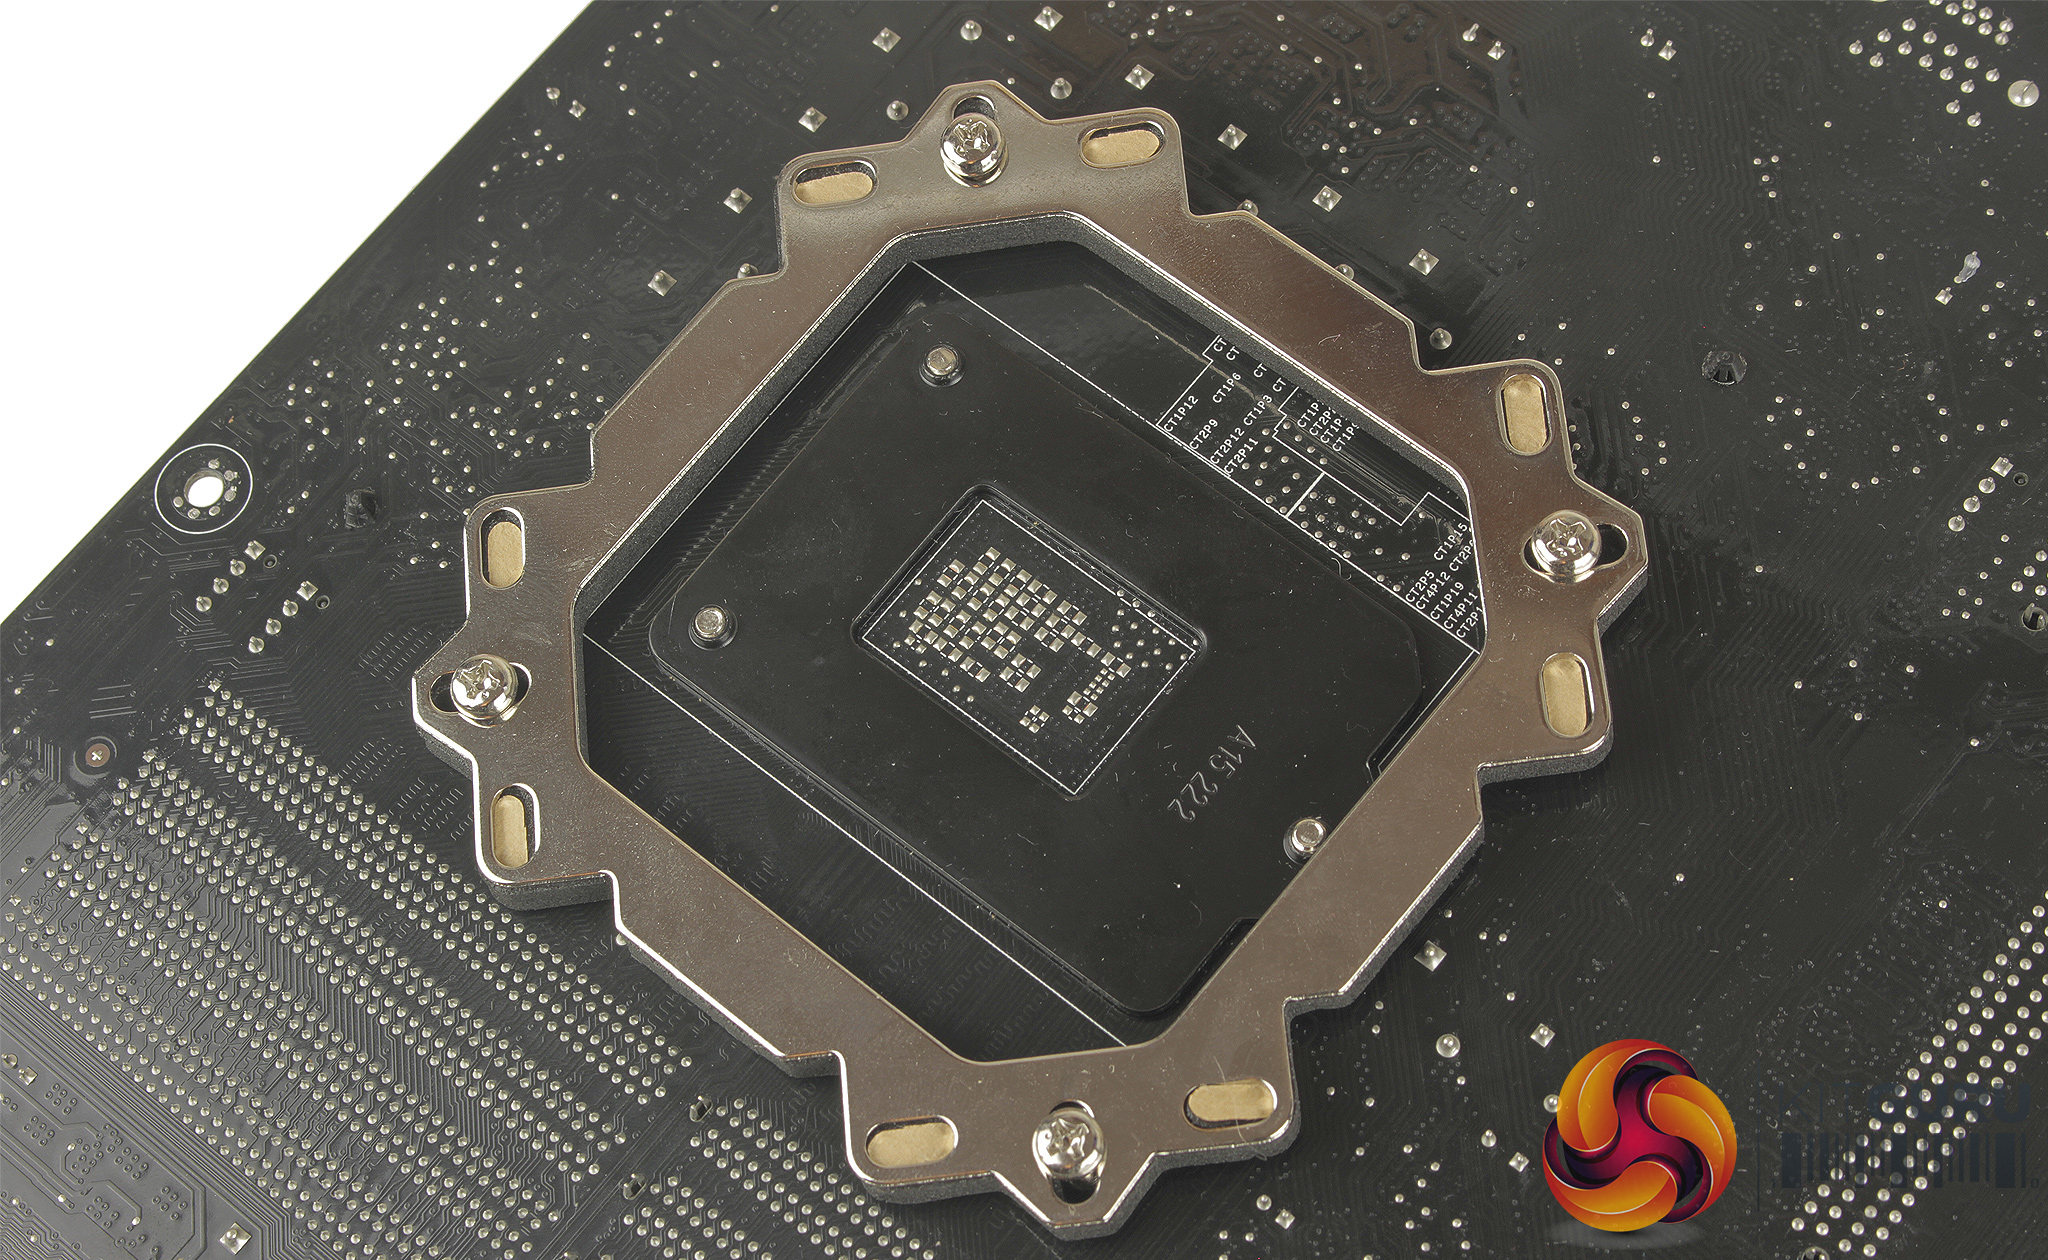
With the back plate in place you can lock it down with the four included thumb nut spacers, washers are included that sit between your motherboard, and these standoffs. With all four firmly in place, you can mount the top bracket with a further four smaller screws, and mount the CPU block with two additional screws.
Both short and long radiator mounting screws are included depending on your preference of push or pull mounting, and although the mounting hardware is not super clearly labeled, the radiator screws are packaged separately which does help prevent confusion.
Overall the process only took about 10 minutes once I had fully versed myself with the instructions. I will say I think the instructions and mounting hardware labeling could be improved, but it didn’t really hinder installation that much. The fan connections are split, so one 4pin PWM connection, and a 4pin RGB LED connector each.
The fan PWM cables are nice and long but unfortunately, a splitter isn’t included, which does mean you will have to source one yourself or connect each fan to a separate motherboard header. The LED connections from each fan and the block can be run to the controller, and then connected to your PSU via the 4 pin Molex cable.
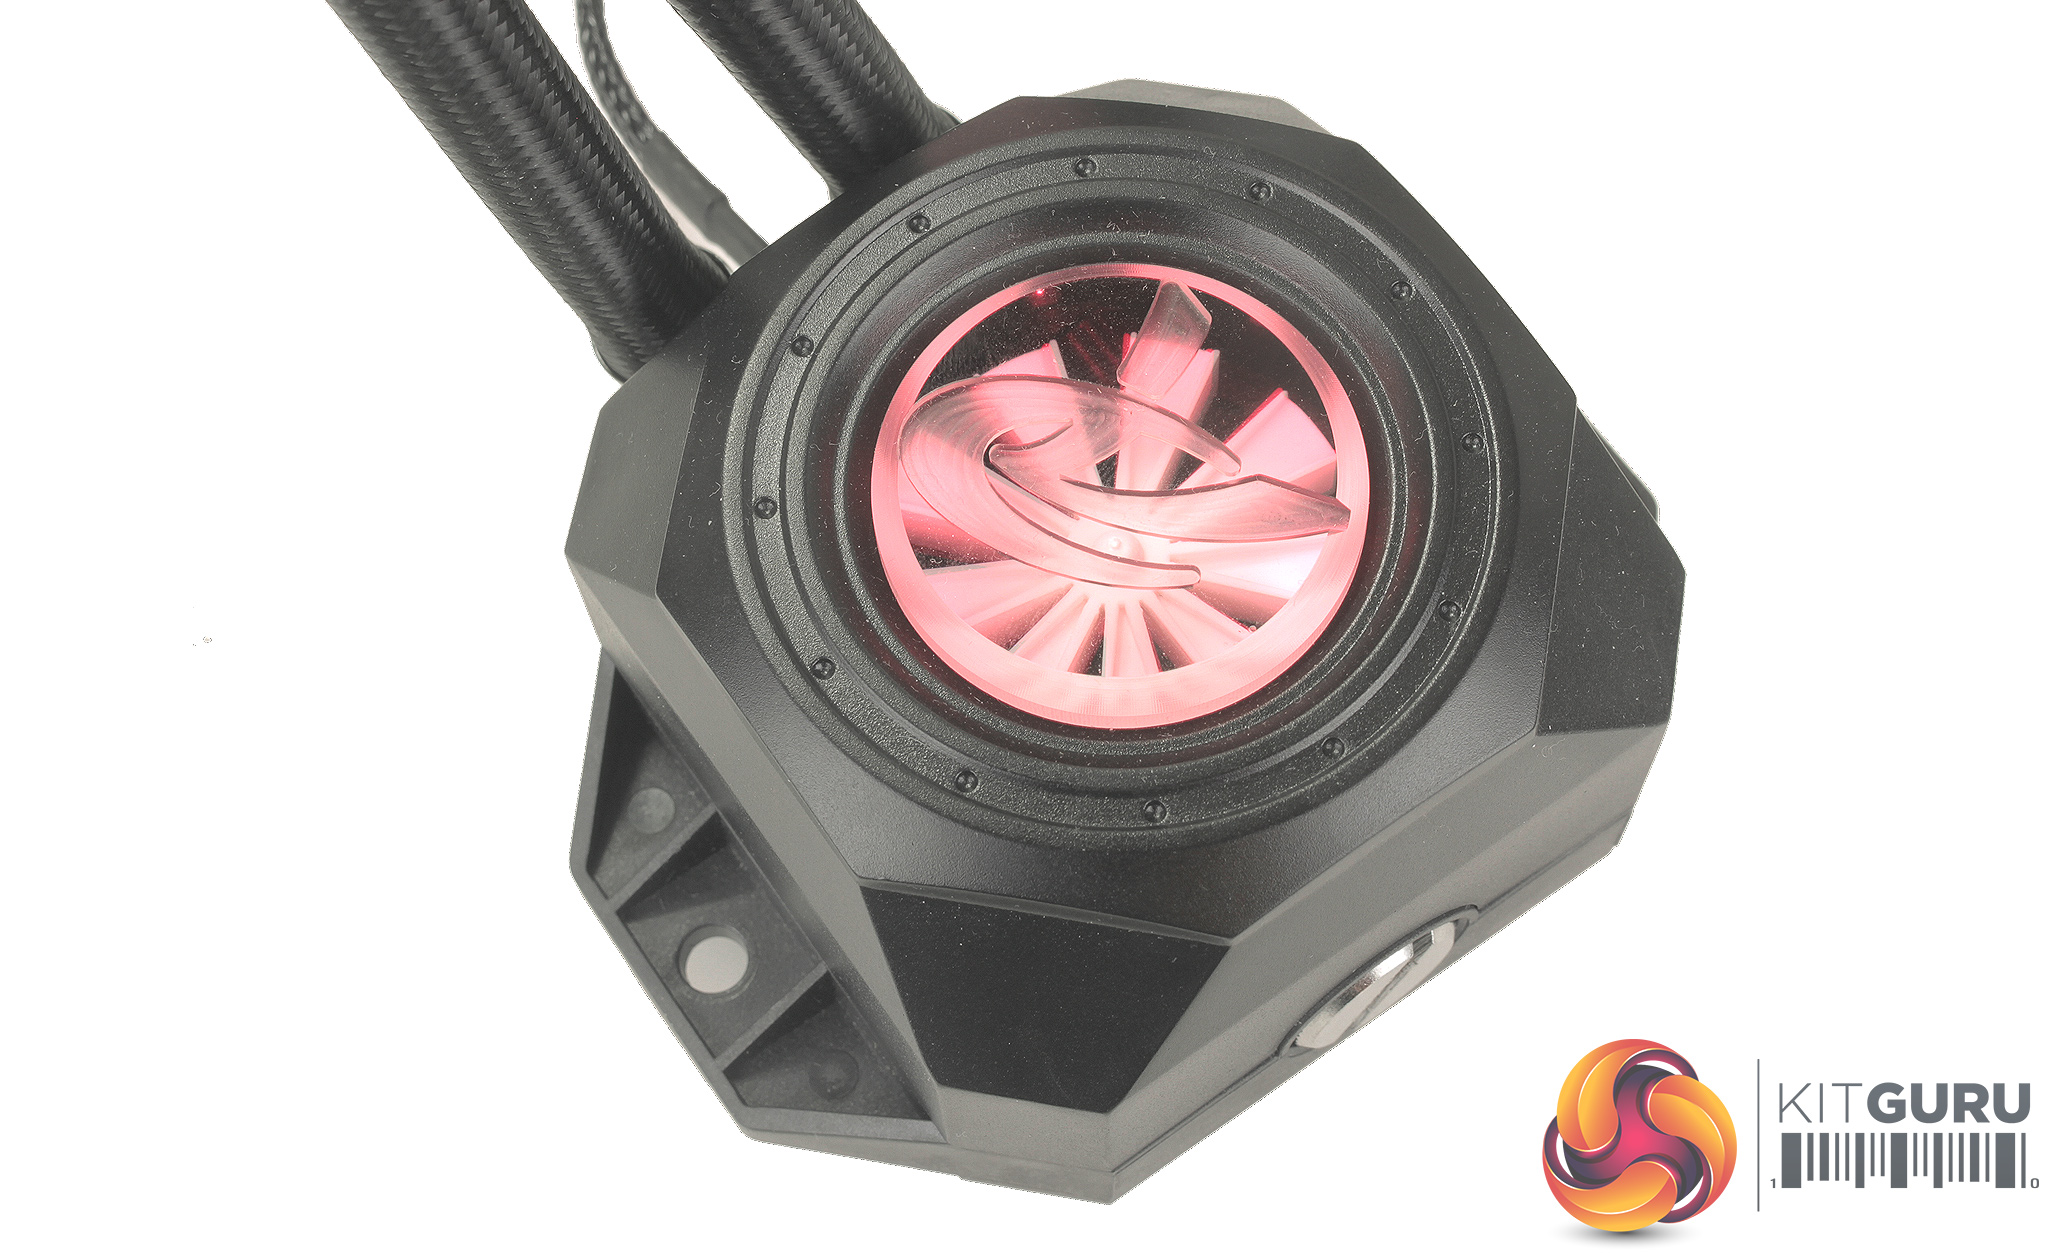

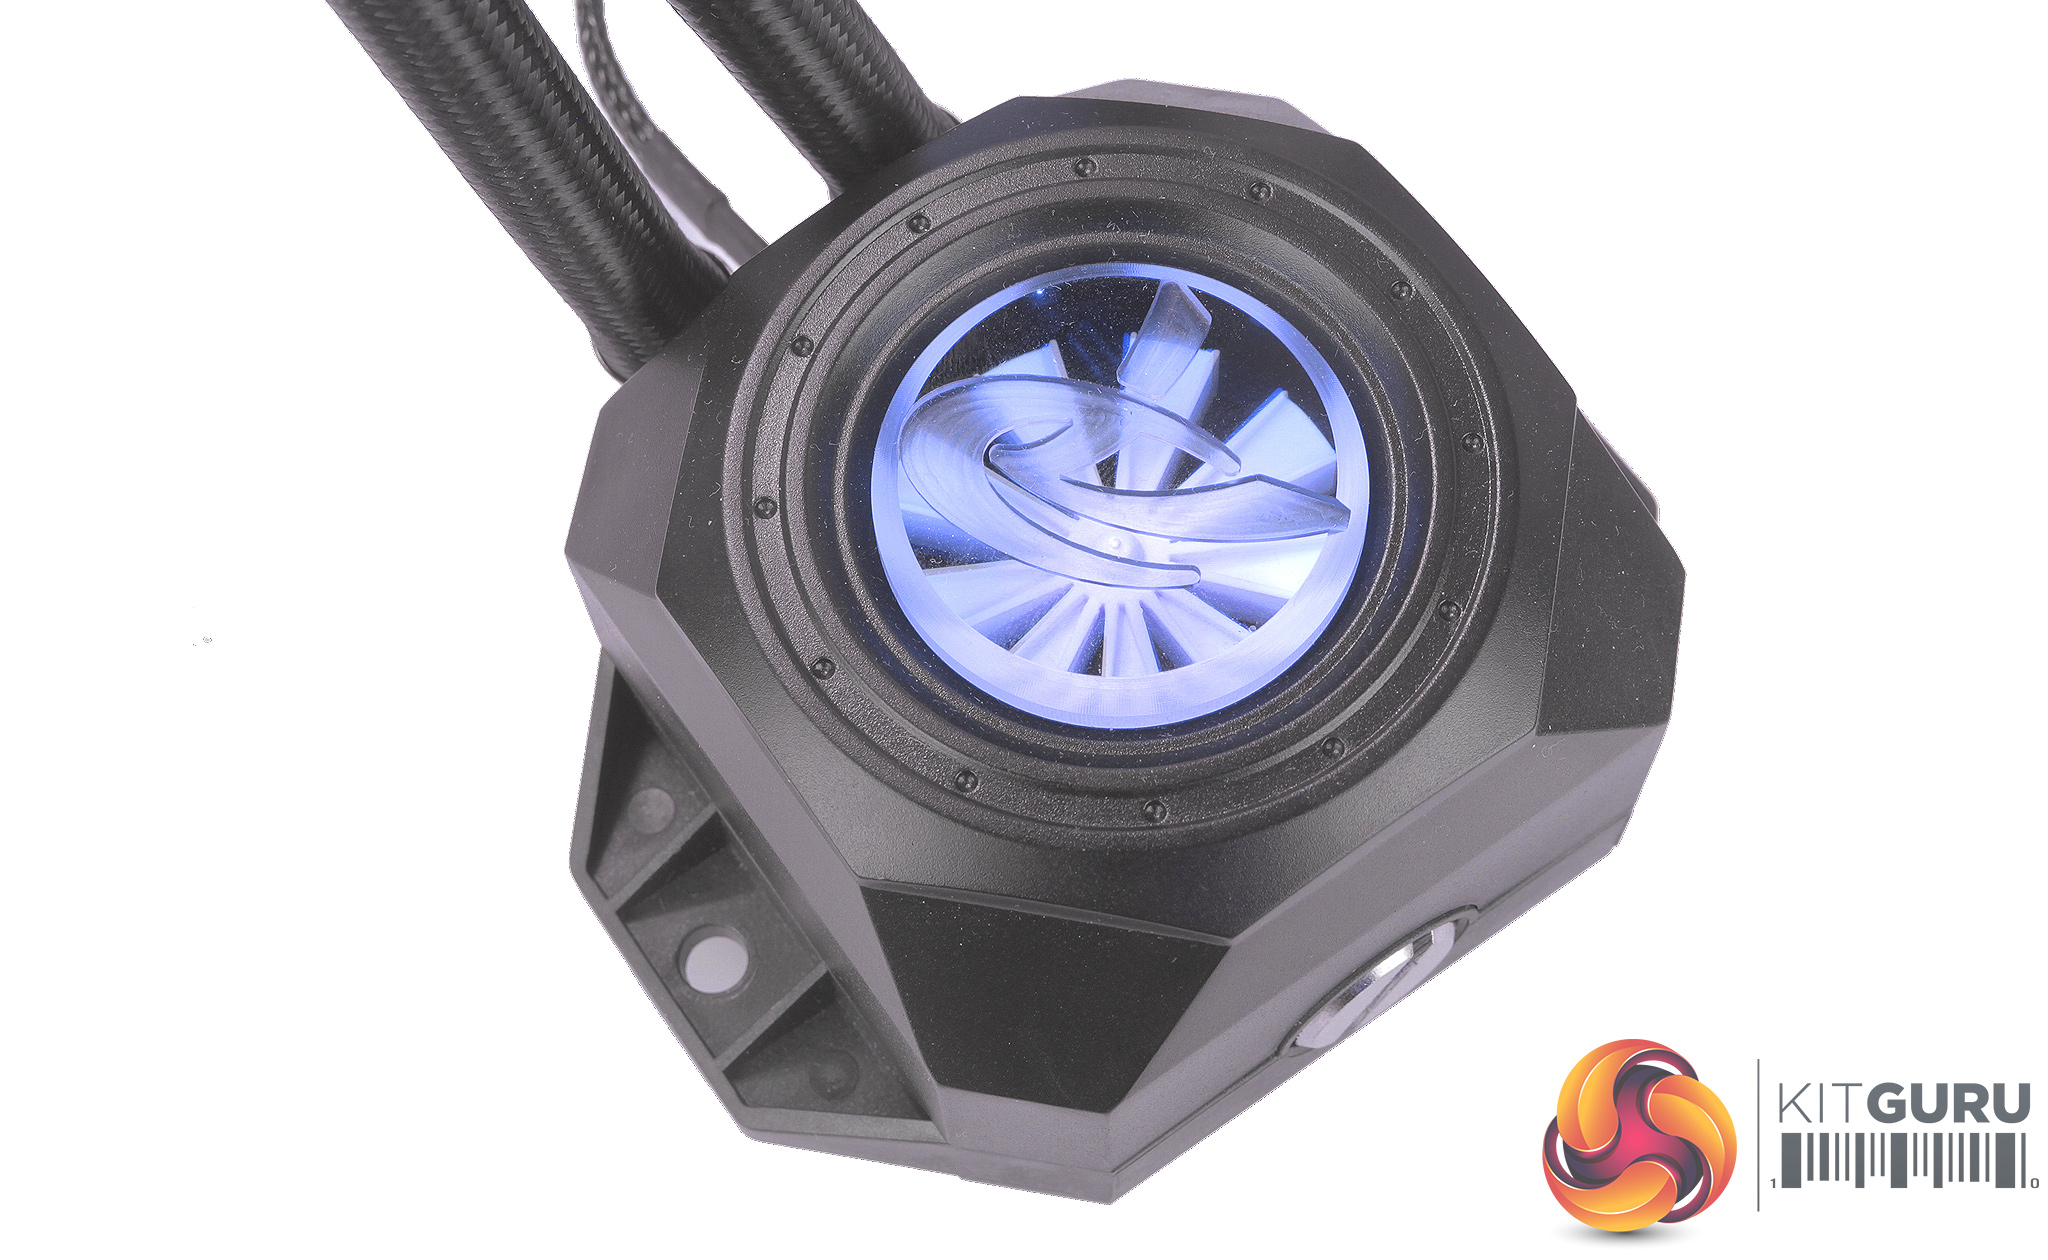
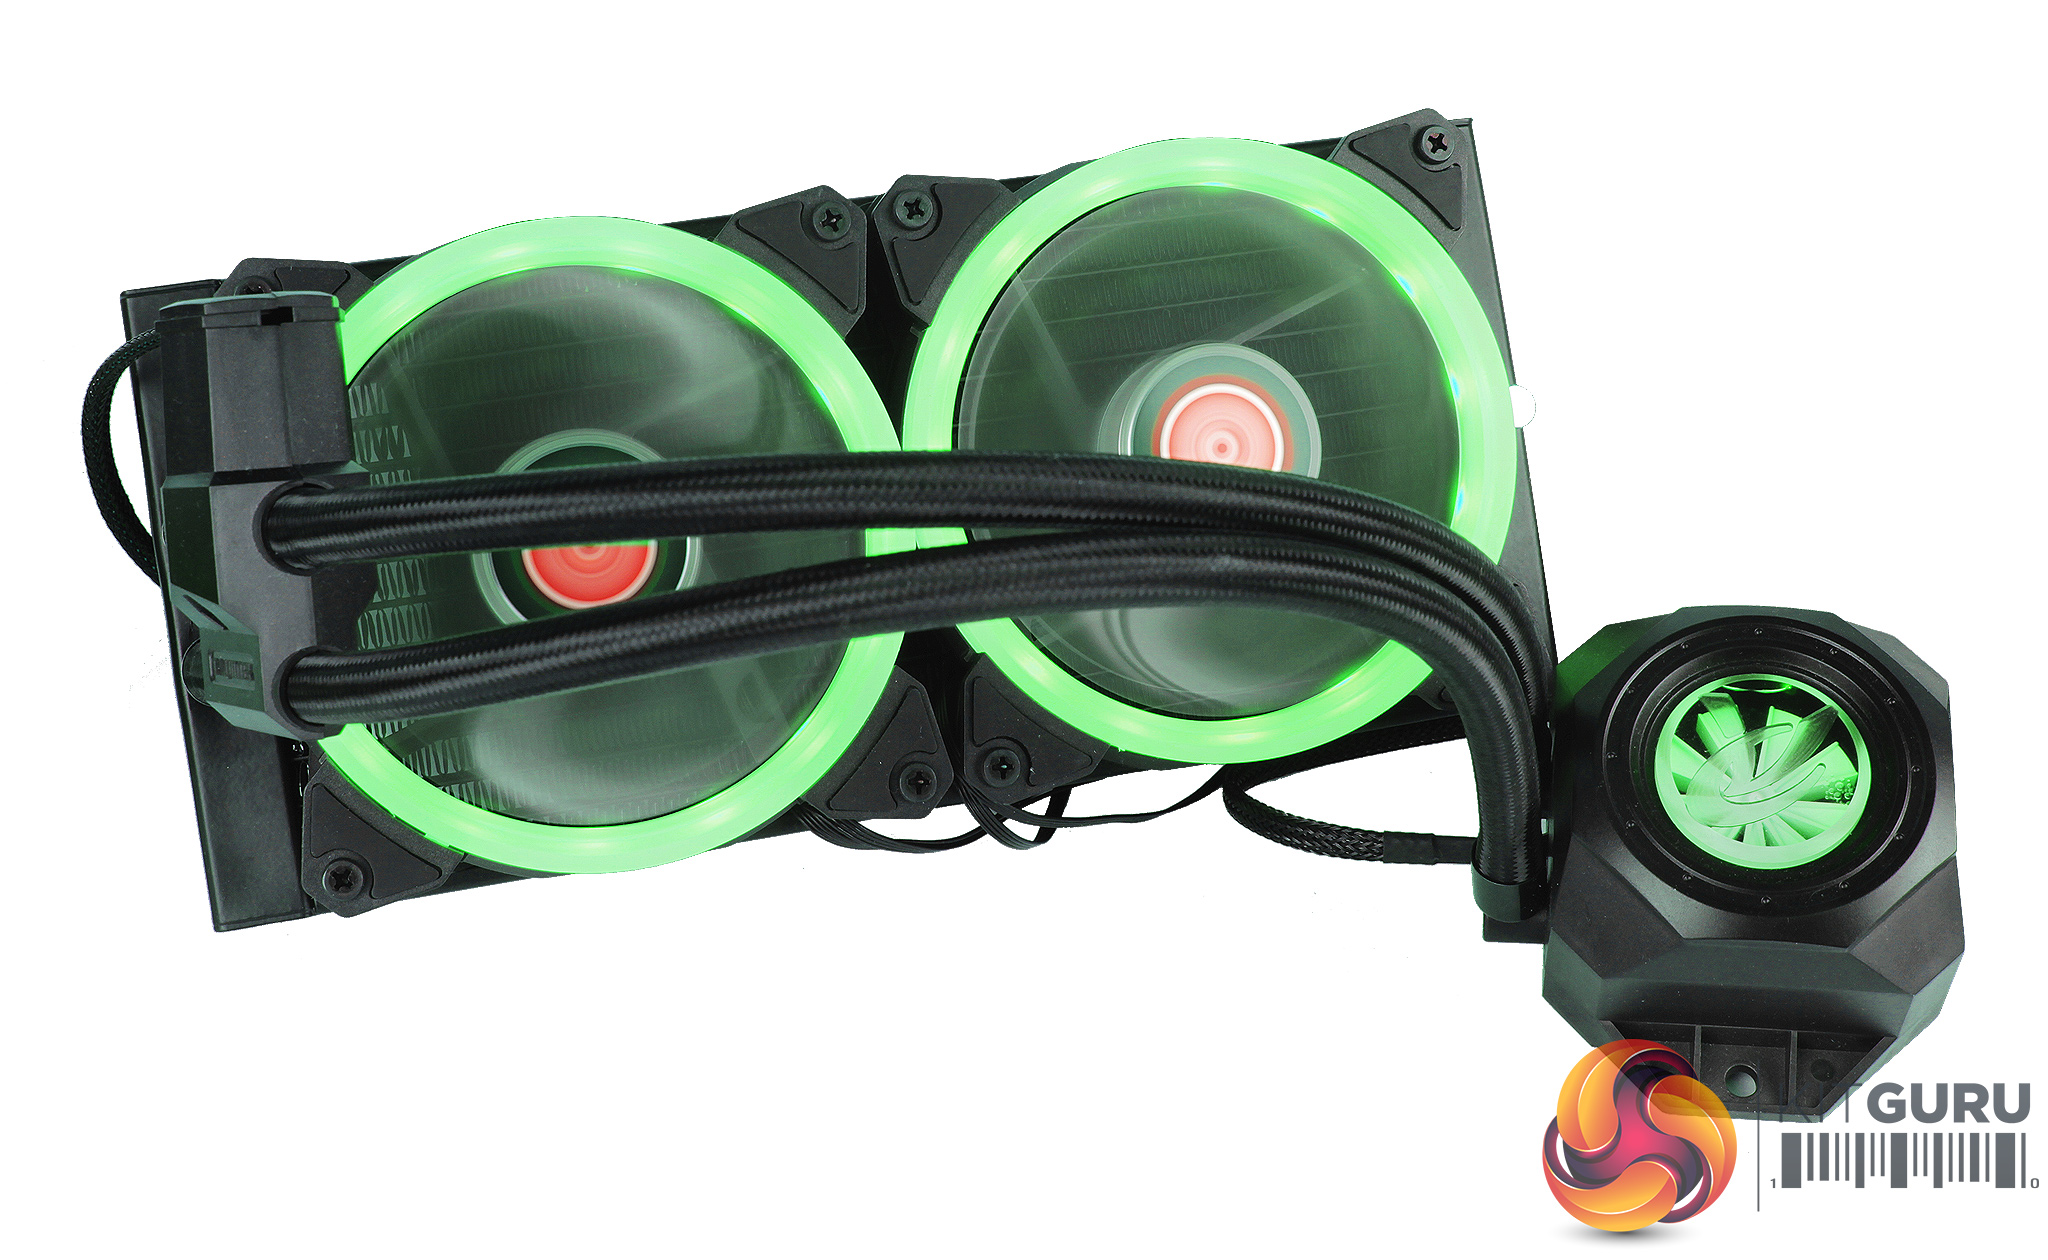
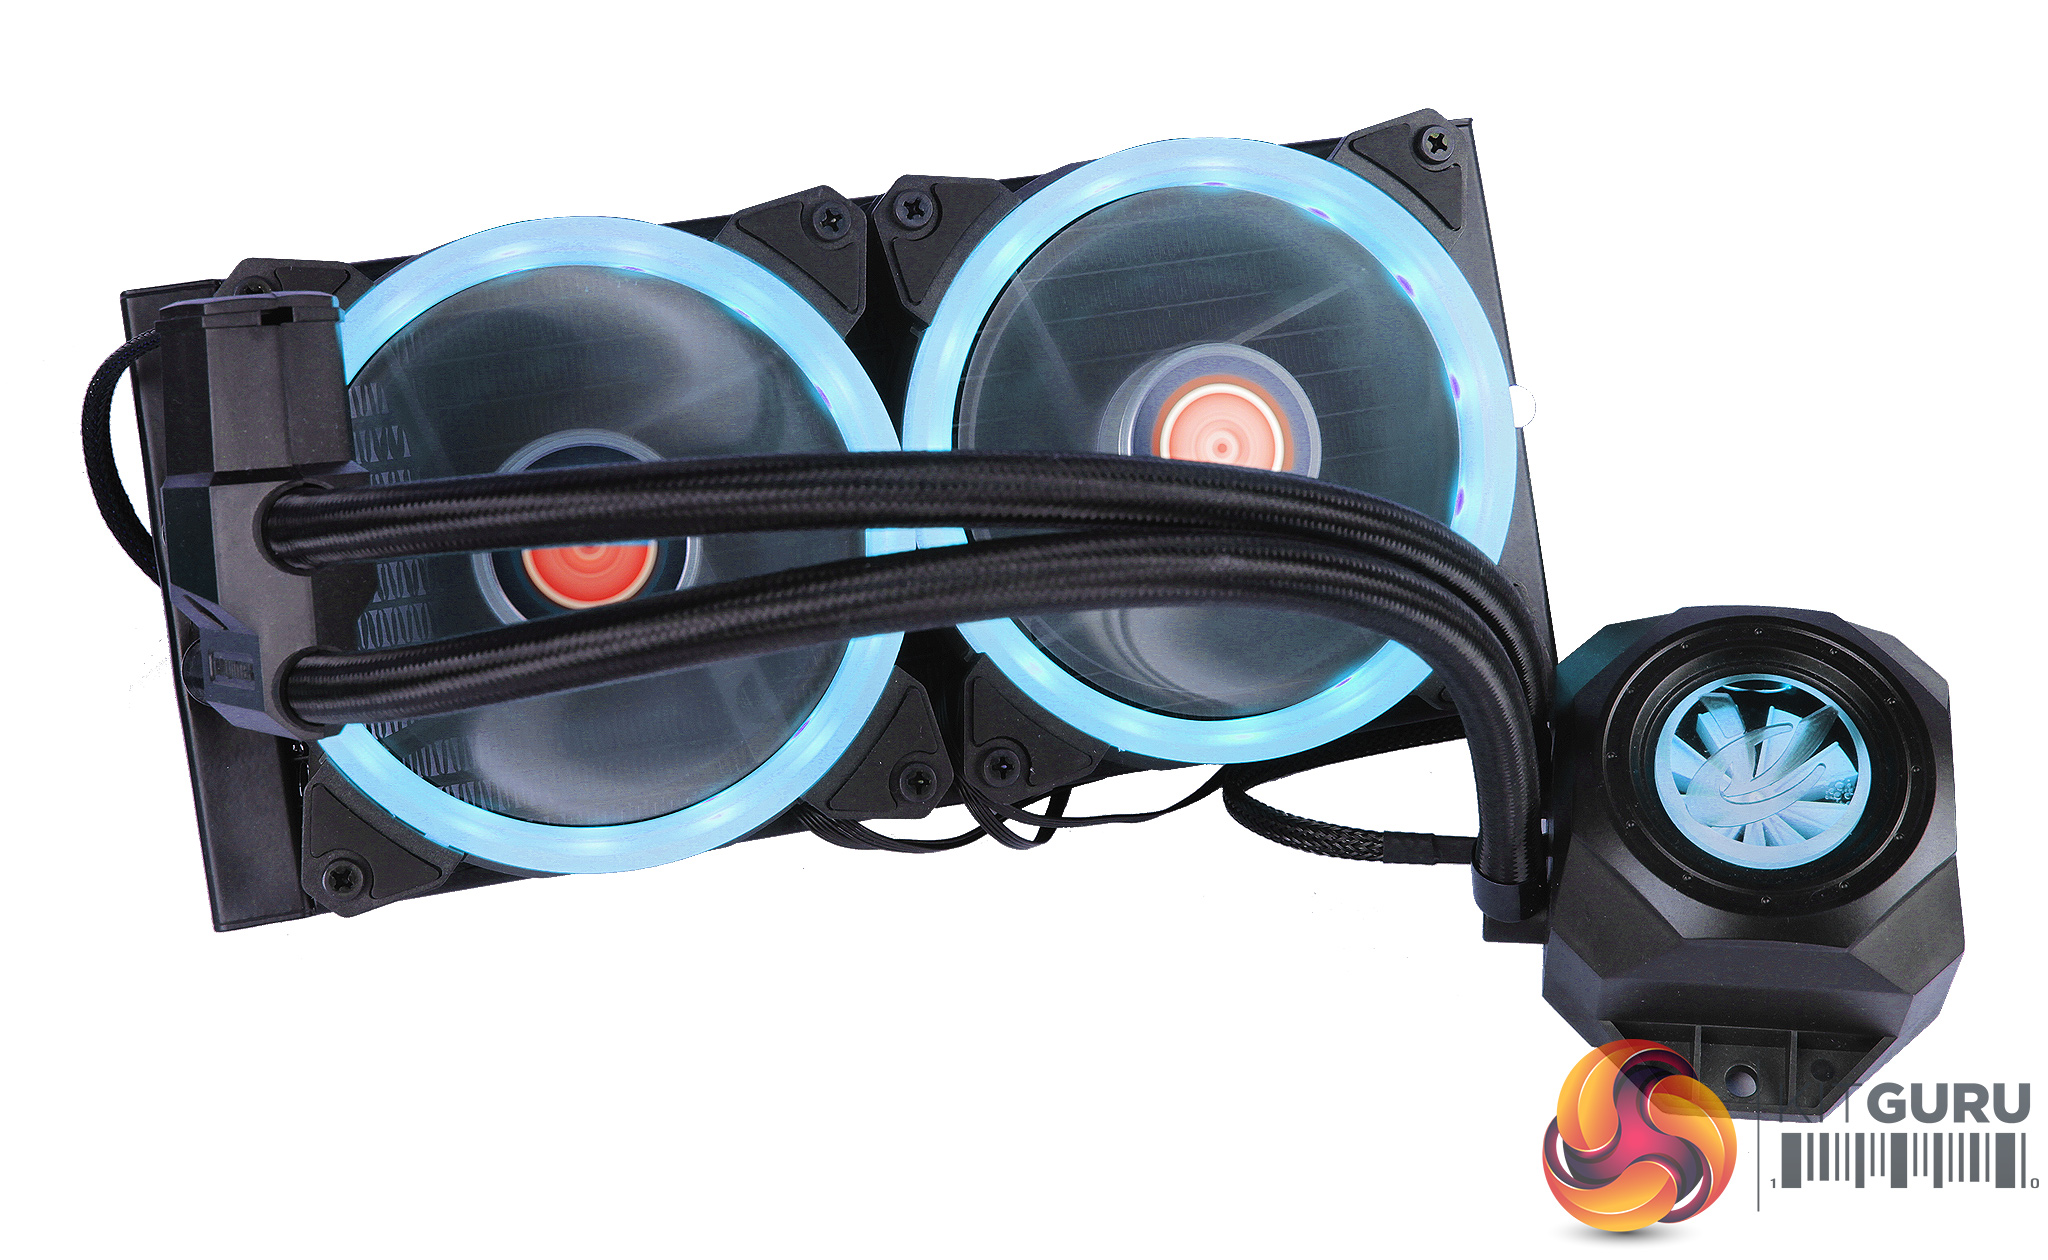
Running the lighting through its paces, the included controller works really well, the LED within the CPU block really helps illuminate the flow indicator, and the ring fans look pretty spectacular.
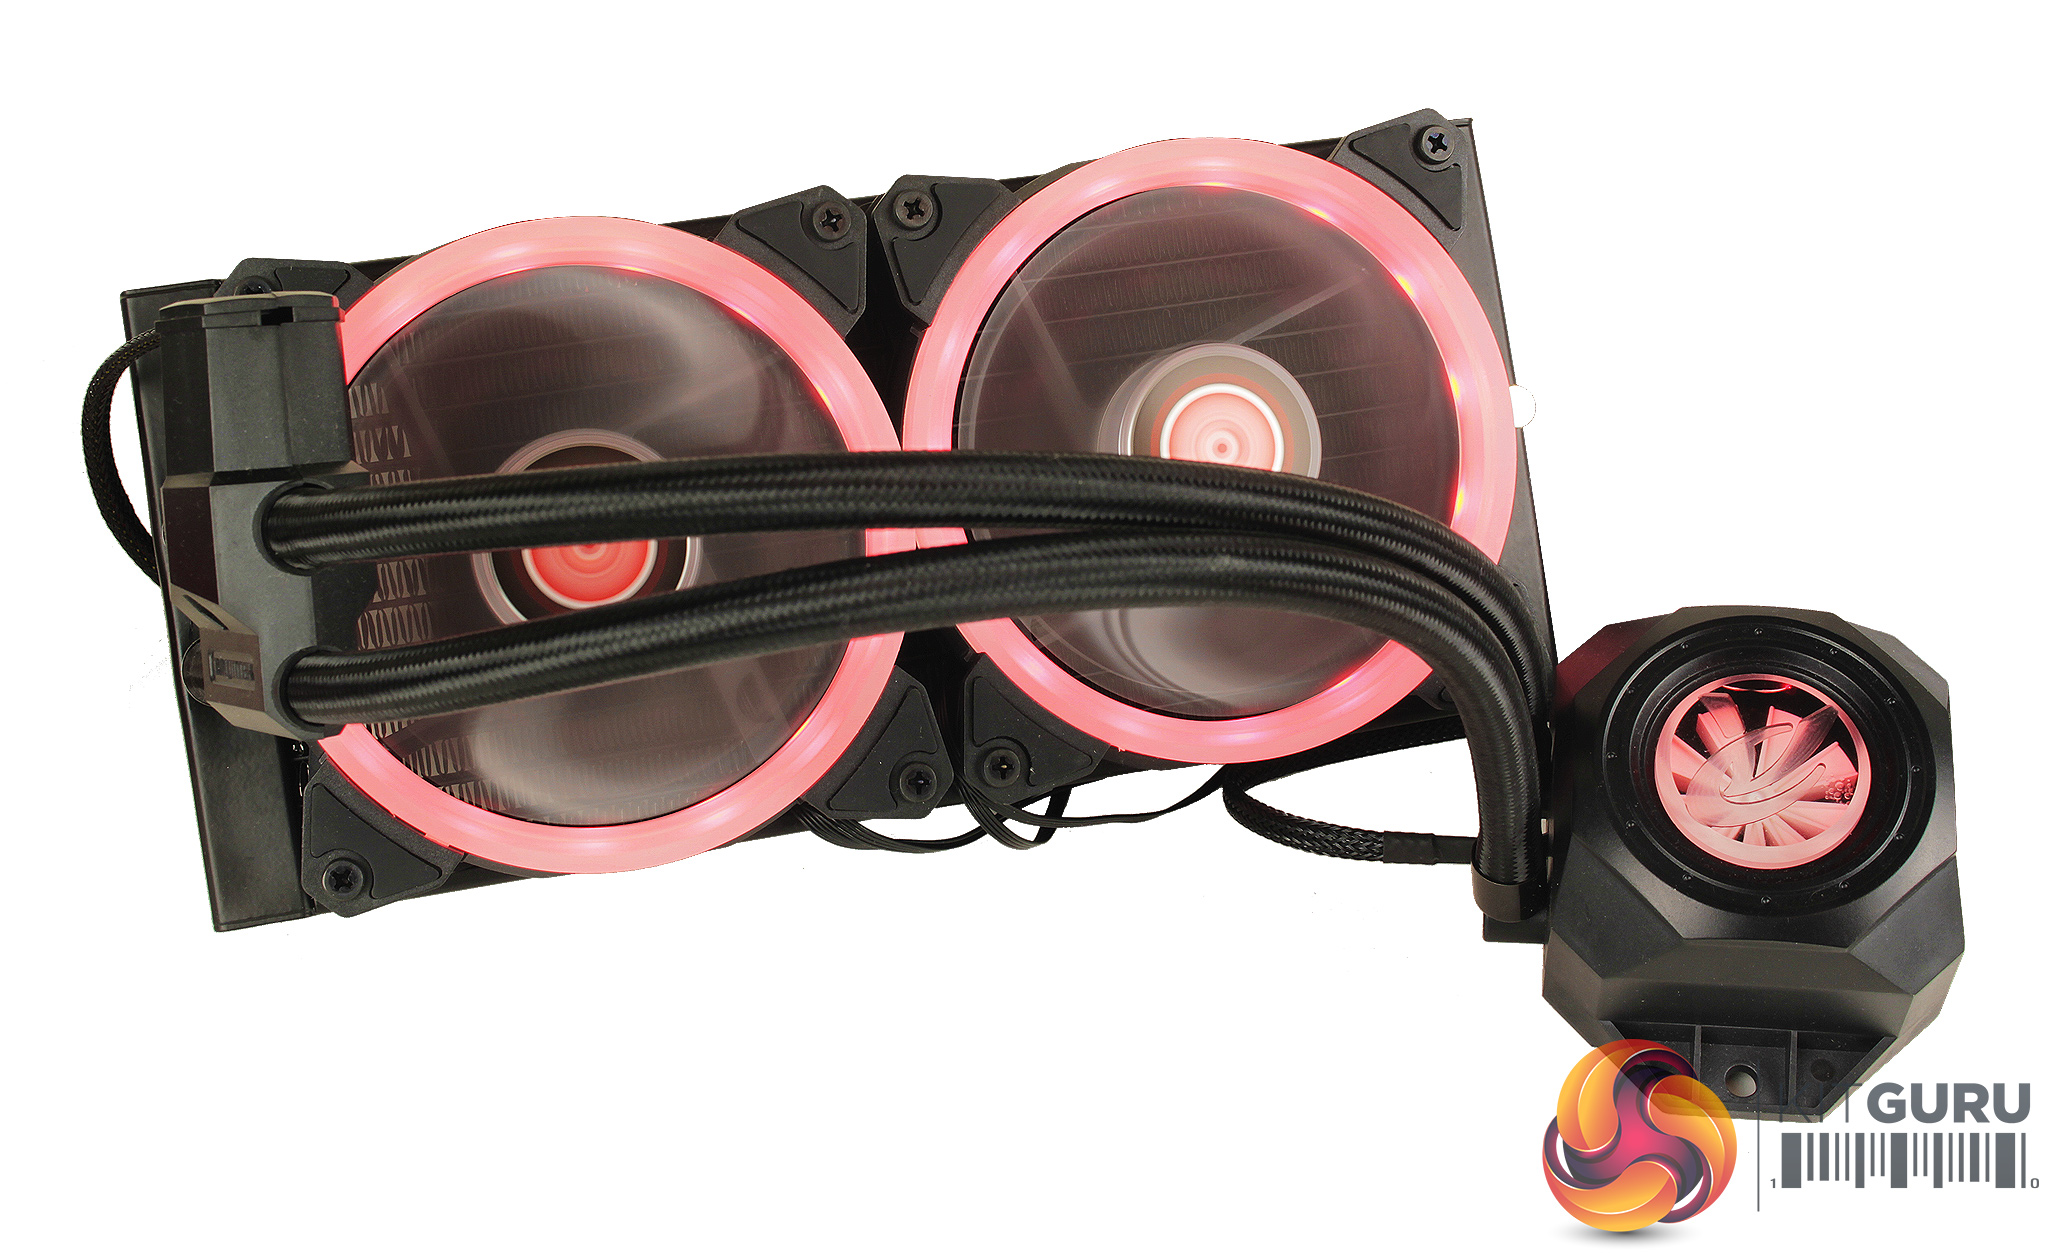
It works in a very similar fashion to some other remote controlled RGB strips you may have come across on Amazon. You have all the standard controls, you can flick between white red green and blue with the dedicated buttons on the remote, but to access more colours, and effects, you have to move through modes.
As standalone colours you can move through red, green, blue, yellow, purple, aqua, and white. You can have each of these colours breathing, and speed can be adjusted as well. There are also modes for breathing and cycling through colours, quick flashes through colours and smooth RGB transitions.
To test all CPU coolers, we devised an easily repeatable test with no variables other than the coolers themselves. This ensures that figures from every cooler we test are comparable with each other.
Test rig
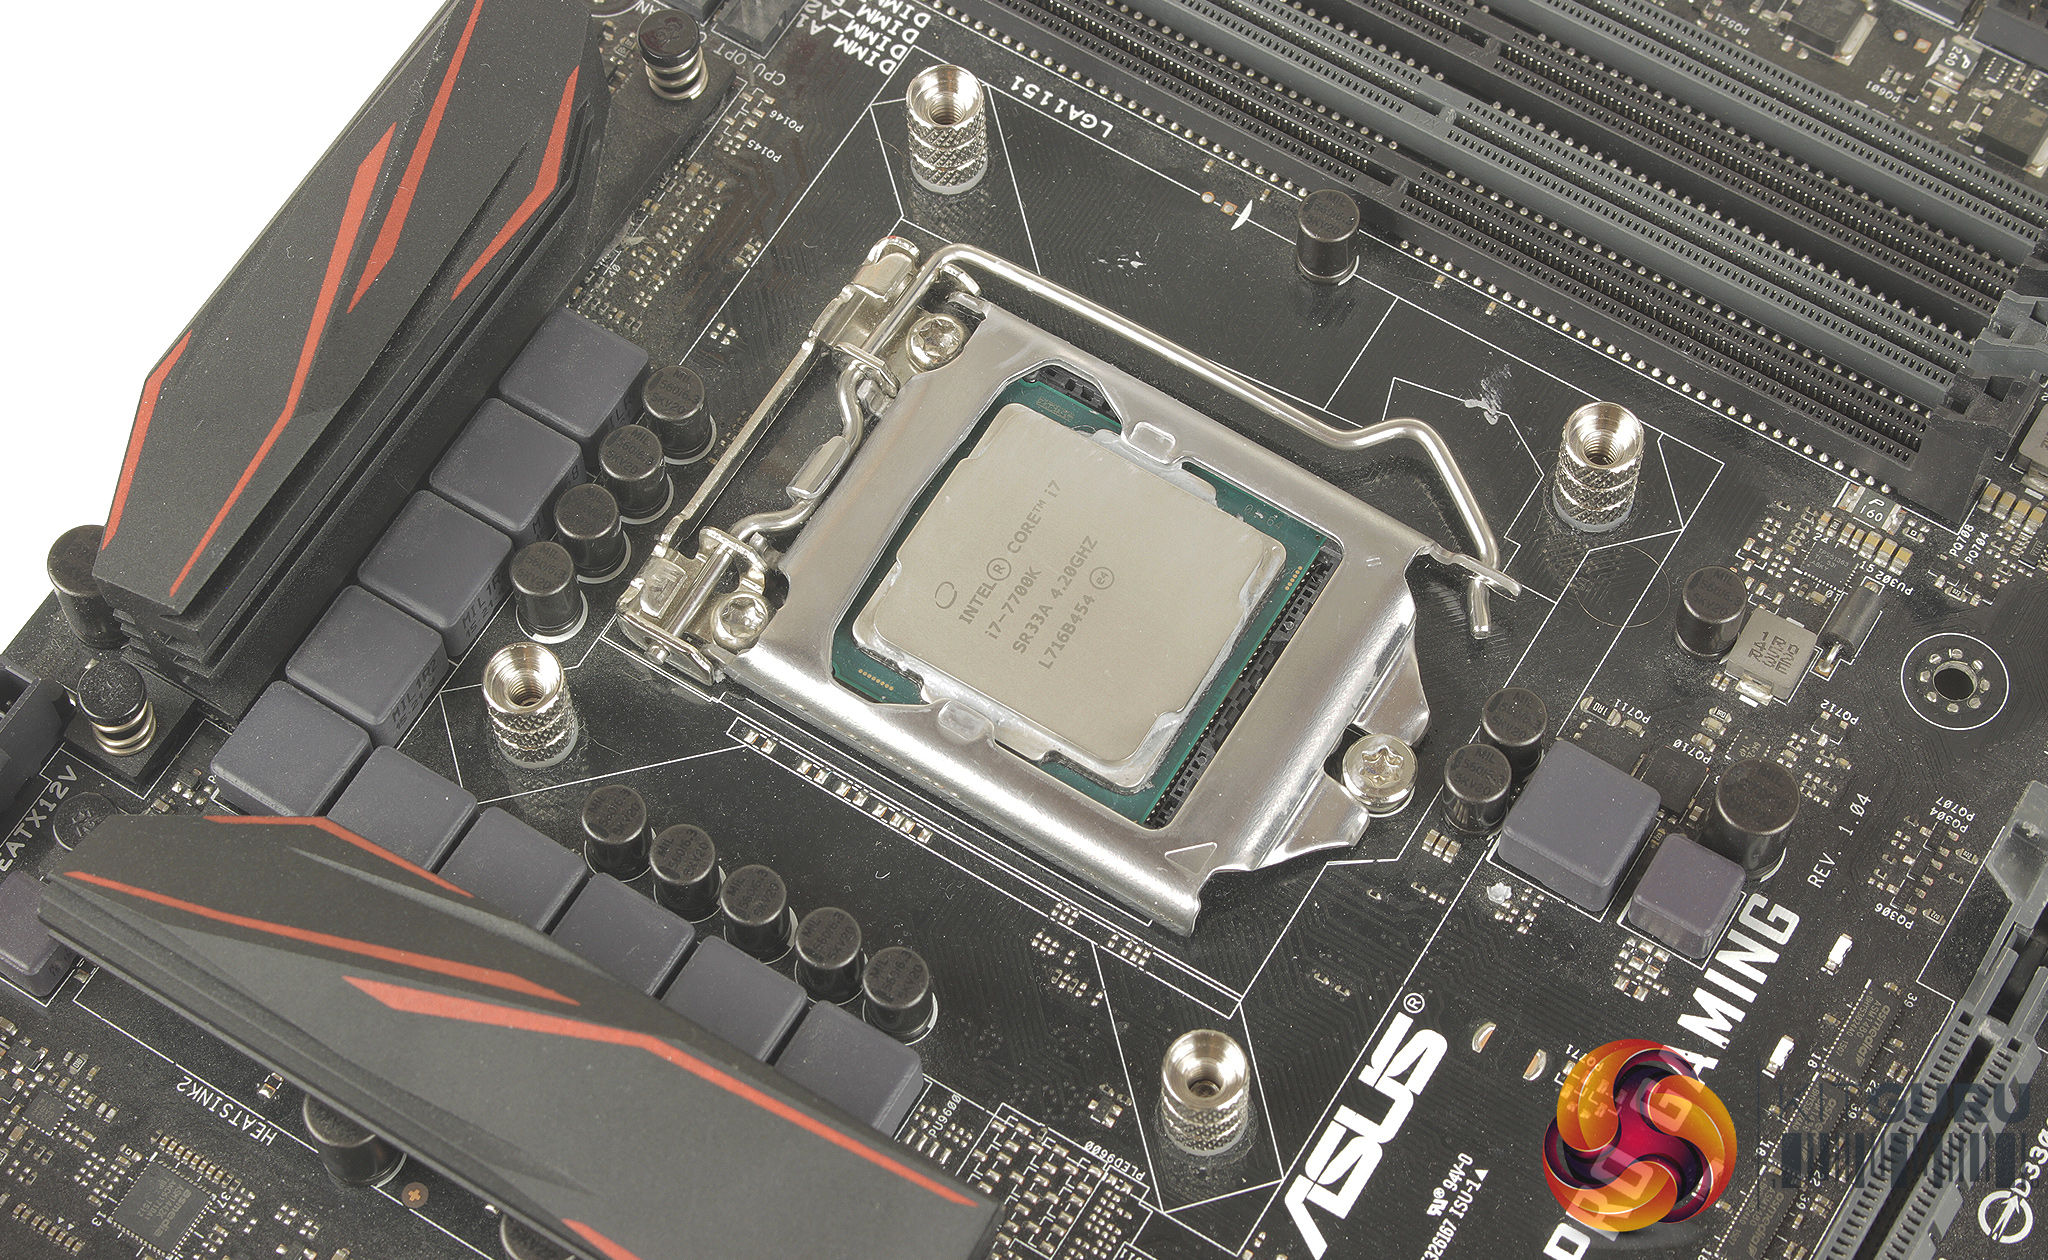
At KitGuru we have recently updated our testing setup, and now test temperatures on the Z170 platform. For the CPU we are testing with the Intel Core i7-7700K installed in a ASUS Z170 Pro Gaming motherboard. For RAM we have a single 8GB stick of Geil EVO X RGB for some added bling running at 3200MHz, and storage is handled by a 120GB SanDisk SSD Plus. Powering our bench is a Seasonic Prime Platinum 650W PSU.
The test process
For testing, we run a number of tests including 4 separate temperature readings per cooler. We first measure the idle temperature of the i7-7700K locked in at 4.0GHz before measuring its temperature under load at the same frequency.
For a representation of overclocks, we run the i7- 7700K at 4.5GHz with a 1.275 Vcore applied both at idle and load. The temperatures we present are temperature deltas, where the ambient temperature of the testing environment is deducted from the temperature taken from the CPU for both idle and load. We are aware that a 4.5GHz overclock with a 1.275 Vcore applied is not representative of the best setting possible for the i7-7700k, but this does allow us to simulate performance of coolers whether you are using a less powerful CPU such as an i3 or i5 processor, or a more powerful hotter CPU like our overclocked i7-7700k.
An idle reading comes from leaving Windows on the desktop for 15 minutes. A load reading comes from running Prime95’s (version 26.6) Small FFTs test for 15 minutes – enough time for temperatures to plateau. We use HWInfo64 v5.82 to measure temperatures.
Noise output
We measure noise levels with our sound meter positioned 1 foot away from the test bench. The peak noise level is presented. We have measured the noise floor (i.e. ambient noise levels of the room) to be 34 dBa, and when tested at stock clocks, the vast majority of coolers do not emit noise levels above this figure. Thus, we present one chart with noise levels taken during our overclocked CPU test run.
Temperatures
All temperature charts are sorted with lowest load temperatures at the top.

Looking across the testing results the Orcus 240 is pretty impressive. Firstly at stock, the Orcus 240 outpaces almost everything coming in third just behind the Arctic Liquid Freezer 240 and the Cryorig A80. And only by a degree or so. At both load and idle temps are really impressive and this carries through to our 4.5GHz overclock
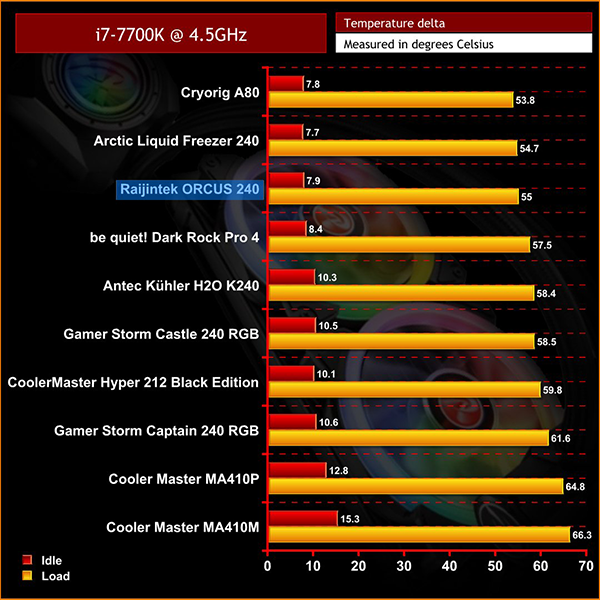
At 4.5 the Orcus 240 doesn’t budge sitting in that third place position, and again only with a degree or so of difference. These are great temps to see.
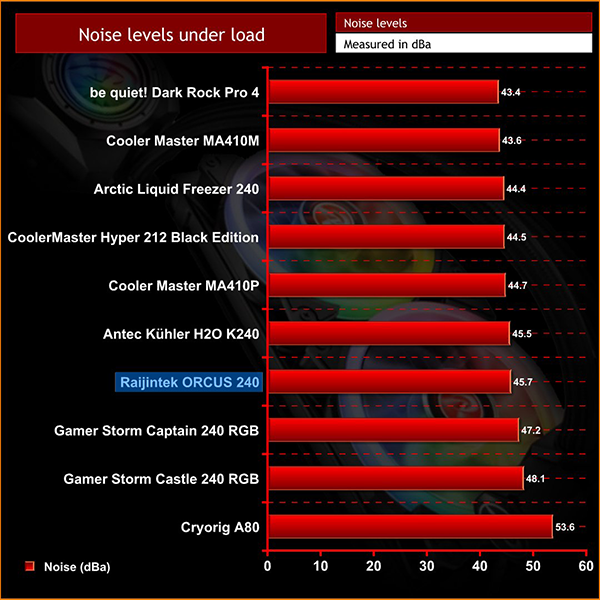
These better temperatures do come with the sacrifice of higher noise in operation, as the Orcus 240 is a little louder at 45.7 dBA which is where on paper it falls a little shorter, but again only by a few decibels when compared to say the Dark Rock Pro 4. Overall some pretty impressive results.
So to summarise, there are a number of features with the Rajintek Orcus 240 that really impressed me . For starters the flow indicator is great; I really can’t fault this addition. My experiences with sealed liquid coolers, on the whole, has been really positive, but really the only part to fail is the pump itself. The inclusion of this indicator makes it really easy to ensure everything is running smoothly without software, as well as making troubleshooting a breeze.
The performance in testing is really the standout for me. It’s great to see a decrease in temps on both our stock and overclocked setups and the Orcus 240 actually outpacing a number of coolers tested. Although sacrificing a little in audible noise, there would of course, be some flexibility for tuning this through software to your preference.
The RGB illumination looks great, and although there are not tons of options with the remote, the flexibility for connecting to both your motherboard for software control, or use with the remote is really pleasing to see. The package itself is really solid and although you may not utilize features like being able to top up the coolant, it's nice to see a bit more innovation from Raijintek.
![]()
The Raijintek ORCUS 240 is currently available from Overclockers UK for £89.99 inc. VAT HERE.
Pros
- Solid cooling performance.
- The included flow indicator looks good and functions well.
- The flexibility of either software RGB control or through the external remote is great to see.
Cons
- The maintainable element adds another point of failure and may not be for everyone.
- The installation does require a few stages, and instructions could be a little clearer.
KitGuru says: Its really cool to see Raijintek innovating in the AIO liquid cooling market, and adding features that really make it stand out. Although some features like it being maintainable may be a bit daunting for first time builders, the flow indicator and flexible RGB lighting are definitely great additions. This paired with the better than average performance makes it a great option to look at for a cooler that covers all the bases whilst being a bit more unique.