

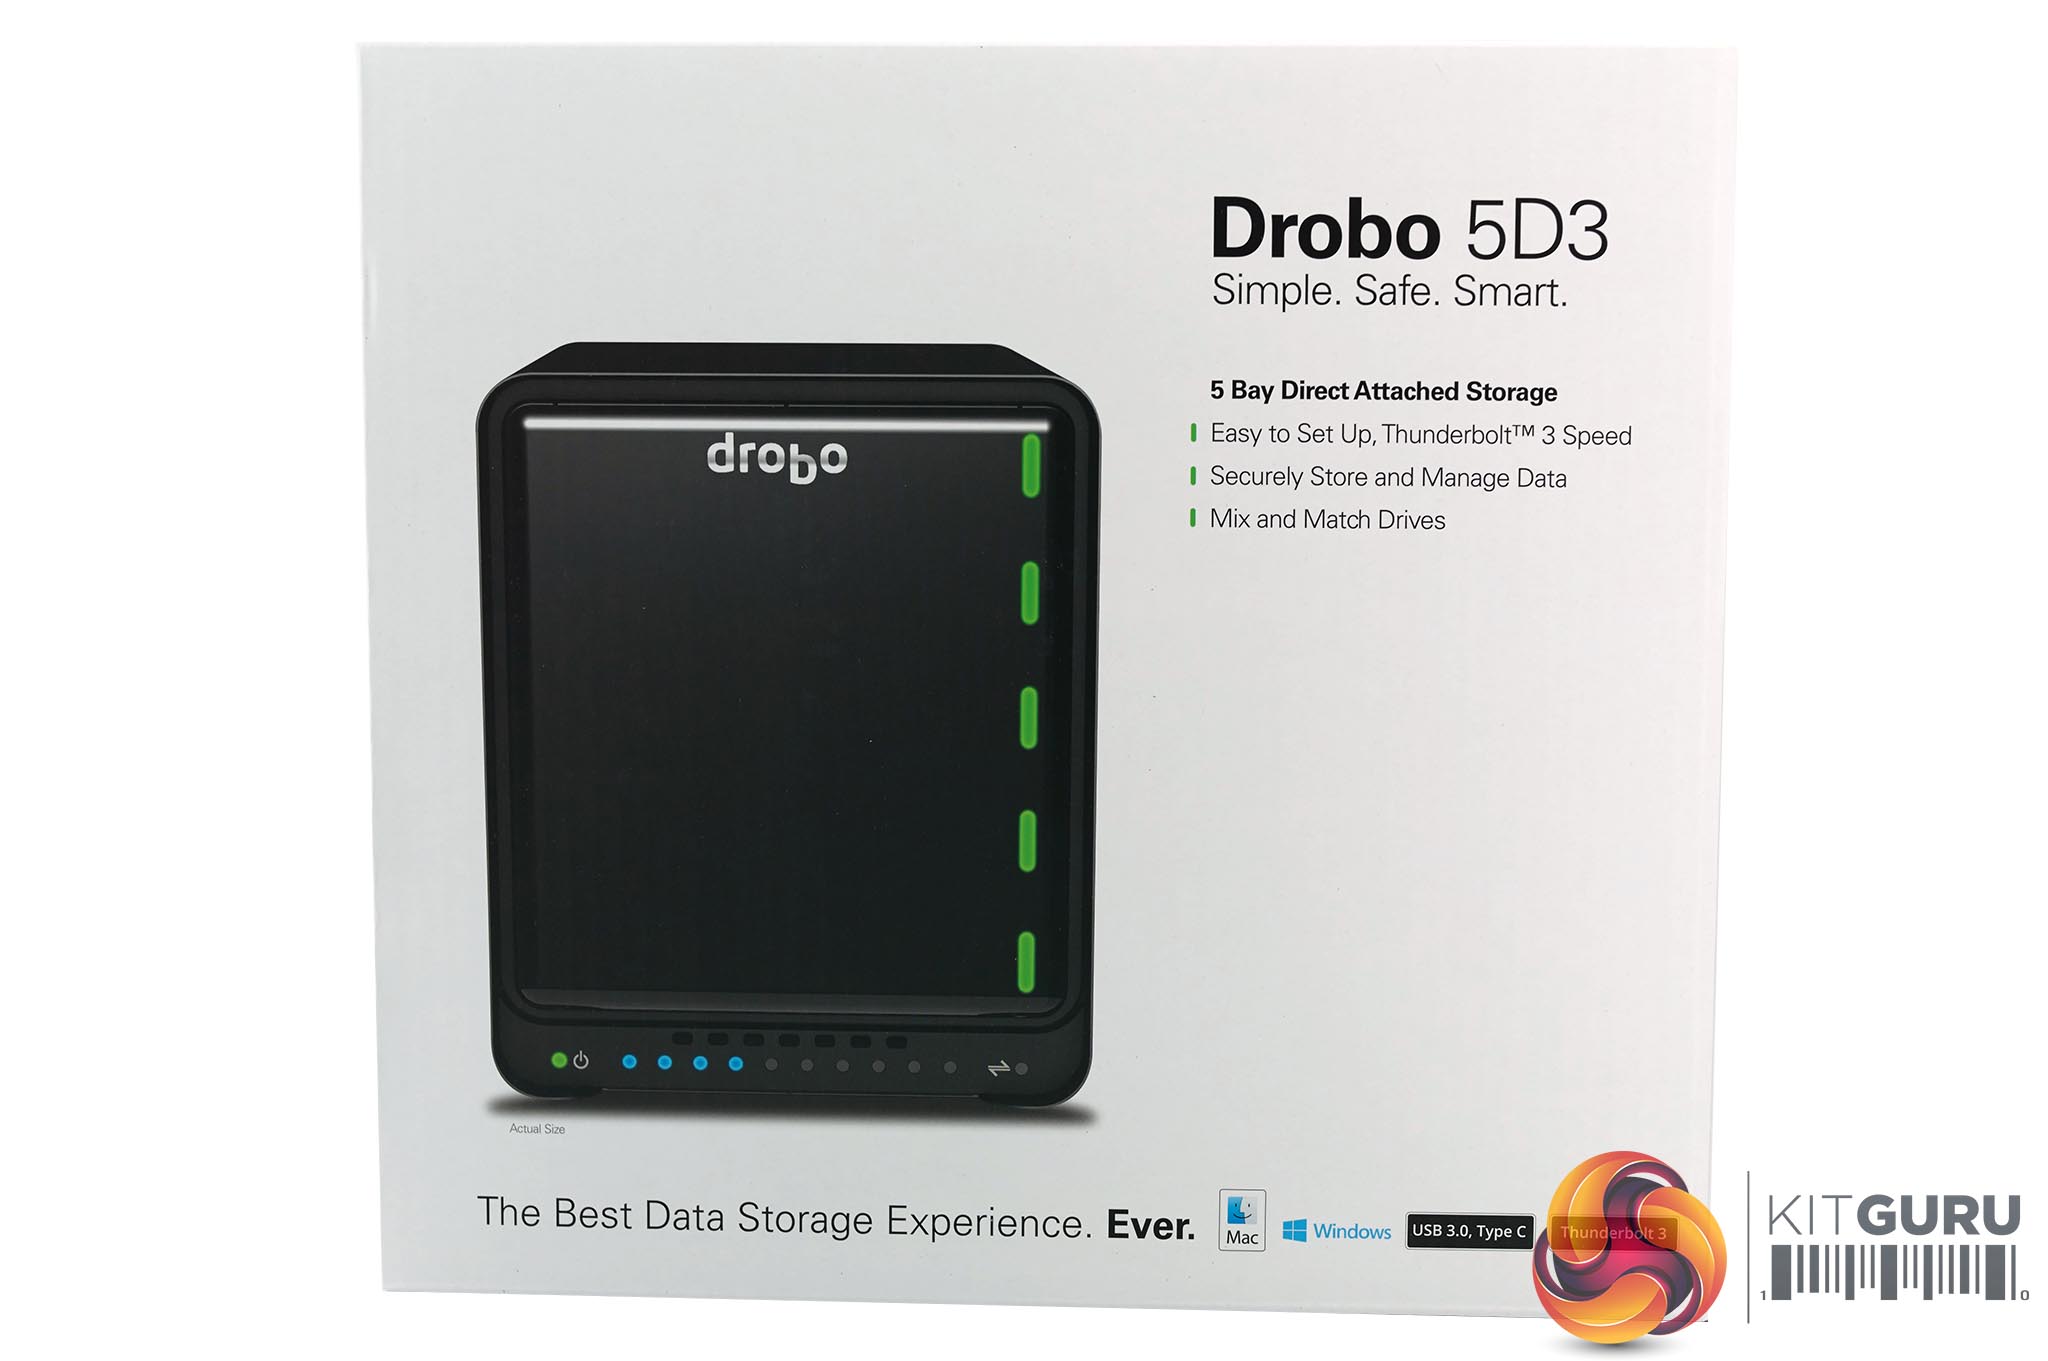
The Drobo 5D3 ships inside a large white box with some high resolution images and specifications of the DAS on the sides. The front of the box shows an ‘actual size' photograph of the product itself. Not much use to anyone buying it online, but ideal for someone in a store.
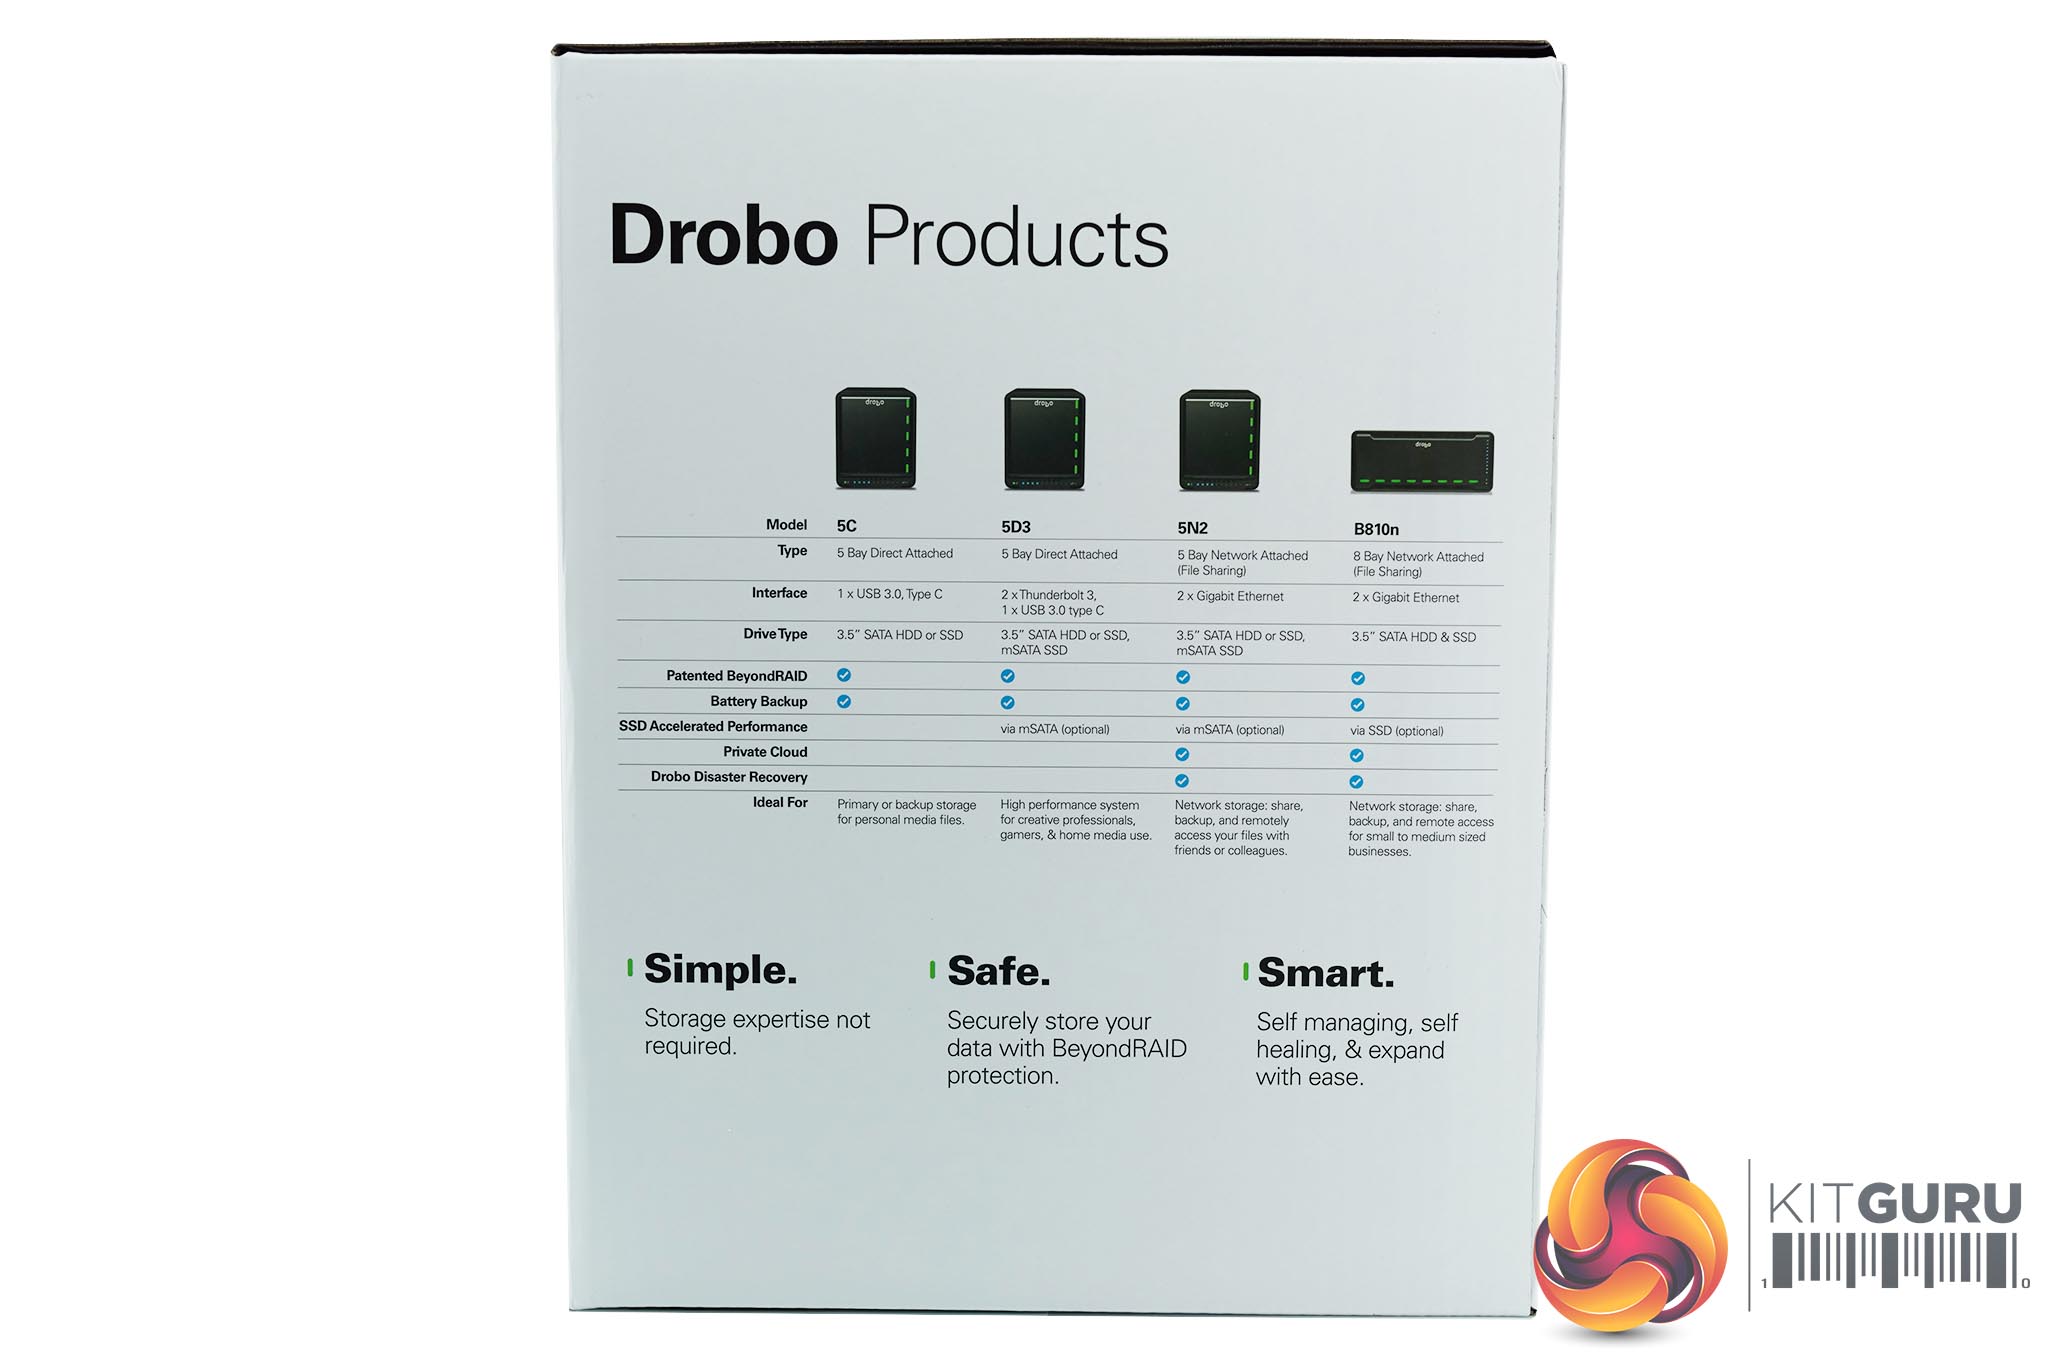
One side of the box shows current models being sold by the company – some are DAS (directly attached storage), others are NAS units (network attached storage).

Inside the box is a cardboard sheet which is marked ‘quick start card'. The flip side shows the URL for some guidance during the setup.

Above the DAS is a white box containing all of the peripherals.
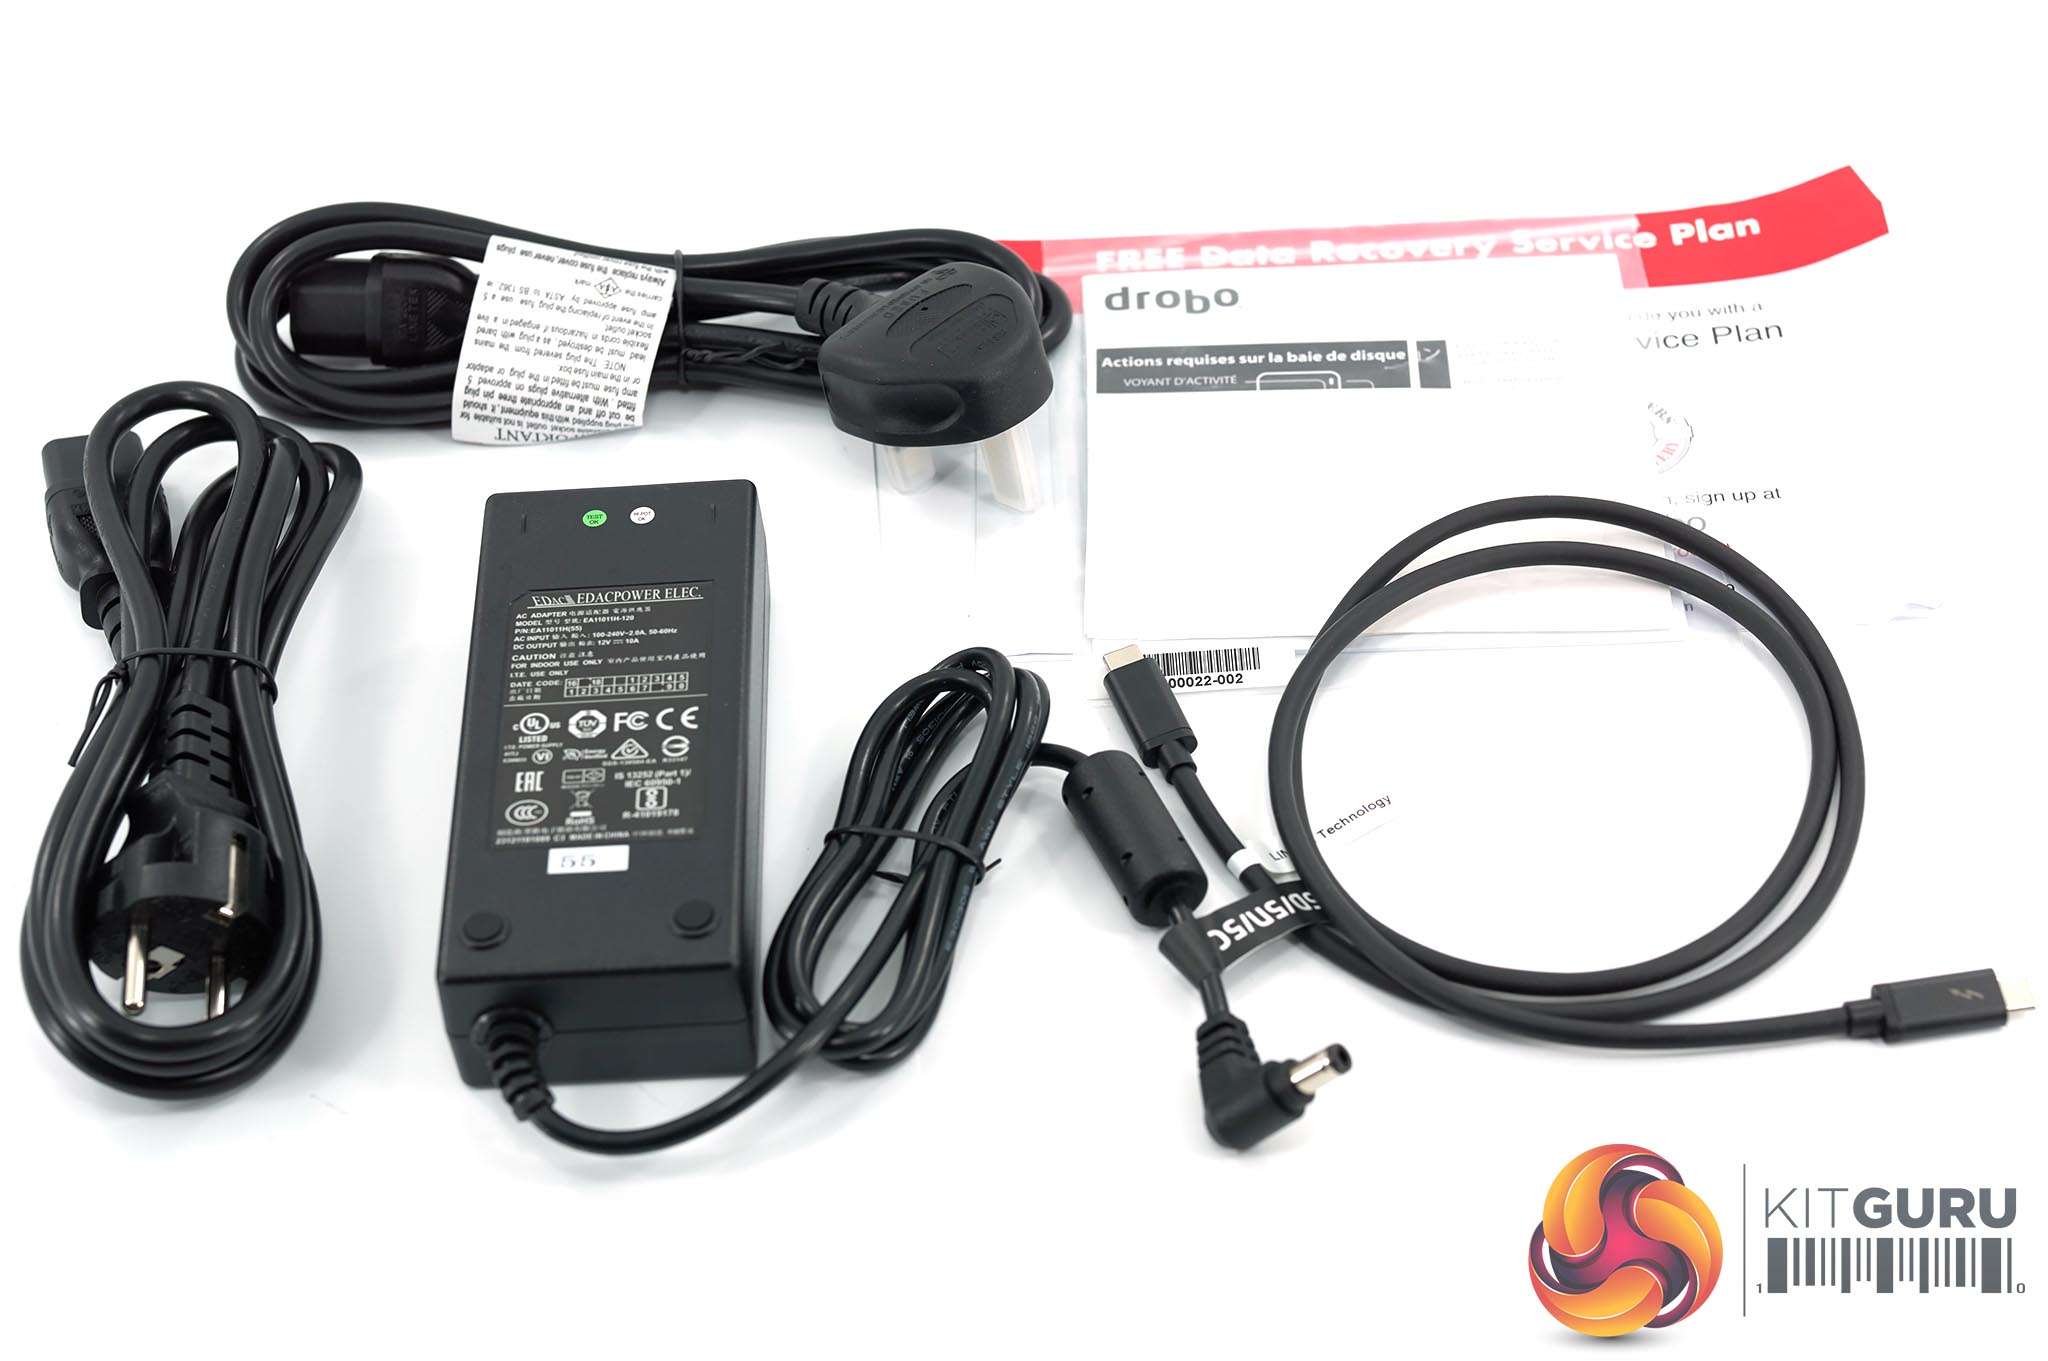
Inside the box is a Thunderbolt 3 connector, two power cables (one for Europe and the other for UK). There is a little user pamphlet explaining the warranty along with some stickers, and a universal power adapter.
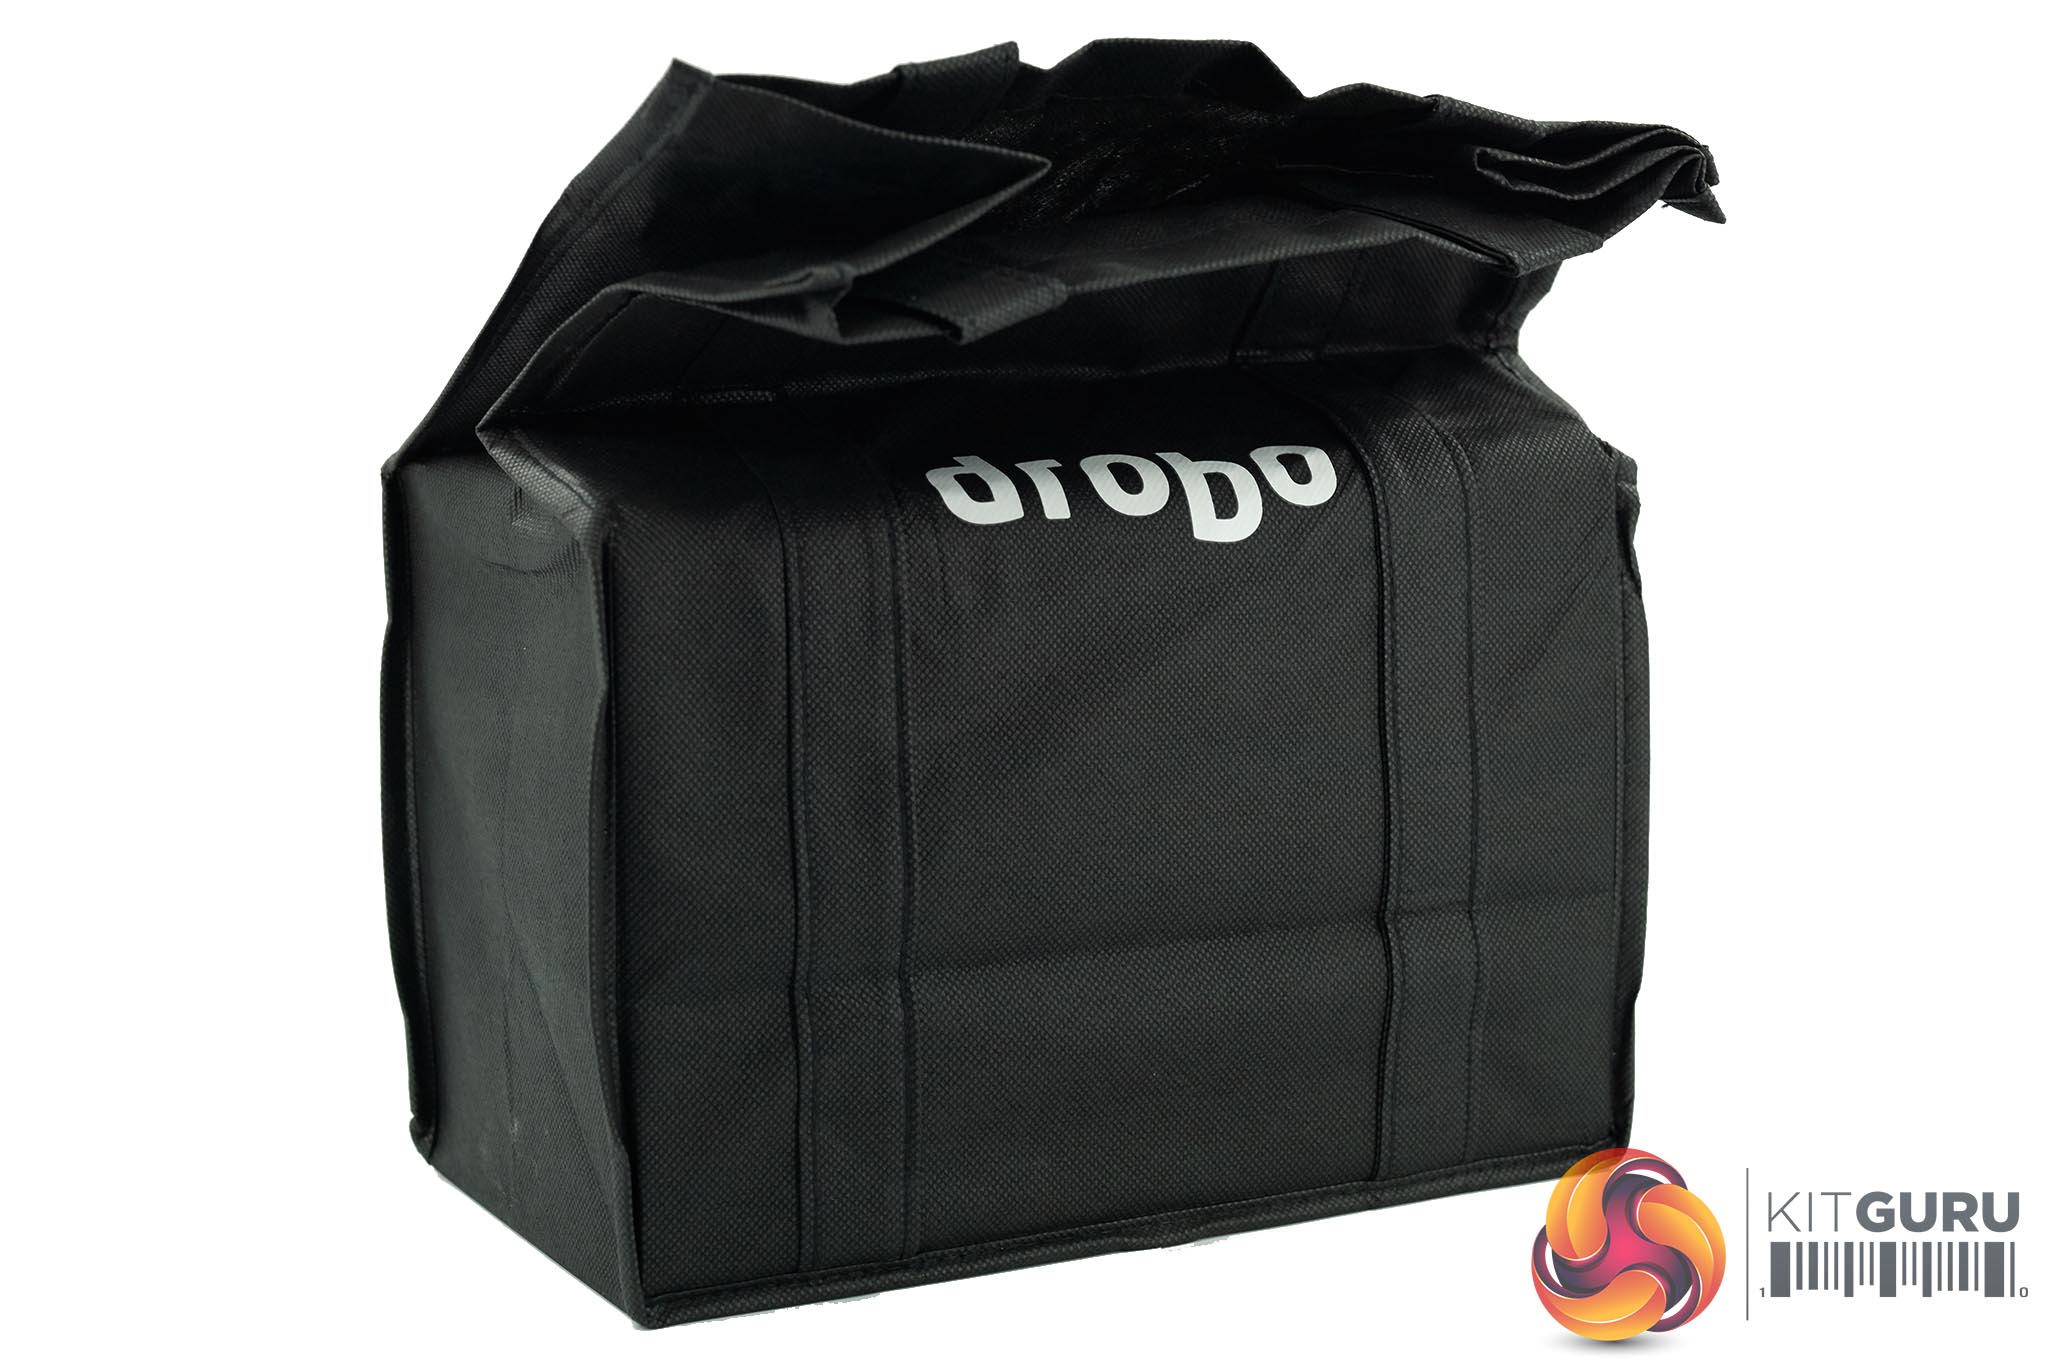
The Drobo 5D3 is securely shipped between two substantial pieces of hard foam, and it is encased inside a branded (and reusable) felt bag. Full marks to Drobo for ensuring the user won't end up with a damaged unit – other companies should really take note on the quality of the packaging.
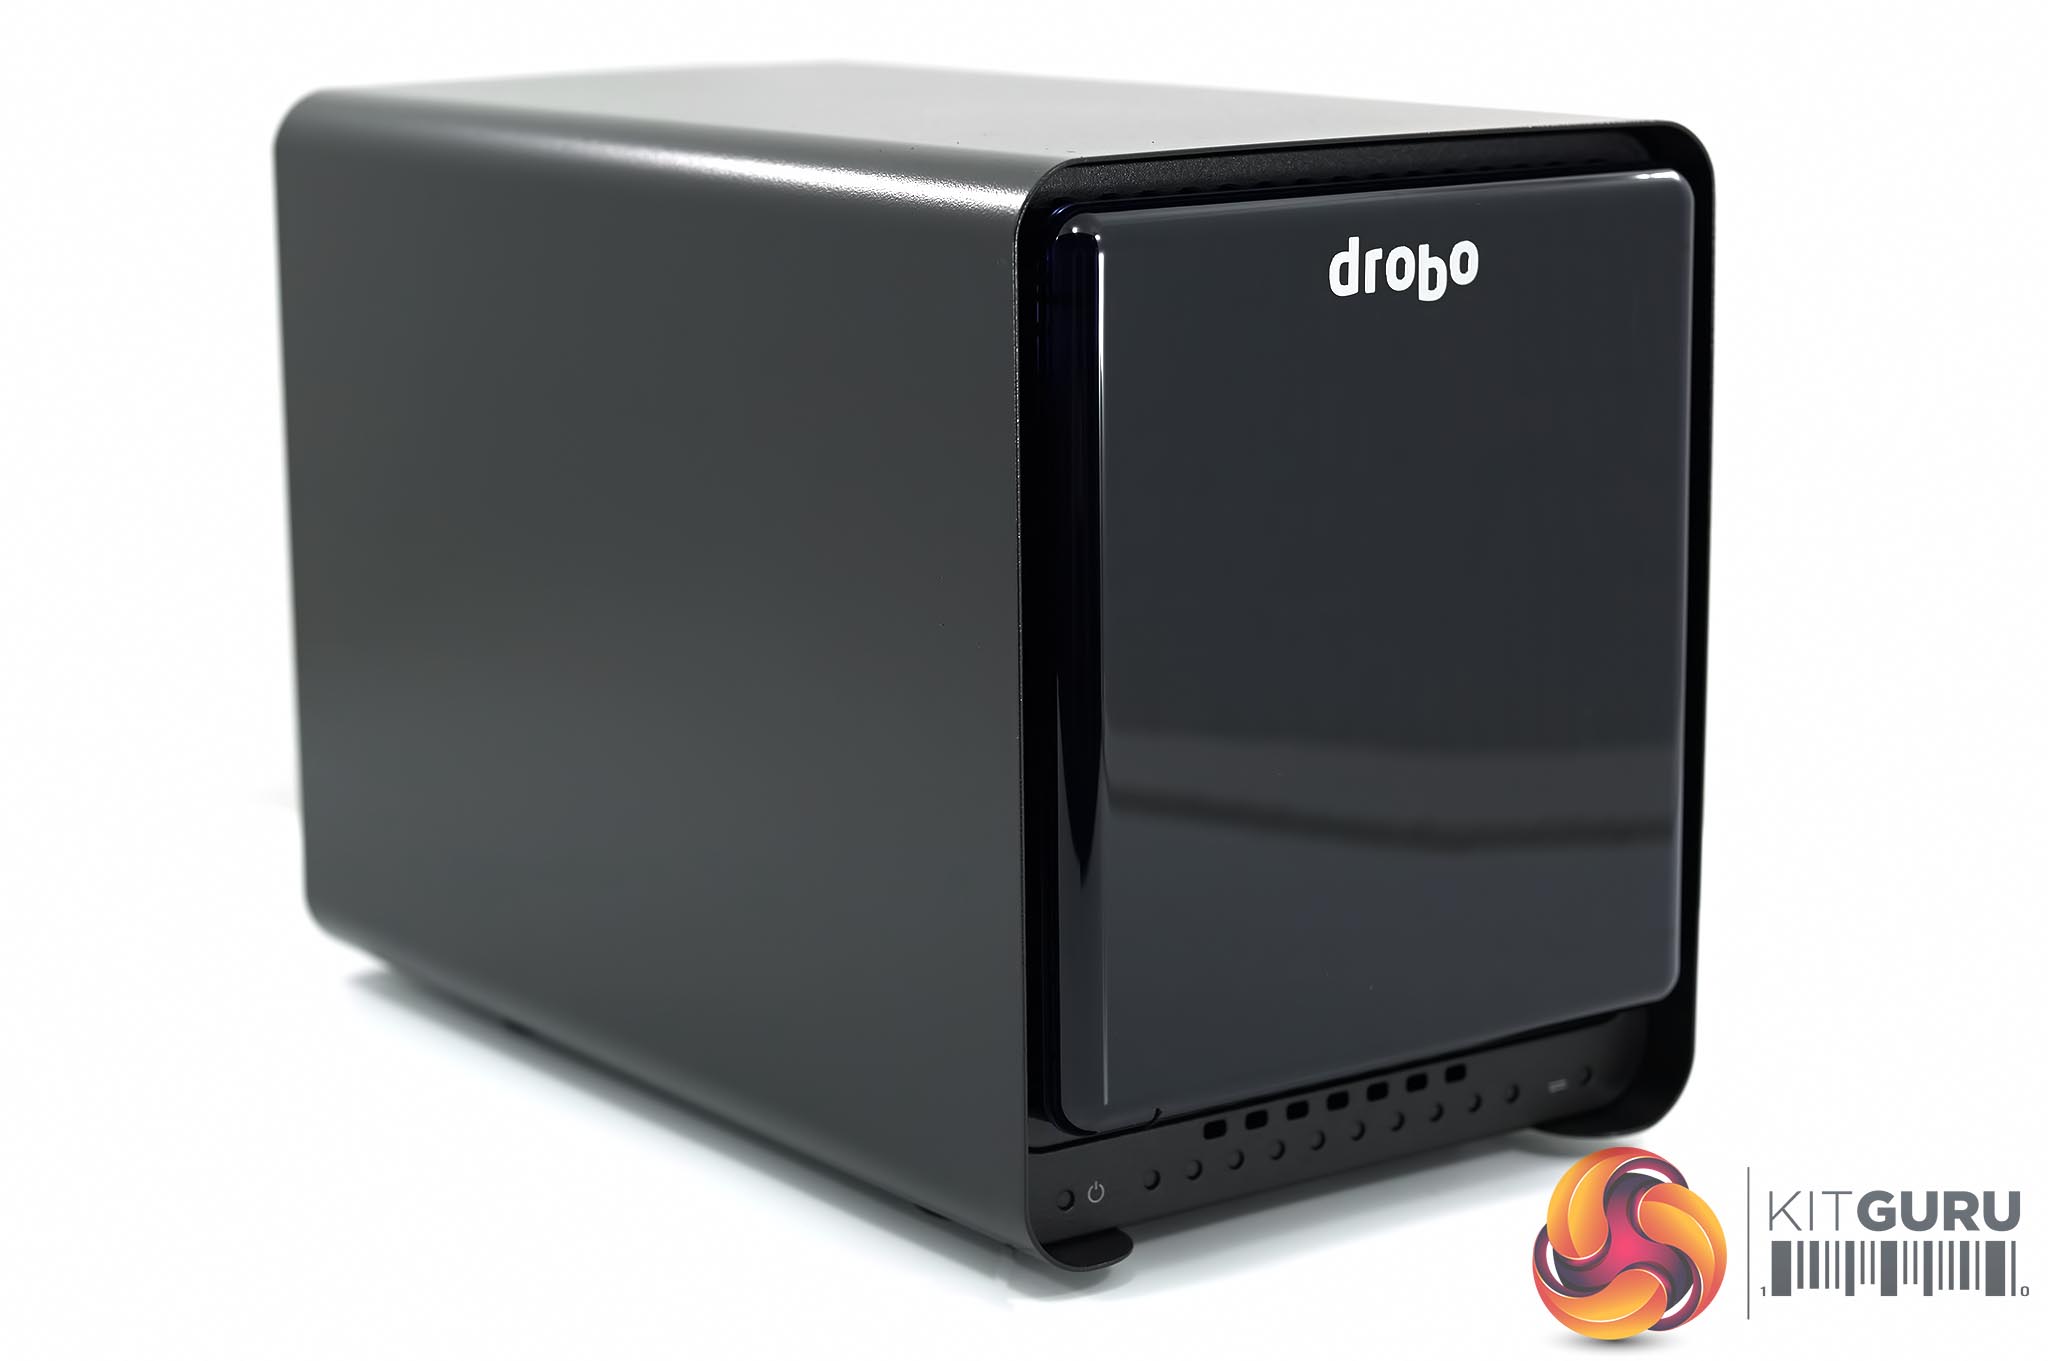
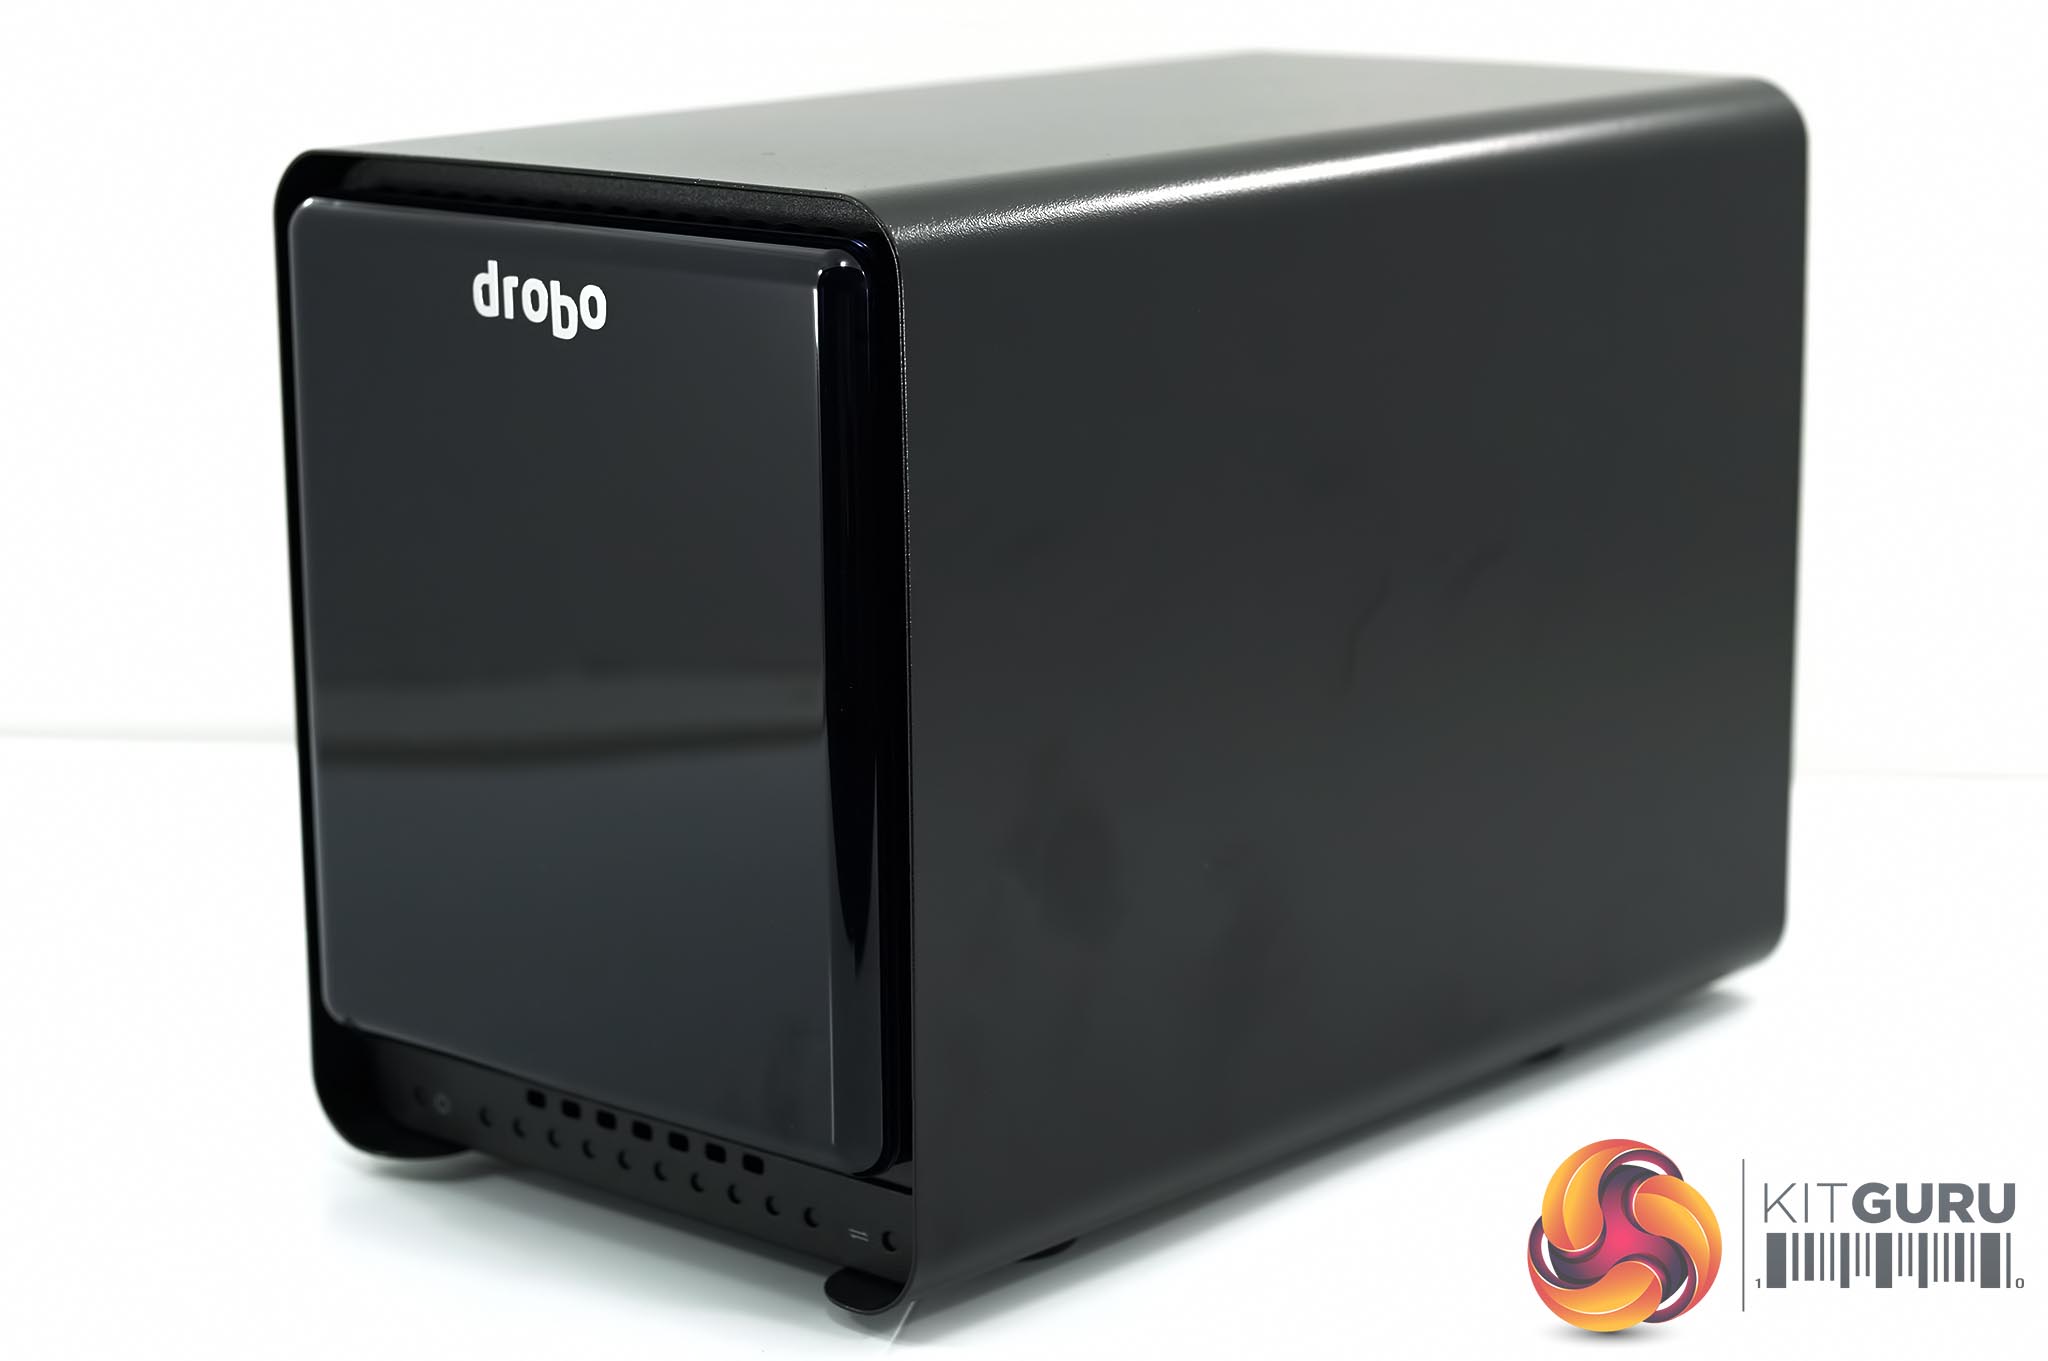
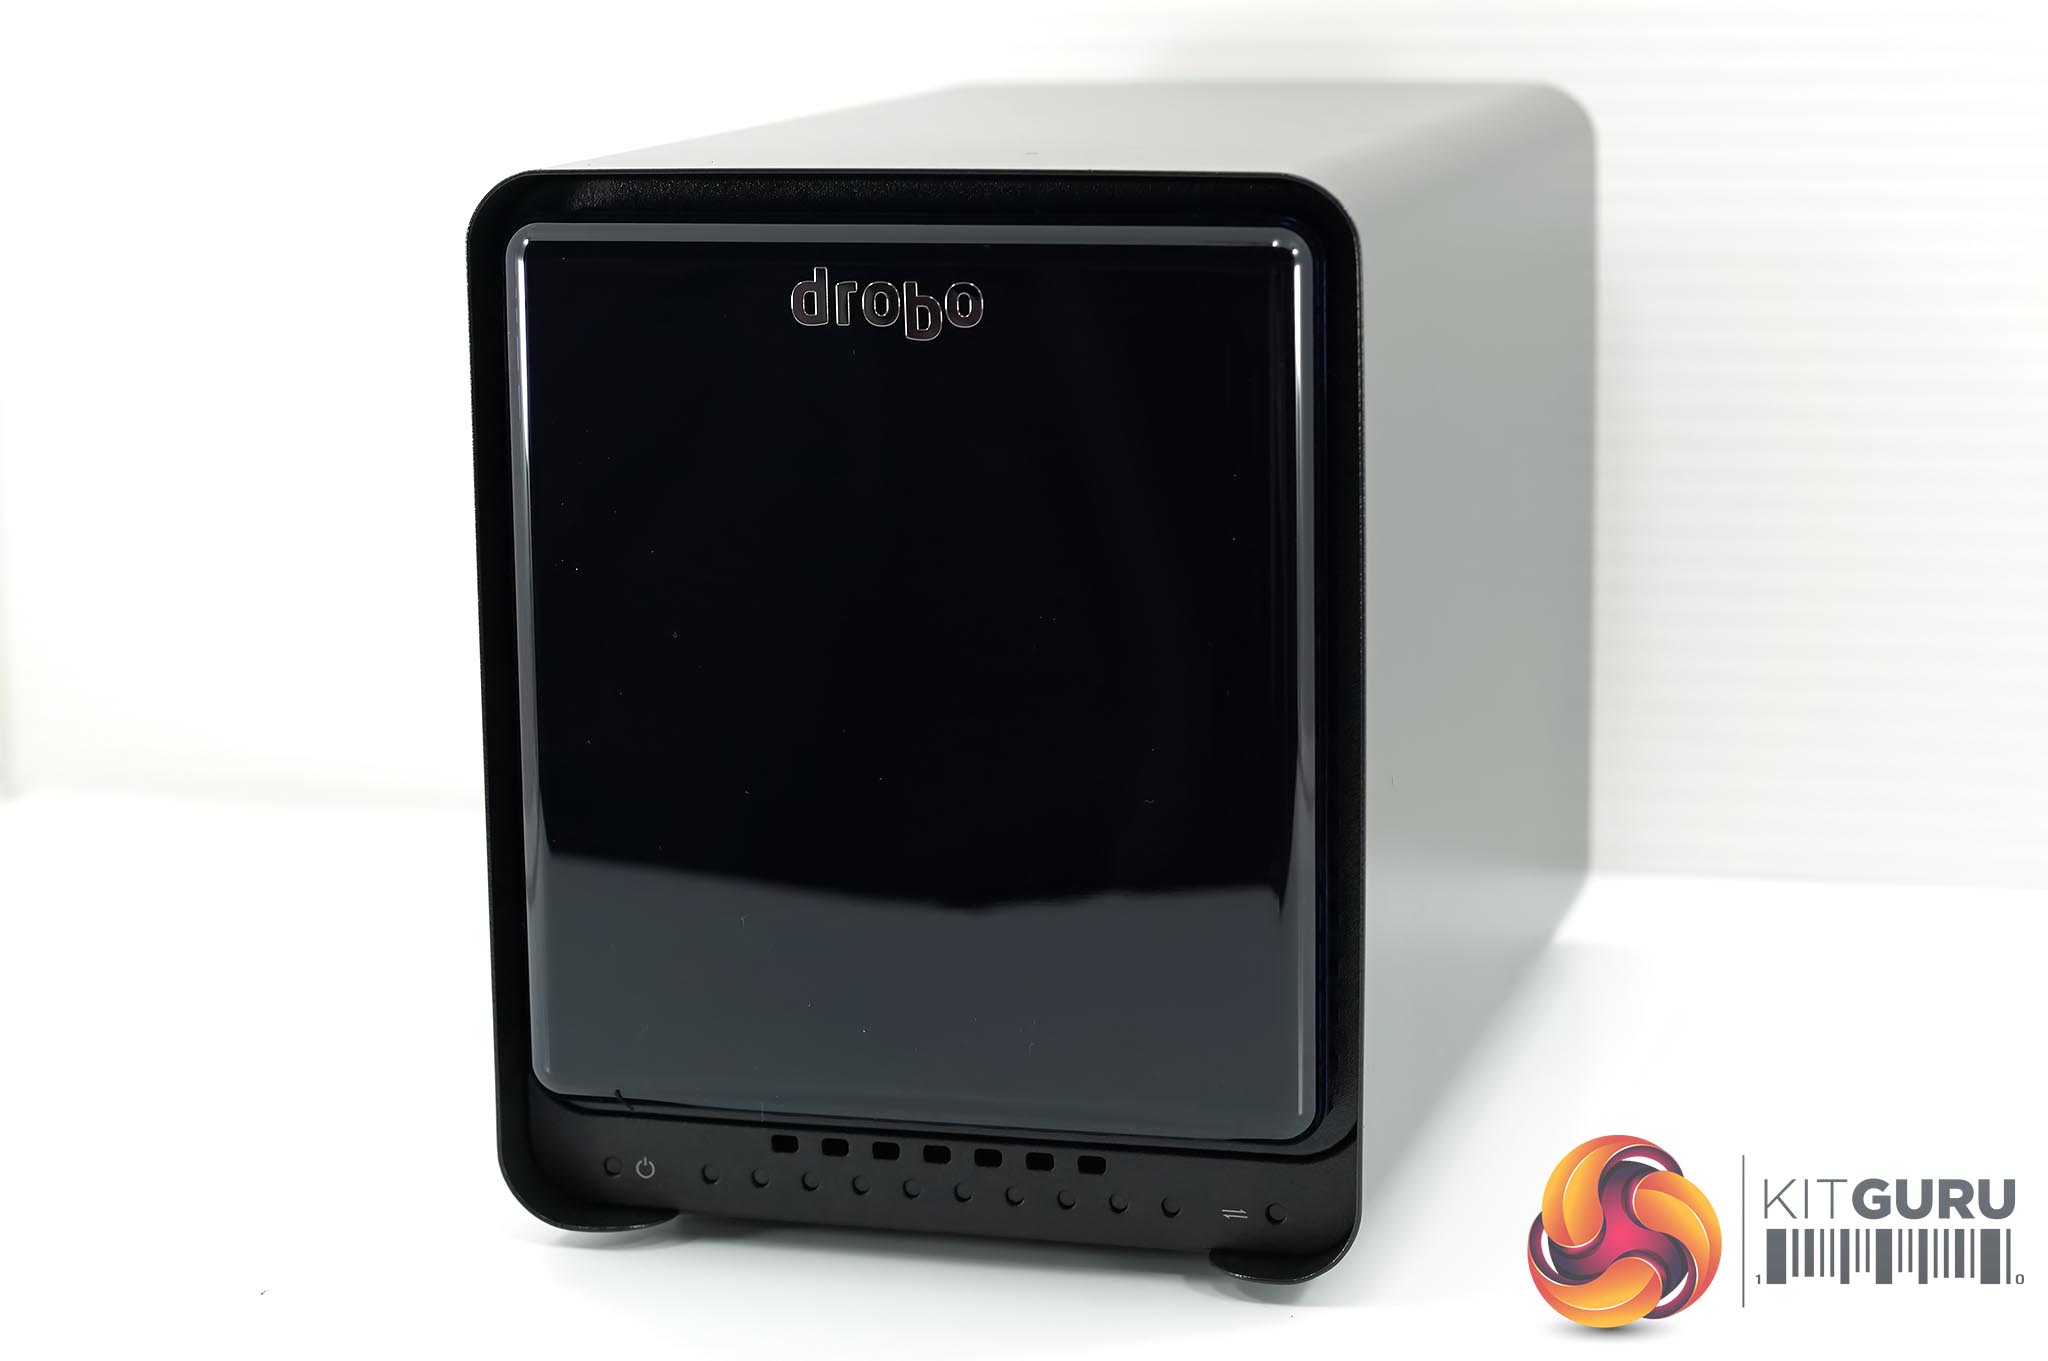
The Drobo 5D3 is a simple black DAS with a reflective plastic panel on the front. This panel is not held in place with screws, but with a special magnetic style surface that attracts and holds the cover in place.

Removing the cover to get access to the bays is simple. Just pull with reasonable force until the gloss plastic fascia comes away from the holder. No locking option here I am afraid for those who want to secure the drives inside the unit.
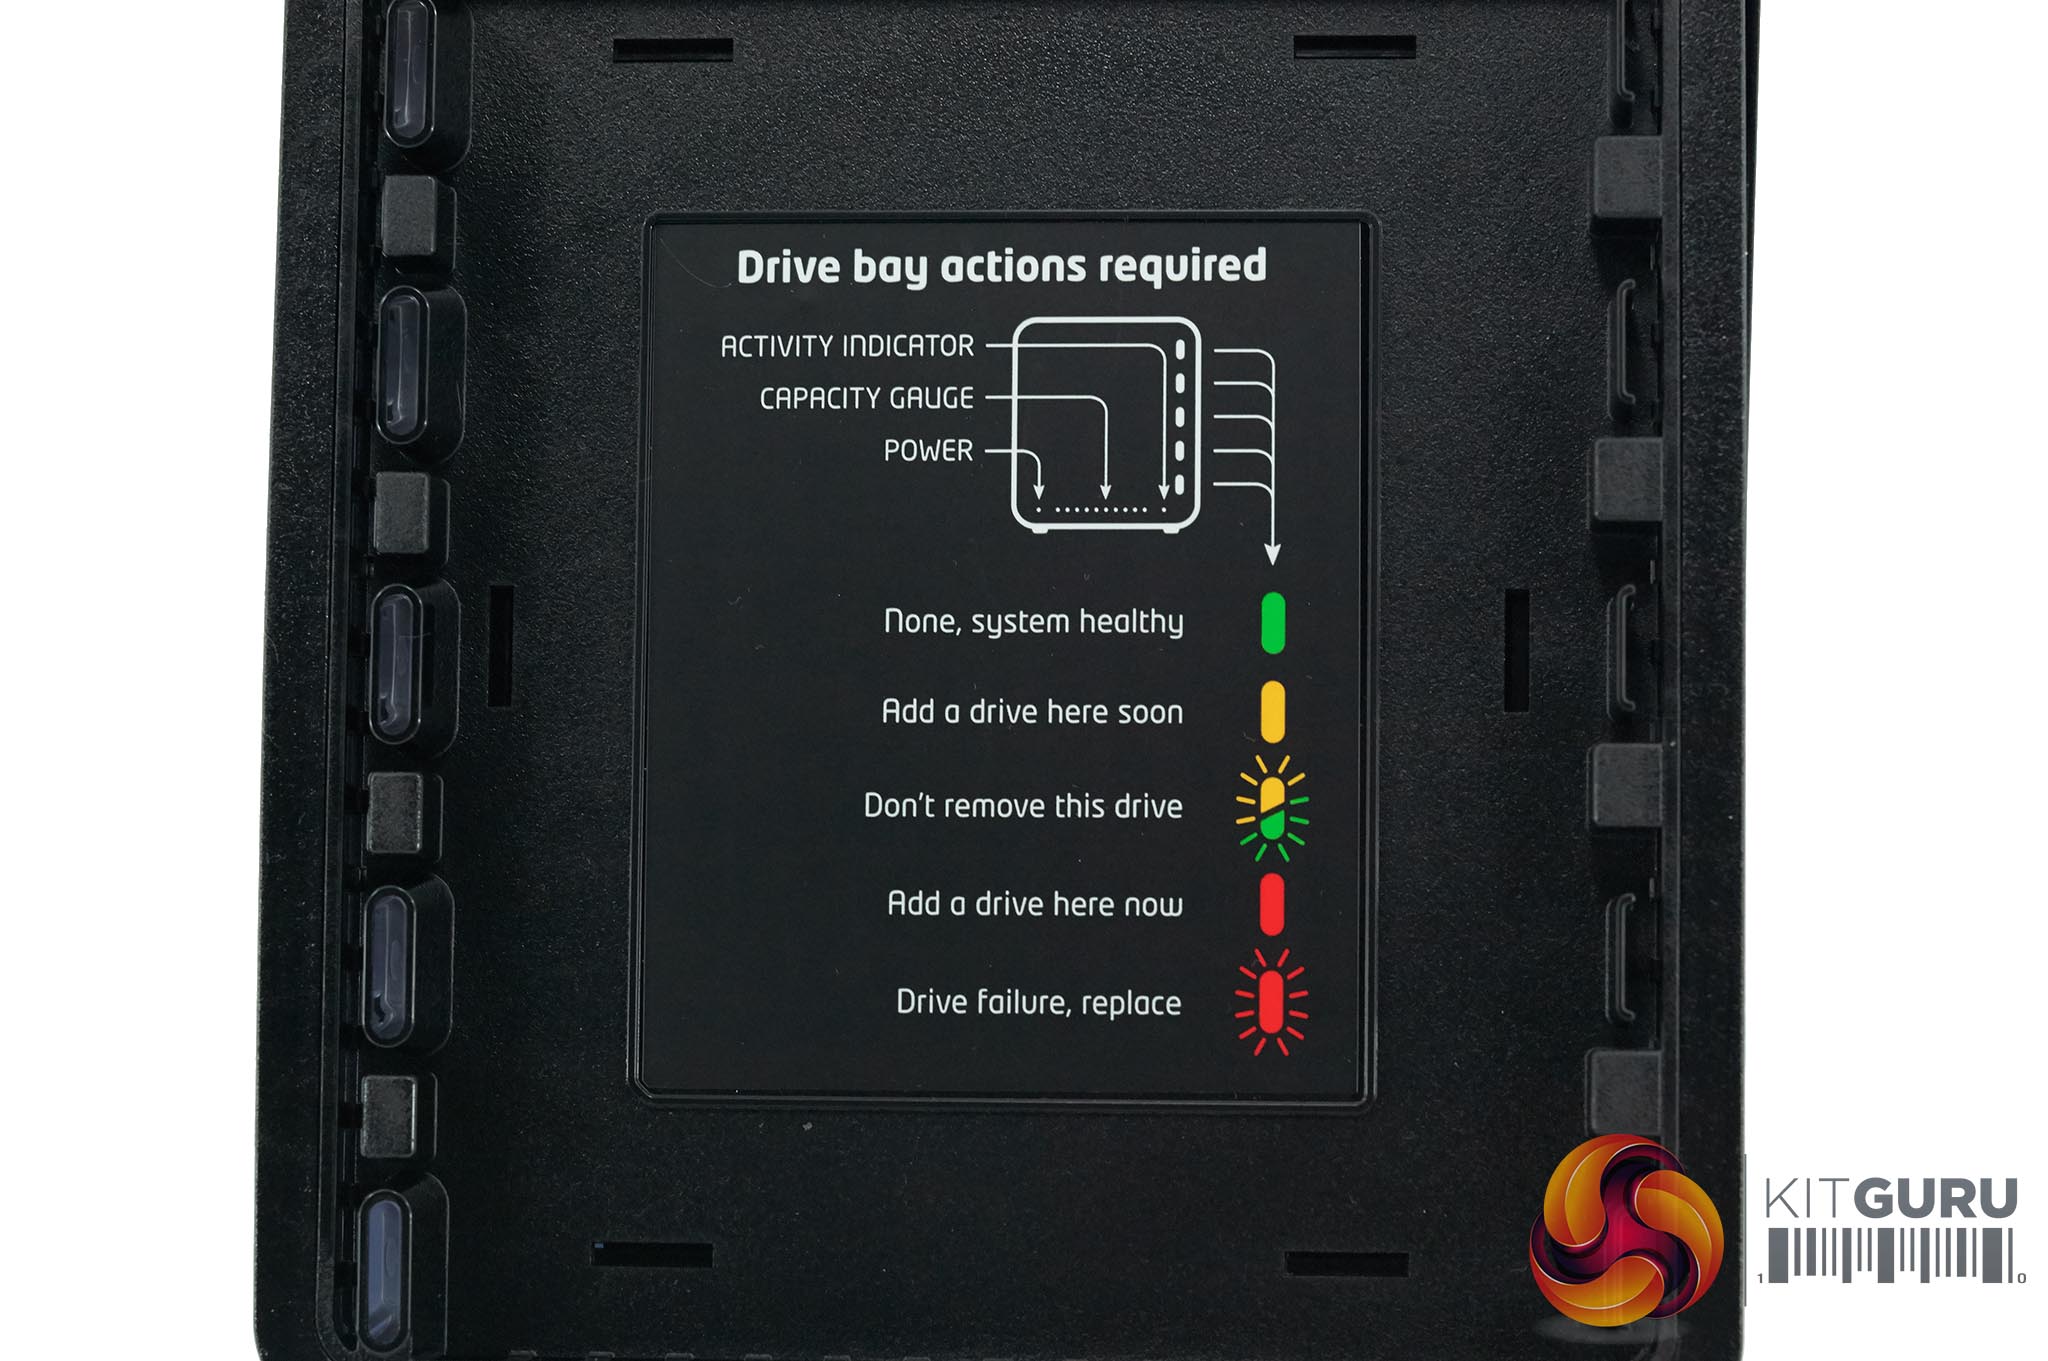
The other side of the gloss front panel contains a colour chart of drive colours and what they mean.
Green: no actions required – system healthy.
Yellow: Add a drive here soon.
Flashing green/yellow: Don't remove this drive.
Red: Add a drive here now.
Flashing Red: Drive failure, replace.
It is important to know these basic colours as most of the Drobo setup is very straightforward and oriented around simple colour alerts. Basically once the unit is setup all drives should be showing green.
The flashing yellow/green indicator will indicate that work is being performed on that particular drive, so removing it while this is happening can cause issues. A flashing red light is bad news, because it means the drive is dead and will need replaced ASAP.

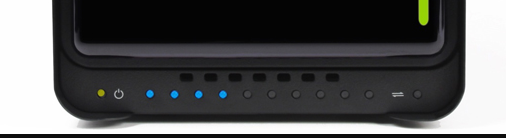
There is a row of LED indicators along the bottom of the unit – shown above. I will explain how these work.
Firstly on the far left of the panel is a green LED which indicates that the Drobo 5D3 is switched on. The indicator on the far right shows that data is being moved between the system and the 5D3. In the center is a row of 10 blue LED's. These actually indicate how much of the available space is already in use. The image above shows 4 blue LED lights which indicate that 40% of the RAID's capacity is in use.
As more space is used, more of these lights will glow blue. When they are all full, one of the drive bay LEDs will indicate that a blank bay should have a drive fitted, or that one of the already occupied bays needs a larger drive installed.
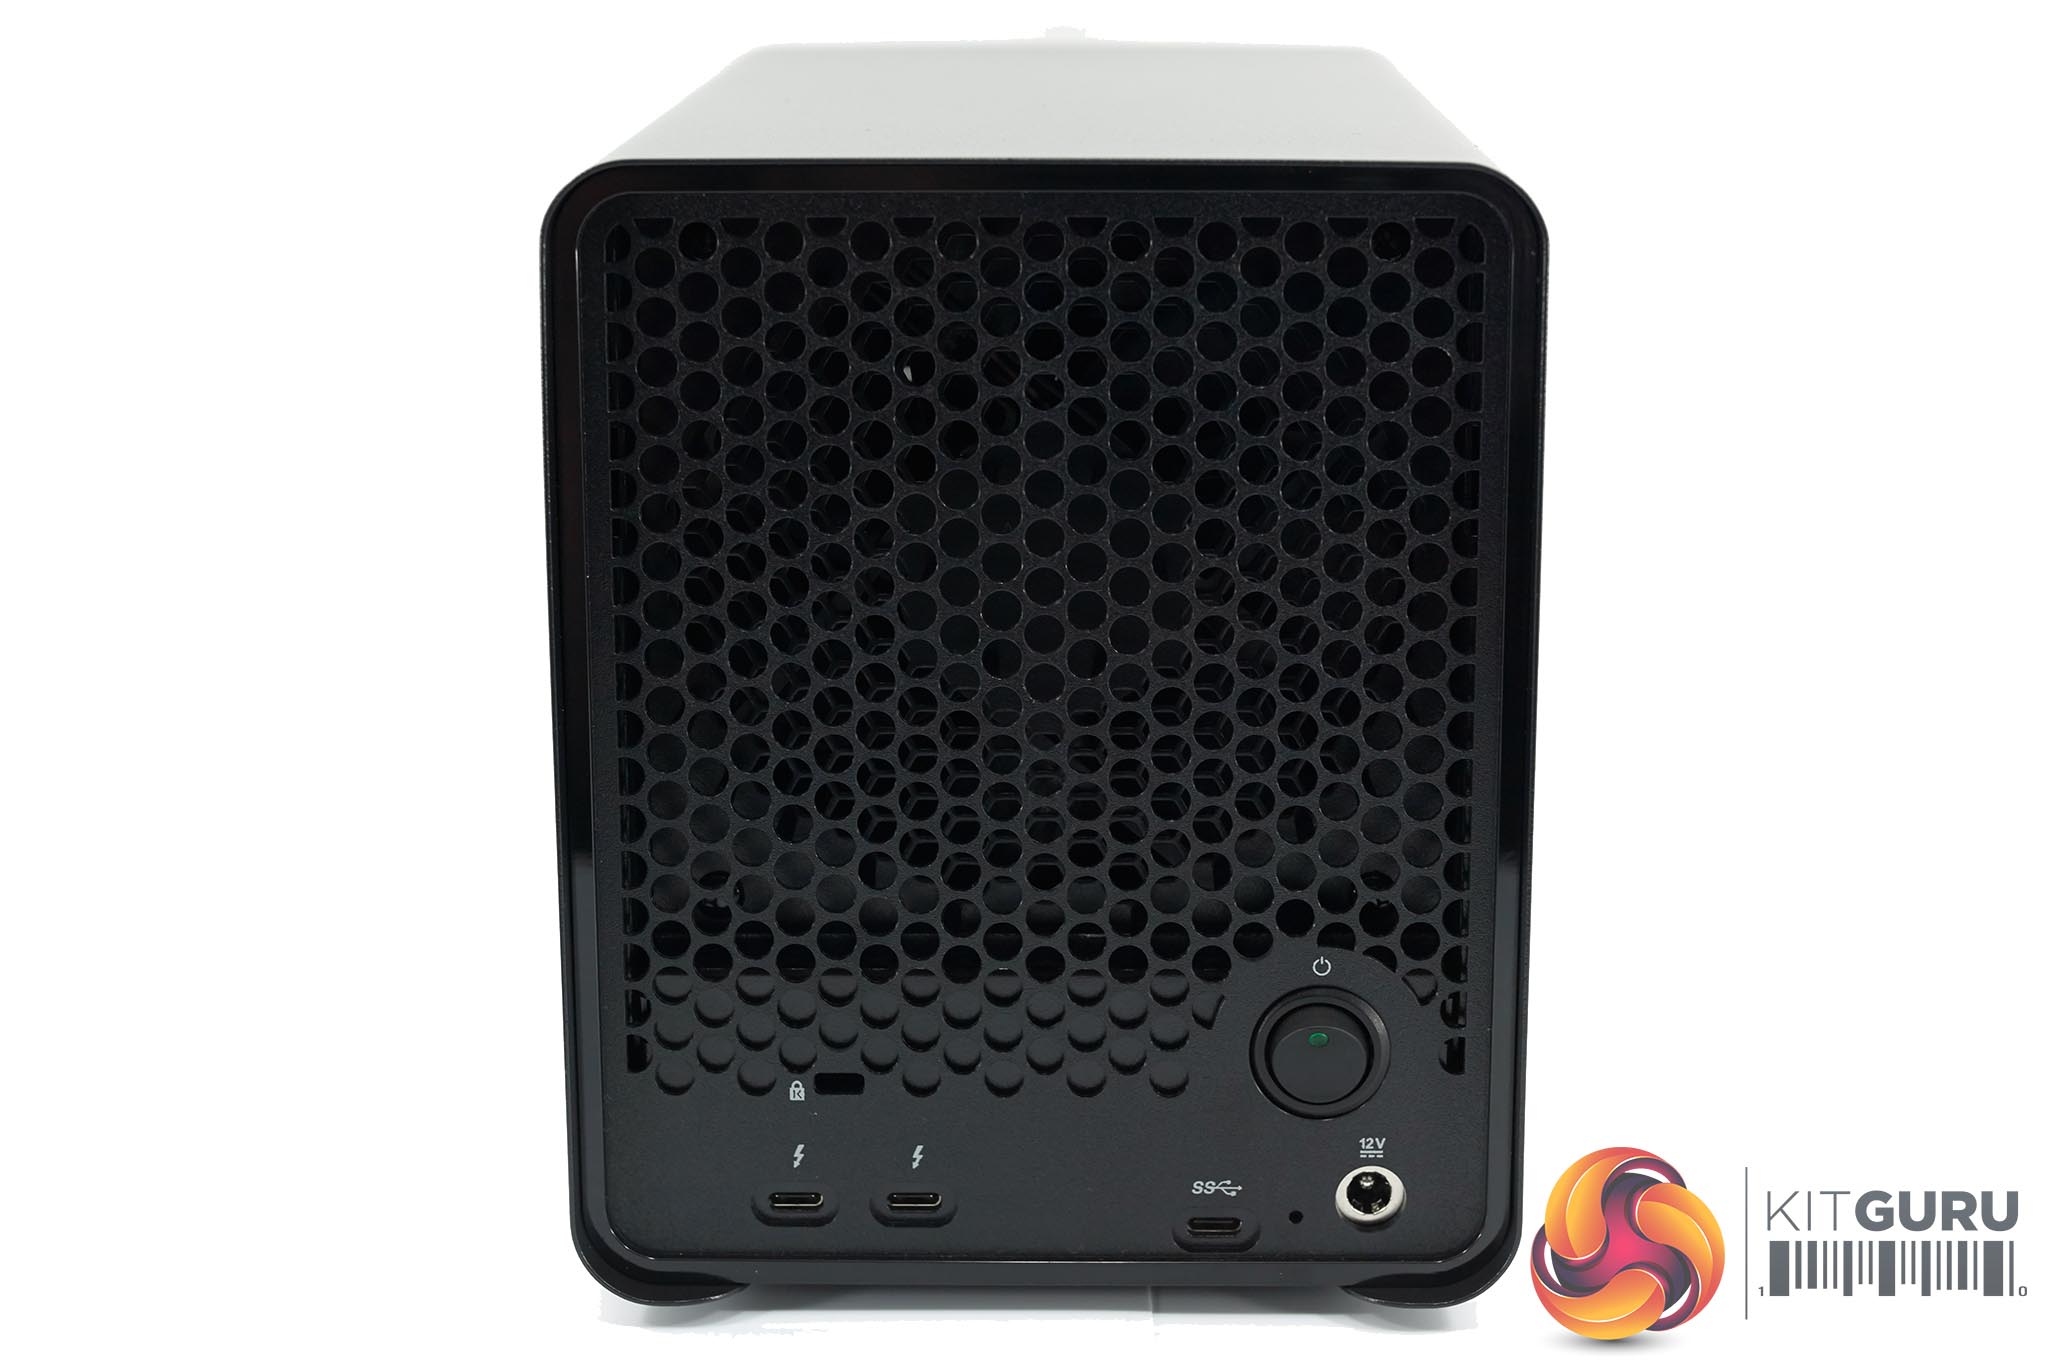
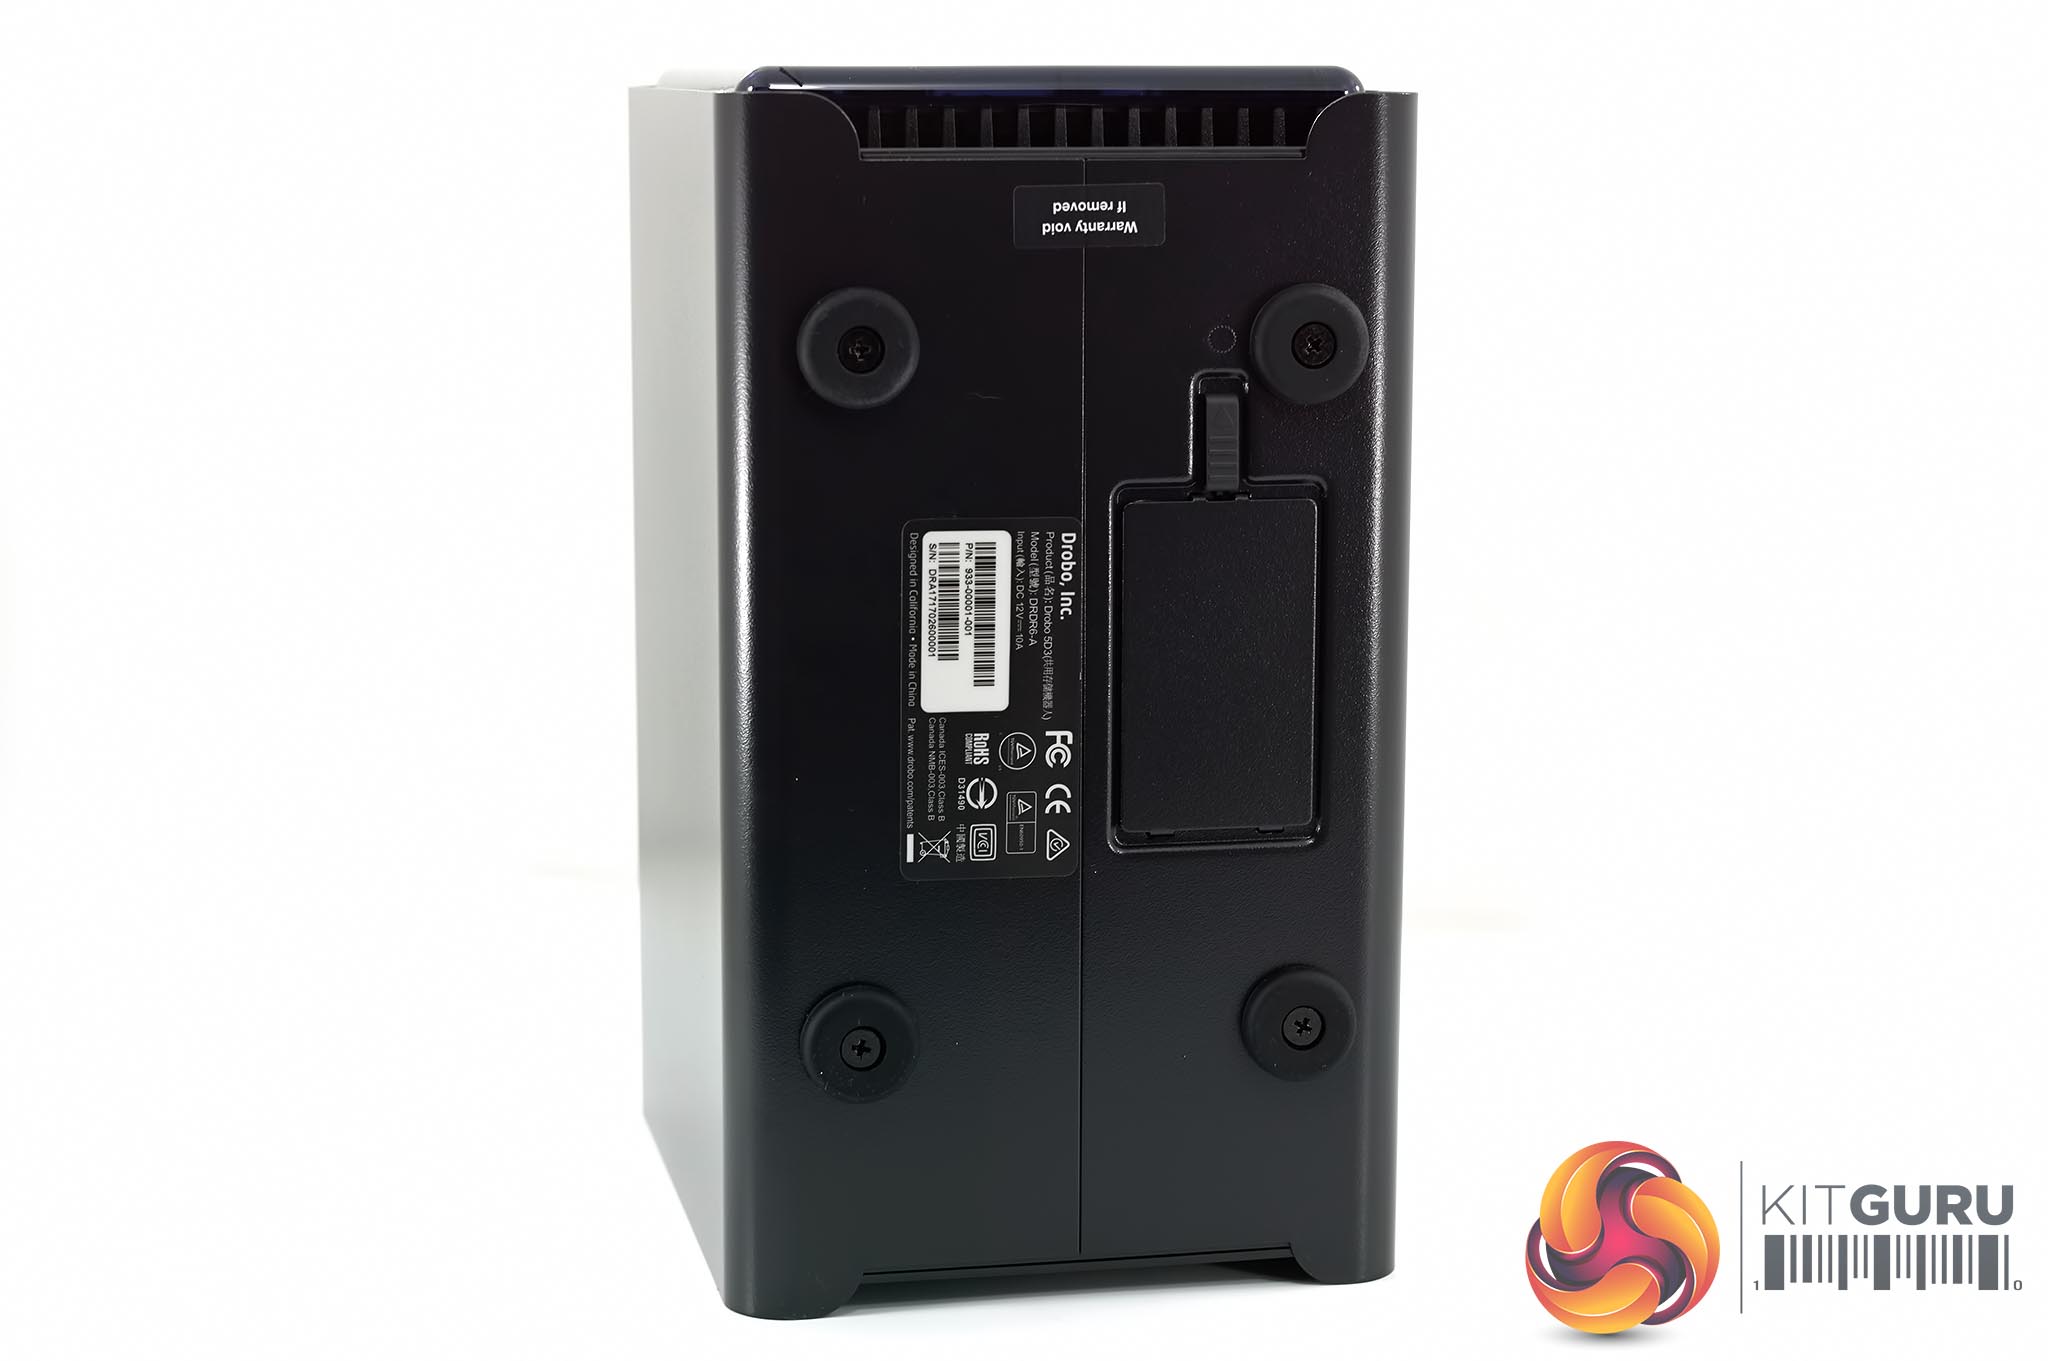
The rear of the unit is home to a large cooling vent, and the I/O options are underneath. There are two Thunderbolt 3 ports (USB C compatible), along with a USB 3.0 port, power plug and power switch.
Another feature of the Drobo 5D3 is that you can fit an mSATA drive to help improve the overall performance of the product. This will act as a fast response cache. The only mSATA's we couldn't get to work had Sandforce controllers, so its worth bearing this in mind before spending any money.
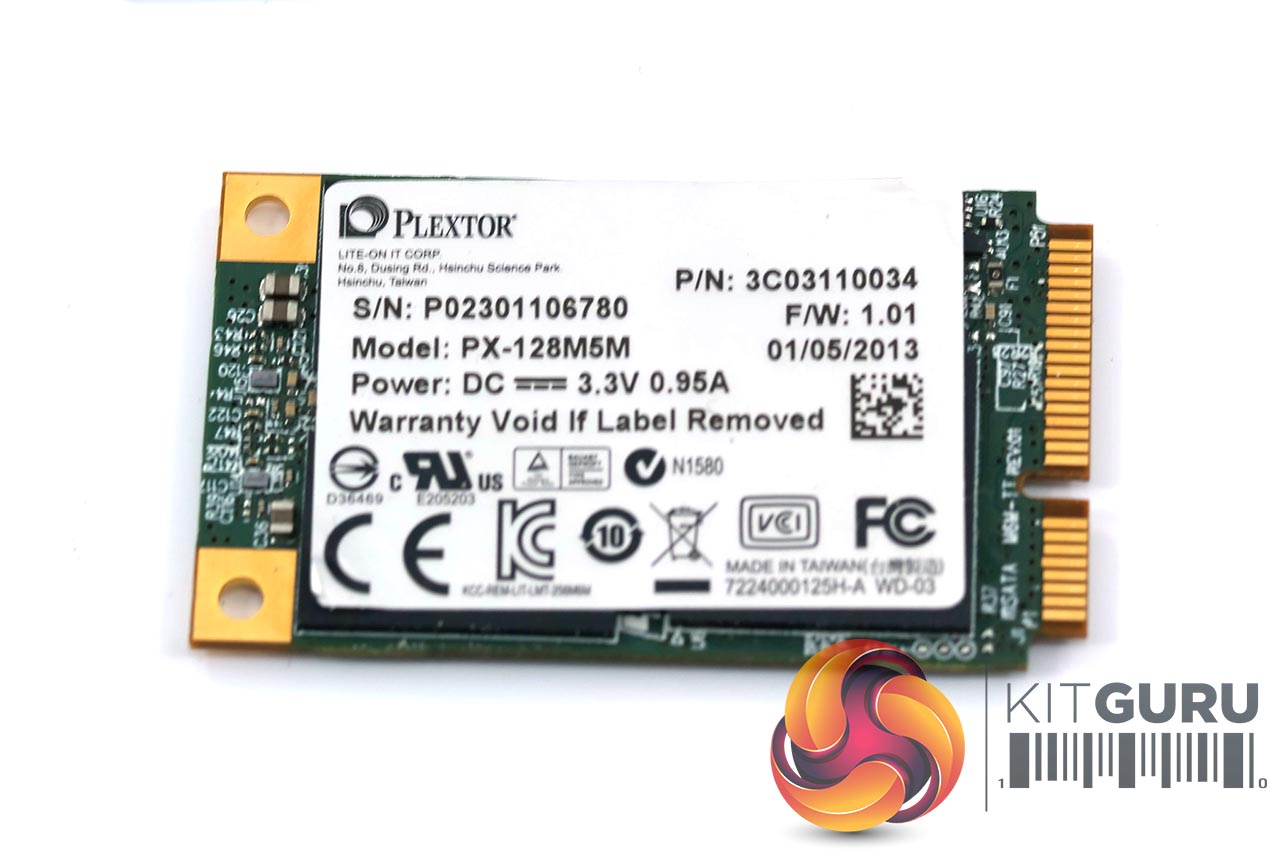
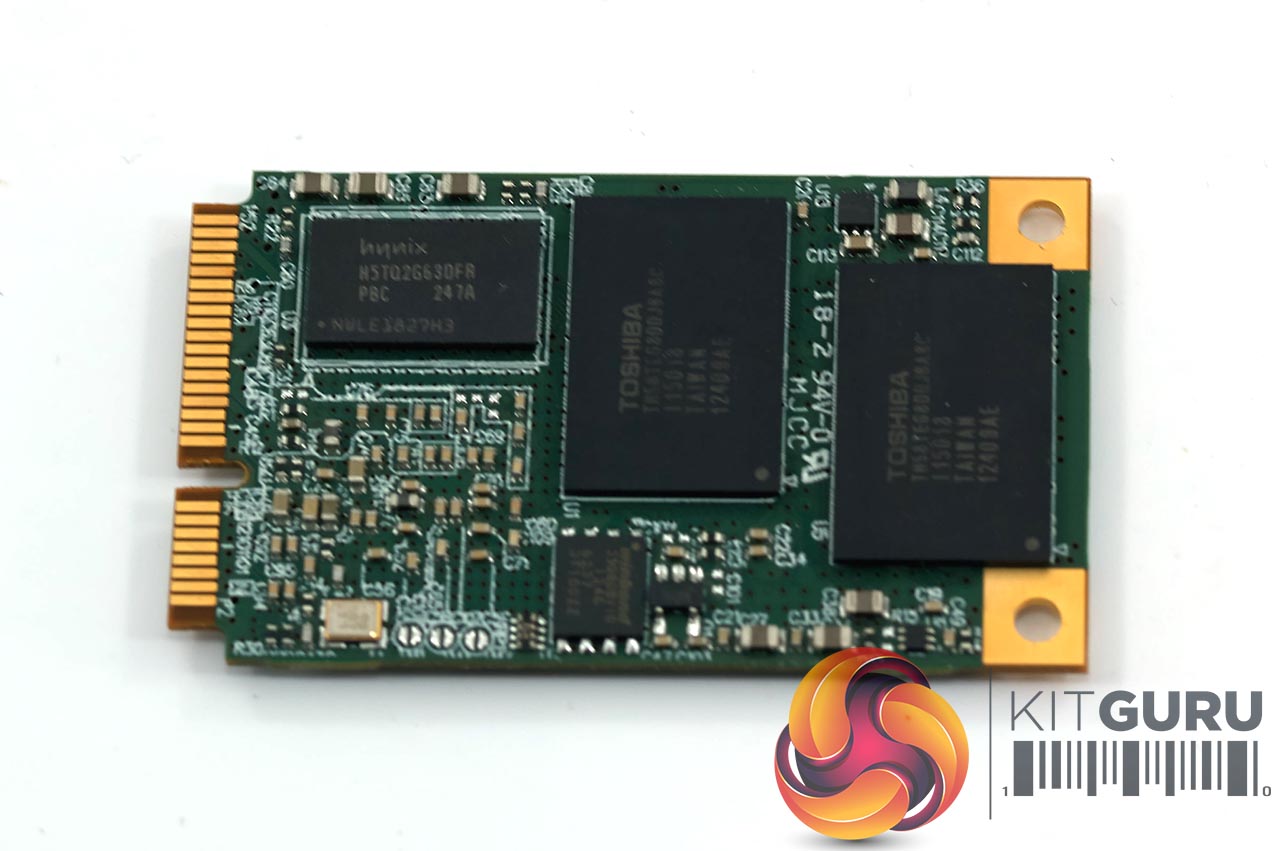
I used a 128GB Marvell based Plextor mSATA drive I had stored in a drawer from a few years ago. Adding an mSATA drive will help performance of the Drobo 5D3, but be aware you don't need to spend a fortune – Amazon are selling compatible 60GB and 120GB drives for between £38 and £57 HERE.
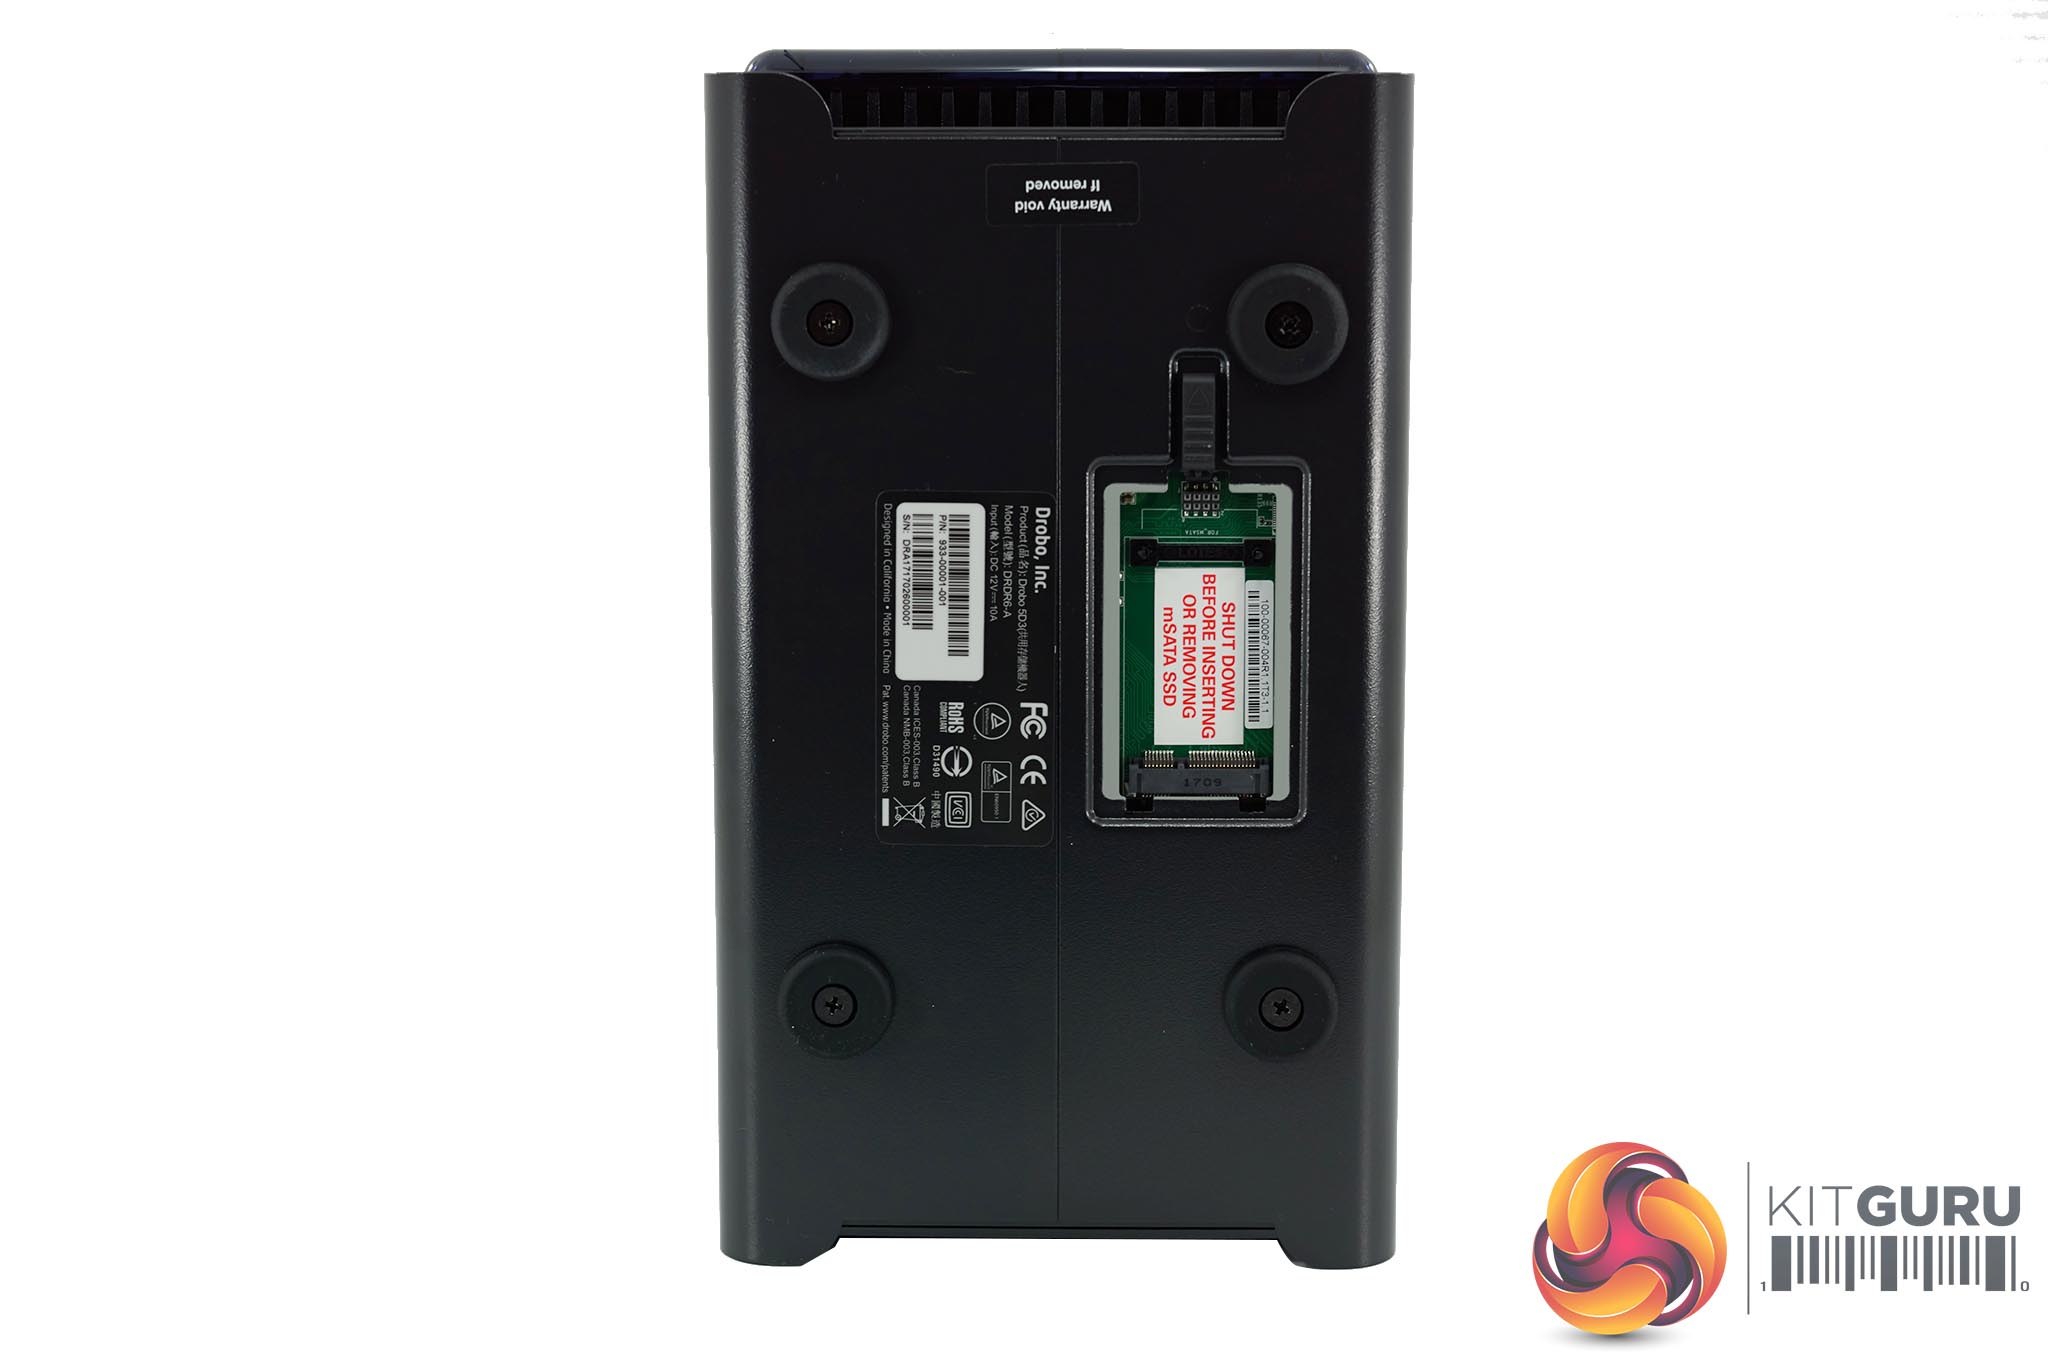
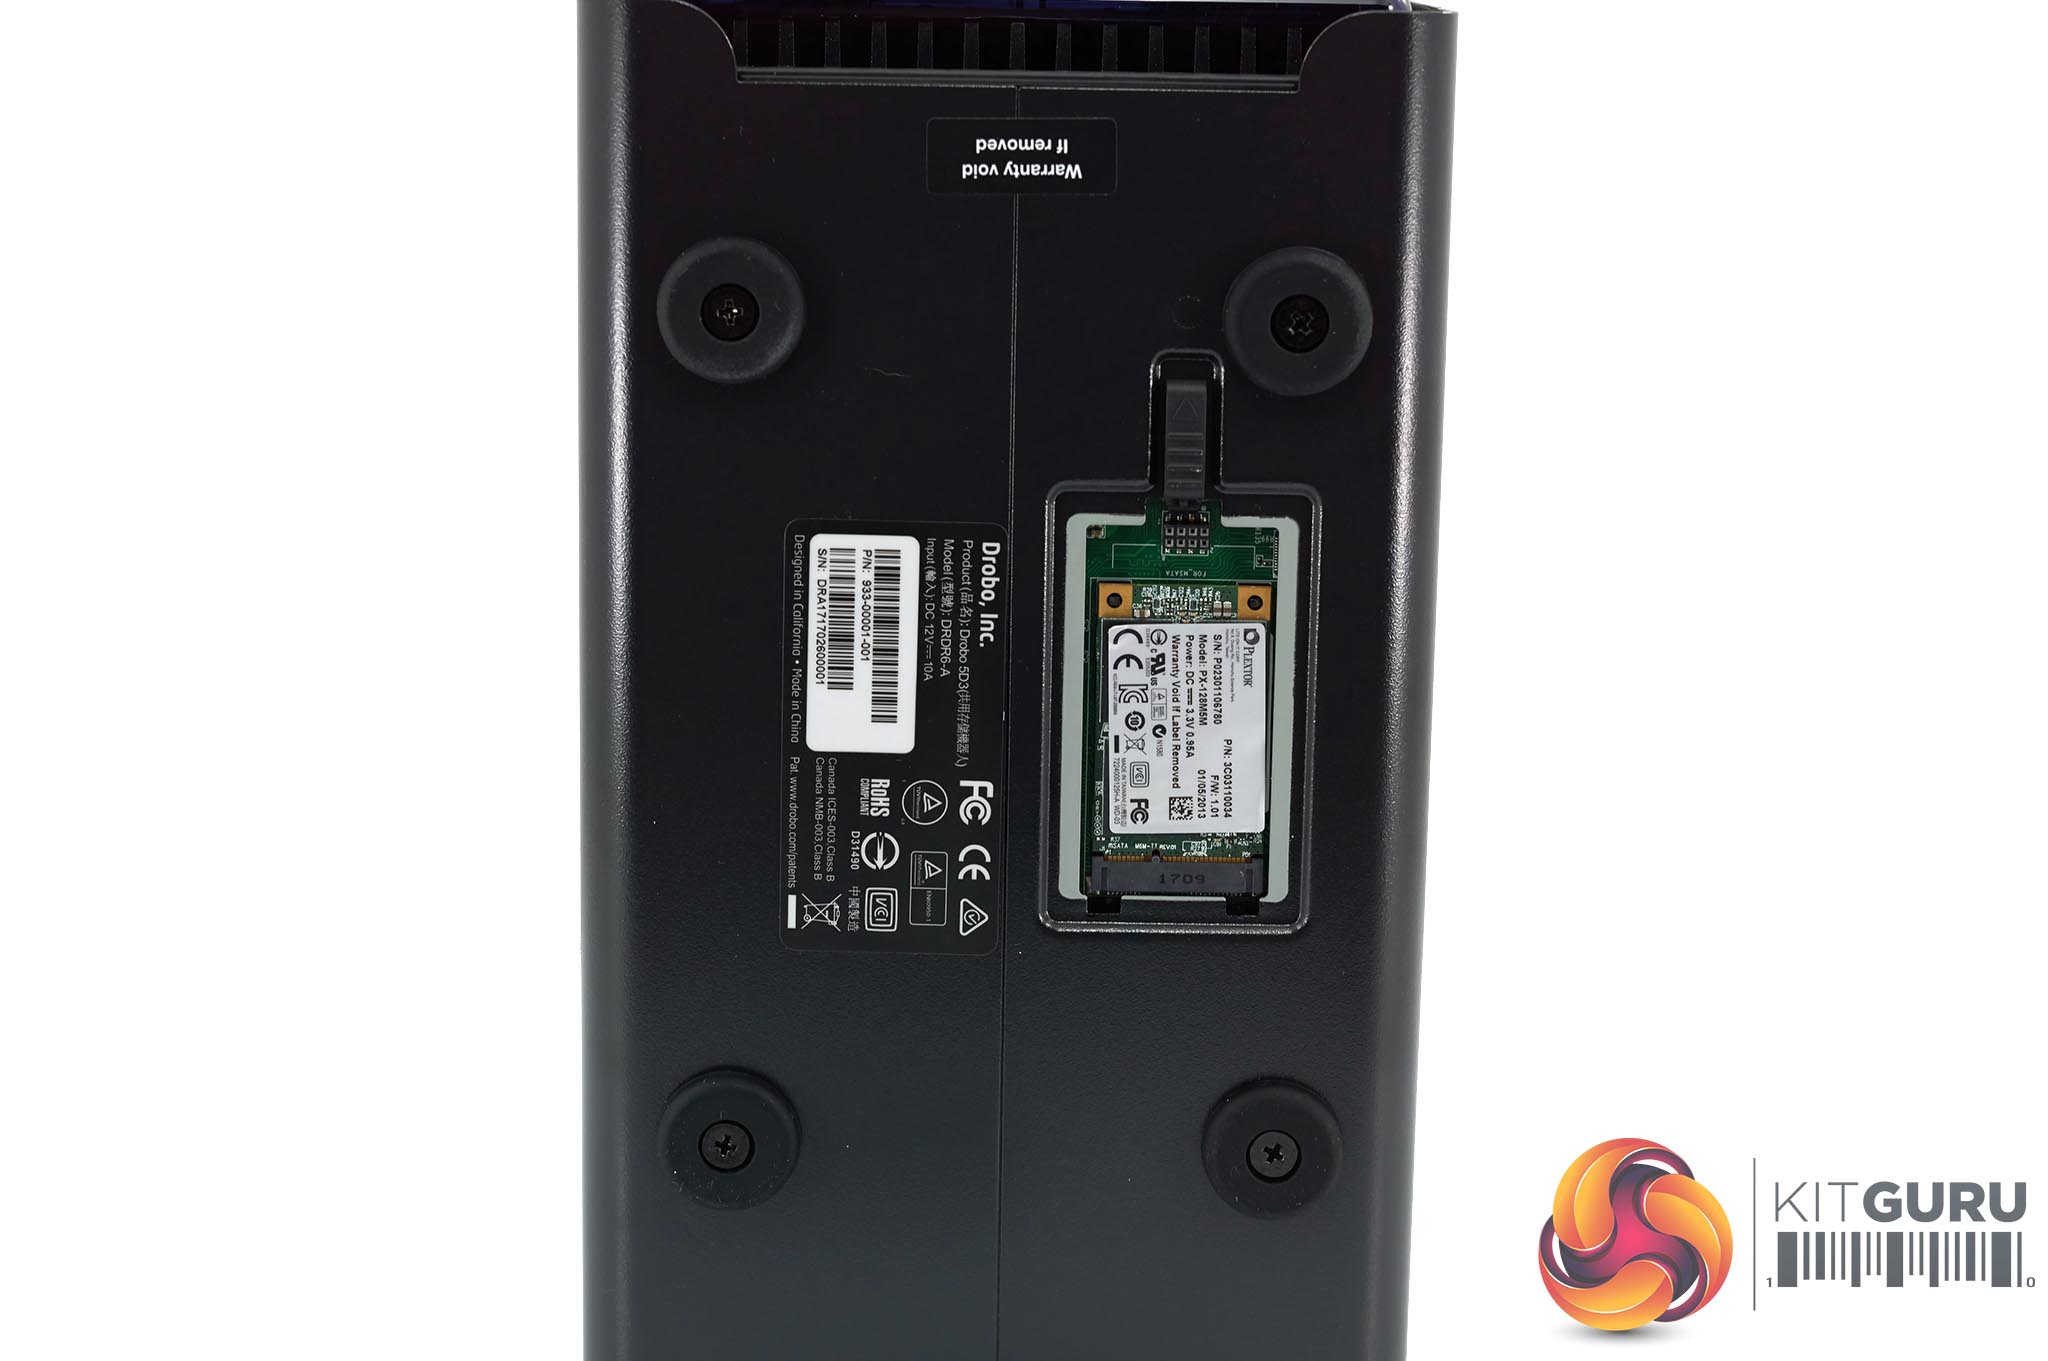
Adding the mSATA drive is tool-less and only takes a few seconds. It is important you do this while the system is powered off however but once in place you never have to touch it again.
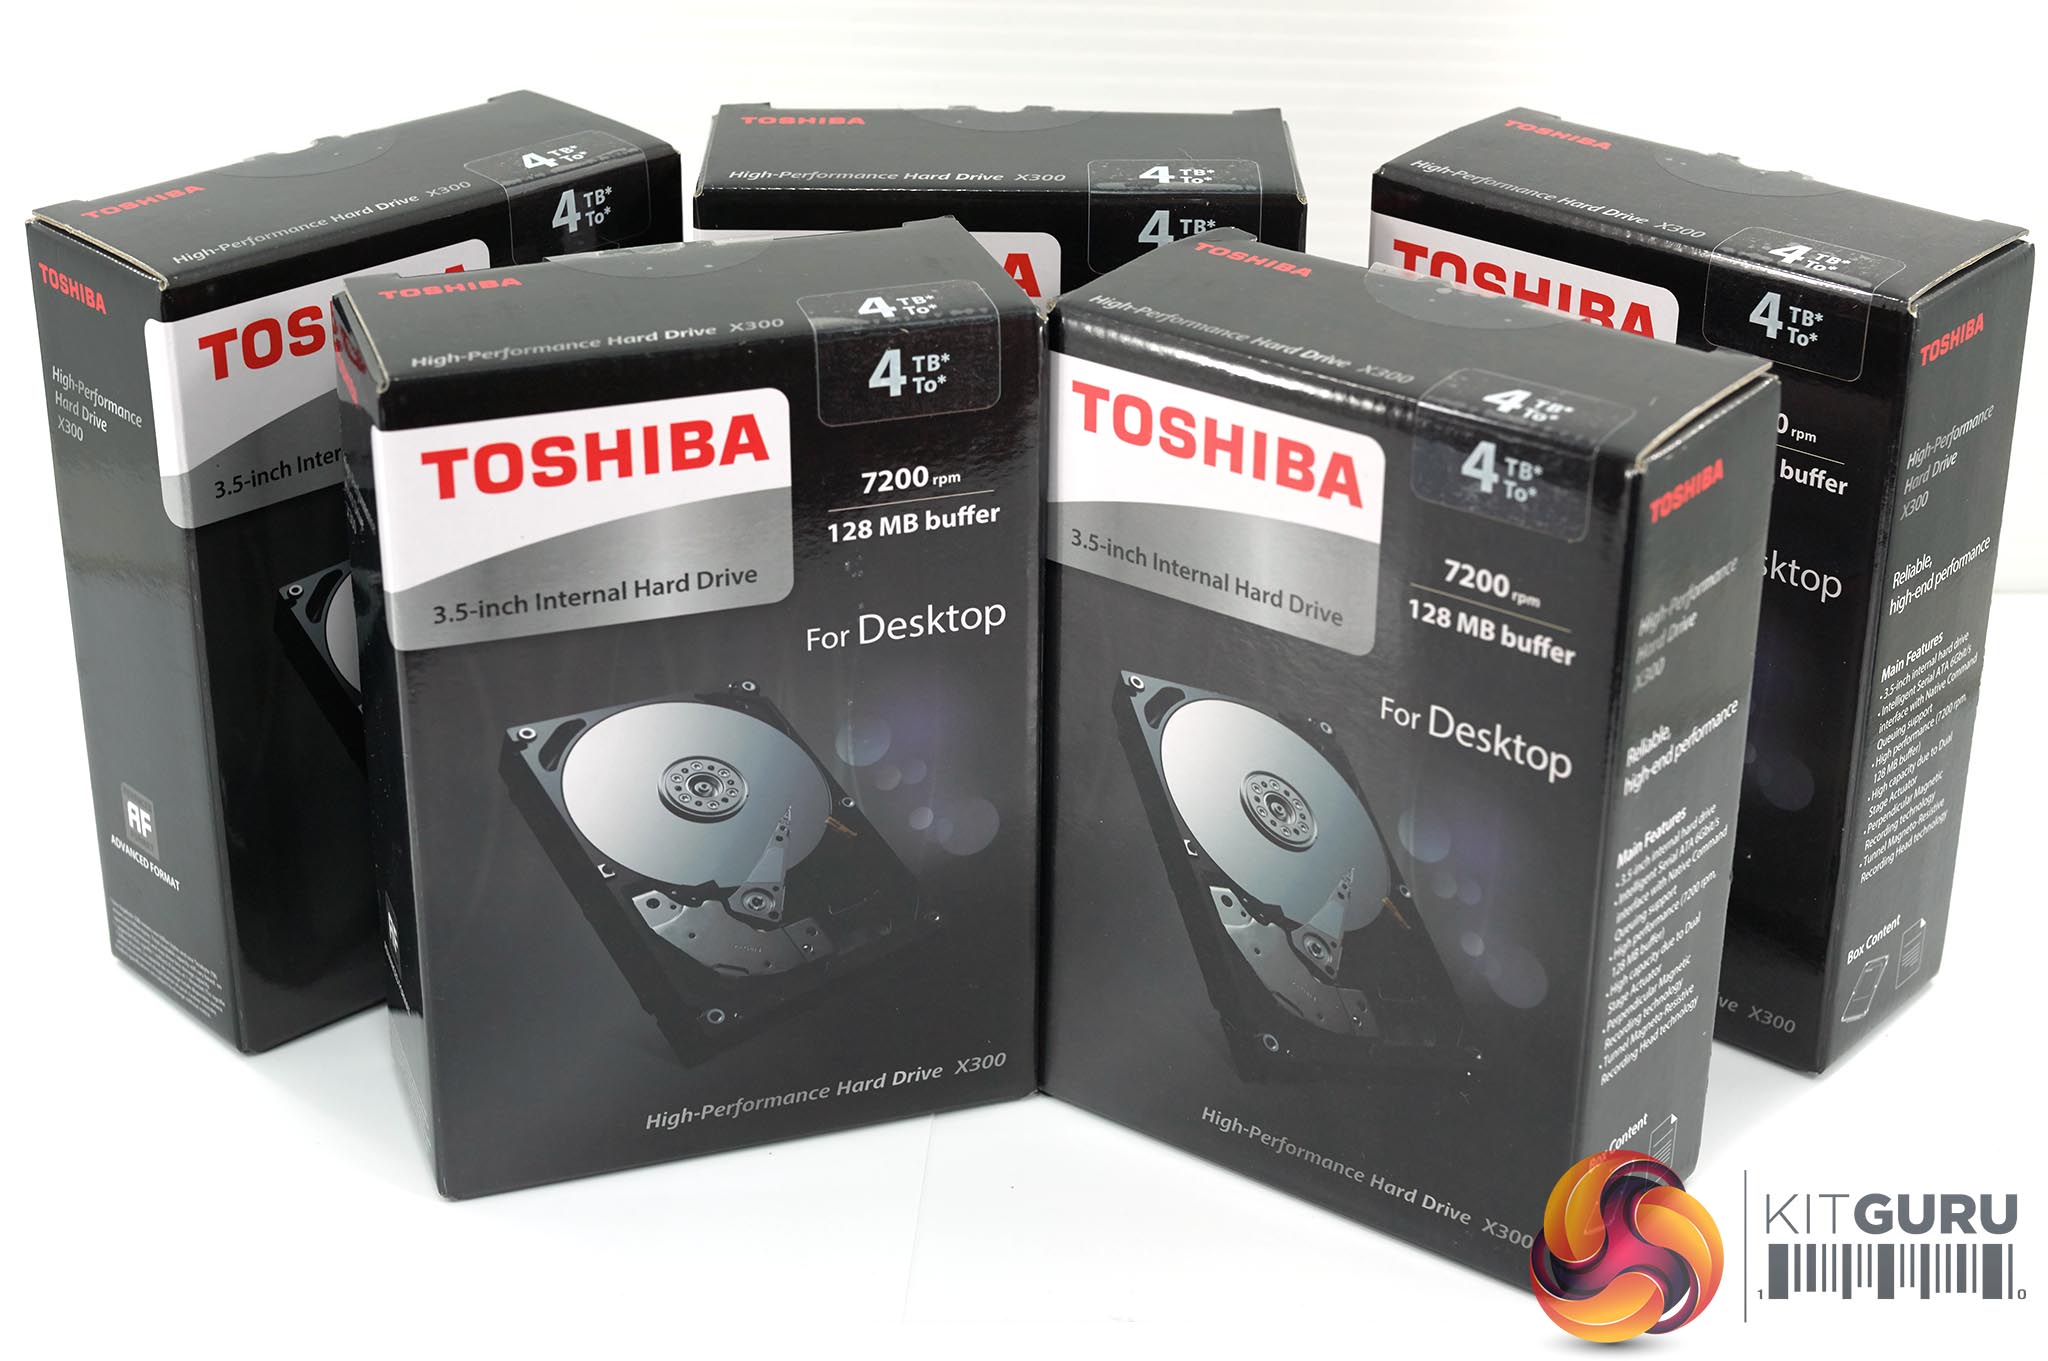
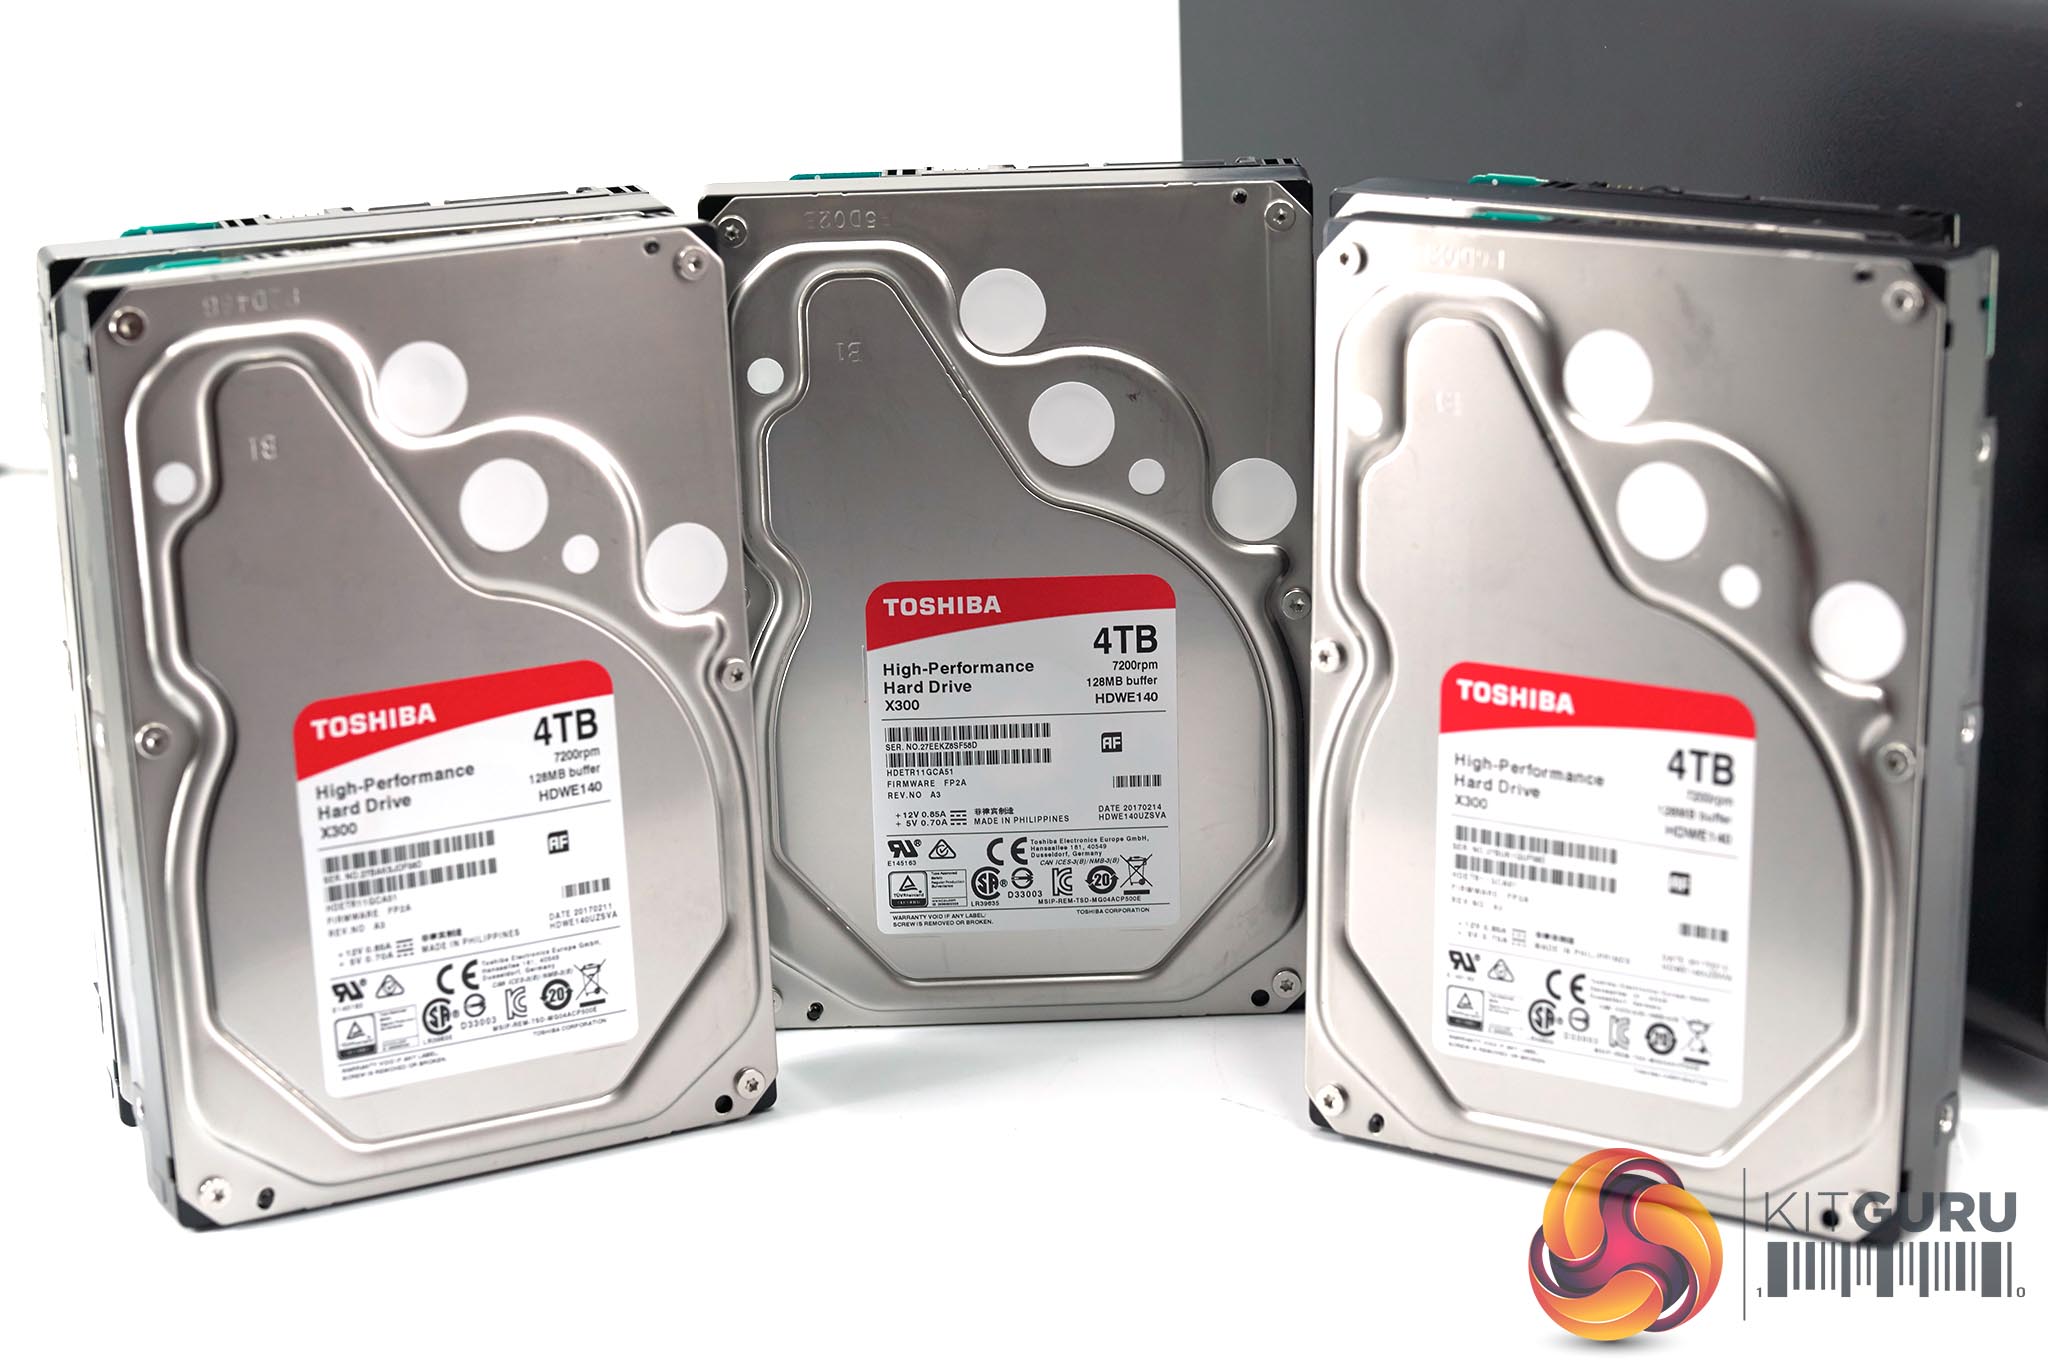
We got hold of five 4TB Toshiba X300 performance drives – these are fantastic mechanical drives and reasonably priced too at £116.99 each HERE.
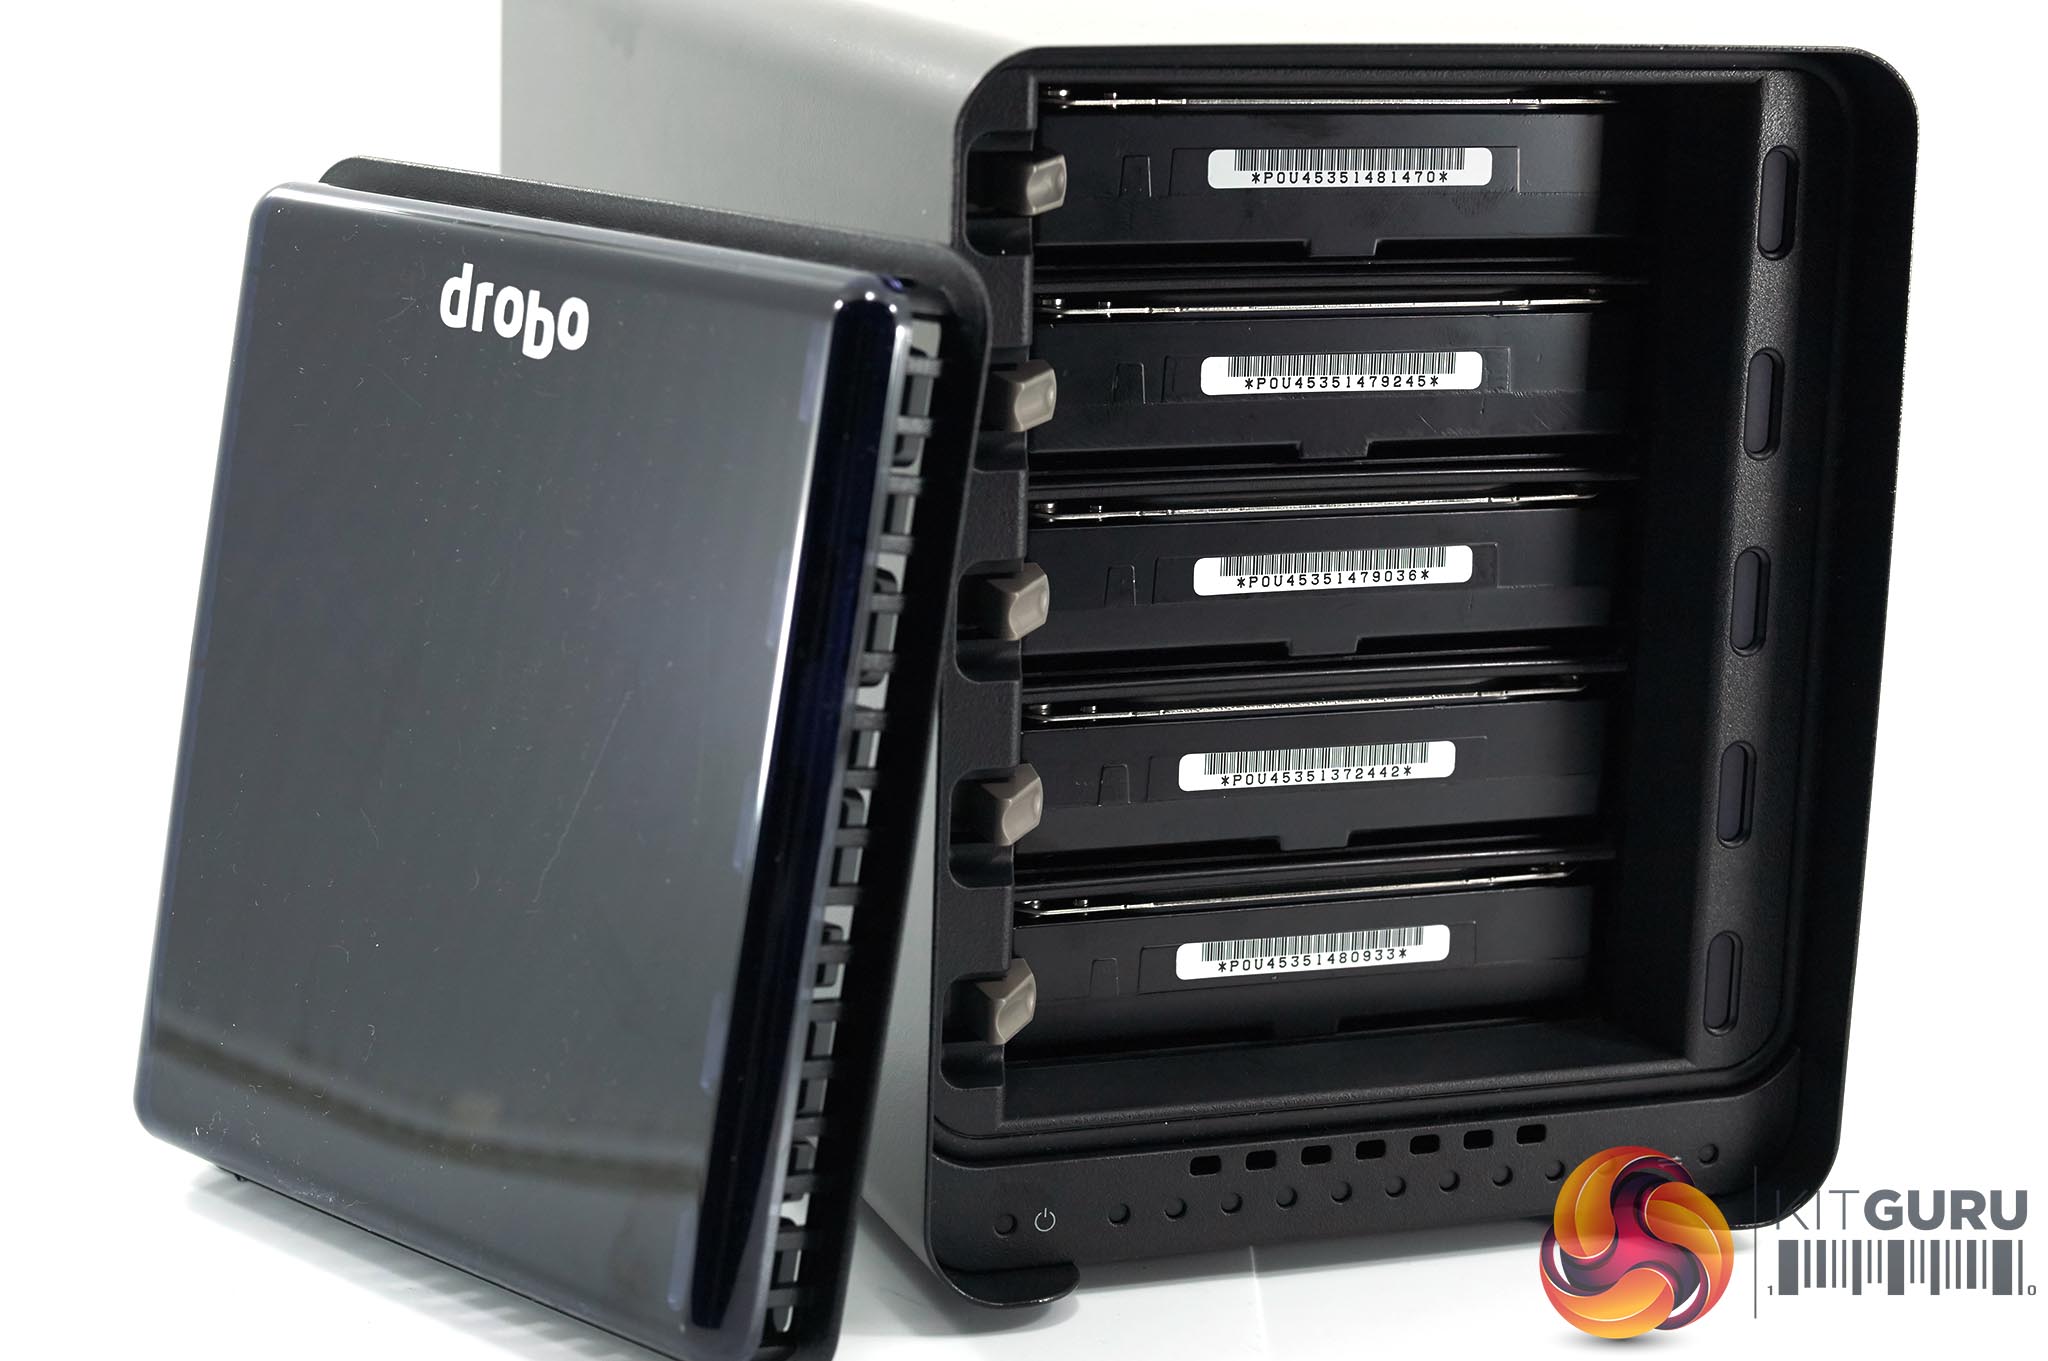
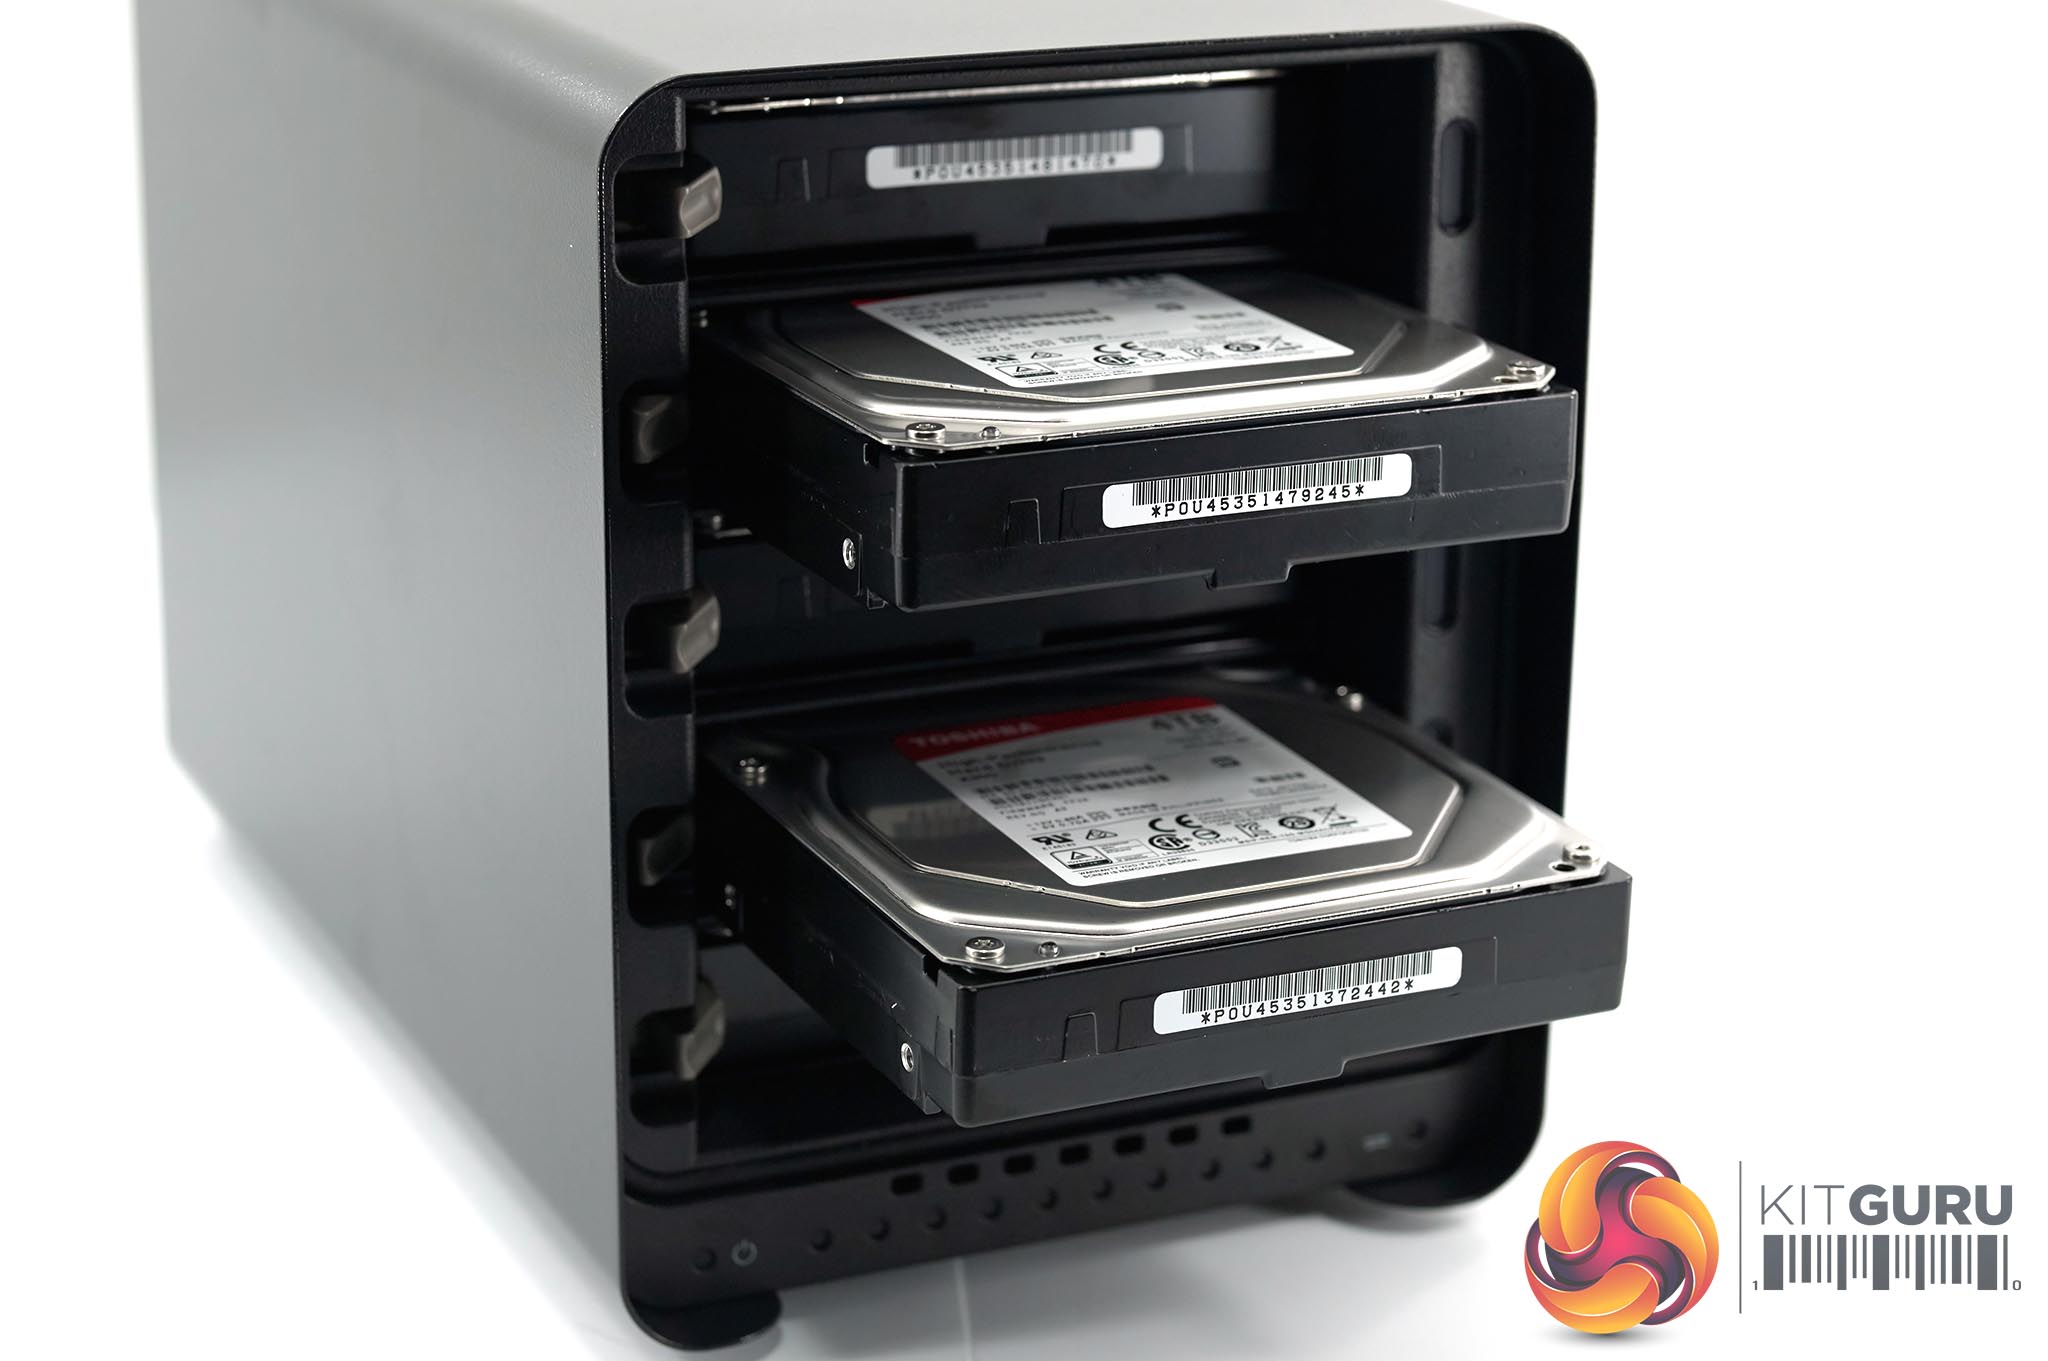
Like everything else so far – installing the 3.5 inch drives is tool-less. Simply slide the drive(s) – label side up into the bays and they lock home. To remove them, push on the grey lever at the left of each bay and pull them out again. Its a very secure system, and its hard not to be impressed so far with the ease of set up. That said, the software side of a DAS or NAS can make or break it, so we reserve final judgement until later.
When you say “cooling system is quiet in operation” are you referring to the noise from the unit overall? How quiet is quiet BTW? If I got one of these I would use it in a cabinet in my living room with the rest of my AV gear – BluRay, Tivo, Mac Mini server etc.
Also, how do you feel about the proprietary RAID method used by Drobo? In the past there have been a number of issues and a lot of angry people who have lost data. Their RAID method is now 3 or 4 generations in so I expect that it is fully “debugged.” Do you agree?
There seems to be a lot of inconsistencies in user experience out there with Drobo. On paper it is by far the best solution, but a lot of strongly negative reviews has given me pause. Has Kitguru been using the device continuously and do you still feel this is a strong buy?
In the direct attached storage market.. You’ve got drobo.. you’ve got promise.. and custom enclosures via usb 3.1. (I use all of them)
Promise tech. Pegasus you get super high performance.. but its a standard RAID. so all the drives have to be the same make and model
.. With drobos you lose a little bit of performance but gain flexibility and ease of use.
Custom enclosures you can build it exactly the way you want.. but you will only get usb 3.1 speed.
With drobo or promise, pay for the warranty and the support. Drobo support is very good as long as you keep it up to date and pay for it.
I use them all.. but at home with my photography business, i use drobo. i’ve been using drobo products since their 1st gen 10+ yrs ago. Now i’m using a Drobo 5D. Its been chugging a long for 3 yrs now, no issues other than an occasional bad drive. Its my primary storage.. but its NOT my only storage. I have a onsite and offsite backup too.
Any system can and WILL fail.. you cant just depend on one. Drobo is a great choice as long as you keep the warranty up. Their support has always been very helpful.
The 5d3 is listed with two model numbers DRDR6A21 & DRDR6A31. Any idea what the difference is? The later seems to be the only type available in the UK. I just want to make sure one isn’t configured more for Mac OS, as I’m only on windows. Thanks
the fans are quiet, you get some occasional drive noise.. but you will with any drive.. in a cabnet you’d never know it was there..
The people complaining had no other copy of their data.. any drive system can fail.. these systems are redundant..thats just reckless..
I’ve been running various drobo products for 10 yrs now. I have had better luck with drobo das systems than with promise, g-tech, or lecie
If you use it as recommended, put recommended drives in it.. AND have a backup of some kind, you’ll be fine.
I bought a Drobo 5D3 last week along with 5 Samsung 850 EVO SSD drives. Huge mistake to try Drobo again. I can’t believe how slow it is compared to everything else. Why did they make a thunderbolt 3 version when the maximum speeds you can get are far, far below what thunderbolt 3 offers. The write speed for a 5 x SSD array is much slower than a single drive. Even the read speed for the 5 x SSD array is only 800 MB/s. When I put those same 5 drives in my other device, I get 3-5x better read and write speeds. There is just no excuse for that. If you need performance the Drobo 5D3 will make you sad. It’s not worth wasting a thunderbolt 3 port. https://uploads.disquscdn.com/images/38d7cc3218744efa8cf8ecded856a4eb9af8494ba84bd8eec0bce0889f779d43.png
James, did you figure out why that’s the case, as test show far better performance…
I didn’t see any test that used SSDs inside the Drobo, but my results are definitely faster (at least for reading) than anything I’ve seen posted anywhere.
Many people suggested maybe switching to an “active” thunderbolt 3 cable would improve things. I doubted it would, knowing that the current results were already below what you would expect even with a thunderbolt 2 cable. But I went ahead and spent $75 to get an “active” tb3 cable and re-ran my tests. Guess what? the results did not change at all. The best performance you can hope to get from the Drobo 5D3 is what I have posted above.
I have tested using HDDs, SDDs, USB3 cables, thunderbolt 3 passive and active cables, etc. It’s only slightly slower over USB3 than it is over thunderbolt, which tells you everything you need to know. USB3 is rated at 5 Gbps. Thunderbolt 1 at 10, Thunderbolt 2 at 20, Thunderbolt 3 at 40. But the Drobo doesn’t come close to using even Thunderbolt 2 speeds, so… yeah.
I have tested on my 2017 iMac with a 1GB SSD and 64 GB of RAM. It’s the fastest machine you can get from Apple today. The Thunderbolt 3 active cable is as fast as they come. The Drobo is anything but fast. It doesn’t even utilize enough bandwidth to saturate Thunderbolt 1. That’s just sad.
To say I’m disappointed is an extreme understatement.
James, thank you so much for your reply. For me it’s important, as I’m going to buy myself a new iMac (the full blown one, but not waiting for the pro as that will be overpriced I guess). I’m doing productivity apps and photo (LightRoom – RAW processing) and a bit of video. My intention is to have a 2Tb SDD as main drive, and a fast DAS attached to that as an extension of my main harddrive. (I’ve currently an iMac 2013 with 3 Tb fusion drive, and it’s completely full…). So I don’t intend to use the DAS just for backup purposes. Not eager to consider a NAS either for that, also because I’m using Backblaze as a kind of secondary way of backup, and as you know a DAS can be included in the Backblaze backup, NAS cannot. What alternative would you recommend? Thanks for your insights and advise!
That is my use case as well and precisely why I am so disappointed with the Drobo. I think the fastest DAS you can get right now is the Thunderbolt 3 QNAP stuff, but it’s a lot more expensive than the Drobo. I’m considering changing my workflow so all my “current” and unprocessed photos and Lightroom catalogs live on the internal SSD. As it is, there’s no reason to have the SSDs in the Drobo. The Drobo performs almost as well with fast HDDs… so then I ask myself what I’ll do with the 5 SSDs that I bought for this… and that’s why I may wind up shelling out the money for the QNAP and plugging them in there.
As of now I’m still using the Drobo for my primary storage for photos and Lightroom catalogs. In this configuration my new iMac performs slightly better than my 2013 iMac with the 3 TB fusion drive (sound familiar?). At some point it will upset me enough that I’ll make a change and either buy the QNAP or change my workflow, but so far I’ve just been too busy getting stuff done to deal with it. Hope that helps.
James, but that means if I’d use a QNAP, it’s NAS, so Backblaze won’t include that in their online backup, as they only include DAS, correct?
You can directly connect the QNAP via Thunderbolt 3 just like the Drobo, so it should be considered a DAS, but I can’t guarantee that Backblaze would treat it that way. I don’t use Backblaze, so I don’t know. Check out the QNAP TVS-882ST3-i7-16G-US and see what you think.
James, the QNAP is really very expensive. Think I’m better off buying a Samsung SSD 4TB and attach it over Thunderbolt, and buy a Drobo as the backup device… total cost will be lower, and speed (of the Samsung SSD 4TB higher than the QNAP, no?
James, any comment to what I posted 10 days ago…? Thanks.
I don’t know what Samsung SSD you’re talking about, but unless it involves multiple drives it won’t be as fast as the QNAP. A single SSD drive connected via USB 3.1 will provide almost the same performance as the Drobo, but not close to as fast as the internal SSD or the QNAP (thunderbolt 3).
If you want really fast Thunderbolt 3 external storage, I can recommend the Lacie Bolt 3. It is very expensive. And 3TB gets full quickly. I use it to dump images from my shoots for quick back-up and to keep space on the 1TB disk in my MacBook Pro available for new shoots.