Biostar's UEFI isn't as full-featured or well presented as the UEFI from many of its competitors, nonetheless it is still functional and easy to navigate.
Unfortunately our testing didn't get off to the best start – we had to use the initial launch BIOS, Z17EFC16, for testing since the newer UEFI versions returned error code 55 when enabling the XMP profile for our benchmark memory kit.
In addition we had issues with booting: the latest UEFI detected the boot disk but wouldn't boot beyond the POST. Using the dual BIOS switch to toggle to the launch BIOS and we were able to boot with the same memory kit on XMP and with the same boot configuration without any issues.
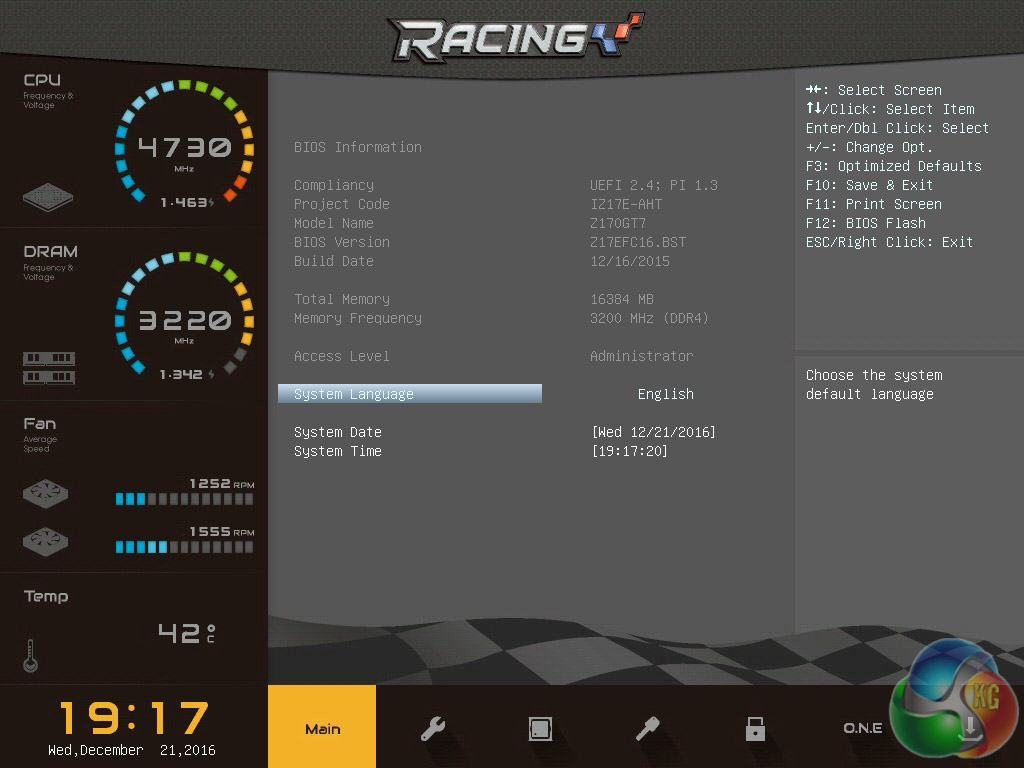
The default screen upon entering the UEFI is the main tab which hosts basic information about the motherboard and its settings. The monitoring pane on the left hand side is present throughout all tabs of the UEFI and delivers CPU and DRAM frequency and voltage information, the CPU temperature and CPU Fan RPM's.
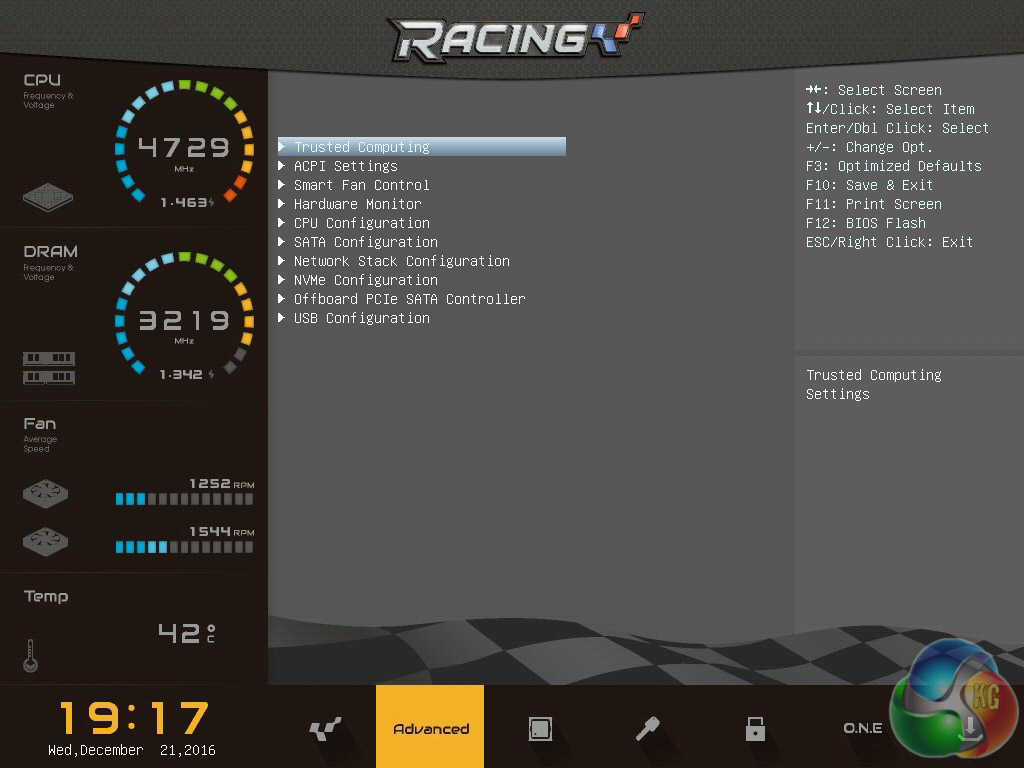
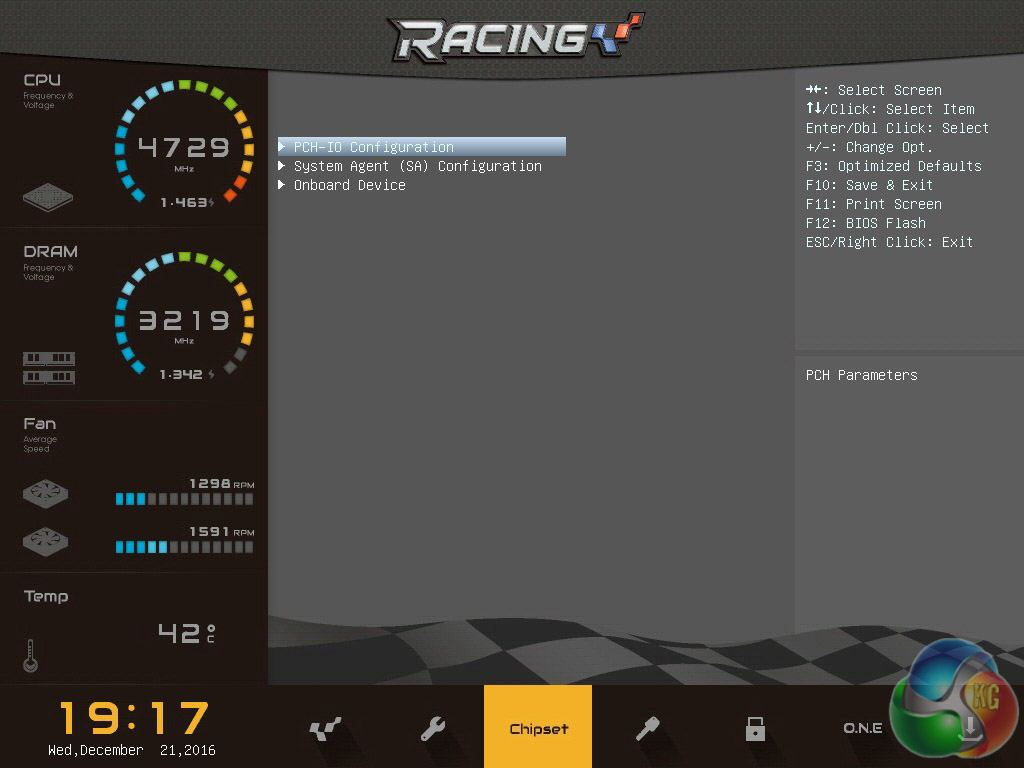
Advanced (the spanner symbol) and chipset (the PCH symbol) host most of the system controller settings including options pertaining to NVMe, USB and other onboard devices.
The “Smart Fan Control” is located within the advanced section and users should note that by default smart fan control is turned off. We'd recommend turning this on right away and tuning the fans since the default fan behaviour is overly-zealous and as a result, noisy.
Unfortunately even the “Quiet” fan profile is too aggressive and as such setting a manual fan profile makes more sense to ensure you get something that suits your needs. The default fan hysteresis (the time delay between the temperature changing and the corresponding change in fan speed) is way too short and not adjustable, which means the fan speed is constantly ramping up and down with short-term fluctuations of CPU temperature. Biostar's fan controls need work and are well off the standard we've become used to from the “big four”.
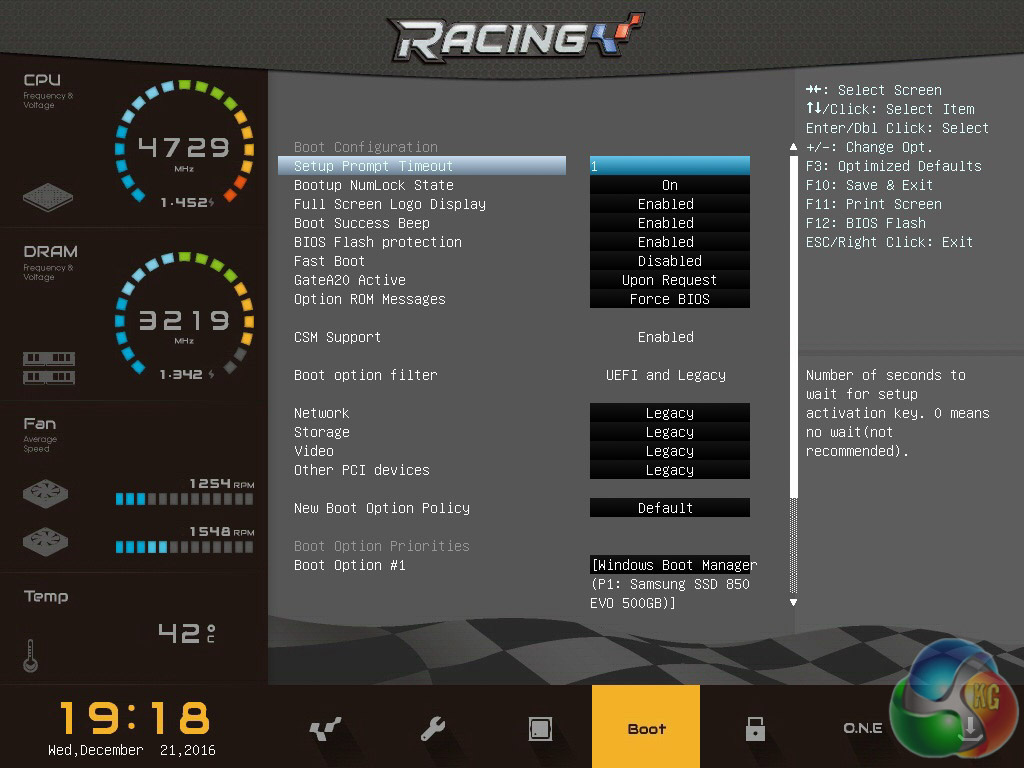
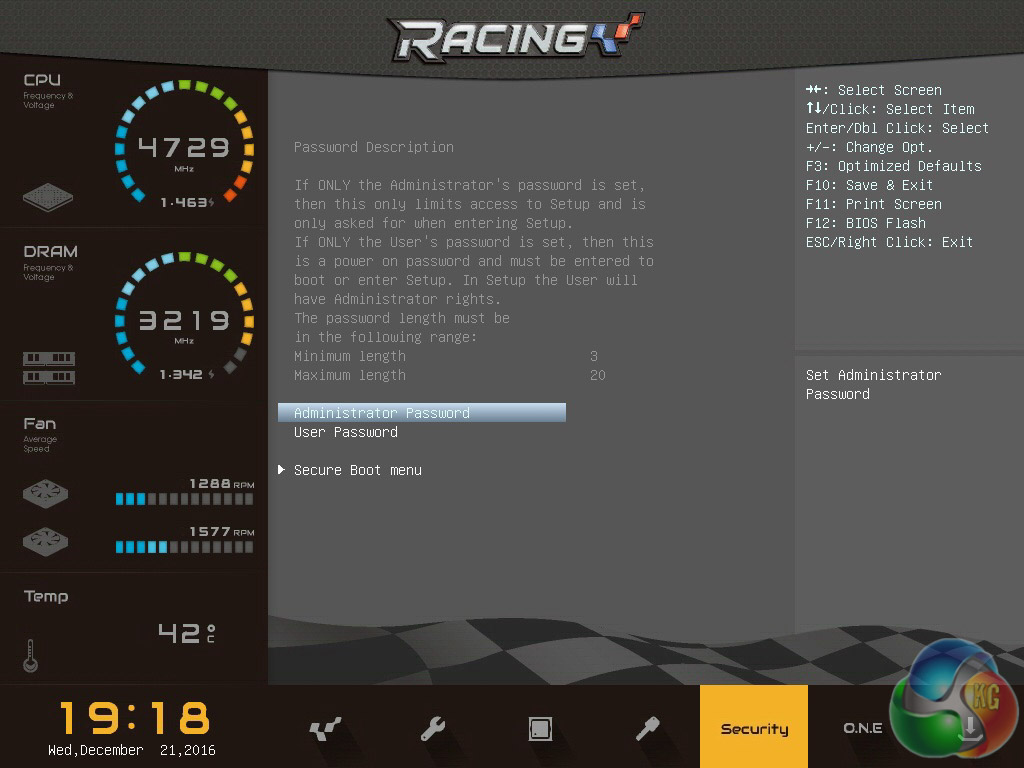
The boot tab contain all settings relating to the POST and booting procedure, such as boot order, while the security tab is primarily for enabling or disabling secure boot and setting an administrator password.
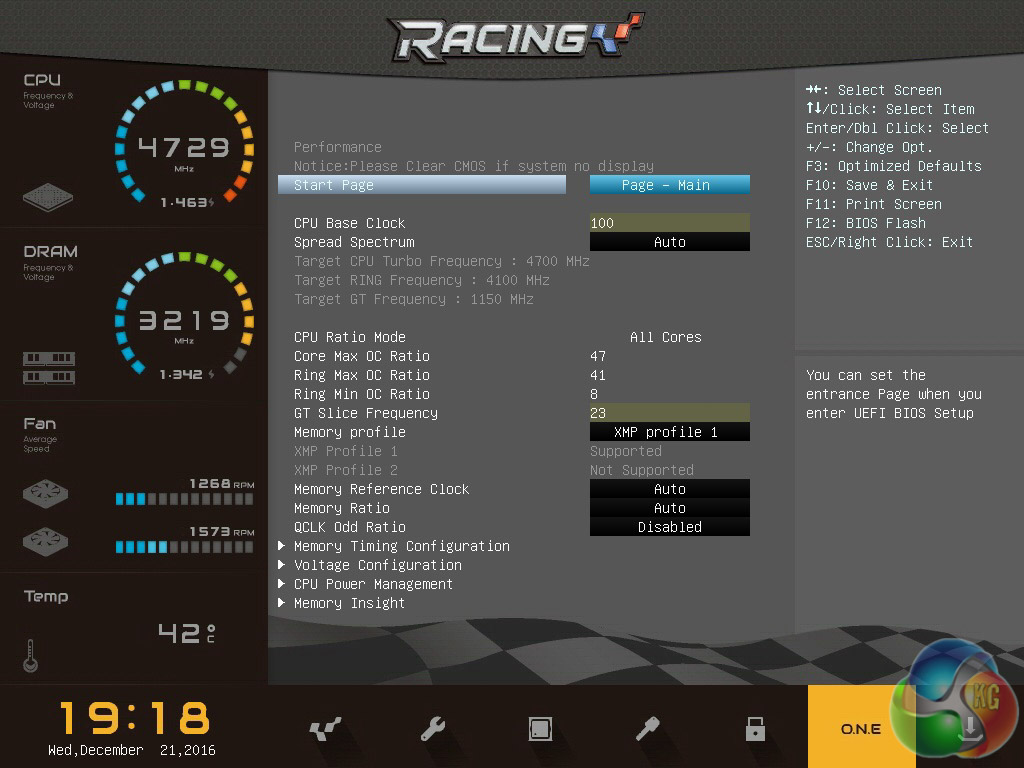
The “O.N.E” section is the overclocking and performance tuning component of the Biostar UEFI. Options are more simplified compared to what you might expect from an ASUS ROG or MSI Gaming motherboard of equivalent stature.
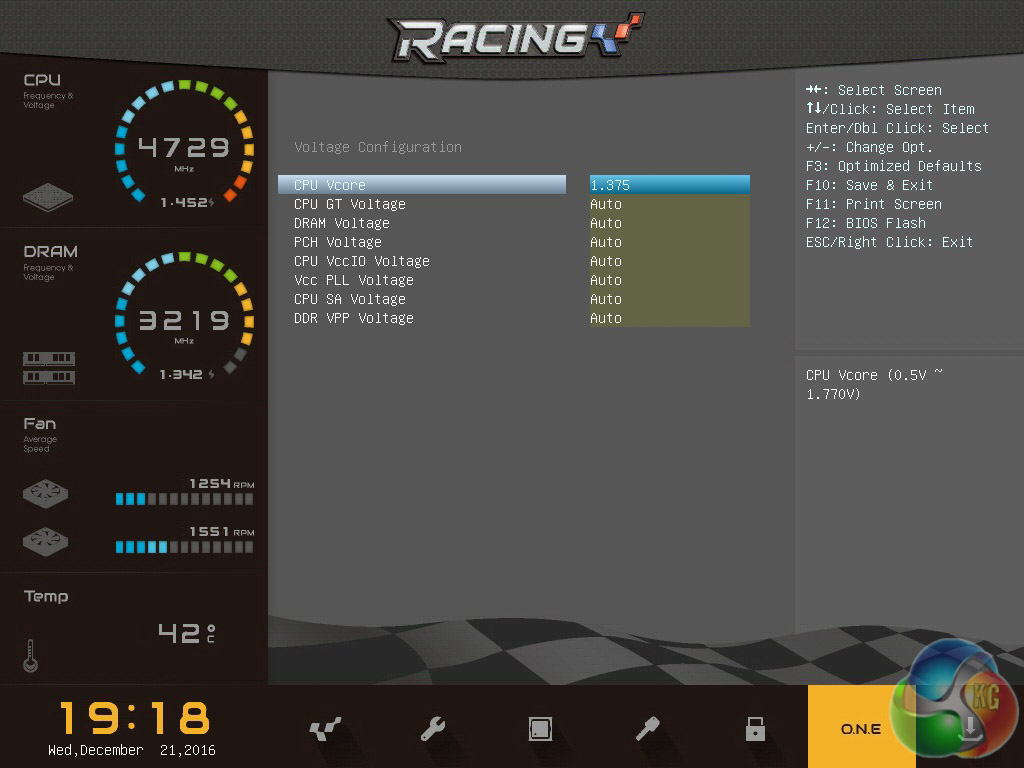
Within O.N.E you can alter CPU and DRAM frequencies, voltages and power behaviour.
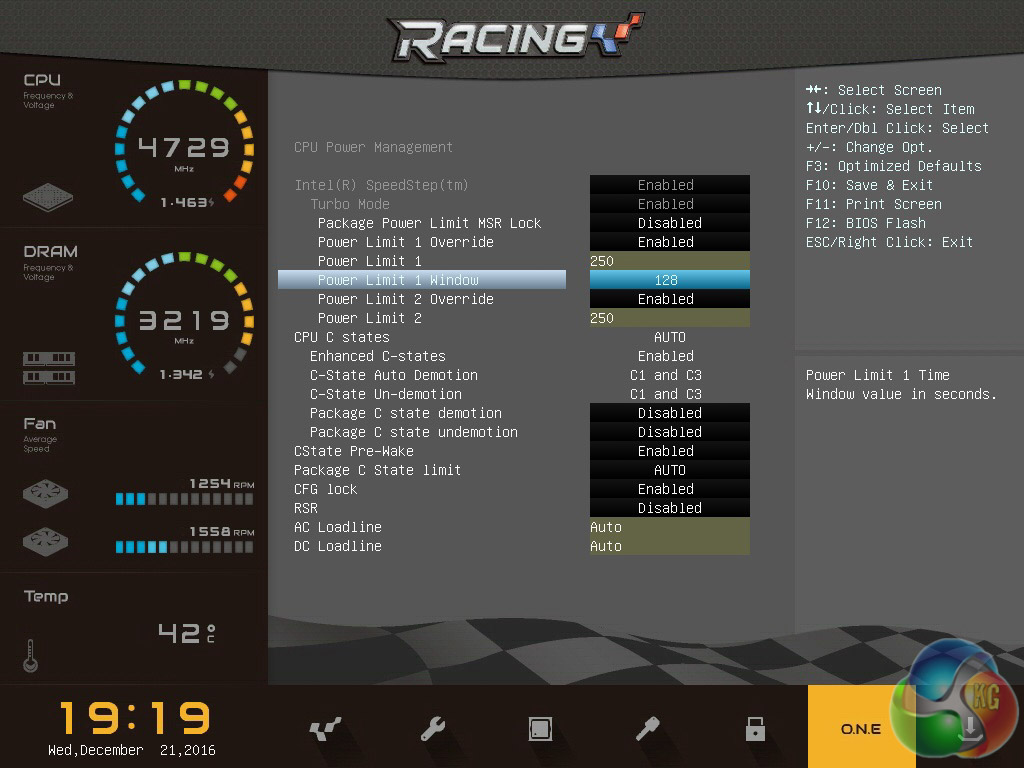
Biostar's UEFI seems to implement overly zealous power-based throttling so you will likely need to adjust the Power Limit 1 and Power Limit 2 wattage and duration overrides. This should ensure that when your system is overclocked it doesn't throttle down too often when the 95W TDP is exceeded, which is something ours did frequently on the Auto settings.
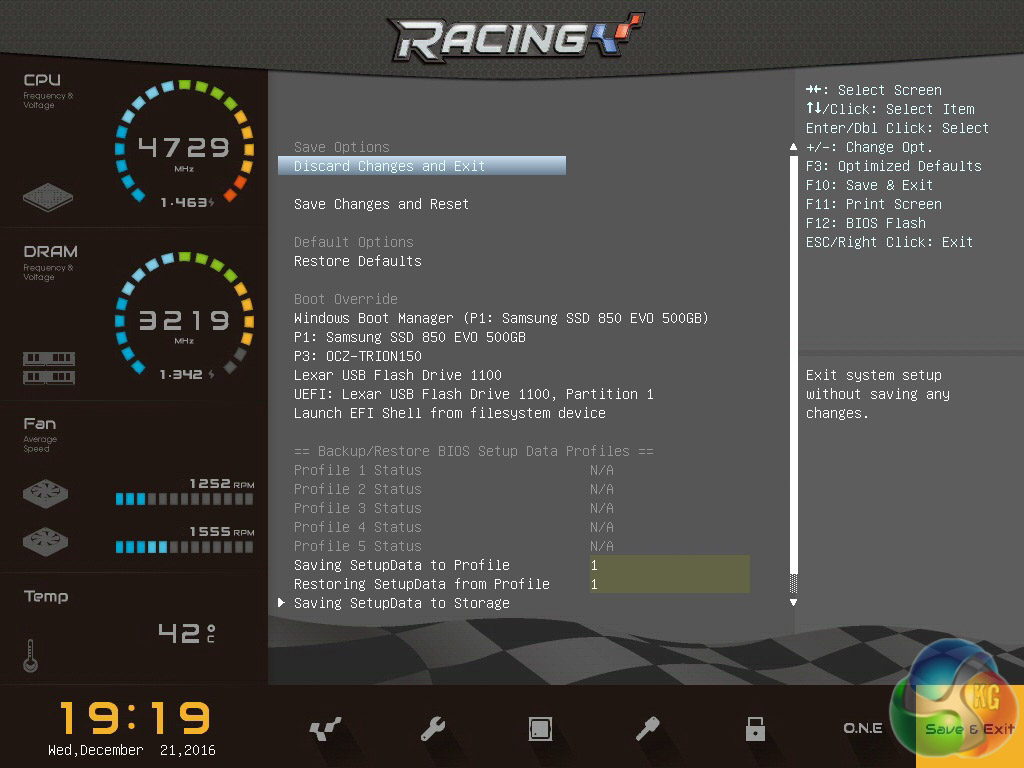
Save & Exit contains mostly what you might expect, though there are some extra options which are useful such as the ability to save and load BIOS profiles and enact a boot device override. We would have expected to see this last option in the boot tab, since it is a boot setting.