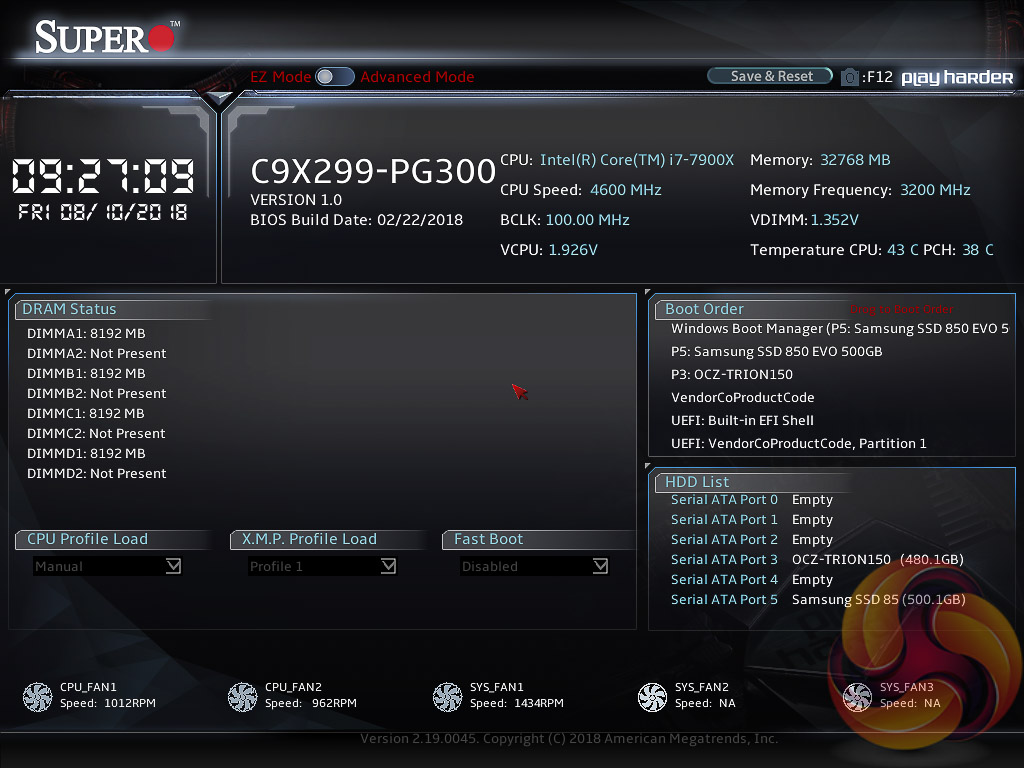
Supermicro's UEFI environment isn't that different to “the big four” and has an initial entry into the UEFI through an “EZ Mode” splash screen with options like XMP, Boot Order and basic monitoring data. Clicking the slider at the top toggles the advanced mode which opens up all the usual advanced overclocking options a consumer would expect from an X299 motherboard.
The main interface has a list of themes to select options from within:
- Overclocking
- CPU
- Memory
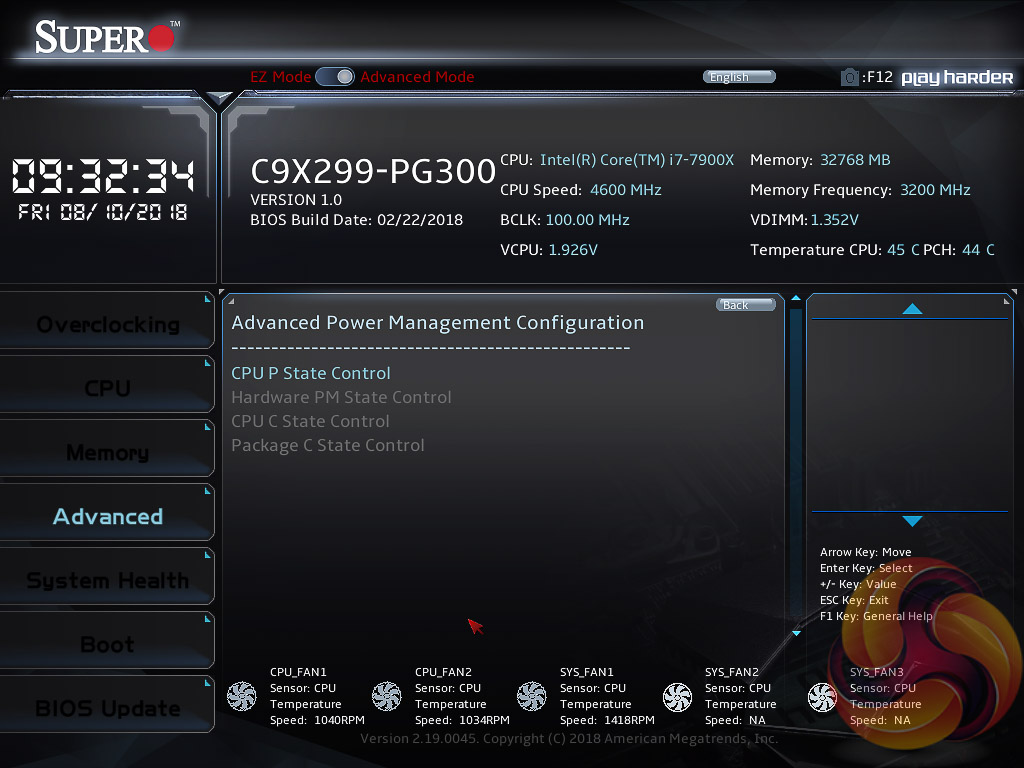
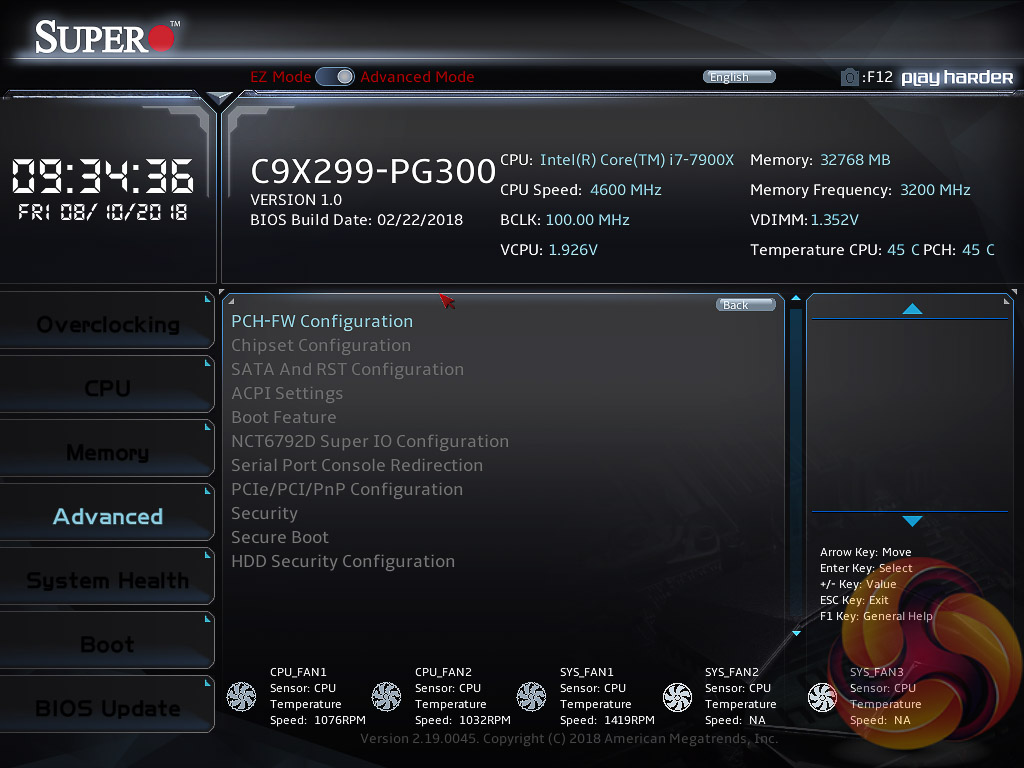
- Advanced
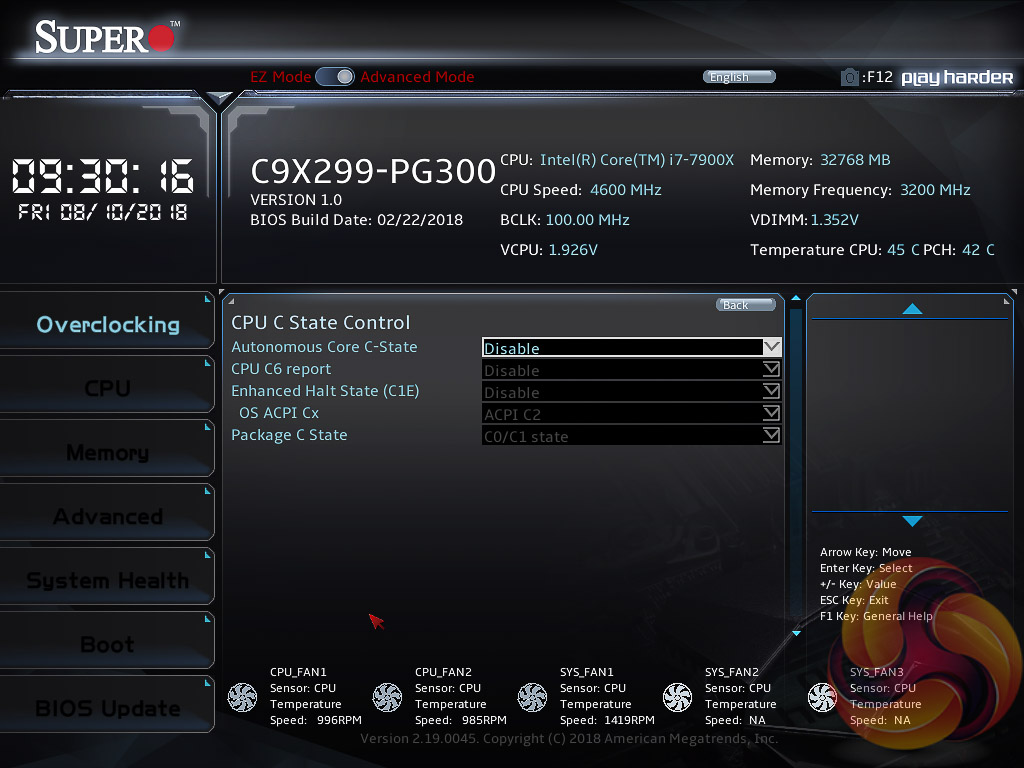
- System Health
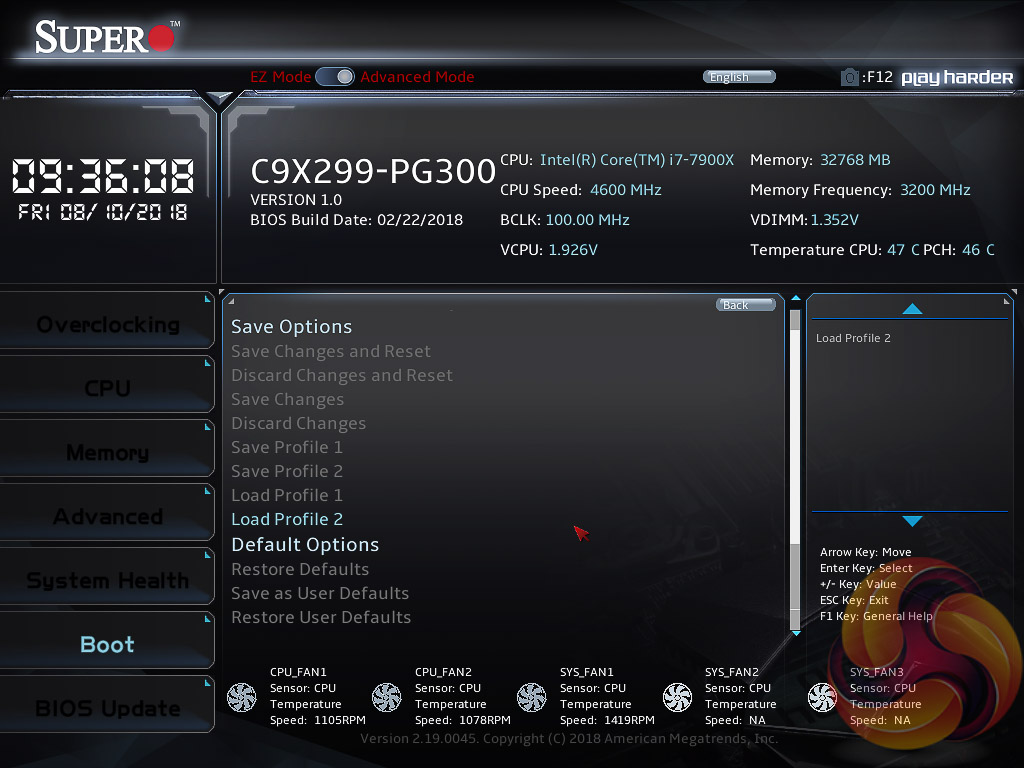
- Boot
- BIOS Update
It's worth noting that each section is not unique, i.e. some BIOS options appear in multiple sections or some just link out to other sections.
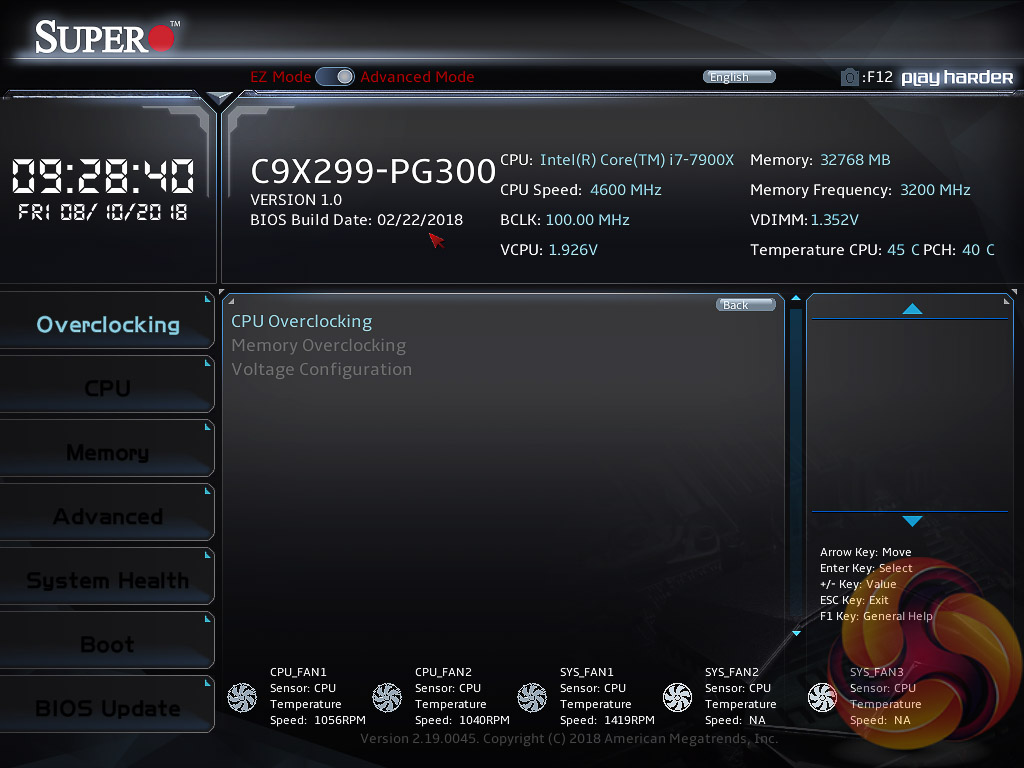
The key combinations are slightly different to most other motherboard vendors such as F3 for optimised defaults, F4 for save and exit.
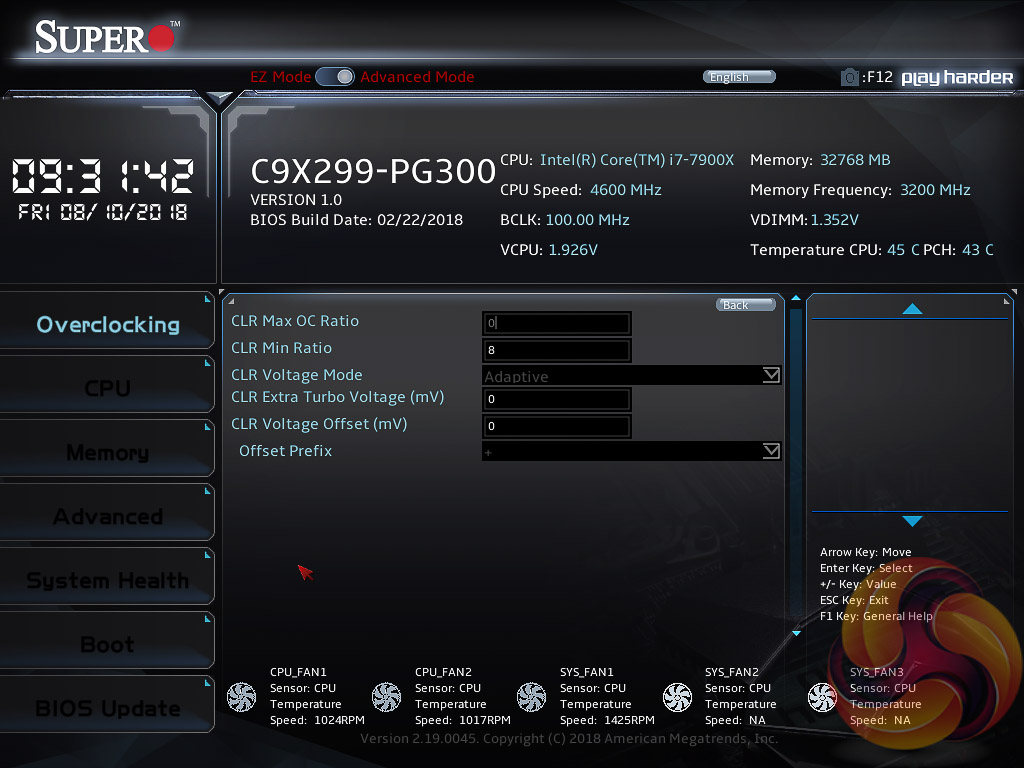
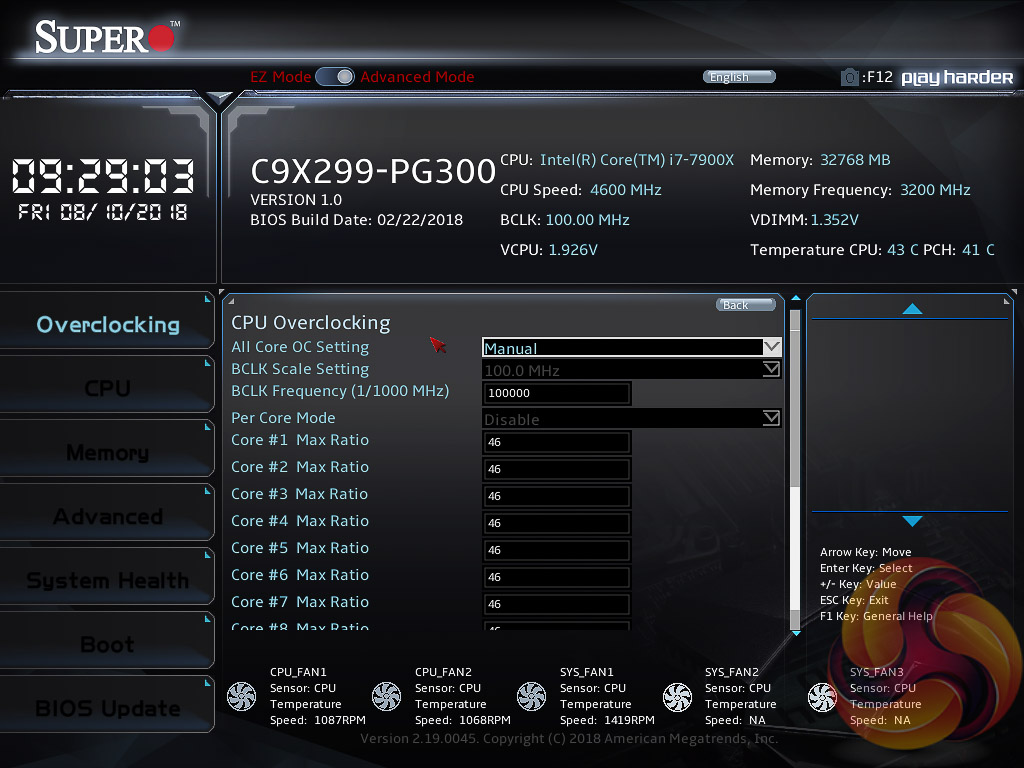
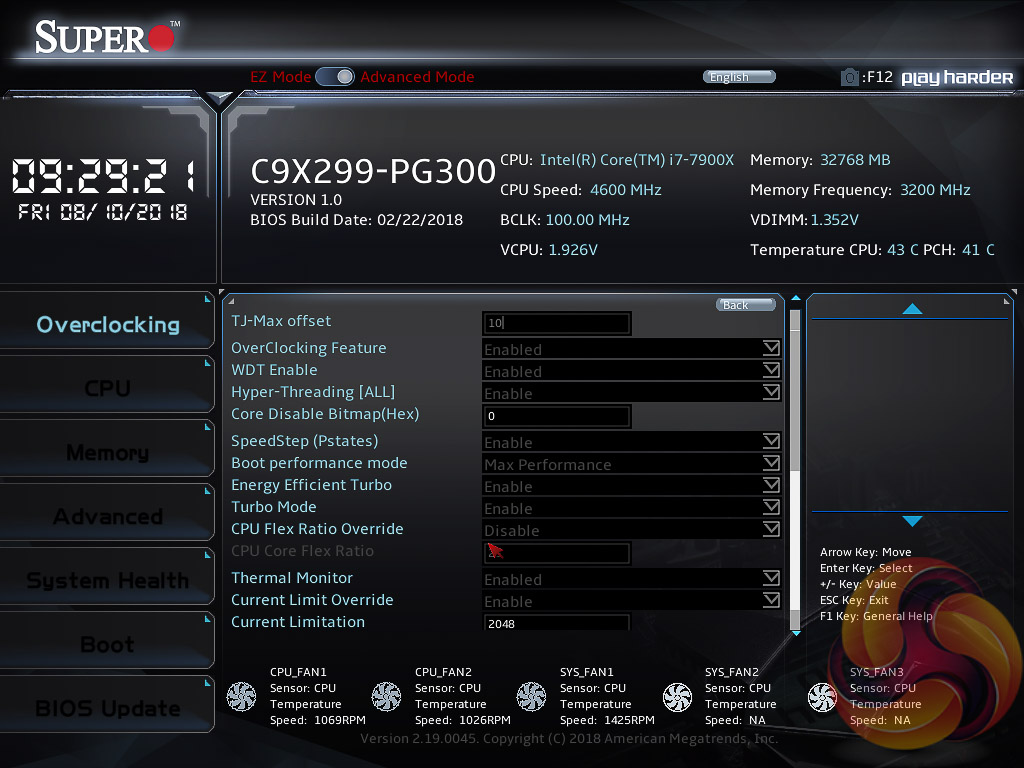
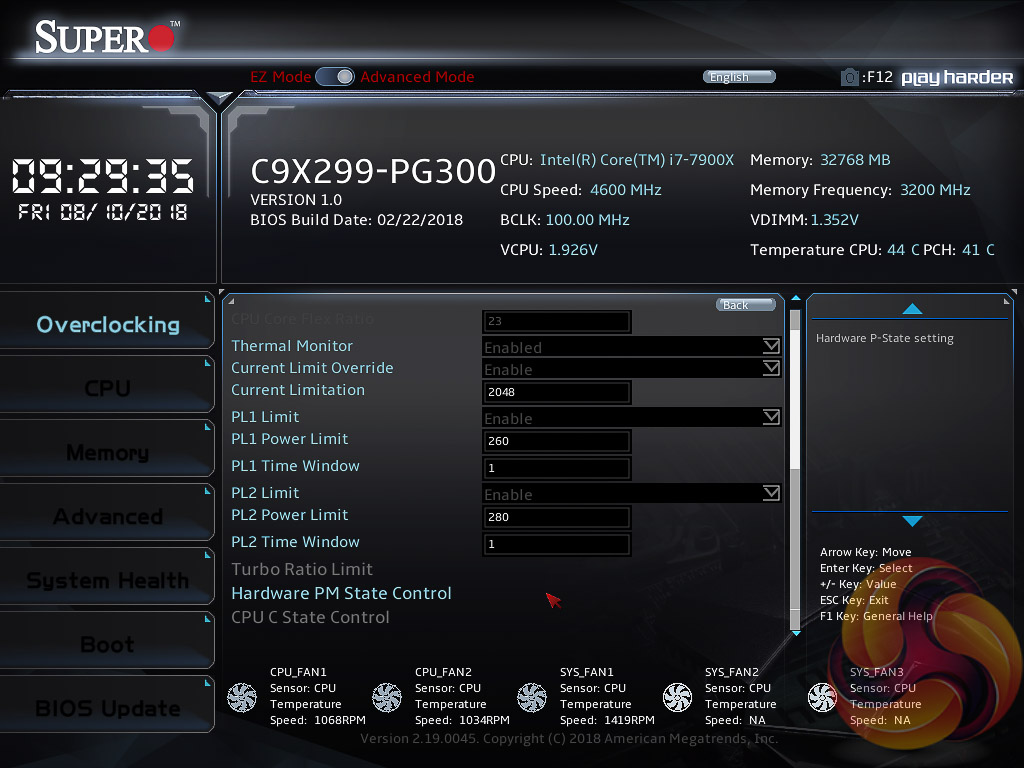
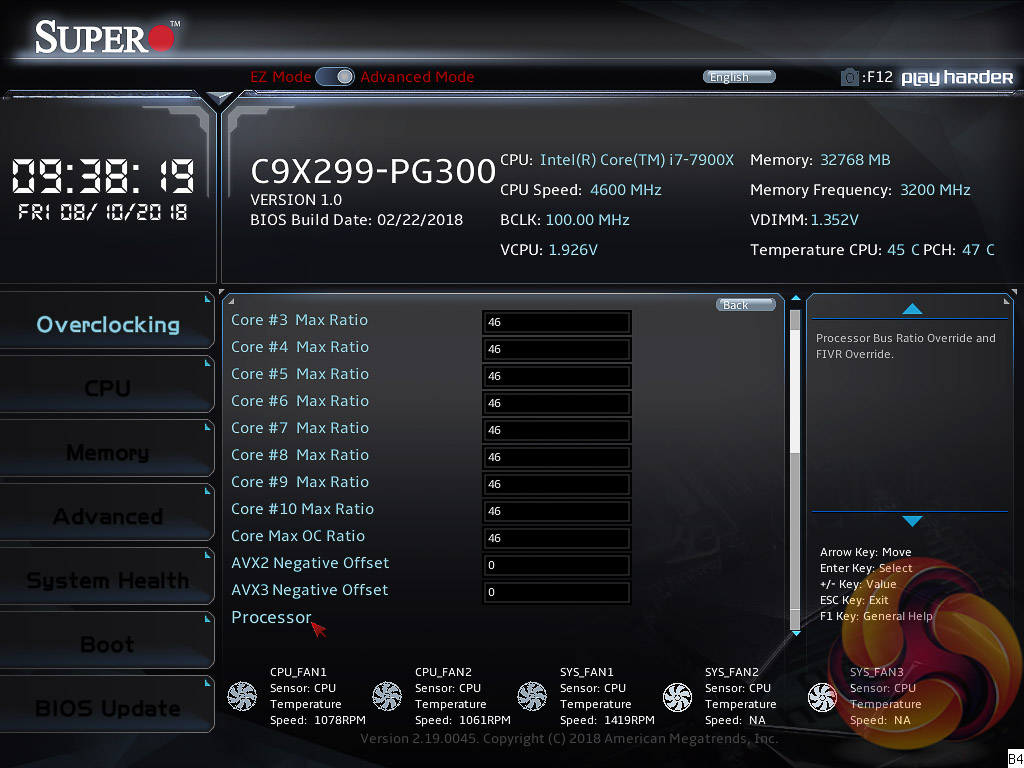
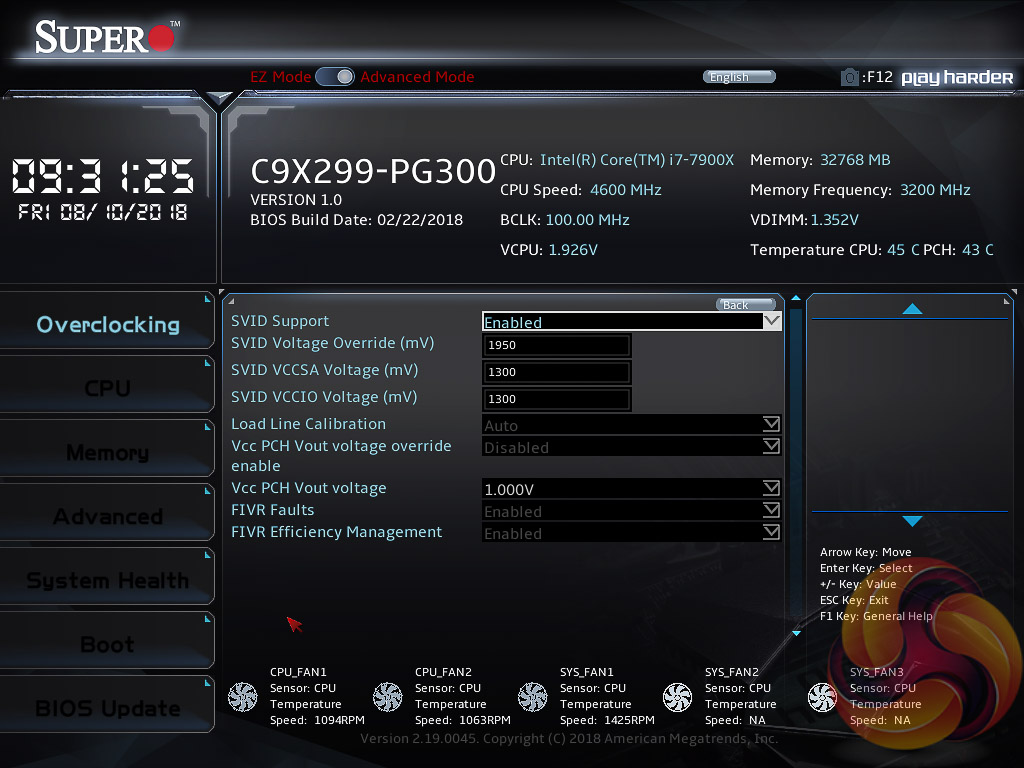
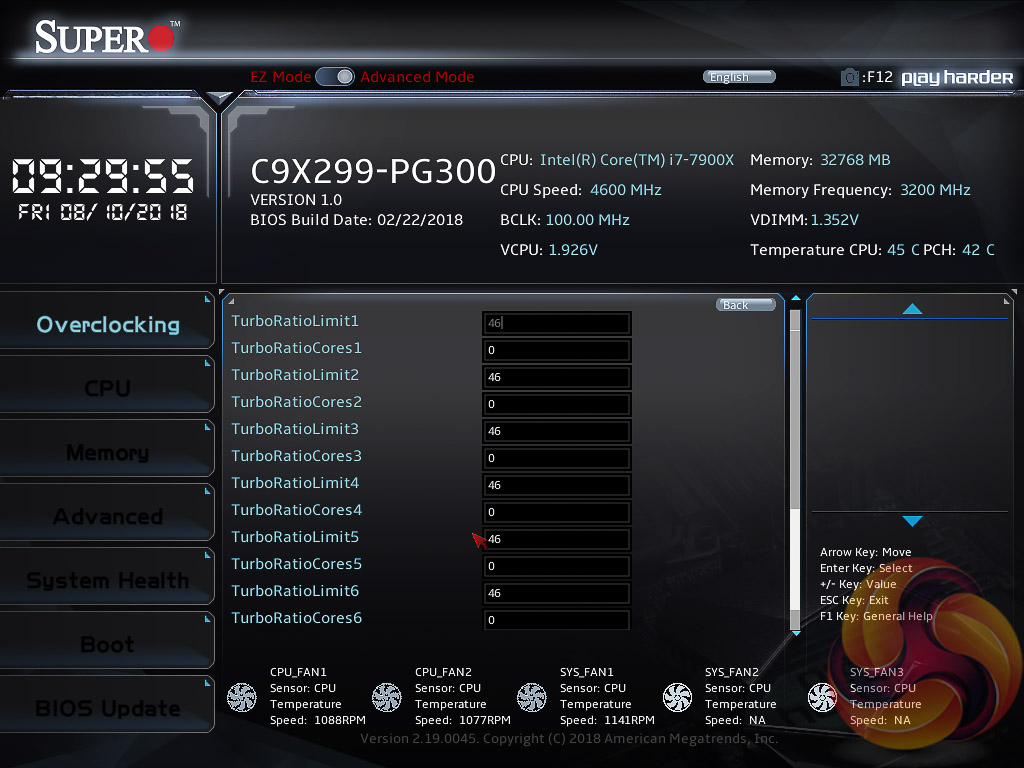
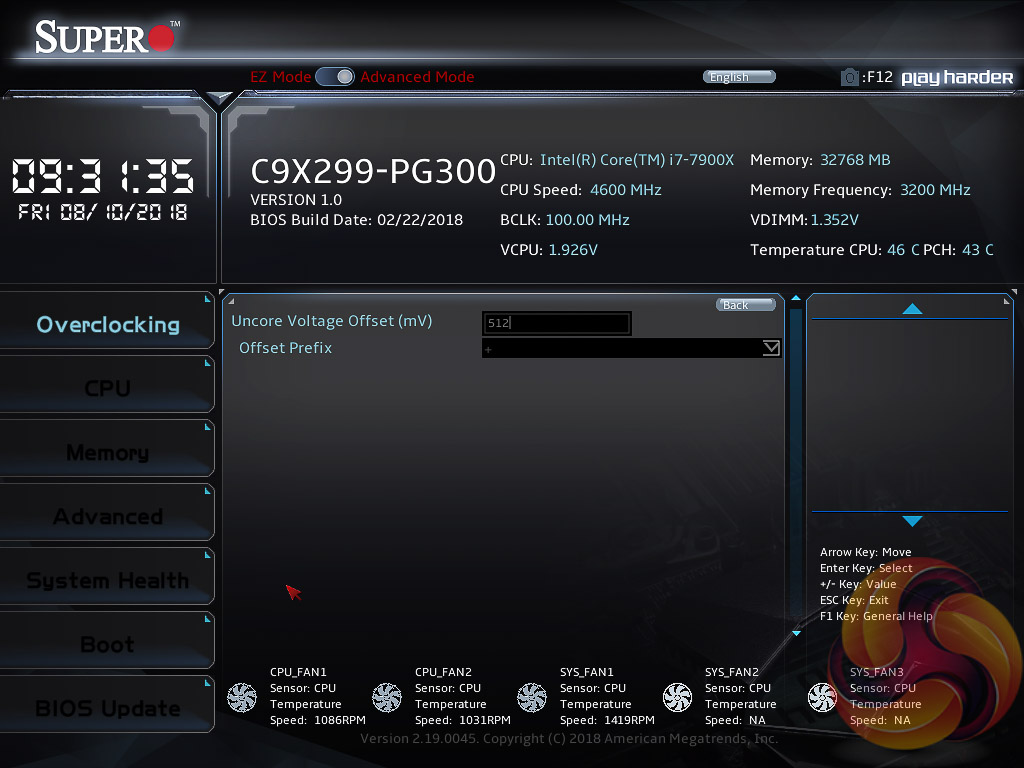
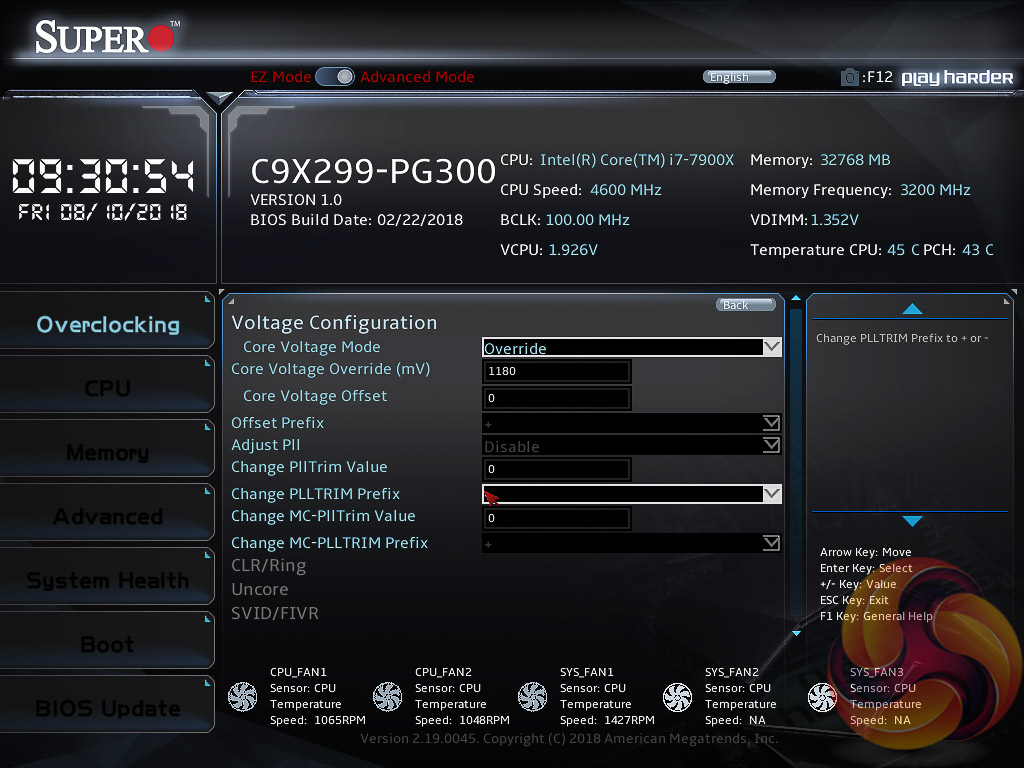
The Overclocking options are exhaustive and Supermicro appear to give the user just about every option that Intel's hardware allows for. It can be a little intimidating at first but there's no reason to treat overclocking any different to other motherboards – simply dial in a core voltage in the “Voltage Configuration” section, using the millivolt format (1.2v = 1200mv), and then set the core ratio in the main “CPU Overclocking” section by tweaking the “All Core OC Setting” to manual. The SVID/FIVR section within Voltage Configuration has the Load Line Calibration options.
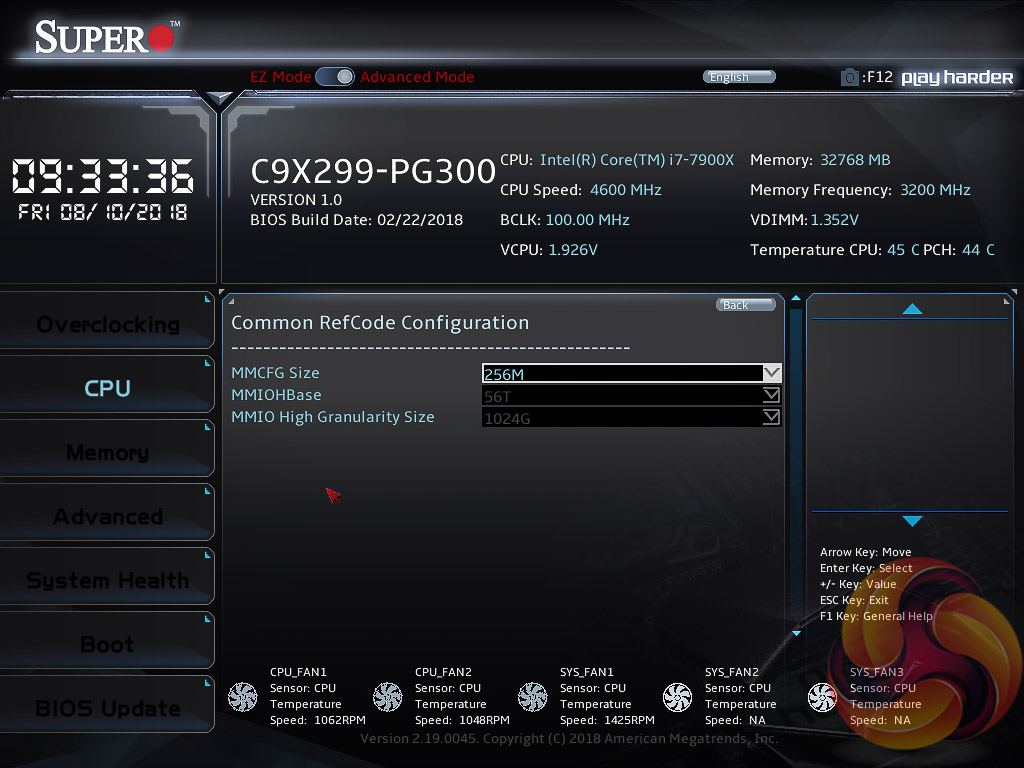
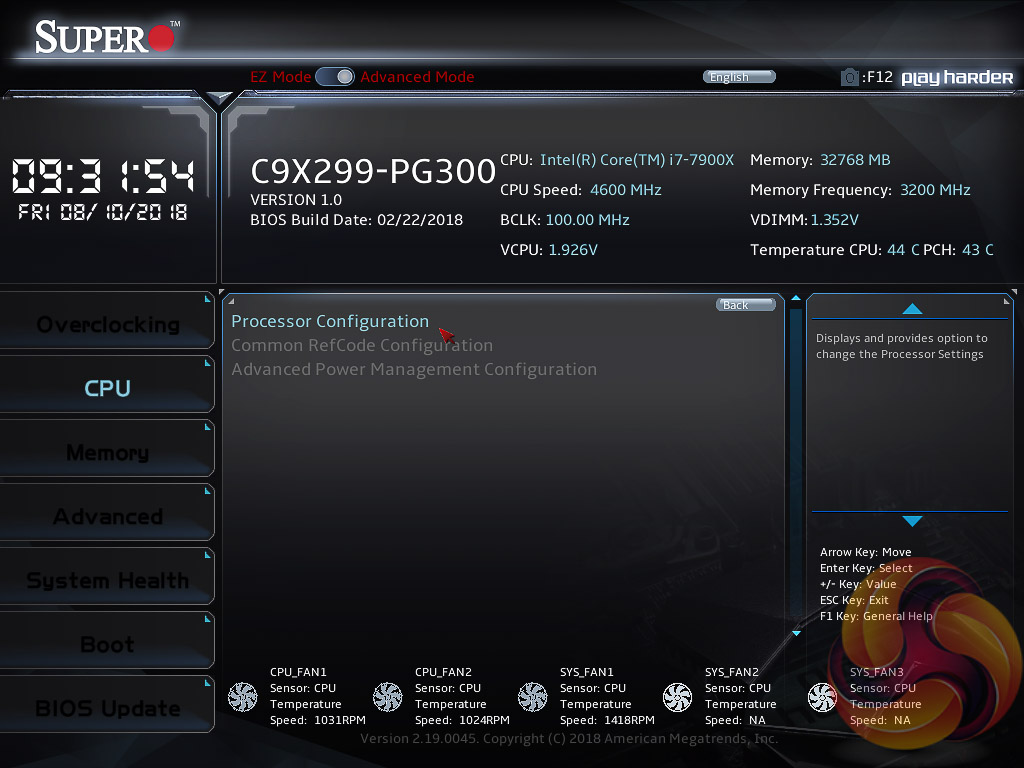
Many of the Overclocking options are repeated in the CPU section.
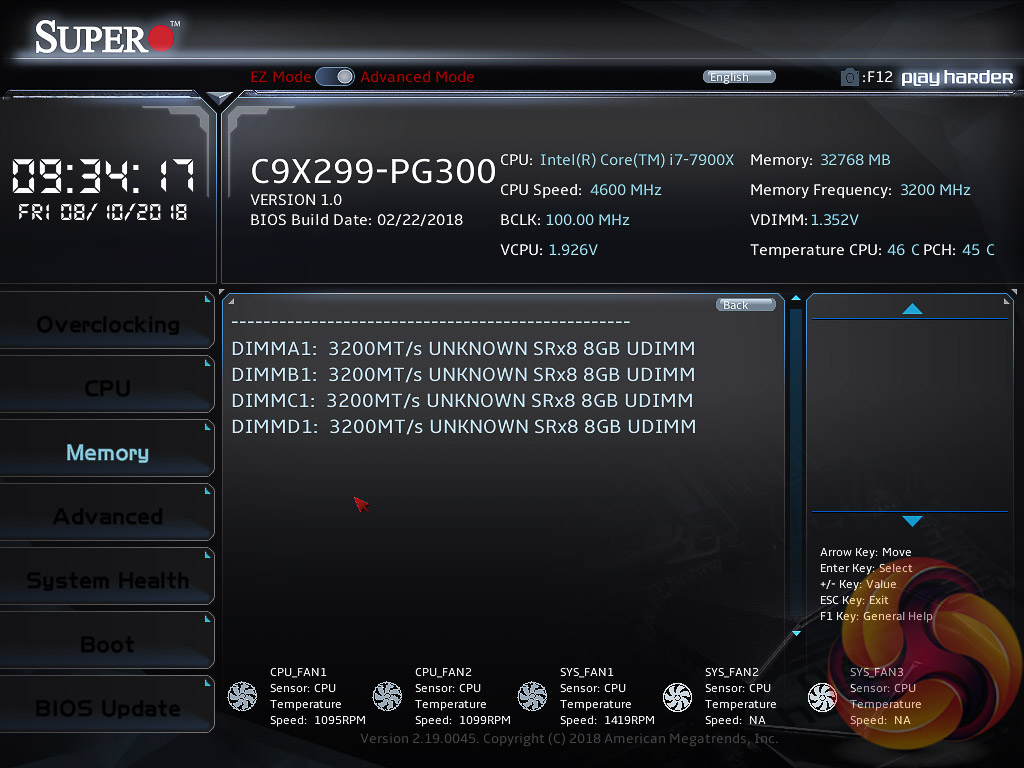
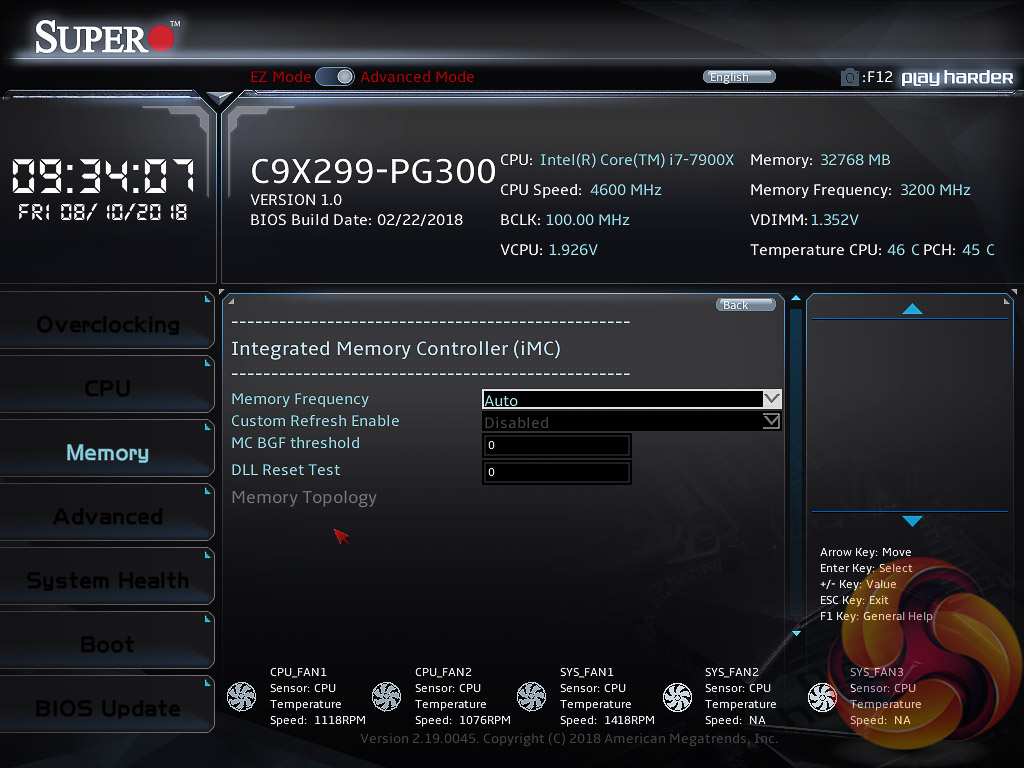
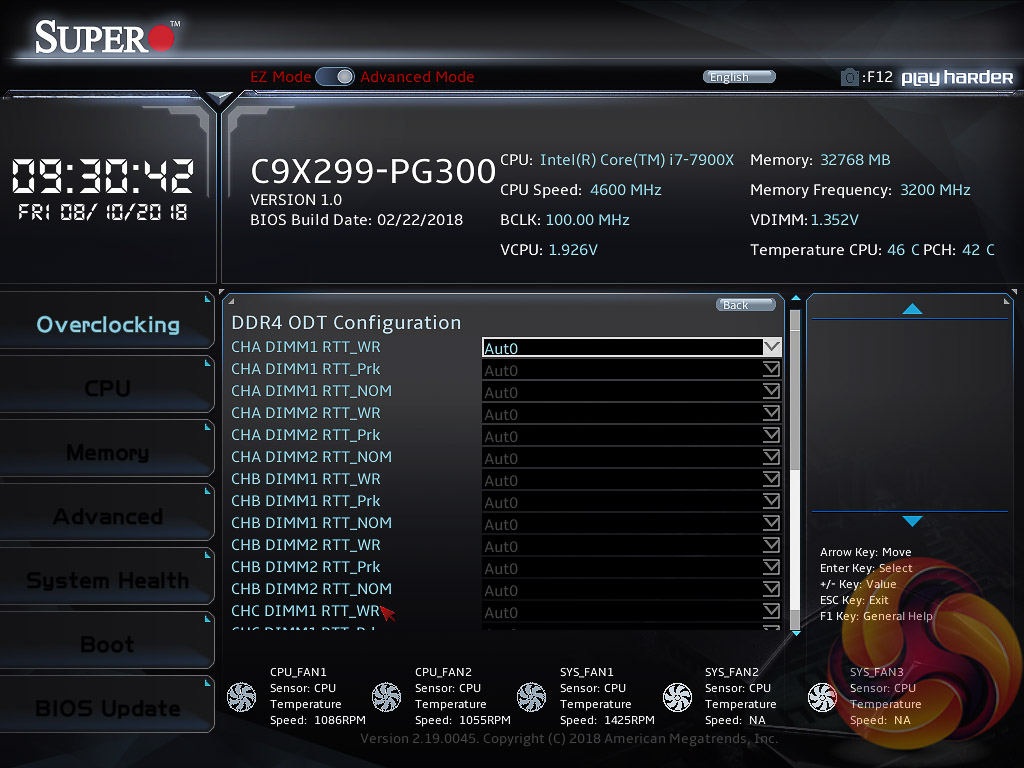
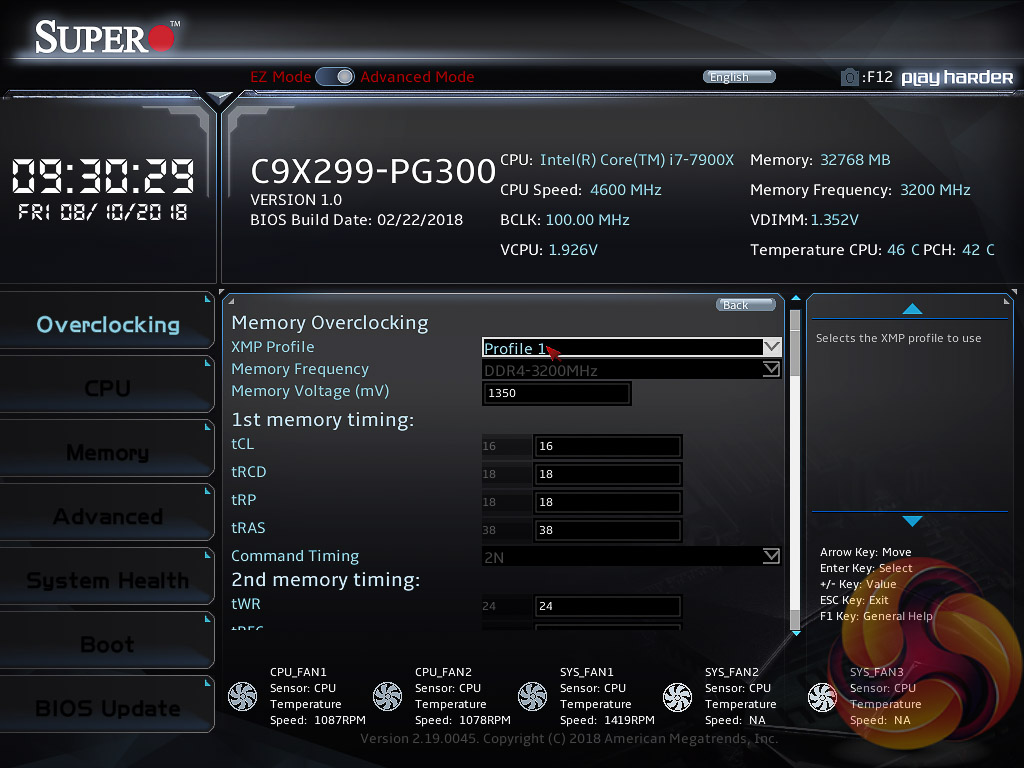
The Memory section doesn't have much in it at all, the XMP settings are found in the overclocking section under “Memory Overclocking”.
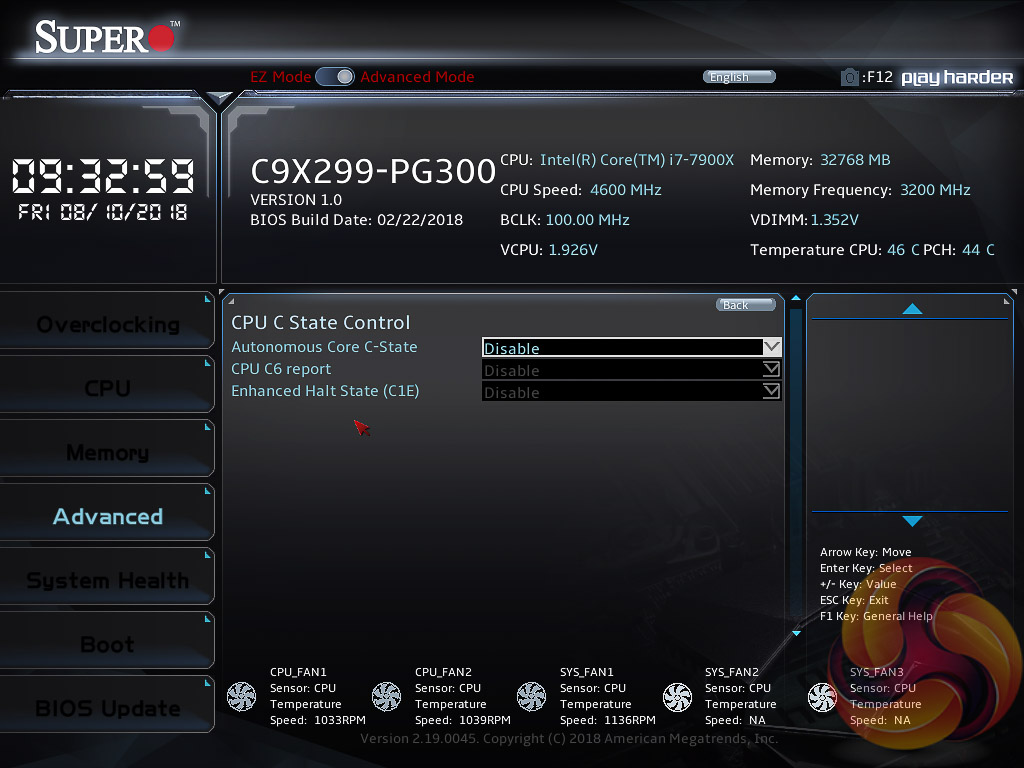
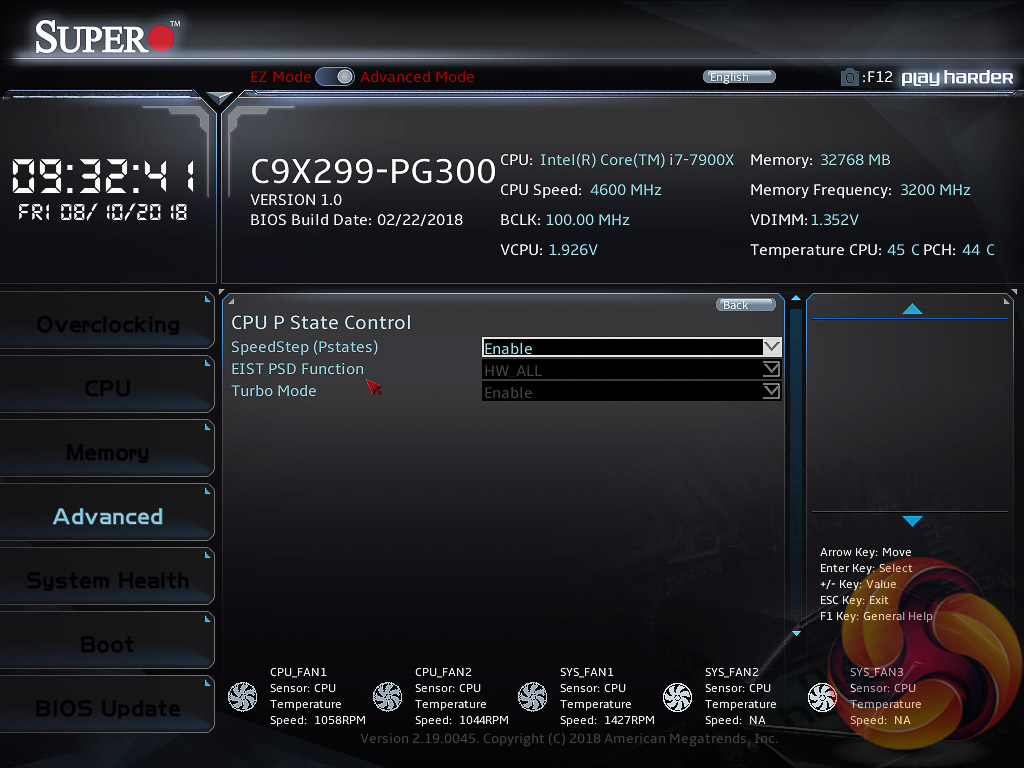

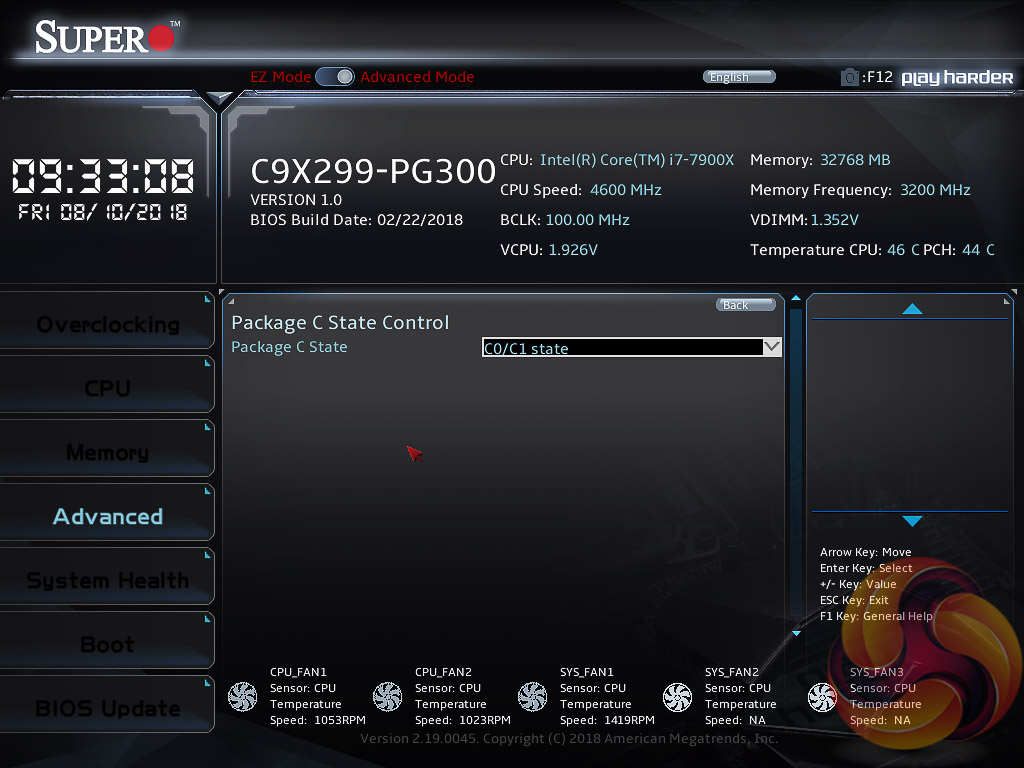
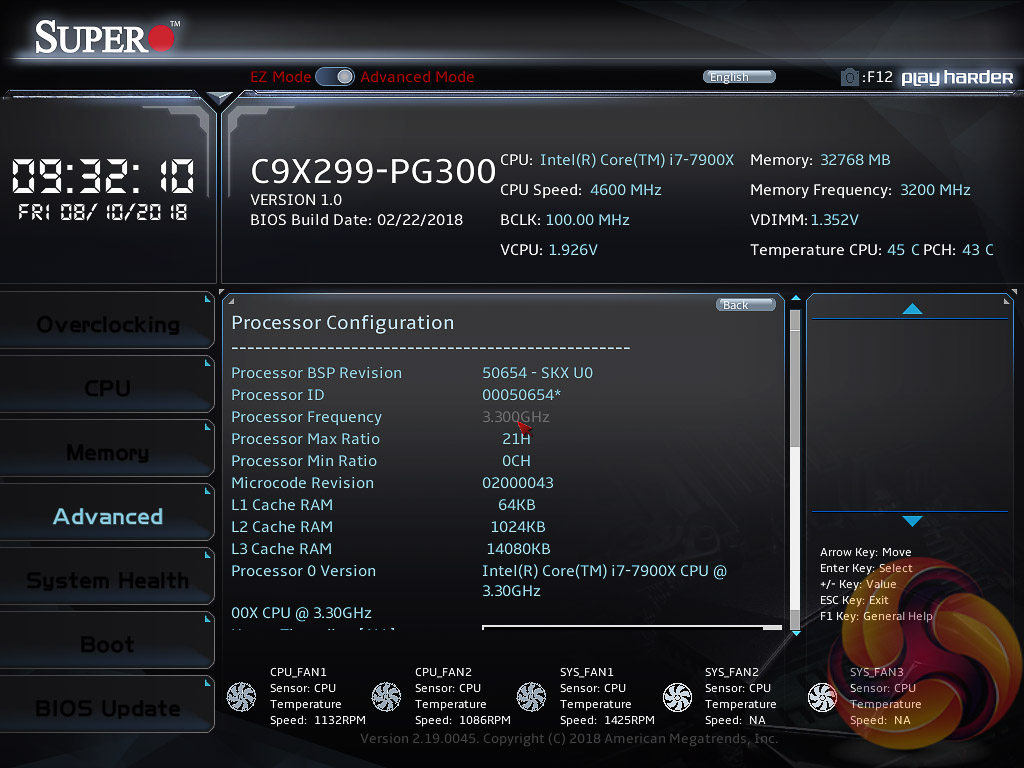
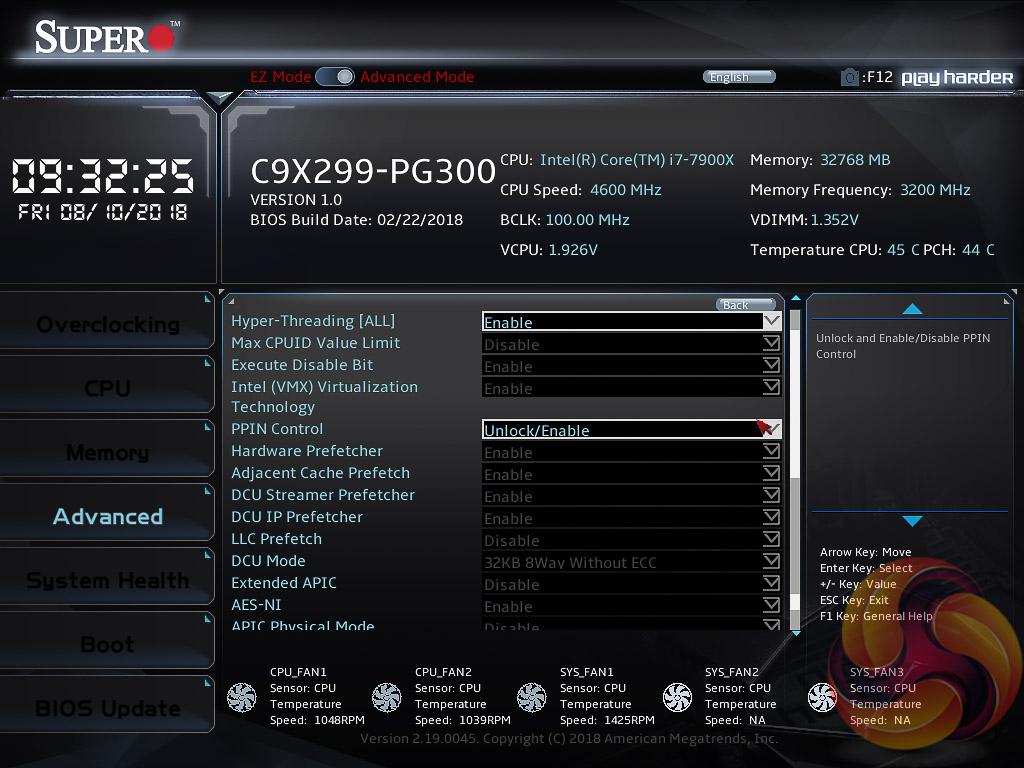
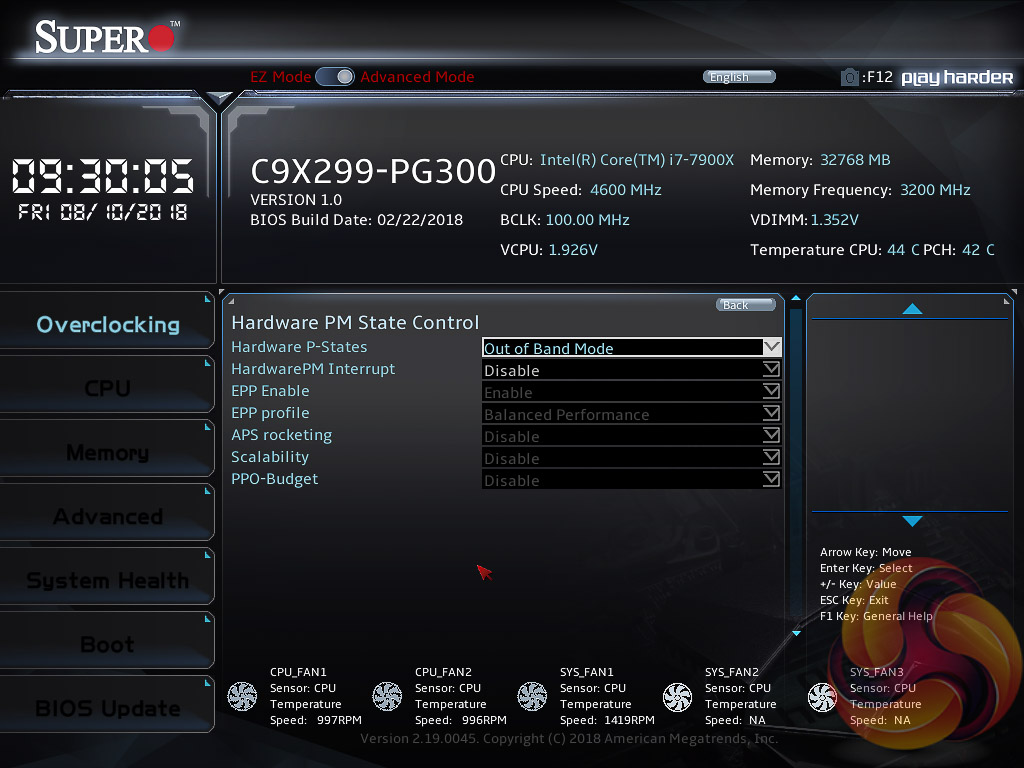
The Advanced section of the UEFI provides a long list of configuration items ranging from chipset configuration to direct interfacing with onboard ICs like the NCT6792D Super IO chip. There are a truck-load of configuration options here, most of which the average user is best leaving untouched.
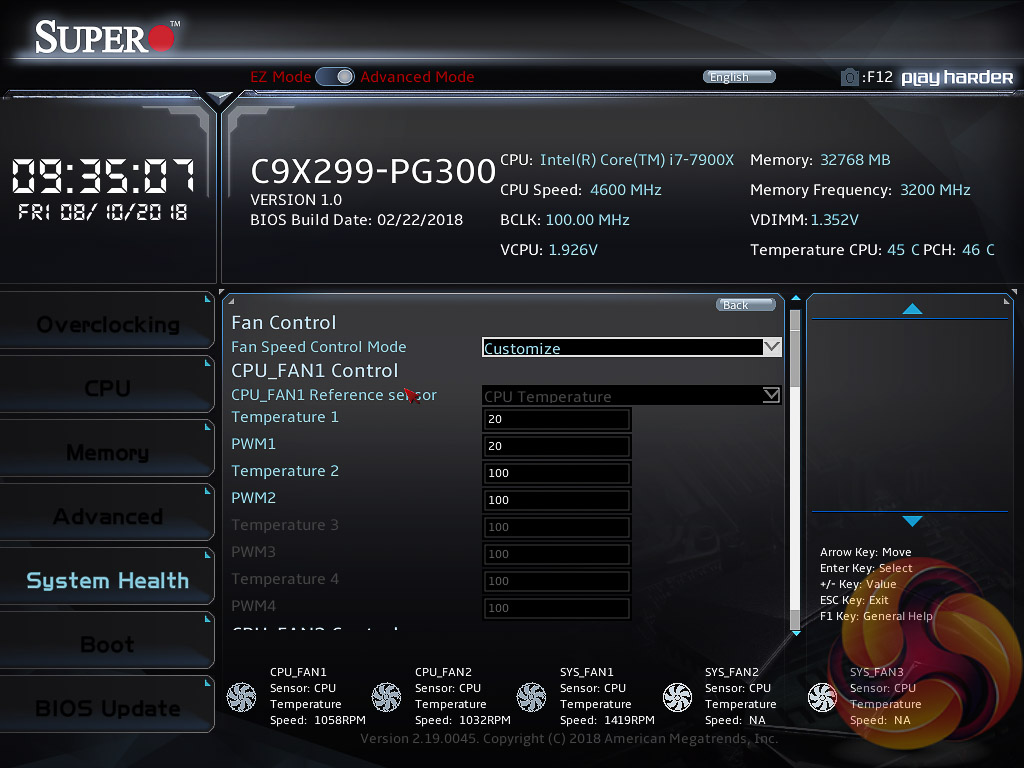
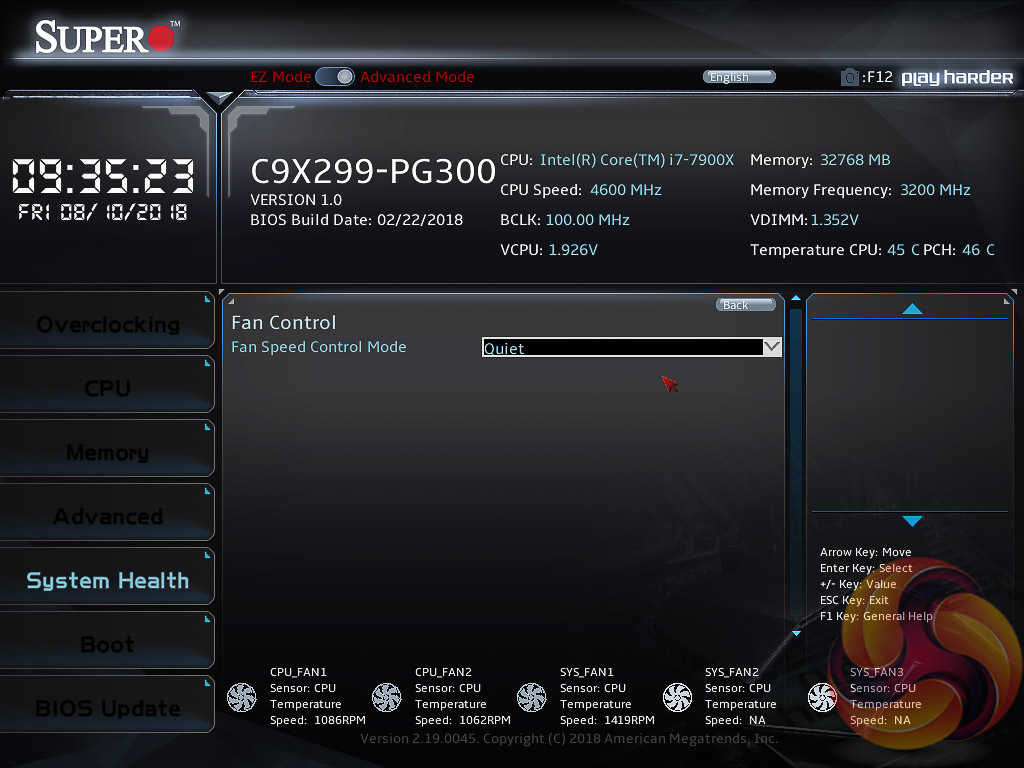
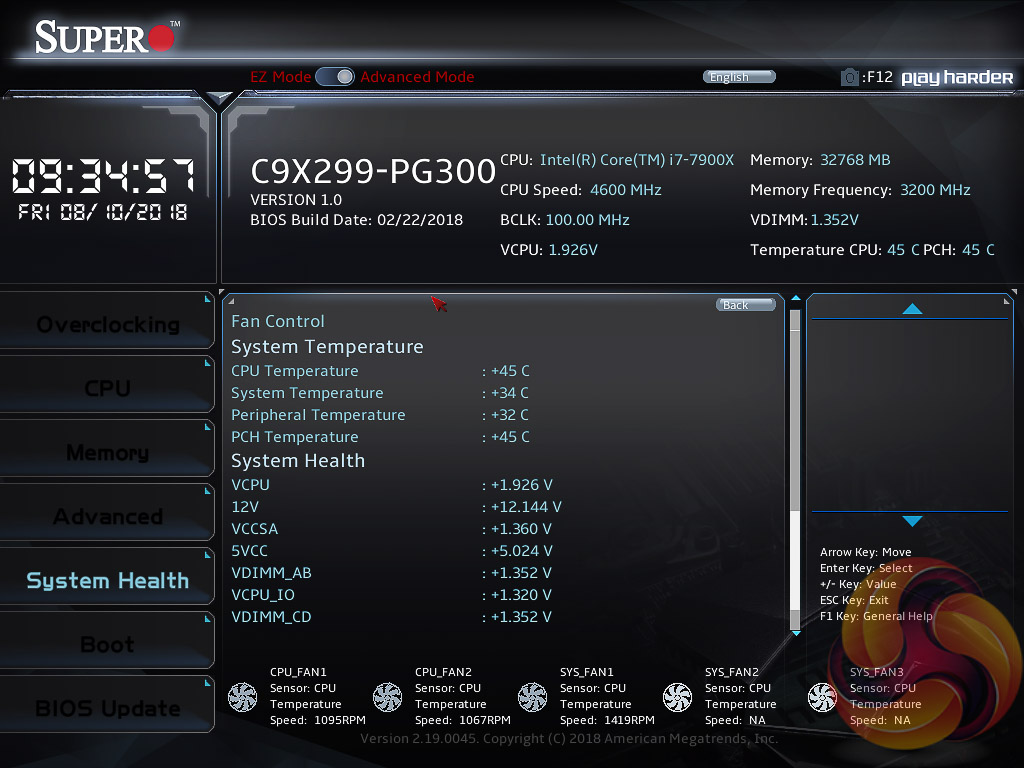
The System Health section holds the system monitoring data and fan controls. In the fan control section the setting needs to be set to “Customize” to allow the user to change the fan behaviour for each fan, each fan must be programmed manually and there are no default profiles. The “fan curves” have four temperature thresholds with four corresponding fan speeds, it is not possible to create smoother fan profiles than this or use any custom fan hysteresis settings (the time delay between speed changes).
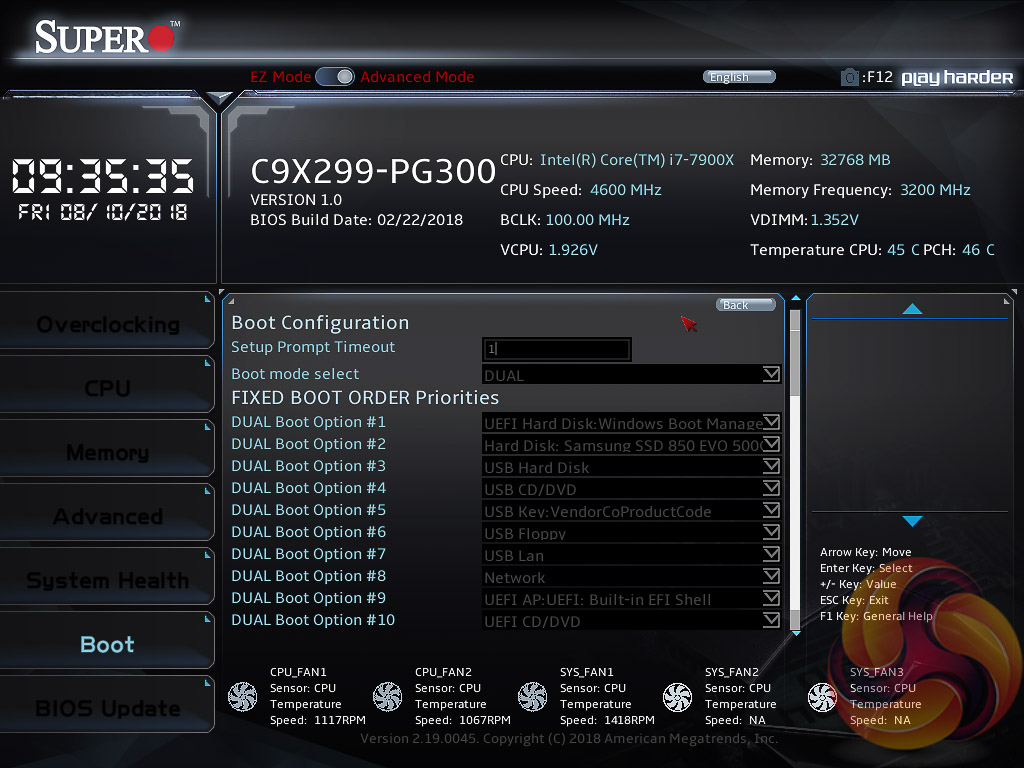
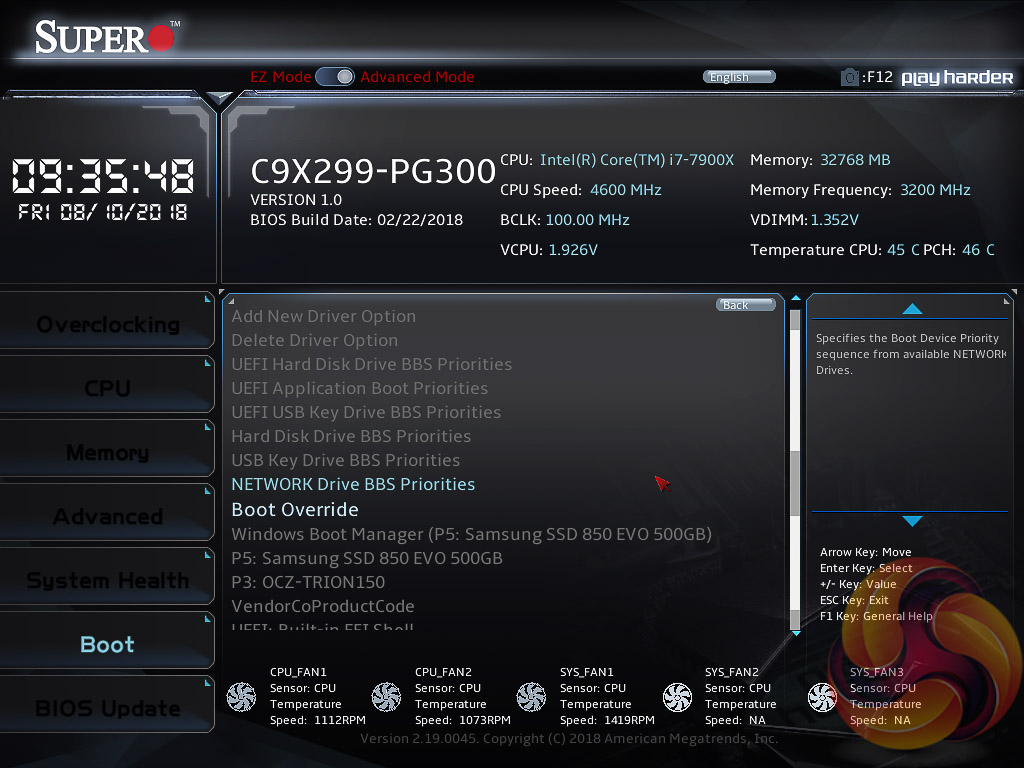
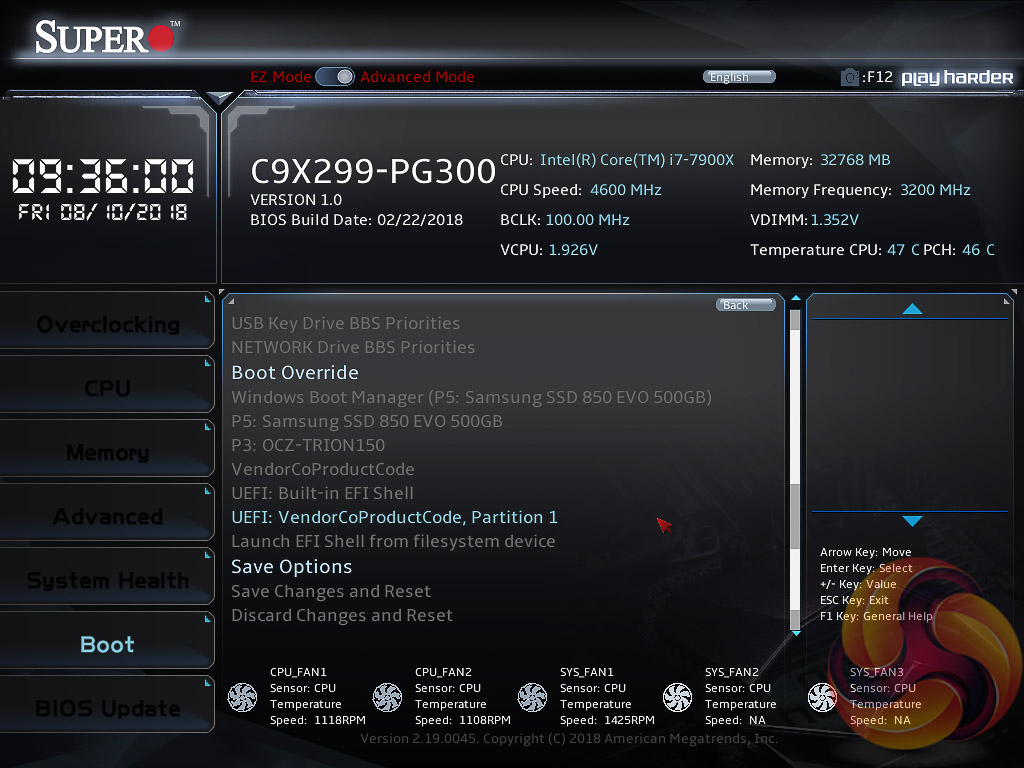
The Boot section handles the boot order, boot override, has the BIOS profile options for saving and loading settings as well as the save and exit interface.
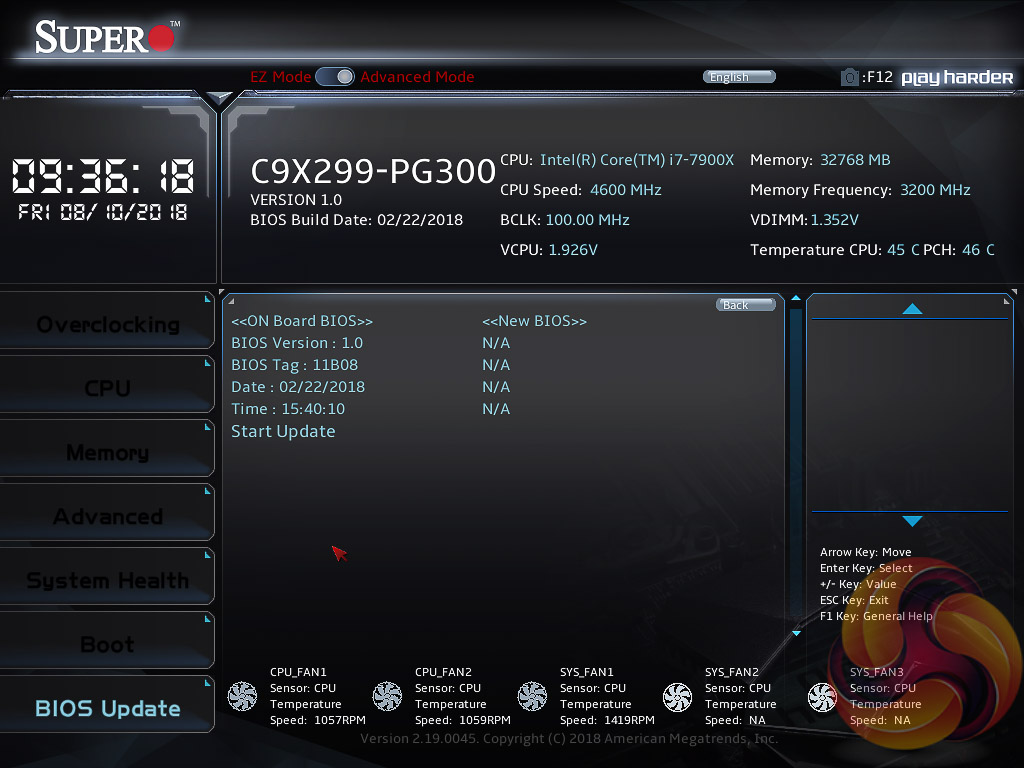
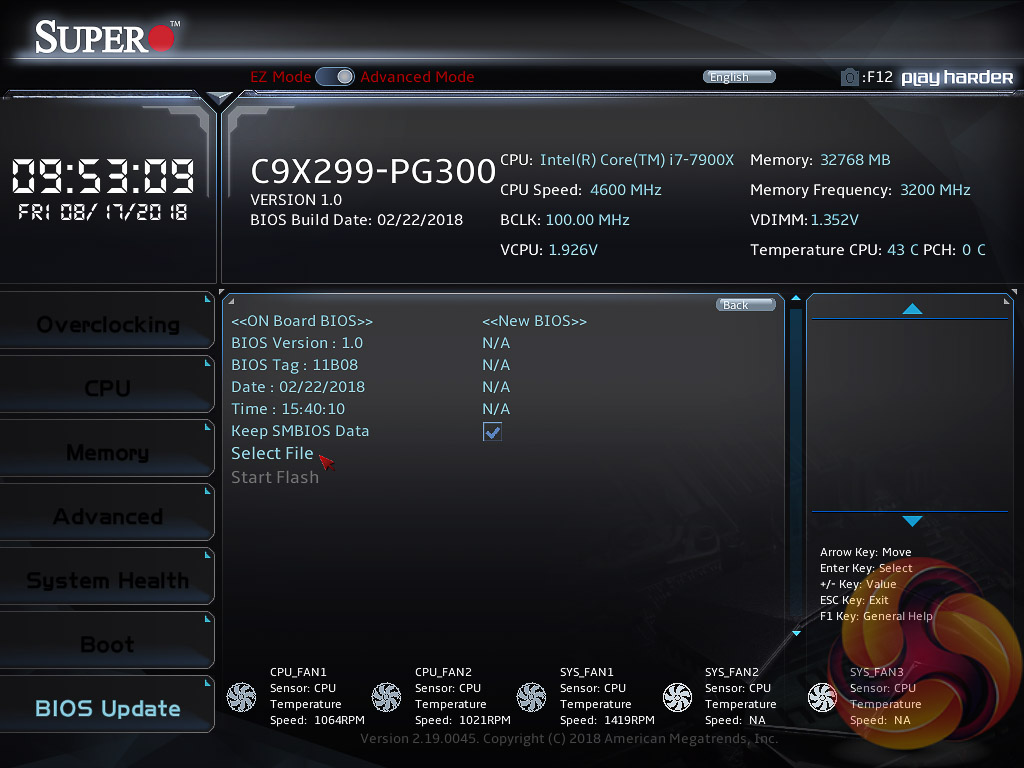
The BIOS Update window displays the current BIOS version and once “Start Update” is selected the system reboots back into the UEFI with new options available – select file and start flash. There is no internet update option from within the UEFI environment.