It has been a while since we brought you the second instalment of our AMD Behemoth custom build so we think it's time for an update. Today, for part three of the project, we begin to customise the smaller parts of the system, show you how to remove stubborn anodising from aluminium parts, and also give our custom laser cut case panels a paint job before installing them back into the chassis.
Timestamps

We kick off part three by looking at a couple of different methods of removing coloured anodising from aluminium parts at home, using items that you may already have in your cupboards. If you want to change the appearance of aluminium parts, it's often necessary to remove the anodising before changing the colour. This doesn’t only apply to PC parts, you could use these methods to remove anodising from other things such as performance car/motorcycle parts, bicycle parts or anything else that is made of aluminium and is anodised.
The quickest and easiest way to remove anodising at home is by soaking the parts for a short time in a solution containing caustic soda and water. Caustic soda (also known as sodium hydroxide or soda crystals) can be purchased easily from online stores such as Amazon or eBay. Alternatively, you might be able to pick it up from a high street supermarket or a plumbers' merchant as it can also be used for heavy-duty cleaning and drain unblocking.
An alternative to caustic soda uses something that you may already have in your cupboards. Oven cleaner often contains chemicals that will also remove anodising from aluminium pretty easily, however, a little more effort is required with oven cleaner but it can produce the same result. If you do try either of the methods in the video, be sure to use some protective equipment for your eyes, hands and lungs as both caustic soda and oven cleaner contain harsh chemicals that can be irritating to the eyes, skin and lungs.
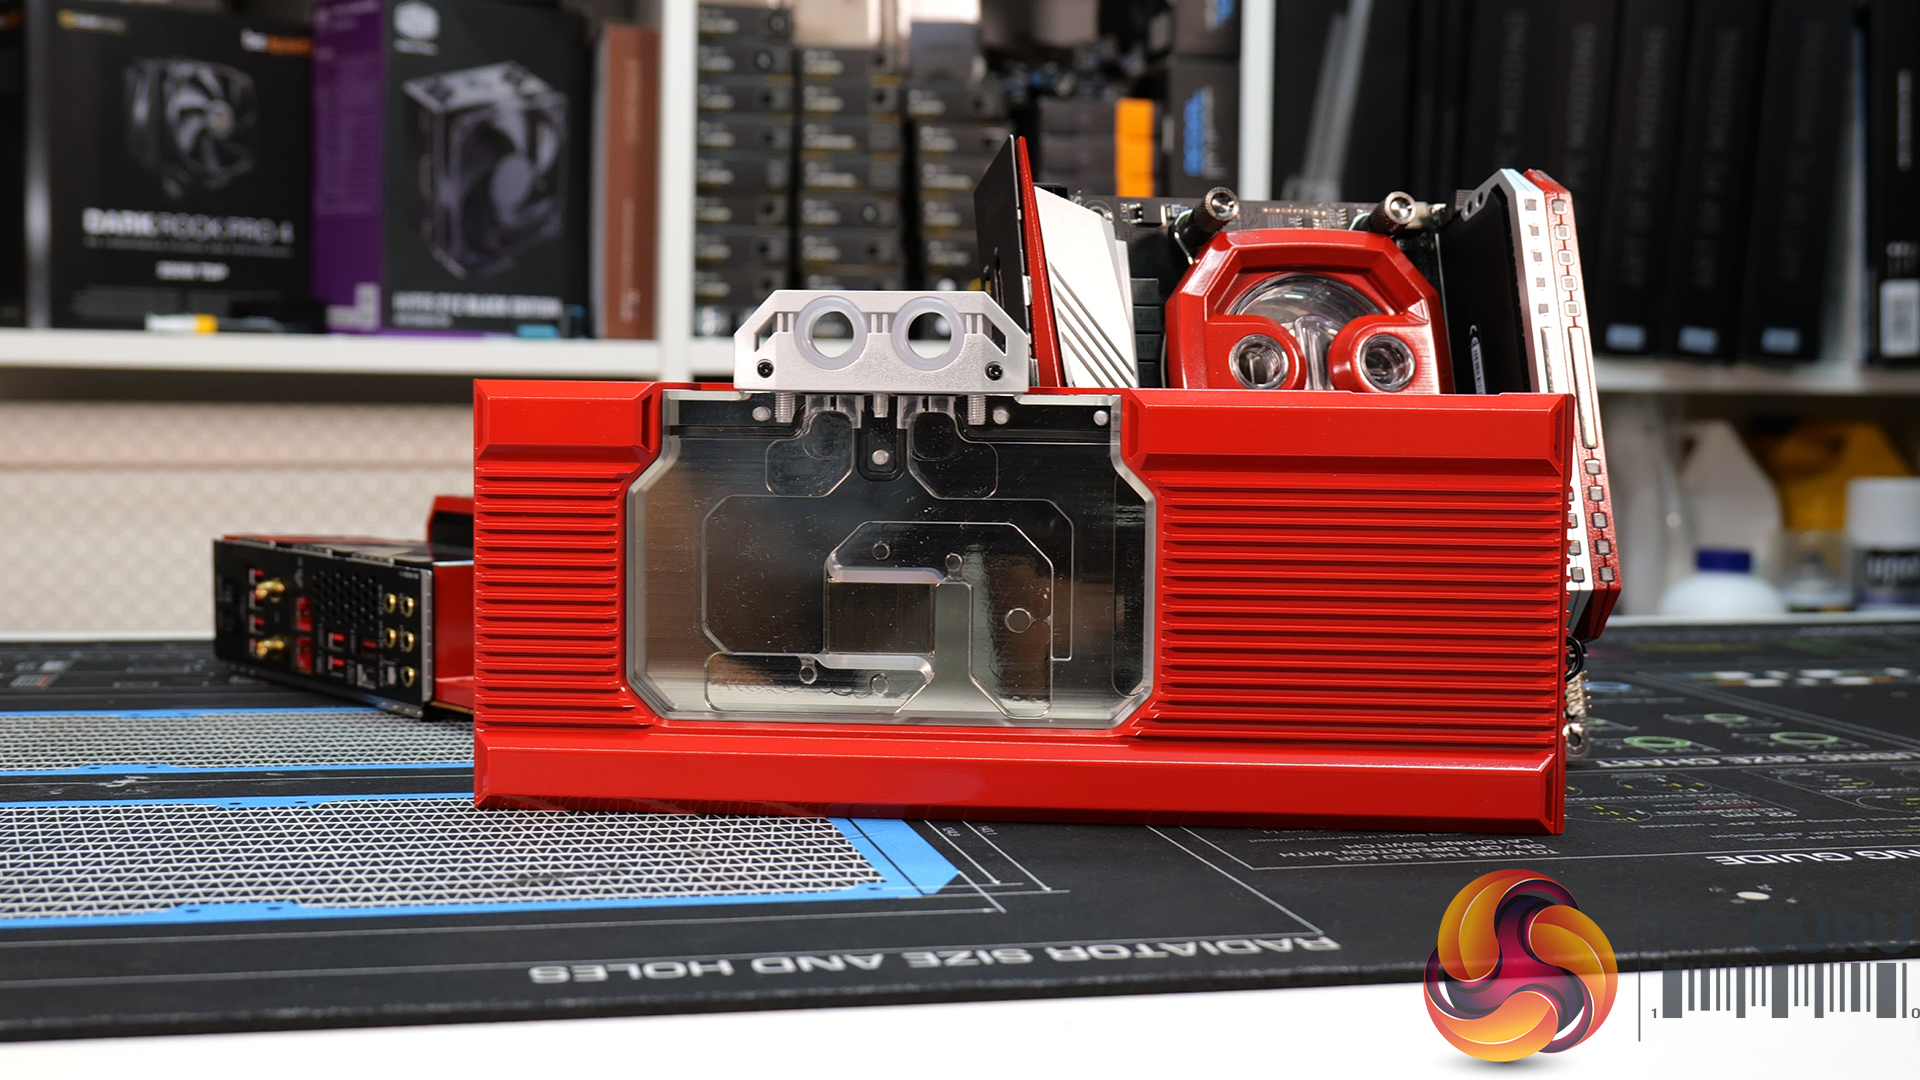
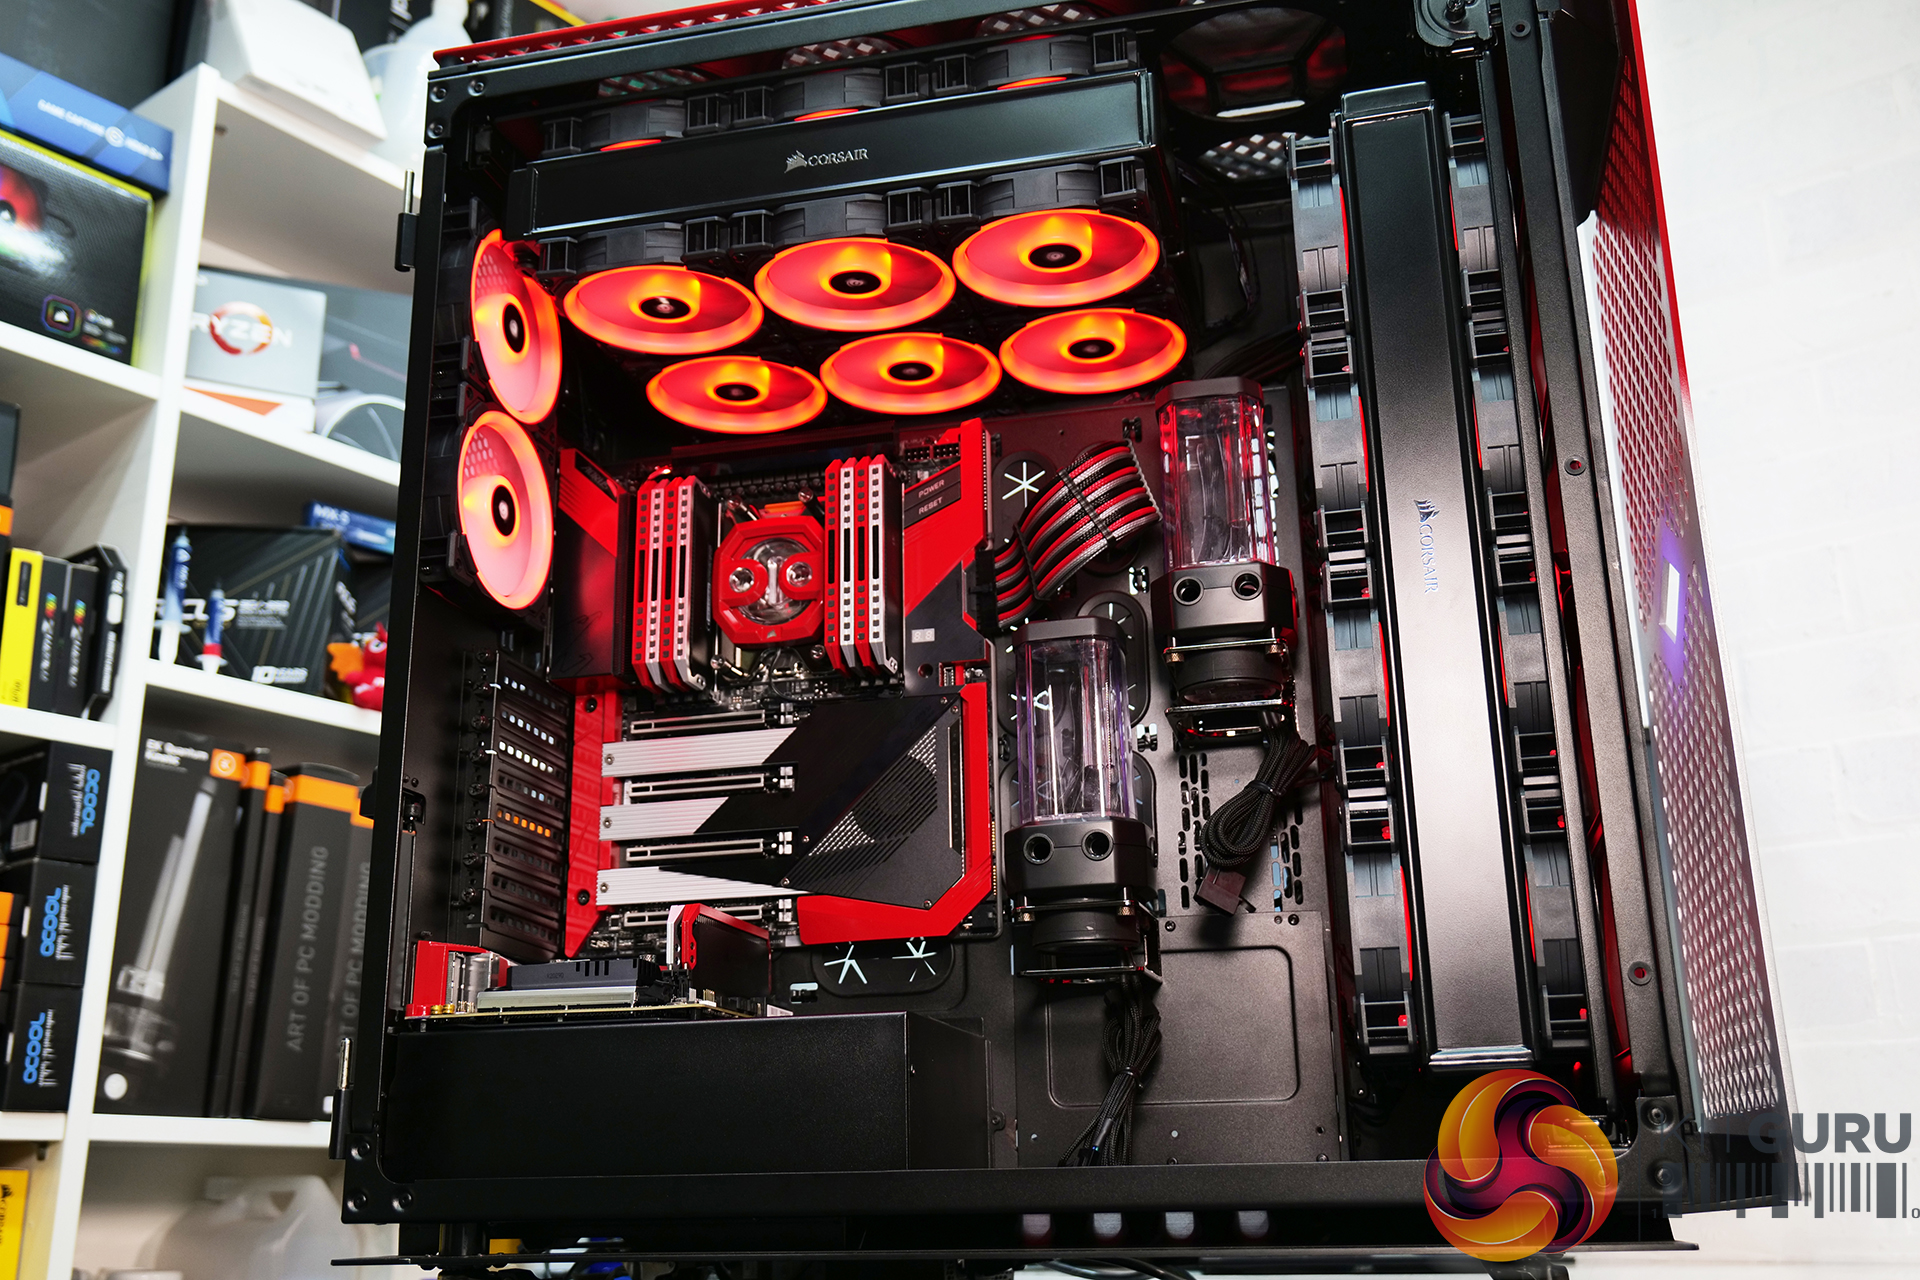
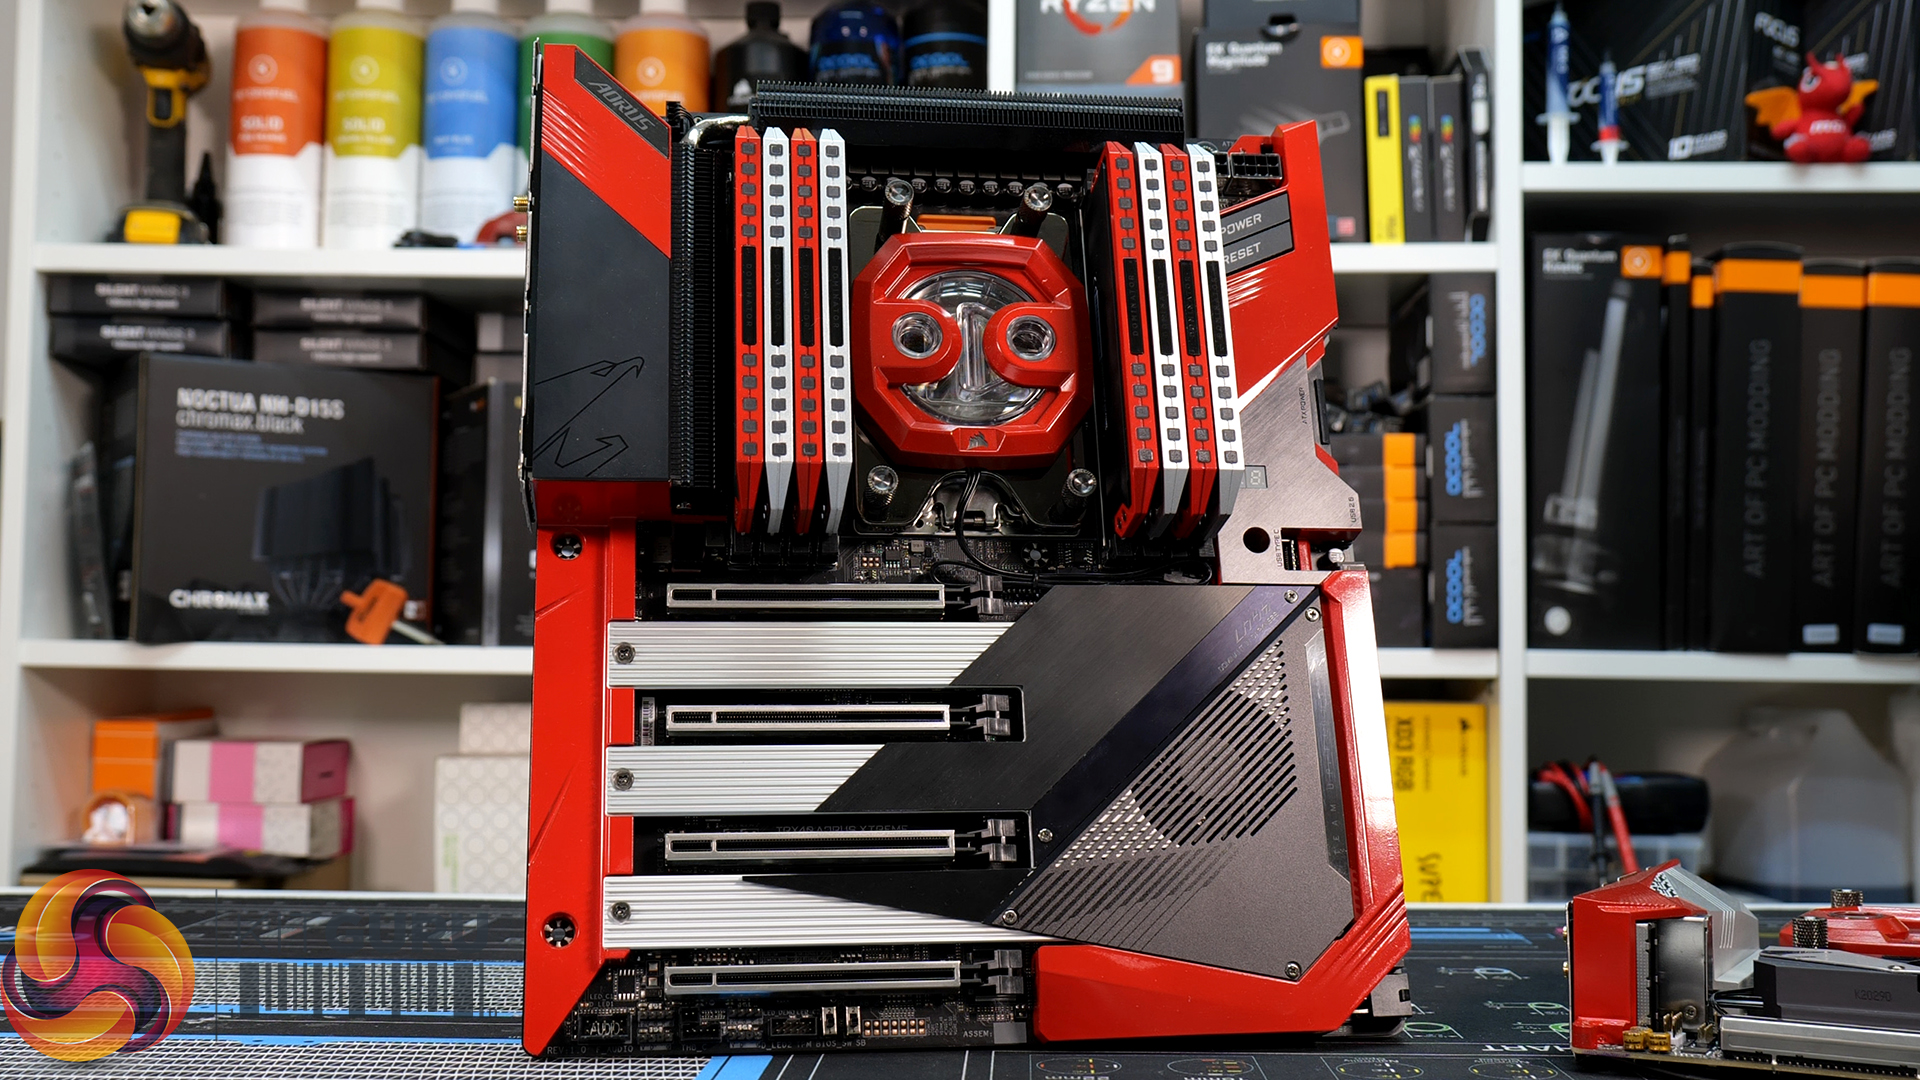
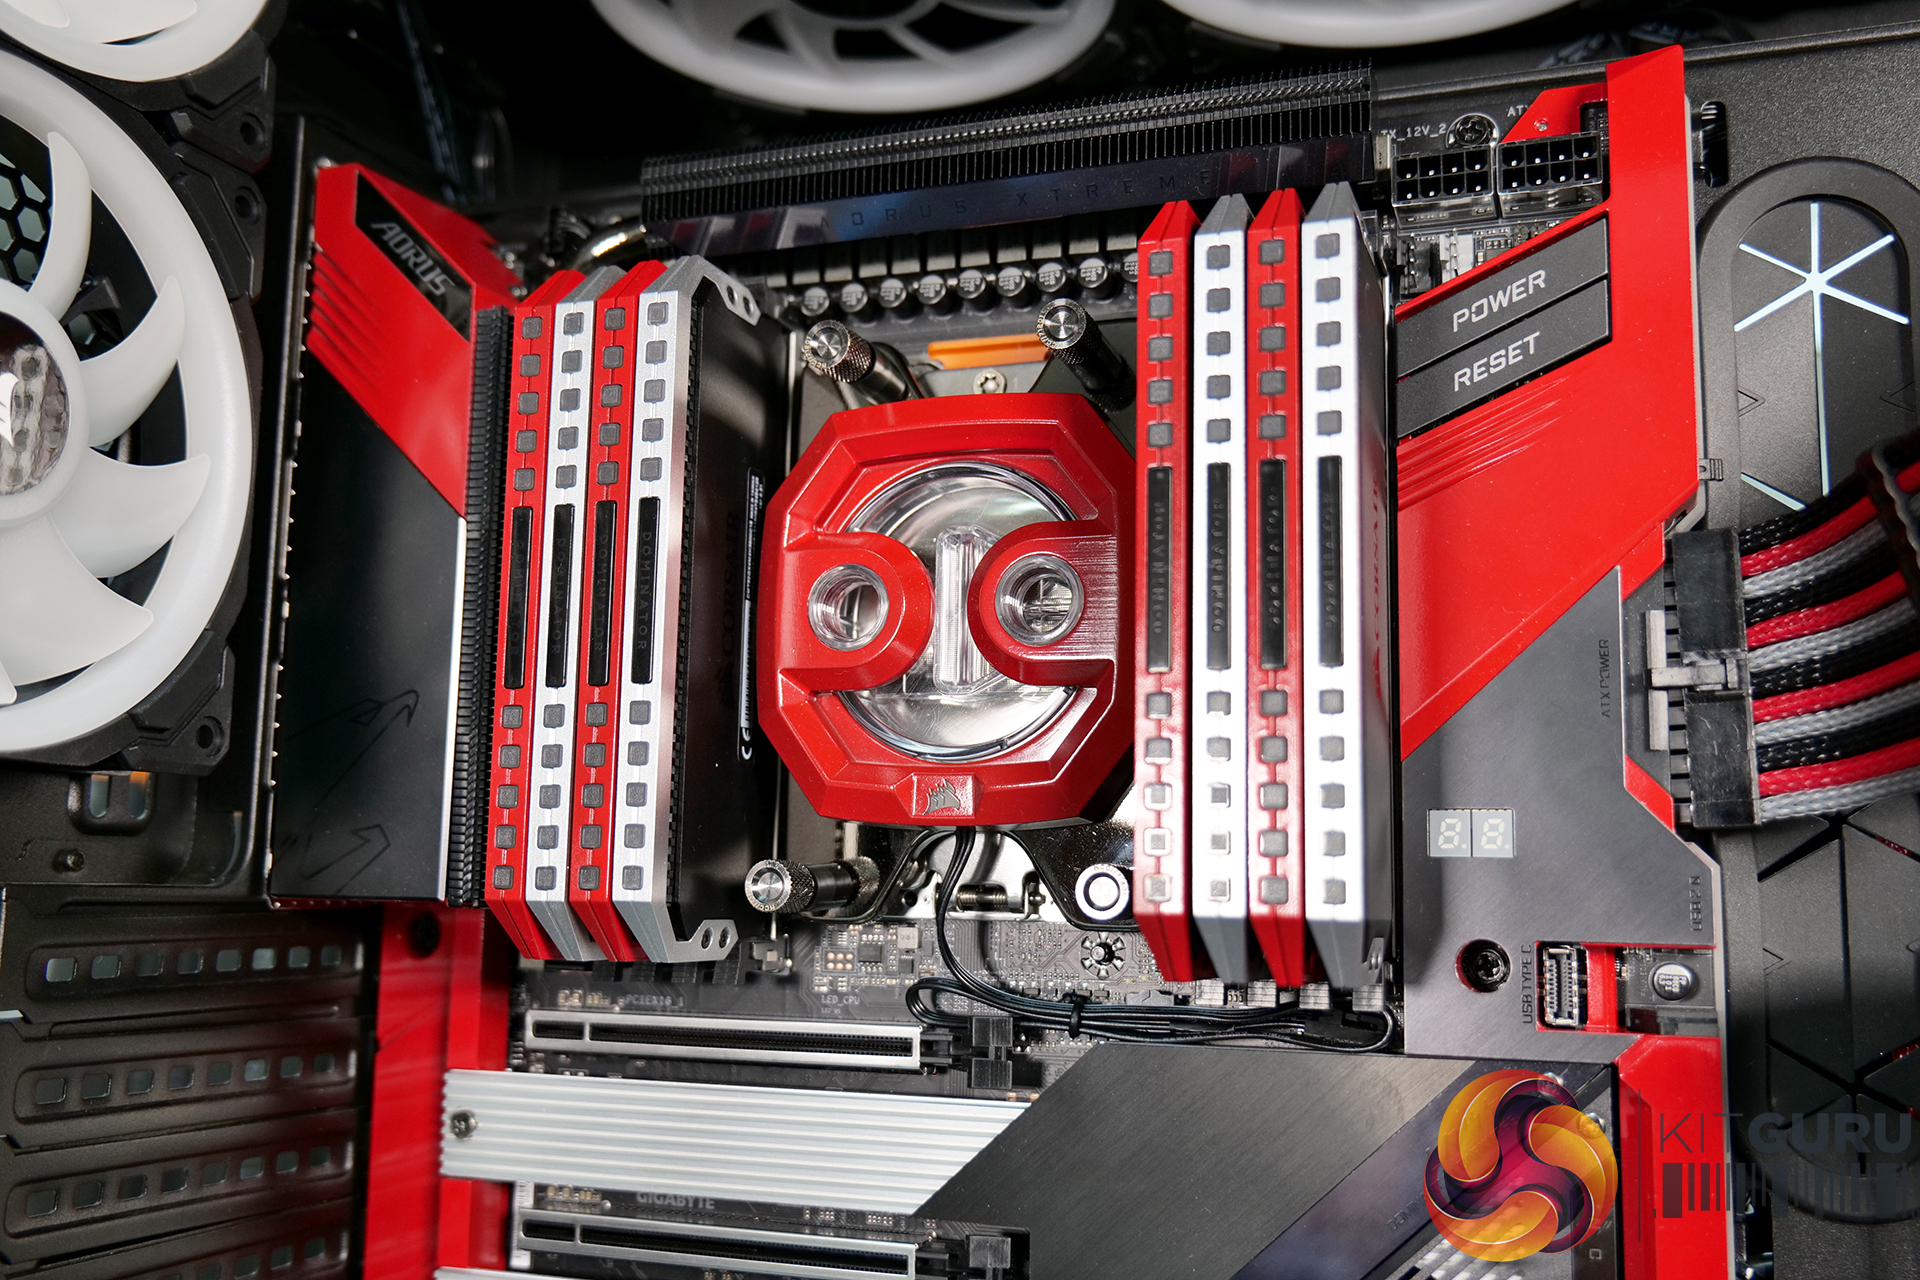
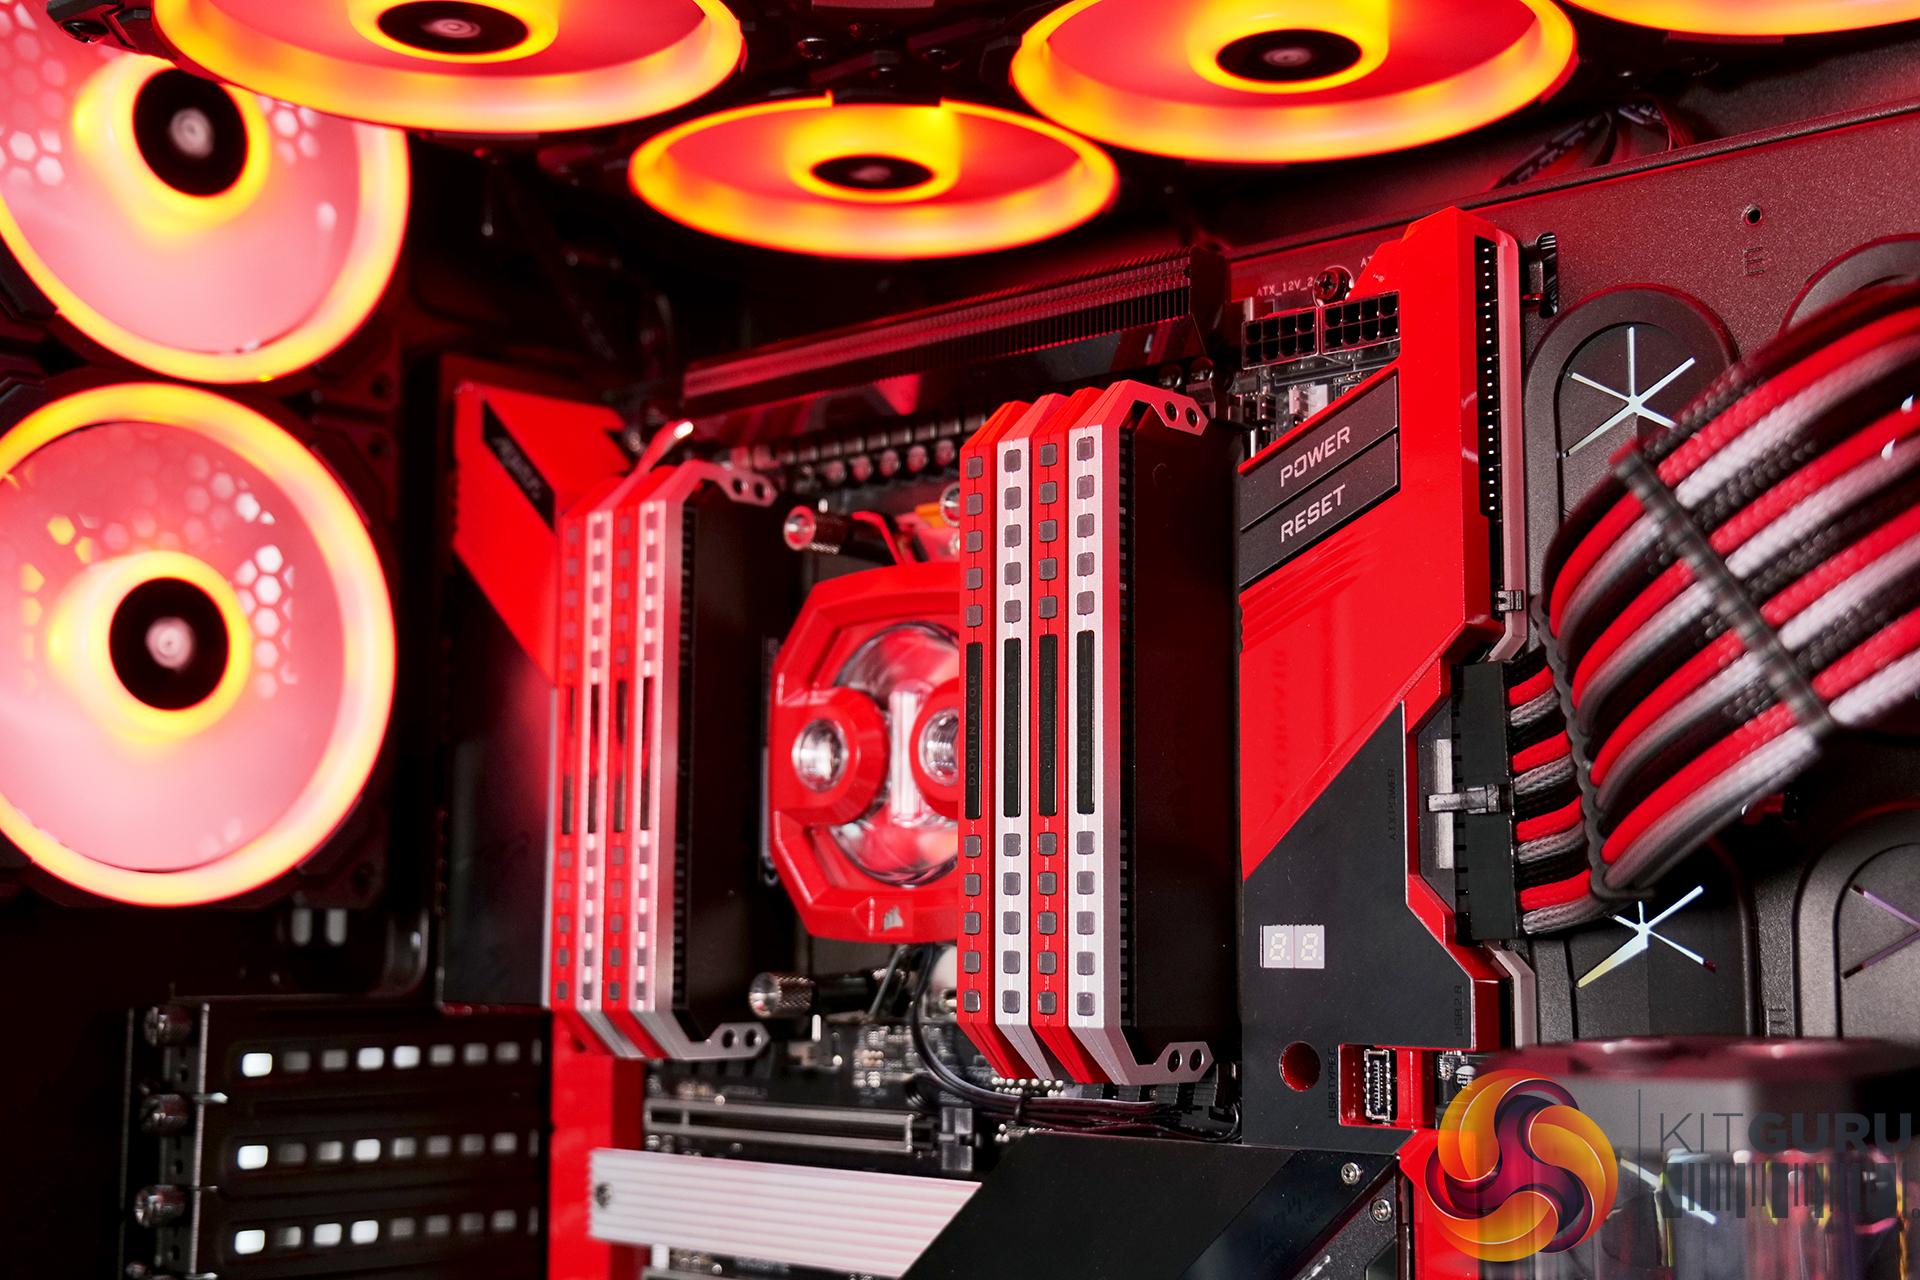
As well as this, there are plenty more mods in part three. I disassemble all the small heatsinks, shrouds, covers and heat spreaders from the system’s TRX40 and X570 motherboards and RAM, take apart the CPU and GPU water blocks and treat them all to custom paint jobs so that they fit in nicely with the red, black and silver theme of the AMD Behemoth.
System Specification
Main System
- CPU: AMD Ryzen Threadripper 3970X
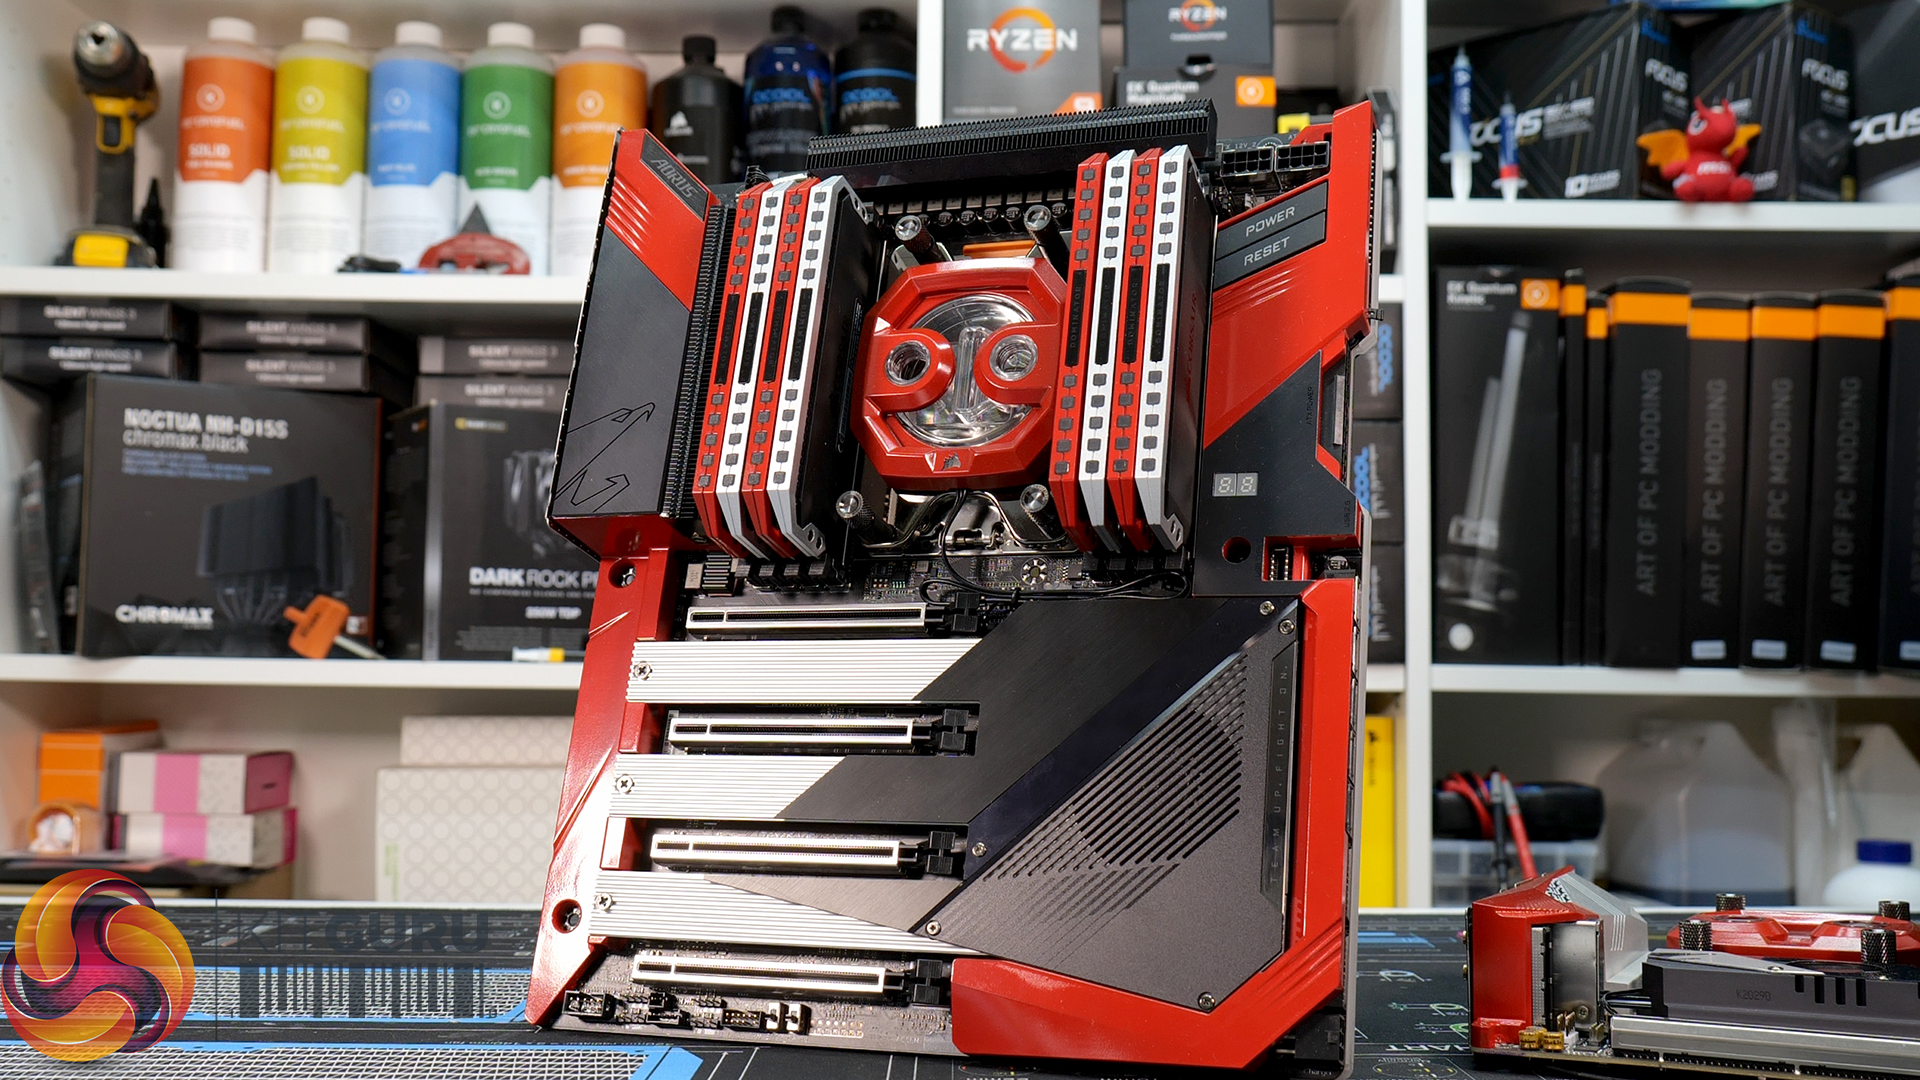
- Motherboard: Gigabyte TRX40 Aorus Xtreme
- Memory: 64GB (8 x 8GB modules) Corsair Dominator Platinum RGB 3600MHz C16
- Graphics Card: Gigabyte RX 6900 XT Gaming OC
- Storage 1: 2TB Corsair MP600 Core PCIe Gen4 M.2 NVMe SSD
- Storage 2: 4TB Samsung 870 QVO 2.5” SATA SSD
- Power Supply: Corsair AX1600i
- Chassis: Corsair Obsidian 1000D
Second System
- CPU: AMD Ryzen 9 5900X
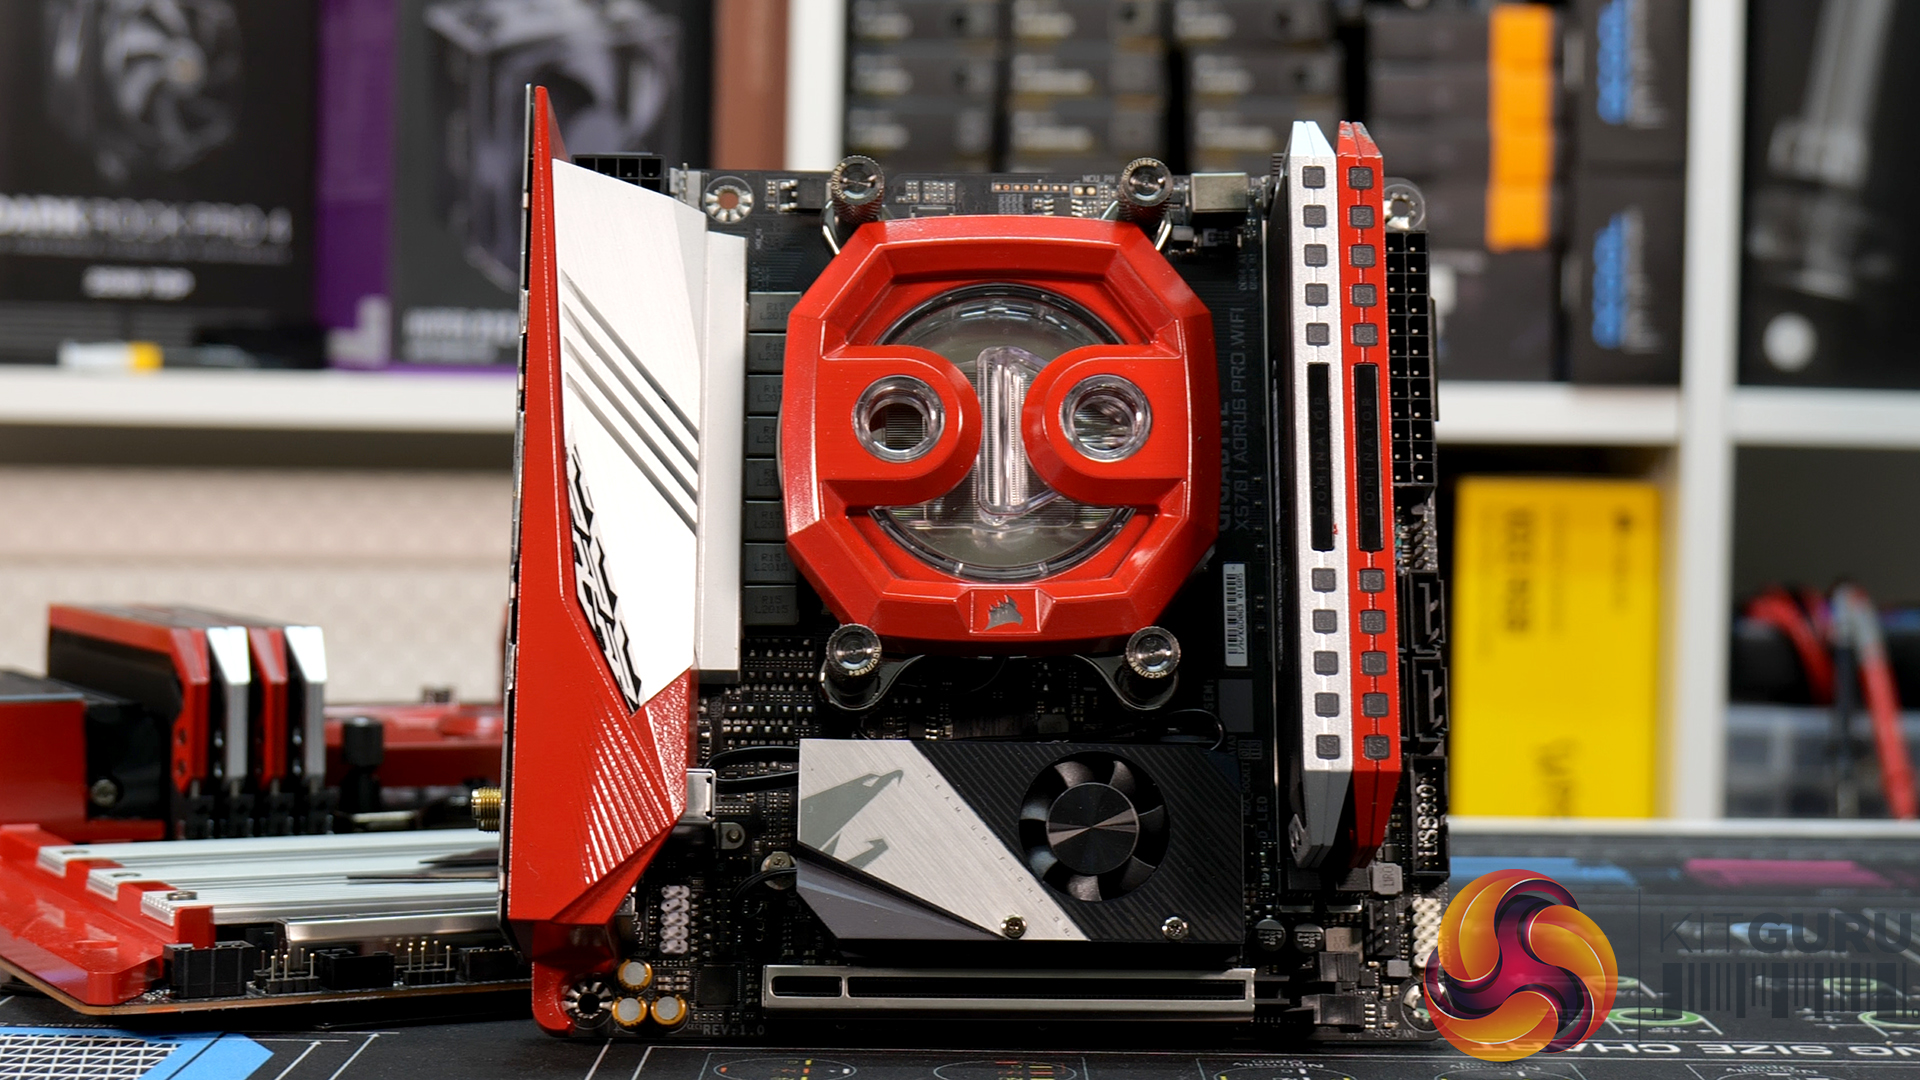
- Motherboard: Gigabyte X570I Aorus Pro WiFi
- Memory: 32GB (2 x 16GB modules) Corsair Dominator Platinum RGB 4000MHz C16
- Graphics Card: AMD Radeon RX 6800 XT Reference Edition
- Storage 1: 1TB Corsair MP600 Core PCIe Gen4 M.2 NVMe SSD
- Storage 2: 2TB Samsung 870 QVO 2.5” SATA SSD
- Power Supply: Corsair SF750
Cooling
- Pump/res: 2 x Hydro X XD5 RGB Pump/Reservoir Combos
- Radiators: Hydro X XR7/XR5 480mm/420mm Water Cooling Radiators
- GPU Water blocks: Hydro X XG7 RGB RX 6900 Reference Edition / EK-Quantum Vector Master RX 6800XT/6900XT D-RGB
- Fittings: XF Hardline 14mm OD
- Tubing: XT Hardline 14mm Tubing — Satin Transparent
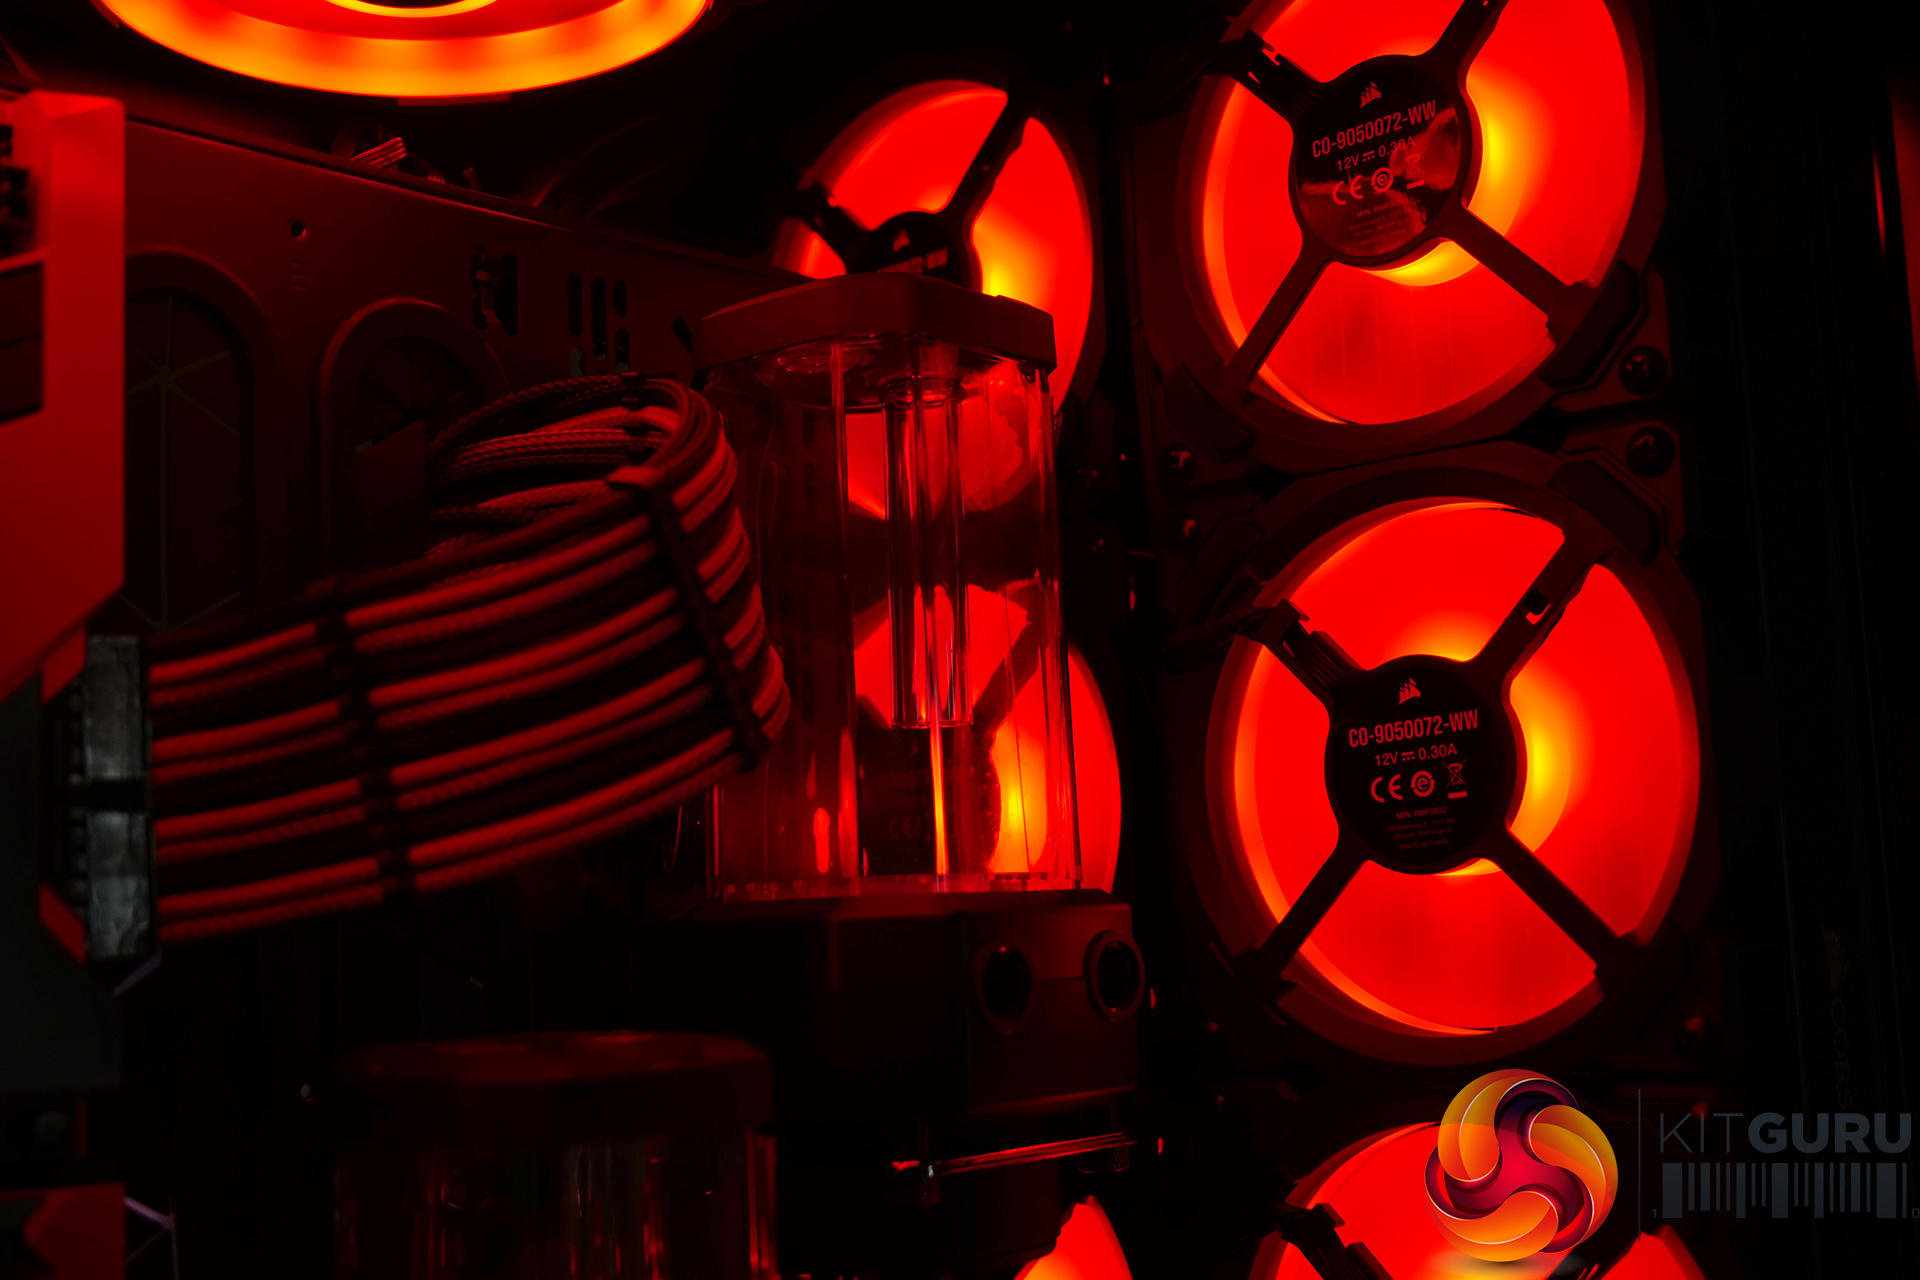
- System Fans: 18 x Corsair LL120 RGB, 12 x Corsair LL140 RGB
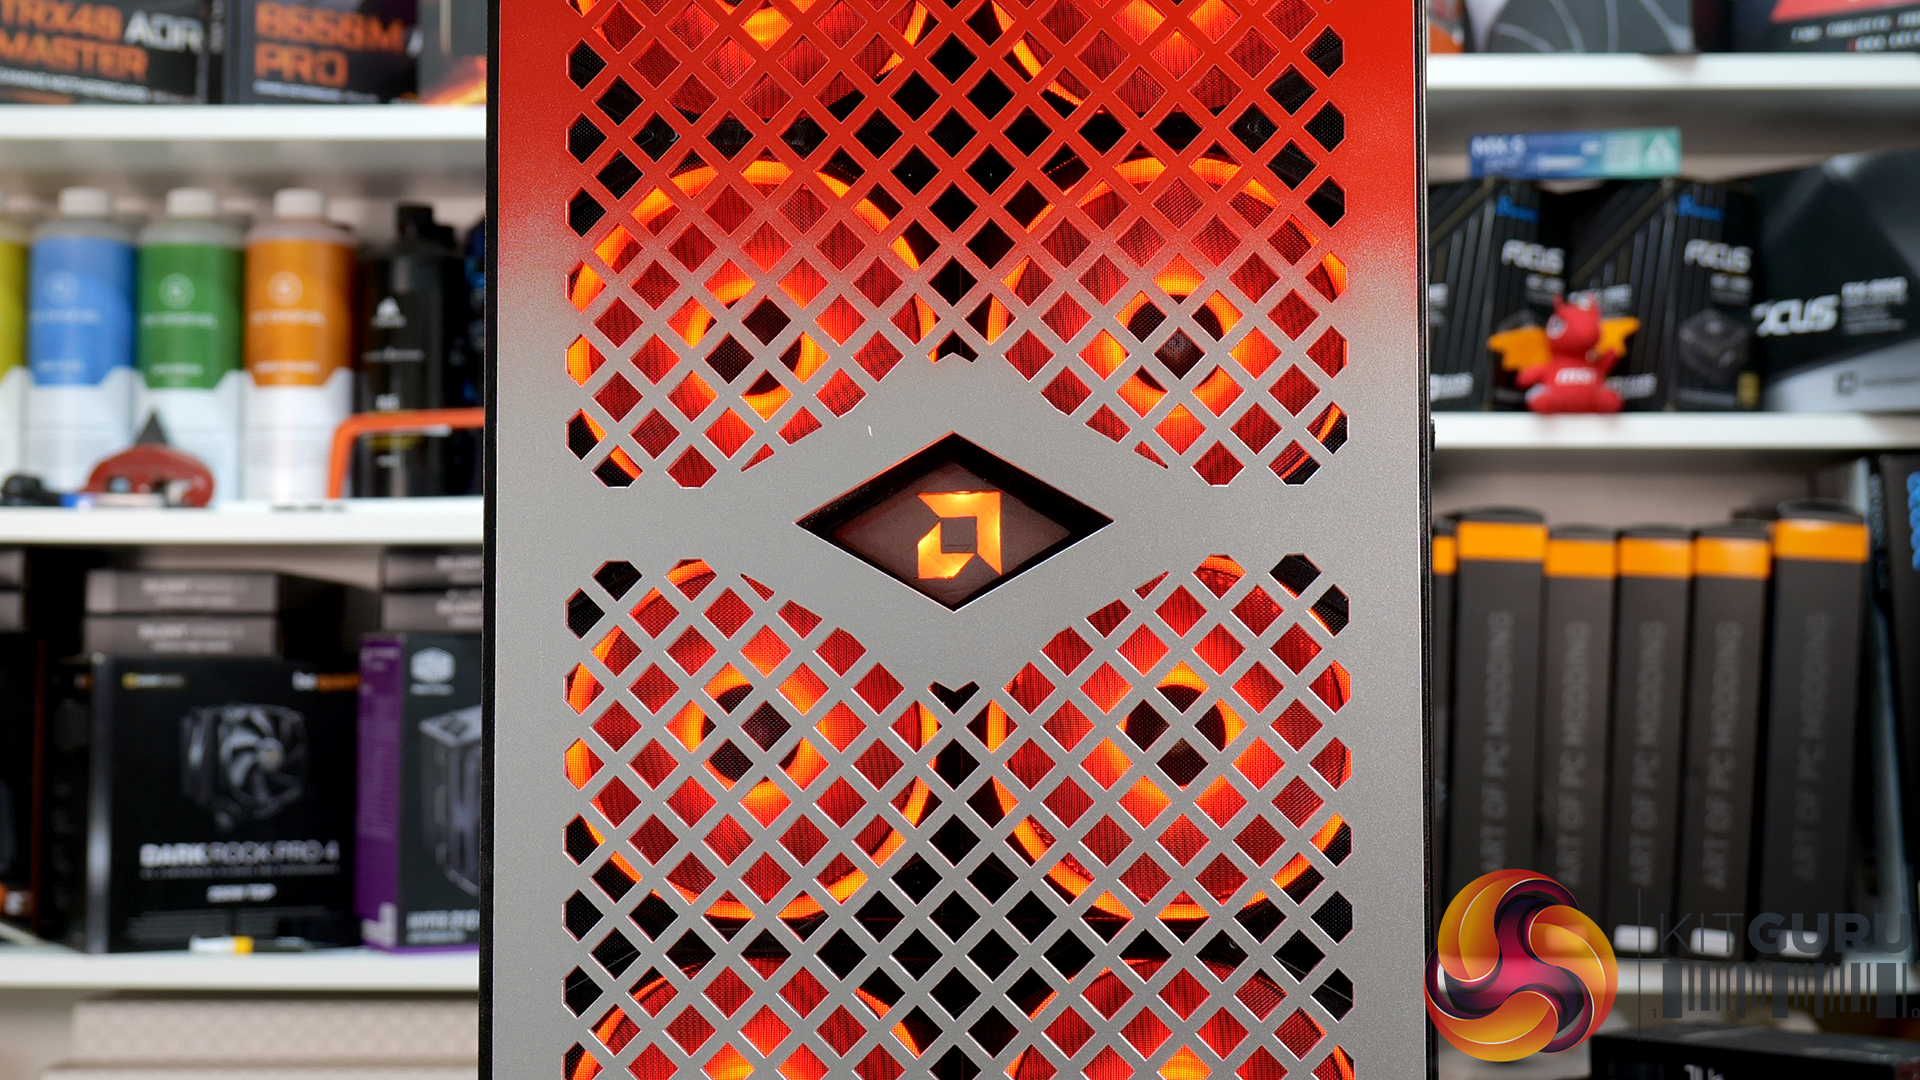

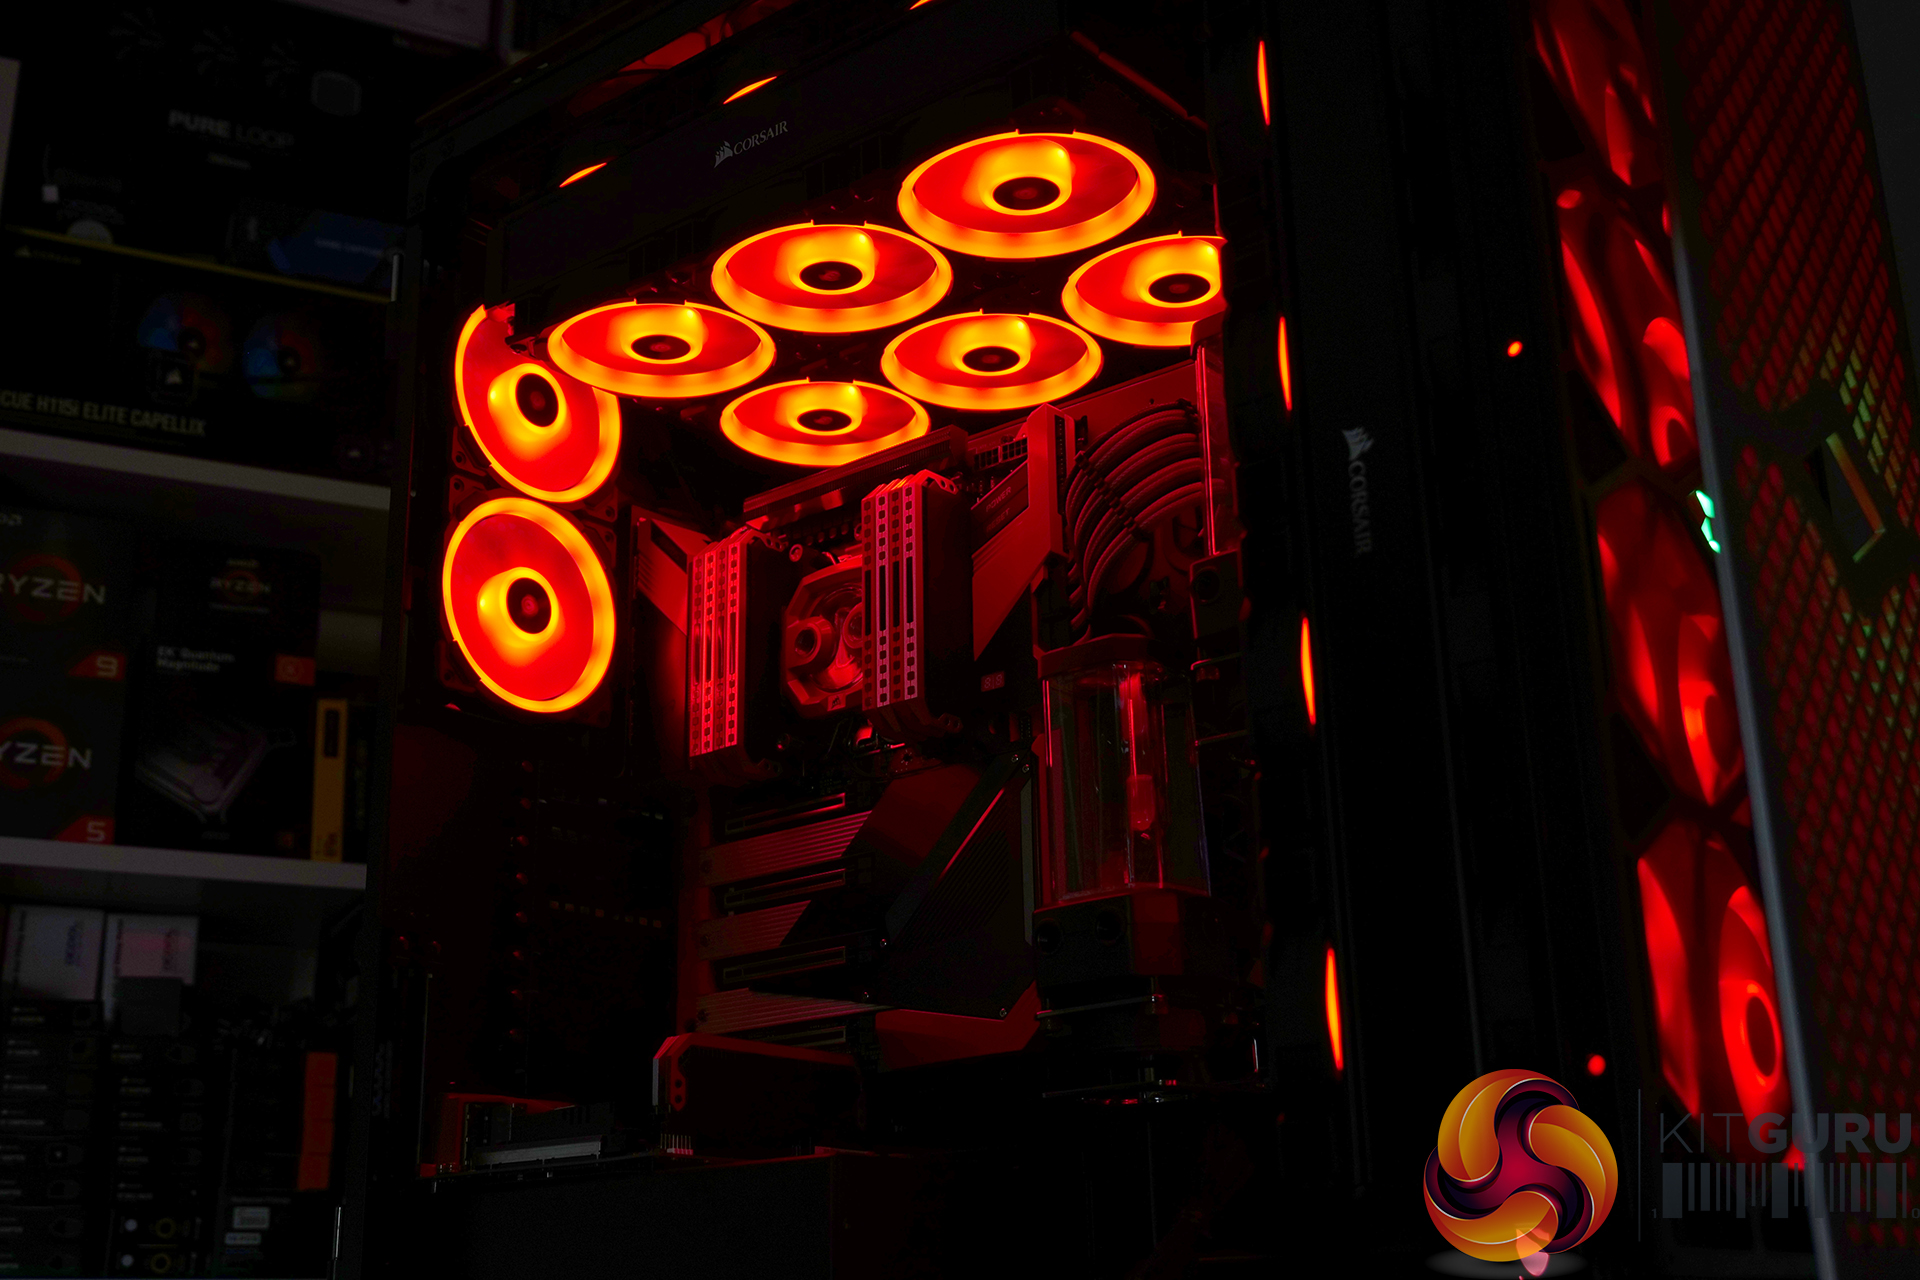
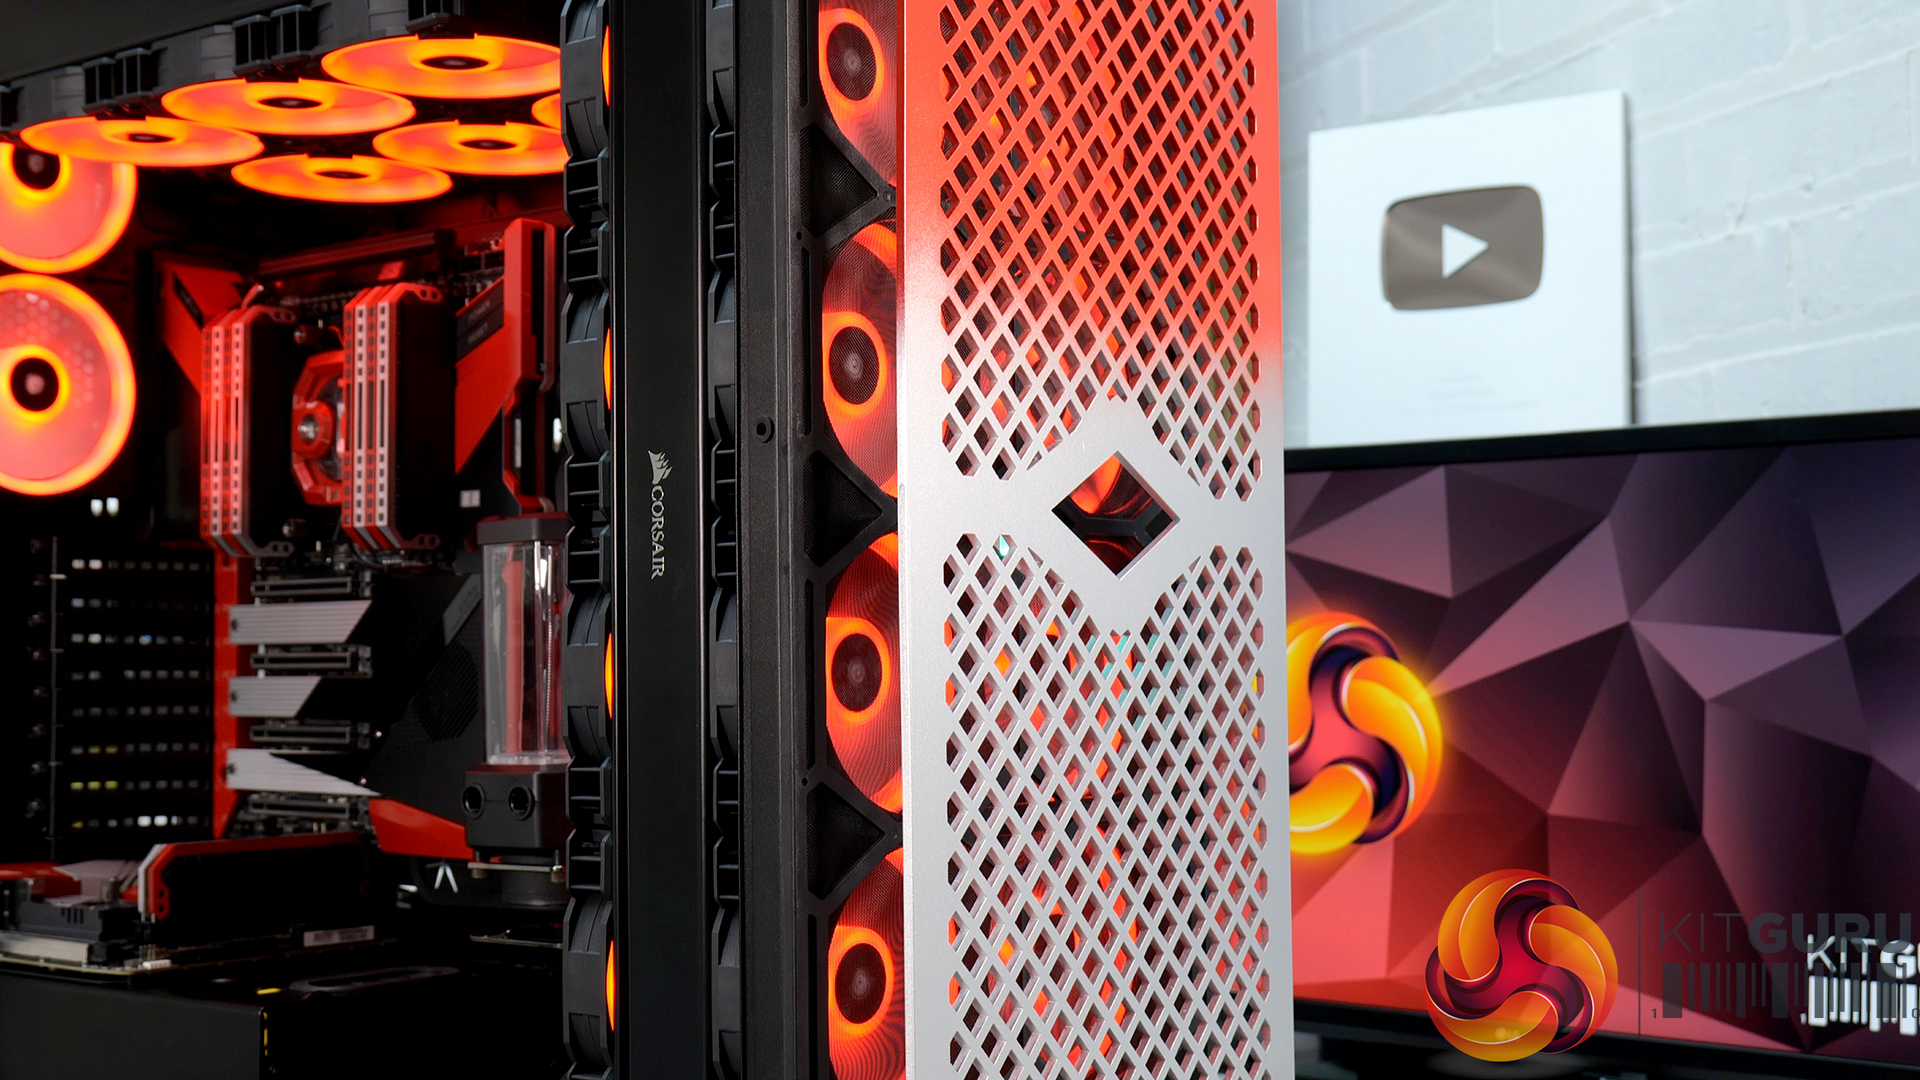
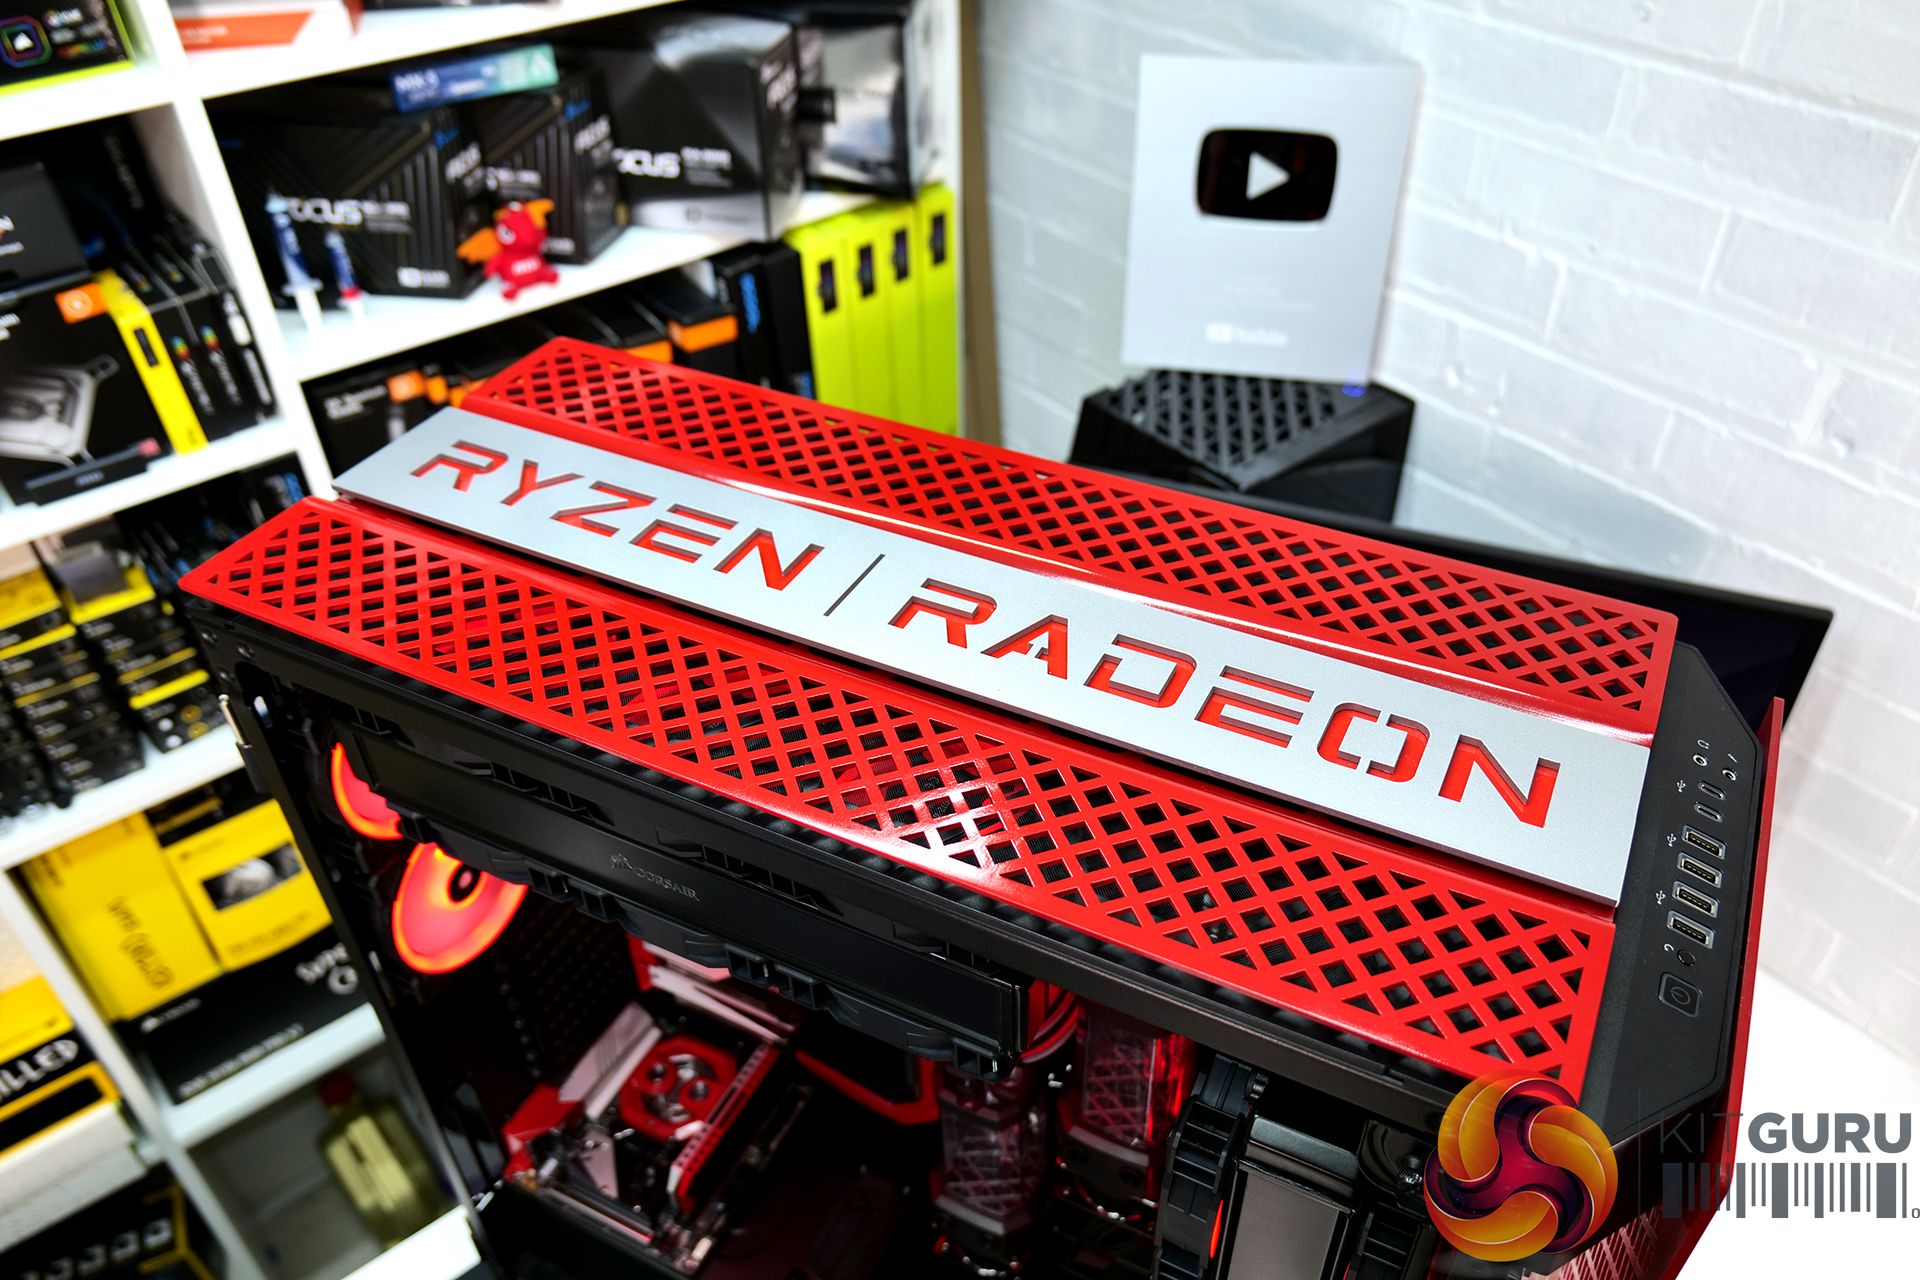
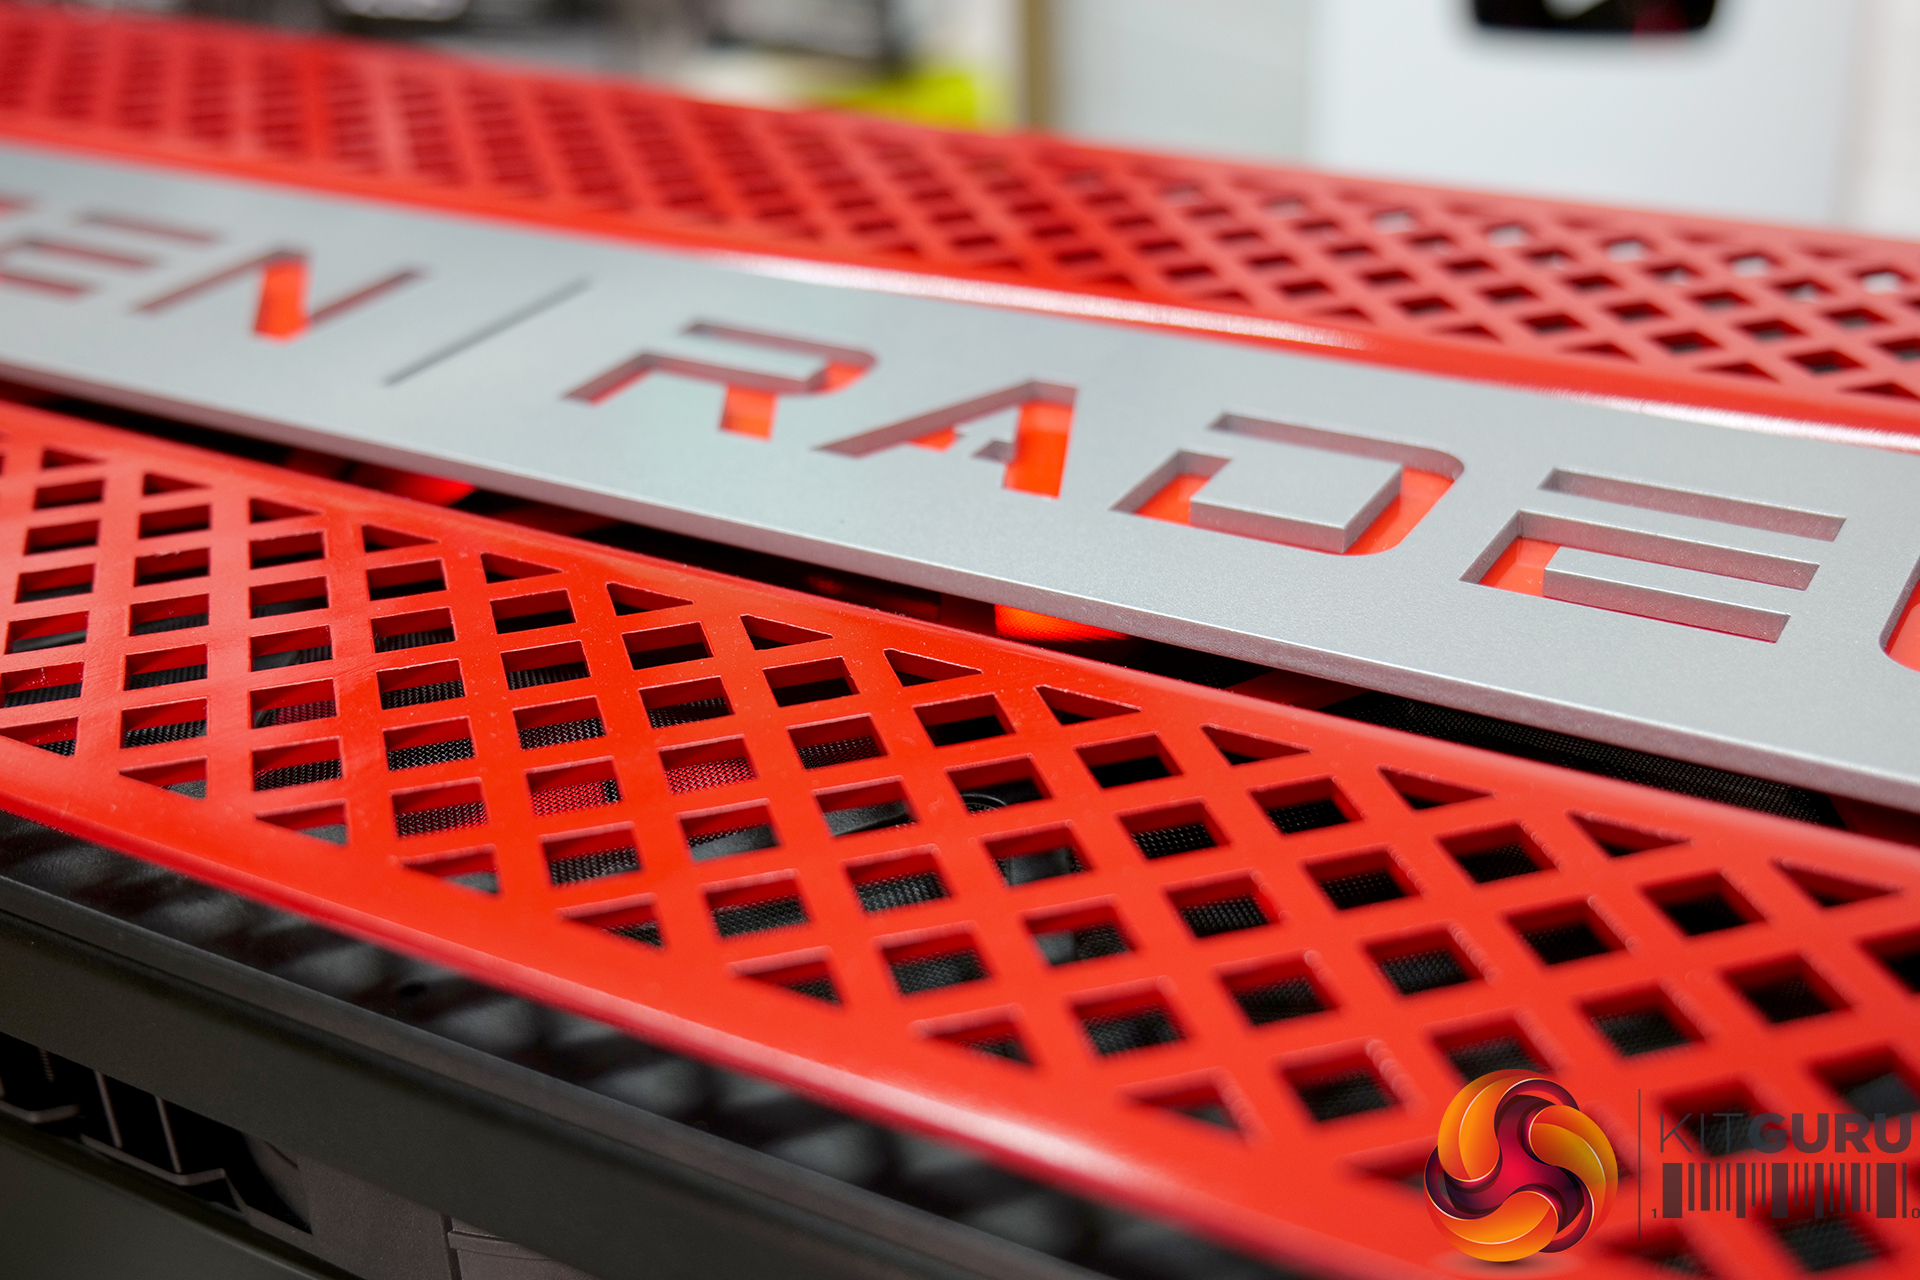
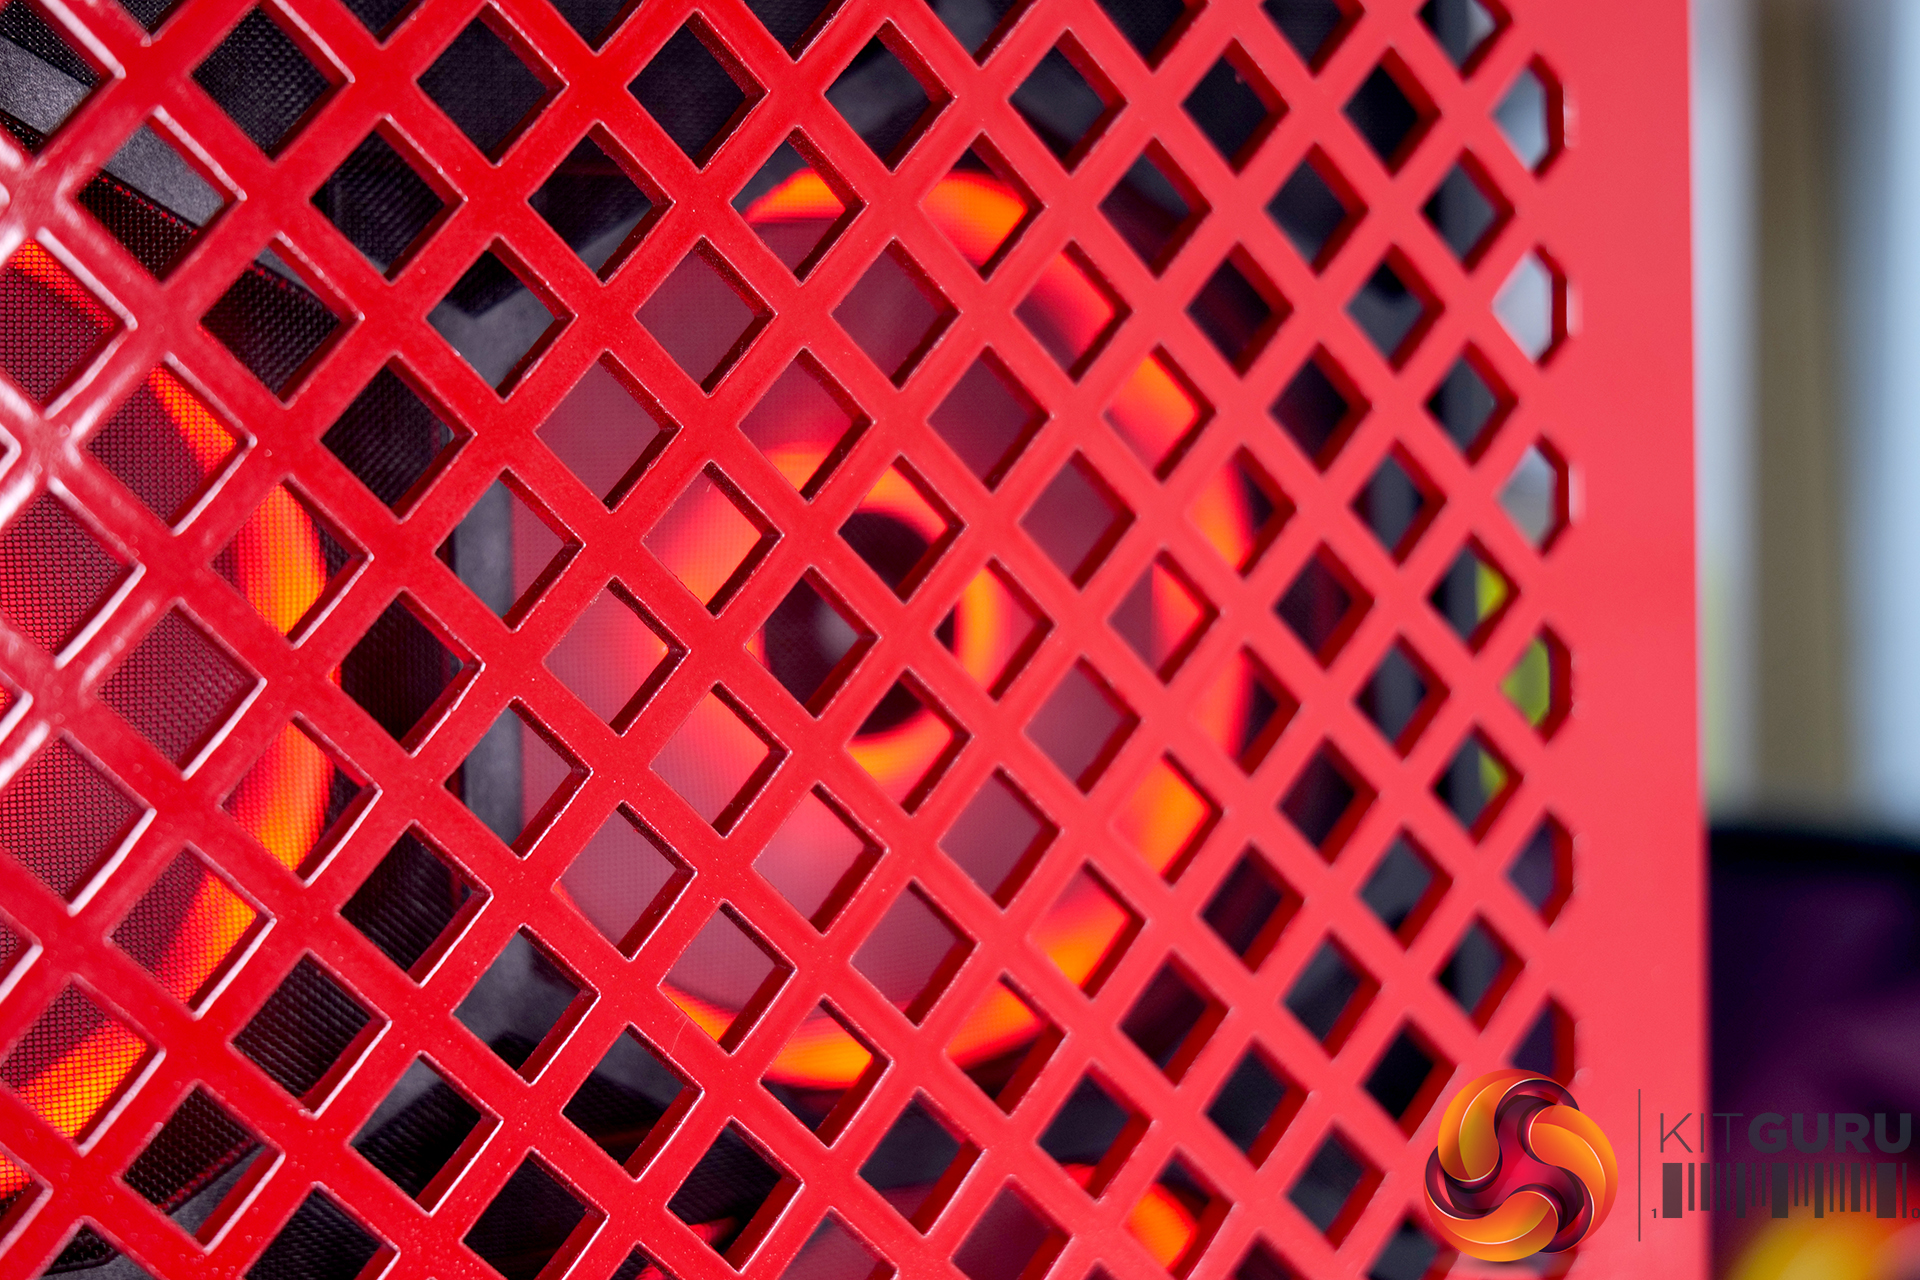
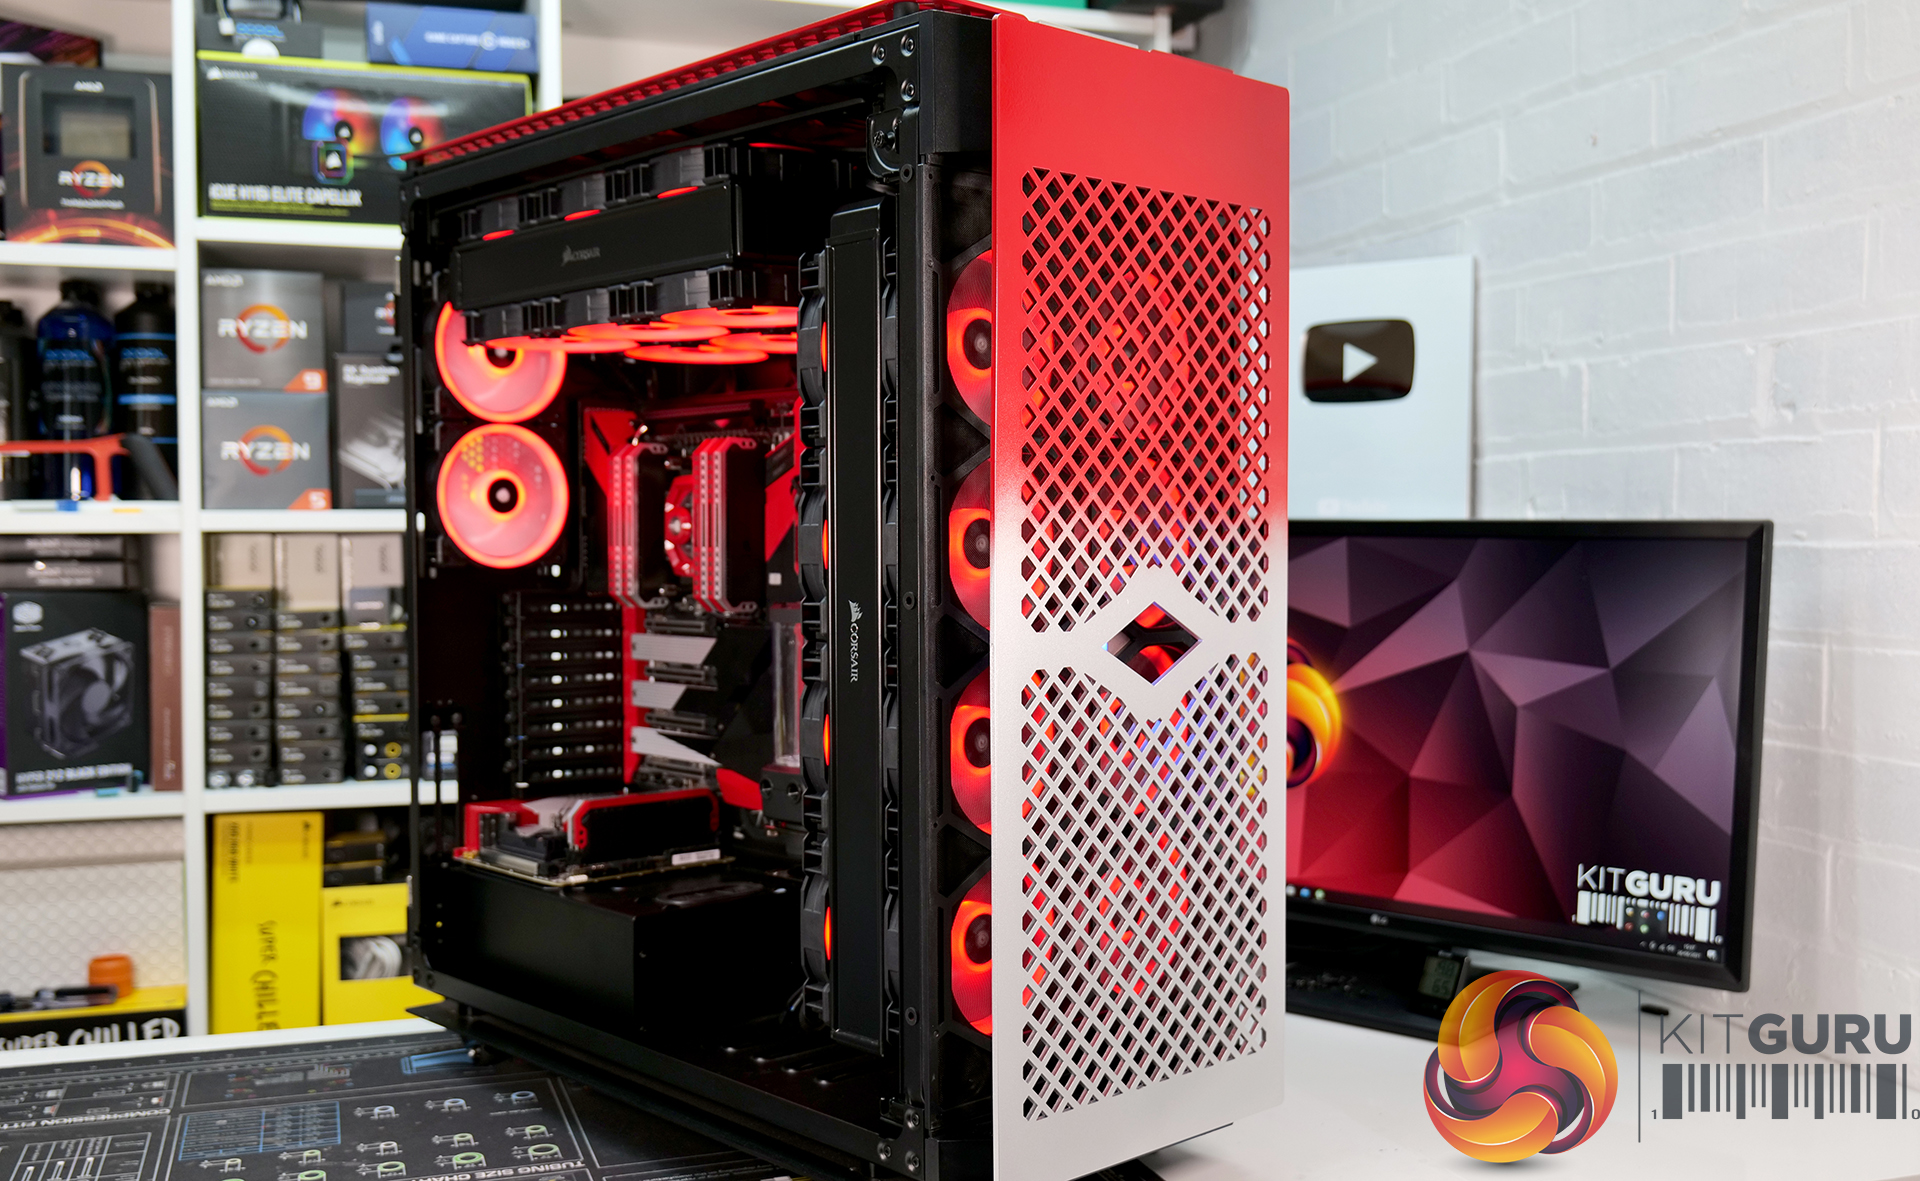
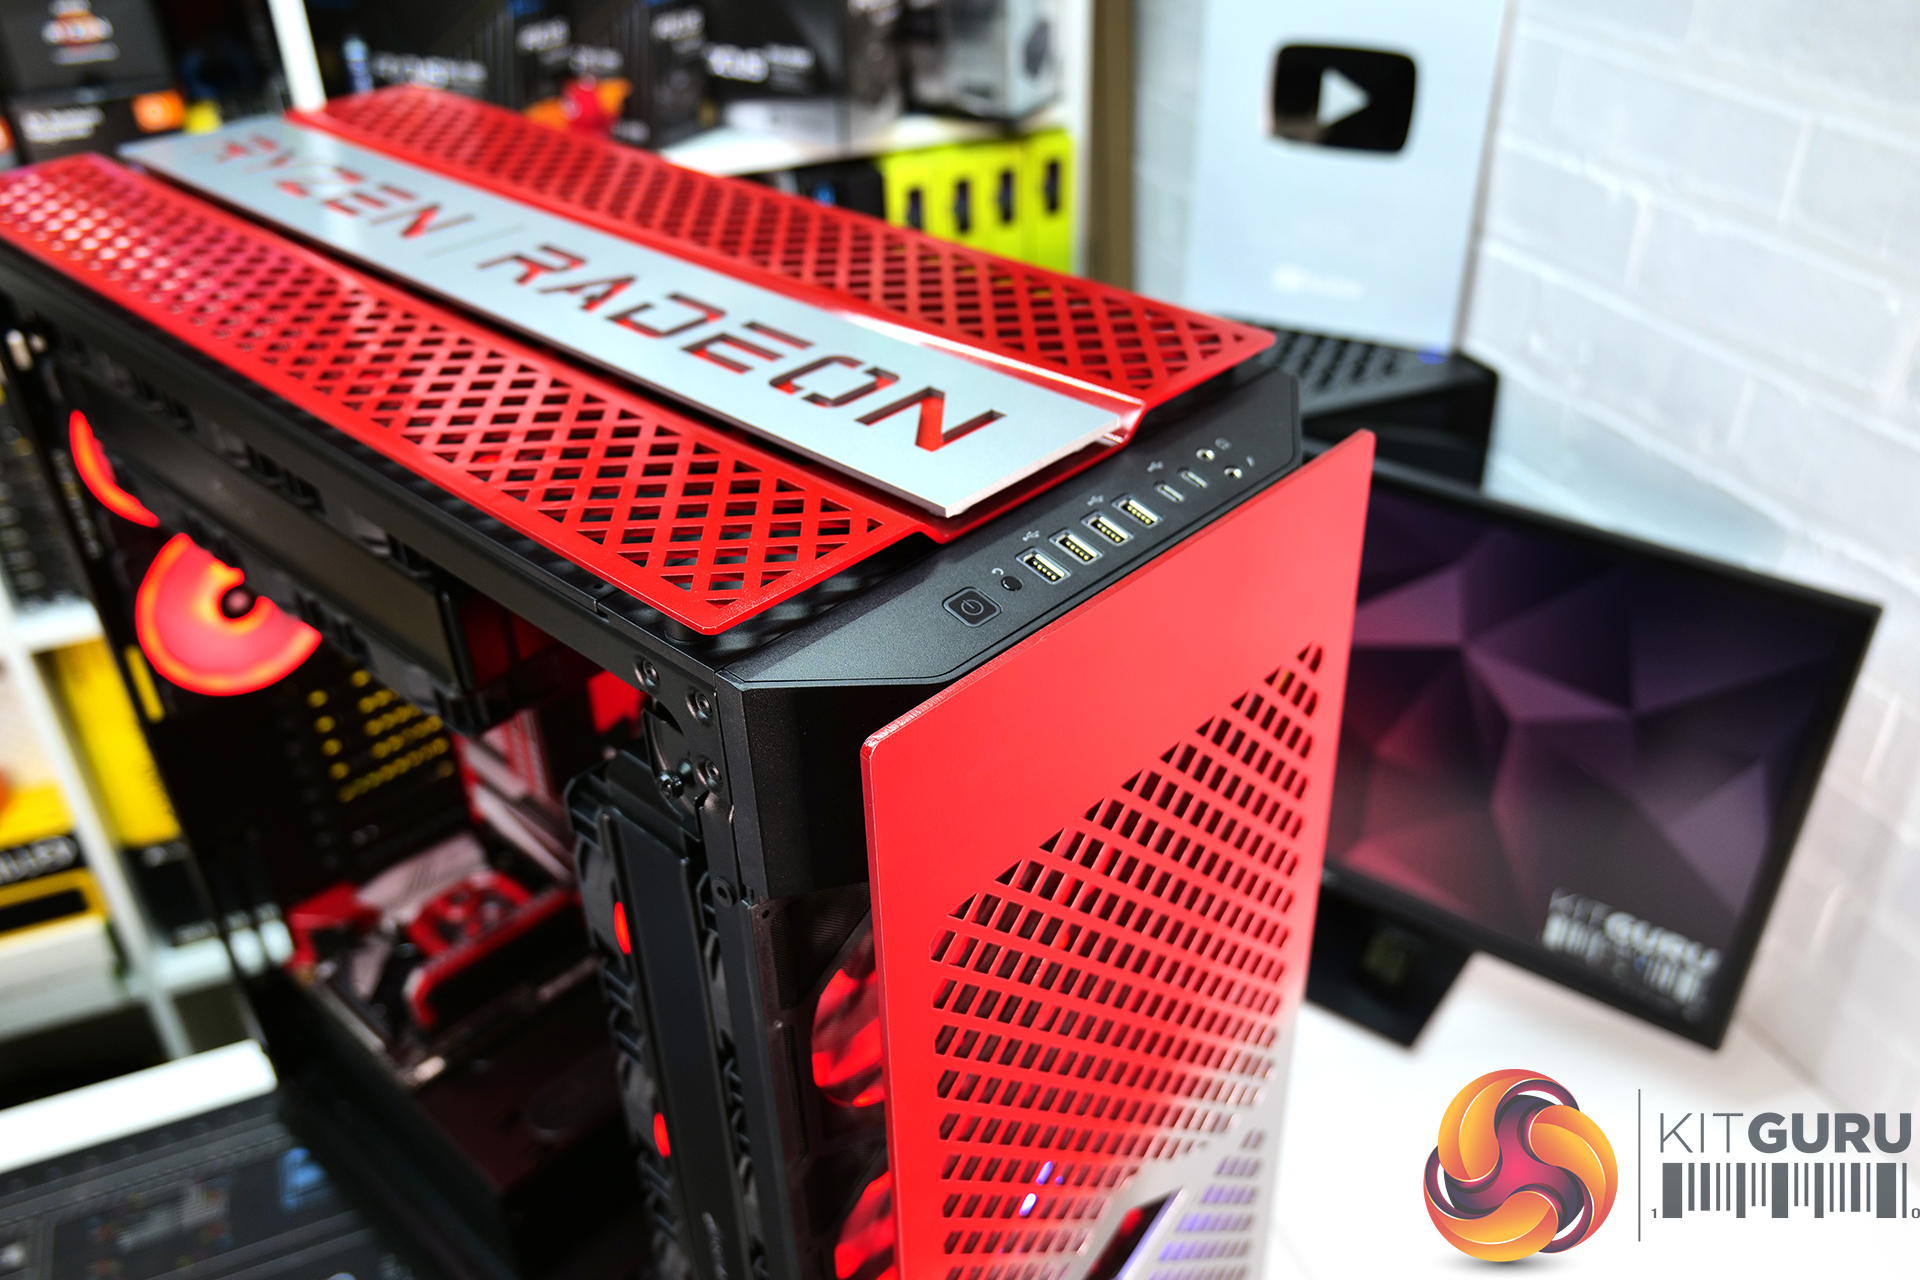
Also in part three, I spend a lot of time fettling the new laser cut panels, the new high airflow front panel especially needs some work to smooth down some rough edges before painting. Once the prep is completed we get to see how the new panels with their custom paint jobs look installed back to the chassis. We saw the front panel in part two, but now it is joined by a modified high airflow top panel with a very smart looking Ryzen|Radeon central logo panel to replace the stock tempered glass.
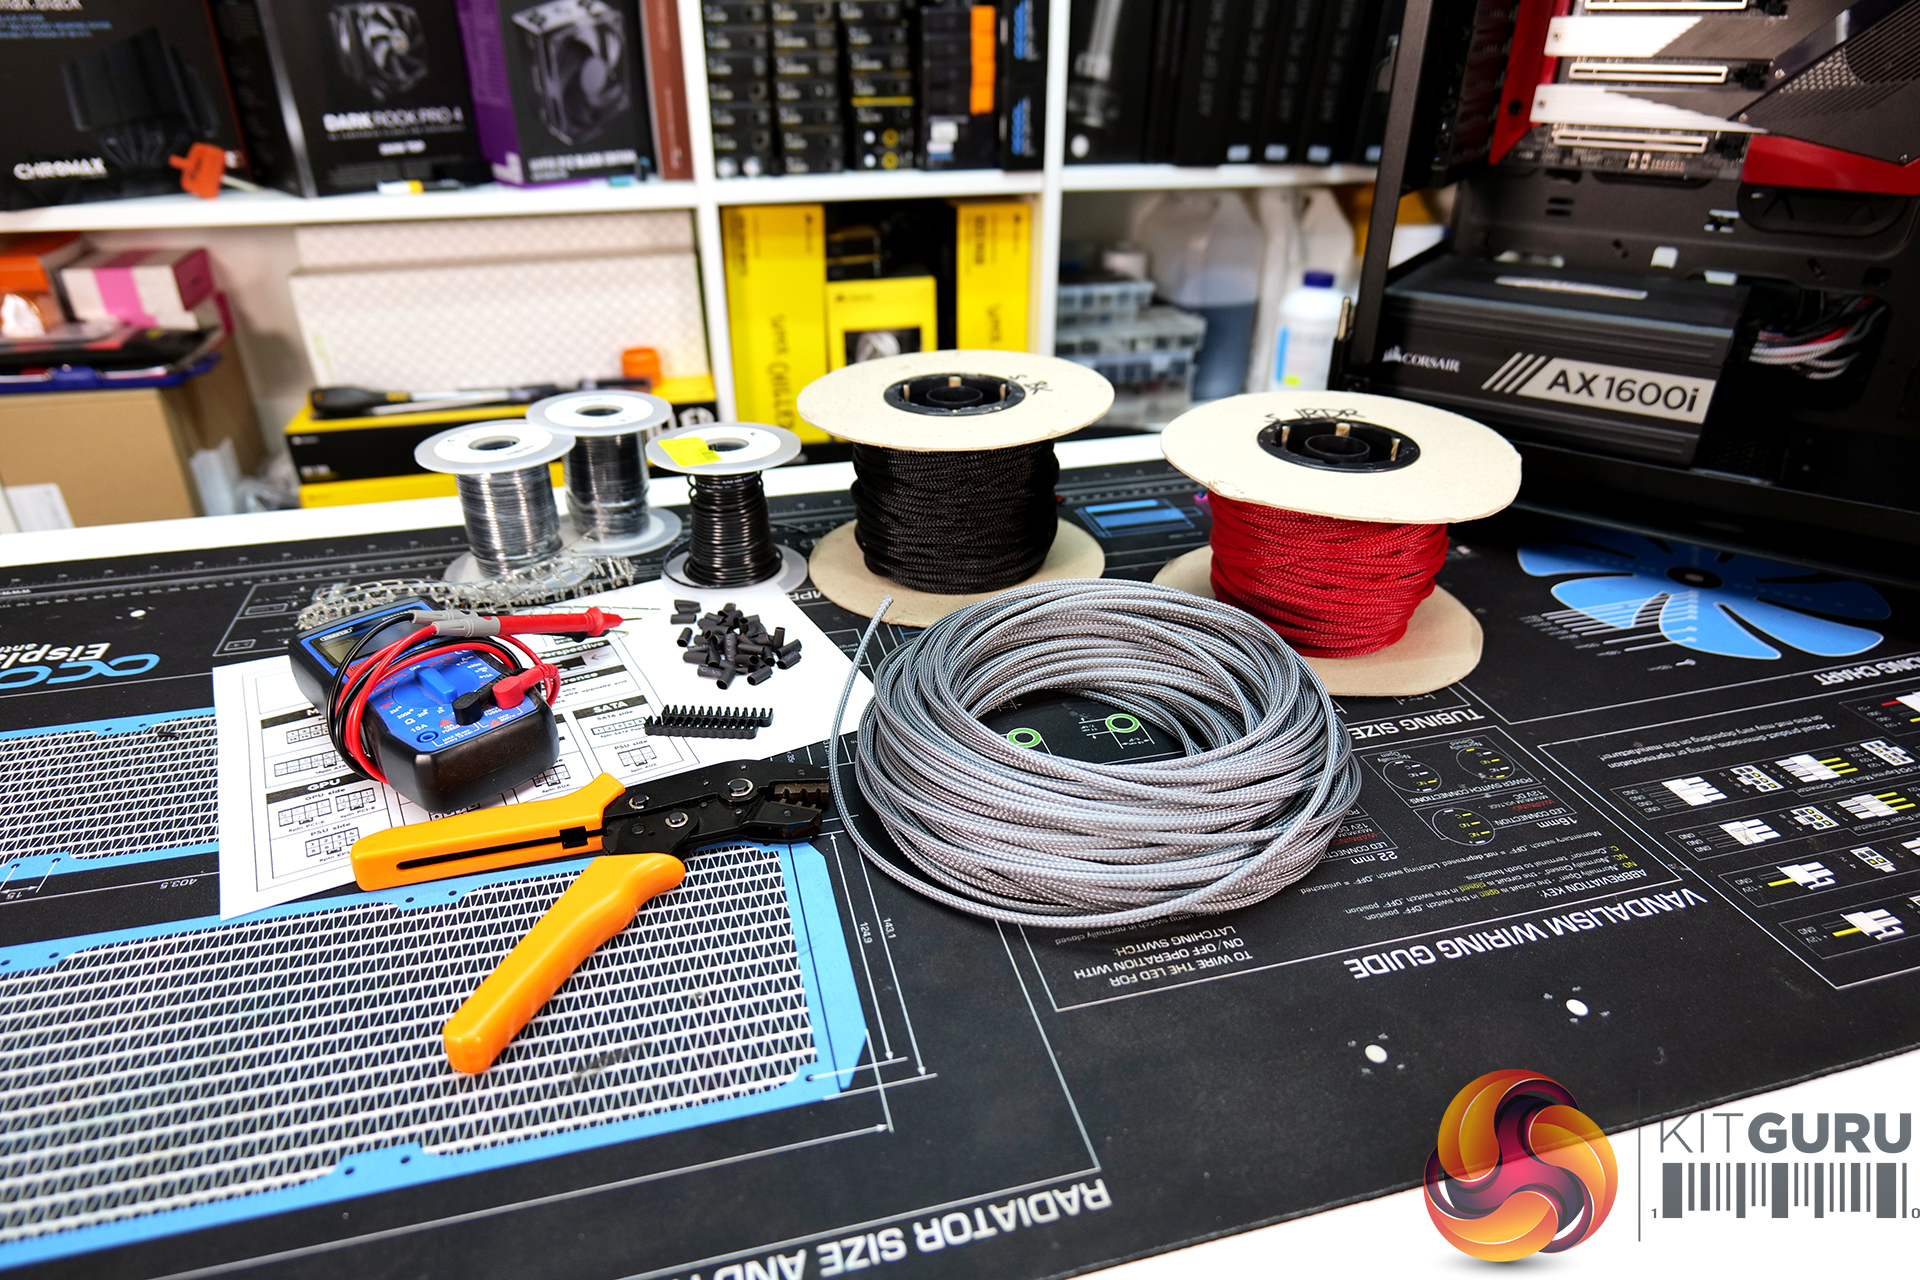
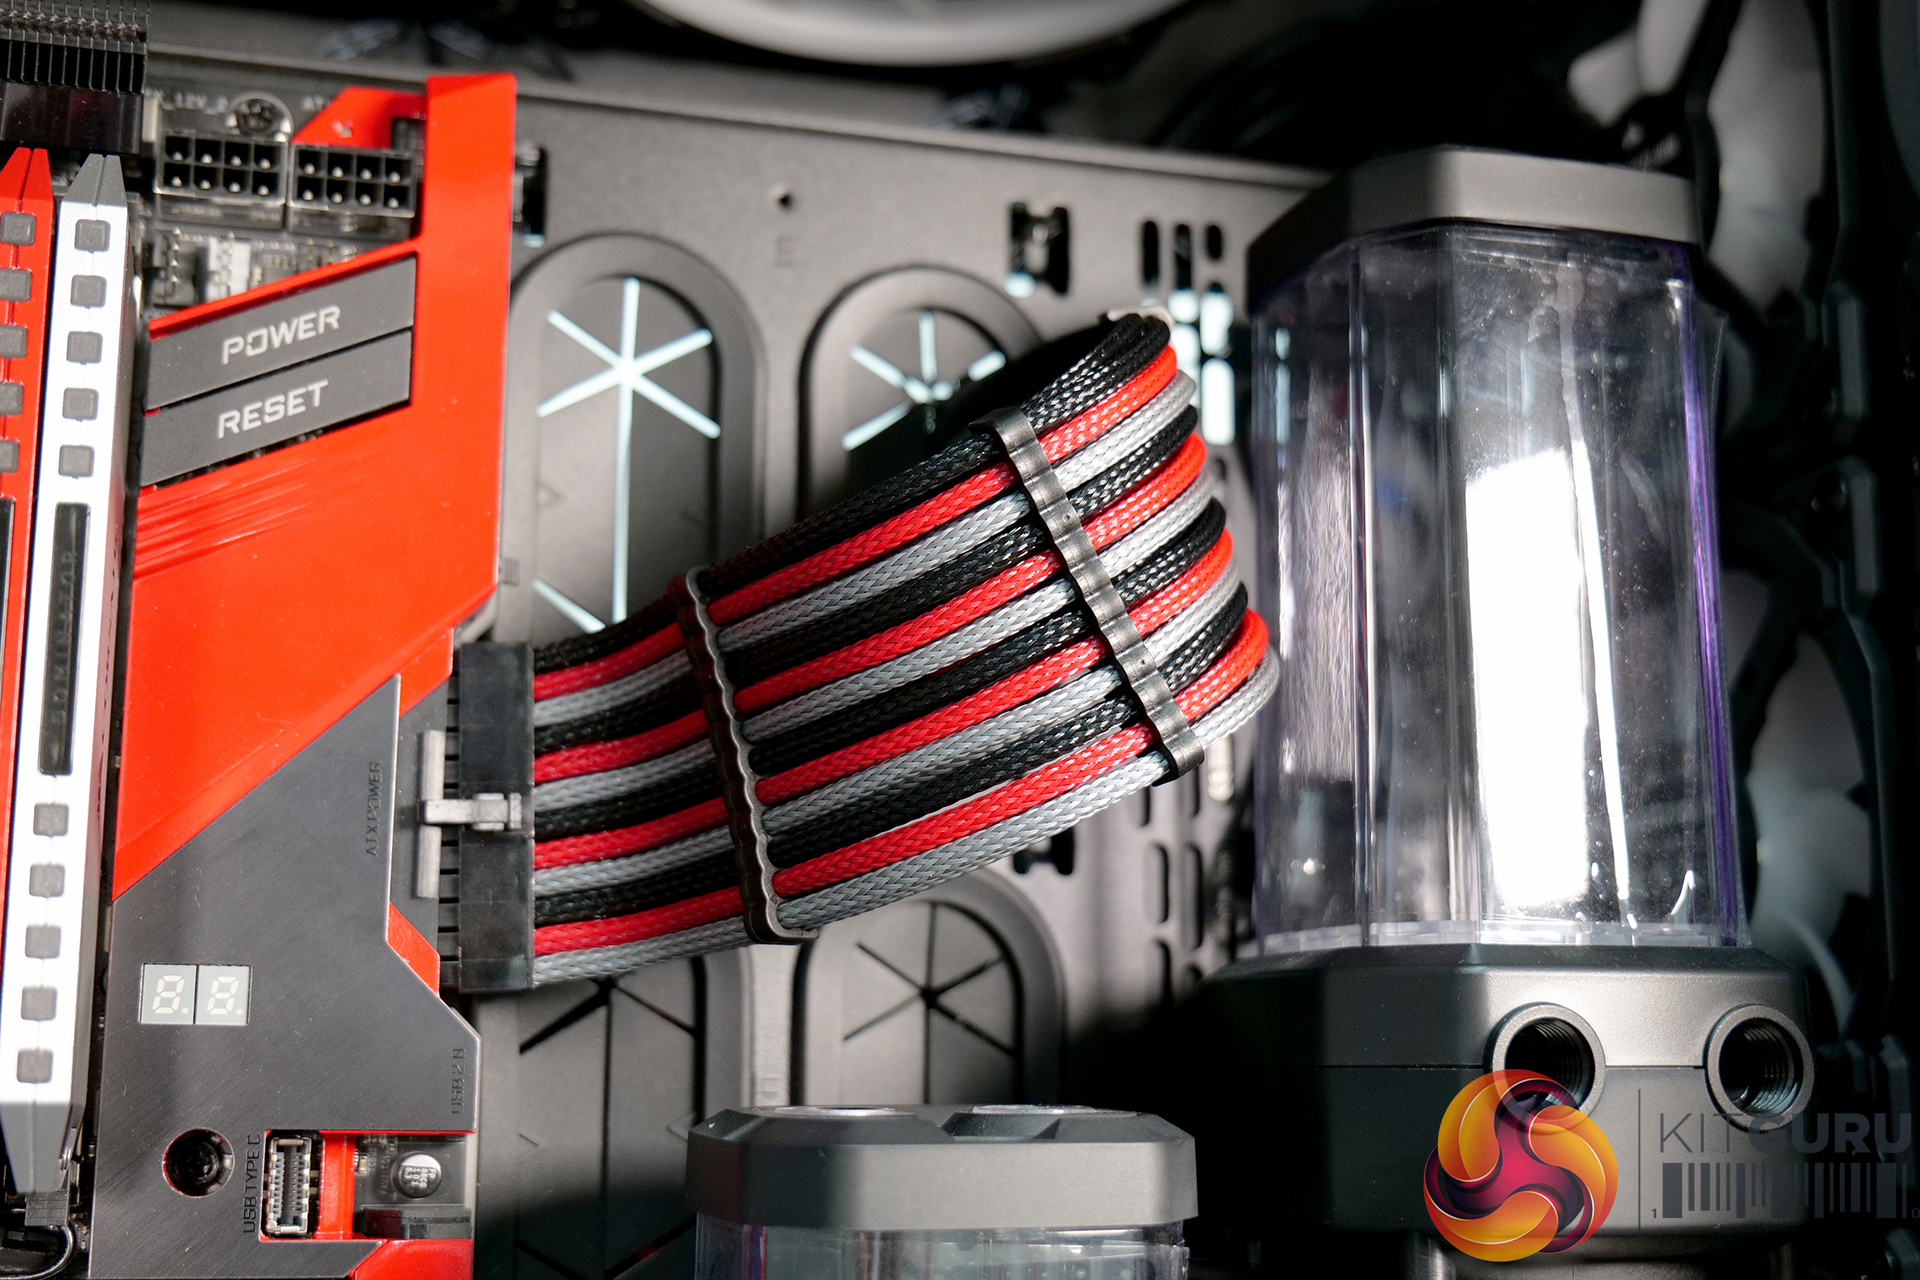
To finish off the video I make a start on assembling the custom cables. I chose not to sleeve the stock cables in this build and make completely new cables from scratch for both systems as I want the cables to be the exact length with minimal excess cable to hind under the PSU shroud as we are quite limited for space. Like the rest of the system, the cables have a 3 colour scheme of black, red and silver.
Making custom cables with hand tools is a very time-consuming job which is why I only had the time to make the 24-pin cable for the main ATX system in this video, but it gives you guys a first look at how they are going to turn out. Between now and the next video I'll be busy making the rest of the cables so you will get to see the full effect very soon.
Learn more about AMD:
Radeon 6000 series: https://www.amd.com/en/graphics/amd-radeon-rx-6000-series
Ryzen: https://www.amd.com/en/processors/ryzen
Ryzen Threadripper: https://www.amd.com/en/products/ryzen-threadripper
Follow AMD on social media:
AMD UK
AMD US/HQ
- https://twitter.com/AMDRyzen
- https://twitter.com/Radeon
- https://twitter.com/AMDGaming
- https://www.instagram.com/amd/
- https://www.facebook.com/AMDRyzenRadeon
- https://www.facebook.com/AMDGaming
Discuss on our Facebook page HERE.
KitGuru says: With the modded and colour coded parts, the new and finished laser cut airflow panels and a first look at the custom power cables, we think the Behemoth build is starting to look very tasty indeed, what do you guys think of it so far?