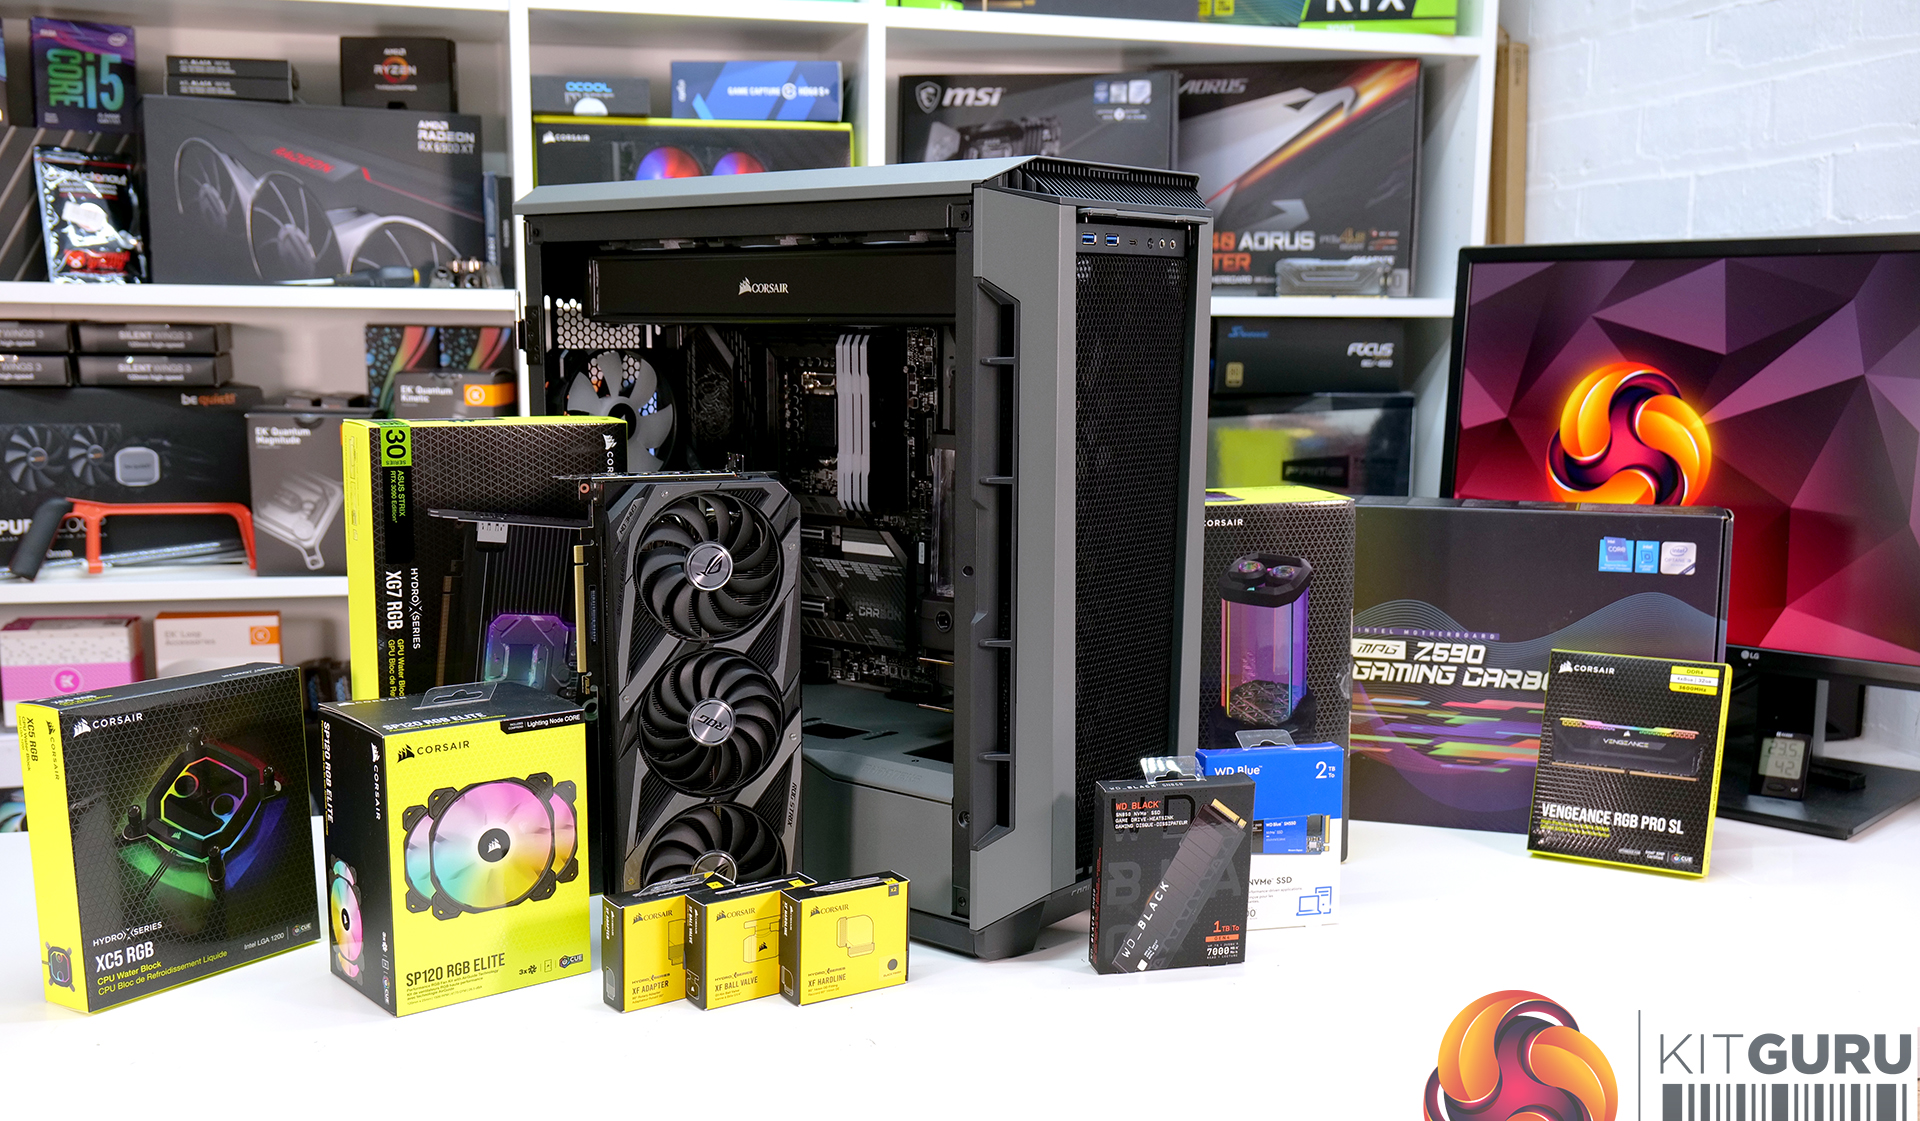
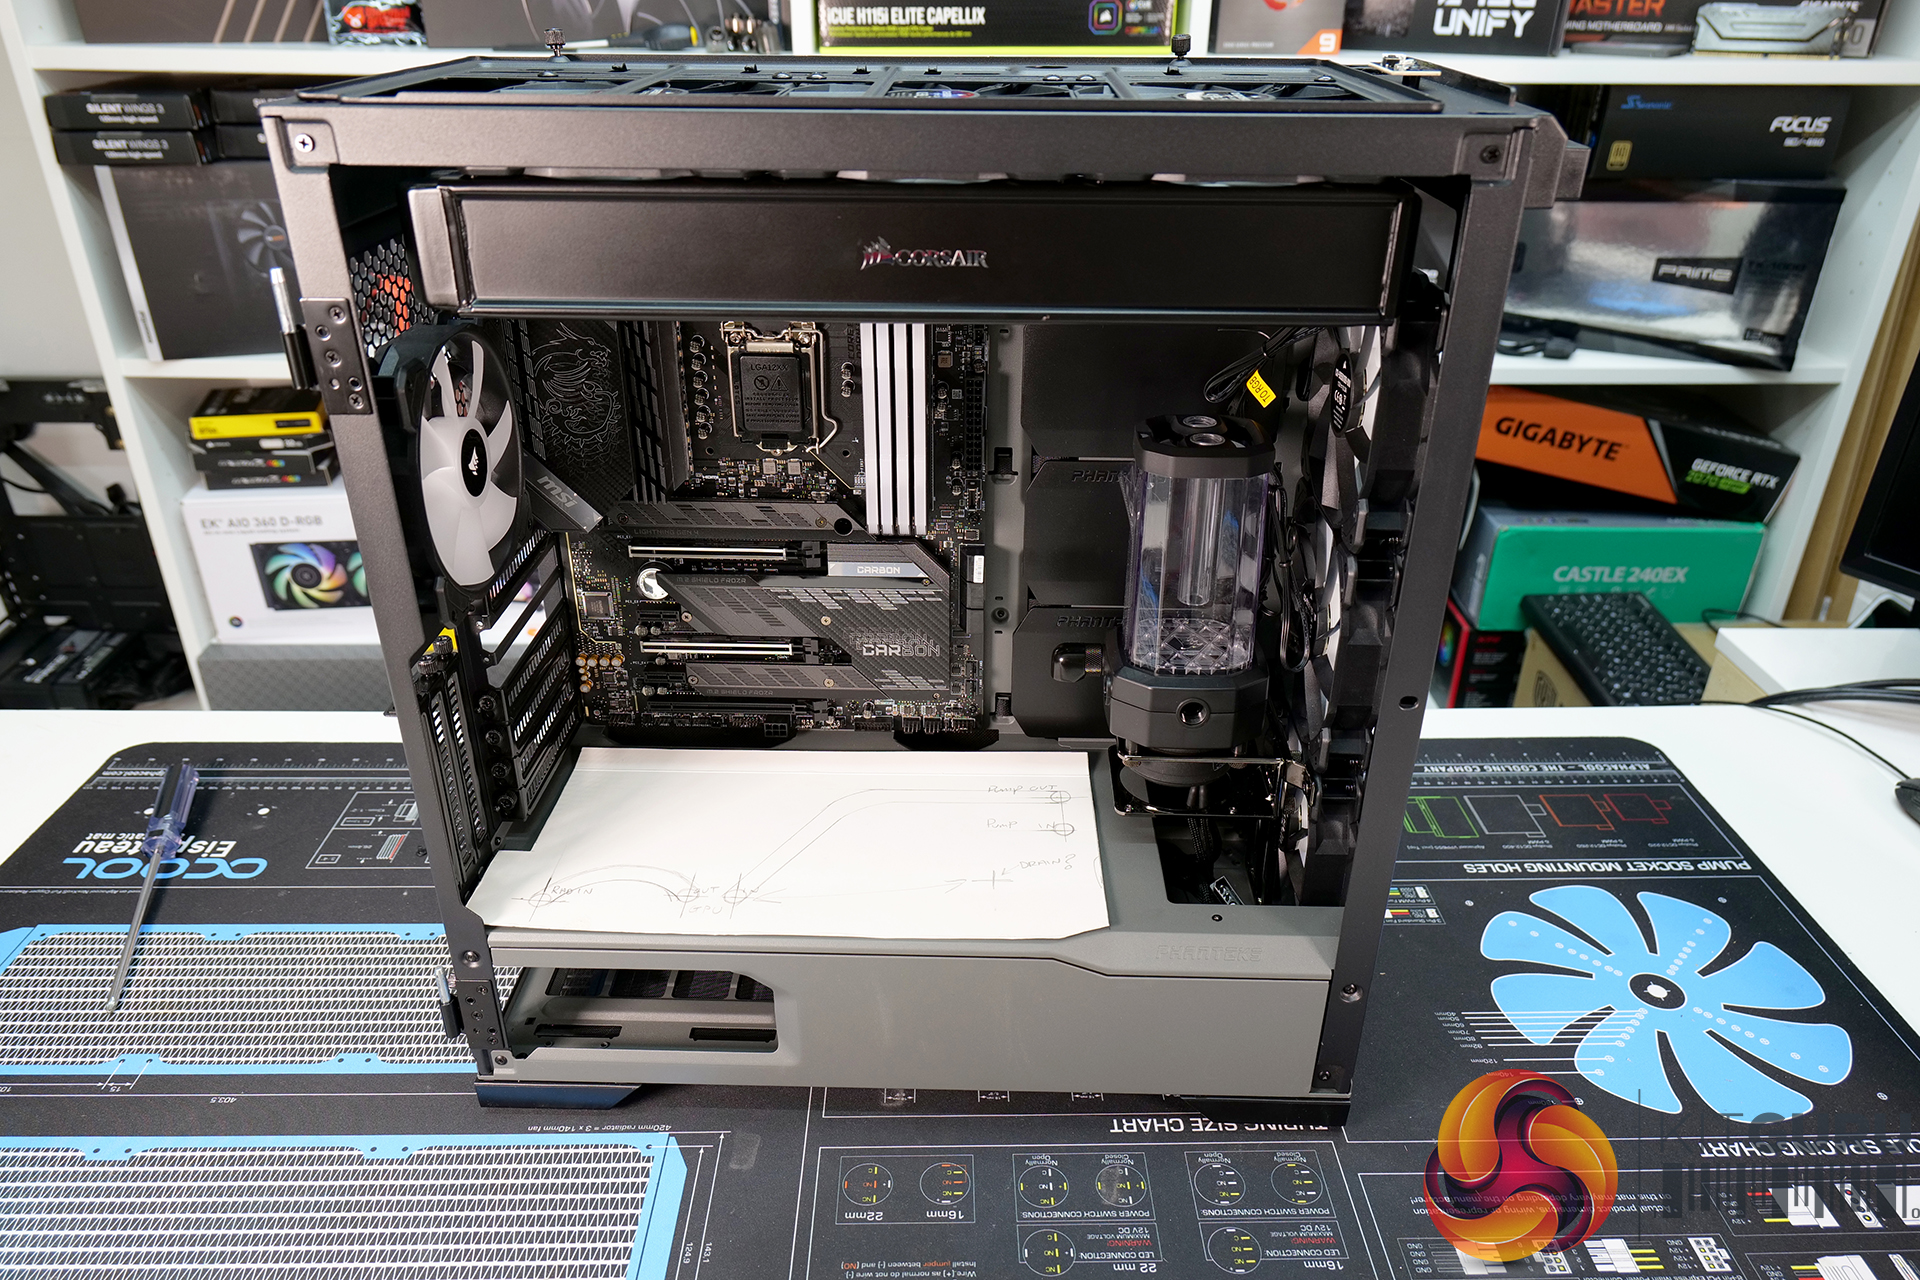
Part one of our latest special build project gets underway today – working in partnership with Western Digital, we are creating a unique watercooled build based around a WD_Black inspired design. The theme of this build will be ‘blackout', with the majority of the interior having a sleek and stealthy dark appearance with a hint of WD orange highlights. Other planned mods will include a hand made PSU mounted distro plate, case customisations, a full custom liquid cooling loop and more.
Like the majority of enthusiasts these days, we are also finding it tricky to get our hands on brand new RTX 30 series graphics cards for these special build projects. So, this time around we had to source a card that had already been used, and it arrived with a Corsair XG7 water block pre-installed which was great. However, for the video I needed to re-install the stock cooler, and this is where the fun began.
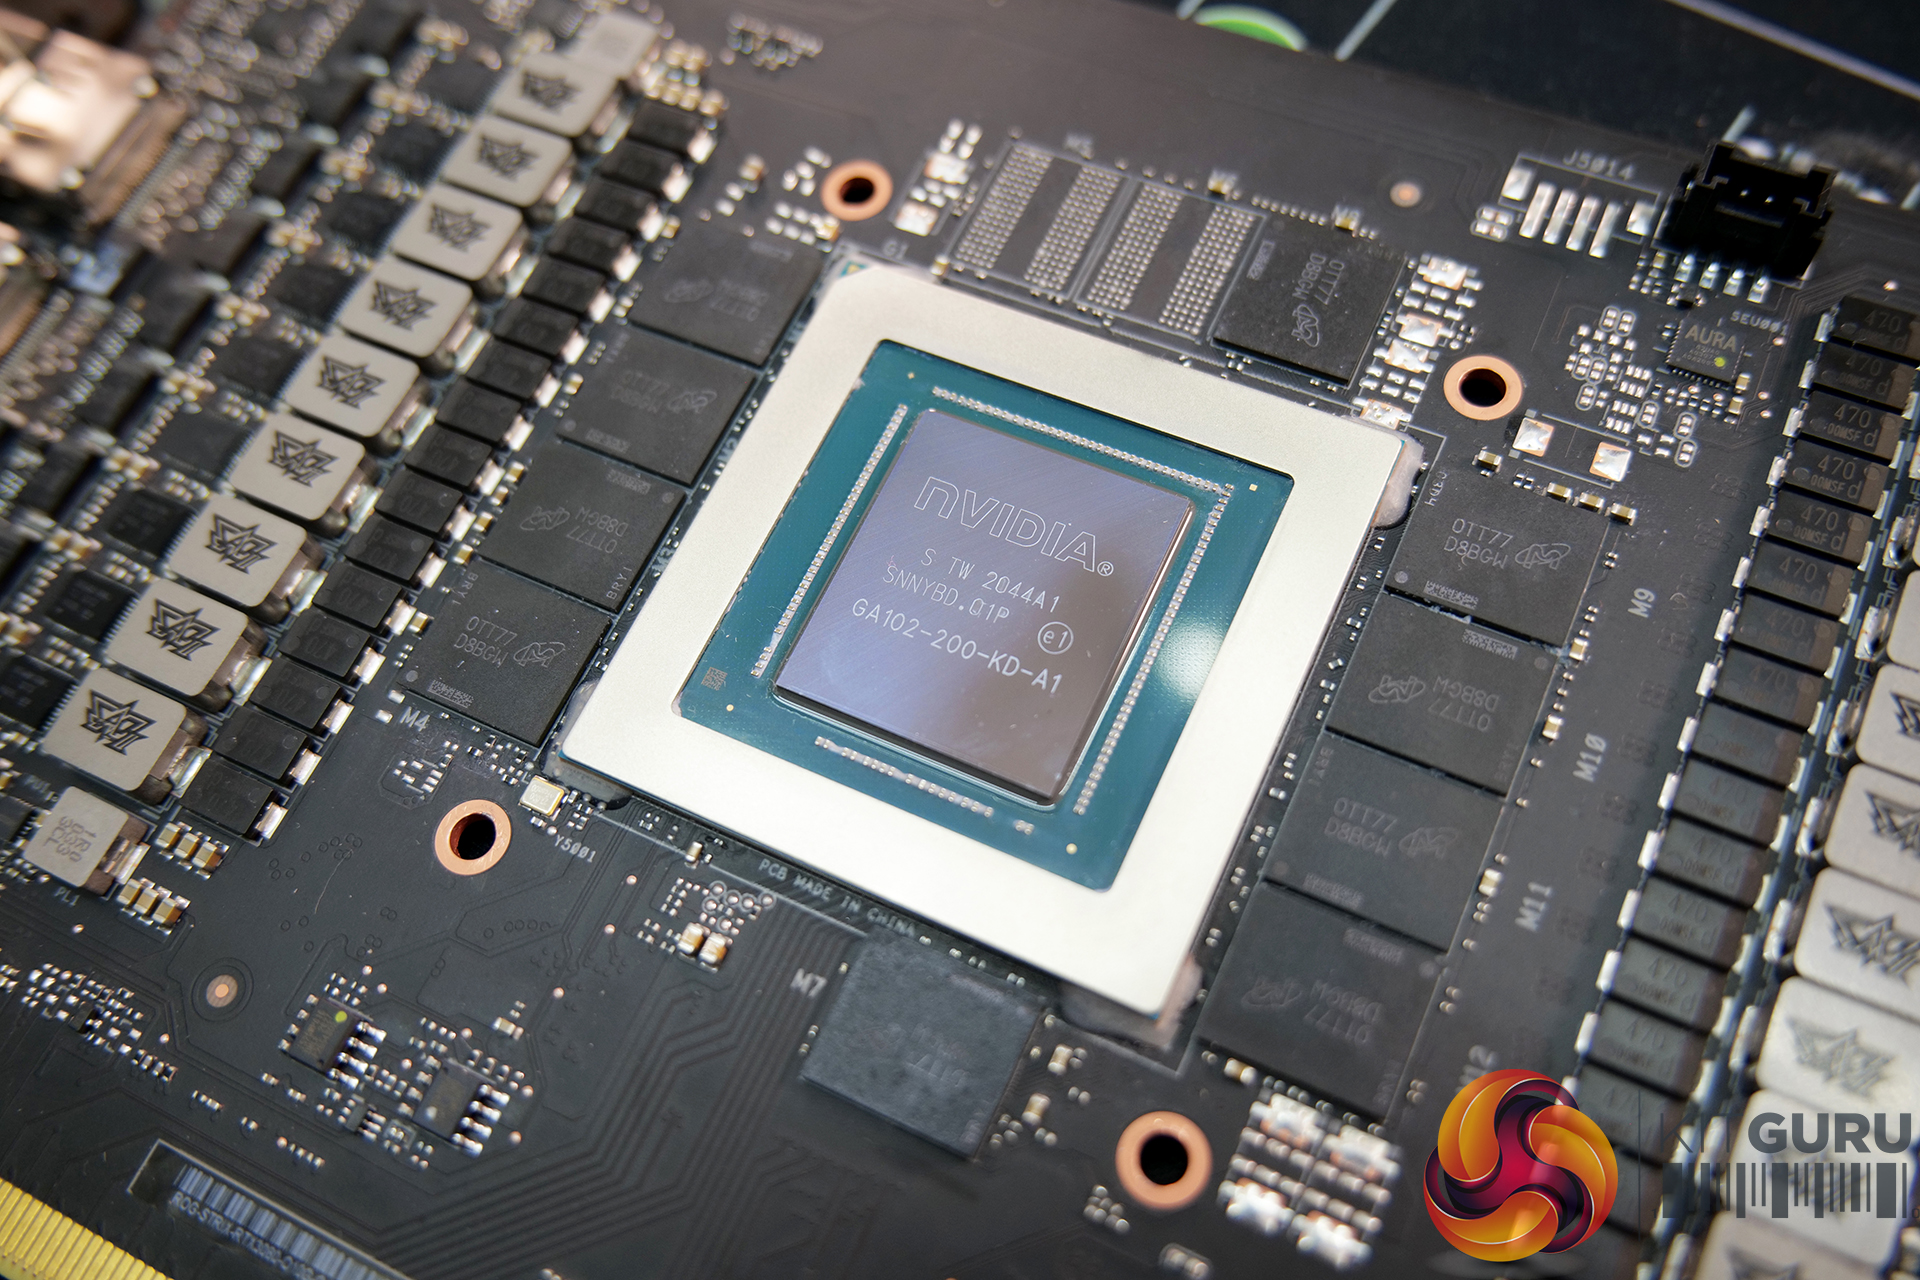
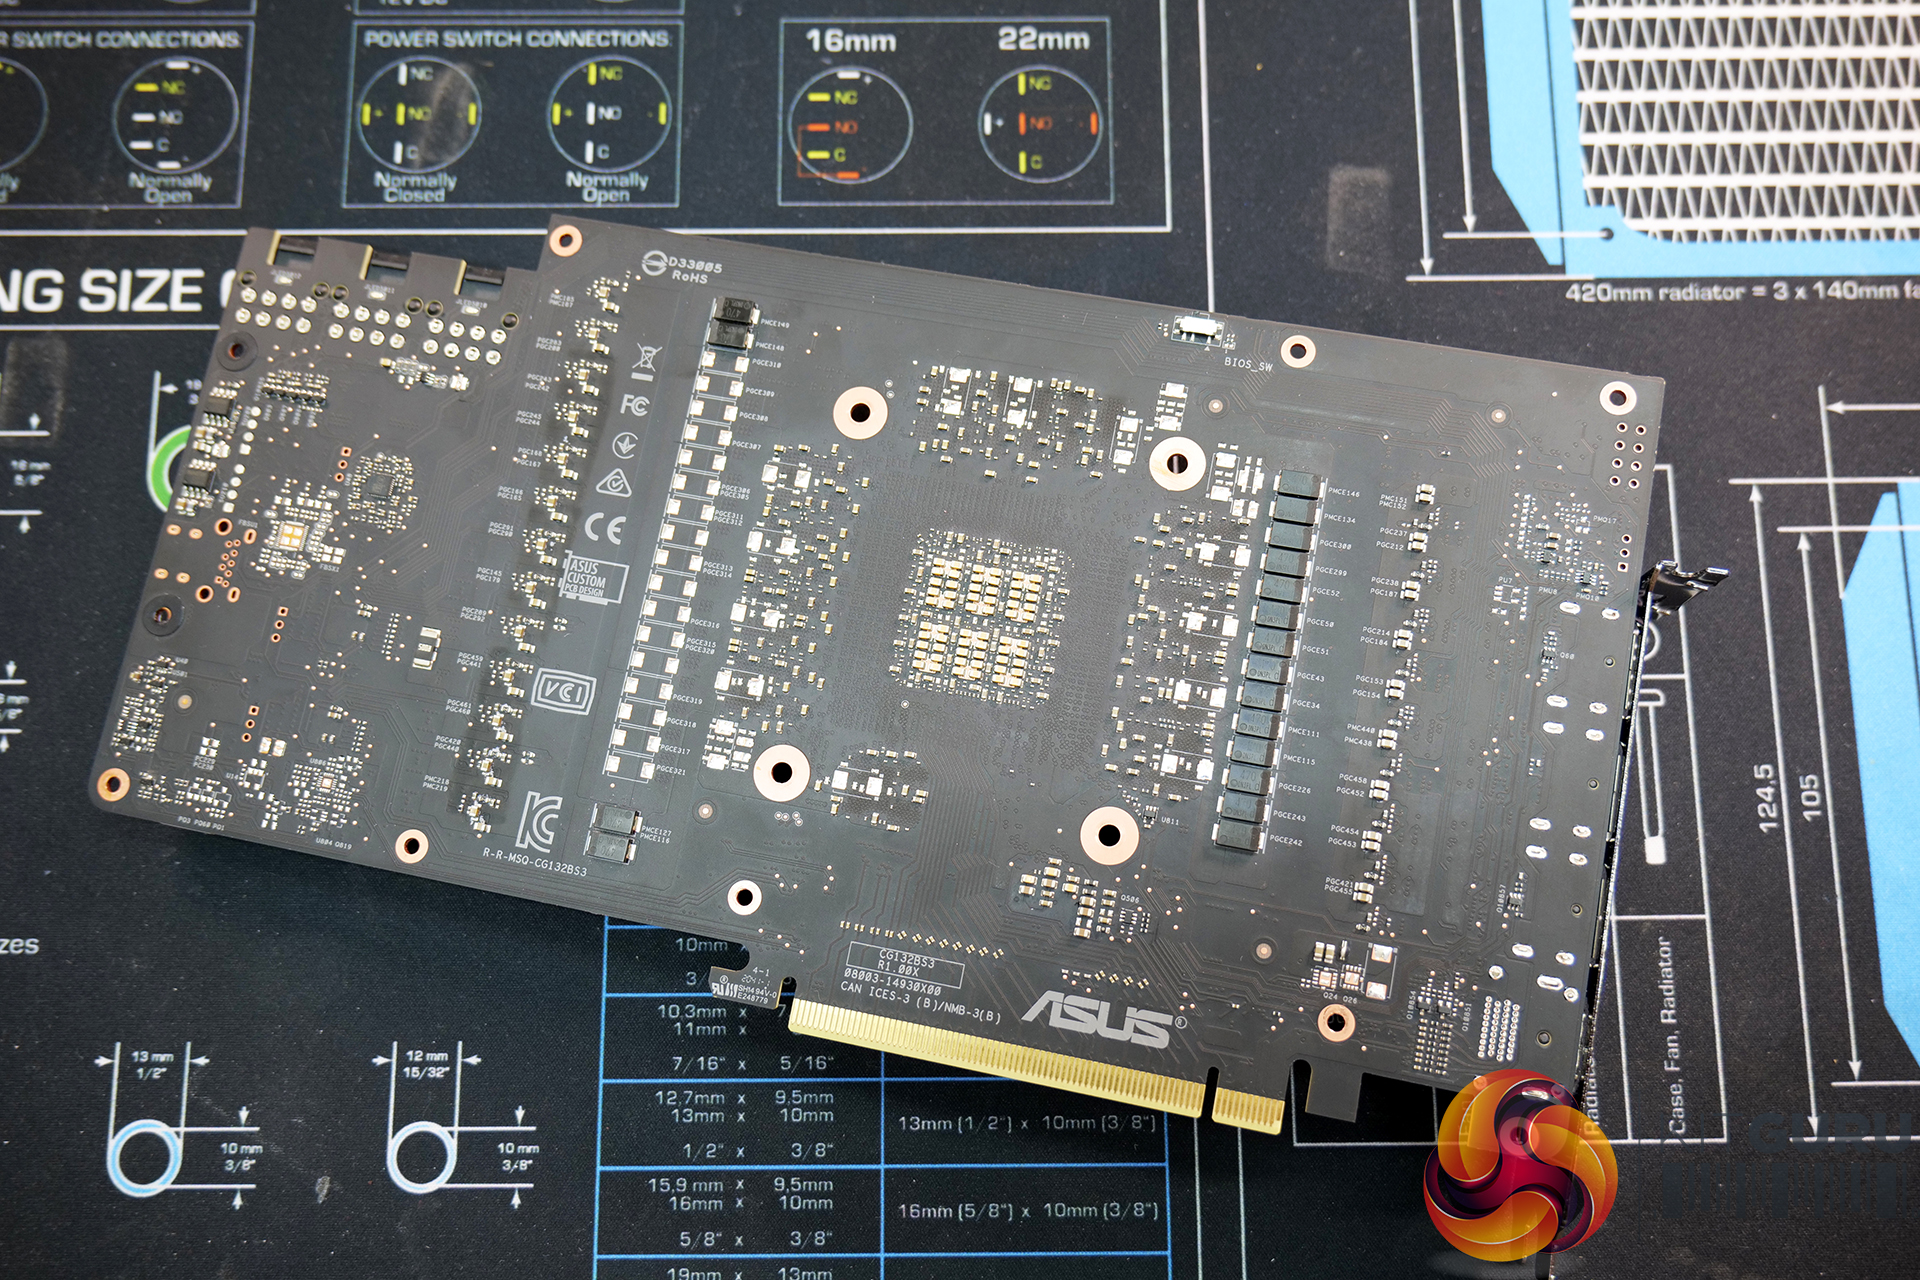
The previous user of the card was a novice with custom water cooling, so the card arrived with us looking in a bit of a sorry state but fully working. The mounting screws for the stock cooler were missing (luckily we managed to track them down) and the stock thermal pads had been torn off and tossed away, so this got us thinking – with the current GPU market like it is, this is a problem that enthusiasts could face when buying a used card when wanting to revert to using the stock air cooler.

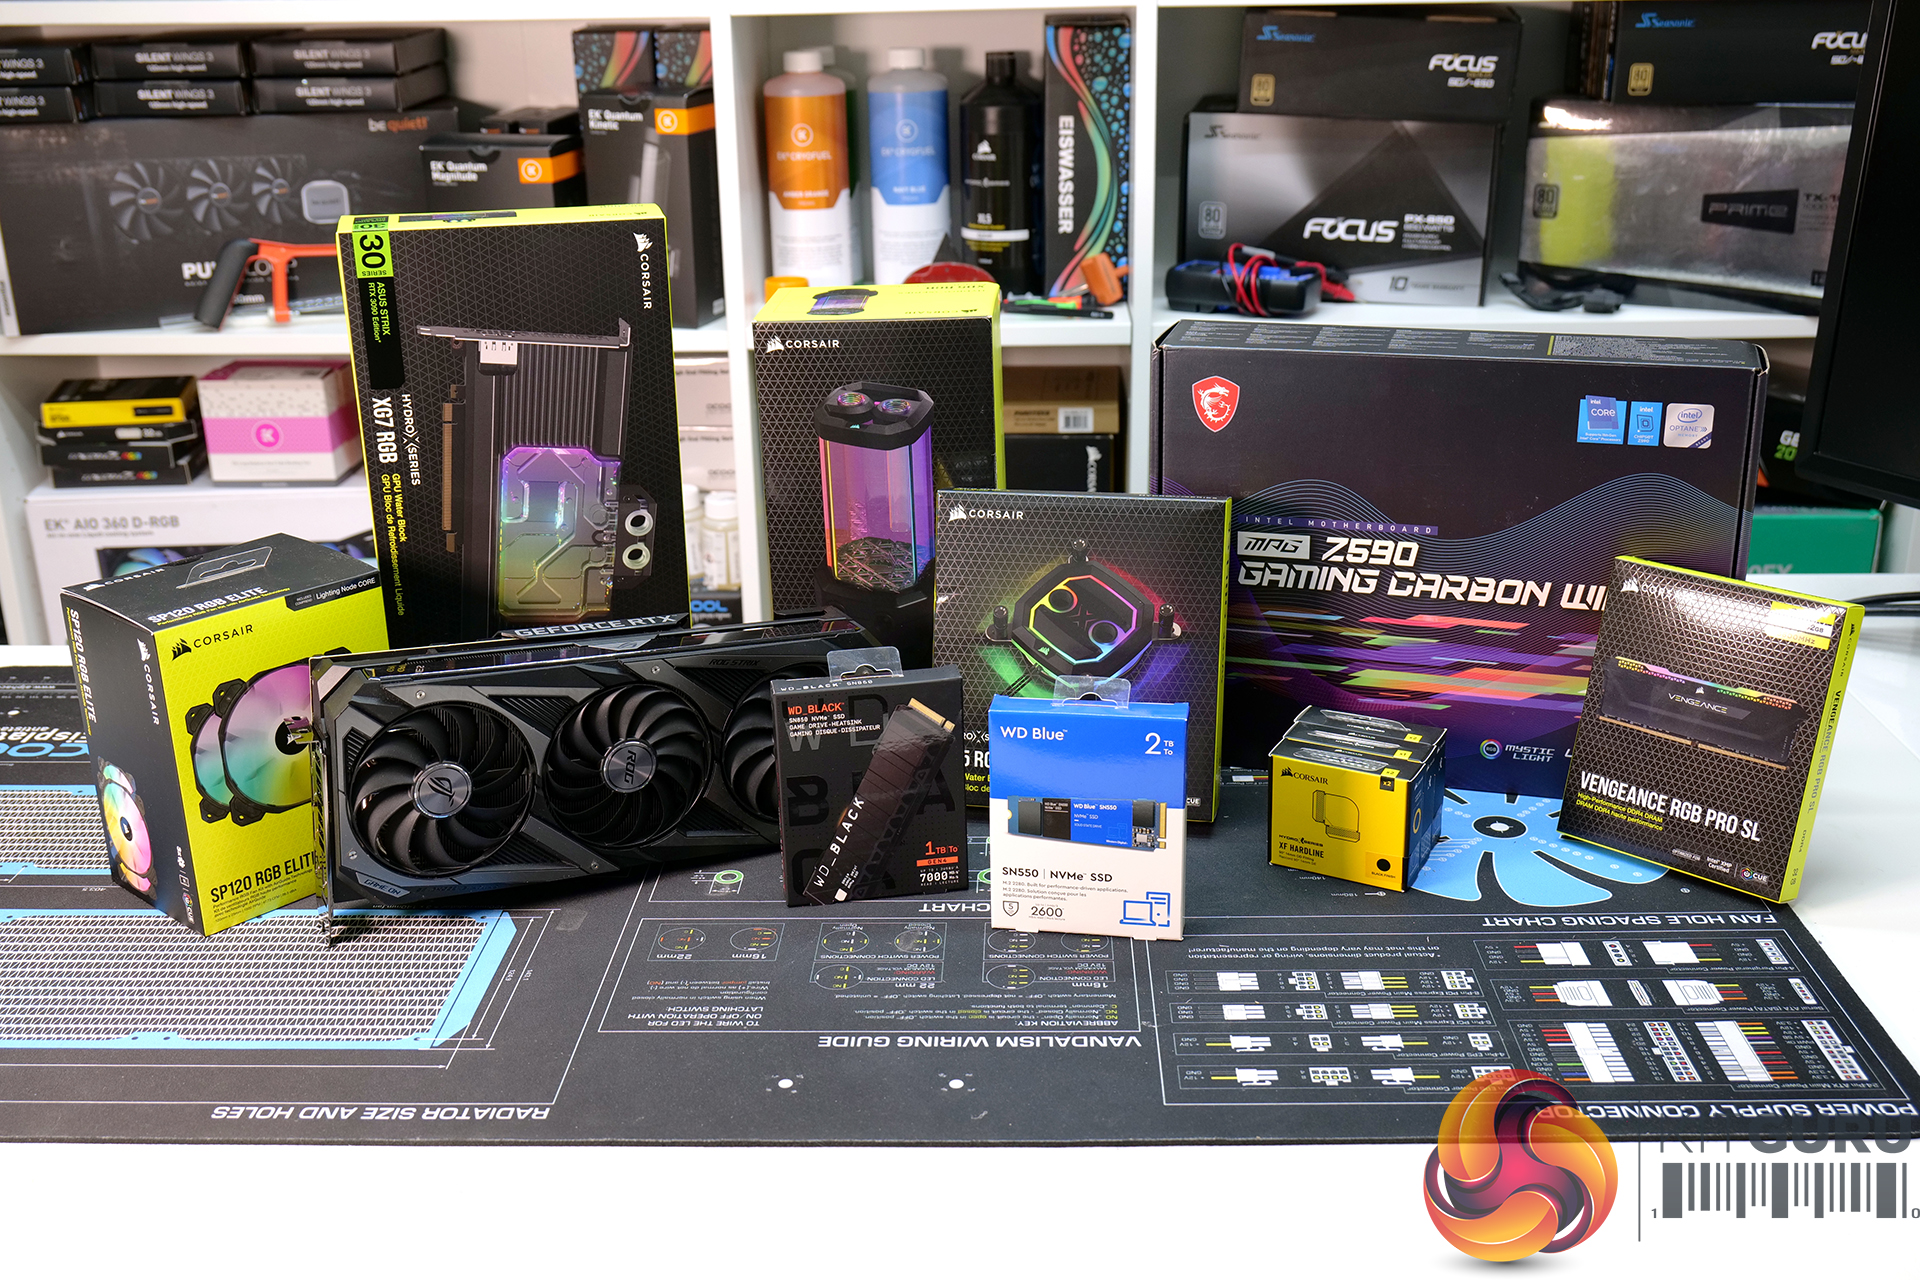
System Specification:
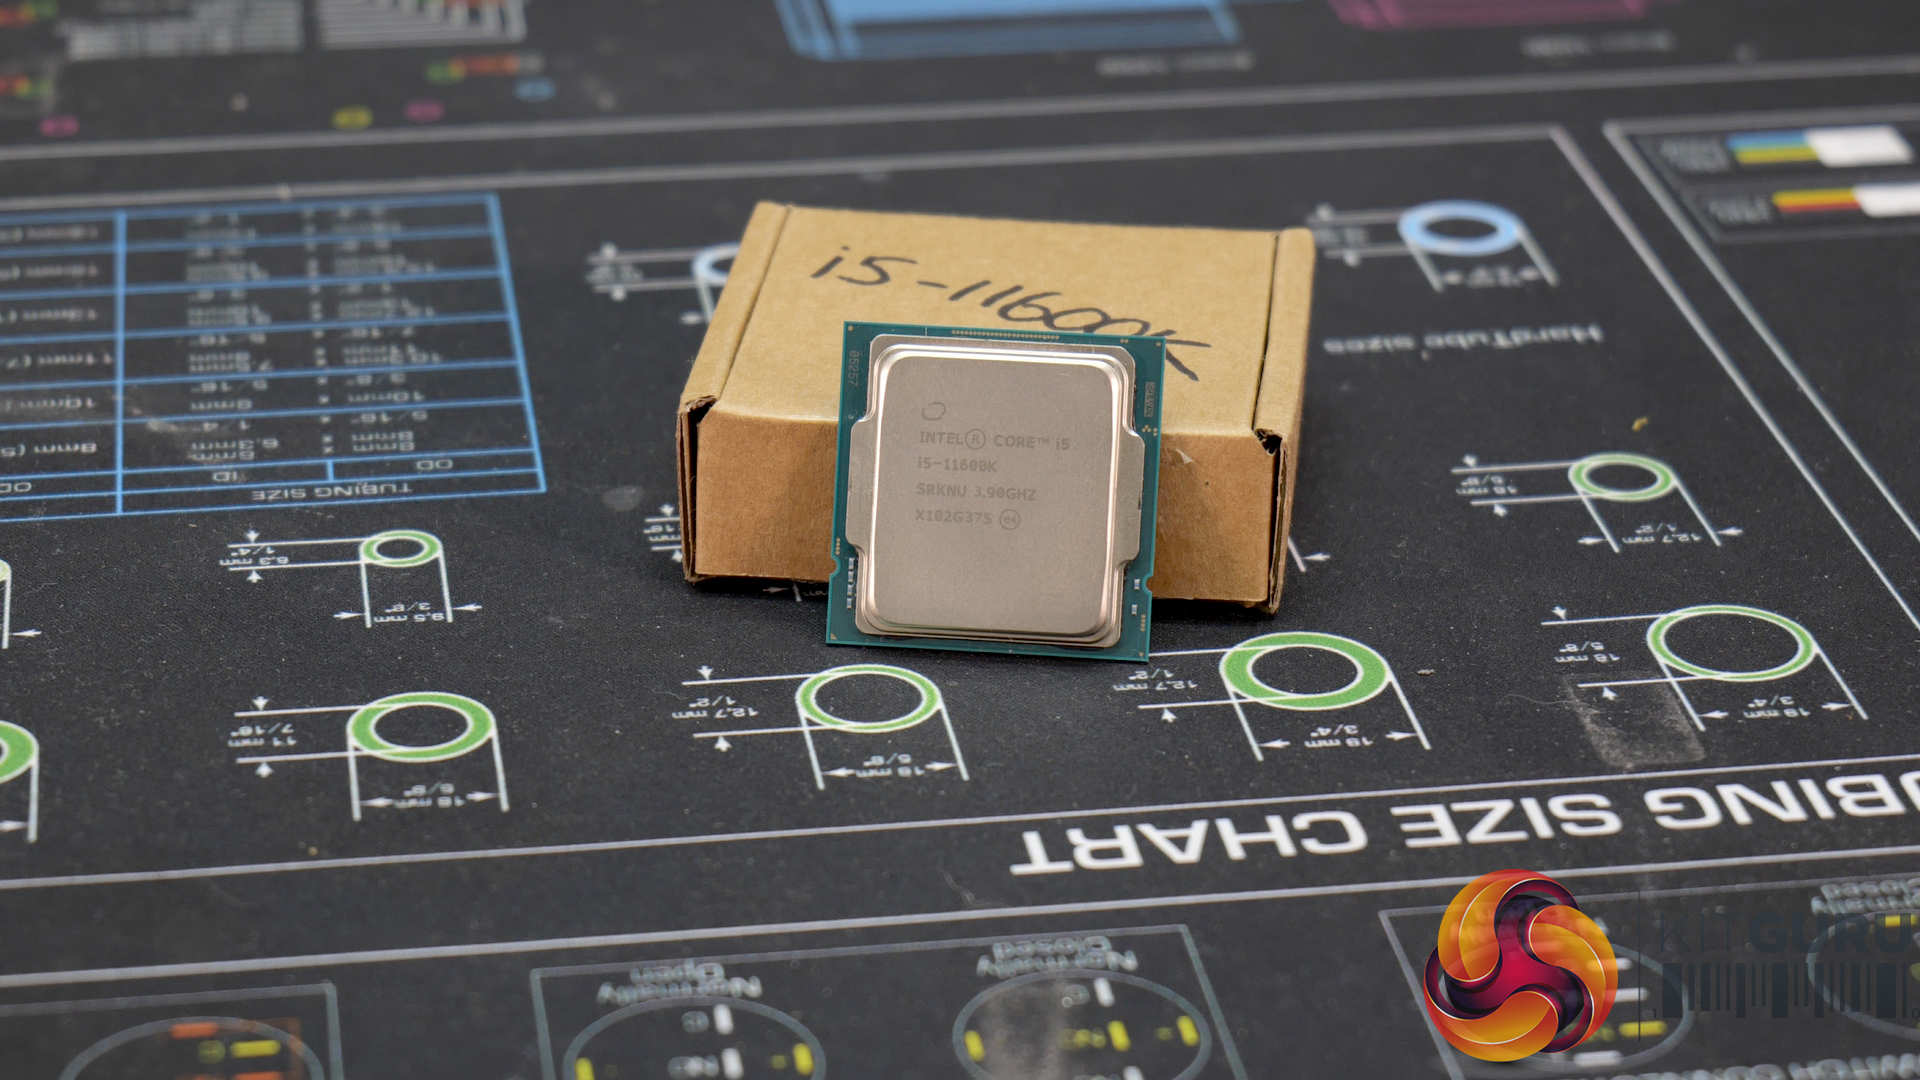
- CPU: Intel Core i5-11600K
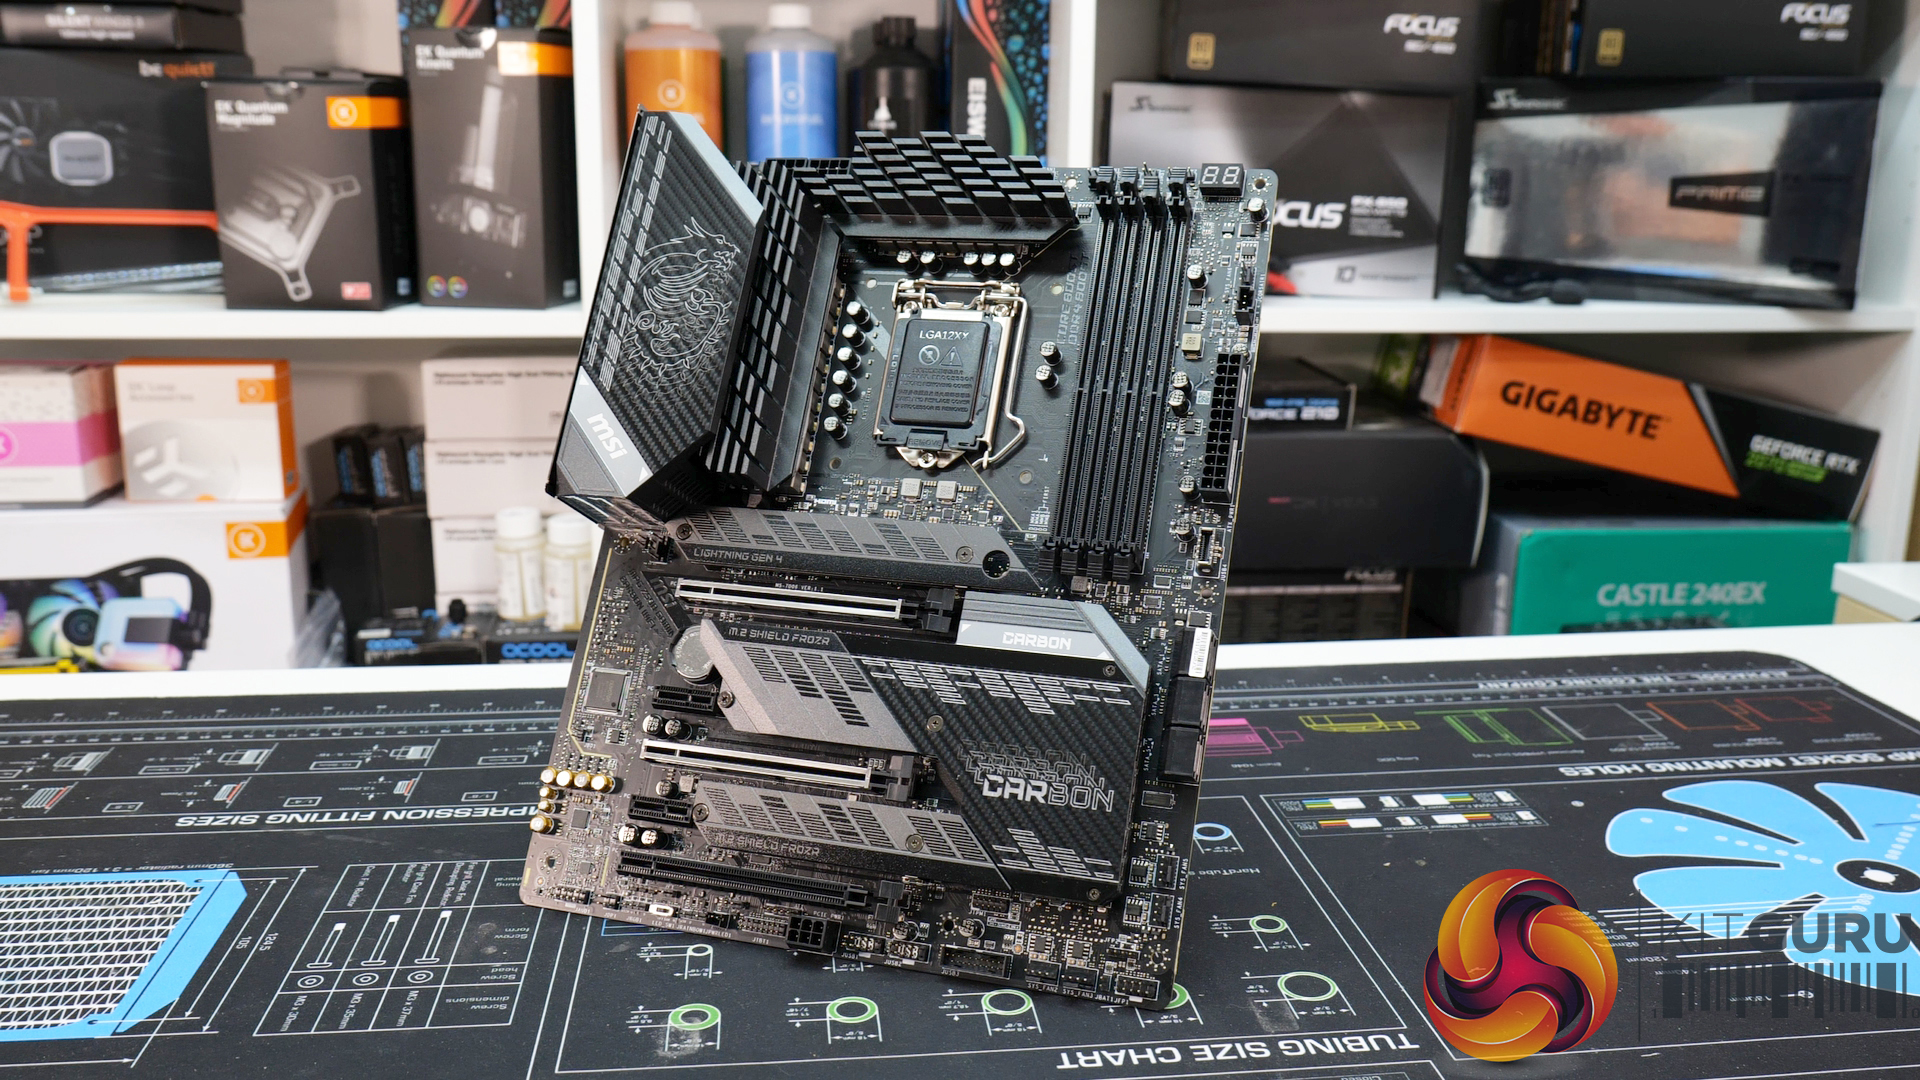
- Motherboard: MSI MPG Z590 Gaming Carbon WiFi
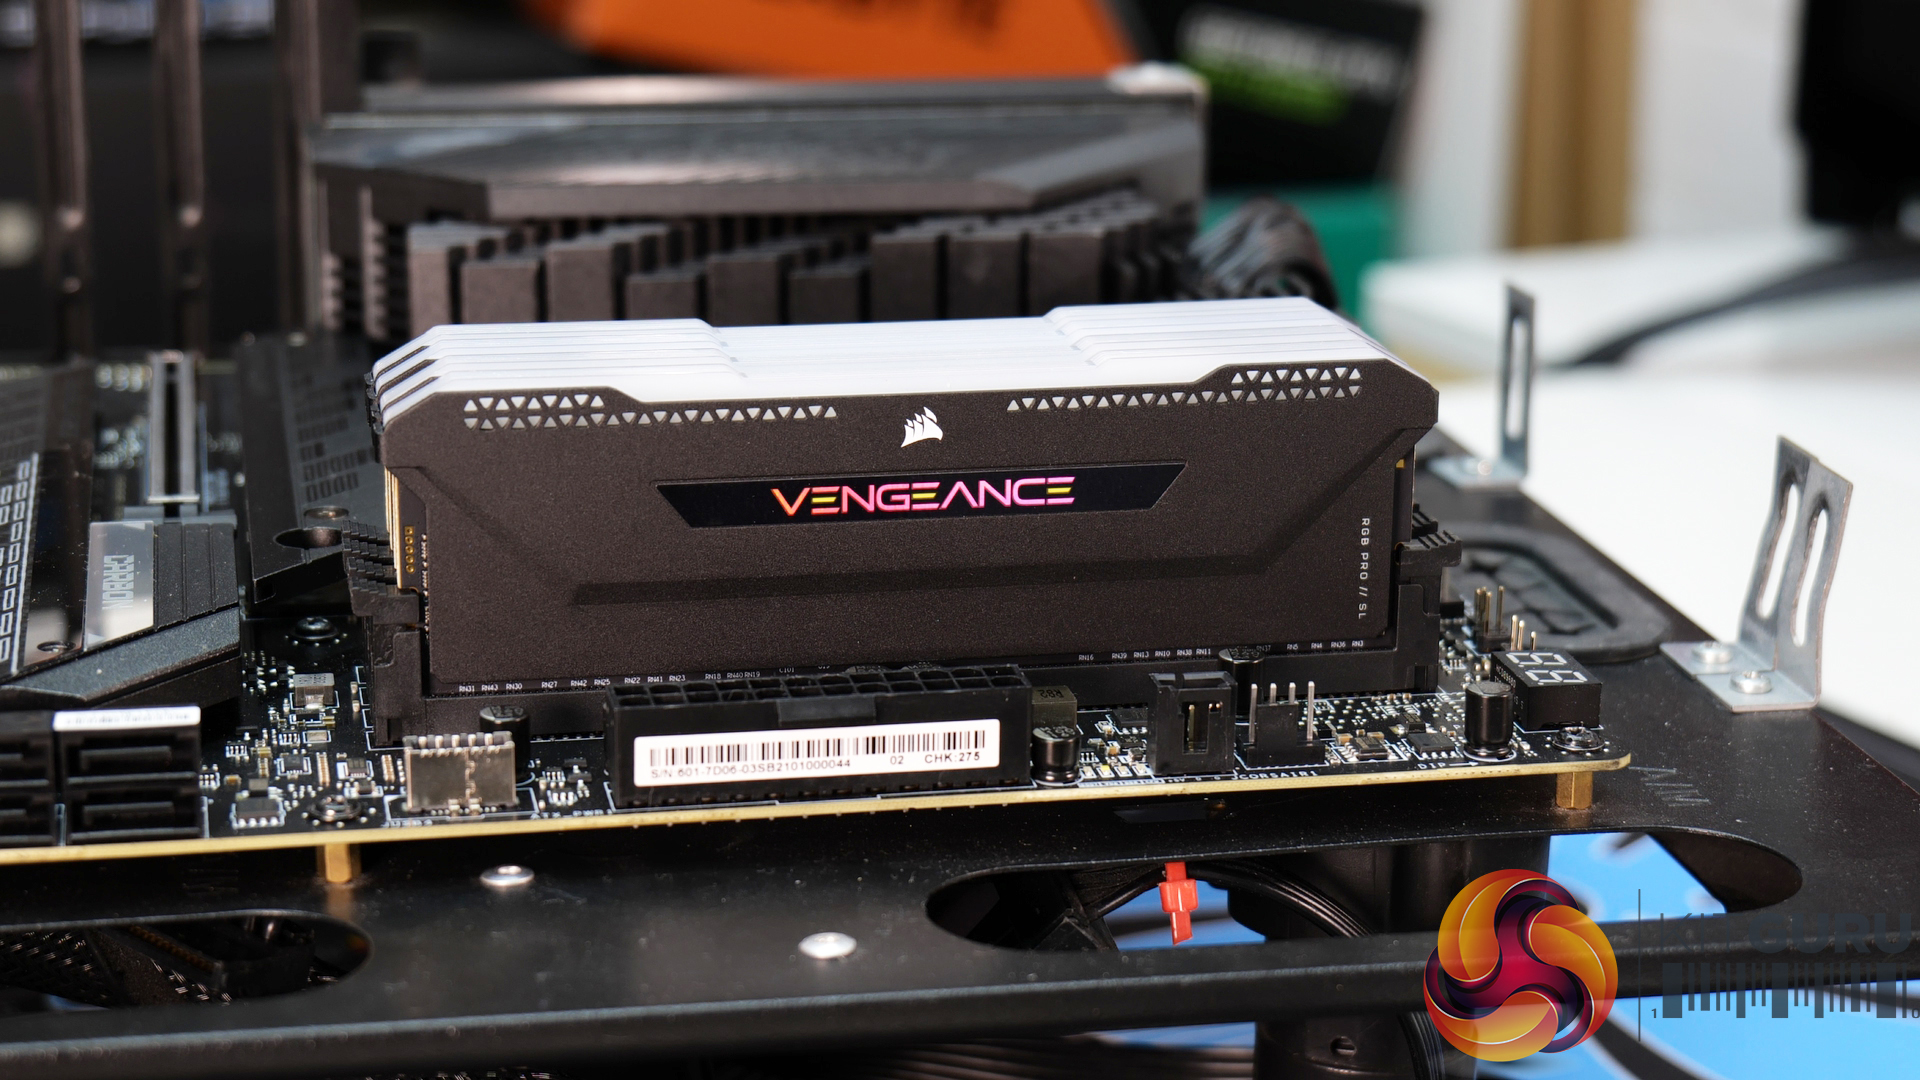
- Memory: 32GB (4x8GB Modules) Corsair Vengeance RGB Pro SL
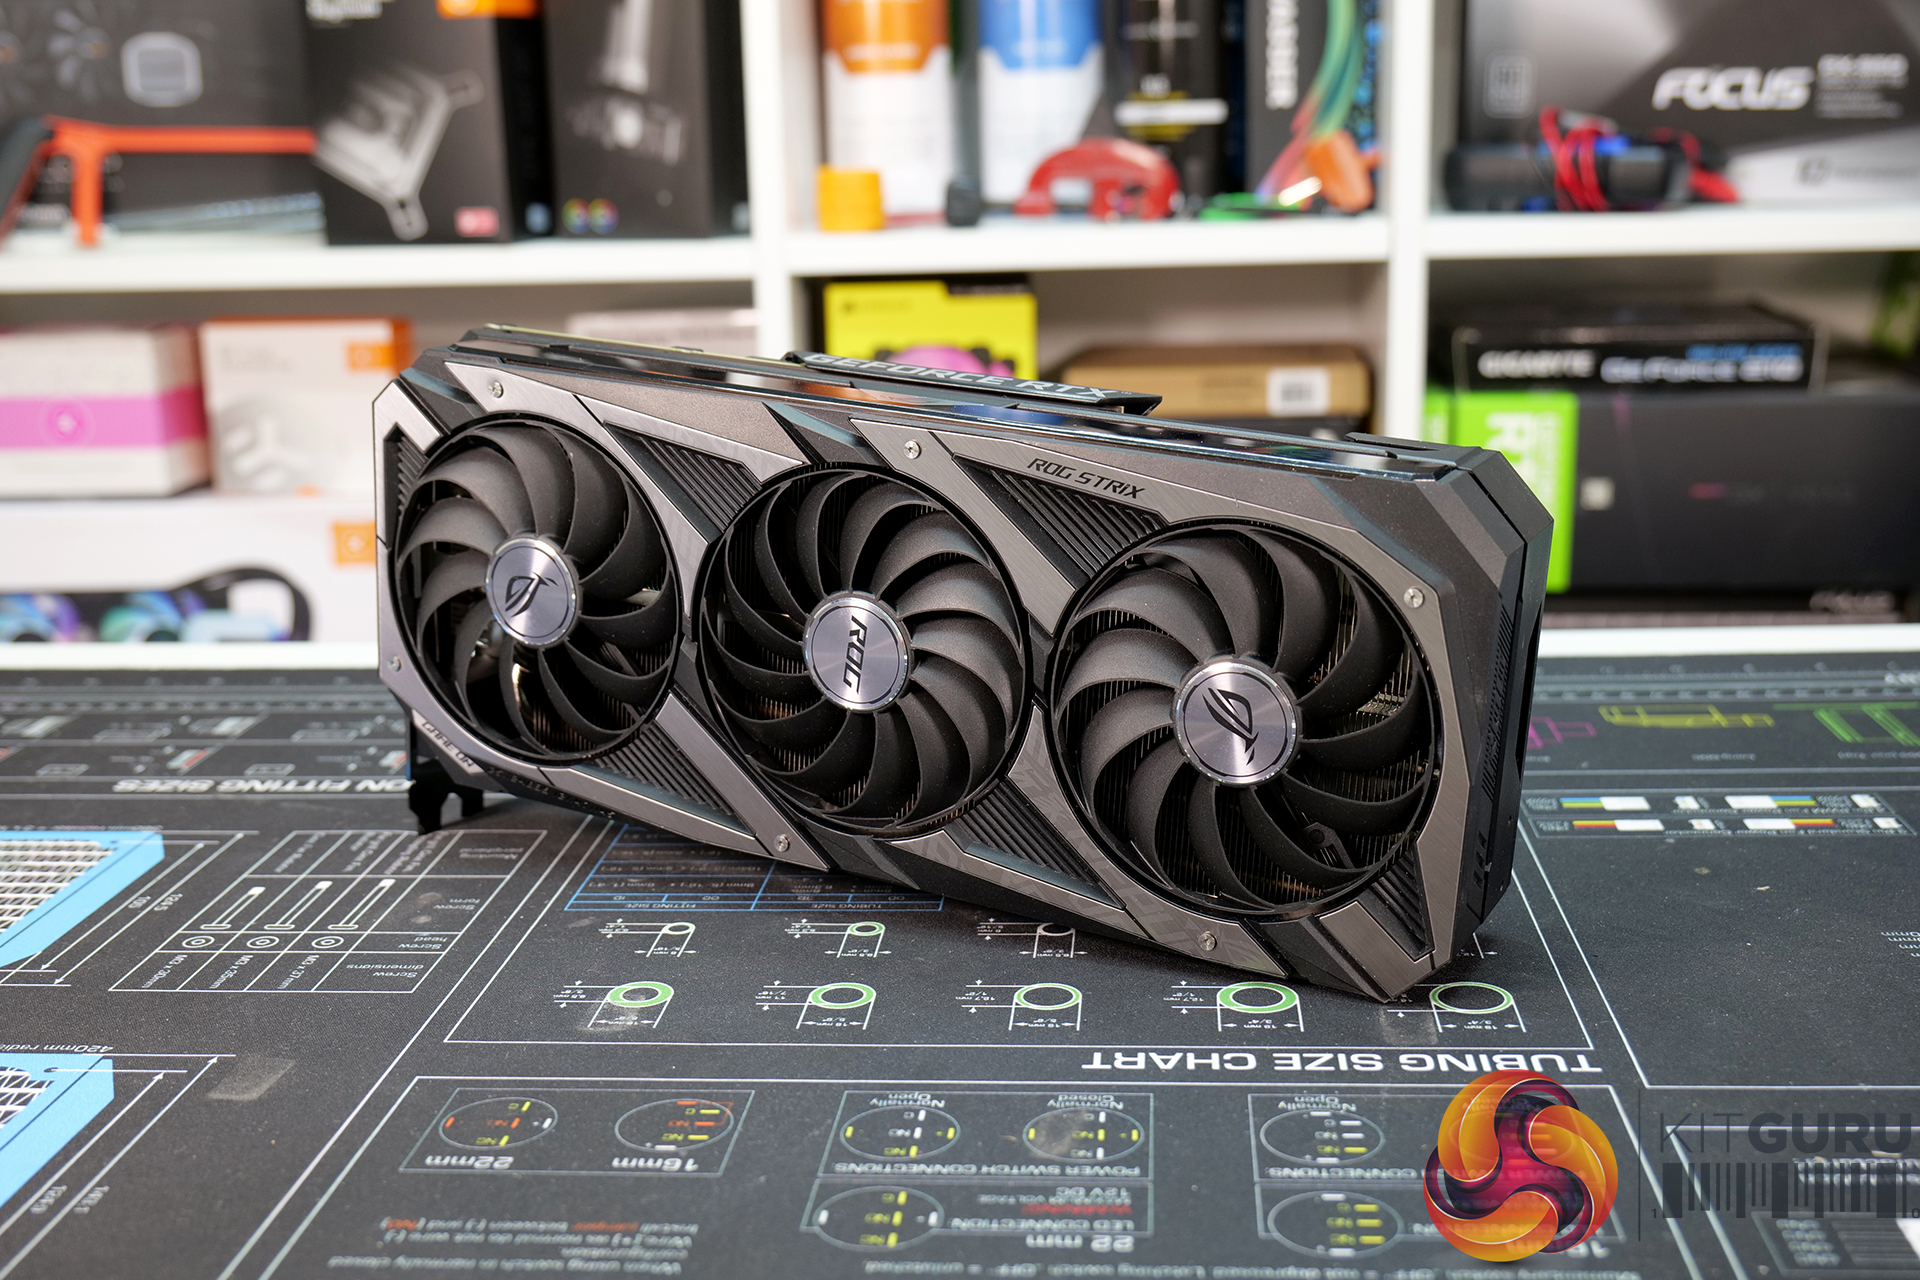
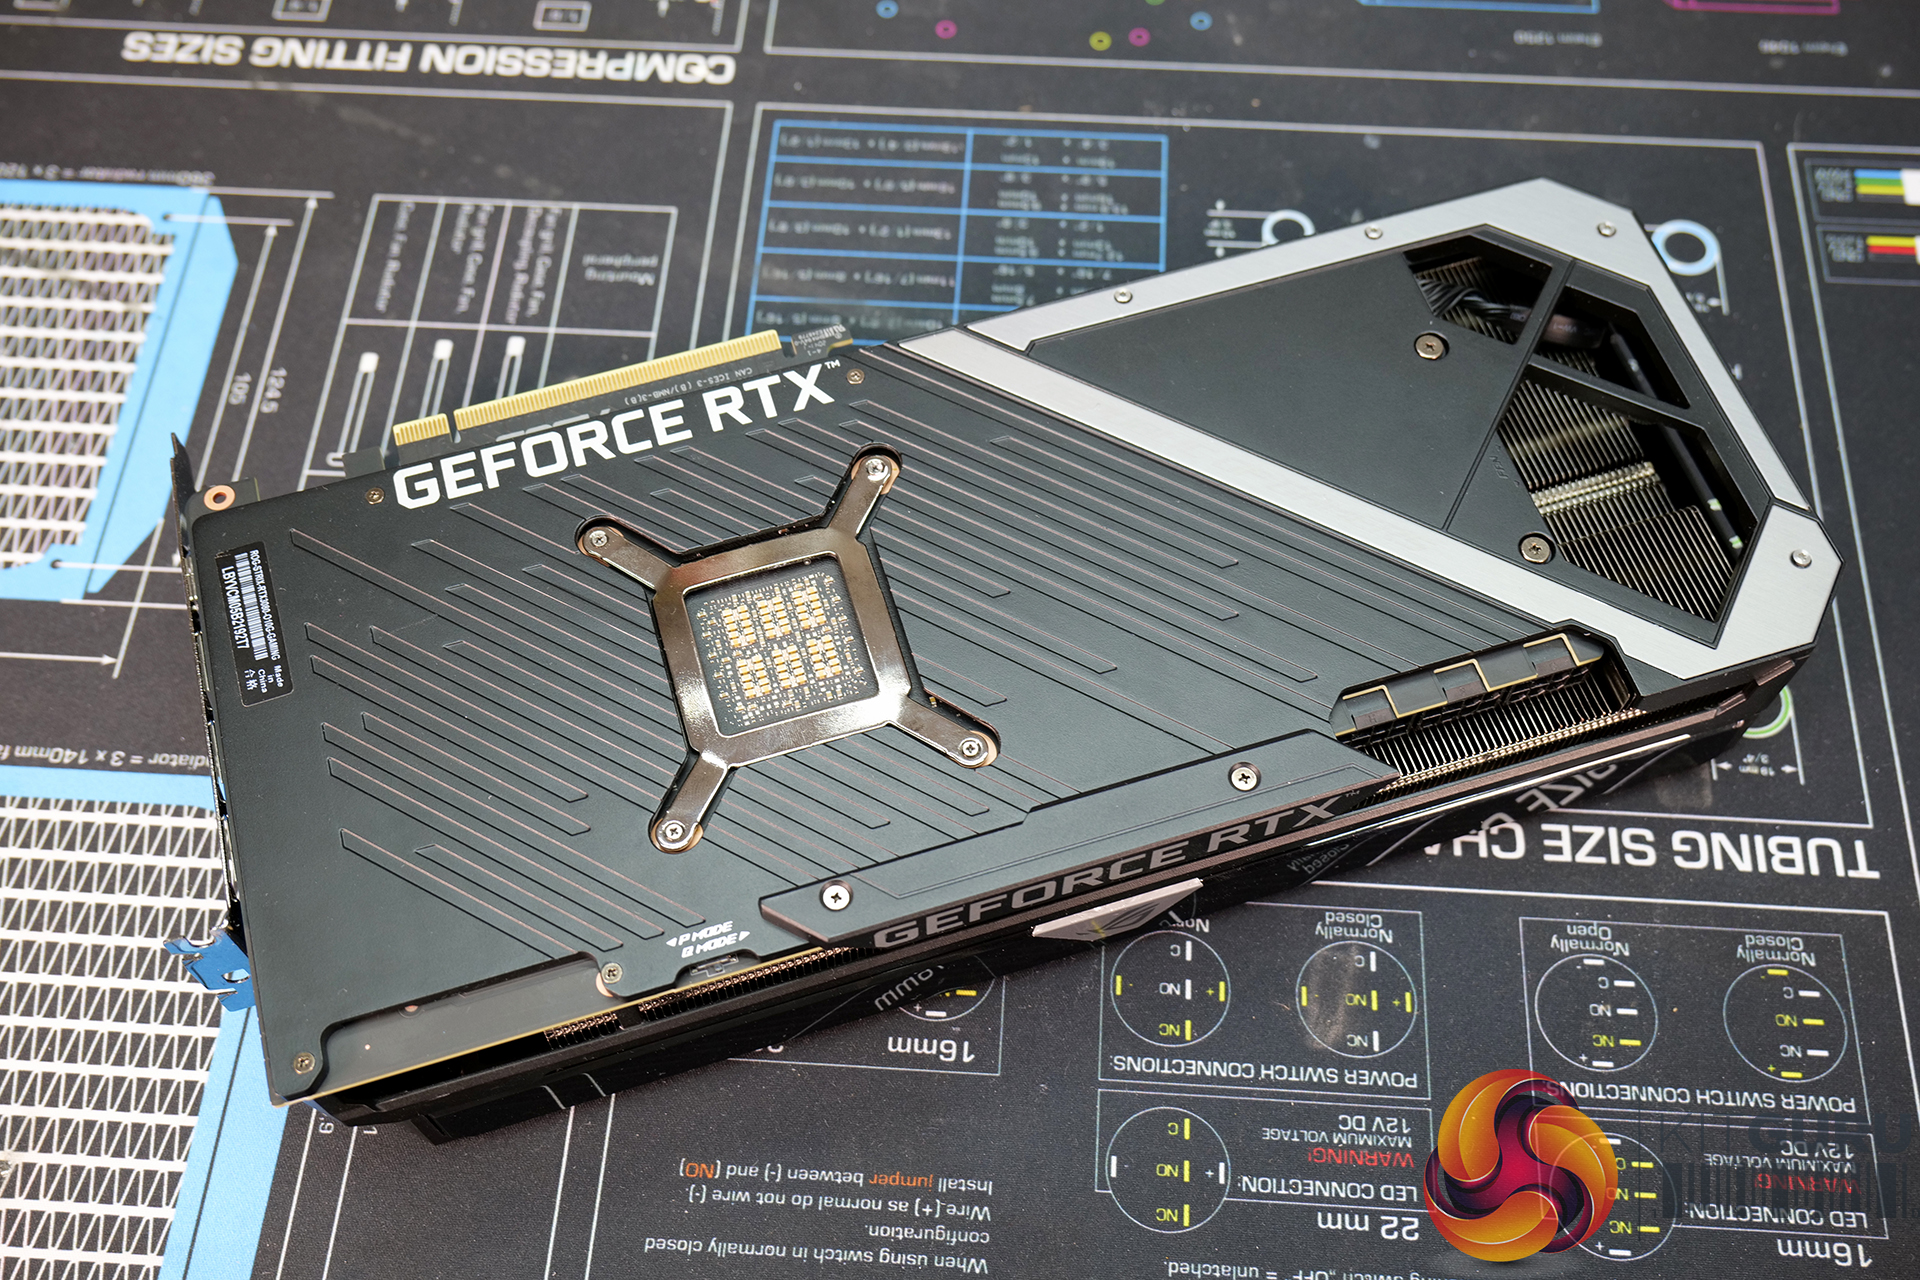
- Graphics Card: Asus ROG Strix RTX 3080
- Storage 1: 1TB WD Black SN850 PCIe Gen4 NVMe M.2 SSD
- Storage 2: 2TB WD Blue SN550 NVMe M.2 SSD
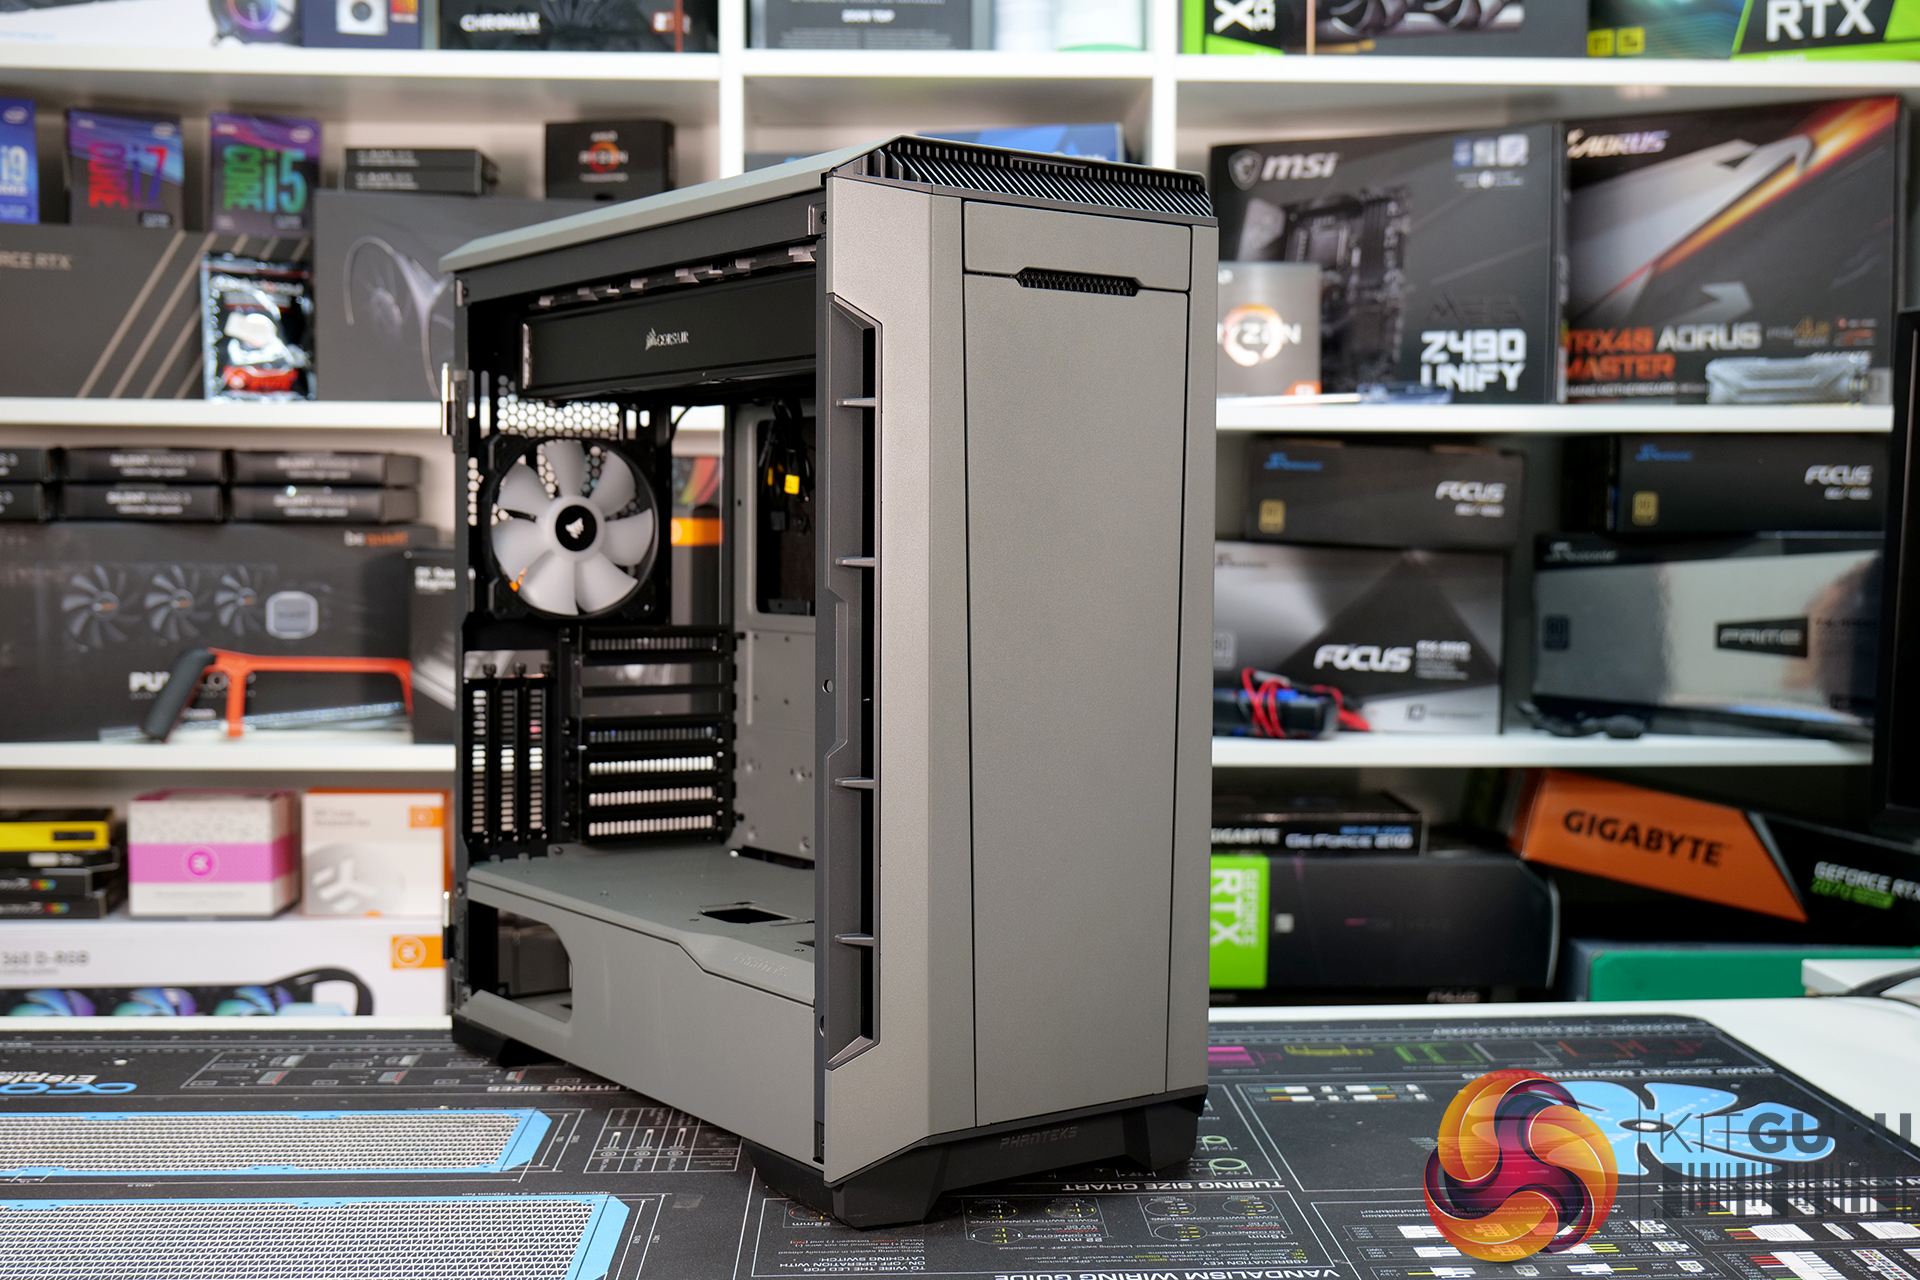
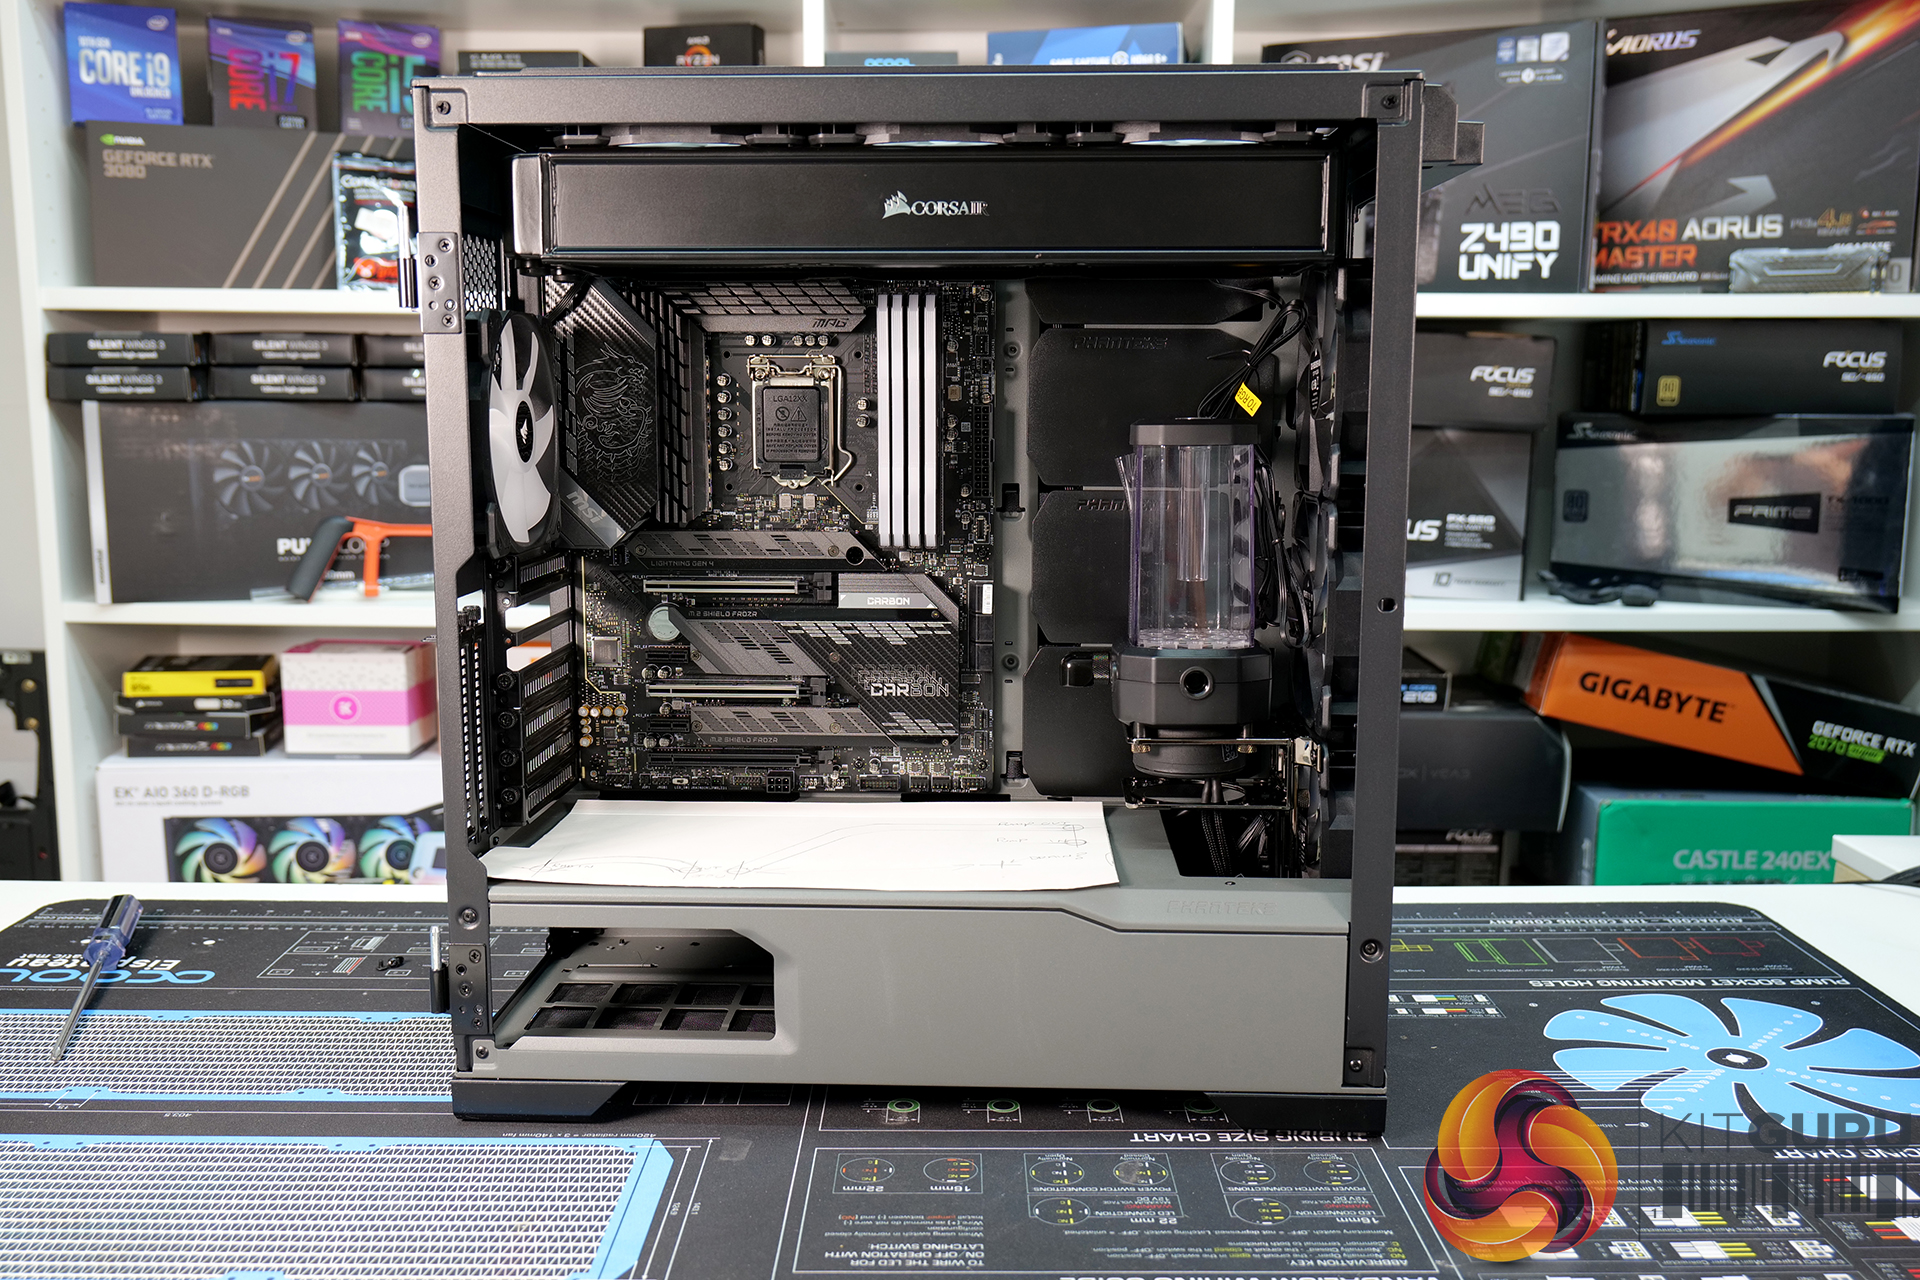
- Case: Phanteks Eclipse P600S
- Power Supply: Corsair RM850 850W 80+Gold
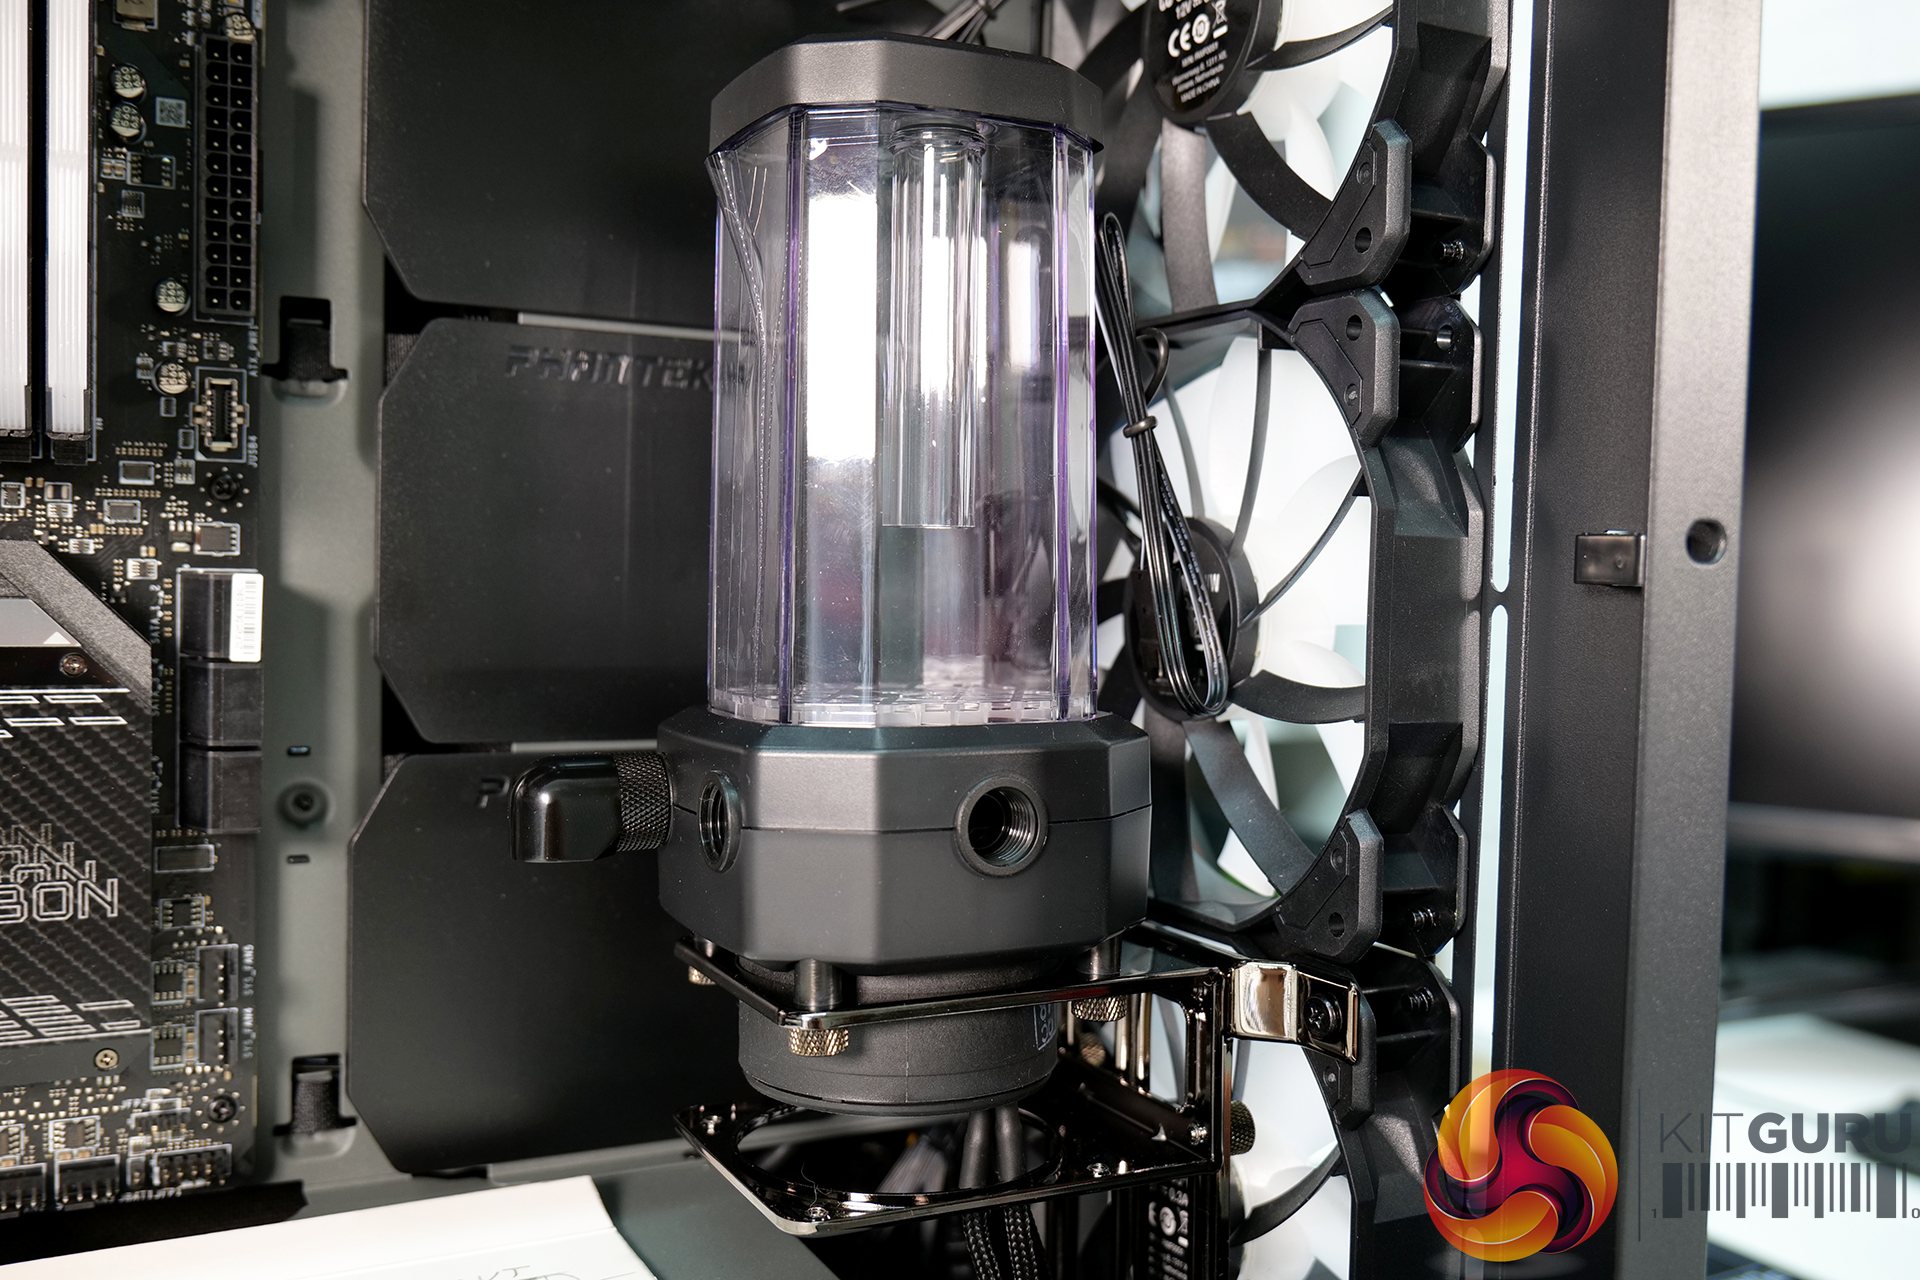
Cooling System: Corsair Hydro X Custom Cooling
- Pump/res: XD5 RGB Pump/Reservoir Combo
- Radiator: XR7 360mm Water Cooling Radiator
- Fittings: XF Hardline 14mm OD
- Tubing: XT Hardline 14mm Tubing — Satin Black
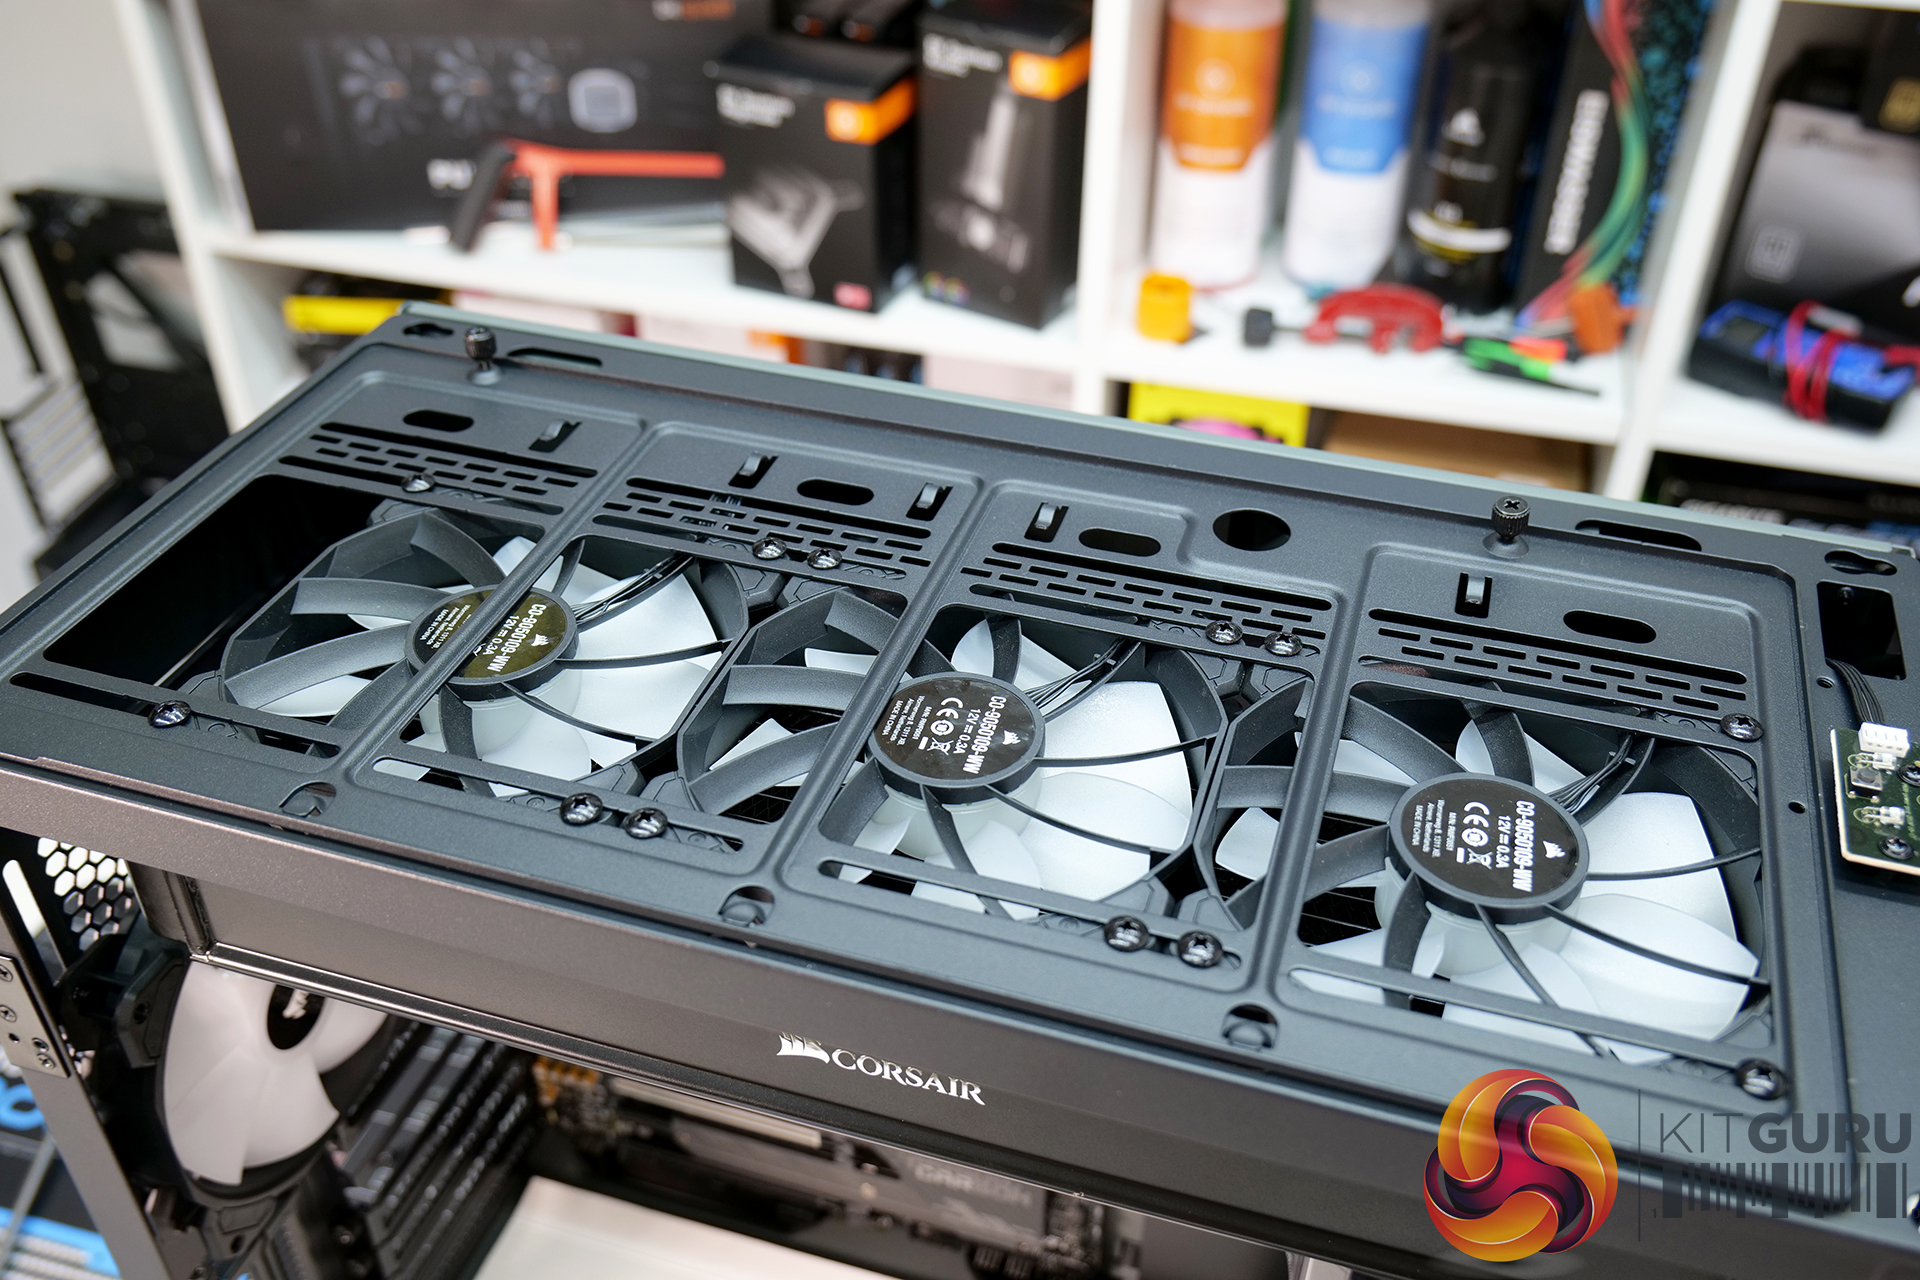
- System Fans: 7 x Corsair SP120 RGB Elite Performance
- Distro plate: Custom Made PSU Shroud Mounted
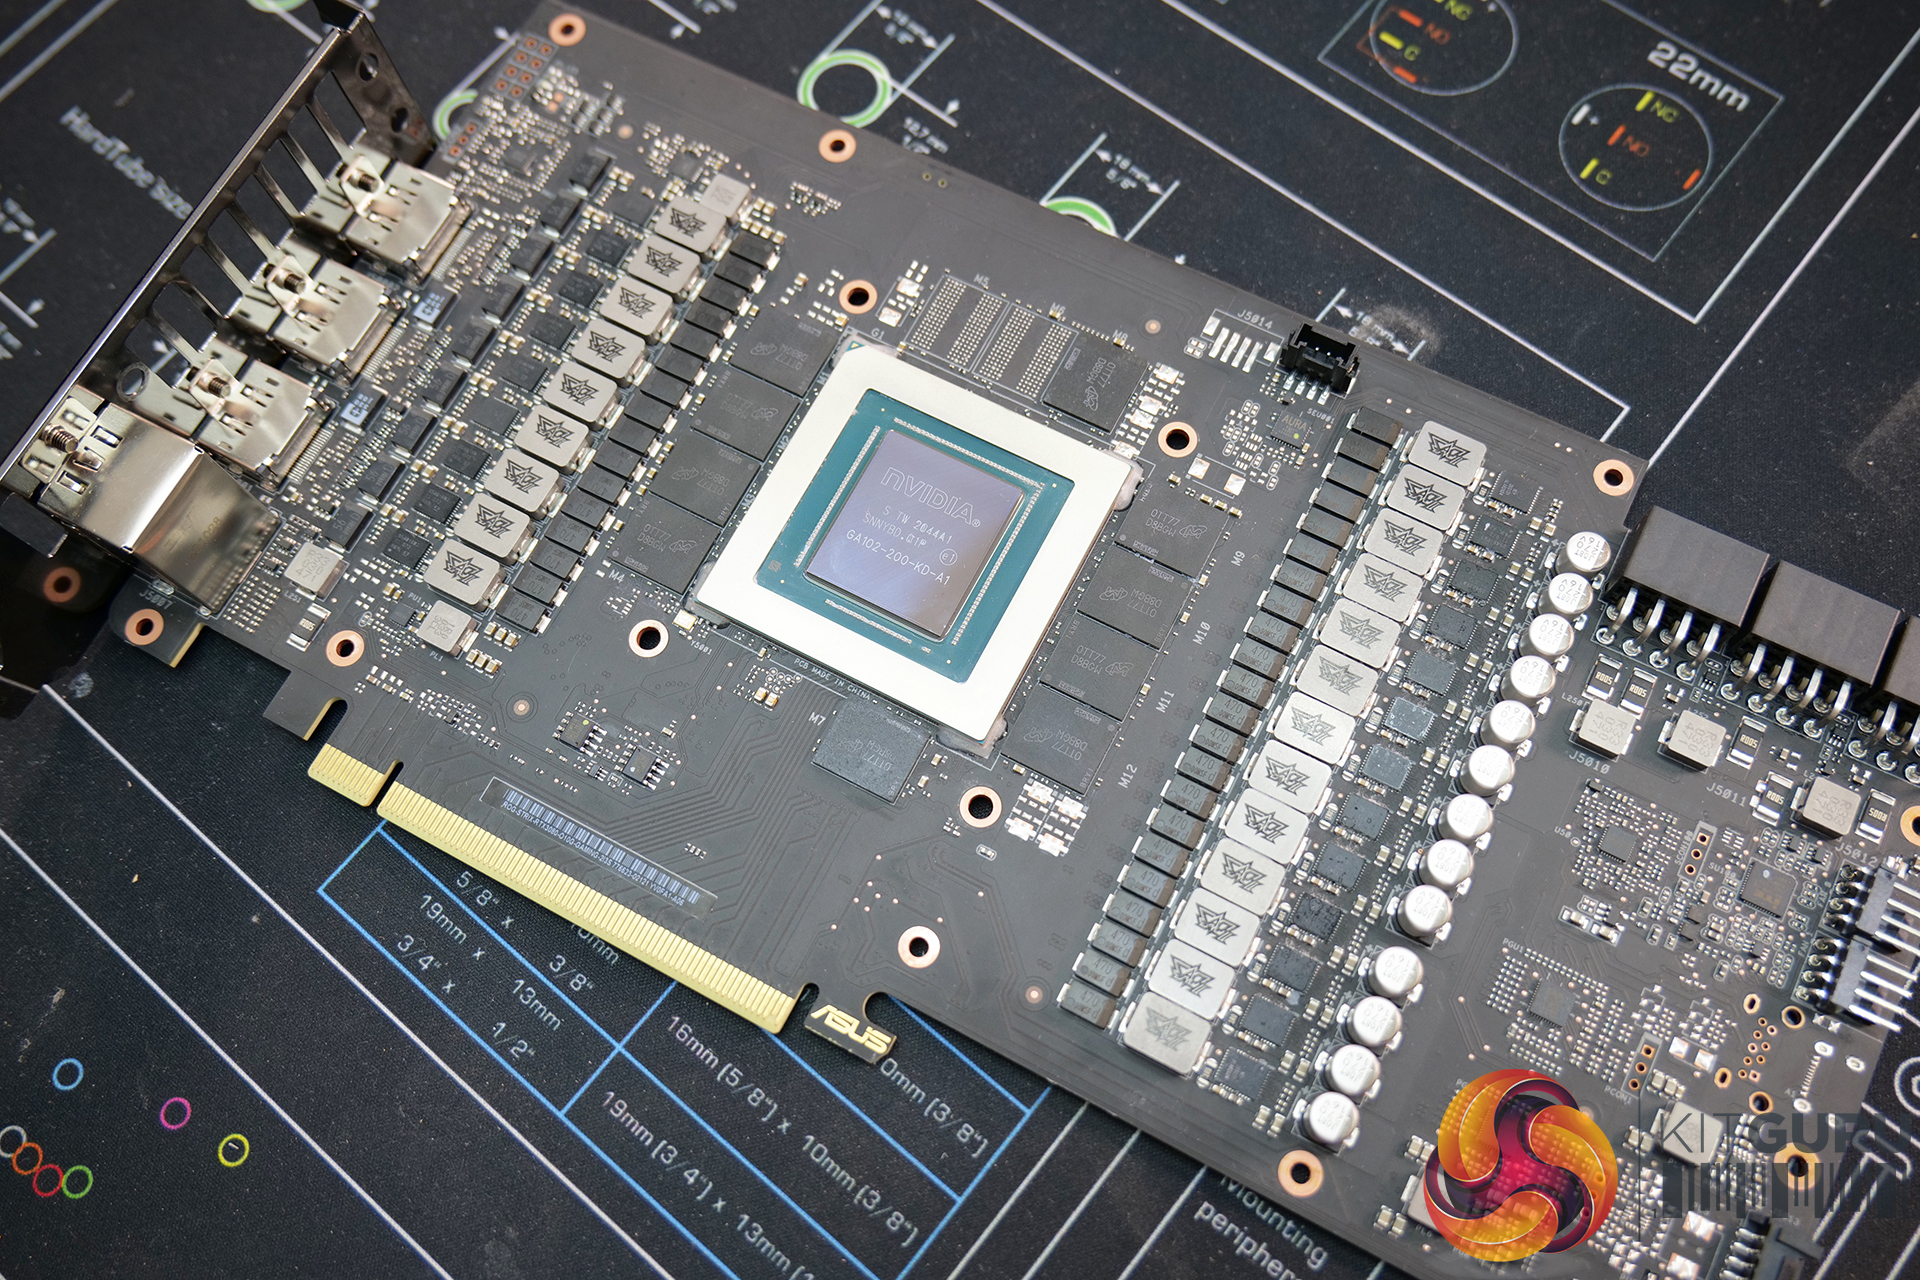
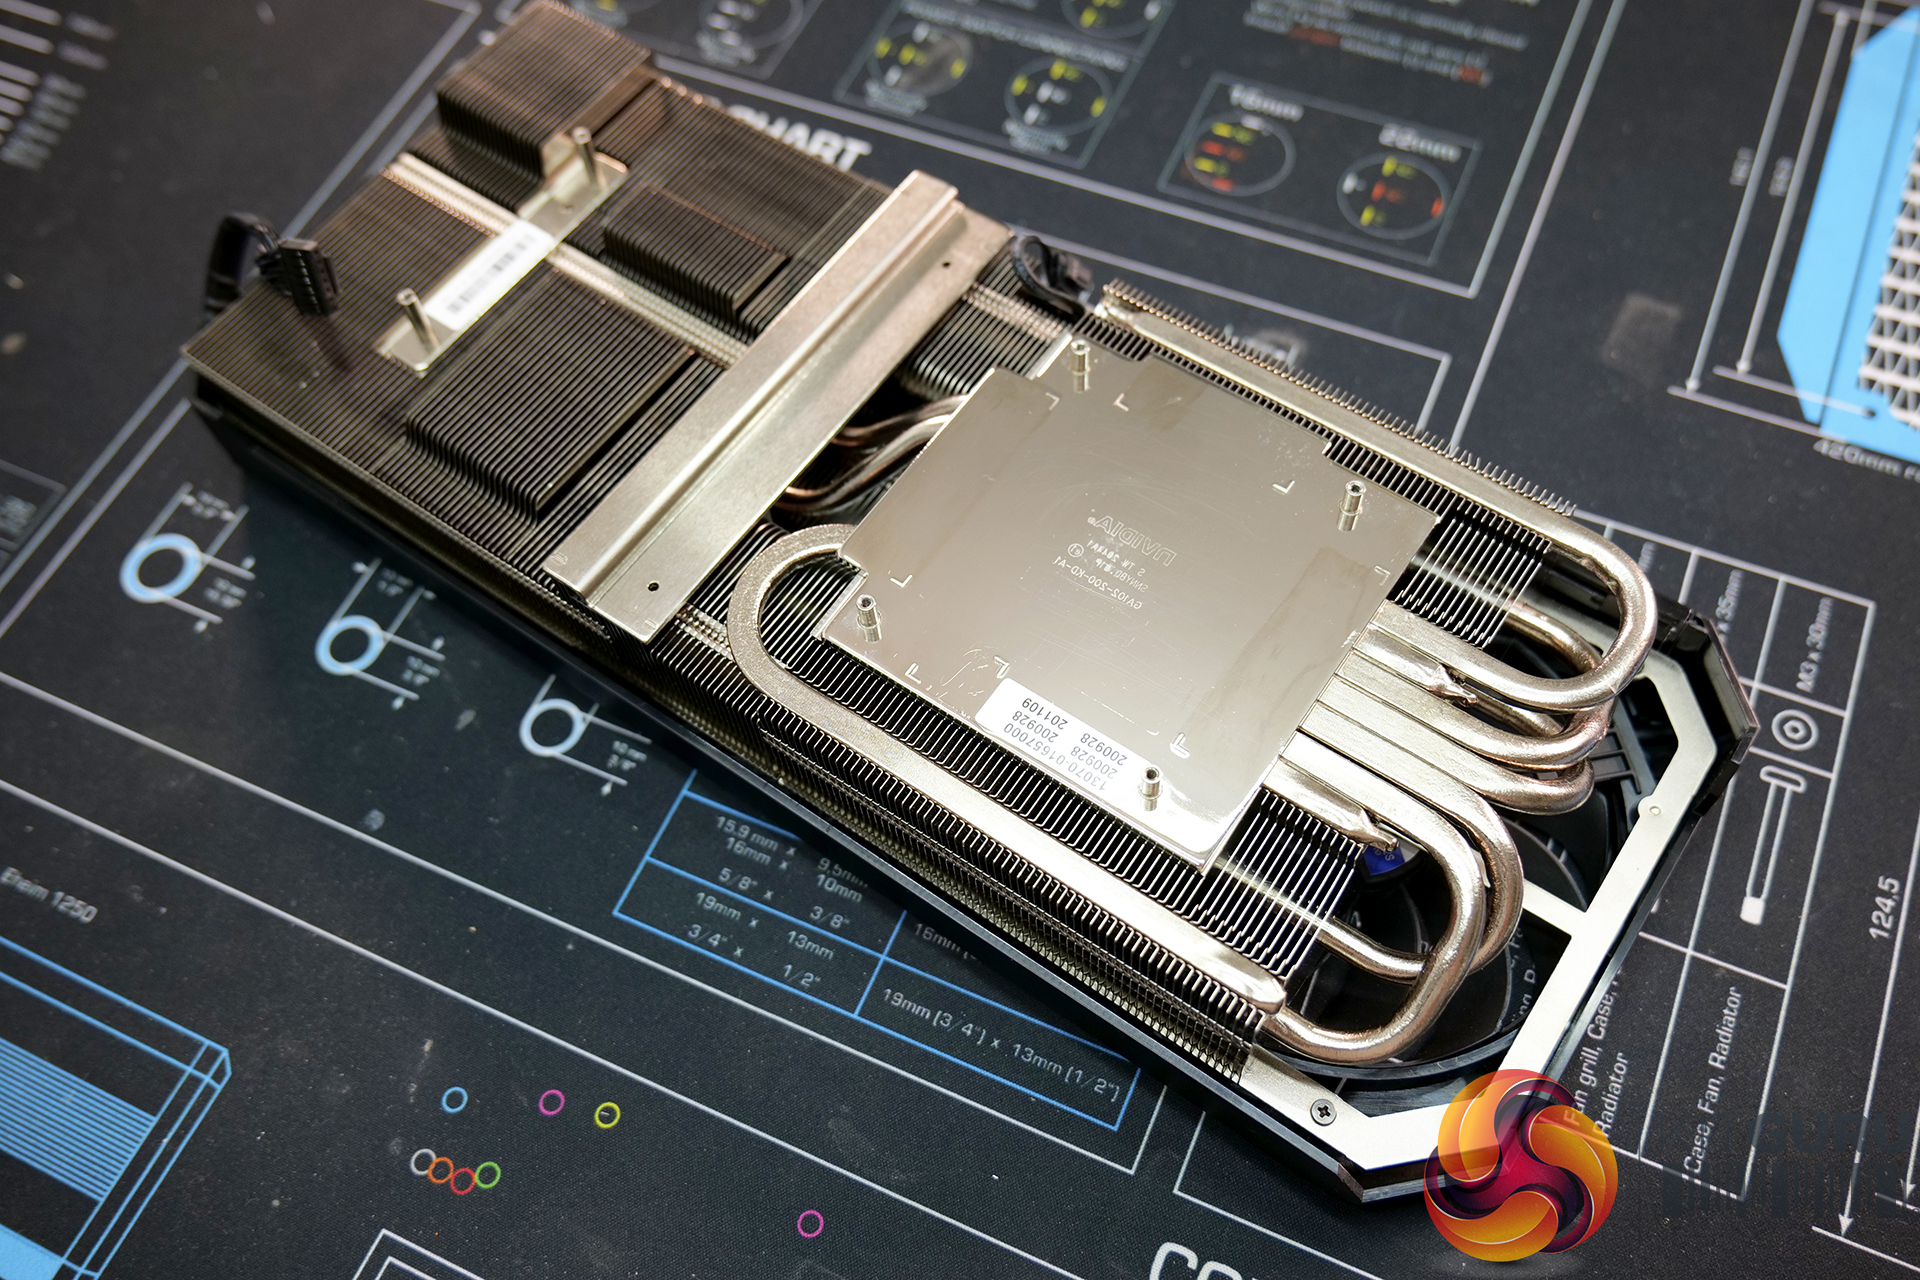
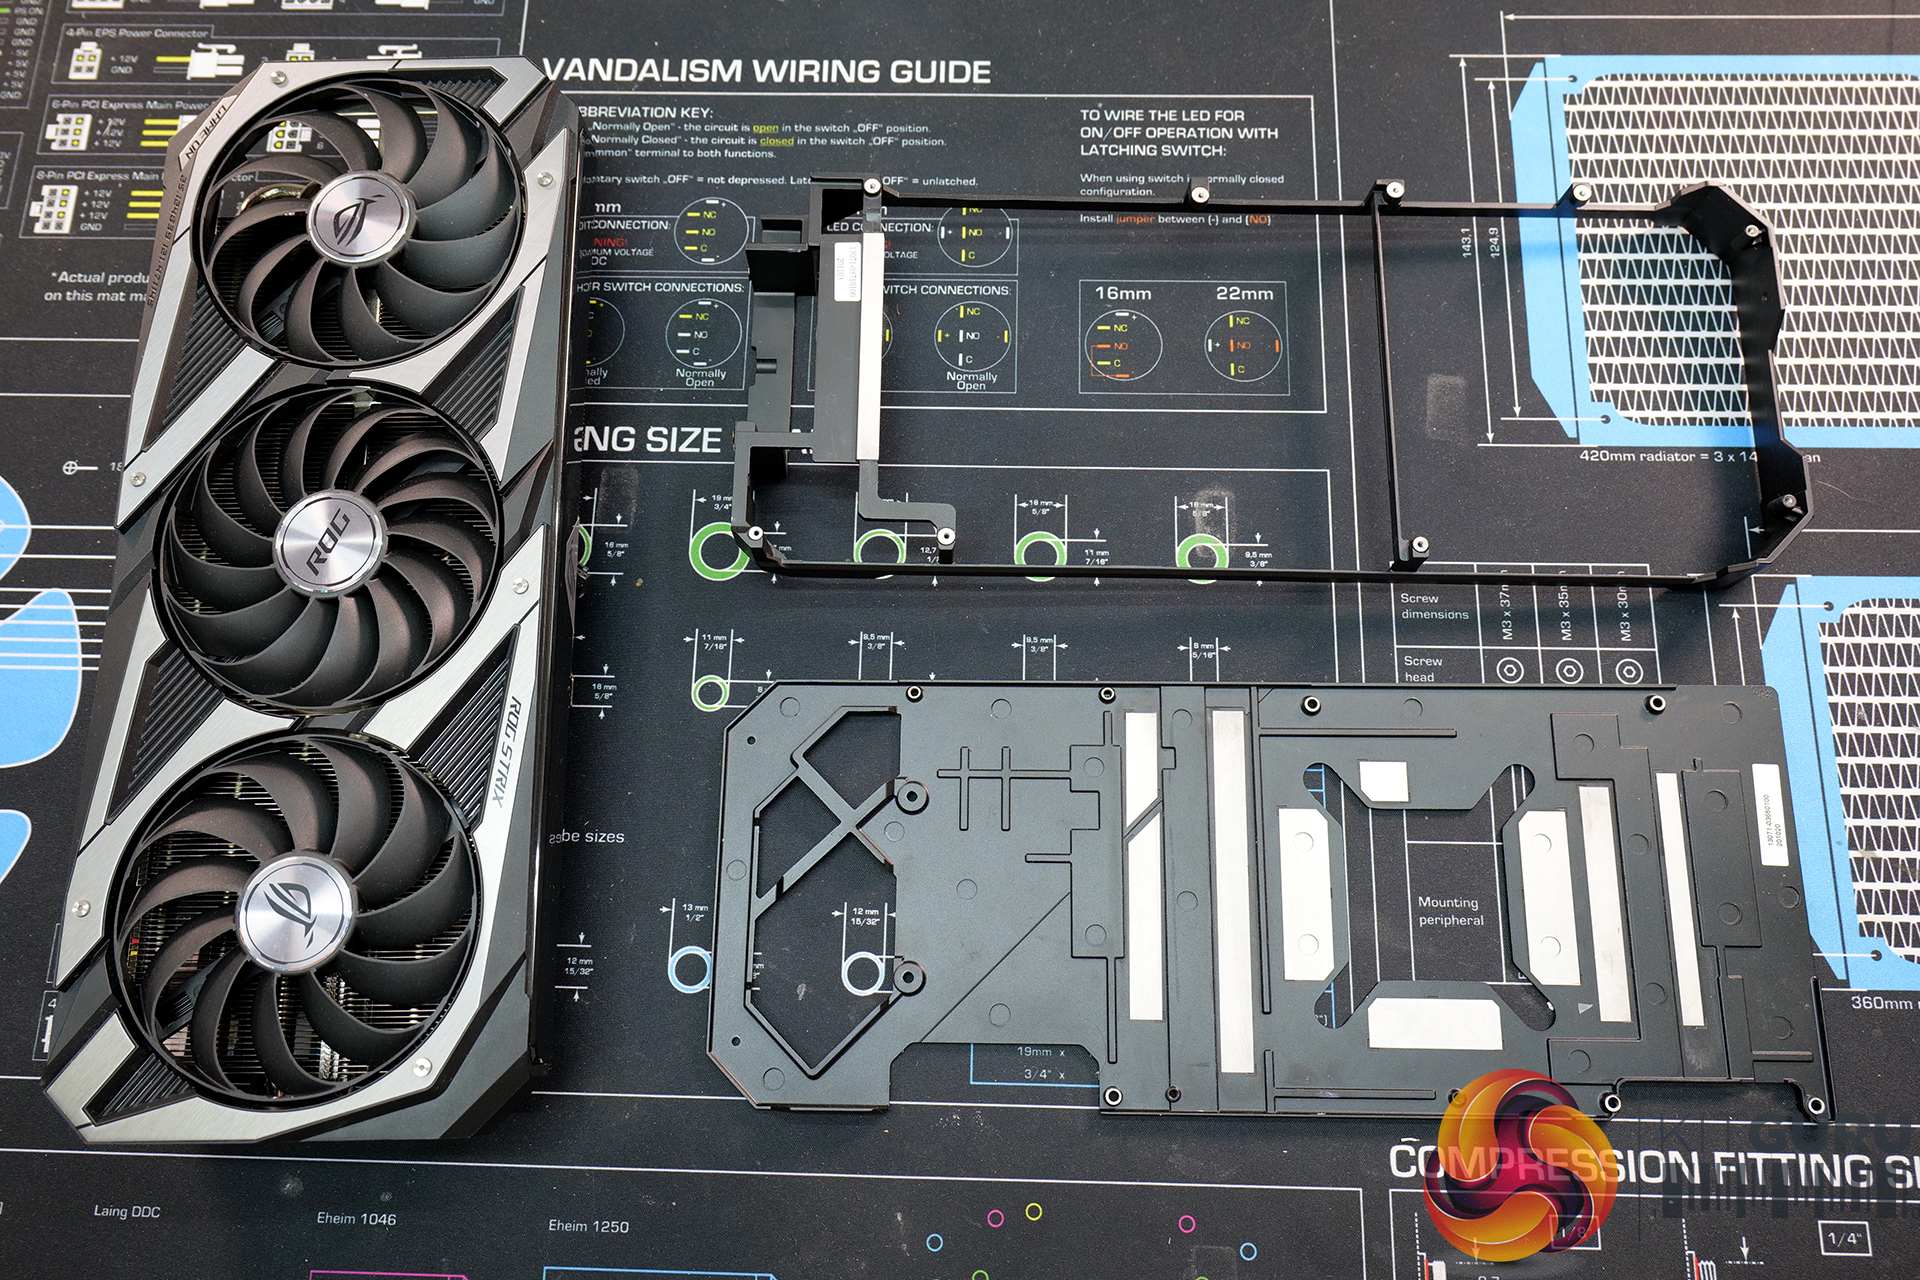
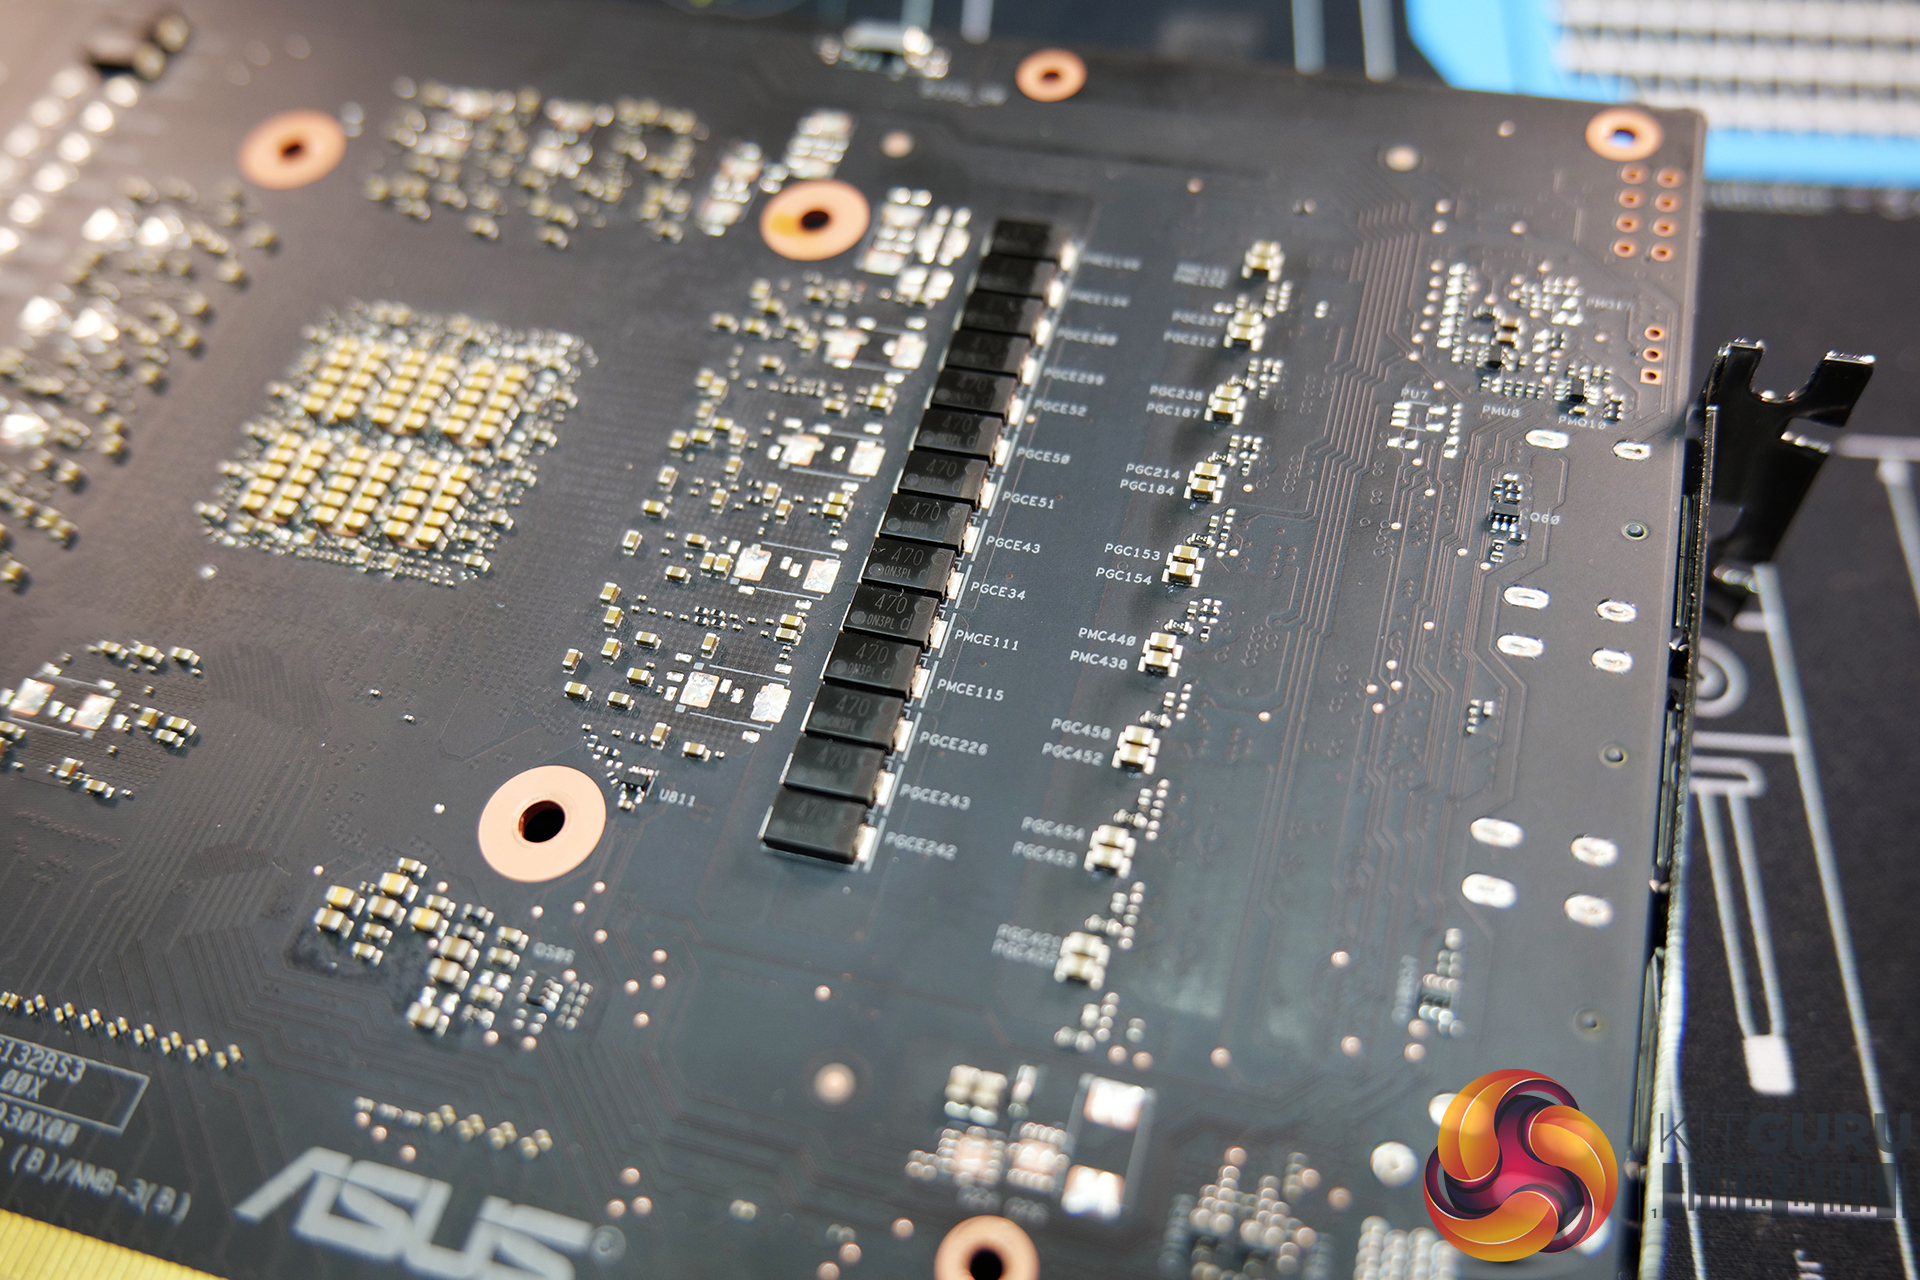
The first half of this video is a bit of a guide to show you how we worked out the correct way to re-assemble the card and measure the clearances of the stock cooler for the new thermal pad application. Only basic tools are needed for this job and a selection of thermal pads with varying thickness on hand. With some patience and simple calculations. If you are struggling to find information online It is quite easy to measure and work out the thickness of stock thermal pads as we did with this Strix RTX 3080.
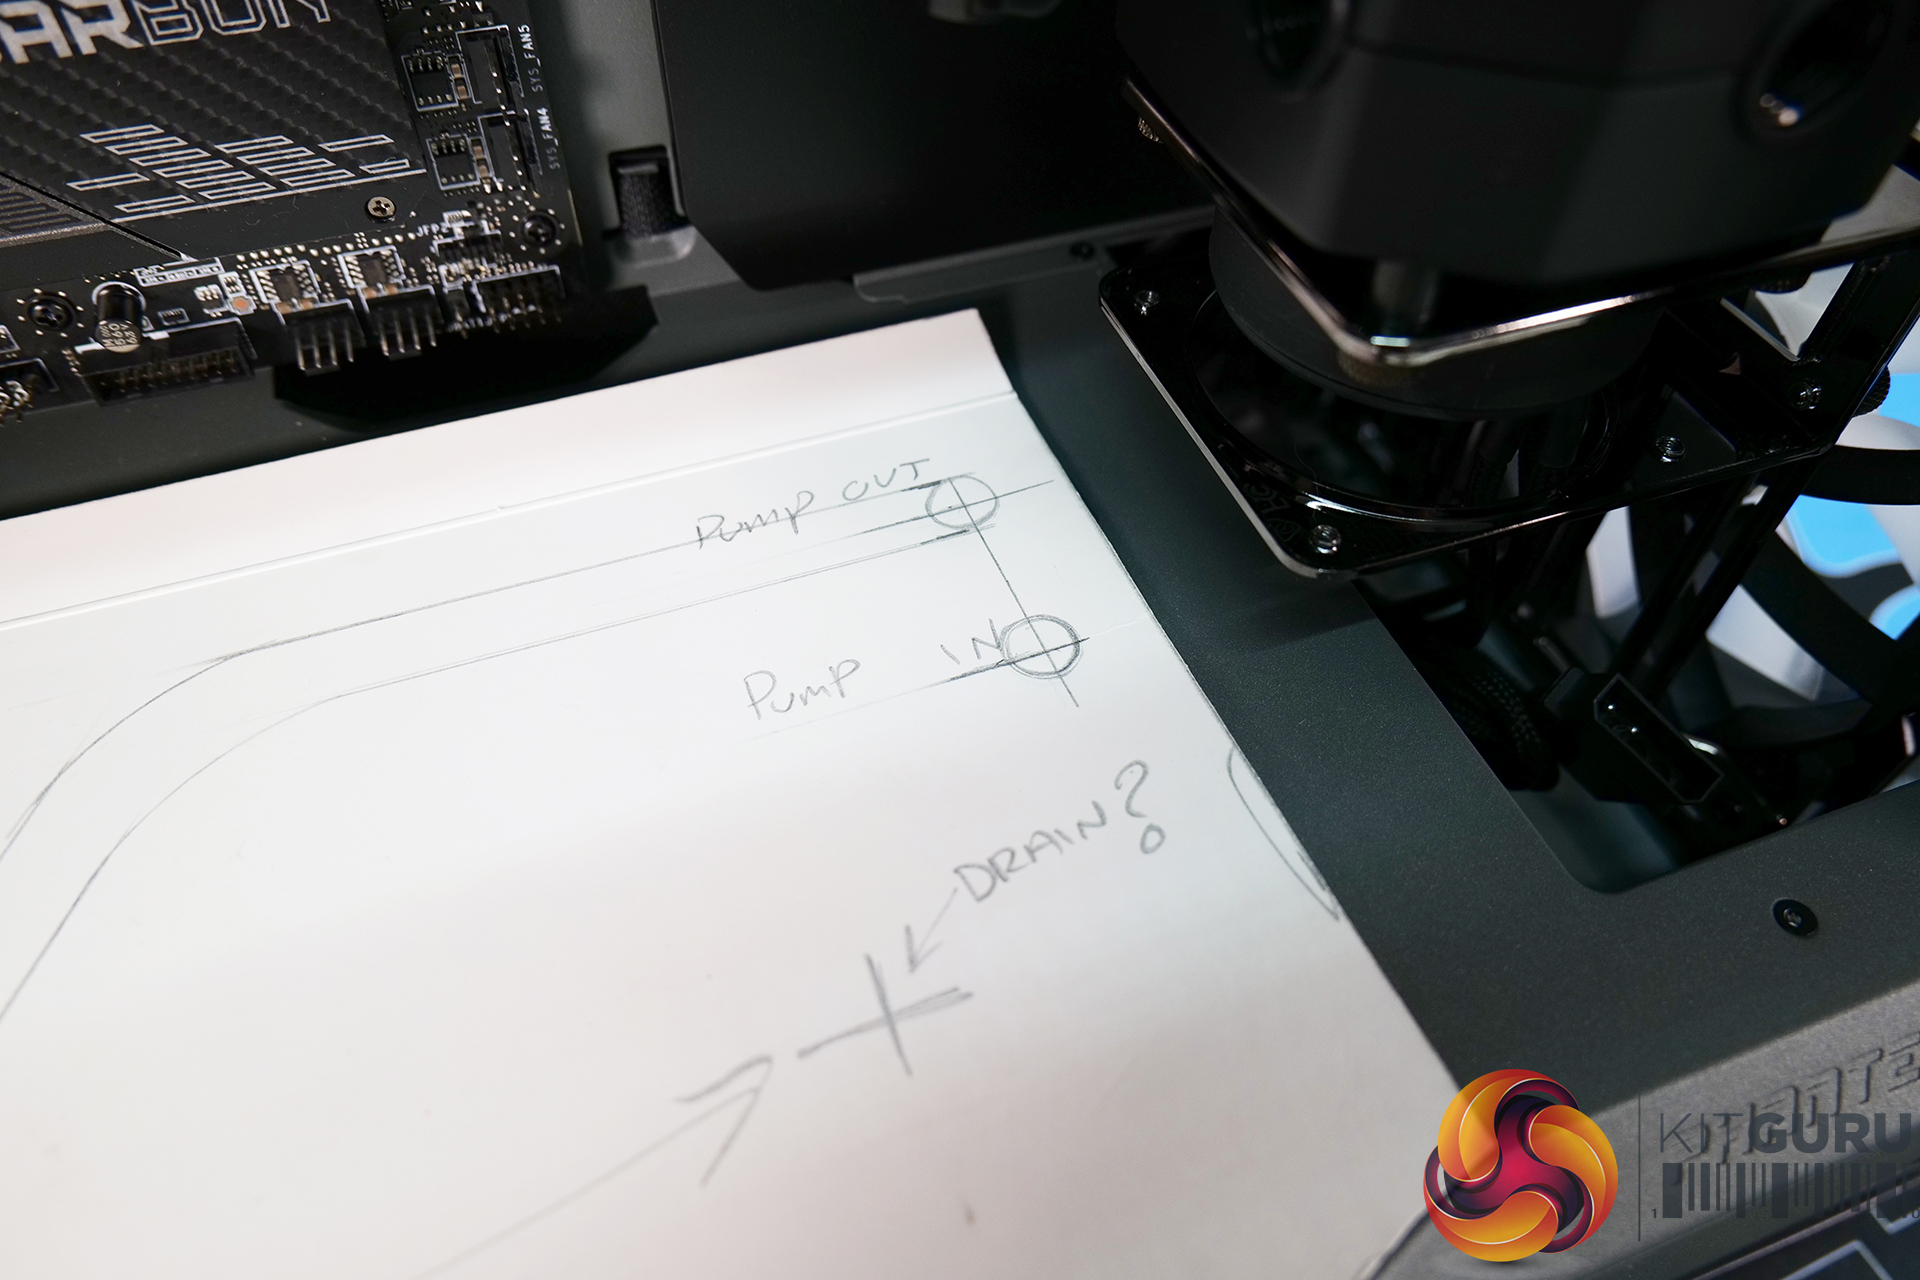
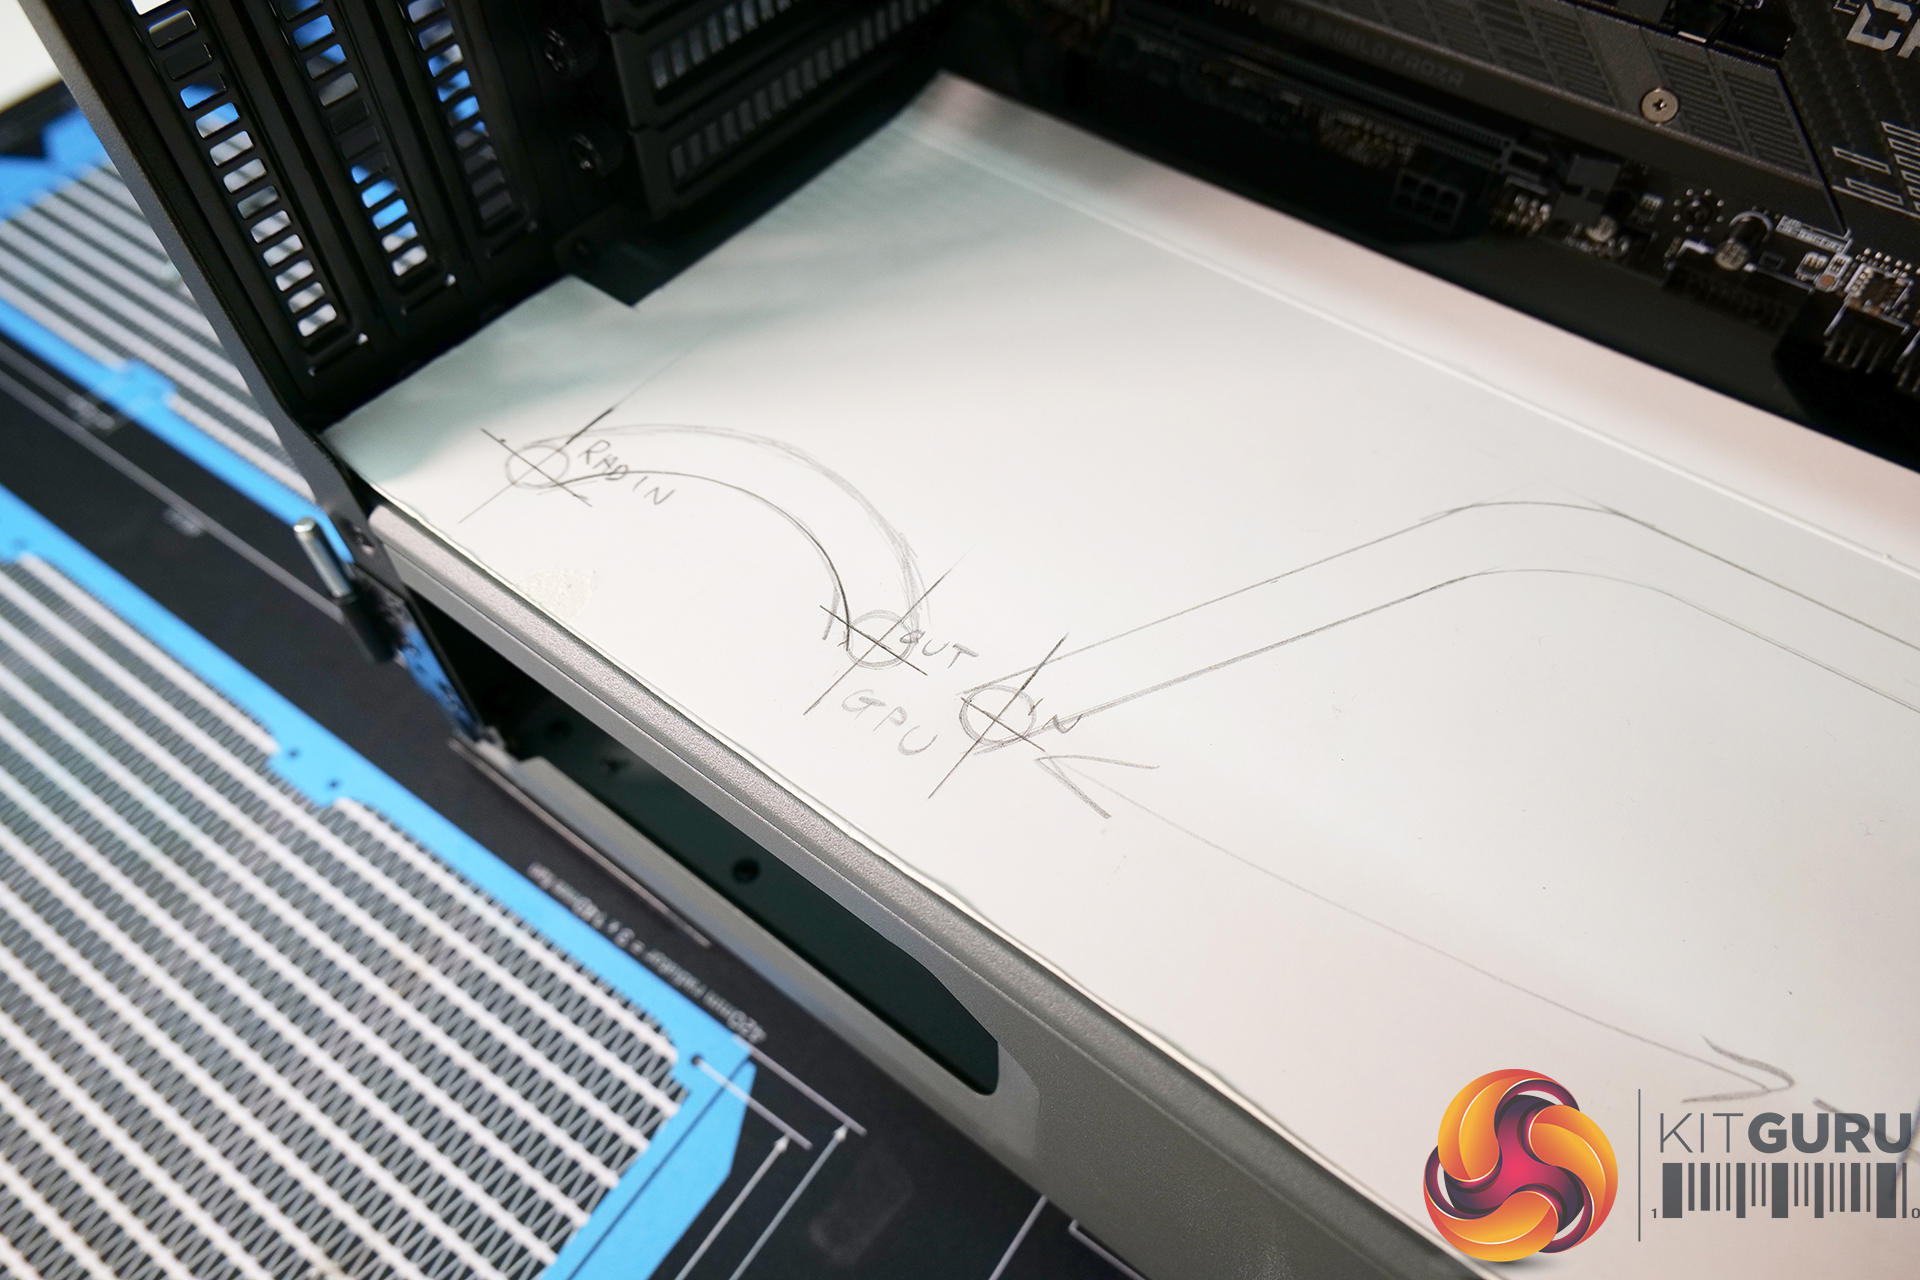
The biggest challenge with the WD special build is the custom distribution block I plan to make that will sit on top of the PSU shroud. The distro plate should allow me to build the system with all the custom water cooling tubing looking very neat, and all running pretty much parallel with each other. In this video, I designed a template to map out exactly where the tubing inlets and outlets will need to be placed which can be transferred over to the final design.

With no easy access to CNC machining for this project, the plan is to make the distribution plate entirely by hand, using basic power tools and hand tools that I have available in my workshop. The initial idea is to make the distro plate from three pieces of cast acrylic sheet, bonded and screwed together with the central piece to create the water channels.
Sticking with the blackout theme, a matte black piece of acrylic will be sandwiched between two frosted or satin clear acrylic sheets to give the plate a stealth look while still allowing the flowing coloured coolant to be seen. Distro plate water channels will possibly be wider than shown in the original template, meaning that the distro plate will also act as an additional reservoir and also have an integrated drain port too if everything goes to plan.
Discuss on our Facebook page HERE.
KitGuru says: Are you guys looking forward to seeing this build take shape? We will be back soon with part 2 where we will run through the process of making the custom distro plate in detail, make sure you stay tuned to see that one.