
It is clear the Gigabyte monoblock sets the Z390 Aorus Xtreme WaterForce apart from most motherboards on the market, and it is fairly obvious that anyone who uses this motherboard will be obliged to plumb it into a custom loop cooling system. We always recommend you devote as much attention to the cooling of your graphics card as you do to your CPU and if you are investing in a serious cooling system then a graphics block is the logical next step.
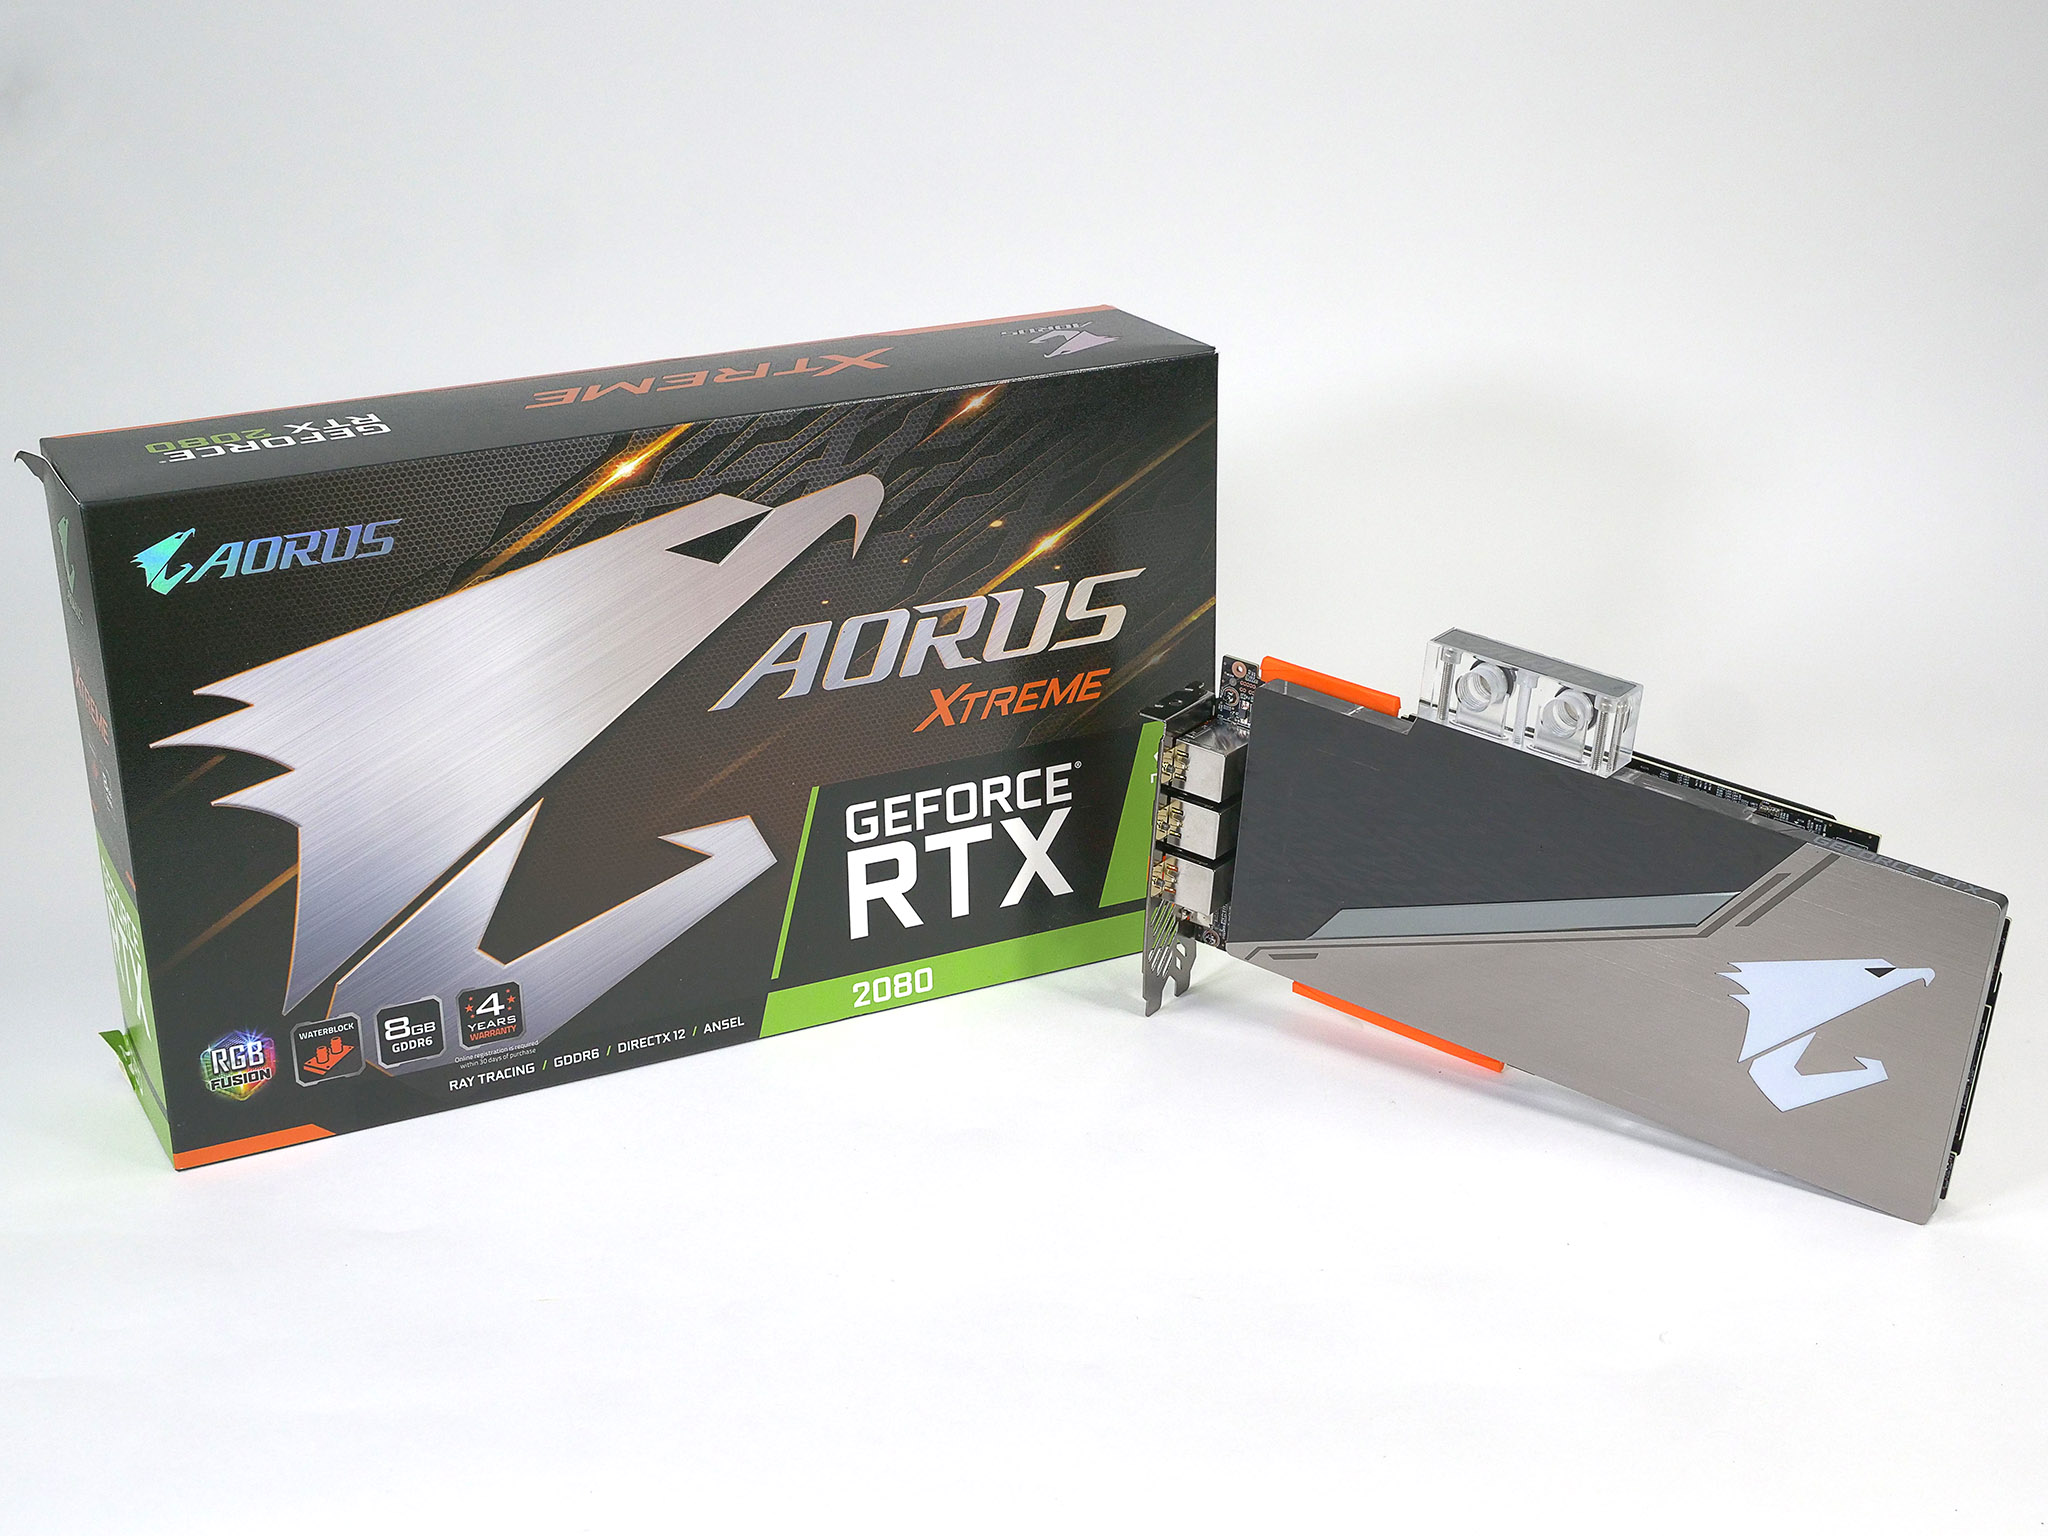
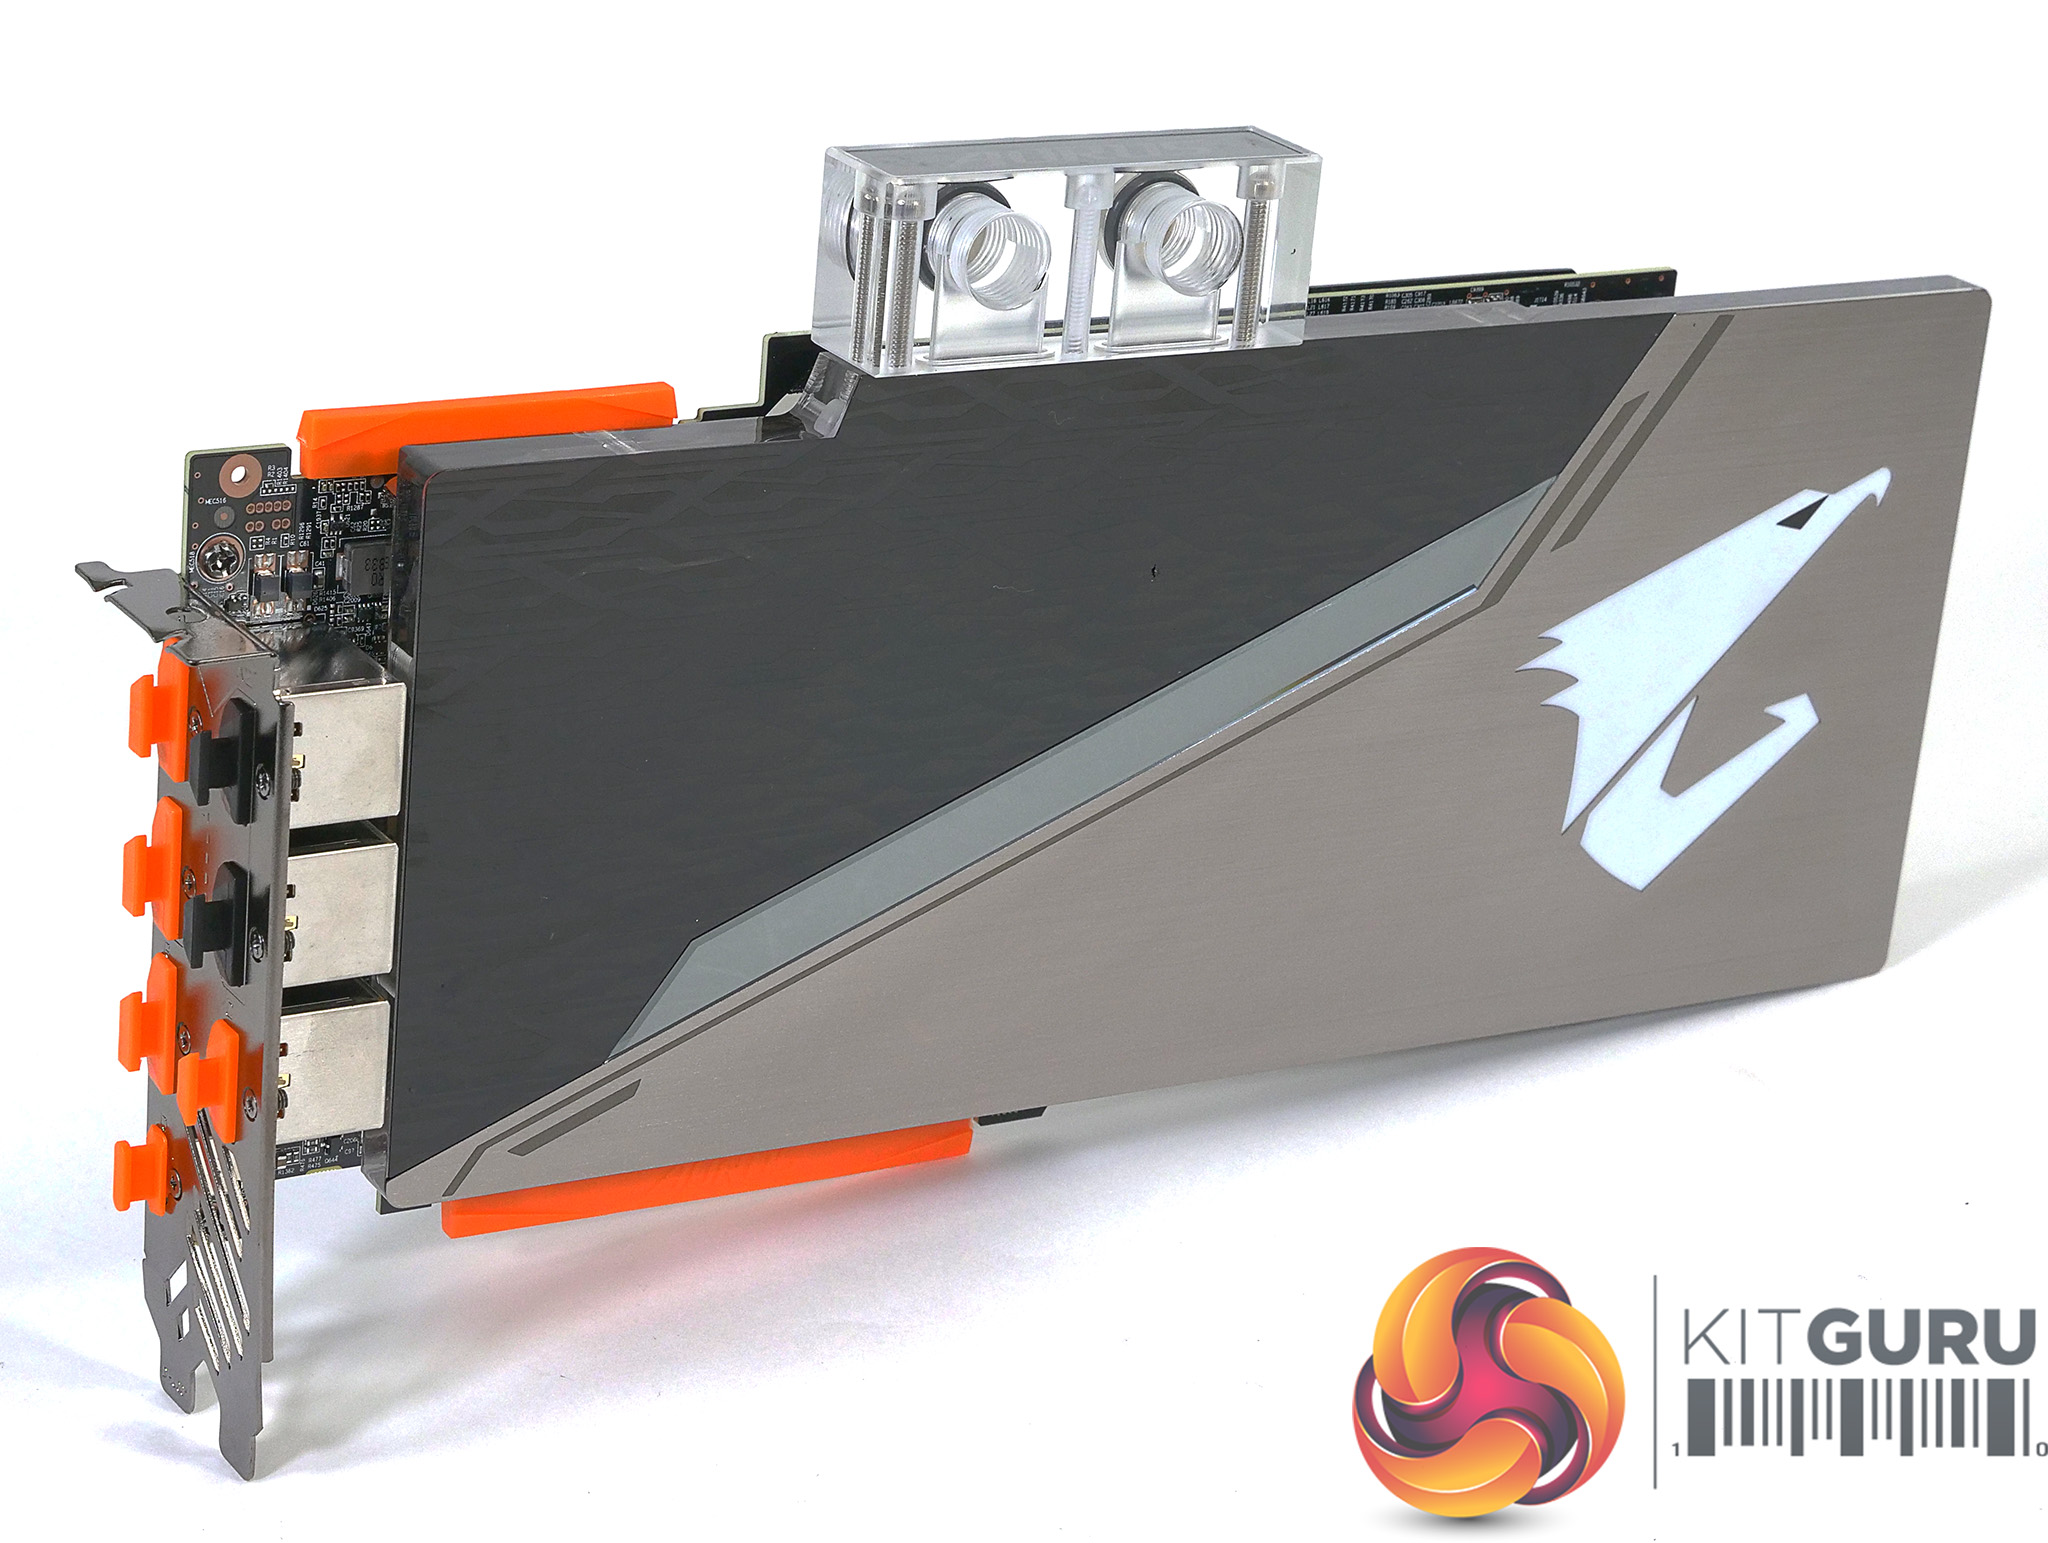
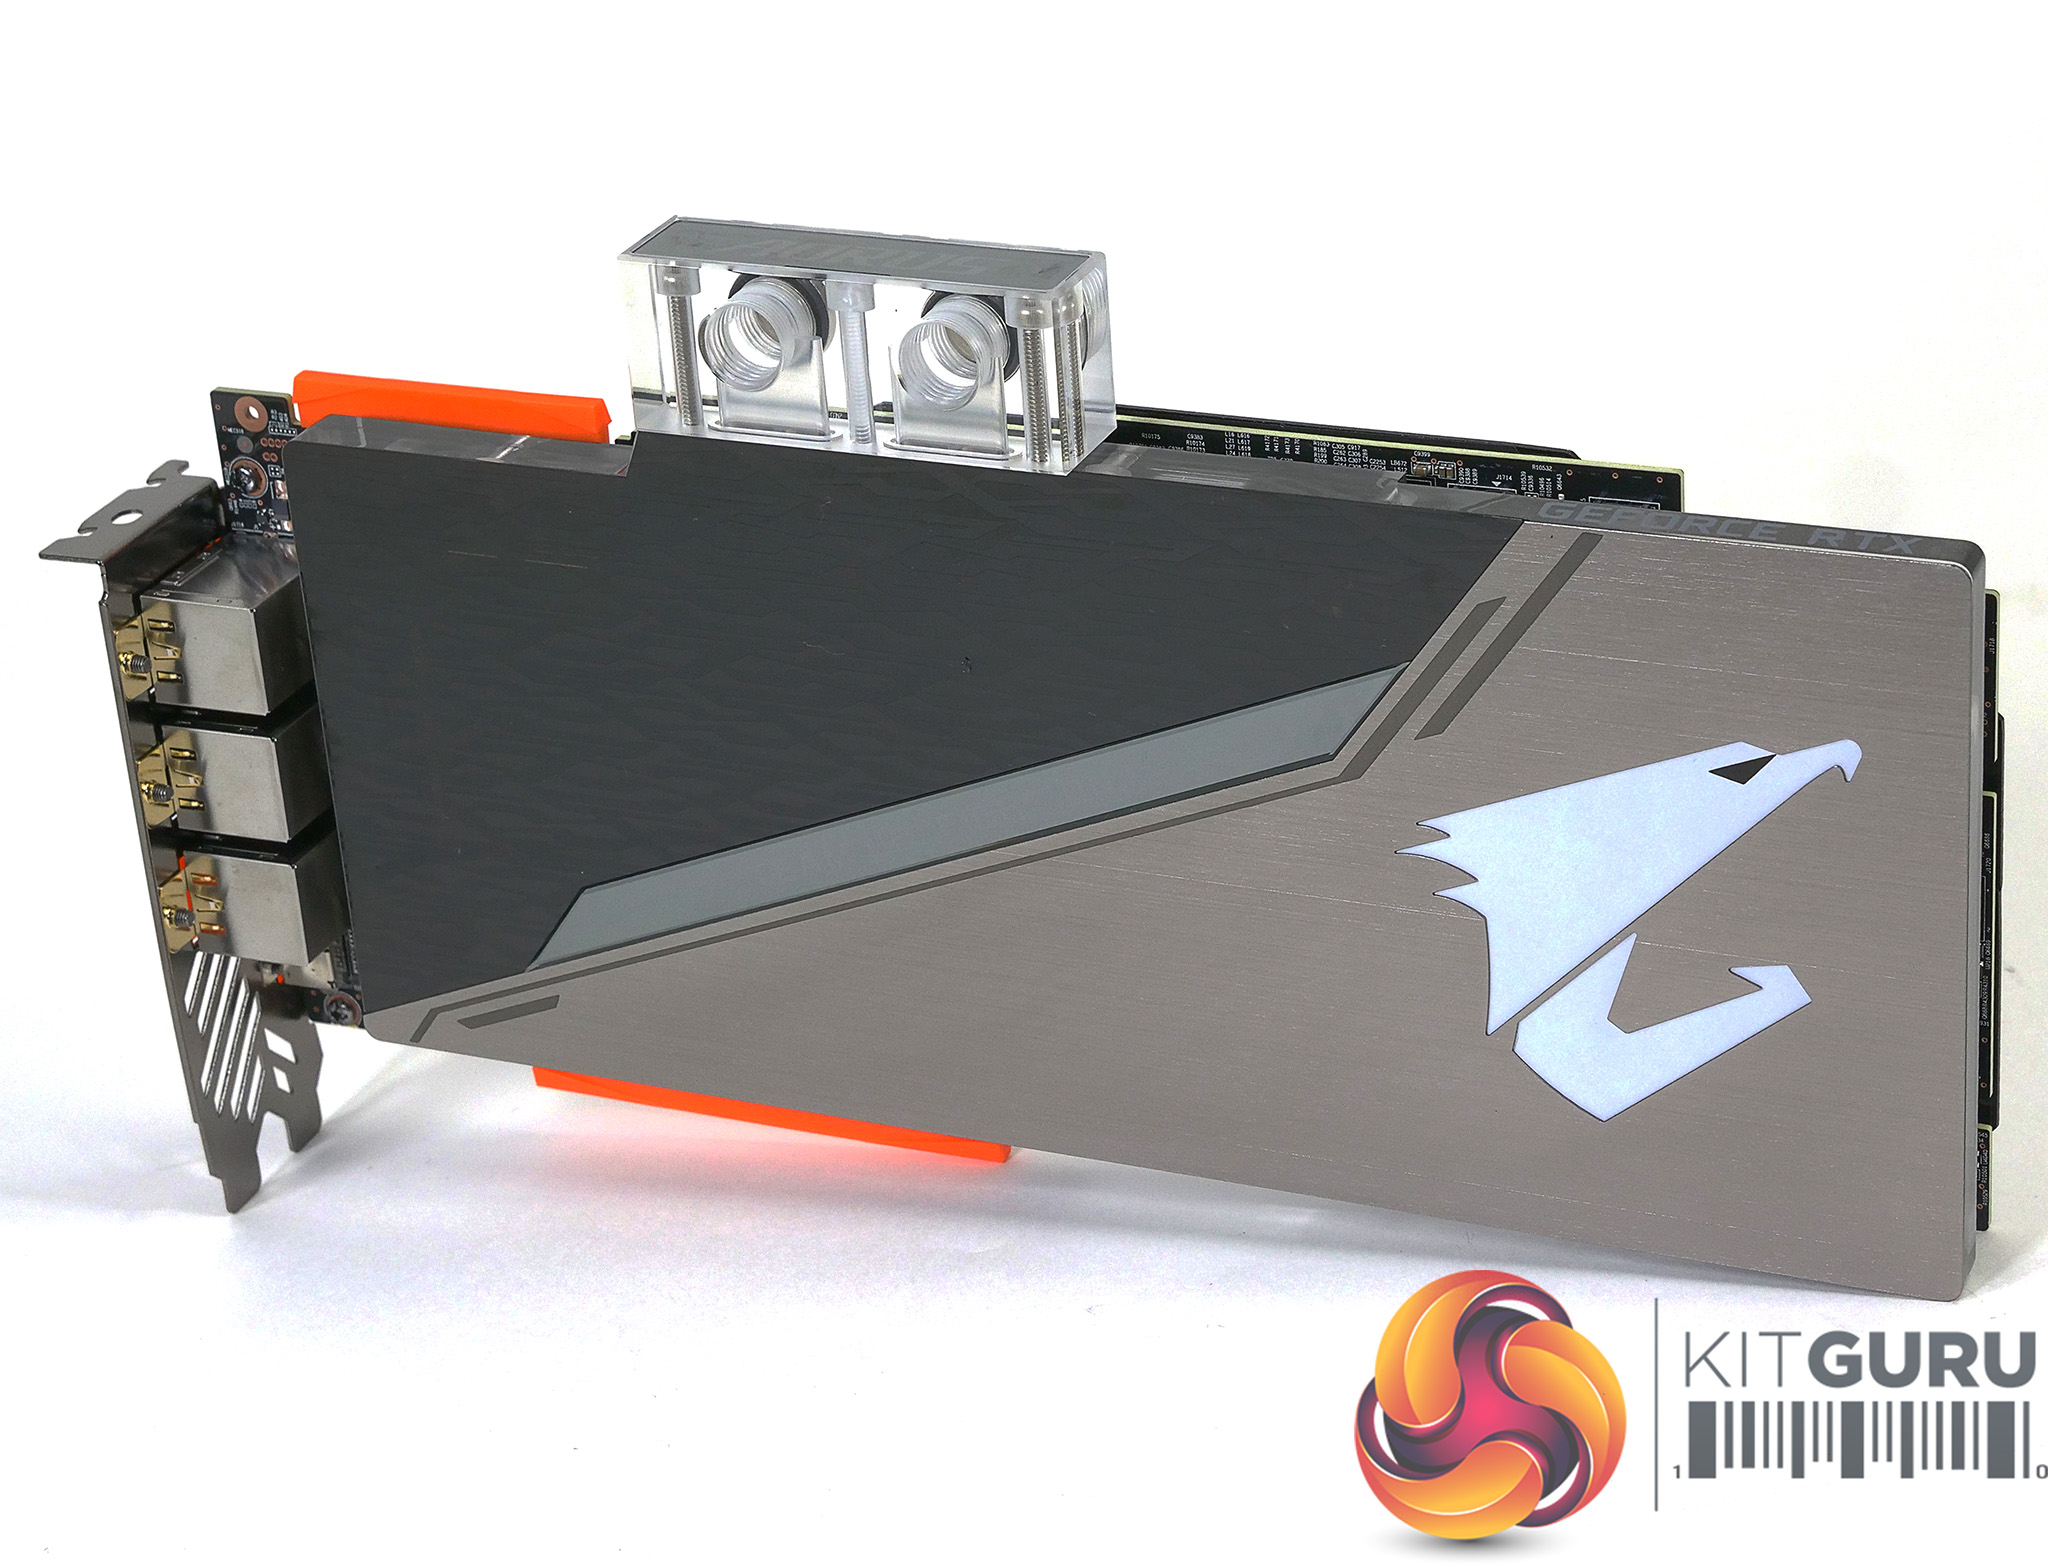
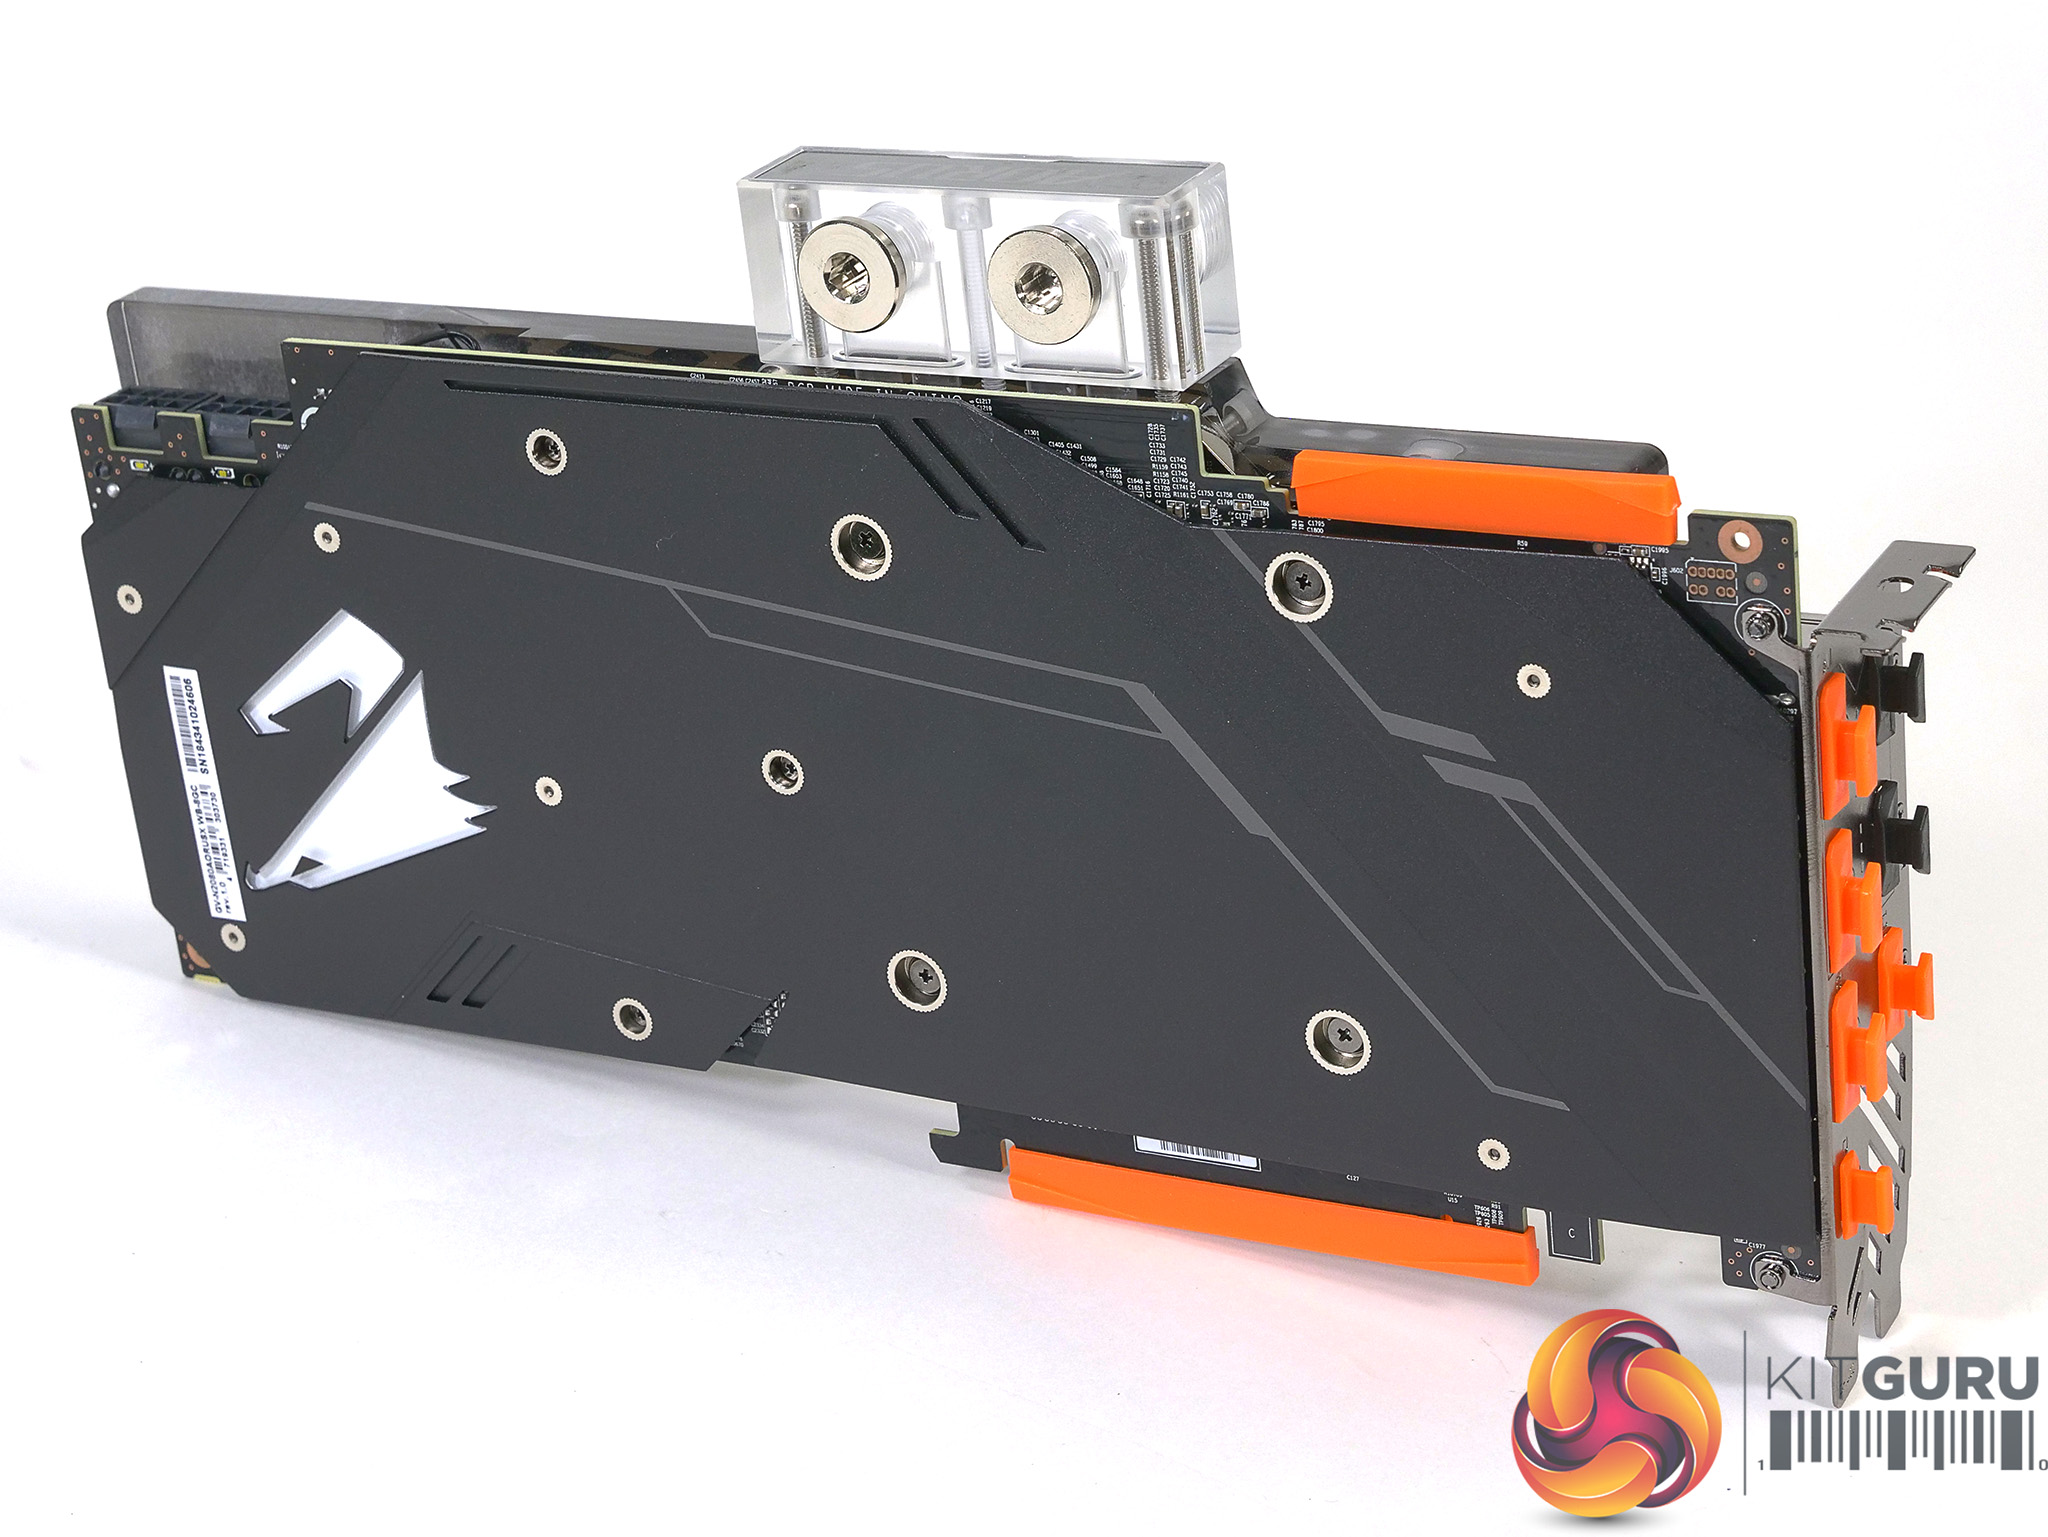
Happily we had no need to take a brand new graphics card, remove the stock air cooler and replace it with a water block as Gigabyte had supplied us with their Aorus GeForce RTX 2080 8GB Xtreme WaterForce. This graphics card comes from the factory sporting a water block that has been manufactured by Gigabyte and as a result it is a perfect match for the motherboard.
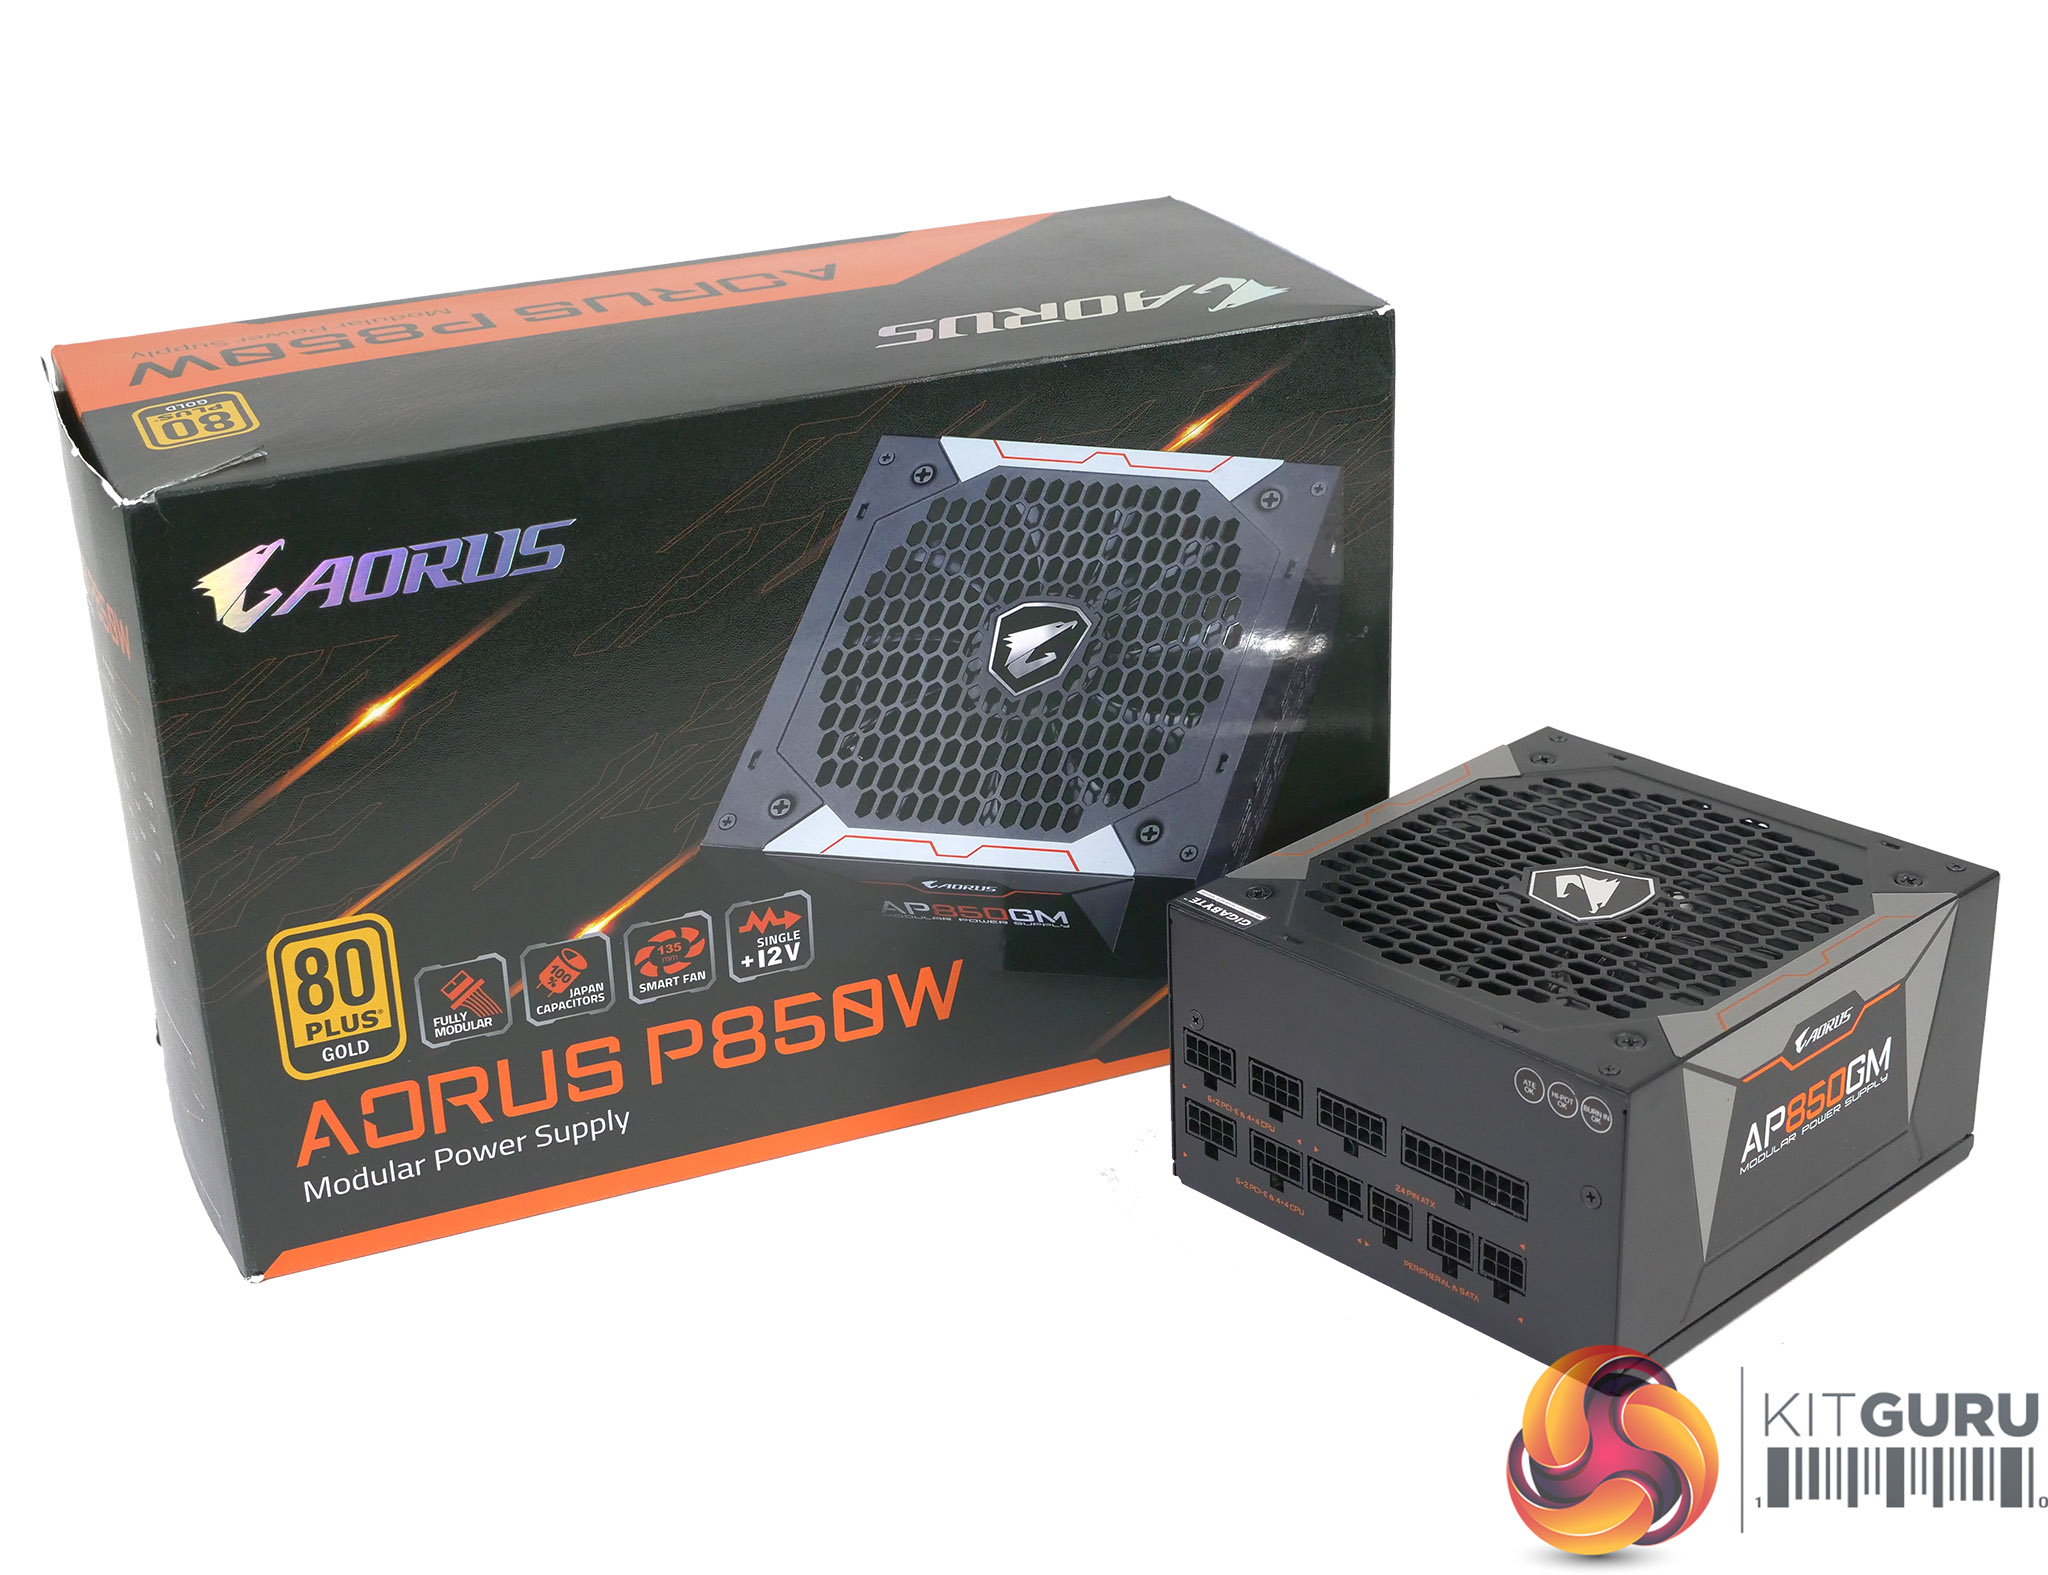
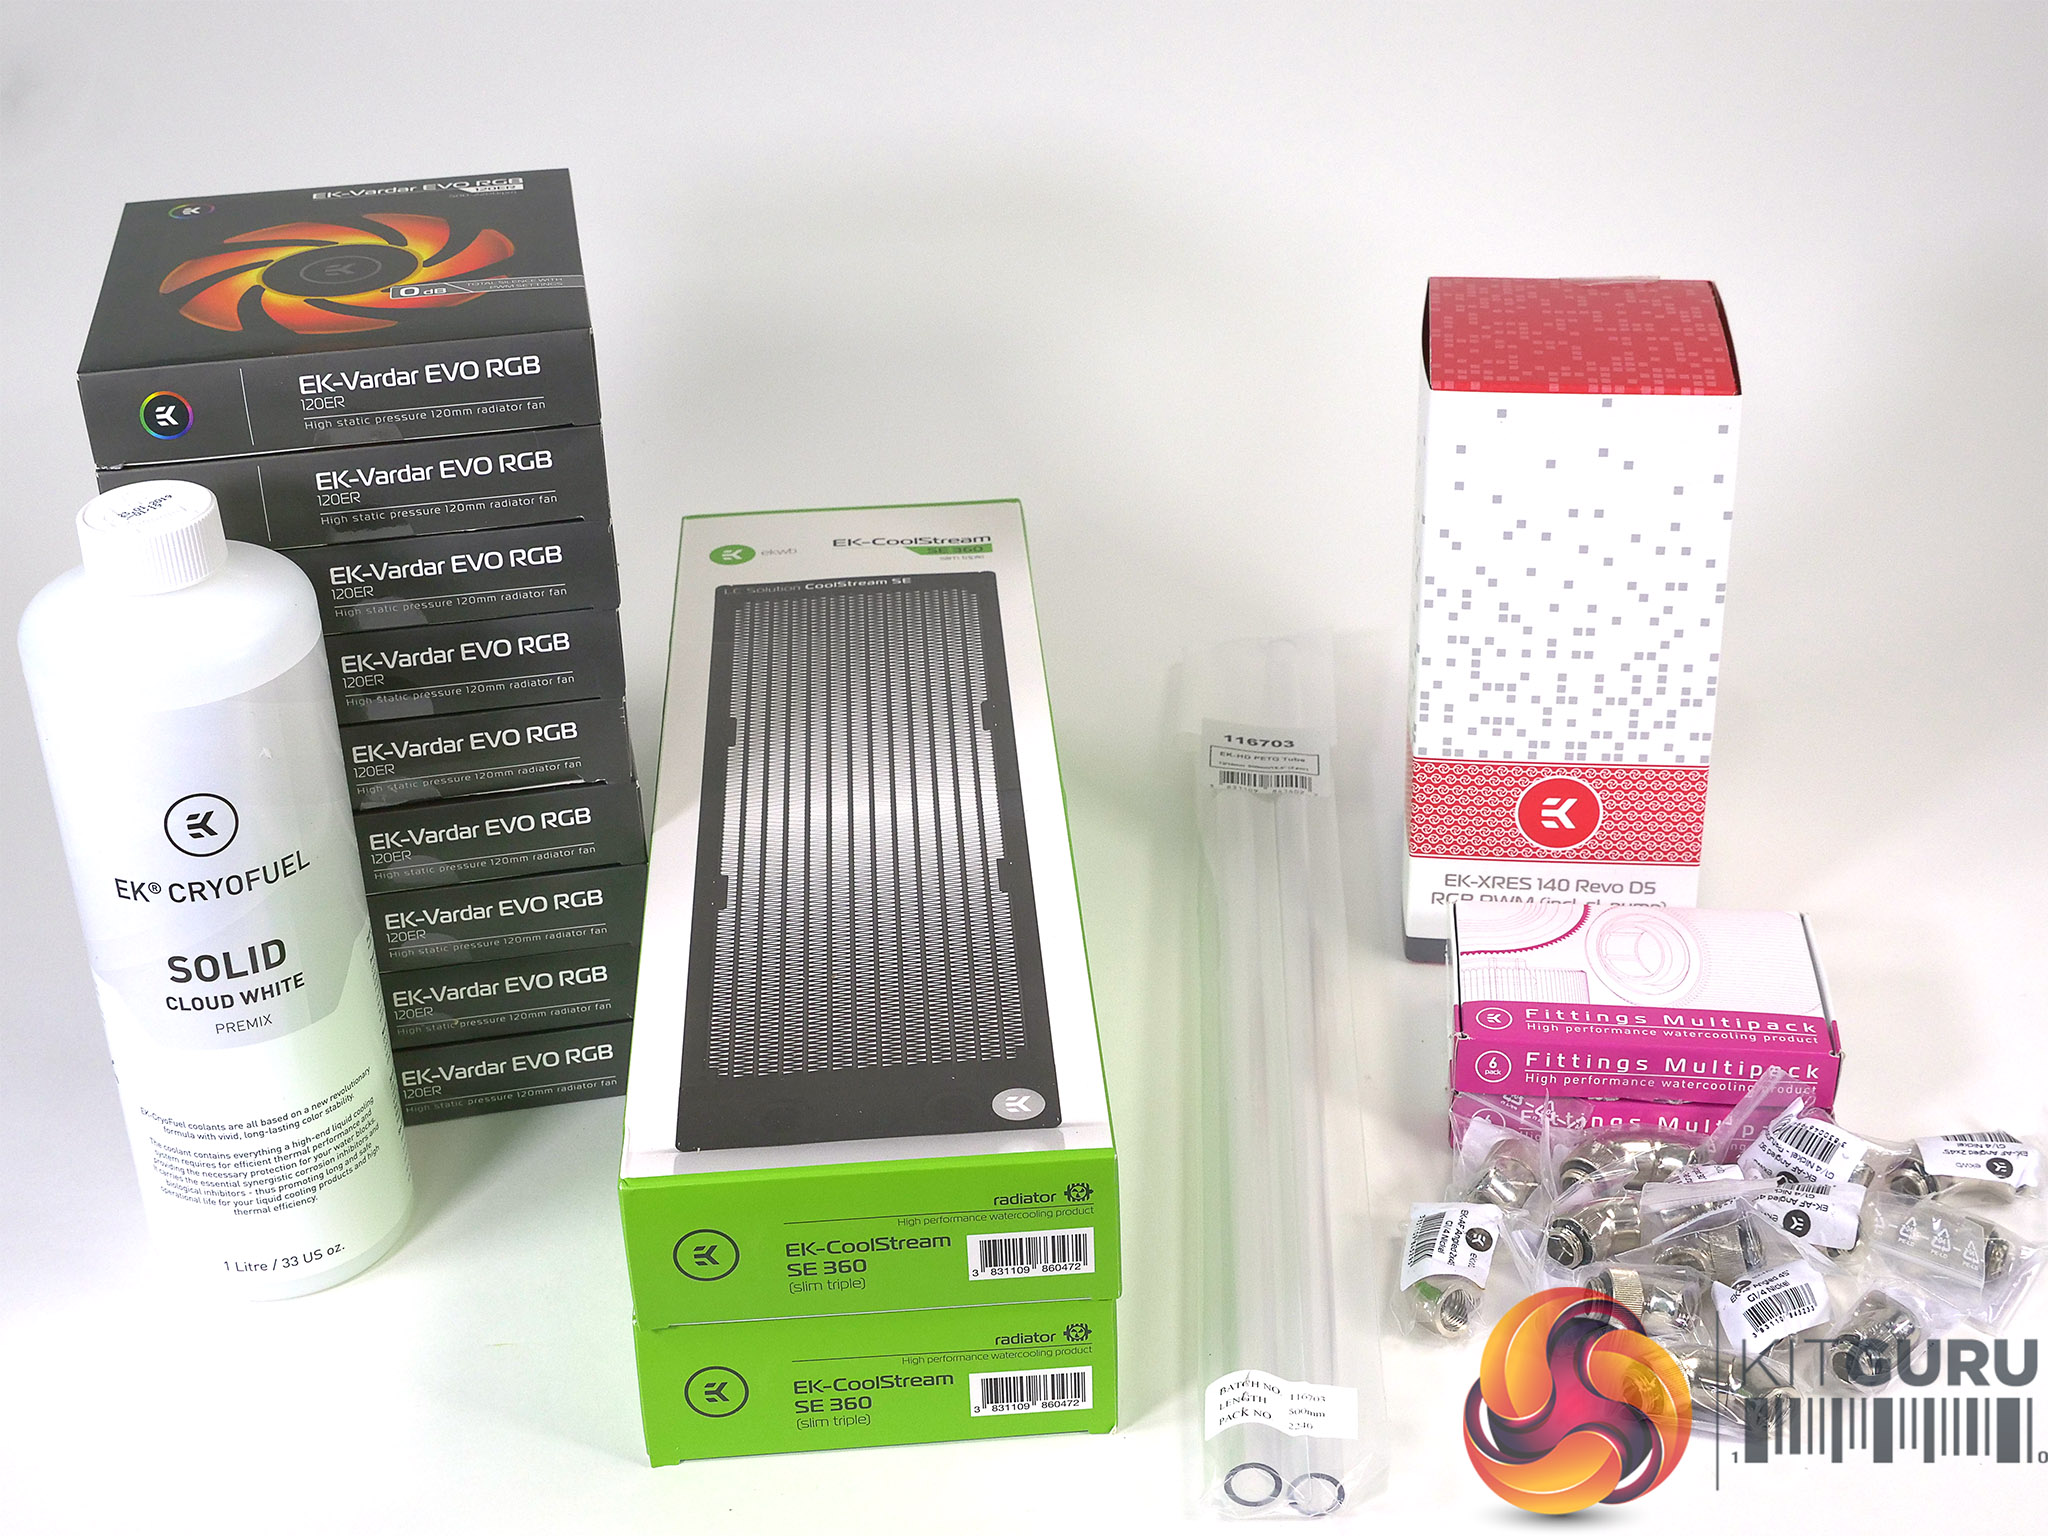
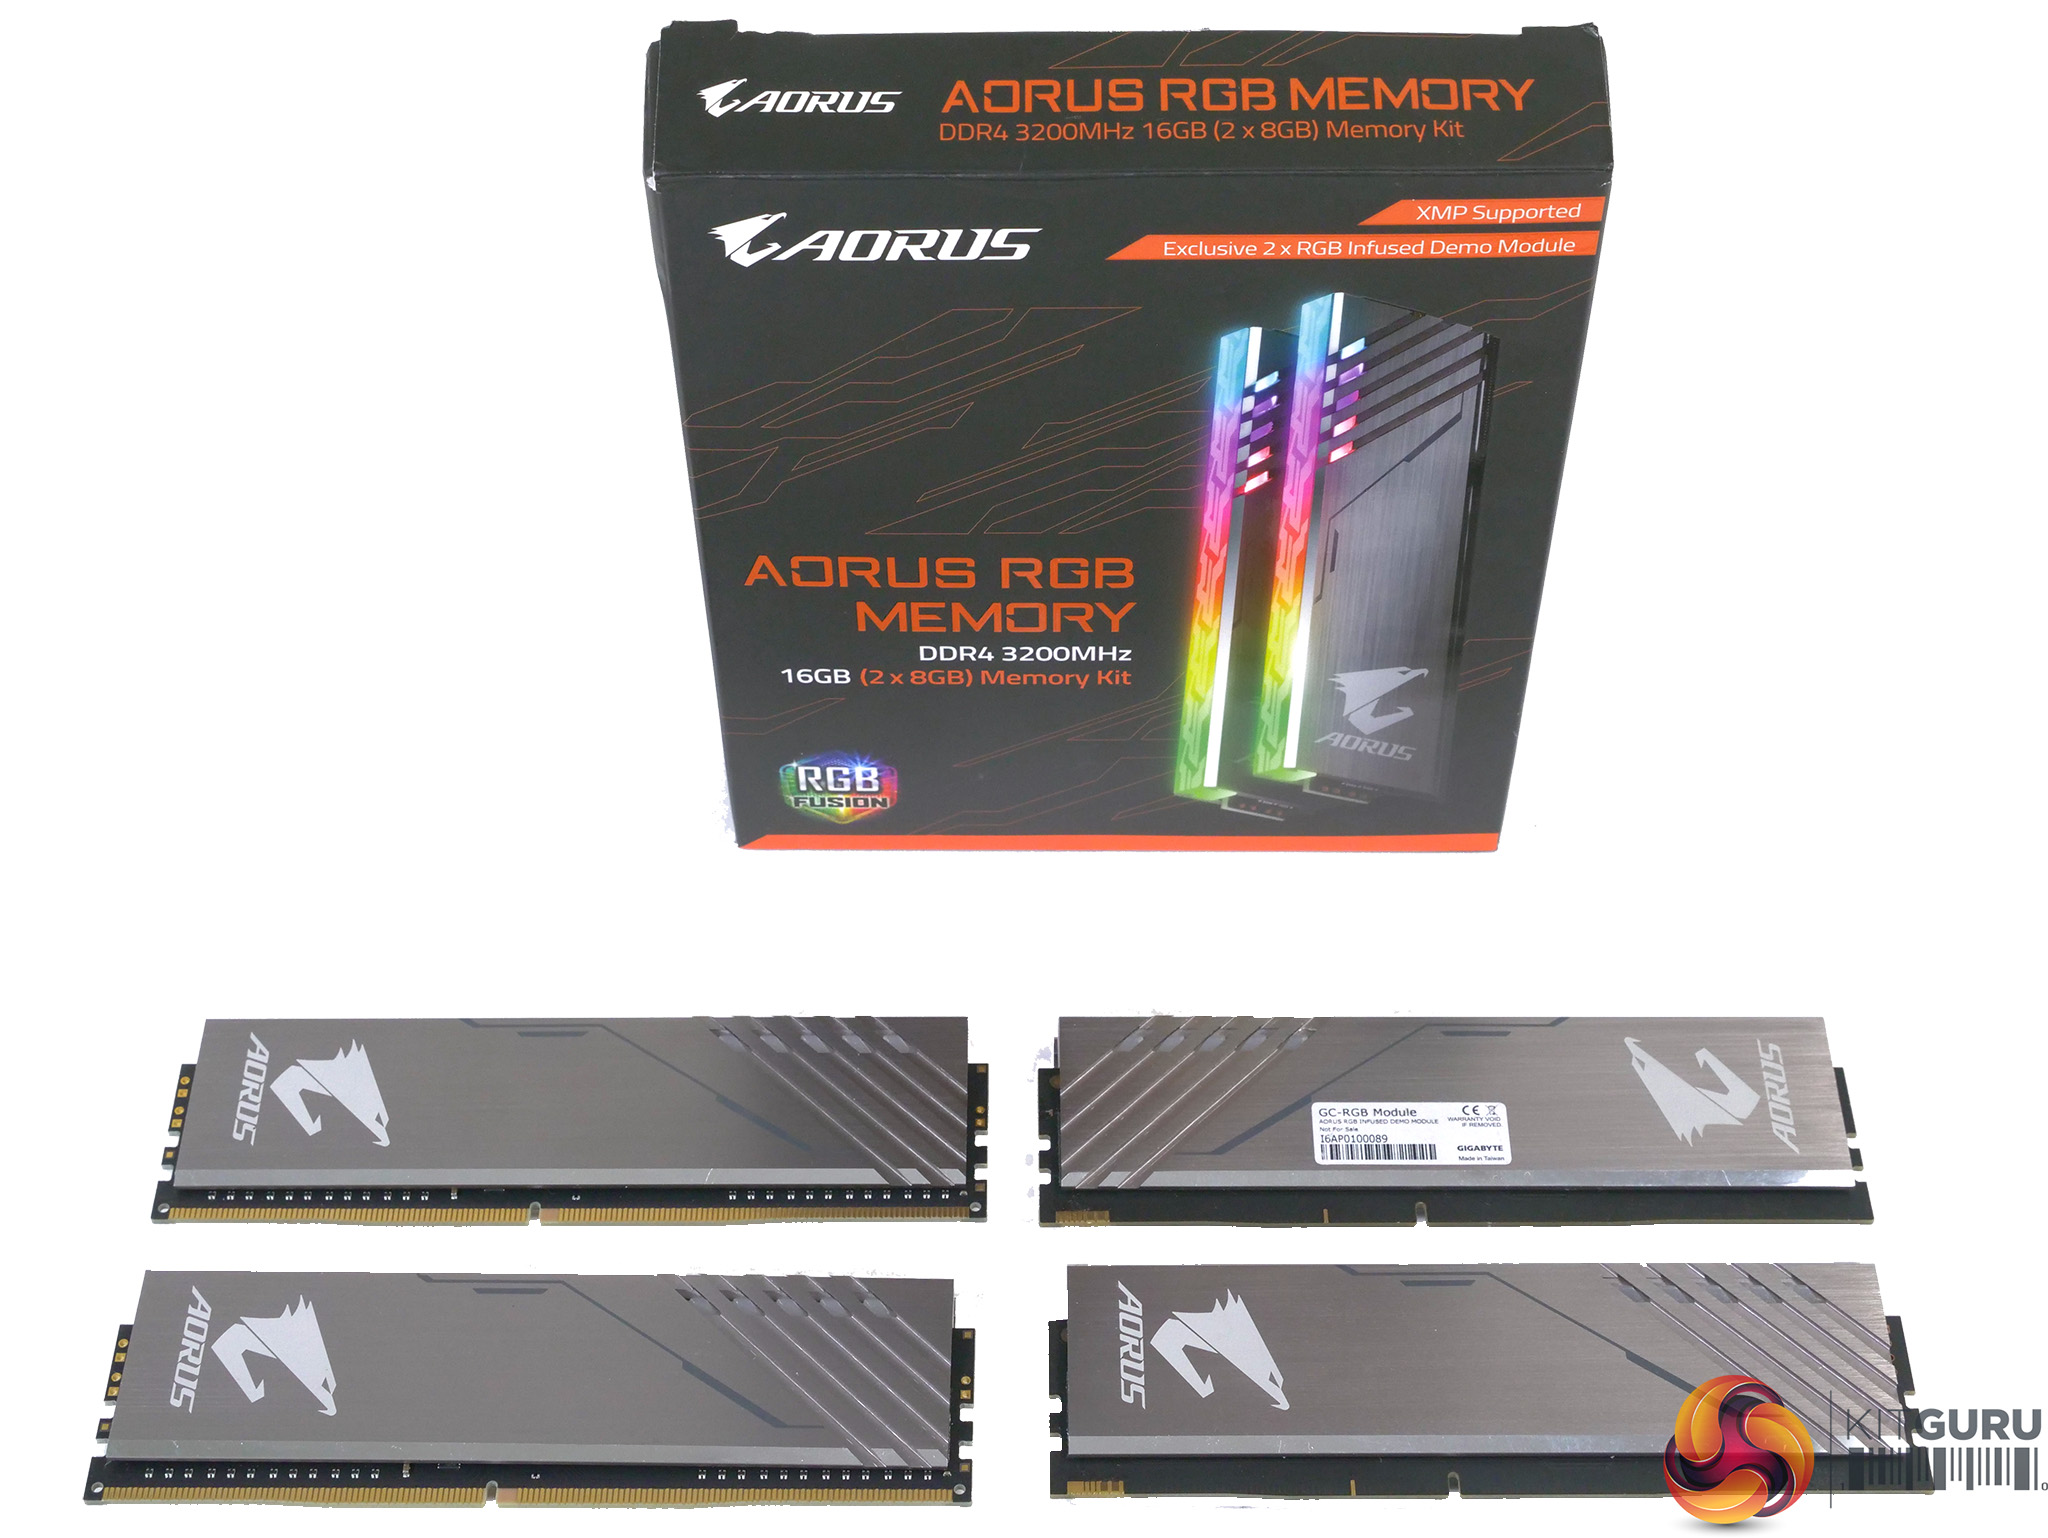
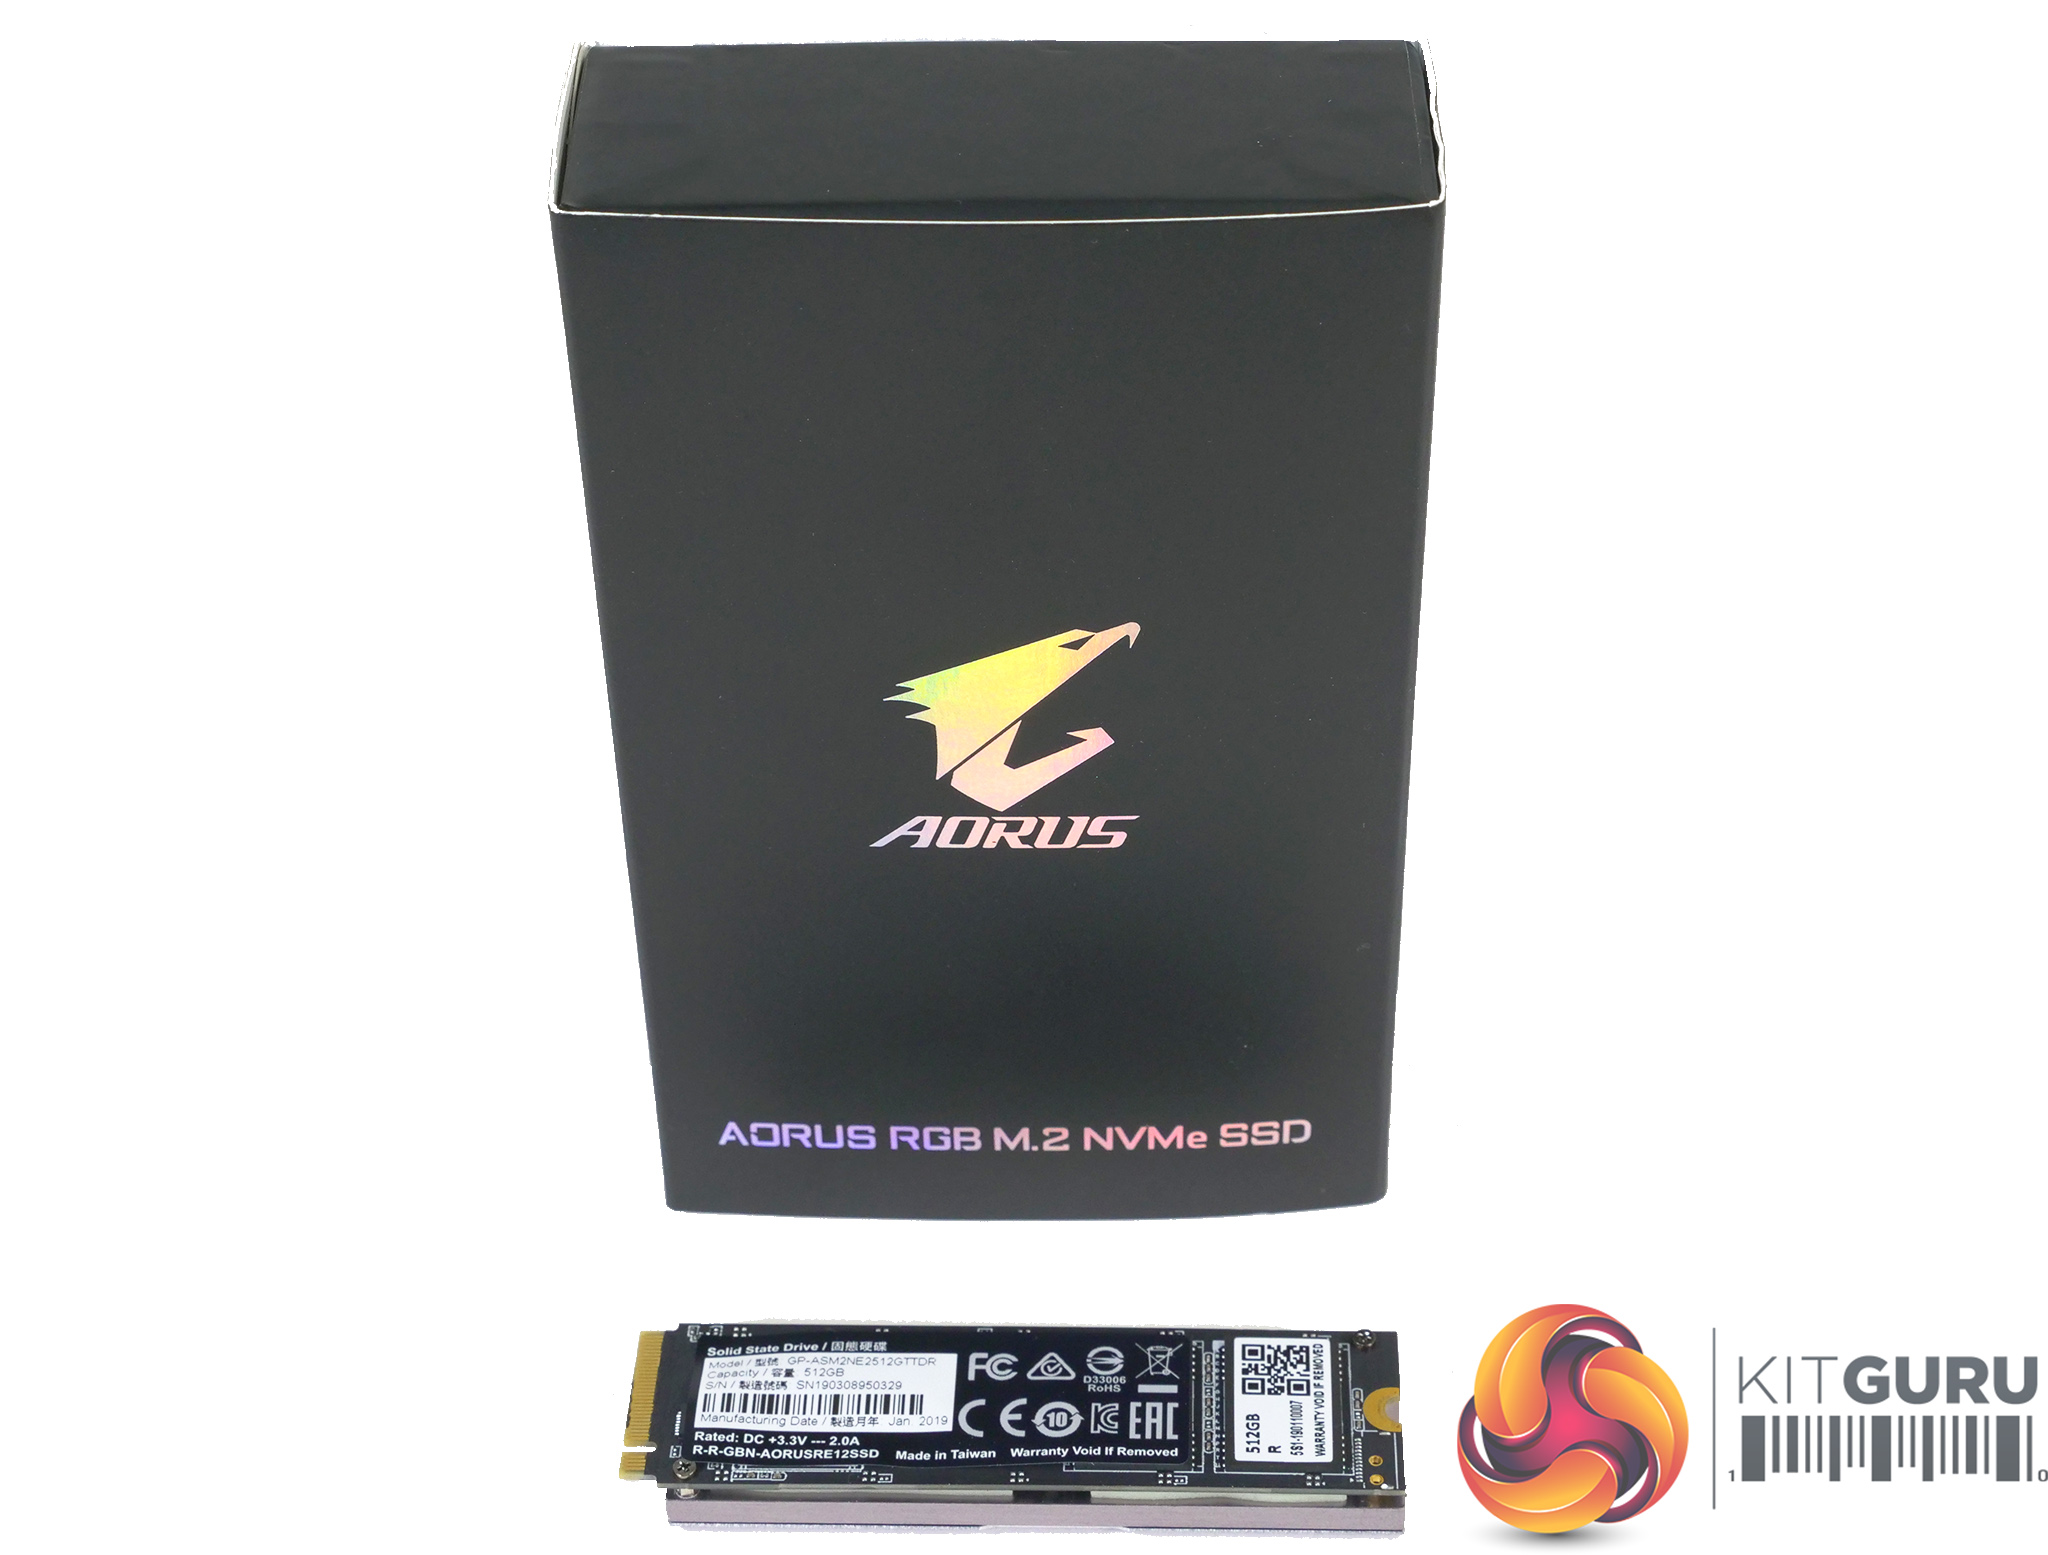
Gigabyte also sent us 16GB of their Aorus RGB DDR4-3200MHz RAM, a 512GB Aorus RGB M.2 NVMe SSD and their 850W Aorus power supply. Added to that we had a collection of EKWB cooling hardware and ended up choosing a 360mm SE radiator and a D5 pump/reservoir.
Our chosen Lian Li O11 Dynamic case supports nine 120mm fans and if you choose VERY carefully you might squeeze in three 360mm radiators. We address this point in our video and consider you will be lucky to squeeze in that amount of cooling hardware. To that end we are very keen to see the Lian Li O11 XL at Computex that gives you more working room inside the chassis.
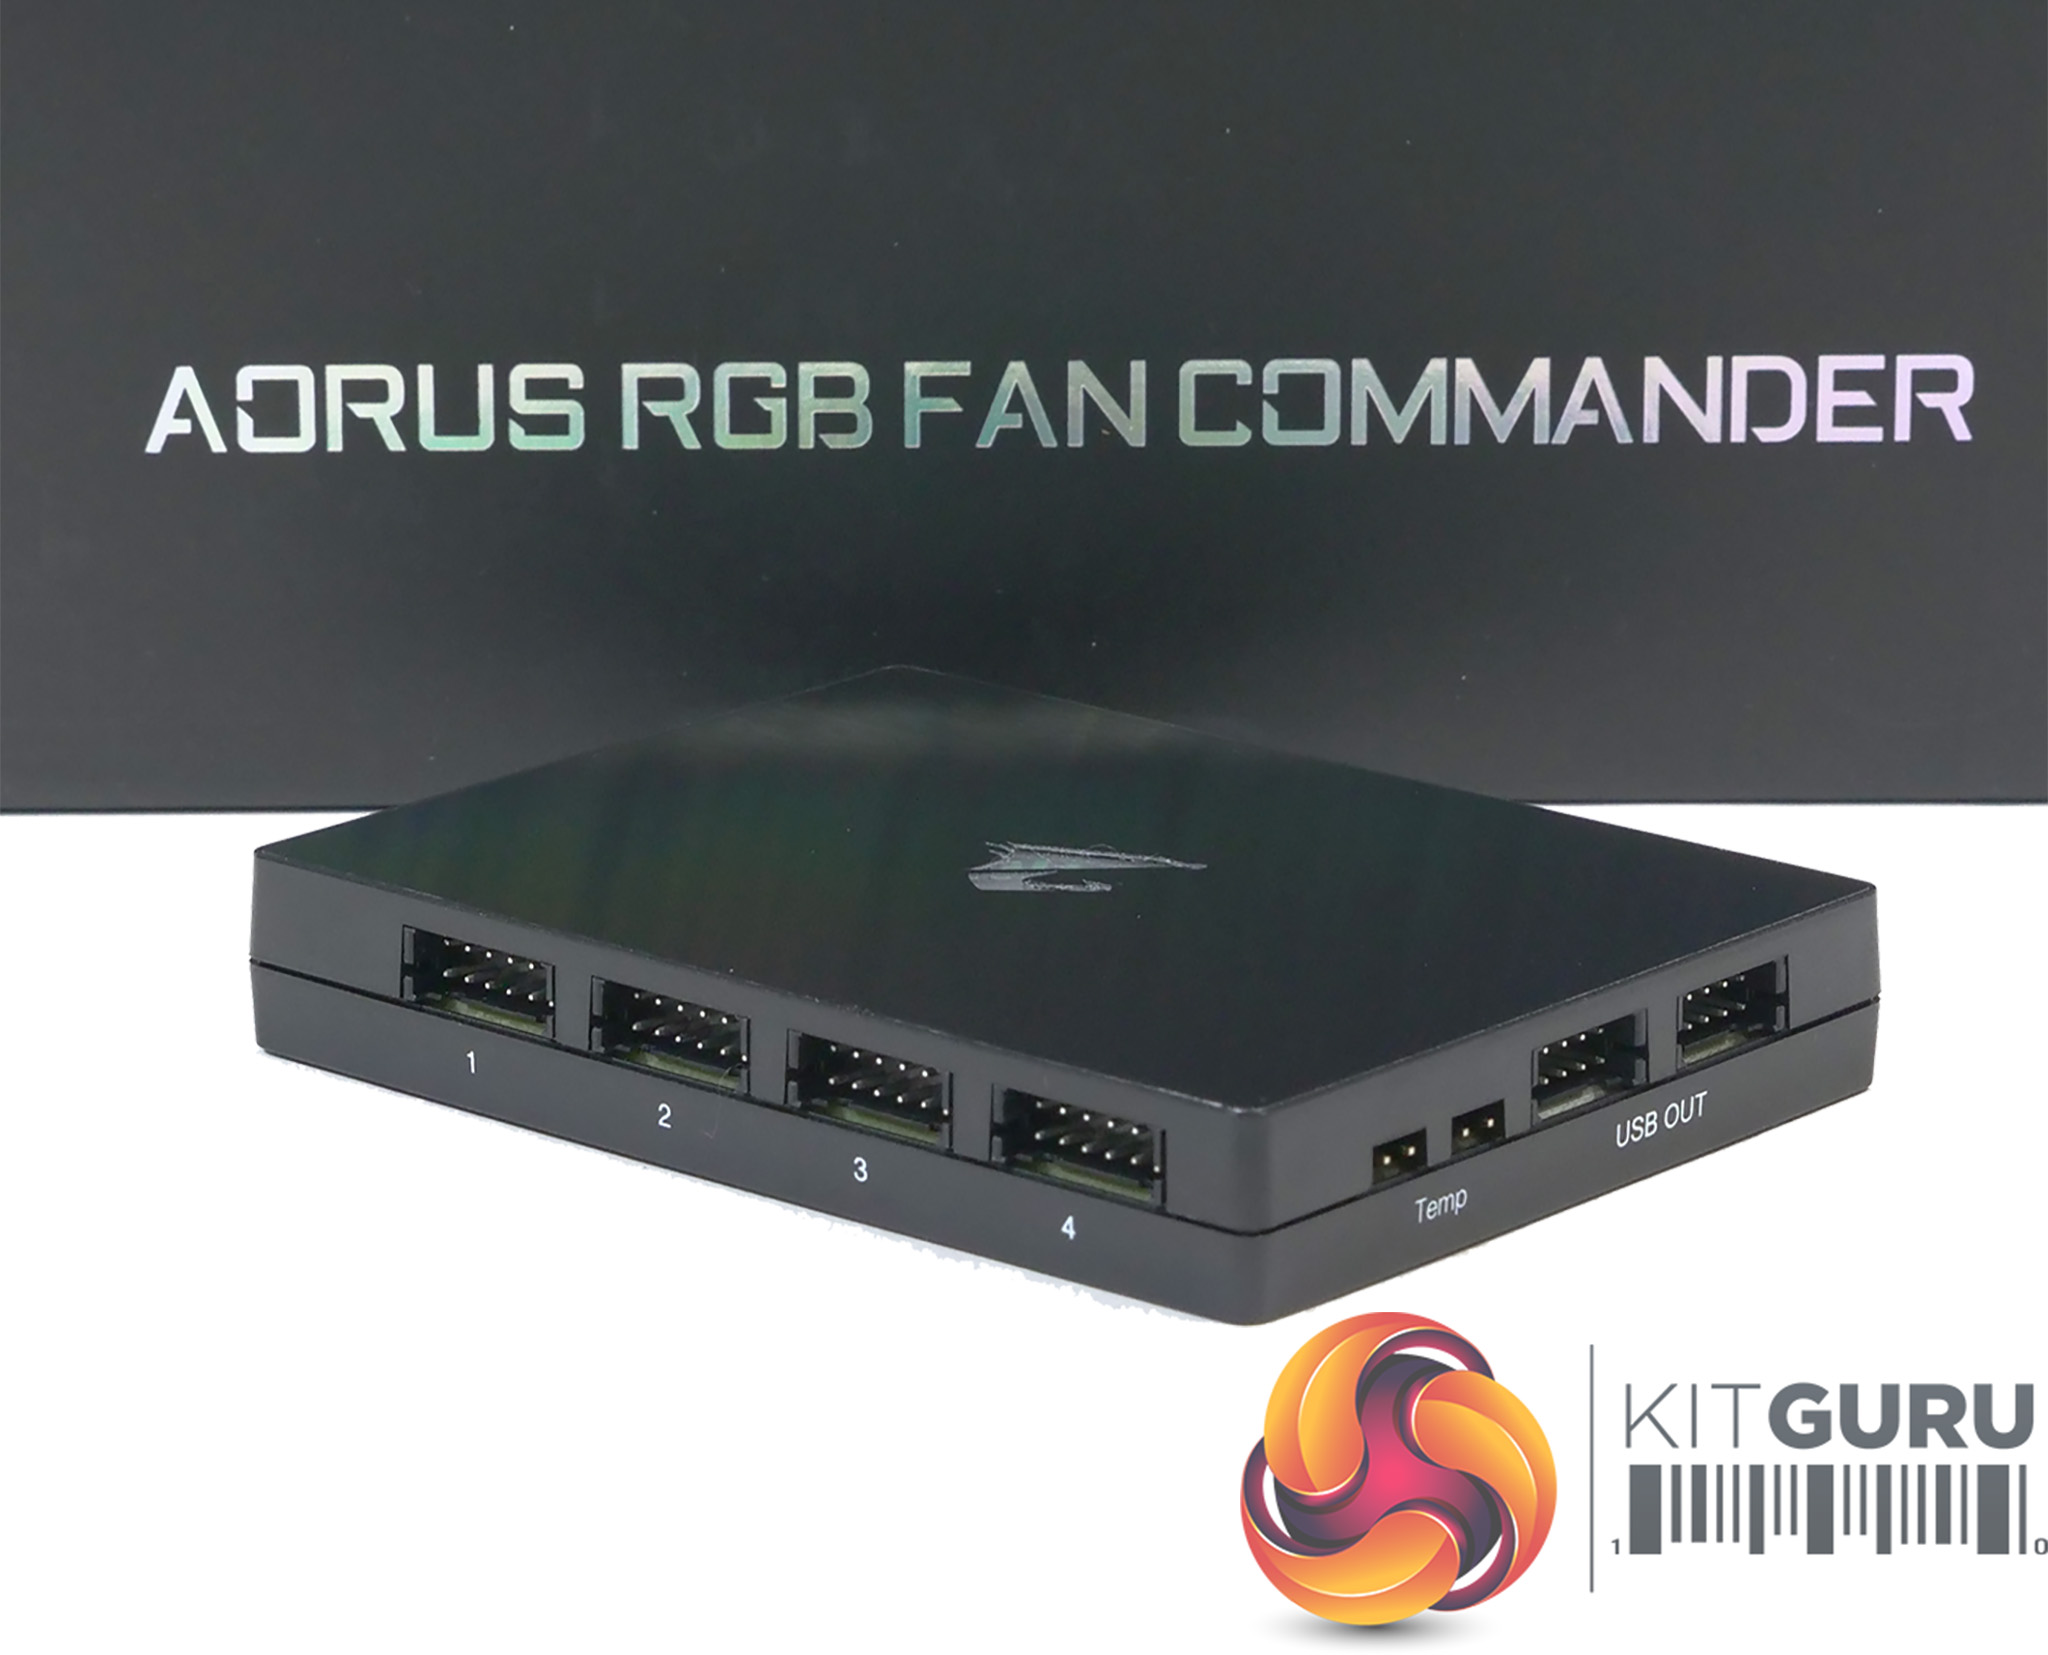
Nonetheless, we ended up with a 360mm radiator and six Vardar 120RGB fans and that would usually be a nightmare of connectivity but in this instance it was a doddle. Gigabyte includes its Aorus RGB Fan Commander with the Z390 Aorus Xtreme WaterForce and this allows you to connect eight PWM/RGB products with a series of double headed cables. We ended up with the D5 PWM pump connected to a high power header on the board and connected the Fan Commander to the CPU header which meant we ended up with really simple fan control and zero problems.