Since the first button on the right is merely for turning the screen off and on, we'll move to the next one along. Pushing any of the buttons calls up a quick menu to show you what the function of each button is.
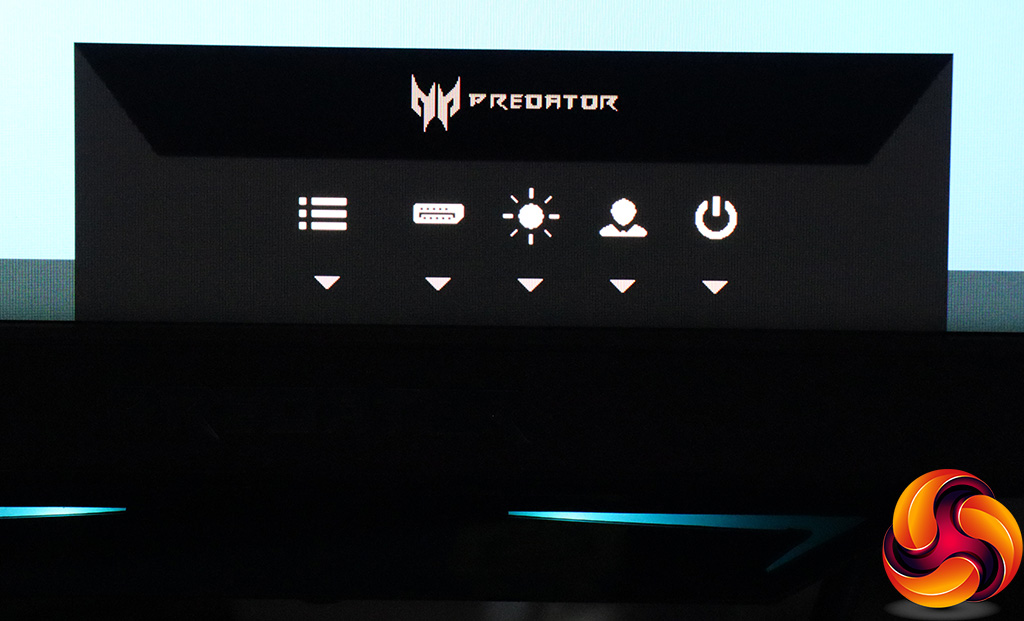
You then have to press the button again to enable the function you want to access, even if you pressed the right button in the first place. Although this adds an extra step, it's there because the first two buttons after the power button can be user-configured to perform other functions.

The first button moving left from the power button calls up the Modes presets, which include Standard, ECO, Graphics, and HDR, plus Action, Racing and Sports games modes and a user-configurable option.
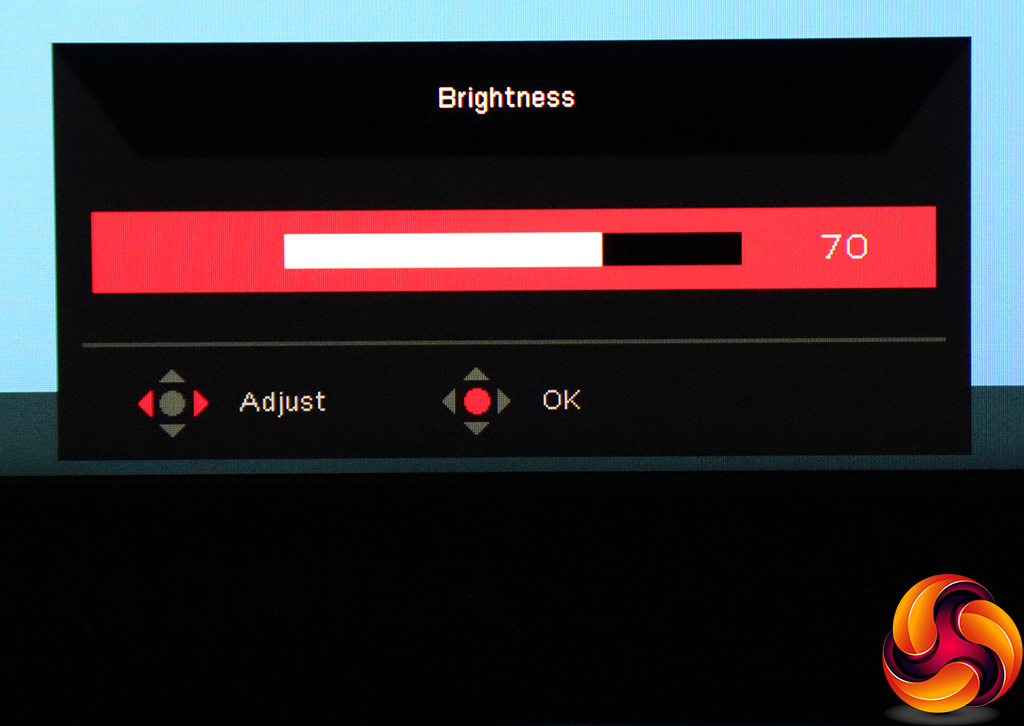
The next button along just controls brightness.
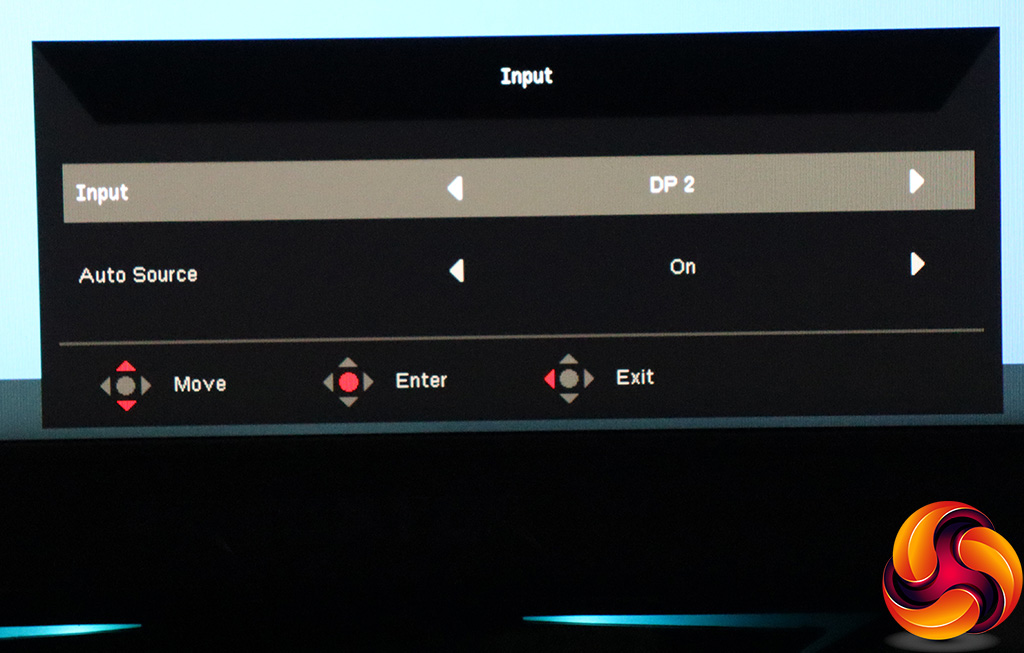
The final discrete button allows you to select input manually.
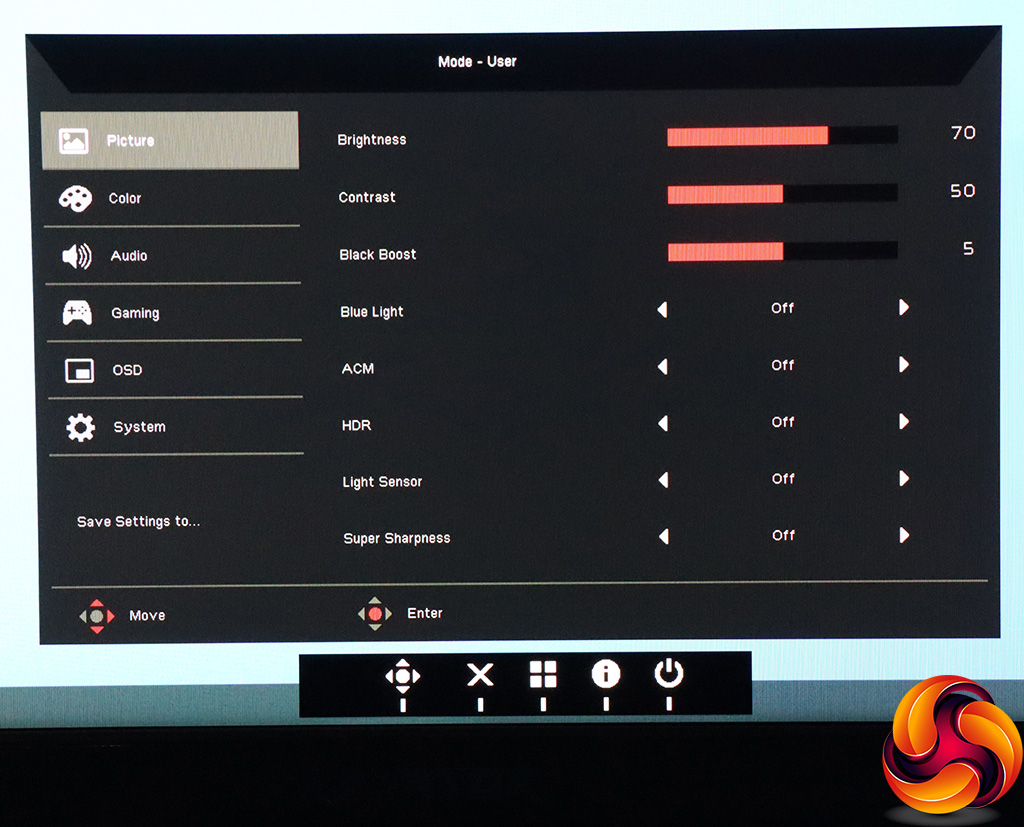
Pushing the joystick in calls up the main menu, with the Picture section being the default. Here you can control brightness, contrast and black boost. There's an eye-saving Blue Light mode, which has four options as well as the default Off position. You can turn on ACM dynamic contrast and HDR, which we mentioned earlier supports the DisplayHDR 1000 standard. The Light Sensor has three options, and lets the monitor control its brightness automatically depending on the illumination conditions it detects, although it's not available in all colour space modes. Finally, the Super Sharpness option simulates extra detail in lower-resolution images.

The Color section lets you choose one of the five Gamma modes – 1.8, 2.0, 2.2 (the default), 2.4 or 2.6. You can select Warm, Normal, Cool or Bluelight colour temperatures, or opt for User mode, where you can alter red, green and blue values directly, or add a bias. If you head to the second page, you can switch between the Modes described above, and select a Color Space. The options here include sRGB, Rec.709, EBU, DCI, SMPTE-C and the default of General. You can also enable Grayscale Mode, which removes all colour. There are also facilities to adjust Hue or Saturation across six axes (red, green, blue, yellow, magenta and cyan).
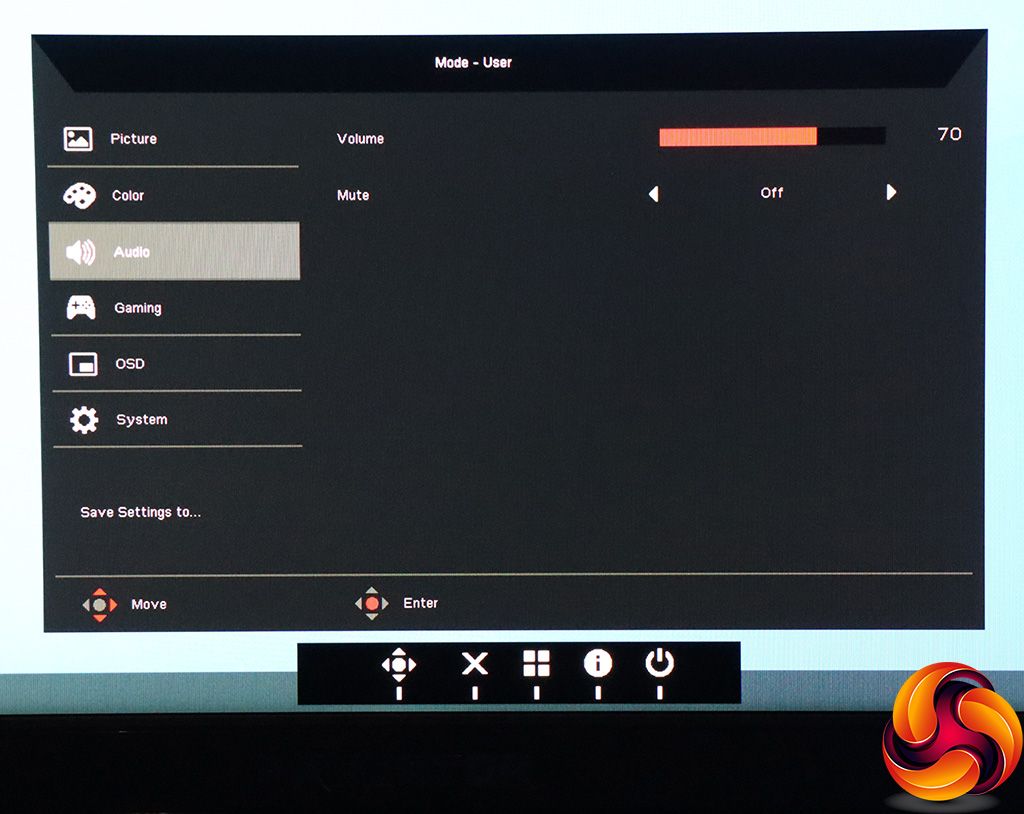
The Audio section is pretty minimal, with just options for volume and muting audio entirely.
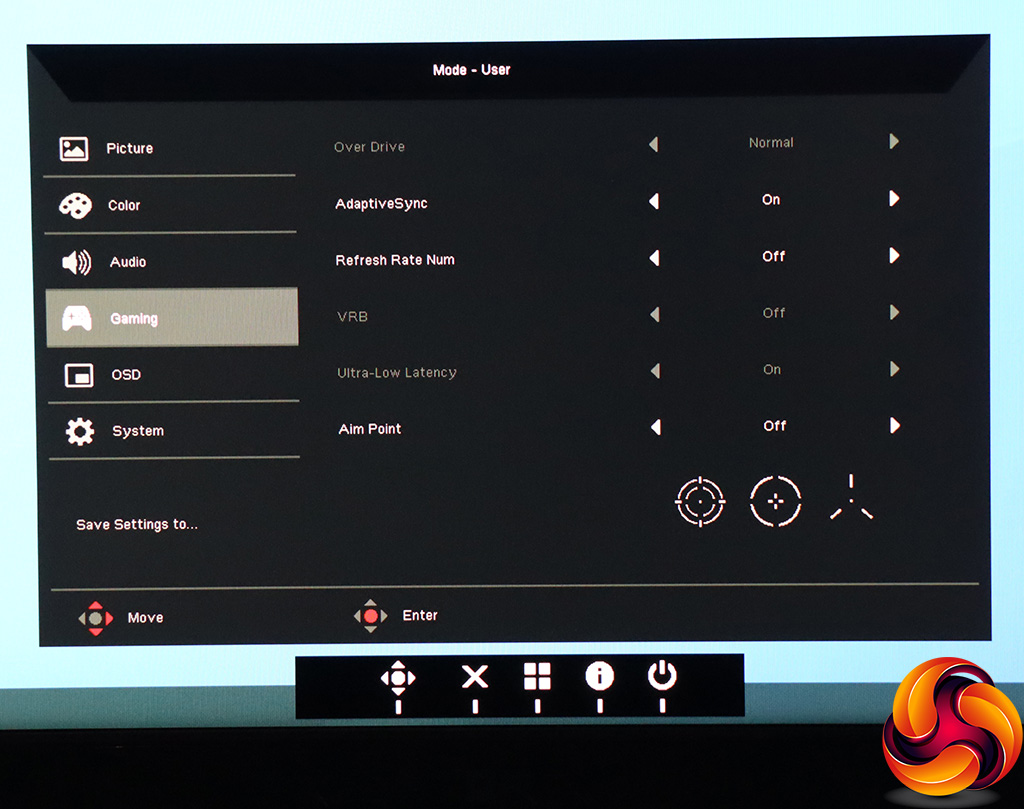
Being a gaming monitor, there is of course a section full of settings aimed at this particular activity. You can enable Over Drive, if your connection type supports it, and similarly turn on Adaptive Sync (which enables FreeSync or G-Sync, depending on the graphics card used). Refresh Rate Num shows the current refresh onscreen, which acts as a FPS counter with adaptive sync. The VRB function, as mentioned earlier, is a pixel overdrive that enables the 1ms response time in a VA panel that doesn't natively support this. Ultra-Low Latency can only be disabled if you're not in adaptive sync mode. Finally, Aim Point lets you place different crosshair types onscreen.
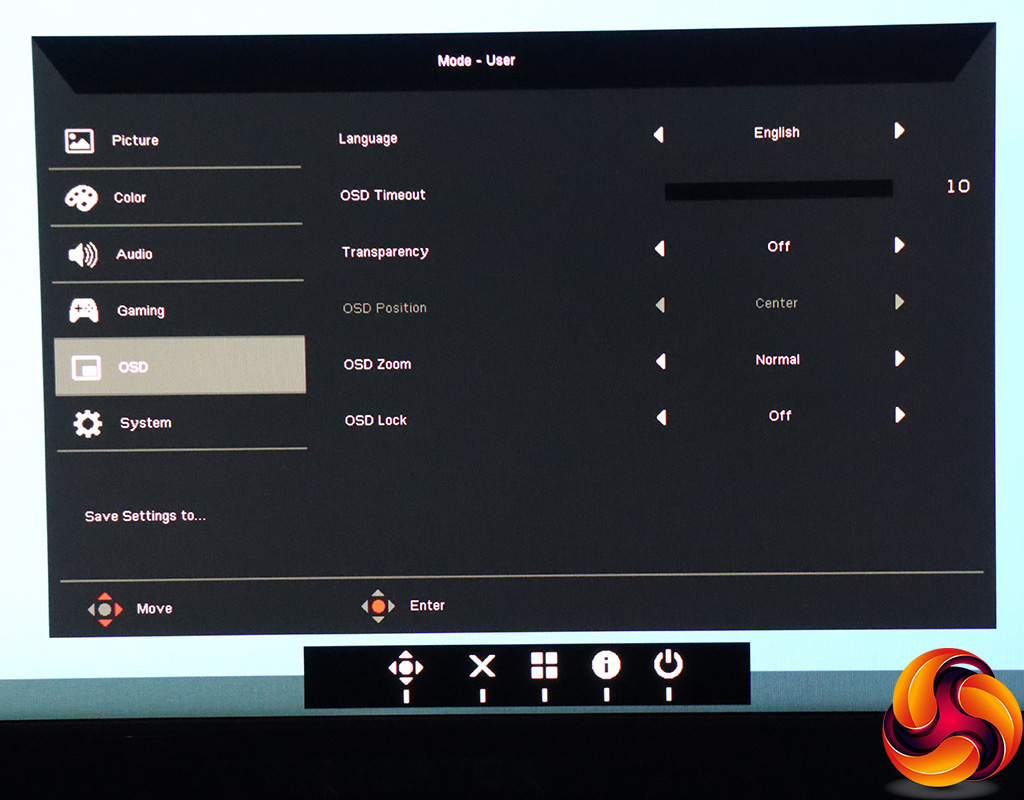
The OSD section lets you configure the appearance of the menu, including language, timeout duration, transparency, and positioning.
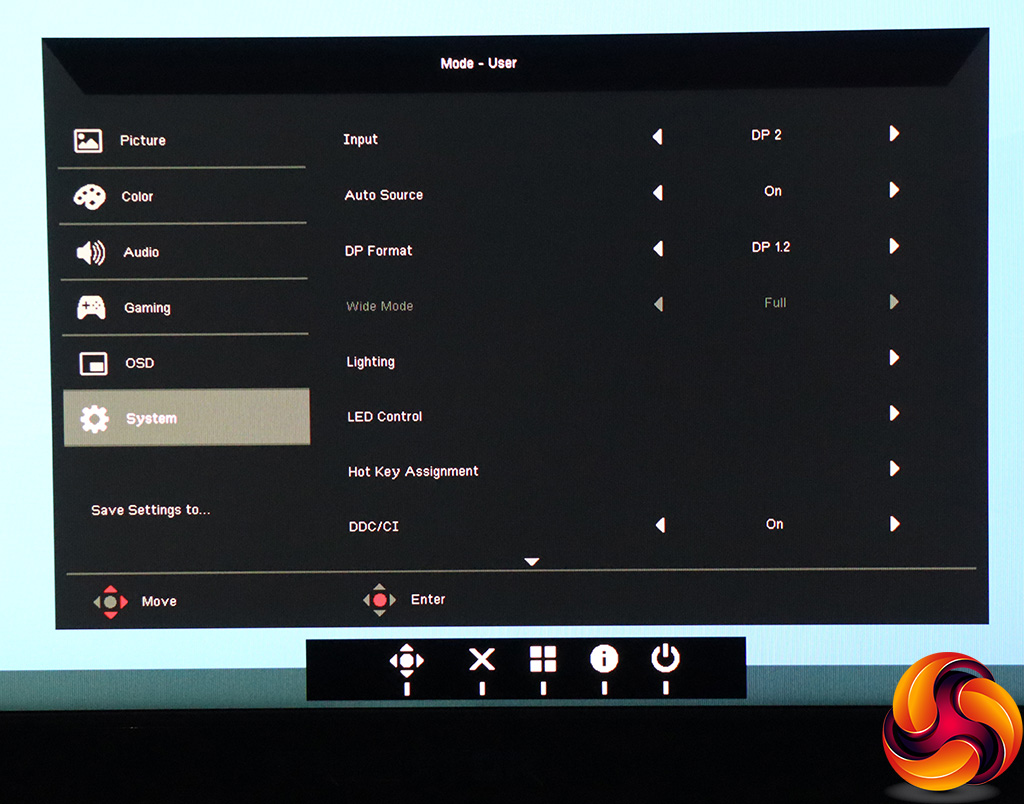
The System section contains all the sundry settings that don't fit elsewhere. You can manually change the input here, and also toggle auto source detection. You can change the DisplayPort mode from 1.4 to 1.2 or 1.1, if your graphics card is having trouble with one of the more recent standards. Wide Mode lets you select how non-native resolution signals are displayed, including 1:1 or 21:9 options.
The Lighting option controls how the attached LED strips behave. This is not what the LED Control option does – this is for the power LED on the front of the panel. Under Hot Key Assignment, you can reconfigure the function of two of the menu buttons. You can toggle DDC/CI software control.
On the second page, there are options for HDMI black mode, and you can also choose whether 144Hz operation is supported, although this disables HDR and requires two DisplayPort connections – which is why there are two DisplayPort cables included in the box. The USB 3.0 control looks like an odd inclusion at first. Why would you want to disable USB 3.0? The answer is that when this is off, you can drive 4K over USB C at 60Hz, whereas the limit is 30Hz with USB 3.0 on. Finally, you can toggle whether USB-connected devices will charge with the monitor off, and save your settings.
Overall, the range of options here is extensive. There are maybe a few gaming tweaks that some other manufacturers offer, such as a timer countdown, which aren't available here. But otherwise you get a lot of adjustability. The joystick makes the features relatively easy to access, or you can sit back and use the remote control instead for even greater comfort.