Since the bottom button is used for turning the monitor power off and on, we'll skirt past that one and look at the function of the next button up.
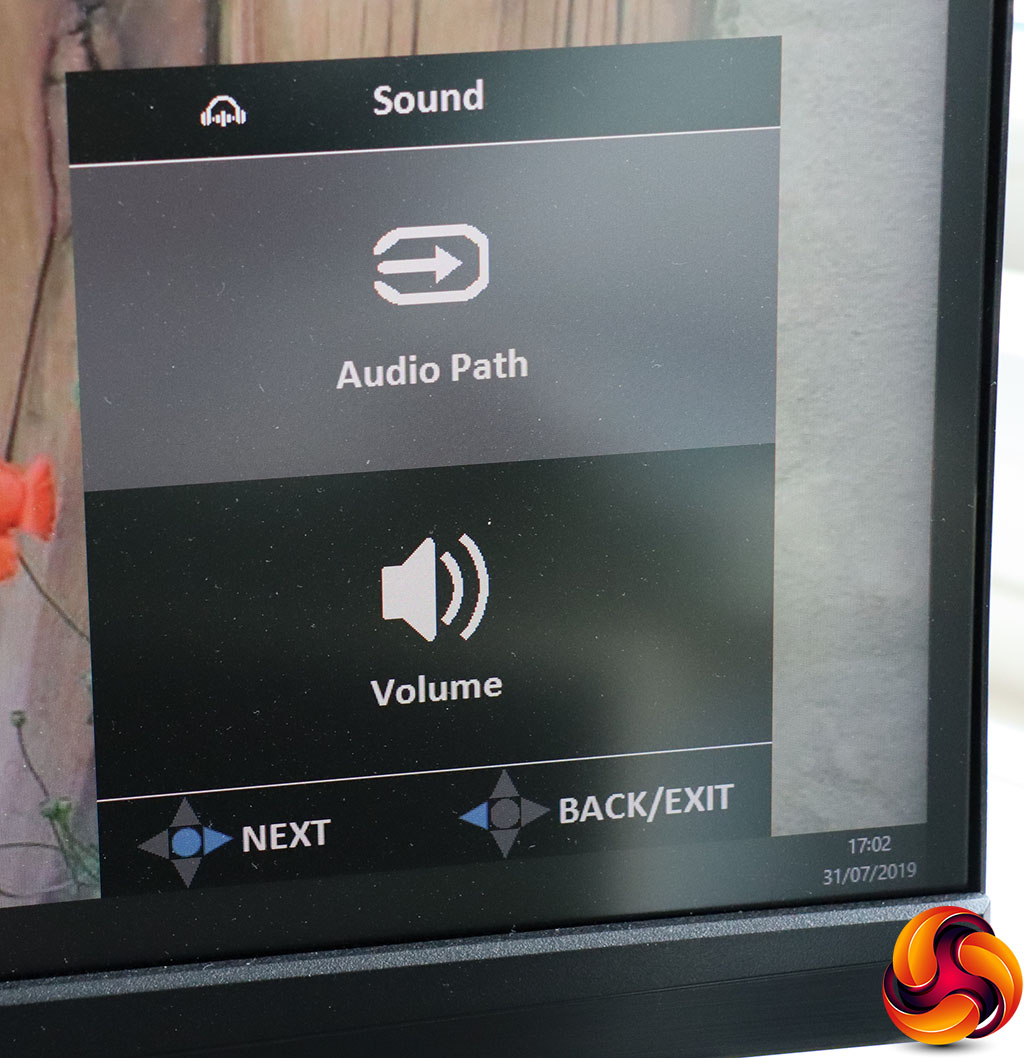
This penultimate button from the bottom calls up sound options. You can choose which of the two digital video inputs supplies sound, and also adjust volume. You can also choose to use the built-in ESS Sabre HiFi DAC as a sound card over the USB connection.
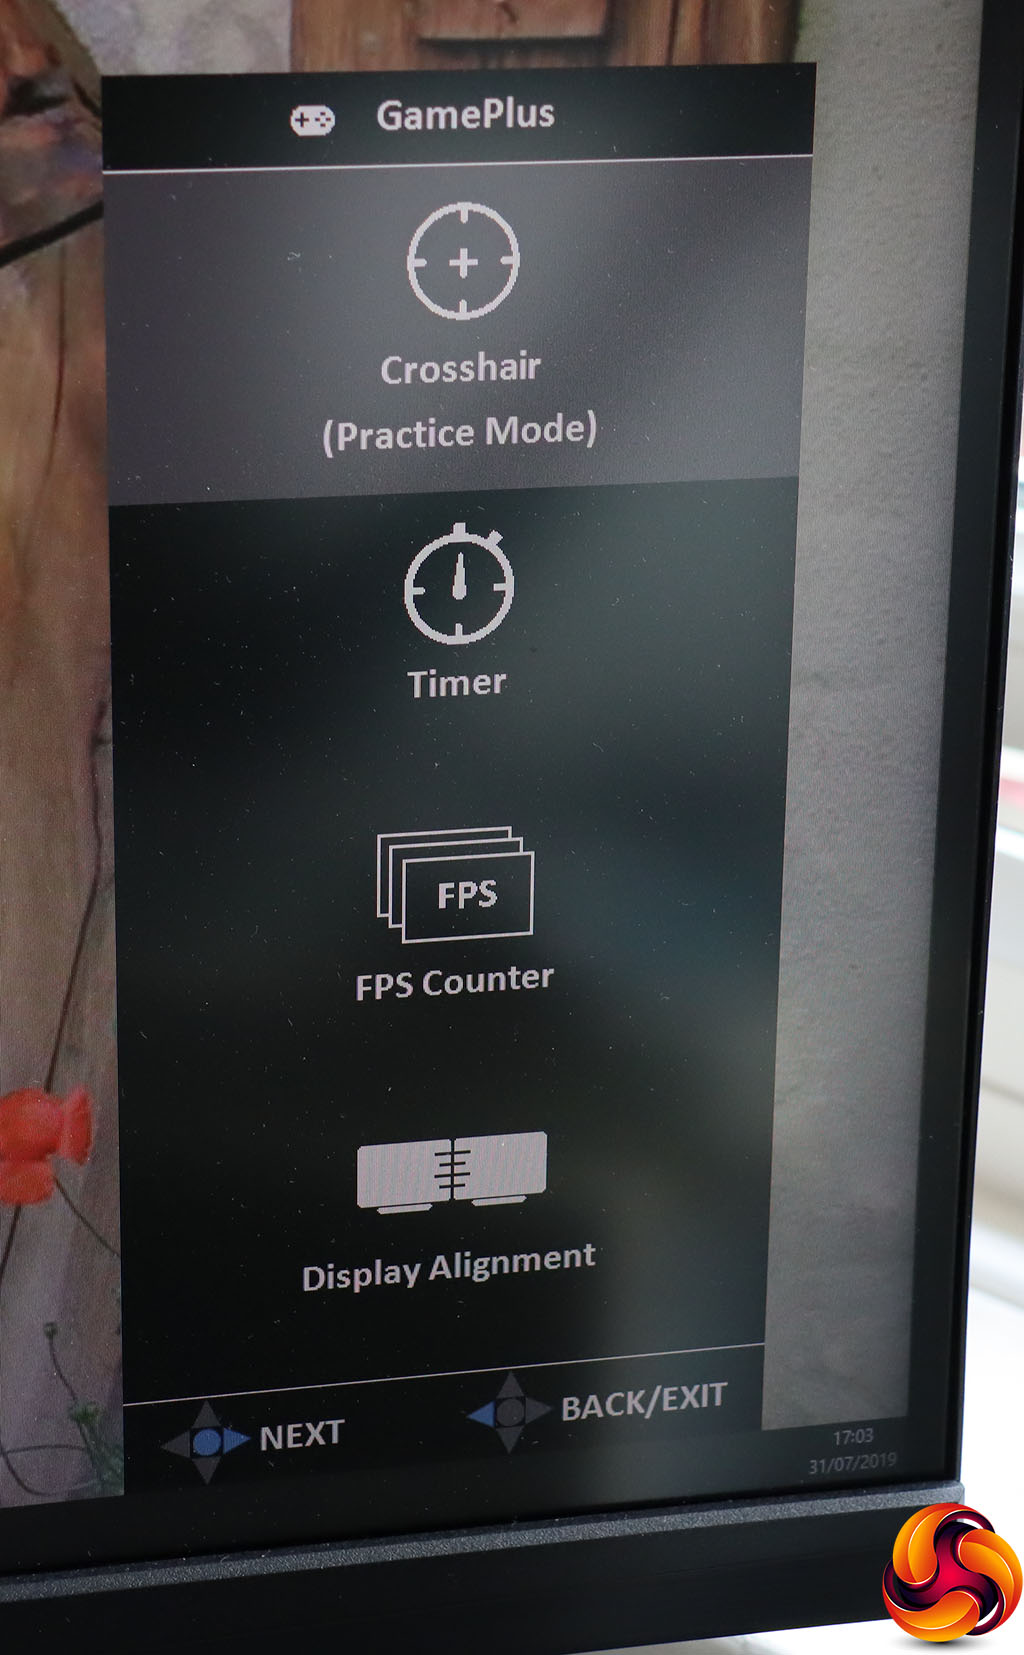
The next button calls up the GamePlus features, which include superimposing hardware crosshairs onscreen, a timer, an FPS counter, and a grid to help you line up a multi-monitor setup. We'd be surprised if you use the latter, though, with a ultrawide screen like this that is already like having two monitors side-by-side, and costs as much as three top-end screens this size already.
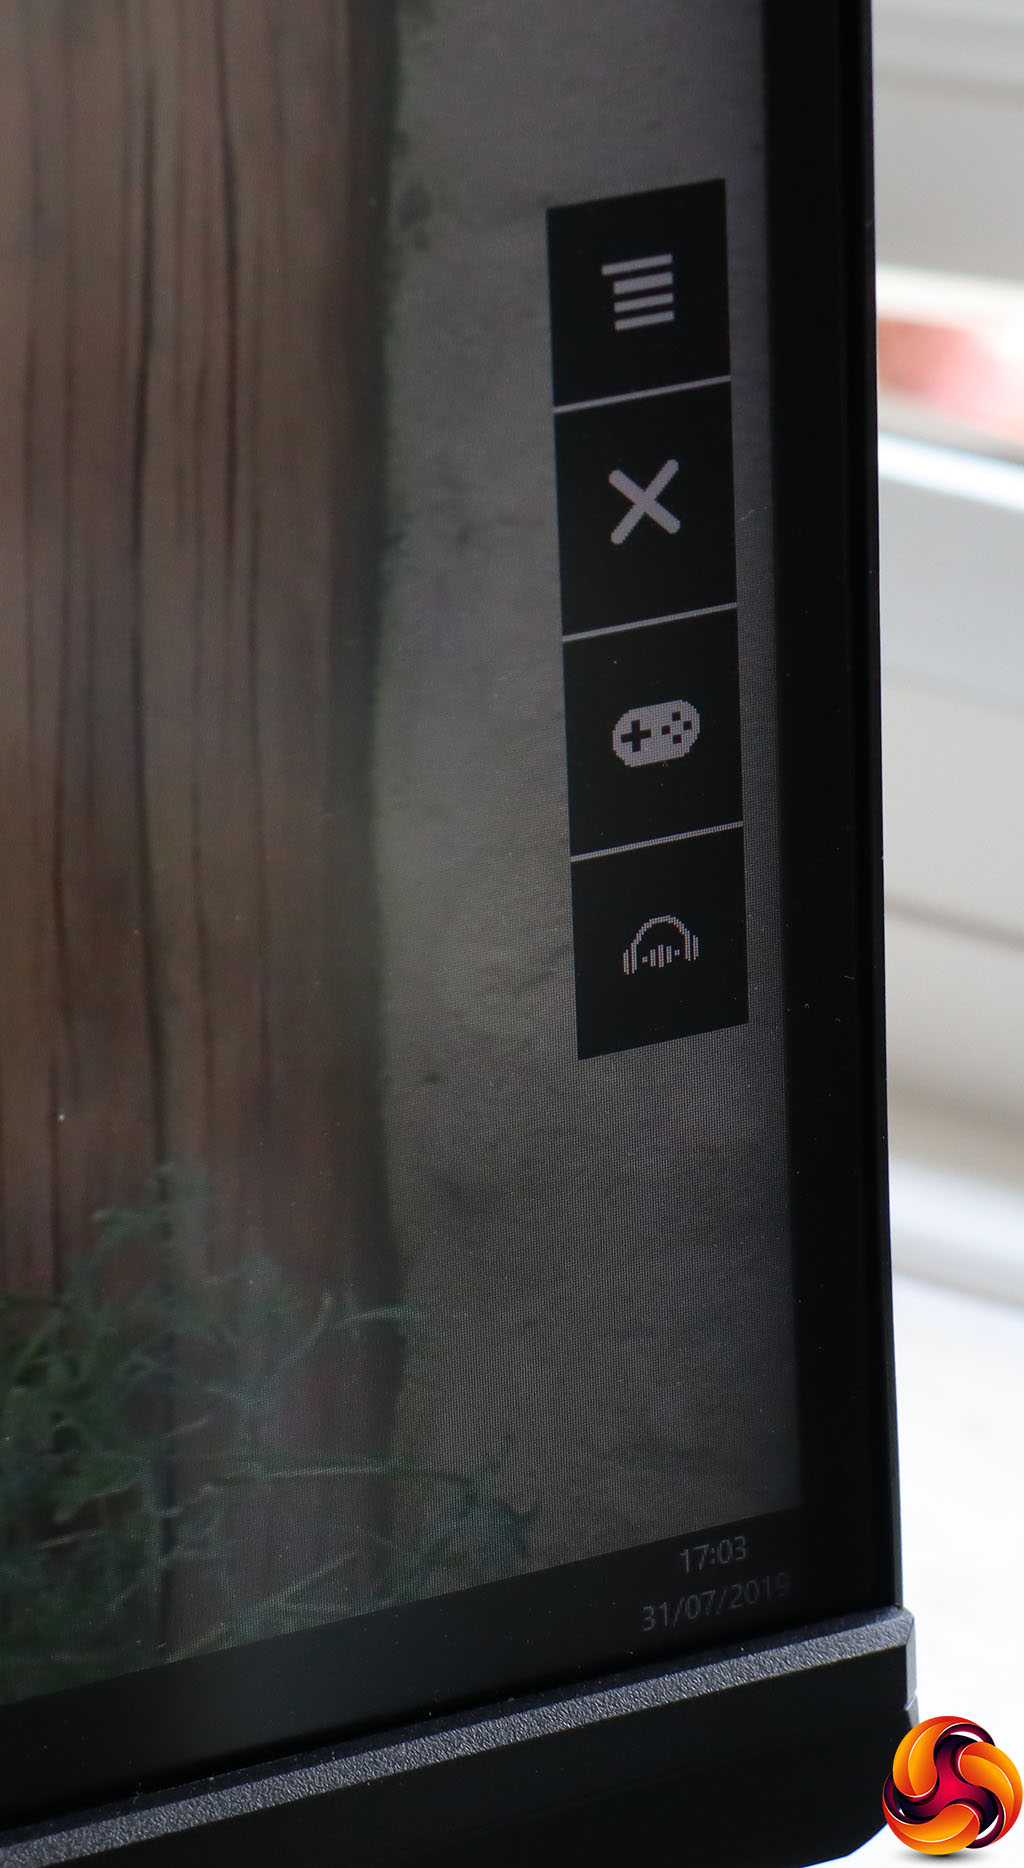
The third button up, directly below the joystick, is merely for exiting menus. Pushing this on its own provides a visual cue as to what the functions of the buttons and joystick are.

Pushing the joystick in or pulling it to one side or up activates the main menu, with Over Clocking the default option. This is only available with a DisplayPort connection, and allows you to set this up to the 200Hz maximum. By default, the maximum refresh is 180Hz over DisplayPort.
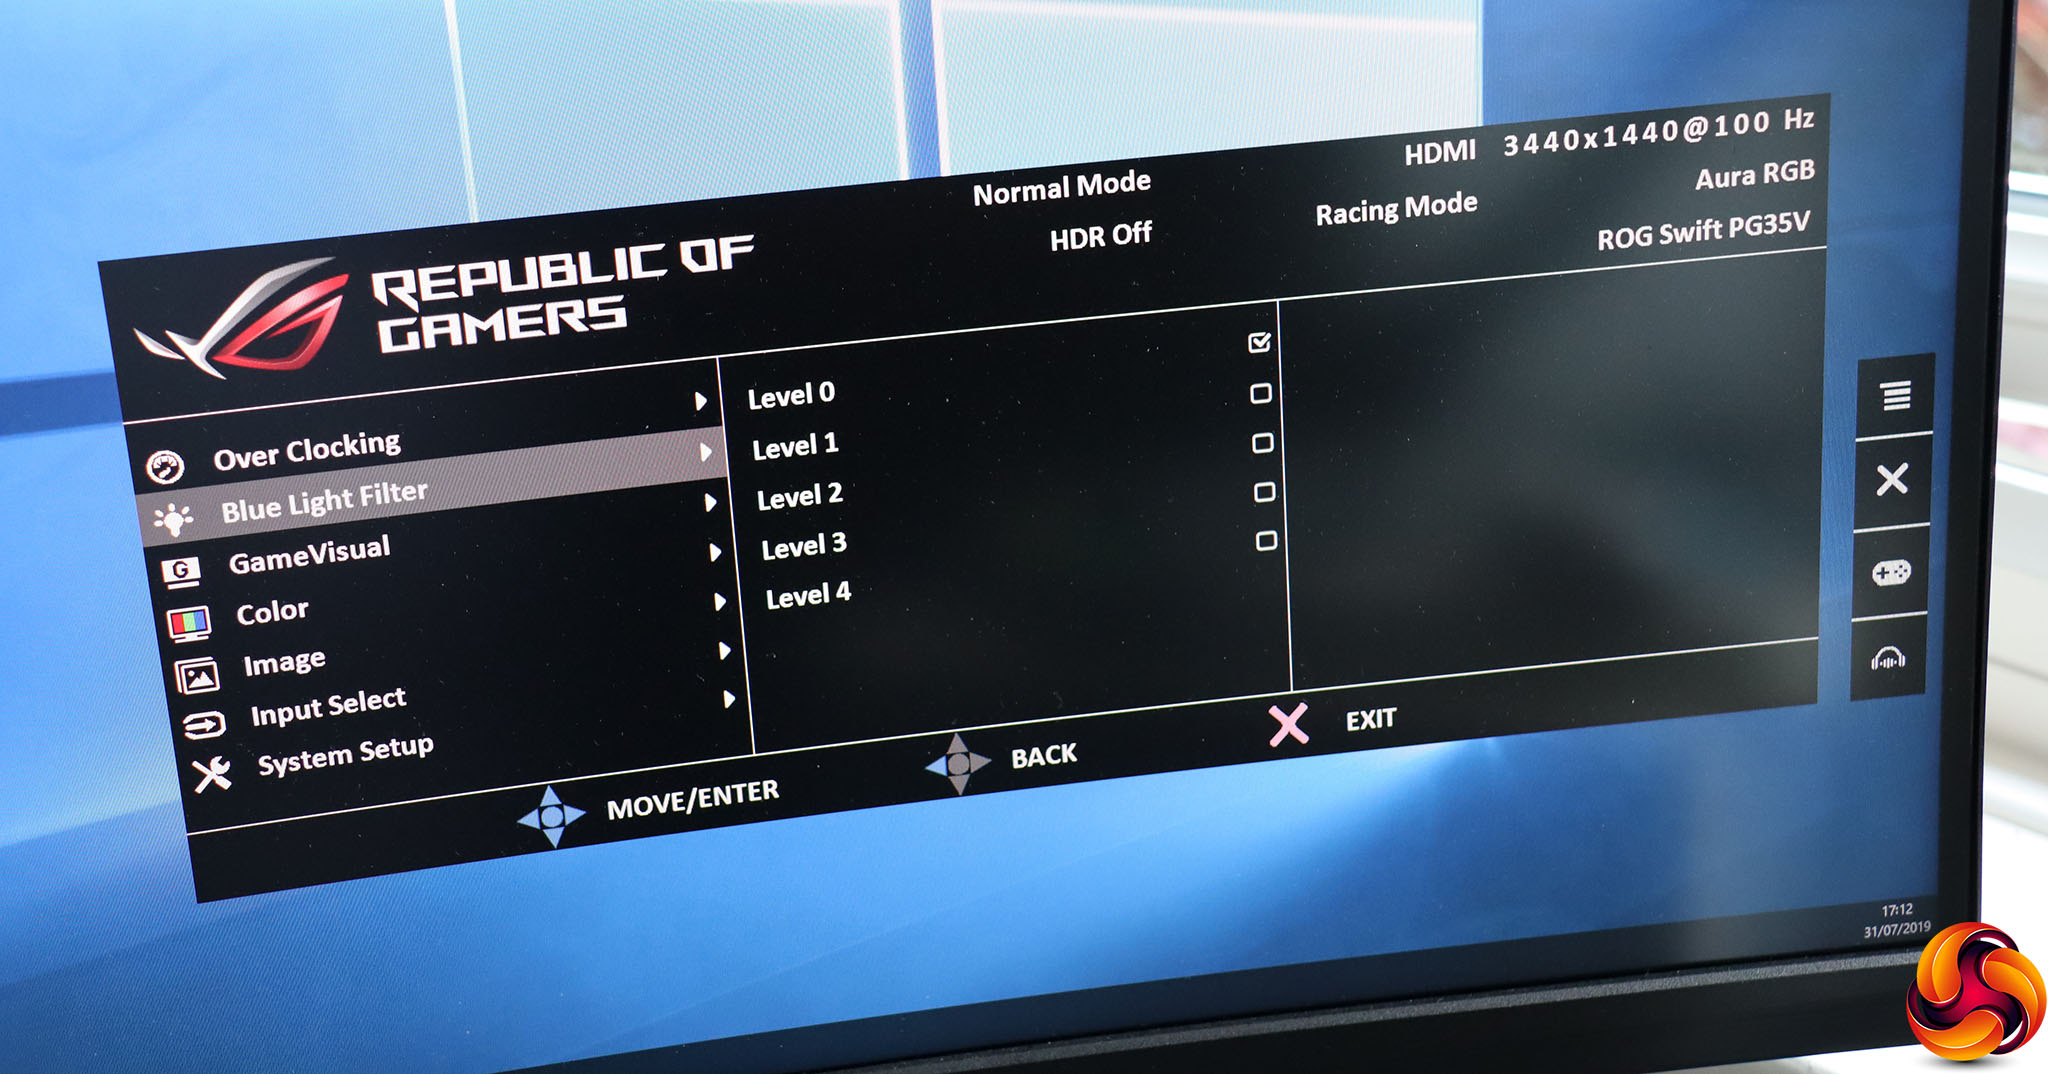
Next down in the main menu is the Blue Light Filter. This is the now familiar option that reduces blue hues to tackle eye strain from long monitor usage. It has four levels of intensity above the off position.
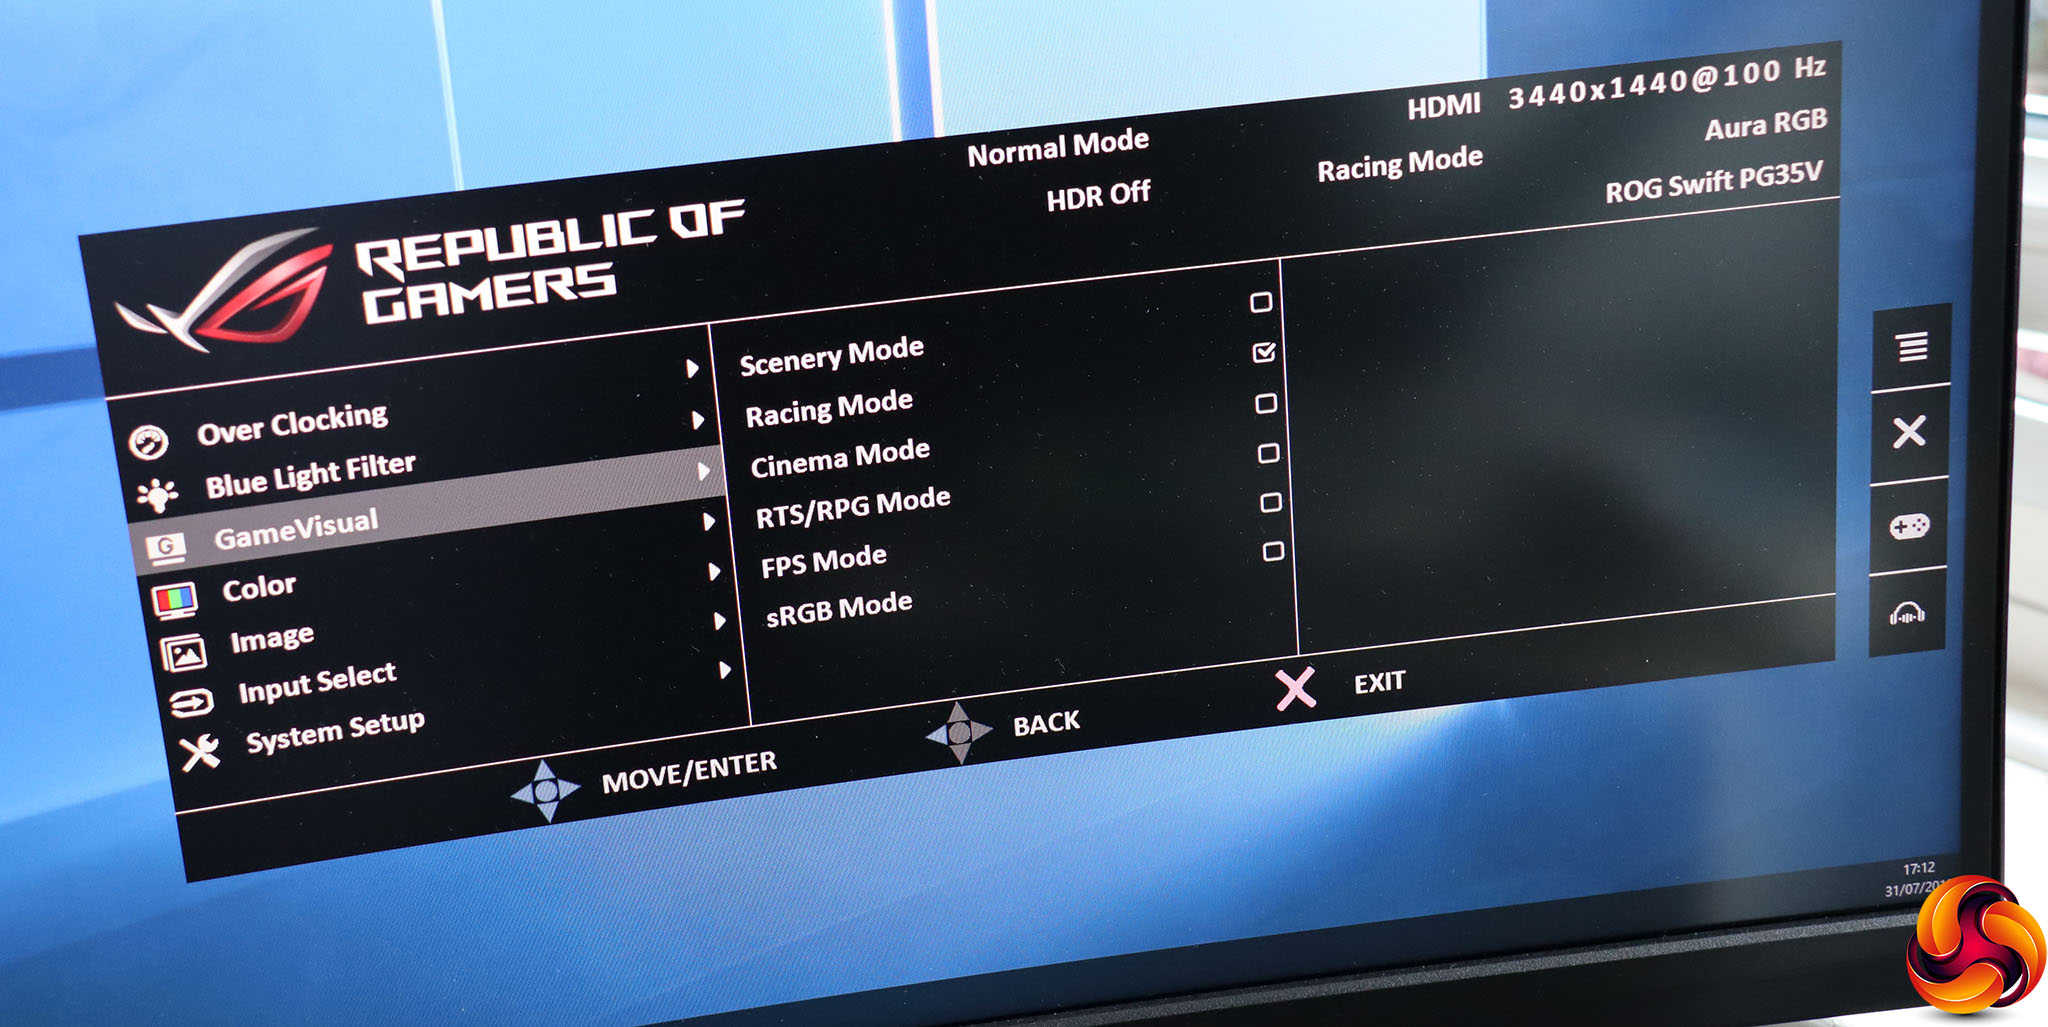
The GameVisuals are (mostly) gaming presets, and include Scenery, Racing, Cinema, RTS/RPG, FPS and sRGB modes. Racing appears to be the default setting.

The Color submenu is where you can adjust Brightness and Contrast. There are also Color Temperature options including Normal, Warm and Cool plus a user-configurable setting where you can configure red, green and blue values independently. The five Gamma levels include 1.8, 2.0, 2.2, 2.4 and 2.6, with 2.2 the default.
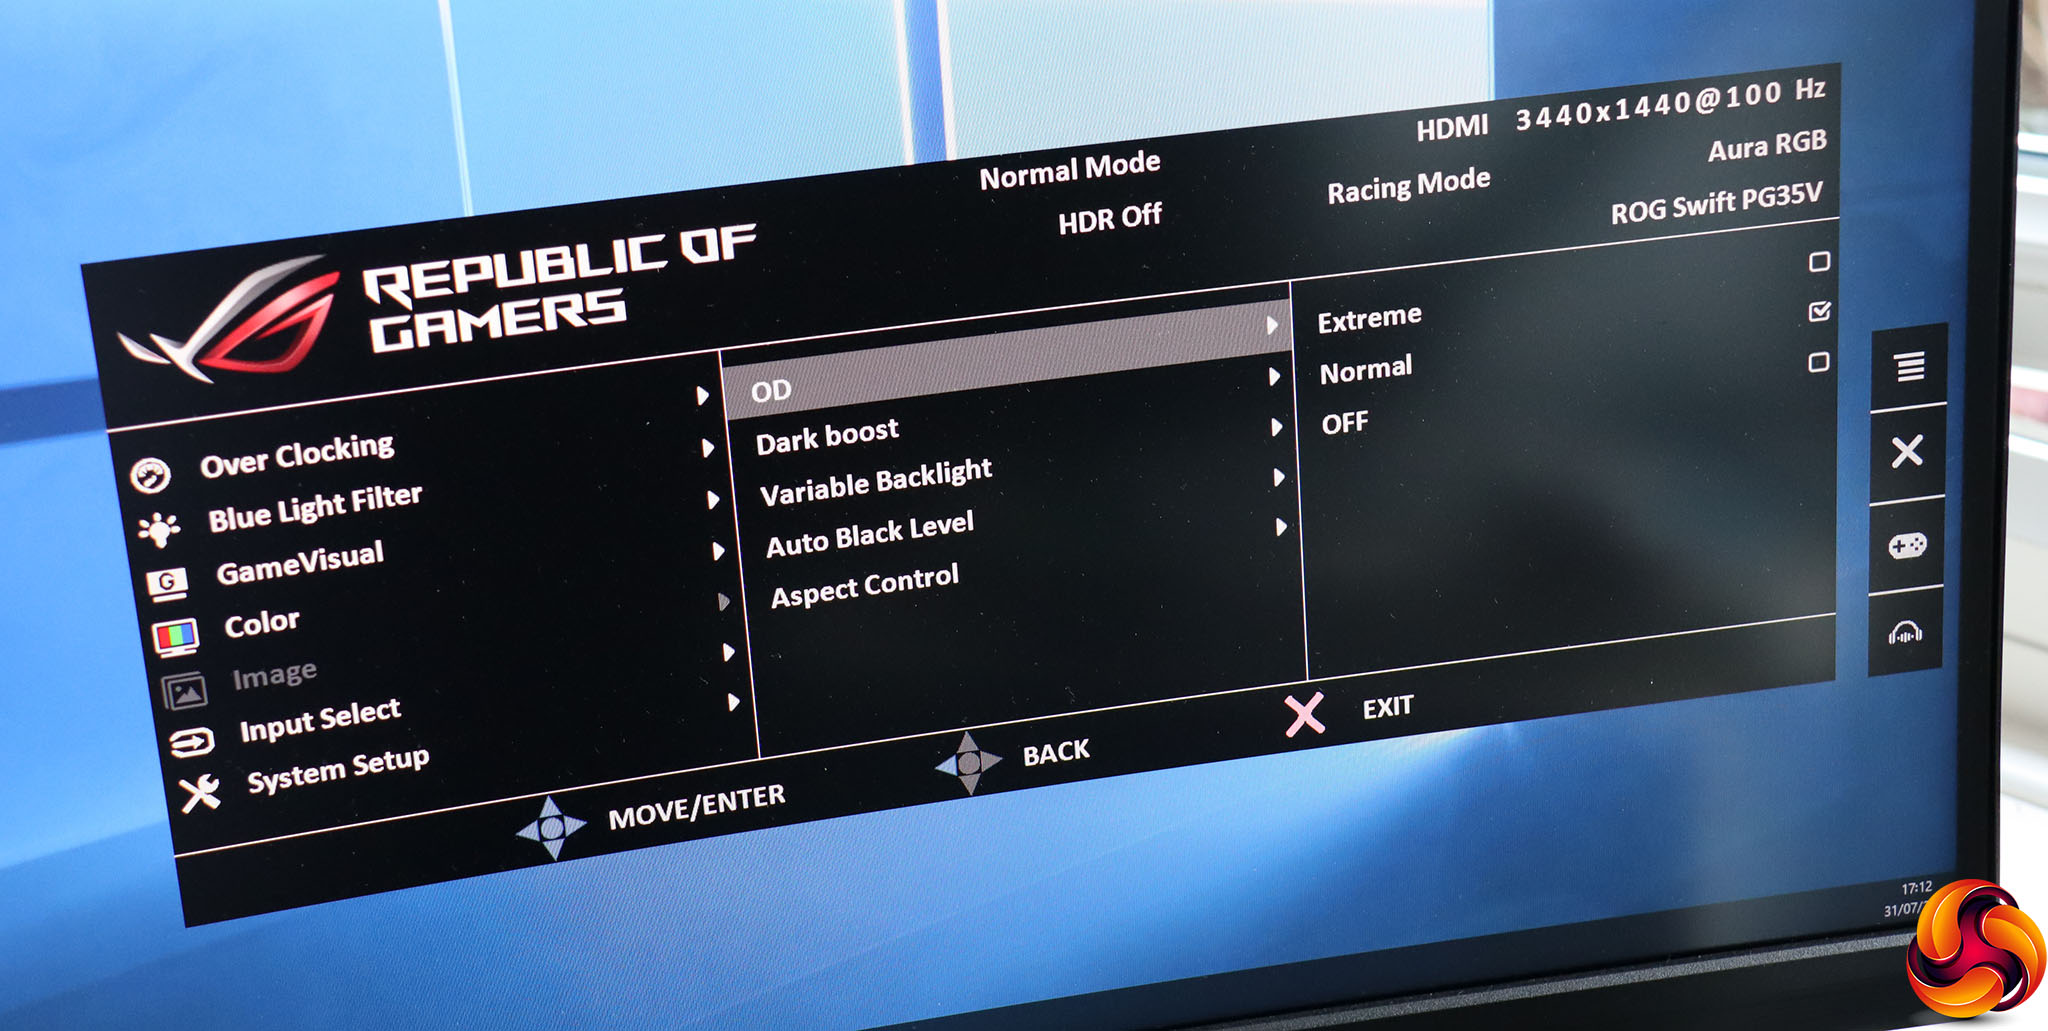
The Image section contains mostly electronic enhancements. The OD option is a pixel overdrive to improve response, with Normal the default and a more pronounced Extreme mode. Or you can turn it off if it's introducing artefacts. Dark Boost enhances contrast in dark areas so you can see more detail.
An unusual option is the Variable Backlight, the behaviour of which can be adjusted according to your current activity. The Fast option is preferable for games, whilst Gradual provides better quality so is better for more business-focused work. Medium is somewhere in between.
The Auto Black Level option instructs the monitor to adjust black level according to ambient lighting conditions. Finally, you can adjust the aspect depending on how you want to display a non-native resolution onscreen.
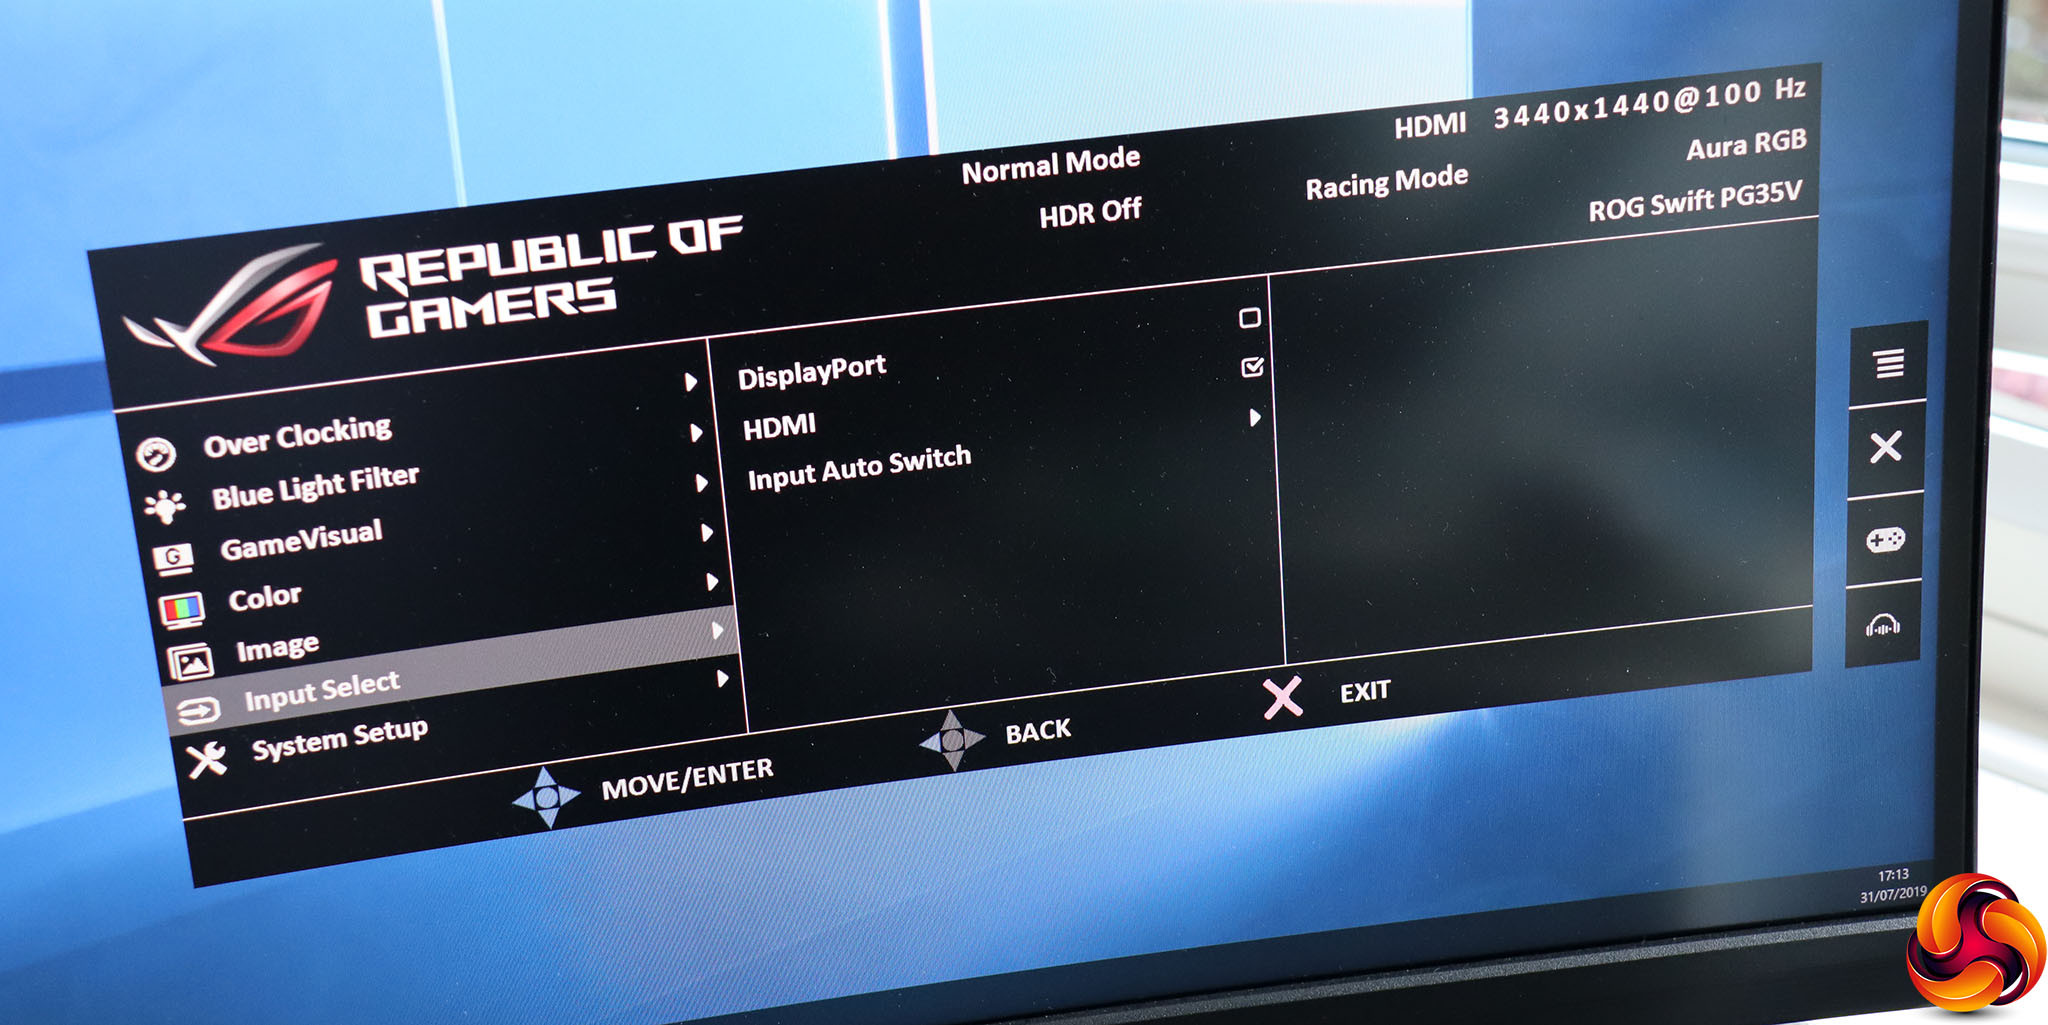
You can use the Input Select submenu to switch between the two video inputs manually.
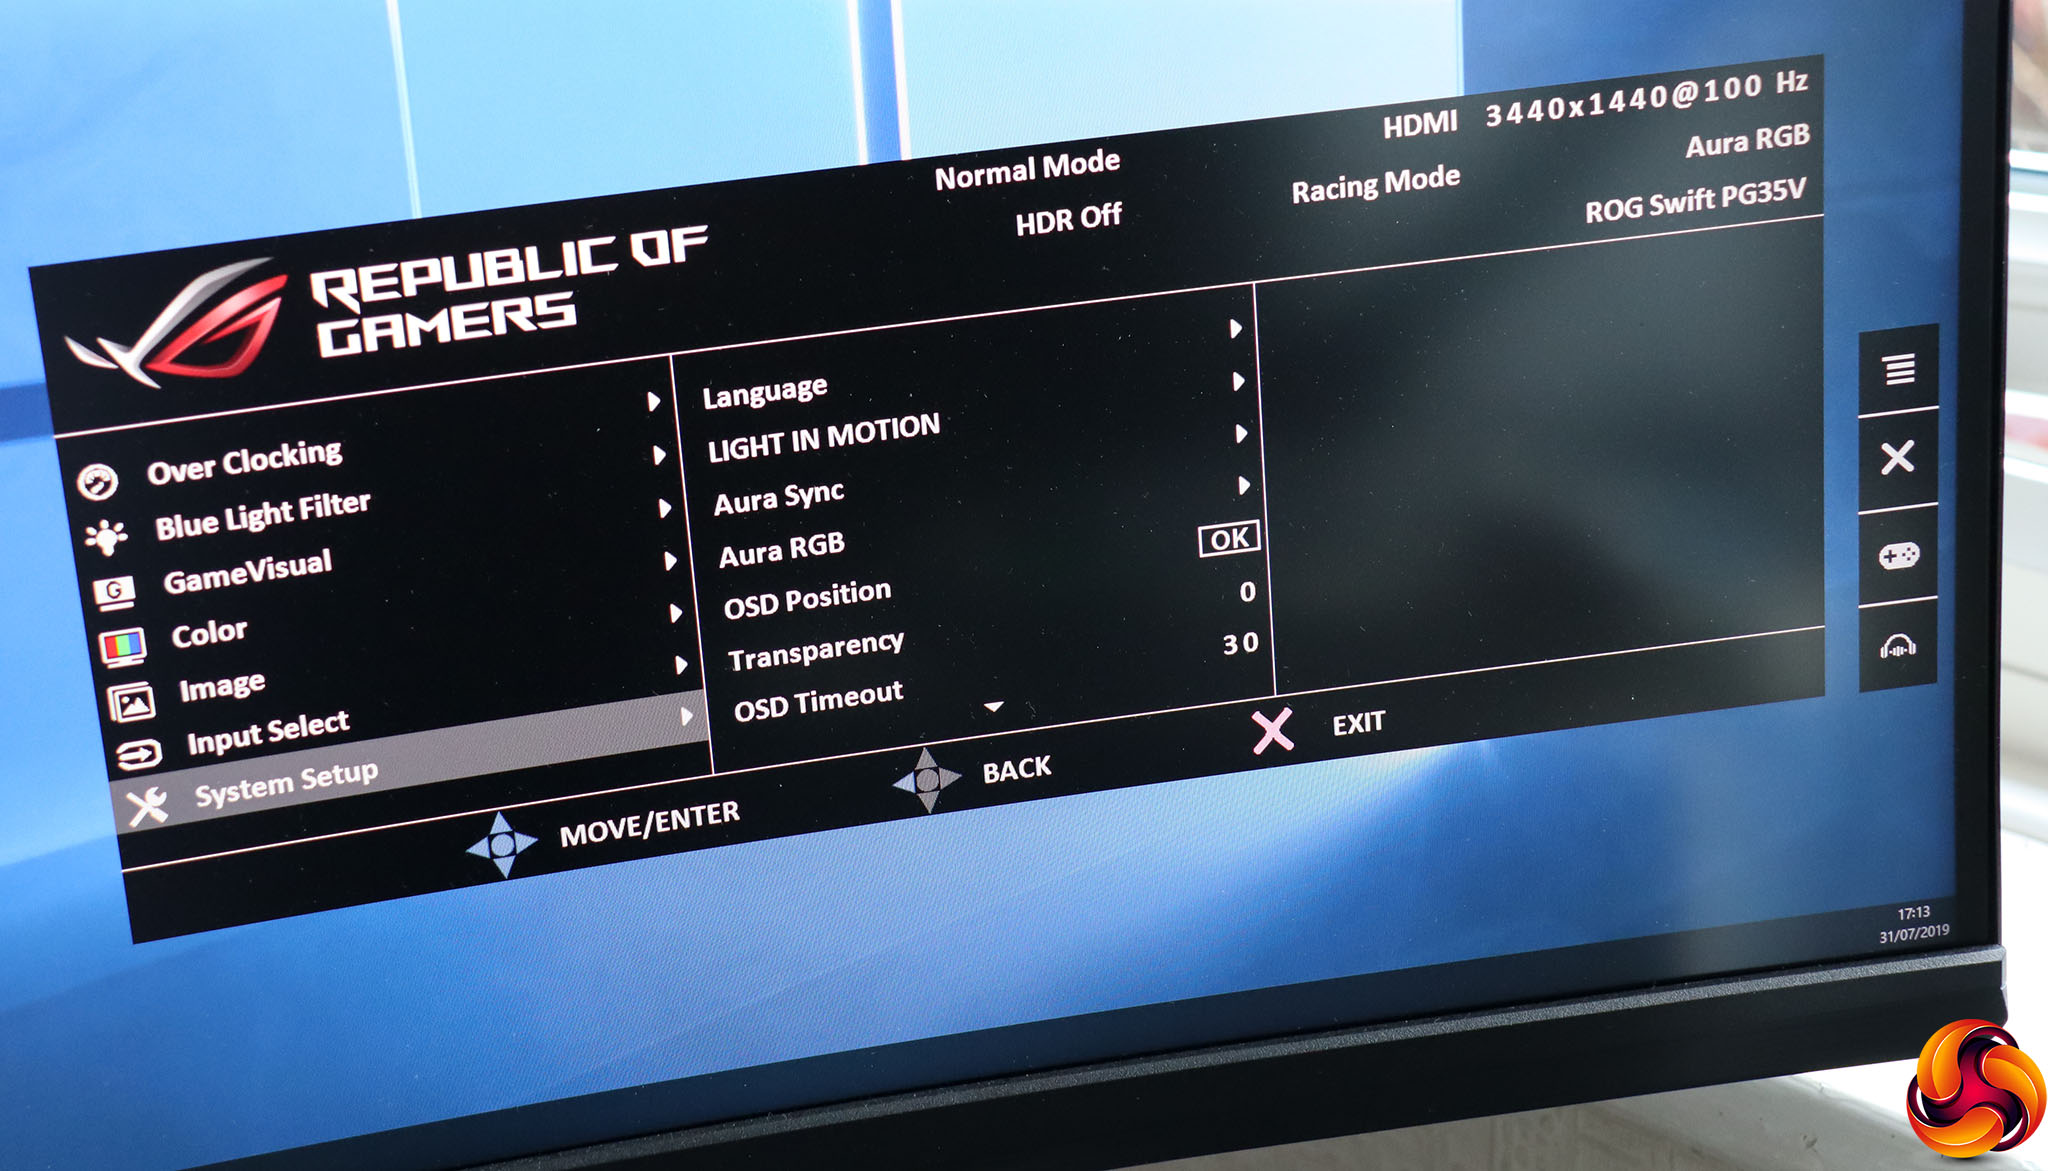
Finally, System Setup presents all the sundry options, including setting the OSD language, as well as the LIGHT IN MOTION, Aura Sync and Aura RGB ambient lighting. The Sync setting keeps your monitor's lighting in tune with your other ASUS Aura-capable devices.
You can dictate where onscreen the OSD appears, how transparent it is, and how long it stays visible before disappearing. Scrolling down the options, you can turn off the function keys with Key Lock, and call up detailed Information about your current monitor parameters. Access to the Sound quick menu mentioned above can also be found here. There are HDMI and DisplayPort Deep Sleep modes, and and an ECO mode to reduce power consumption.
There are also some sundry options for synchronising brightness with ambient lighting levels as well as the gamma curve to use with HDMI or DisplayPort – sRGB and BT.1886 being the options. Finally, you can turn on a Wide Gamut, which is supposedly preferable with a Mac, and reset all the settings to default. However, as we will explain later, the choice between sRGB for PC and Wide Gamut for Mac is not as clear cut as ASUS's manual for this monitor states.
Overall, it's a comprehensive OSD, although placing Over Clocking as the default main menu page is curious when you're likely to set this once and then leave it, whereas you may switch GameVisual presets (for example) a few times a day depending on which genre of title you are currently playing. Nevertheless, there's nothing major omitted.