

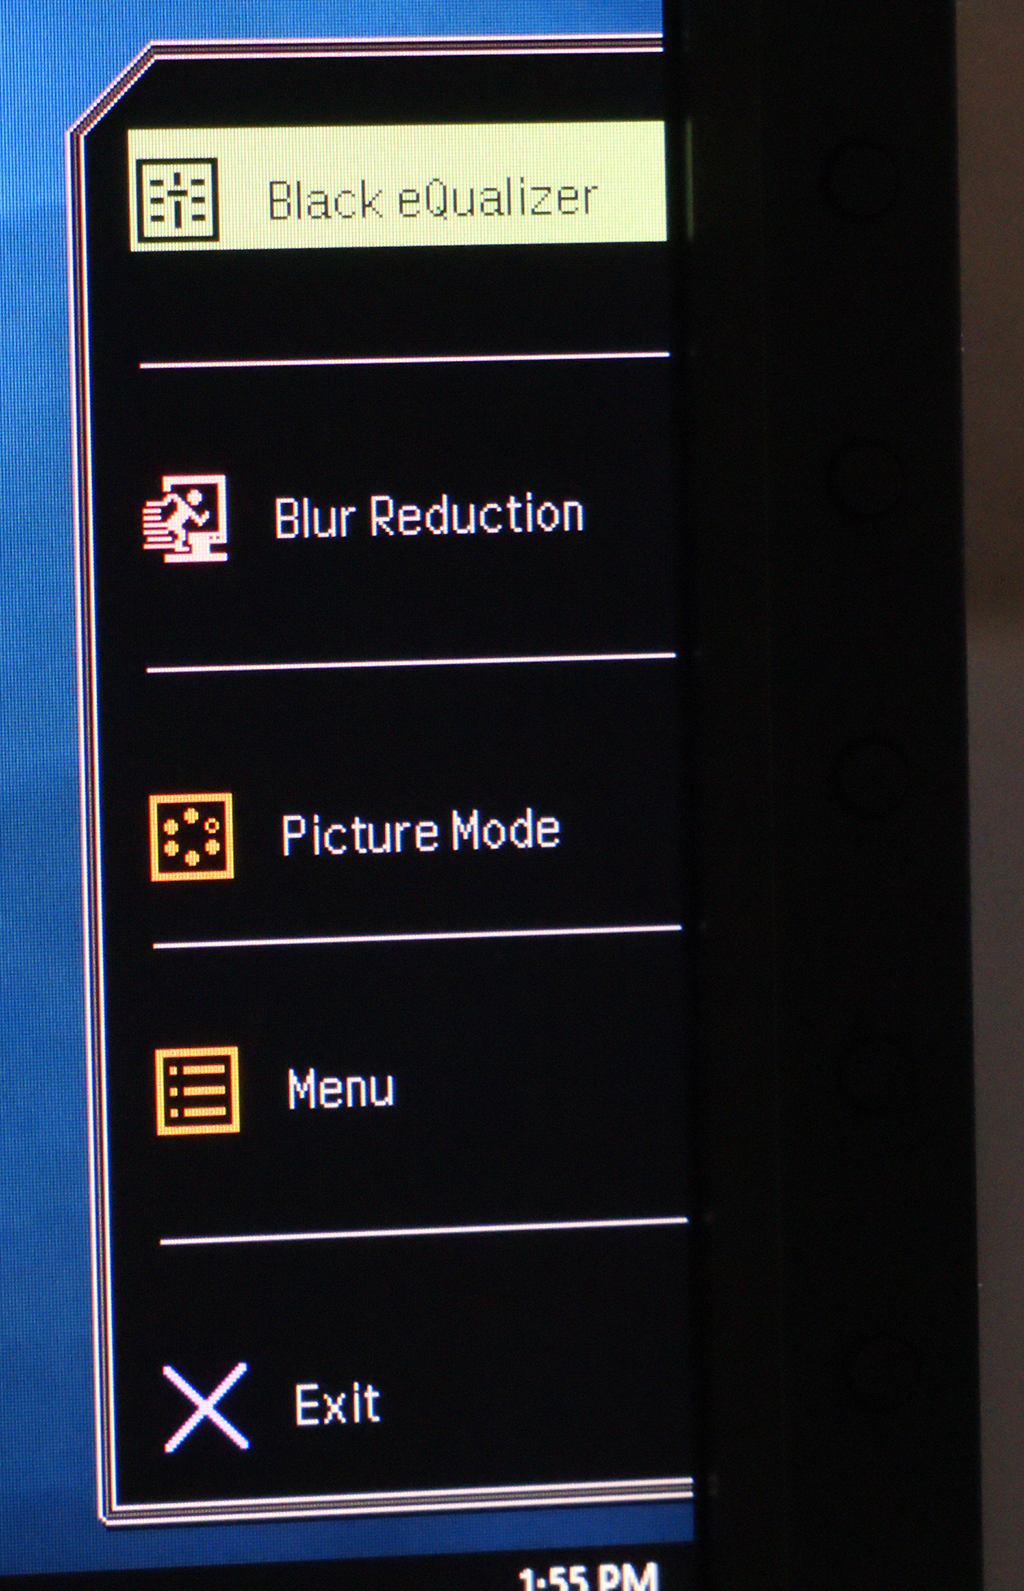
Clicking one of the buttons on the edge of the screen, or the scroll wheel or return button on the S switch Arc, calls up the initial quick menu. This provides access to the Black eQualizer, Blur Reduction and Picture Mode, or you can head to the main menu.
The Black eQualizer brings out detail in shadows, which is handy when playing games that have dark areas, for example it could give you an edge in Doom. It has a scale from 1 to 20. Blur Reduction has a similar result to a higher refresh, although there is allegedly a small amount of input lag from this setting so the highest 144Hz refresh and Adaptive Sync are your best option. Although some Blur Reductions have adjustments, this screen only appeared to have just on or off.
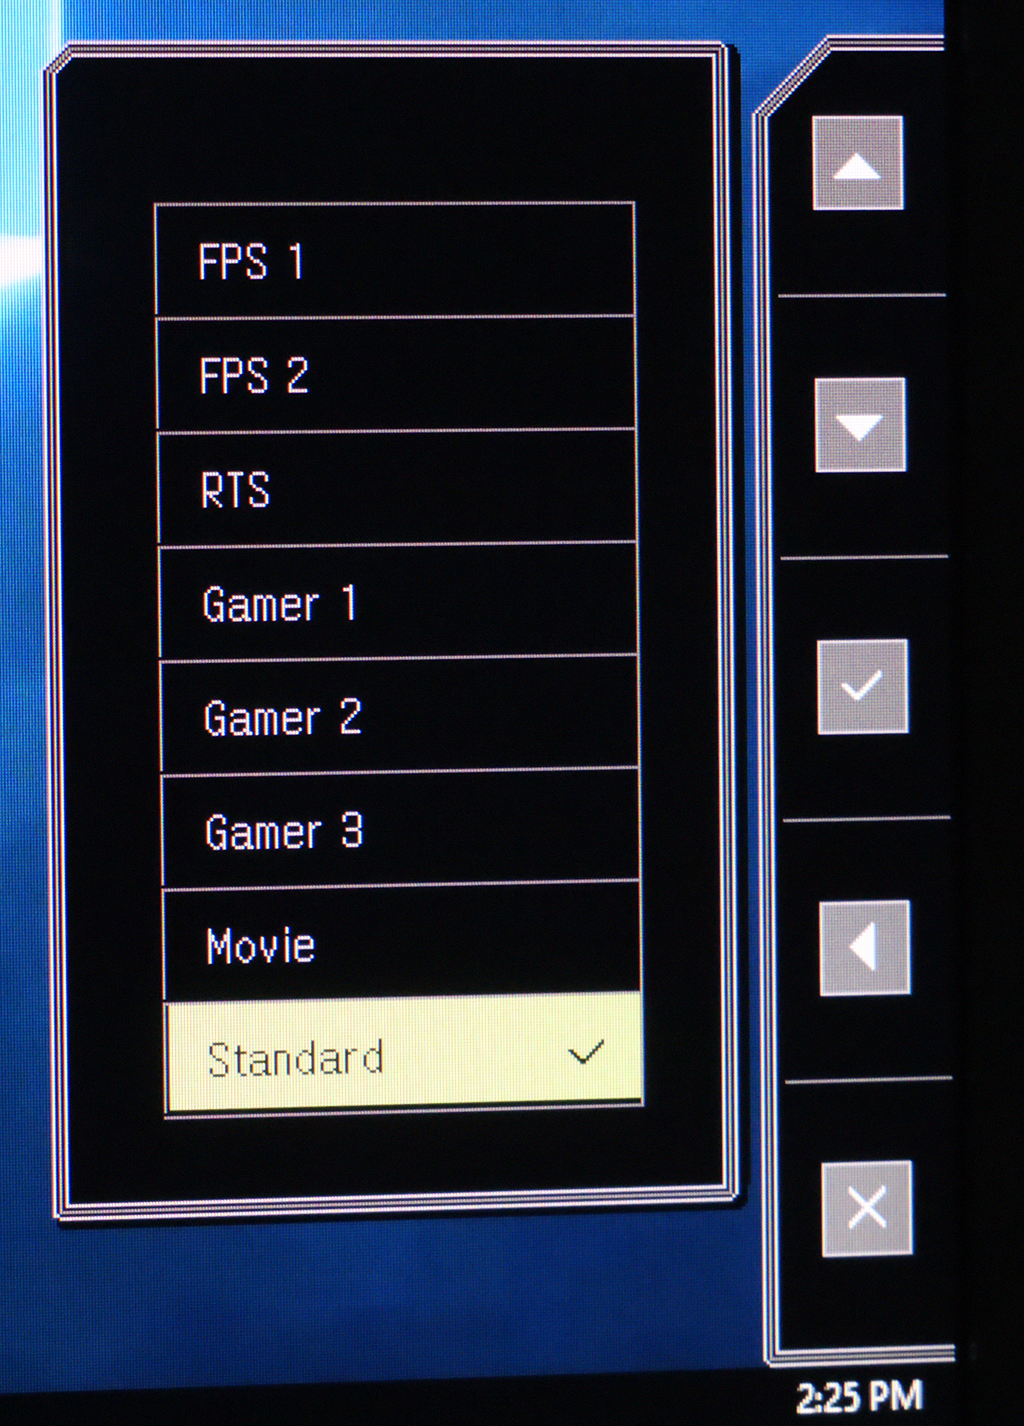
The Picture modes are quite extensive, with two FPS modes available, a RTS mode, three user-configurable Gamer presets, a Movie mode and a Standard mode for situations that don’t fit any of the other options.
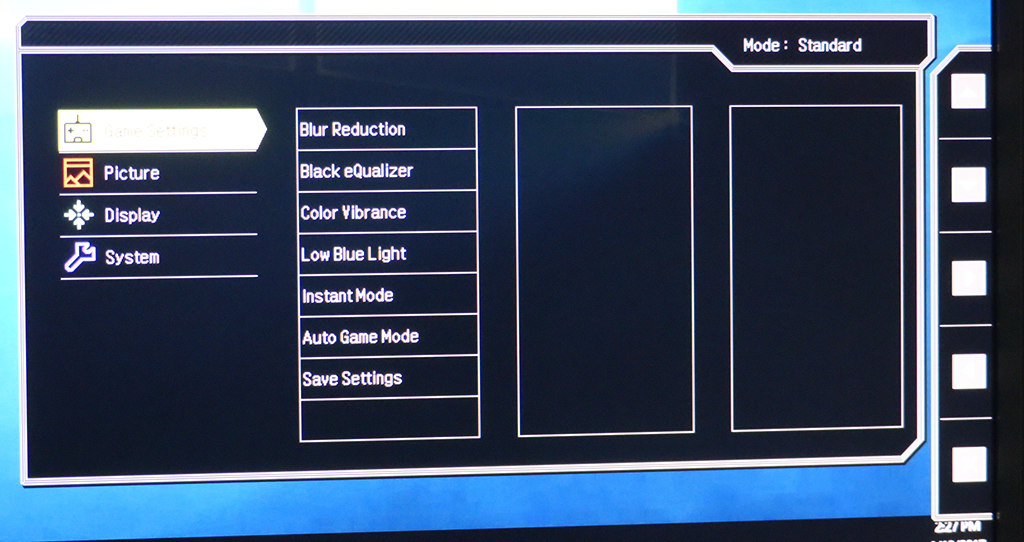
The first menu section is Game Settings. This provides another route to Blur Reduction and Black eQualizer, plus Color Vibrance, Low Blue Light, Instant Mode, Auto Game Mode, and the option to save your settings into a preset slot.
The Color Vibrance is a saturation control, whilst Low Blue Light is about reducing eye strain. Instant Mode reduces the image processing (and thereby image quality) but can reduce input lag by up to 20ms, which can give you the edge with lots of game types. Auto Game mode detects screen content and adjusts accordingly, which could lead to inconsistent results or improvements, depending on the situation.
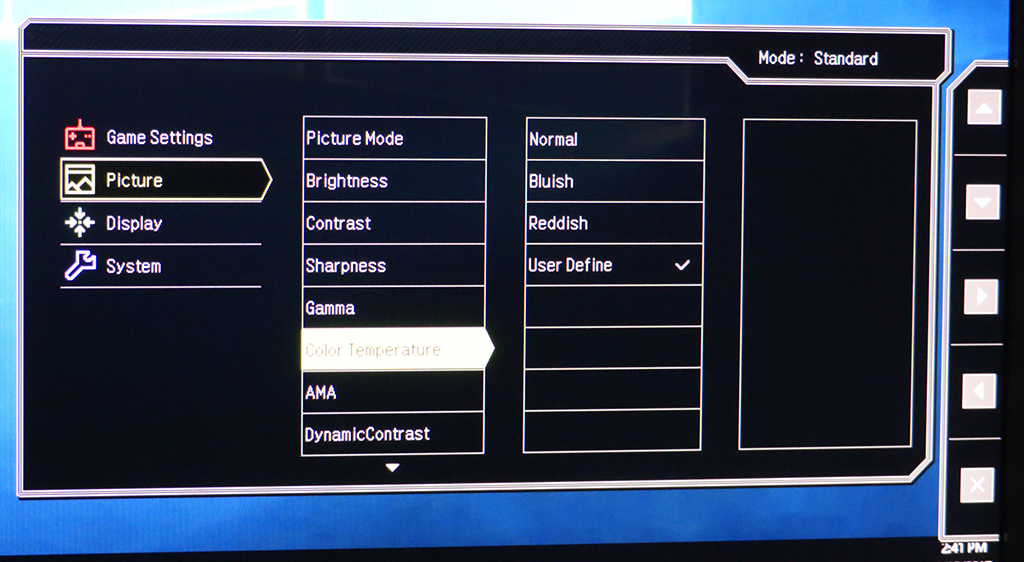
The Picture options provides access to the various Picture Modes again, plus Brightness, Contrast, Sharpness, Gamma, Color Temperature, AMA, Dynamic Contrast and the ability to reset to defaults. There are five Gamma modes, and Color Temperature has Normal, Bluish and Reddish presets, plus RGB sliders for custom control.
AMA, like Instant Mode, improves the response time. Dynamic Contrast boosts perceived contrast, by shifting brightness and contrast dynamically, but it can reduce detail.

The options available in the Display submenu depend on which connection you are using. You can select the input here, and there's an option to change the way the input is interpreted via Display Mode. This is handy, for example, if you have an old 4:3 title you don’t want stretched across the entire screen width.
If you are using a HDMI connection, you can change the RGB range. Overscan allows you to remove the garbage from the edges of a broadcast signal. The Geometry option will only be available with an analog VGA input.
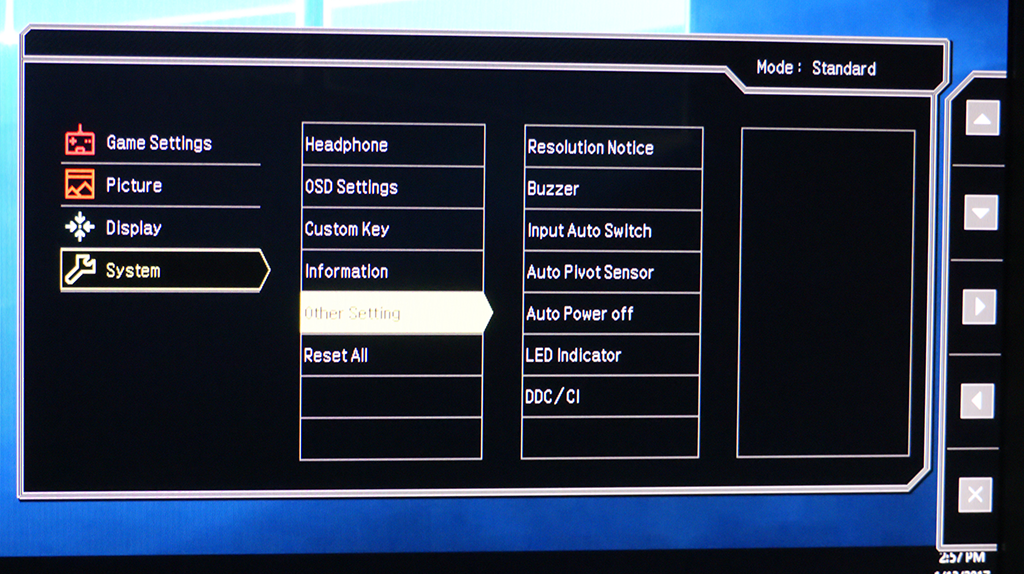
The final System menu lets you adjust headphone volume, how the OSD behaves, and what the top three menu control buttons on the monitor do. As described above, by default these are Black eQualizer, Blur Reduction and Picture Mode, but many more functions are available. You can read off information about the current monitor setup, plus adjust a sundry array of settings that don’t fit anywhere. You can reset everything here, too.
Overall, there is a good array of options in the OSD menu and plenty here for the serious gamer to get the most out of. There is definitely lots to attract the intended market and make this screen one that can improve your gaming competitiveness, which was the primary goal of this display. So job done in this department.

I believe this isn’t correct:
“Then there’s the 144Hz refresh and Adaptive Sync. The latter may not be quite as enticing for NVIDIA owners as G-Sync, but at least it works across adapters from AMD as well as NVIDIA”
Adaptive Sync isn’t supported on Geforce cards except their proprietary Gsync as far as I know?
I have the BenQ XL2730Z, bought just after Freesync monitors became available around April 2015.
Apart from dropping the ‘Z’ from the name and including ‘Zowie’ branding now, I’m struggling to see the difference!
Updated HDMI/DP ports? I’ll have to check specs when I get home.
Great monitor BTW 😉
its an excuse to keep the price high. They don’t want to have to lower price cause they have nothing new to put out so they invented a new brand called Zowie.
Yep, just checked those specs – it’s exactly the same! http://www.tftcentral.co.uk/reviews/benq_xl2730z.htm
The Quadros support it. NVIDIA cards don’t support FreeSync. But this monitor has Adaptive Sync, which is the more general standard.
The ZOWIE is about £300 cheaper than the XL2730Z on Amazon.co.uk. All very strange, but this is the first time we have looked at the screen and it’s still a goodun’ so well worth considering.
Yes, Quadros, which really isn’t what needs it, it’s gamers/Geforce that really benefits from it. It’s so silly, it’s surely just a driver issue, if only Nvidia would implement adaptive refresh support… 🙁
Something is definitely not right there then! I bought mine for just shy of £500 nearly 2 years ago. This certainly looks like it’s just a re-branding for Zowie. I can only guess that the price you see on Amazon, is because the original XL2730Z is no longer available, except via private sellers.
(Edit – Scratch that, just found the XL2730Z for £349.99 at Maplin! Hardly known for being a discount store either).
I agree it’s a fantastic display though, had some teething issues when I first purchased it and ended up being sent another screen via BenQ RMA, then I had to send it back again for a Firmware update, but after the initial hassles – I love this monitor!
Freesync makes such a massive difference in games and I really notice when I play on my Gaming laptop (1080p/60hz & no adaptive sync on laptop) versus my Desktop.
No, the GeForce supports Adaptive Sync too. It’s FreeSync that they don’t support. And G-Sync that the AMD cards don’t support. G-Sync adds extra hardware to the monitor, which is why the G-Sync screens are more expensive.
Isn’t Freesync just AMD’s implementation of Adaptive Sync, the VESA standard?
The main thing this is a great screen for the money. If you can get the older name for £349.99 then that’s probably an absolute bargain!
Yes, and I’ve read that you can still use Adaptive Sync with NVIDIA cards on screens that claim to support FreeSync. But FreeSync has some other things going on that are an improvement over basic Adaptive Sync. There is a theory that G-Sync is better than FreeSync due to the hardware taking the work away from the graphics card, but I’ve seen no scientific proof of that. I’m not even sure how you would test that objectively.
Okay, thank you for explaining that! 🙂
No worries. It’s really confusing and I’ve had to research things a lot even to get to the relatively meagre level of understanding I have!
Agreed! 🙂
I have profited $104k in last 12 months by working online from my house and I did that by working in my own time for 3 or sometimes more hours every day. I was following an earning opportunity I was introduced by this company i found on-line and I am amazed that i made such great money. It’s really newbie-friendly and I’m so blessed that I found out about this. Check out what I did… TIMELY84.COM