Mesh WiFi systems can really improve your bandwidth, but until recently they existed as a separate choice. You either had a powerful, feature-rich standalone router, or you had a mesh. You could turn off the WiFi on your router and add the mesh router as an access point instead, but that can be a waste of good WiFi.
Recently, we looked at ASUS's AiMesh system, which creates a mesh by adding a secondary router to one you own already. But NETGEAR has a slightly different approach with the Nighthawk X6S Tri-Band WiFi Range Extender.
With the ASUS system, you're still buying a capable second router and not using a large proportion of its functionality. Primarily, only the multi-band radios are being employed, not the routing features. NETGEAR's alternative is to provide a dedicated unit that attaches to your existing router like a normal range extender, except that it uses Mesh technology, so expands the same SSID. It's specifically designed for this purpose.
The issue with regular range extenders is that they piggyback off the existing WiFi to create a second WLAN, which your devices will only connect to automatically if they are out of range of the original one. Otherwise, you will need to switch to the new network manually, which won't be particularly convenient in the middle of streaming a video from YouTube. The X6S should switch you over to the most powerful signal wherever you are, automatically.

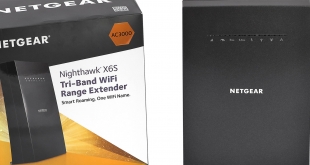
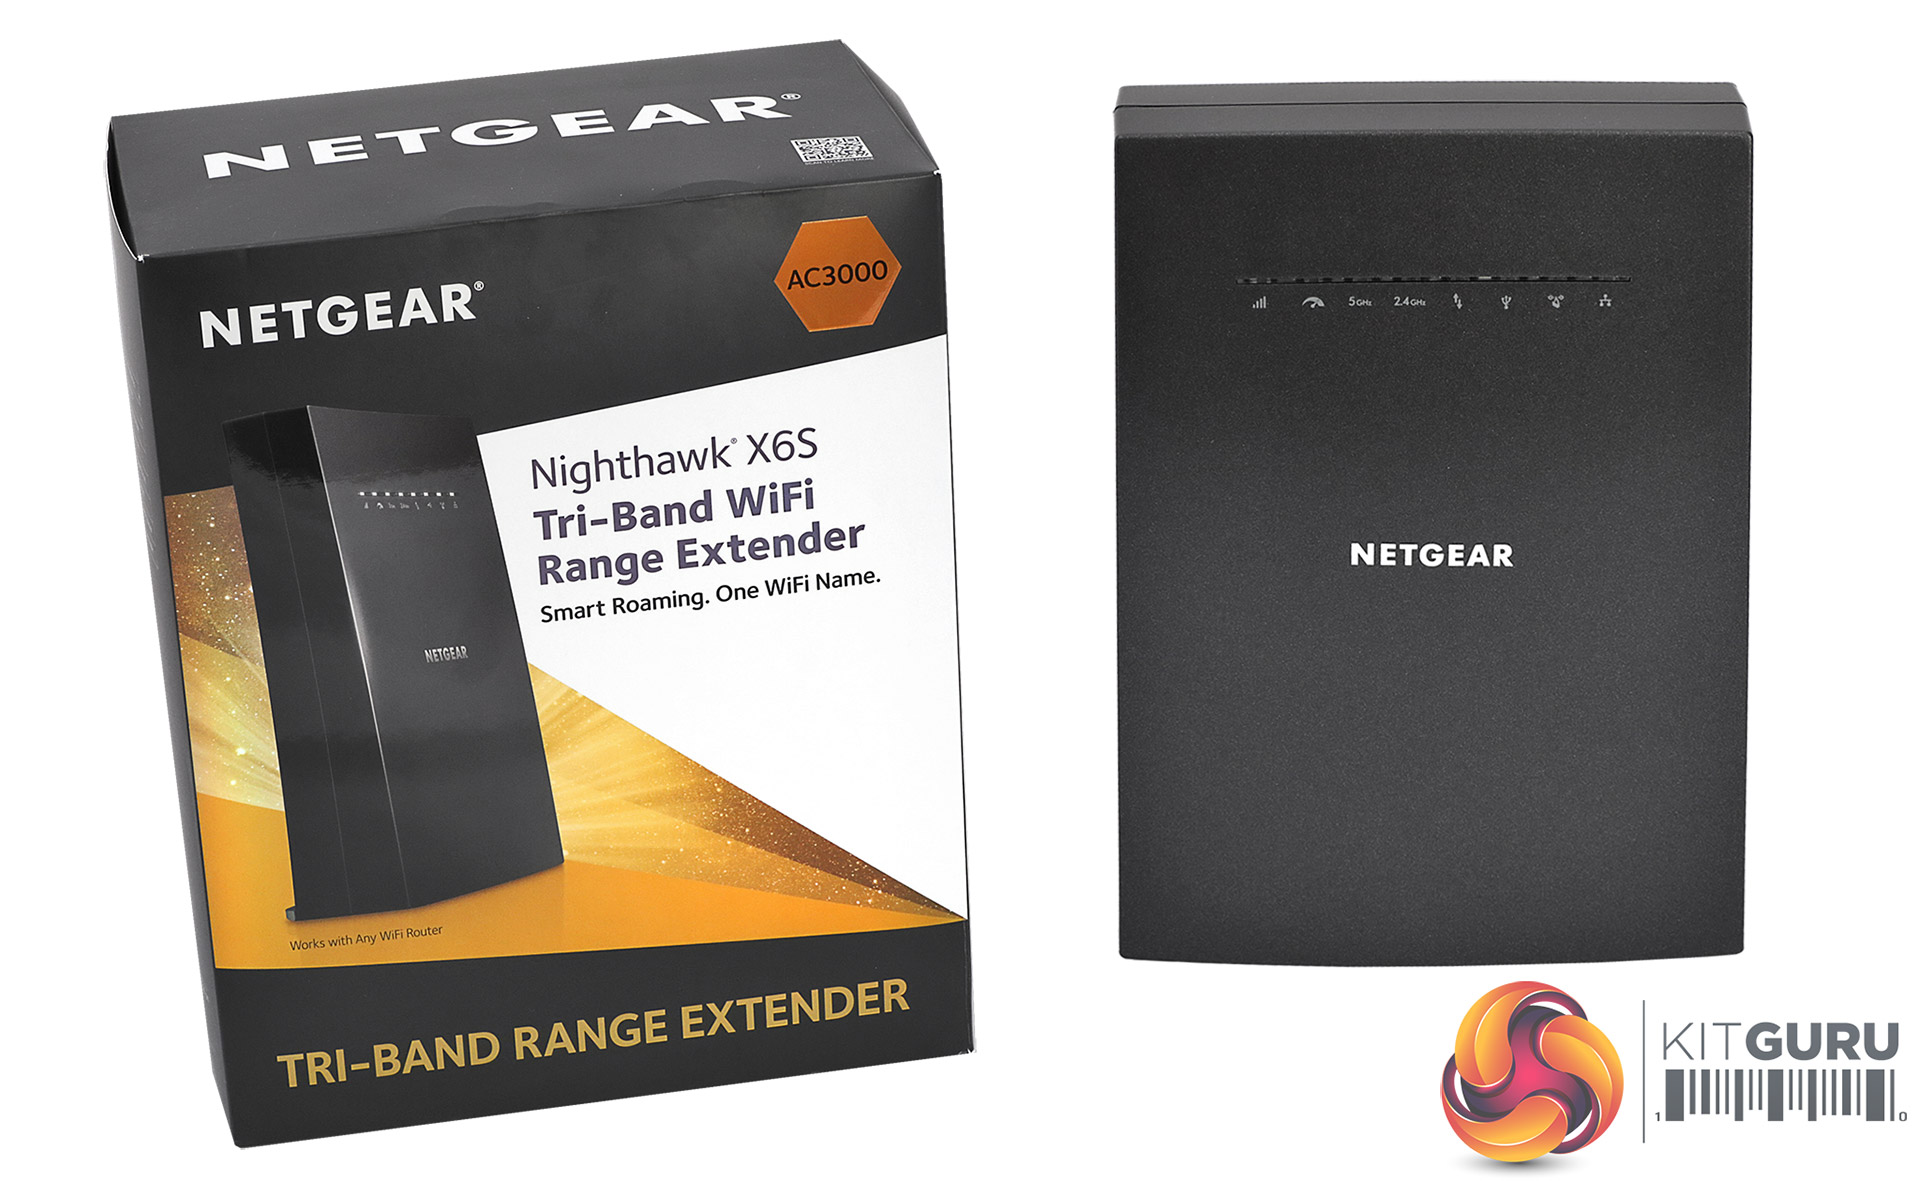
The Nighthawk X6S provides pretty powerful WiFi credentials, with three separate radios and a 4×4 antenna configuration. The AC3000 rating is comprised of a 1,733Mbits/sec 5GHz band, an 866Mbits/sec 5GHz band, and a 400Mbits/sec 2.4GHz band. It also sports a four-port Gigabit Ethernet switch and USB, although only USB 2.0. What it doesn't have is a fifth Gigabit port for direct broadband connectivity. This is definitely not a device that could double as your router.
As a result of its lack of routing functionality, the X6S is considerably cheaper than an AC3000 router, or indeed many routers with a lower bandwidth rating and just two radios. So your money is being spent on what's important for a WiFi extender – the WiFi. Confusingly, NETGEAR appears to have another product called the X6S which is a full router, so to avoid a mixup, this model is the EX8000 version.
The X6S uses its three radio bands in the same way as NETGEAR's Orbi, however. One of the radios will be exclusively employed as the “backhaul” to the router (probably the fastest 5GHz link), and the other two can then be utilised without contention by your WiFi devices. Obviously, the speed of the Internet connection depends on the router the X6S is connected to, however. Best results will probably be achieved with a fast tri-band router as well.
But the basic concept of the NETGEAR Nighthawk X6S Tri-Band WiFi Range Extender has potential, and should be less disruptive to your existing setup. Your host router doesn't even need to be from NETGEAR, although it does need to be for the One WiFi Name feature that gives you the benefits of mesh WiFi, otherwise it functions as a regular extender. The proof of the pudding is in the eating, however, so let's take a closer look at the X6S's abilities.
Specification:
Wireless protocols: MU-MIMO with 802.11b/g/n 2.4GHz, 802.11a/n/ac 5GHz, 256-QAM
Performance: AC3000 (1,733 + 866 + 400 Mbits/sec)
Antenna Configuration: 4 x 4 internal antennas
Ports: 4 x Gigabit Ethernet; 1 x USB 2.0
Modem Support: None.
Price: £154.92
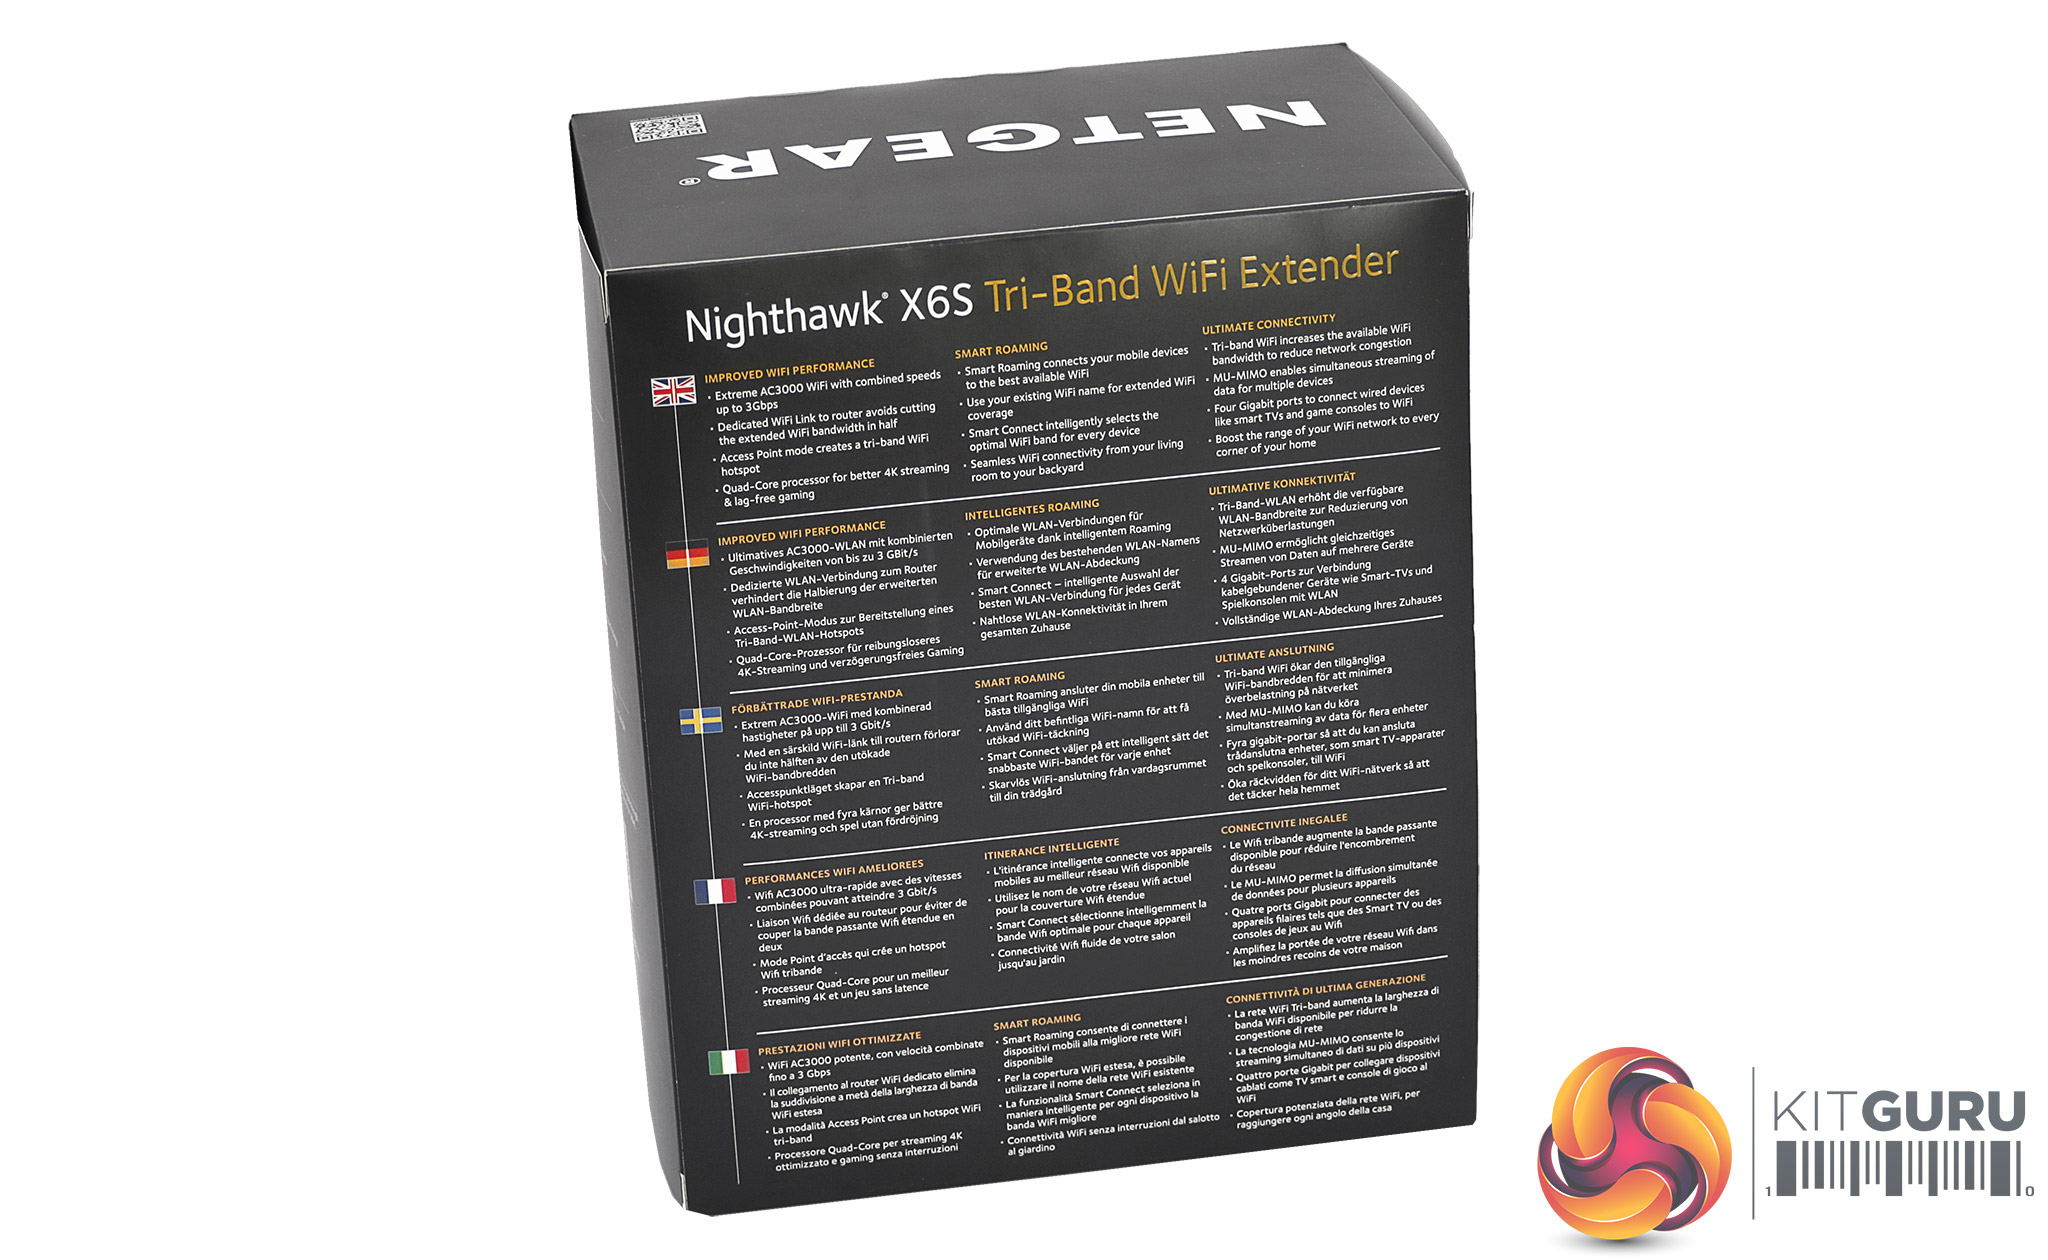

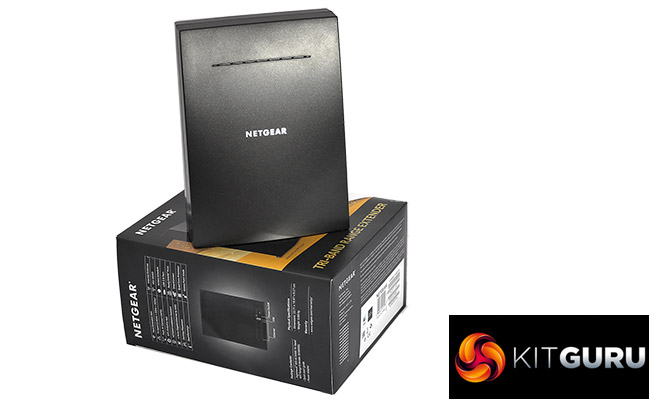
The NETGEAR Nighthawk X6S Tri-Band WiFi Range Extender doesn't include a large amount in its box – just power supplies for UK and European plugs. Since this is not a router, you don't even get an Ethernet wire for hooking up an ADSL or cable modem, because this isn't an option anyway.
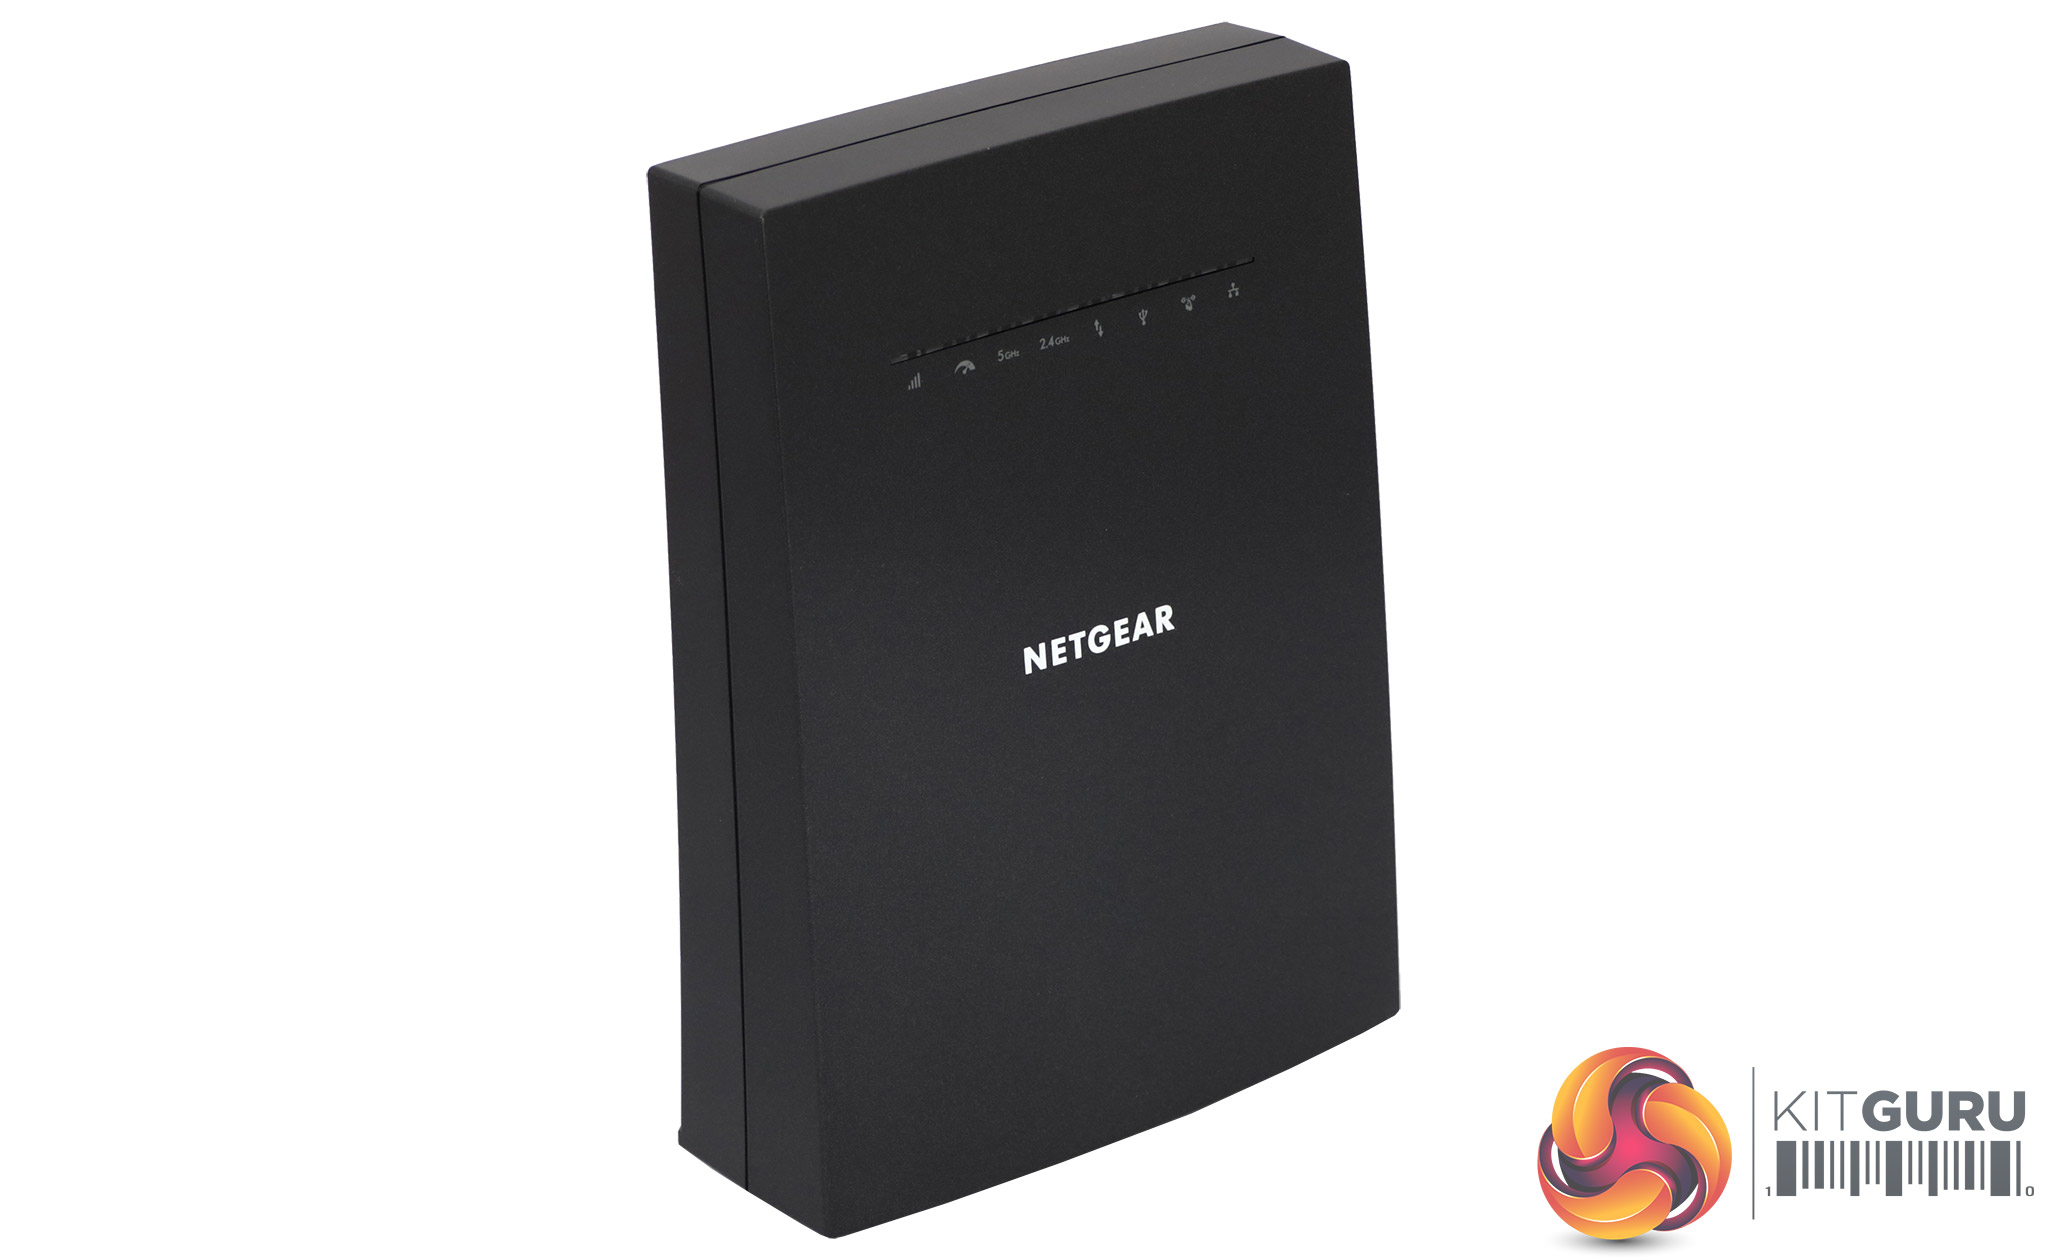
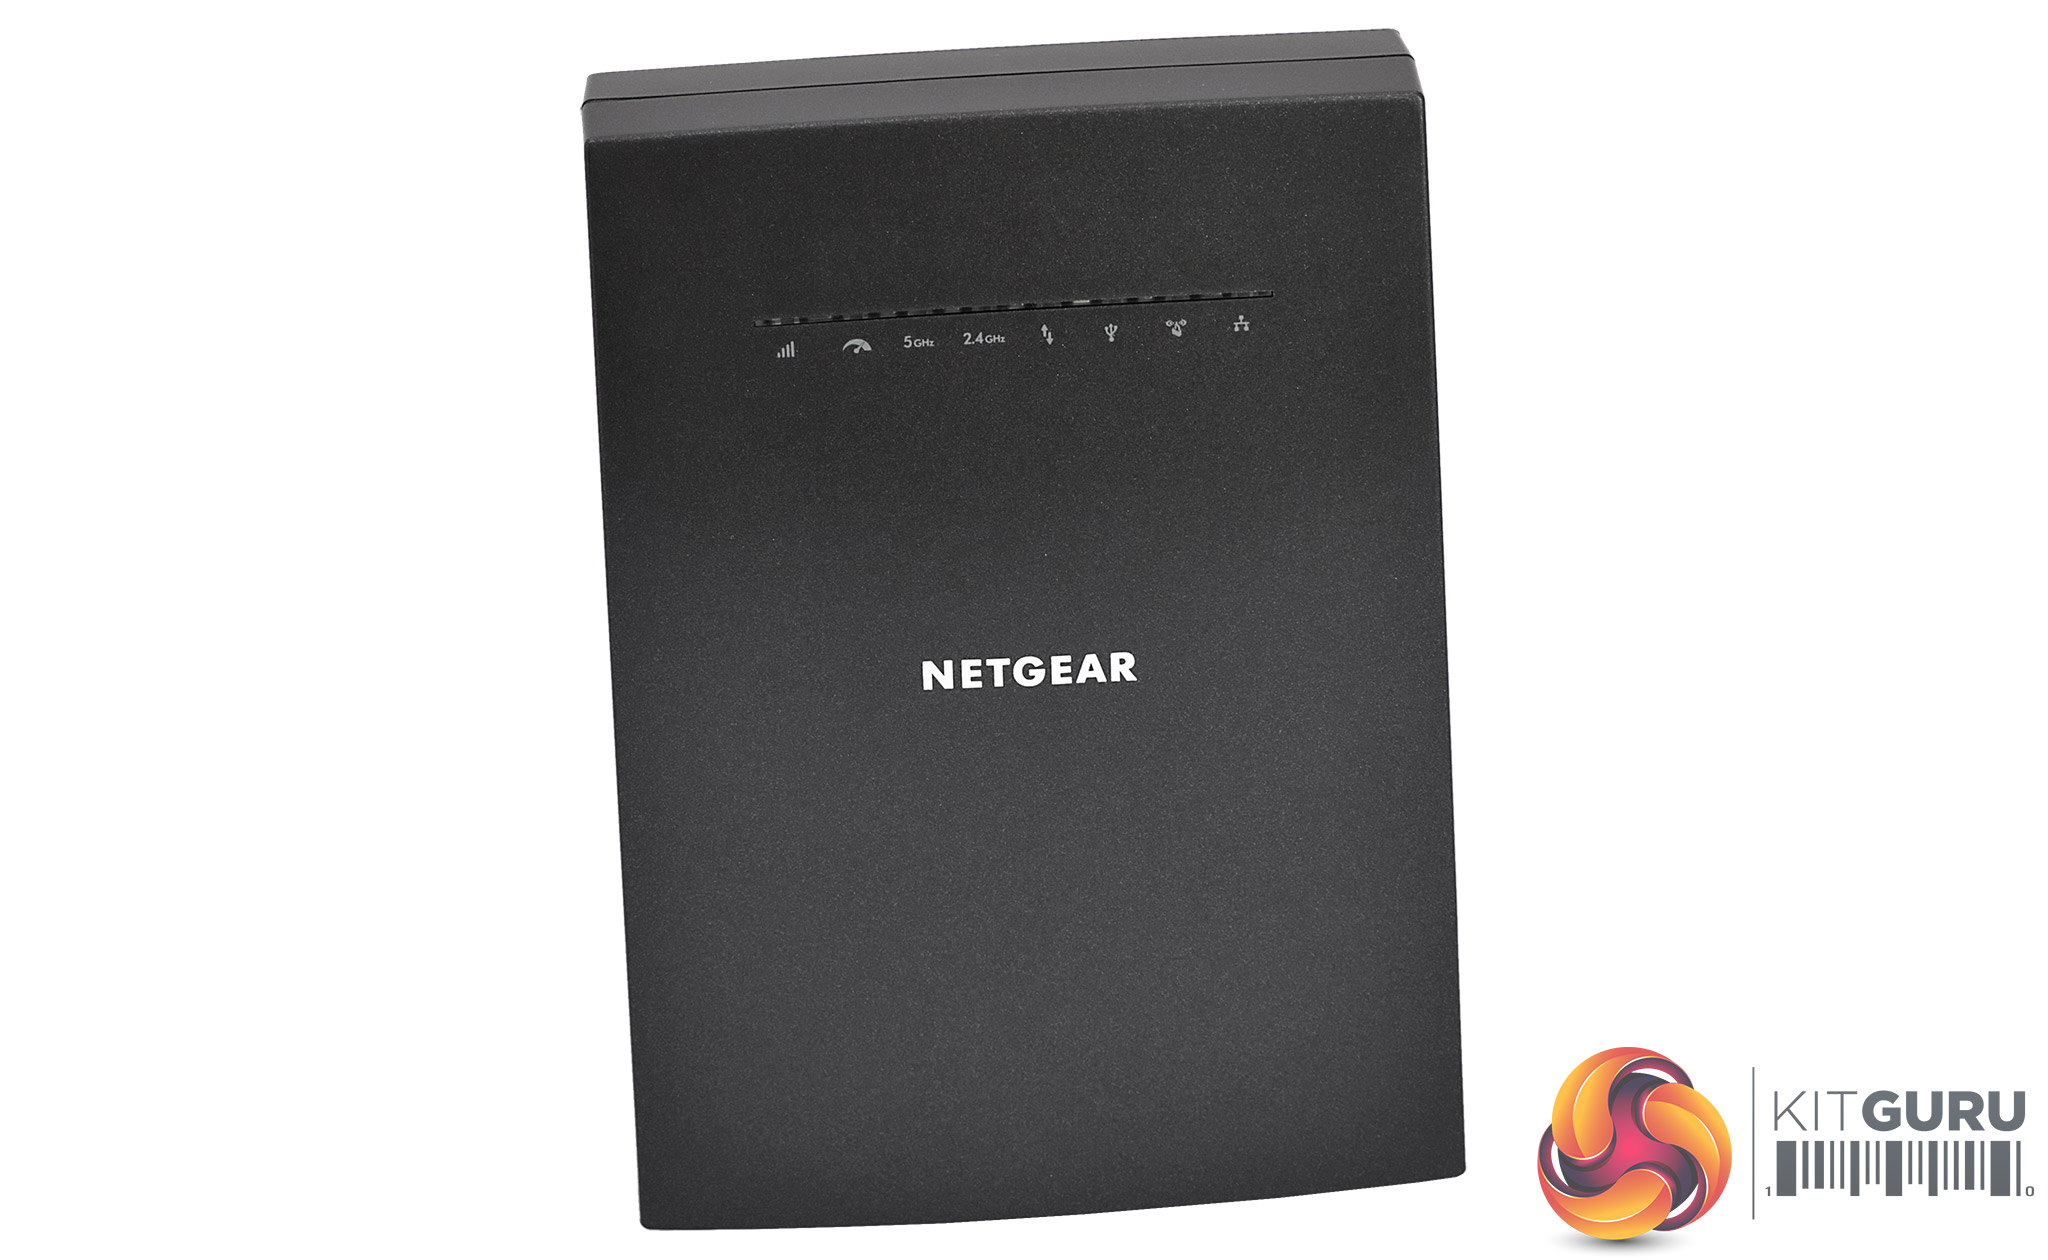
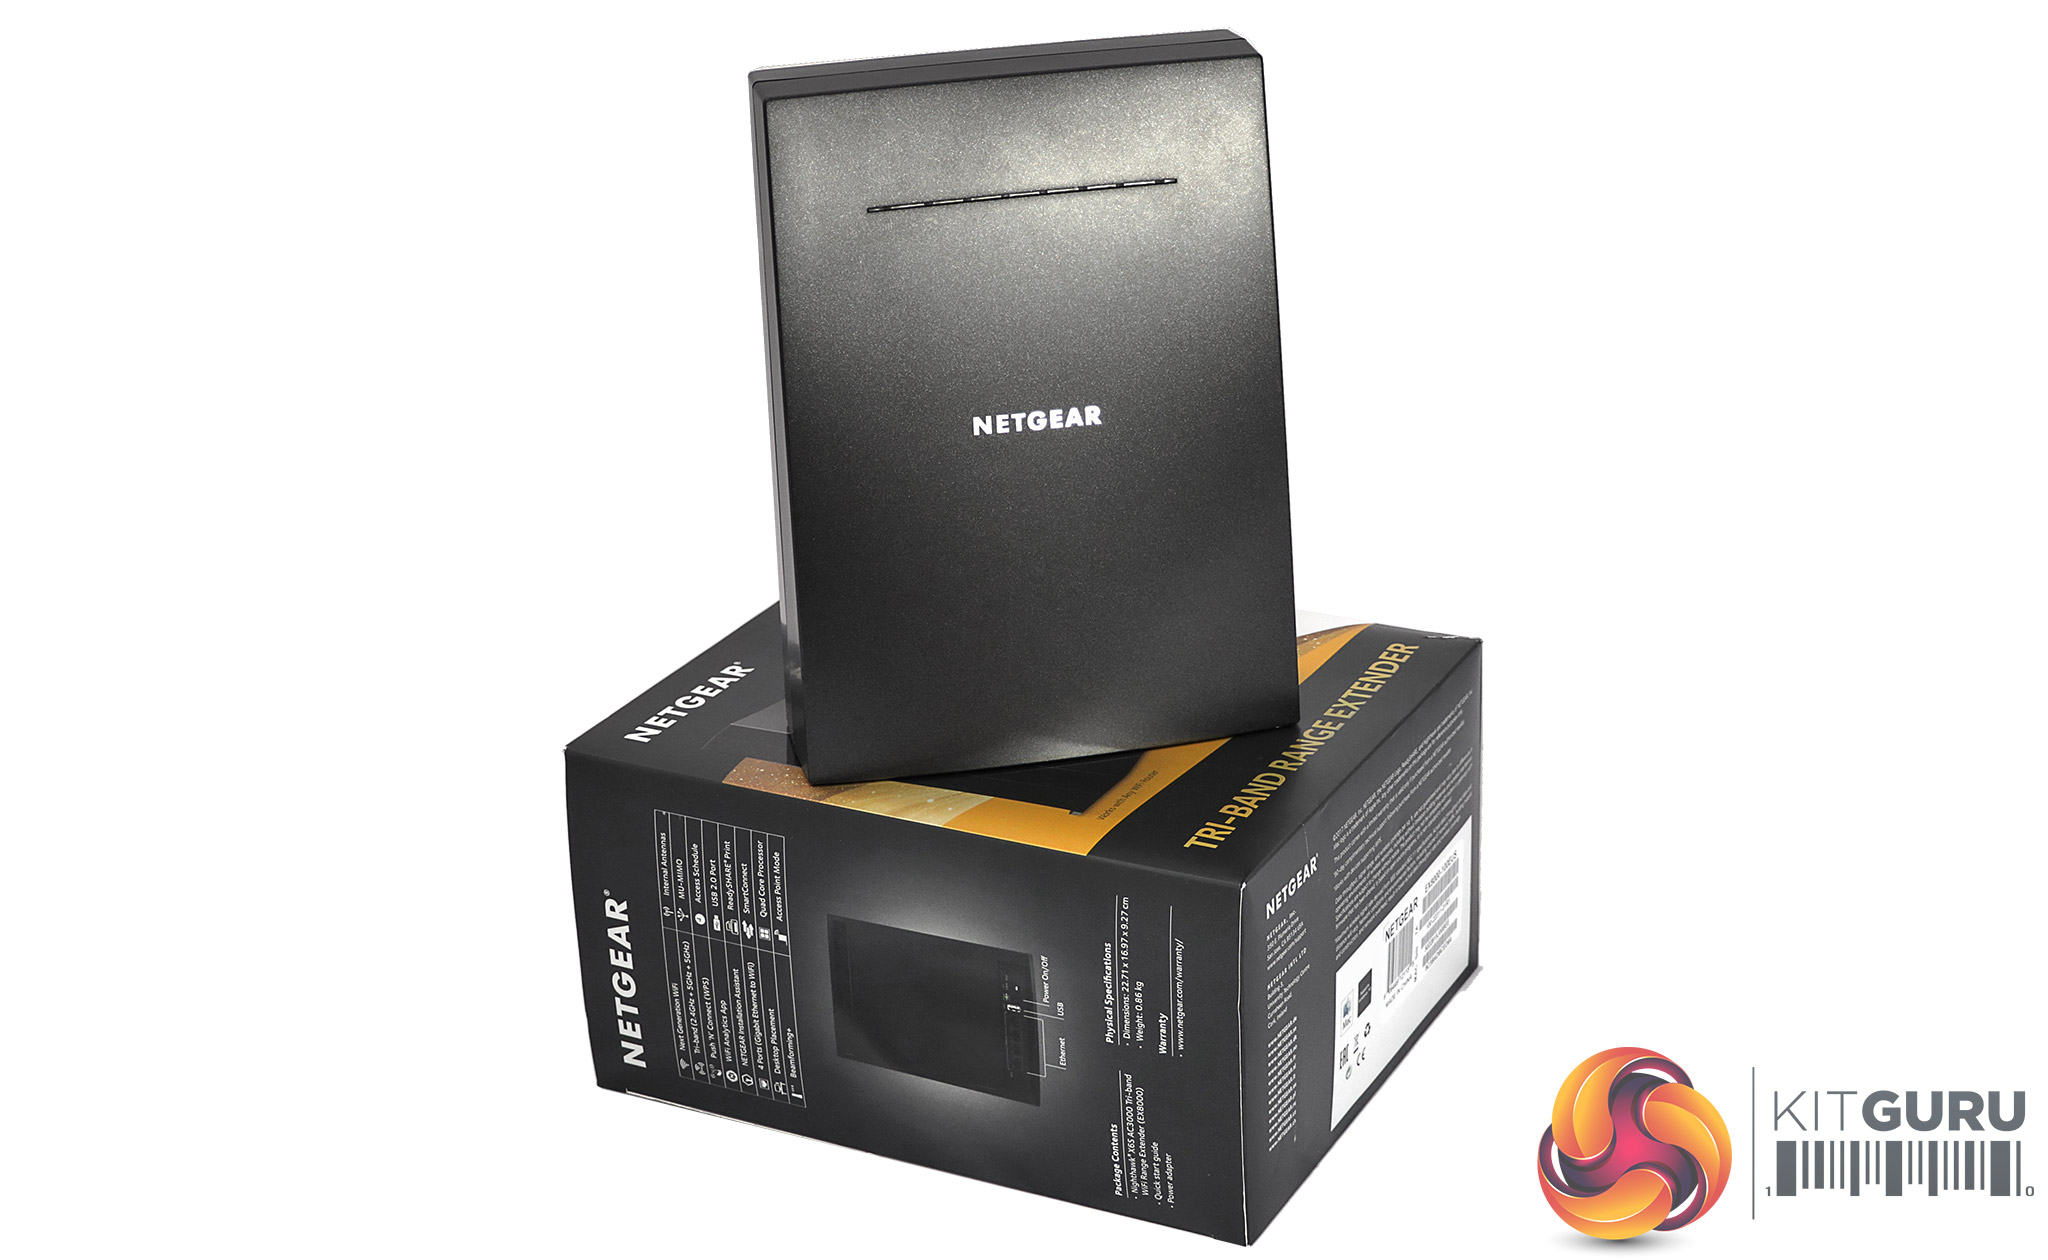
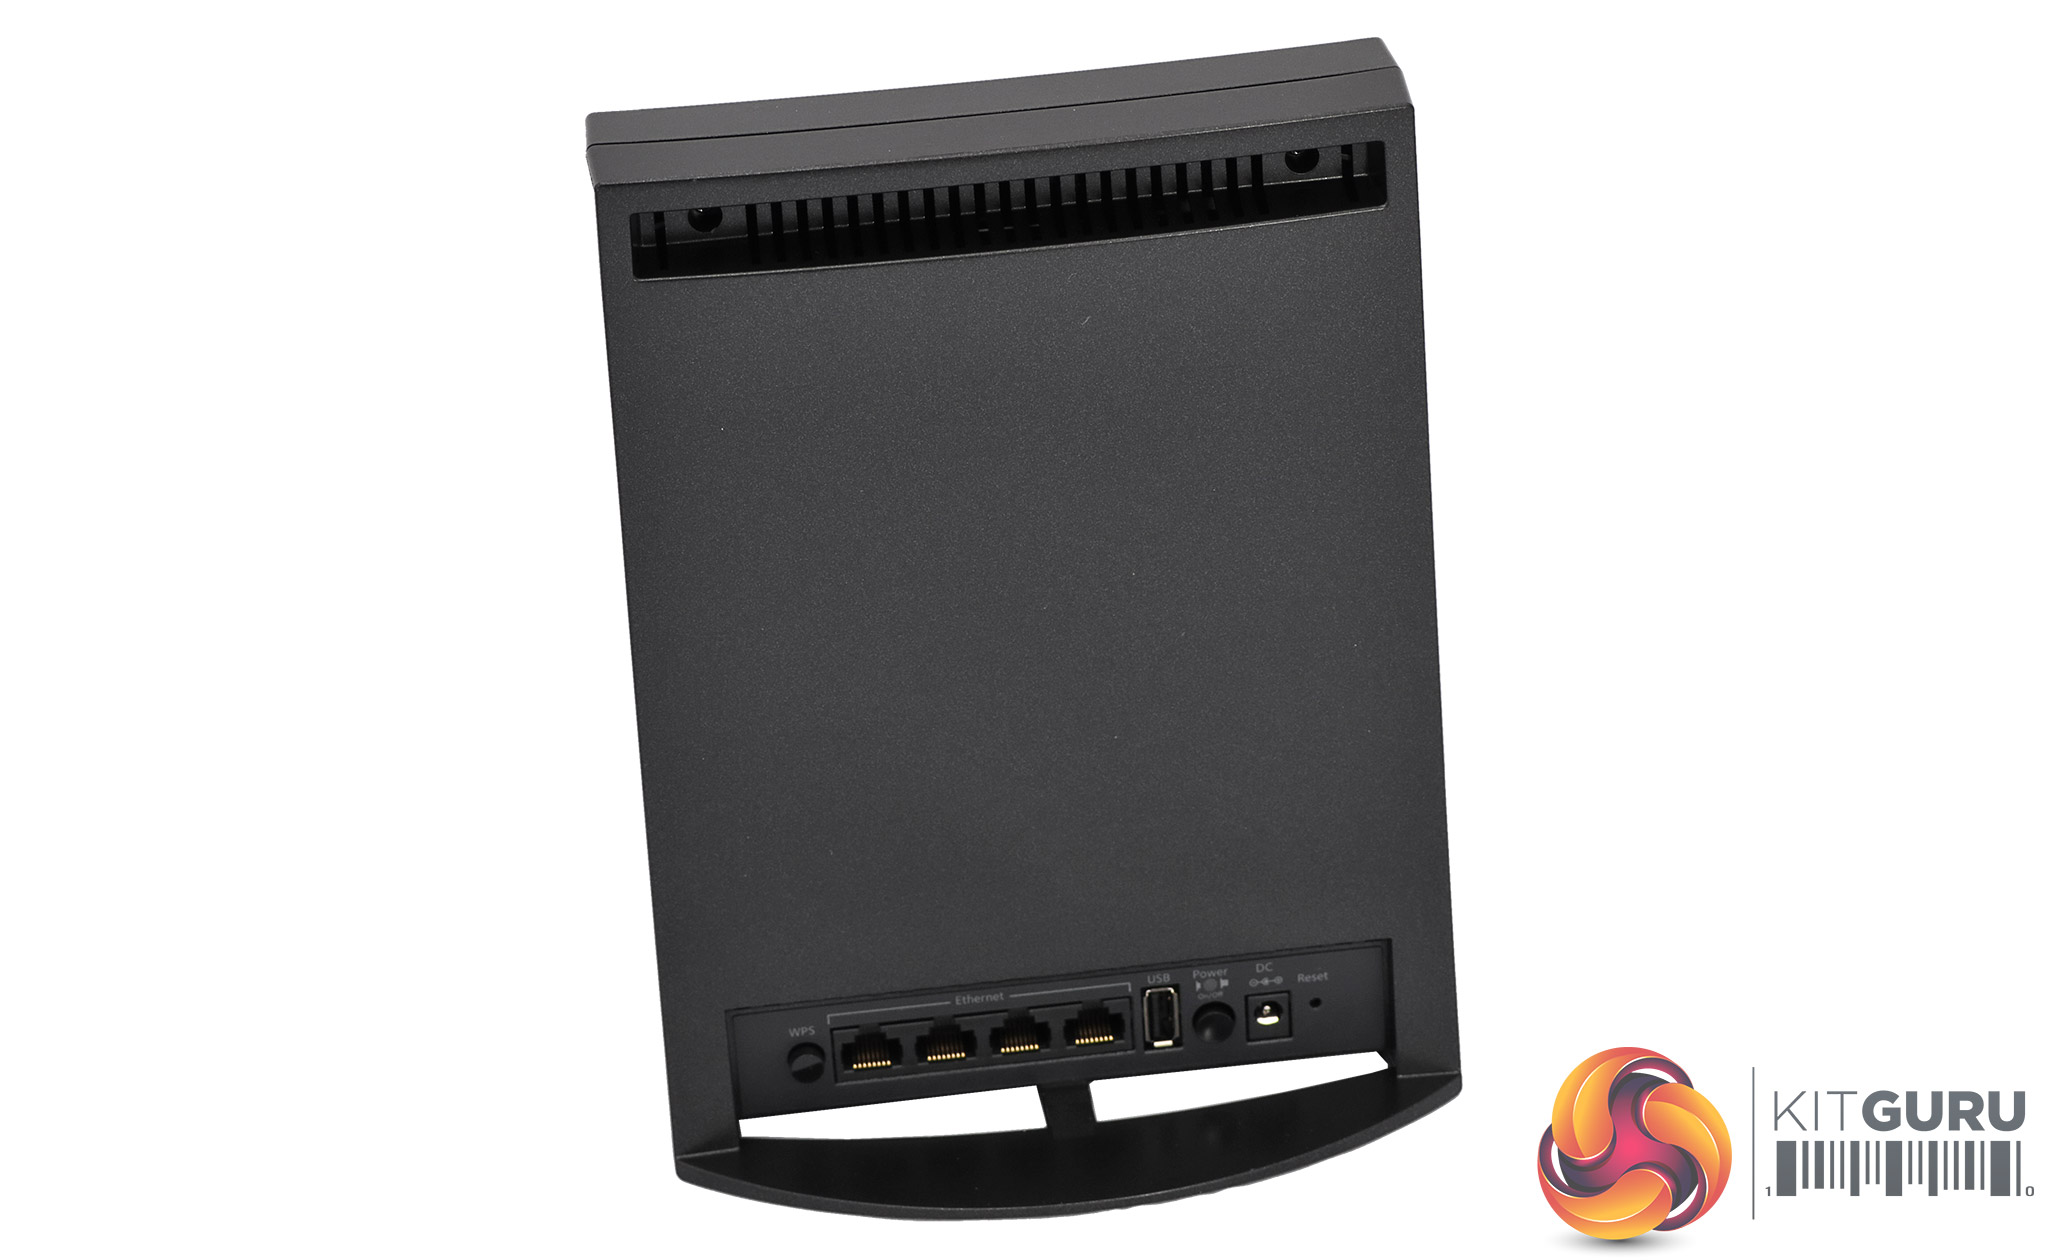
The X6S is a fairly nondescript black obelisk, which might have looked at home on the set of 2001: A Space Odyssey, if it were quite a bit larger, or the apes really small. It sits upright, presumably to make it easier to fit on a bookshelf if you want to place it in this way.

The status lights are all towards the top. The first tells you if the X6S has an active link to a router, and the next one lets you know whether the backhaul is 2.4GHz (off) or 5GHz (on). The next two lights indicate whether the 2.4GHz and 5GHz radios are operating.
Then there's a light to show client activity, followed by one for the USB port. The next along indicates whether WPS setup in progress. The final light shows wired Ethernet activity.
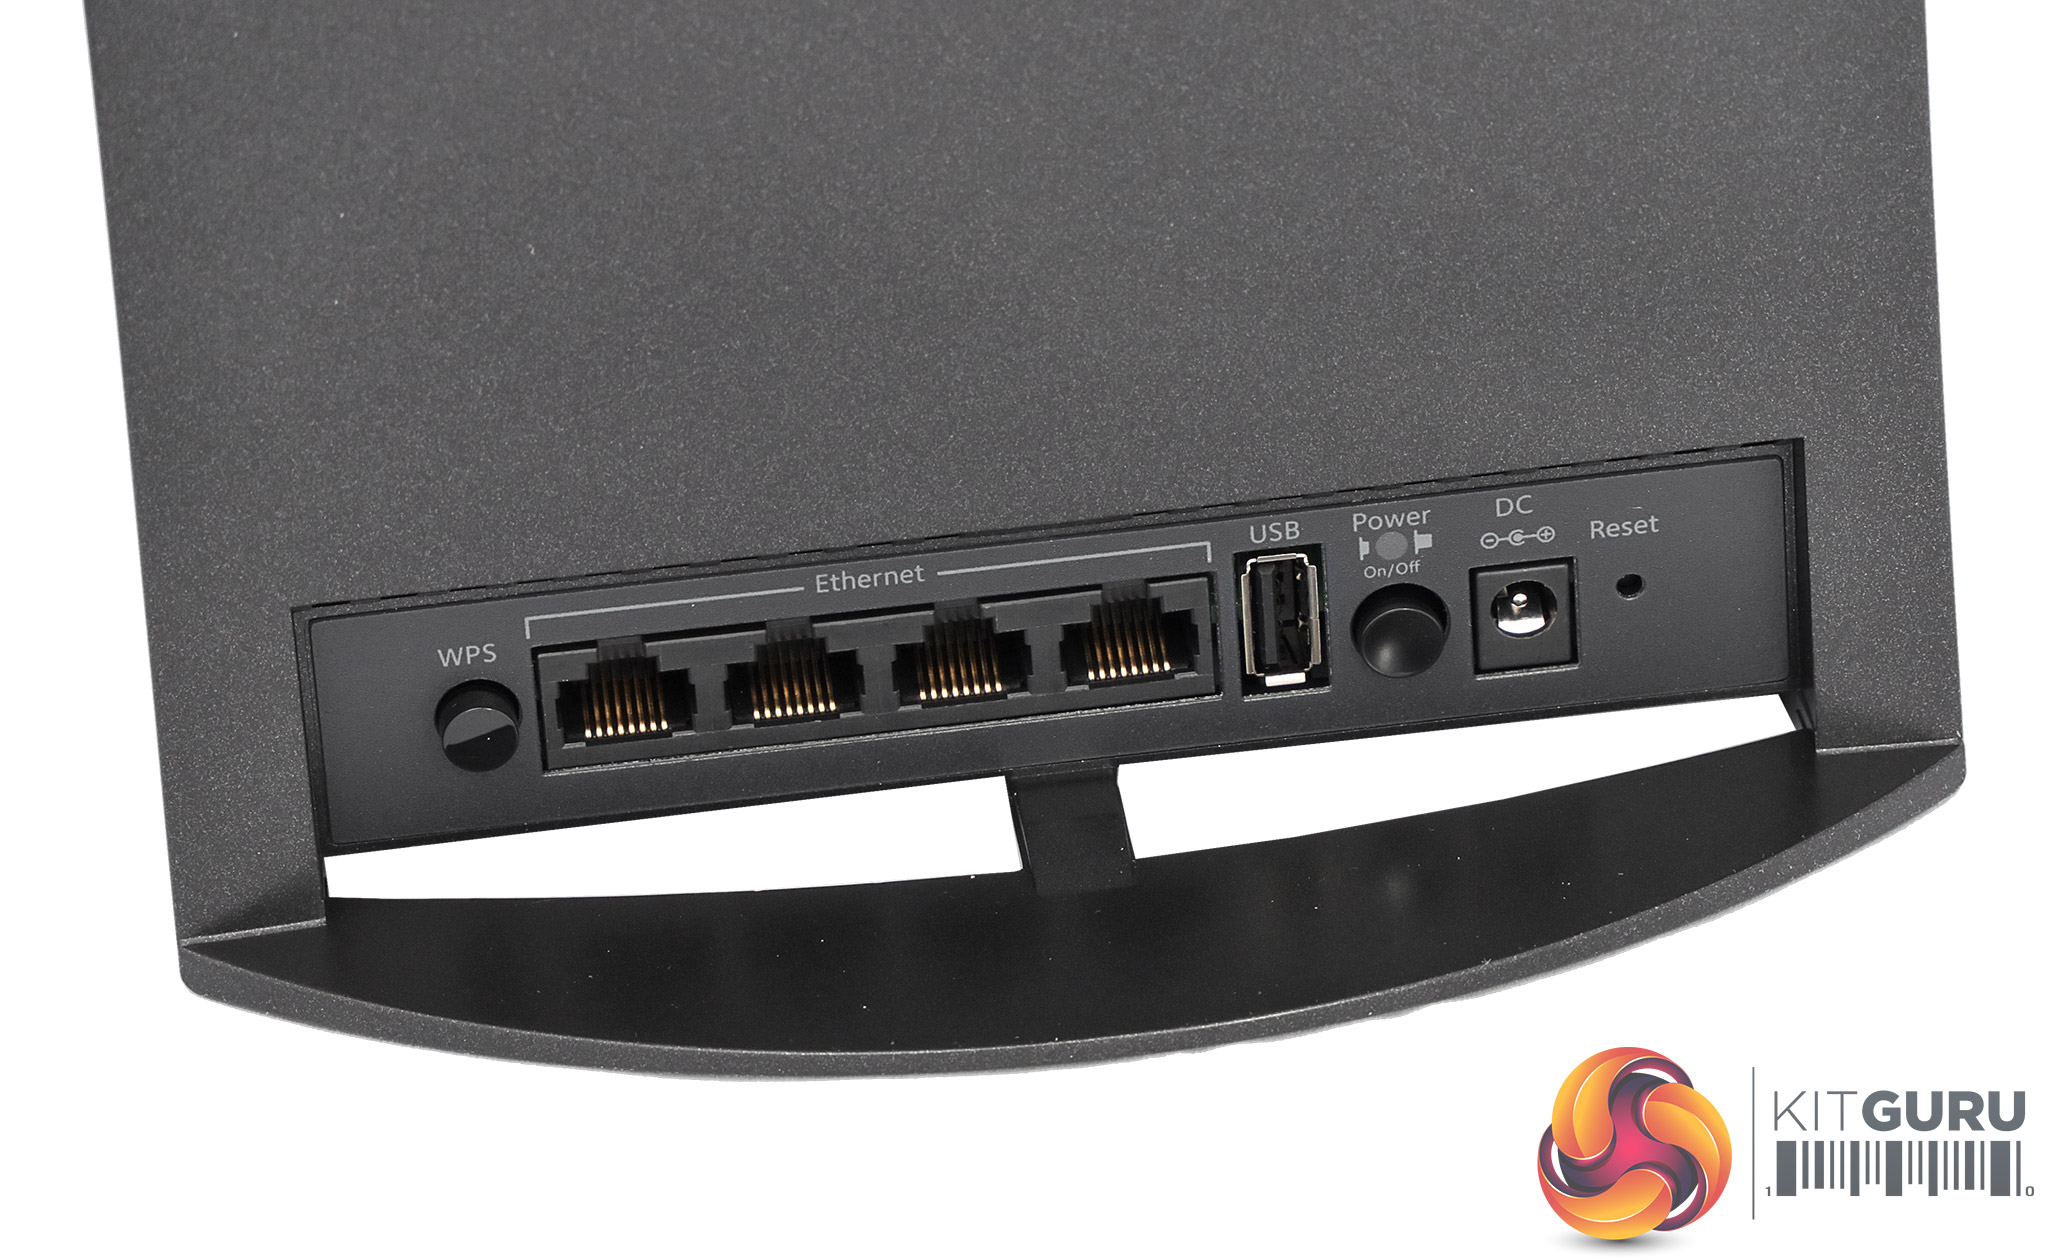
Since there's no option to connect directly to a broadband WAN via Ethernet, there are only four Gigabit ports, alongside the buttons for WPS and power. The USB port is only the 2.0 variety, which is a bit of a disappointment as it supports storage as well as printer connections, so won't be able to provide the fastest access to an attacked USB Flash Drive or other external storage device.
Nevertheless, the four-port switch could be very useful if you want to use the X6S to extend your wired network to another room whilst simultaneously boosting the range of your WiFi.
Next, we will turn to the setup, looking at how you connect the X6S to your existing router.
Connecting the NETGEAR Nighthawk X6S Tri-Band WiFi Range Extender is completely seamless if your router supports WPS. Simply press the WPS buttons on both devices and they should connect together automatically. But if WPS isn't available, the procedure below will need to be followed. This also includes more options, which you might want to use even if original setup was via WPS. We were testing the X6S with a NETGEAR Nighthawk XR500 as the primary router, so that the One WiFi Name feature could be used.

Once the router and X6S are up and running, the first step is to point a wireless device at the X6S's WiFi network, or plug into the X6S via wired Ethernet. Firing up a browser will call then up the wizard shown above.
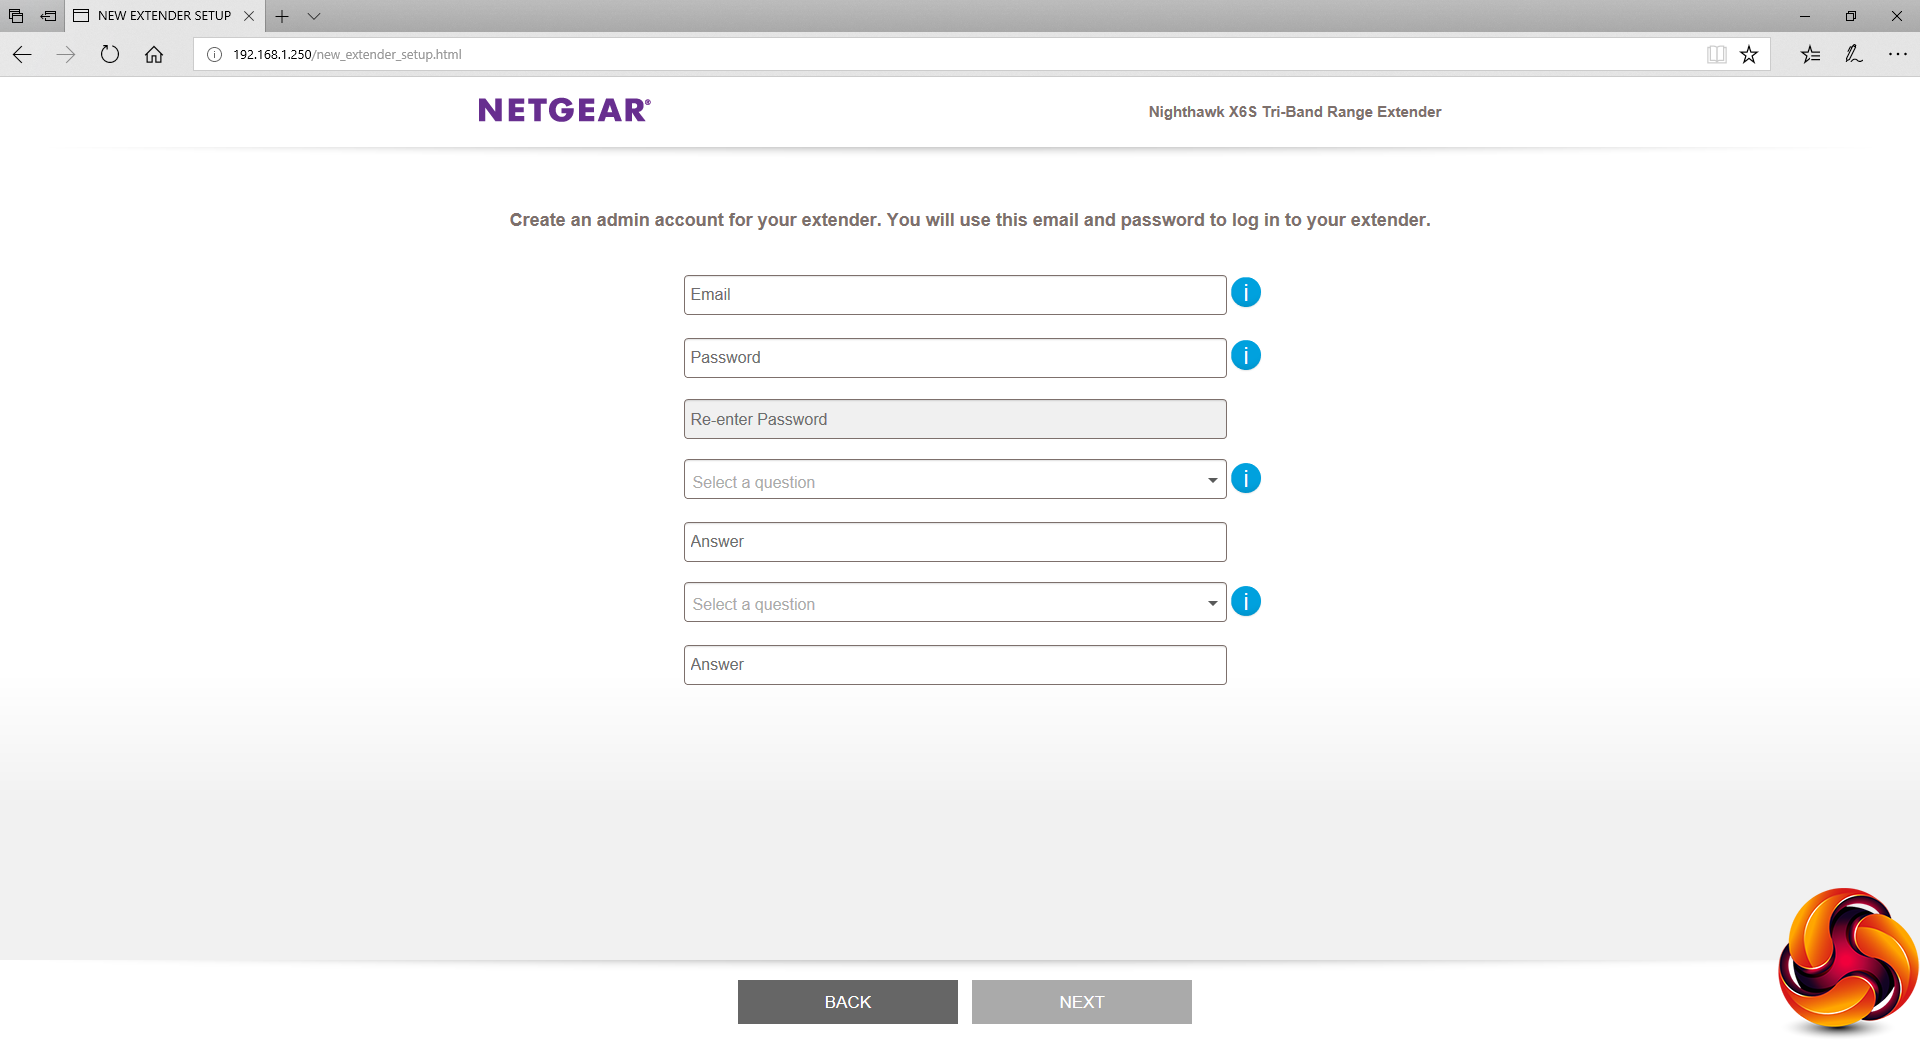
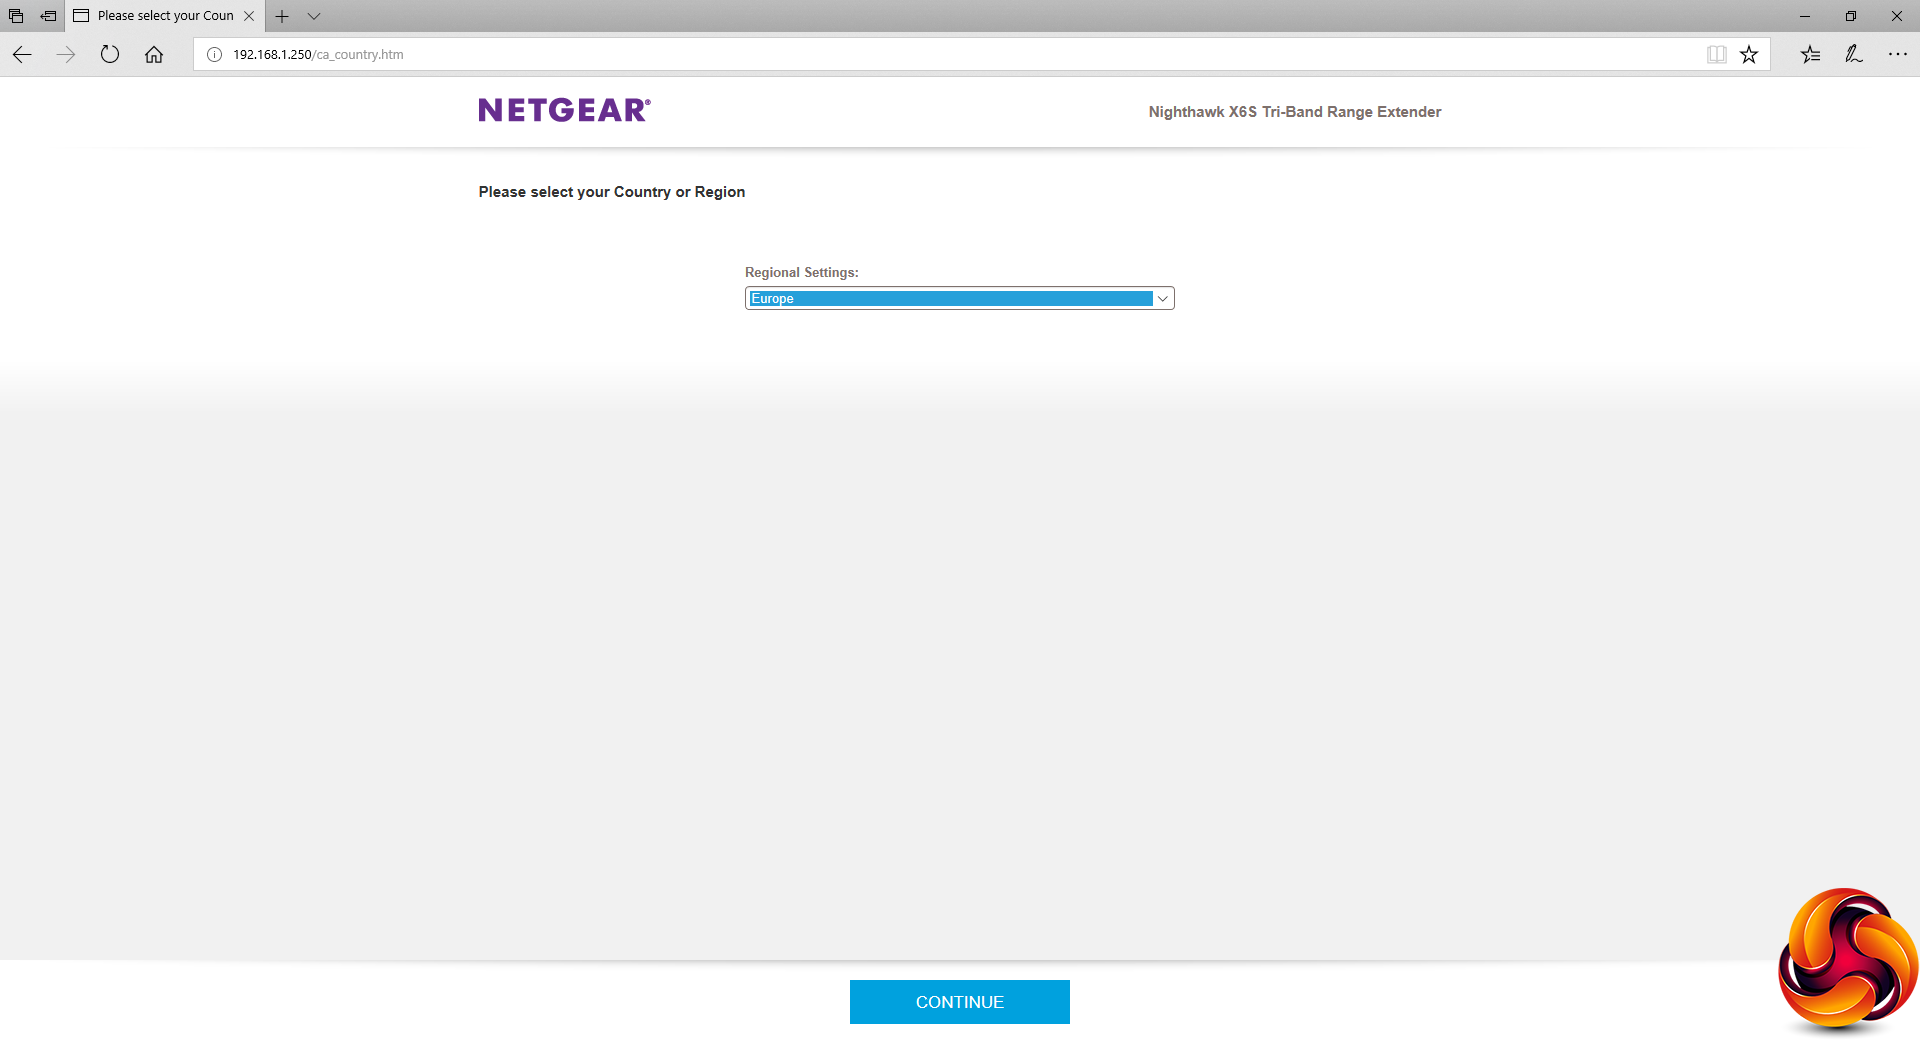
You will then be asked to set up an account and choose the regional location of your network.
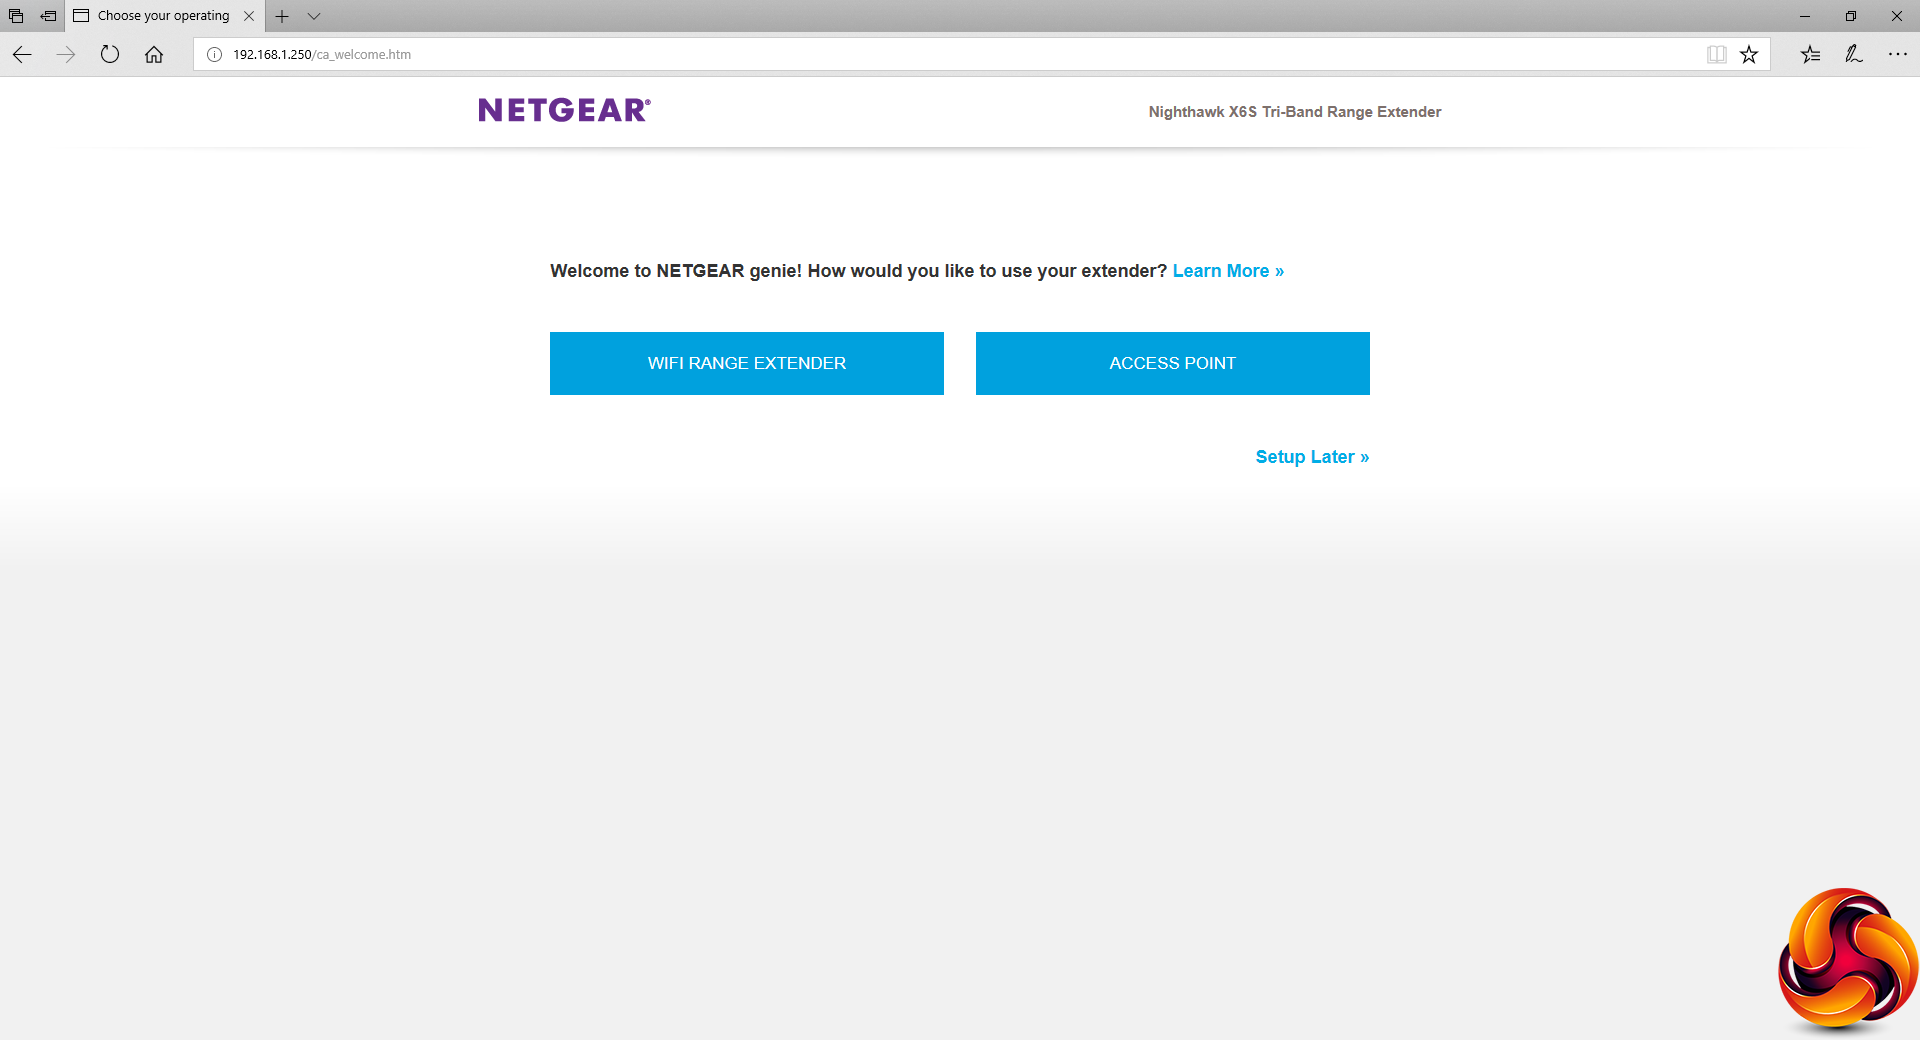
You can use the X6S as a standard access point, but wireless extender is what you bought it for, presumably, so this is the option to choose. However, the Access Point option means you can use the X6S with wired Ethernet infrastructure as an additional node.
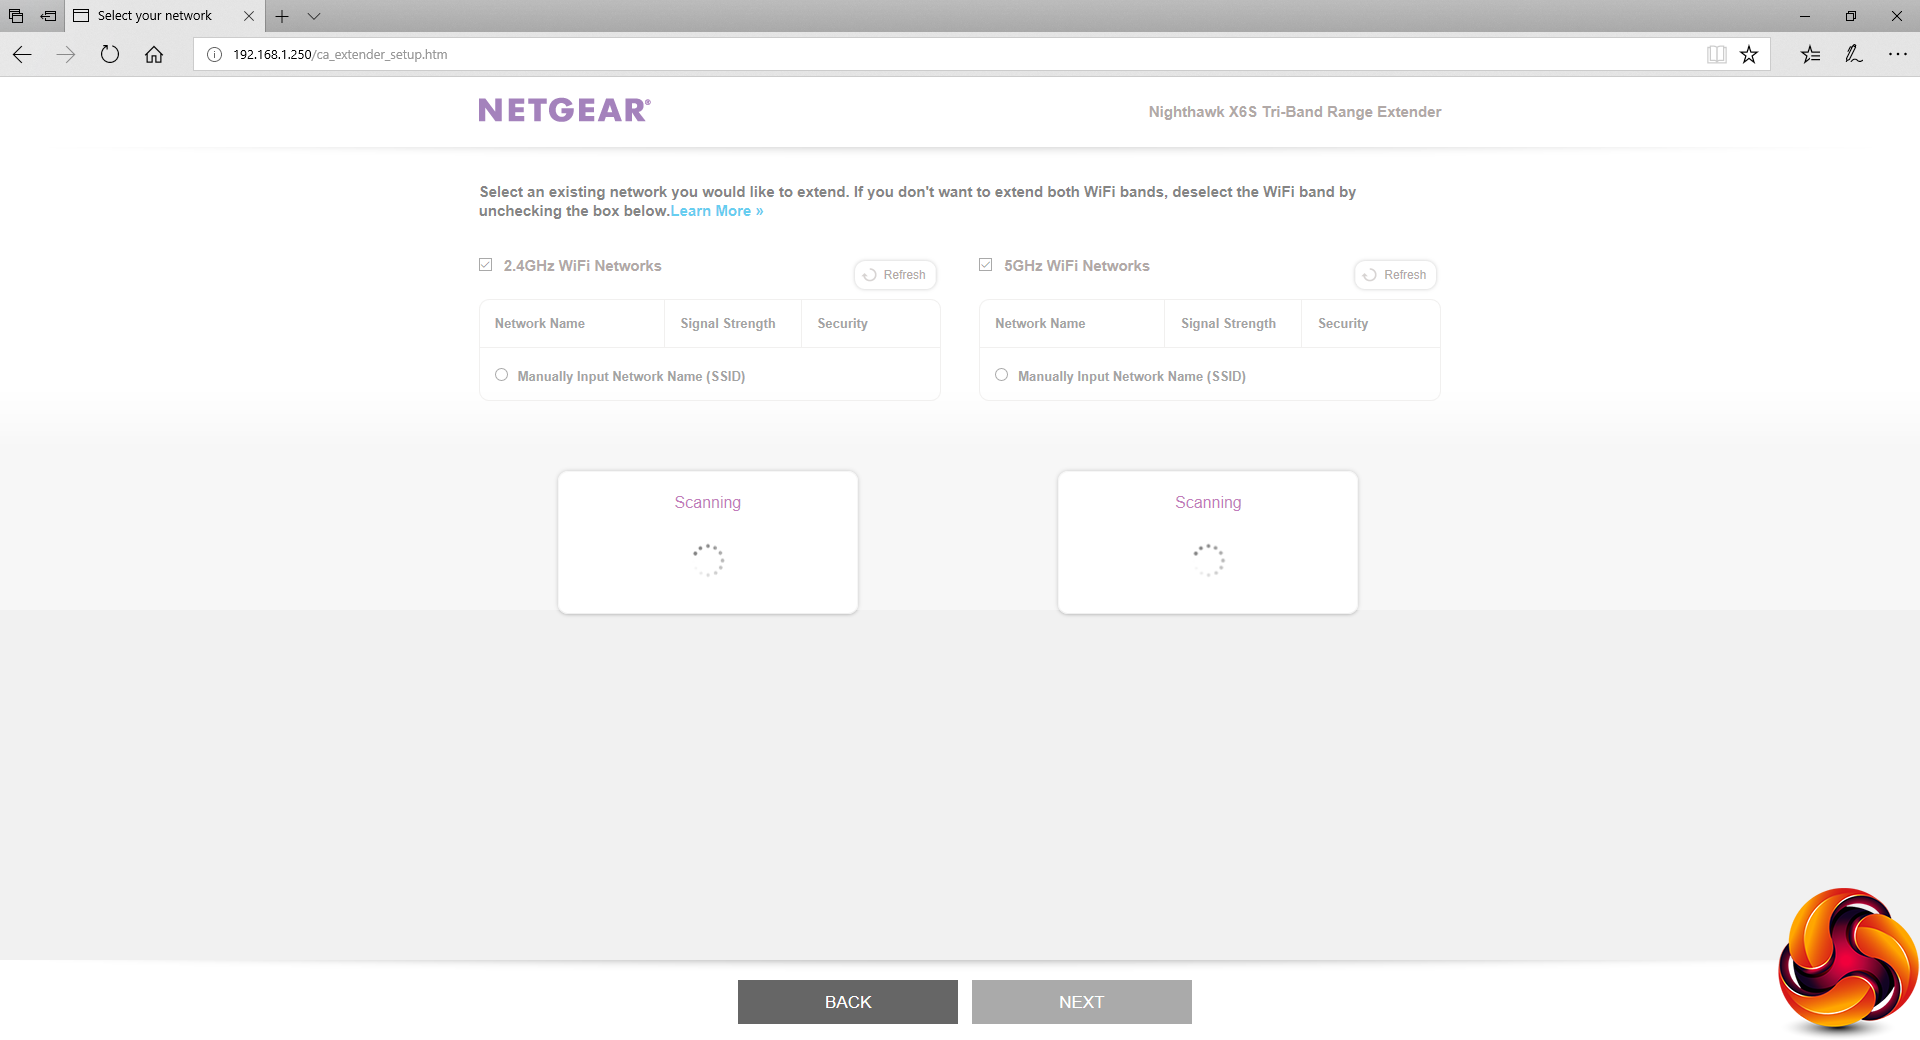
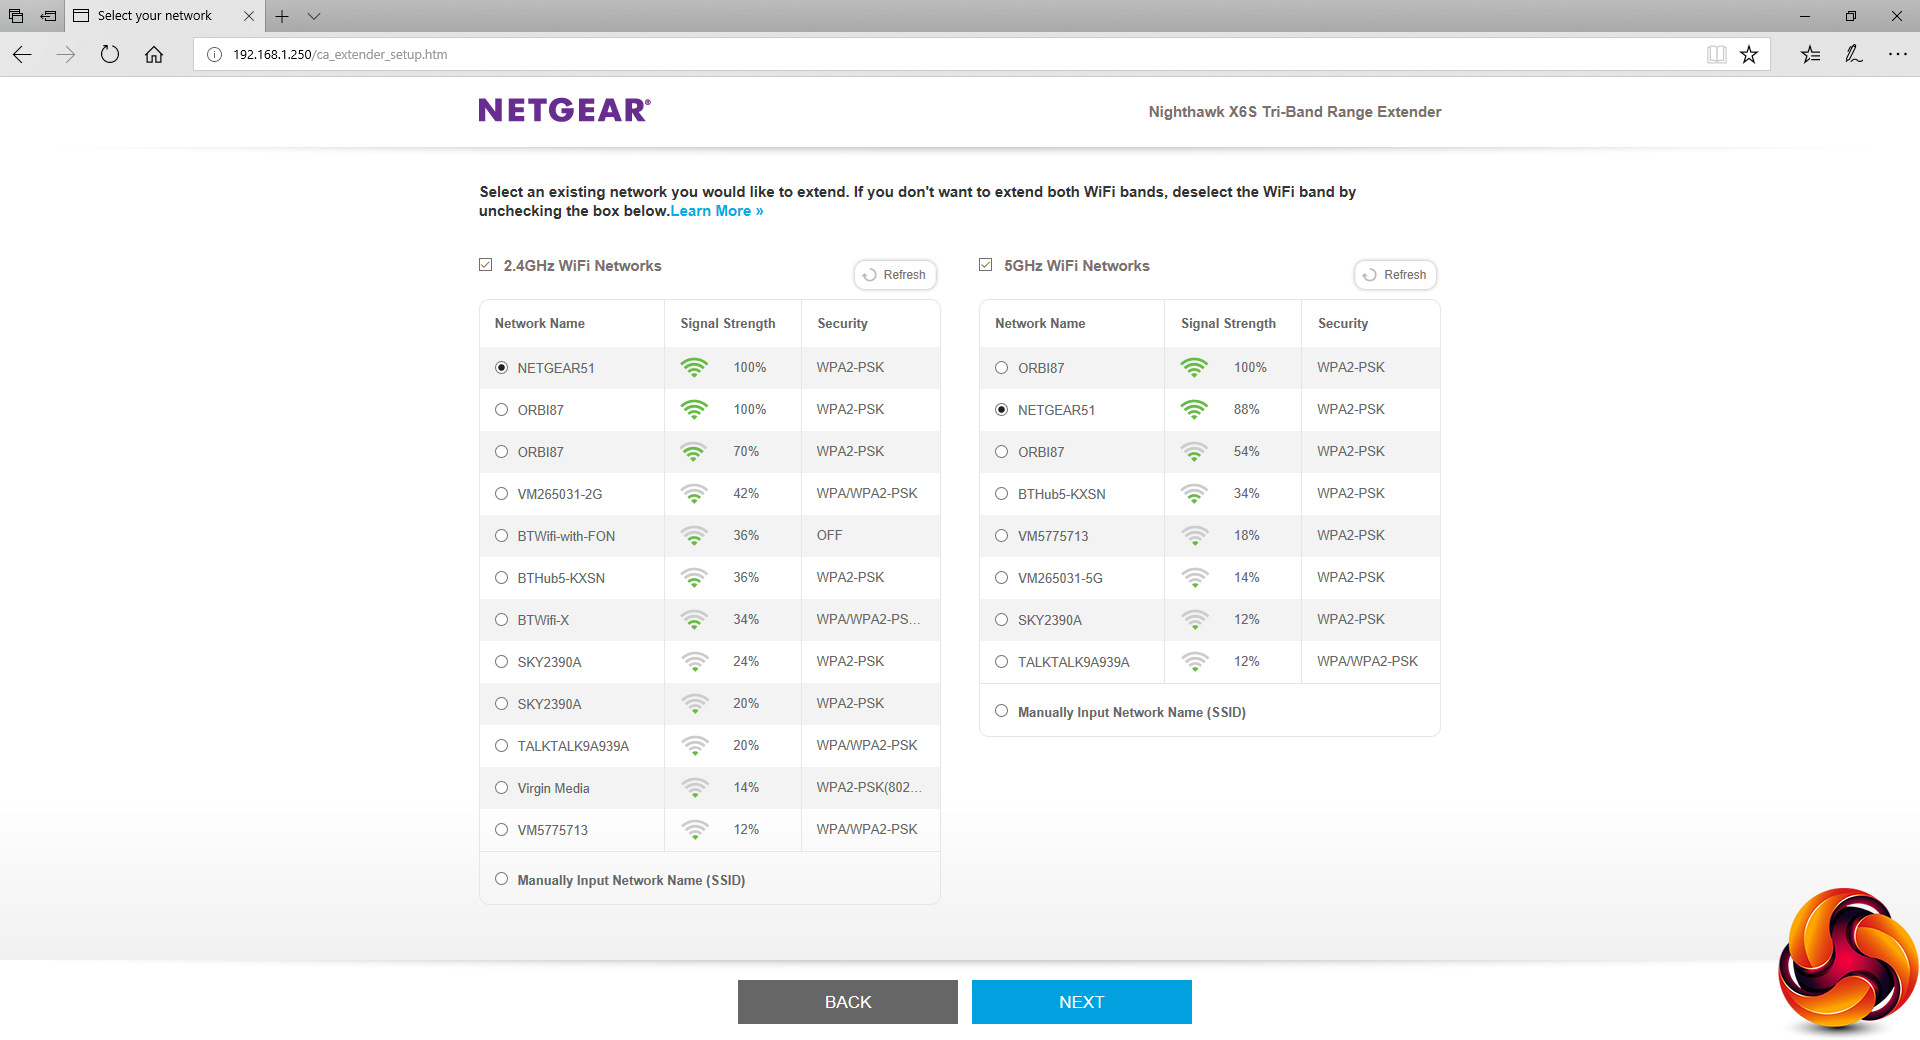
The X6S will then scan for current WiFi networks, and present you with a list from which to choose the one you want to attach it to. You can choose different 2.4GHz and 5GHz WiFi networks to extend, although in practice these will both be on the same router. But you might use different SSIDs for the two wavebands to keep them separate.
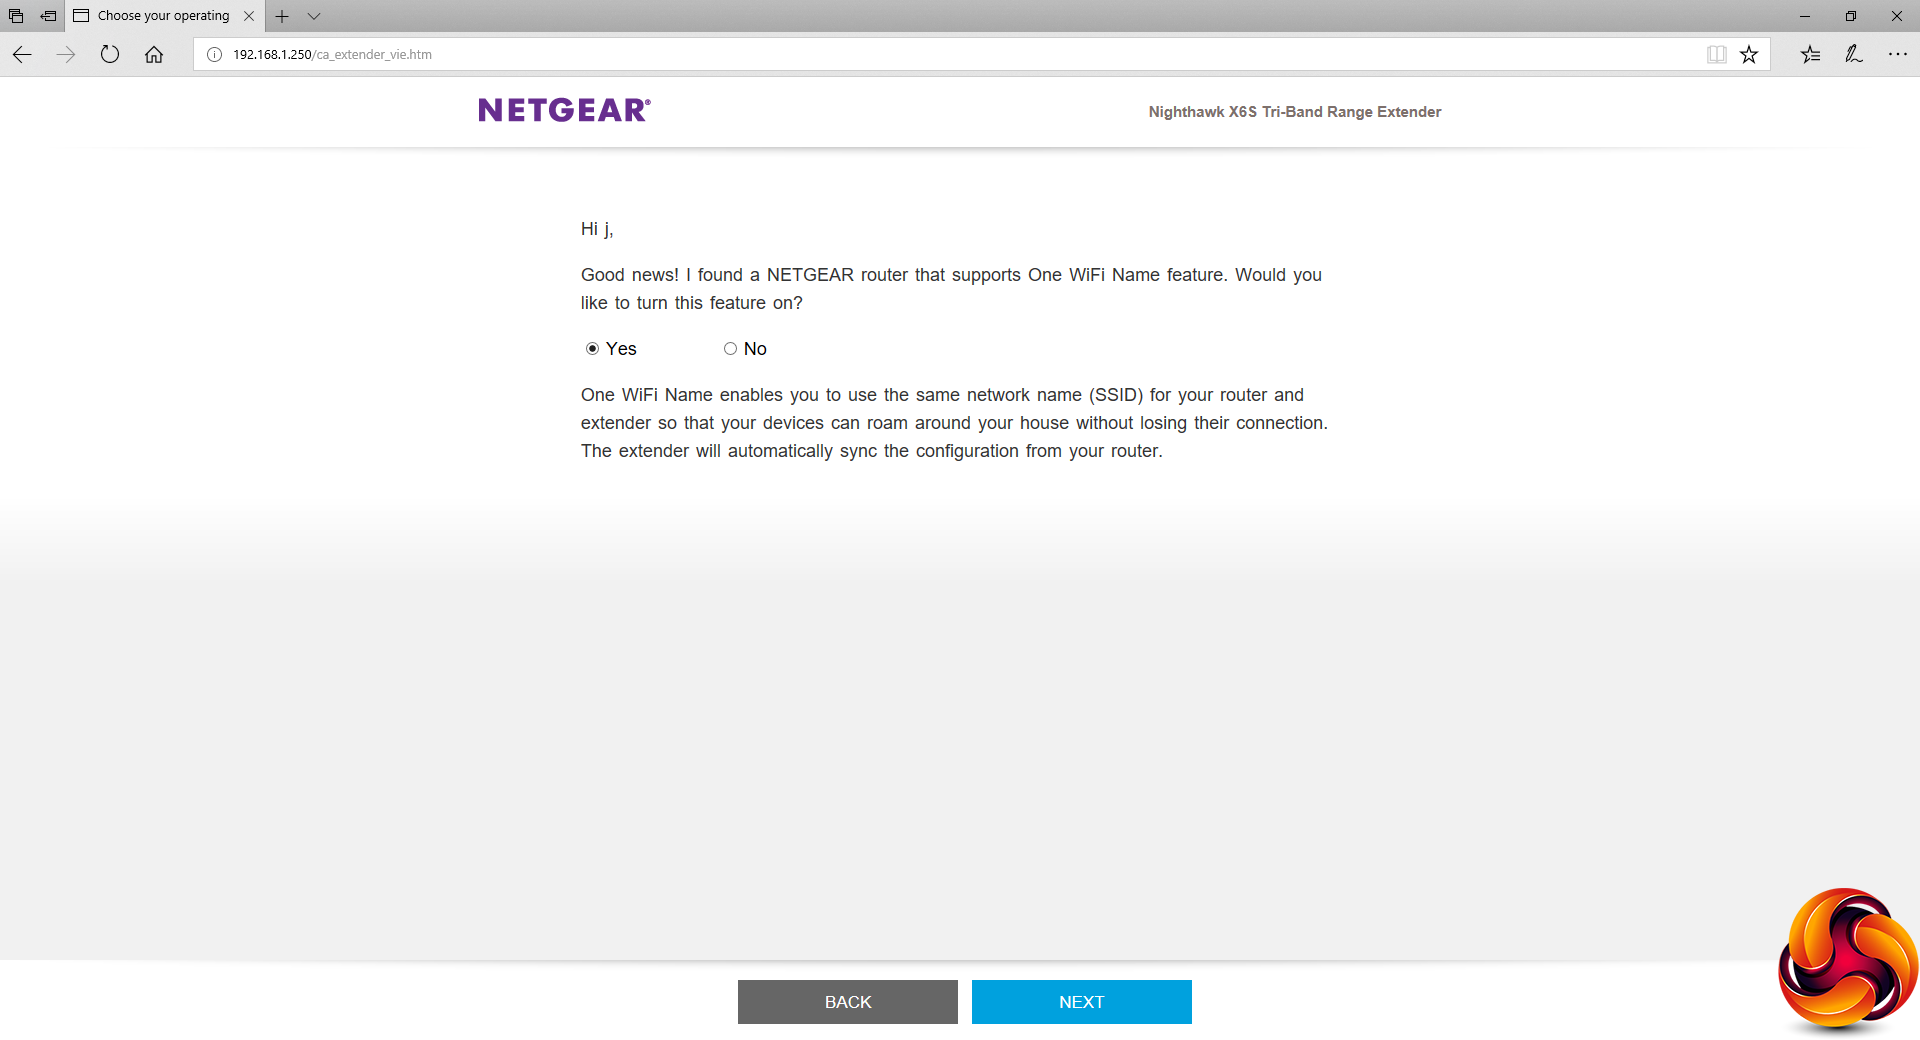
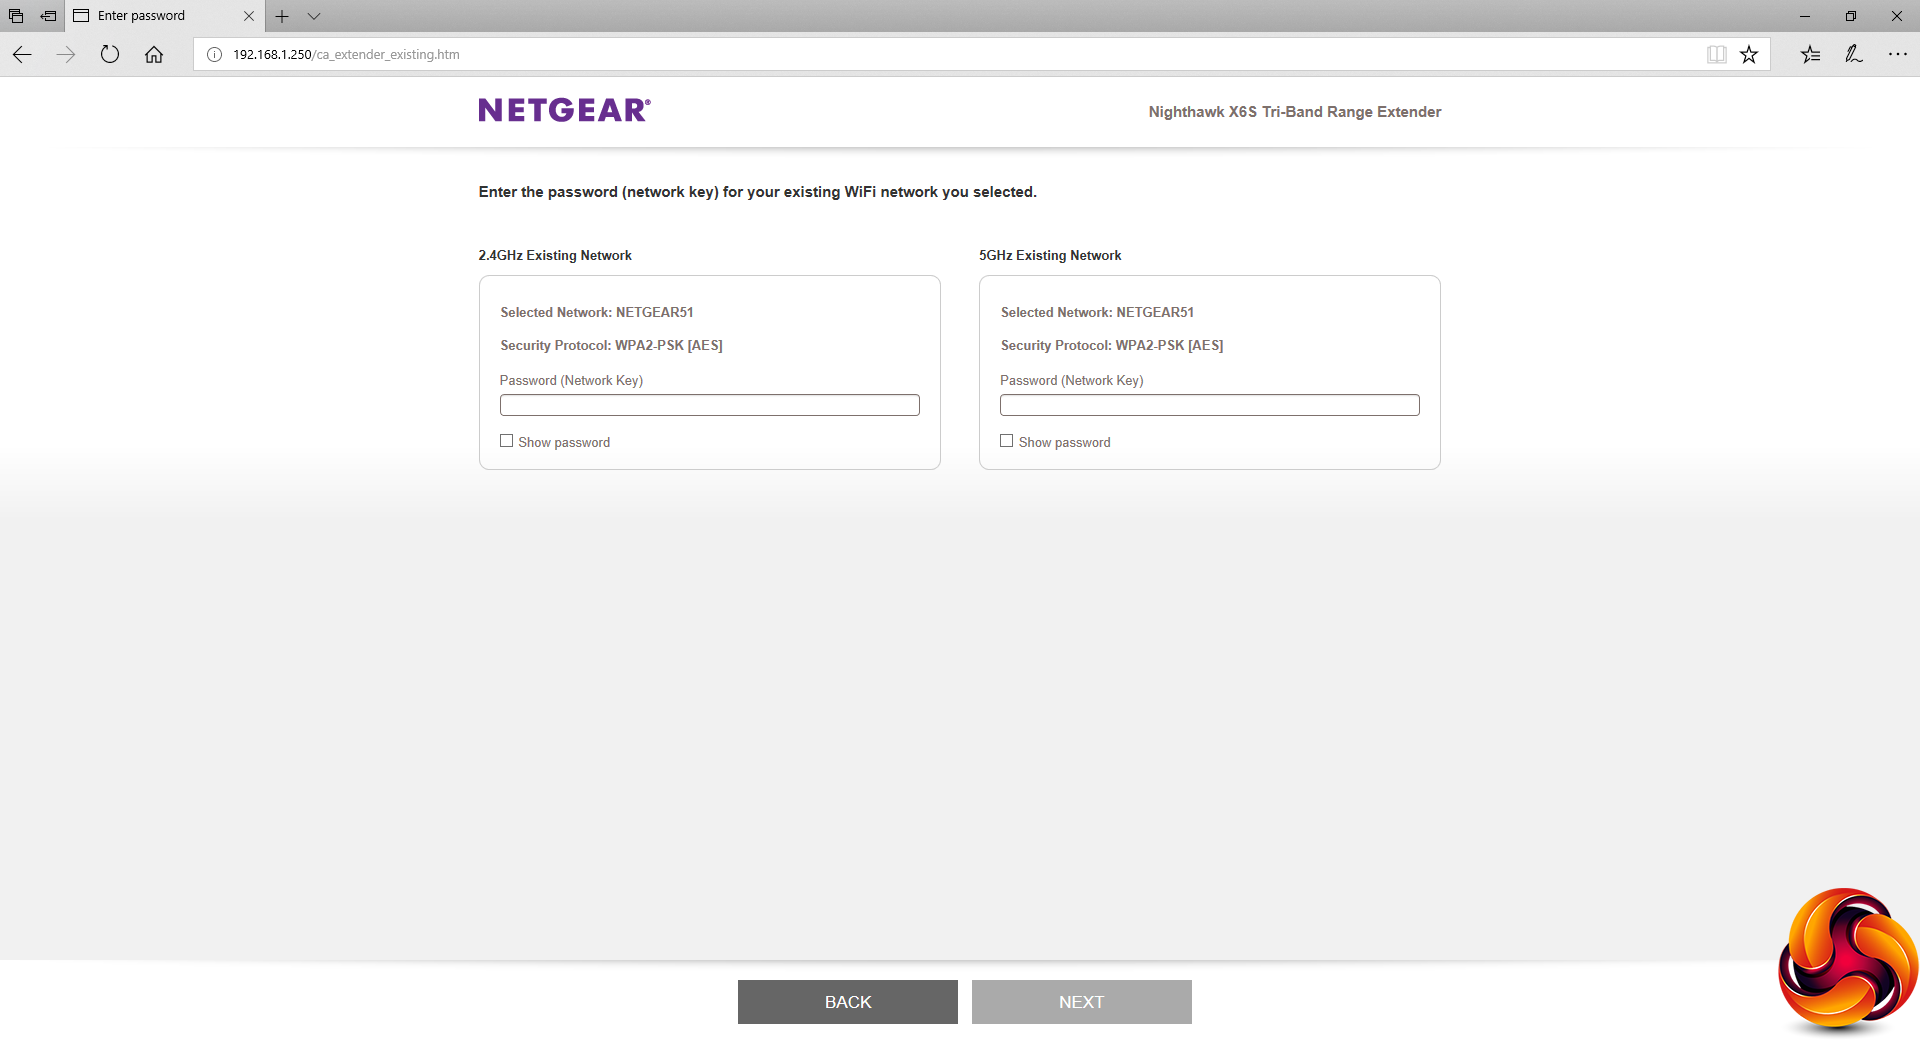
You can then indicate whether the router has One WiFi Name support. Although you can use the X6S with any router, in theory, if you want to use the mesh system with a single SSID, you will need to use a NETGEAR router with One WiFi Name support, which our XR500 test host was. Next, you supply the passwords for your 2.4GHz and 5GHz WiFi.
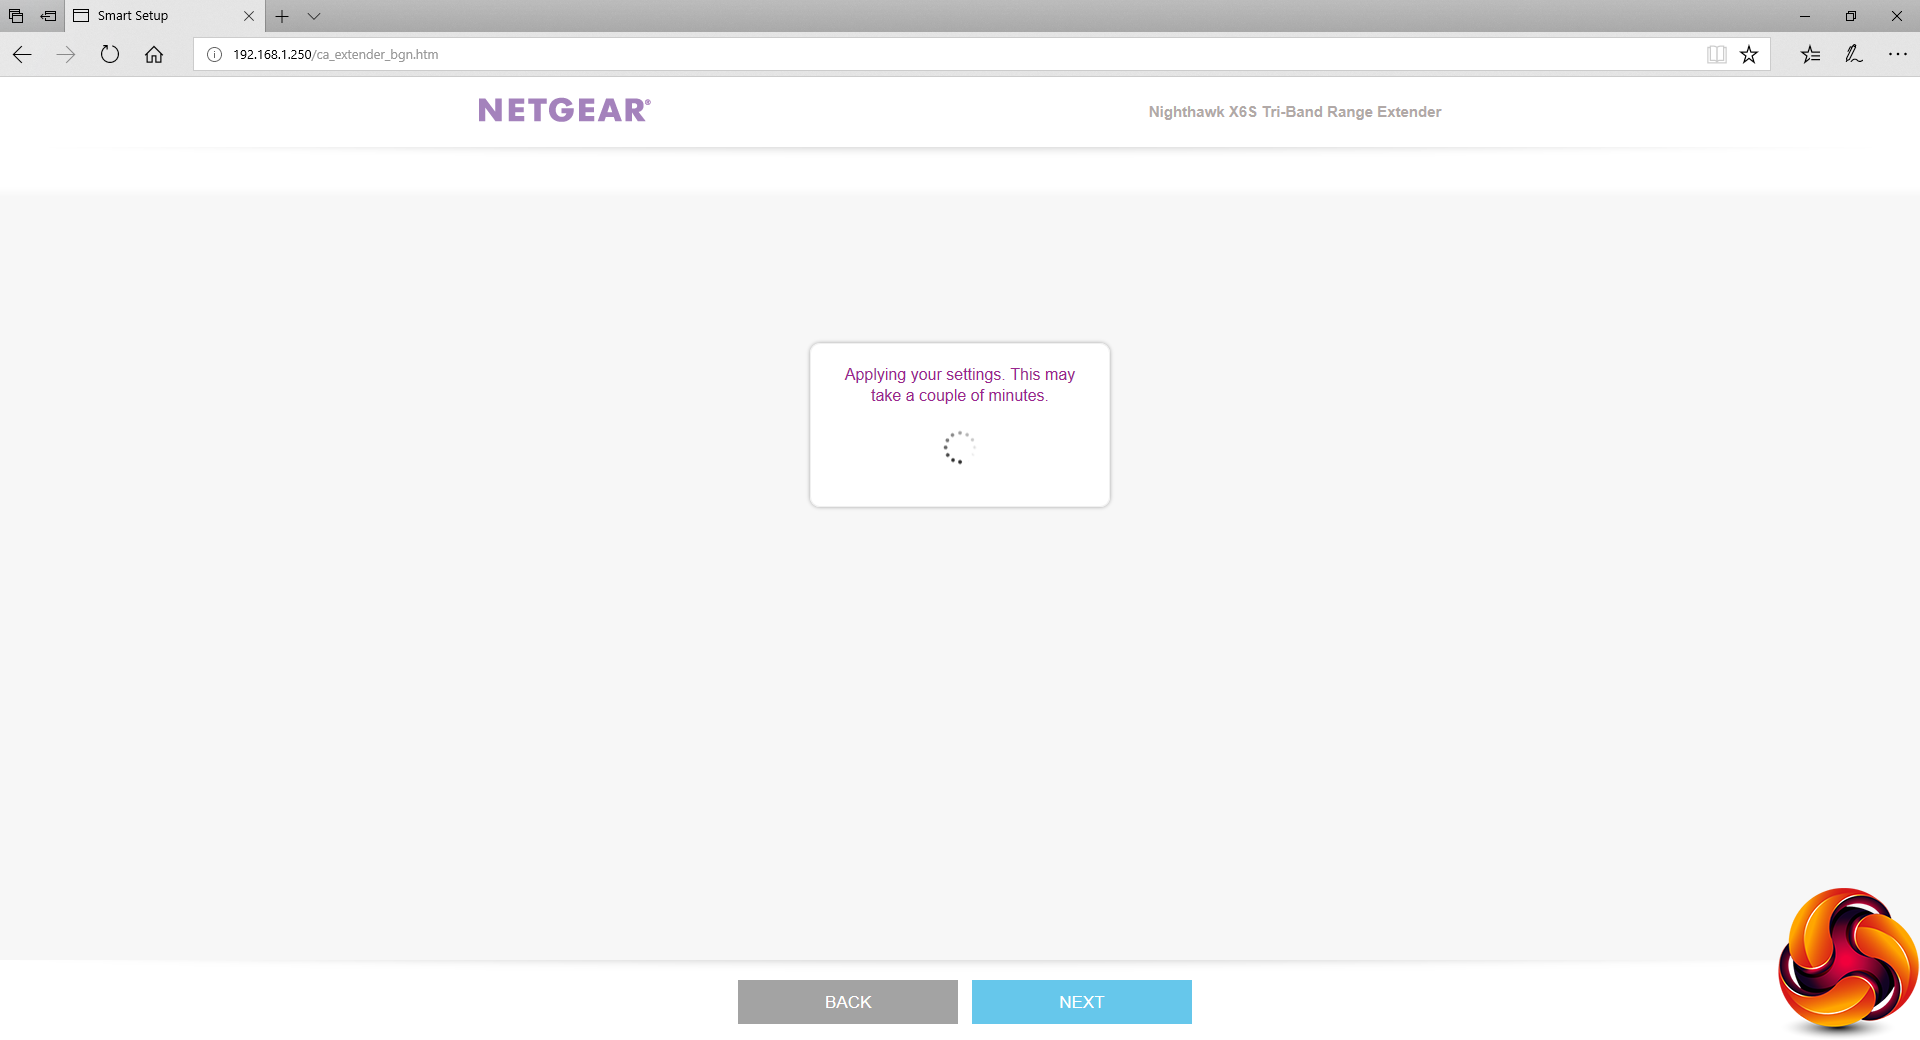
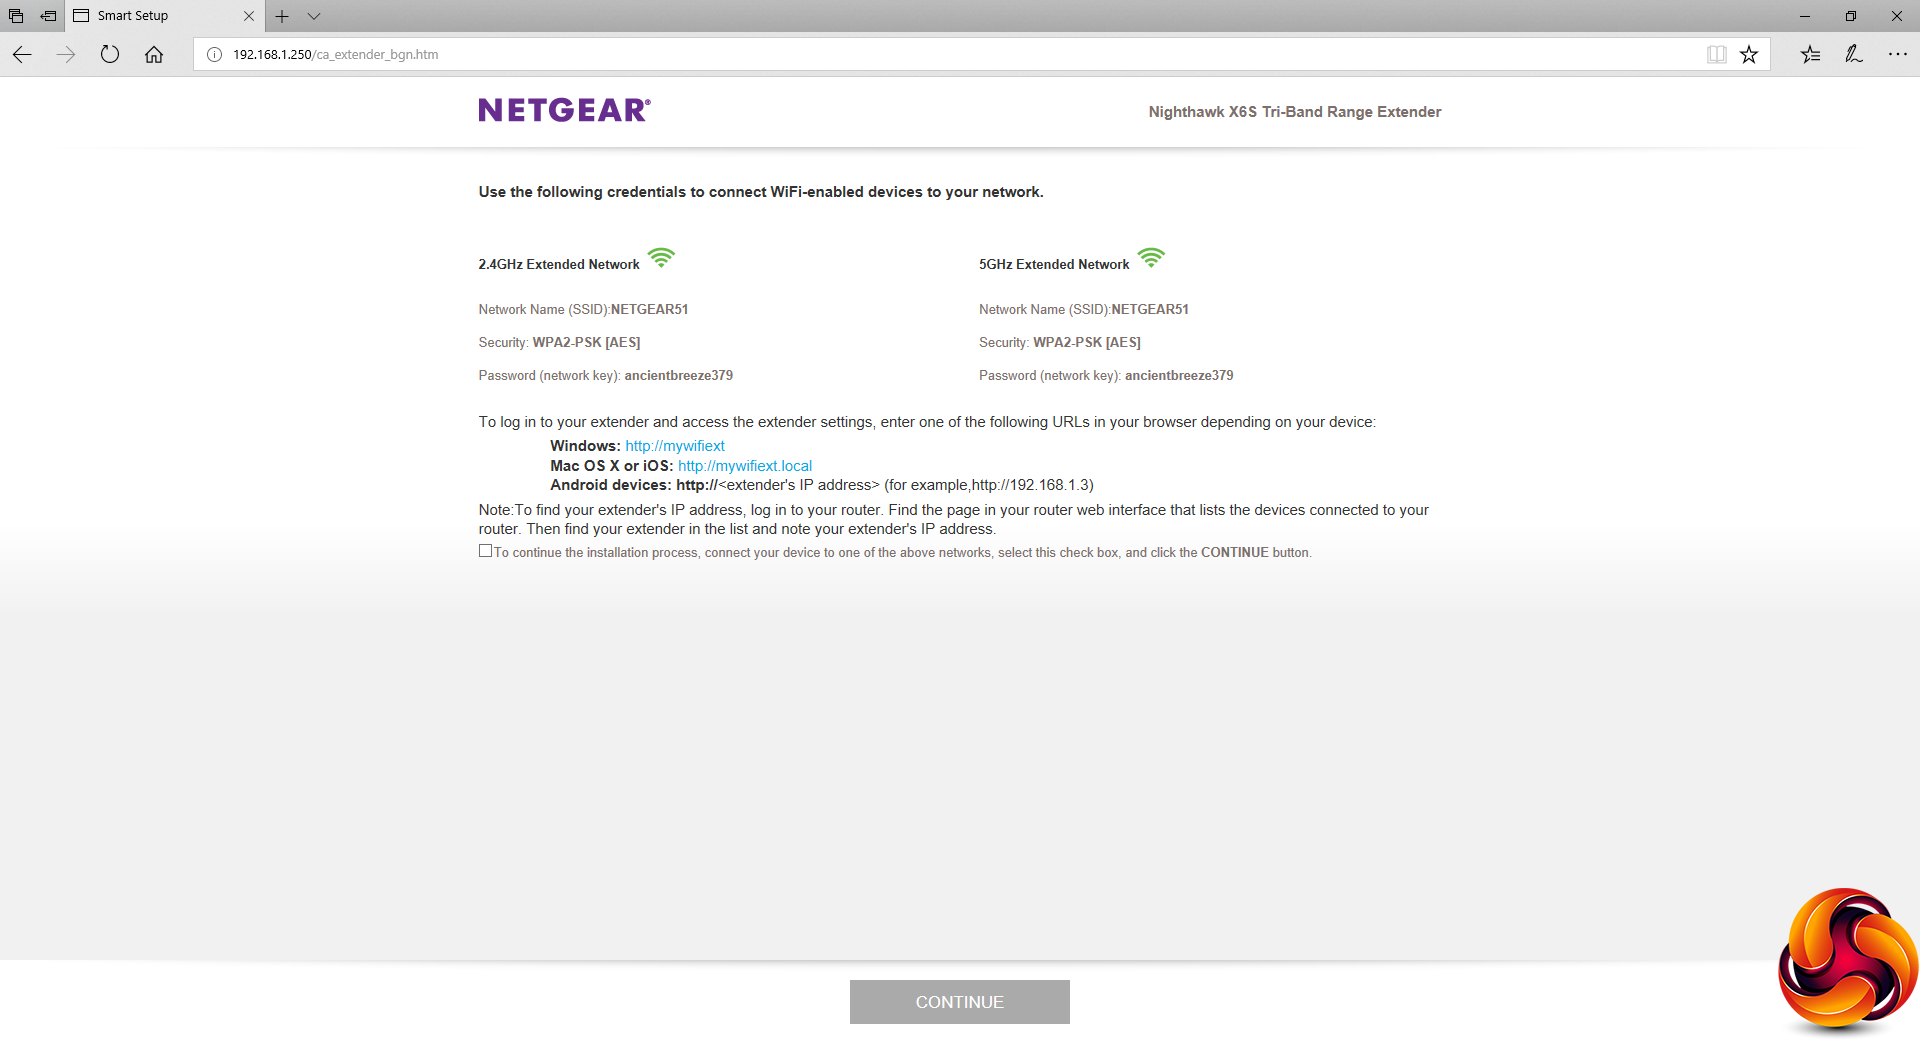
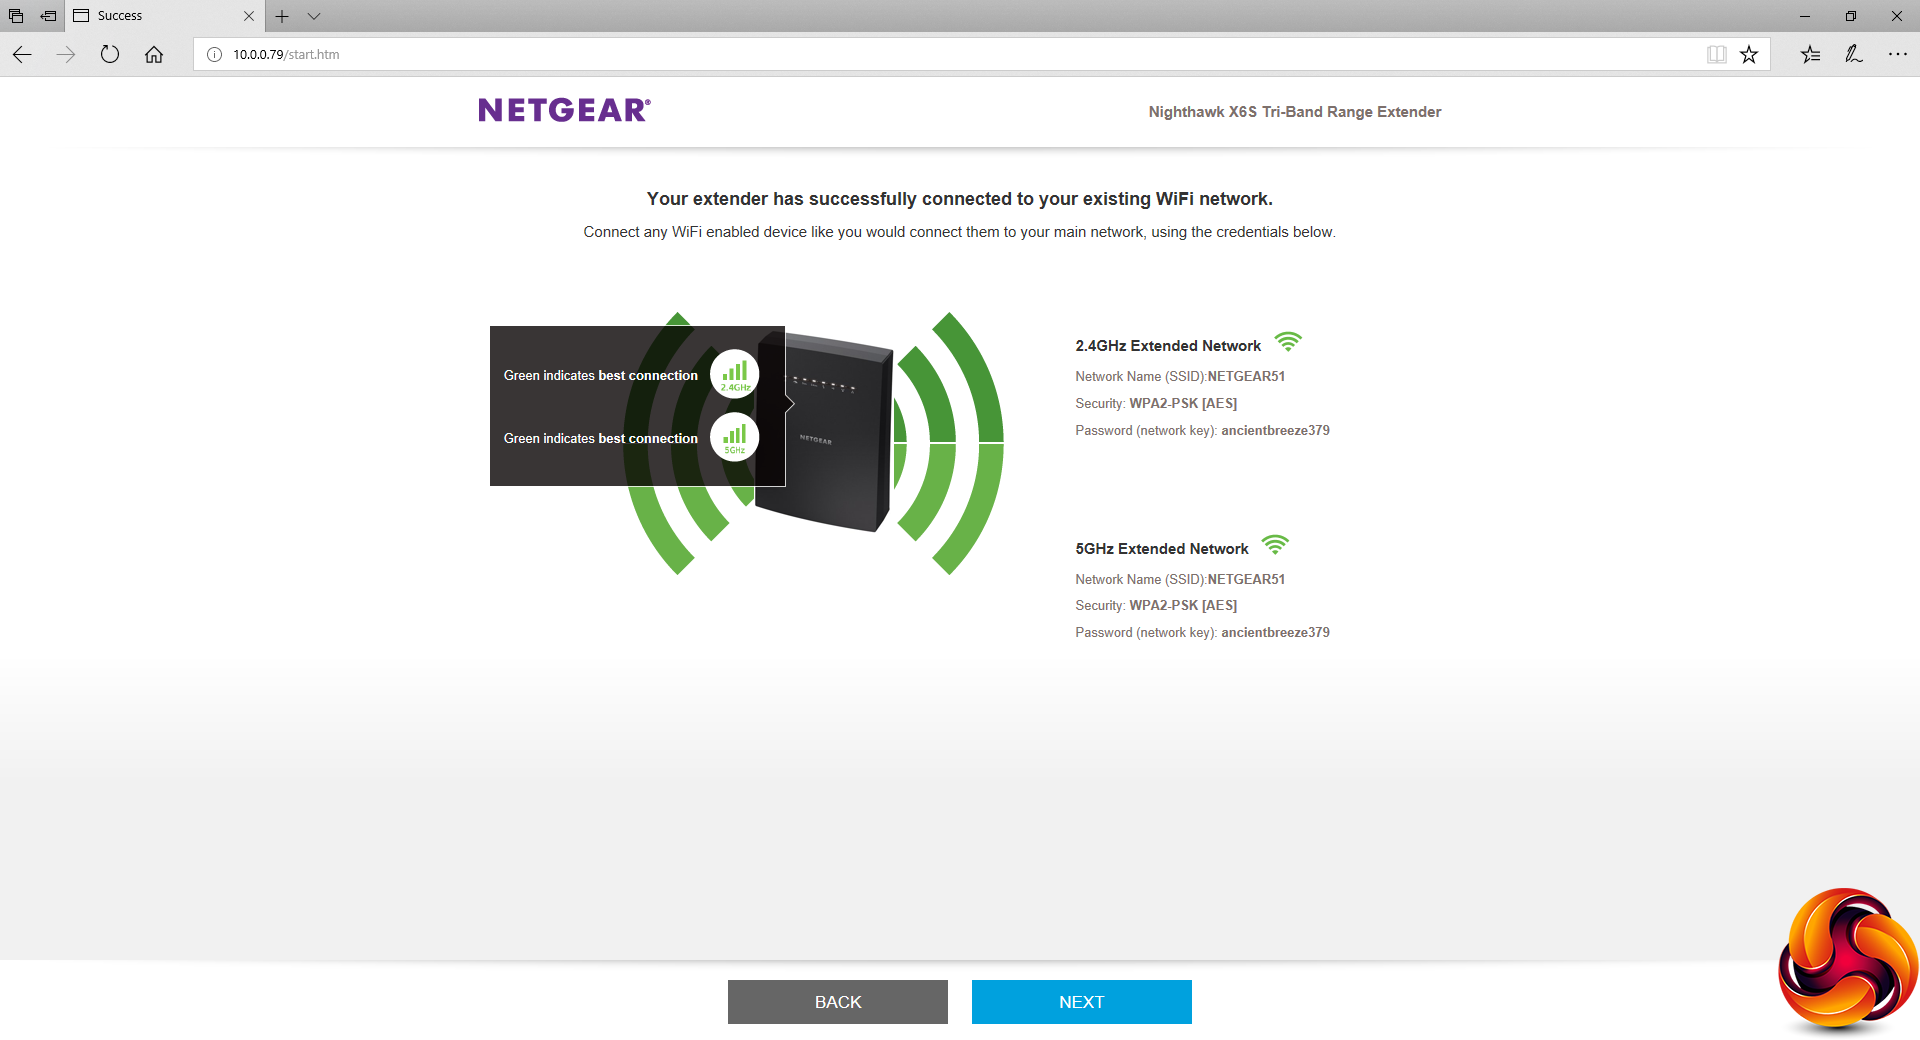
The X6S will then connect to the two WiFi bands, which takes a little while. But once you get to the next screen your WiFi has been successfully extended.

You will now be redirected to login to the X6S management interface, using the credentials you set up during the installation wizard. And, no, we don't know the significance of the dog picture either. Maybe the X6S is supposed to be good at faithfully fetching your data, although terriers like the one shown can be a bit pesky in our experience.

During your first login, you will be told that the setup process has been successful and prompted to register your product purchase.
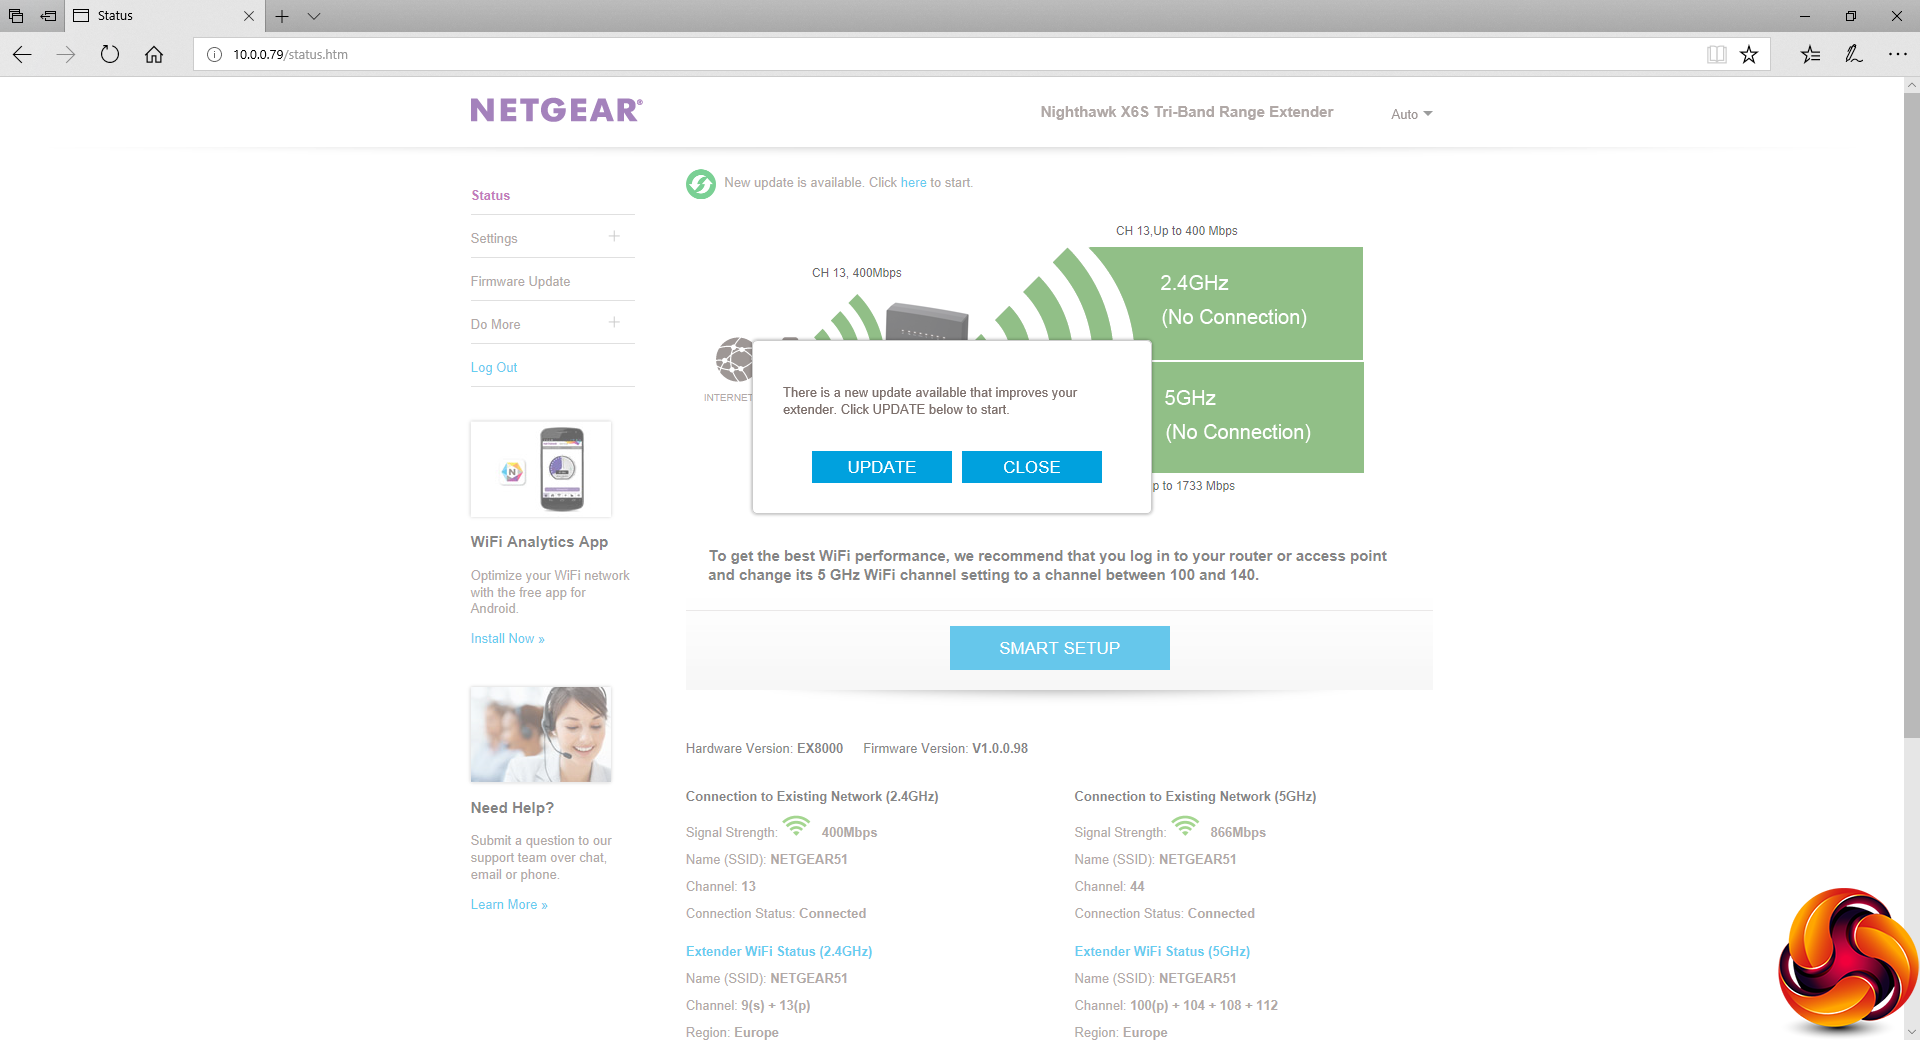
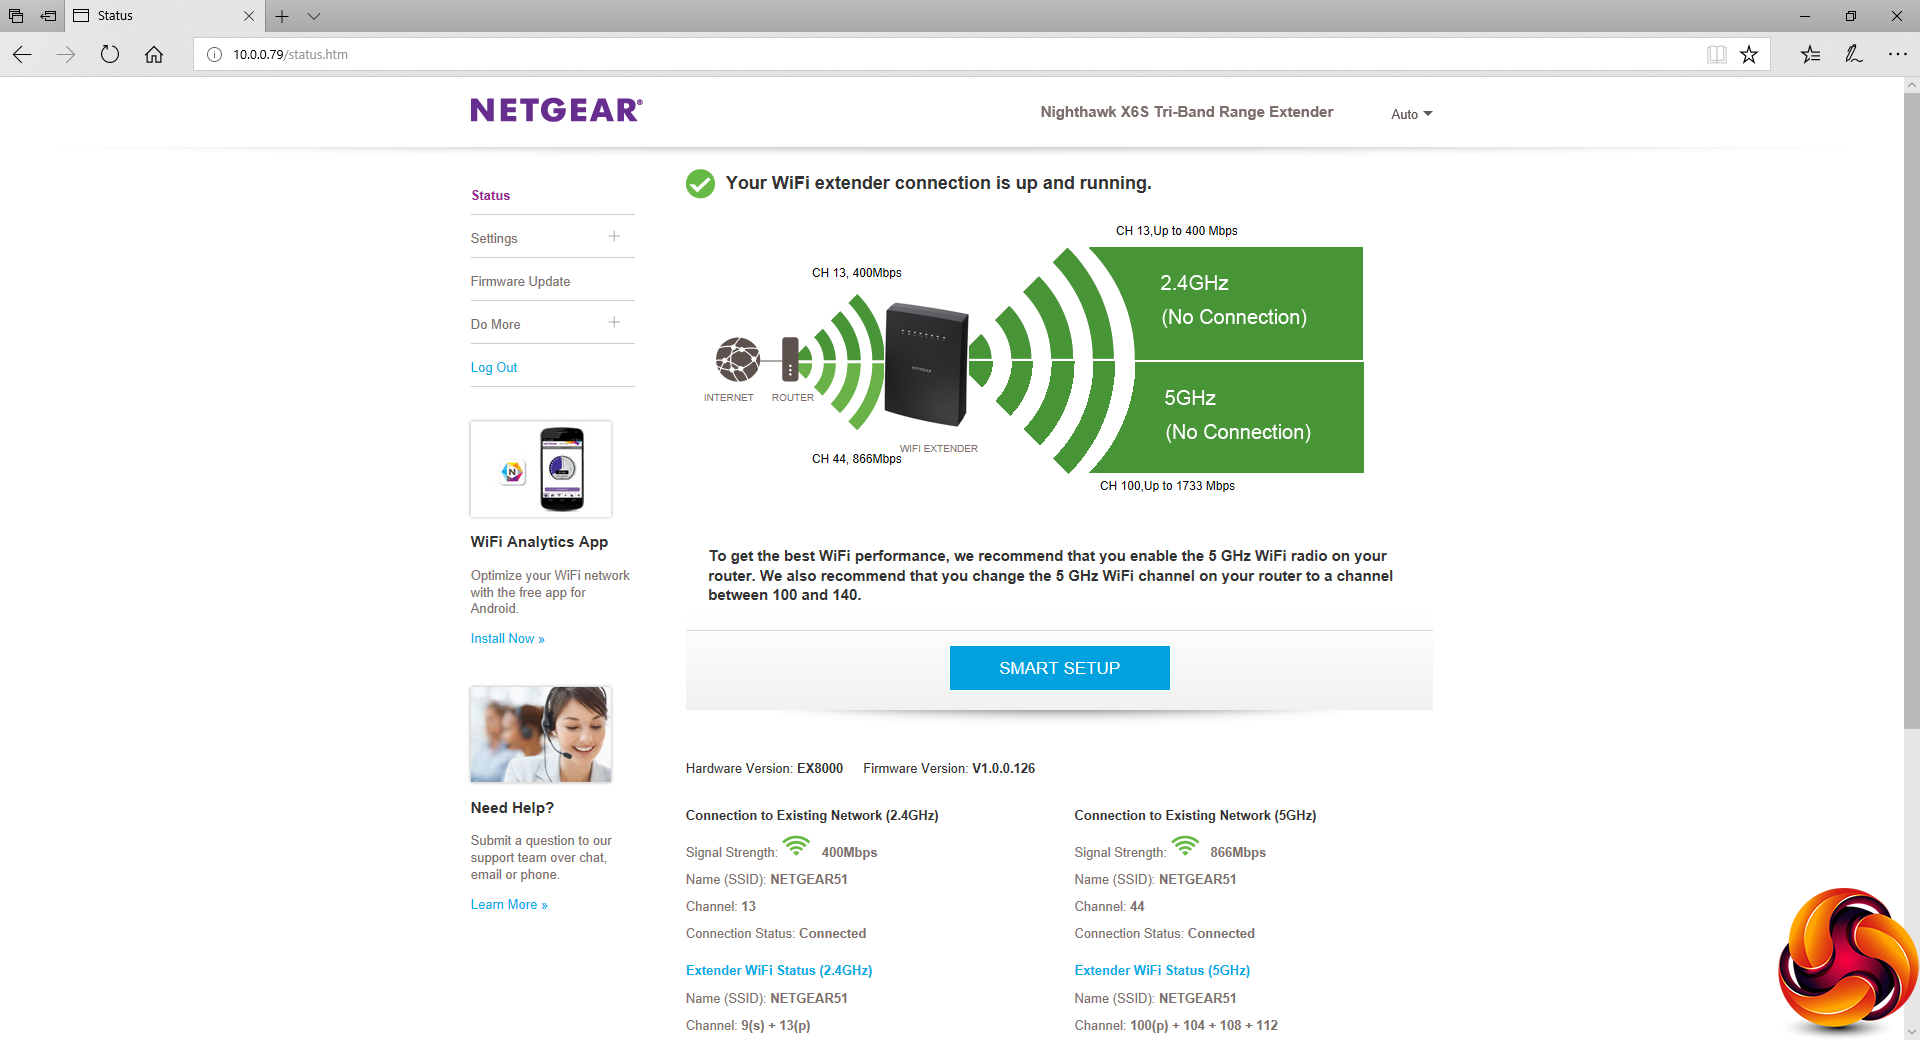
Finally, we have reached the main X6S interface, although you may be prompted to update the firmware at this stage. The main Status screen shows how the X6S backhaul is connected to your router, and which channels it is then broadcasting outwards.
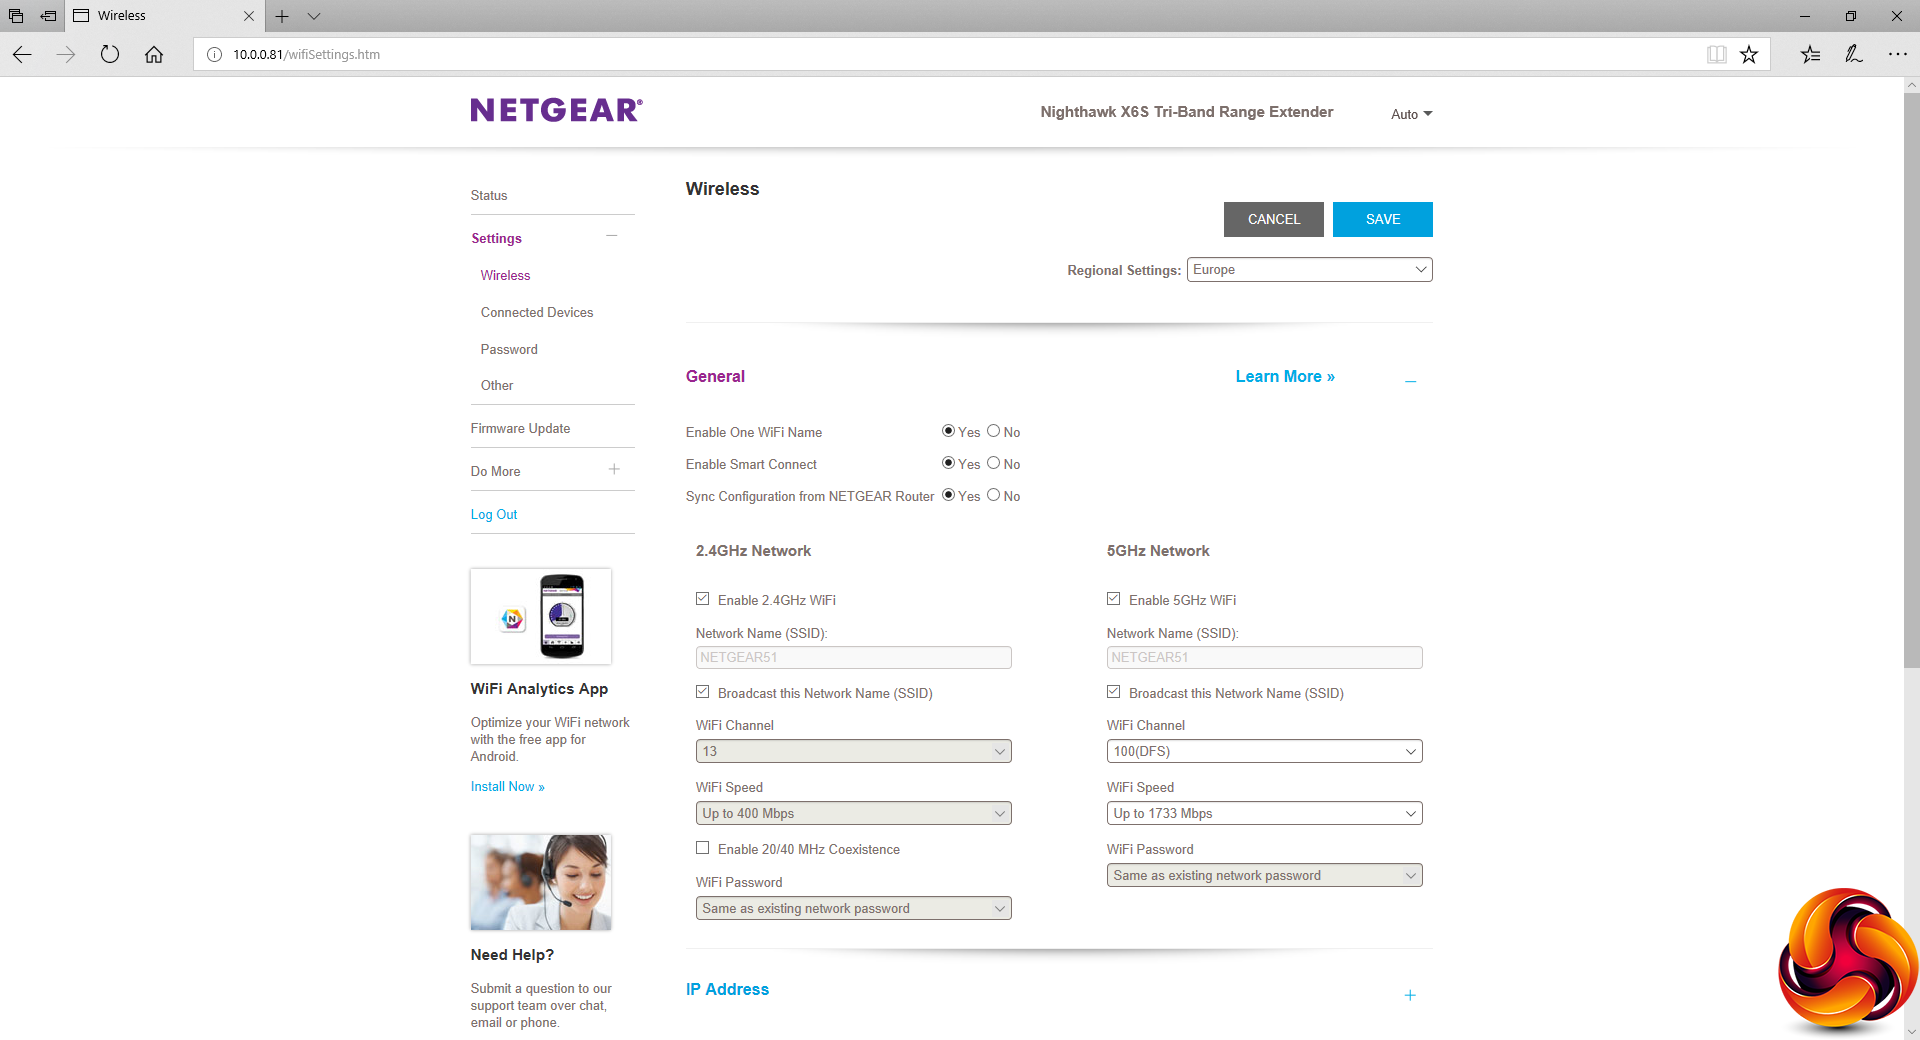
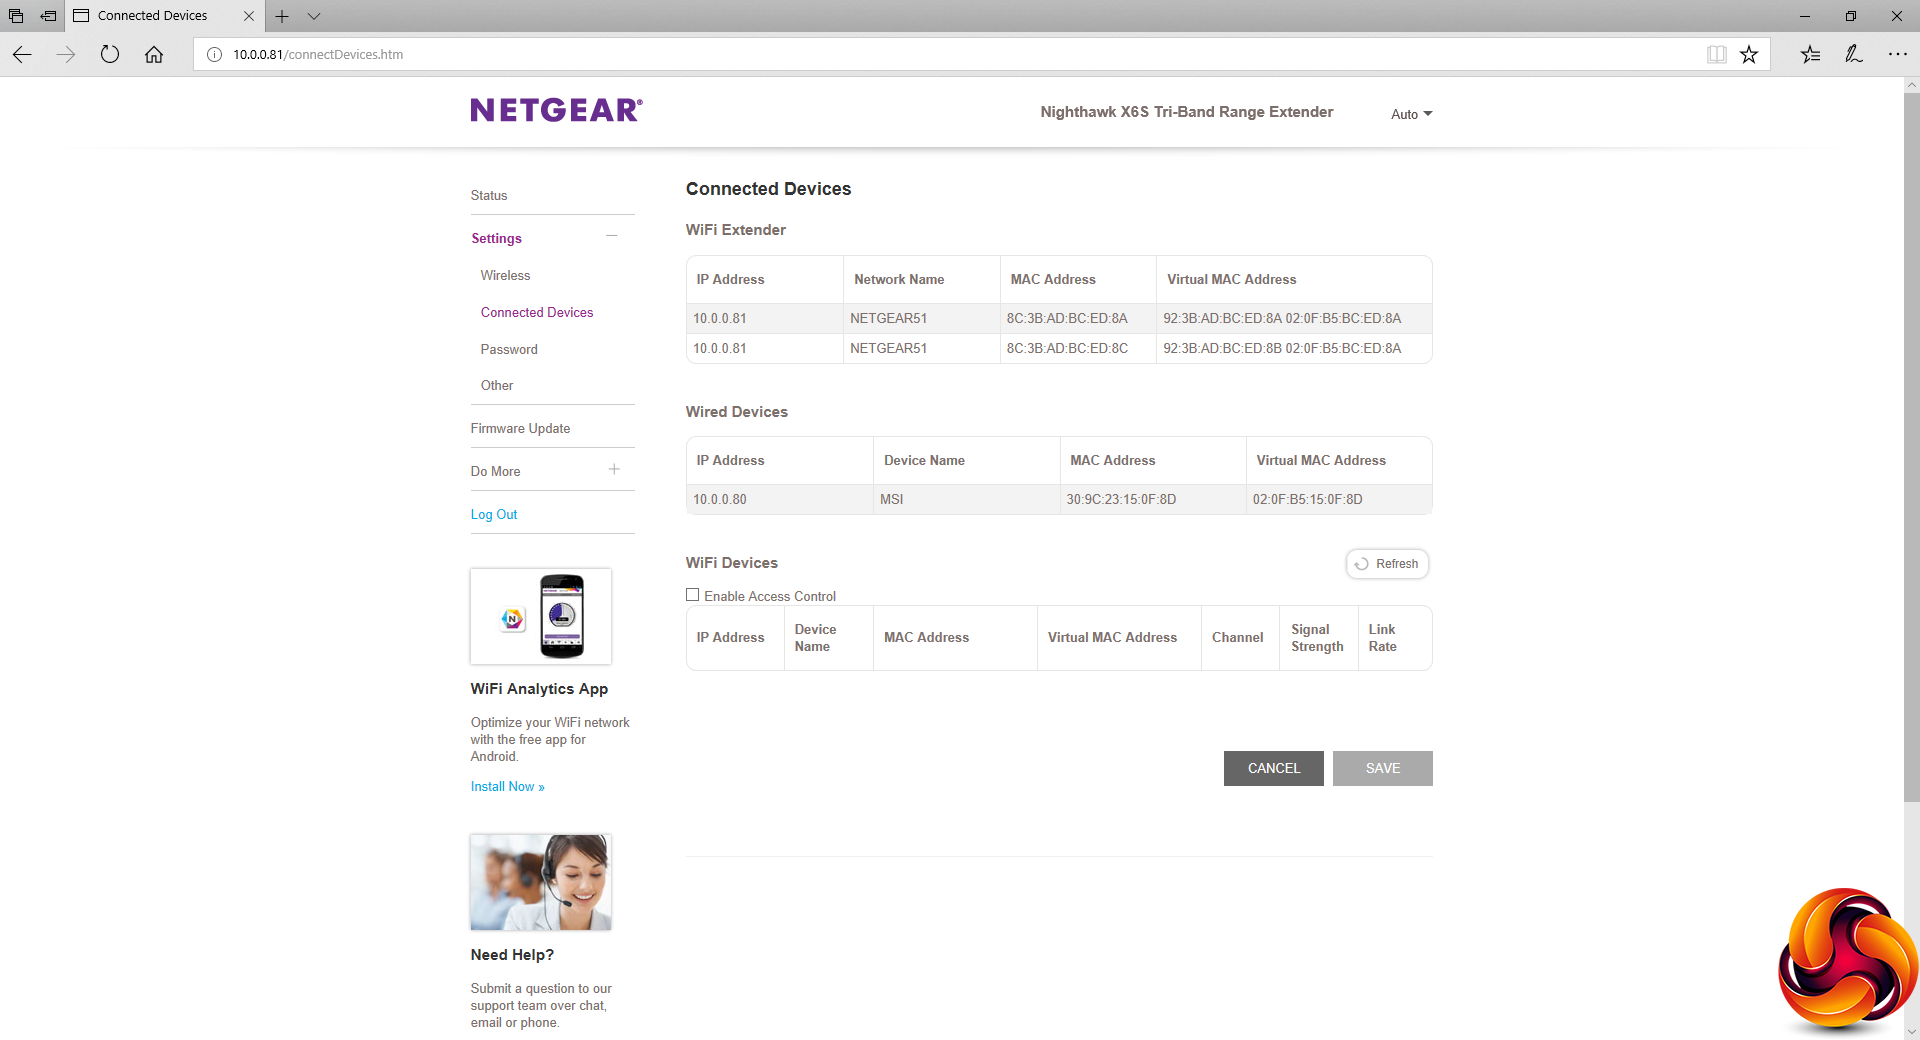
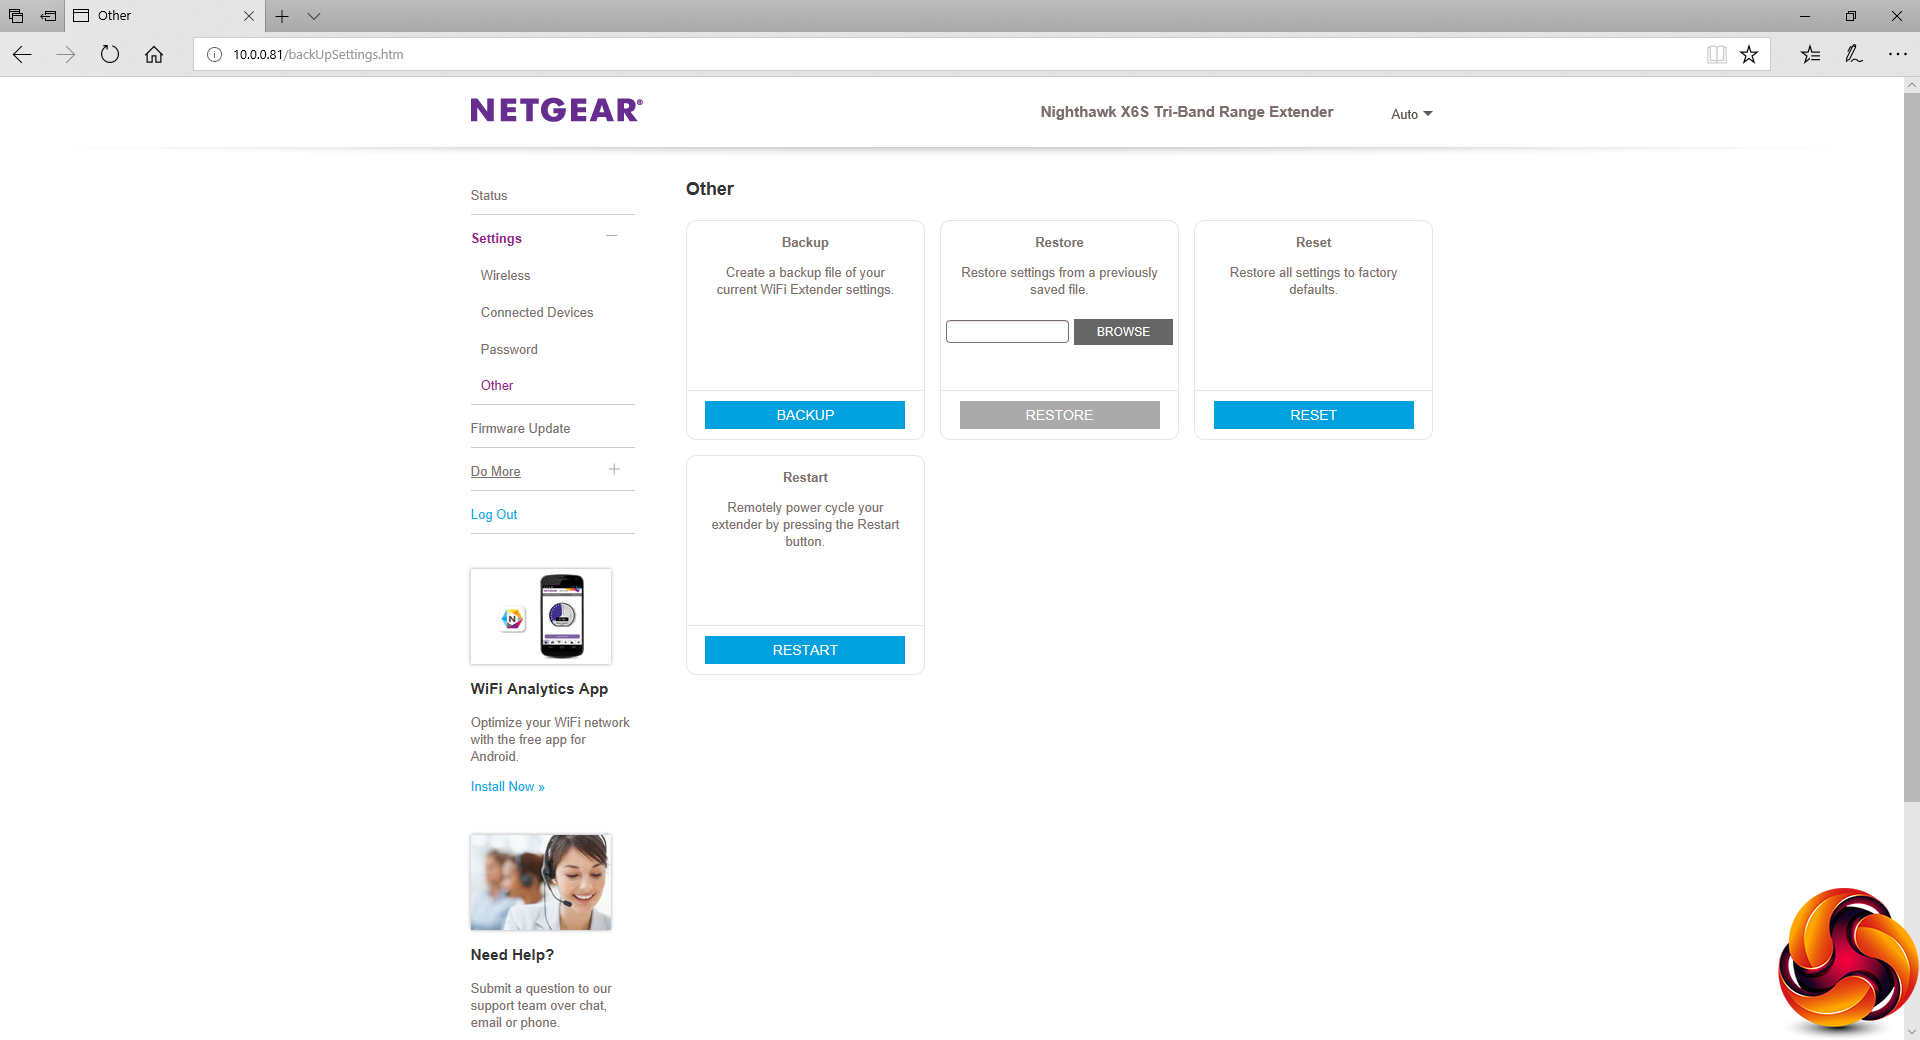
The Settings section lets you configure the outbound WiFi connections, including channel and bandwidth settings. You can view client devices connected via the X6S, change the management interface password, and backup, restore, or reset the configuration.
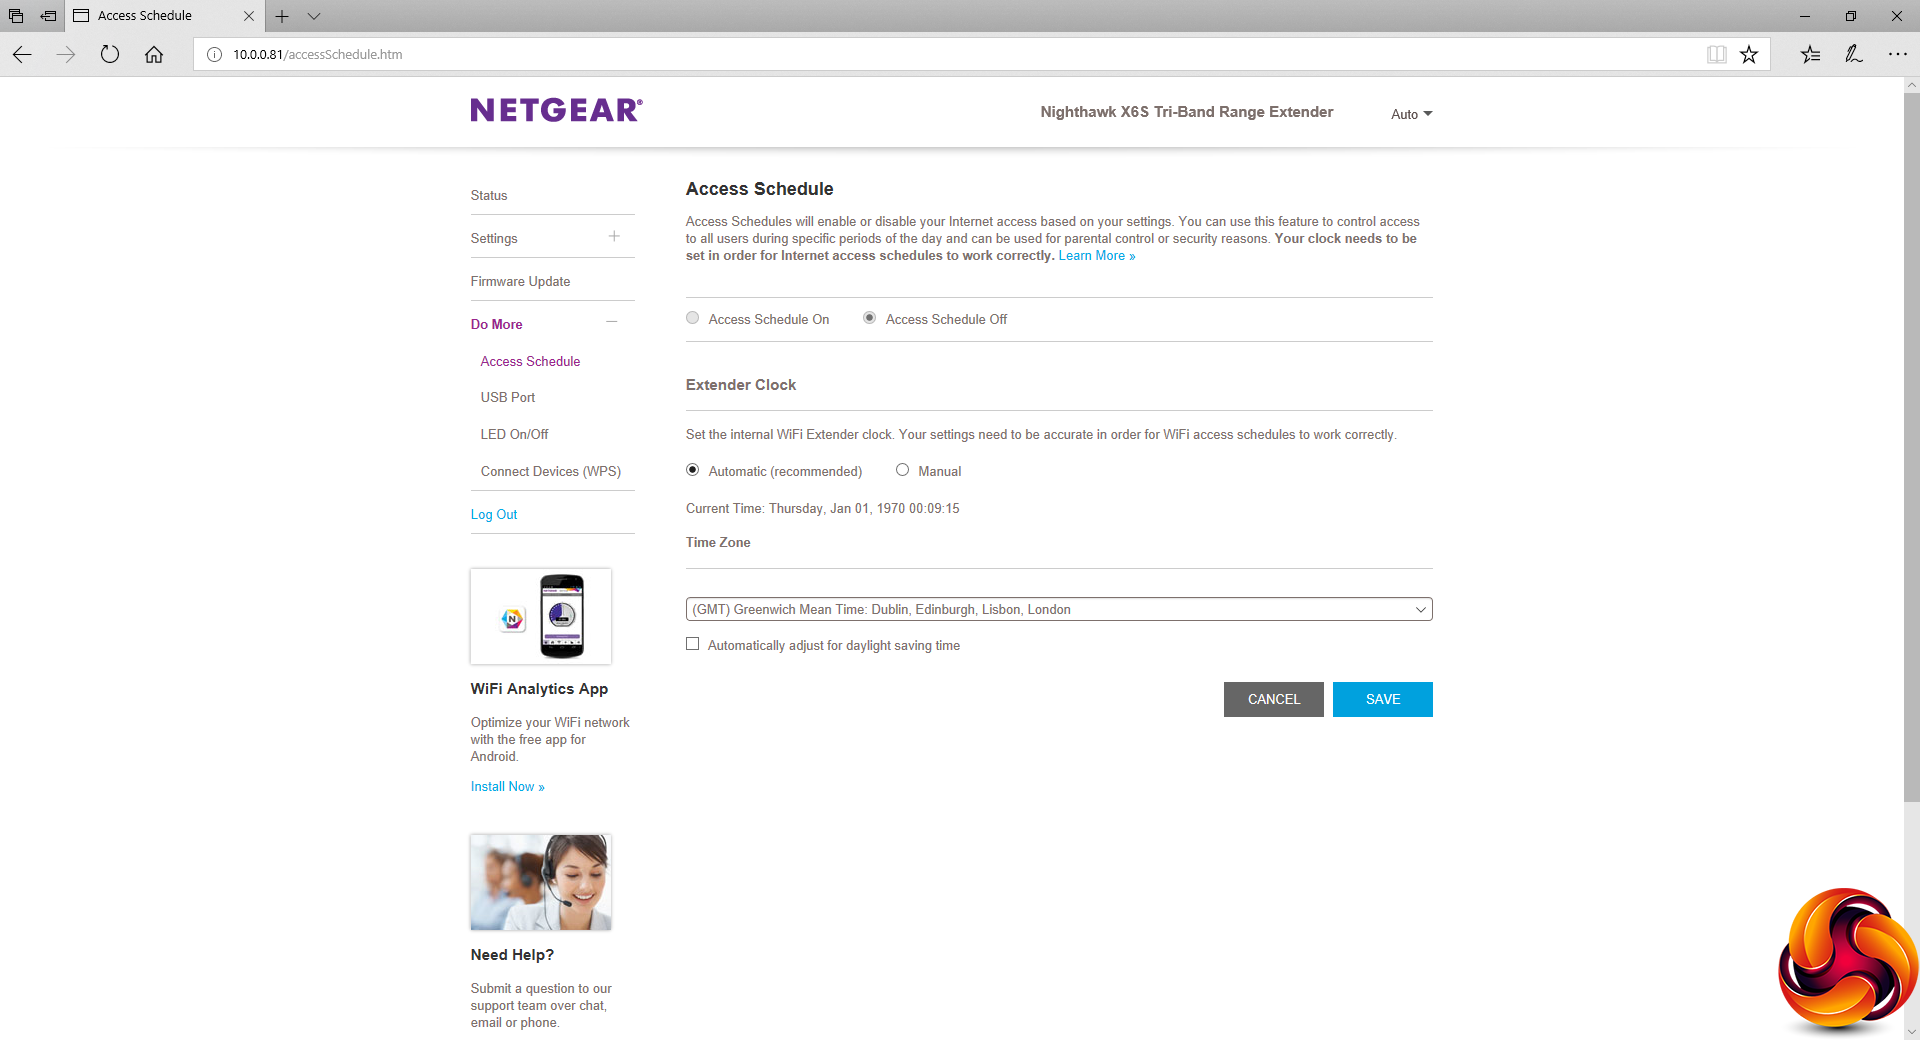
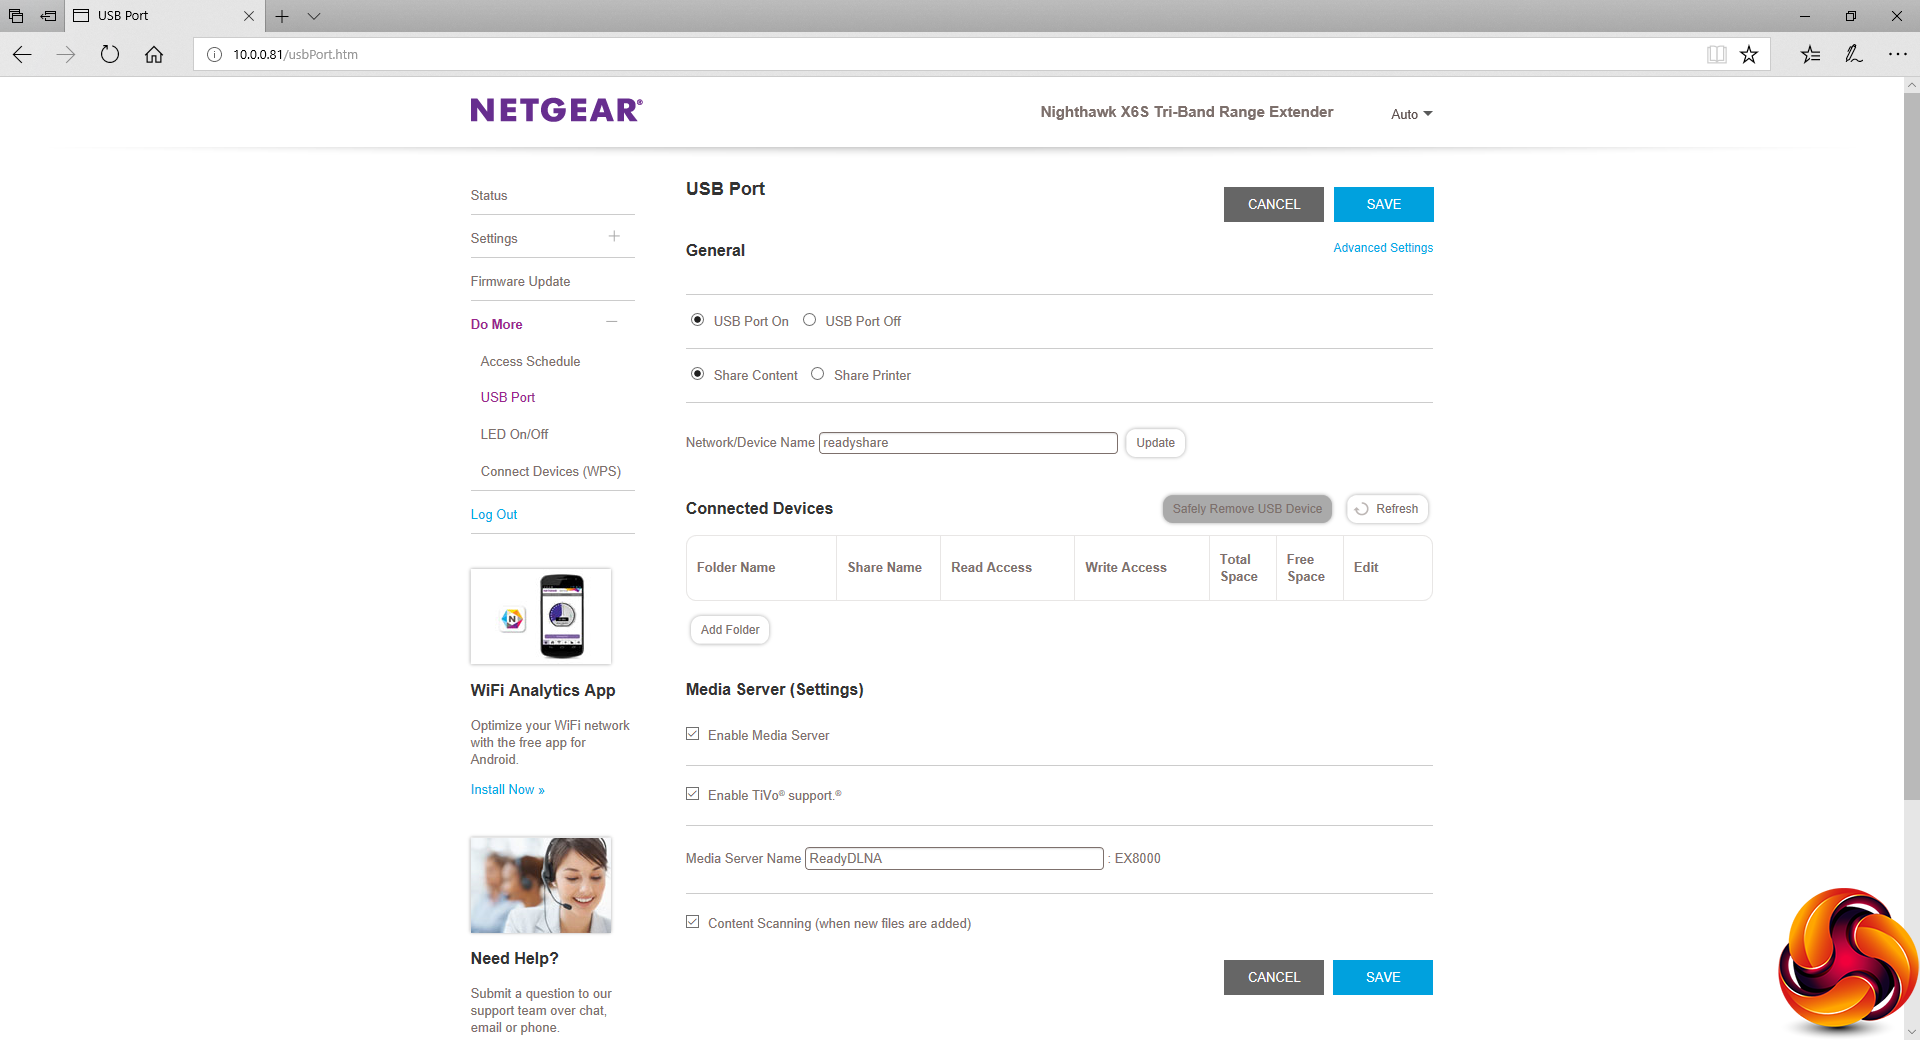
The Do More section is where you can access the few extra routing features of the X6S. You can configure the system so that it is only on during certain times of day, which can be individually set for different days of the week. You can also configure whether the USB port is sharing storage or a printer. With the former, you can configure storage as a DLNA server and for Windows network accessibility.
Overall, setup is relatively painless. Although the management interface doesn't have a lot of features, all your existing router's capabilities will still be available. So there's plenty here for a device that will essentially function as a remote gateway to your router.
Next, let's find out whether the X6S really can extend WiFi range, by how much and with what increased performance potential.
We replicated the testing from our Ultimate Mesh WiFi Router Shootout as closely as possible with the NETGEAR Nighthawk X6S Tri-Band WiFi Range Extender. However, we no longer had the Apple Macbook Pro in our possession, so had to leave this set of tests out, and the Acer laptop was replaced with an HP one that has an identical 802.11ac WiFi specification.
We replicated the positions from the Ultimate Mesh WiFi Router Shootout, with eight different locations for our test notebooks. The clients used were an HP Spectre 13 X2 notebook with 2×2 802.11ac WiFi, and an older HP Folio 13 which maxes out at 3×3 802.11n WiFi.
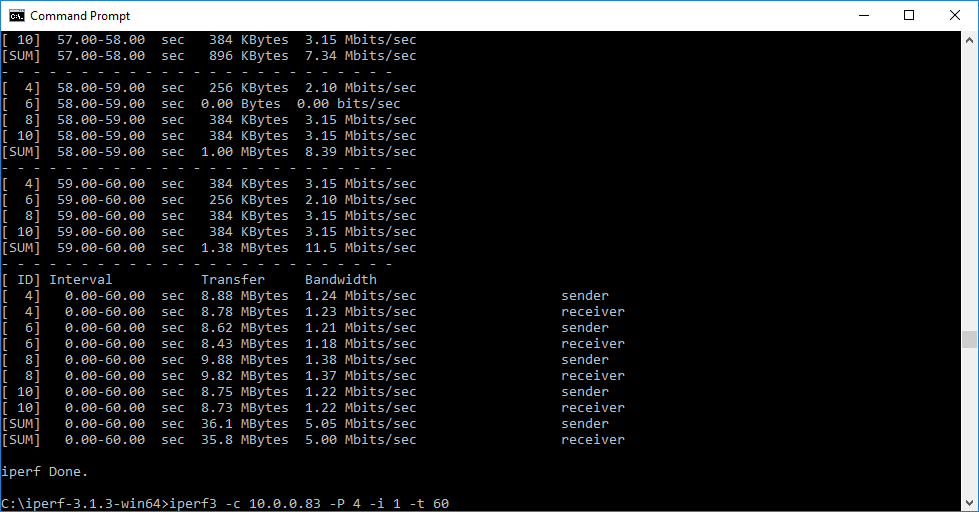
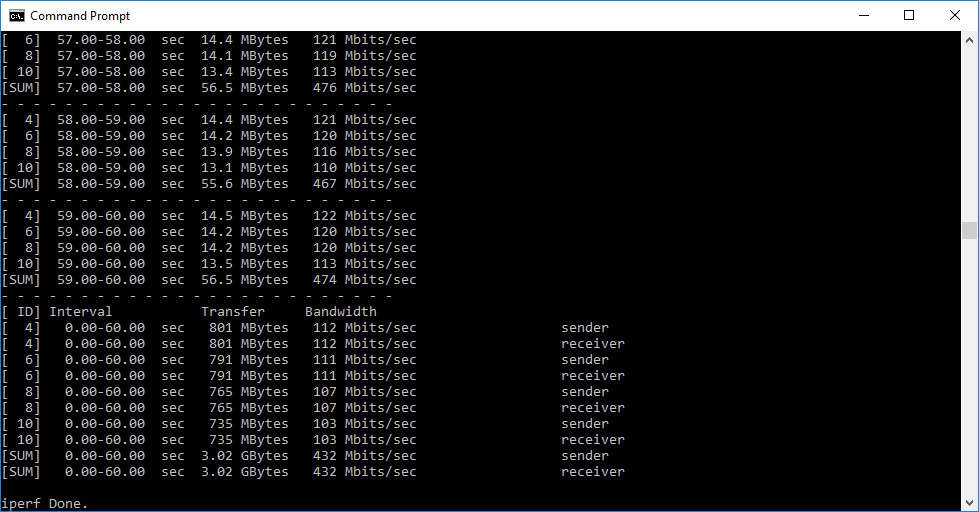
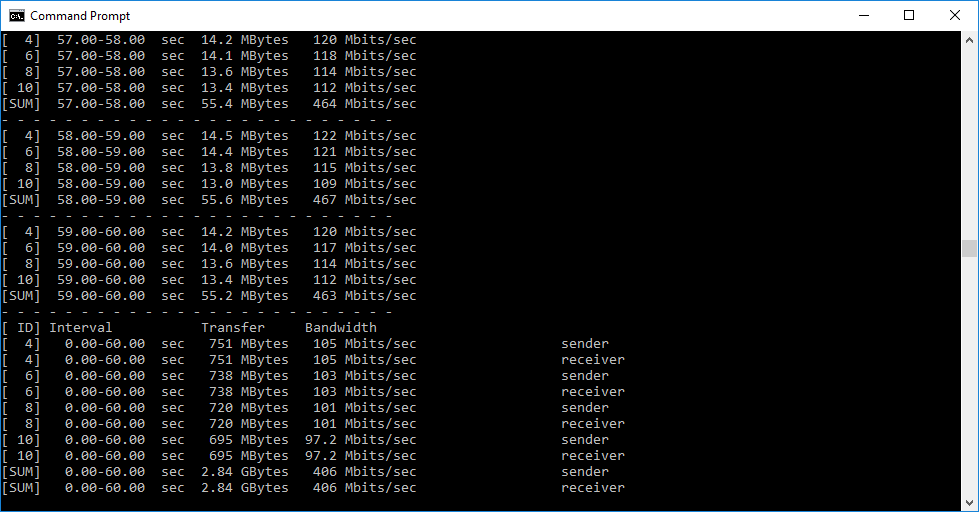
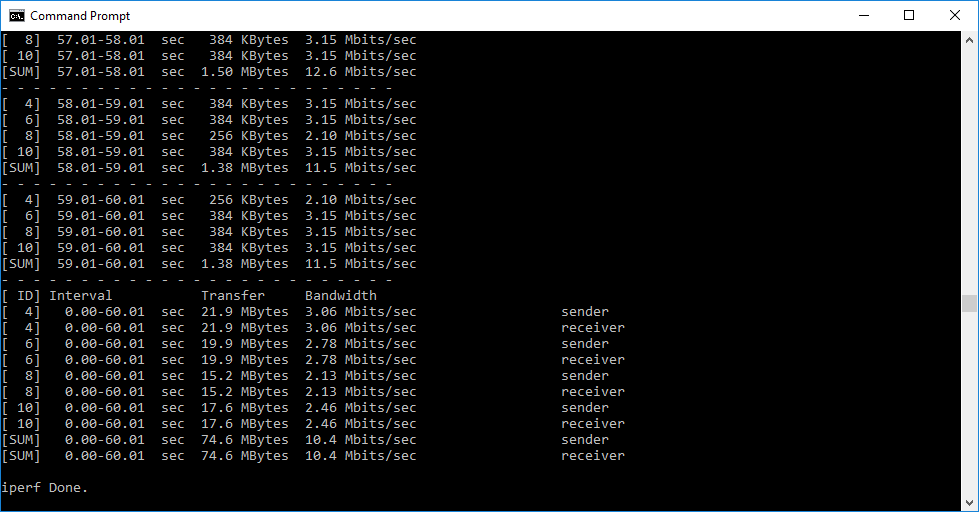
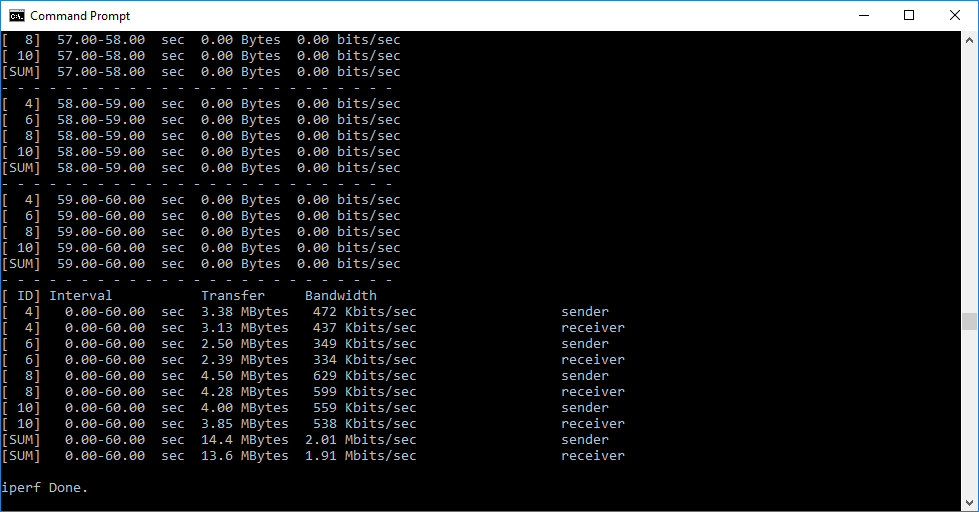
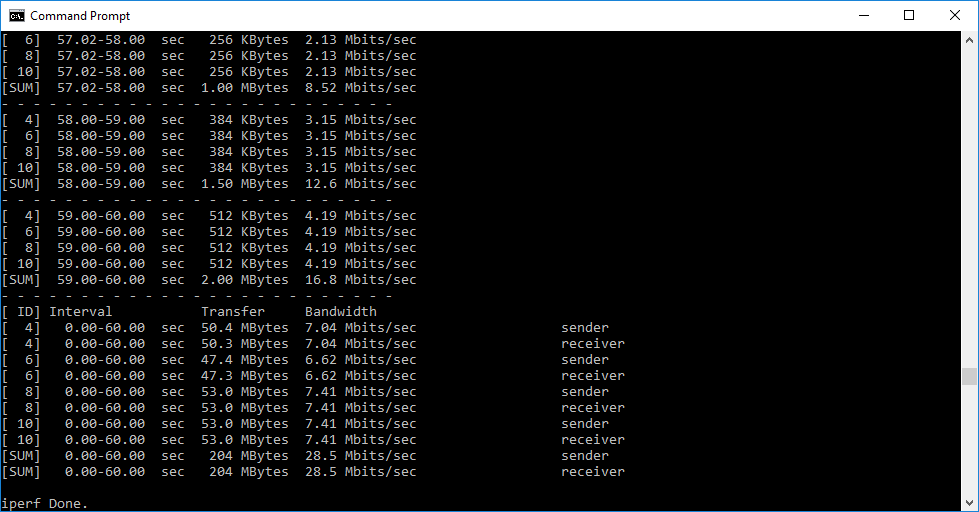
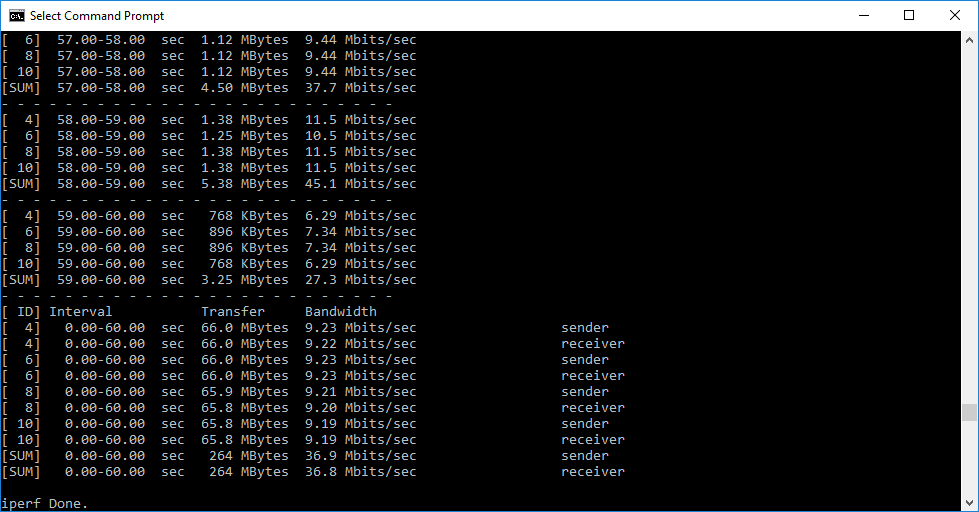
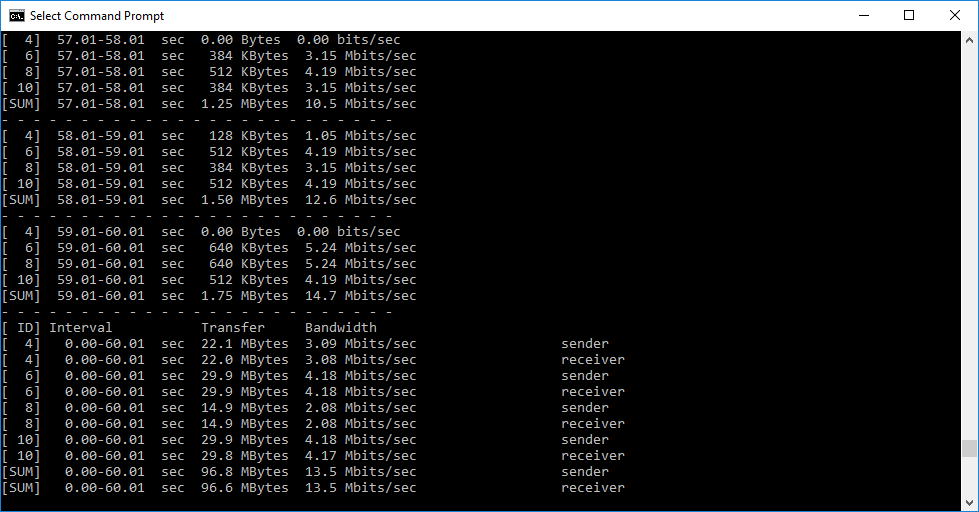
In each case, we used the freely available iPerf 3.1.3 software, which stresses a network by sending packets of random data and measures the throughput. One system acts as a server, and the other as a client, as data is sent between them. In all cases, we used an Armari Windows 10 workstation connected to the primary router via Gigabit Ethernet as the server, so that the WiFi was always the slowest connection.
These are the iPerf commands we used:
For the server: iperf3 –s –i 1
For the client: iperf3 –c <IP Address> –P 4 –i 1 –t 60
Note that the client command sends four streams of data simultaneously, simulating a multi-client connection as closely as possible with just one client. The software takes 60 throughput readings at one second intervals and then averages the result.
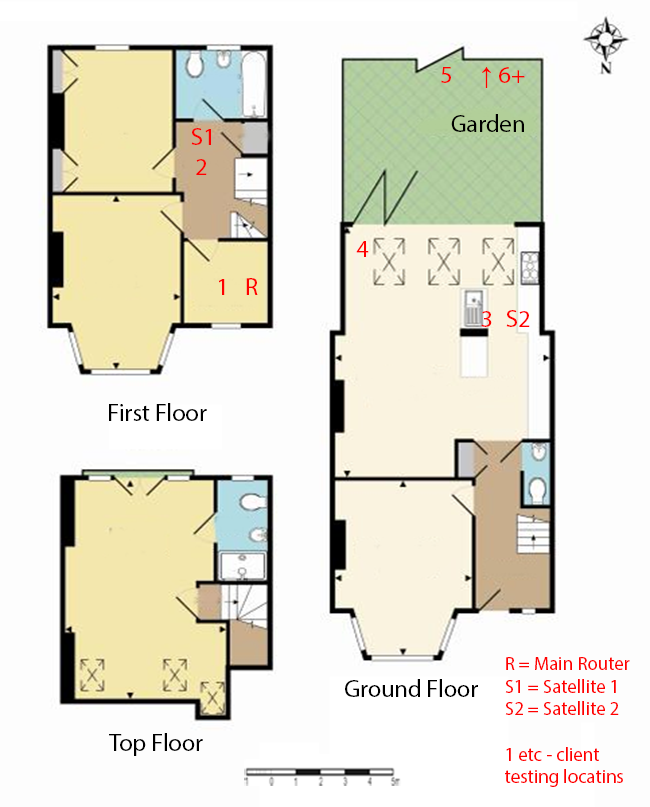
The above diagram shows the layout of the house we used for testing. Note that we didn't test on the top floor of the house because this was directly above the first floor and wouldn't have provided much of a range test, or notably different results to the lower floor. Instead, we used two locations on the same floor as the router (the first floor), then more distant locations on the ground floor extending out the back of the house into the garden.
Each test location, numbered in the diagram above, was approximately 5m away from the last one.
With the mesh networking and standalone router products used for comparison, location 1 was very near to the router, around 1m away. The next location – 2 – was around 5m away, with a wall in the way, but on the same floor. Location 3 was on the floor below, so had walls and a floor in between, but was a further 5m away. Location 4 was the last one actually inside the house. Locations 5 to 7 were then 5m further down the garden. Location 8 was only 2m further down, as this was the end of the garden, but also behind a shed, so posed a significant challenge that only a few mesh WiFi systems can cope with.
We should also say a few words about the location of the satellites. The routers or primary unit were always placed in the same location, in the first floor study next to the broadband. In the case of three-unit mesh systems such as BT Whole Home Wi-Fi and the top Velop option, the second and third satellites were placed at S1 and S2.
With the two-unit Google WiFi, the second unit was placed at S1, due to the recommendation of the setup software. However, in the case of the Orbi, it was possible to place the second unit at S2, due to the signal strength from these systems.
For the X6S, we first tested the standalone XR500 router as a baseline, then retested with the X6S at position S1 to see how it improved performance.
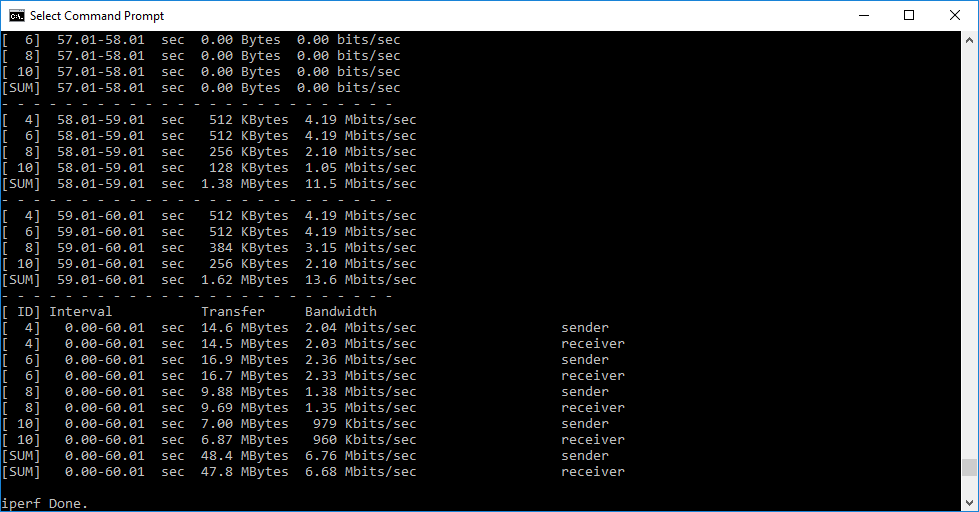
802.11ac 5GHz
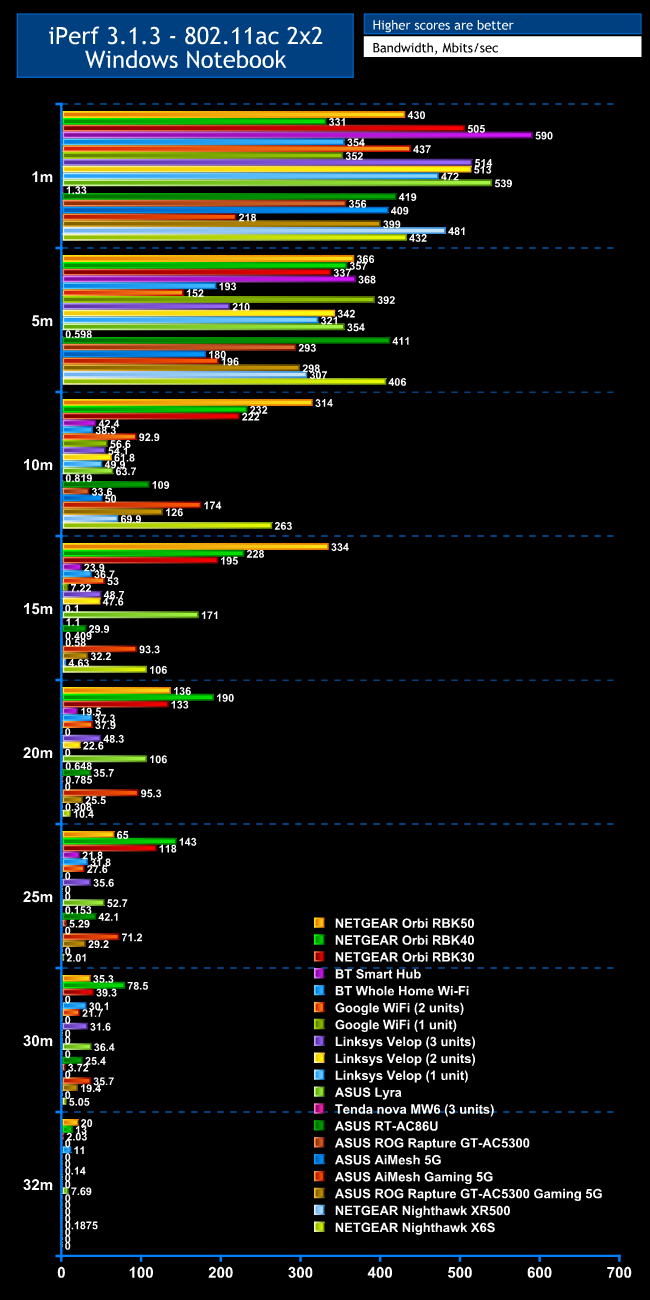
At close range, the XR500 on its own is faster over 802.11ac than when the X6S is connected. But both are towards the top end of performance. Move out to 5m, however and the X6S is already over 30 per cent faster than just the XR500. At 10m, the extra performance is even more pronounced, with the X6S providing 3.75 times the bandwidth. Its 263Mbits/sec throughput is almost as quick at the Orbi RBK50.
At 15m, although the XR500 has almost dropped off completely, the X6S is still providing 106Mbits/sec, which is behind the best dedicated mesh systems including NETGEAR's Orbis and the ASUS Lyra, but still very commendable. It's also faster than the ASUS AiMesh.
Unfortunately, this drops off quickly at 20m, with the X6S providing a just about usable 10.4Mbits/sec. The ASUS AiMesh was still going strong at this range, as was the ASUS Lyra and NETGEAR Orbis, although many others are falling behind here too.
At 25m and beyond, the X6S has stopped providing a decent bandwidth, although it does maintain a connection up to and including 30m. This is a little disappointing when our ASUS AiMesh test setup could reach 30m with a usable bandwidth, if configured on the optimal 5GHz radio (see our AiMesh review for details).
Raw 802.11ac Results


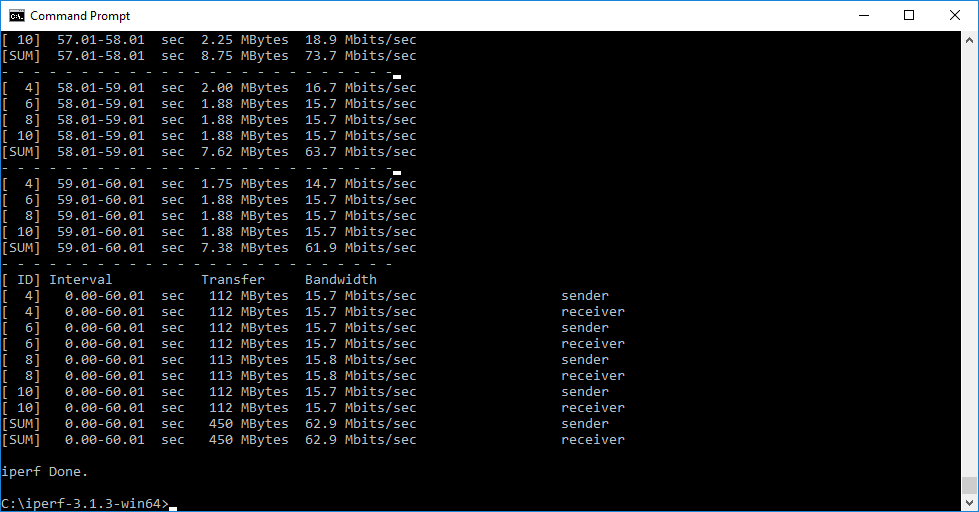
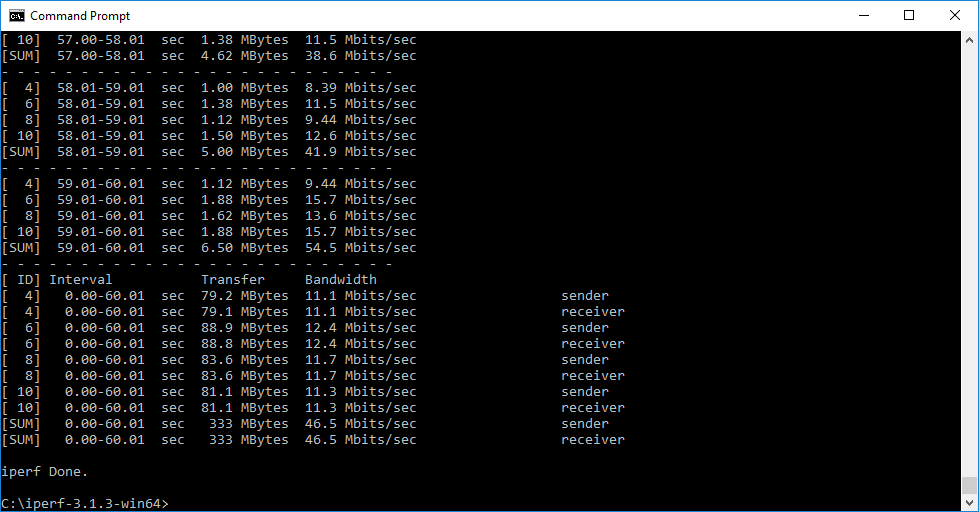
802.11n 2.4GHz

With 802.11n, both the XR500 and X6S are merely mediocre performers at close range. Surprisingly, at 5m the XR500 is around 2.5 times faster than the X6S, but the X6S takes over at 10m and beyond.
At 15m, the X6S is 2.3 times faster than the XR500 on its own. Although a number of dedicated mesh WiFi systems are faster at this range, it's competing well. However, at 20m, bandwidth has dropped to 11.4Mbits/sec, which a number of mesh systems beat, as well as ASUS's AiMesh.
Nevertheless, at 25m, performance has improved a little to 13.5Mbits/sec, with competitors starting to draw level or behind, although the best mesh systems are still well ahead. Interestingly, the XR500 on its own is still managing 7.83Mbits/sec, so you're only gaining a little from the X6S's WiFi extension.
This isn't the case at 30m, where the X6S is providing 6.76Mbits/sec but the XR500 has dropped away. Only a selection of dedicated mesh systems can achieve this range. The X6S doesn't reach our “behind the shed” 32m range, however, although very few WiFi systems we've tested have.
Raw 802.11n Results


The NETGEAR Nighthawk X6S Tri-Band WiFi Range Extender has clear benefits over a standalone router. It can extend your usable 802.11ac range by 5-10m, which can mean the difference between covering your house and not. However, it's not in the same league as a dedicated mesh WiFi option, particularly NETGEAR's own Orbi. We also found ASUS's AiMesh could outperform the X6S and XR500 with the ASUS router combination we used for testing that system.
If you're already a NETGEAR router owner, though, you won't be able to use the ASUS option. For those in this category, the X6S provides a sensible way to extend your WiFi over a larger area, although improvements are more obvious with 802.11ac than 802.11n. Considering the power of the WiFi radios on board, it's more reasonably priced than adding a router with the same wireless bandwidth specification, too.
In other words, it's not an unreserved recommendation for the NETGEAR Nighthawk X6S Tri-Band WiFi Range Extender. If you've got the money and want the best mesh available, we would still recommend NETGEAR's Orbi instead. If you own an ASUS router, the AiMesh route could be very effective too.
But if you're already the owner of a capable NETGEAR Nighthawk router and want to extend your WiFi range without the expense of a complete mesh replacement, the X6S is good value and is a more seamless solution than a traditional extender, thanks to the single SSID.
Discuss on our Facebook page, over HERE.
Pros:
- Extends WiFi range with any router (but compatible NETGEAR router required for single SSID).
- Keeps your existing router, unlike dedicated mesh systems.
- Relatively painless setup.
- Not as expensive as dedicated mesh WiFi.
- Four-port Ethernet switch.
- USB port for printer and storage sharing over the network.
Cons:
- Only extends 802.11n a little.
- Not as much extra 802.11ac range as a dedicated mesh WiFi system.
- Only USB 2.0.
KitGuru says: The NETGEAR Nighthawk X6S Tri-Band WiFi Range Extender improves wireless range whilst maintaining the same network name, but results are best with 802.11ac and a dedicated mesh is faster.