

The Acer Predator Z35 is jam packed with gaming features, colour modes and presets, each of which have their own little place in the menus.
While the look and feel is very much in line with other Acer displays, it has had a more modern lick of paint. Instead of the slightly garish blue we’ve seen before, Acer has sensibly opted for a more neutral black with white text, with a shade of red, in keeping with the monitor’s physical design. It generally looks much better and is far easier to read.
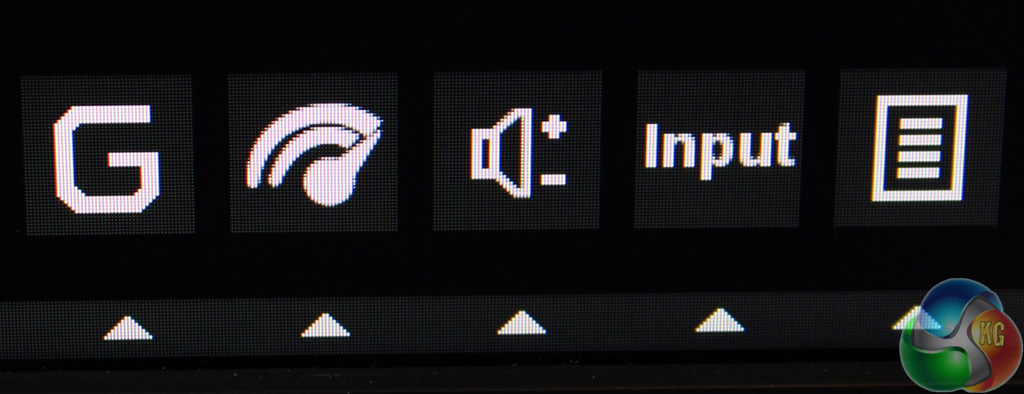
As usual press any of the five buttons for on-screen shortcuts.
The left-most shortcut with a big ‘G’ is to switch Game mode on and off.
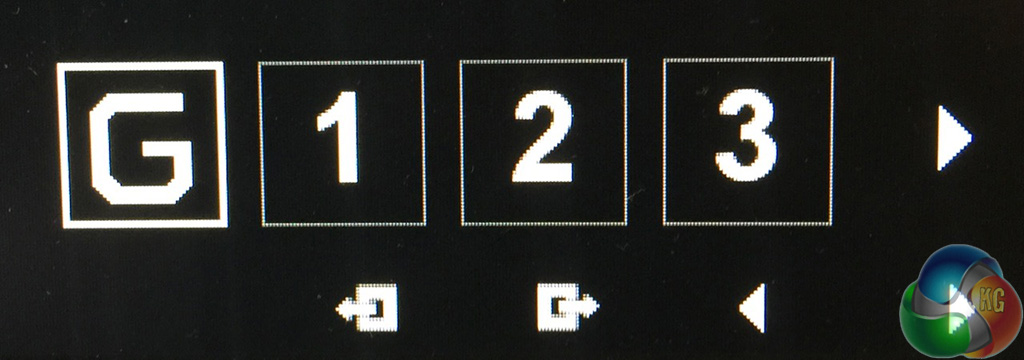
The game mode shortcut switches on a number of specific features in one go that are individually accessible elsewhere in the menu system. There are three gaming presets available, each with different settings.
The first of these settings lowers the screen brightness, raises the contrast, enables G-Sync and sets an FPS counter to display in the top right hand corner. As with any adaptive-sync display, with the video card’s frame rate locked to the monitor’s refresh rate, the display can show the exact frame rate you are getting from your game, which (obviously) is not possible with a fixed refresh rate.

The next shortcut controls the Overdrive setting, cycling between Off, Normal and Extreme.
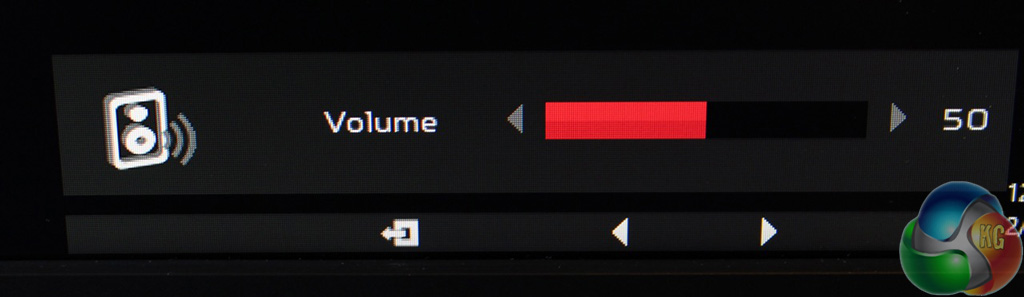
The third shortcut is a volume control.
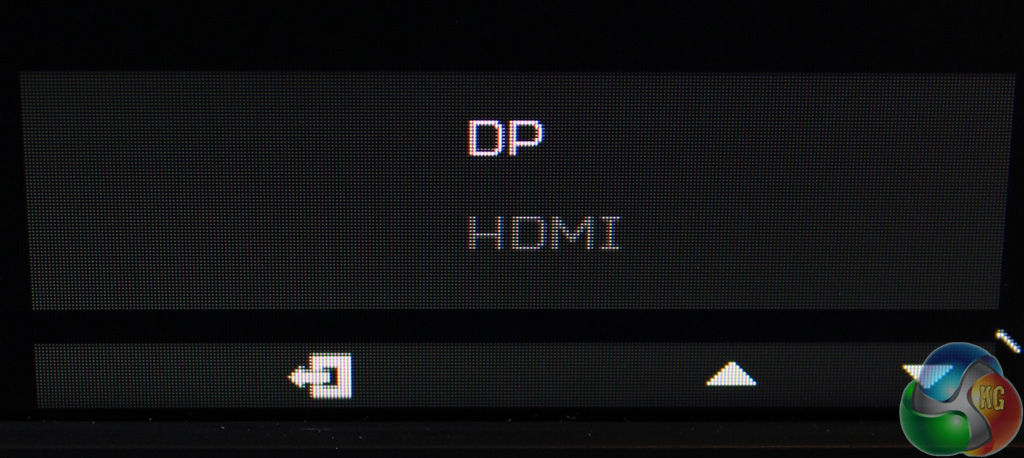
The fourth selects the video input, possible on a G-Sync 2.0 display thanks to the addition of a second HDMI video input.
And the fifth button displays the more detailed menu system.
This first screen is on the picture menu, with a few more shortcuts and controls.
You get two for brightness and contrast, a low blue light mode, which simply sets a few other options such as the brightness and contrast to various preset values.
And one called ‘dark boost’, which raises the brightness, independent of the earlier control and makes the blacks a little easier to see, possibly handy in an FPS game when someone is camping.
There’s also an adaptive contrast setting which can be set between 0-100 per cent.
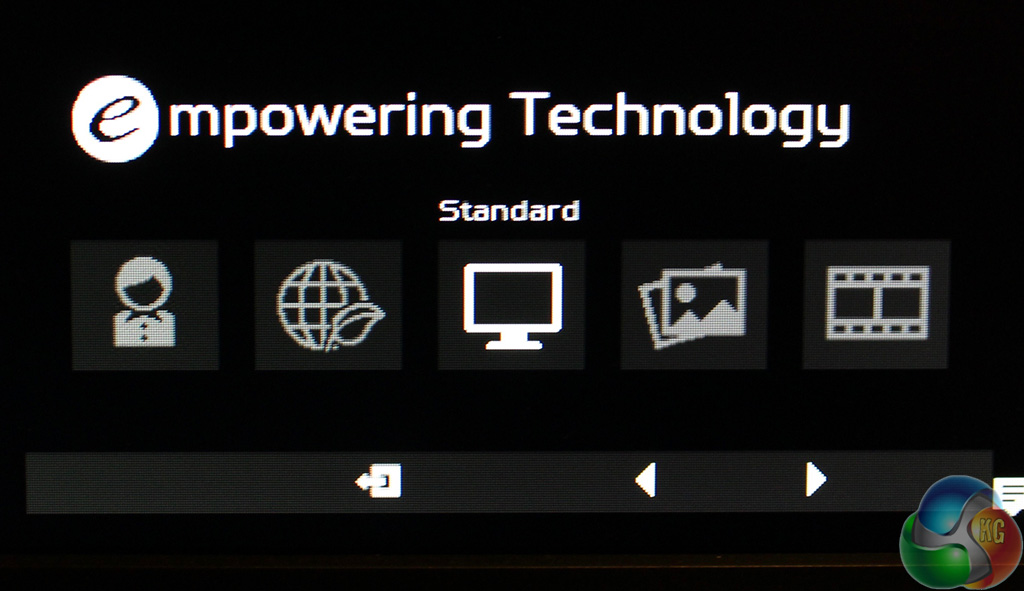
Many of the menu items lead to additional screens of more menus. For example the Acer eColor Management menu displays five colour presets (which we’ve tested on the next page).
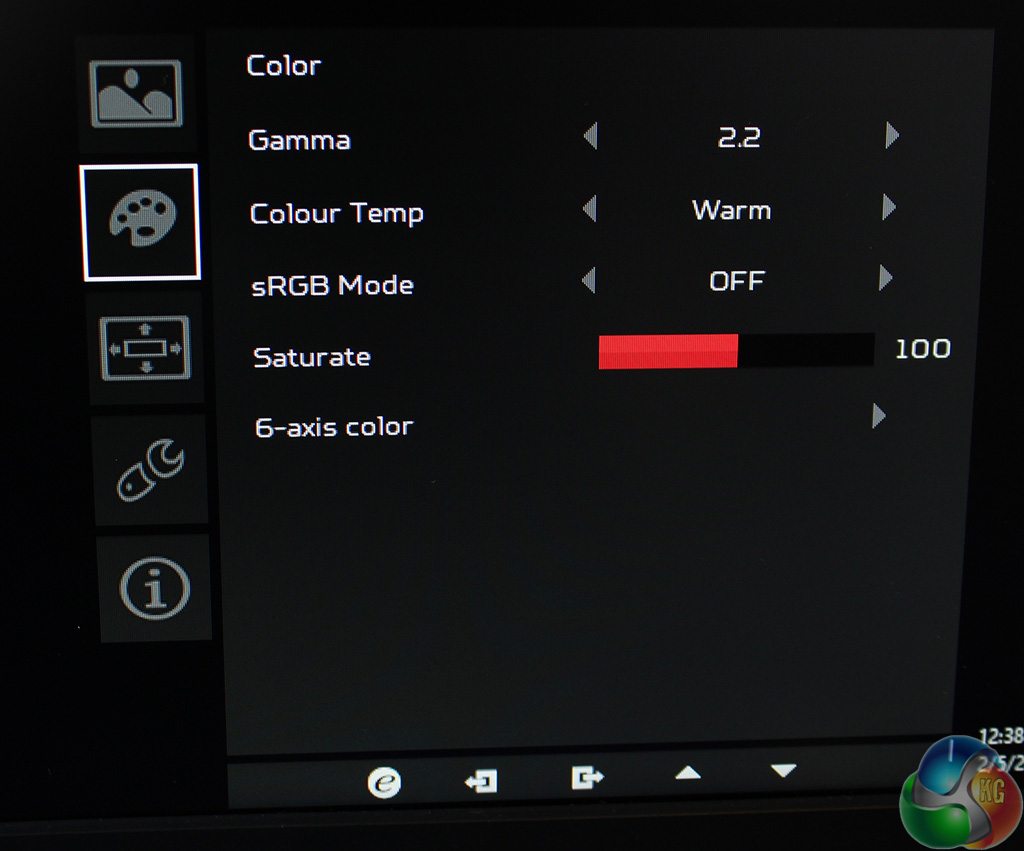
The next screen is a list of colour settings. There are two gamma settings labelled 1.8 and 2.2 and a Colour Temp setting, which we assume means white points in Kelvin, with Warm, Cool, User and Blue Light settings. Grammar pedants (including ourselves) will notice the use of both the American spelling of ‘Color’ and British spelling of ‘Colour’ on the same page.
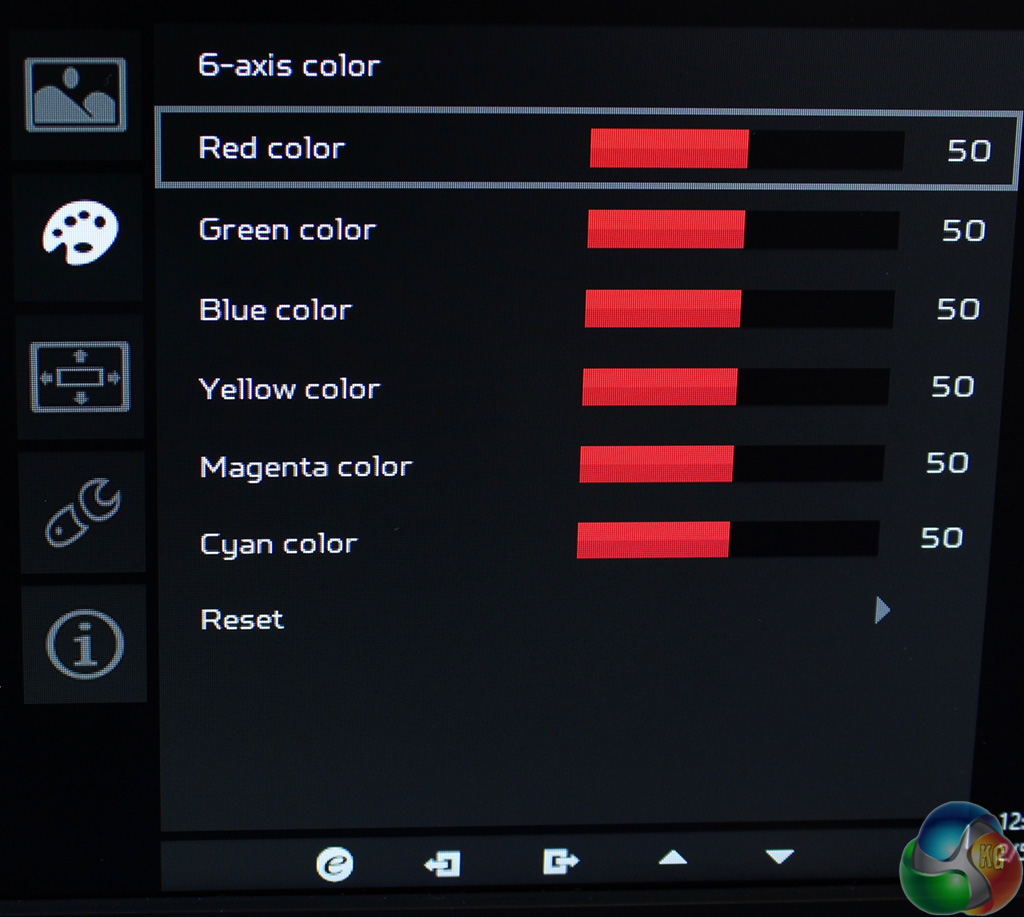
At the bottom of the page is a shortcut to another menu called 6-axis color, with individual controls of red, green and blue with cyan, magenta and yellow supported too. Great to see.

This next page has a lot of interface settings. You can adjust the language and OSD Timeout and enable the refresh rate counter in the top corner. There’s a second shortcut to the same Game Mode setting we saw before, and there are three presets where you can save your customised settings and recall them with a simple button press.
At the bottom of this screen is a setting called Aim point which brings up on-screen crosshairs. Acer has gone for a light grey unobtrusive colour, when Asus prefers bright reds and greens.
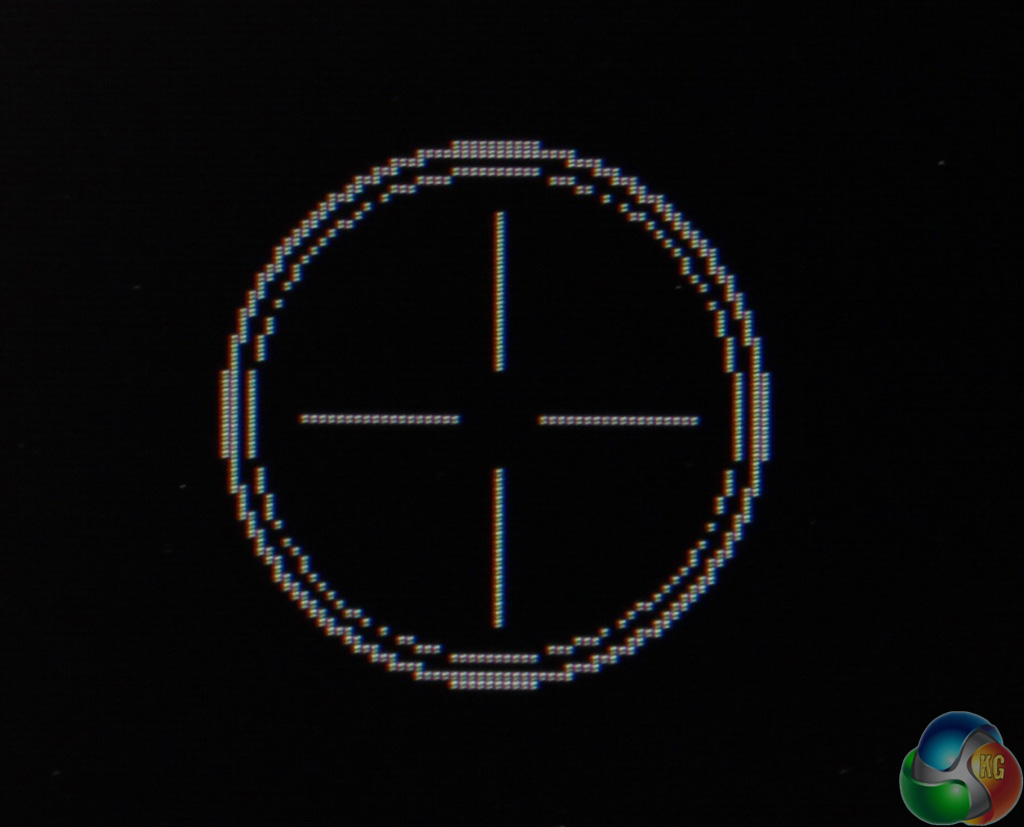

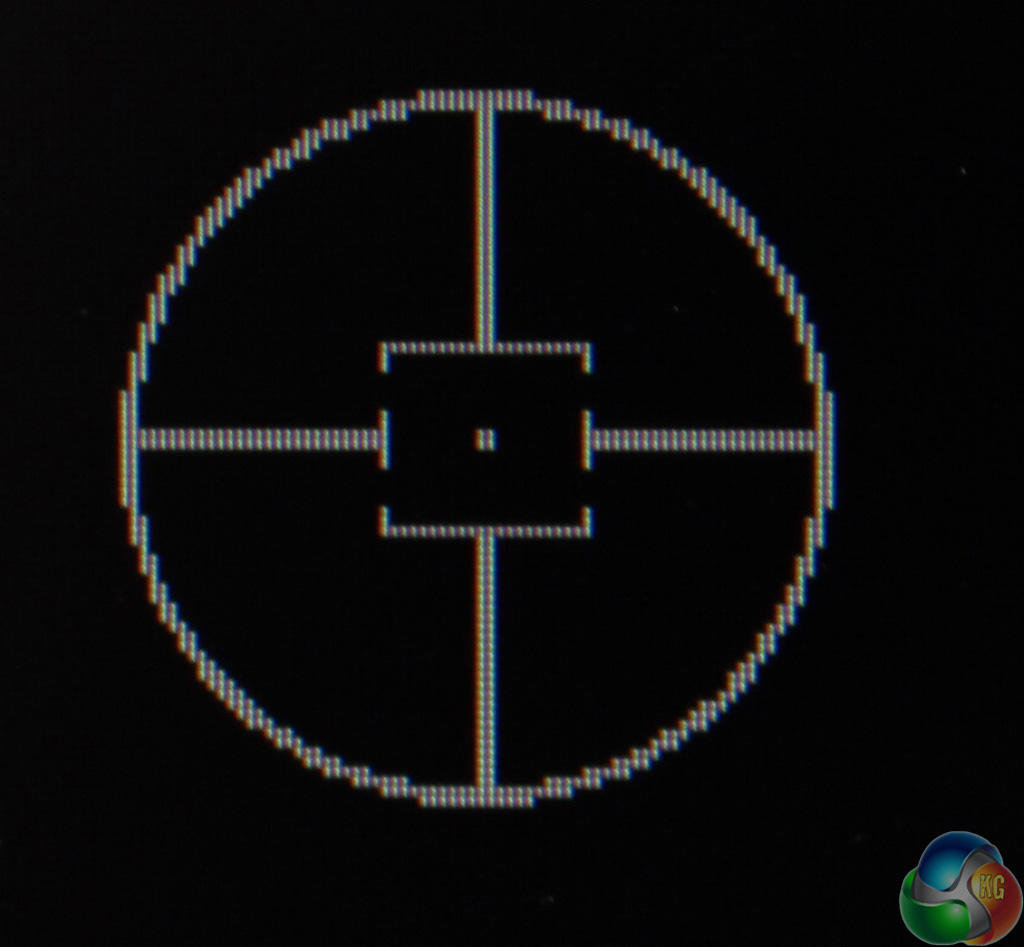
During our extensive testing of the Acer Predator Z35 with Battlefield 4, we can honestly say that on-screen crosshairs are an utterly useless gimmick that hindered rather than helped our performance in multiplayer games.
This is because nearly all the guns in Battlefield 4 have some form of bullet drop, so you never shoot exactly into the centre of the screen. Many games are roughly similar, although you can probably find a few examples of certain guns in certain games where this is a godsend. Railguns in Quake, perhaps?
On this same screen there are two more settings available if you move the arrow down.
You can switch the input between DisplayPort and HDMI, although we note there is no PIP setting here. DTS audio can be enabled, and there’s the OverDrive setting. Nvidia ULMB can also be adjusted from here (in addition to the main shortcut).
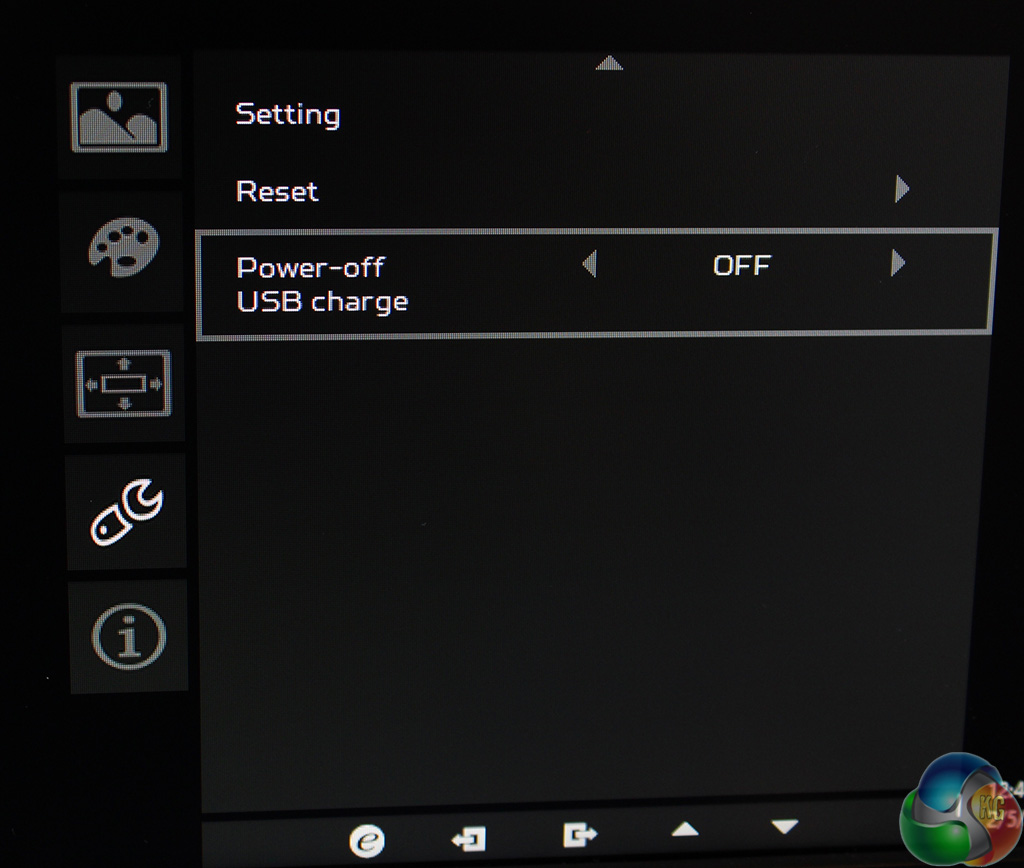
You can even dim the power switch.
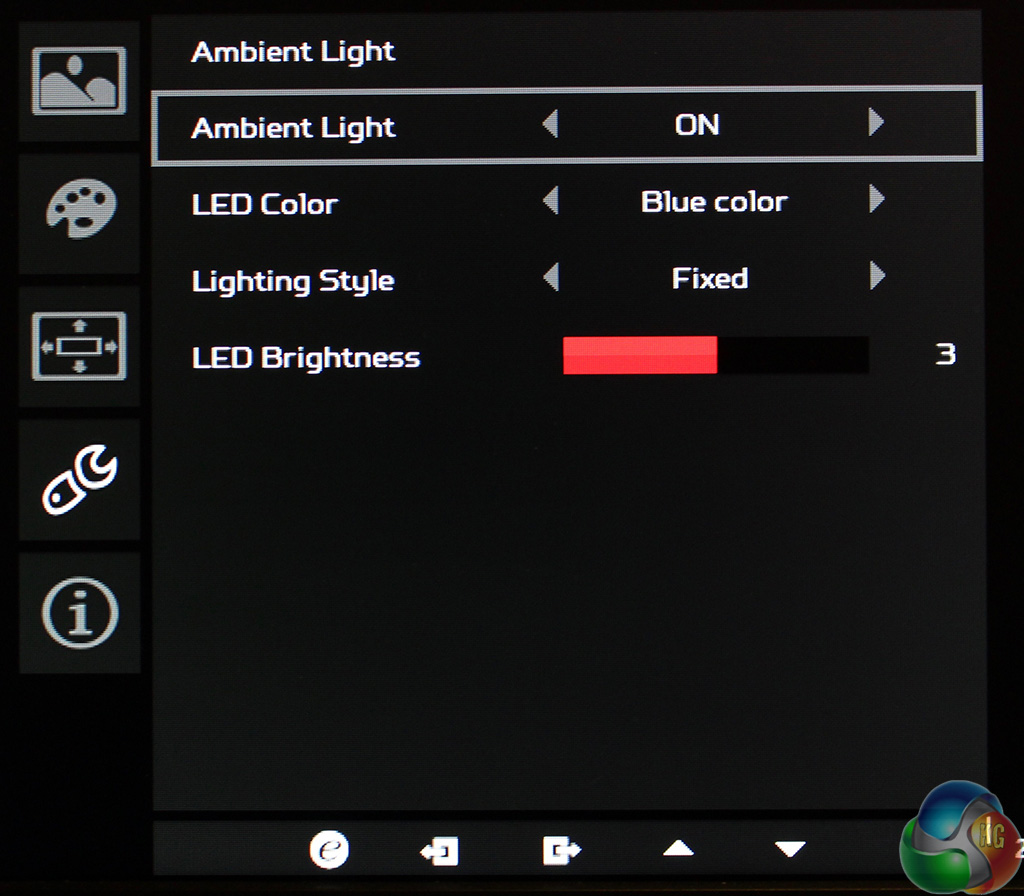
The ambient light setting lets you adjust the LED on the lower section of the bezel, with another entire screen full of settings. You can change its colour, brightness and the way it flashes. Acer has absolutely gone to town making this new menu design as comprehensive as possible.
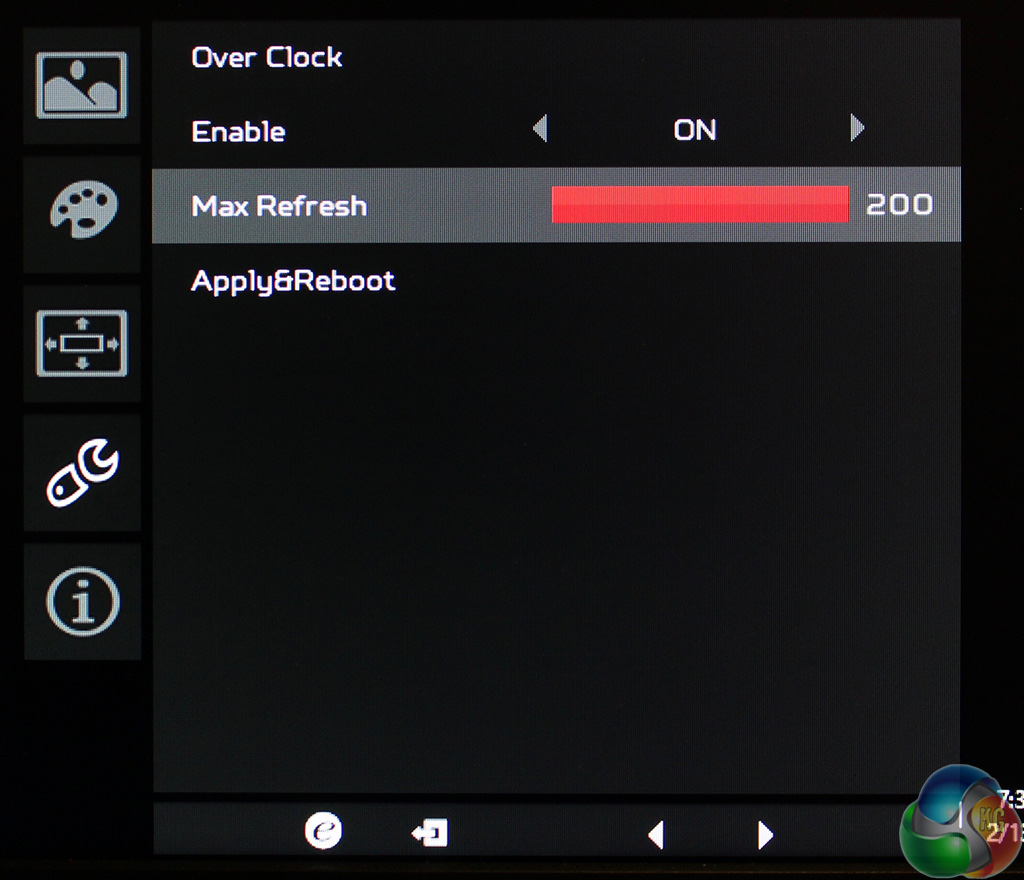
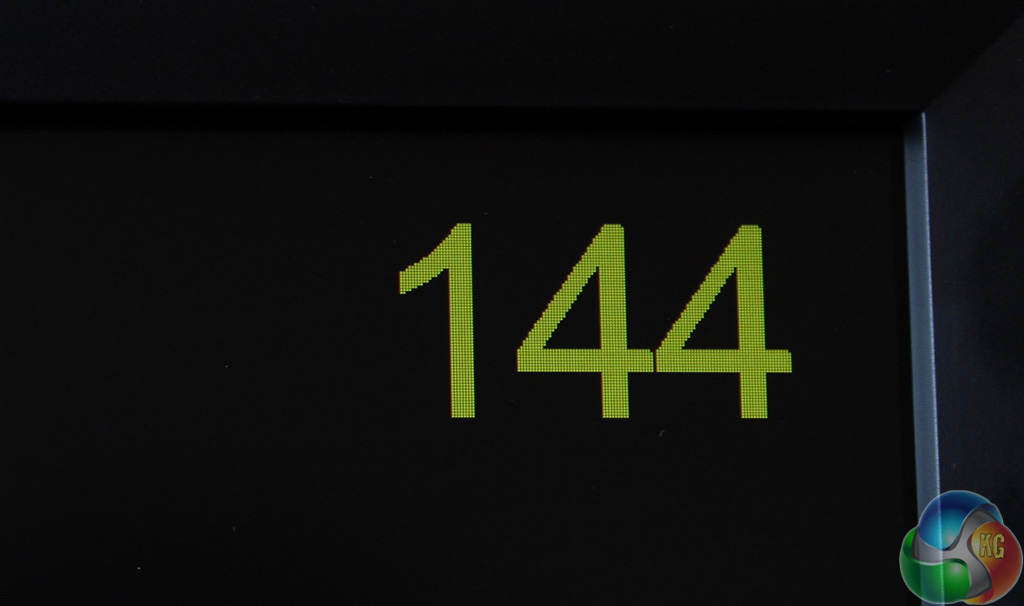
The last thing to talk about is the Overclock setting, where you can enable one of the main features of the Acer Predator Z35.
When enabled, you can raise the refresh rate above 144Hz, with settings for 160, 180 and 200Hz.
How well these settings work really defines whether the Acer Predator Z35 is worthy of purchase or not. We’ve tested this out on the next page.

Under Specifications you have this listed as 2560×1440, “Native resolution: 2,560 x 1,440”
This monitor has worse pixel response time at 200Hz than the acer and Asus 1440p monitors do at 144hz. It’s tragic. Had the potential to be a great monitor.
thanks, we fixed that error.
That tiny resolution on that size of panel seems bizarre.
Get the LG 34MU98-W its great and works.
great design, but poor panel.