

BenQ’s OSD is one of the strongest aspects of the GW2765HT, with well-designed and clearly labelled menus, and plenty of extra features and functions.
The GW2765HT is no exception, and the OSD functions almost exactly like that on the RL2755HM although it looks slightly different. It’s mostly excellent, although we did run into a few issues with it.

Pressing any of the buttons brings up a simple menu of five shortcuts, accessible by pressing the corresponding buttons on the side of the display. Back and forward arrows let you flip through settings to enable them, and are then confirmed with a blue tick or a red cross to cancel the chances. These shortcuts can be adjusted to lead to a different function if you wish.
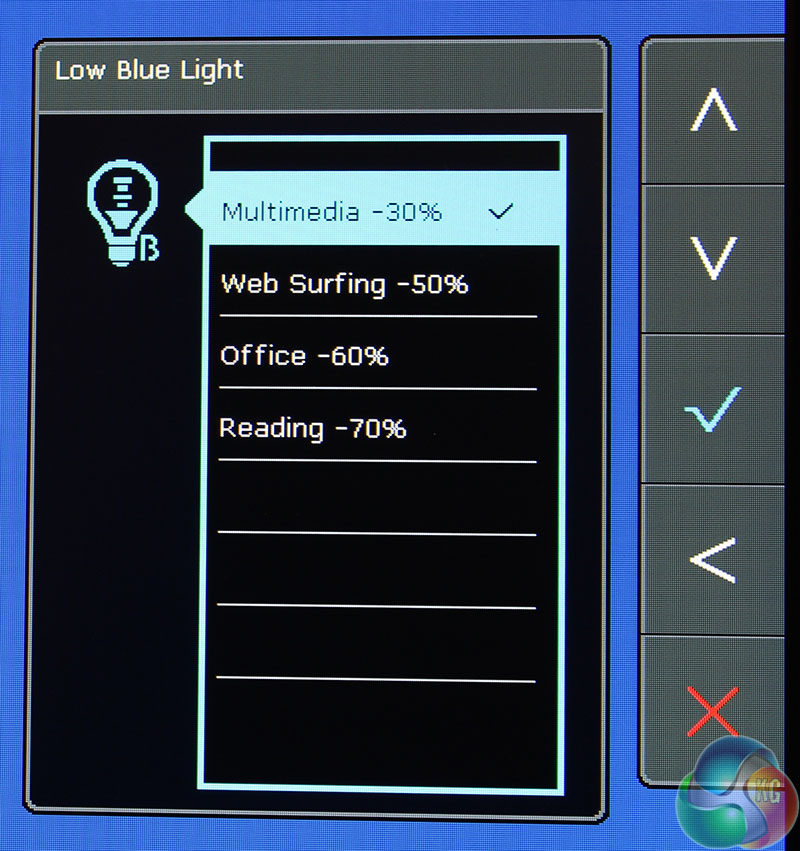
The top-most Low Blue Light shortcut leads to a submenu with four separate options for reducing blue light levels. The options are 30%, 50%, 60% and 70%, and the effect is a reduction in overall brightness and the picture (obviously) losing some of the blue spectrum.
This is where we had an early issue. Press the button and it defaults to the 30% setting. But there’s no way to return to your display back to normal, without going through the main menu and resetting the colour or changing the picture mode. Not a show stopper, but an irritation all the same.
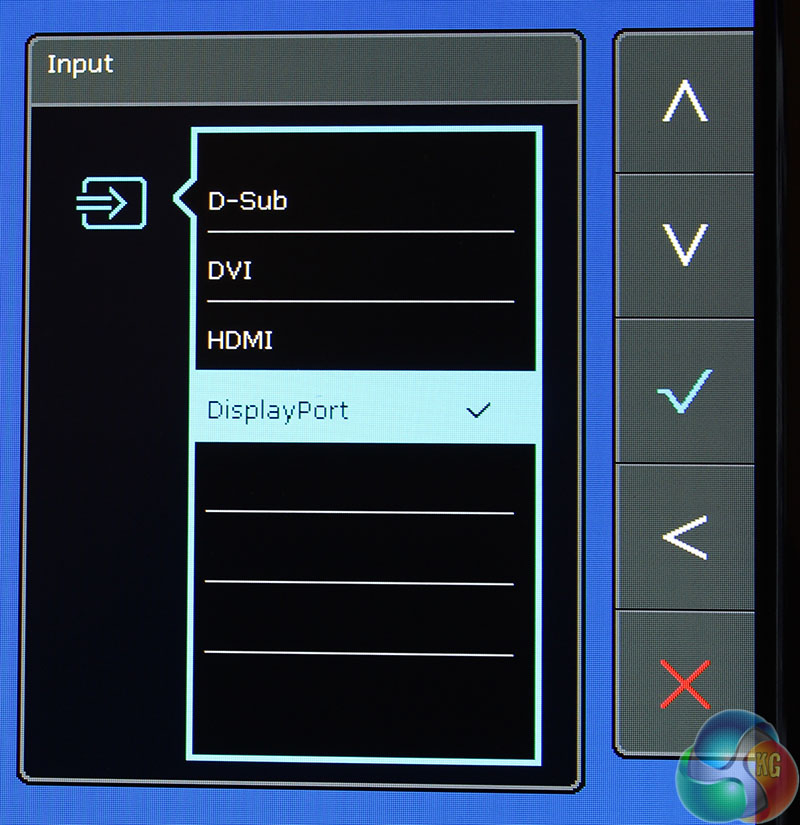
Press the next button down for a list of the video inputs, with up and down arrows to select each one.
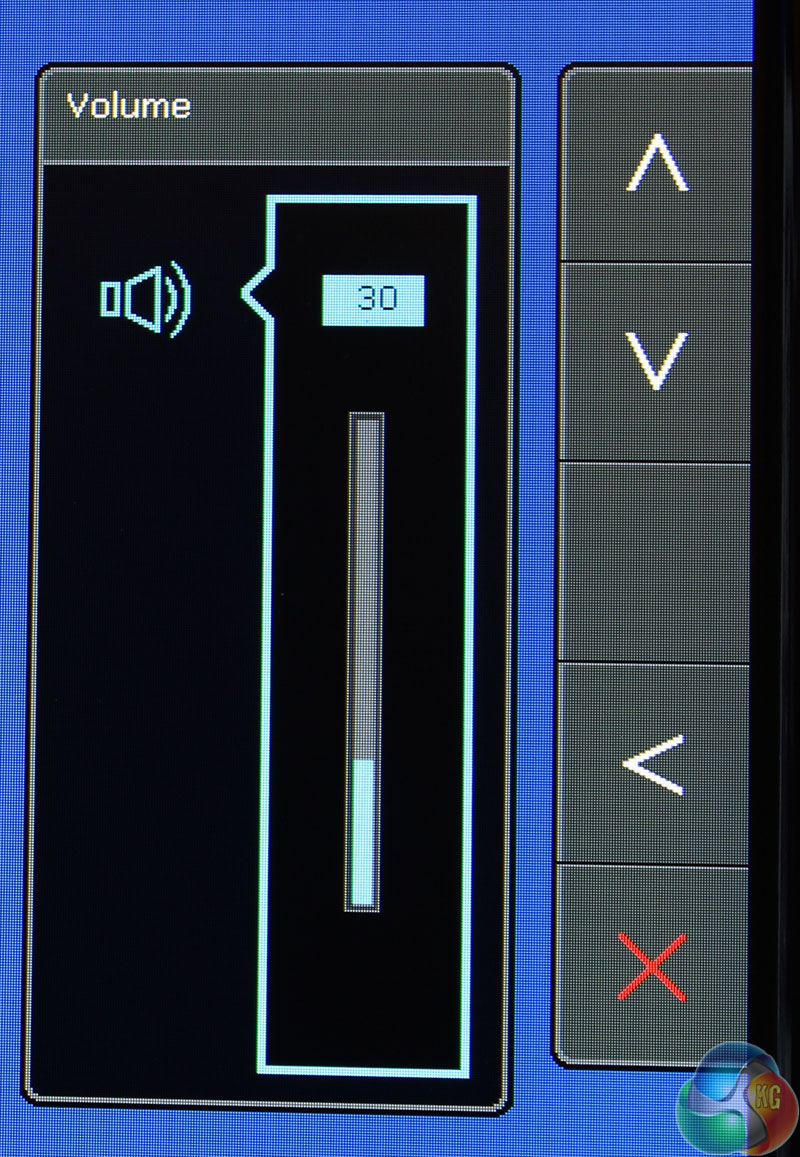
The volume control works in a similar way, raised and lowered with up and down arrow keys.
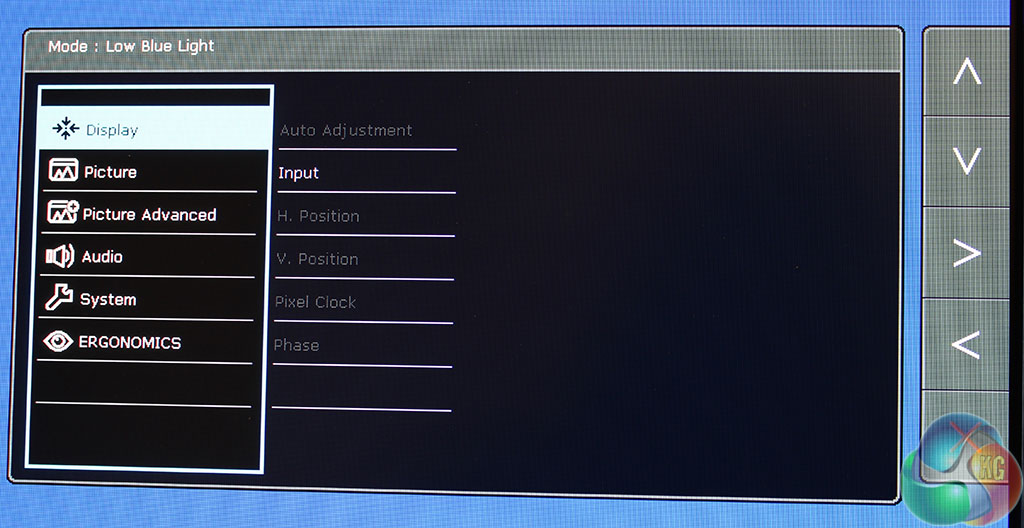
The ‘Menu’ shortcut brings up a whole new area of the OSD with all the advanced settings to fully customise the picture. The main, default setting is Display, which provides a list of basic settings, most of which aren’t too important, although there is one to select the video input.
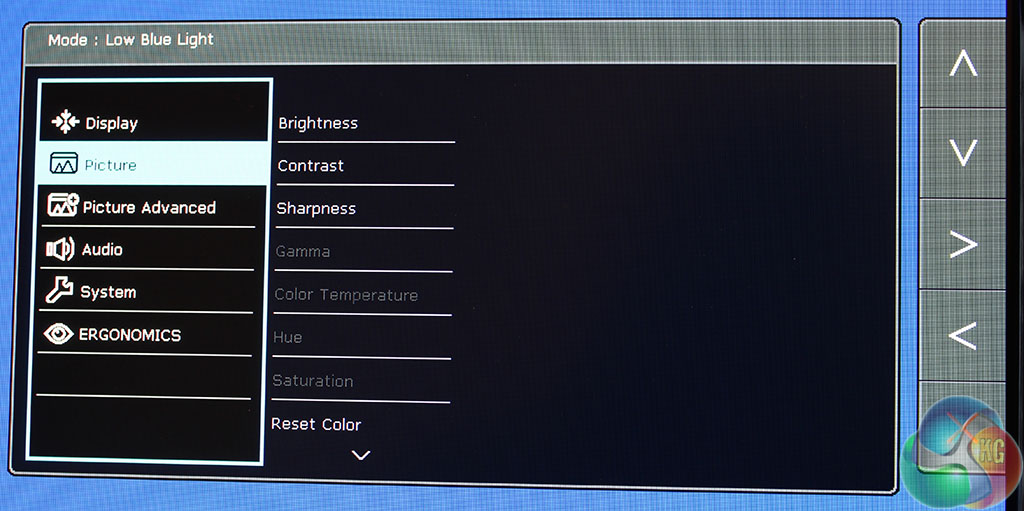
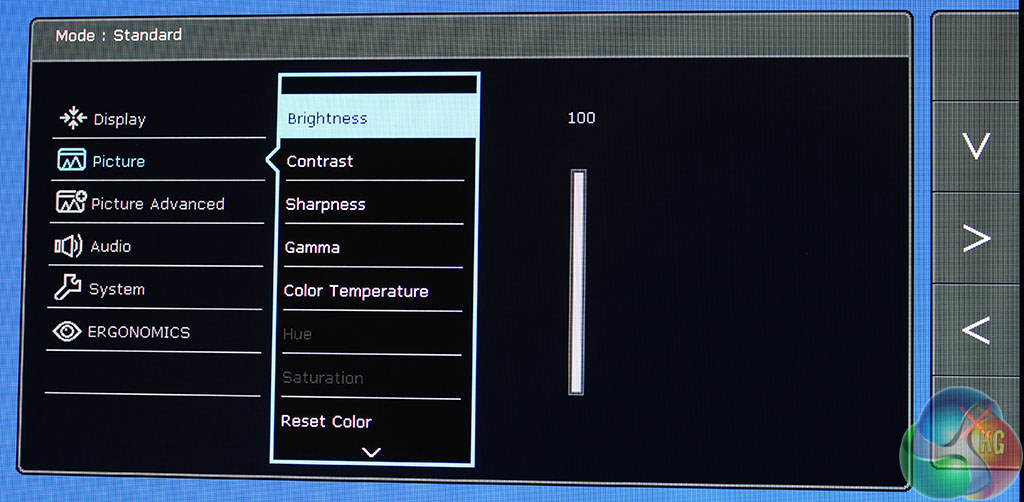
The next menu is labelled ‘Picture’ with controls for the brightness, contrast and sharpness. With the picture mode set to ‘User’ in the next menu, you get access to the extra settings, such as gamma and hue, which are otherwise greyed out.
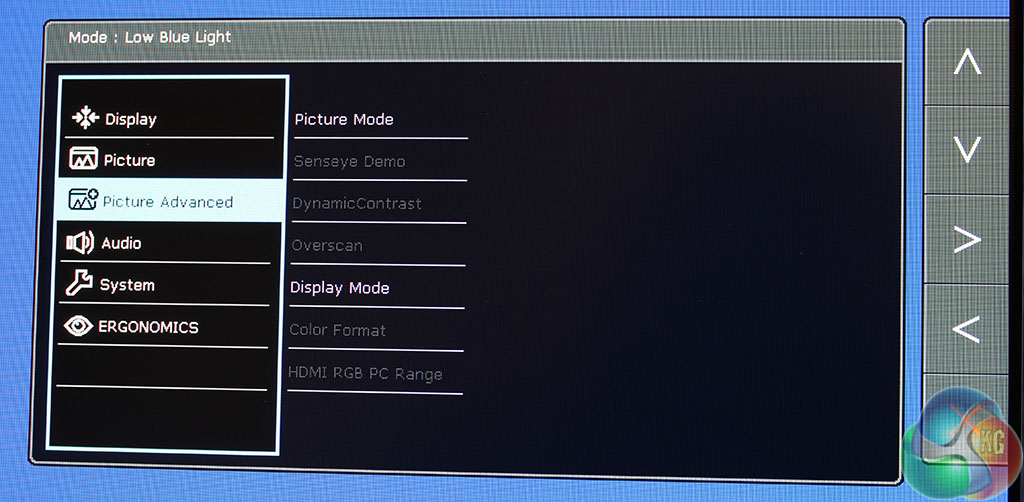
The ‘Picture Advanced’ menu contains a number of further settings. The most useful is the ‘Picture Mode’ which lets you choose from a long list of preset display settings.
The list is quite comprehensive, with: ‘Standard’, ‘Low Blue Light,’ ‘Movie,’ ‘Game’, ‘Photo,’ ‘sRGB,’ ‘Eco’ and the ‘User’ setting. We’ll take a look at what happens to the image with each one on the next page.
As above, some settings are greyed out, depending on the mode you are using.
The ‘Senseye Demo’ splits the screen in half to demonstrate the effects of BenQ’s dynamic content analysis software, which slightly adjusts brightness and contrast depending on the on-screen content.
The ‘DynamicContrast’ setting dramatically improves black levels in dark scenes, but no longer allows you to manually adjust the brightness and contrast. We prefer to leave the setting off while testing, but with any display, in use this is up to the preference of the user.

The ‘Audio Select’ menu gives you manual controls over the audio input. It’s best left on auto, unless you specifically wish to keep music coming from a PC or sound from a games console.
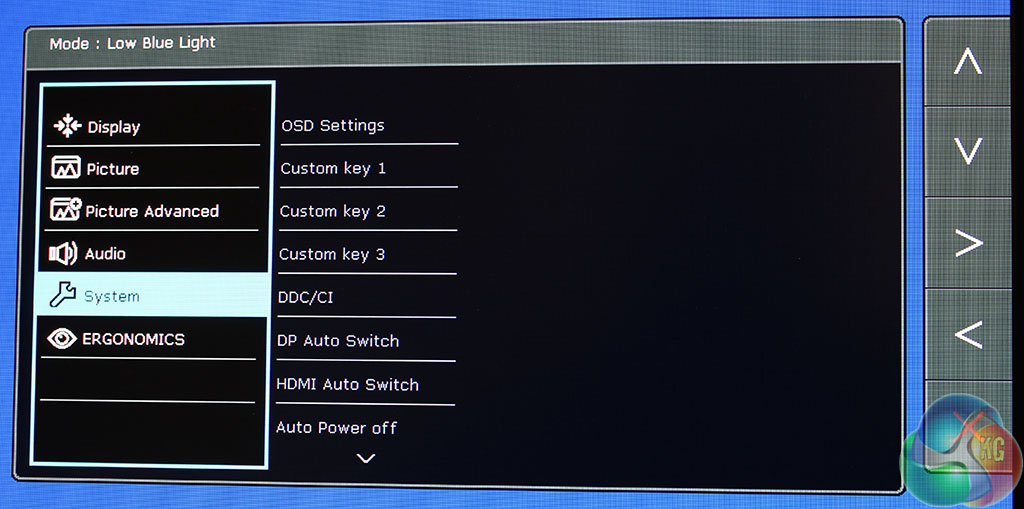
The ‘System’ Menu mainly contains settings to customise the OSD, along with a few other bits and pieces.
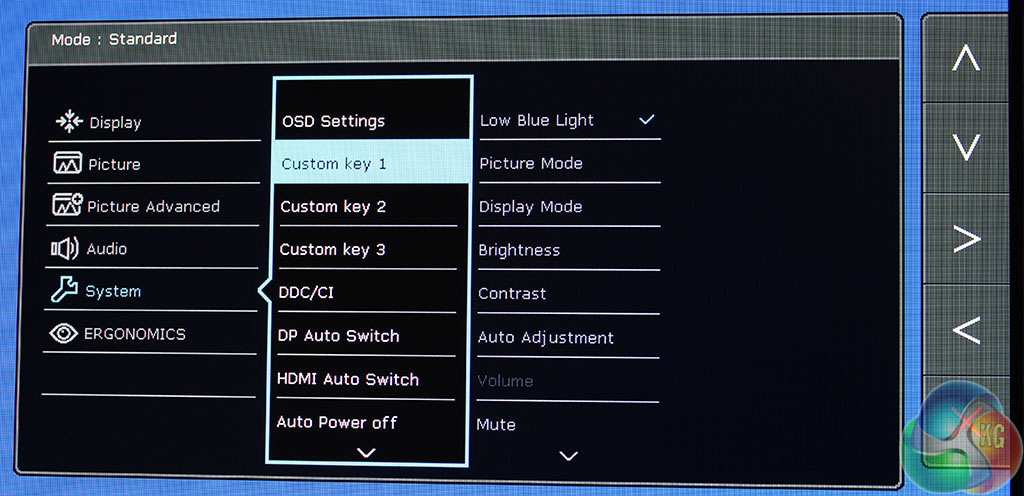
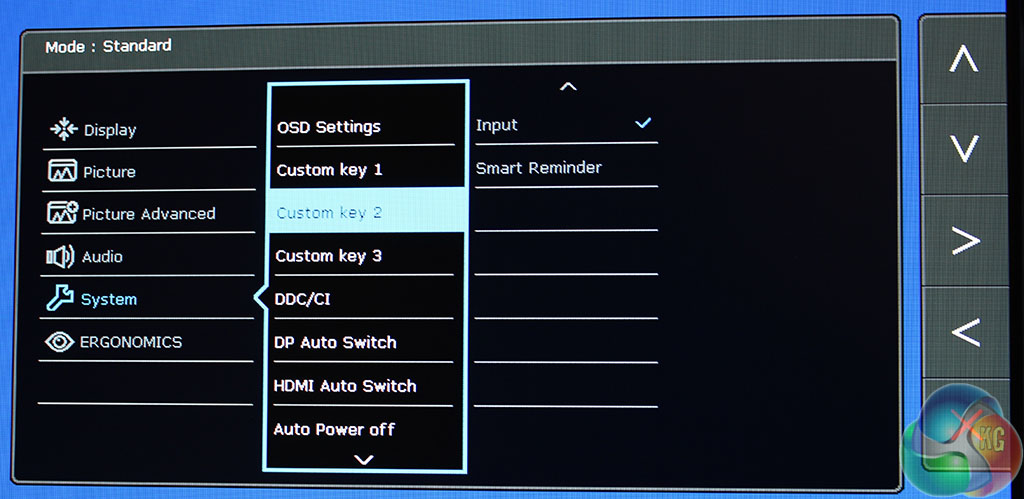
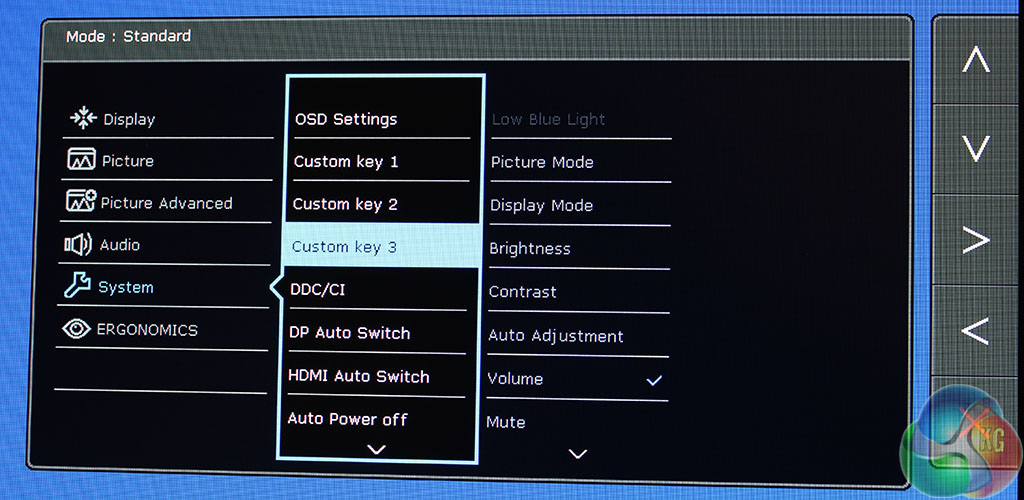
The three shortcut keys can be customised here with pretty much any setting from the monitor’s OSD. We’re not fussed about the ‘Low Blue Light’ setting for example so we changed this to Brightness.
The Auto Power Off setting sets a timer to turn off the display, either for saving energy or preventing screen burn. DDC/CI is supported, with a few options to customise the HDMI and DisplayPort auto switching.
I really need a monitor that’s easy on eyes. Mine are eye veins are exploding right now. Any suggestions?
Some (wery few) say that eye strain is due to the modern LCD screen LED backlight.
More often it seems to bee the case that one just needs frequent few minute walks around the office, or out of your home. The same eye strain can be achieved just by staring at the wall at an uncomfortable 50-70cm distance.
Really, just walk it off – regulary. If you really think the eye strain is due to the LED emitted blue light spectrum, try using quality eye glasses with the said color spectrum filter.
Well yes, a headache hit me shortly after I made that comment so I had to do 100 squats to make it go away. The side effect is that my eyes aren’t as sore as before either. At least for a while.
Btw. the monitor I have at the office is 10 years old, so most likely not LED.
Same here, i’ve got an Benq fullHD monitor from 2008 (i assume with the CCFL backlight), after 4 hours i get an eyestrain, so I do something else that is not PC related. But I have the freedom to do so, because of self-employment and few different tasks that I have to do that doesn’t center around the PC 100% of the time, not a solution for a programmer or an accountant…
Getting a 27″ IPS panel with a 4ms response time for under £300 is pretty amazing, although as I suffer quite badly from gaming motion sickness, that 4ms might not be enough for me. My 2ms Iiyama ProLites made a big difference, but I really need to move up to something with an LED backlight; the light bleed is around the edges is terrible when watching movies!
I have just looked at this and the Dell as I am not happy with the 4K offerings at the moment.
Was thinking either would be a good stop gap until a Freesync, 144HZ, 28 inch, low response, IPS, 4K monitor is available.
Not asking for much am I..
custom website designing
GET A BEST CAREER ::: @1ma08
bt……
http://www.PINCareersdevelopersclub/sub/maker...
60hz? bleh
Here is tips Easy with kitgur’u ********* Here’s Tips