

Viewsonic has a fairly unique system for navigating through its menu system. The usual up and down arrows move through the menus and various options, while buttons labelled just 1 and 2 are used for a few different functions.
In the main menus they either confirm or cancel applying various settings, or where there's a submenu they move down one branch.
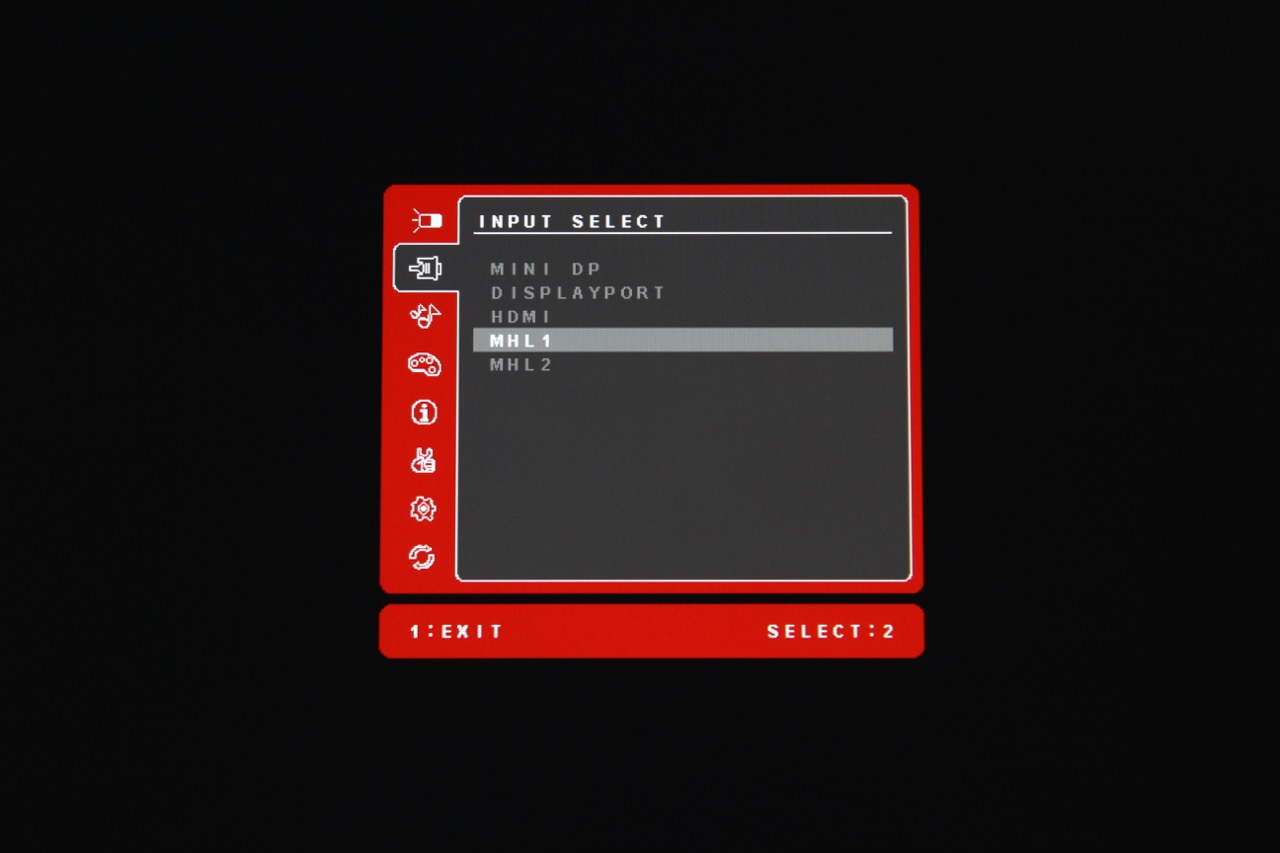
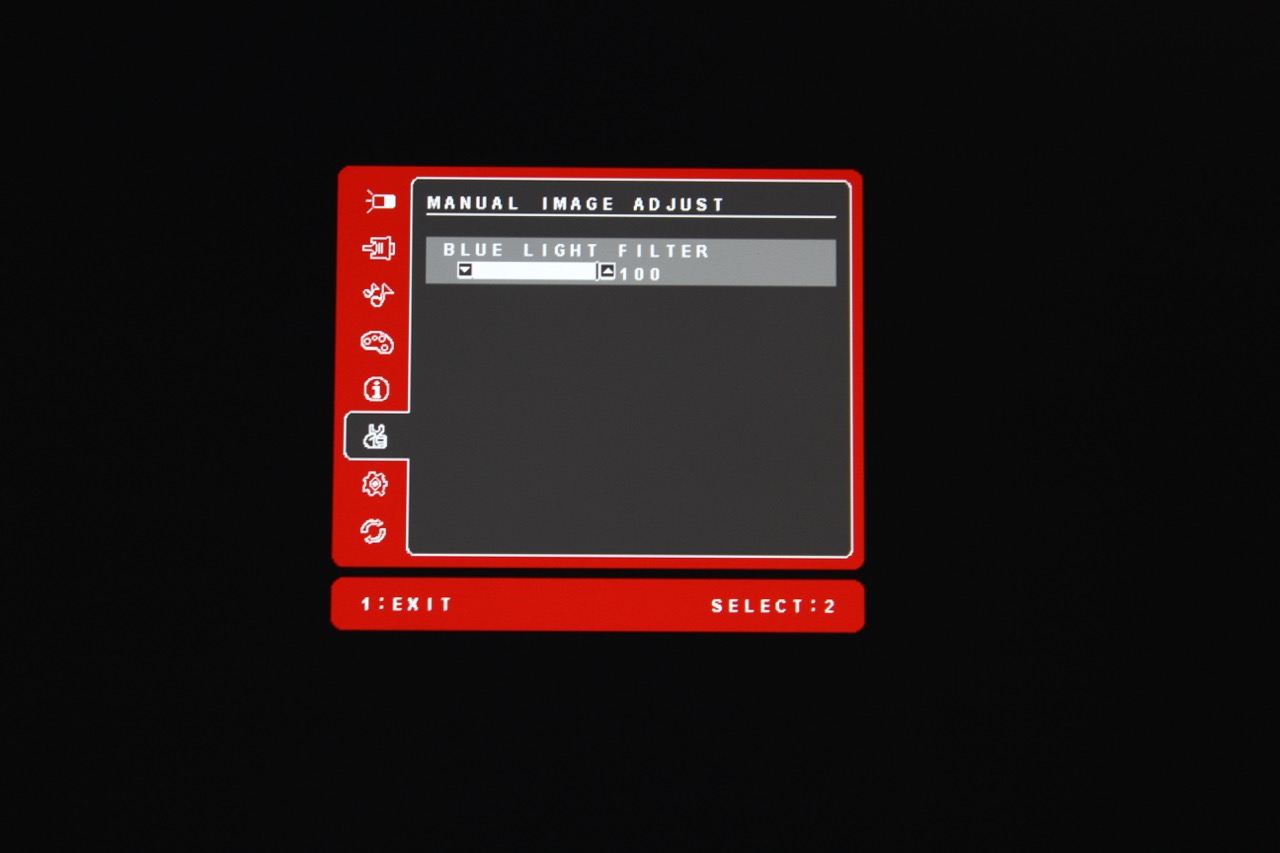
When the monitor is turned off, the 2 button brings up an input selector, while the 1 button accesses the main menu. The down arrow leads to a manual image adjust shortcut which only allows adjustment of the blue light filter and the up arrow lets you select saved user settings.
Let's check out the main menu.
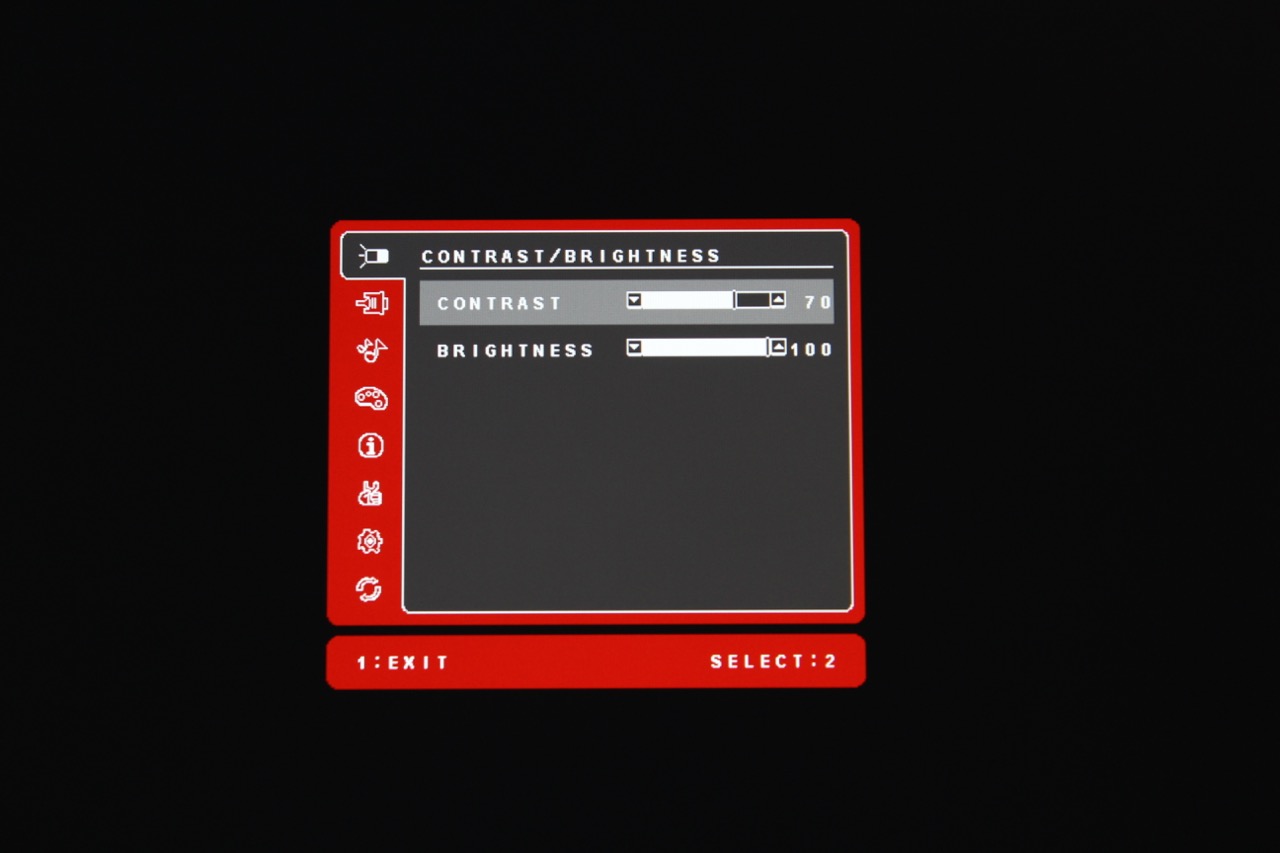
The first menu item is brightness and contrast, and does as you would expect. The default brightness is 100% with contrast set at 70%
A bit further down is the Audio Adjustment screen, used to control the output from the 3.5mm audio output to an external audio system (since there are no built-in speakers).
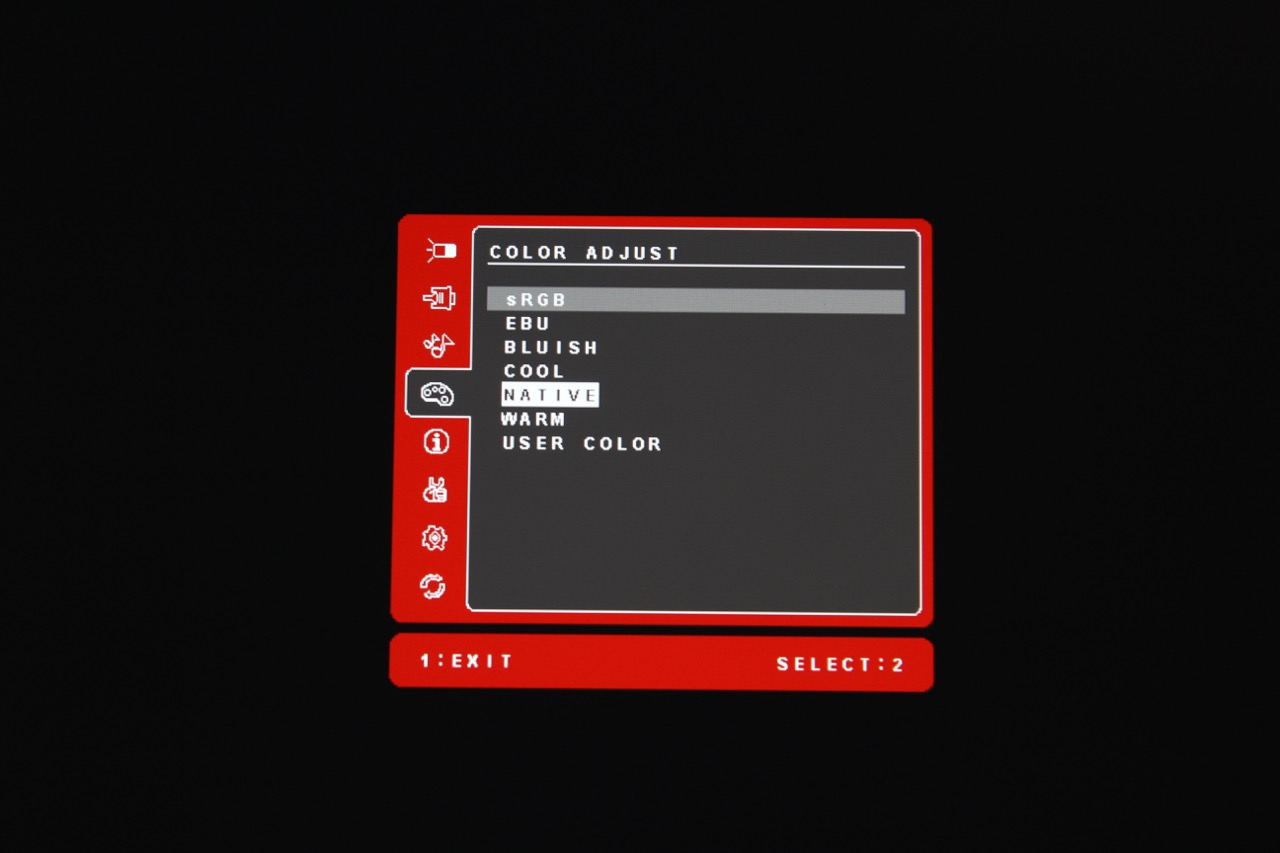
Further down is a Color Adjust menu with a set of presets, ranging from Native to sRGB, Cool, Bluish and Warm.
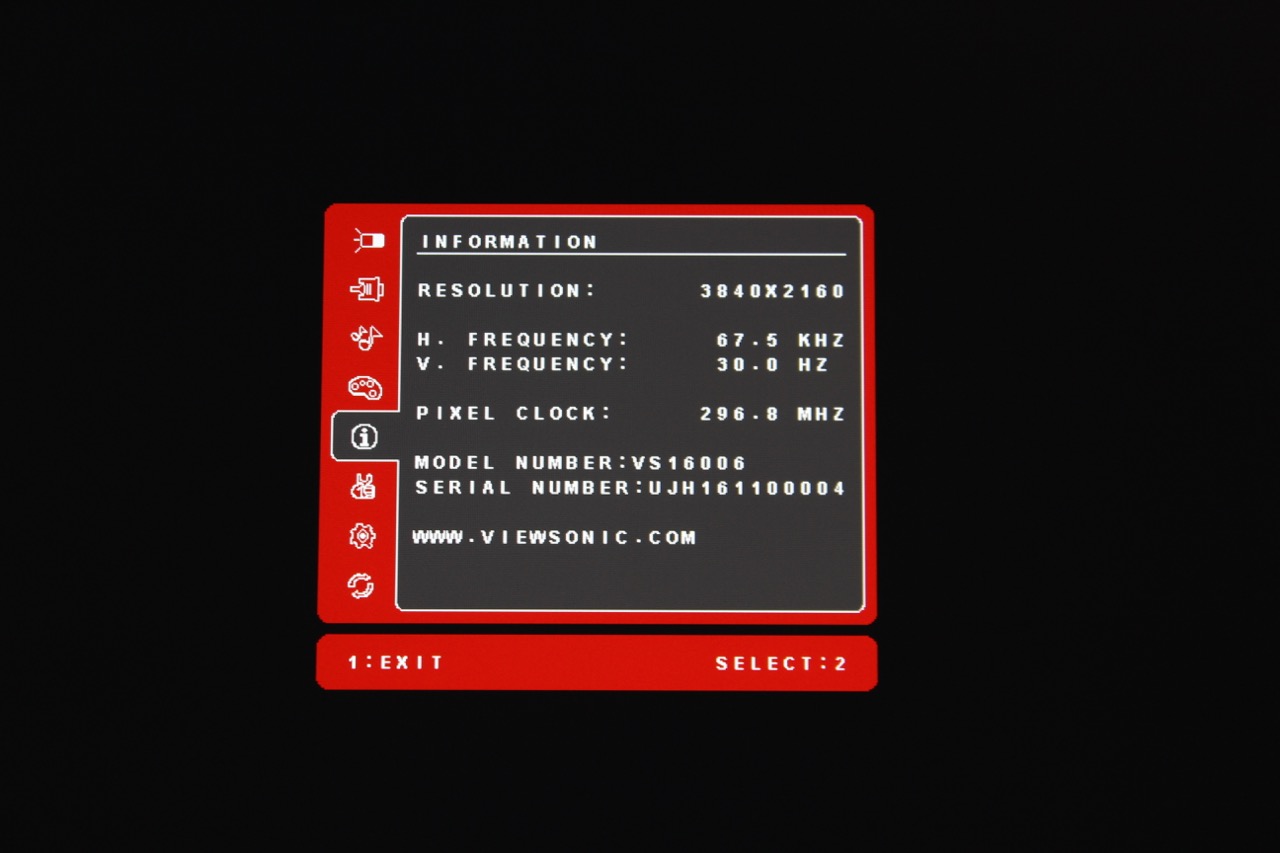
The Information panel shows the current resolution, refresh rates and so on.
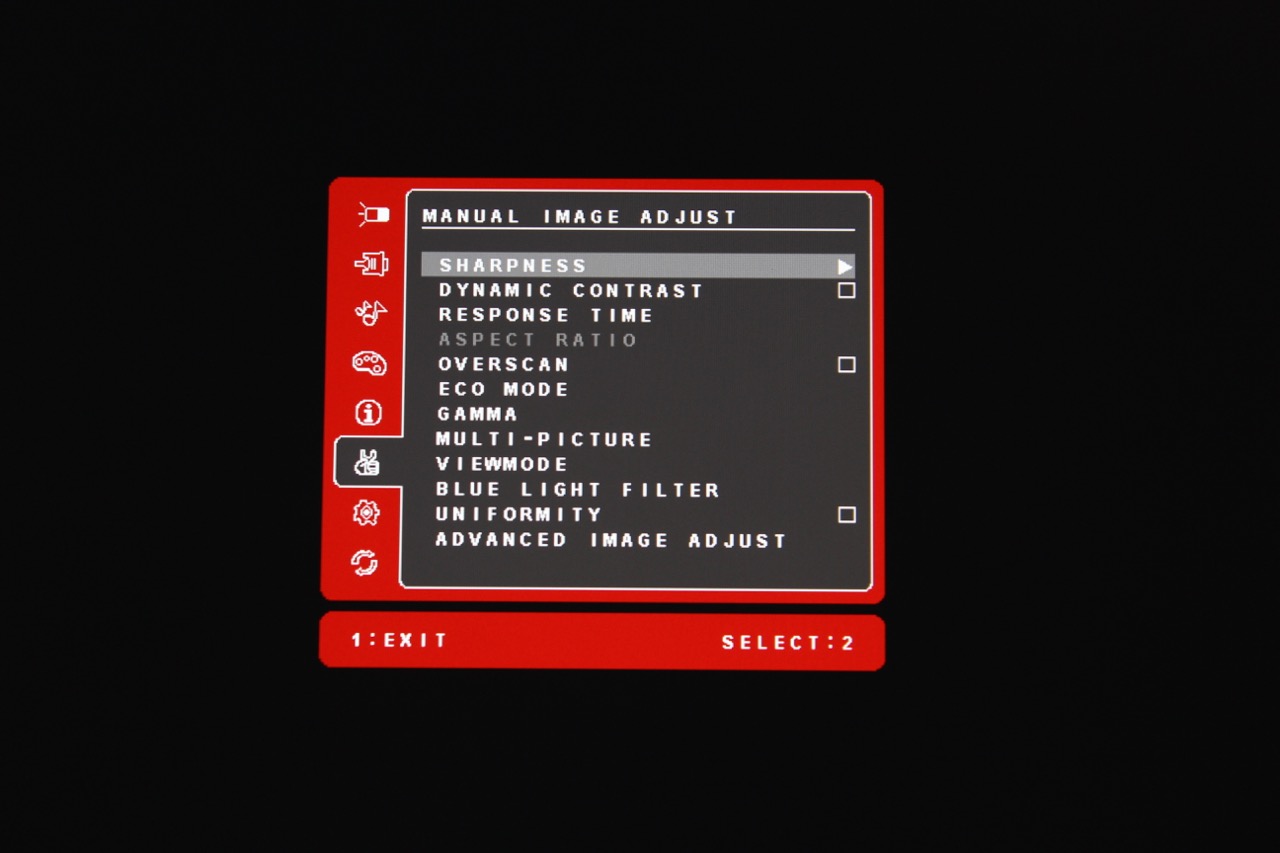
Underneath that is a setting called Manual Image Adjust. It's basically an advanced colour edit menu and it has quite a few settings in it, and even further submenus.
Sharpness, Dynamic Contrast, Aspect Ratio and a few other settings are all fairly self explanatory.
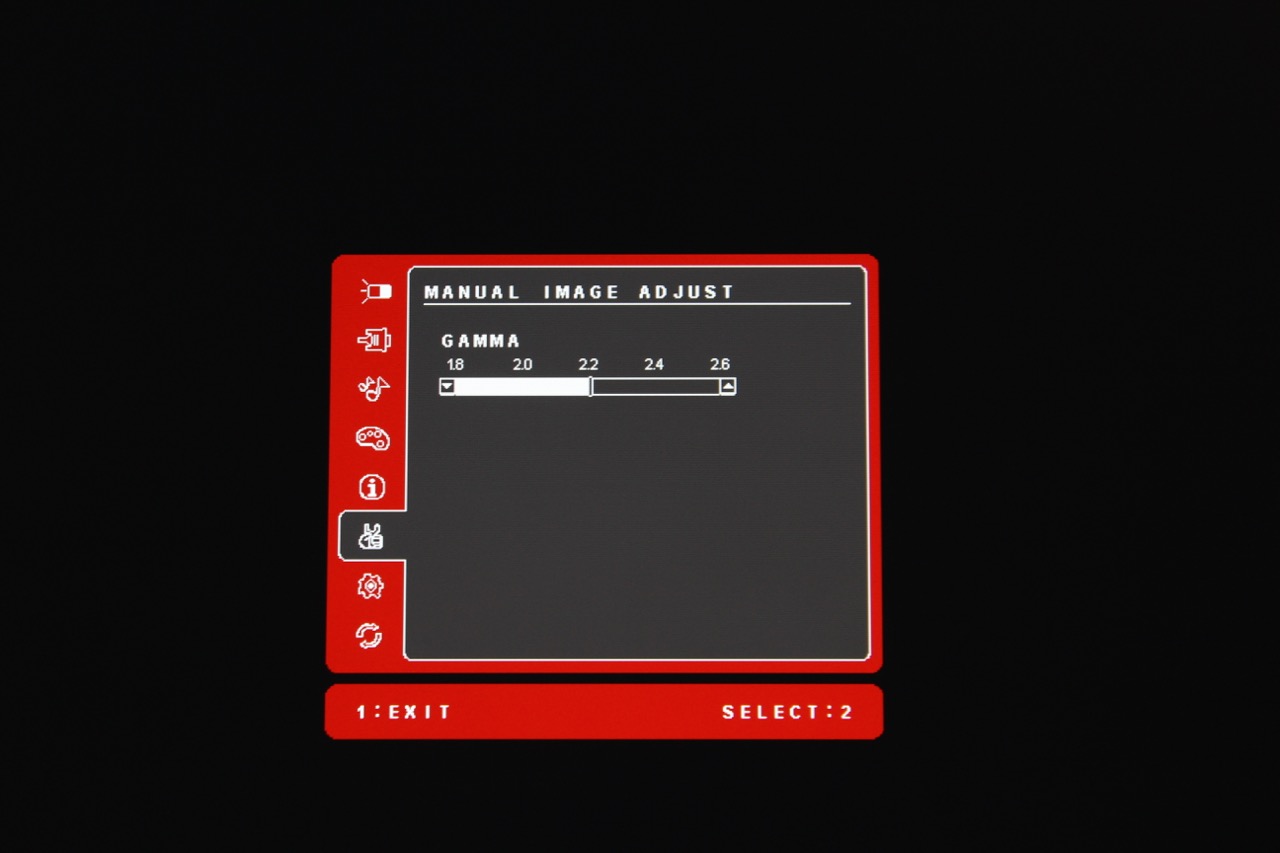
There are also five gamma settings.
But there are two more options of interest.
If you scroll down to the bottom, the Uniformity setting adjusts brightness uniformity, engaging circuitry to reduce the difference in white levels across the display, meaning better colour accuracy. This disables the dynamic contrast setting.
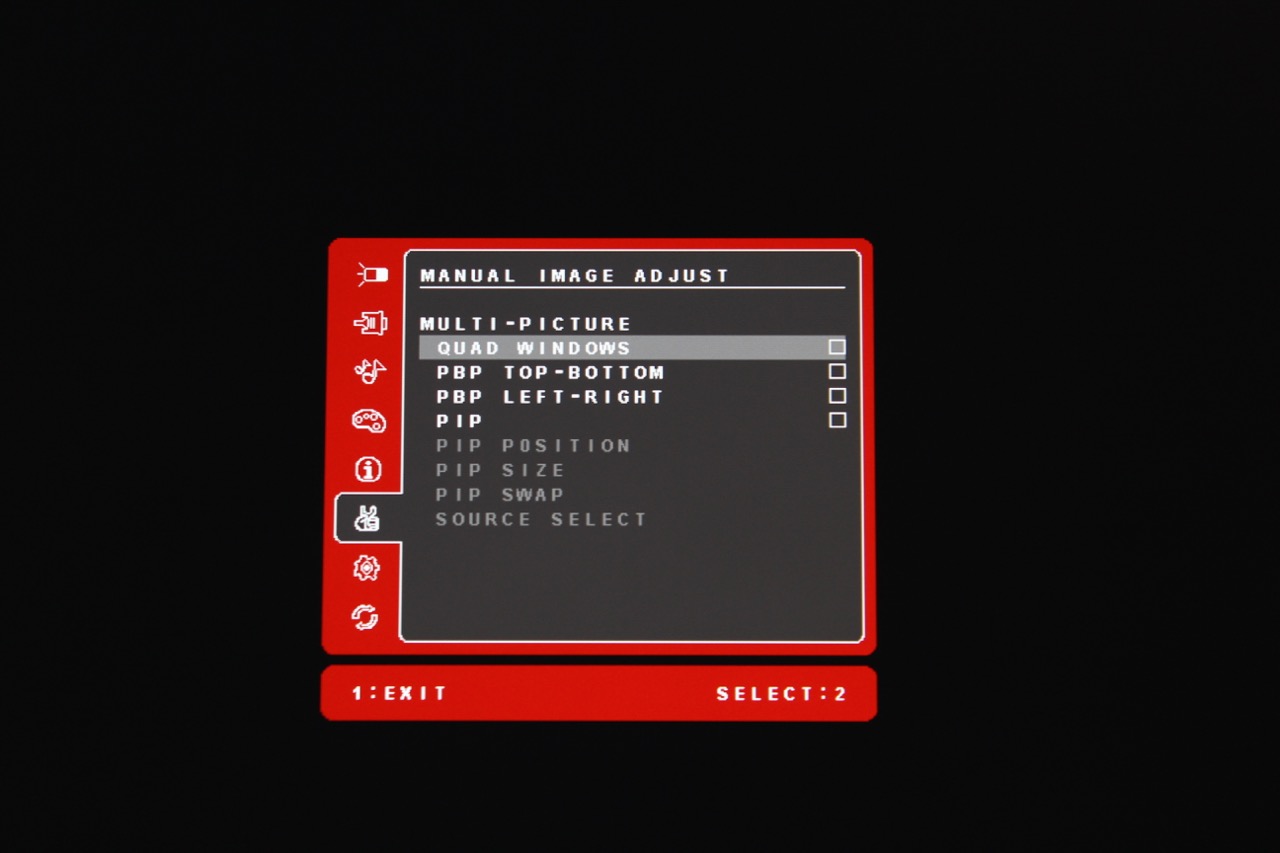
There's also a multi-picture mode setting to display up to four multiple resizeable inputs on the screen. You can choose between a number of different settings, and it works extremely well.
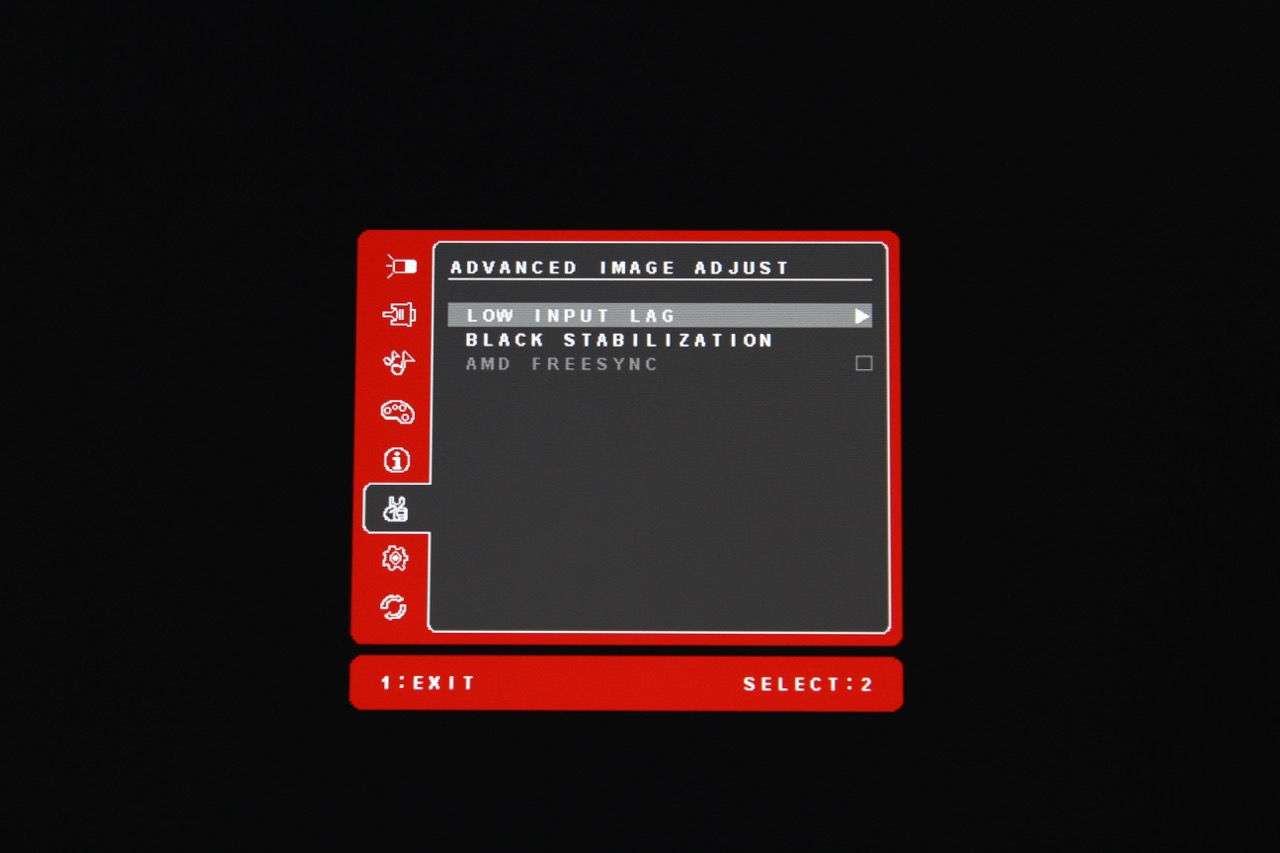
And under a further submenu (why is everything buried in so many menus?) called Advanced Image Adjust, there's a setting to enable Black Stabilisation, which further improves contrast. In here you'll also find the AMD FreeSync option, which needs to be manually enabled.
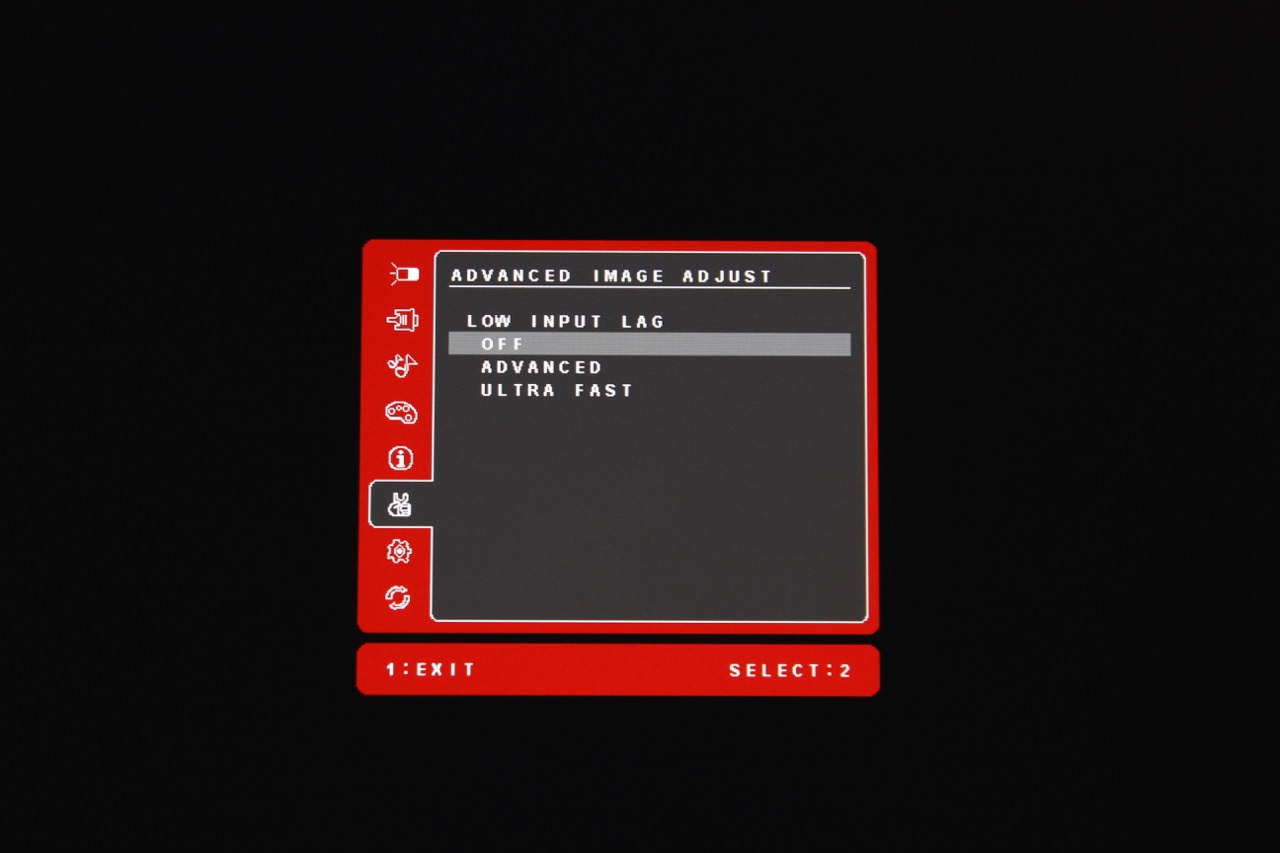
And there's a setting to adjust input lag
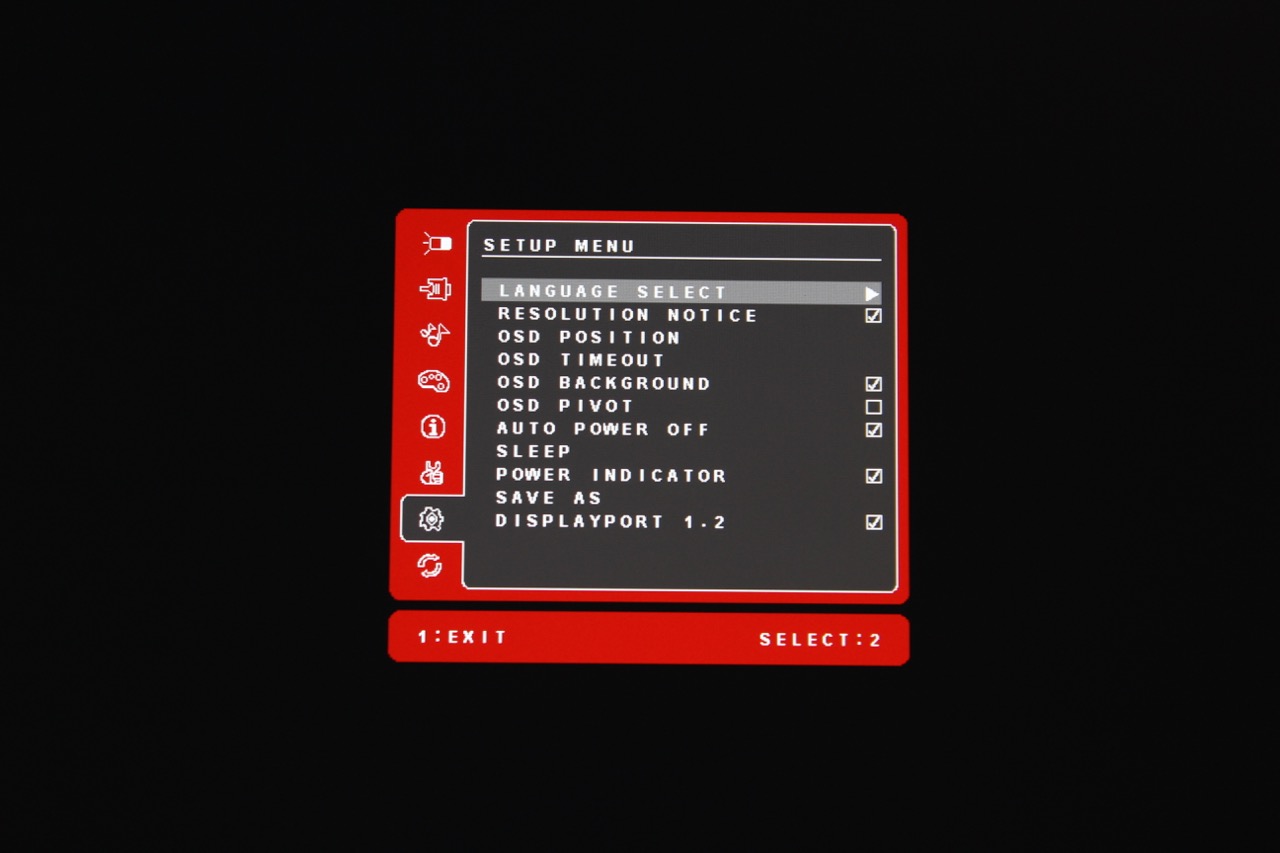
There's also an OSD setup menu with all the usual parameters.
If you got this far, you're probably thinking that's a lot of menus, and you'd be right. While the Viewsonic XG2700-4K is full of customisation options and features, the number of submenus makes navigating them a bit of a chore, at times.

Since it’s a gaming monitor – one of the more important gaming specs is missing:
RESPONSE TIME (GTG)
5ms
Pretty standard for a “gaming” ips screen. Though that’s their listed spec, I wonder how it actually does.
And it has to have red accents. Very important to gamers to have that splash of red.
At least it’s not sporting the Asus ROG tramp stamp and a horrible angular design. Just the typical “gamer” colour scheme.
<<u.
✸✸✸✸✸:✸✸✸✸✸:✸✸✸✸✸:✸✸✸✸✸:✸✸✸✸✸:✸✸✸✸✸:✸✸✸✸✸:✸✸✸✸✸:✸✸✸✸✸:✸✸✸✸✸:::::::!bk274u:….,……
I currently get paid about 6-8 thousand dollars every month with an online job. Everyone willing to do easy freelance jobs for few hrs a day from your couch at home and earn good income while doing it… Then this gig is for you… SELF19.COM
vedvw
I basically get paid about 6-8 thousand dollars /a month online. So if you are willing to complete simple freelance jobs for 2h-5h daily at your home and make decent payment in the same time… Then this work opportunity is for you… SELF30.COM