


If you have ever bought an ASUS ROG peripheral before, you will be familiar with the look of the box that the Pugio ships in – it is dark grey, with a brushed metal appearance, while a product image is also visible on the front.
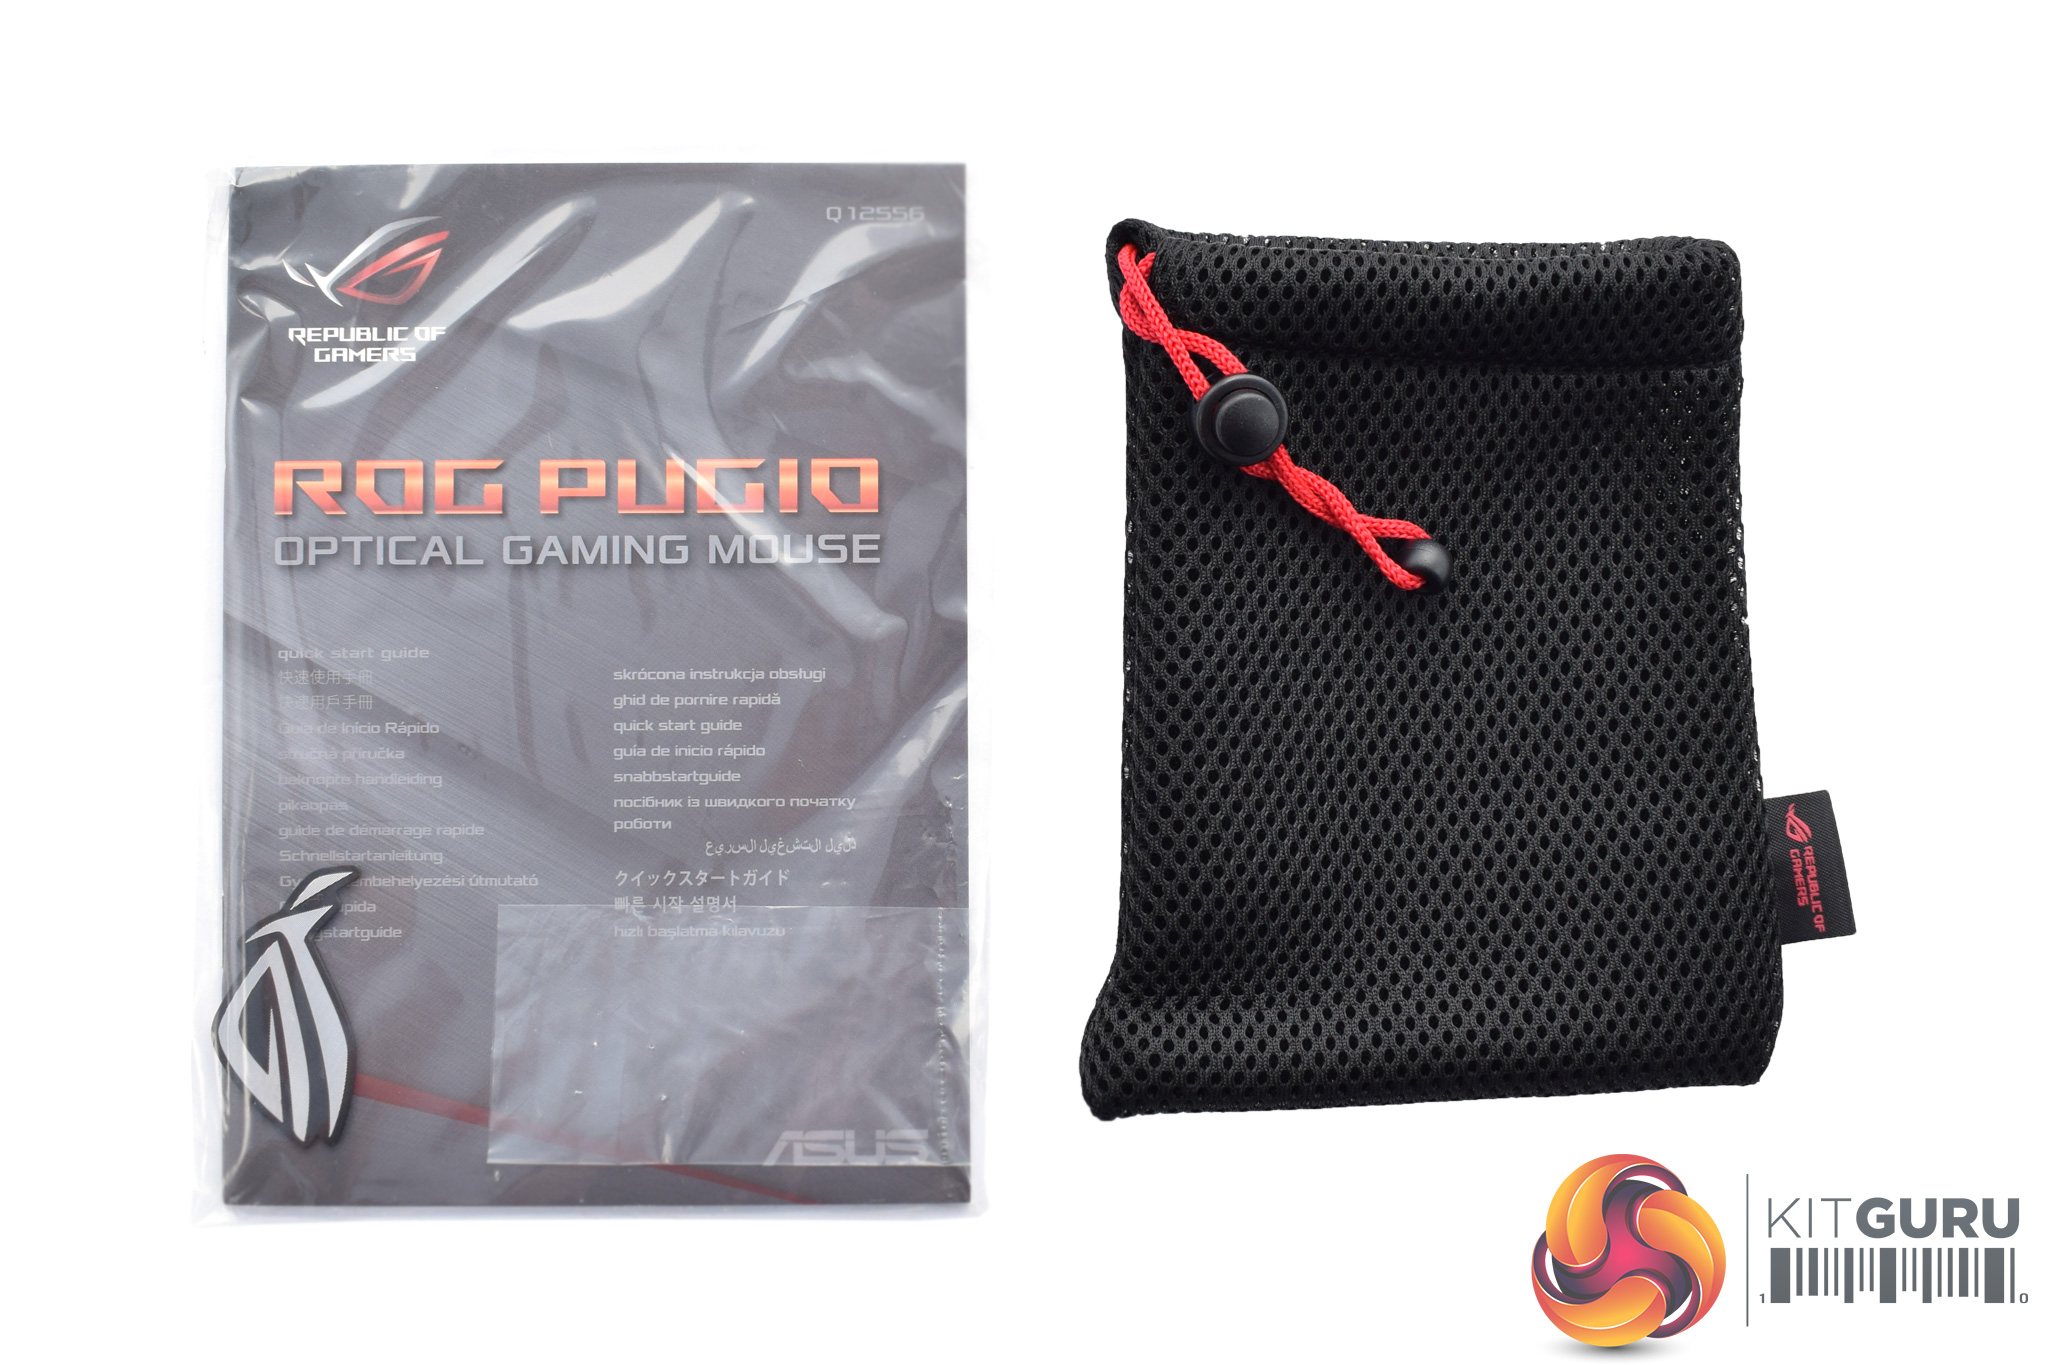
Inside, we are first greeted by a user manual, a ROG sticker and a small carry case – great if you will be taking the Pugio out to LANs on a regular basis.
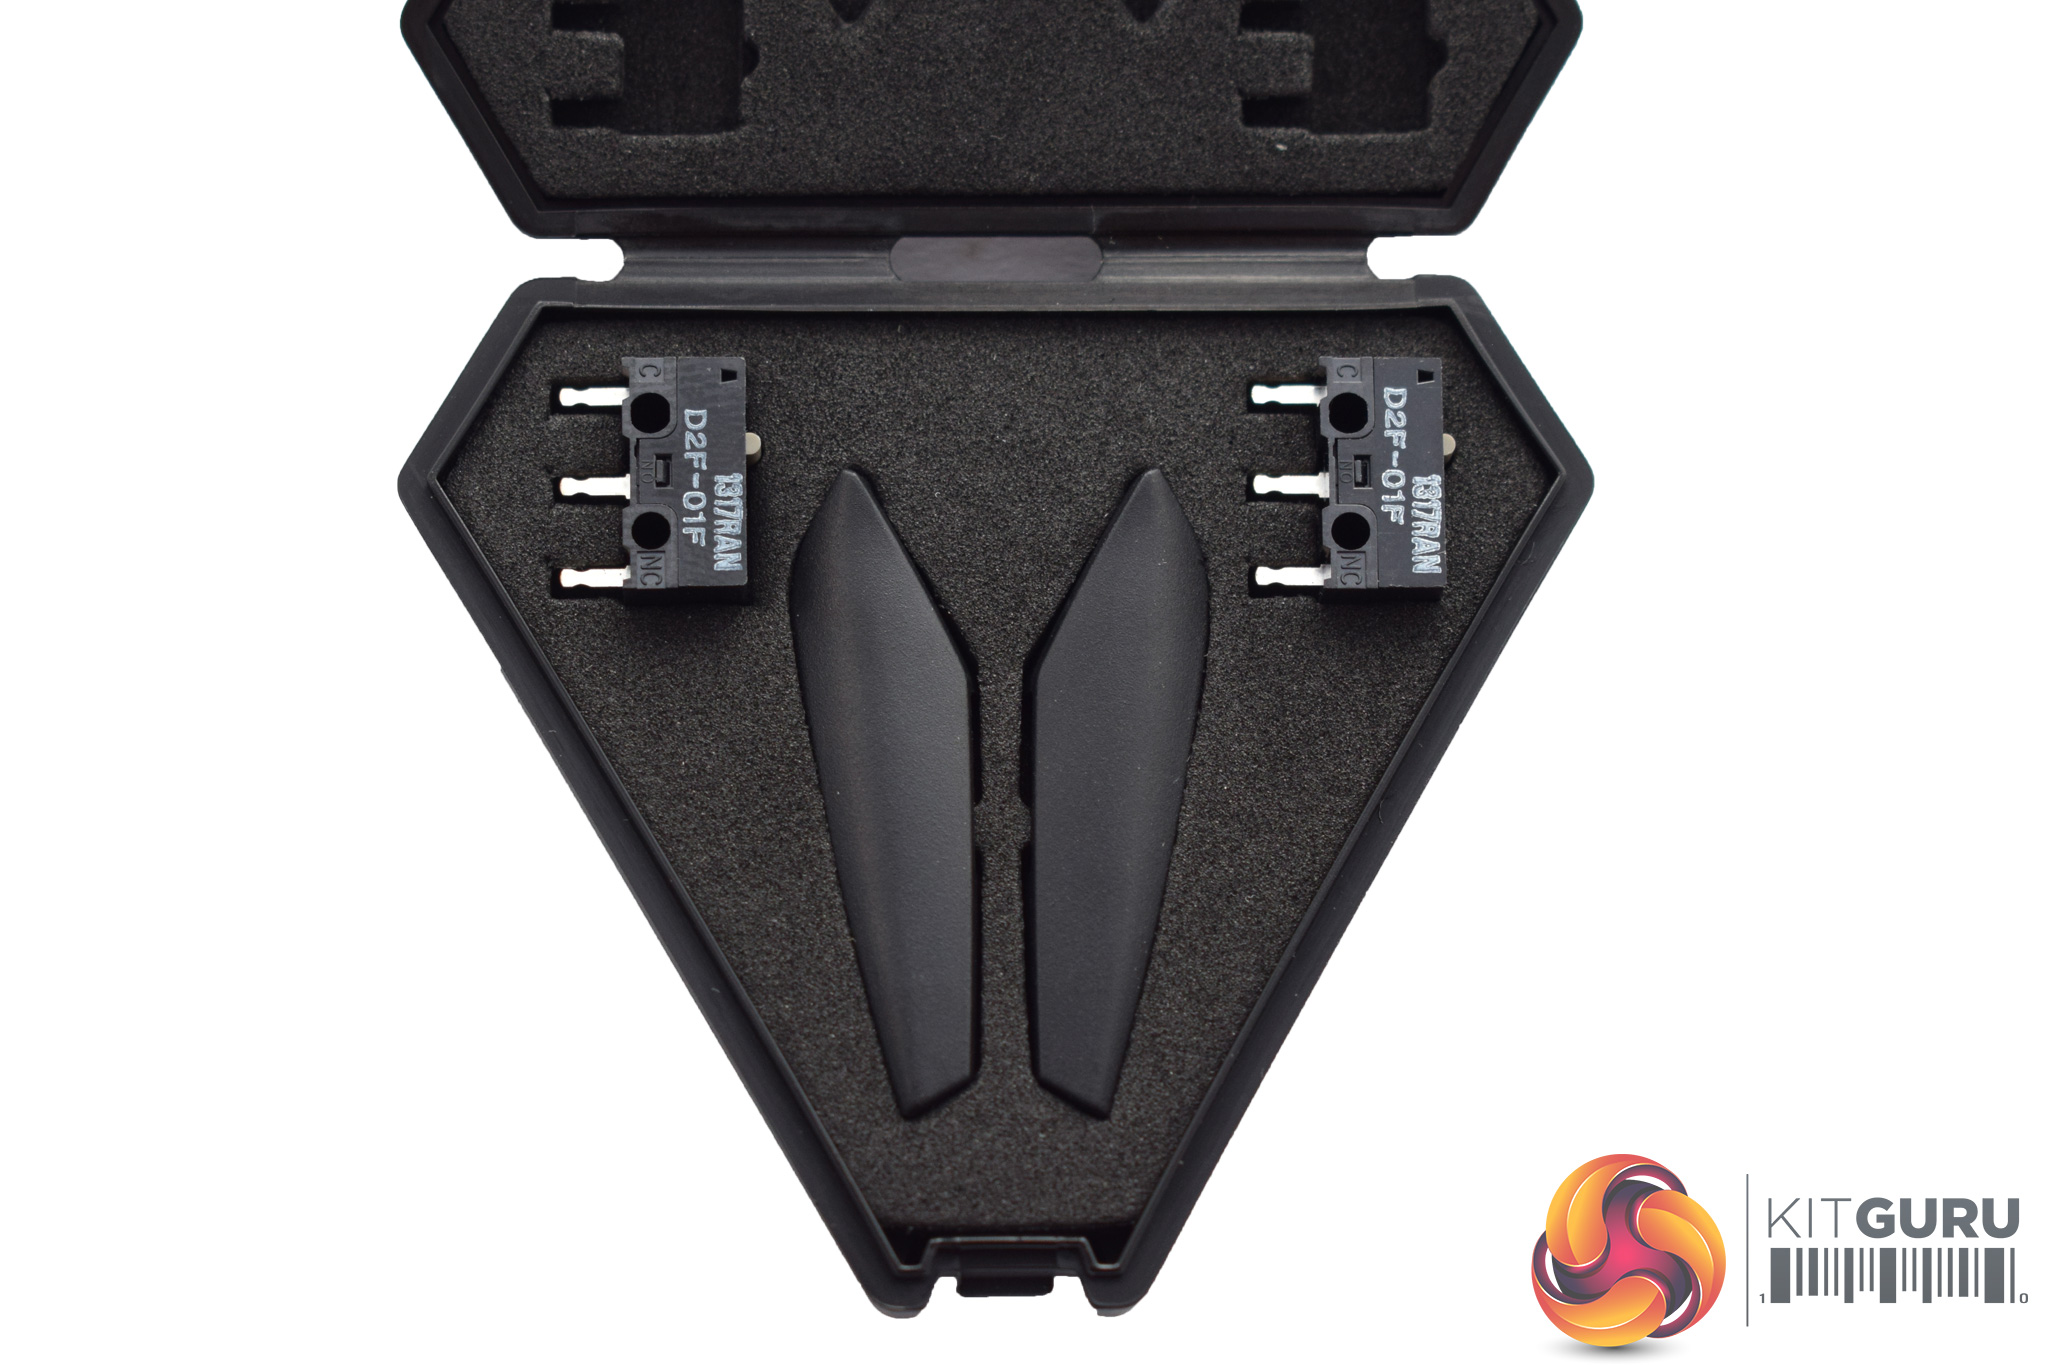
Slightly more interesting, though, is the tiny case which houses two replacement switches for the mouse's primary buttons, as well as two blanking plates for the side buttons. More on both of these features later.
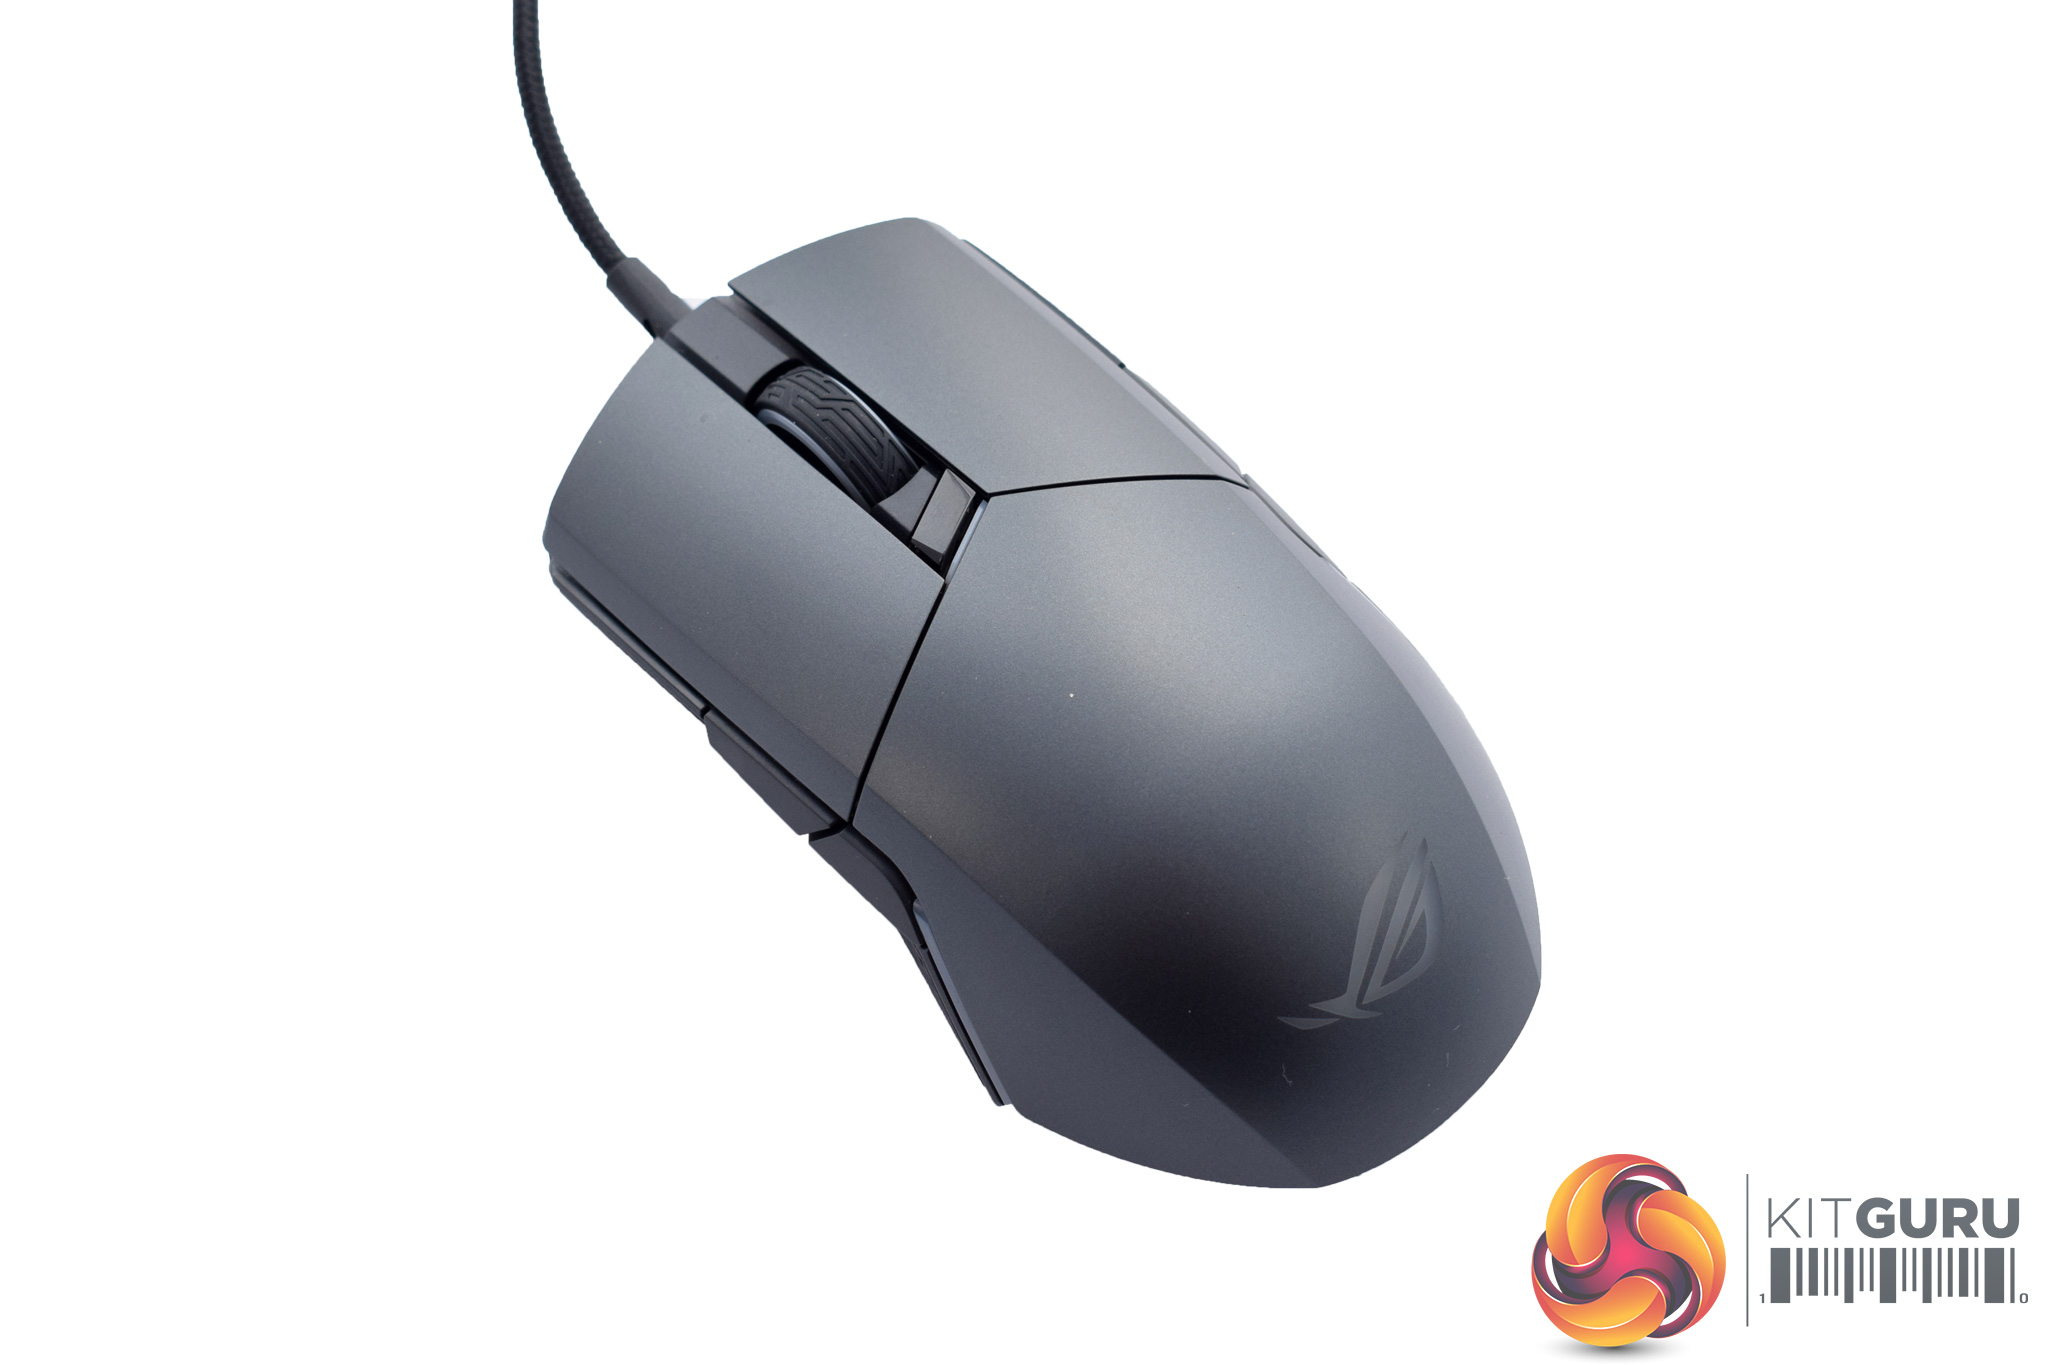
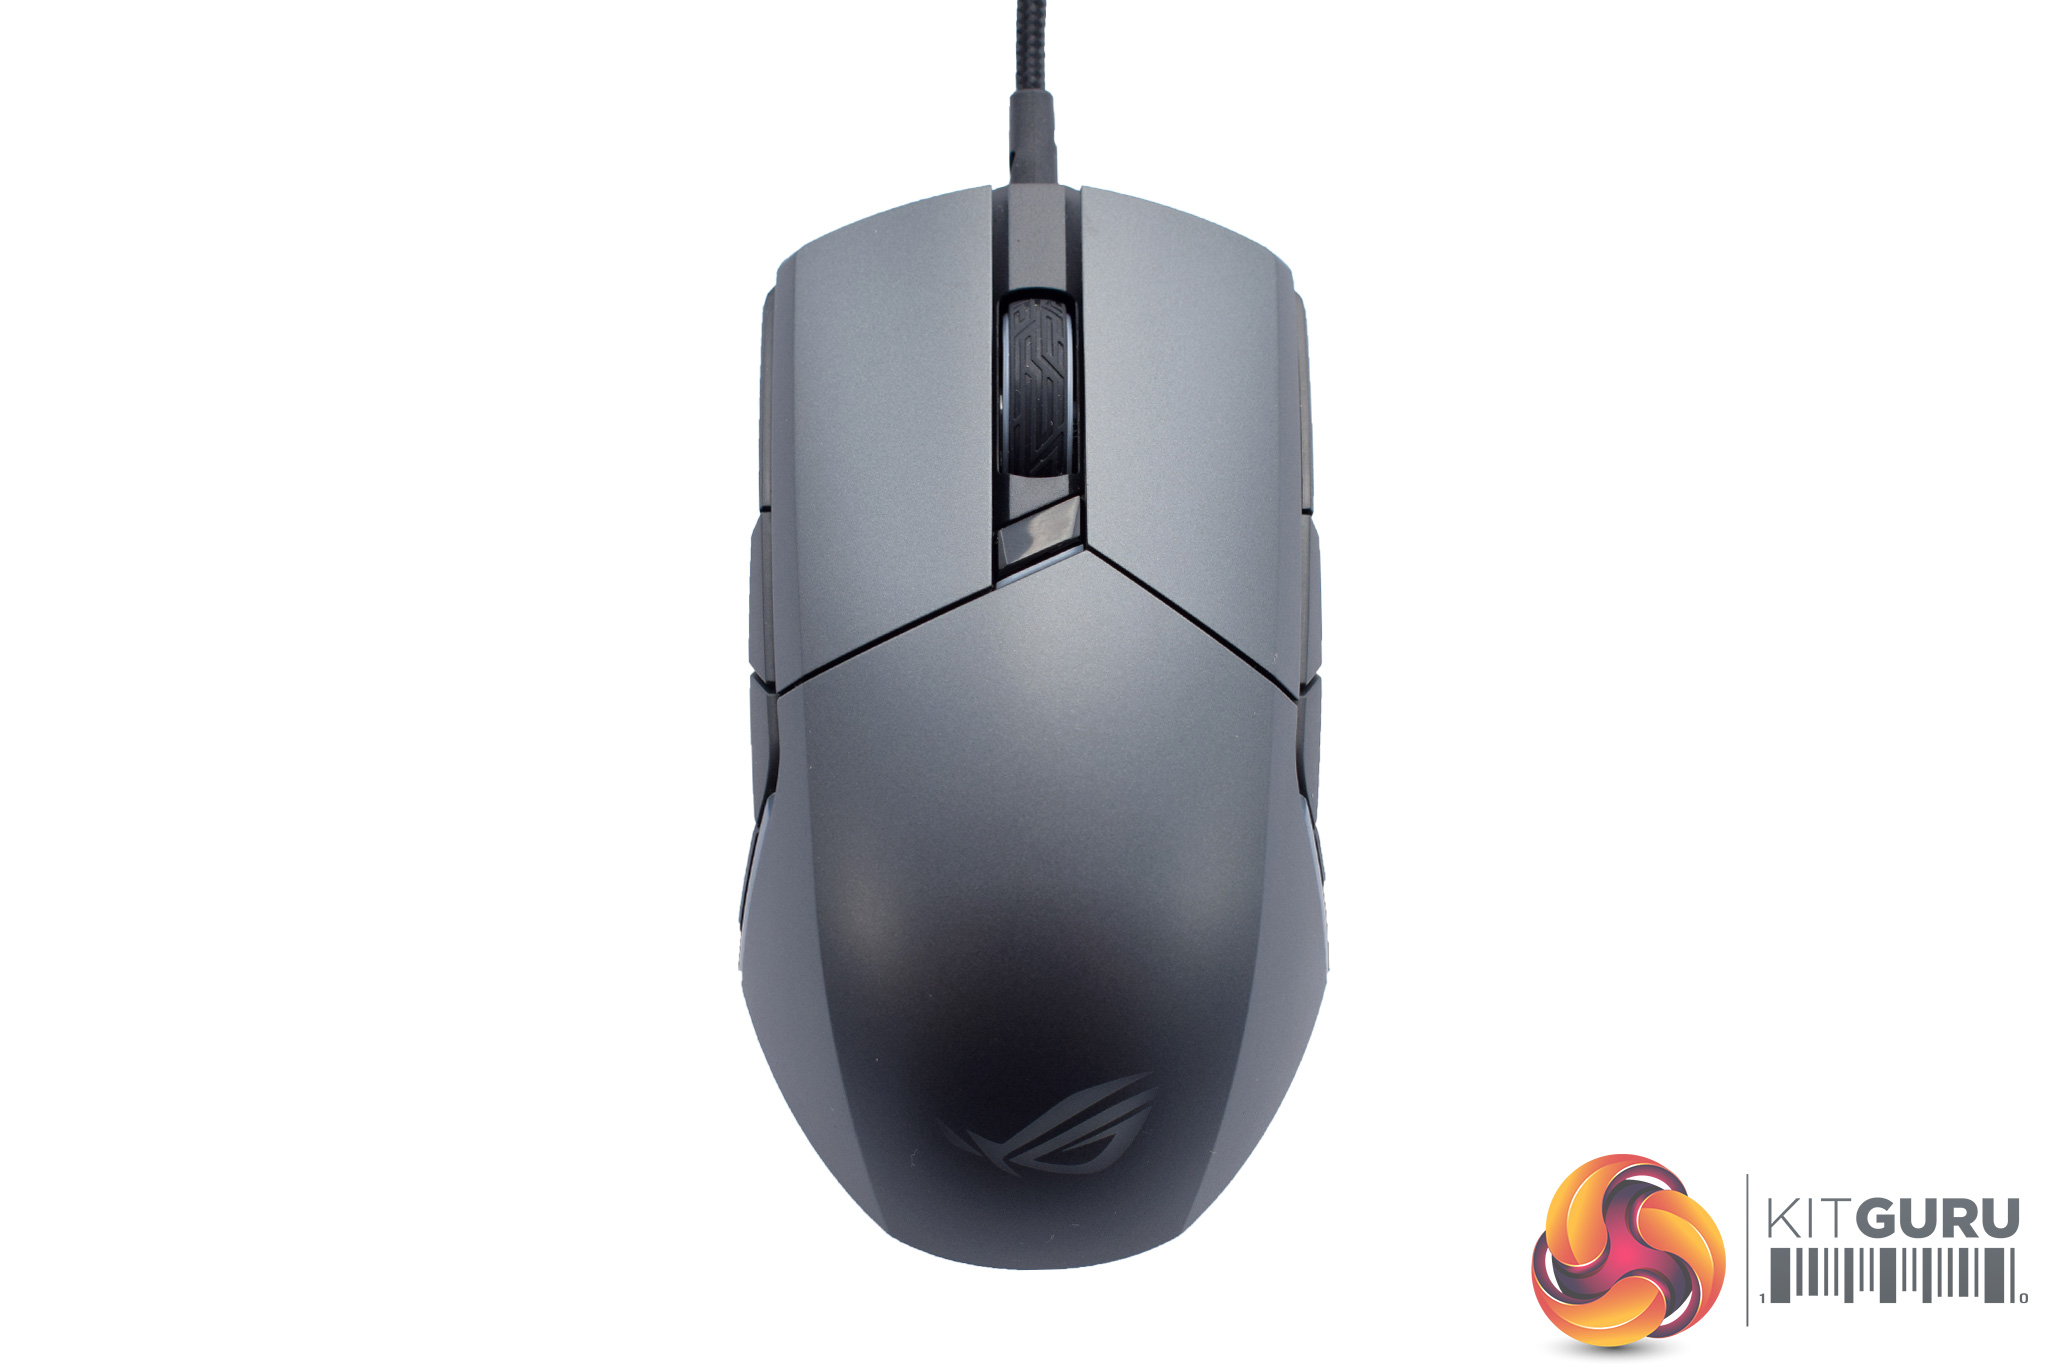
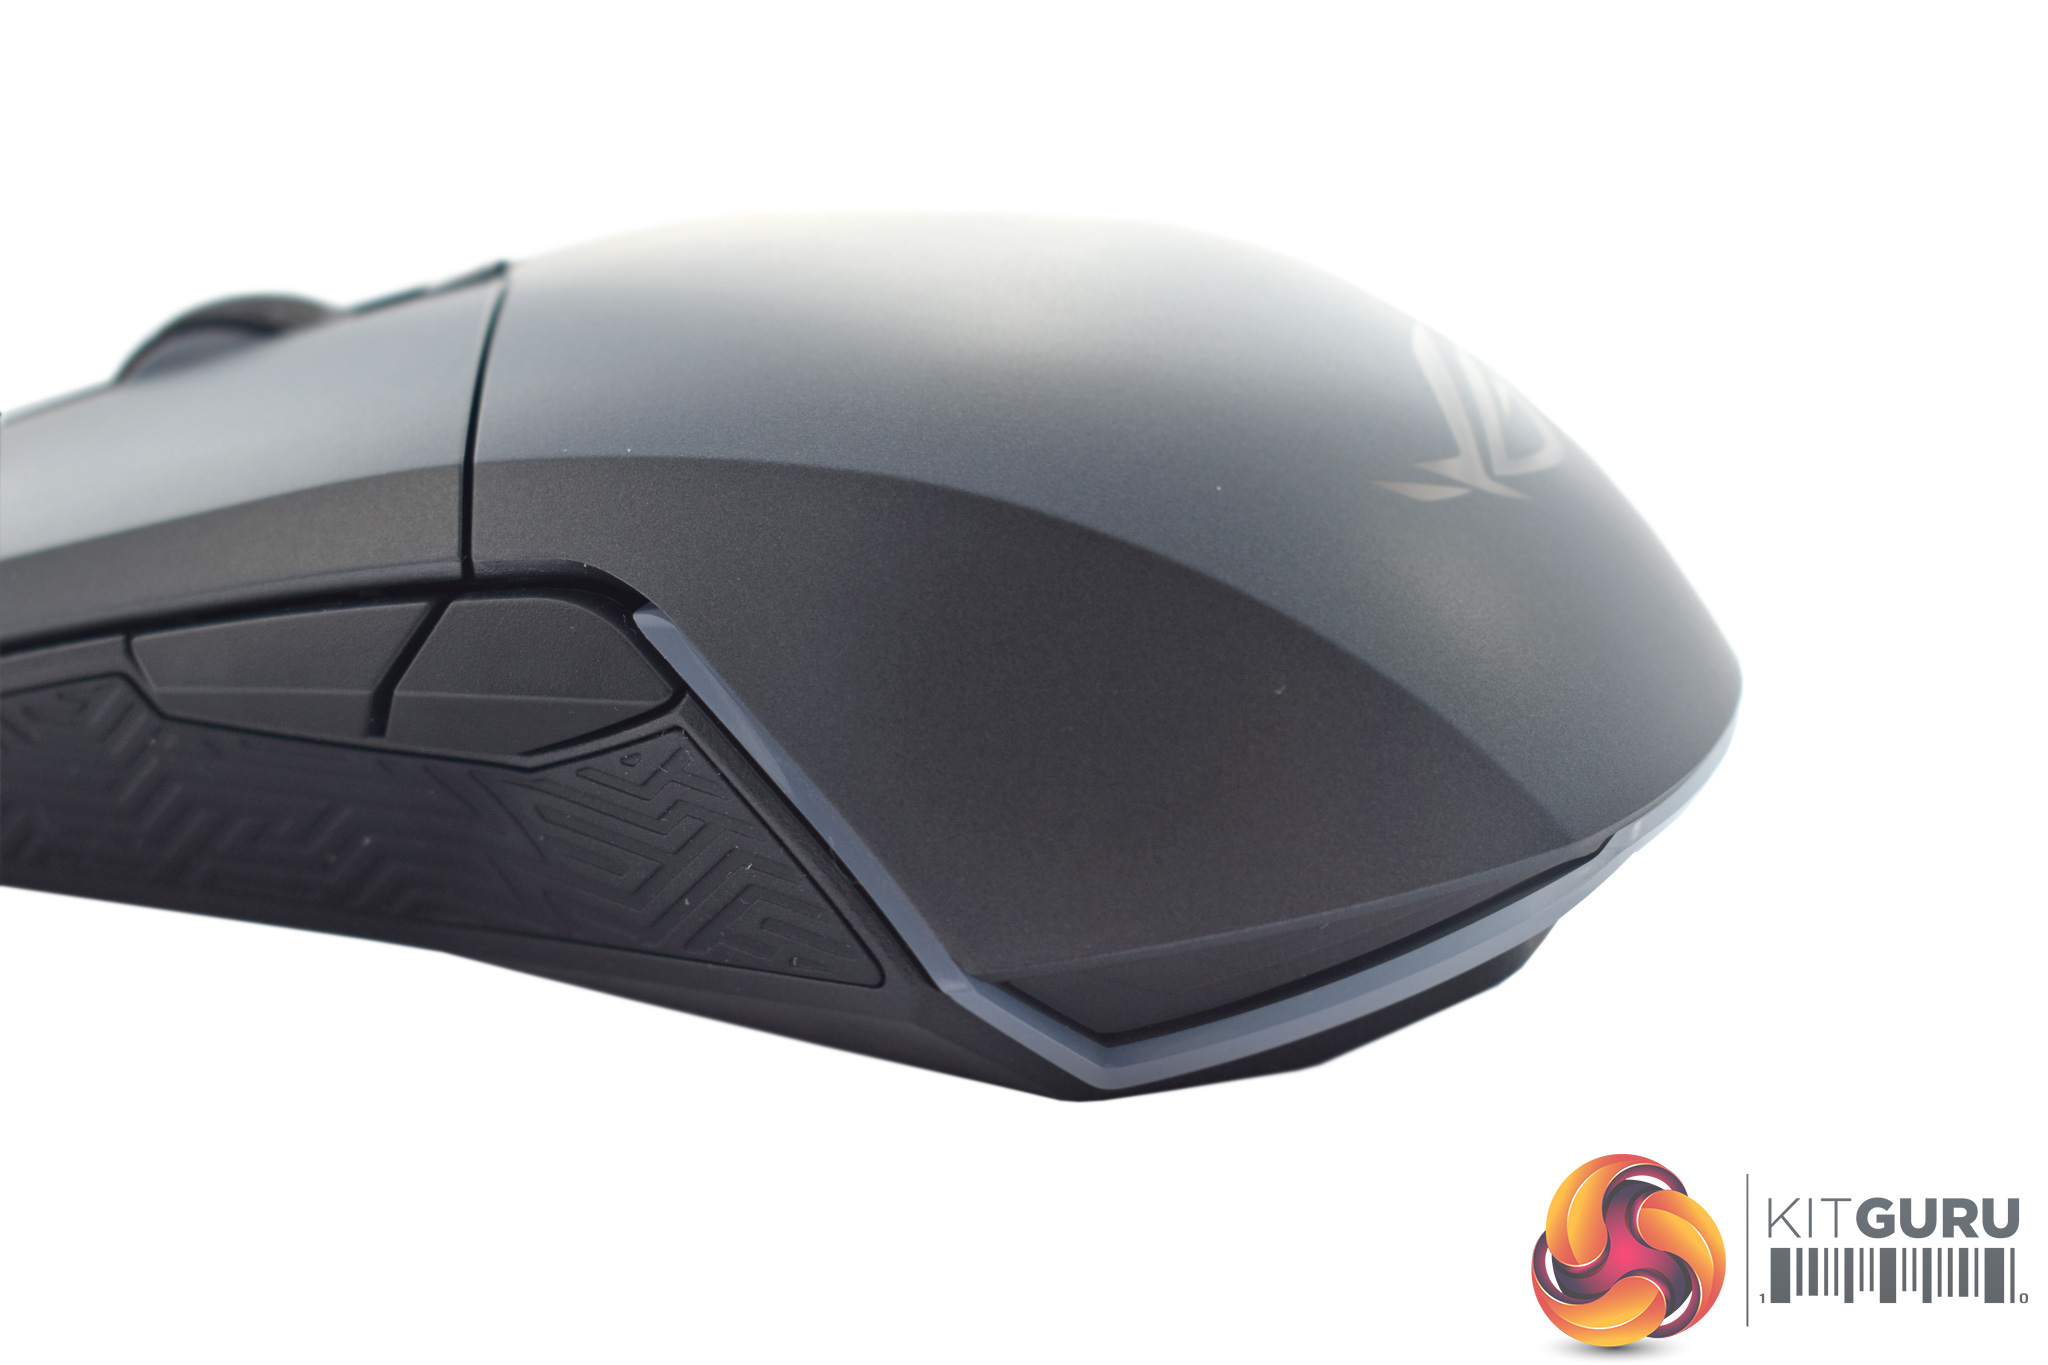
Coming to the mouse itself, there are definite similarities been the Pugio and the Strix Impact we reviewed in April – the overall shape is similar, as both are ambidextrous, but the Pugio is just a bit bigger as it measures L120 x W68 x H37mm. Both have a slightly ‘bulbous' bottom end, too.
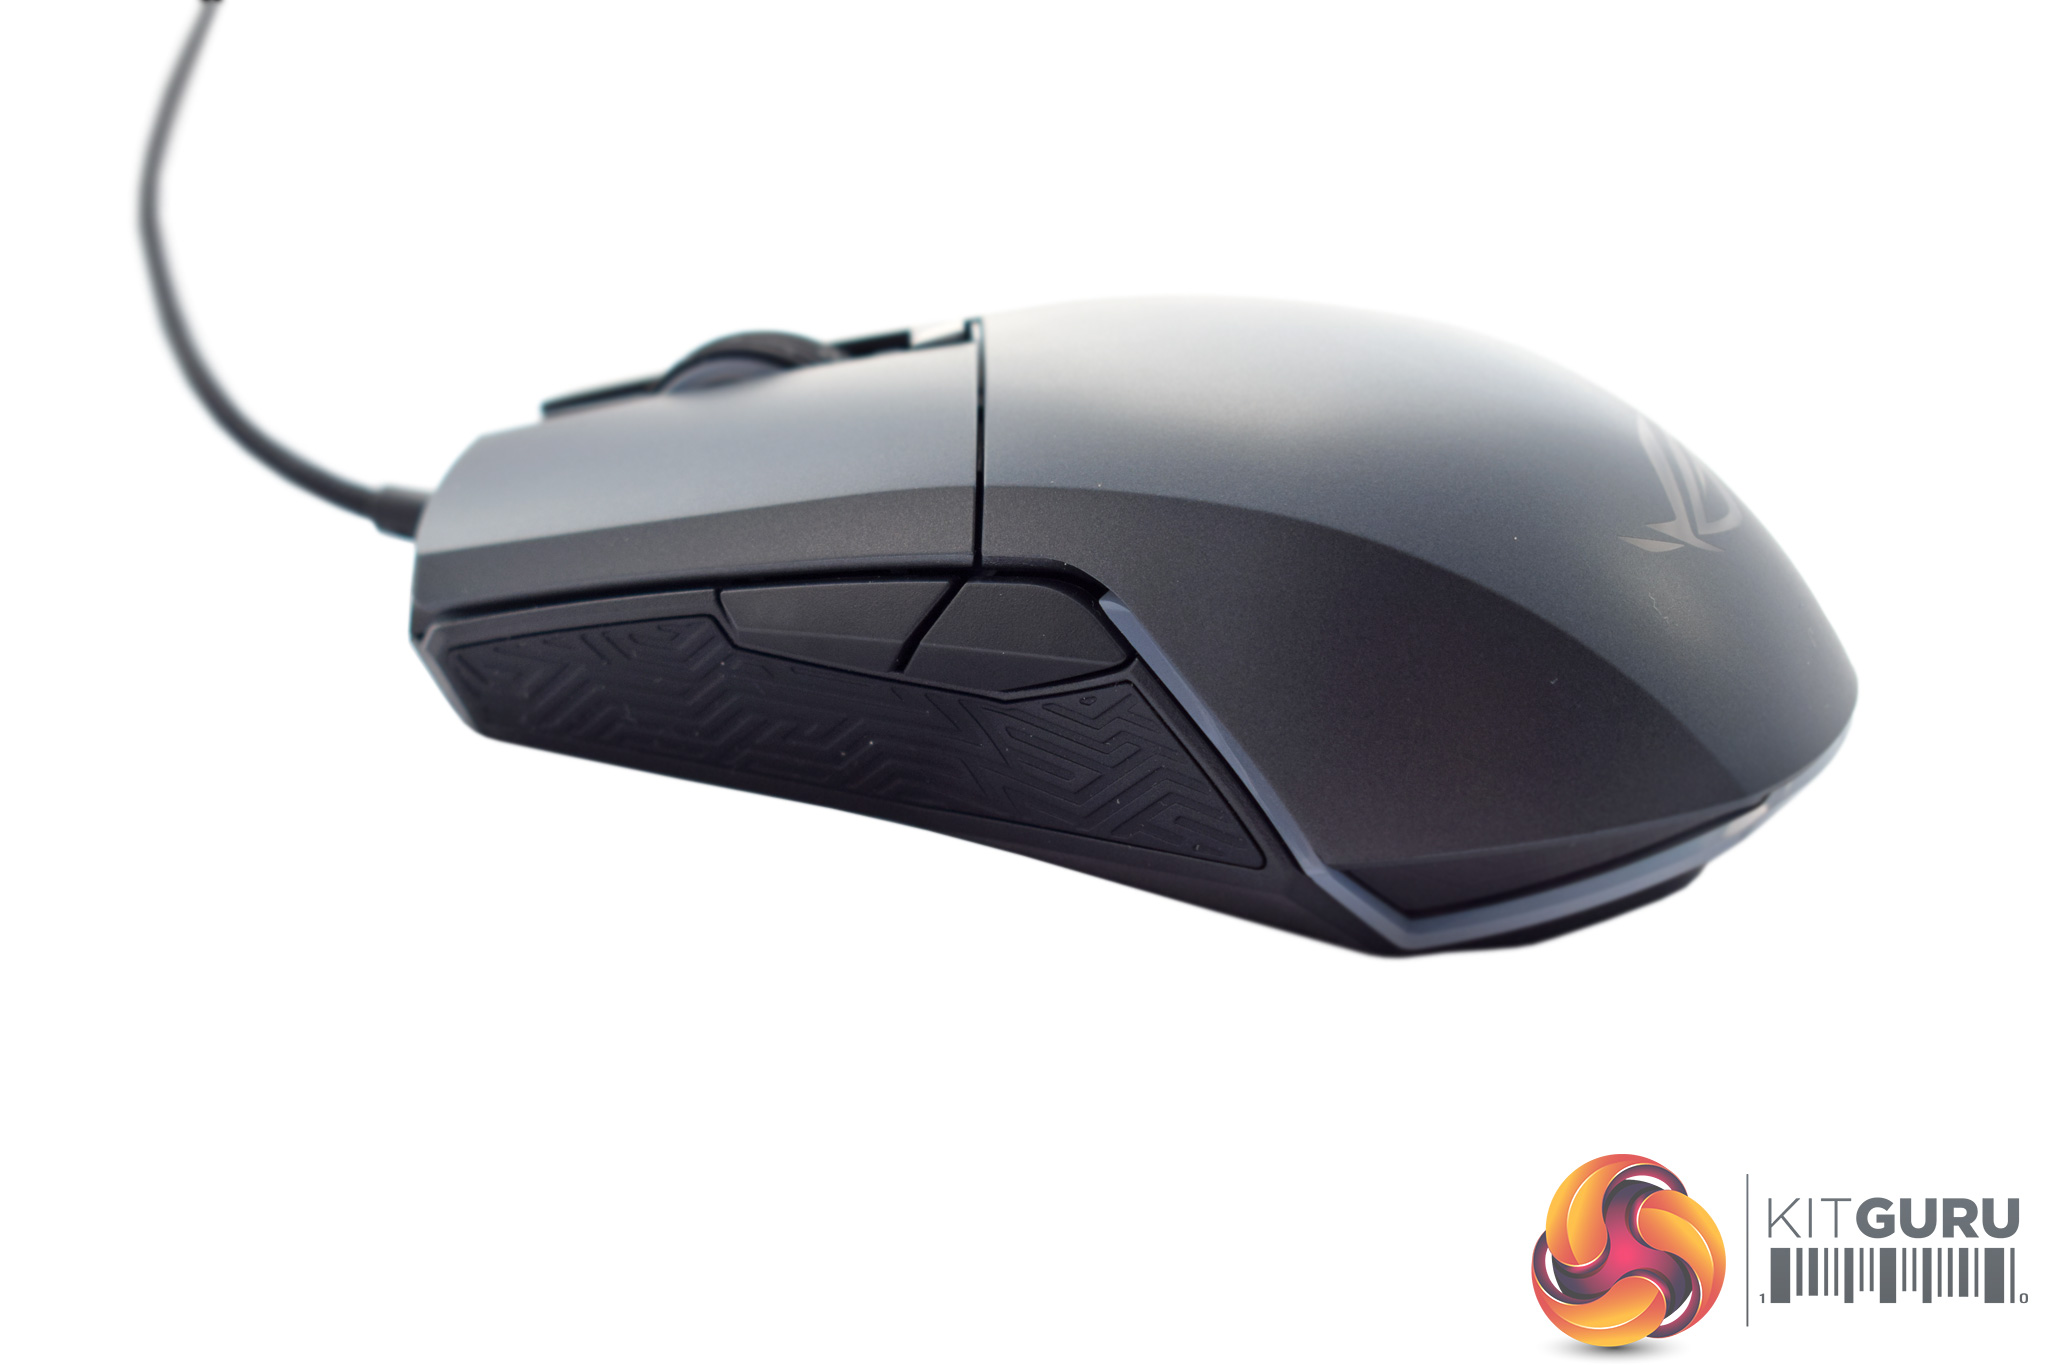
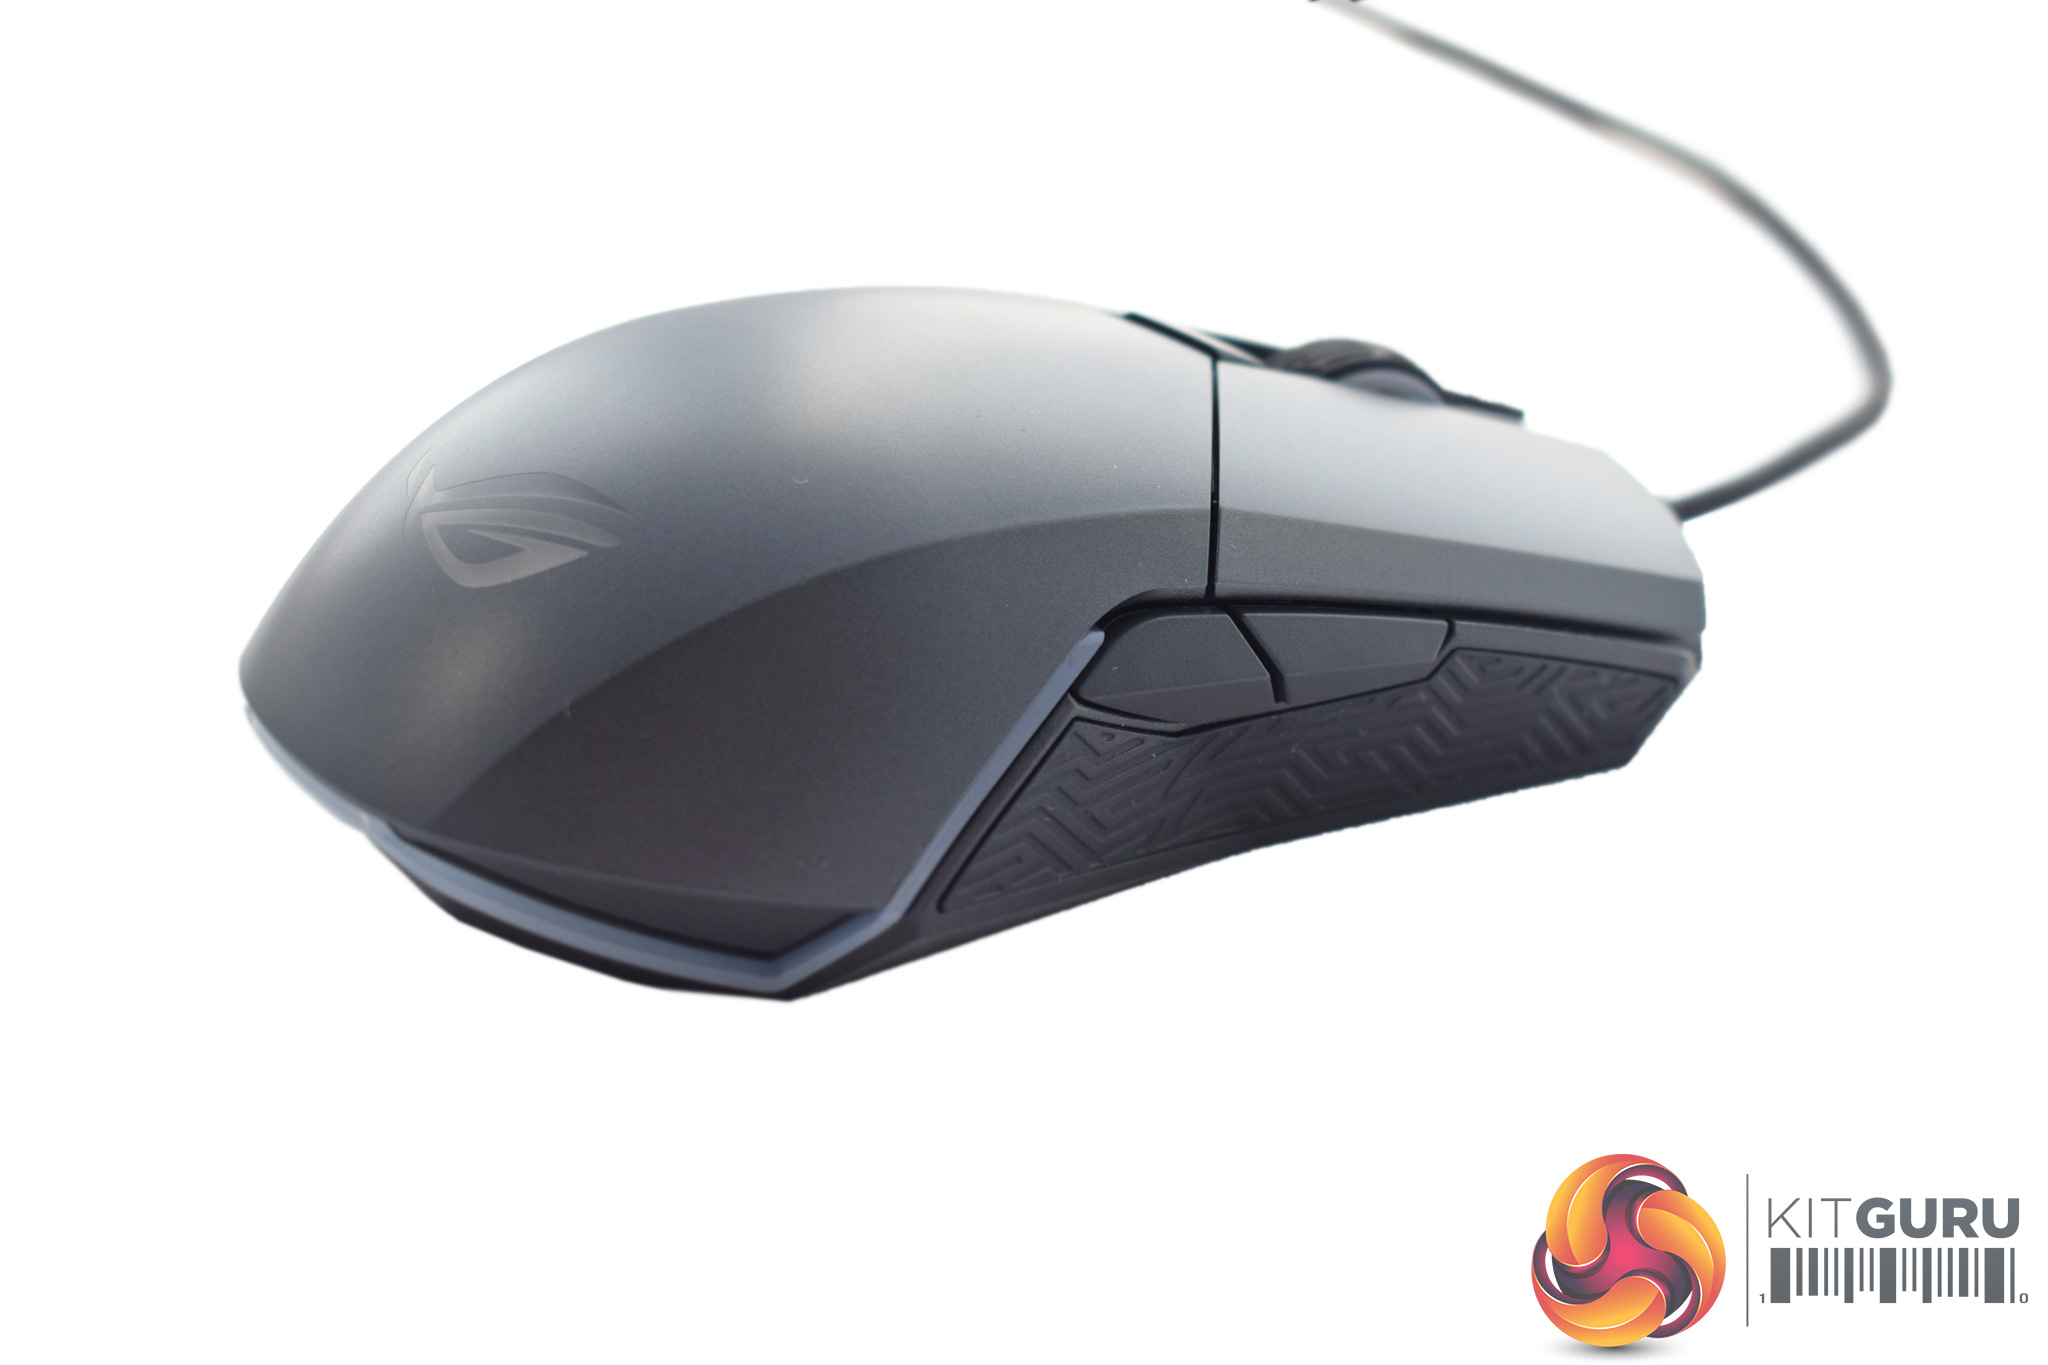
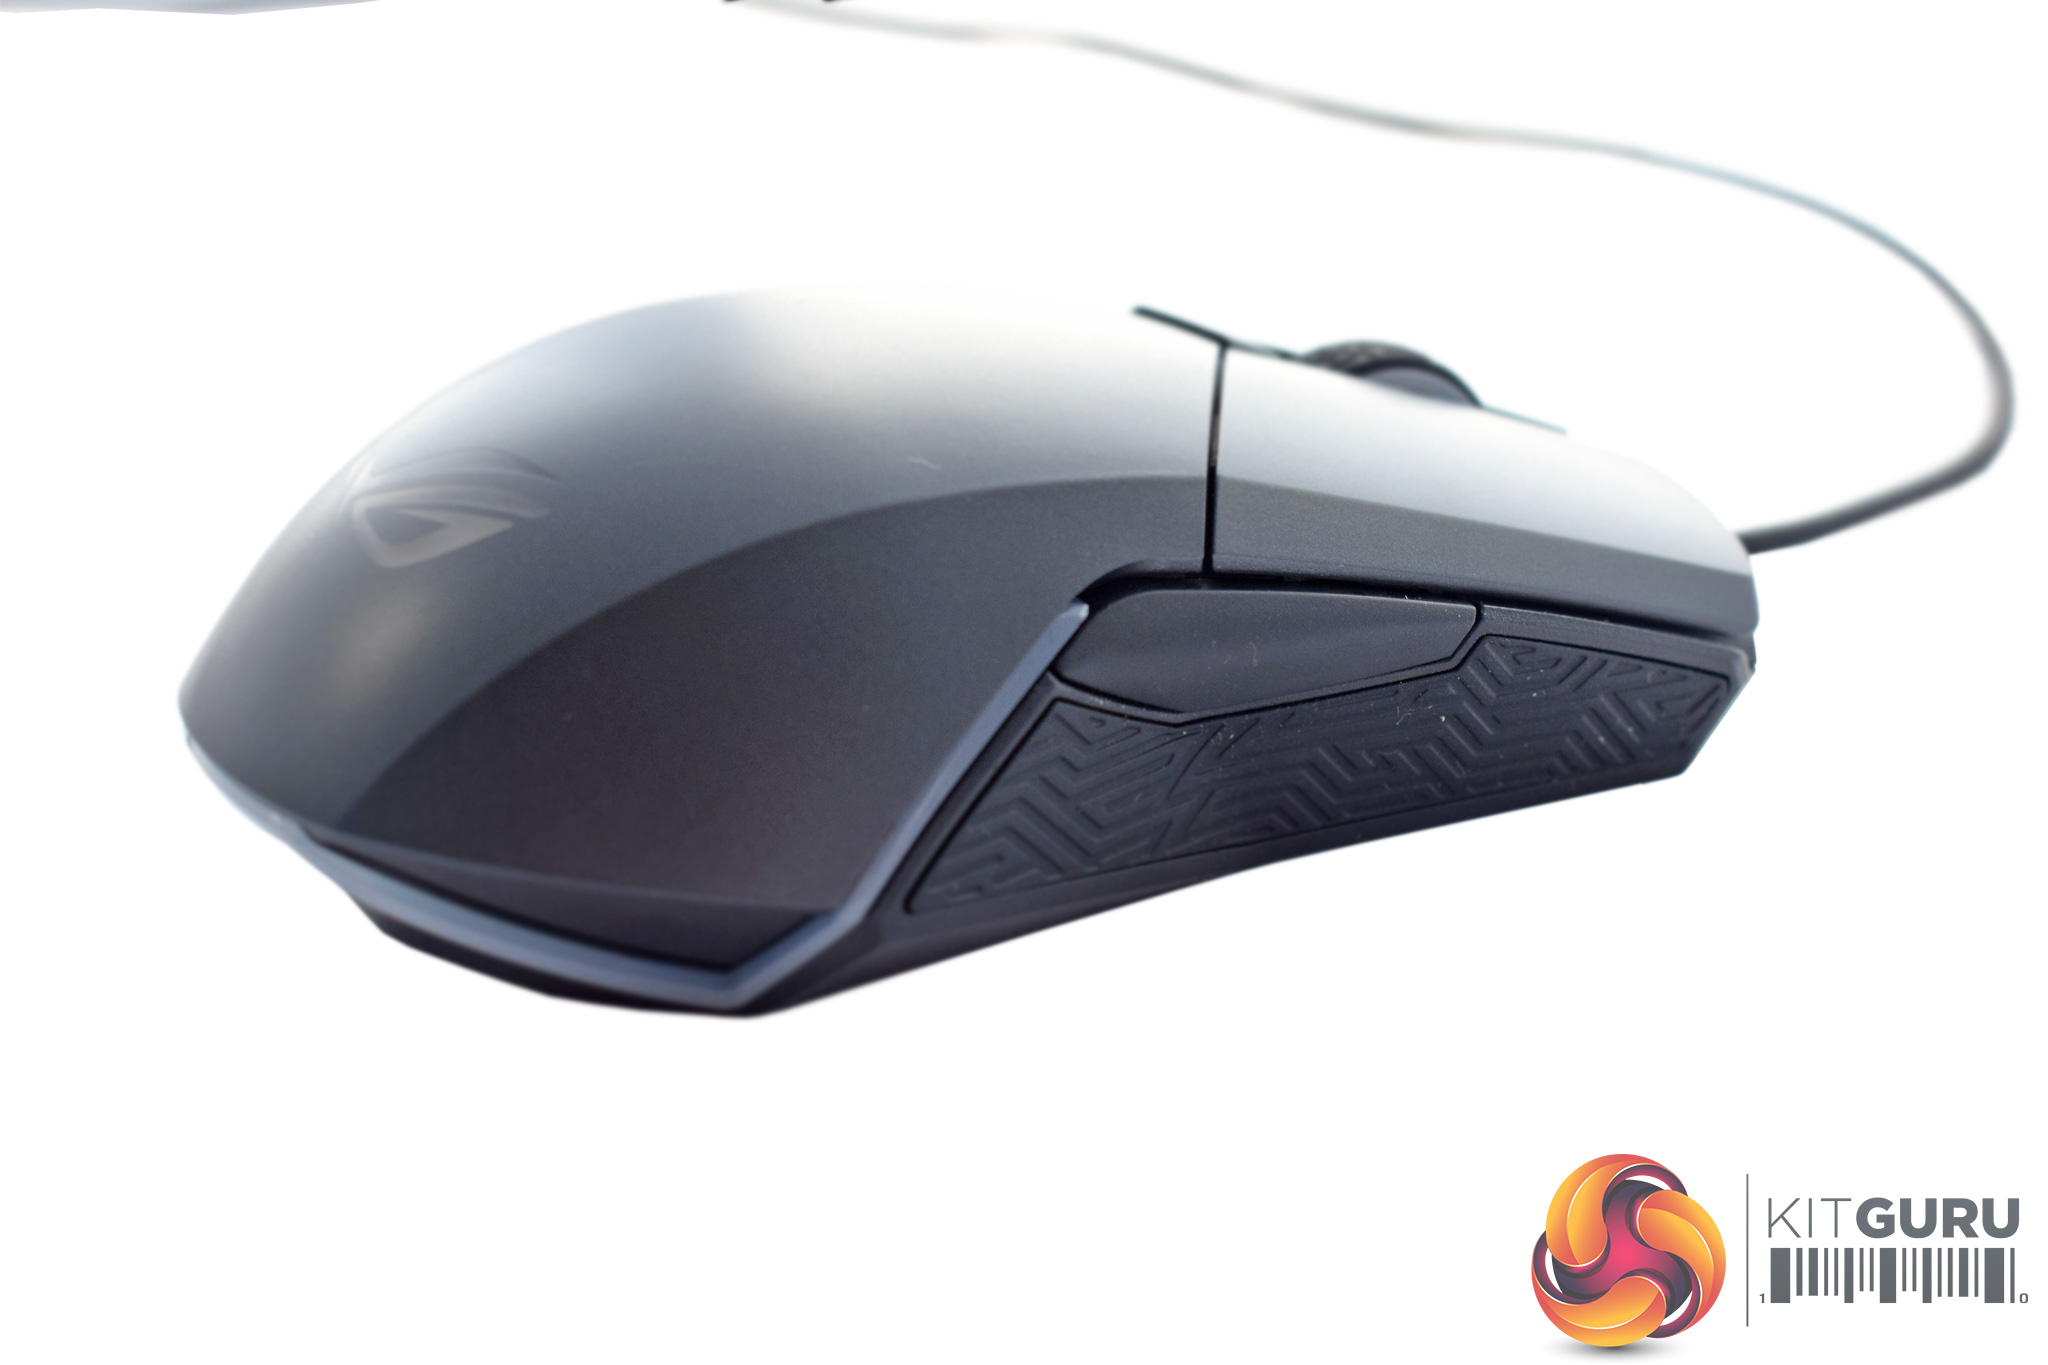
Turning to the sides of the Pugio, both the left and right sides are identical in that both feature two side buttons as well as some textured rubber. Clearly, the idea is that the Pugio will be used by both left and right-handers (as it is ambidextrous) and so to give both sets of people side buttons, there needs to be a pair on either side.
However, this could cause issues for some – if I am right-handed, I don't want to accidentally press the other side buttons with my fourth finger.
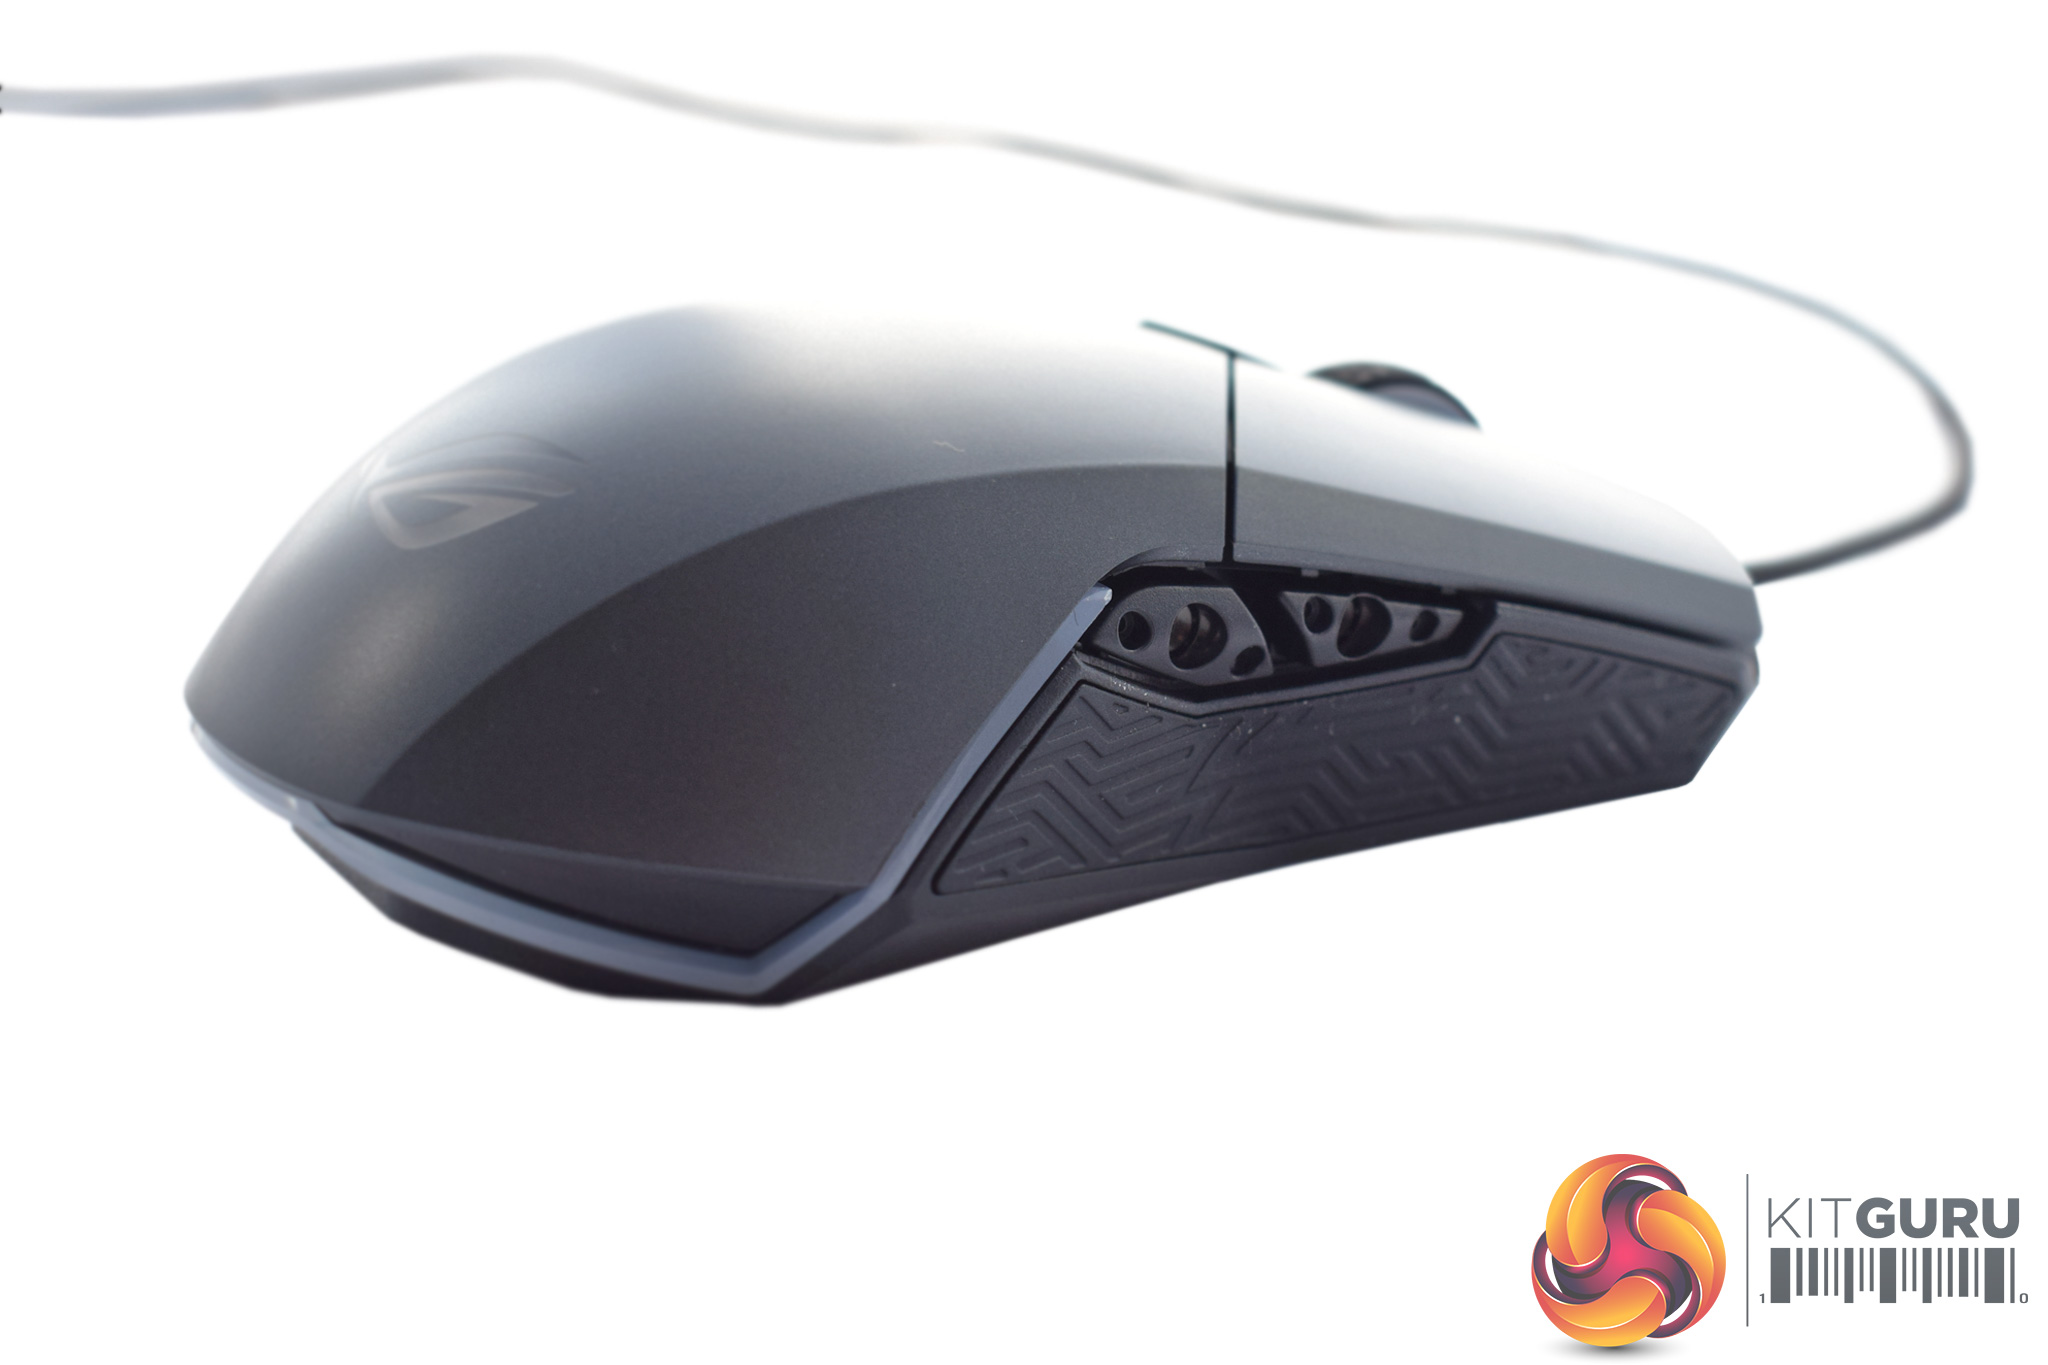
Fortunately, though, ASUS did think of this and came up with a clever solution: both sets of side buttons are actually removable and can be replaced with the blanking plates we saw earlier.
Given the side buttons are held in-place magnetically, you just need to give them a tug and they will pop off, revealing some holes beneath. Snapping on the appropriate blanking plate is similarly easy – the magnets will just lock it down with no force required.
Also at the back of the mouse is a clear plastic strip that runs around the bottom edge of the Pugio. This is actually an LED strip, and we look at the lighting in detail on the next page.
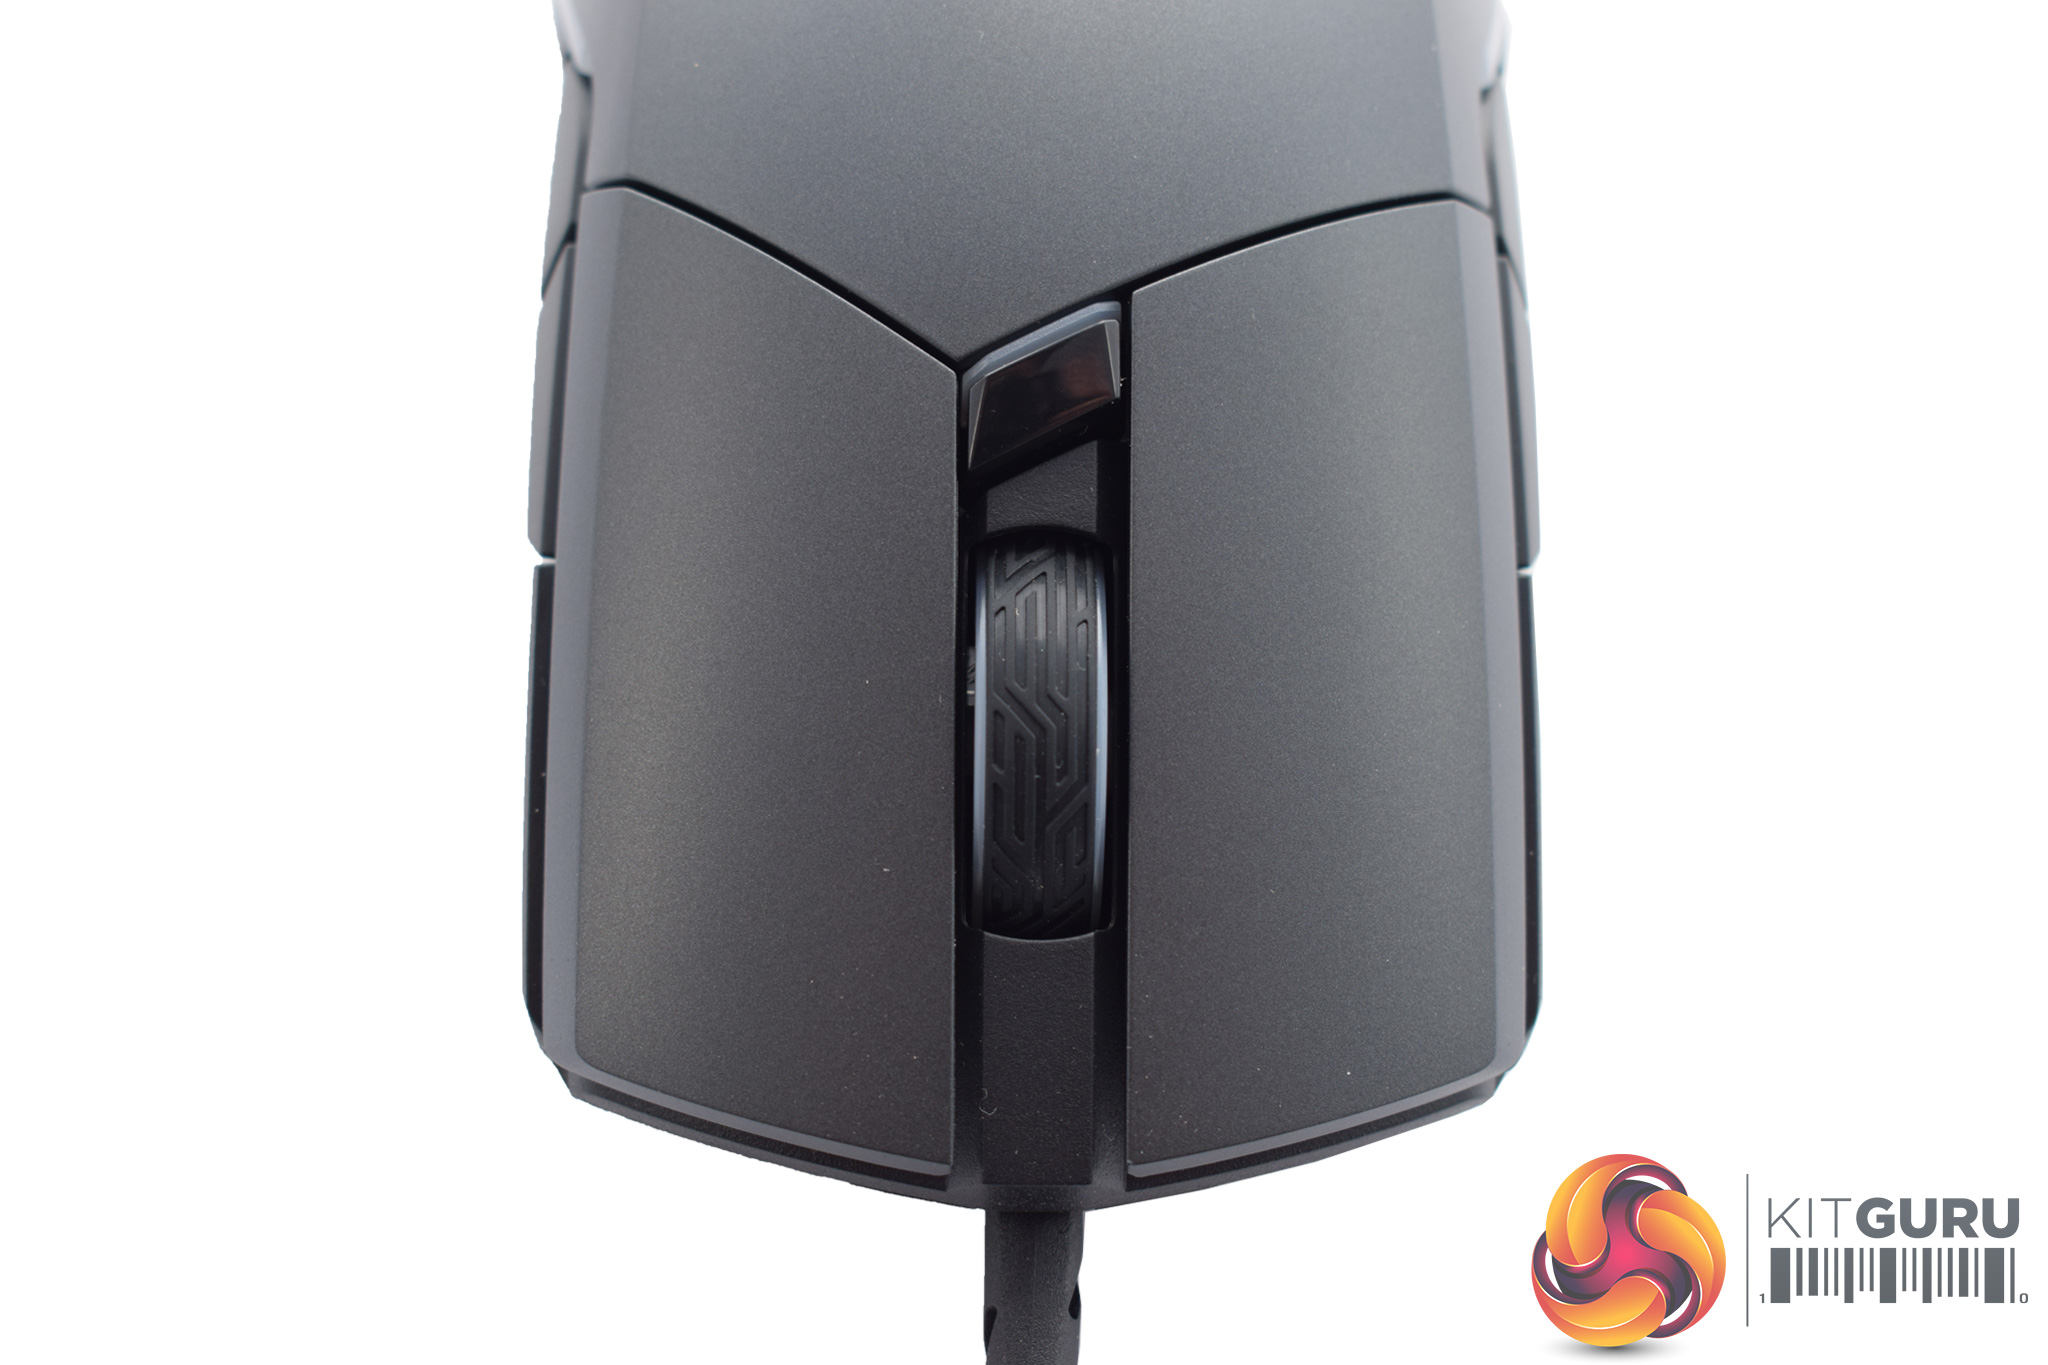
Back at the top of the mouse, we get a look at the textured scroll wheel (another RGB lighting zone) as well as a single DPI switch button.
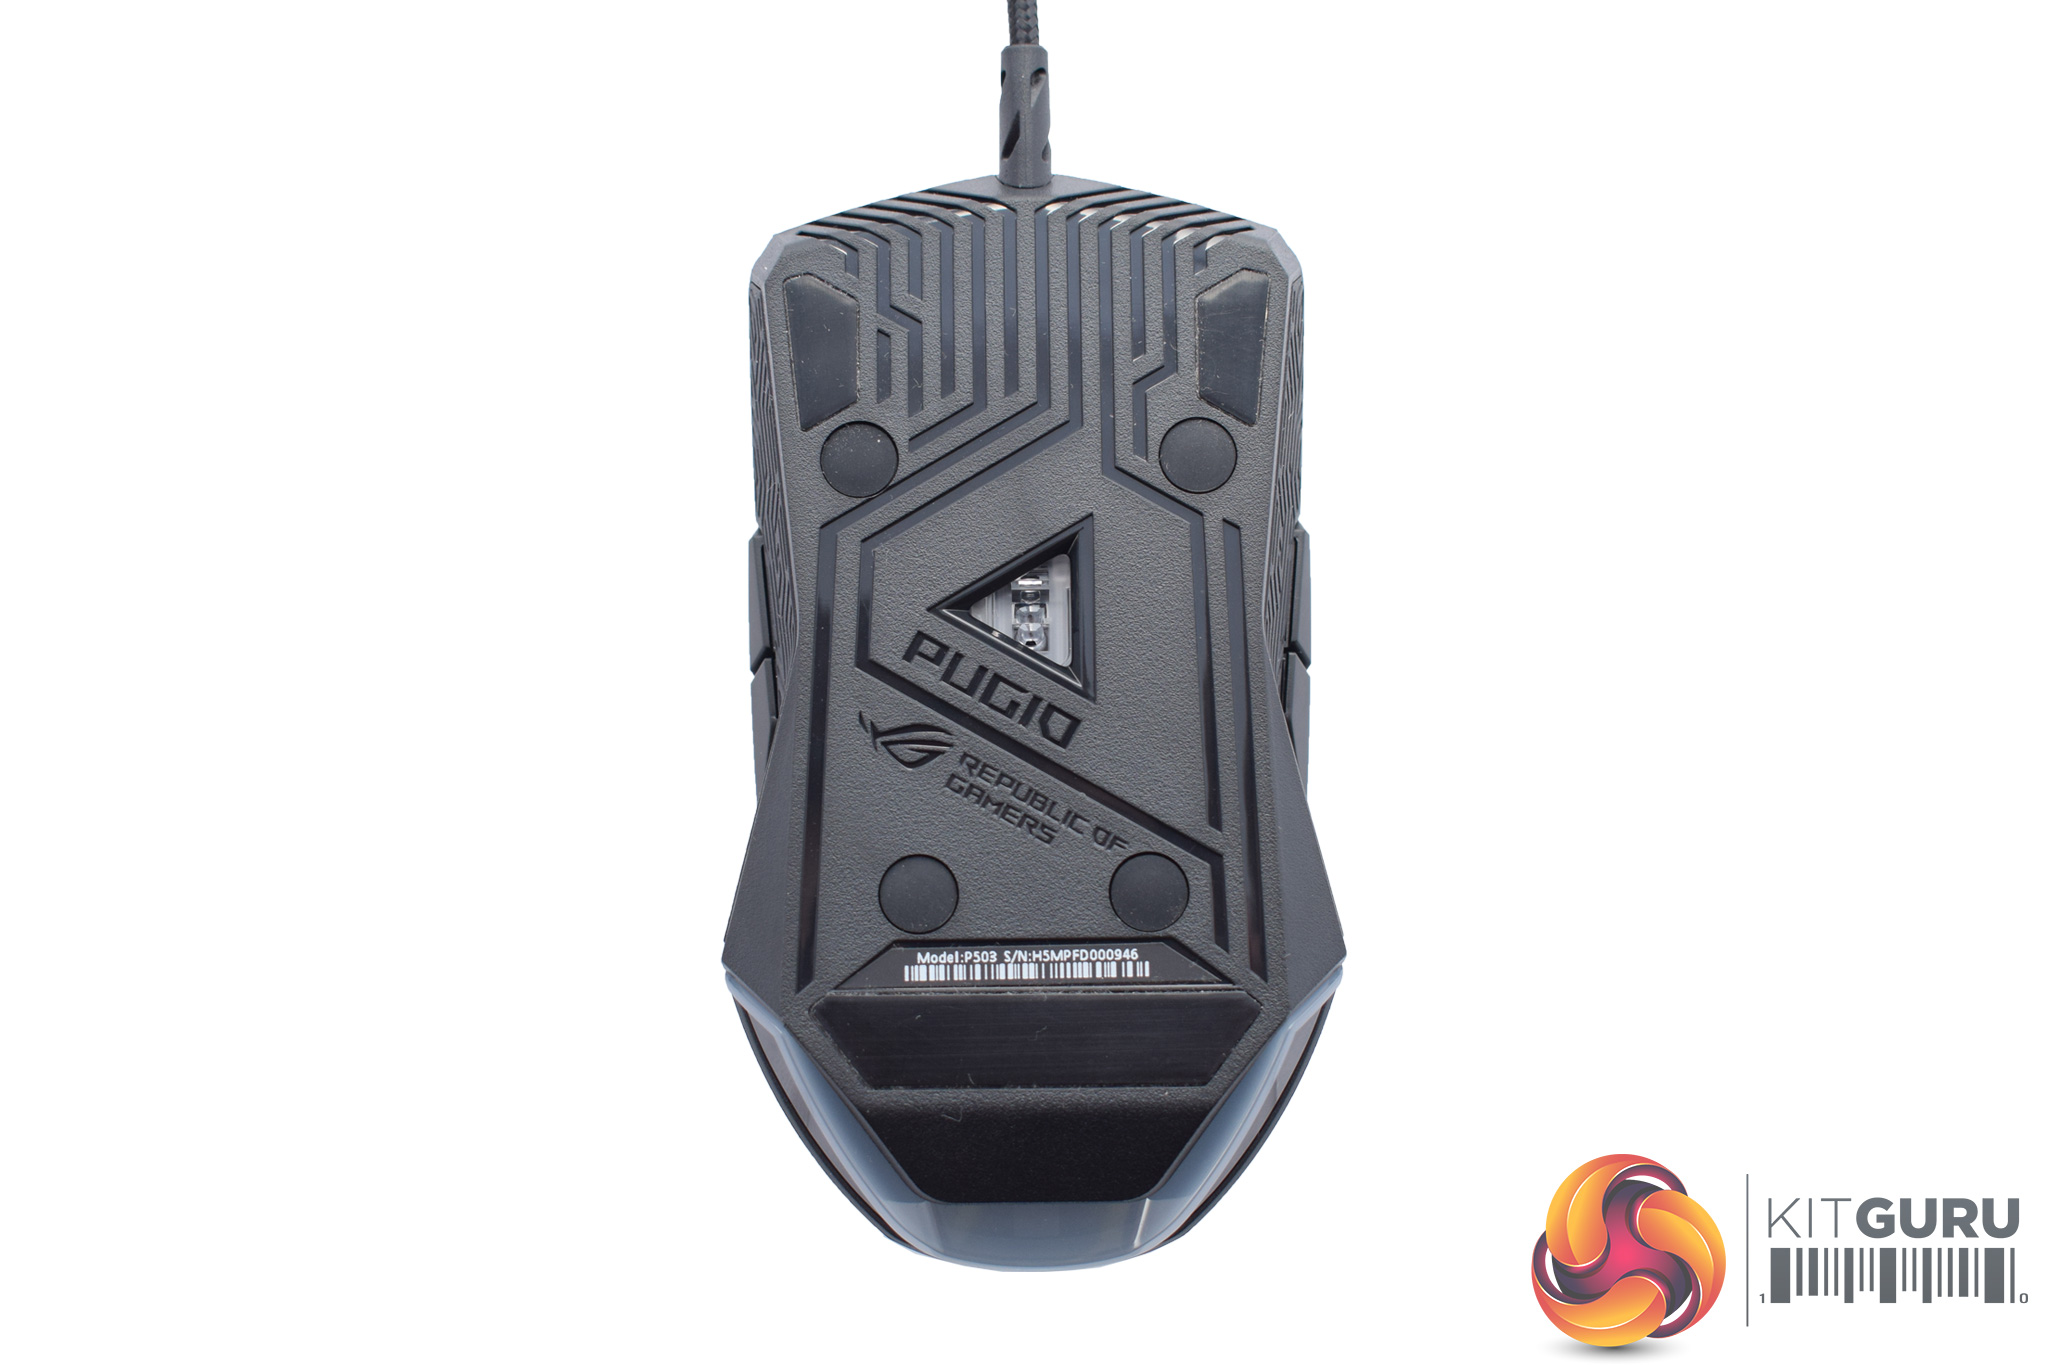
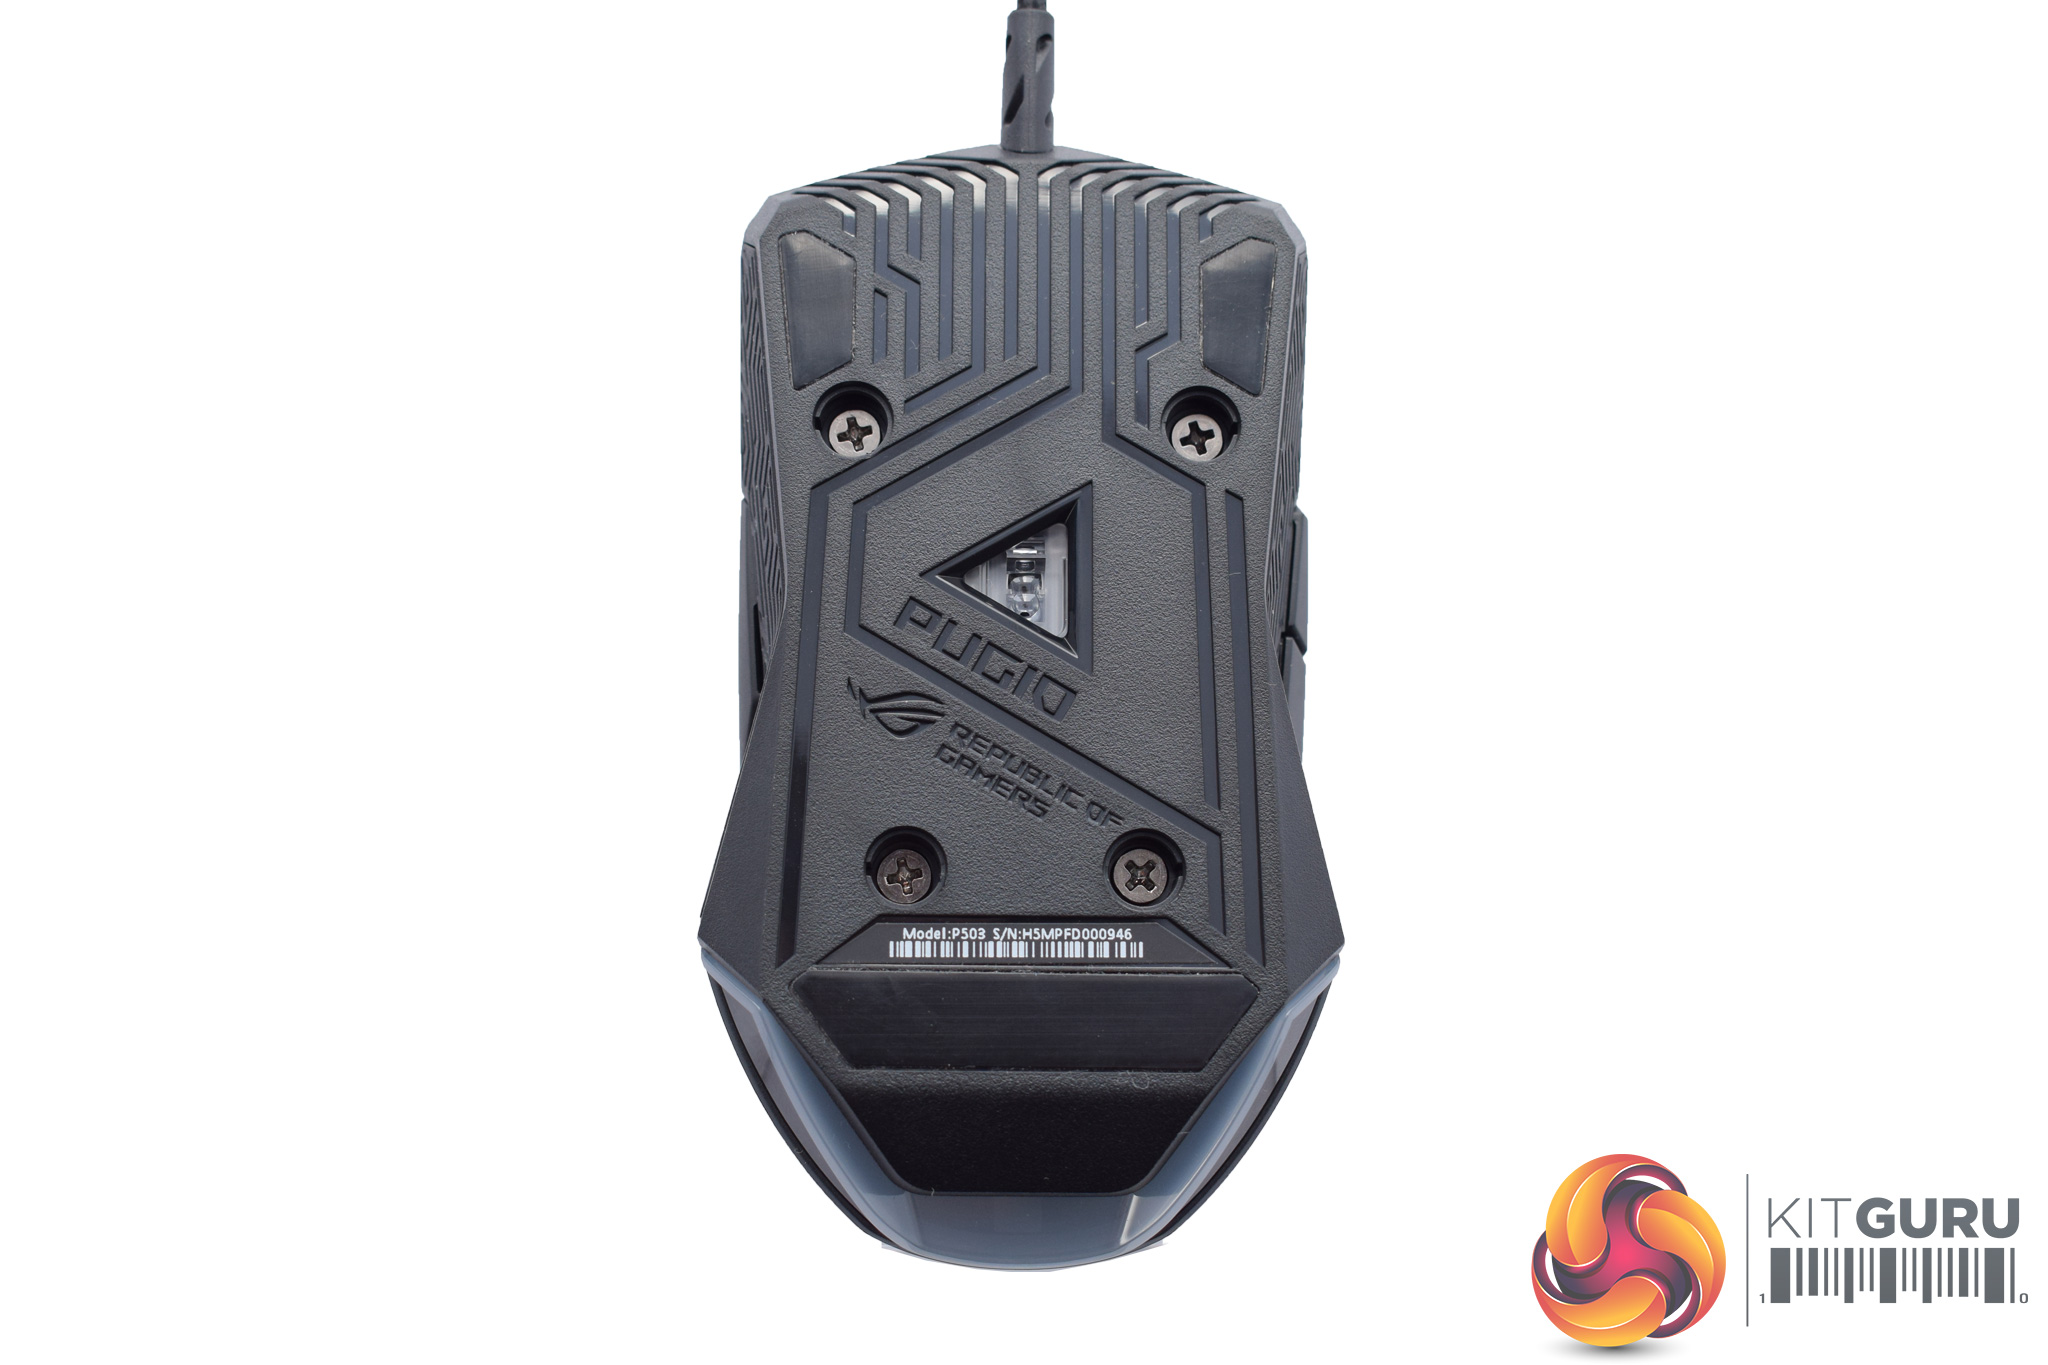
Flipping the Pugio over reveals its snazzily-designed base – ASUS ROG really loves that Mayan-inspired design! There are also three glide pads here, as well as the PixArt PMW 3330 optical sensor.
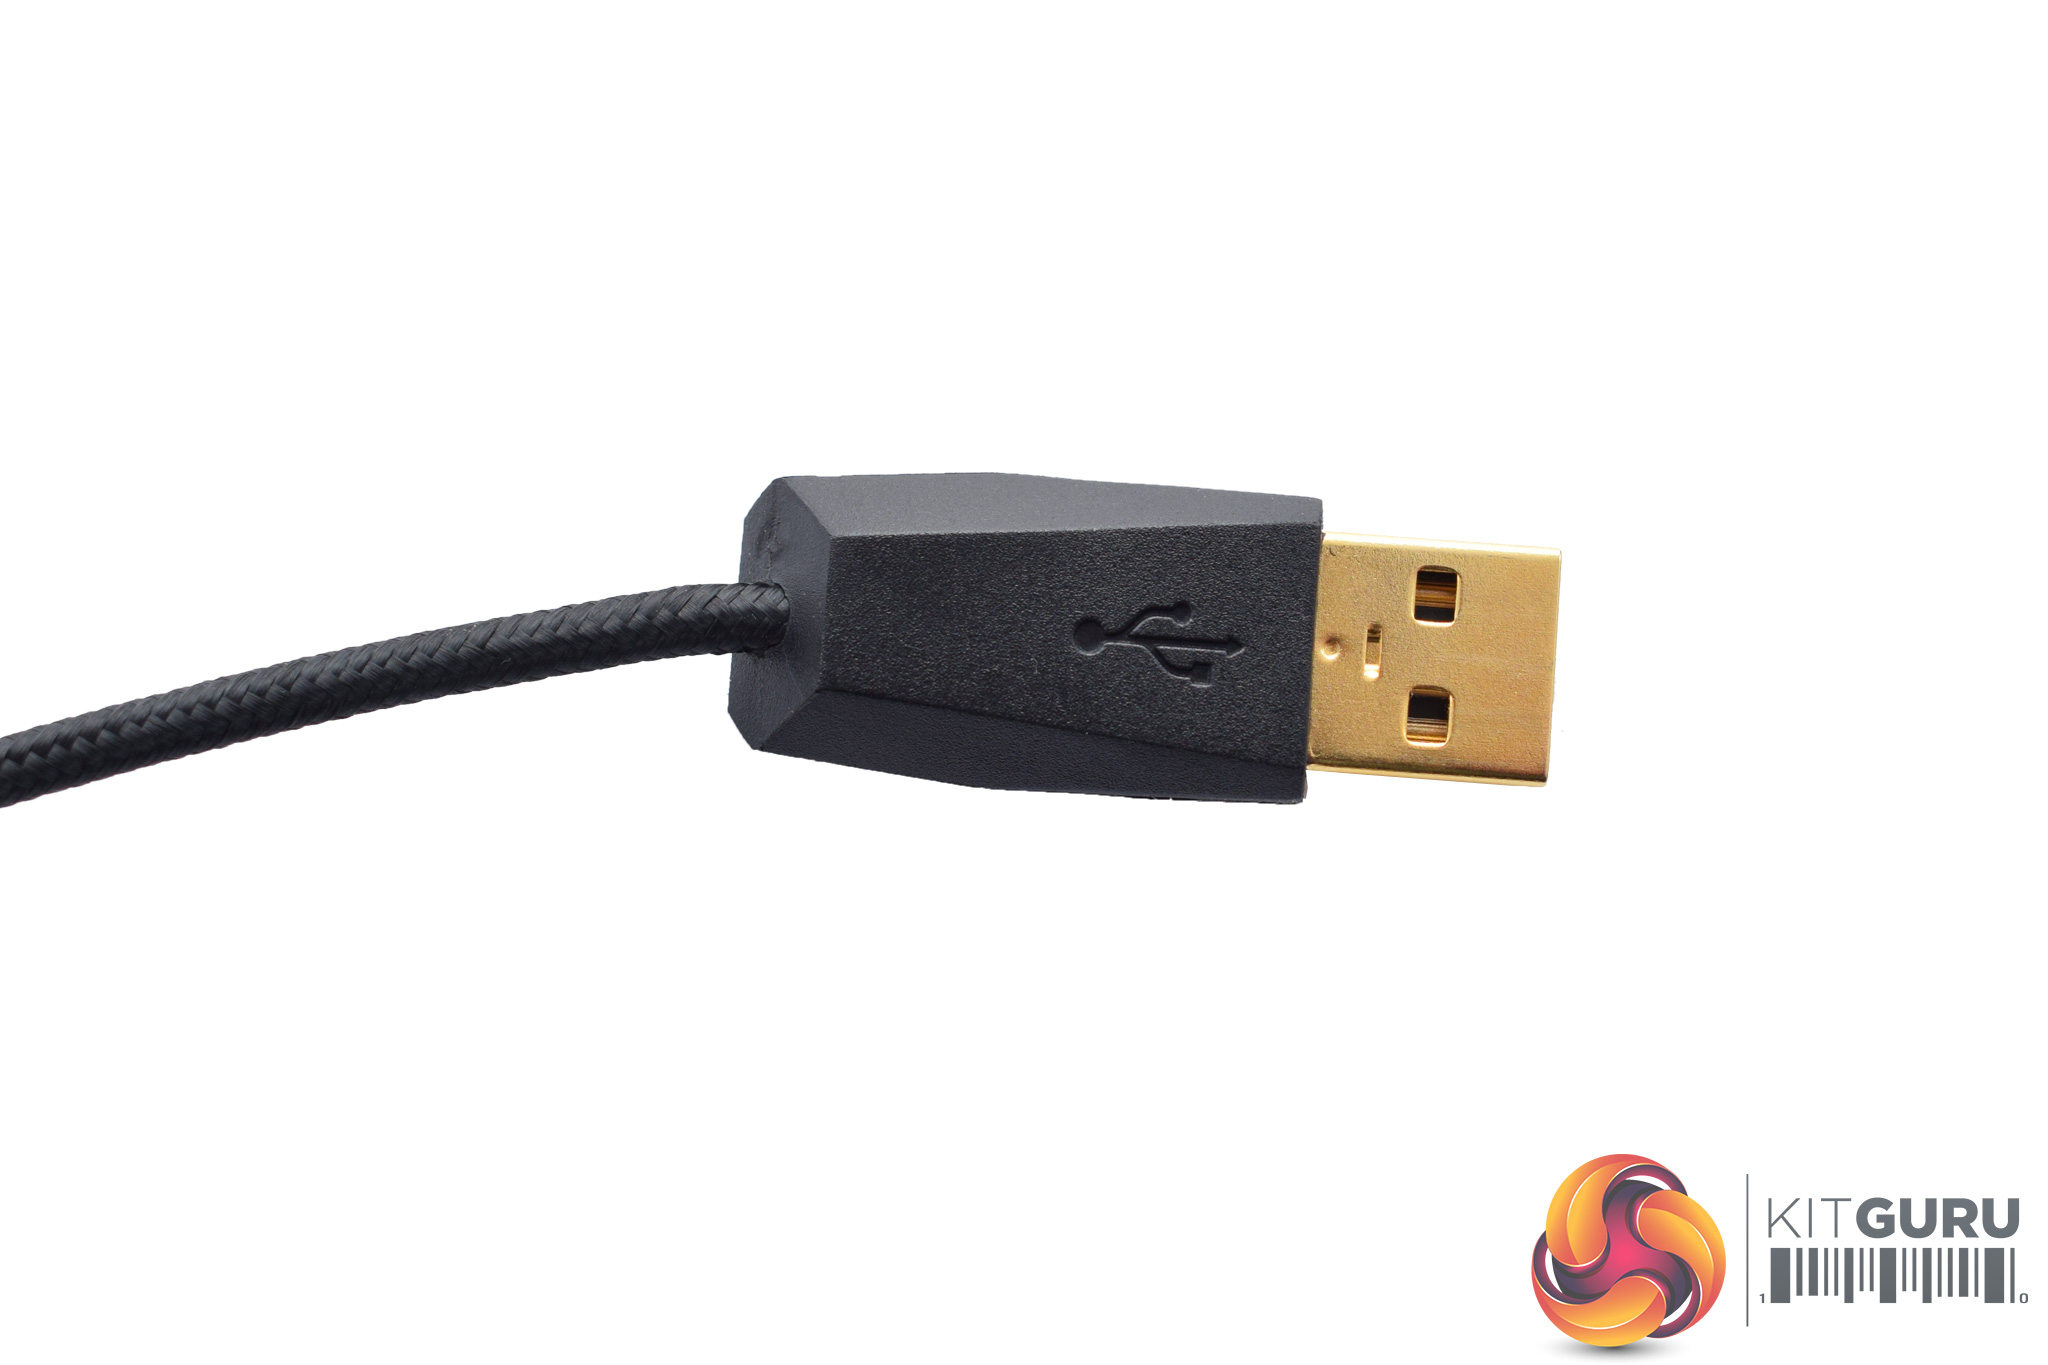
The USB cable is not detachable, but it is 2m long. braided and gold-plated.
Before moving on, it is worth looking at how you can swap the mouse's switches – after all, this is a pretty big feature.
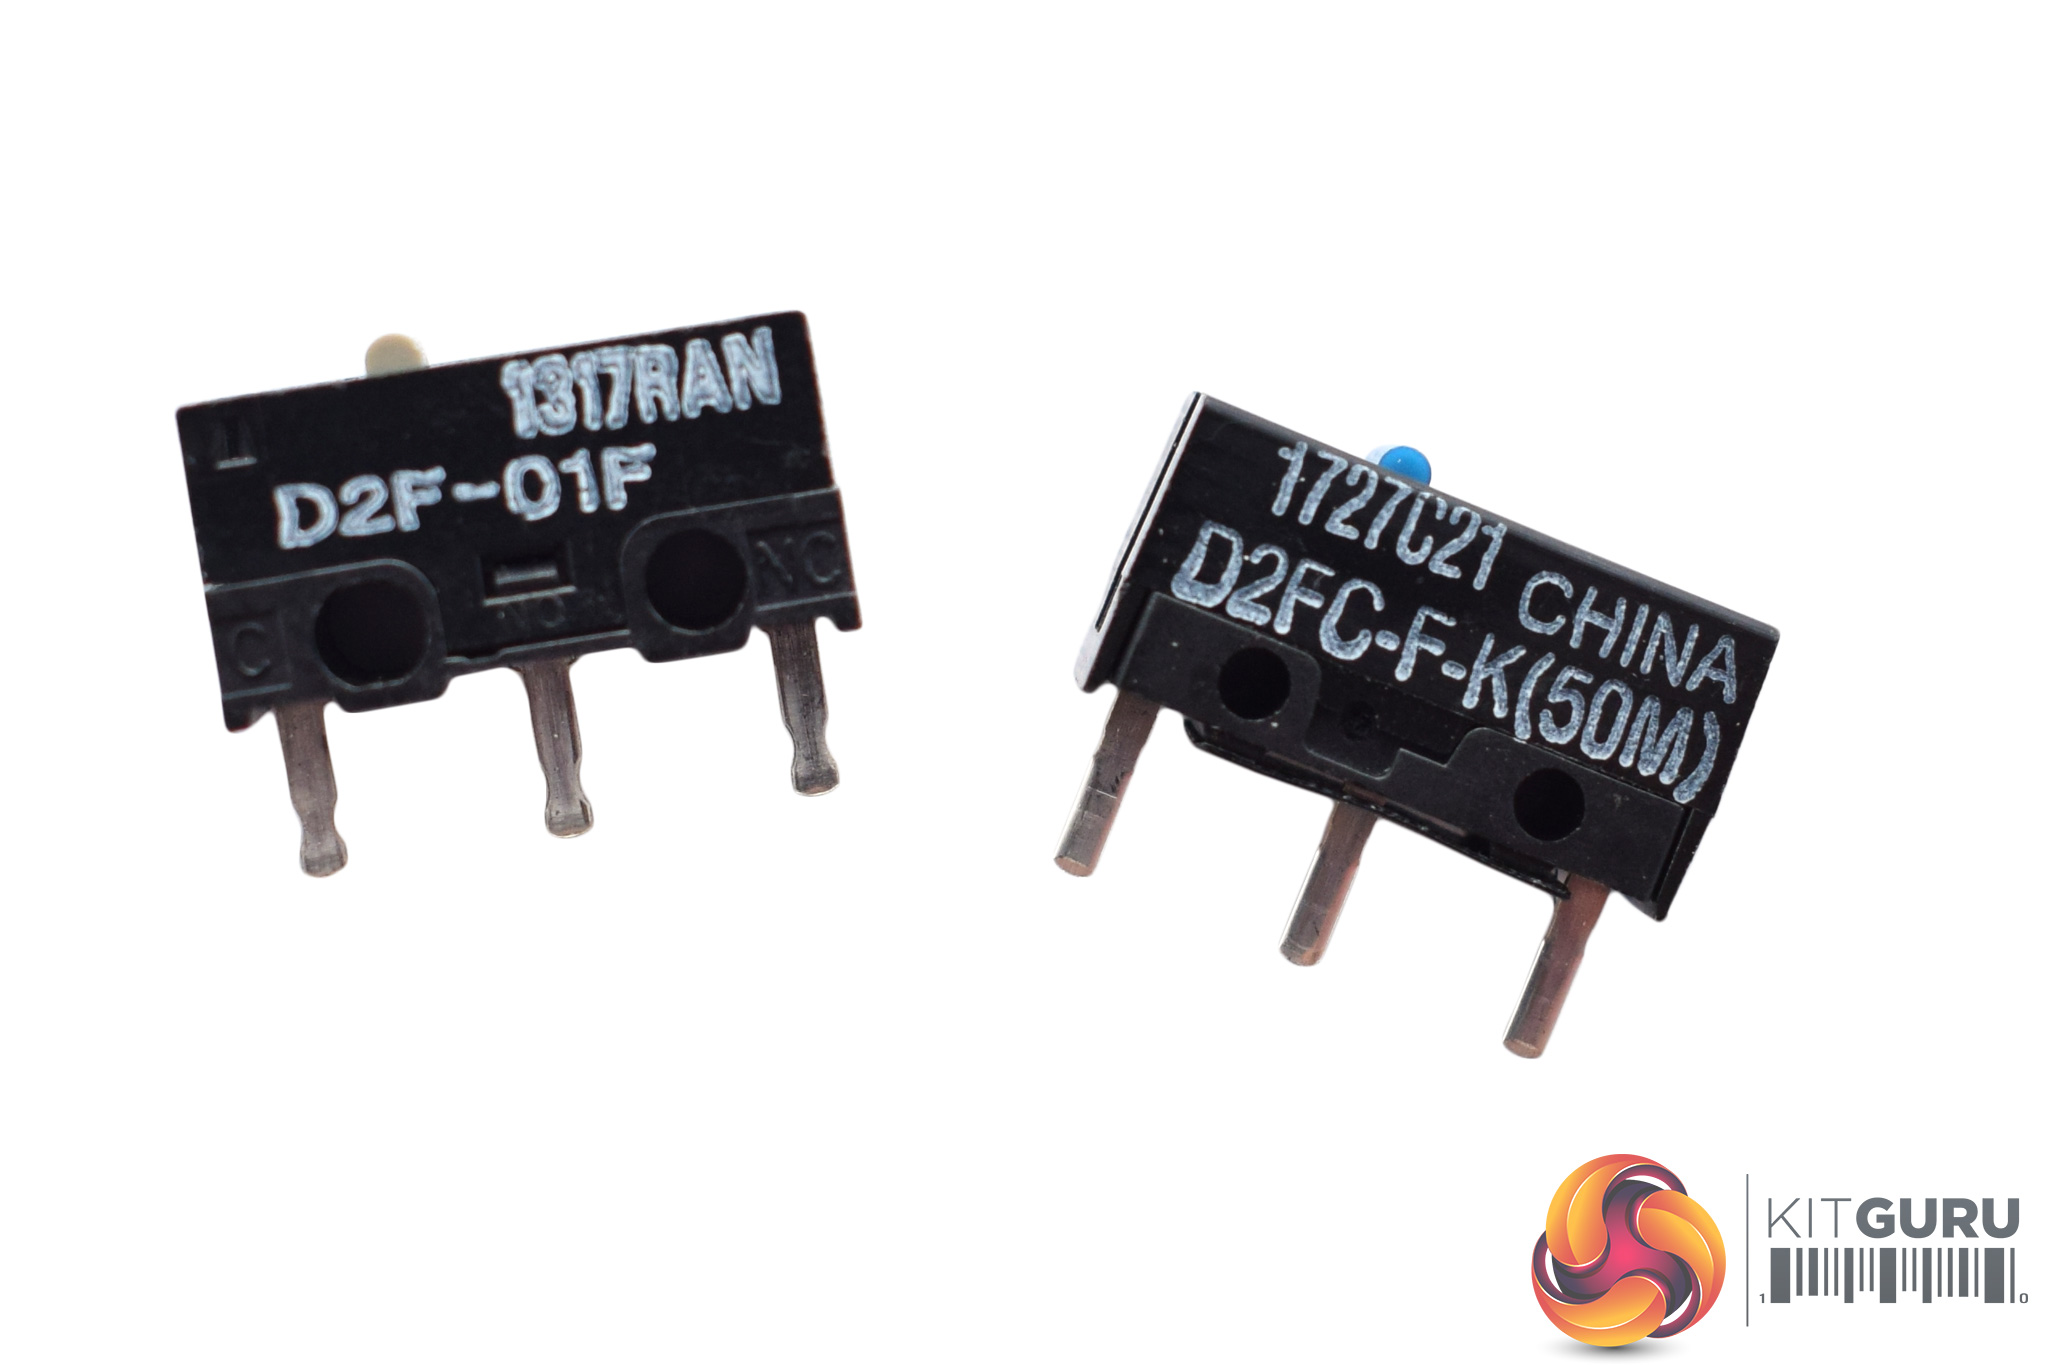
As with the Gladius II, the pre-installed switches are Omron’s D2FC-F-K(50M) model, while the spares are the D2F-01F model. I talk about how these switches actually feel and perform on the next page.
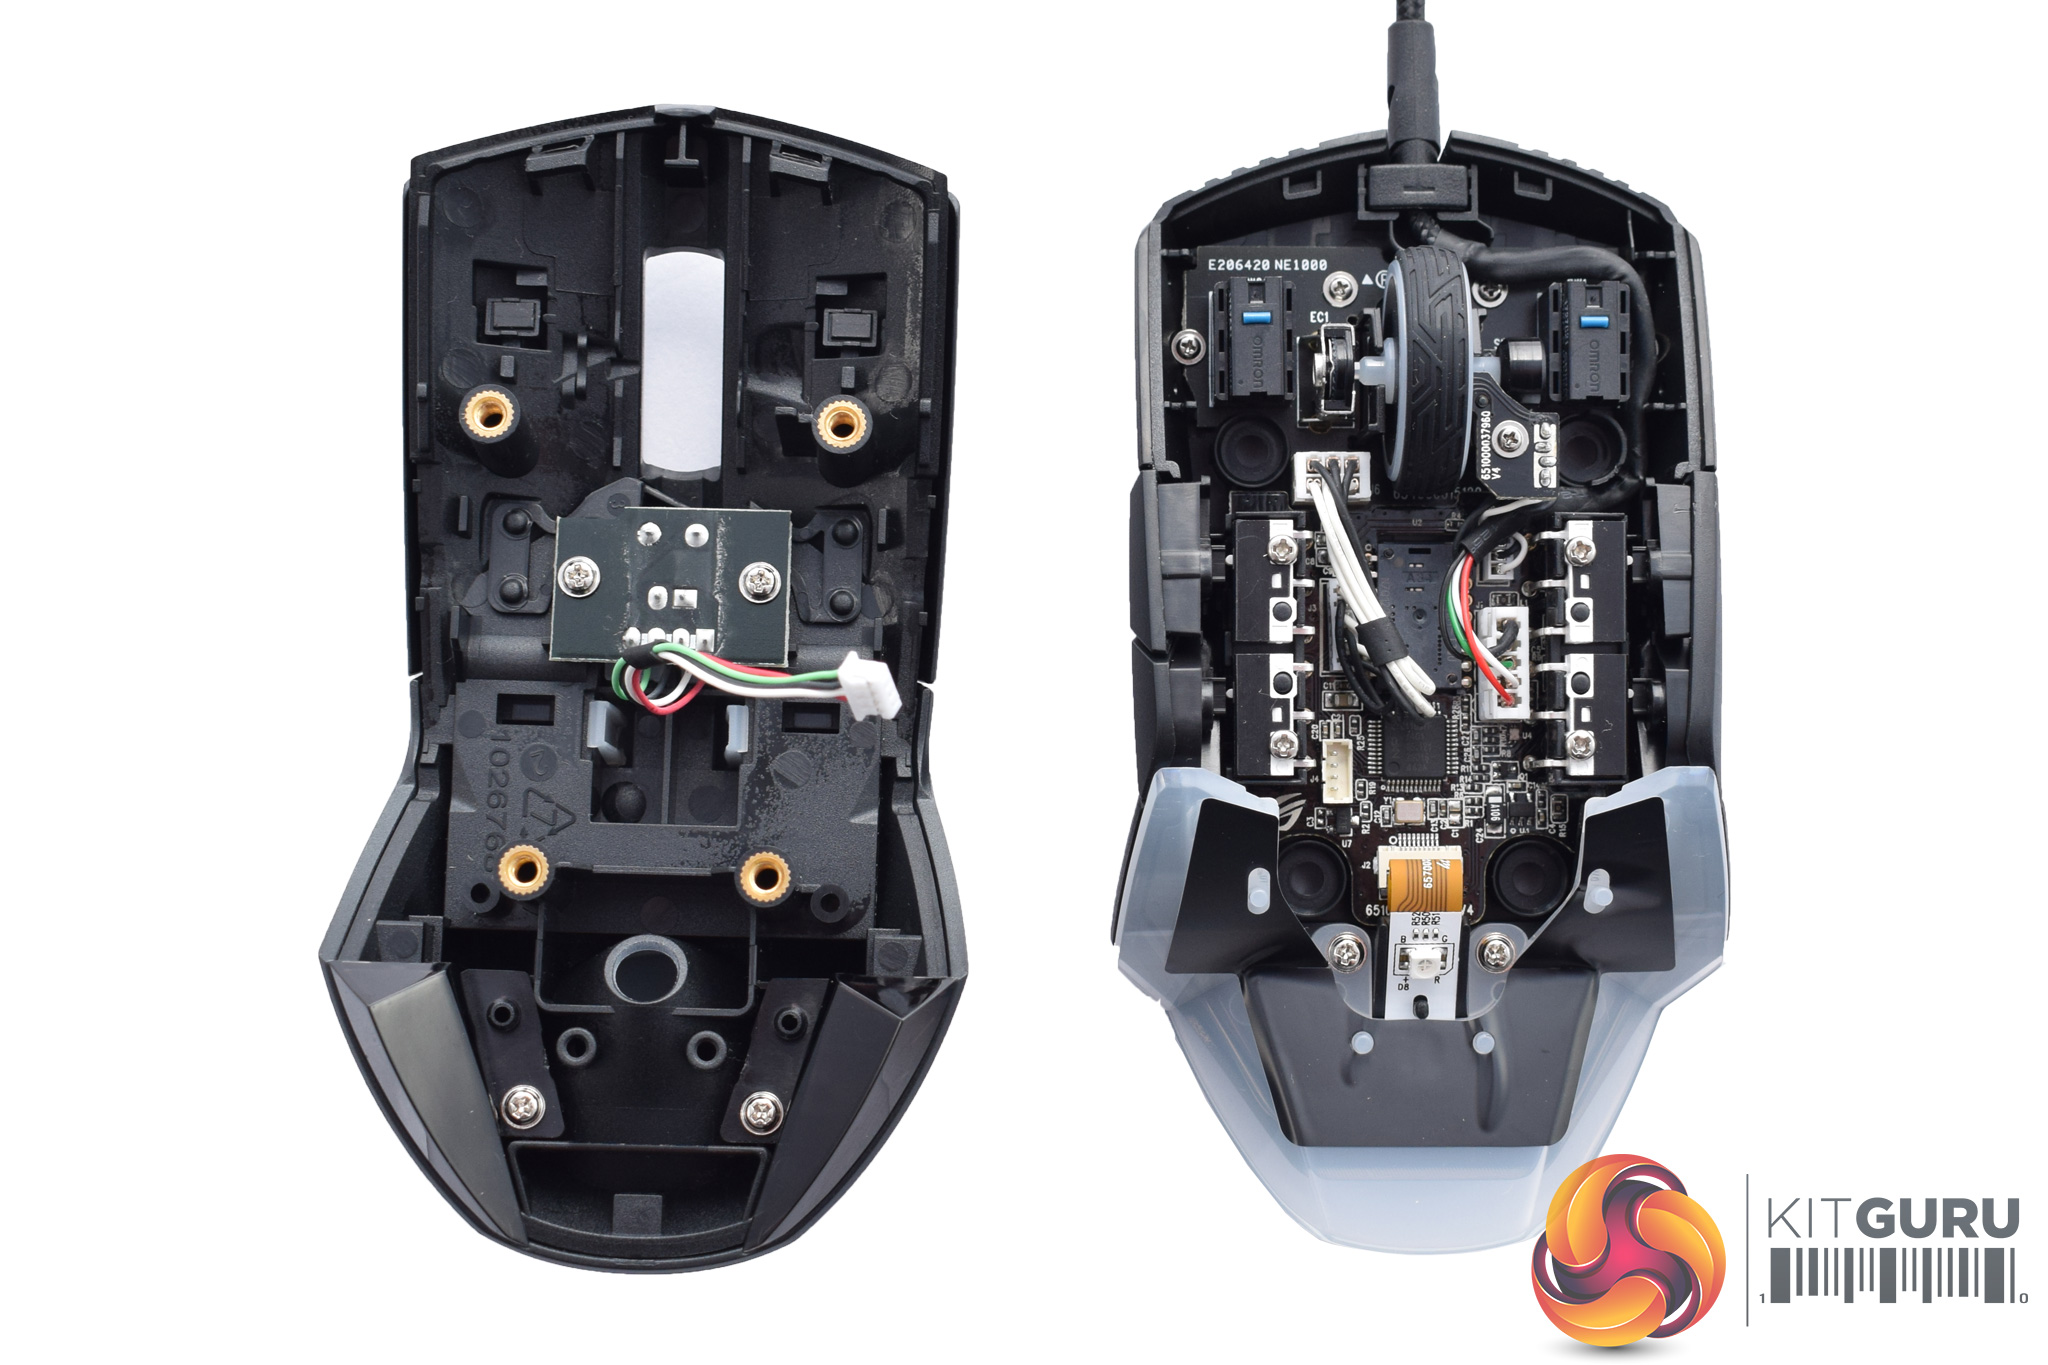
To change the switches, we first need access to the innards of the mouse. Four Phillips-head screws are stealthily hidden under little rubber covers, so pop those out and remove the screws.
After that, a firm tug will separate the top panel from the Pugio's base and PCB. However, do be careful when removing the top panel as it is connected to the bottom half of the mouse by a small LED cable, and you don't want to break that!
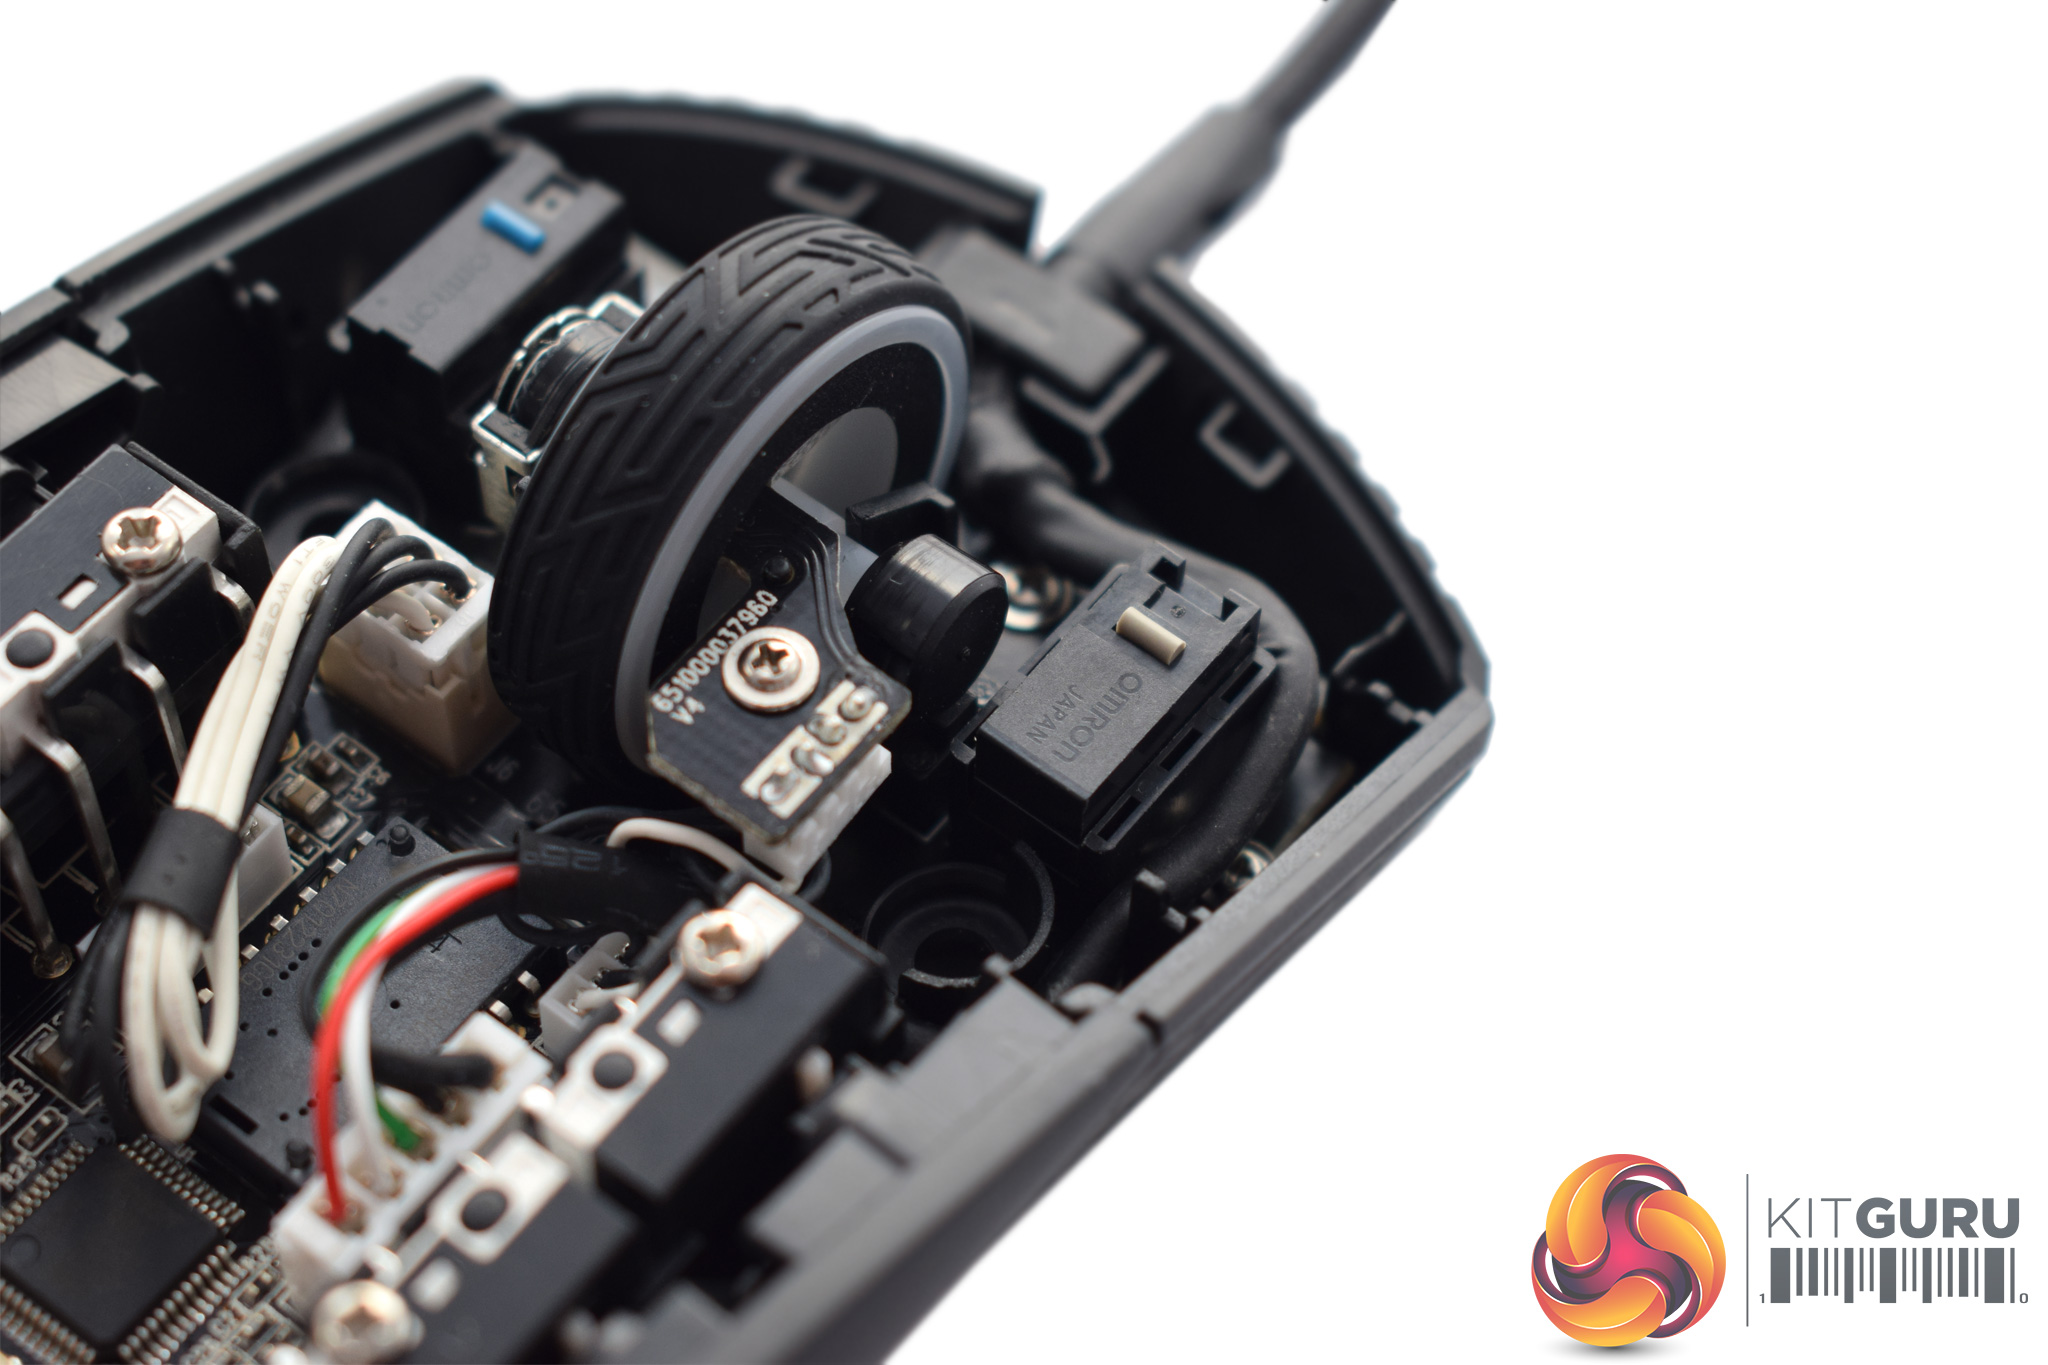
After that, all you need to do is pull out the pre-installed switches (which have a blue top) and install the other switches (which have a beige/grey top). You don't have to stick with the included switches either, as according to ASUS ROG any of the following are compatible: D2F, D2F-F, D2F-01, D2F-01F, D2FC-3M, D2FC-F-7N, D2FC-F-7N(10M), D2FC-F-7N(20M), D2FC-F-K (50M).

Acceleration?
Interpolation?
Tracking accuracy on different surfaces?
Raise height?
Is this really a review? 😀