

The first part of setting up the DS1517+ as with all Synology NAS units is to go to http://find.synology.com which launches Web Assistant. This app searches for all DiskStations on the network so you can begin the install. If this method fails to find the NAS, the App has a link to the Synology Download Center where you can download Synology Assistant to your PC to search again for the NAS.

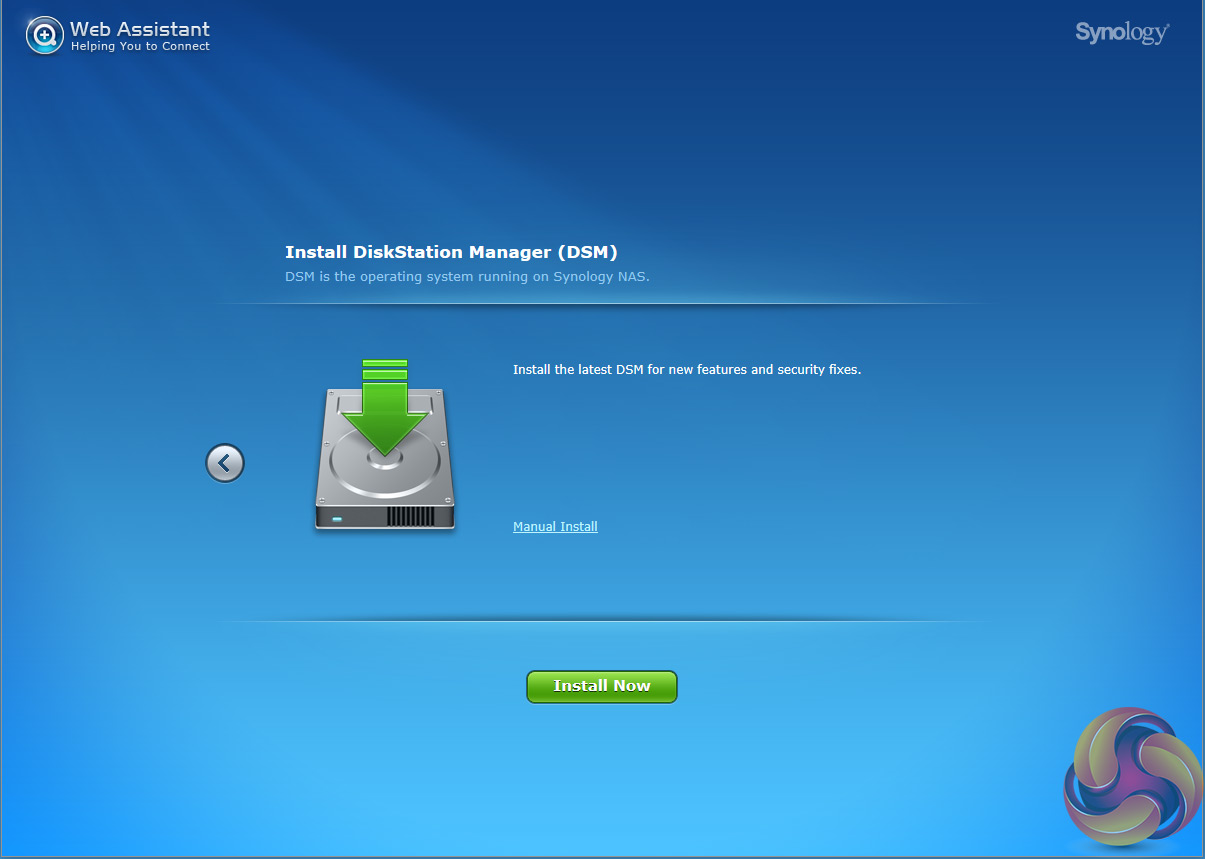
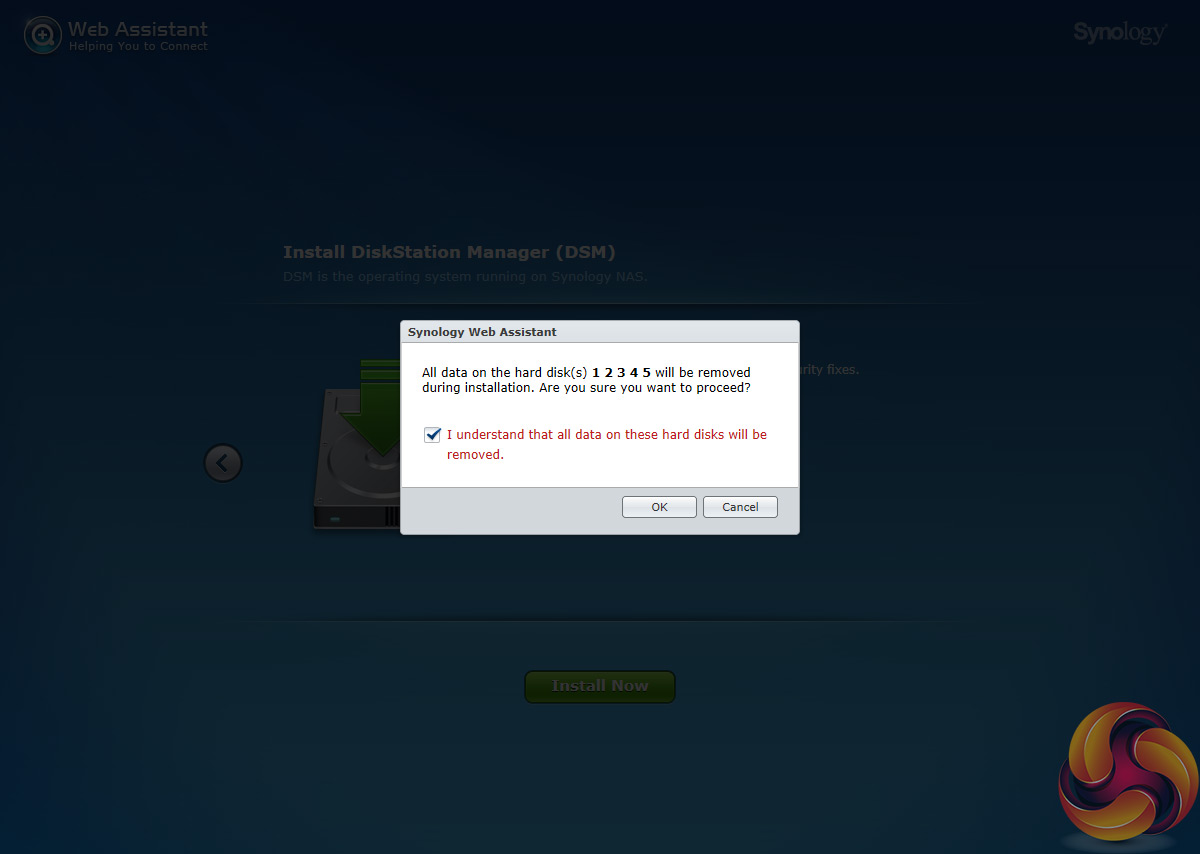
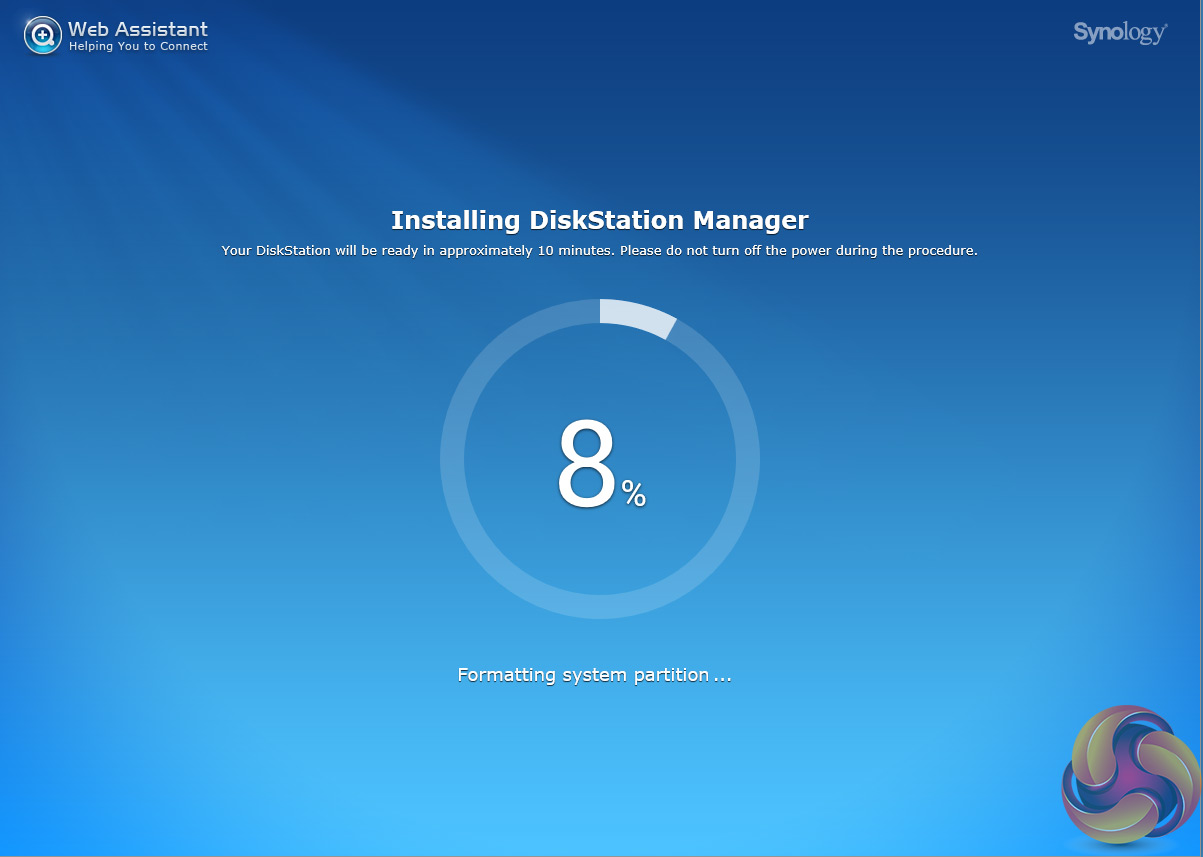
Once the NAS is found, the first window of the DSM setup wizard appears. Pressing install (there’s also a manual install option to install a downloaded instance of DSM ) automatically downloads the latest version of DSM and starts installing it after reminding you that any data on the hard disks will be deleted.
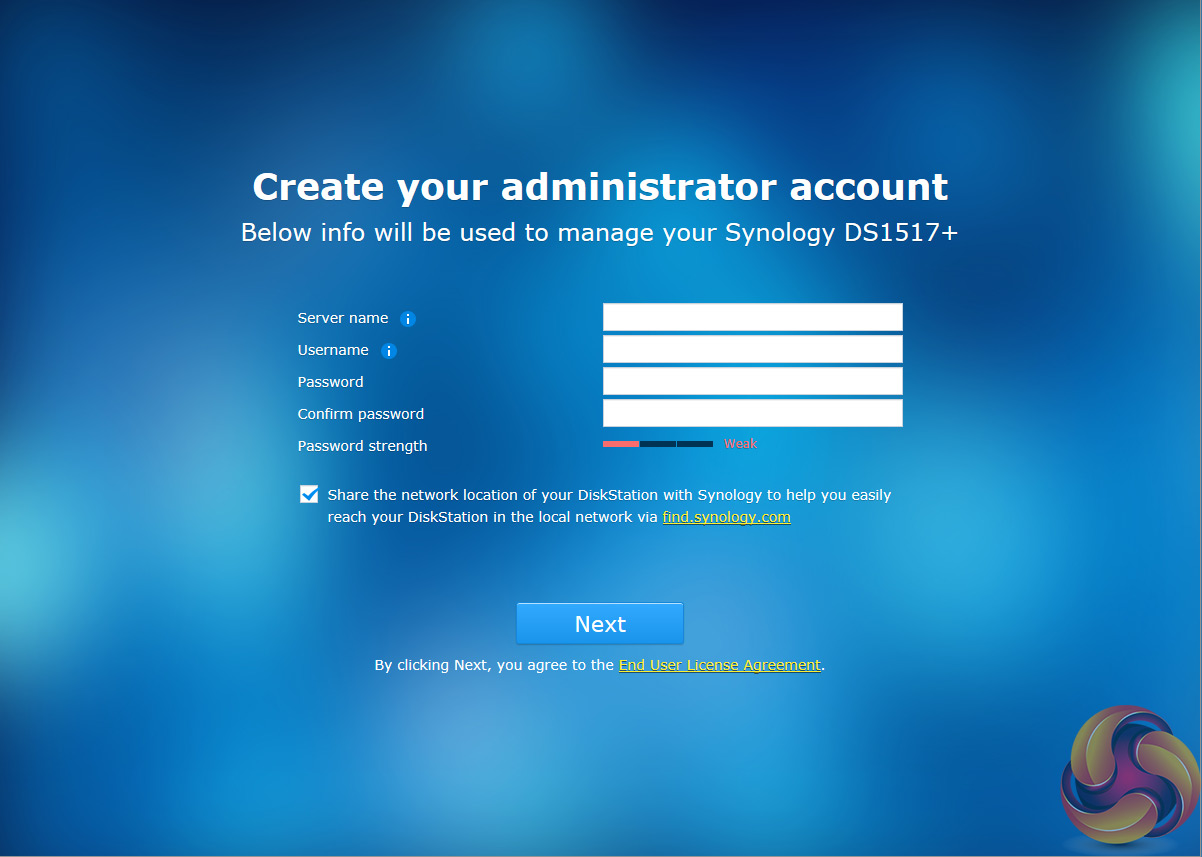
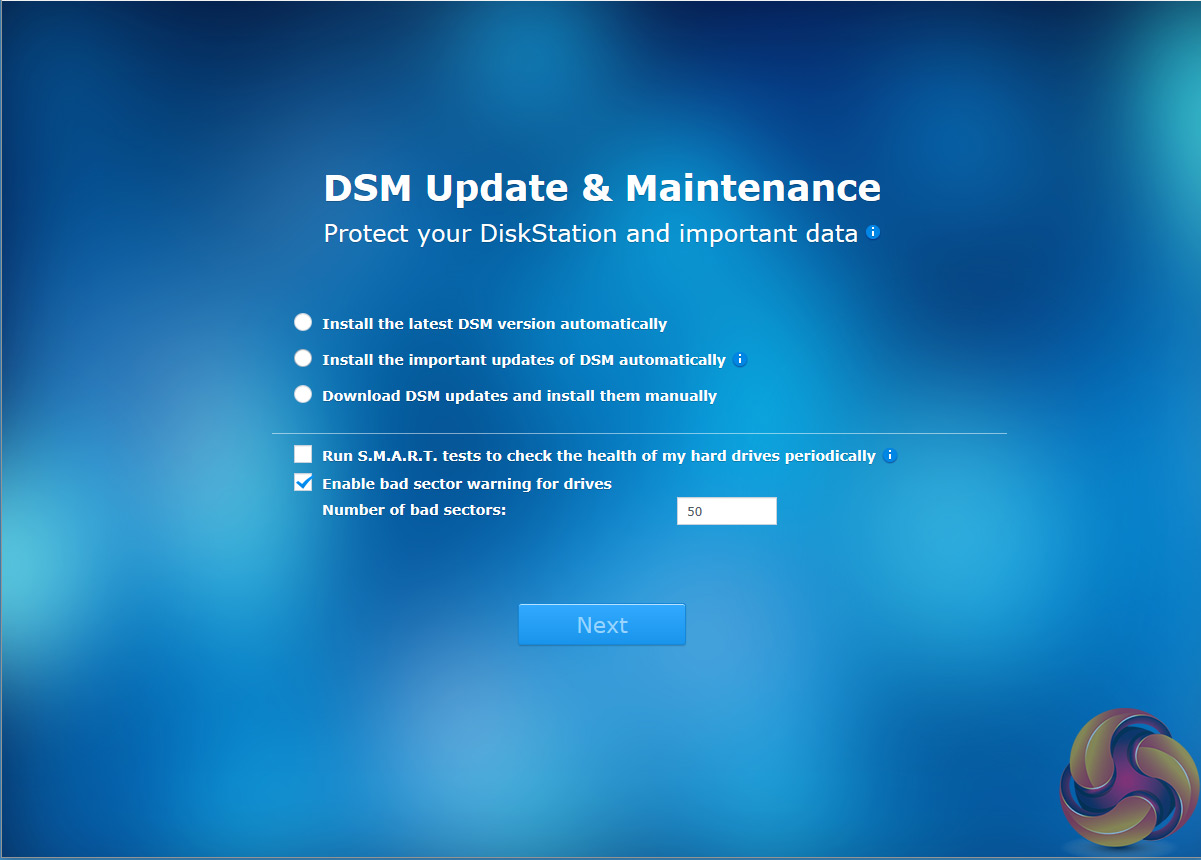
After the basic install has finished, the NAS is restarted and next up comes the setting up of the NAS management, where you assign a server name, admin user name and password. The next window is where the DSM update settings are set.

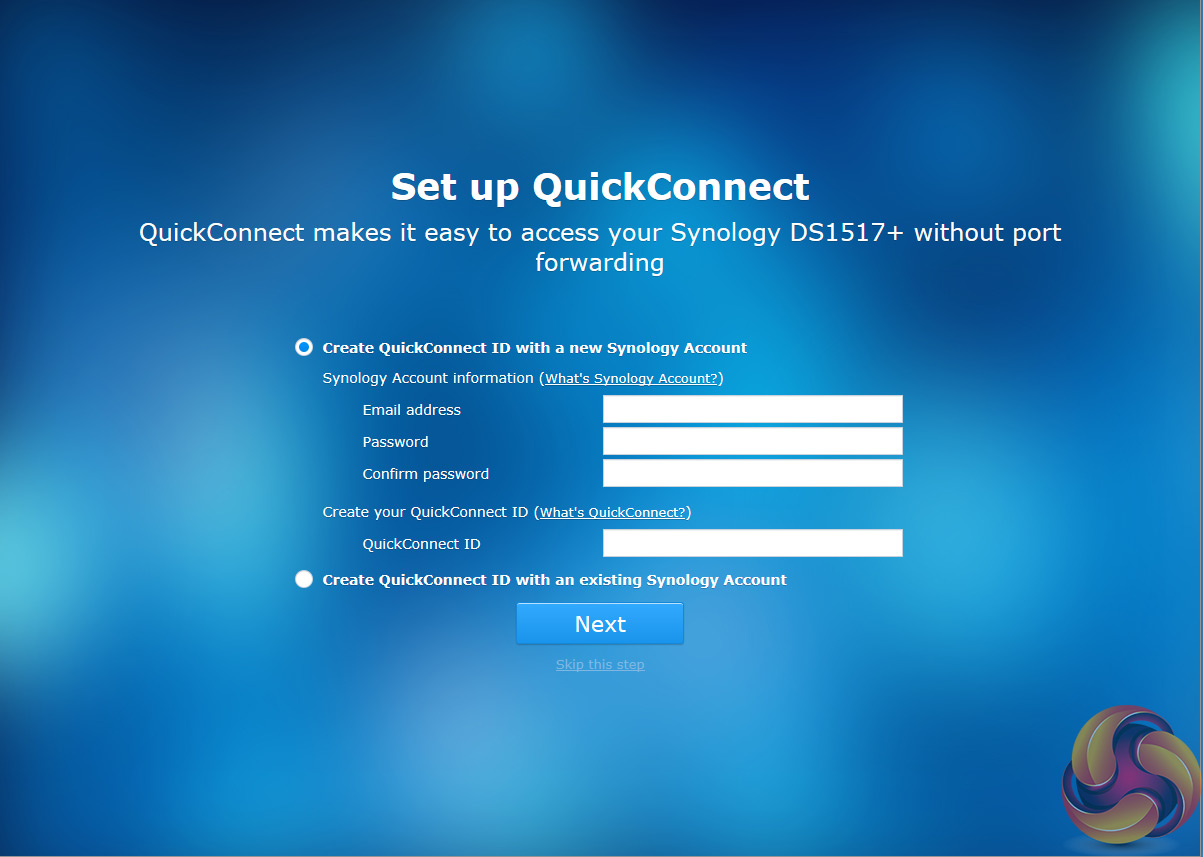
Next you can set up Quick Connect (remote access to the DiskStation) or skip it and set it up later as you can with the install of Synology’s recommended packages; Photo, Video, Audio and Download Stations and Media and cloud Station Servers as well as Hyper Backup and that’s the setup complete.

Somehow the benchmark results do not make a lot of sense to me ie looking at the throughput benchmarks most of them hover around 100 MB/sec despite the different RAID set-ups ie one would expect for example a noticeable difference between RAID-0 and RAID-5….
My guess is that you connected the NAS and/or workstation via a standard 1 Gigabit Ethernet to the Network and therefore the LAN became the bottleneck at around 100 MB/sec ie 1 Gigabit …
In a 10 Gigabit LAN with 5 HDs installed I would expect that you should get close to 400 – 500 Megybytes/sec (at least thats my experience with Synology although I am not familiar with this specific model, so there might be otehr bottleneckes in the specific set-up, also 10 Gigabit needs a little bit of tuning until you get good throughput).