

Reattach the main cover of the Synology, connect the NAS to your router, turn on the power and wait for the flickering lights to settle down.
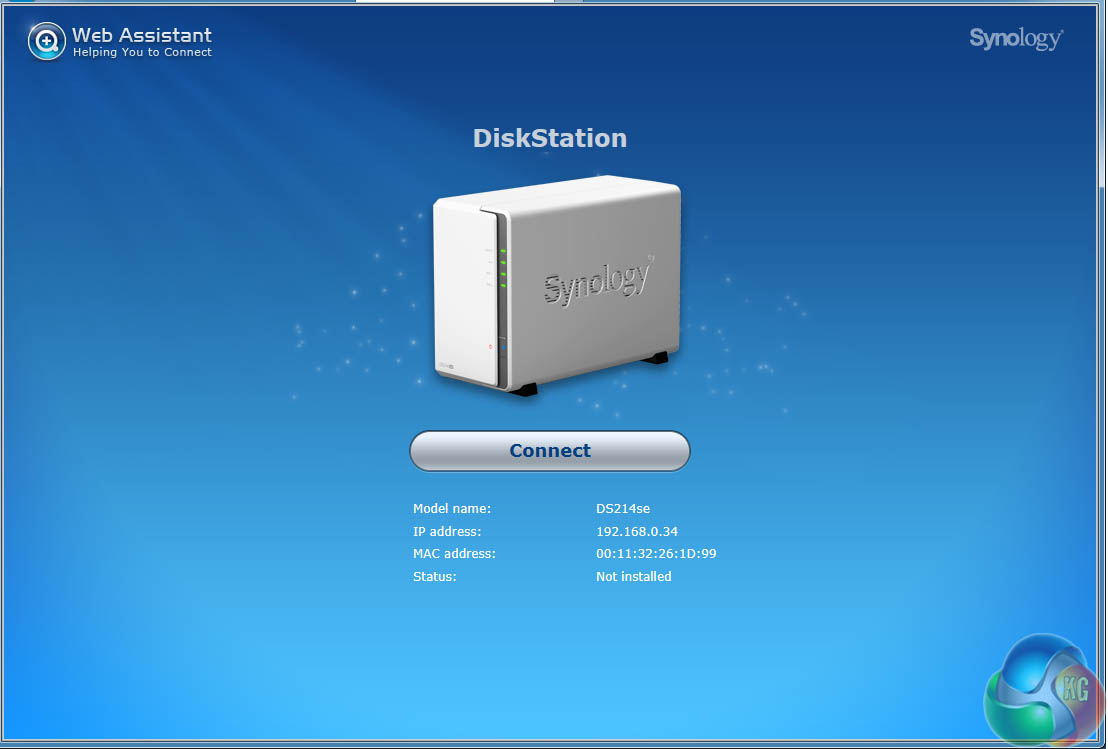
Now step to a PC or laptop on the same network as the Synology, open a browser and head to The Synology web site.
The Synology Web Assistant will find your new DS214se on the network and report its status.
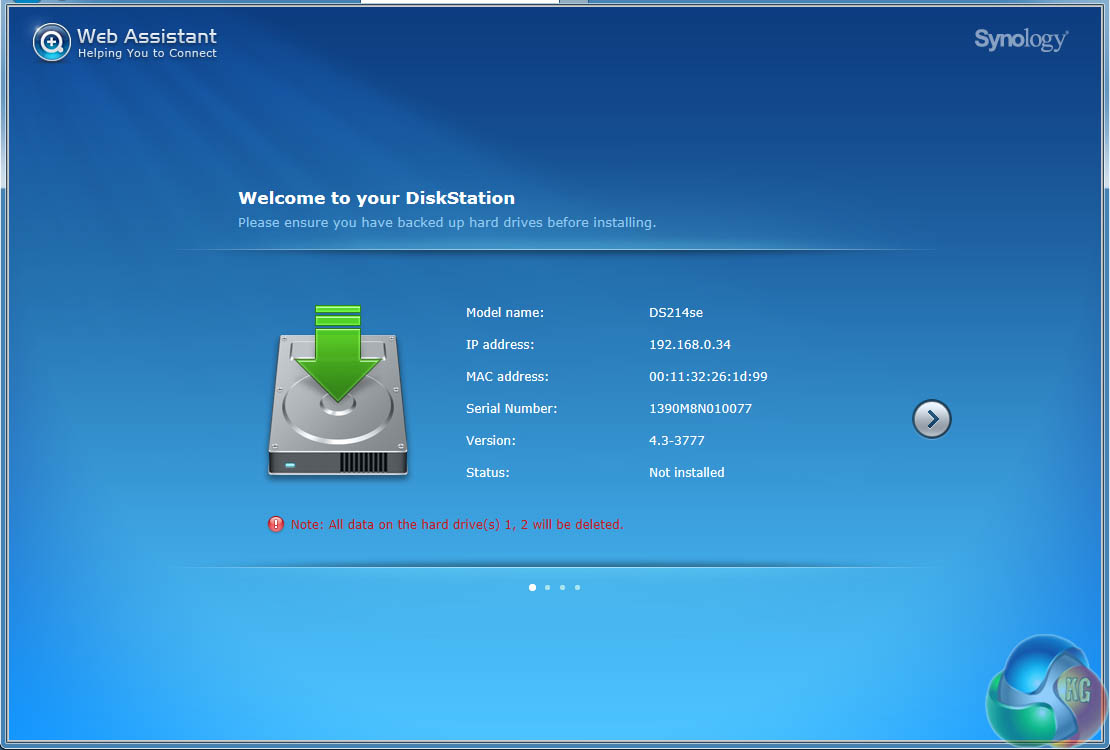
Click the Proceed button and, provided you have a decent Internet connection you are five or ten minutes away from having your NAS up and running.
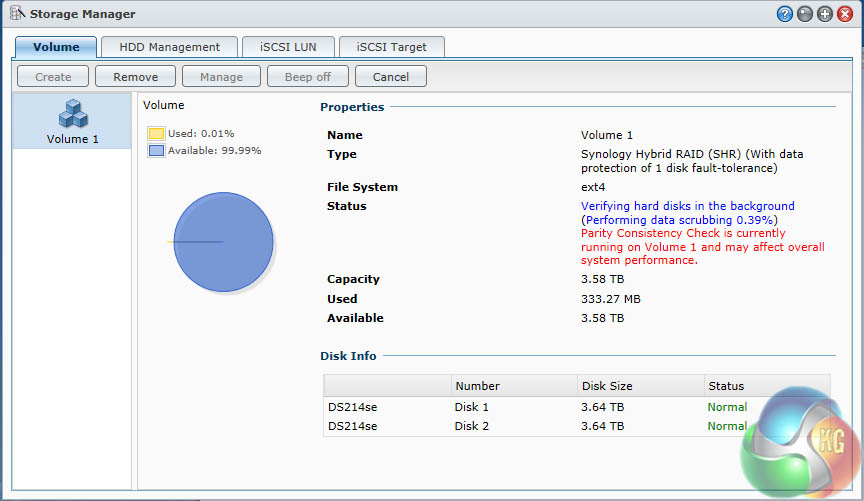
The Web Assistant downloads and installs the latest version of DSM, which is currently v4.3. I had settled for the default option of Synology Hybrid RAID which mirrors the two drives to protect your data. The two WD drives yielded 3.58TB formatted capacity, however the software had to crunch through a drive verification process that took 20 hours in all.
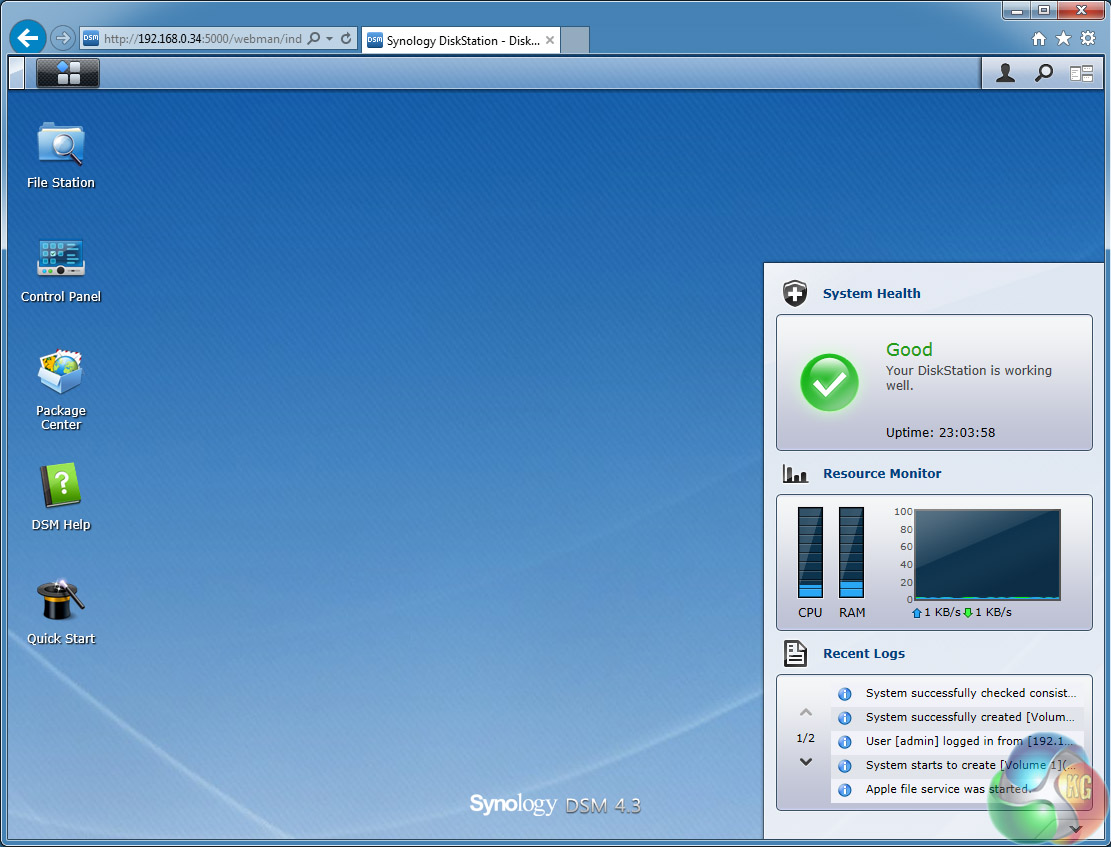
Once that was finished I was faced with four happy green LEDS (Status, LAN, Disk1 and Disk 2) on the front of the DS214se plus a blue LED for power and the home screen for the DSM software. You'll need to have Java installed and enabled to run DSM.
There is nothing new to say about DSM4.3 since KitGuru's previous Synology reviews as the software hasn't changed and continues to be flipping brilliant.