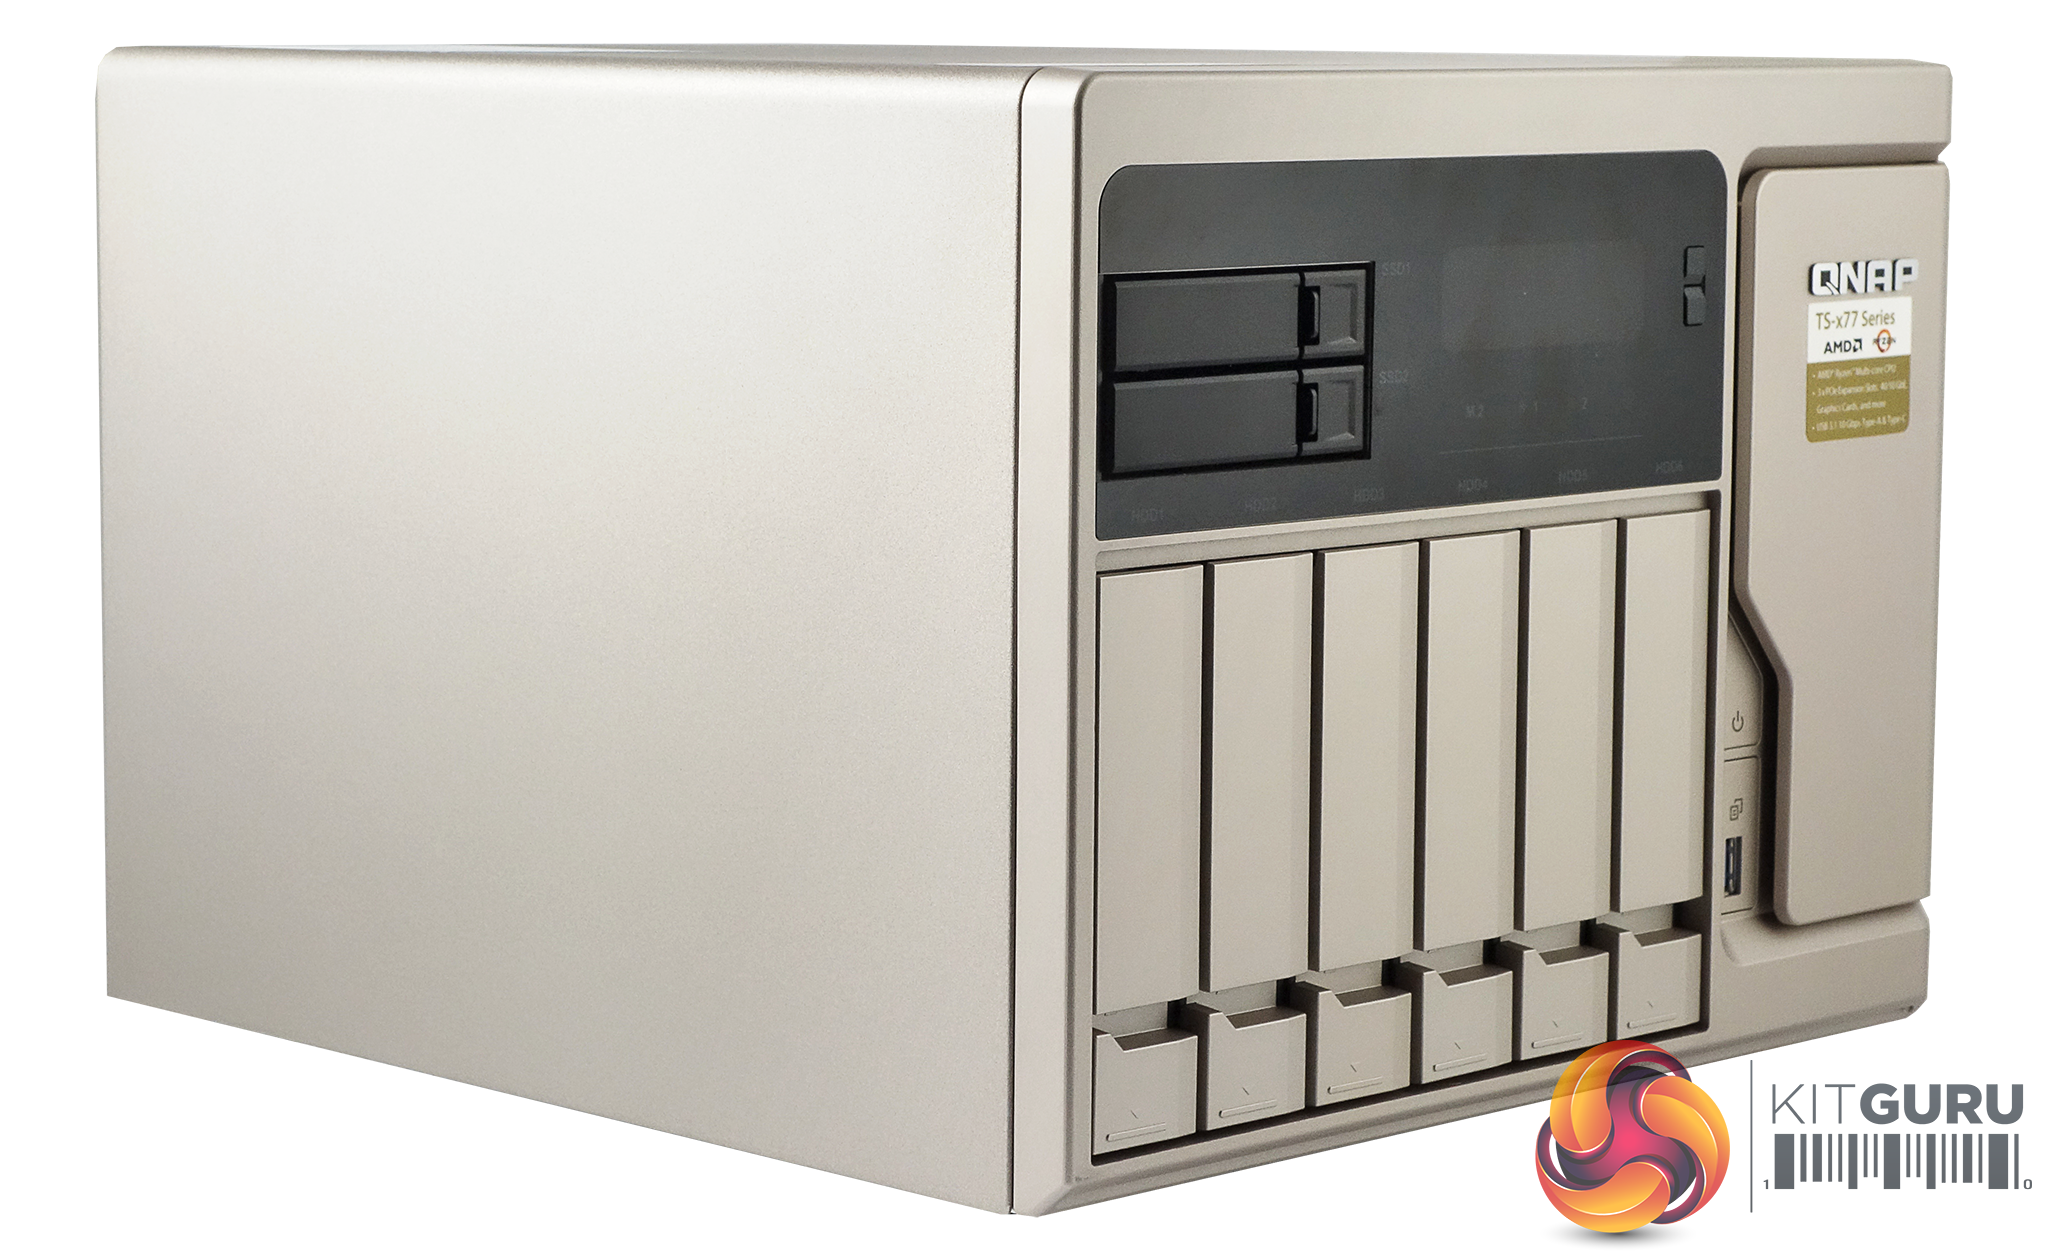
QNAP's TS-877 is well built and finished in a stylish pale gold colour. Apart from the six main drive bays, the front bezel is home to a monochrome backlit LCD display with Enter and Select buttons. The panel allows you to power on and off the NAS, view and configure network TCP/IP settings and displays warning messages if there is a problem with the NAS. Usefully, the LCD display can also display information about the NAS drives and volumes. Built into the surround for the LCD panel are a pair of 2.5in drive bays.
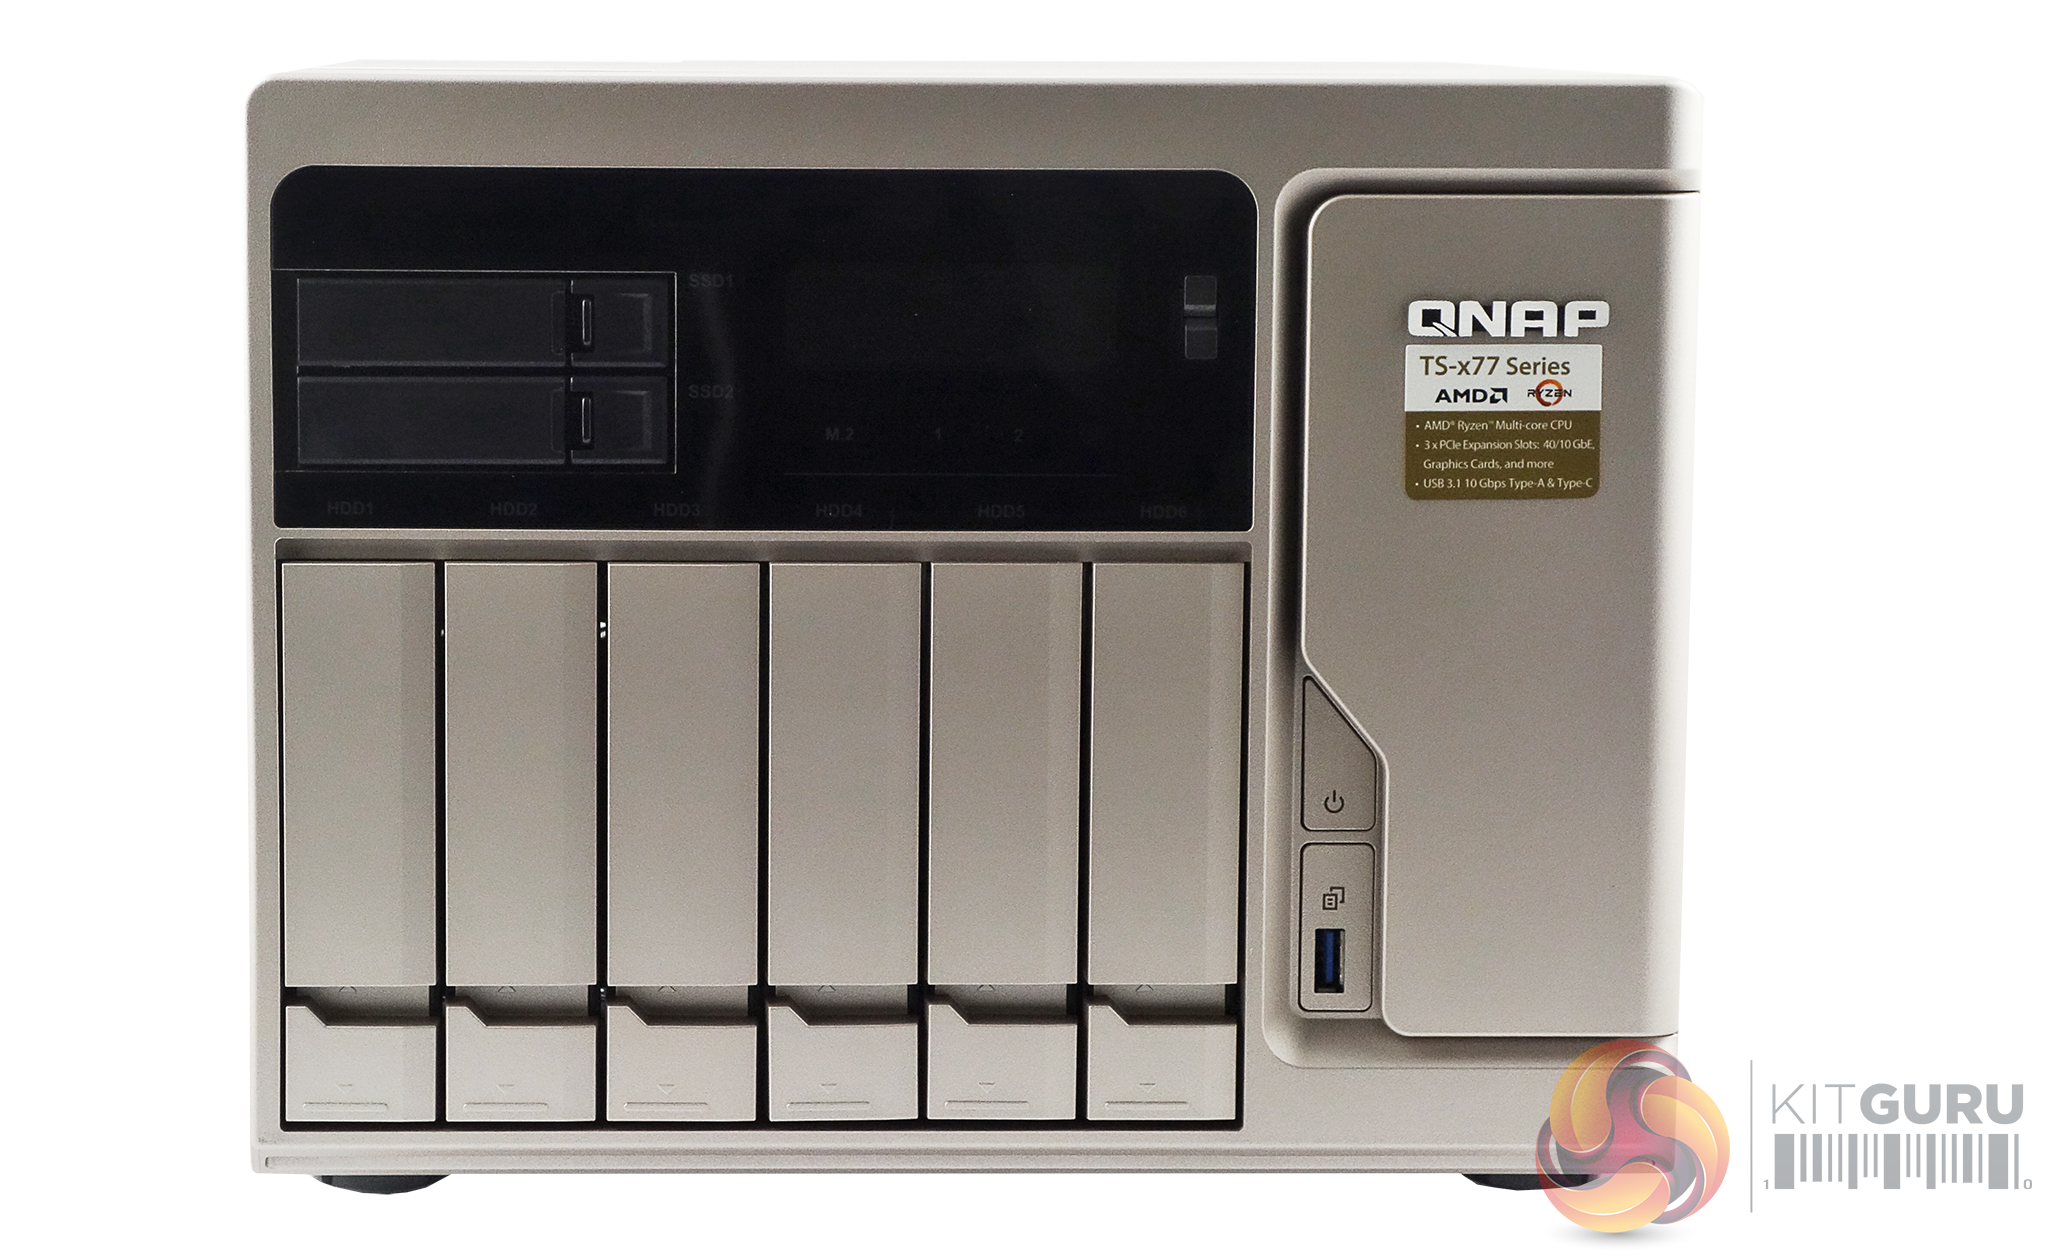
Just below the power button on the front of the unit is the one touch copy button which has a single USB 3.0 port built into it. How this button handles data from an external drive can be configured in the QTS OS.
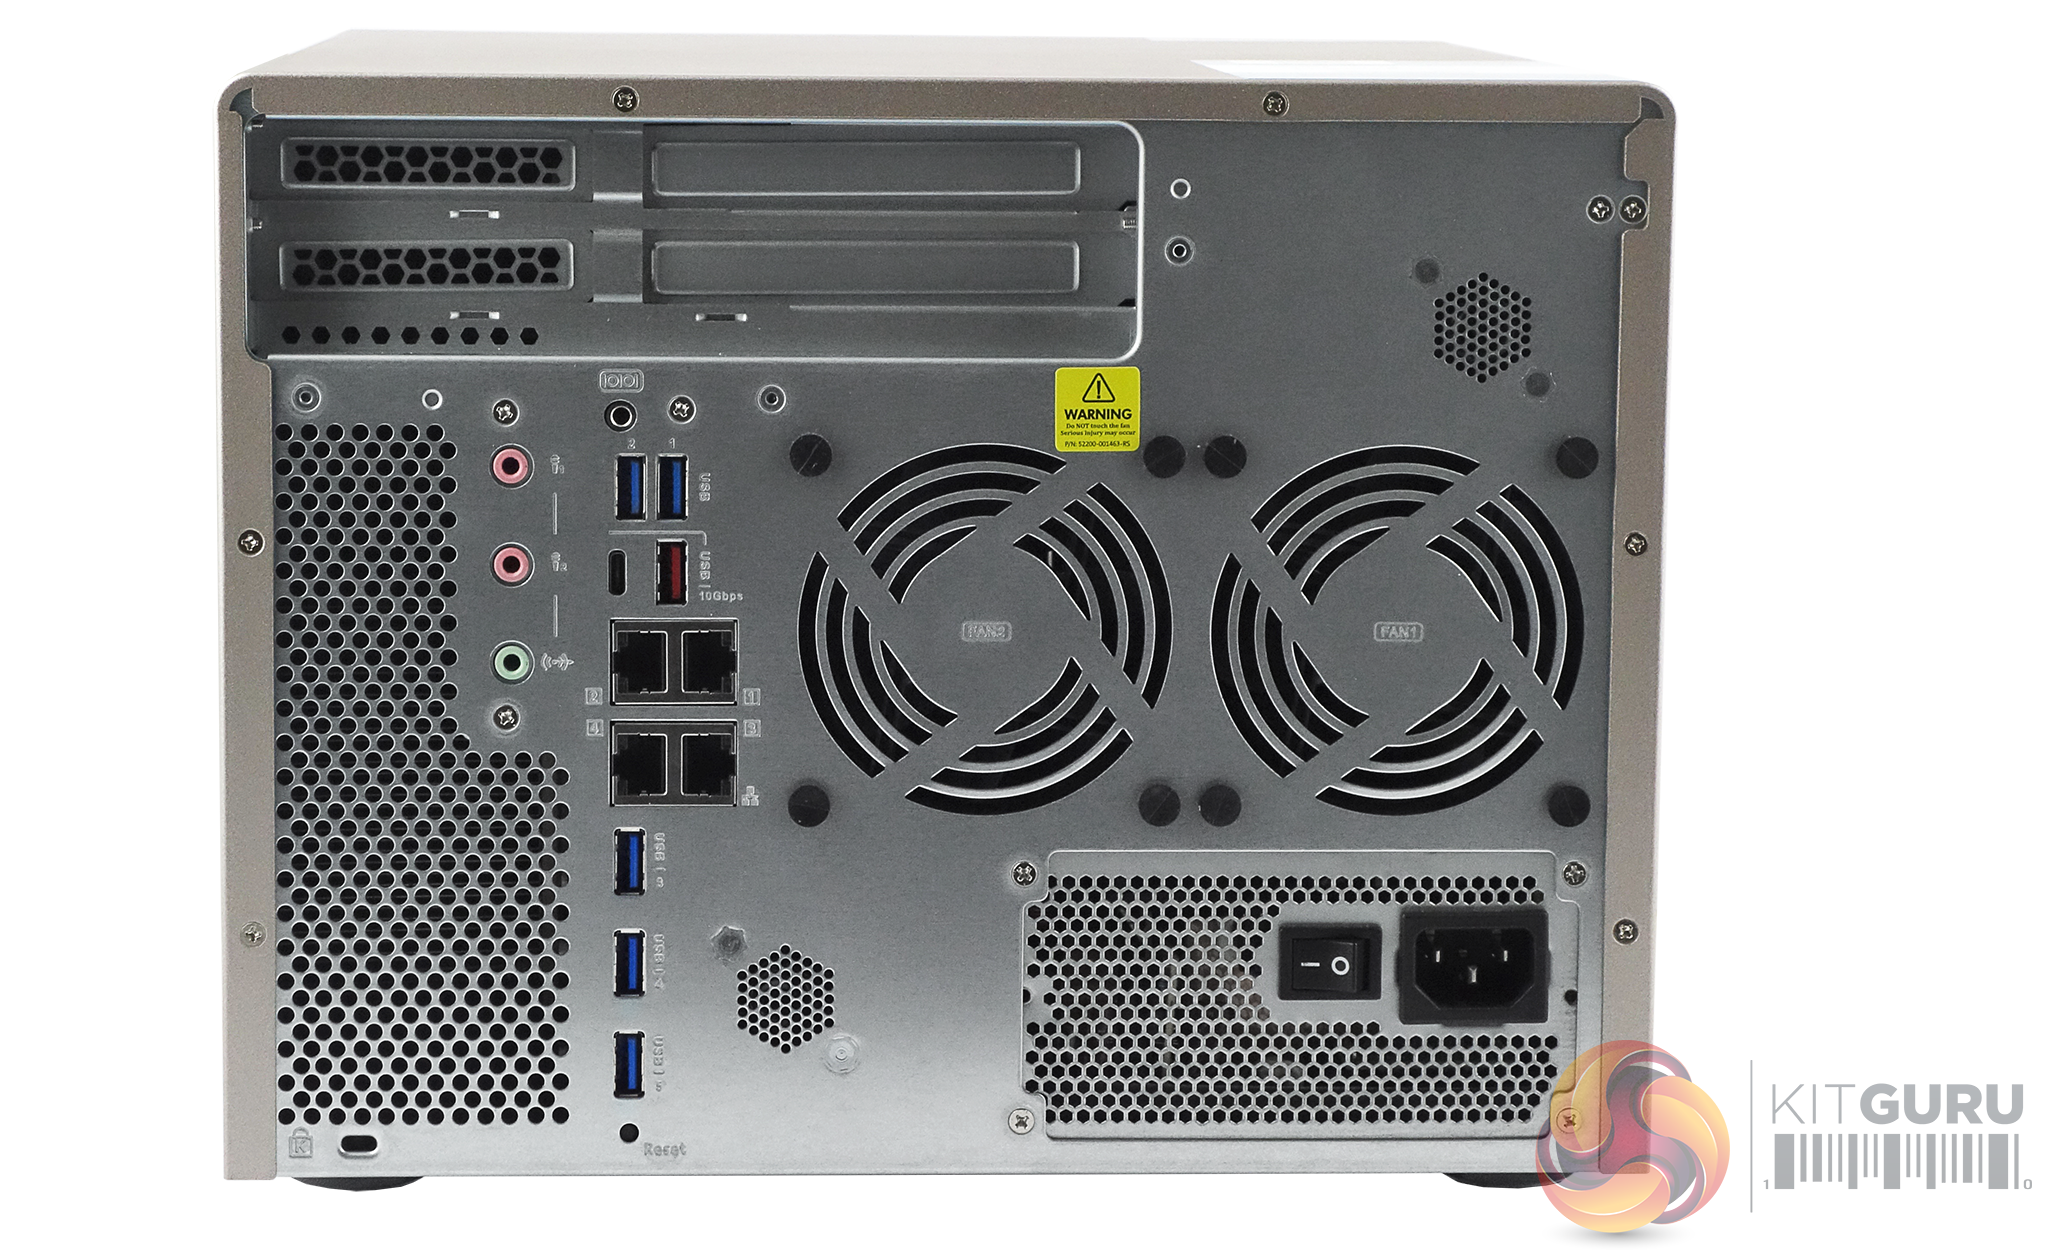
The rear panel of the TS-877 is a busy affair. A pair of grills for the two 80mm chassis fans sit above the 450 Watt PSU. To the left of the grills we find all the external ports and there are quite a few of them. First up there is a console port under which sit the first of the rear USB ports, a pair of USB 3.0 Type-A. Under these sit two USB 3.1 Gen 2 ports, one Type-C and one Type-A. Next there are a block of four Gigabit Ethernet ports under which sit three more USB 3.0 Type-A ports. To the left of all these sit a pair of 3.5mm microphone ports and a single 3.5mm line out port.


The six 3.5in drive bay doors have a simple sliding locking mechanism as do the pair of 2.5in drive doors. These locks work well and although they are not as secure as proper drive bay key locks they are certainly better than nothing.
![]()
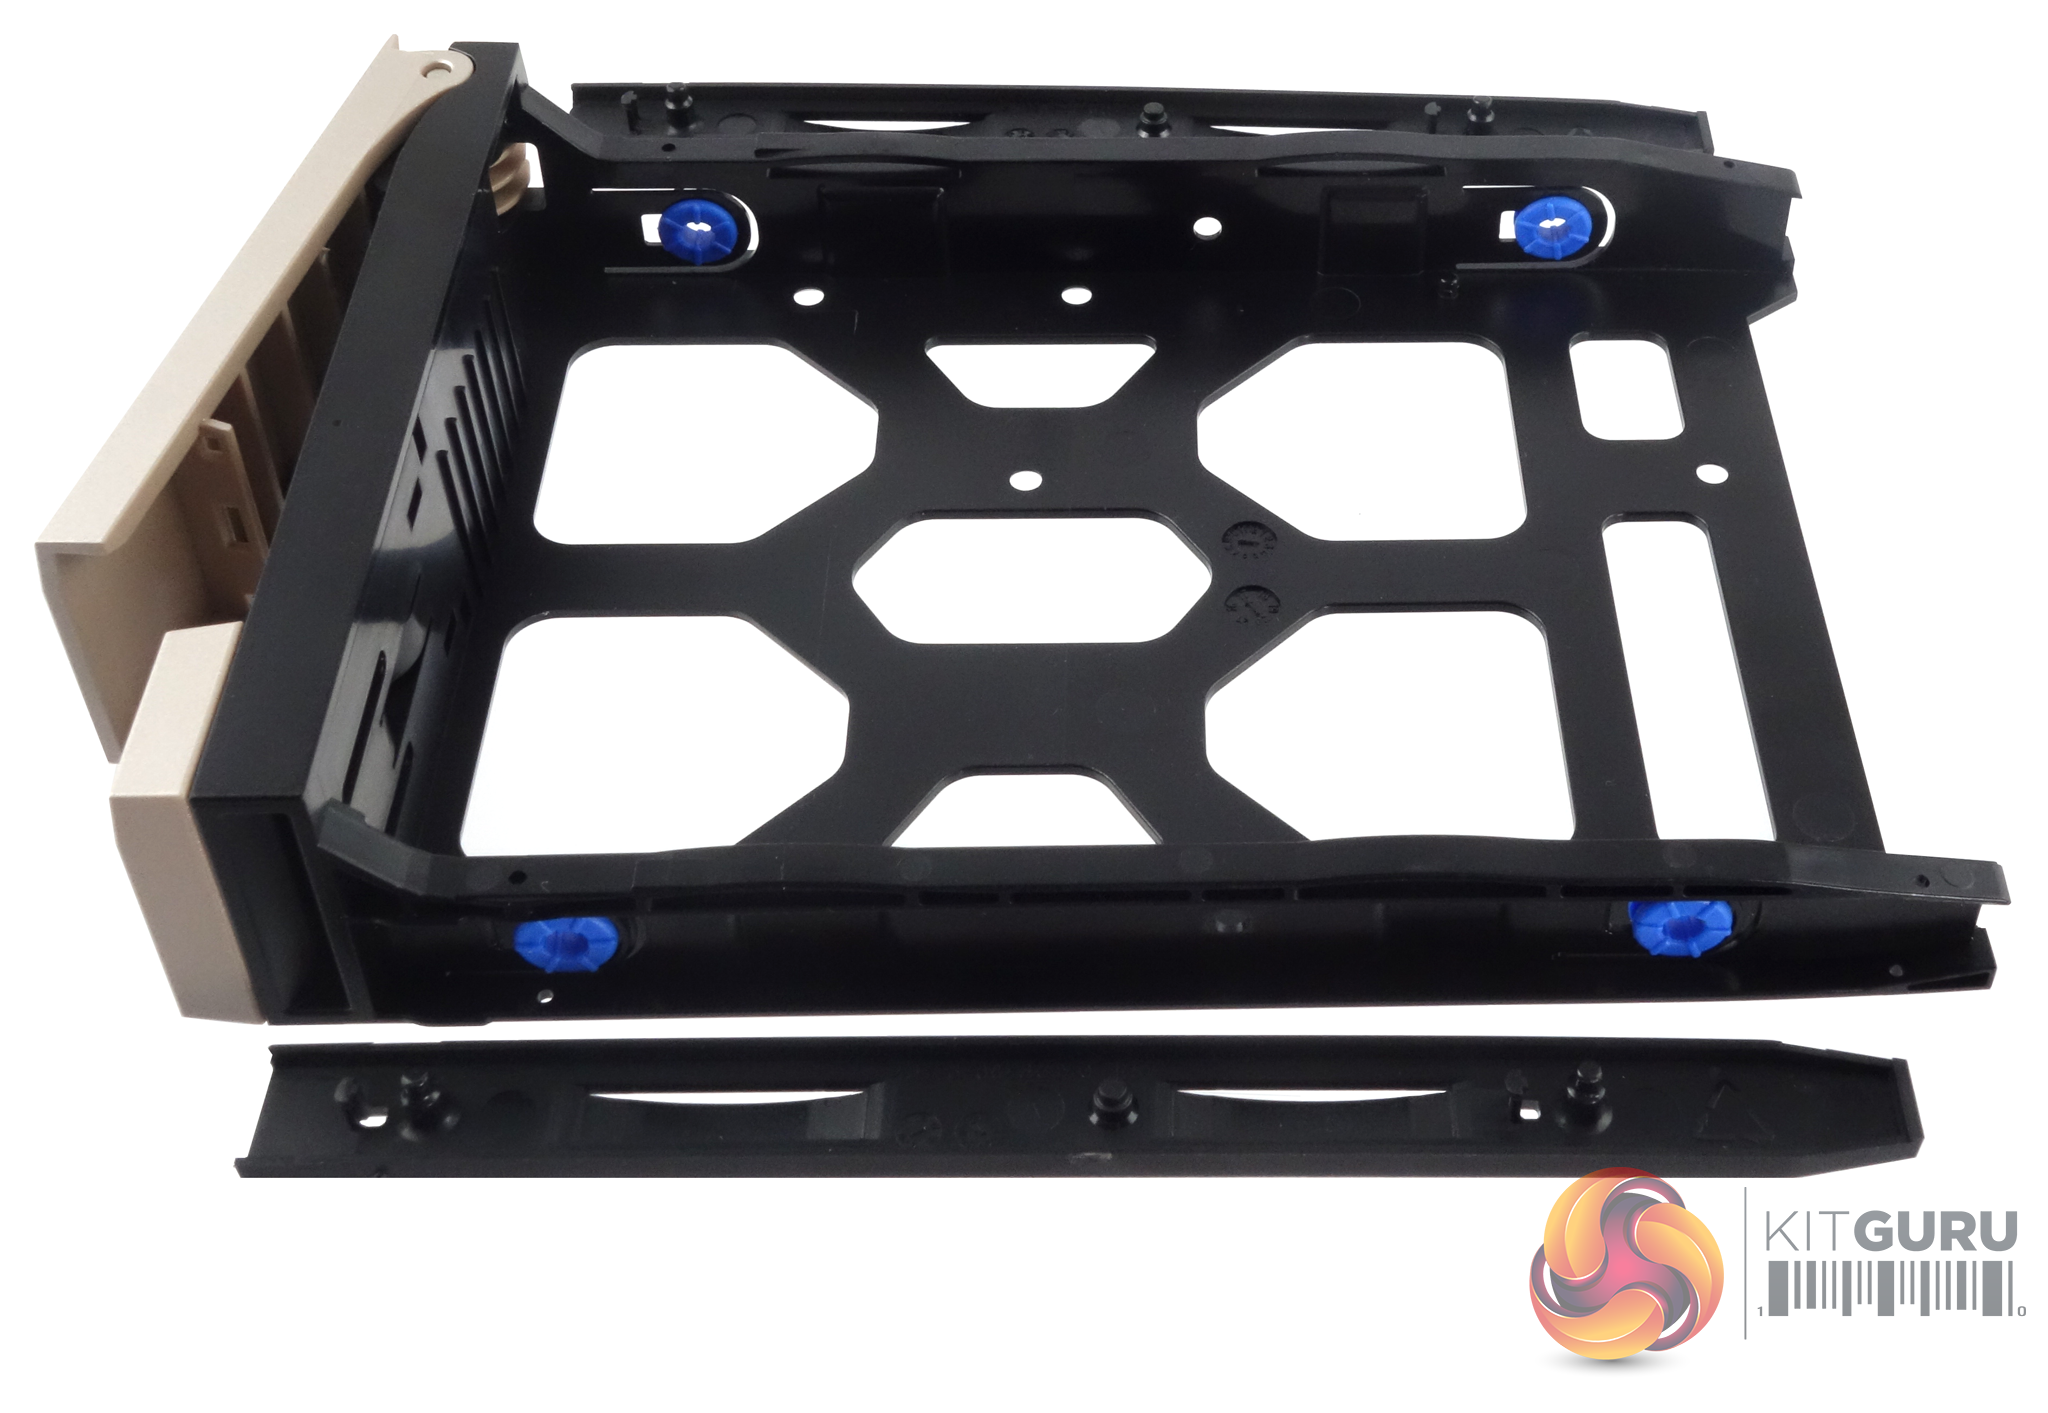
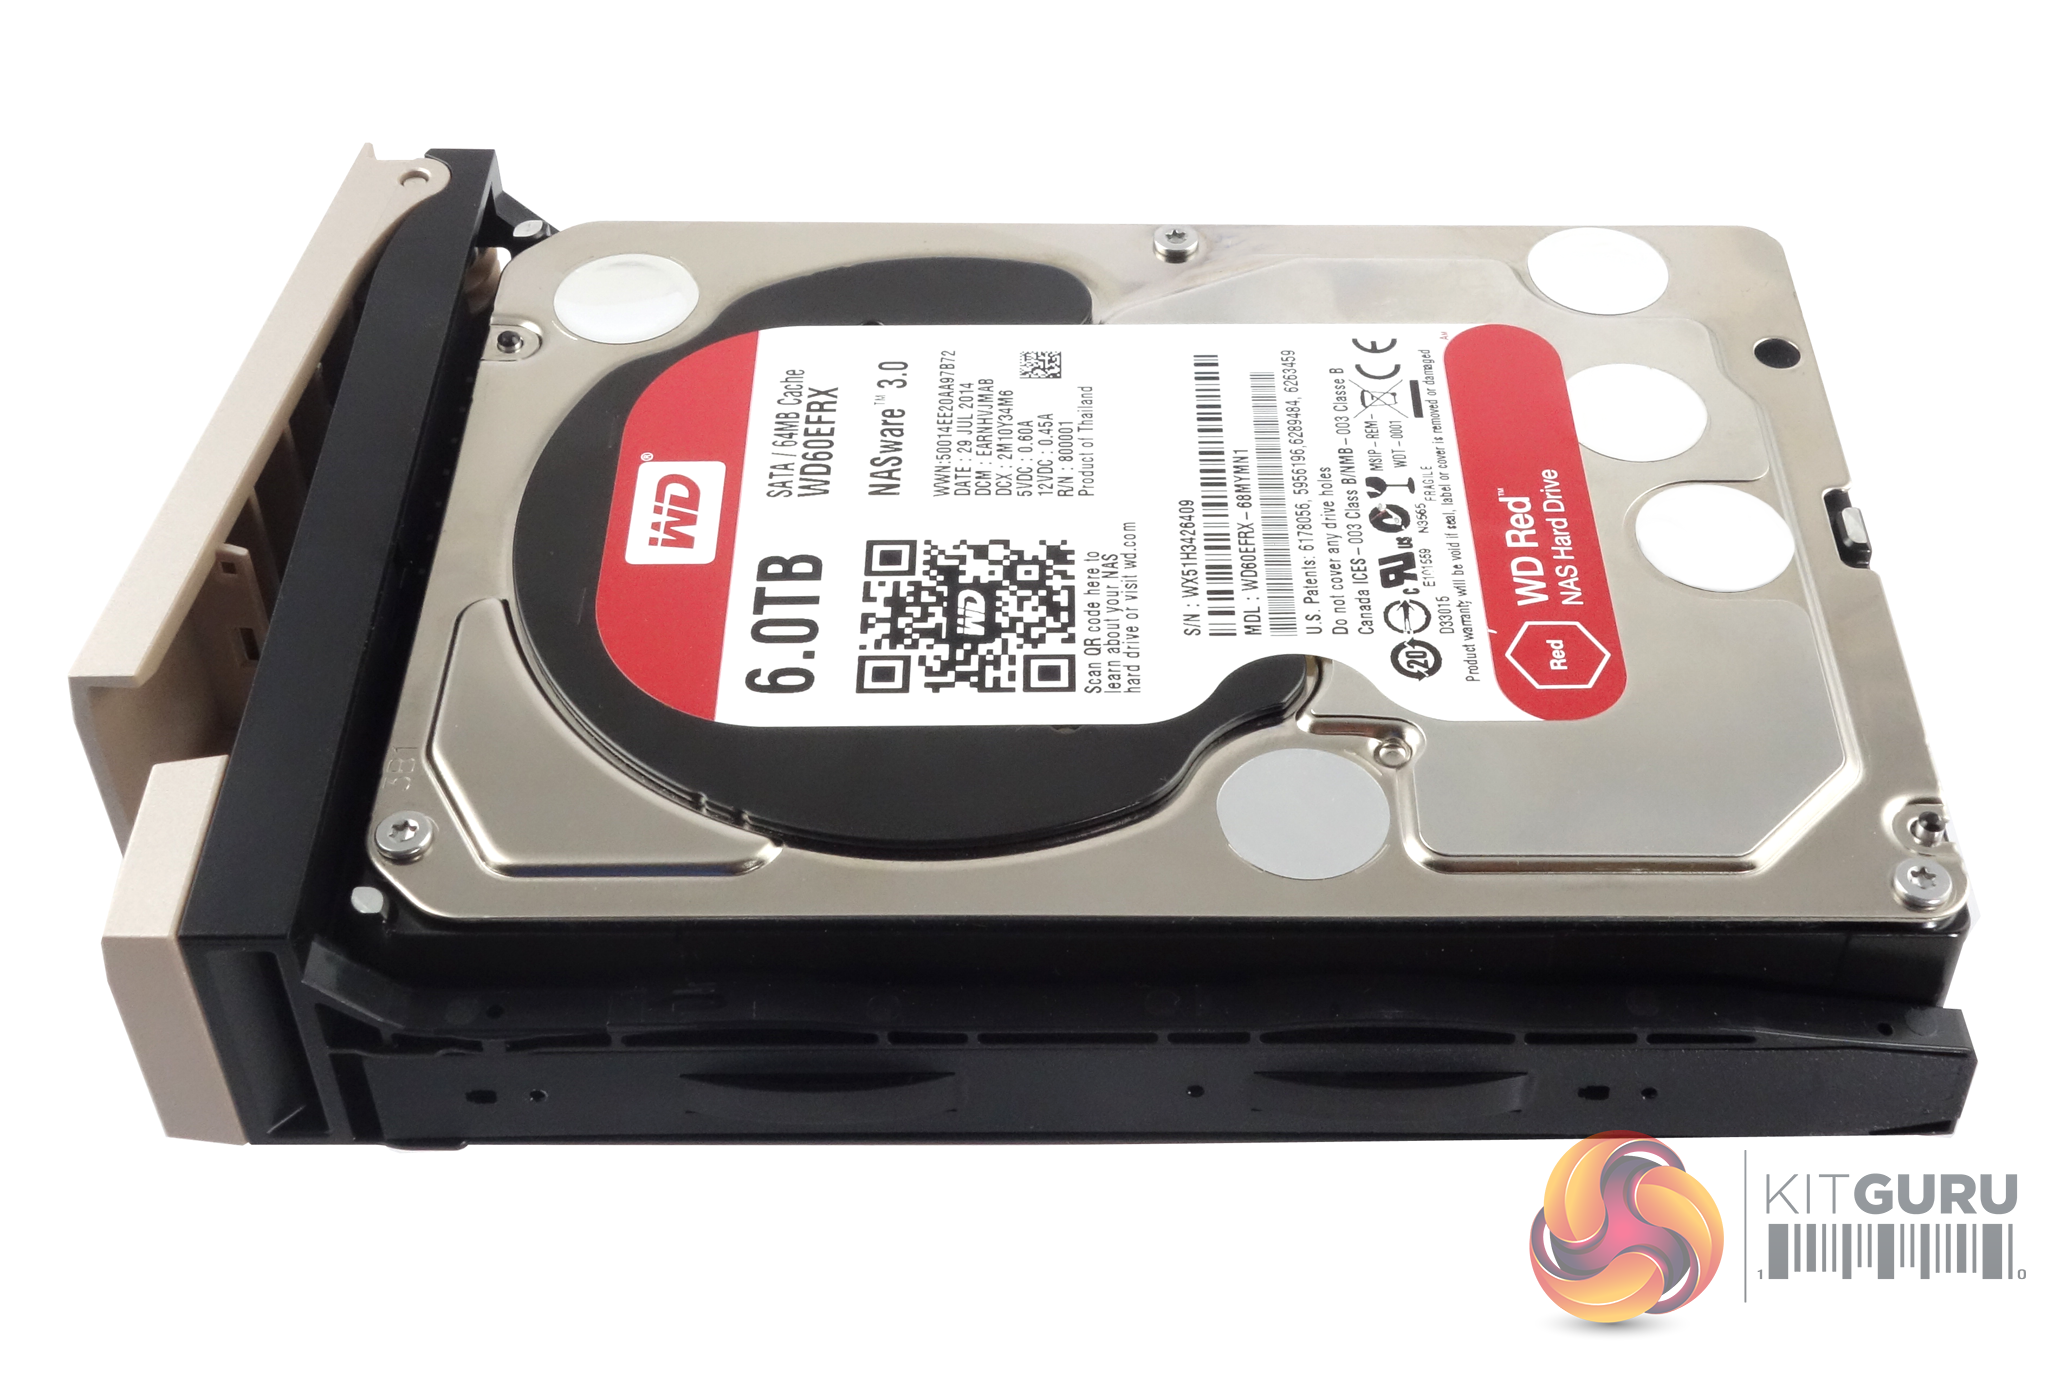
The 3.5in drive trays are tool free. A plastic strip fits into the side rails with a pin at either end that goes through the corresponding holes in the rail sides. These pins then lock into the screw holes on the drive's side – simple but effective. If you want to make sure the drives don't move then QNAP has supplied enough screws (3 per drive) to fix them in place. The holes in the tray sides have rubber vibration reducing grommets fitted.

The 2.5in drive trays are also tool free and the drive installation is a simple matter of press fitting the drive into place. It's a snug fit so the drives are held very firmly.
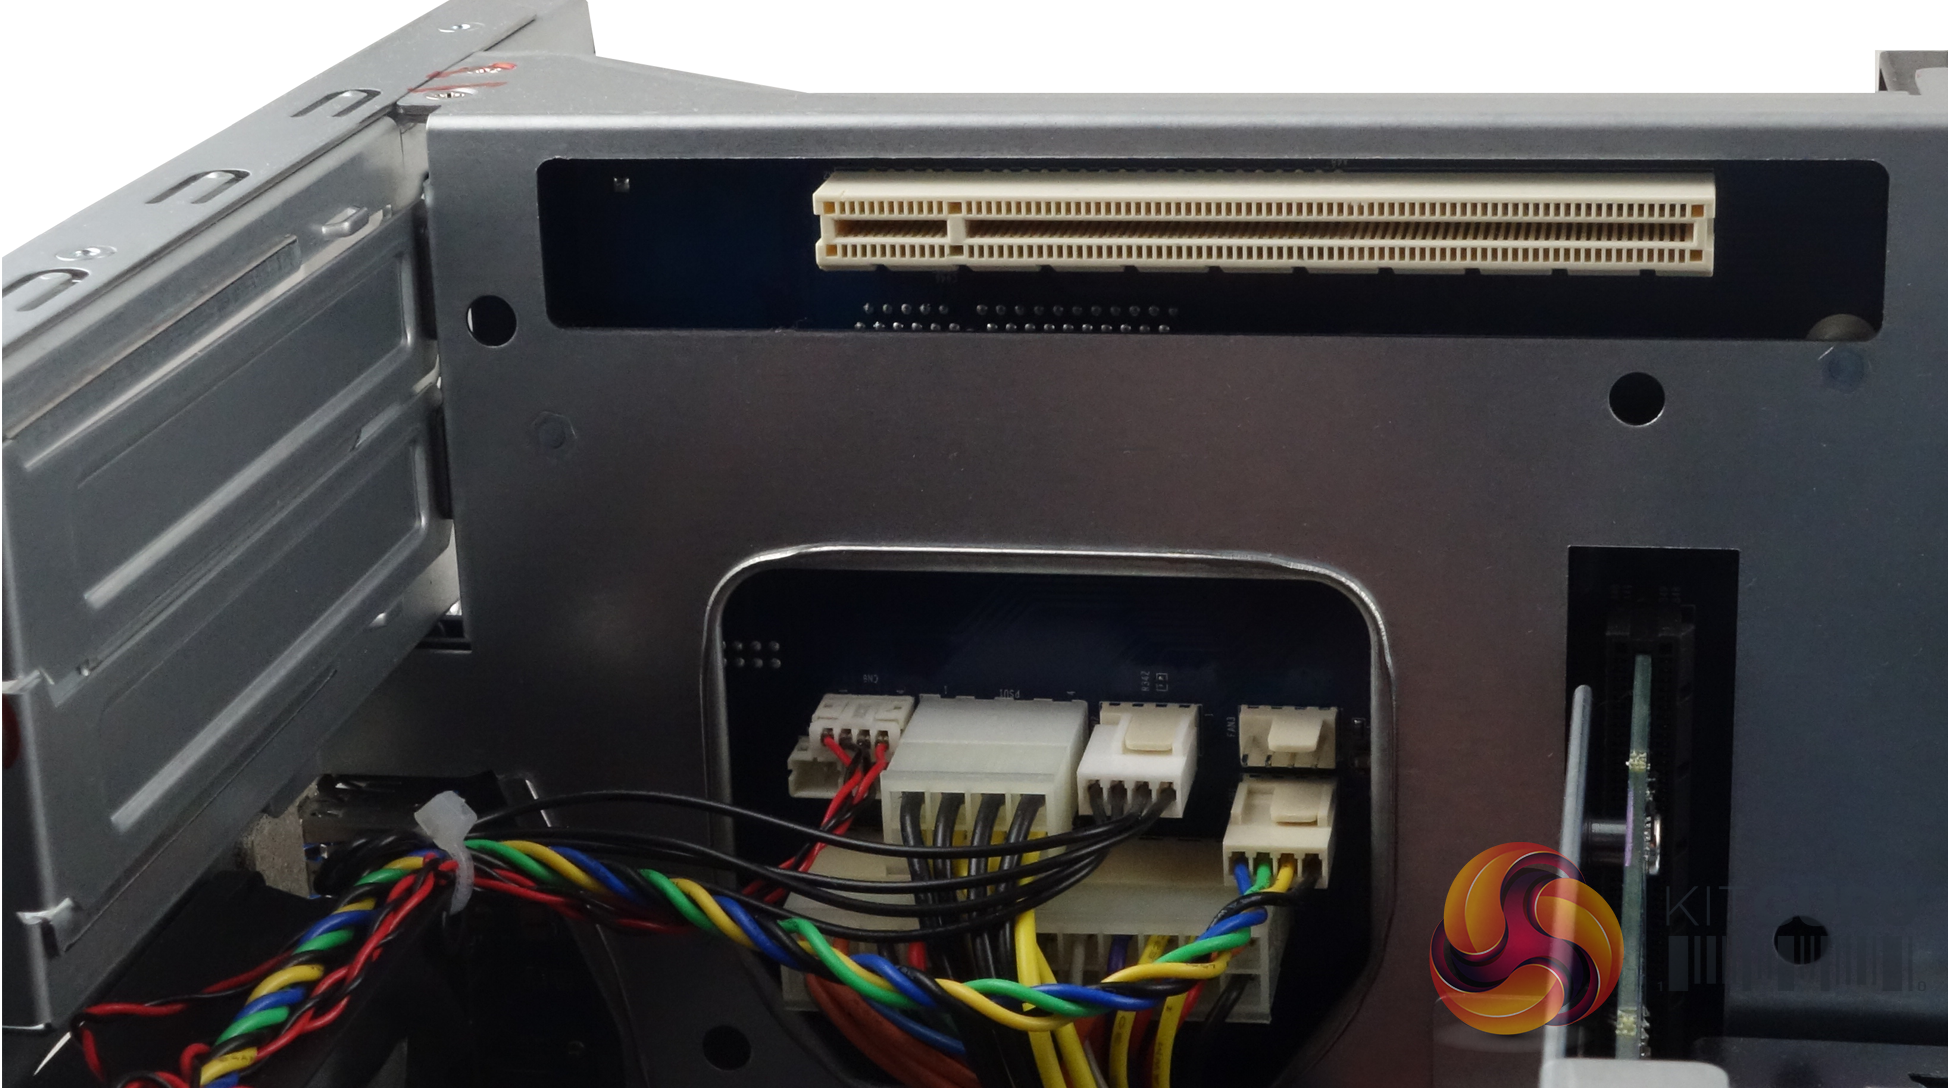
The single PCIe 3.0 x8 slot sits on the rear of the motherboard. One area where you need to take care is when taking out or replacing the screws holding the PCIe expansion plate for this slot, as the PSU sits directly below these screws. Its top panel features quite an open grille so a screw could easily fall into the PSU through the gaps. A sensible precaution would be to cover the top of the PSU if you are installing a PCIe card.
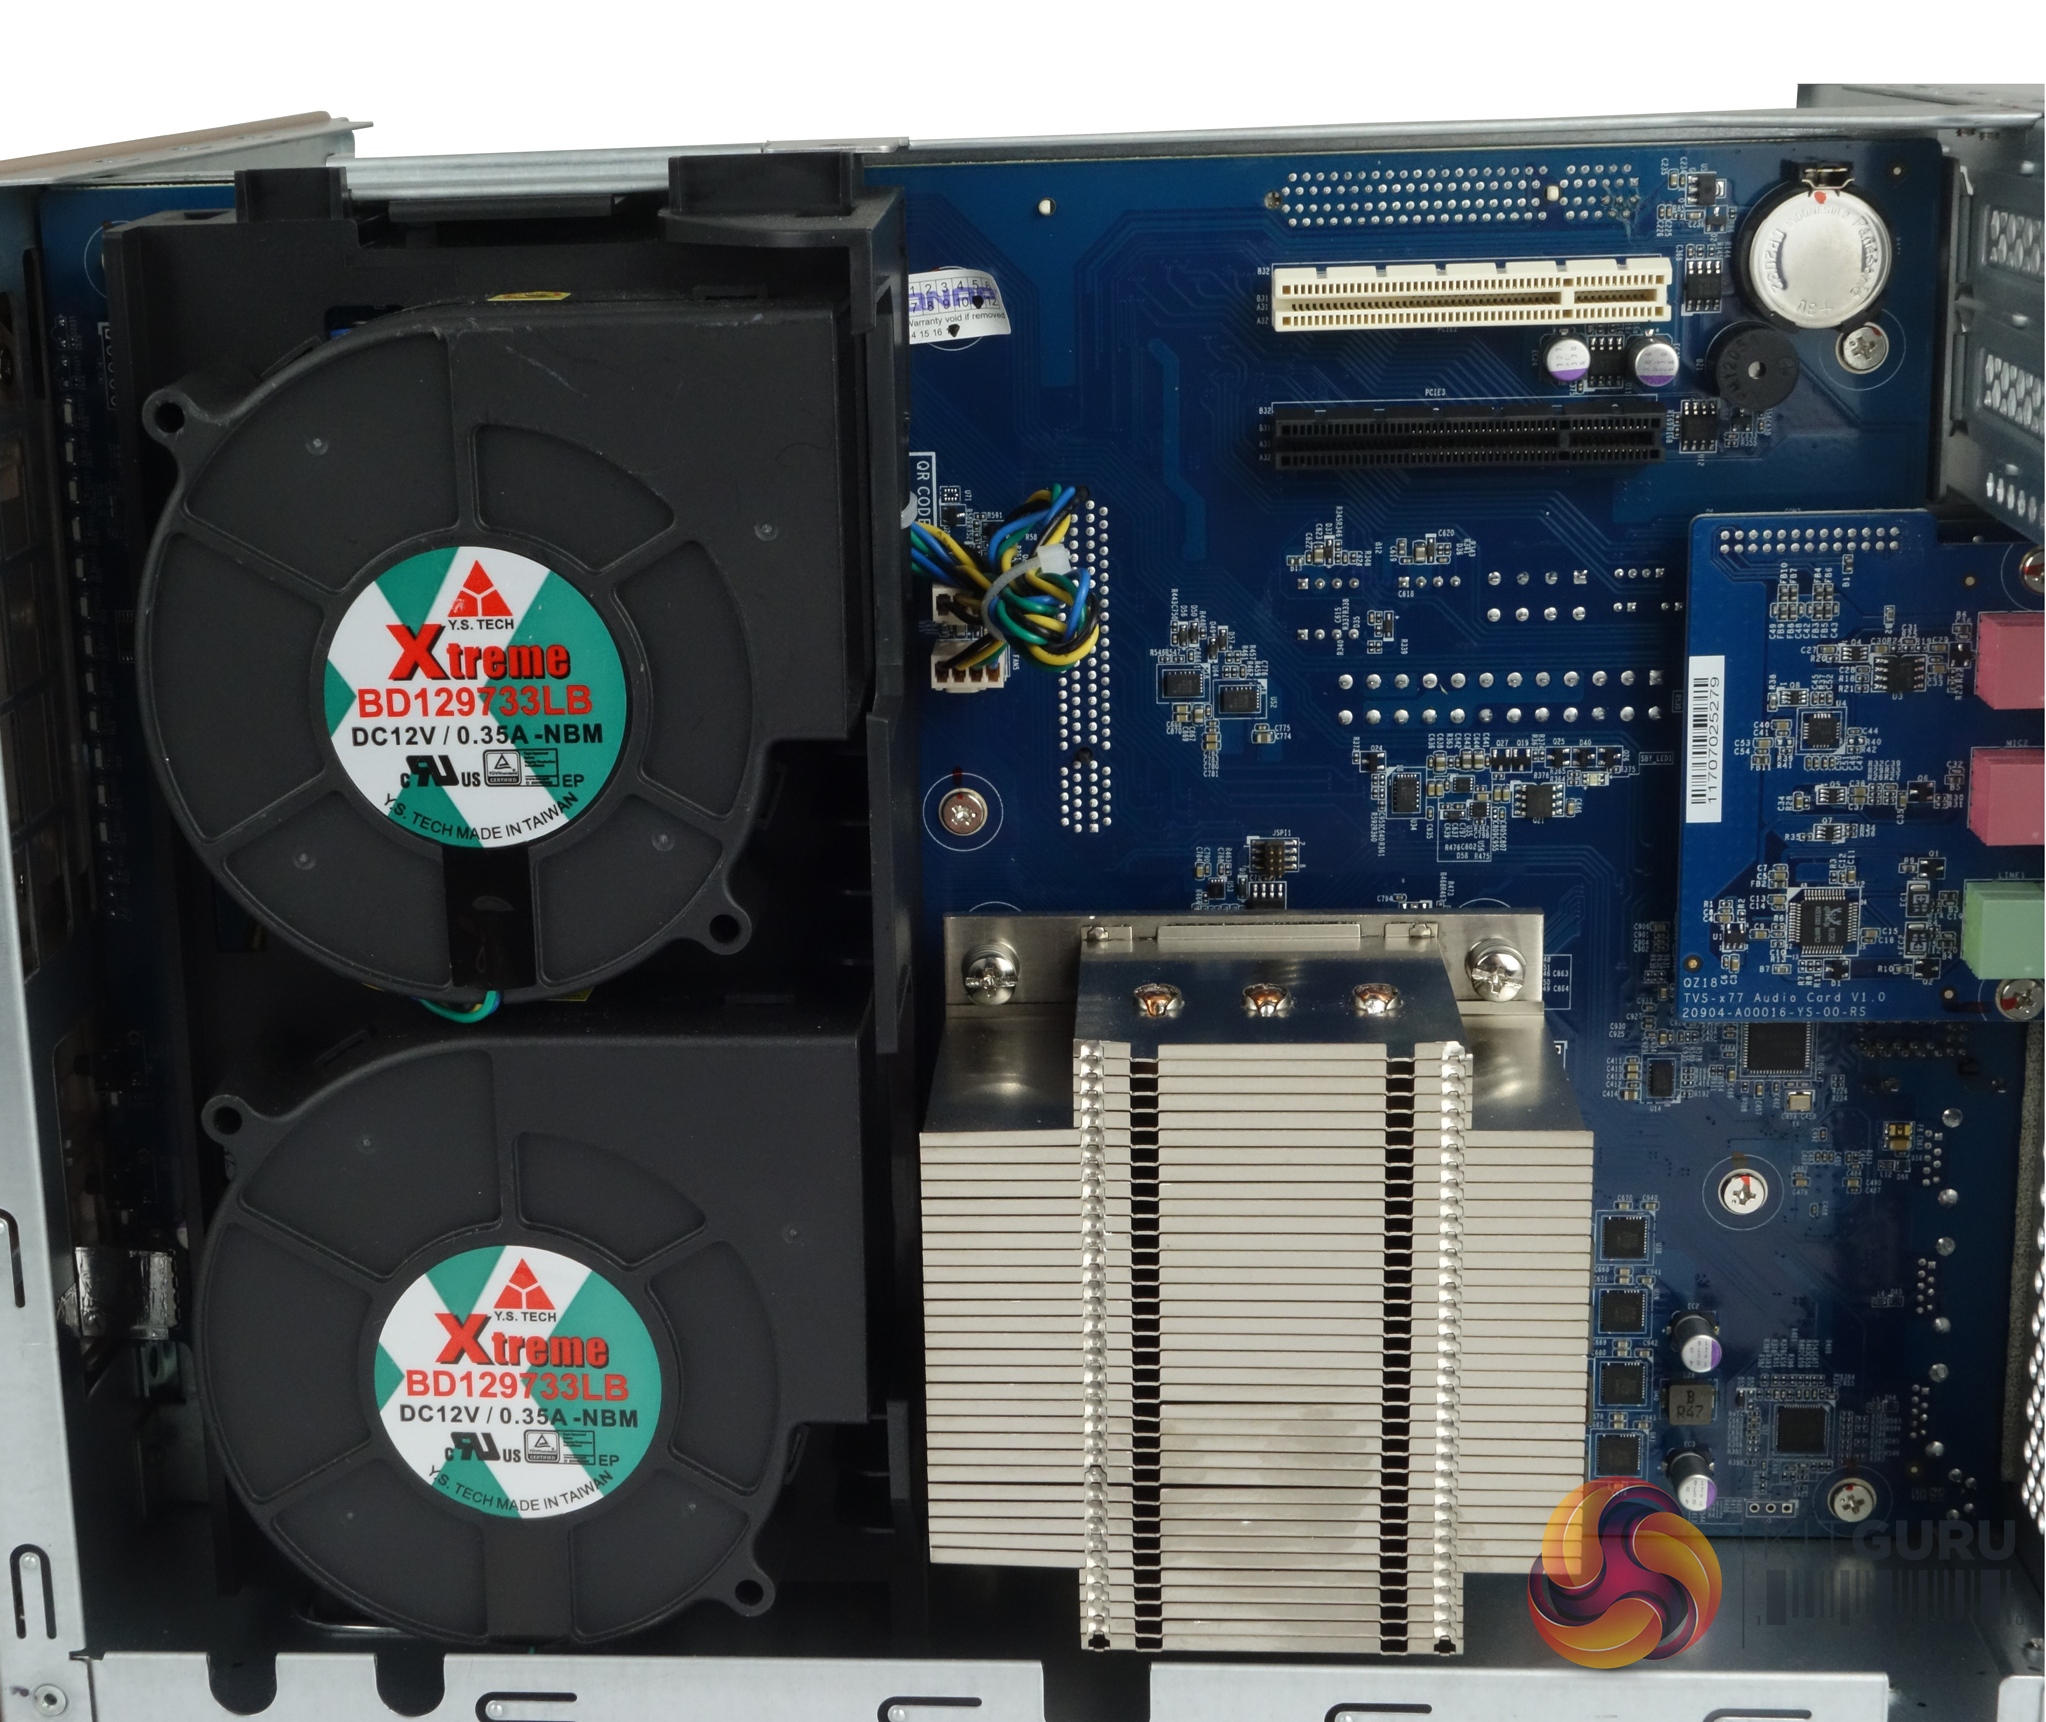
Two items dominate the motherboard, the large passive cooler for the AMD Ryzen 7 1700 and the fan mount for it and other system components. Two YS Tech Xtreme BD129733LB 97mm fans have been installed on this mount that sits next to the CPU and over the memory and M.2 slots. The bottom one cools the CPU's heatsink while the top fan exhausts the heat from the system. The BD129733LB uses 2 ball-bearings and is rated at 2,600rpm with a maximum airflow of 25.6CFM at 40dB (A).
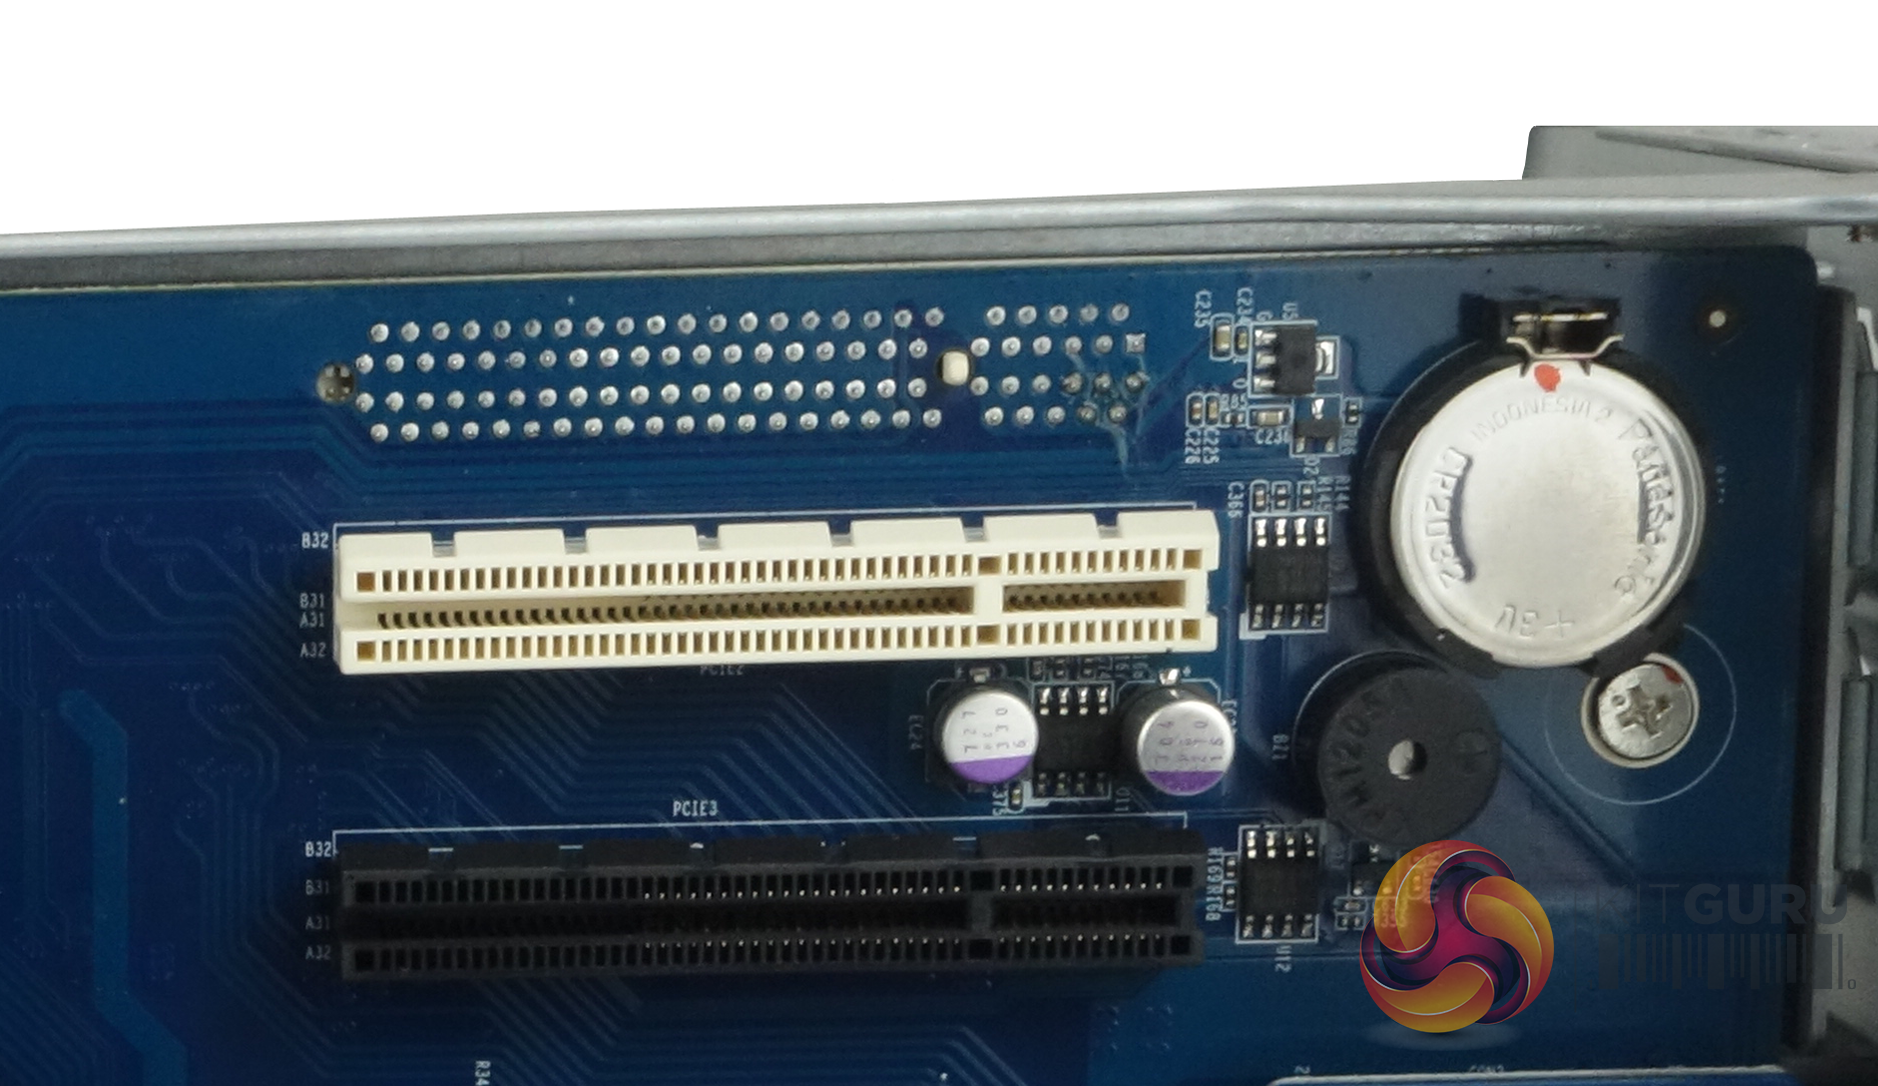
Sitting on the motherboard's top edge above the CPU are a pair of PCIe slots. The white one is PCIe 3.0 x4 while the black one under it is PCIe 2.0 x4. One fly in the ointment about the position of these slots, is the proximity to the cooling mount which limits any card length to around 150mm, something to bear in mind when choosing an add-in card.
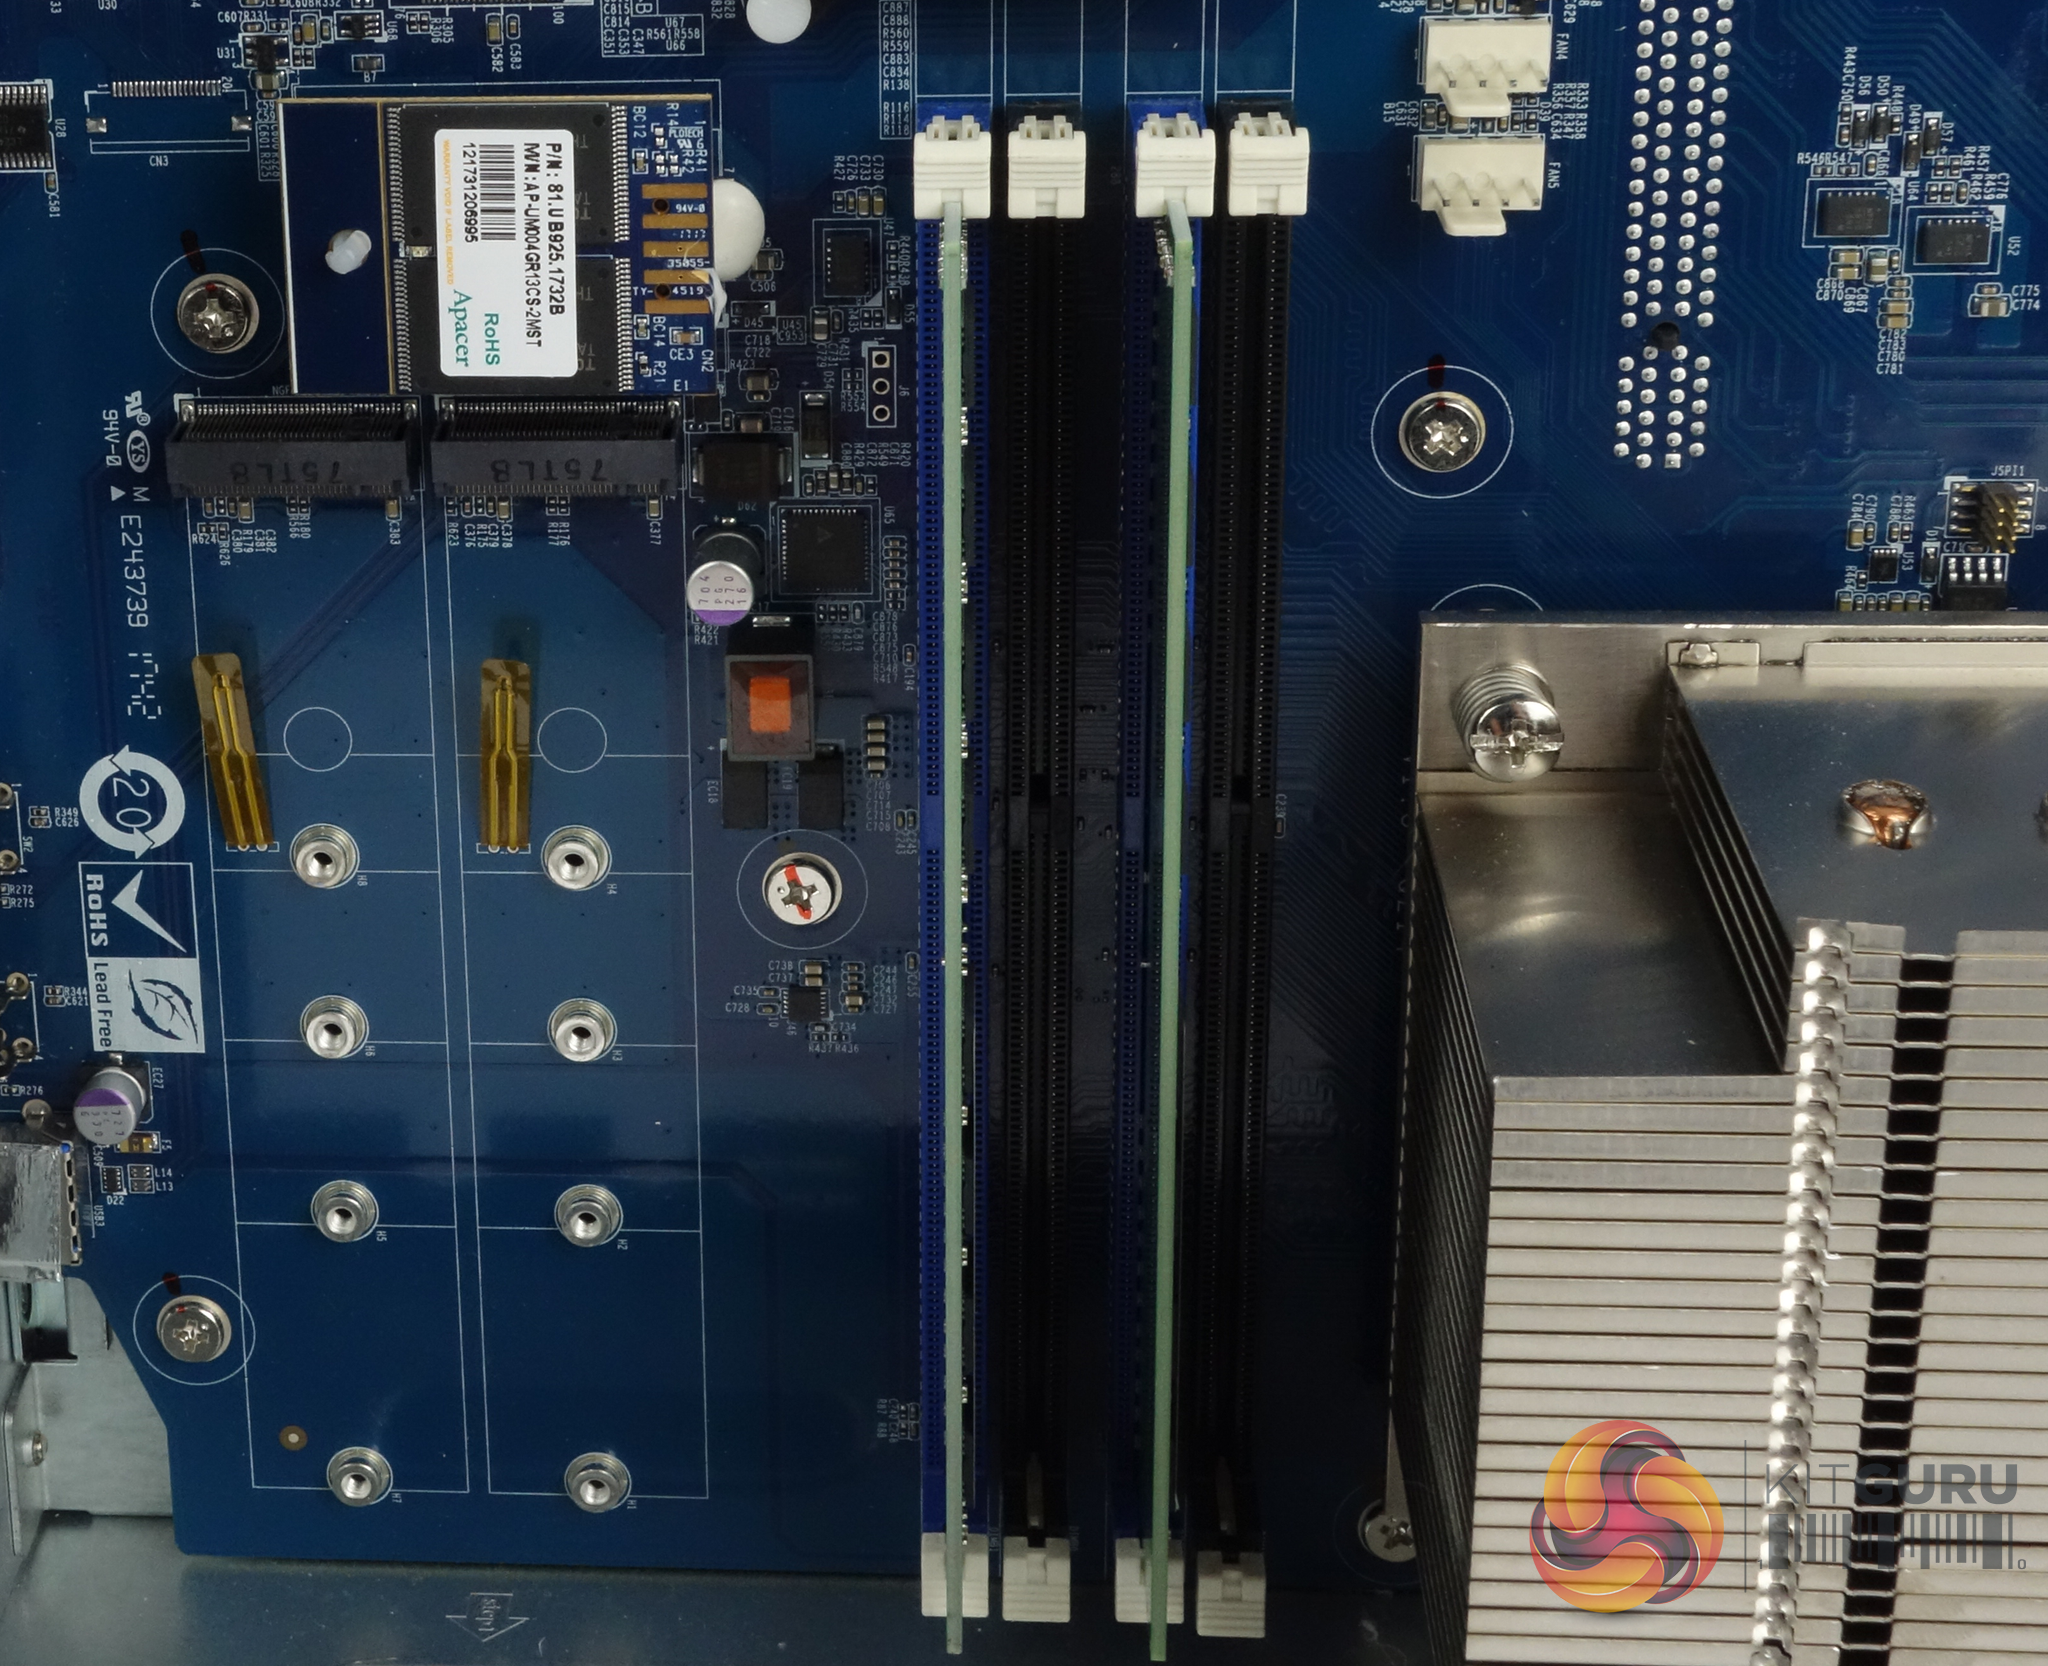
Under the fan mount are the four DDR4 DIMM slots that support up to 64GB of DDR4-2400 memory and a pair of M.2 SATA sockets which support 2240/2260/2280/22110 SSD's that can be set up for SD Cache Acceleration duties.