Very rarely in the world of PC tech does a product come along and win universal acclaim. The original Cooler Master Hyper 212 EVO is one such product, having built up a legendary status over the past few years. It has won our KitGuru Reader Award for best CPU air cooler for the last two years running, and is generally considered the ‘go-to' product for an air cooler on a budget. Now Cooler Master have tried to improve perfection with the new Hyper 212 LED.
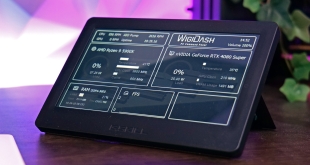
The Cooler Master Hyper 212 LED may not look too different from the original 212 EVO. In fact, I am not sure I could tell the difference if they were side by side. However, the heatsink has been upgraded to improve heat dissipation, while the mounting system has been revamped to make it as pain-free as possible.
Oh, and did we mention it comes with a new red LED fan?
Specification
- Model number: RR-212L-16PR-R1
- CPU Socket: Intel® LGA 2011-3/2011/1156/1155/1151/1150/775. AMD® AM3+/AM3/AM2+/FM2+/FM2/FM1
- Dimensions : 120(L) x 84(W) x 160(H) mm
- Heat Sink Dimensions: 116(L) x 60(W) x 160(H) mm
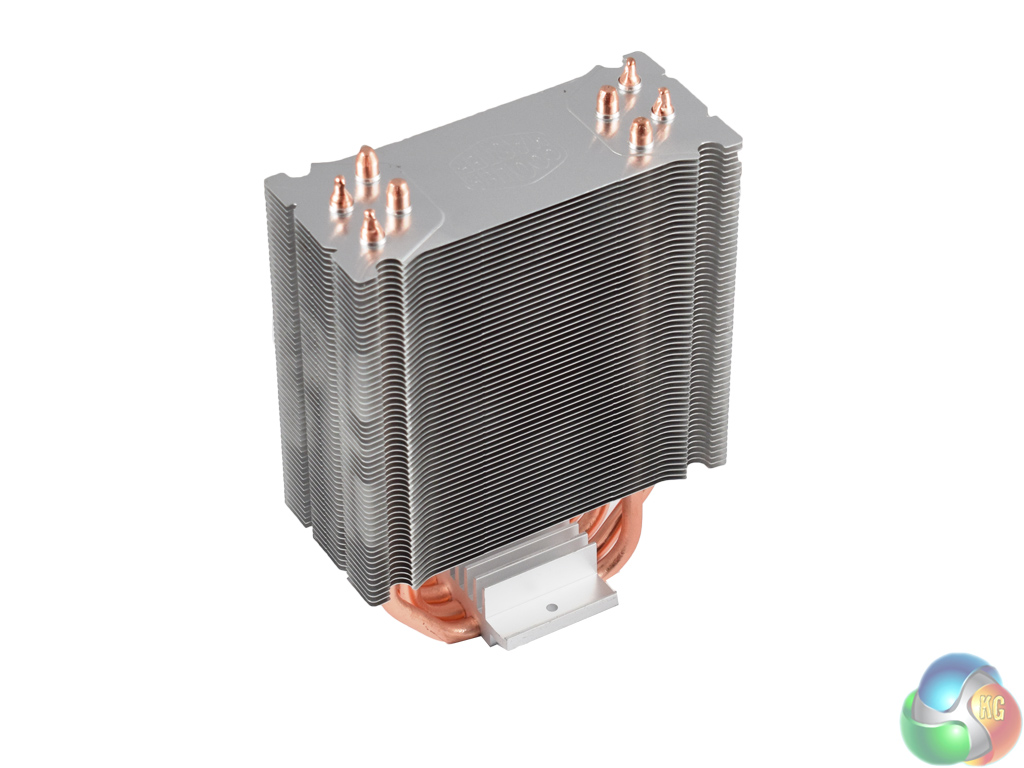
- Heat Sink Material: Aluminum (Fins), Copper (Heatpipes)
- Heat Sink Weight: 468g
- Heat Pipes Diameter: ø 6mm
- Fan Dimensions: 120(L) x 120(W) x 25(H) mm
- Fan Speed: 600-1,600 RPM ± 10%
- Fan Airflow: 66.3 CFM ± 10%
- Fan Air Pressure: 1.7 mmH2O ± 10%
- Fan Life Expectancy: 280,000 hrs
- Fan Noise Level: 9-31 dBA
- Fan Bearing Type: Rifle Bearing
- Fan Connector: 4-Pin (PWM)
- Fan Rated Voltage: 12 VDC
- Fan Rated Current: 0.19 A
- Fan Power Consumption: 2.28 W
- Fan Weight: 166g
- Warranty: 2 years
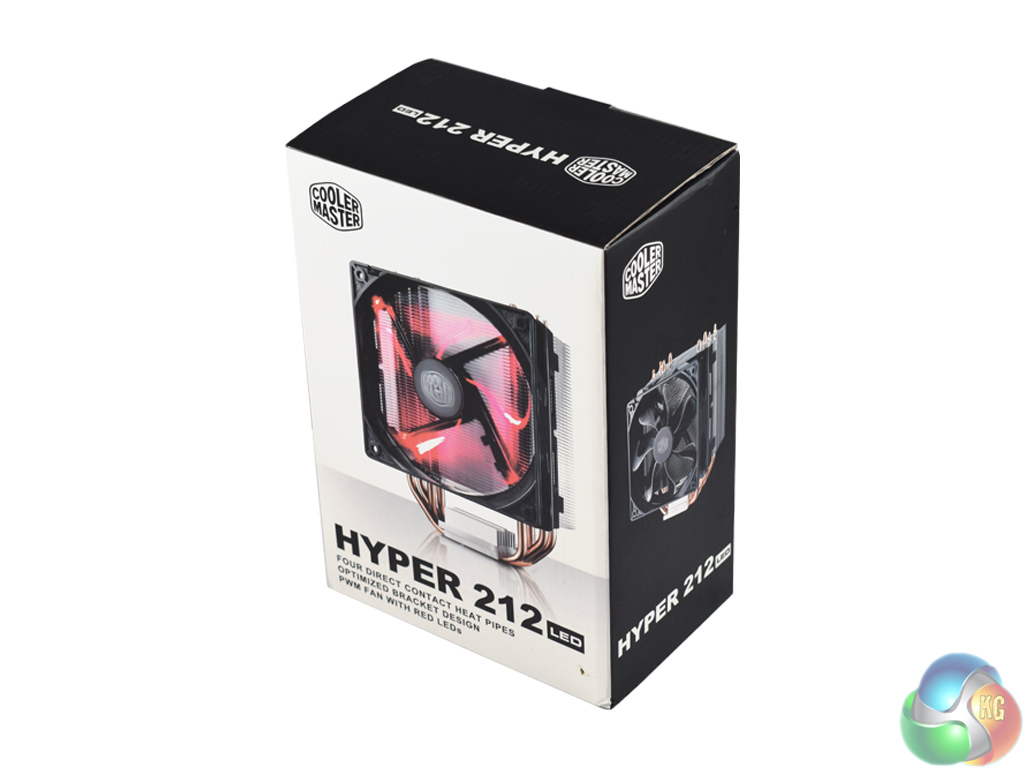
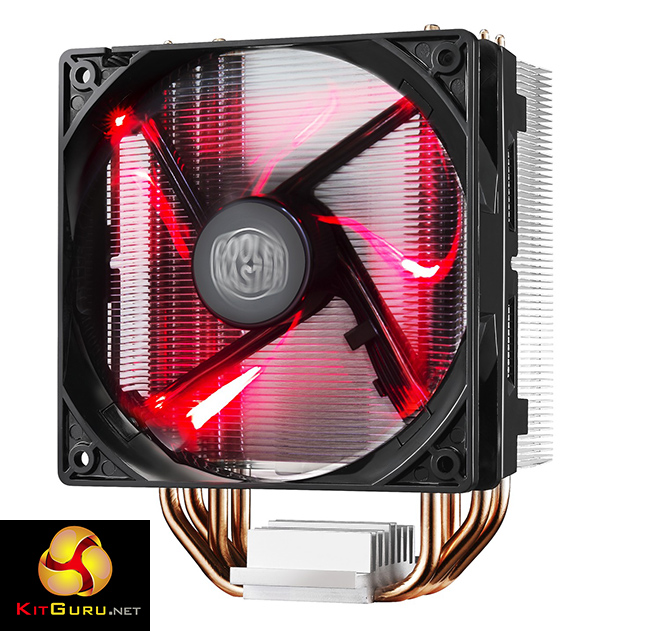
The Cooler Master Hyper 212 LED ships in a familiar-looking box. A large image of the LED fan is visible from the front.
Inside, there is both the installation manual and a multi-lingual warranty guide.
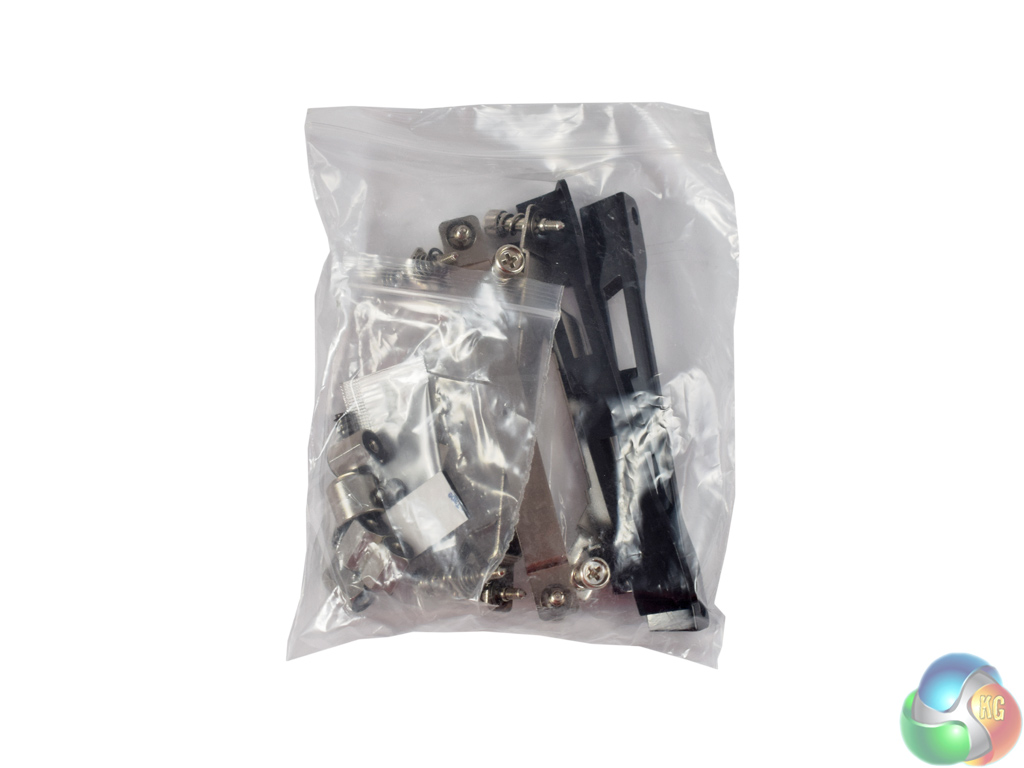
All the installation hardware comes in one large bag, though the parts required are clearly labelled in the manual so it is not an issue.
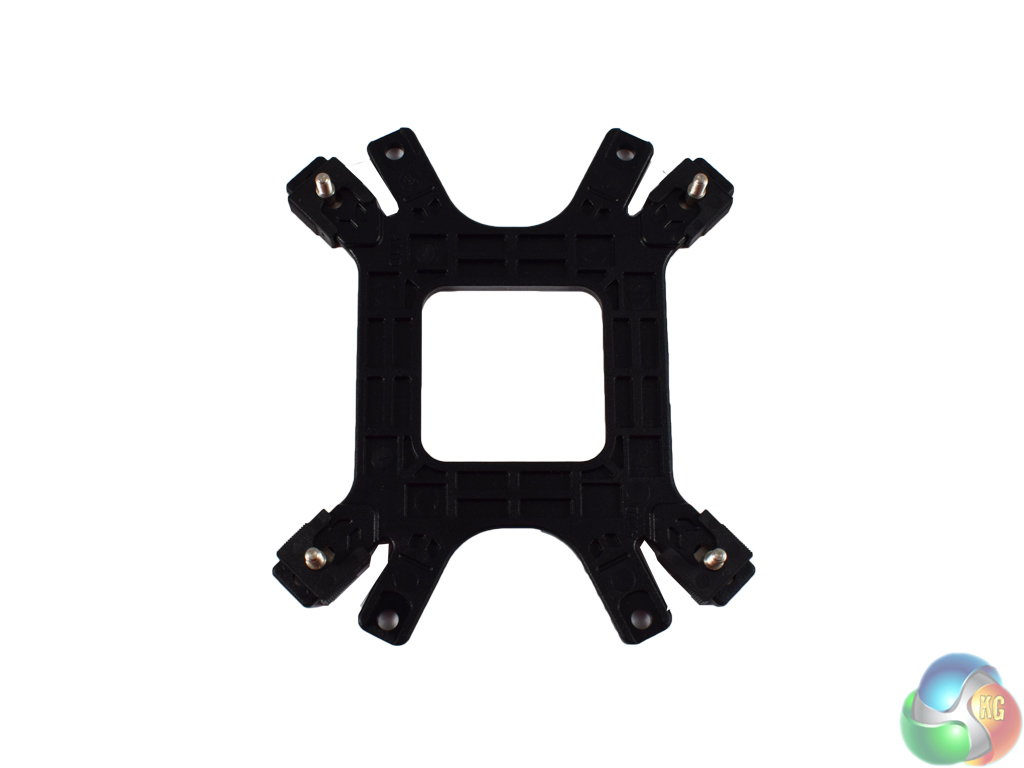
A backplate is also included.
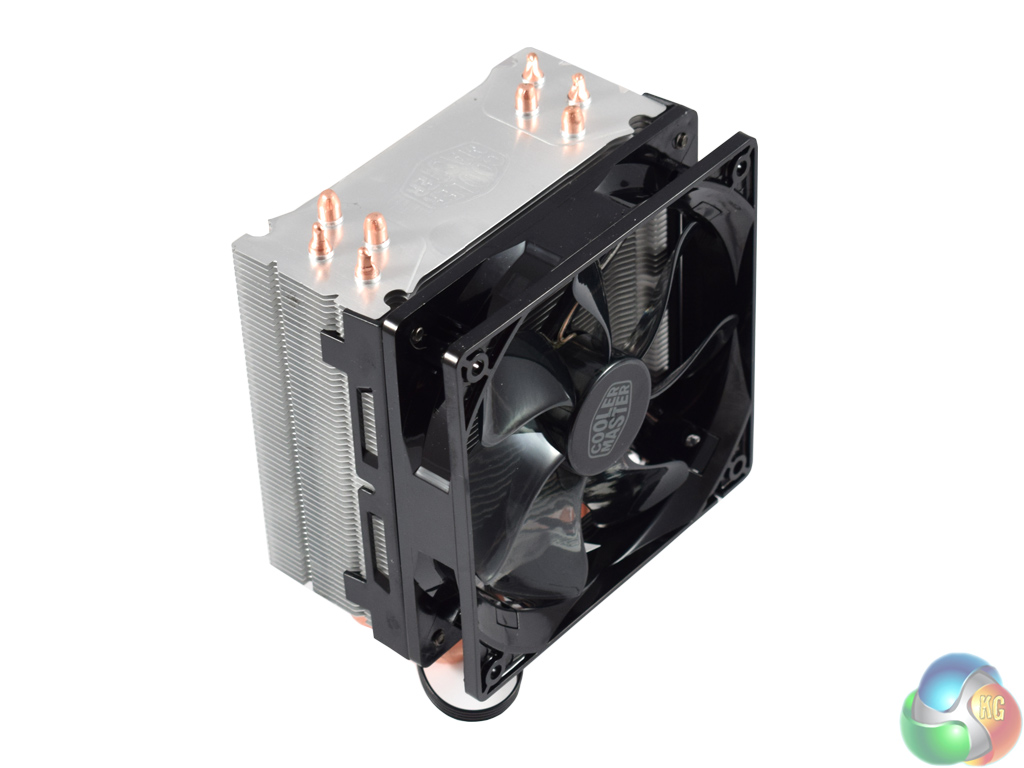
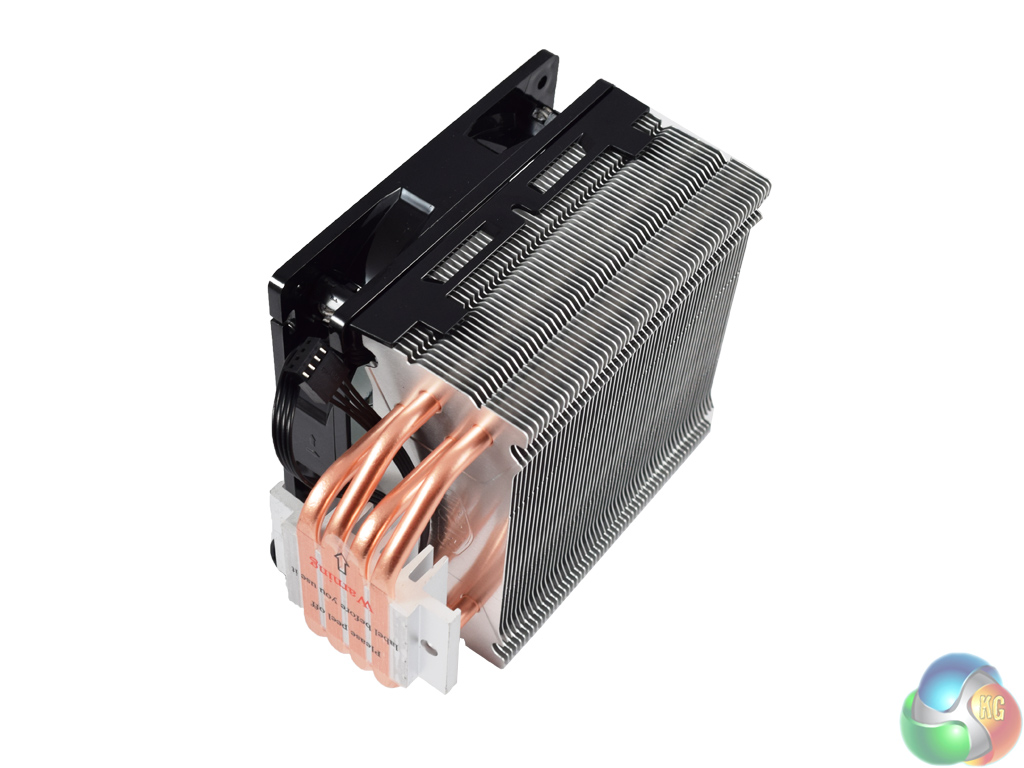
The heatsink itself ships with the fan pre-installed, presumably to save space, but it does have to be removed before installation.
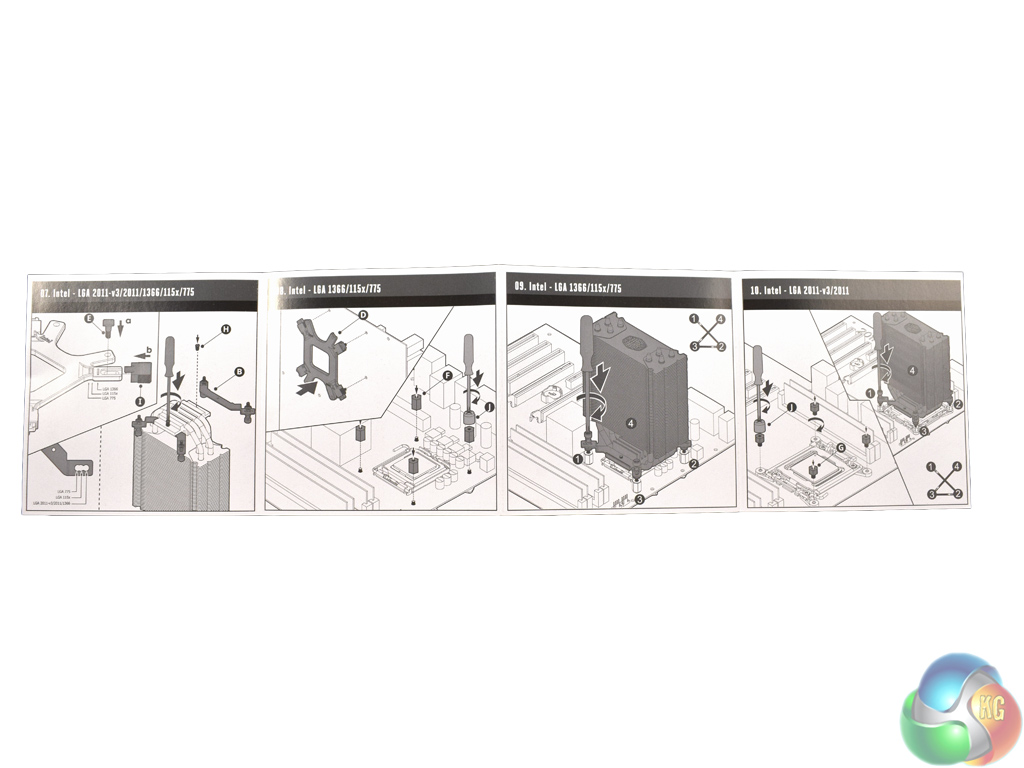
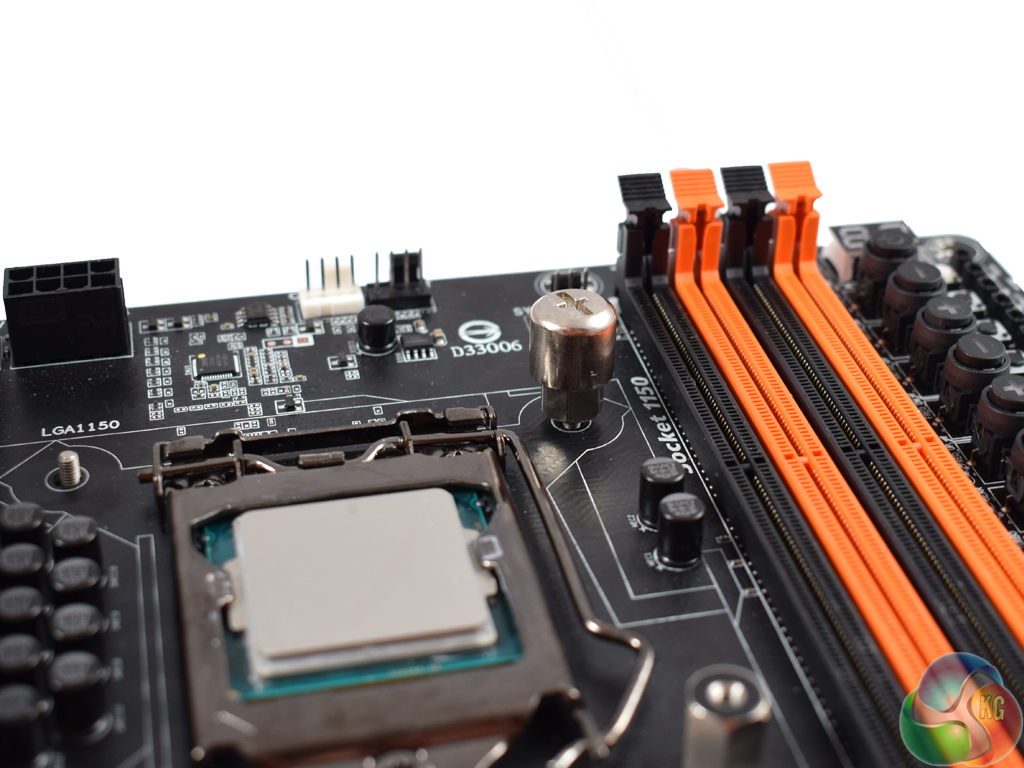
The 212 LED utilises four copper heatpipes, each with a 6mm diameter. The heatsink also supports an extra fan to use in a push/pull configuration – extra clips are included with the mounting hardware.As a disclaimer, we installed the 212 LED on a motherboard using the LGA 1150 socket. The process below reflects that.
The whole mounting mechanism has been revamped too, which should make the installation process nice and easy. I remember building my first PC a few years back – I used the Hyper 212 EVO, and although it performed excellently for me, it was a nightmare to install for a first-timer.
First things first, you need to just pop off the fan from the heatsink. The fan is clipped in place – so just pry the clips from one edge free, and it should come loose.
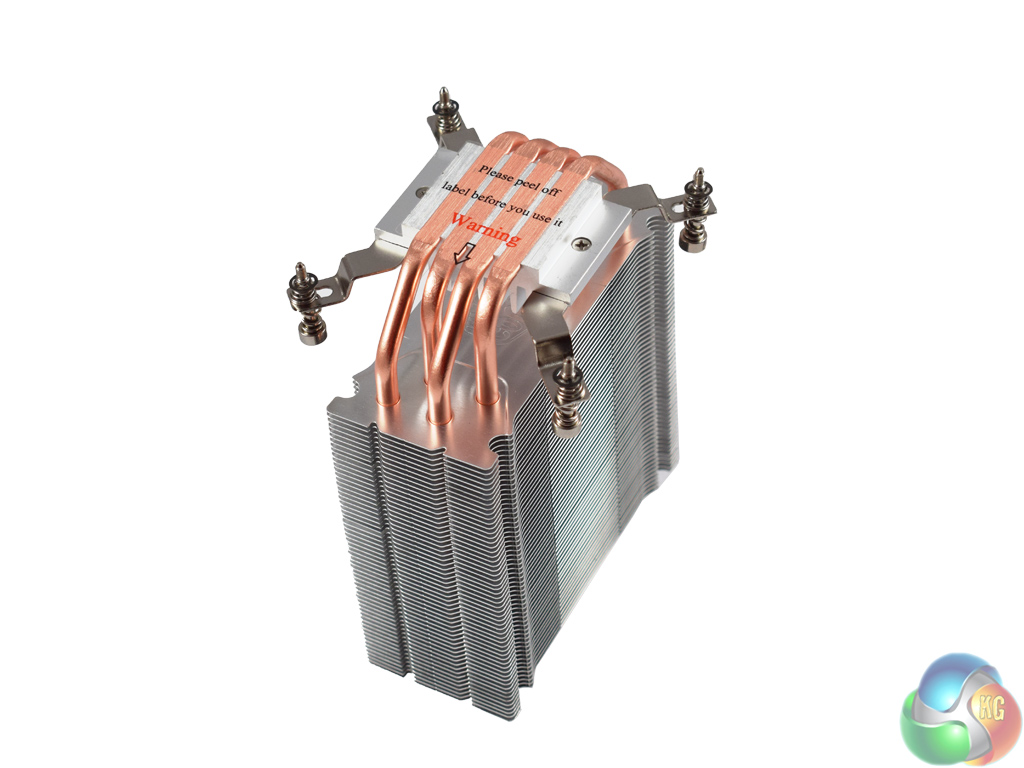
In the next step we see one change from the original 212 EVO – gone is the x-shaped mounting bracket that caused me such grief, and it has been replaced by two separate mounting arms. These just need to be screwed to the base of the heatsink, as pictured.
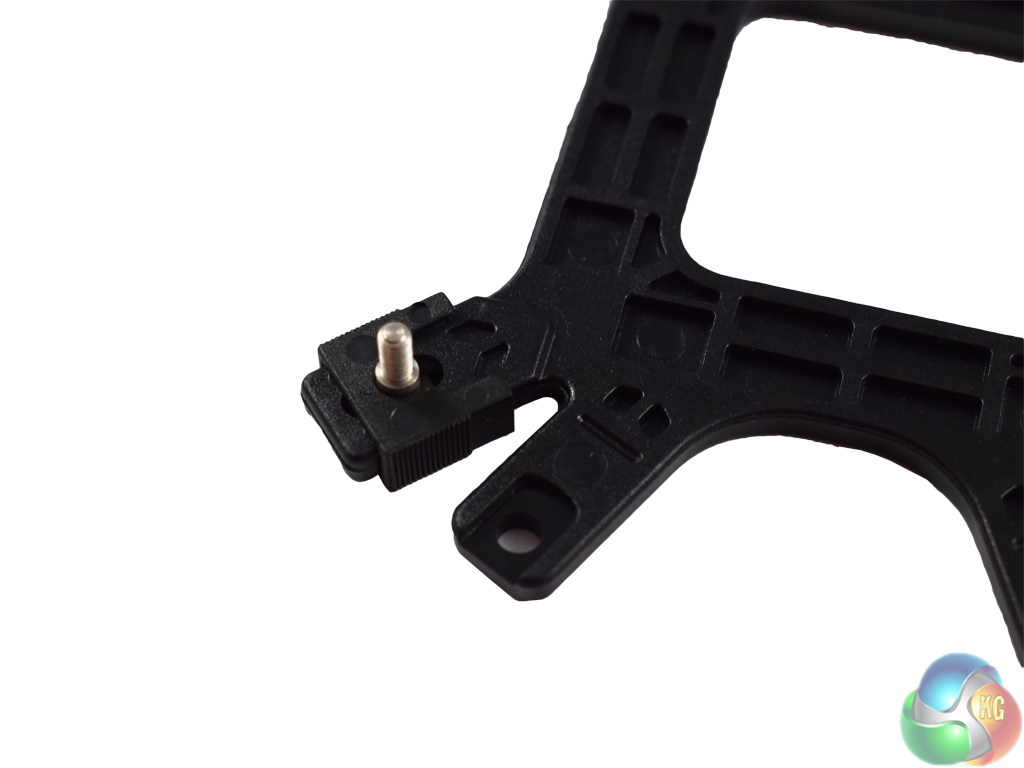
As we are using a Z97 motherboard – LGA 1150 socket – we need to use a backplate. Before installing it, make sure the backplate screws are in the central position – it can be aligned in 3 places depending on the motherboard socket, and we want it to be in the middle. Just slide it up or down as need be.
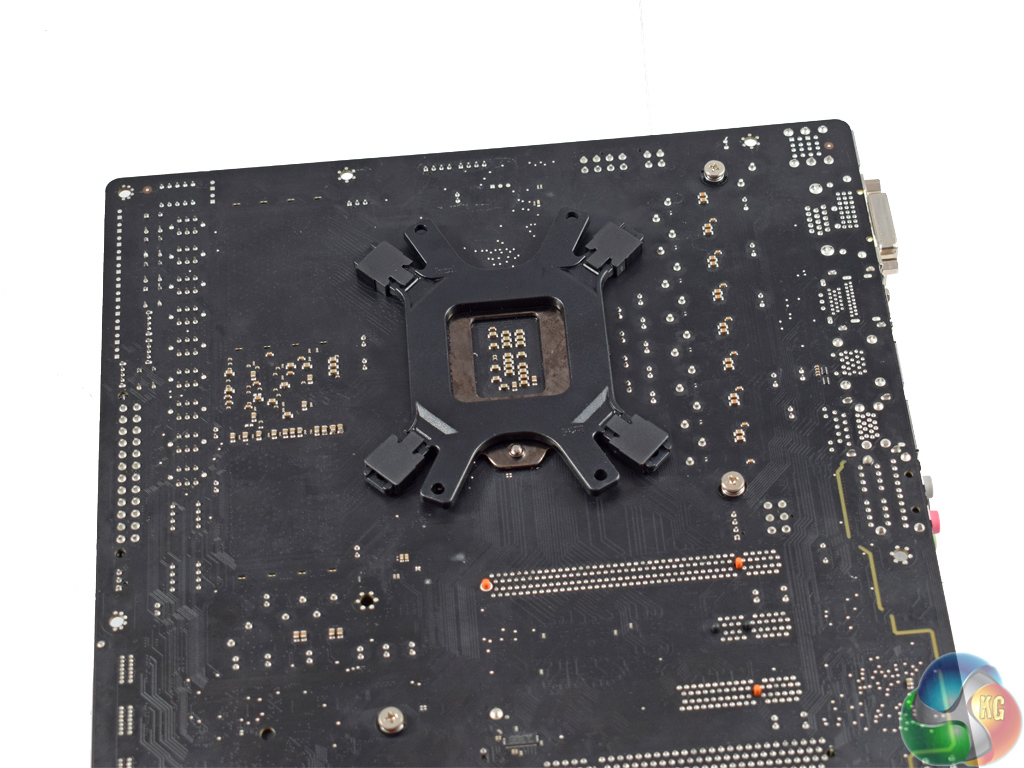
Next, go ahead and put the backplate in place. Flipping over the motherboard, pinch one of the screws coming through from the backplate – this will stop the backplate from falling out of position as you turn the motherboard over.
After that, you want to install the four nuts to the backplate screws. To do this, Cooler Master include a little screwdriver adapter (as above) for easy installation of the nuts.
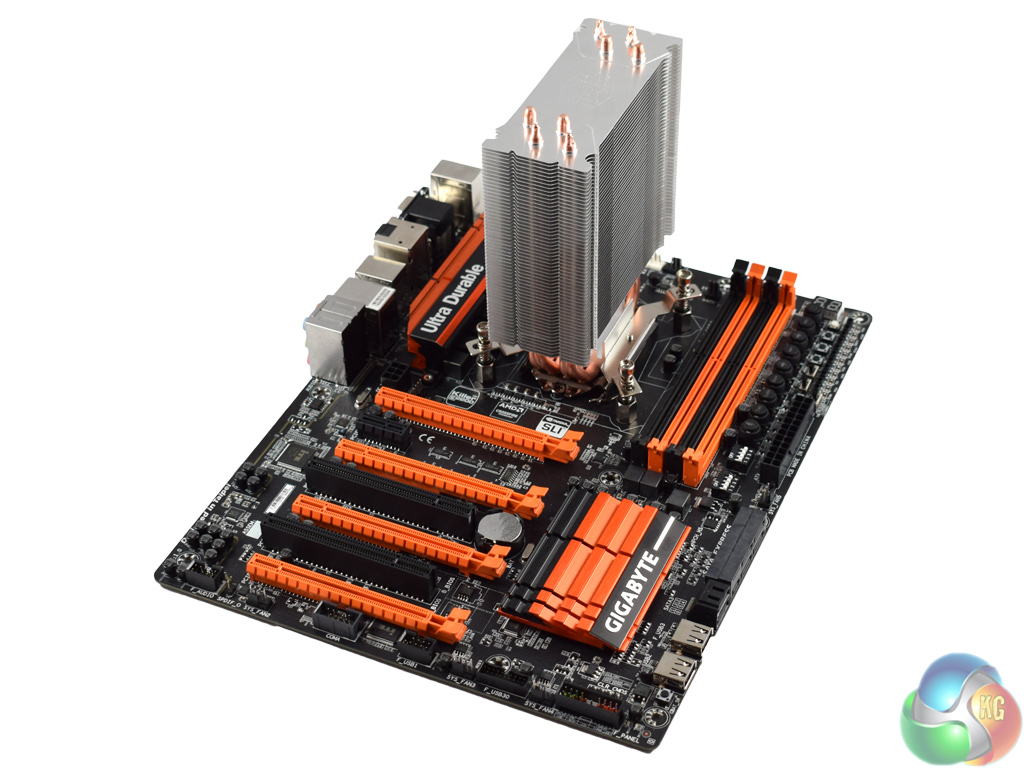
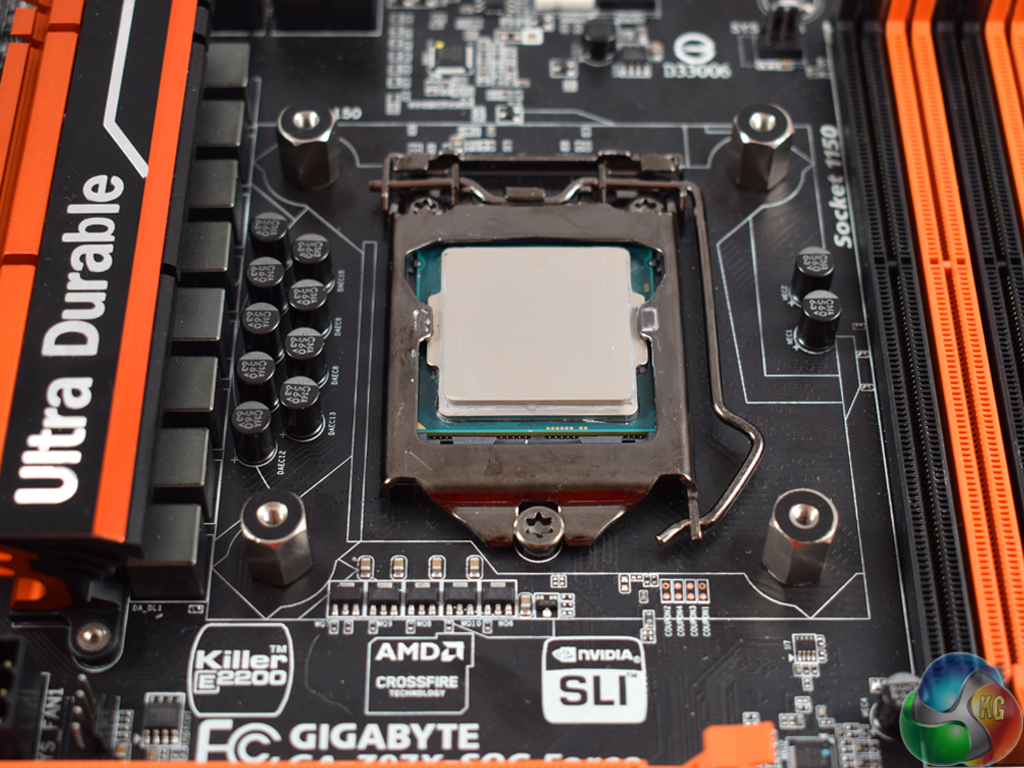
After that, go ahead and mount the cooler. The screws from the mounting arms should align with the nuts we just installed. If they don't, make sure the installation screws on the cooler are also in the middle position. Once they are in place, secure the cooler by tightening down the four screws.
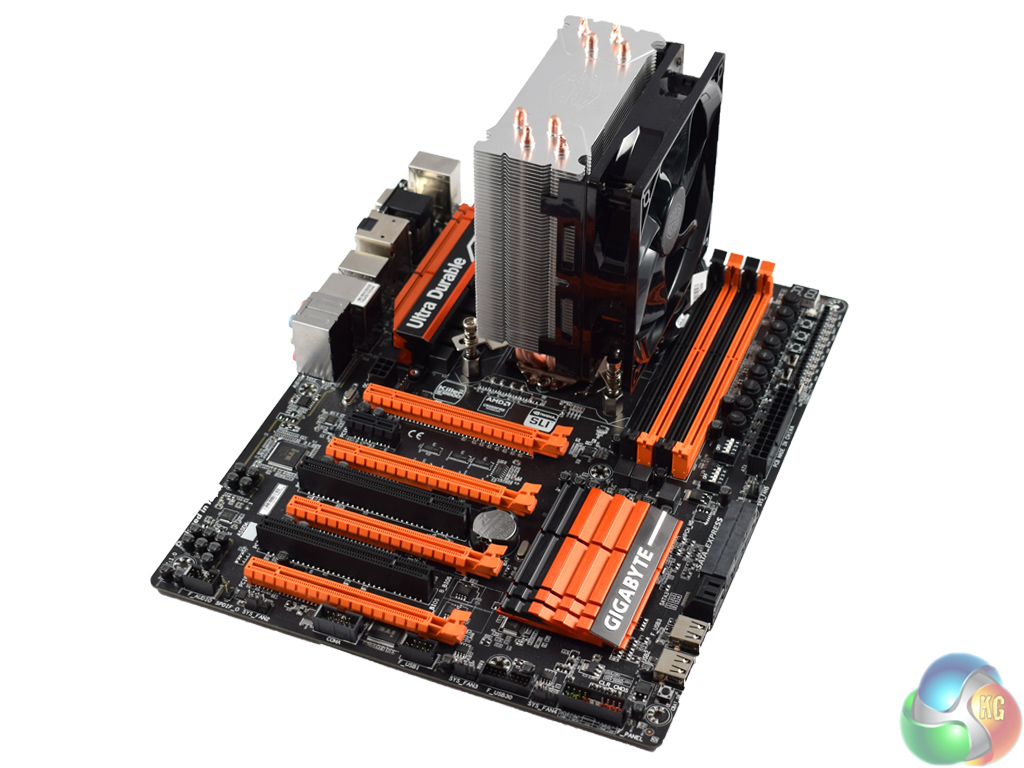
After that, all there is left to do is re-attach the fan – it just clips in to place.
All-in-all, the Hyper 212 LED is very pain free to install. It is certainly an improved method when compared to the 212 EVO, so progress has definitely been made.To test all CPU coolers, we devised an easily repeatable test with no variables other than the coolers themselves. This ensures that figures from every cooler we test are comparable with each other.
Test Rig
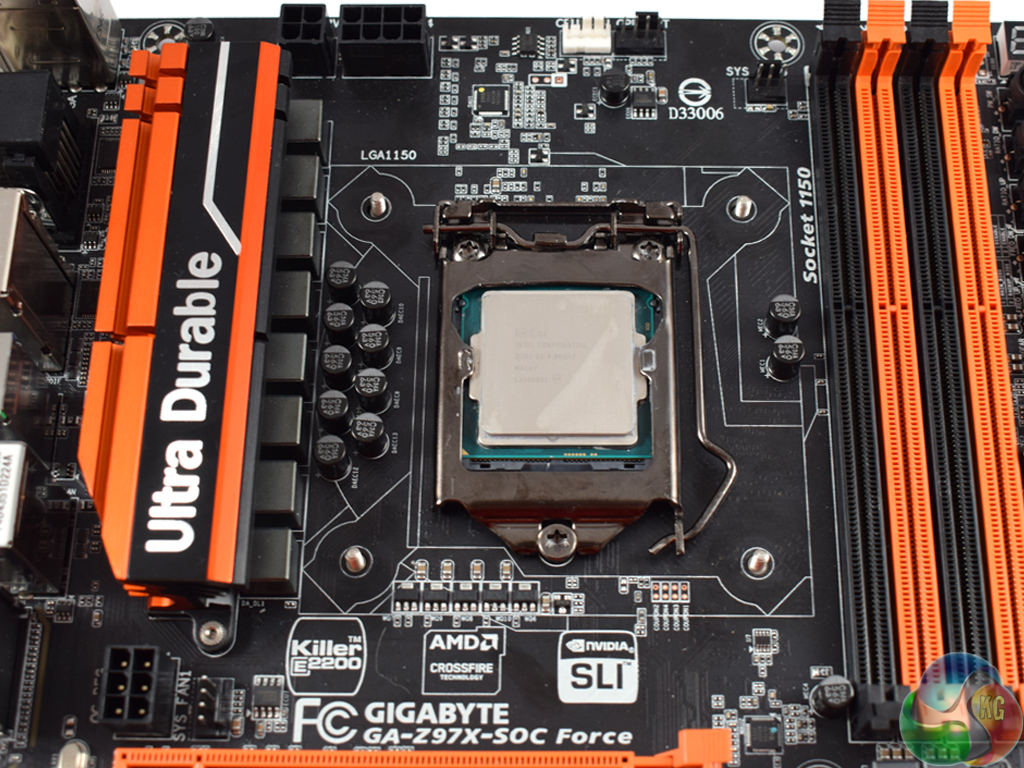
Using an open-air test bench, we deploy an Intel Core i7-4790K plugged into a Gigabyte Z97X-SOC Force motherboard. Alongside this is 16GB of 2400MHz Corsair Vengeance DDR3, as well as a 120GB OCZ Trion 150 SSD. Powering everything is a Corsair RM750x PSU.
The test process
Testing coolers involves taking a total of 4 temperature readings per cooler. First, we measure the idle temperature of the i7-4790K at stock speeds (turbo boost disabled), before measuring its temperature under load at stock speeds. Next, we overclock the CPU to 4.5GHz using a 1.3 Vcore, ensuring greater heat output. In its overclocked state we then measure the idle and load temperatures of the CPU again.
To ward off potential comments or questions, we know 4.5GHz using a 1.3 Vcore is not the ‘best’ overclock – this particular CPU could reach that frequency at closer to 1.25 on the Vcore, which is more efficient. That is not the point, however. We are trying to stress the coolers to see how they deal with excess heat … hence the higher than necessary Vcore.
Where possible, each cooler’s fans are plugged directly into the motherboard using the CPU_Fan or CPU_Opt headers. Some AIOs, however, ship with their own fan controllers or PWM hubs. If we are unable to plug the fans directly into the motherboard, it is specified in the performance section of the review.
An idle reading comes from leaving Windows on the desktop for 15 minutes. A load reading comes from running Prime95’s (version 26.6) Small FFTs test for 15 minutes – enough time for temperatures to plateau.
Noise output
Unfortunately I am unable to properly measure the sound output of AIO coolers using a digital sound meter. This is because I am based alongside a busy road (with high ambient noise levels). Using a sound meter is, as such, not possible as there are variables out of my control. However, I will try my best to subjectively describe the noise output in a helpful manner.Temperatures
All temperature charts are sorted with lowest load temperatures at the top.
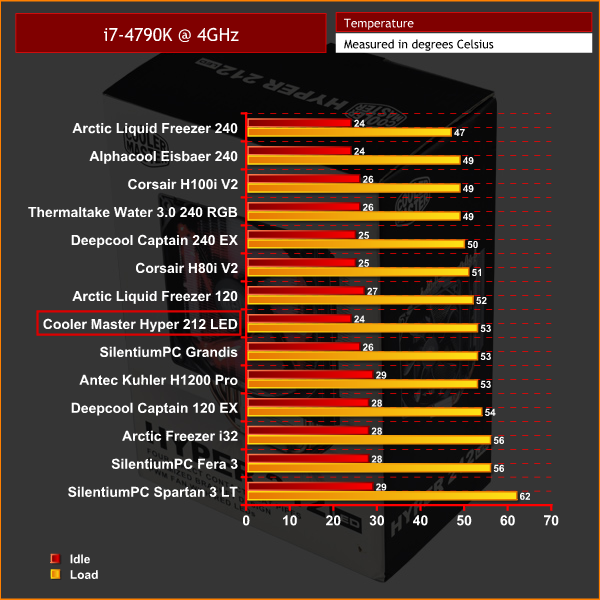
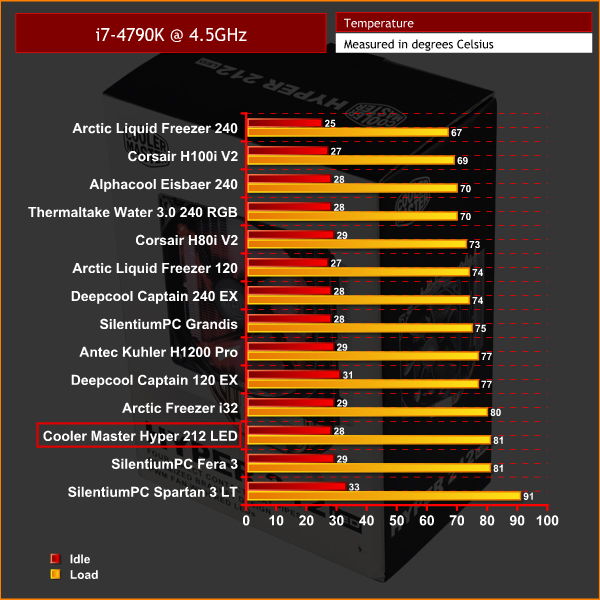
Firstly, it is worth pointing out most of the coolers in the above charts are liquid coolers – we have not yet built up a big collection of air cooler data, meaning the 212 LED's position in the charts may not be the best reflection of its performance.
However, for an air cooler, it acquits itself very well.
With the CPU at stock clocks, it outperforms the 240mm Antec Kuhler H1200 Pro all-in-one – a very impressive result considering the 212 LED is a small air cooler that only costs around £31.
When overclocked, the performance is not quite as good and the Arctic Freezer i32 – a similarly-designed air cooler – actually betters the 212 LED's result by 1 degree. Nonetheless, this is still very respectable performance for an air cooler.
Noise levels
What is so impressive about the 212 LED is how quiet it is.
When the system is idling, I simply could not hear the fan spin – and it was right next to me. Under load, the fan was still whisper-quiet, and I am confident it would not be audible in a case under your desk, for example.
When overclocked, the excess heat caused the fan to ramp up but it was still very inoffensive. The noise levels also benefit from the fact the fan ramps up slowly, rather than bursting into life at a high rpm. As such, it is easy to forget it is running as it slowly blends into the backgrounding, rather than suddenly announcing itself with a loud surge of noise.Coming in as a successor to the legendary Hyper 212 EVO, the Cooler Master Hyper 212 LED certainly has big boots to fill.
Things get off to a very good start, though, as Cooler Master have tweaked the mounting mechanism – it is now much simpler. I remember installing the original 212 EVO a few years ago in my first PC and it was very frustrating. Not so with the 212 LED – the instructions are clear and simple, making the installation process a doddle.
Performance with the CPU at stock speeds is superb, too. A peak temperature reading of 53 degrees from our i7-4790K is excellent – beating out a 240mm watercooler from Antec, for example.

When we overclocked the CPU to 4.5GHz, we found the relative performance is not as good, though – but it is still very respectable. Nonetheless, the Arctic Freezer i32 does offer slightly better raw performance if you want to overclock your CPU with an air cooler.
Noise levels are exceptional, however – at idle I simply could not hear the fan spin, and under load it is still very quiet.
As such, we can wholeheartedly recommend the new Cooler Master Hyper 212 LED air cooler. It is especially excellent if you do not plan to overclock your CPU, with an easy mounting mechanism and low noise levels. It is slightly bettered by the Arctic Freezer i32 if you do want to overclock, though, so bear that in mind. But for a cheap, good-looking and thoroughly decent air cooler, you could do a whole lot worse than the 212 LED.
![]()
You can pick one up from OverclockersUK for £30.95 HERE.
Pros
- Easy to install.
- LED fan is funky.
- Extra fan clips are included for push/pull.
- Excellent stock-speed performance.
- Very quiet.
Cons
- The Arctic Freezer i32 would be a better option if you want to overclock your CPU.
KitGuru says: For anyone who does not want to overclock their CPU, the Hyper 212 LED is an excellent cooler. If you do want to overclock, though, you would be better off with the Arctic Freezer i32.

Be sure to check out our sponsors store EKWB here