

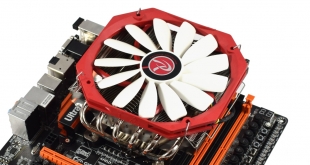
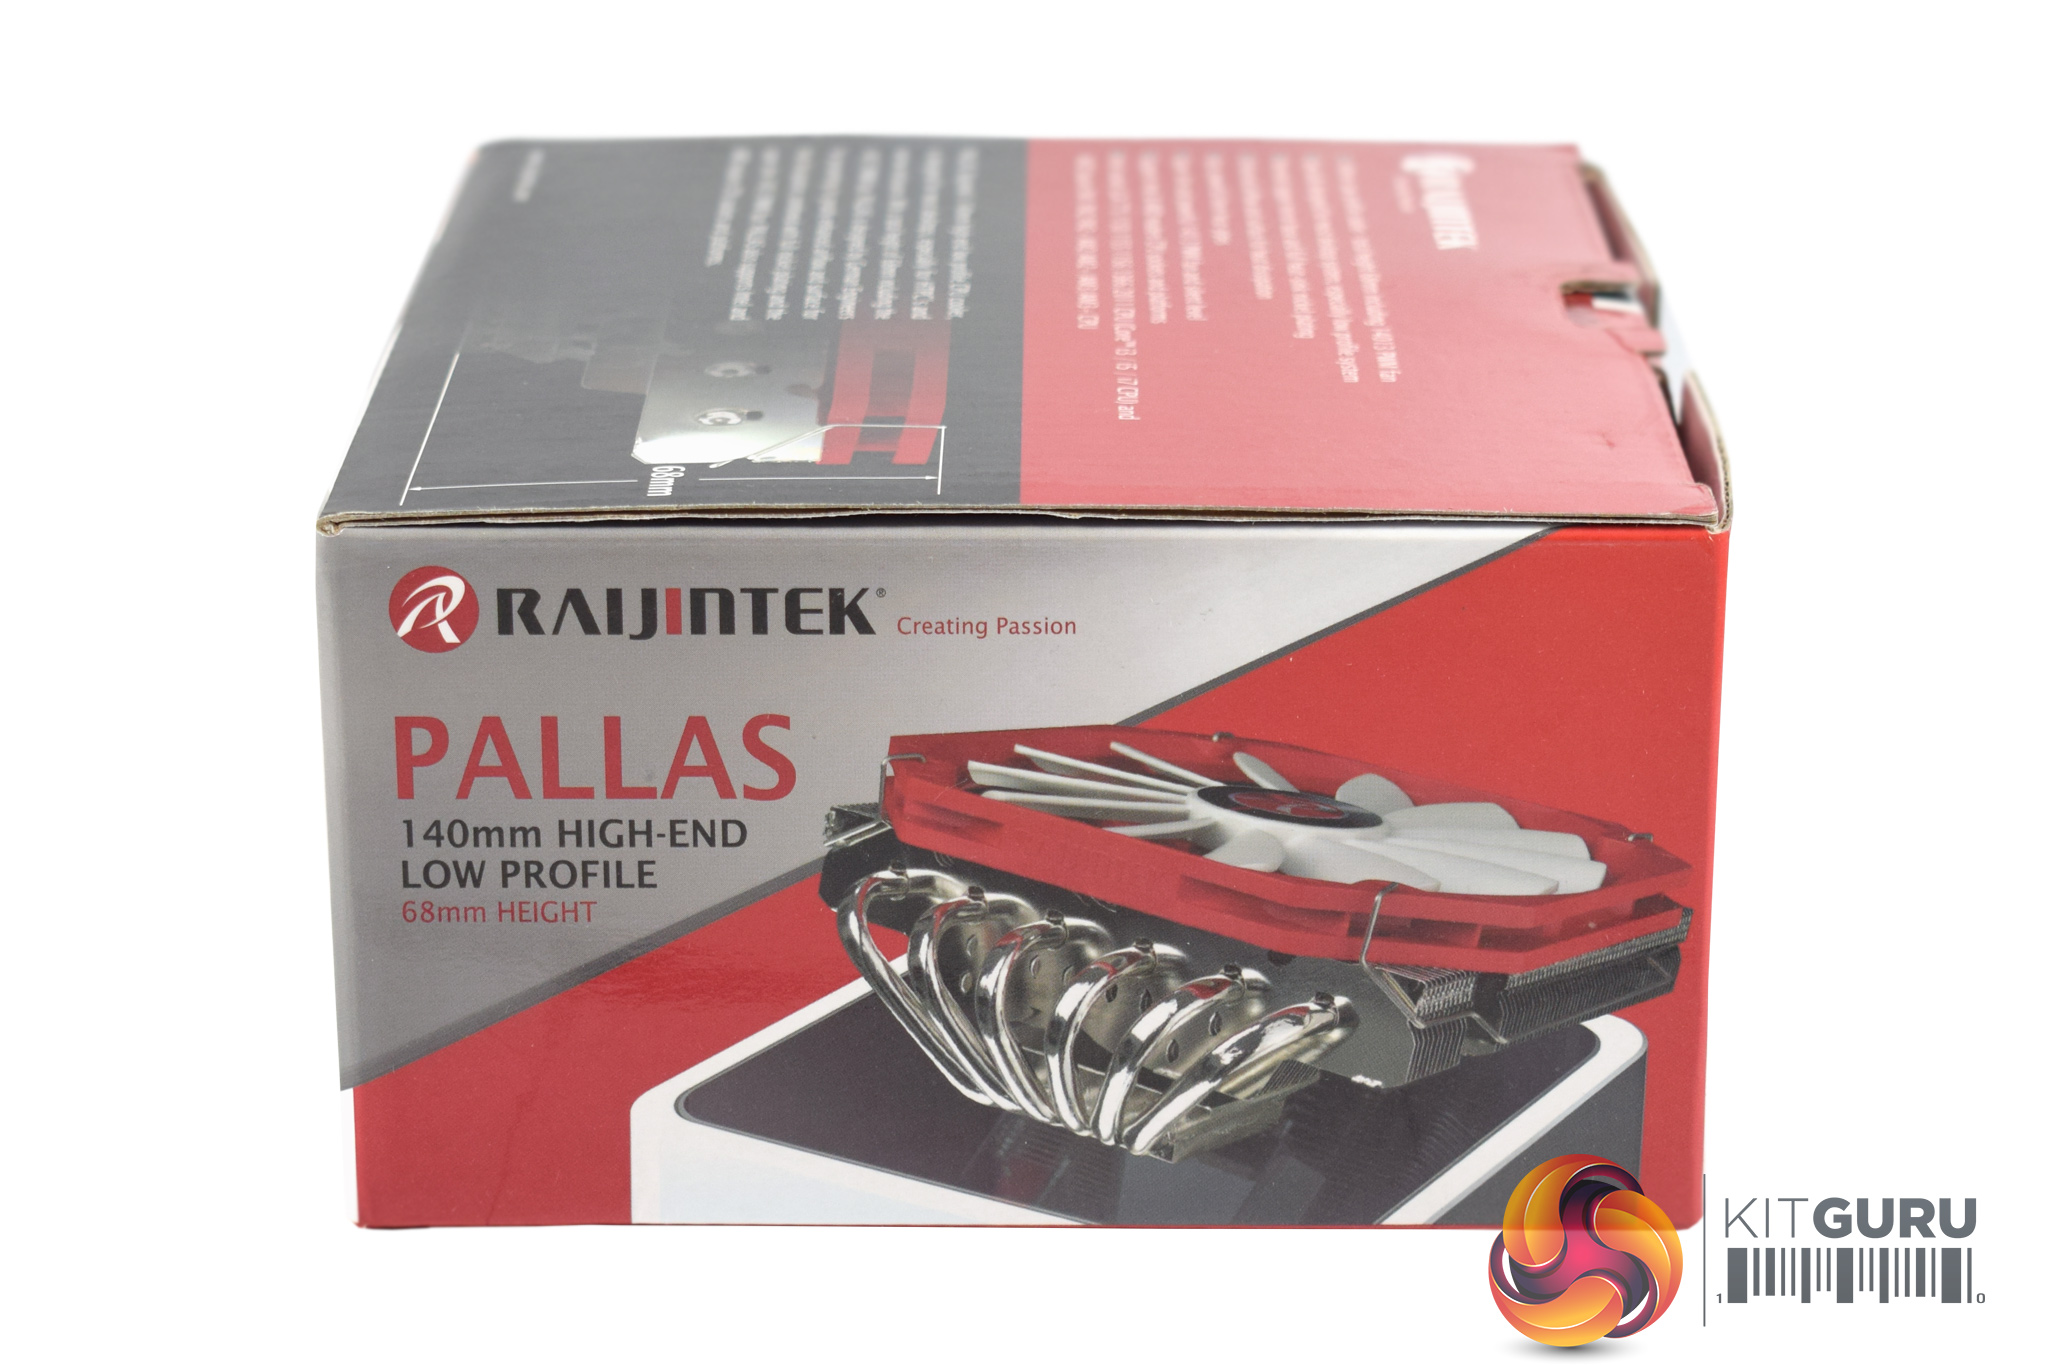
Raijintek are now an established brand in the case and cooling sectors, something which is quite impressive considering they have only been in business since 2013. Today we are looking at the Pallas low-profile cooler, its highlight feature being its size – it boasts a total height of just 68mm. Something like the Pallas will no-doubt appeal to those looking to build HTPC or tiny SFF PCs.
With the market firmly heading towards smaller (yet more powerful) systems, low-profile coolers like the Raijintek Pallas are now more important than ever. While it certainly looks good, what is the installation process like, and how does it perform? We go over everything you need to know in this review.
Specification
Heatsink
- Dimensions: [W×D×H] 153×150×68 mm
- Weight” 420 g [Heat Sink Only]
- Thermal Resistance: 0.14 °C/W
- Heat Sink material: Full Nickel
- Base Material: Copper Base
- Fin Material: Aluminium Alloy; Solder-free fins assembly
- Heat-pipe: 6x6mm
Fan
- Dimensions: [W×H×D] 140×150×13 mm
- Voltage Rating: 12V
- Starting Voltage: 7 V
- Speed: 650~1400 R.P.M. [PWM controlled]
- Bearing Type: Sleeve Bearing
- Air Flow: 56.55 CFM [Max.]
- Air Pressure: 1.24 mmH2O [Max.]
- Life Expectance: 40,000 hrs
- Noise Level: 28 dBA
- Connector: 4 pin with PWM
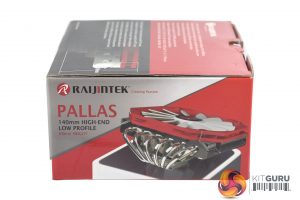
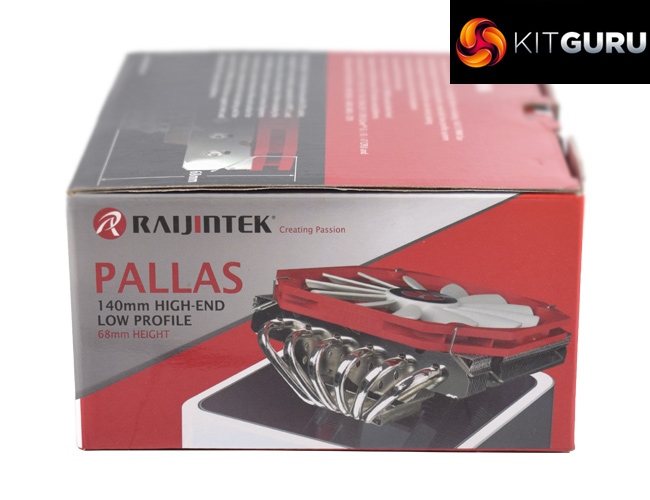
The Raijintek Pallas ships in a relatively small, red box. On the front side, we get a look at the cooler itself, with the red fan being particularly visible.

Inside, there are just two bags of installation hardware, though the contents are not labelled.
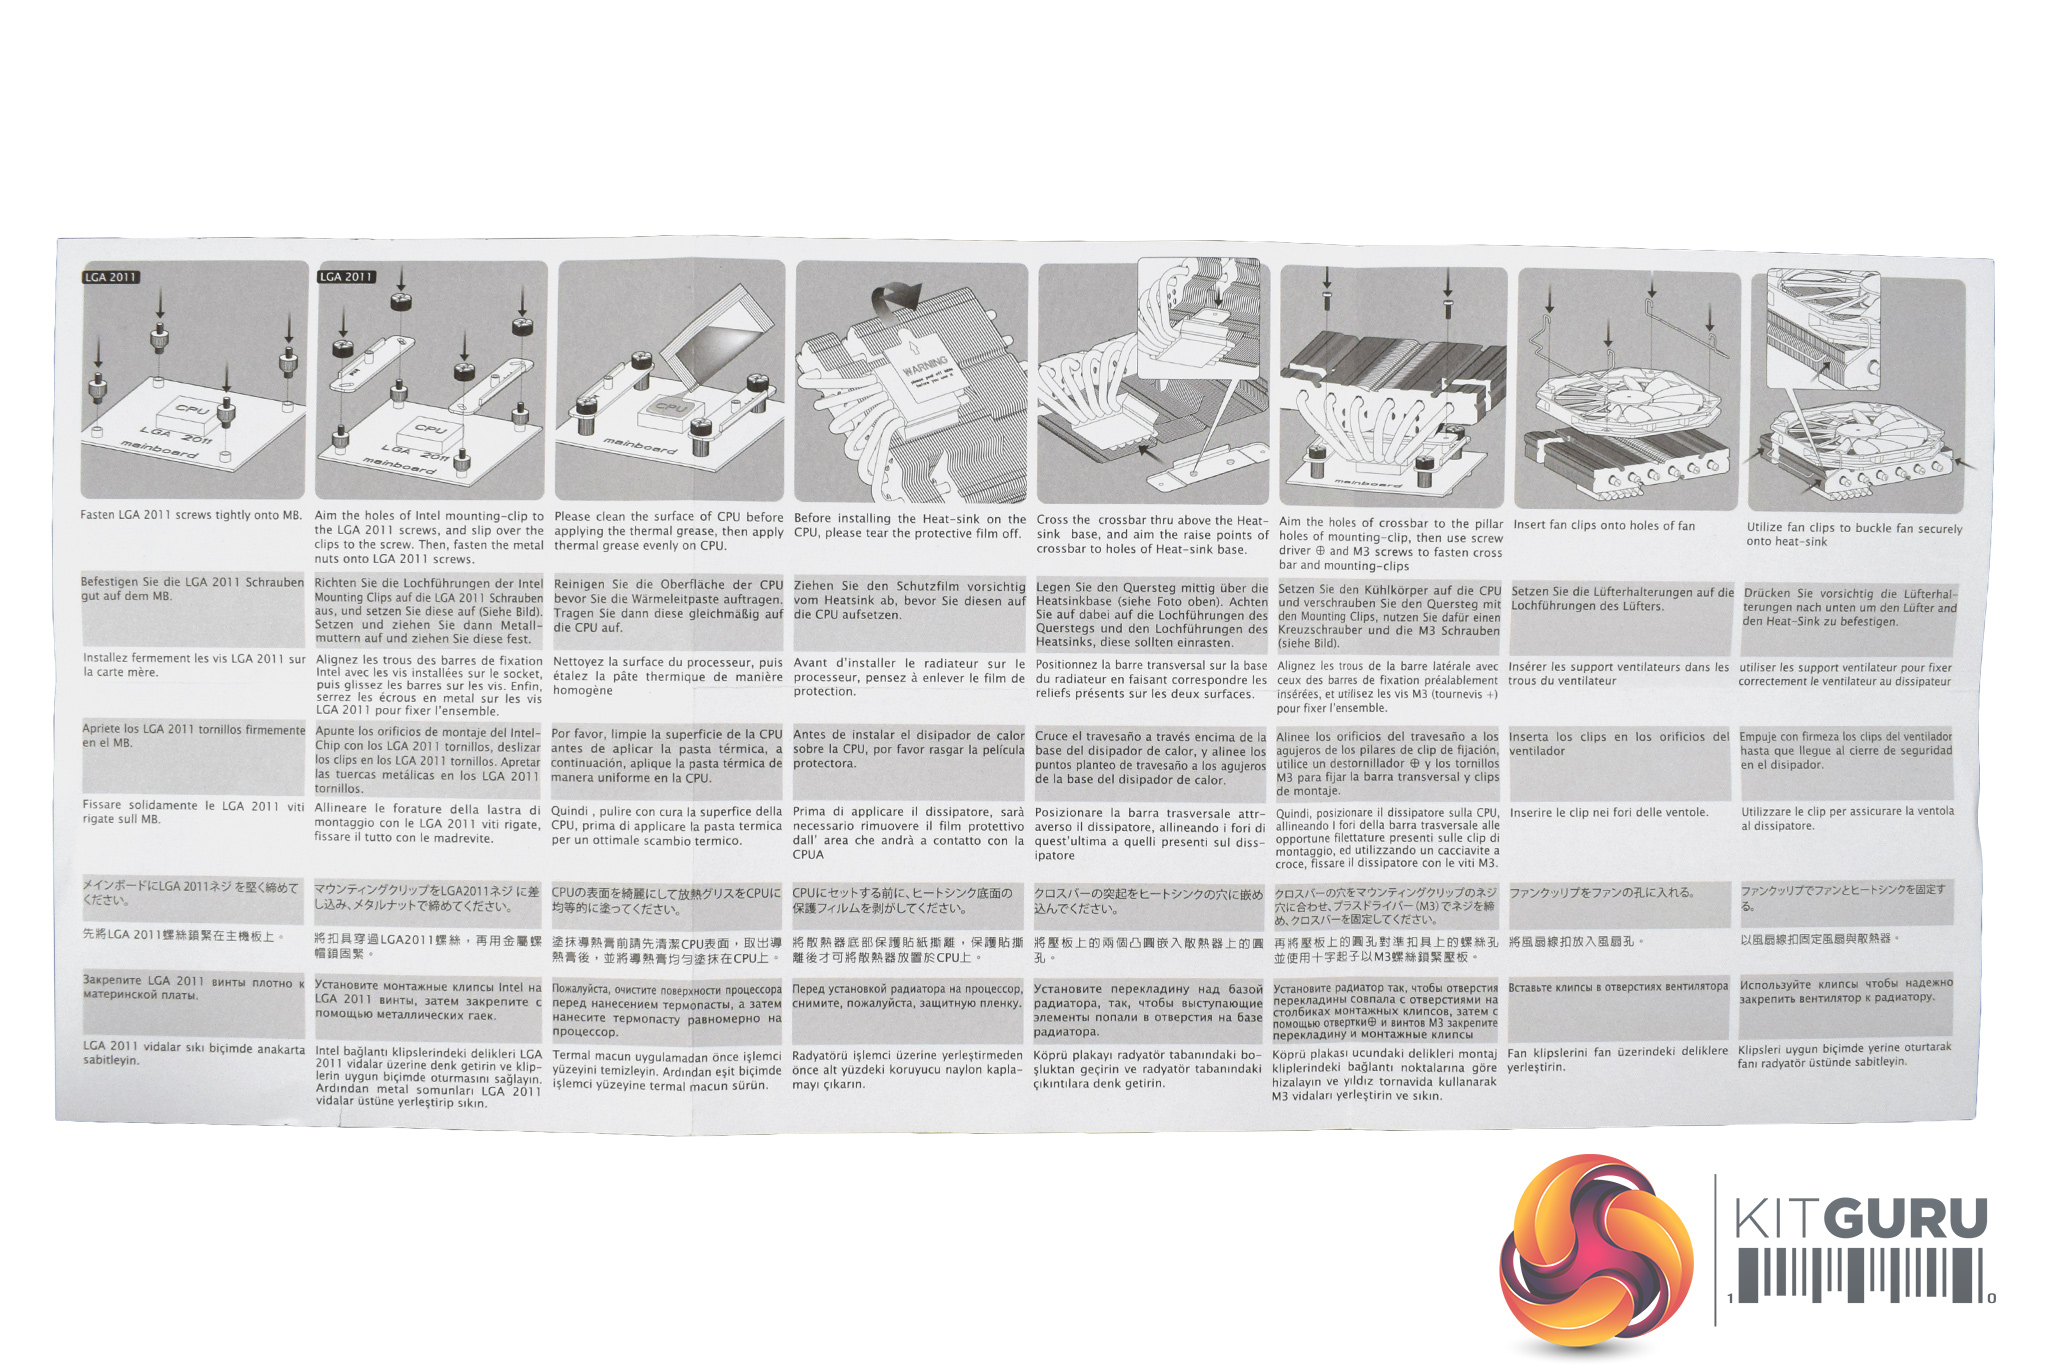
The instructions manual is decent, though it is very large as it is multi-lingual. The diagrams are quite clear, though, and we go through the installation process on the next page.

After that, all that's left is the fan and the heatsink.
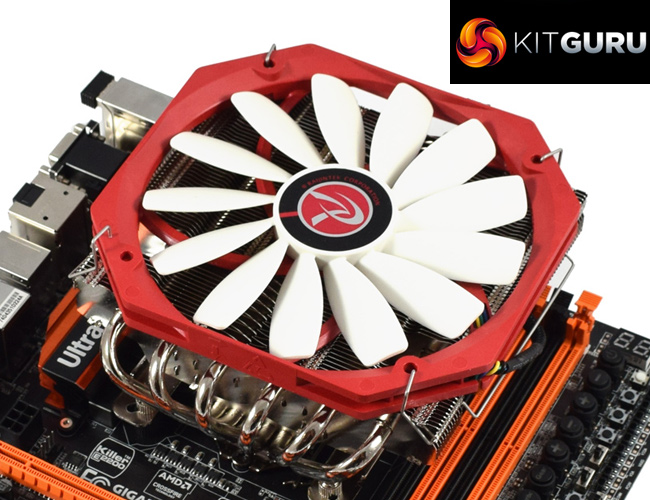
The 140mm, low-profile fan is quite striking due to its red frame and white blades – I think it looks great, although I could understand if you think it looks gaudy.
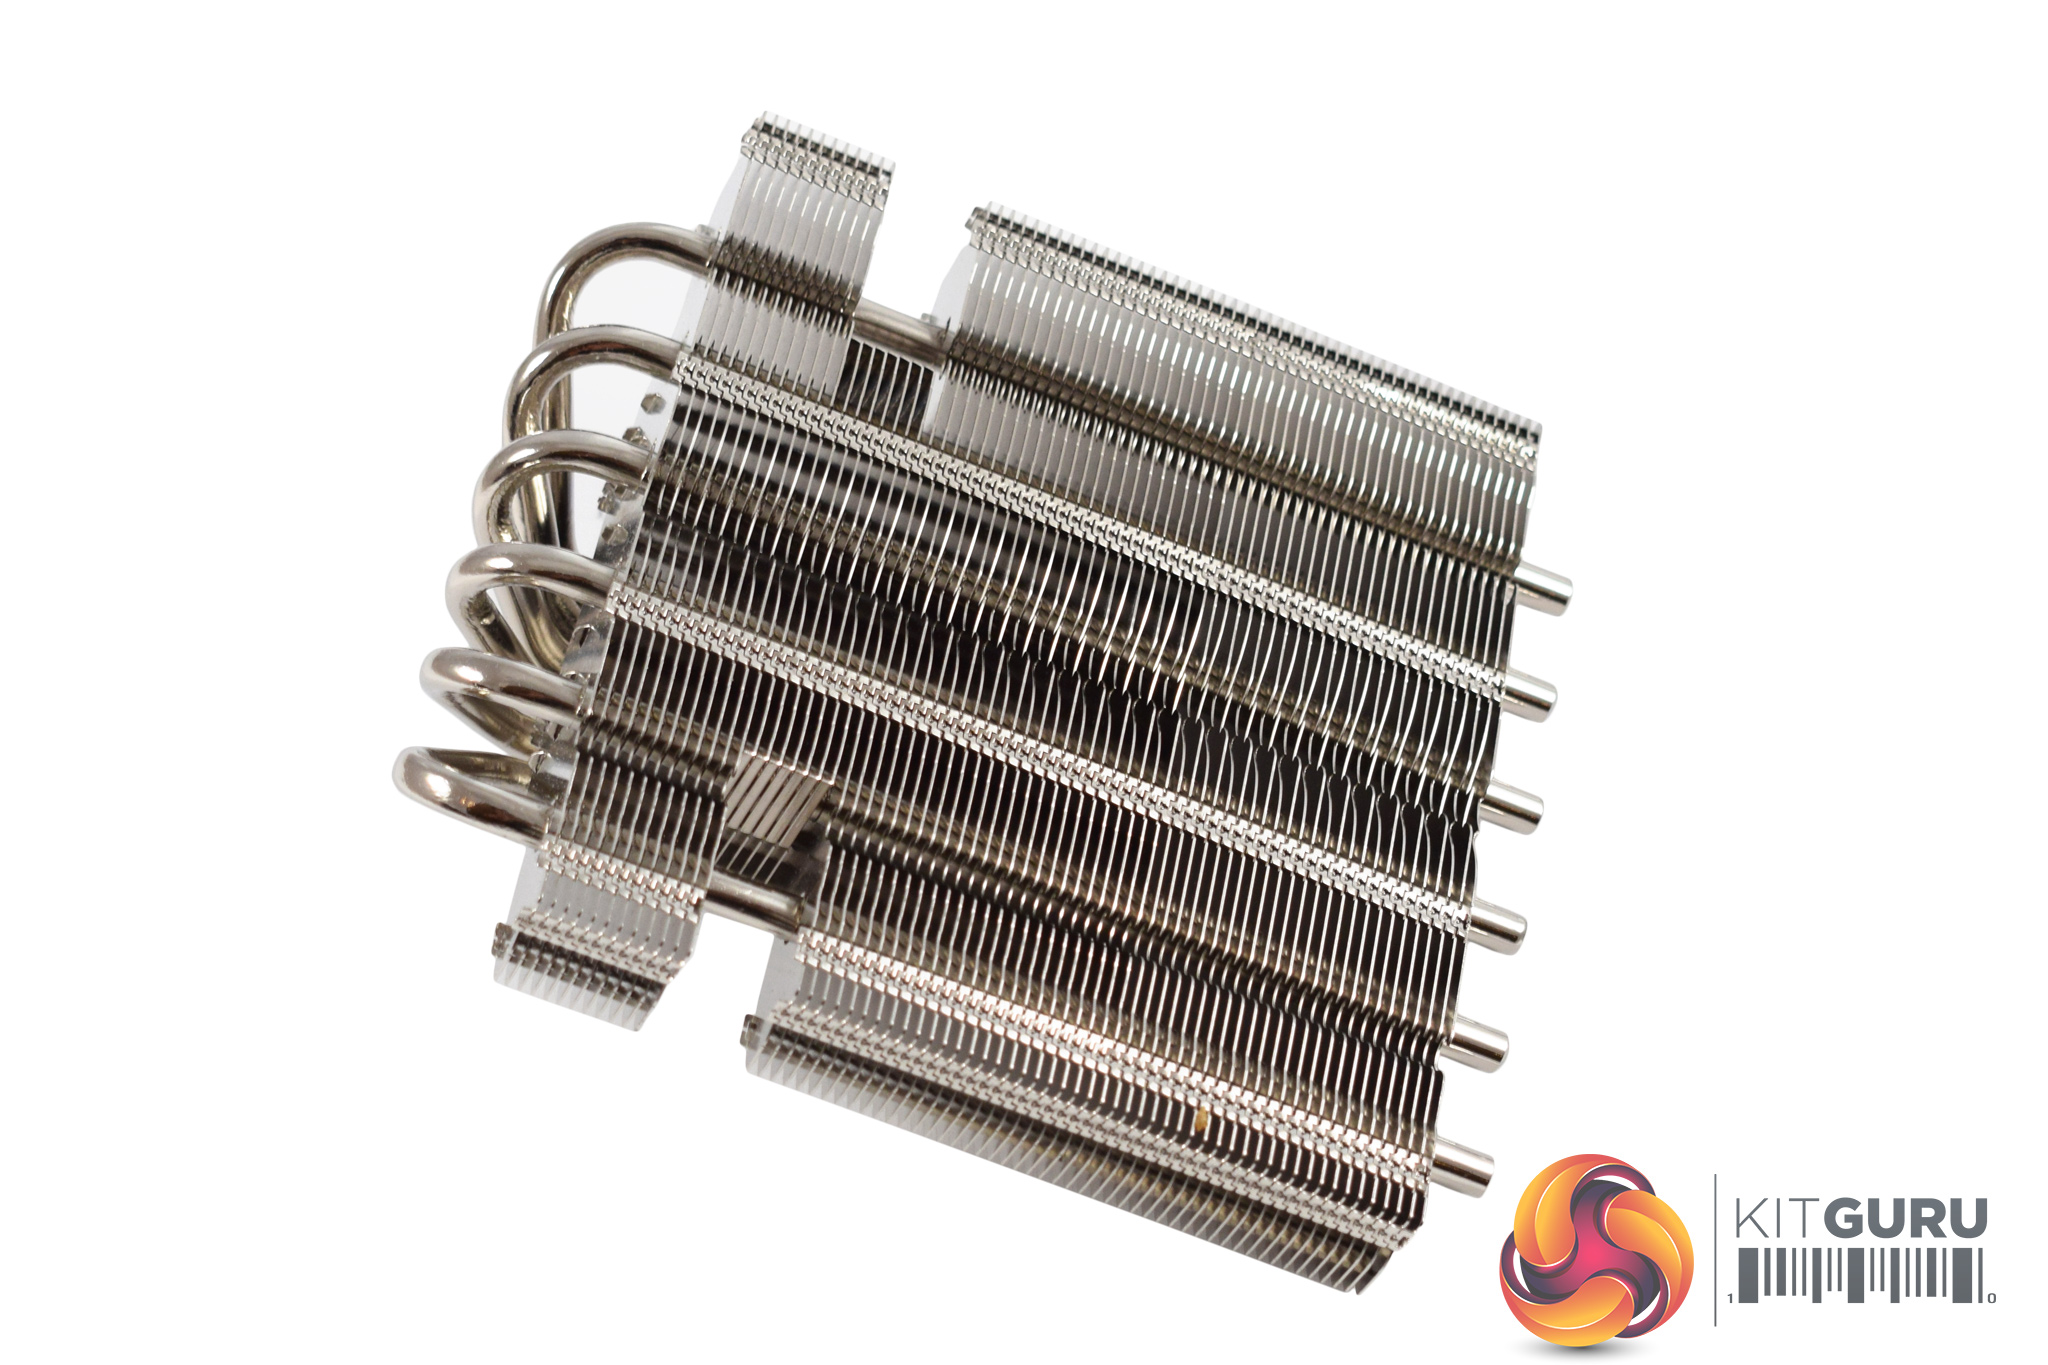
Made entirely of nickel, but with a copper base, the heatsink is comparatively very small but it still manages to cram in 6 copper heatpipes, each with a 6mm diameter. Hopefully this should aid cooling performance, something we look at later in the review.Here I will walk you through the installation process. It is worth noting we test using a Z97 motherboard – socket LGA 1150. The process below reflects that.
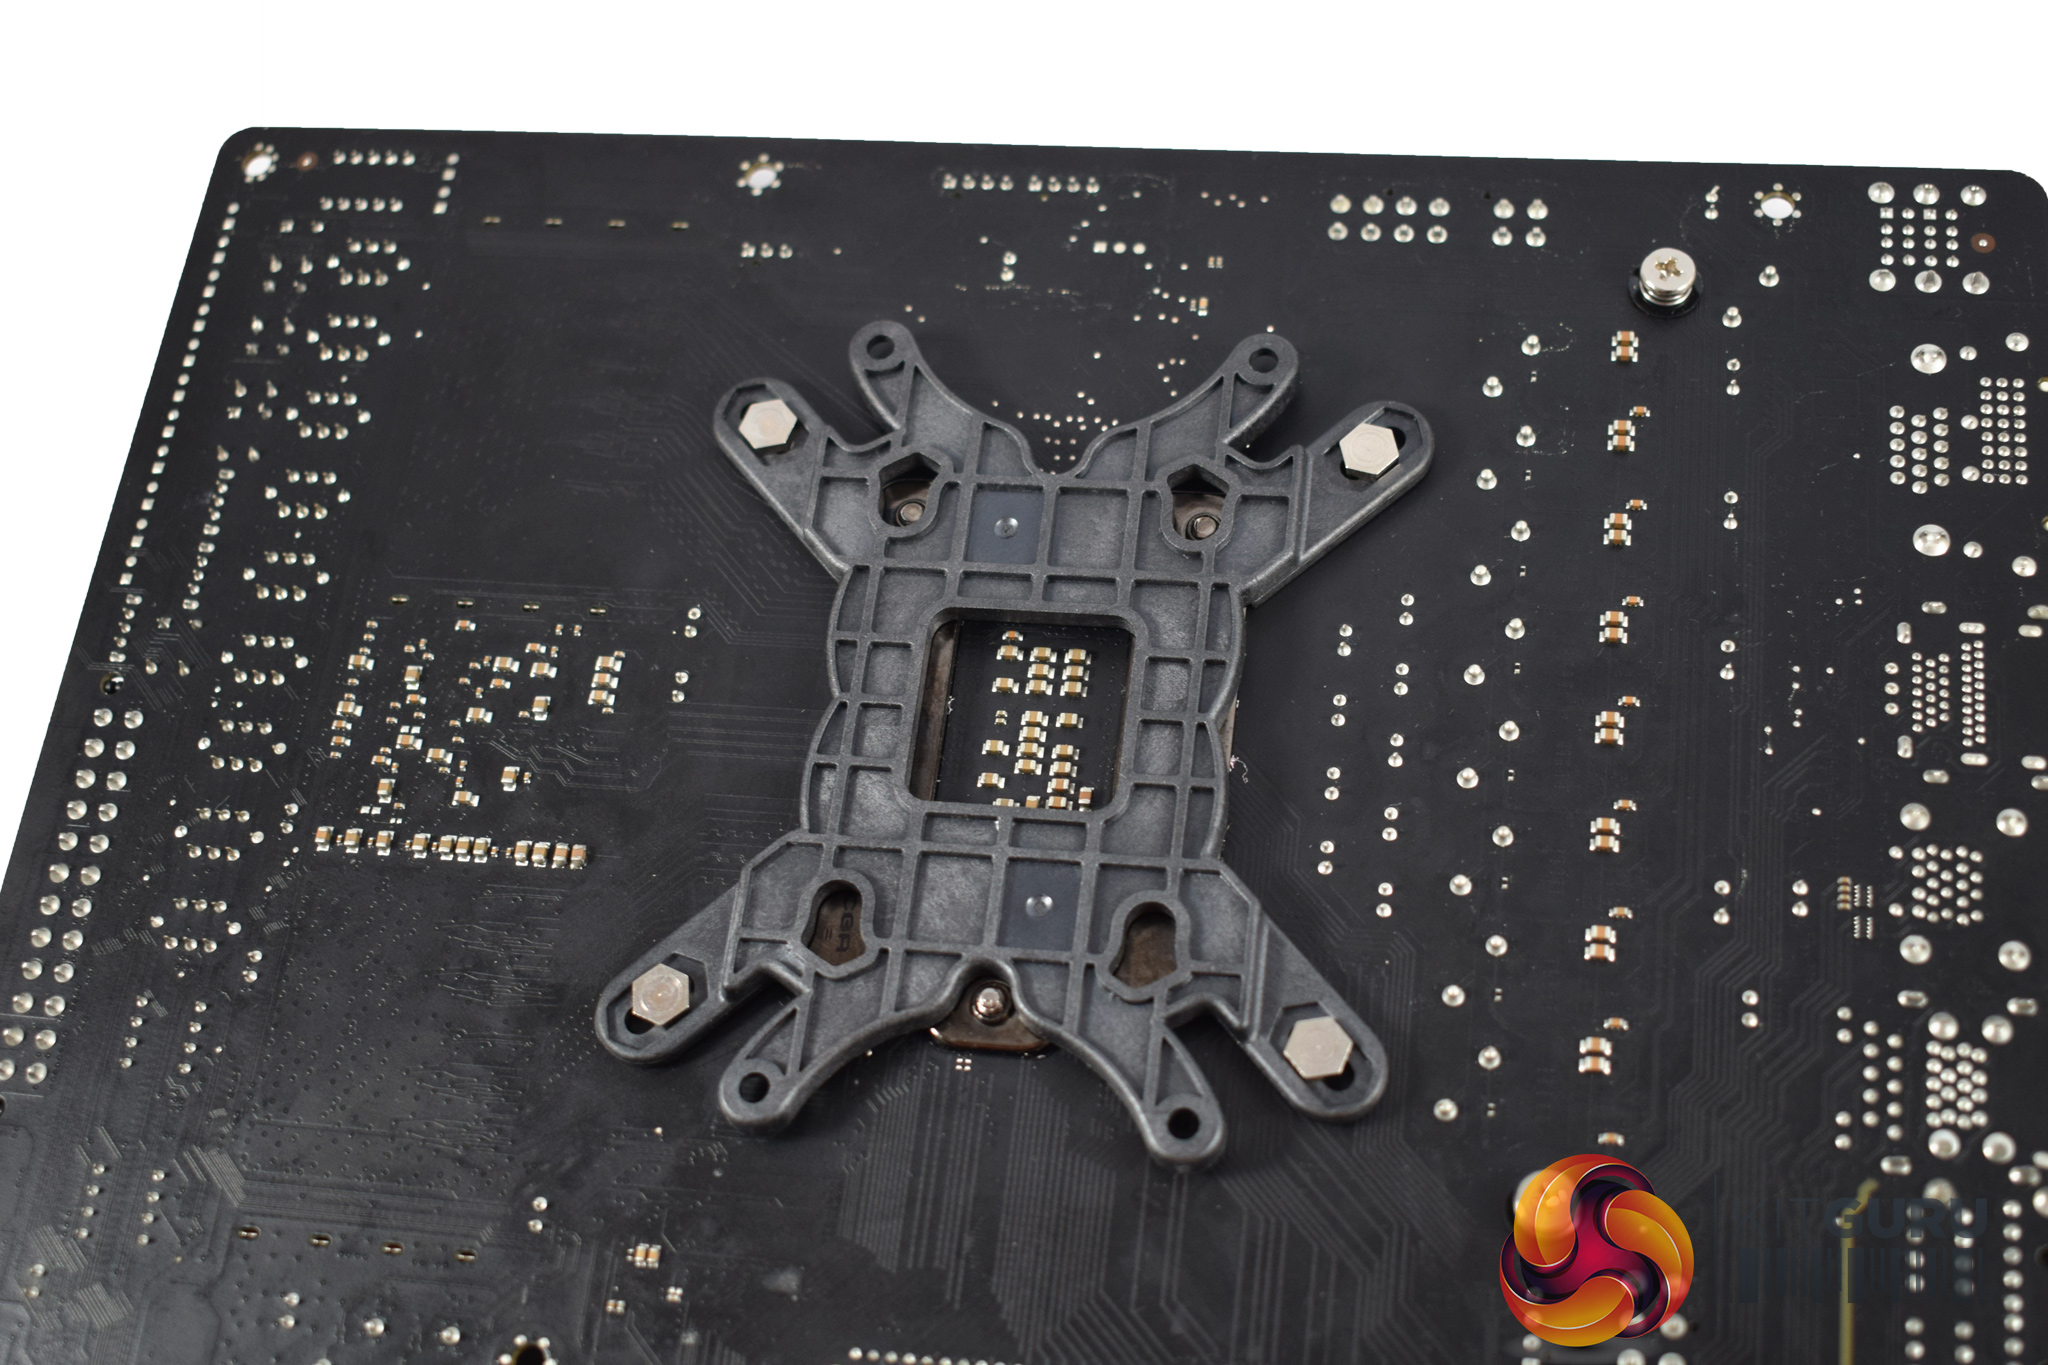
The first thing to do is prepare the backplate: for our Z97 motherboard, four screws should be slotted into the middle of the 3 mounting positions.
However, while this may seem like the easiest thing in the world, I actually encountered an issue at this very first stage of the installation process. Essentially, two of the four screws would not ‘lock-in' to the backplate fully, so they were quite loose and prone to slipping out. The other 2 screws were fine, though, so it seems to be a QC issue.
![]()
Once you have prepared the backplate, slot the screws through the motherboard socket holes.
After that, four plastic spacers should be placed over the screws.
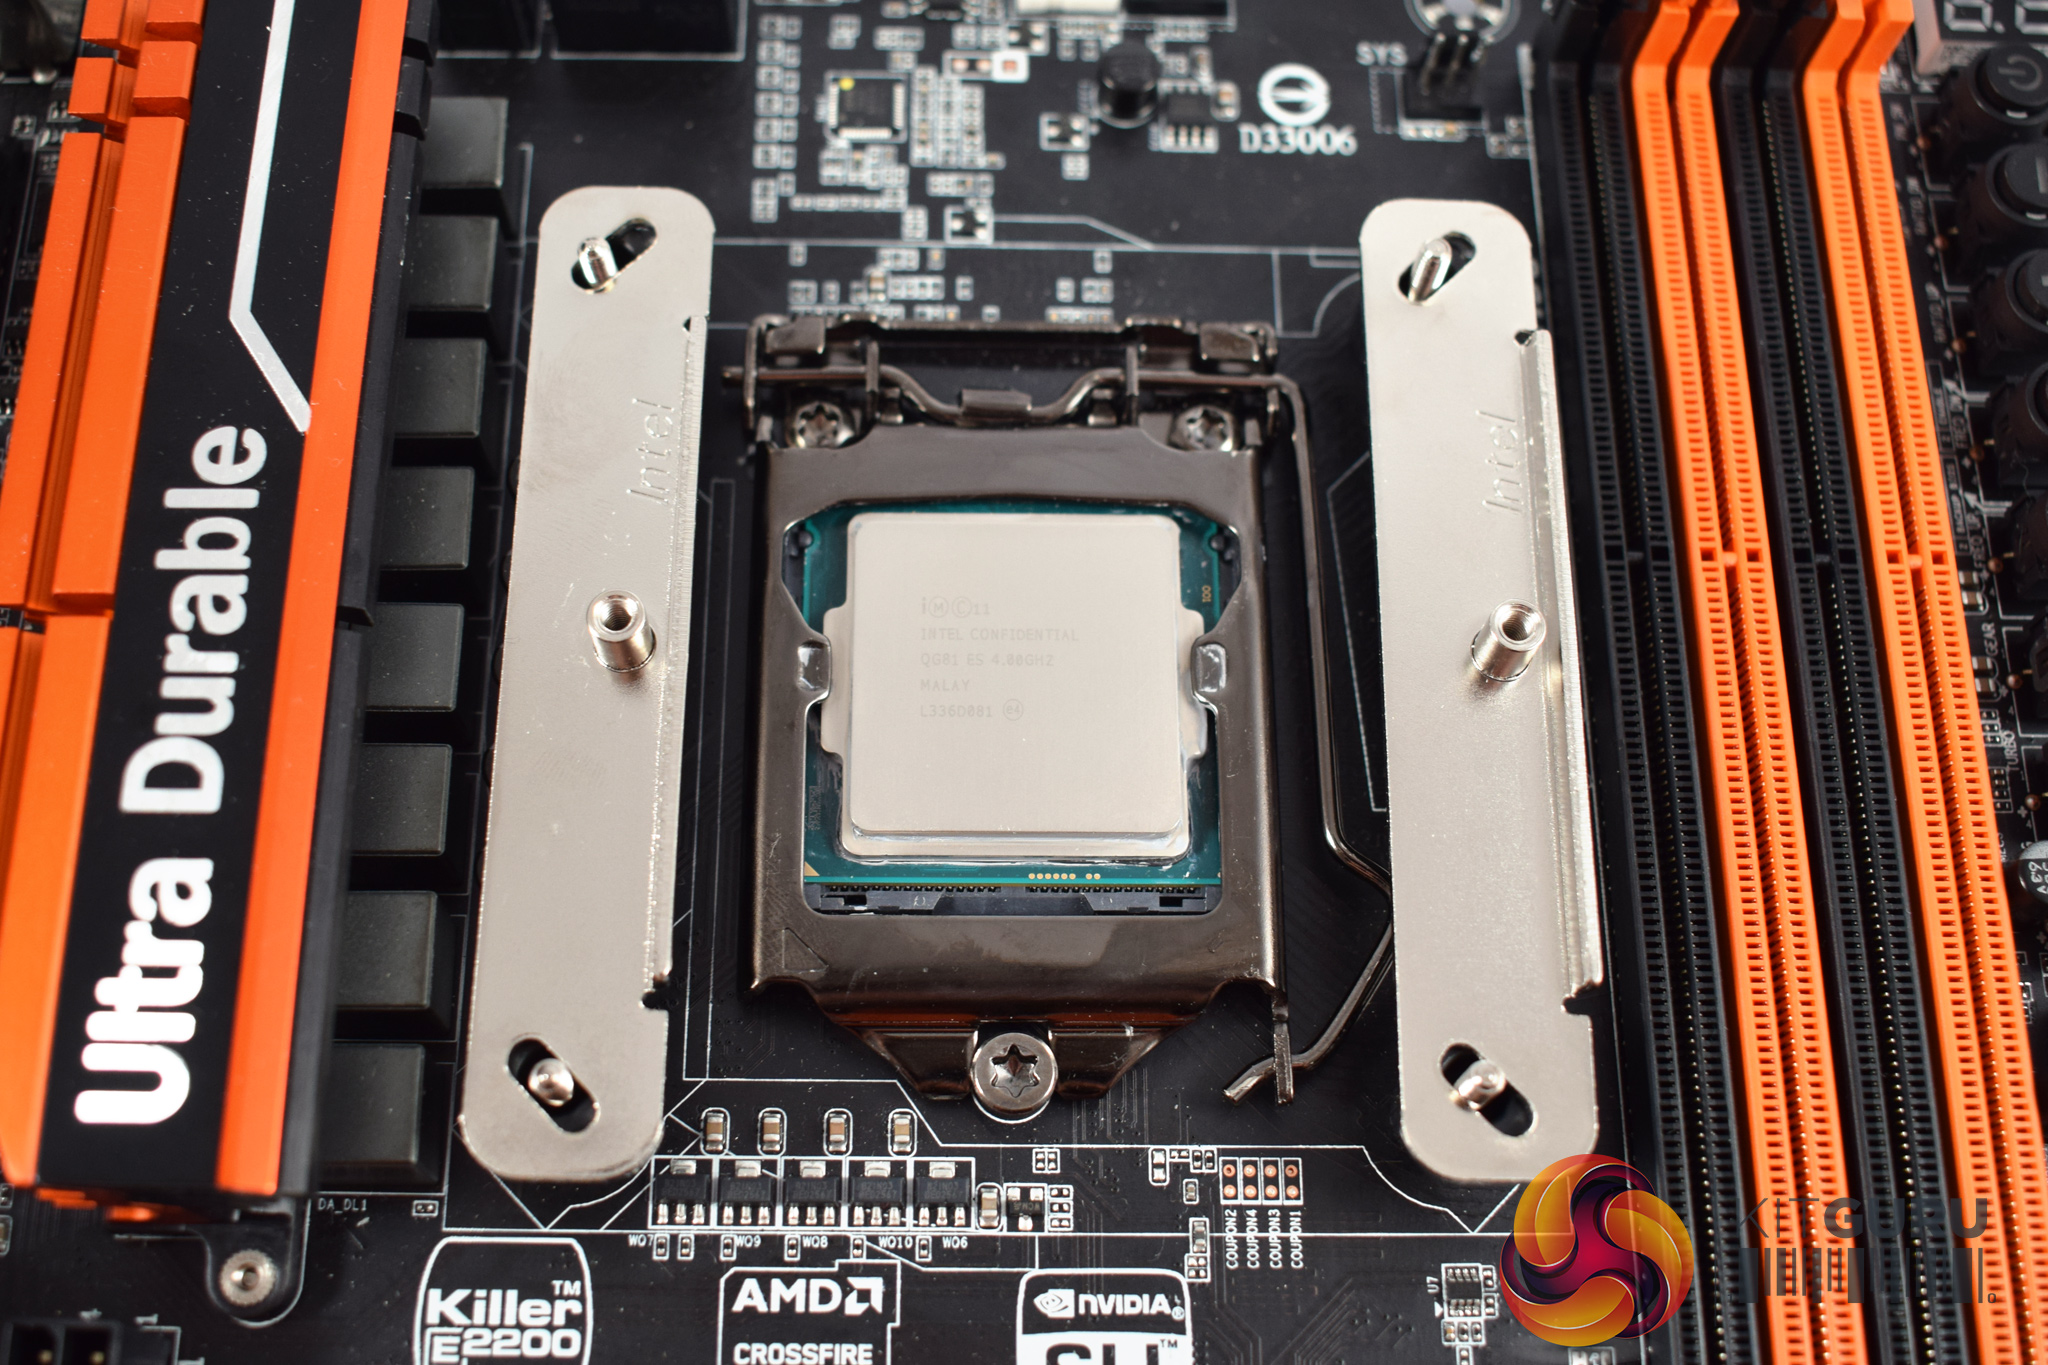
Next, place the two Intel-compatible rails on-top of the spacers, as above.
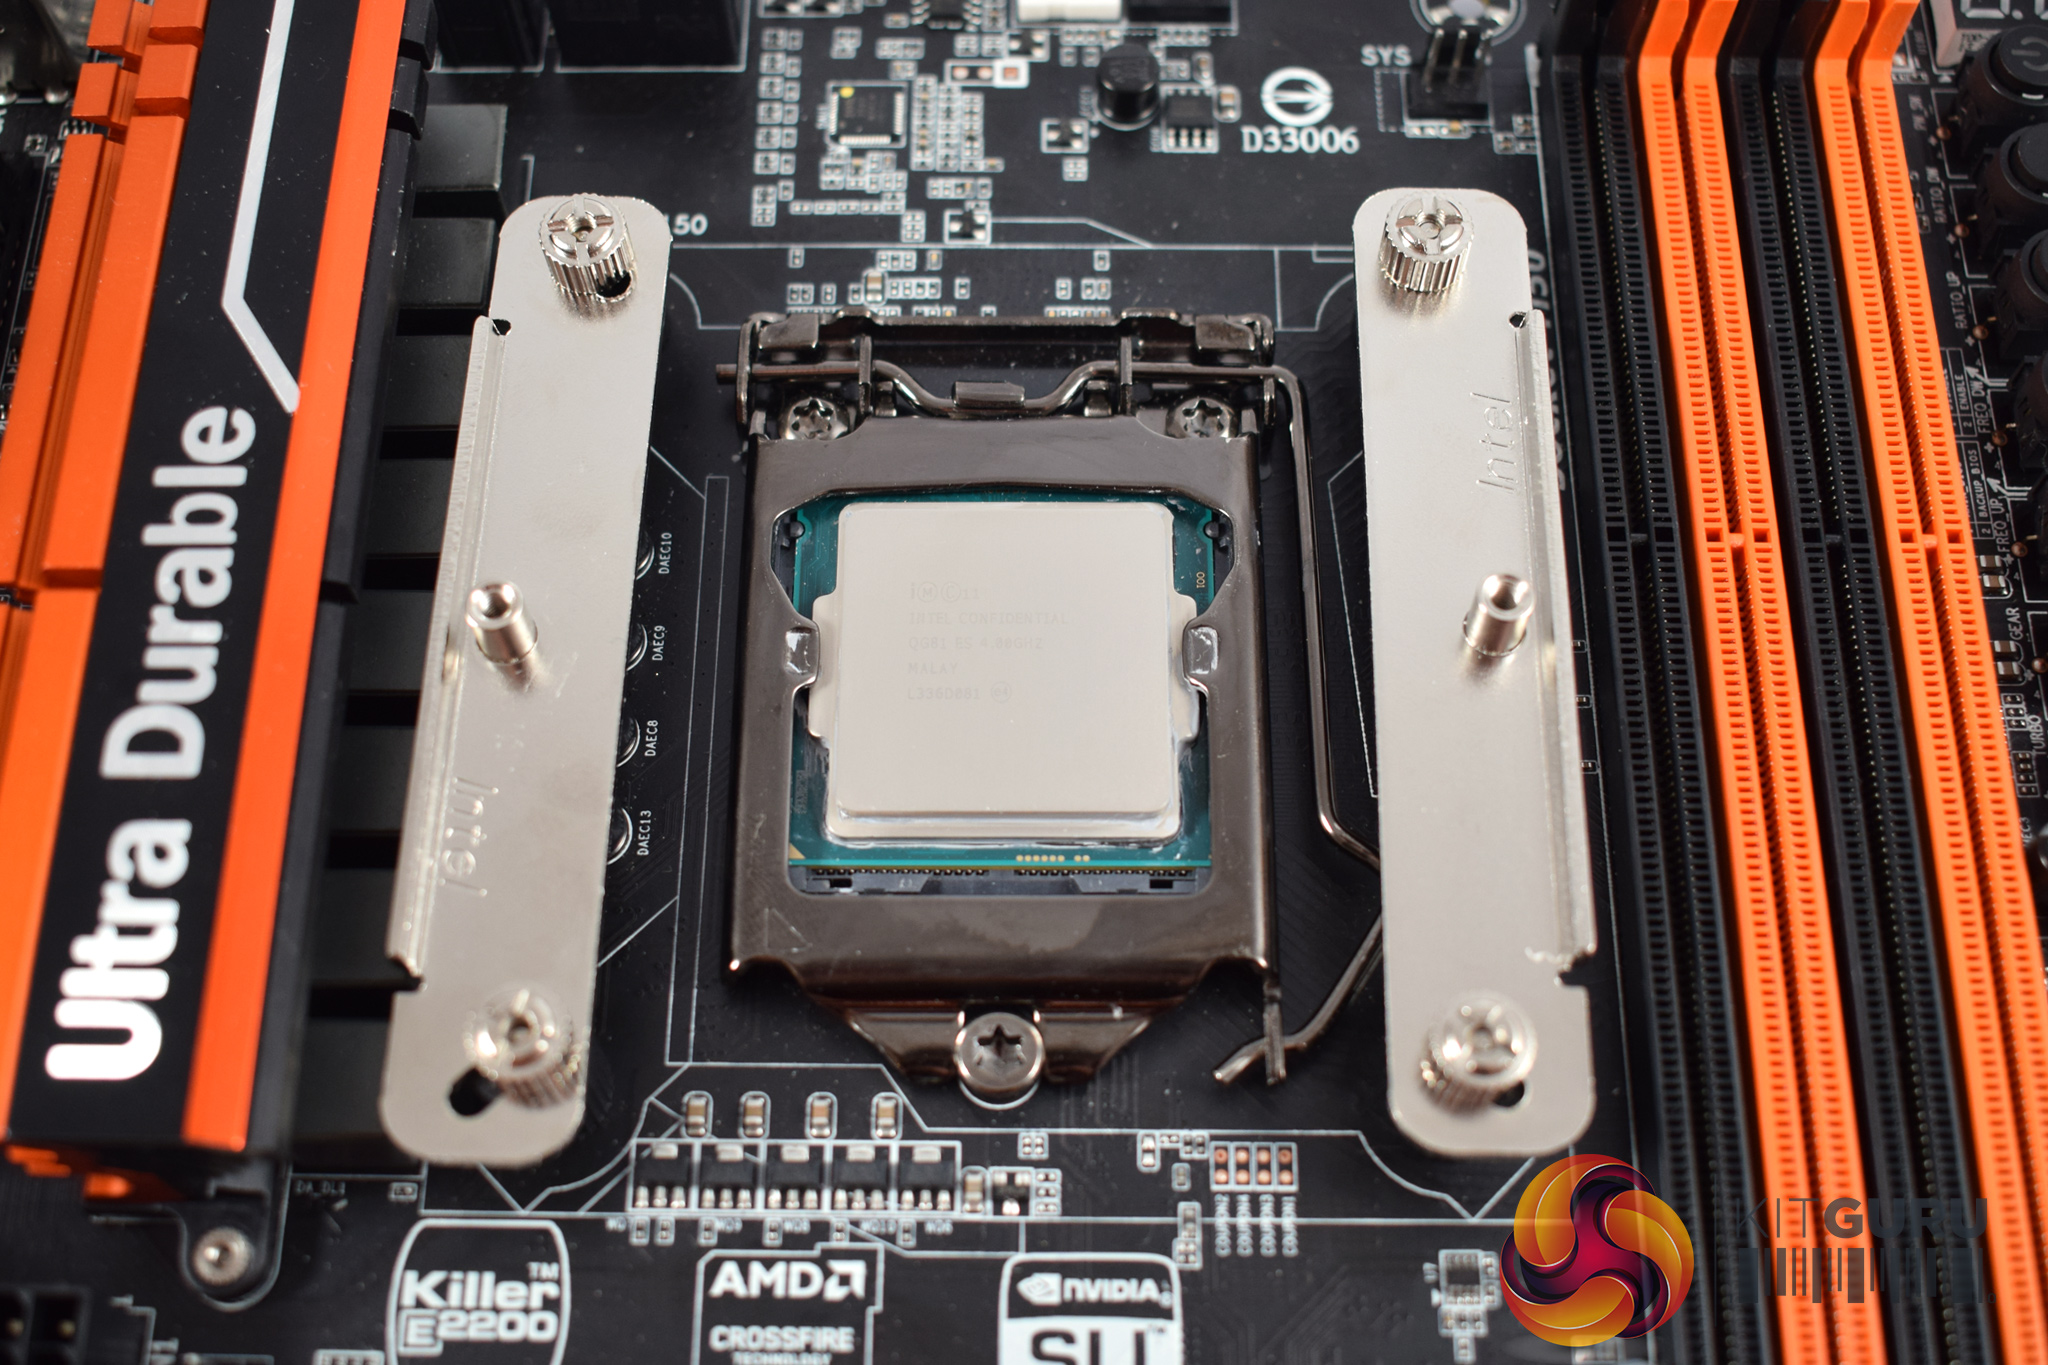
Once the rails are in place, you can use the four thumbscrews to secure the rails in-place.
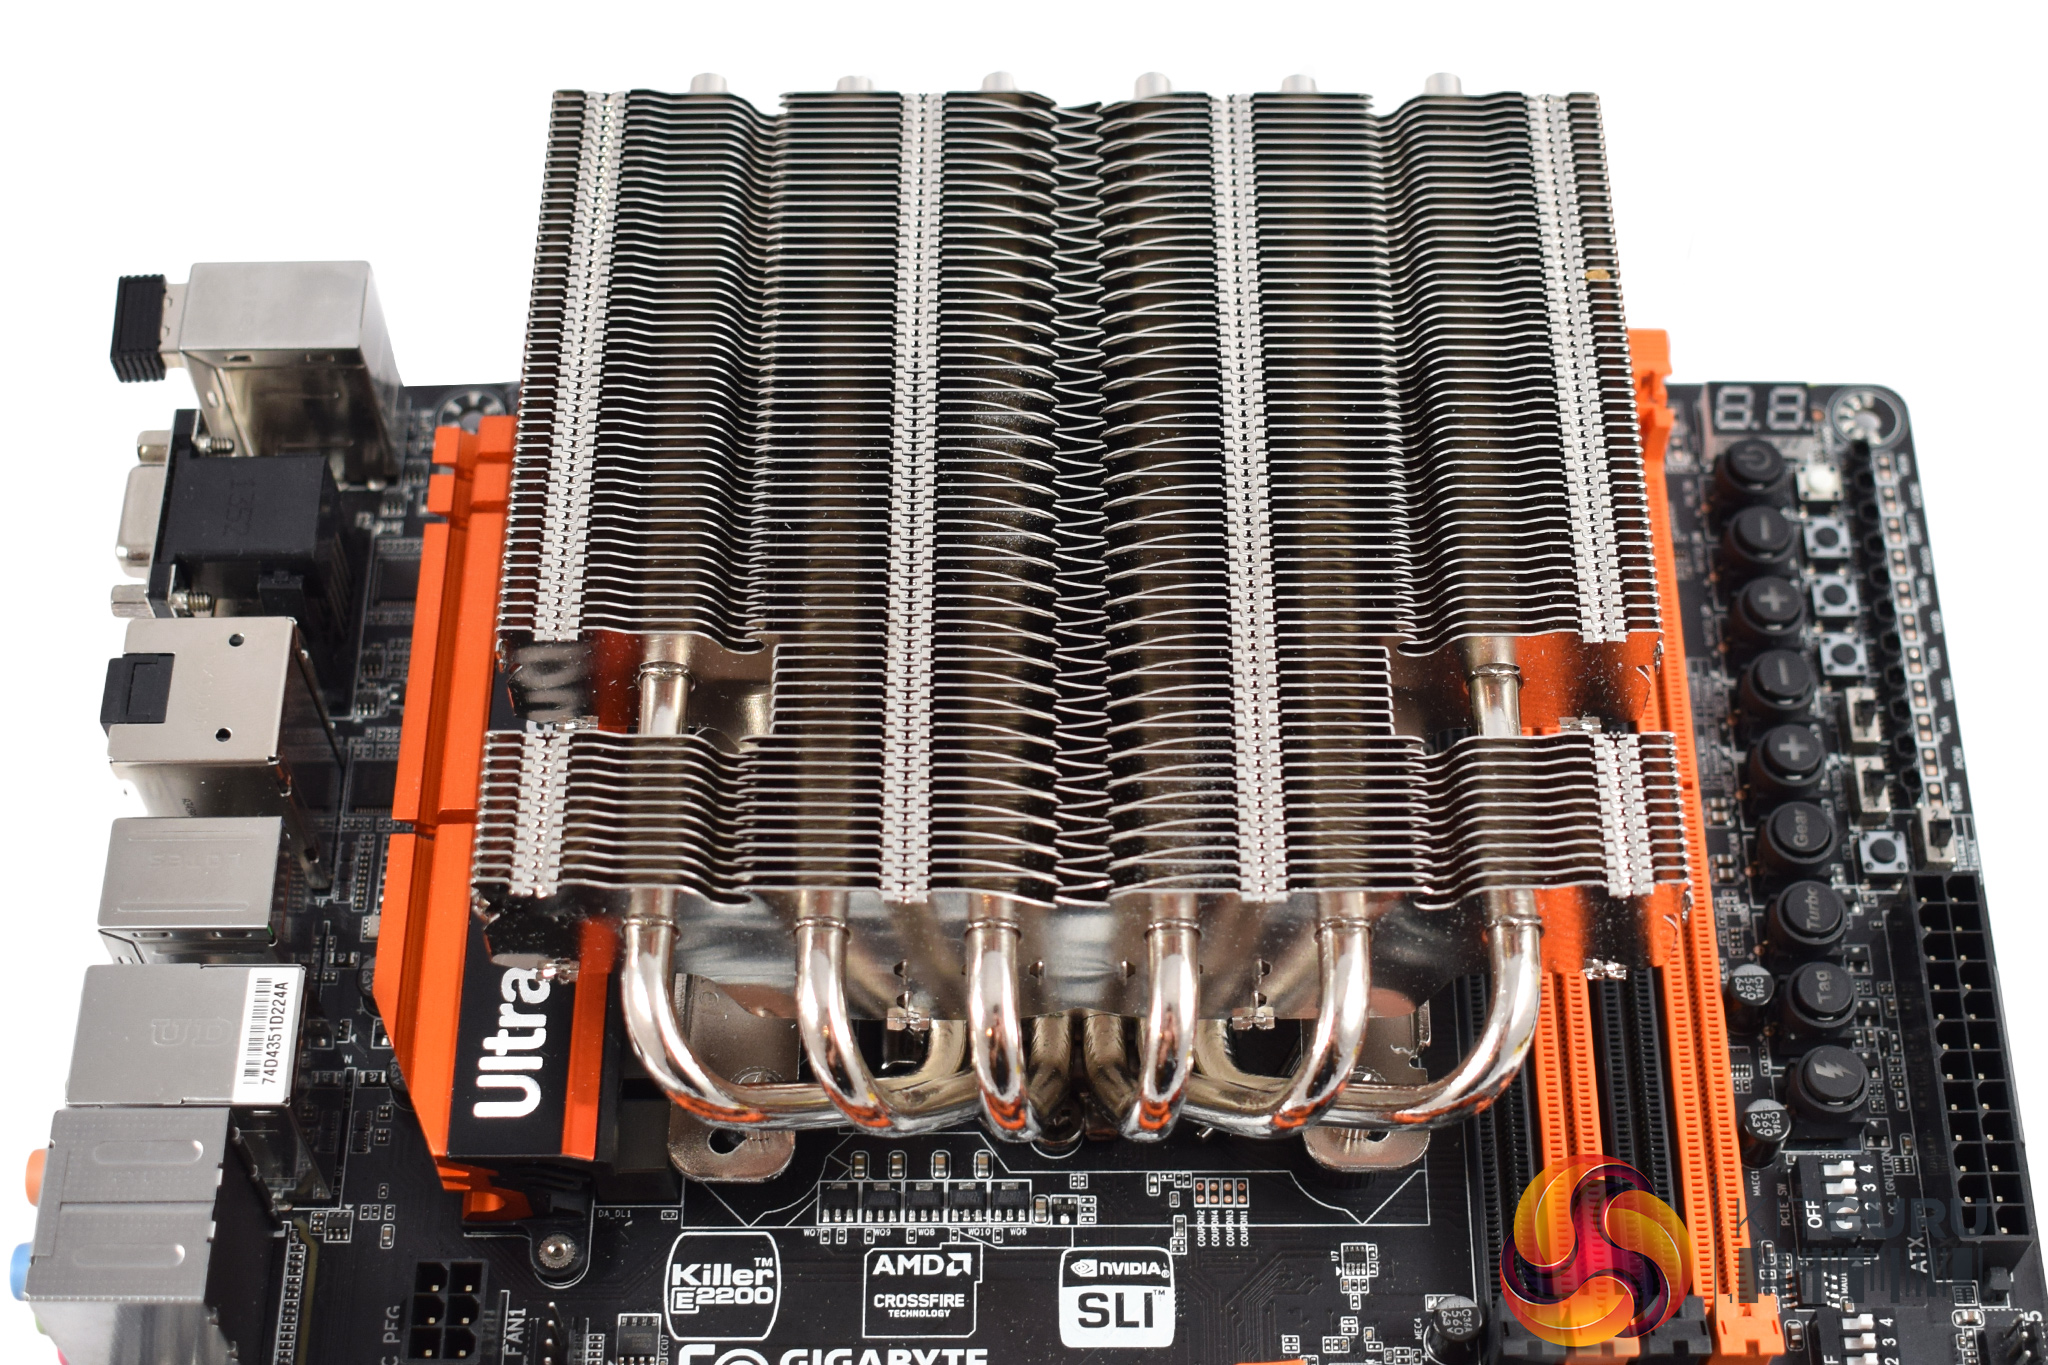

Following that, the heatsink is ready to be mounted. There are two small cut-outs in the heatsink (as you can see above, right), and you can squeeze your screwdriver into these gaps to screw the heatsink in-place.
However, these gaps are quite thin, and I actually found my screwdriver would not fit – eventually I found a very old, thin screwdriver to use, but the situation was not ideal. If Raijintek provided a compatible screwdriver (as Cryorig do with some of their coolers) that would be the perfect solution.
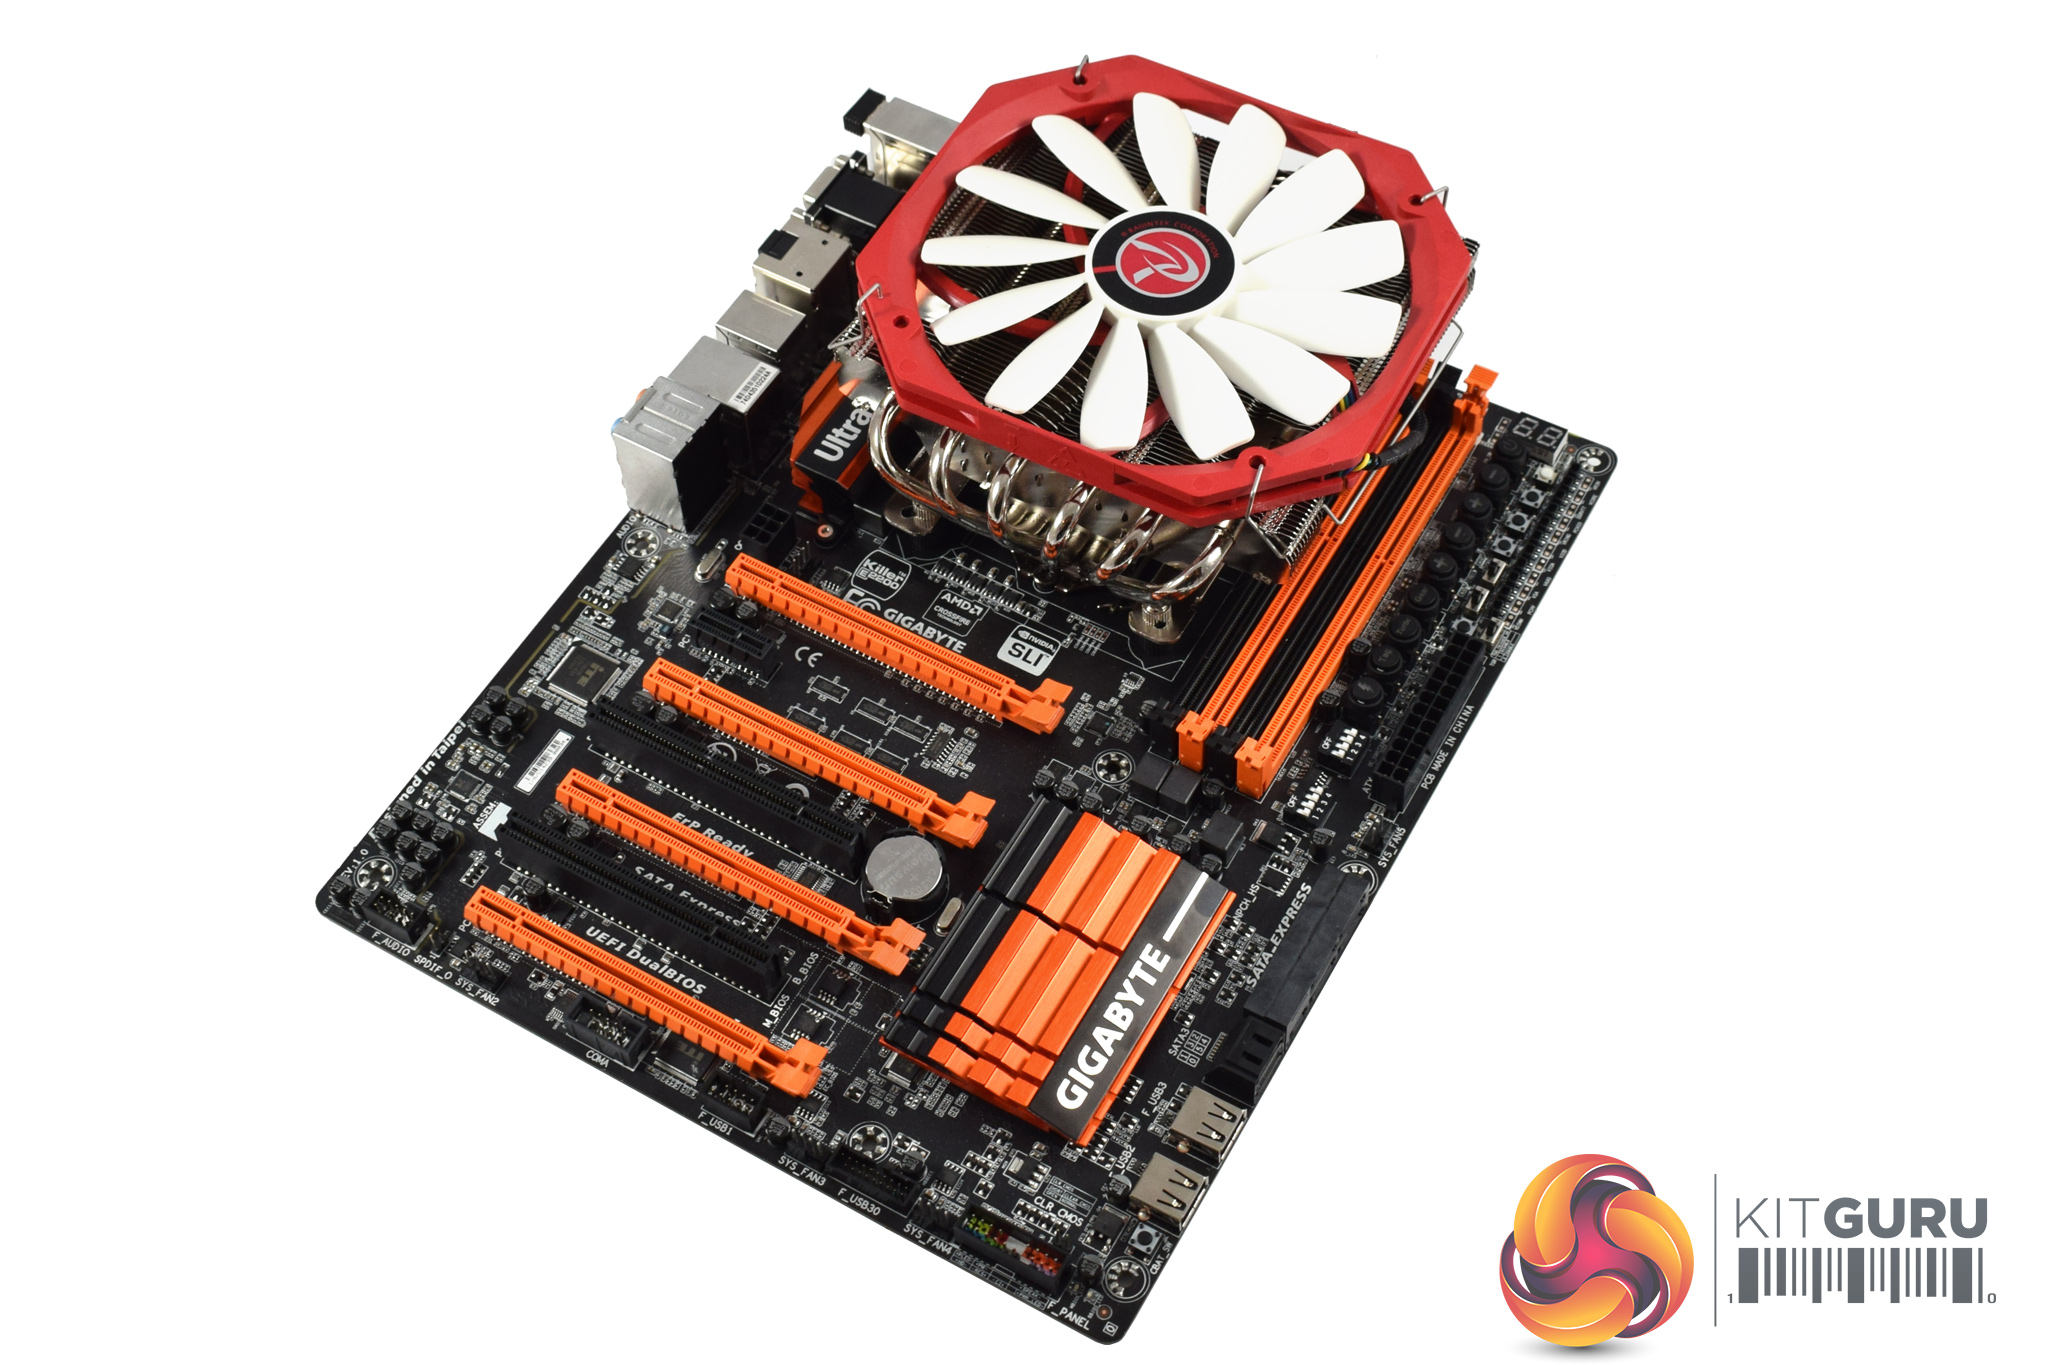
Lastly, the fan needs to be attached to the heatsink – it uses two clips which simply hold the fan to the heatsink.
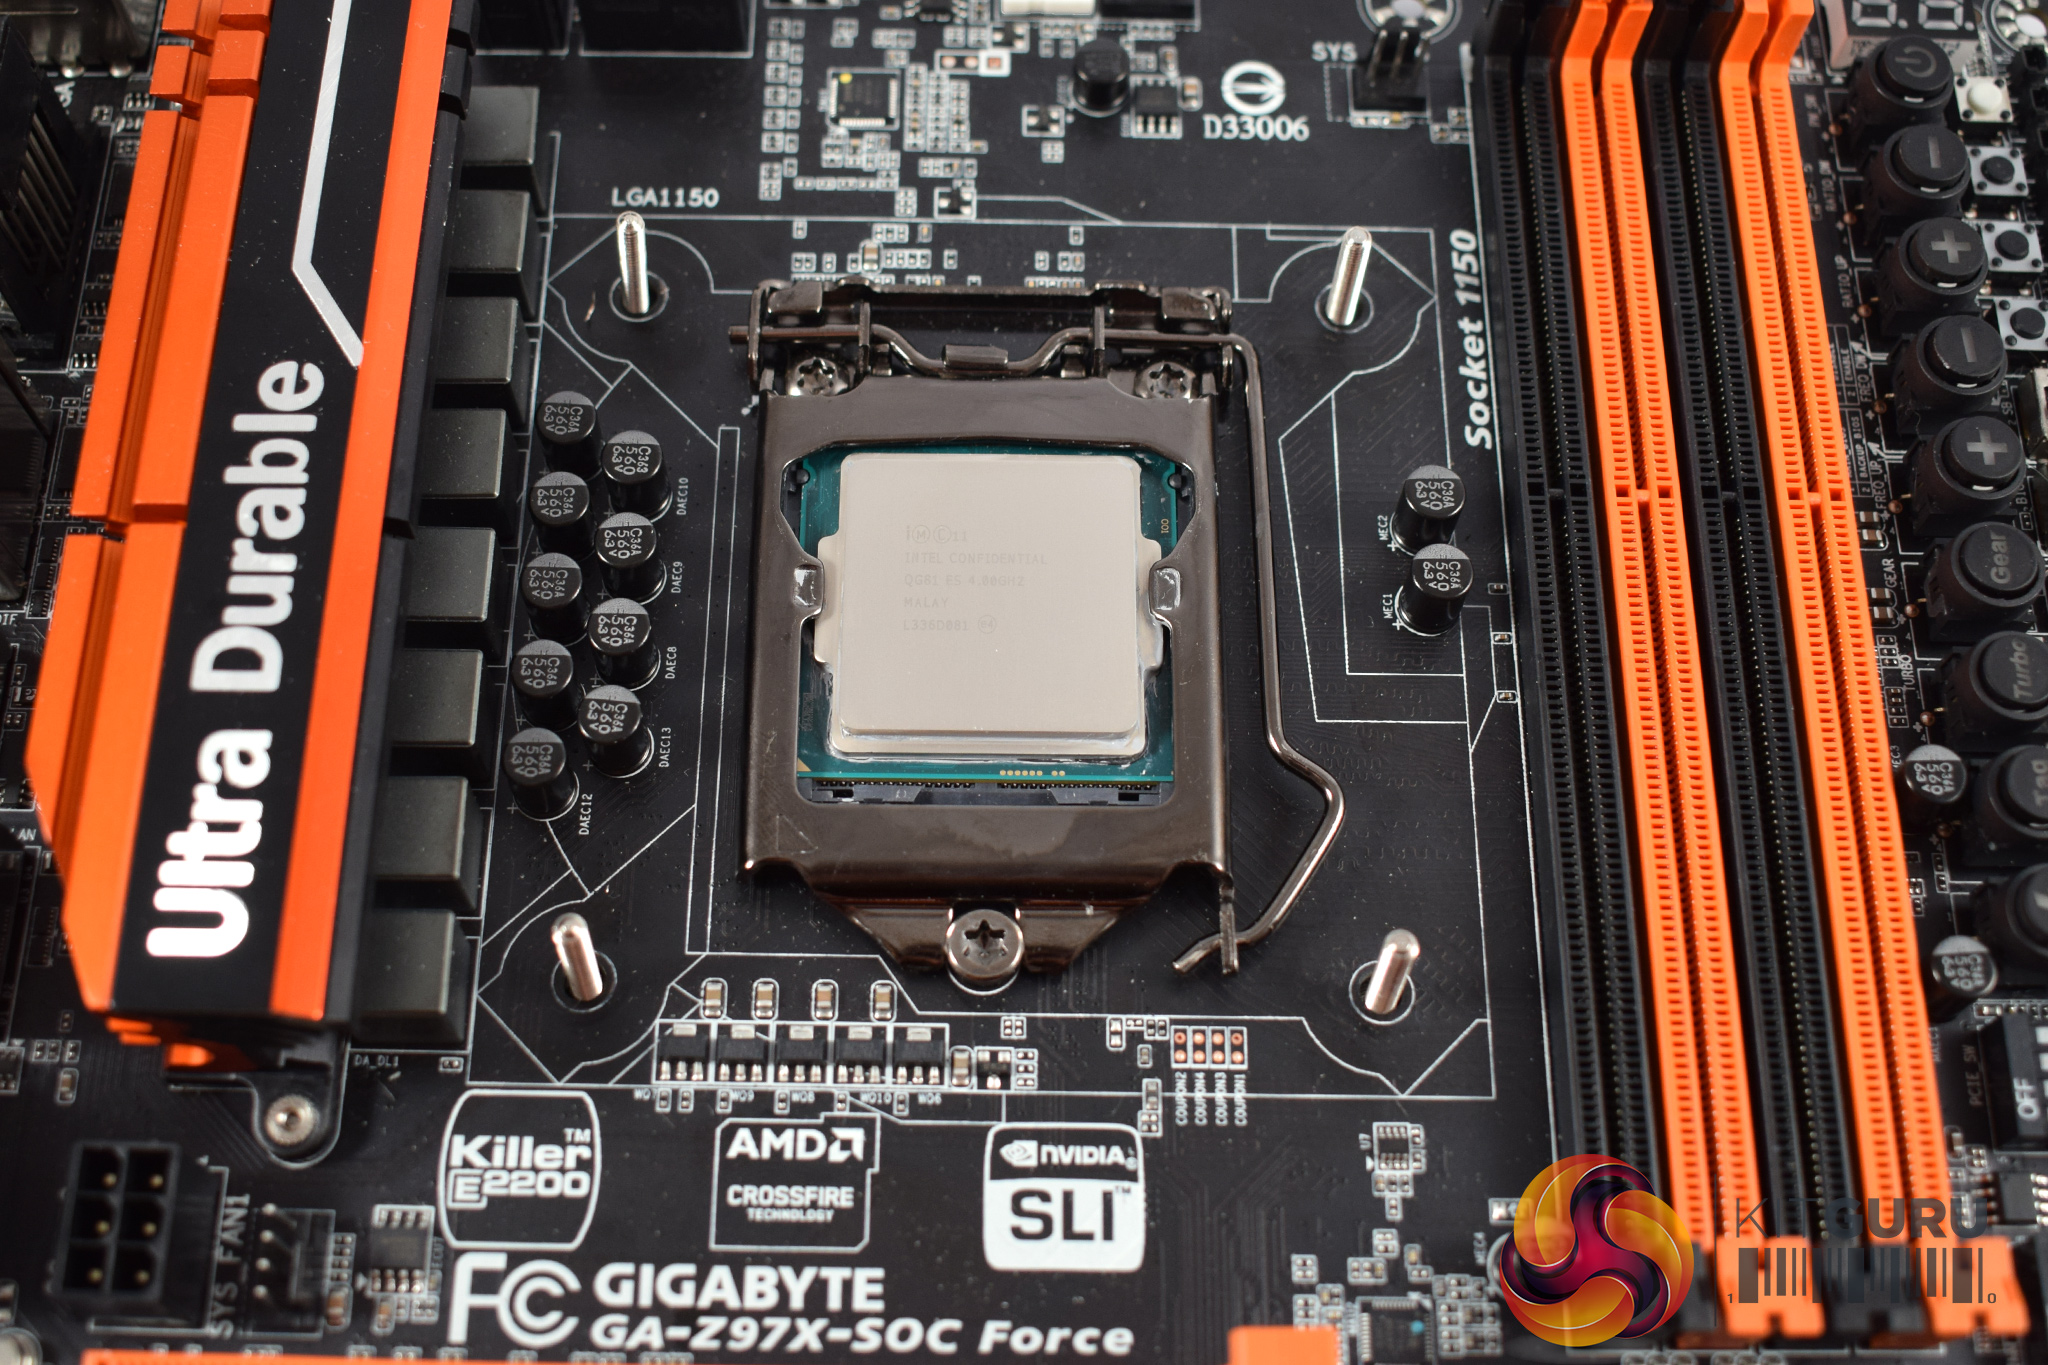
After that, installation is complete. That being said, I ran into an issue with the Pallas pretty fast: with the cooler oriented as you can see above, I was not able to plug in the CPU 8-pin power connector – it simply would not fit underneath the heatsink. This was the case after I followed the Pallas' manual to the letter.
As such, I would advise users to ignore the manual and mount the cooler 90 degrees counter-clockwise. This would mean the bulk of the cooler is hanging over the I/O, leaving a lot more room for your 8-pin CPU connector to fit.To test all CPU coolers, we devised an easily repeatable test with no variables other than the coolers themselves. This ensures that figures from every cooler we test are comparable with each other.
Test rig
Using an open-air test bench, we deploy an Intel Core i7-4790K plugged into a Gigabyte Z97X-SOC Force motherboard. Alongside this is 16GB of 2400MHz Corsair Vengeance DDR3, as well as a 120GB OCZ Trion 150 SSD. Powering everything is a Corsair RM750x PSU.
The test process
Testing coolers involves taking a total of 4 temperature readings per cooler. First, we measure the idle temperature of the i7-4790K at stock speeds (turbo boost disabled), before measuring its temperature under load at stock speeds. Next, we overclock the CPU to 4.5GHz using a 1.3 Vcore, ensuring greater heat output. In its overclocked state we then measure the idle and load temperatures of the CPU again. The figures we present are temperature deltas – meaning we take each temperature reading and minus the ambient temperature from it. This allows us to test in an environment that is not temperature-controlled.
To ward off potential comments or questions, we know 4.5GHz using a 1.3 Vcore is not the ‘best’ overclock – this particular CPU could reach that frequency at closer to 1.25 on the Vcore, which is more efficient. That is not the point, however. We are trying to stress the coolers to see how they deal with excess heat … hence the higher than necessary Vcore.
Where possible, each cooler’s fans are plugged directly into the motherboard using the CPU_Fan or CPU_Opt headers. Some AIOs, however, ship with their own fan controllers or PWM hubs. If we are unable to plug the fans directly into the motherboard, it is specified in the performance section of the review.
An idle reading comes from leaving Windows on the desktop for 15 minutes. A load reading comes from running Prime95’s (version 26.6) Small FFTs test for 15 minutes – enough time for temperatures to plateau.
Noise output
Unfortunately I am unable to properly measure the sound output of CPU coolers using a digital sound meter. This is because I am based alongside a busy road (with high ambient noise levels). Using a sound meter is, as such, not possible as there are variables out of my control. However, I will try my best to subjectively describe the noise output in a helpful manner.Temperatures
All temperature charts are sorted with lowest load temperatures at the top.
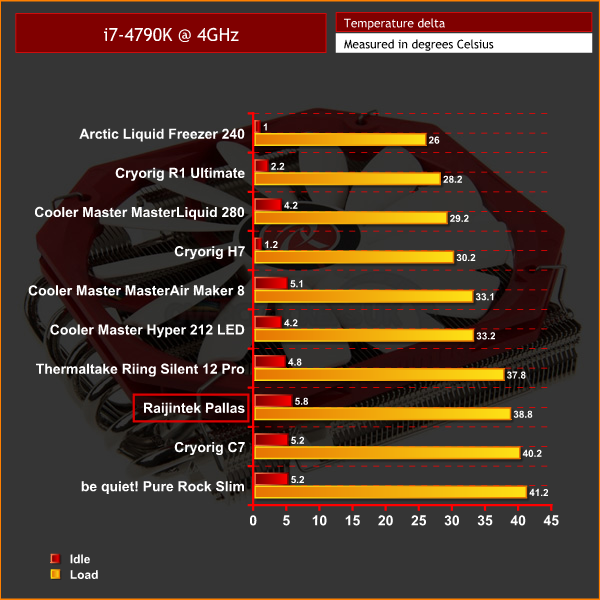
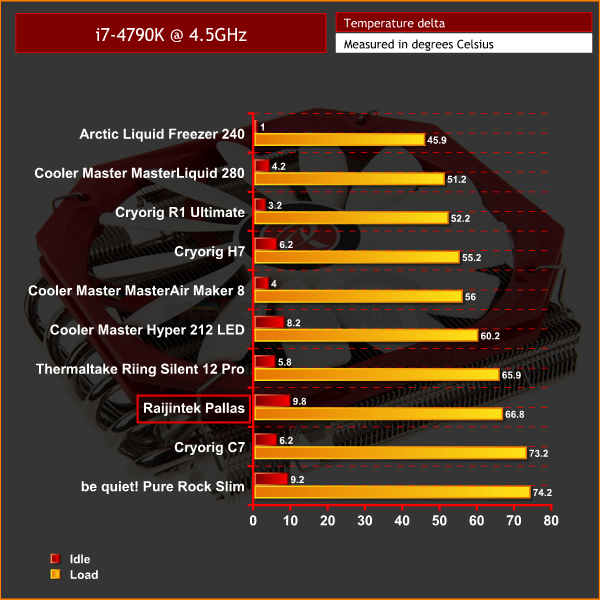
As you can see, the Pallas comes in third from bottom in both tests. This may seem like poor performance, but we have to keep the results in-context, and for a £38 low-profile cooler, I think the performance is actually quite good.
Obviously it cannot compete with a bigger air cooler like the Cryorig H7 or the Hyper 212 LED – but it is not meant to. The Pallas is designed to keep your CPU cooler in a highly space-constrained environment, and it will do that job well. Many people using the Pallas in an HTPC would likely have a less-demanding CPU than our i7-4790K anyway, so thermals would be absolutely no issue in that situation.
Acoustics
Acoustically, the Pallas does an admirable job. If you are not doing anything too demanding – simple web-browsing or video playback, for example – then the Pallas is whisper-quiet.
The low-profile fan cannot compete with a full-size fan, though, so when we pushed our CPU to 100% load, it did get quite loud. The noise was also on the whiny side, most likely due to the low-profile nature of the fan.
Again, though, we would add the caveat that if you are considering the Pallas to cool your CPU, it is unlikely you will be running programmes that will push a CPU to 100% load anyway – anyone doing such tasks would be better off with a beefier cooler.Having put the Raijintek Pallas through its paces, I think it is a solid offering for anyone considering a low-profile cooler – perhaps you are building a HTPC or SFF system and need all the space you can get.
For starters, I think it looks good thanks to its red-and-white fan, although this is obviously just my opinion.
I did encounter a number of issues with the installation process, though. The most significant issue I encountered was that I could not actually plug-in the CPU 8-pin power connector once I had mounted the Pallas. A way around this would be to mount the cooler 90 degrees counter-clockwise to what Raijintek suggest in the manual, though I do feel that I really should not have to point this out in the first place – that is Raijintek's job, not mine.
The Pallas' performance, for a low-profile cooler, is pretty good though. It cannot compete with the likes of the Cryorig H7 or the Cooler Master Hyper 212 LED, but it still offers decent thermals in a tiny form-factor.
Acoustically, it also does a decent job so long as you are not running your CPU under intense load for any amount of time. In that situation, the fan gets quite loud and whiny, though it is perfectly quiet in low-load situations.
All-in-all, the Raijintek Pallas is a good low-profile cooler at a decent price of £38.99. If Raijintek remedied the issues I encountered while installing the cooler, it would be even better.
![]()
You can buy one for £38.99 inc. VAT from Overclockers UK HERE.
Discuss on our Facebook page, over HERE.
Pros
- Looks good.
- Just 68mm tall.
- Quiet in low-load scenarios.
- Decent performance considering its size.
Cons
- I encountered a few issues while installing the cooler, including not being able to plug-in the 8-pin CPU power connector.
- The fan is a bit ‘whiny' running at 100% speed.
KitGuru says: For those looking for a low-profile CPU cooler, the Pallas is a strong contender. I did encounter 3 different issues while installing it, though, so any improvements there would be welcome.

Looks like Thermalright
Managing director of Google!, is explaining to users to start off “Work at home” method, that People have been doing for about one year now. These days alone, I generated close to $36,000 until now with no more than my home computer as well as some spare time, despite that i have a fulltime 9 to 5 job. Even everyone not used to this, can make $89/per h easily and the earnings can go even higher over time… This is how i started
!wr115c:
➽➽
➽➽➽➽ http://GoogleFinancialCashJobs115NationBusiness/GetPaid$97/Hour… ★✫★★✫★✫★★✫★✫★★✫★✫★★✫★✫★★✫★✫★★✫★✫★★✫★✫★★✫★✫★★✫★✫★★✫★✫★★✫:::!wr115u:…….
It can’t be made entirely (except for the base) of nickel… It’s nickel-PLATED aluminium
Thanks for the review! I was hoping you’d use a mini ITX motherboard to test this thing with, but I still got enough information to make my decision!