

We review a lot of gaming mice at KitGuru and while many of them are impressive, we don't get to see too many with hardware customisation options. Today, we are taking a look at the Cooler Master ‘MasterMouse Pro L', a true ambidextrous mouse with modular covers for the body and side grips, allowing users to make physical changes to the mouse to better suit them. Pair that with RGB lighting and a 12,000 DPI sensor and we are left with a mouse that sounds very impressive on paper, but how does it perform?

The Cooler Master MasterMouse Pro L is a true ambidextrous mouse, meaning it comes with all of the buttons and necessary requirements to support right and left handed use. As for the hardware customisation, you get two top covers of different lengths and two sets of side panels.
Features and Specifications:
- Avago PMW-3360 IR Optical Sensor.
- Up to 12,000 DPI.
- RGB Lighting.
- Weight: 104g.
- Matte UV Coating.
- 512KB on-board memory.
- Switches rated for 20 million clicks.
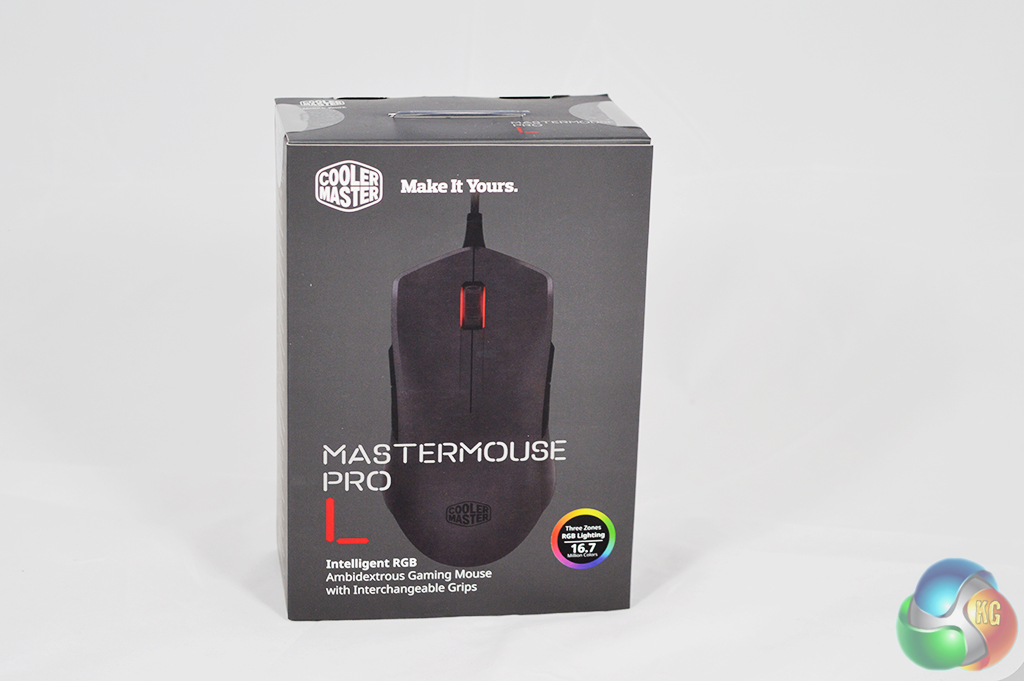
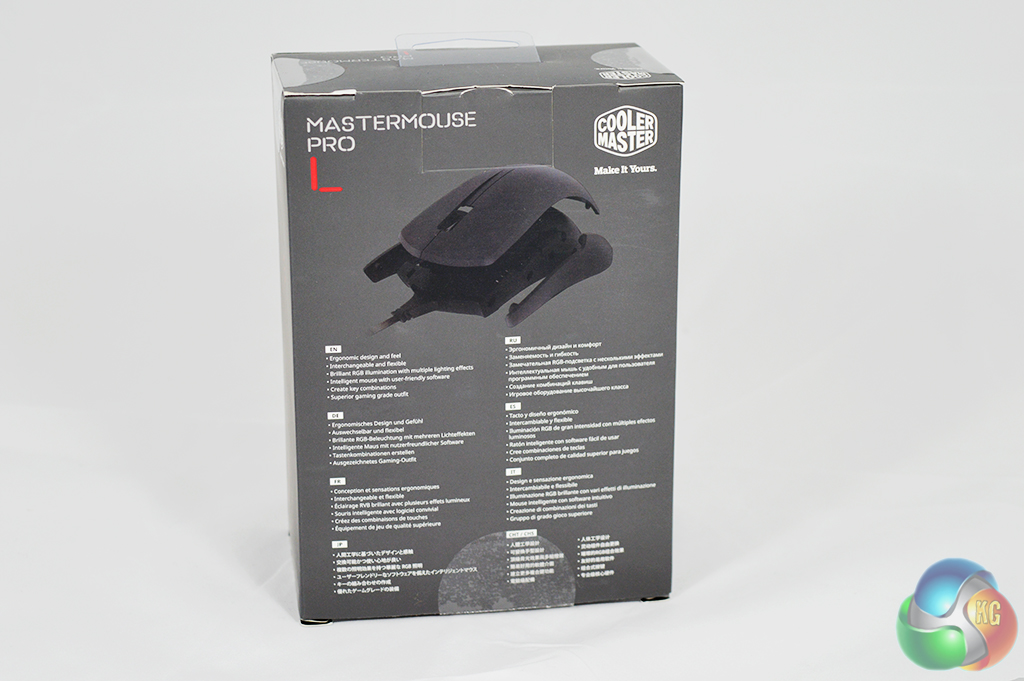
The MasterMouse ships in a standard sized box. On the front you will find an image of the mouse itself, while on the back you will find a short description of features in multiple languages.
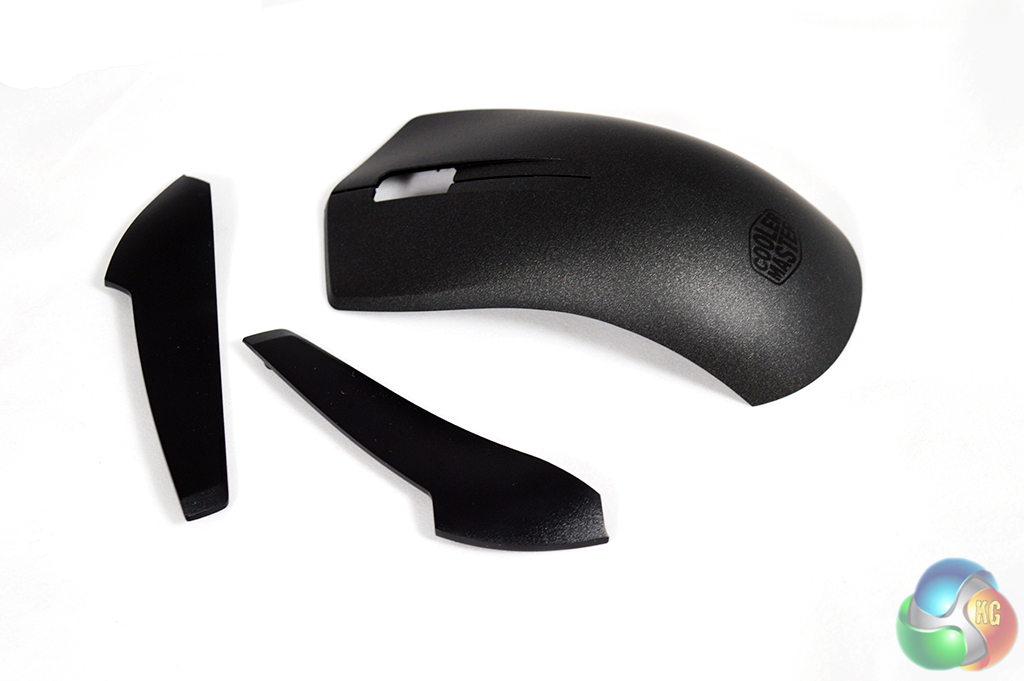
Inside you get the mouse itself, along with some replaceable side grips and an extended top body cover. One set caters to palm-grip use, while the other is aimed at claw-grip. This is something we do not see very often with gaming mice so it is an interesting inclusion. It is nice to see Cooler Master offering buyers additional options for how they use the mouse.
What is really cool though, is that Cooler Master is putting the designs out there to allow people to 3D print their own grips and covers. Someone with experience could probably make some adjustments of their own too.
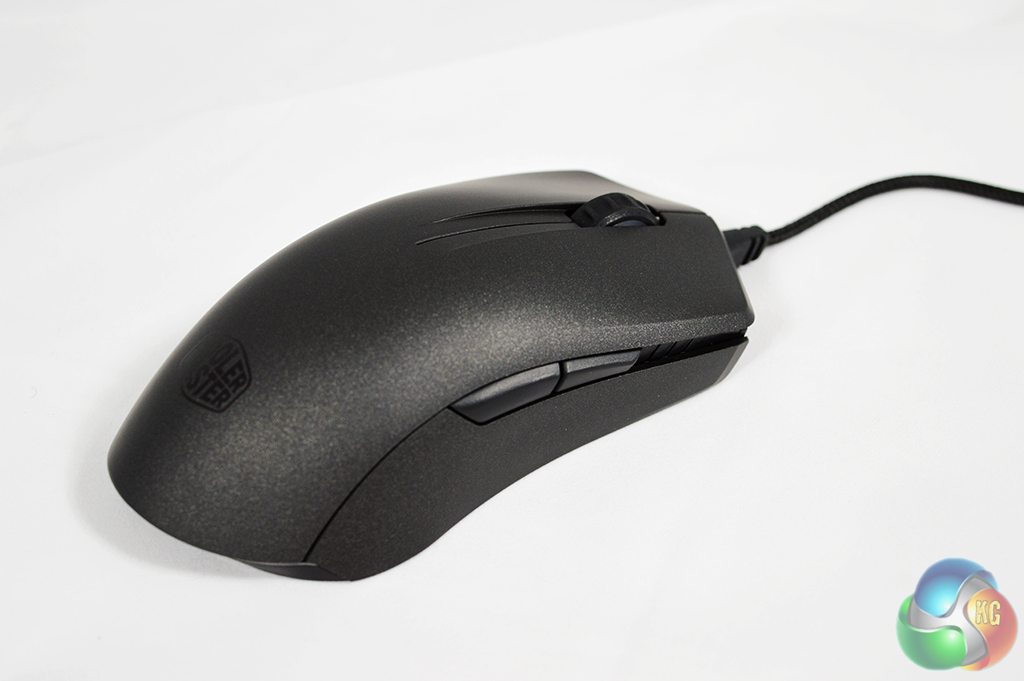
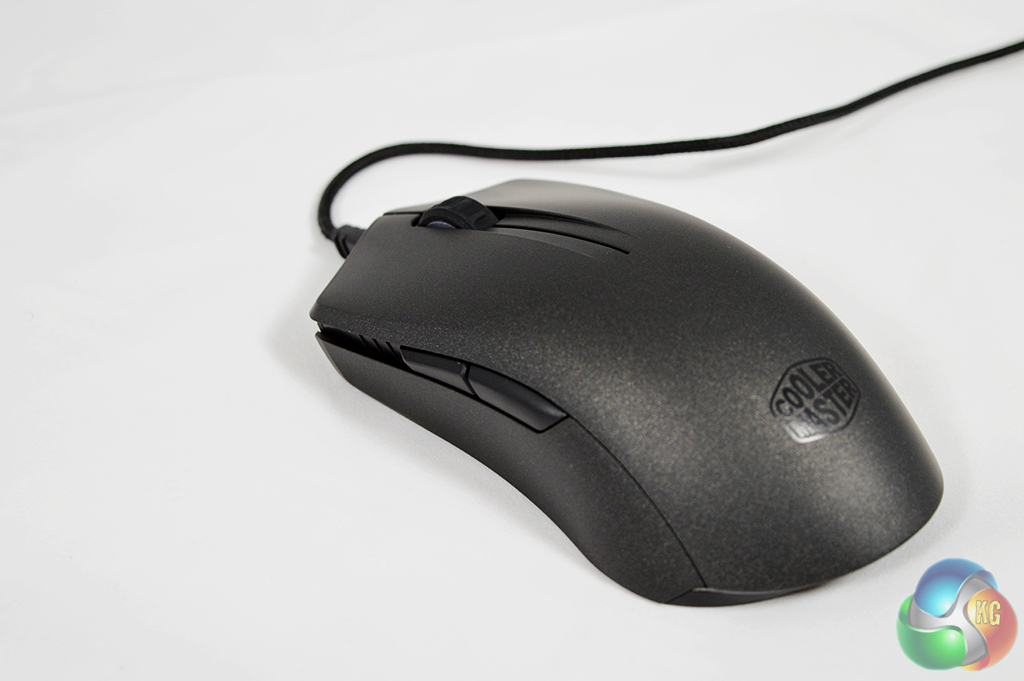
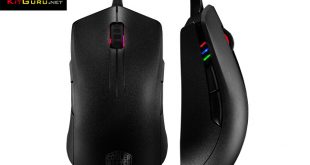
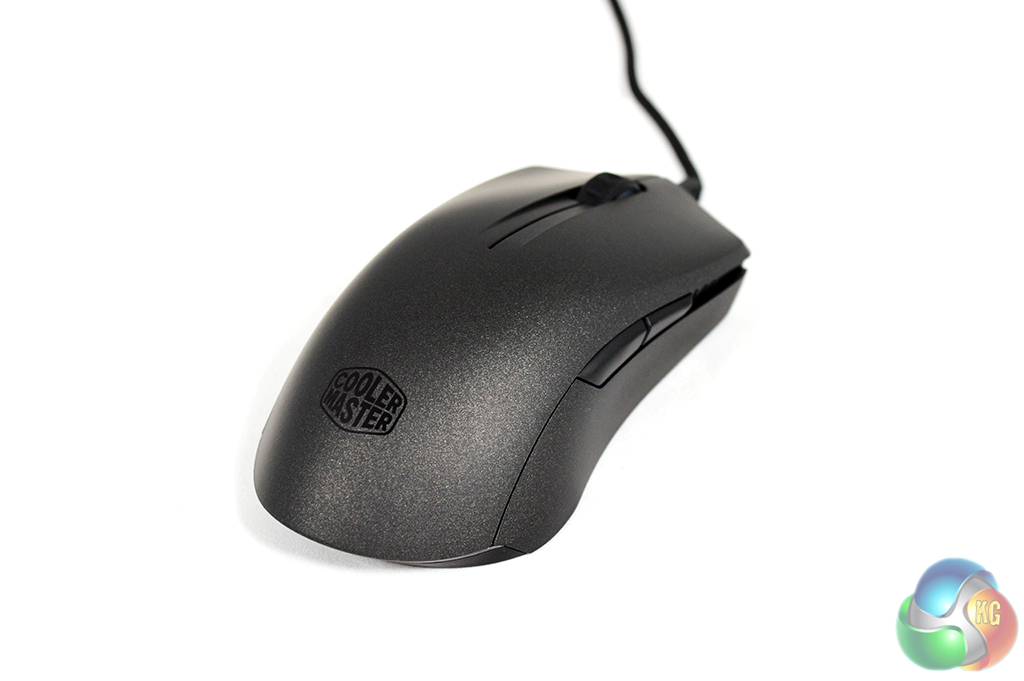
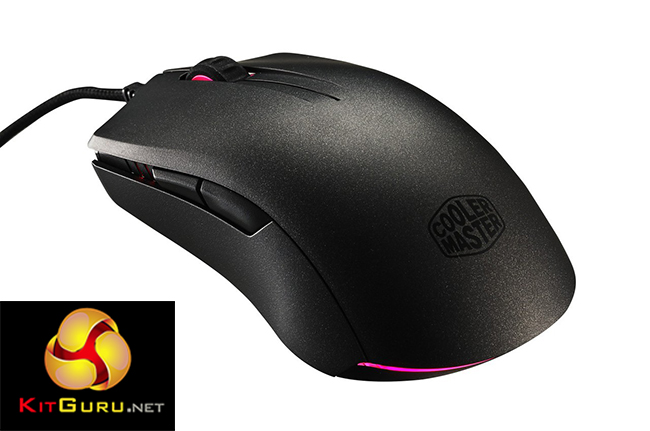
As you can see, this is a true ambidextrous mouse, with buttons on both sides to support left and right handed users, which is always an appreciated inclusion. The plastic on the mouse is smooth but does not feel like it would slip out of the hand easily. The plastic used here is not glossy either, so it shouldn't attract marks as quickly.
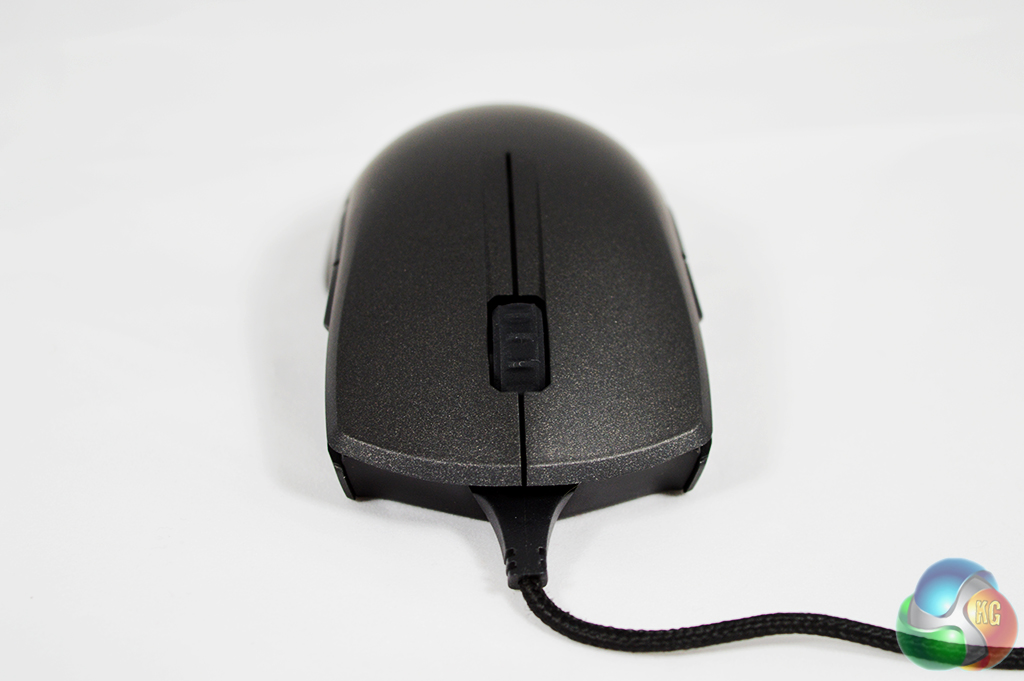
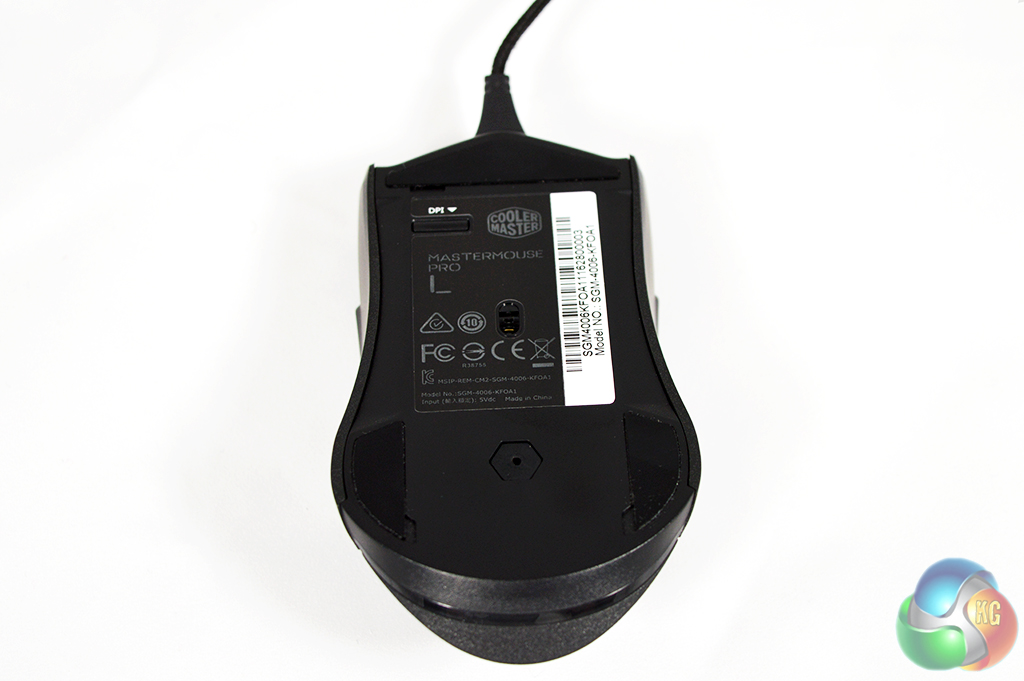
At the front of the mouse we can see the scroll wheel, which is not accompanied by any additional buttons for DPI switching. We can also see the braided cable, which can be raised up off the desk to help counter any cable drag. Underneath the mouse you can see the sensor itself, along with a DPI button- this is a fairly odd place to put a DPI toggle and given its inaccessibility during regular use, I do wonder why it exists in the first place.
We already know that there are some physical customisations you can make with the MasterMouse Pro L, but what about changes on the software side? Cooler Master has a simple and easy to use software hub available for its new ‘Master Series' products. We got our first look at it when we reviewed the Master Keys Pro S keyboard.
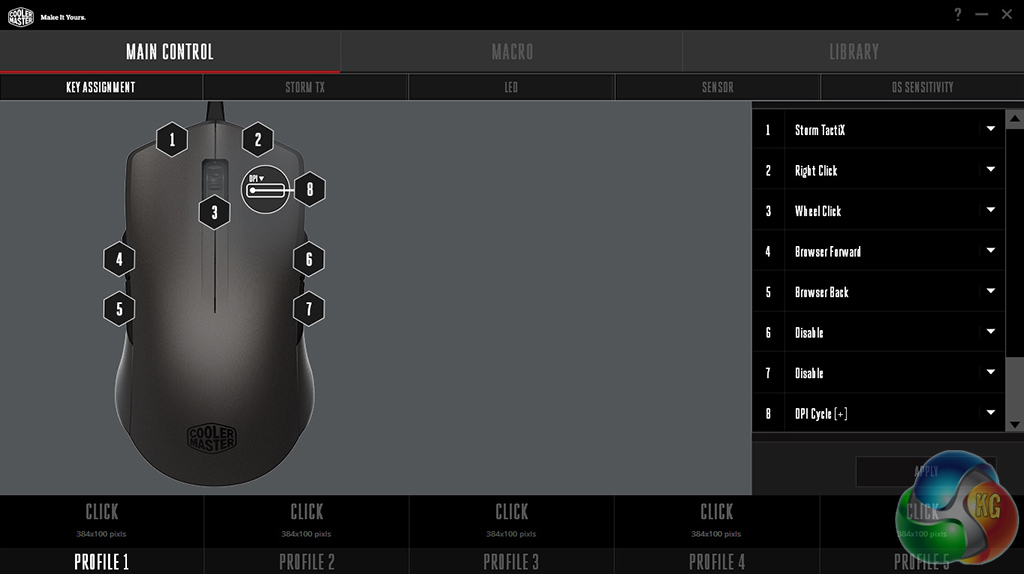

The main control window lets you change what every button on the mouse does, even the DPI toggle underneath. Realistically, I imagine most people will only really want to re-program the two extra buttons on the side of the mouse and leave the scroll wheel and mouse clicks in their default configuration.
The Storm Tactix button command on the first window allows you to assign secondary command functions to each button on the mouse, which would make the two side buttons in particular twice as useful for those who like to load up on custom commands or macros.
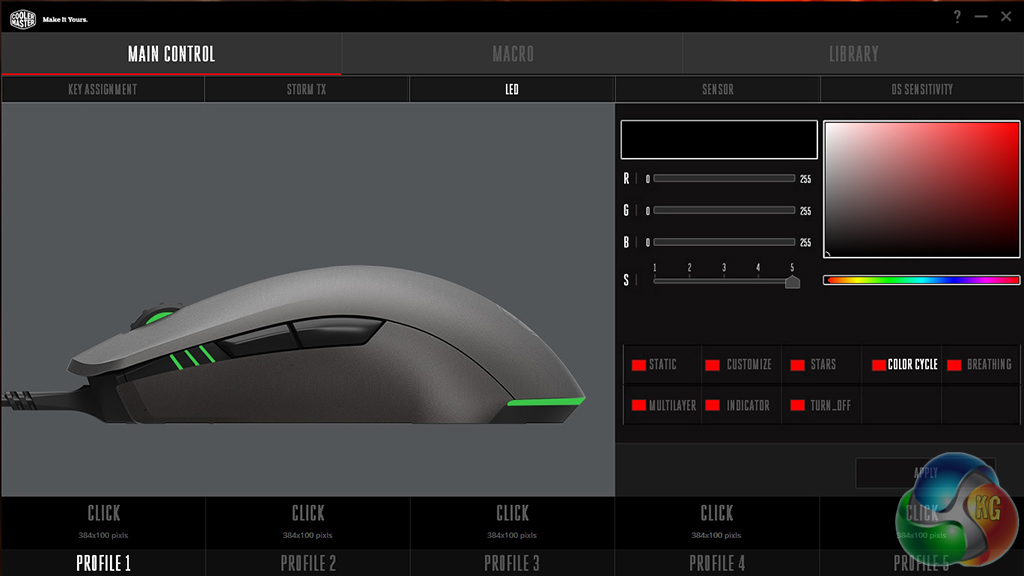
The LED window is fairly similar to any RGB colour selection screen. Here you can adjust colour levels to whatever you want, or set lighting effects like breathing, indicator, static, or colour cycle.
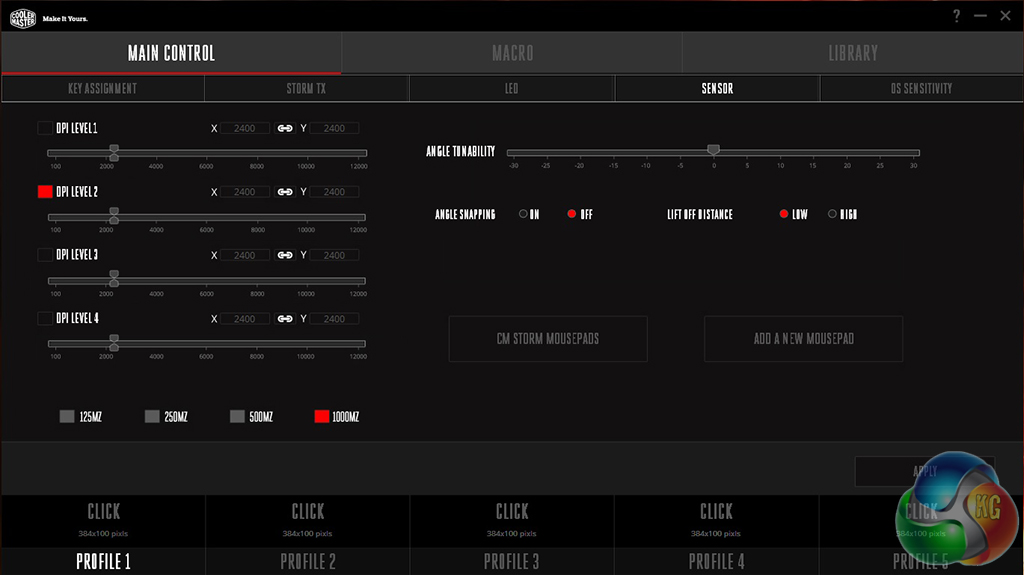
The sensor tab gives you complete control over DPI levels. You can also set different levels of sensitivity in-case you need to cycle to something else mid-game. Aside from that, you can also adjust the polling rate, or calibrate the sensor for your mouse pad, which should help you avoid minor cursor movements when lifting up the mouse to adjust position.
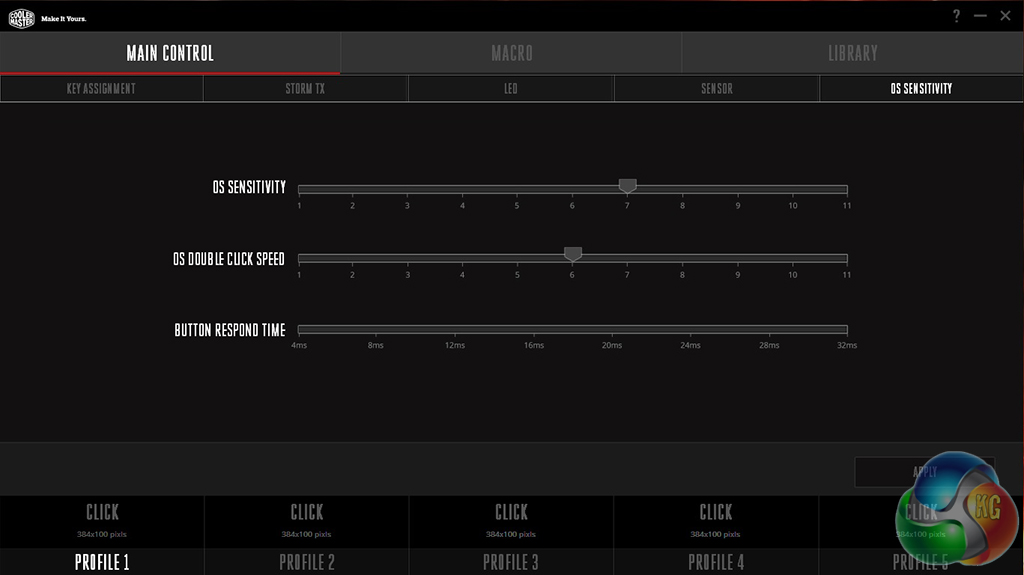
In the OS Sensitivity tab you can adjust mouse sensitivity for Windows, alongside things like button response time and double click speed.
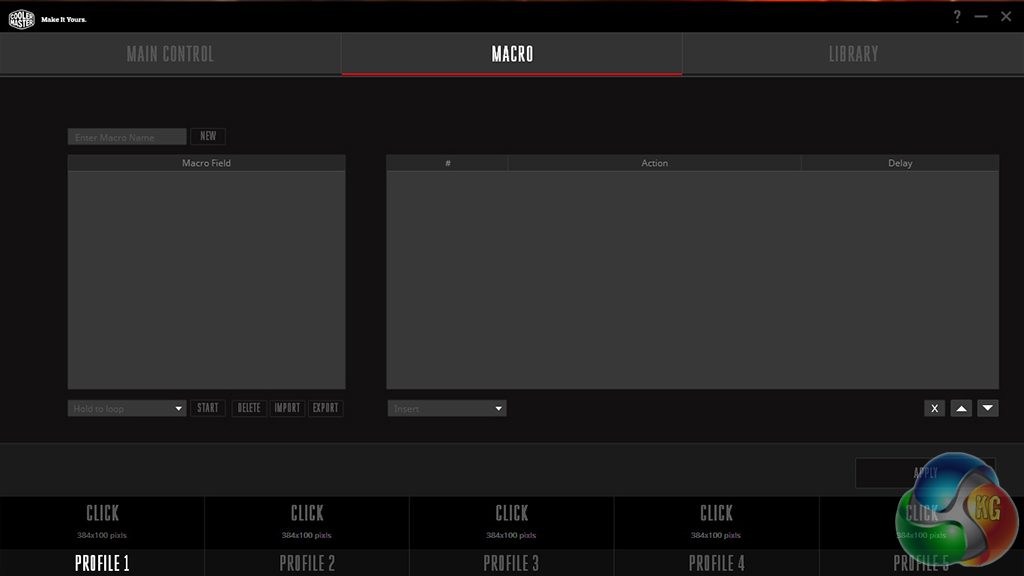
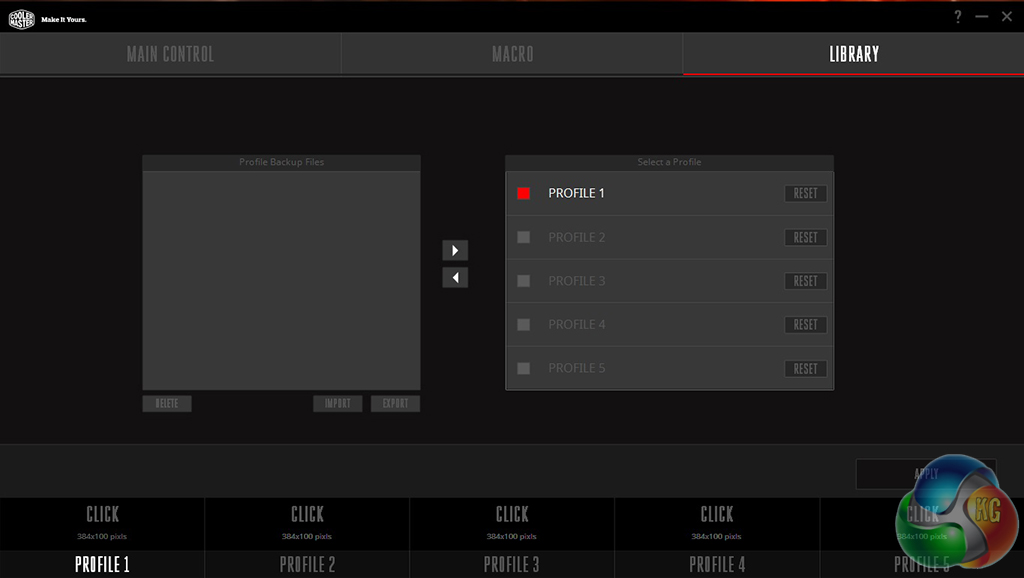
If you ever want to record a macro, the window on the left is the place to do it. It is pretty standard stuff, Cooler Master hasn't strayed from the norm here. The library tab is the last one you will see, here you can backup your button profiles and reset the ones you have set up.
Cooler Master's software is easy to navigate and get to grips with, on top of that, it offers a respectable level of customisation. It hits the must have features, like custom DPI levels and then throws in some extras like mouse pad calibration, macro recording and RGB lighting.
The only issue I had with Cooler Master's software is that it is a tad slow to boot up and even slower to apply settings, even on a Samsung 850 Evo SSD. Loading up takes just a second or two longer than you would expect but applying settings to your mouse really does drag, often taking just over 20 seconds. This isn't an uncommon problem amongst gaming mice but it would be nice to see it addressed.
Now that we are done with the software, let's talk about day to day usage. Cooler Master is launching the MasterMouse Pro L today, so I've had my sample for around a week. It has been my main mouse during that time and I must say, it has been a pleasure to use.
While you can swap out the cover and side grips and top cover for claw grip use, I found the default configuration to be best for me. Both sets of covers are made from the same material, so they don't feel too different, it is not like one offers slightly better grip over the other.
The plastic used for the MasterMouse is smooth but it isn't glossy, so it does not become slippery during long gaming sessions, nor does it show up marks as quickly. I am not saying marks will never appear on the plastic but so far, I have been in the clear.
I have been training up a few characters in World of Warcraft this week in preparation for Legion, so that is where most of my gaming hours with this mouse went. Some gamers like to have lots of buttons on their mice but thanks to the Storm Tactix function, which gives buttons a secondary function, I found the two on the side to be adequate enough for a few custom in-game commands.
I didn't calibrate the Avago PMW-3360 IR Optical Sensor for my mouse pad simply because I did not feel like I needed to. During use I encountered no issues with tracking and I found the default lift-off distance to be perfectly fine. However, this could differ depending on what surface you are using. I happen to use an OCUK XL mouse pad rather than the wood surface of my desk.
The MasterMouse weighs in at 127g (with the cable), which is very light, making movements quick and easy. However, it is not quite as light as something like the Fnatic Gear Flick, which came in at 90g. I couldn't really tell the difference in use myself but you never know, some people can be quite particular when it comes to things such as mouse weight.
In all, I have been quite pleased with Cooler Master's ‘MasterMouse Pro L'. I honestly haven't come away with too many criticisms of it, perhaps the DPI button underneath the mouse could have been better placed and the software could do with a speed boost but outside of that, the mouse has been a pleasure to use.
I personally chose to stick to the standard side grips and top cover as I do not use claw grip. However, it is always great to see a company offering its customers more options. On top of that, Cooler Master is going to put its cover and grip designs online for those with 3D printers, so if something ever goes wrong, you can easily make a replacement.
The Avago 3360 IR Sensor handled tracking perfectly fine, to the point where I did not even need to calibrate for my mouse mat. The sensor also supports up to 12,000 DPI, which should keep most users more than happy.
While the mouse technically has 8 programmable buttons, I imagine most will only bother with the two on the side, which gives you four custom commands in total once you factor in the Storm Tactix mode.
It all comes down to price though, the Cooler Master MasterMouse Pro L can be bought for £49.99 here in the UK from the beginning of September, unless you're at Insomnia LAN this weekend, where a few will be on sale at the Cooler Master stand. This is a very reasonable price point for what is on offer but it will face some tough competition.
Discuss on our Facebook page, over HERE.
Pros:
- Extra covers and side grips.
- Software comes with all needed features.
- No issues with the tracking sensor.
- Storm Tactix mode makes good use out of fewer buttons.
- Offers decent amount of grip.
Cons:
- Software could be snappier when booting and saving new settings.
- Lot's of competitive options at the £50 price point.
- Weird DPI button placement.
KitGuru Says: The Cooler Master MasterMouse Pro L is a fine mouse for the money. If you want a mid-range mouse with plenty of features and customisation, then this is worth buying.

I am earning approximately 6.000-8.000 bucks every month with an online job i found on internet. For anyone prepared to work easy at home work for several h /day from your couch at home and get solid income in the same time… This is an opportunity for you… UR1.CA/pm79v
dfg3453
I basically earn close to 6000-8000 bucks every month from freelancing online. Anyone looking to complete simple computer-based work for 2h-5h each day at your home and make solid profit while doing it… This is an opportunity for you… UR1.CA/pm79v
xfgertry
I am profiting around $6000-$8000 /a month working online. For anyone ready to complete easy freelance jobs for few hrs a day from your house and get solid paycheck in the same time… This is a work for you… UR1.CA/pm7a2
gfh45