In the quest for a truly silent chassis, case manufacturers are constantly looking for new ways to combat noise output from the desktop PC. Today, we are looking at Cooler Master’s latest “silent” PC case. The Silencio S400 has many features developed to offer the best balance in silence, thermal capability and value.
Cooler Master states: ‘The complexity of the Silencio is found in the details of its minimalistic design‘. With this we agree – Cooler Master has managed to take this simple design and create something rather interesting, which indicates that minimalistic doesn’t always mean boring.
The Silencio S400 was developed simultaneously with the NR400, which we reviewed earlier this year. This becomes obvious when we take a closer look at the S400 and see the core chassis of the S400 and NR400 are identical. This is good news, as we really liked the NR400, so hopefully the additions to the S400 should make this even better…
The Silencio S400 is available to purchase for around £80 in the UK right now, making it a very affordable ‘near silent' PC case, with features to rival more expensive competitors.
The S400 is a new mATX case, which is part of a range of near-silent Products from Cooler Master, therefore support for Micro ATX or Mini ITX motherboards is possible. The bigger brother, the S600 Mid Tower, which looks extremely similar, supports full ATX size motherboards for just £10 more.
Key features
- Sound dampening material in key areas.
- Extensive support for multiple radiators.
- Great range for storage options.
- Removable easy clean dust filters.
- Tempered glass or steel side panel options.
Specifications
- Size – Mini Tower
- Available colours – Black
- Materials – Steel, Plastic, Tempered Glass, Sound Dampening Material
- Dimensions – (LXWXH) 418mm x 210mm x 408mm
- Motherboard Support – Mini ITX, Micro ATX
- Expansion Slots – 4
- 5.25″ Drive Bays – 1
- 3.5″ Driver Bays – 4
- 2.5″ Drive Bays – 4
- Front I/O Panel – 2x USB 3.2 Gen 1, 1x Four pole 3.5mm Headset Jack, 1x SD card reader
- Pre-Installed Fans – Front 1x 120mm, Rear 1x 120mm
- Fan Support – Front – 2x 120/140mm, Rear 1x 120mm
- Fan Support – Top 1x 120/140mm, 2x 120/140mm (remove ODD cage)
- Radiator Support – Front 120mm, 140mm, 240mm, 280mm, Top 120mm, 240mm (requires removal of 5.25” cage), Rear 120mm
- CPU Cooler Clearance – Steel: 167mm, TG: 166mm
- Maximum GPU Size – 319mm
- PSU Clearance – 325mm (w/o front radiator & HDD cage), 140mm (HDD cage in backmost position)
- Dust Filters – Top, Front, Bottom
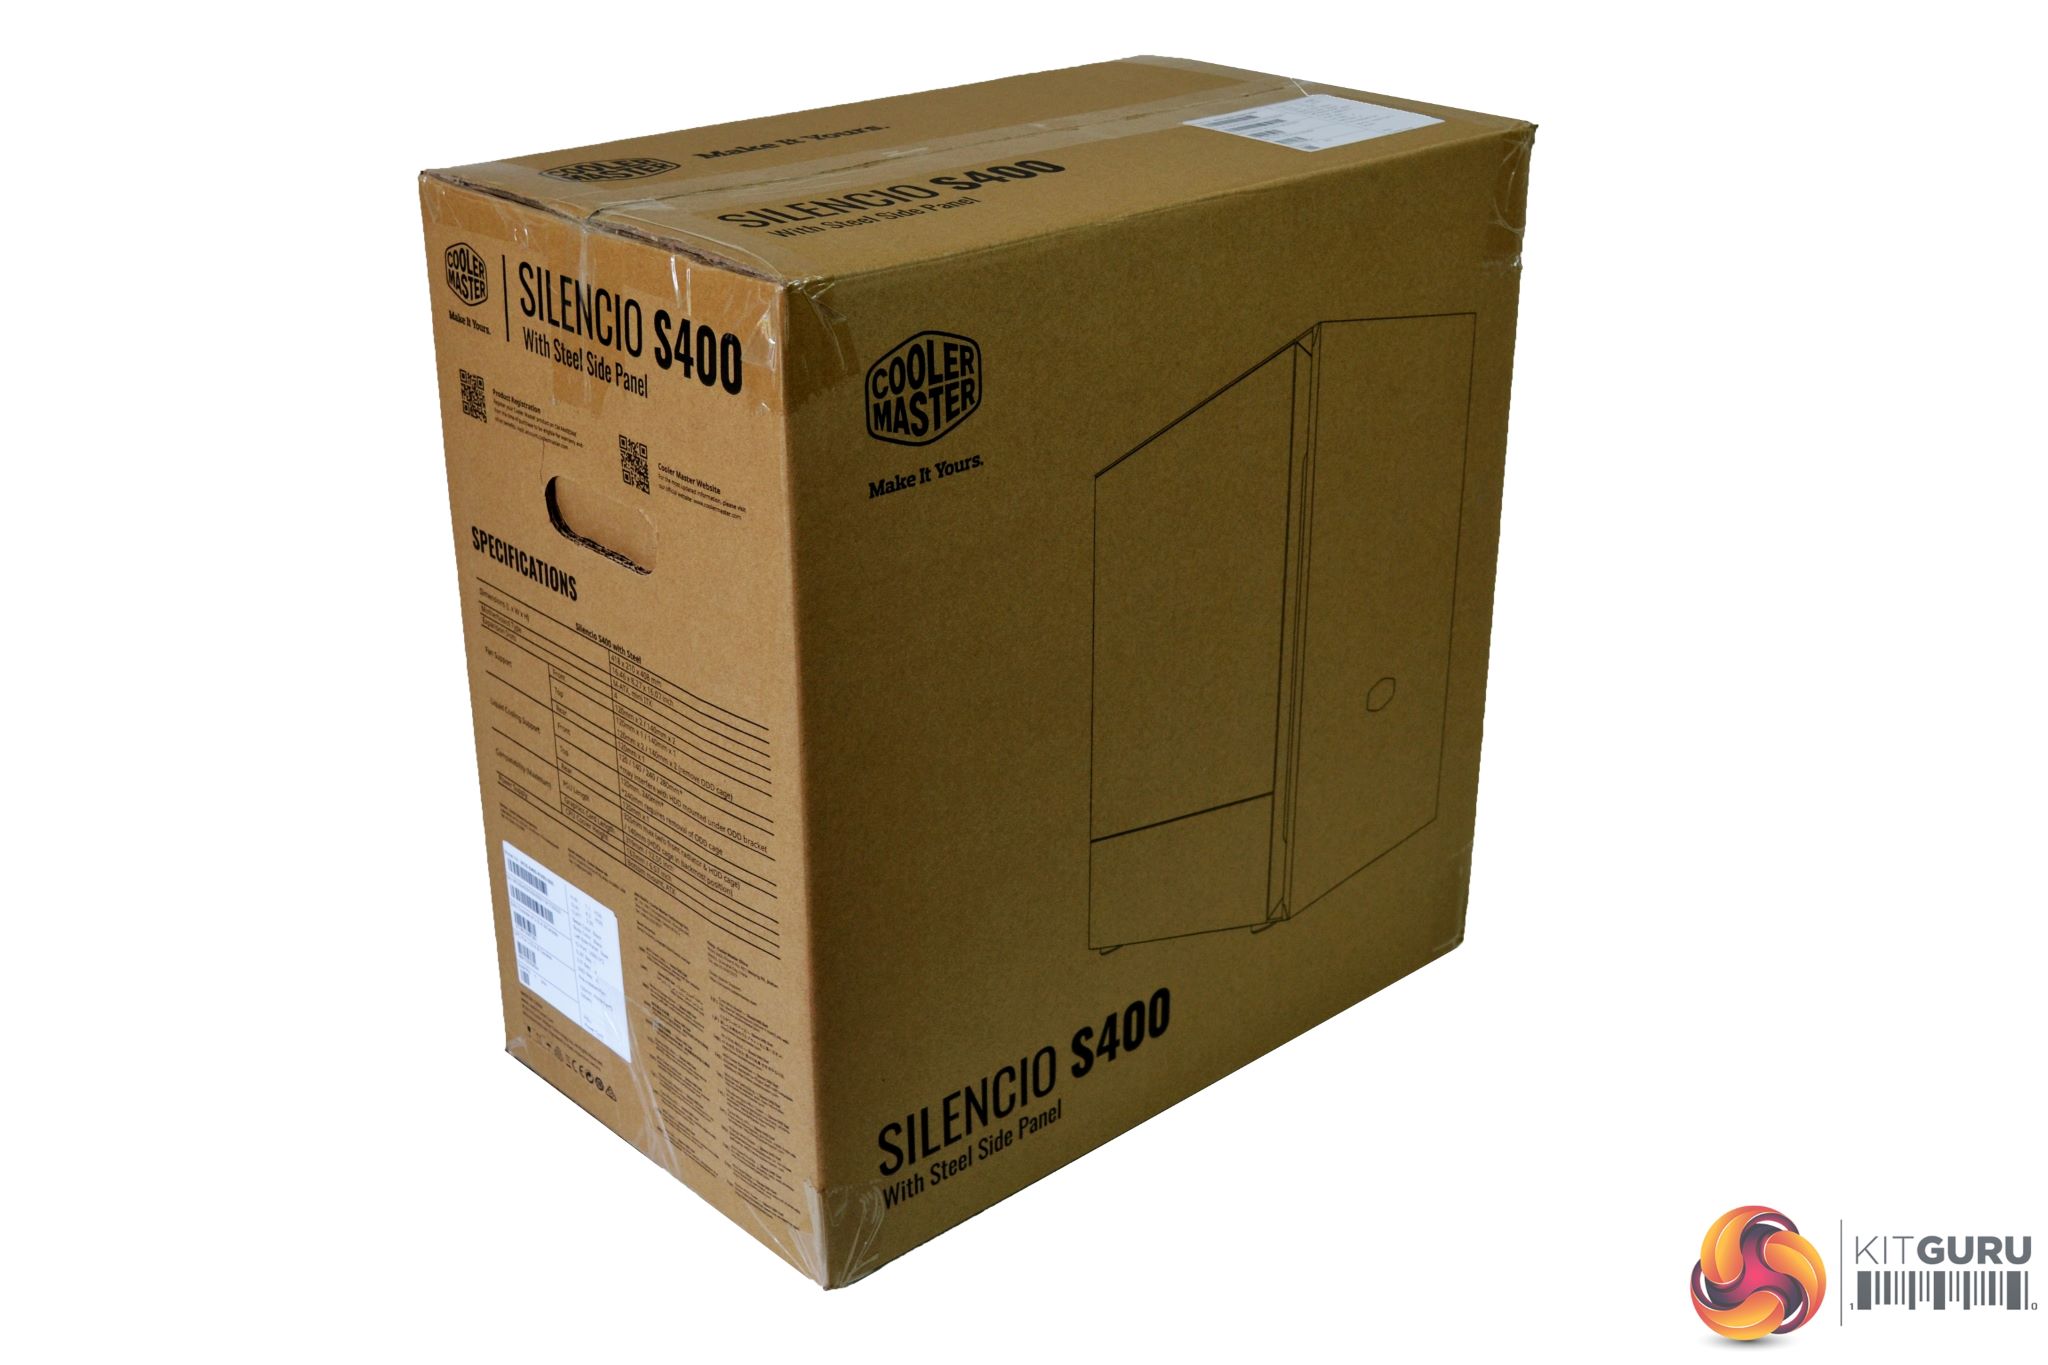
Cooler Master have packaged the Silencio S400 in a brown cardboard box. On the front, towards the right-hand side, there is a large image of the case with the Cooler Master logo in the top-left corner.
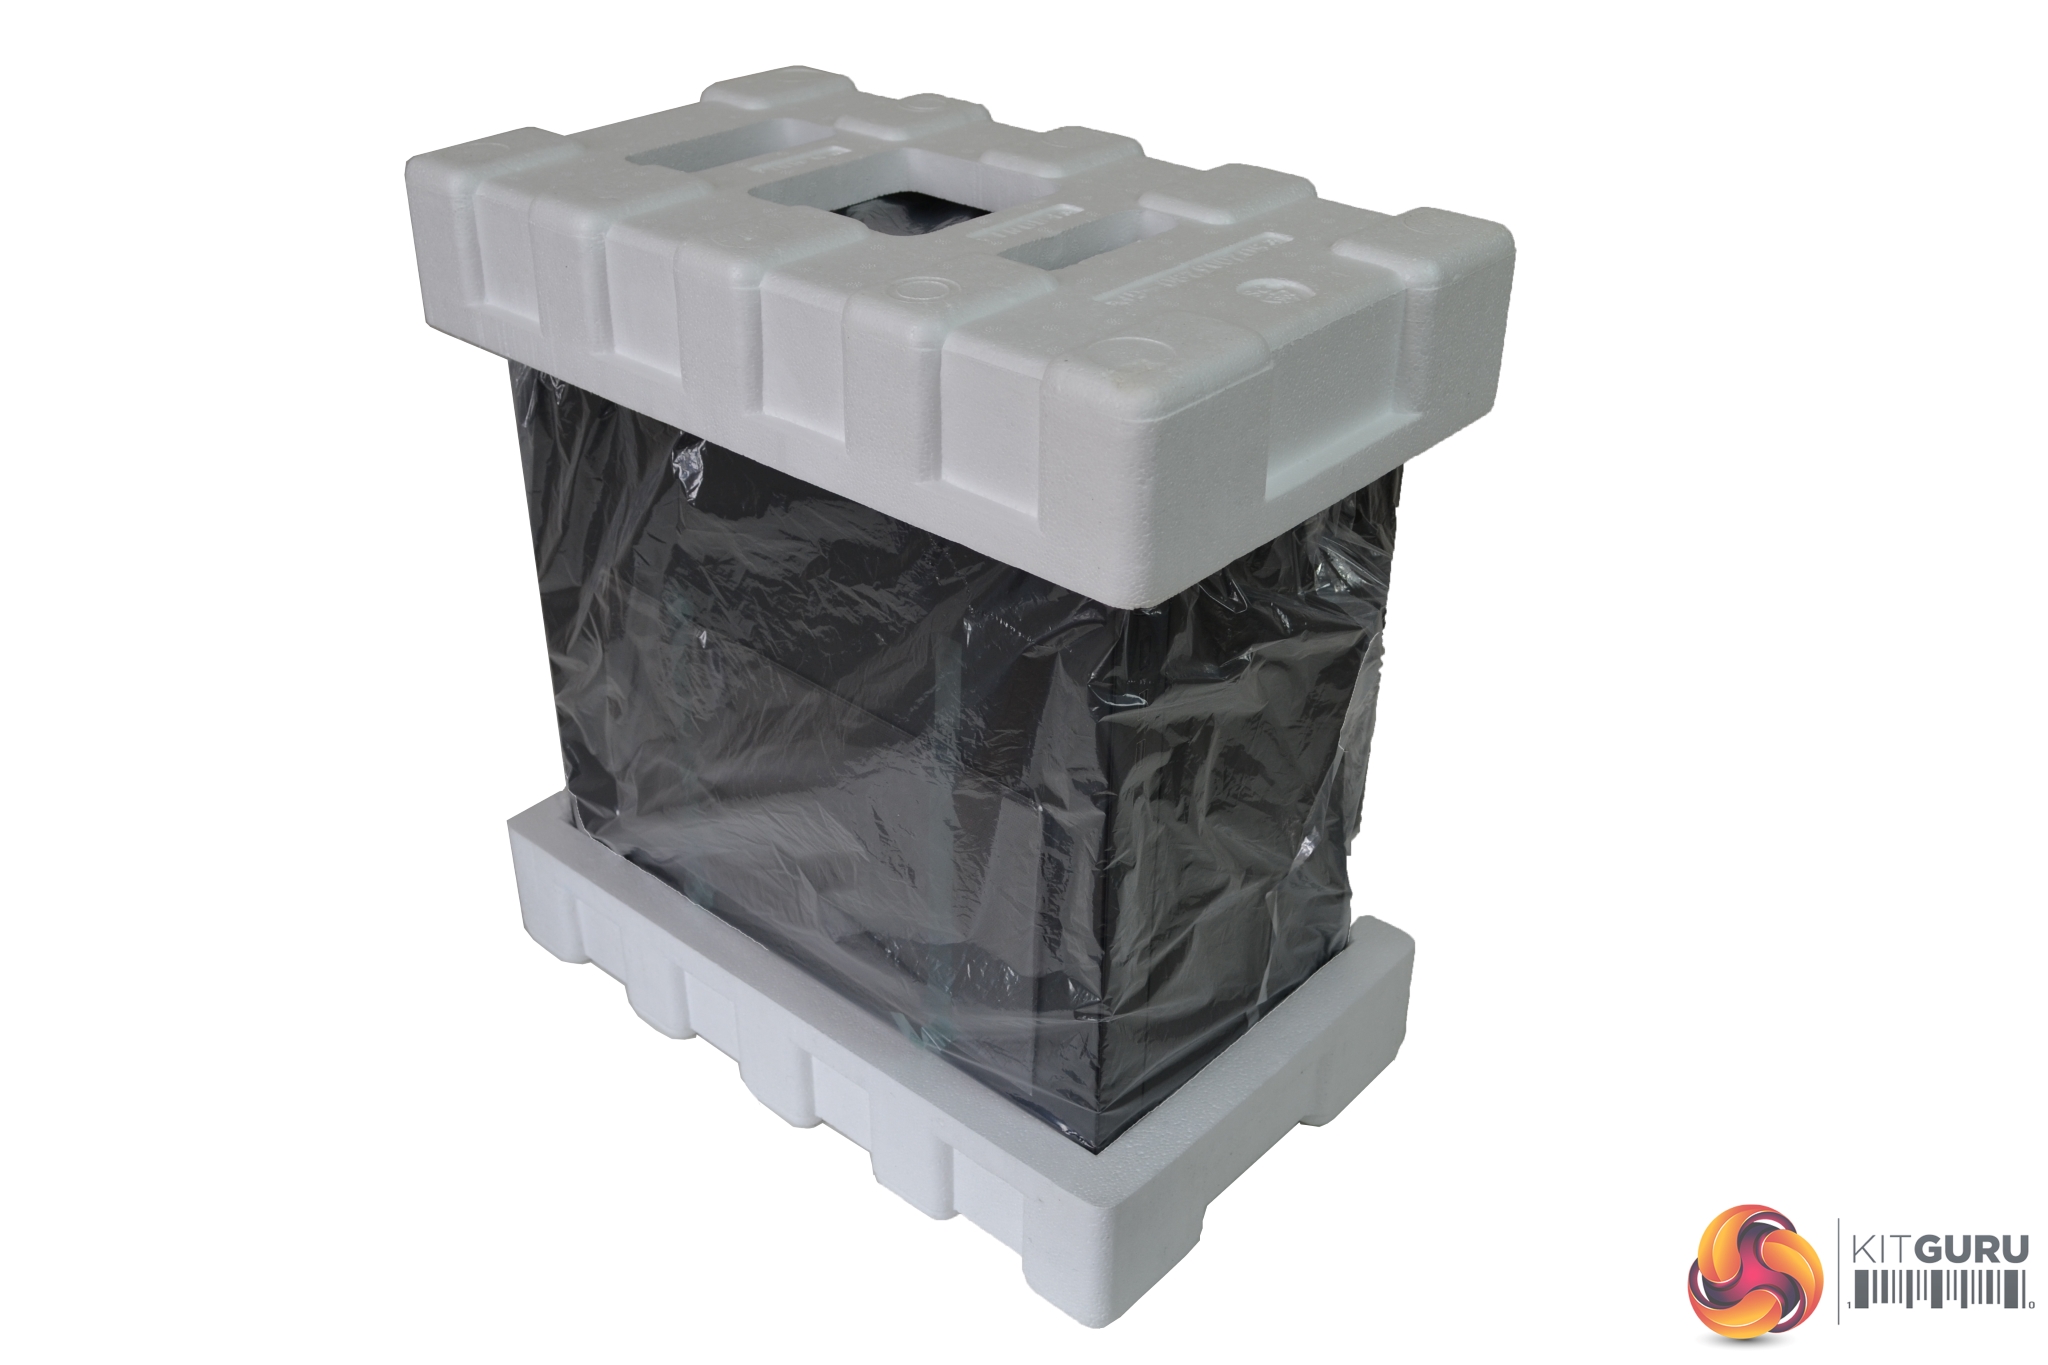
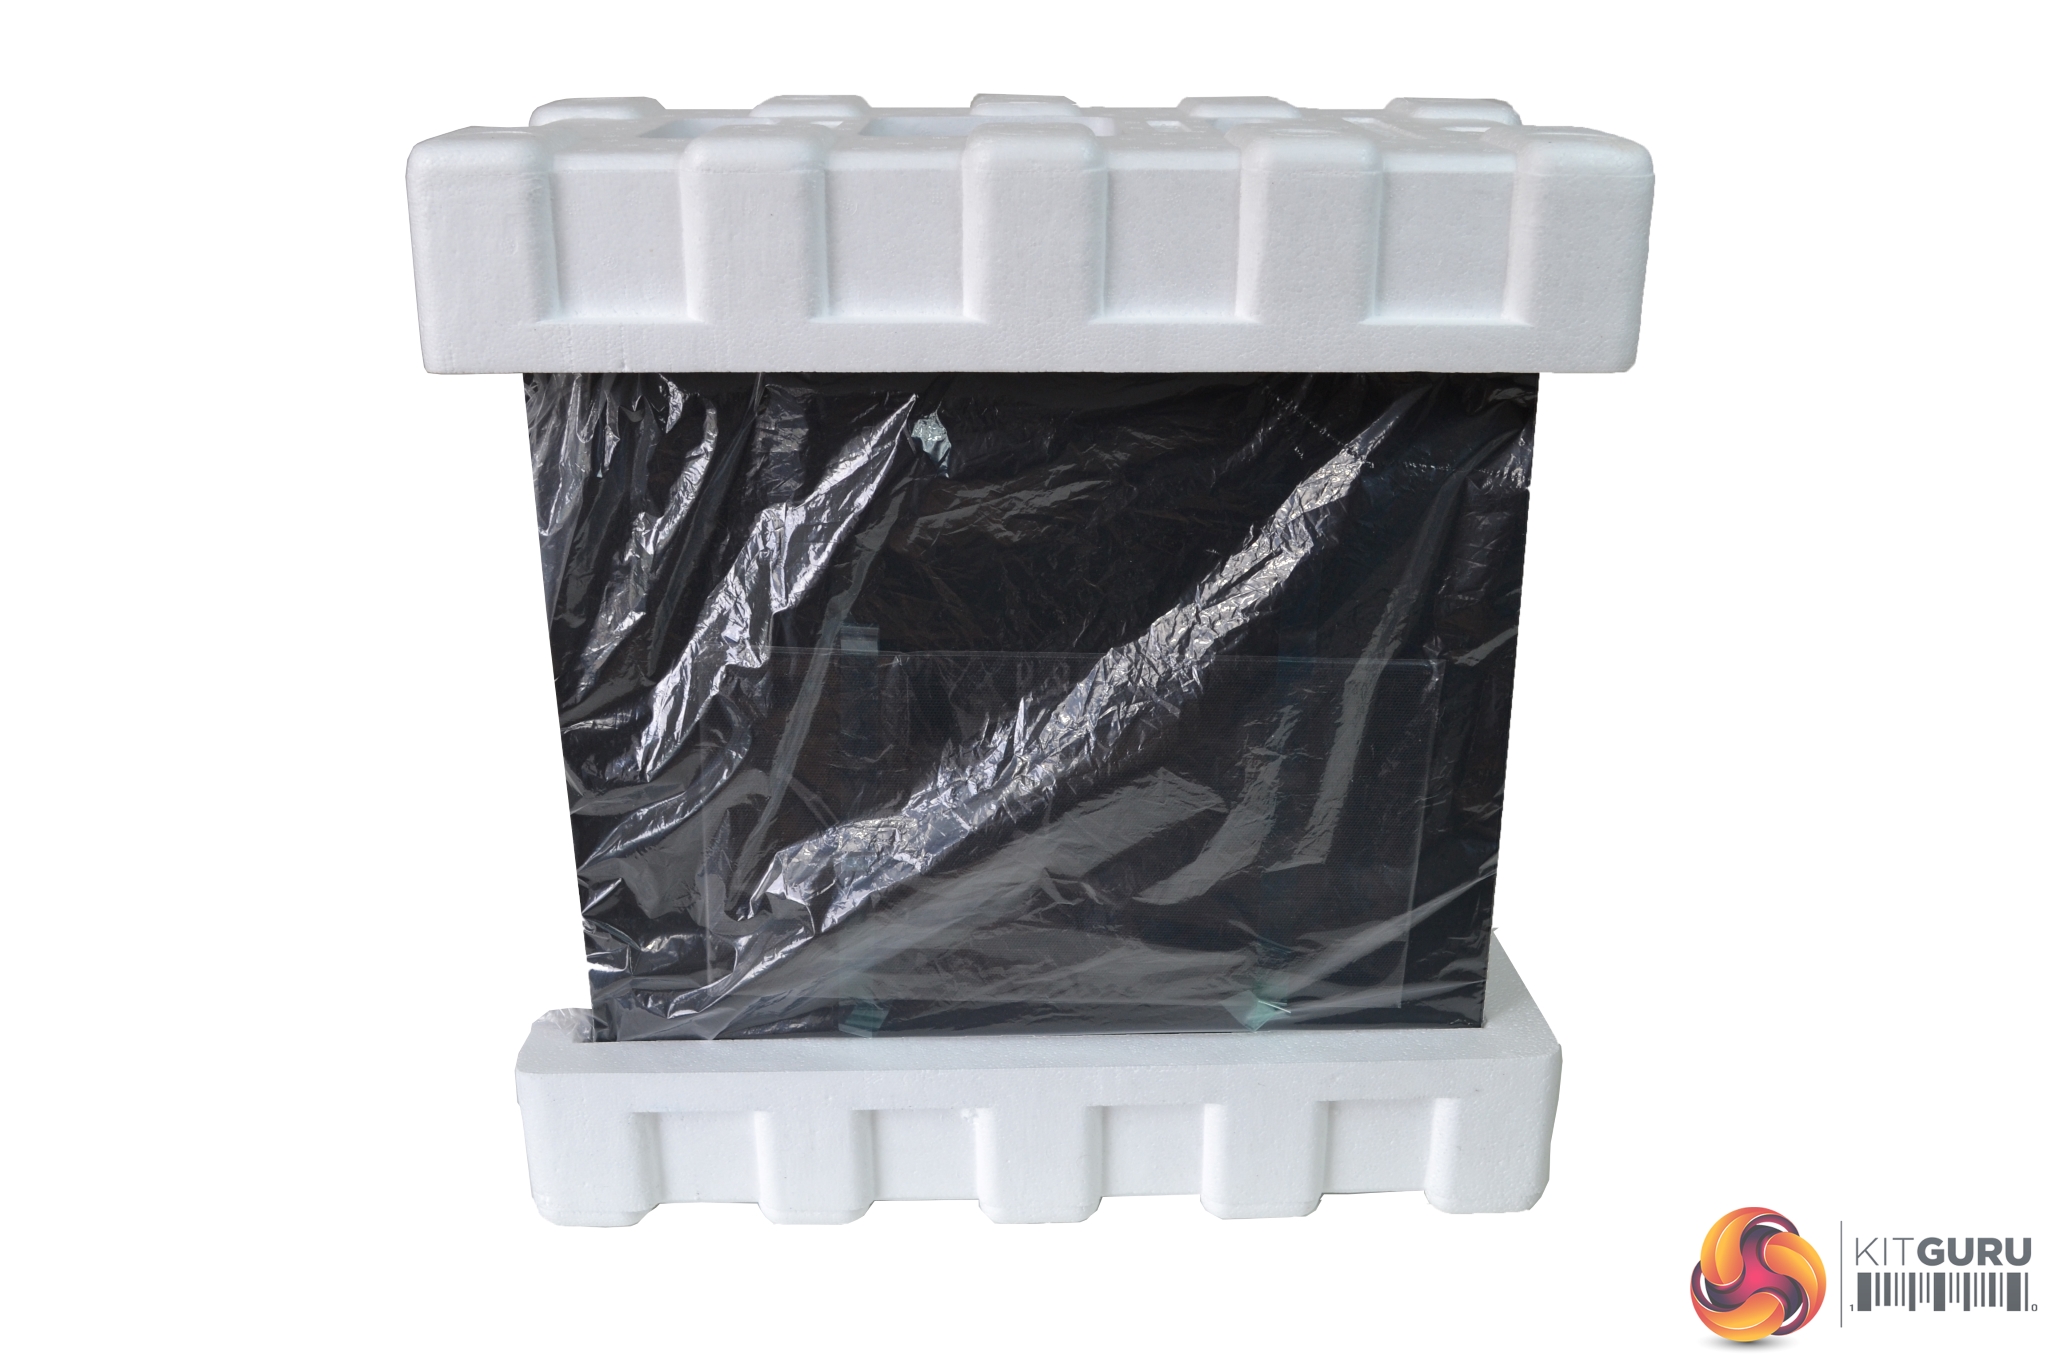
Once removed from the box, we can see the S400 is well packaged, with thick polystyrene protecting the top and bottom of the case. Beneath the polystyrene, a plastic bag wrapping covers the whole product.
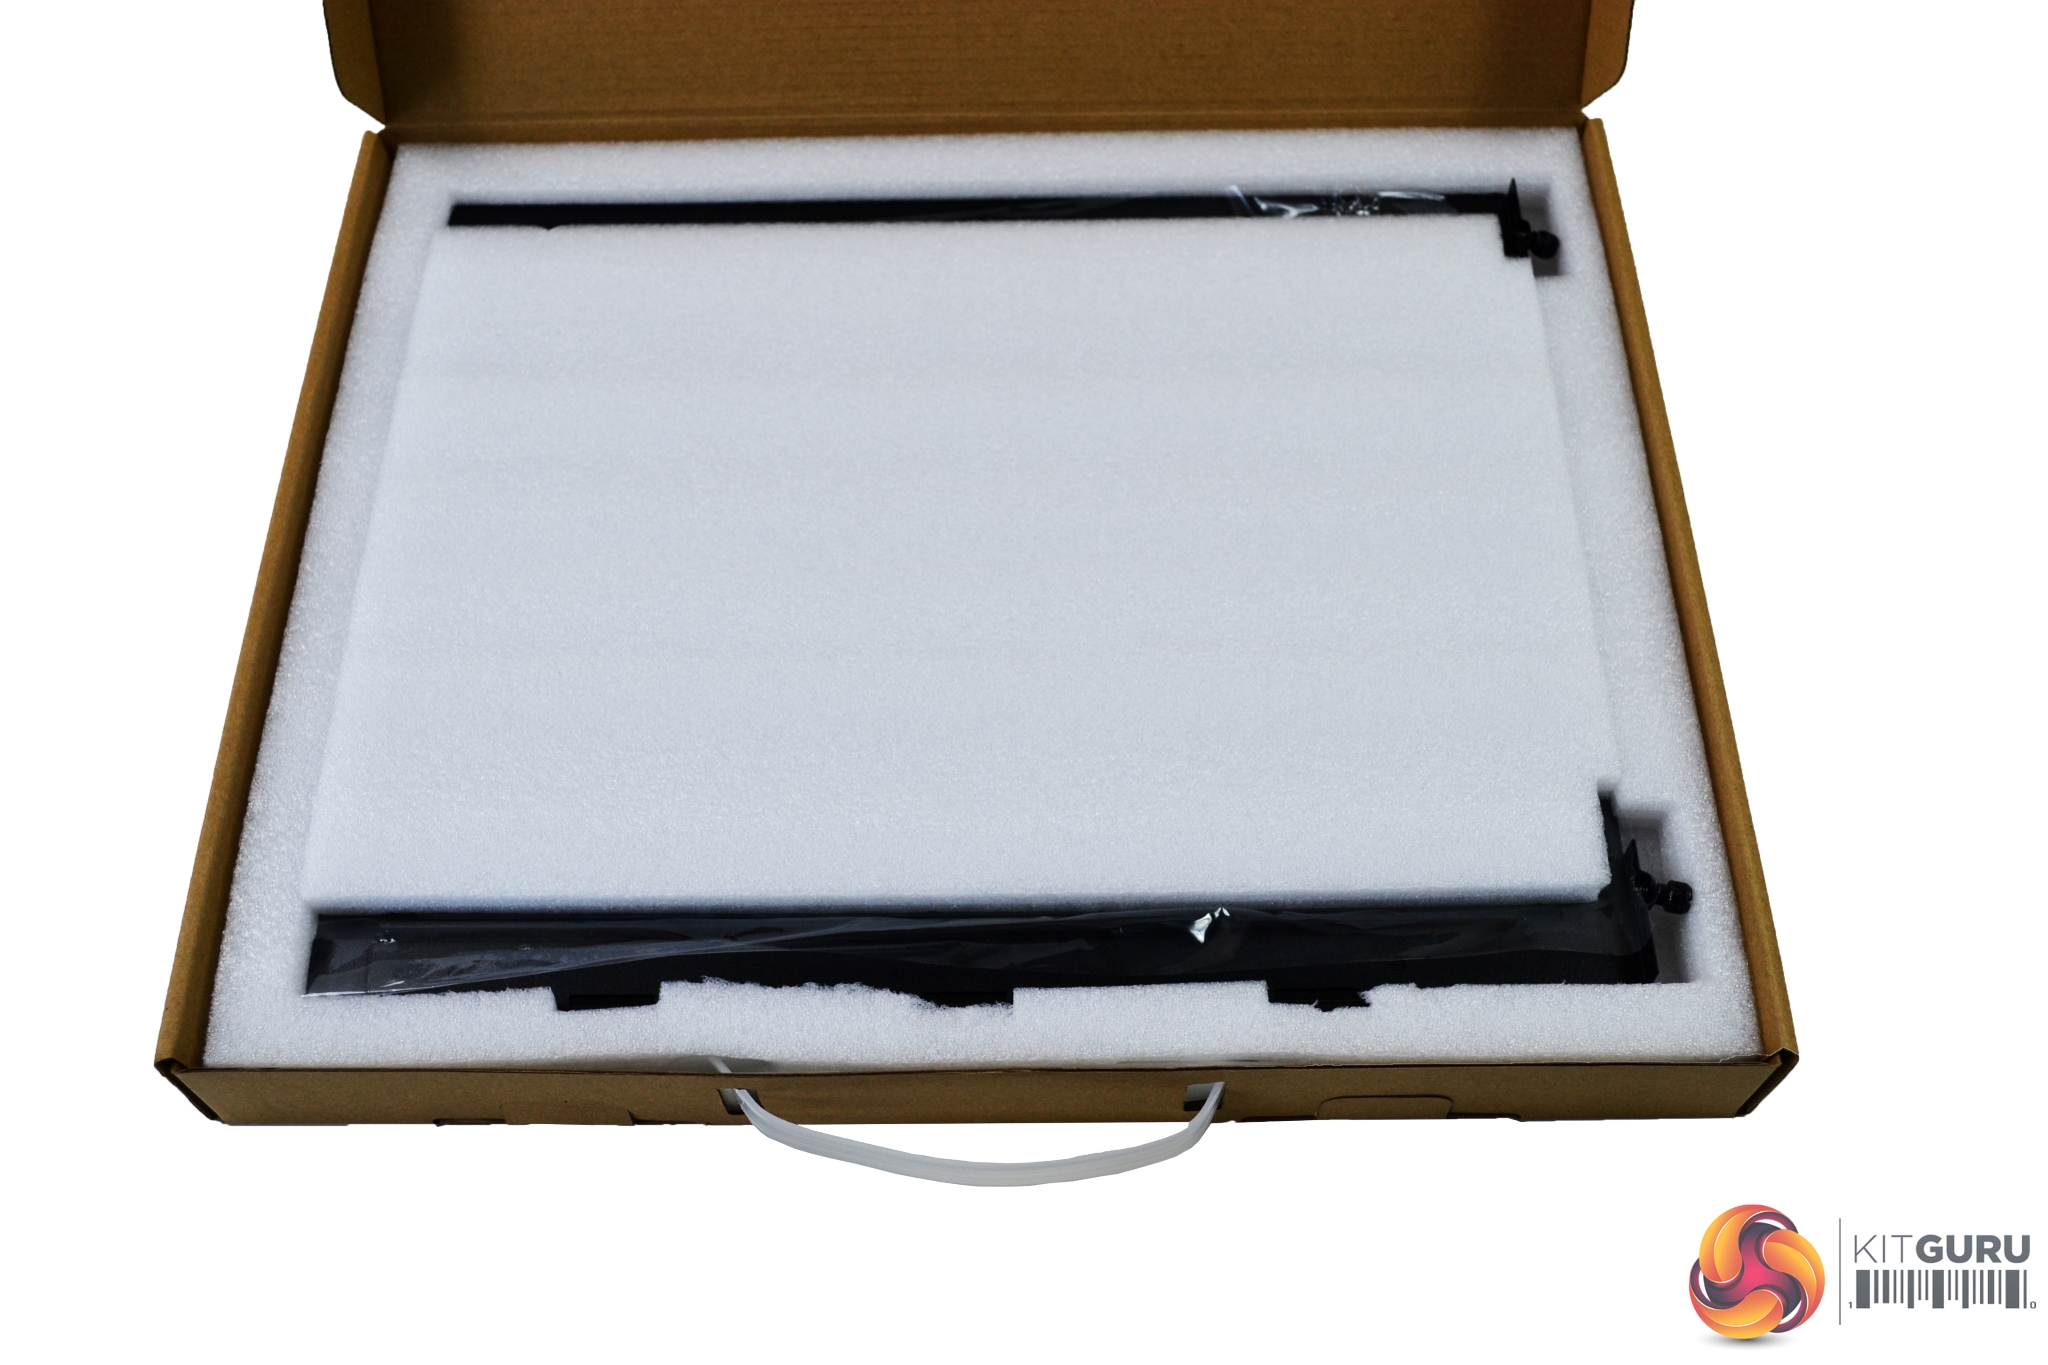
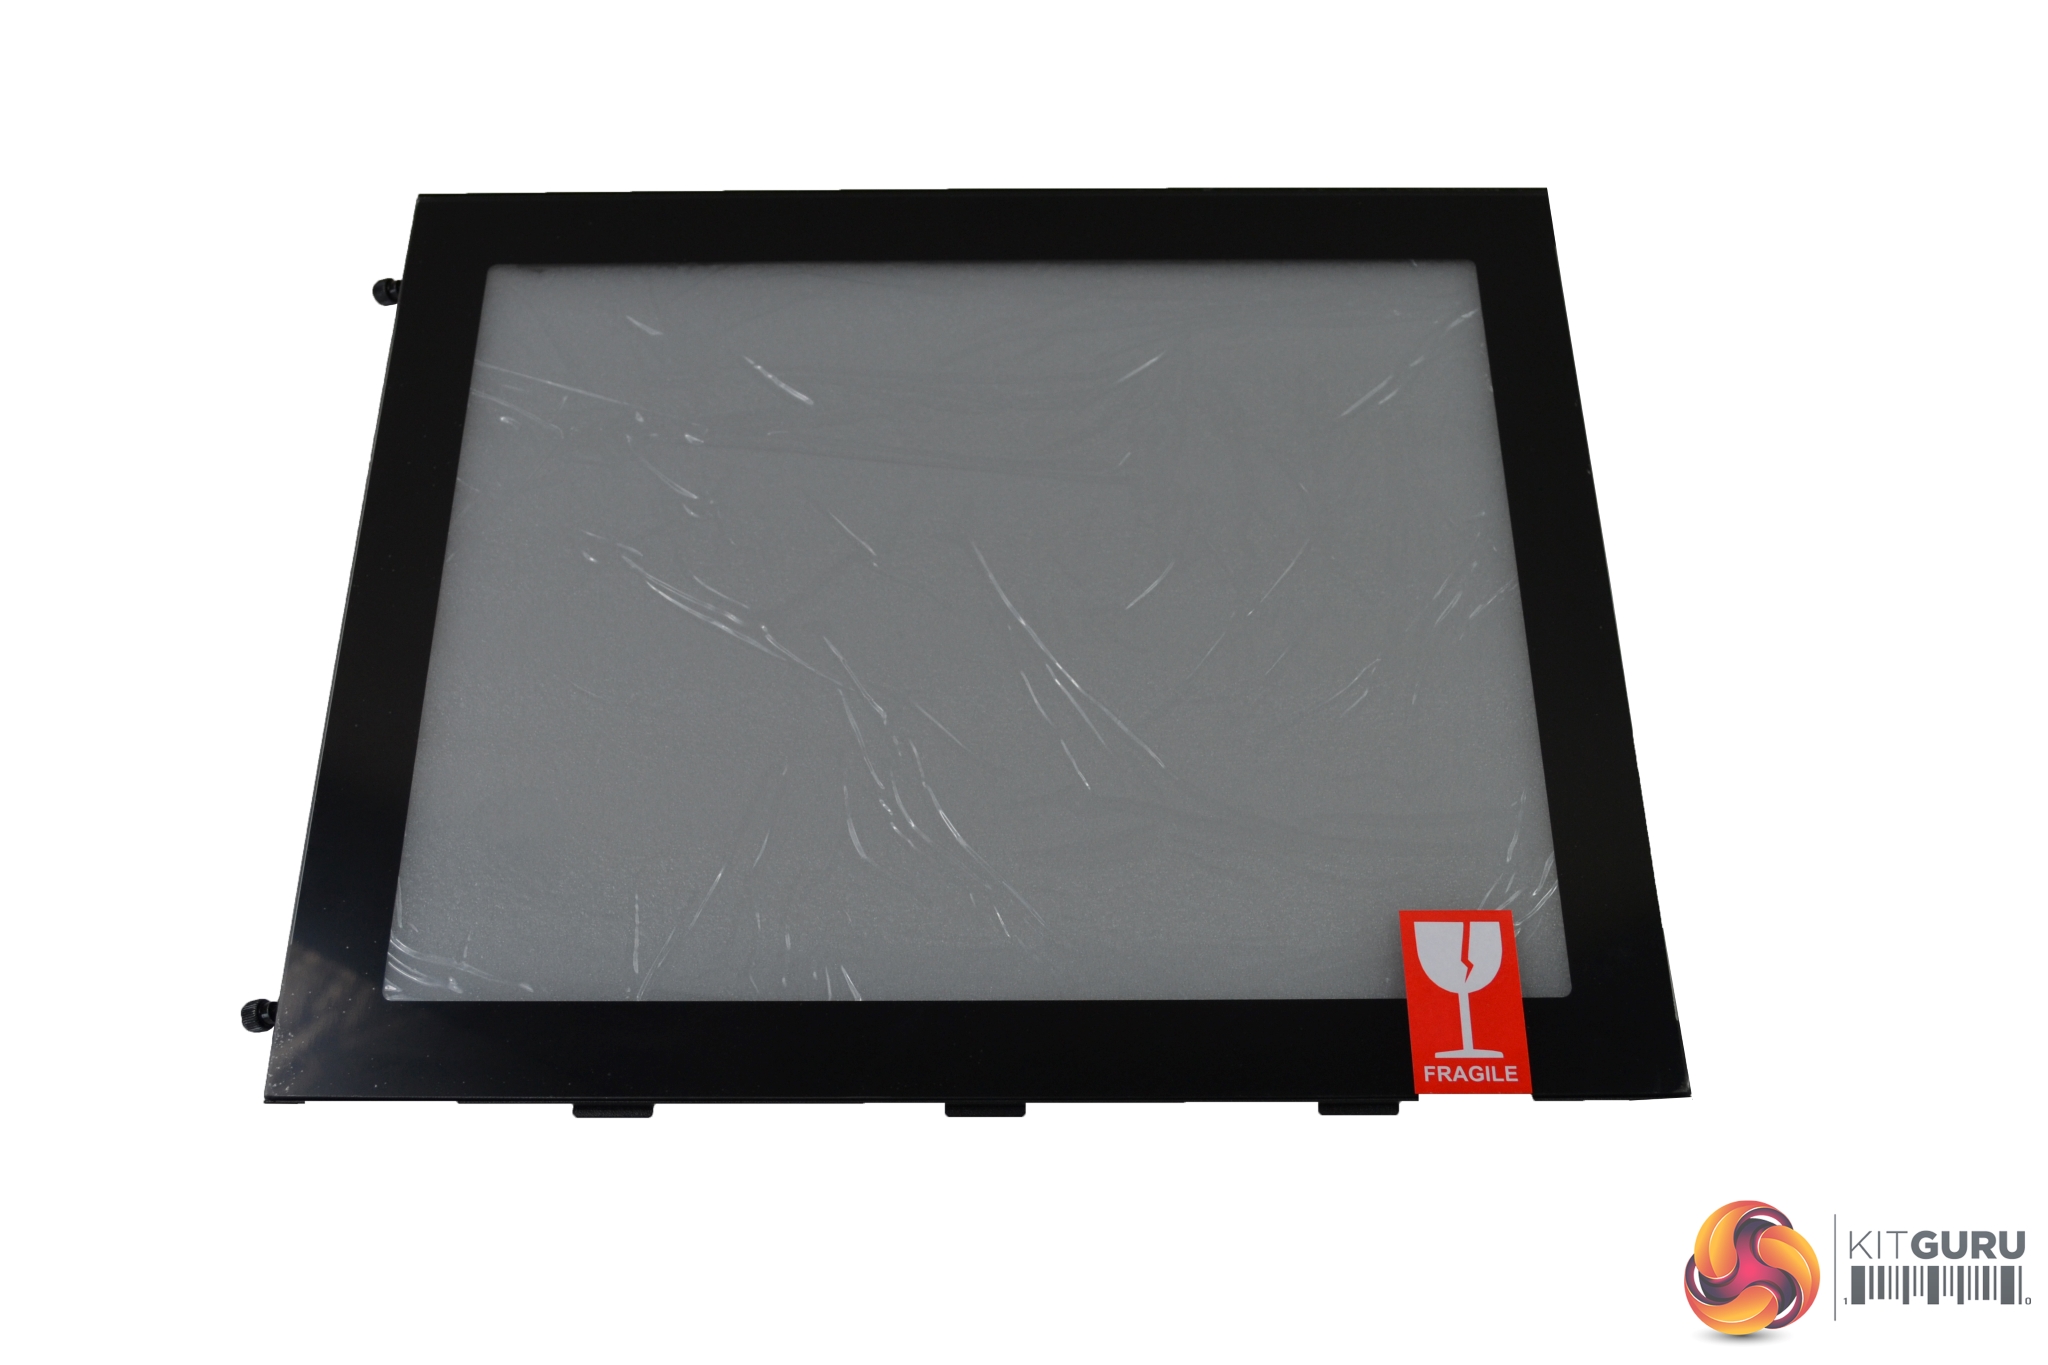
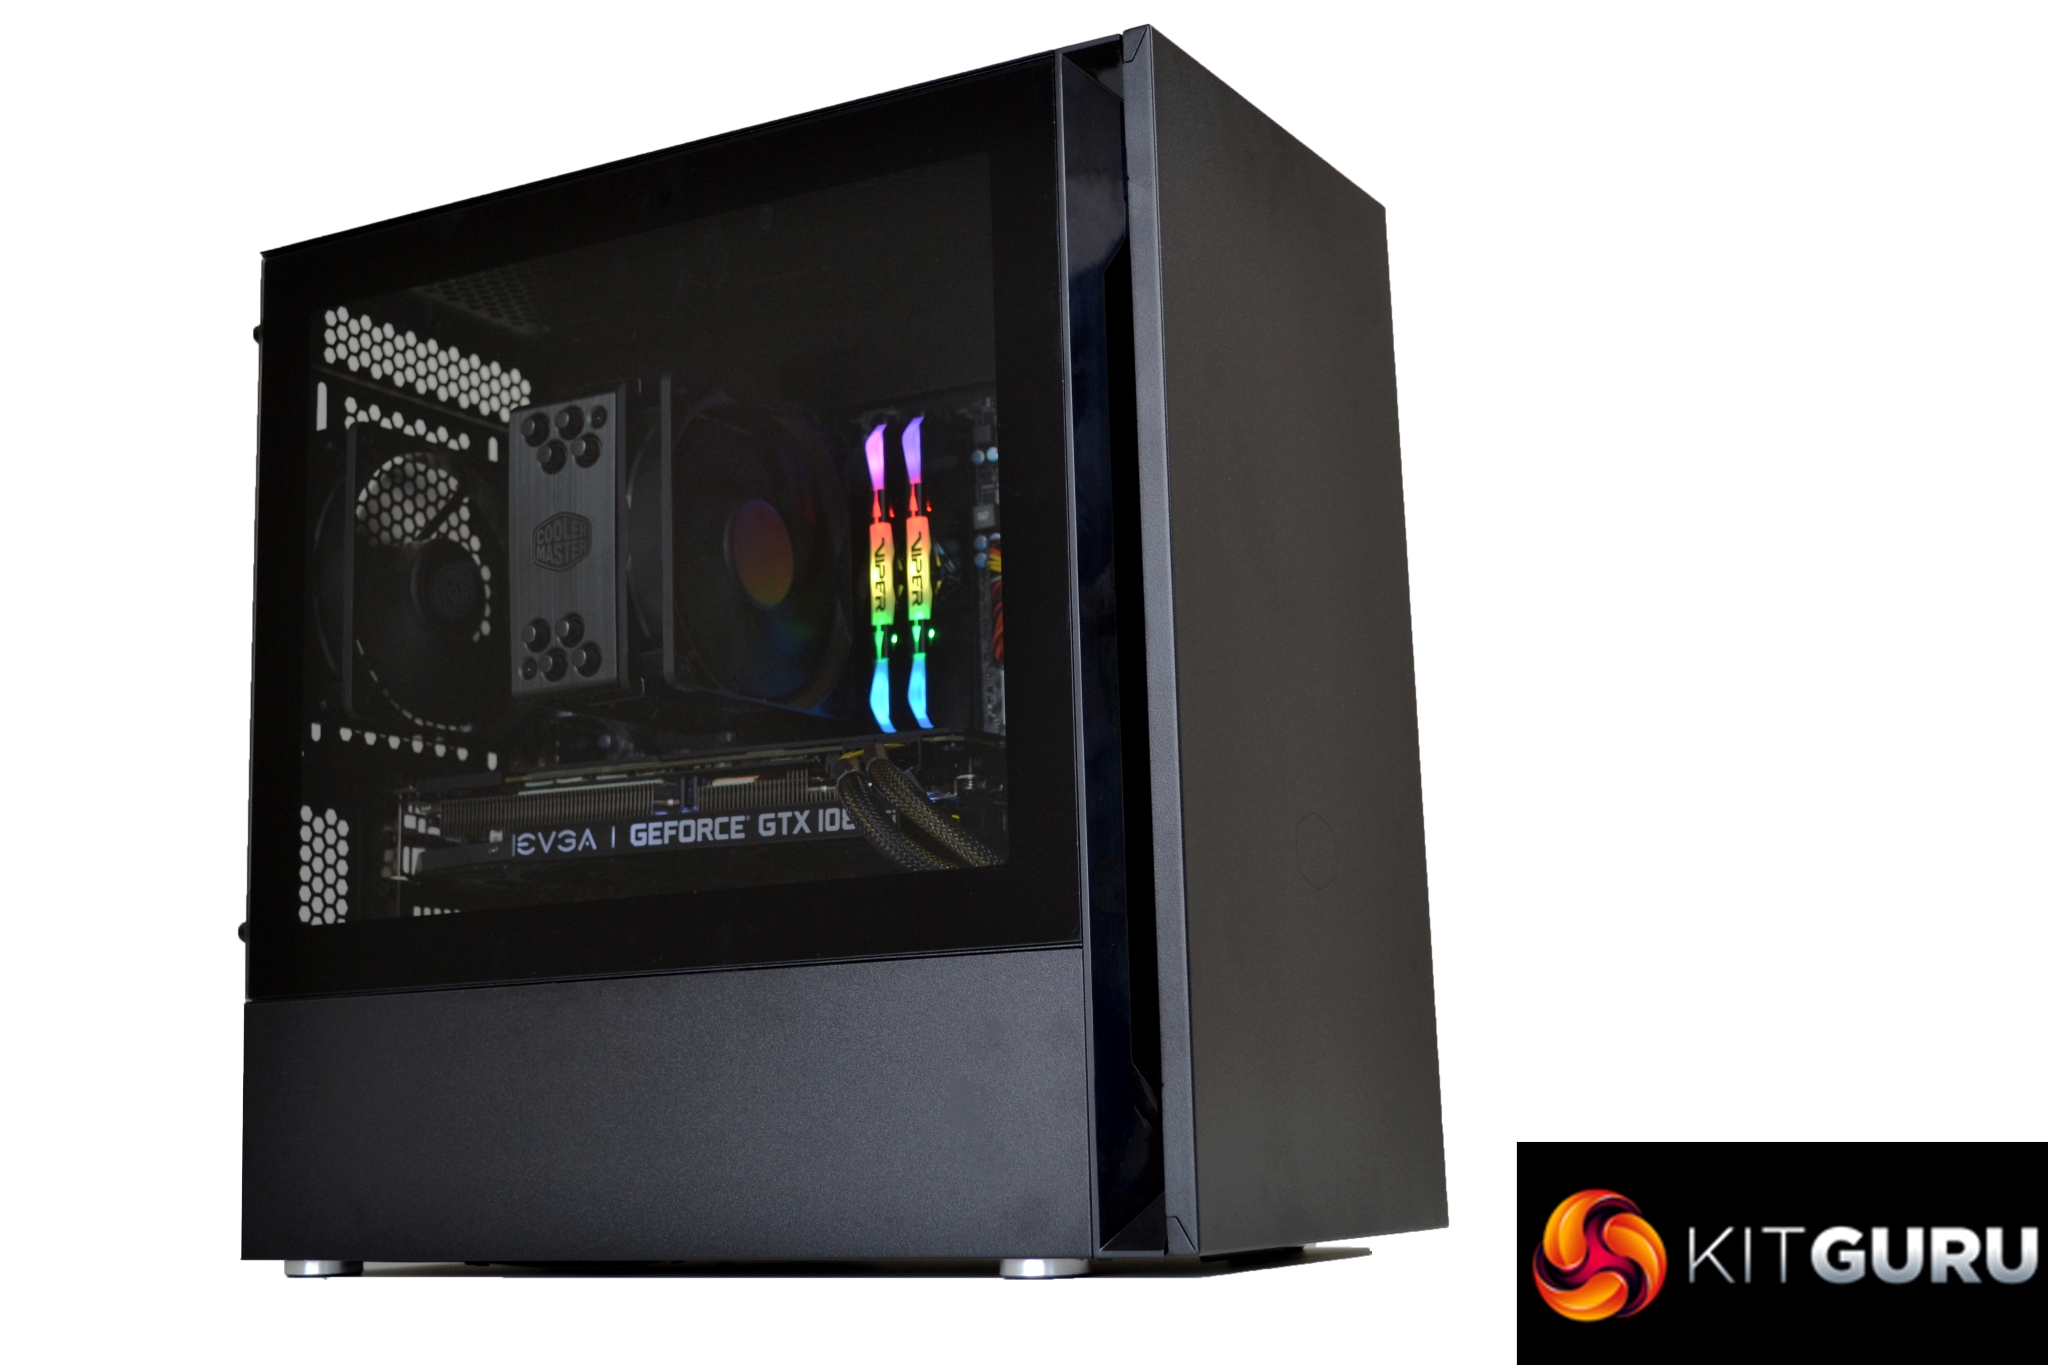
Cooler Master has kindly provided us with the alternative tempered glass side panel, which will give us more options during testing. This also arrives in a brown cardboard box with a plastic carry handle. The tempered glass panel is well protected, with thick foam covering and anti-scratch film applied to both sides.
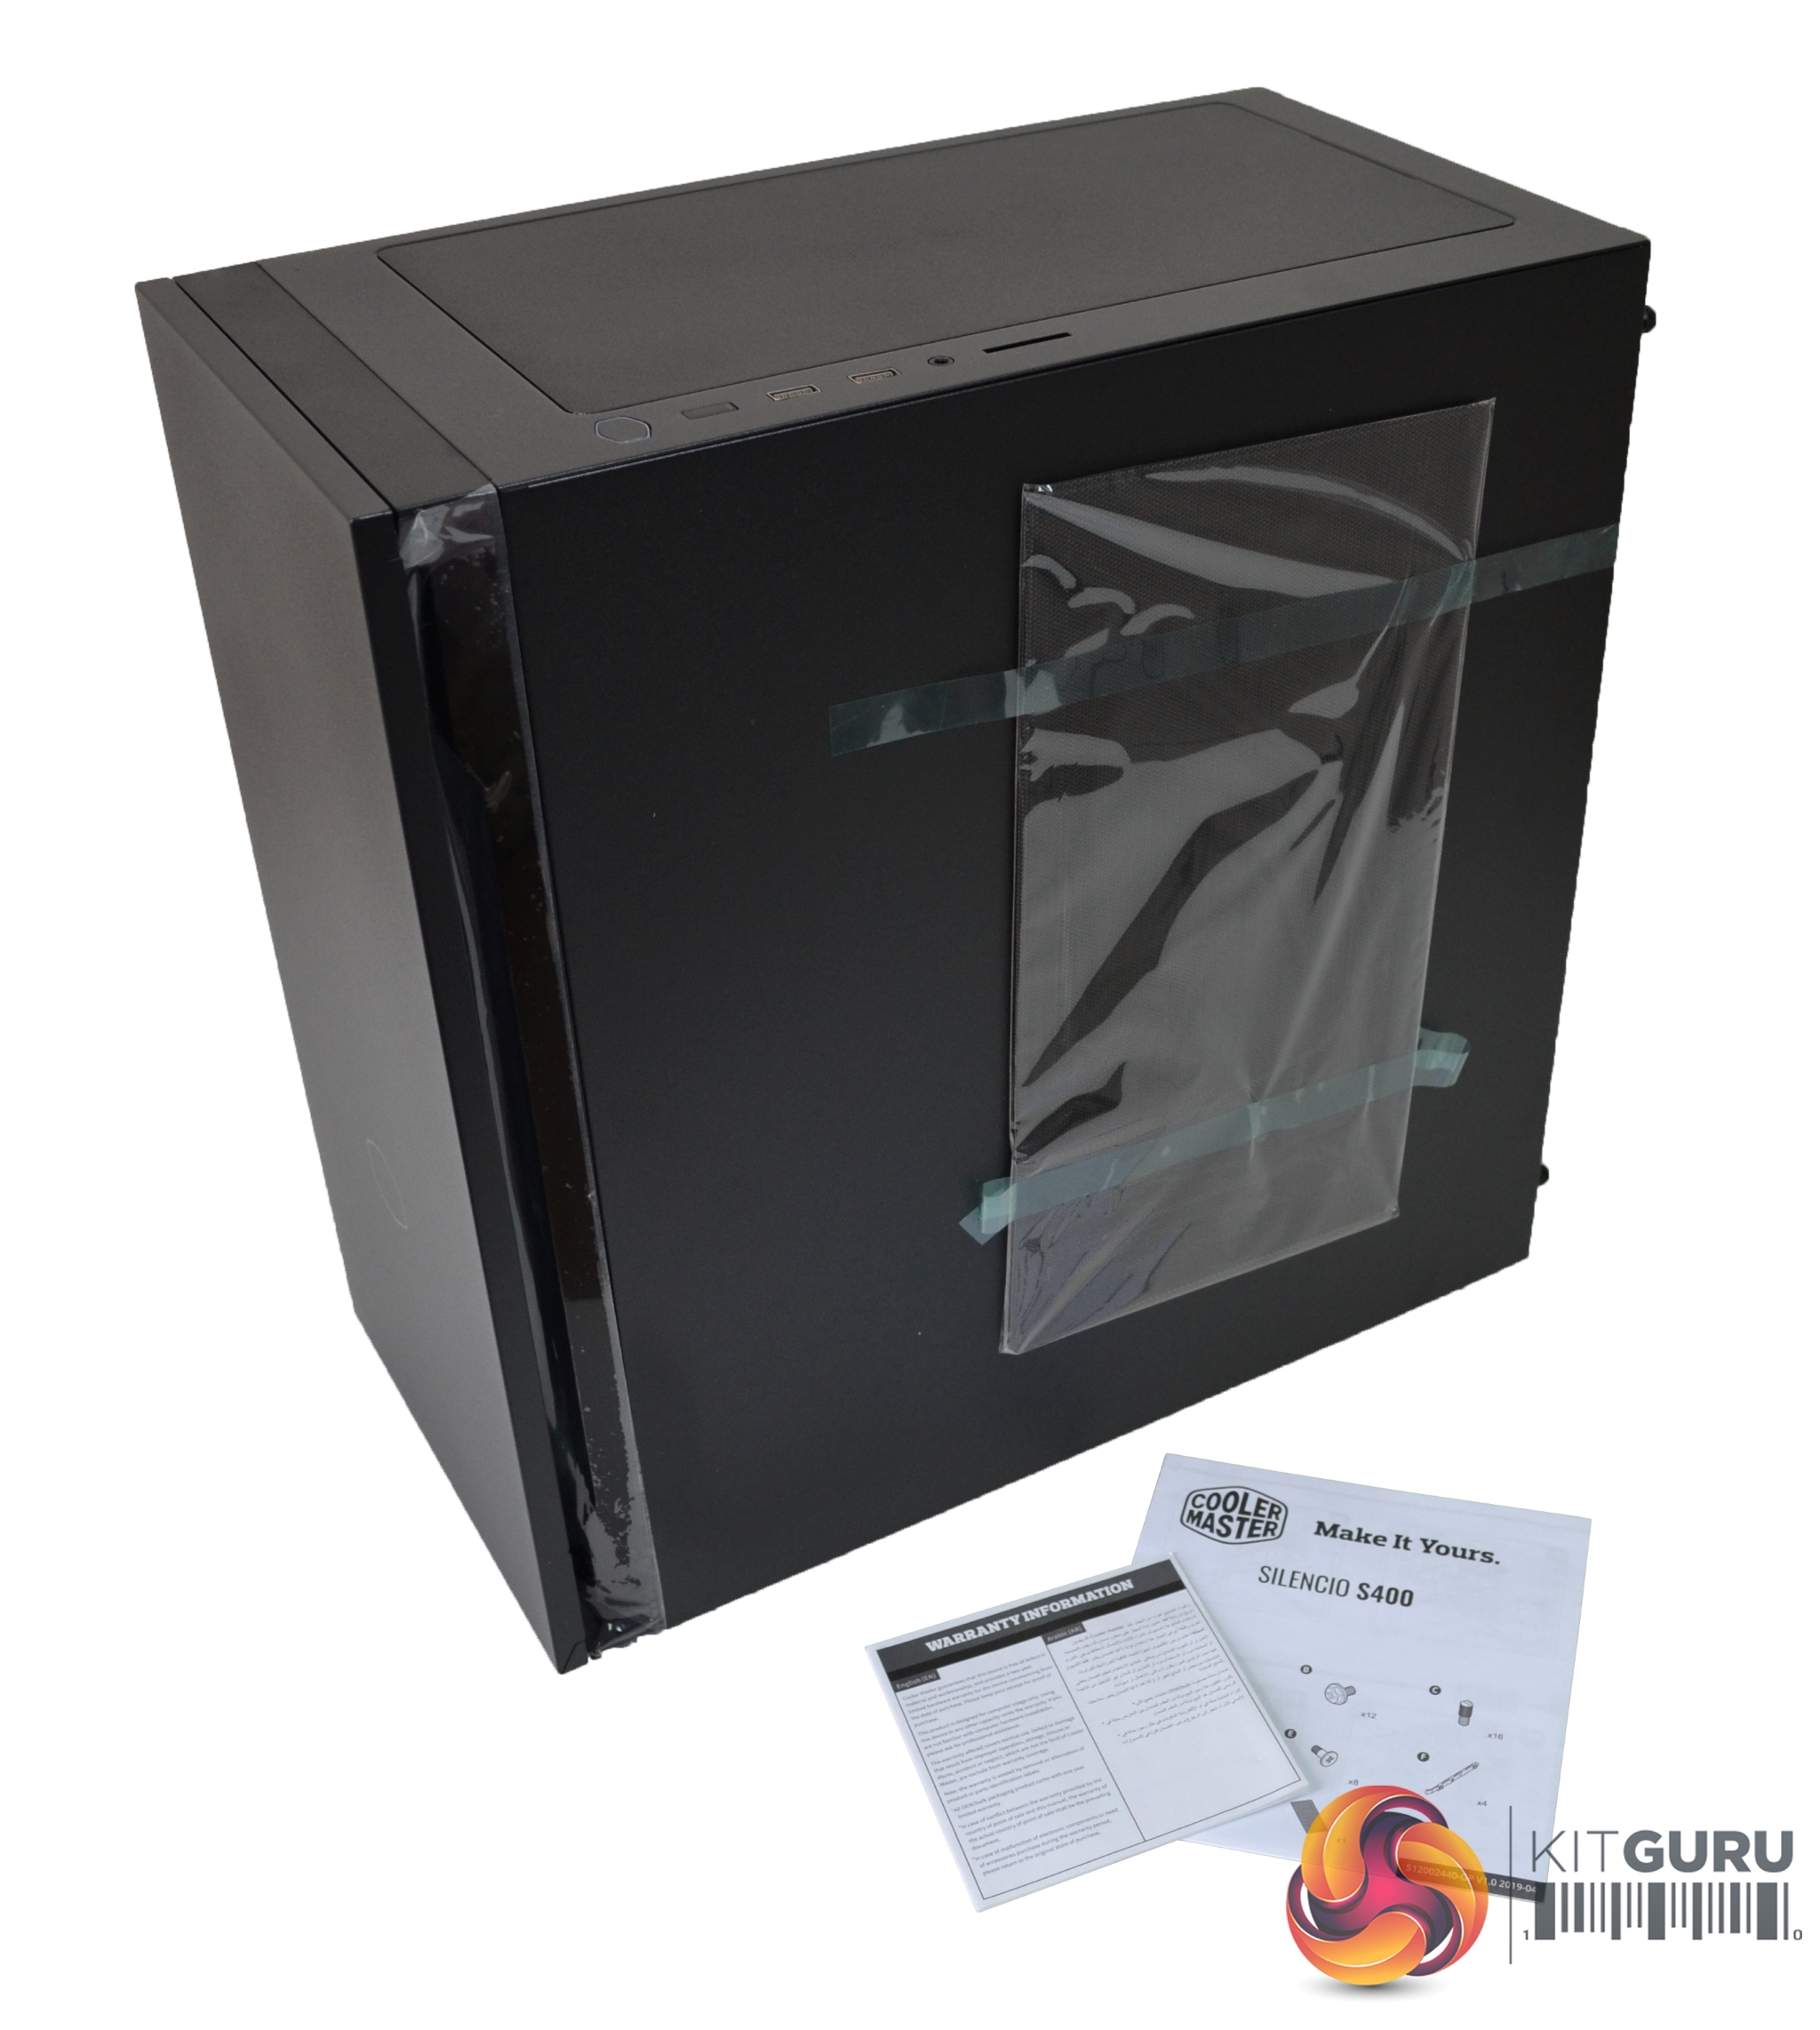
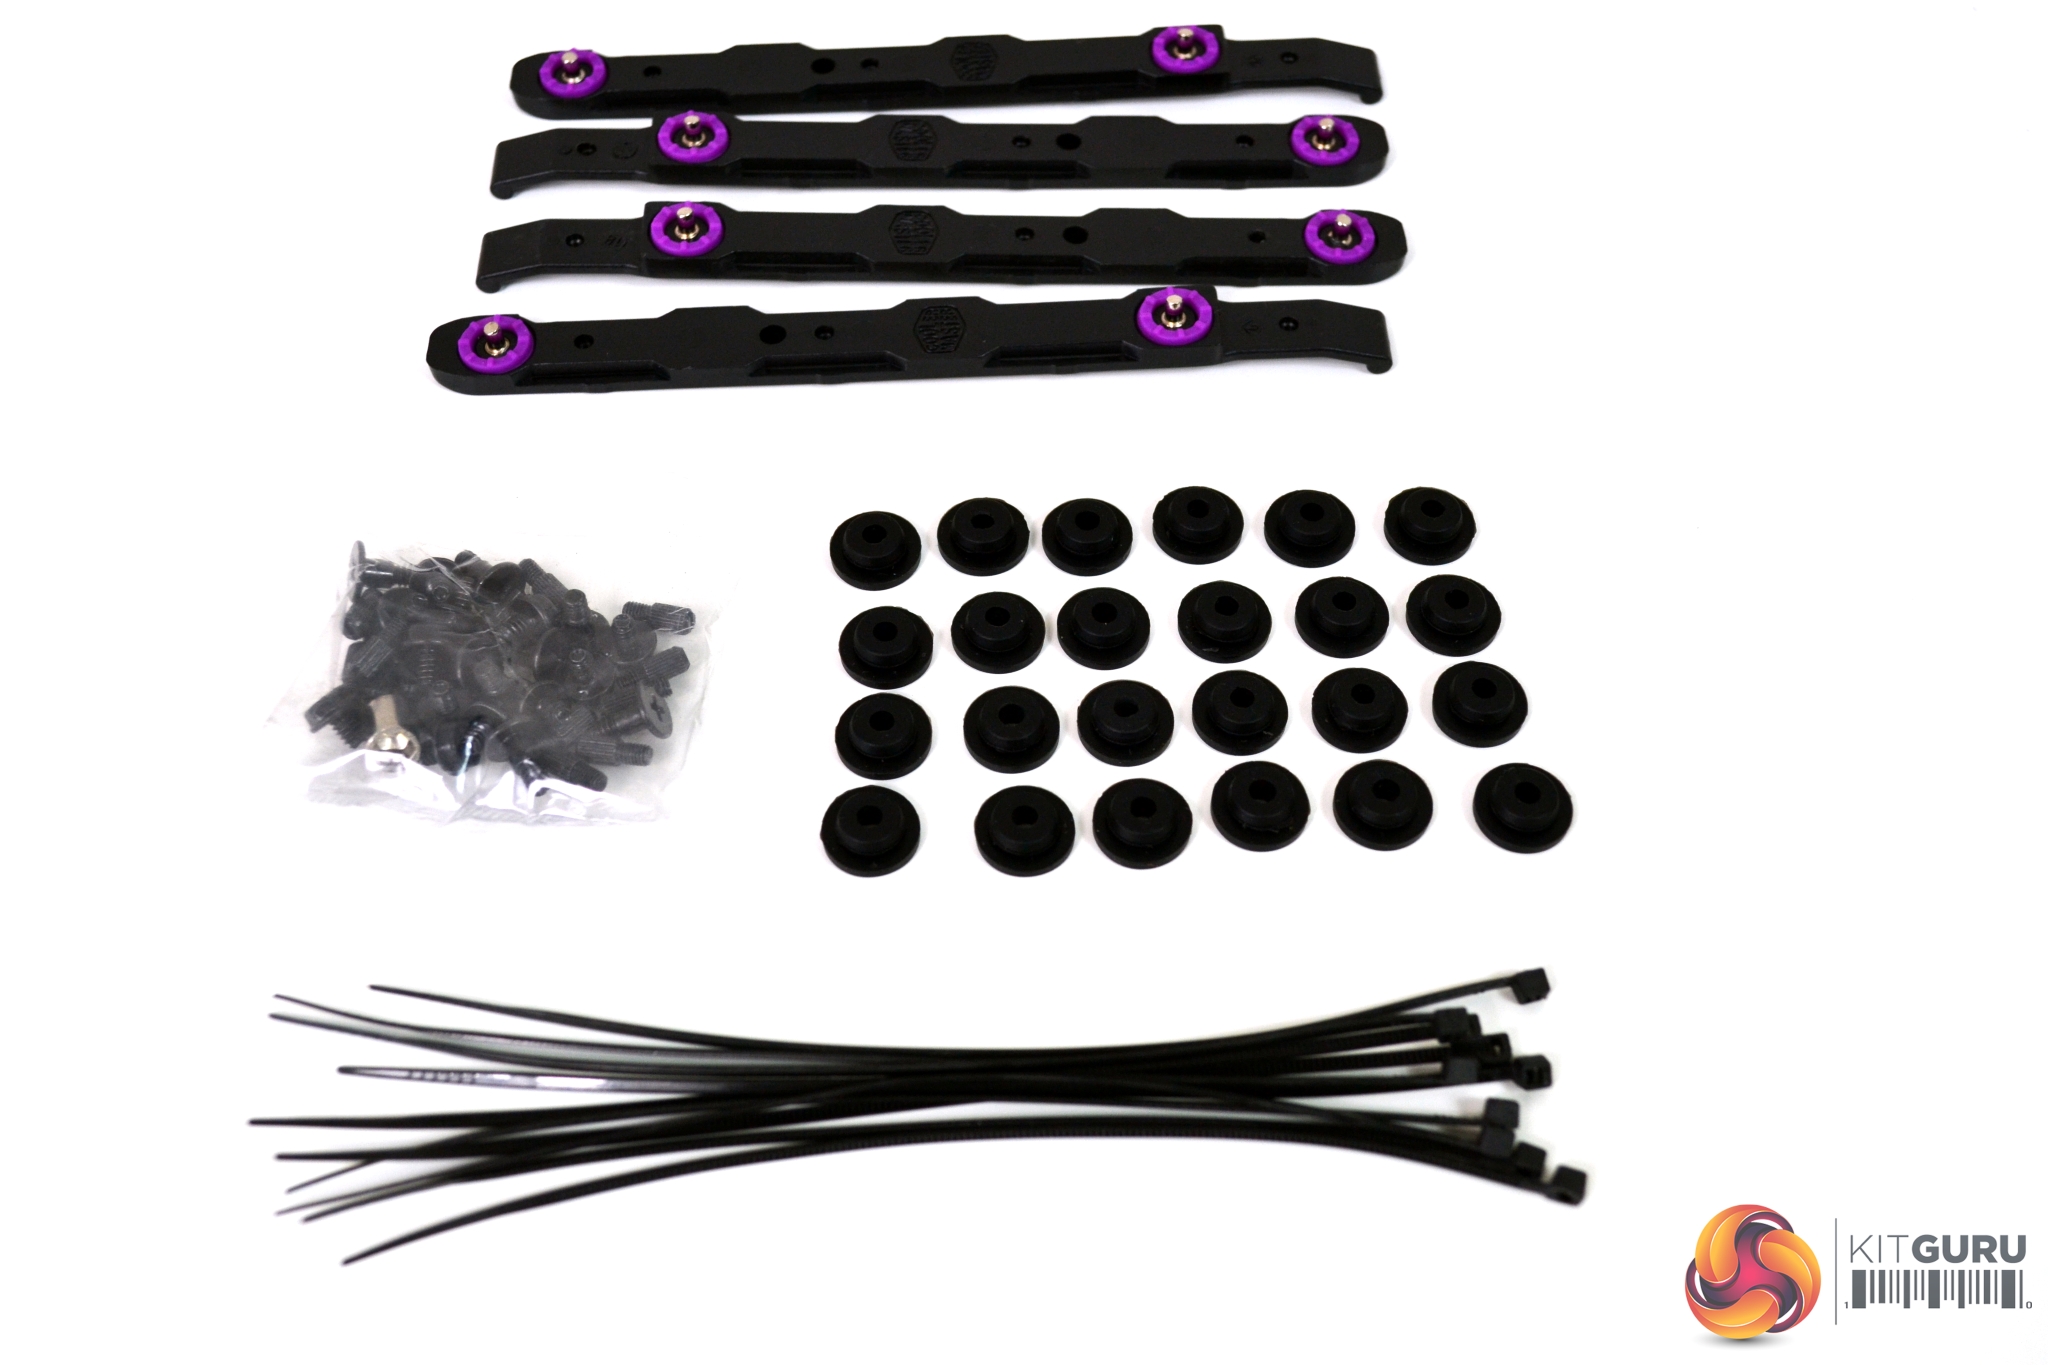
Included in the box with the case is a mesh top filter, which can be used as an alternative for the top silent panel. A user manual and warranty card are also supplied along with a bag of assorted screws, tool free HDD fixings and rubber anti-vibration grommets.
With an extremely minimalist design, the S400 shouldn’t look out of place in any environment, we would expect it to be used mainly in builds suited to office type scenarios but you could of course use it for a gaming PC as well.
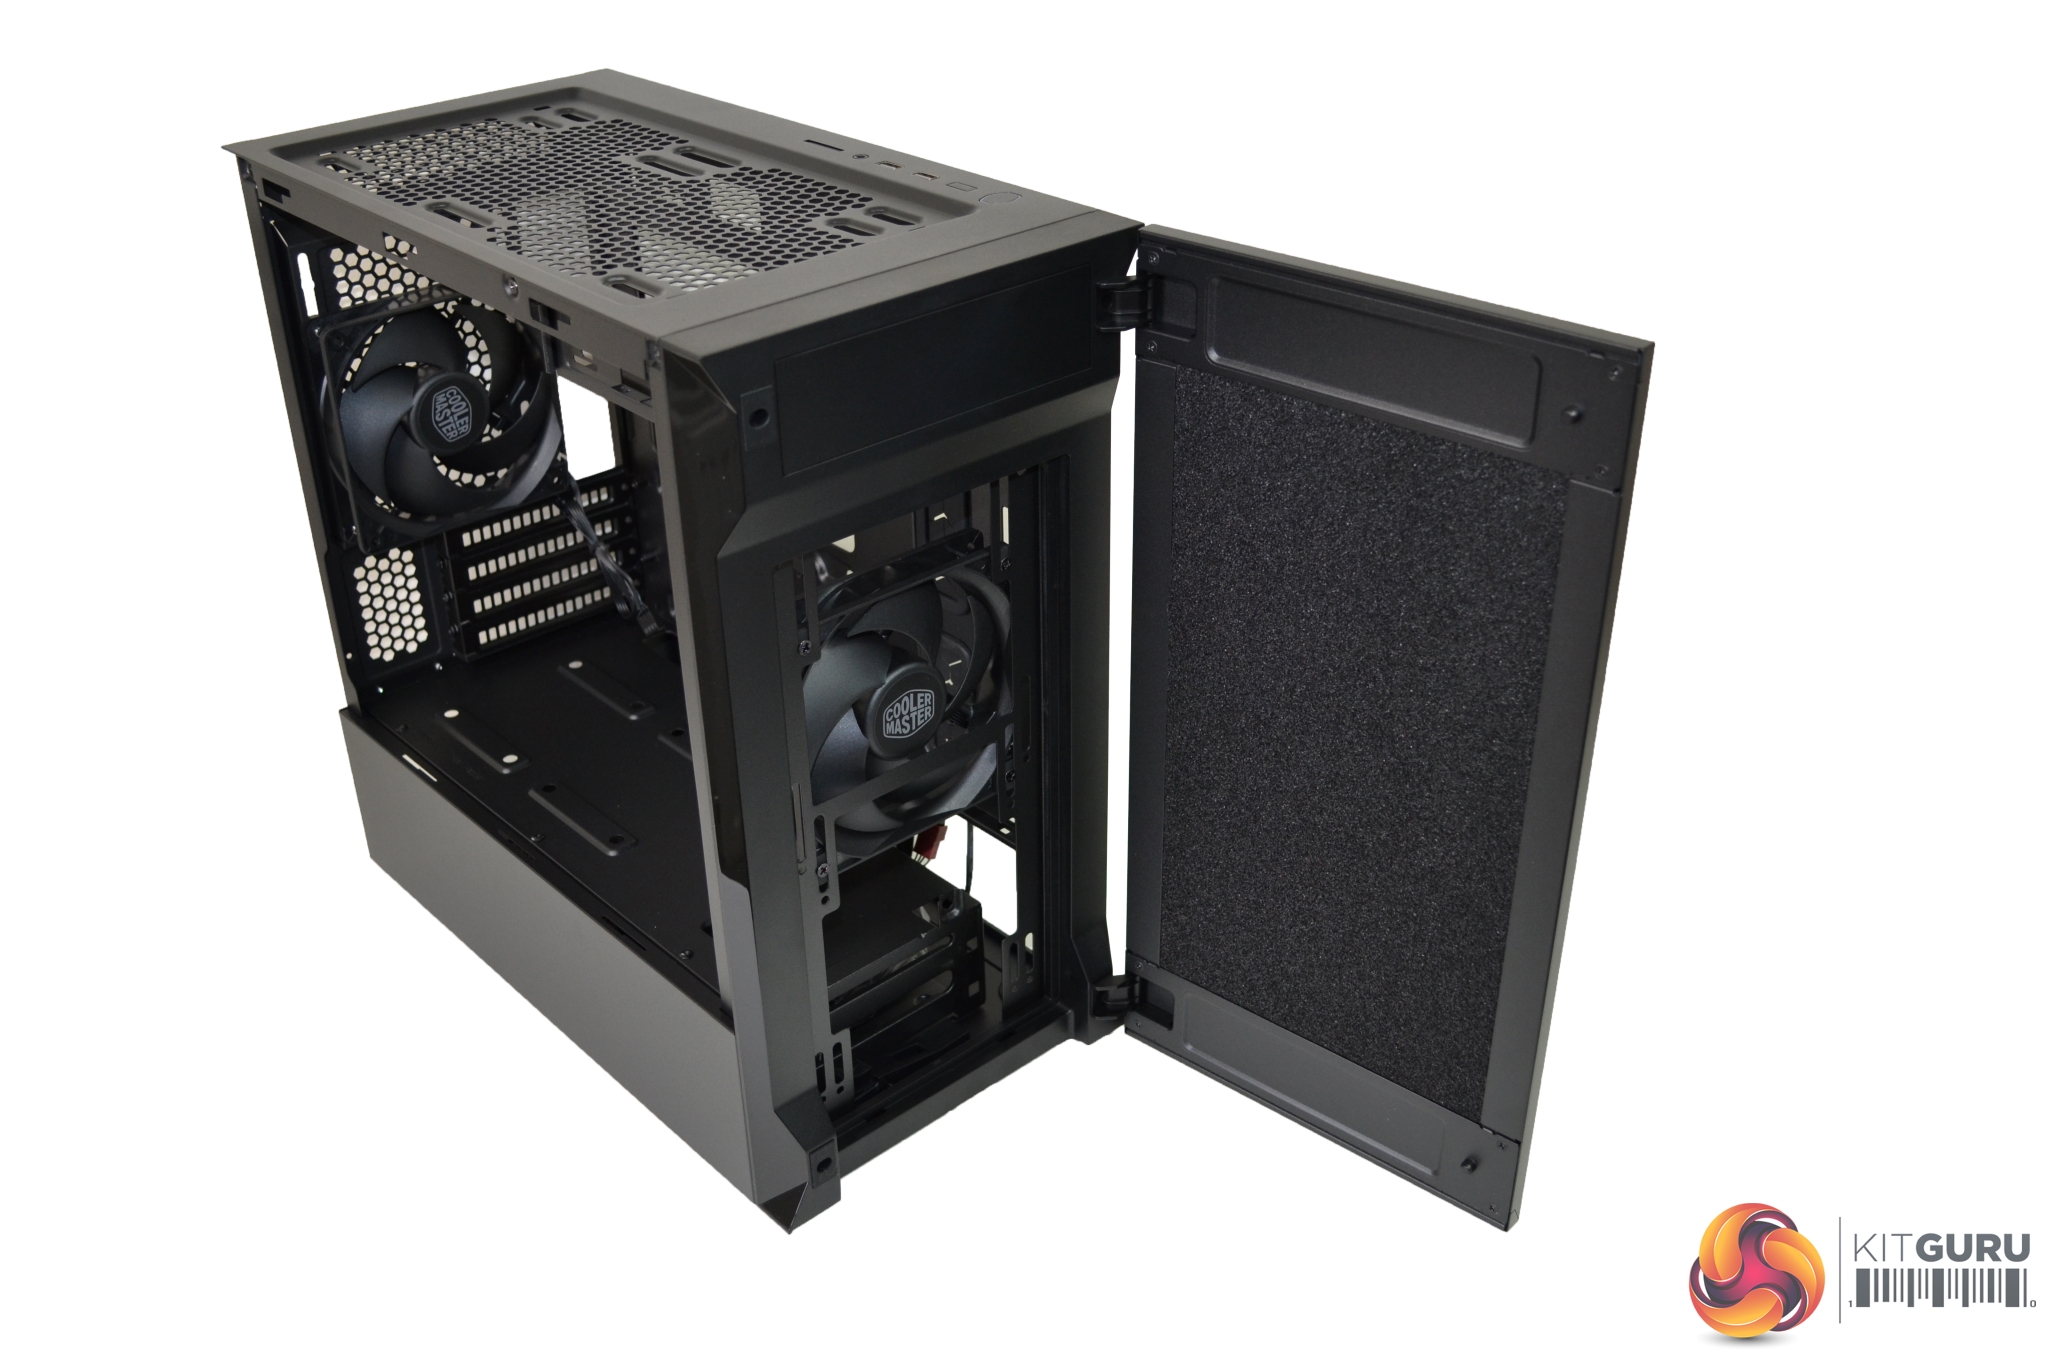
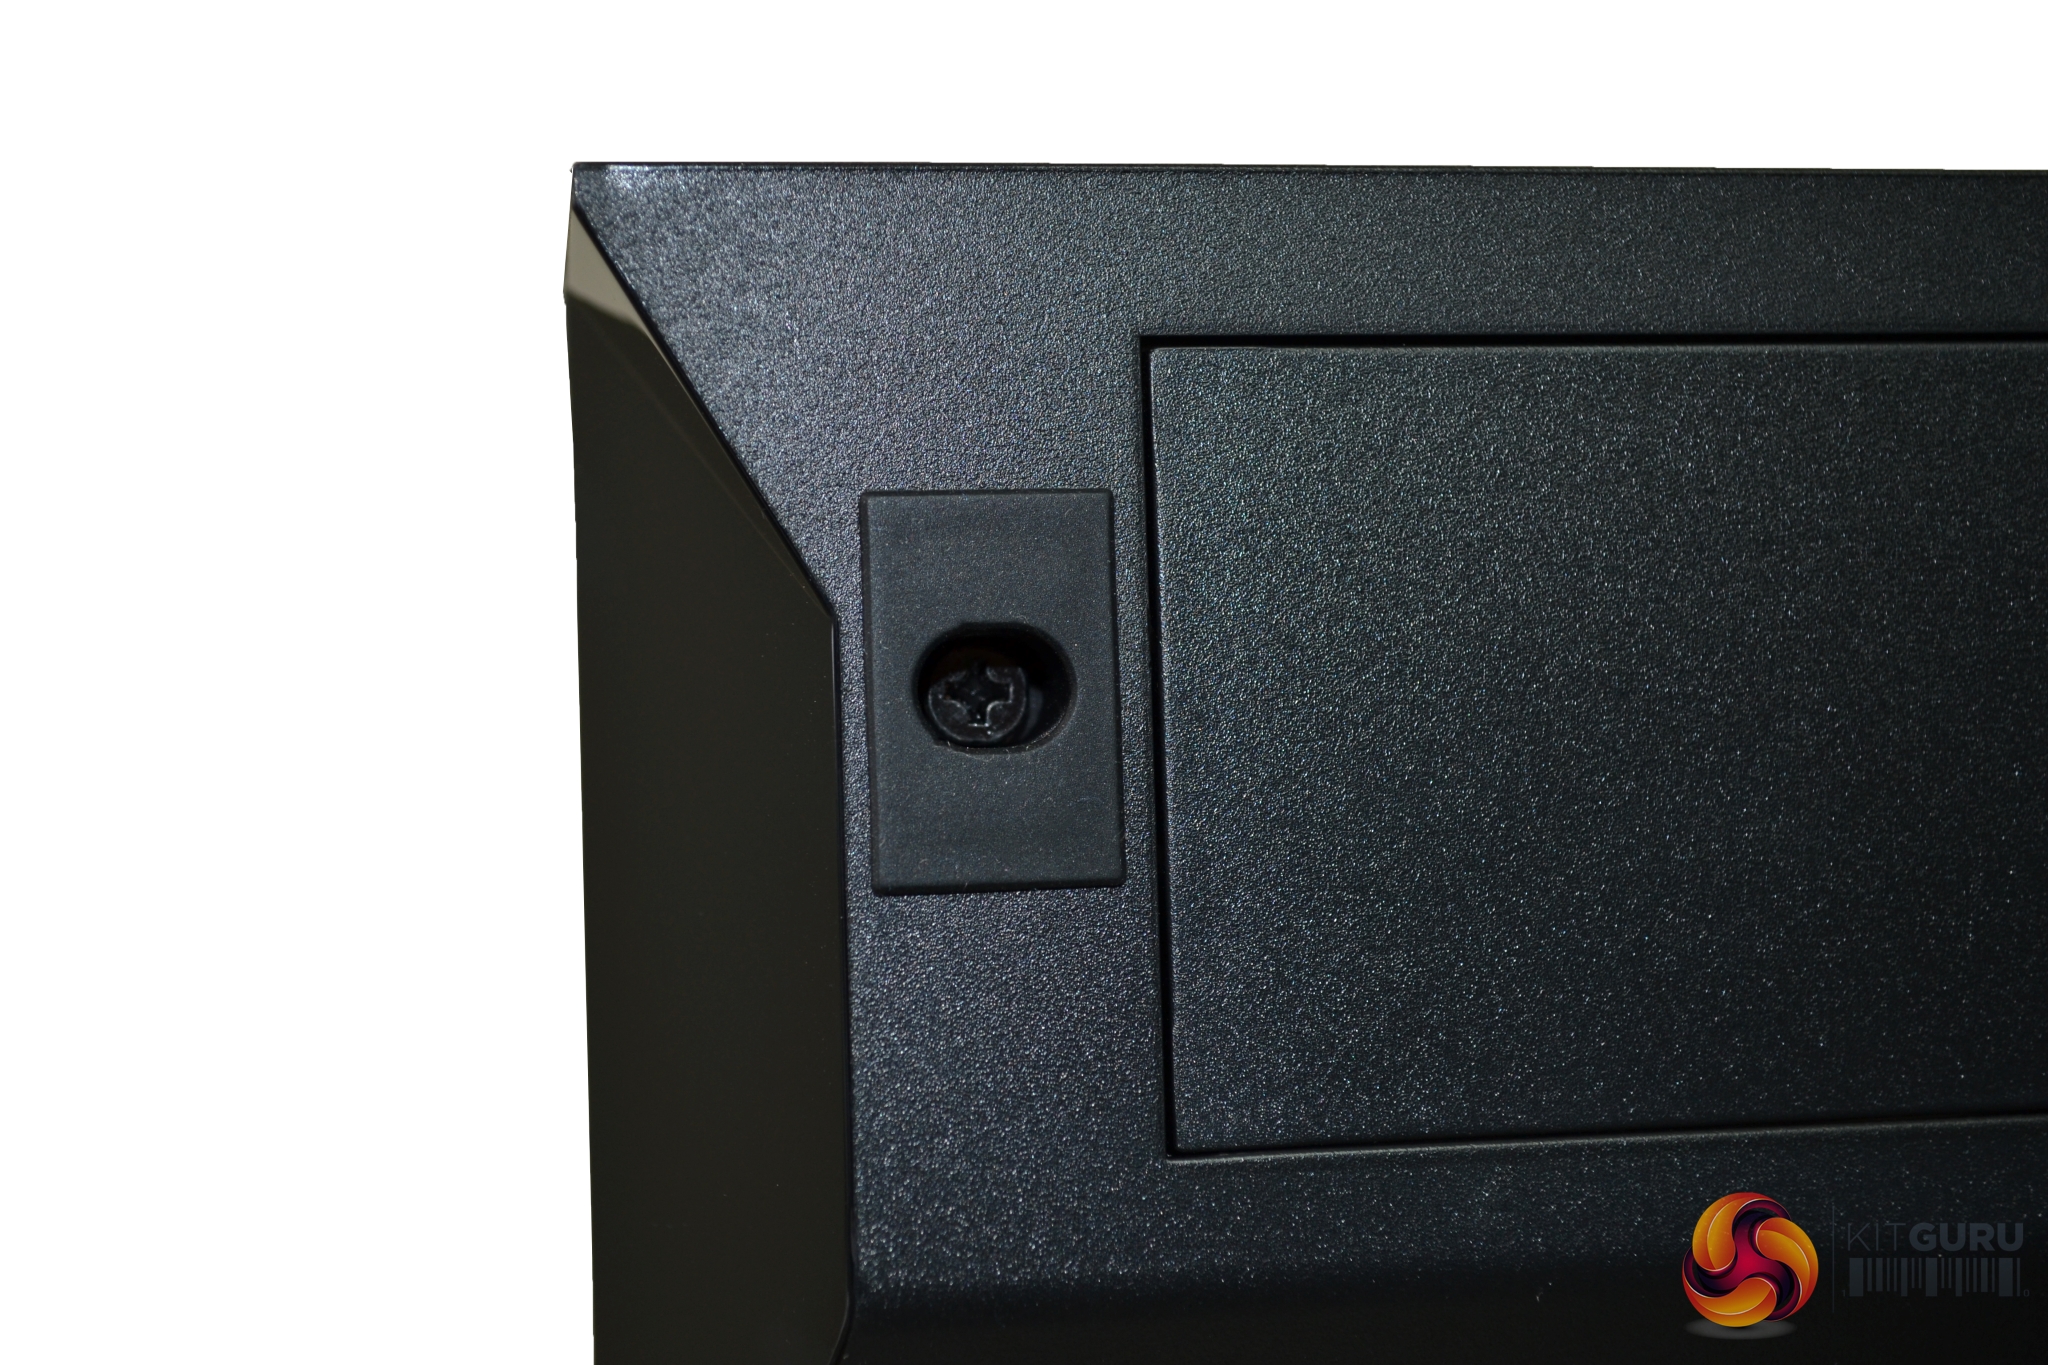
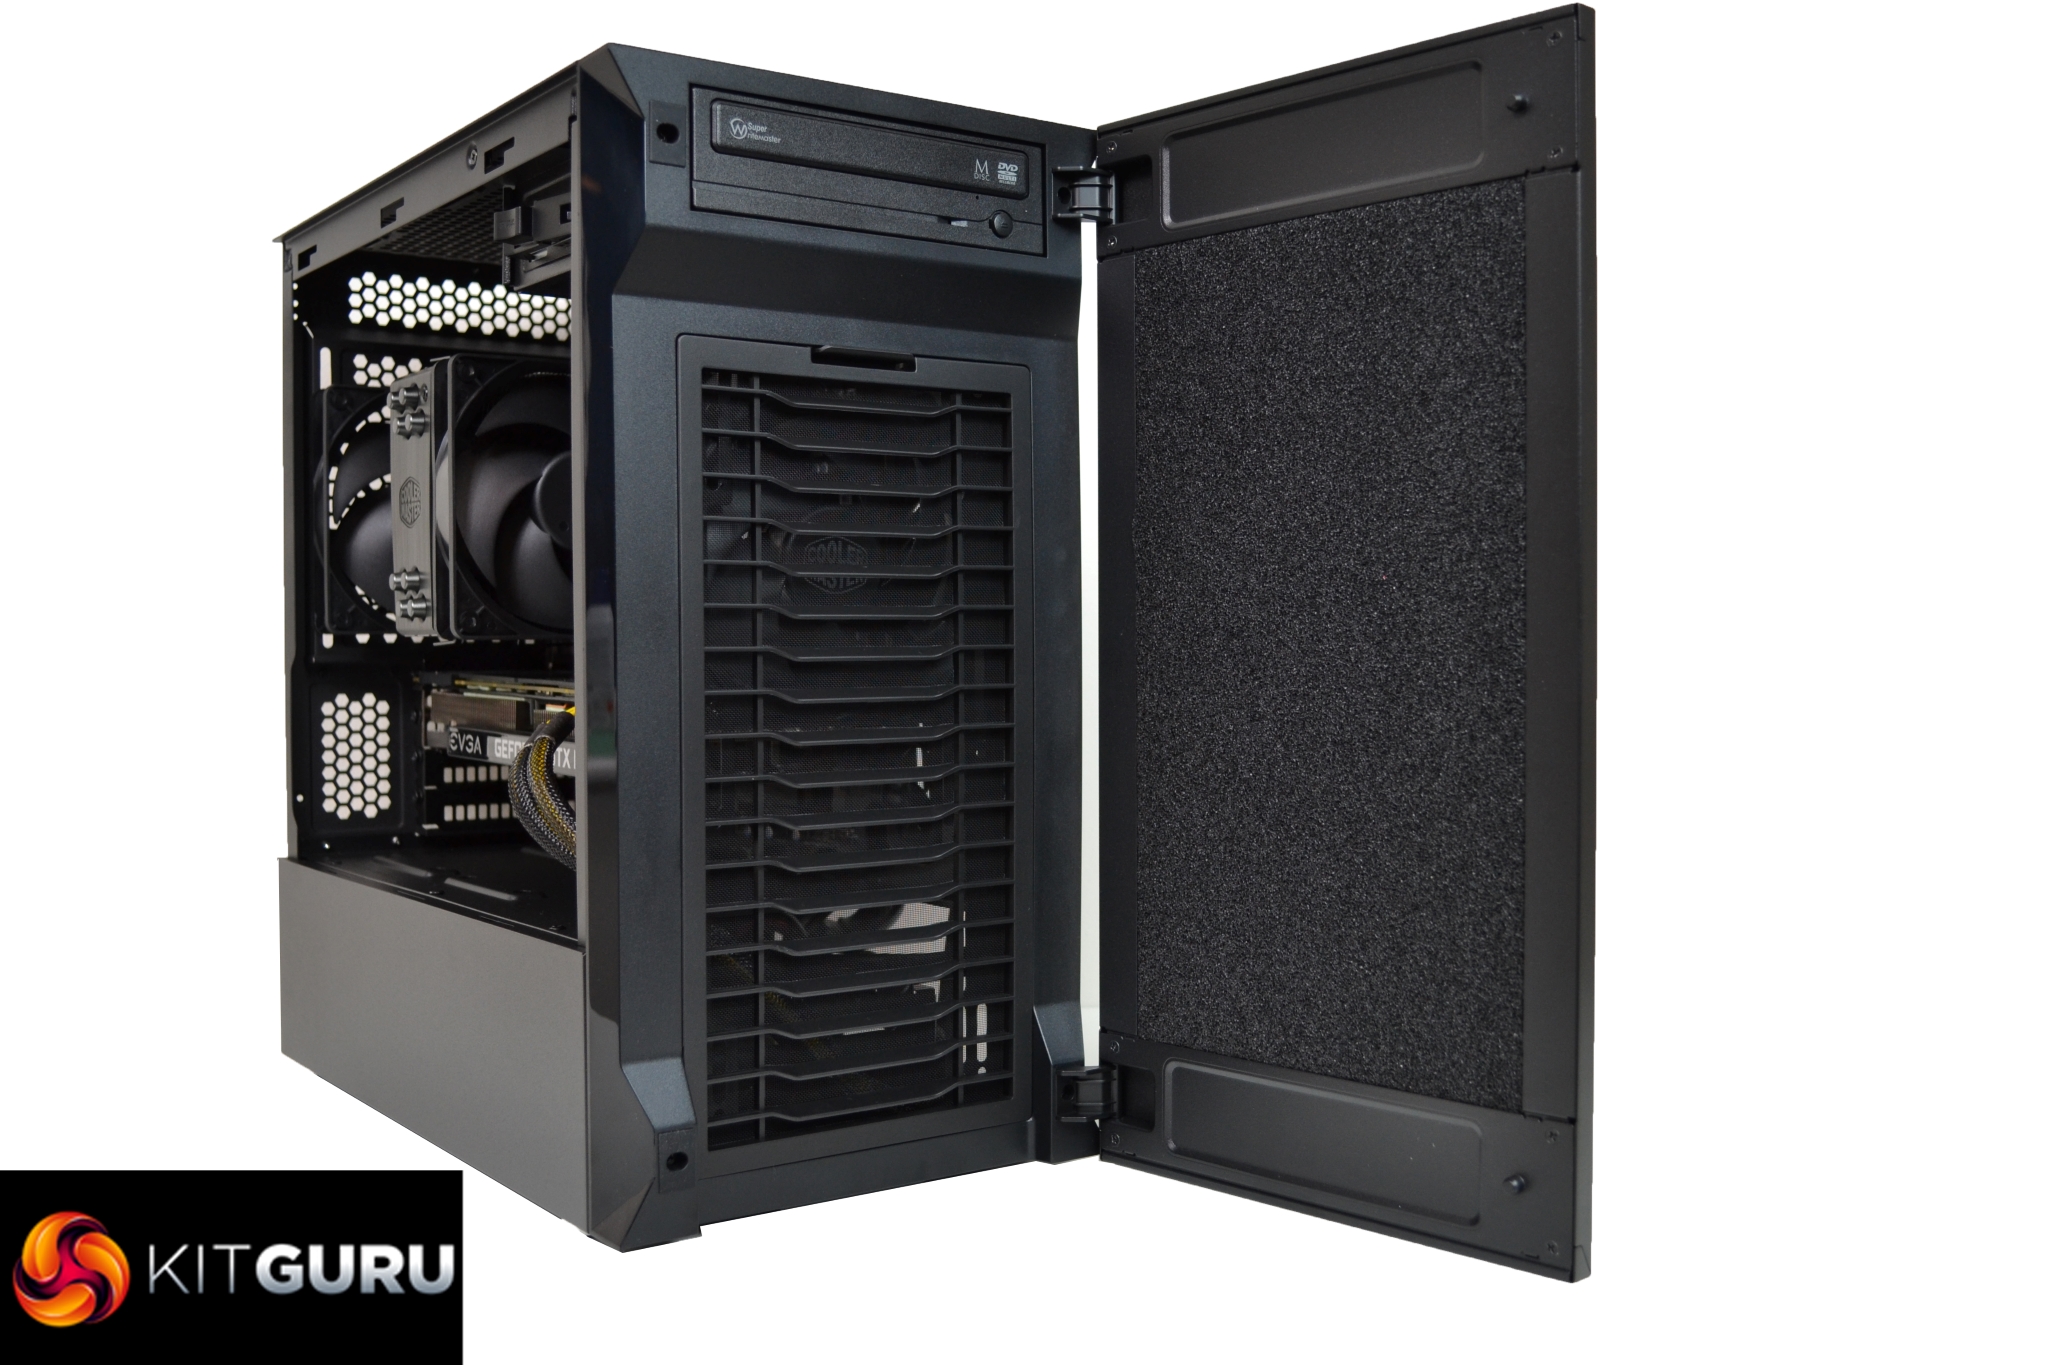
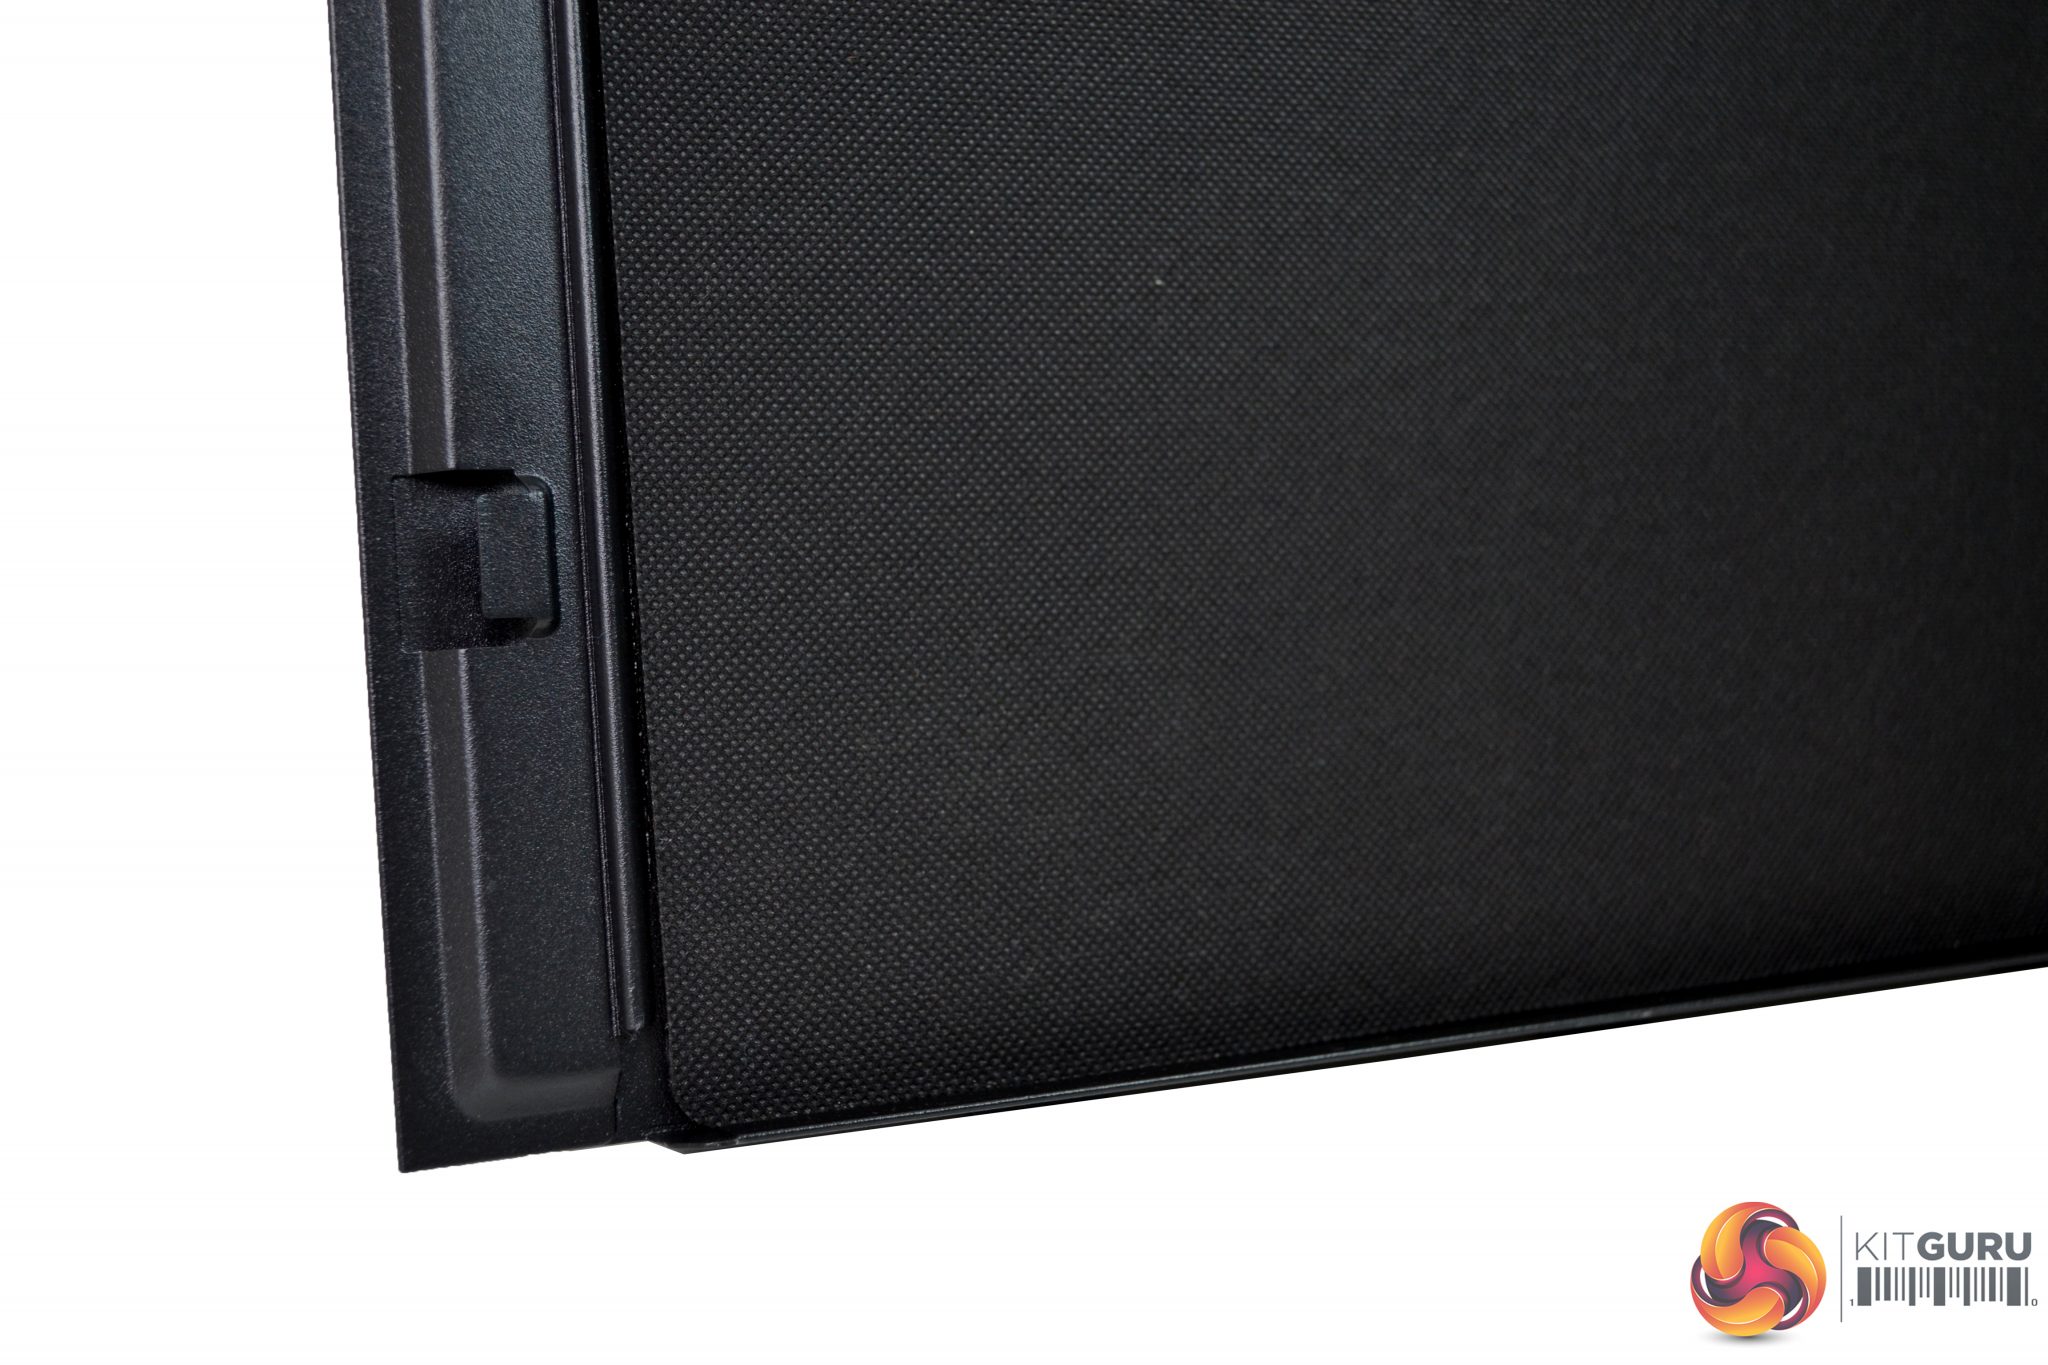
The front of the case had a full-length door that is hinged on the right-hand side, with a magnetic catch and rubber stoppers to the left. If needed, you can hang the door on the opposite side by simply removing the four hinge screws and the screws in the rubber stoppers, and switch them around – very simple.
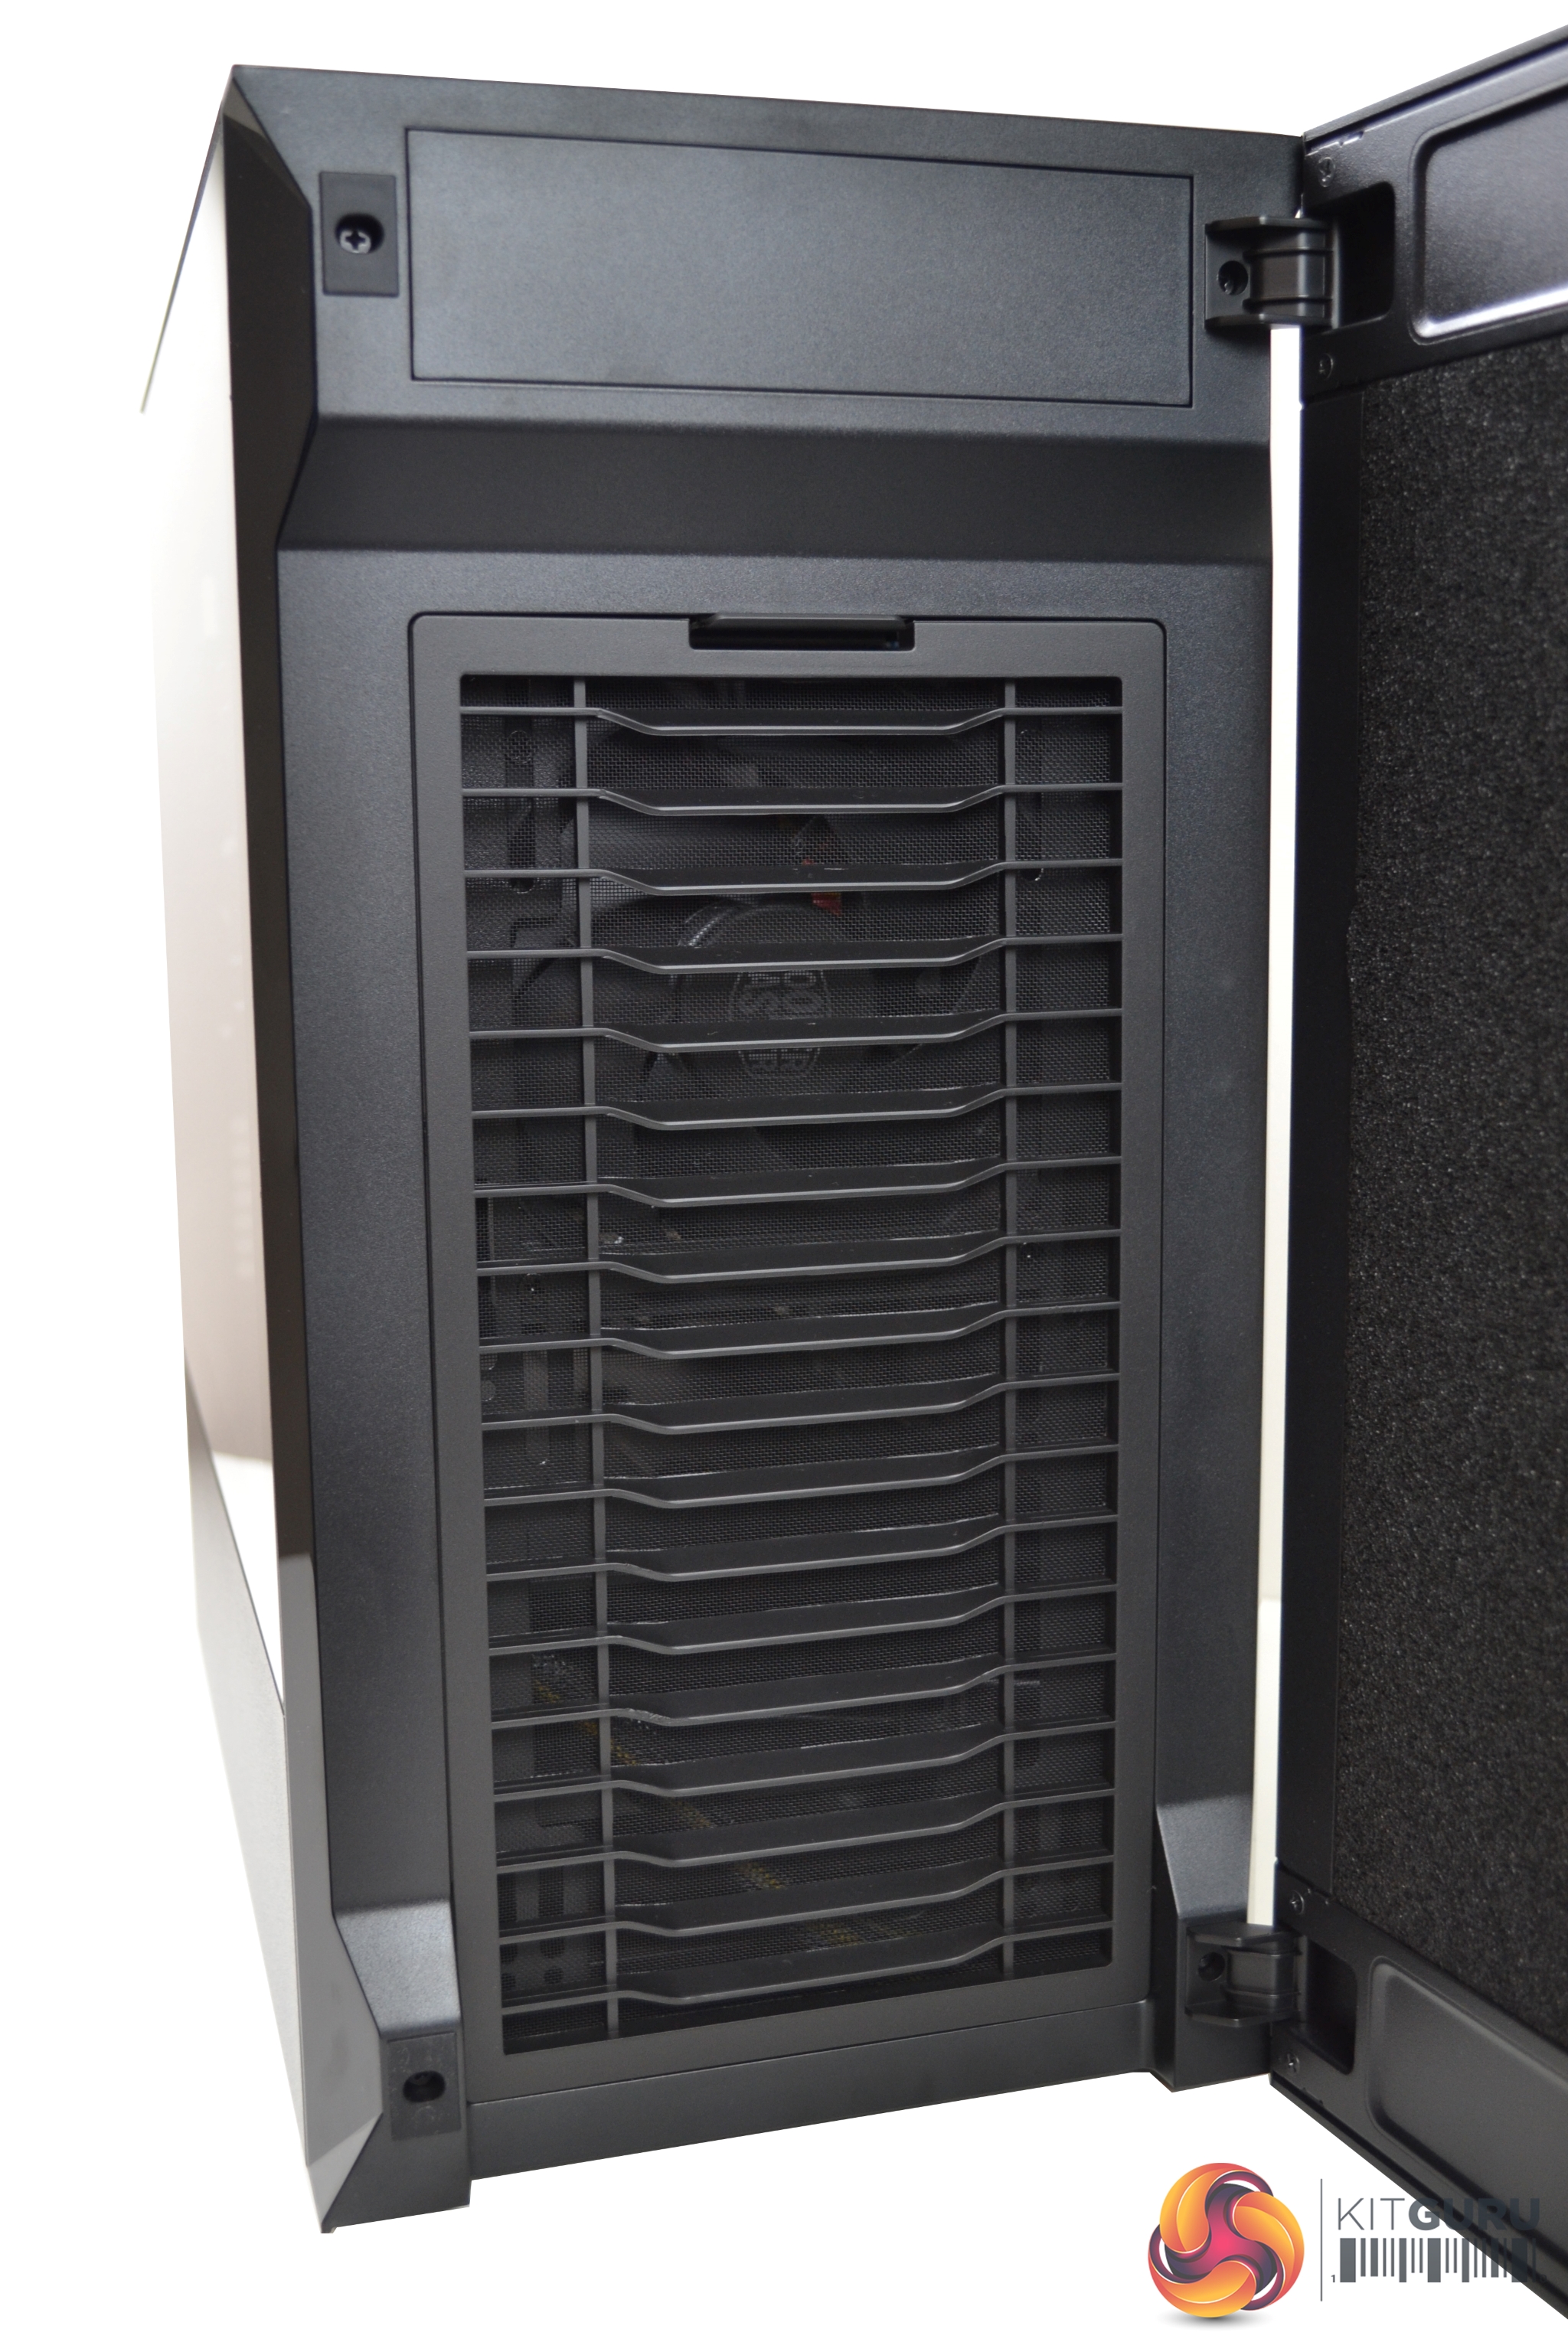
The door is primarily constructed from steel, with what appears to be a dense sponge material covering the back in an attempt to dampen noise exiting the case. Behind the door is a front panel, featuring a re-curved vent, which directs air flow from the sides and bottom with minimised turbulence. Removal of the vent offers unobstructed access to the fans.
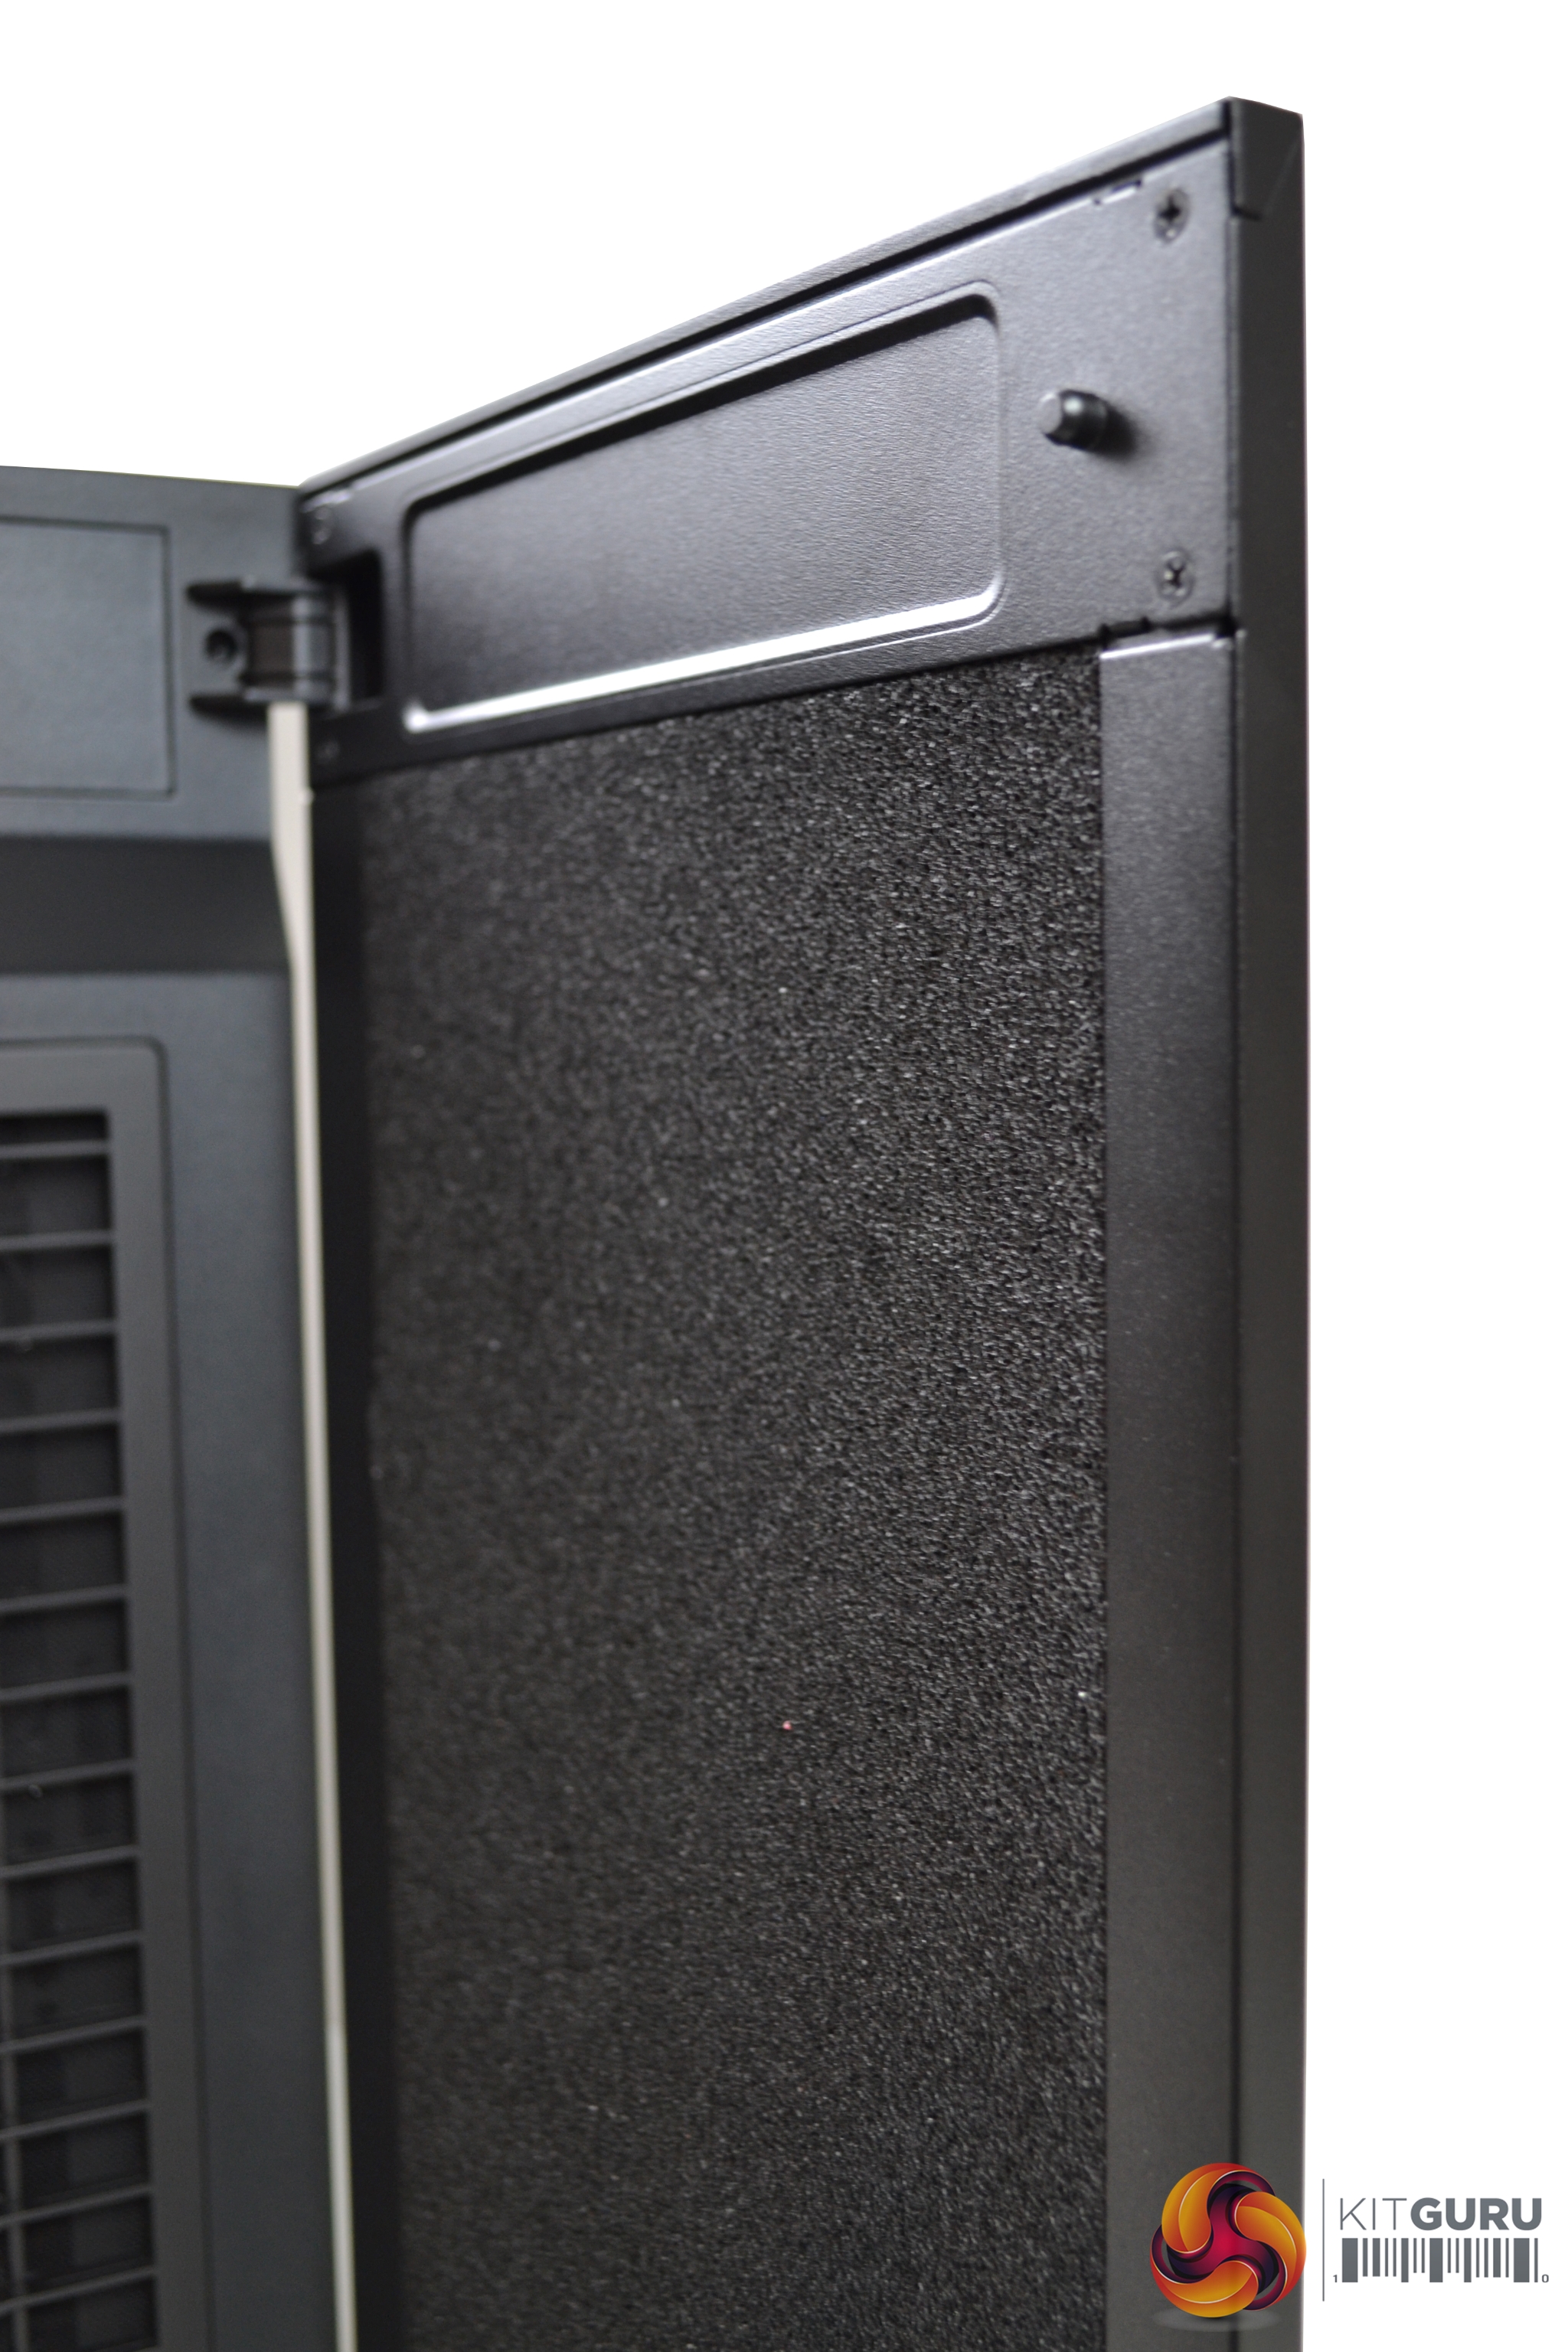
Behind the door, there is a 5.25” optical drive bay which isn’t a common feature nowadays, but there are some mere mortals that still use optical drives so this will please them. The 5.25” drive bay can also be used to mount a 3.5” HDD or can be completely removed, by unscrewing the four fixing screws.
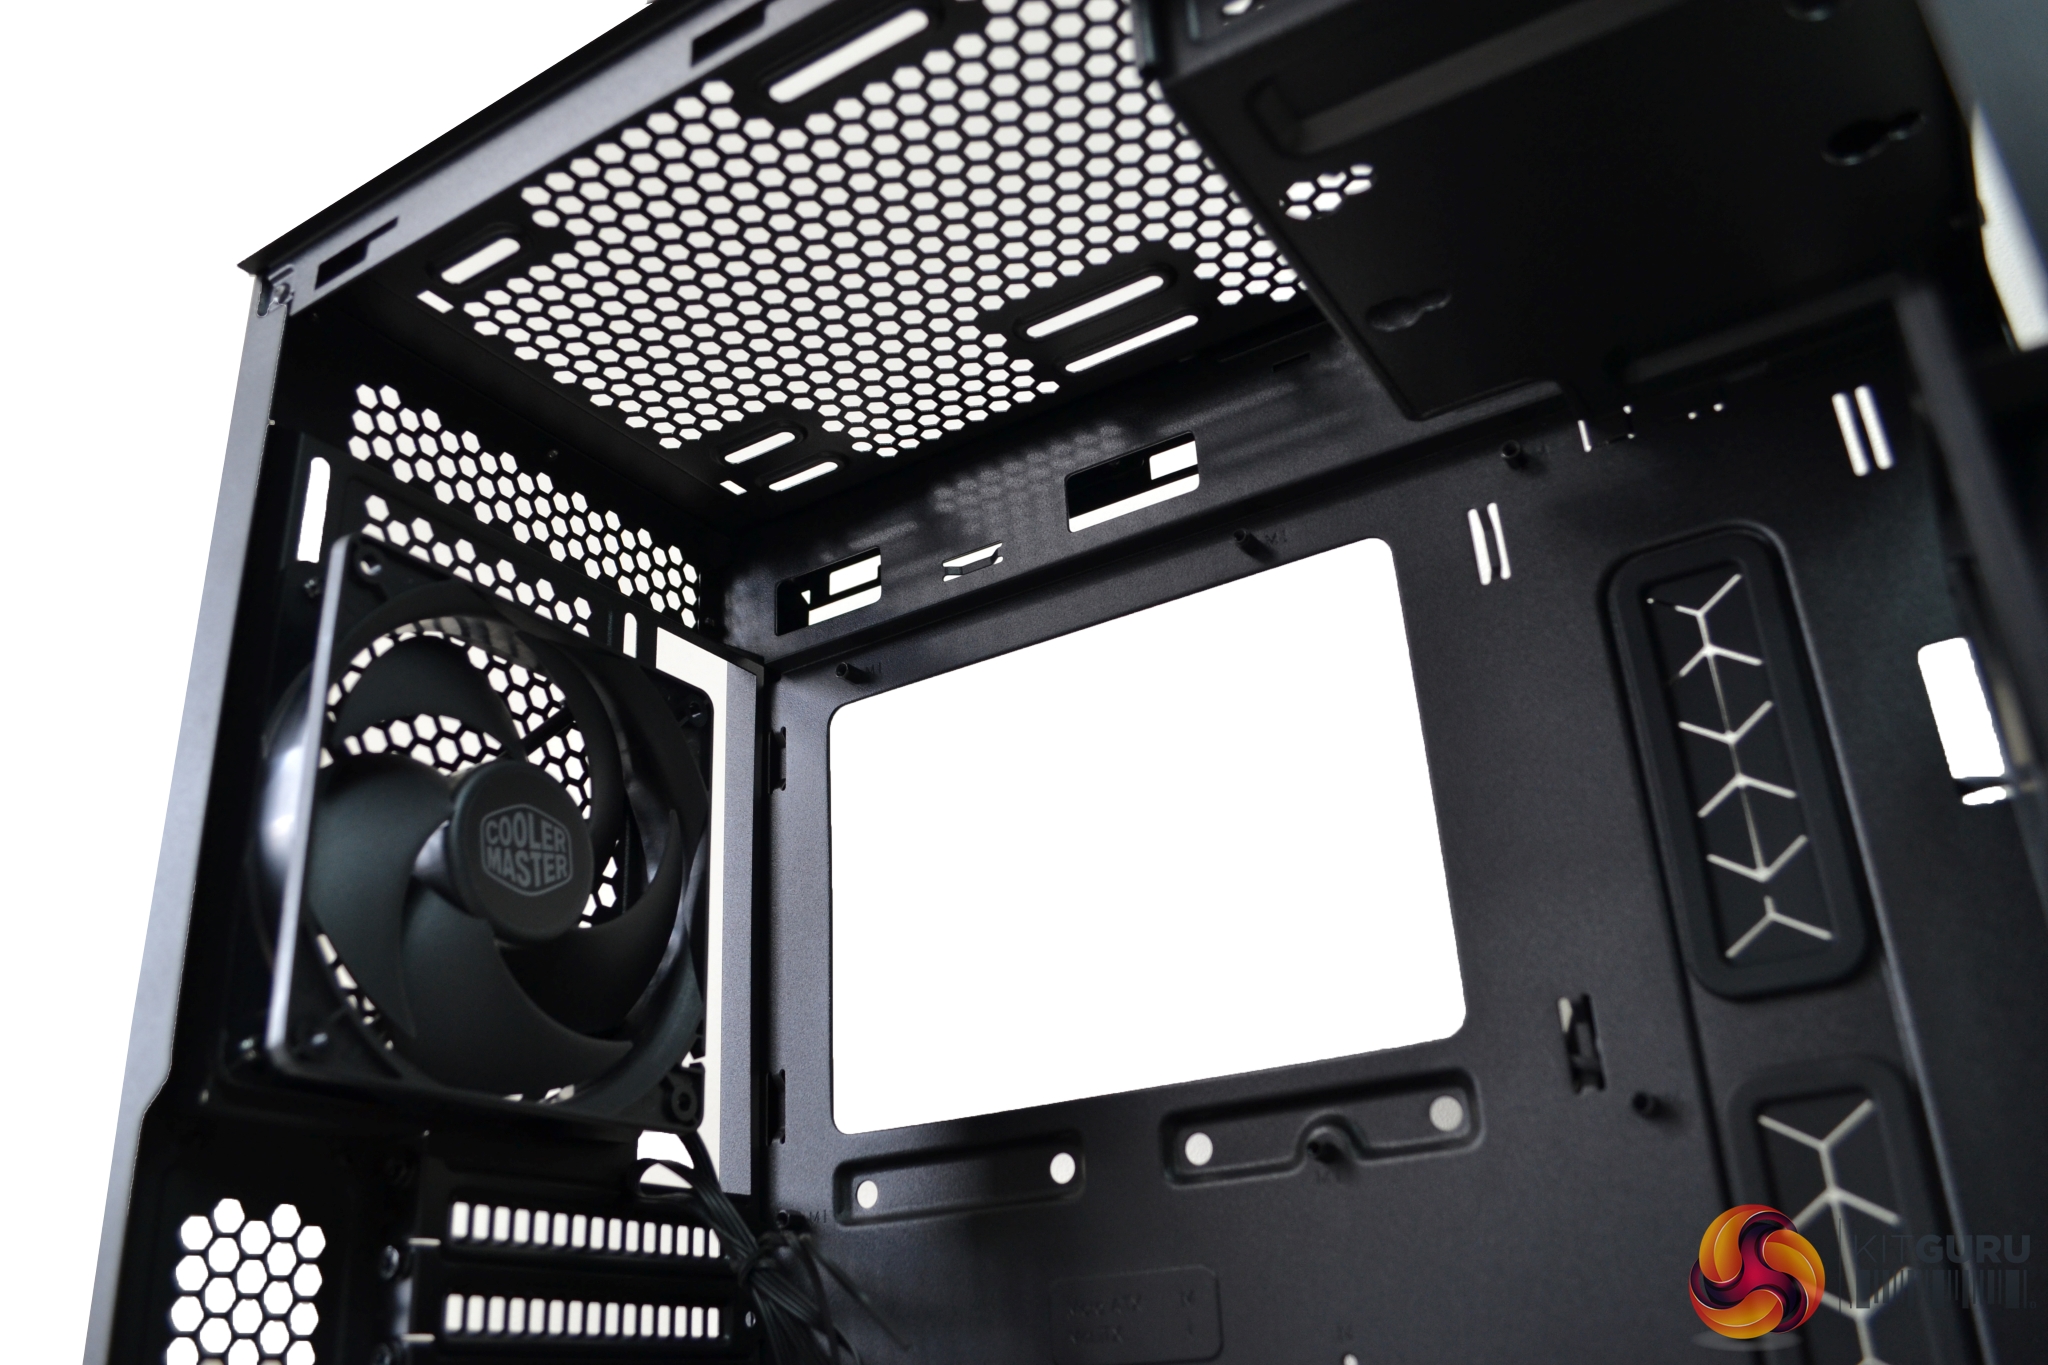
The front panel, including the door, can be removed in one piece; a sharp pull from the bottom edge will release it from its plastic clips. Removal of the front panel reveals one of the two pre-installed FP120 PWM fans.
A feature of the front panel is air-flow enhancing slots to the sides and bottom, which are approximately 12mm wide.
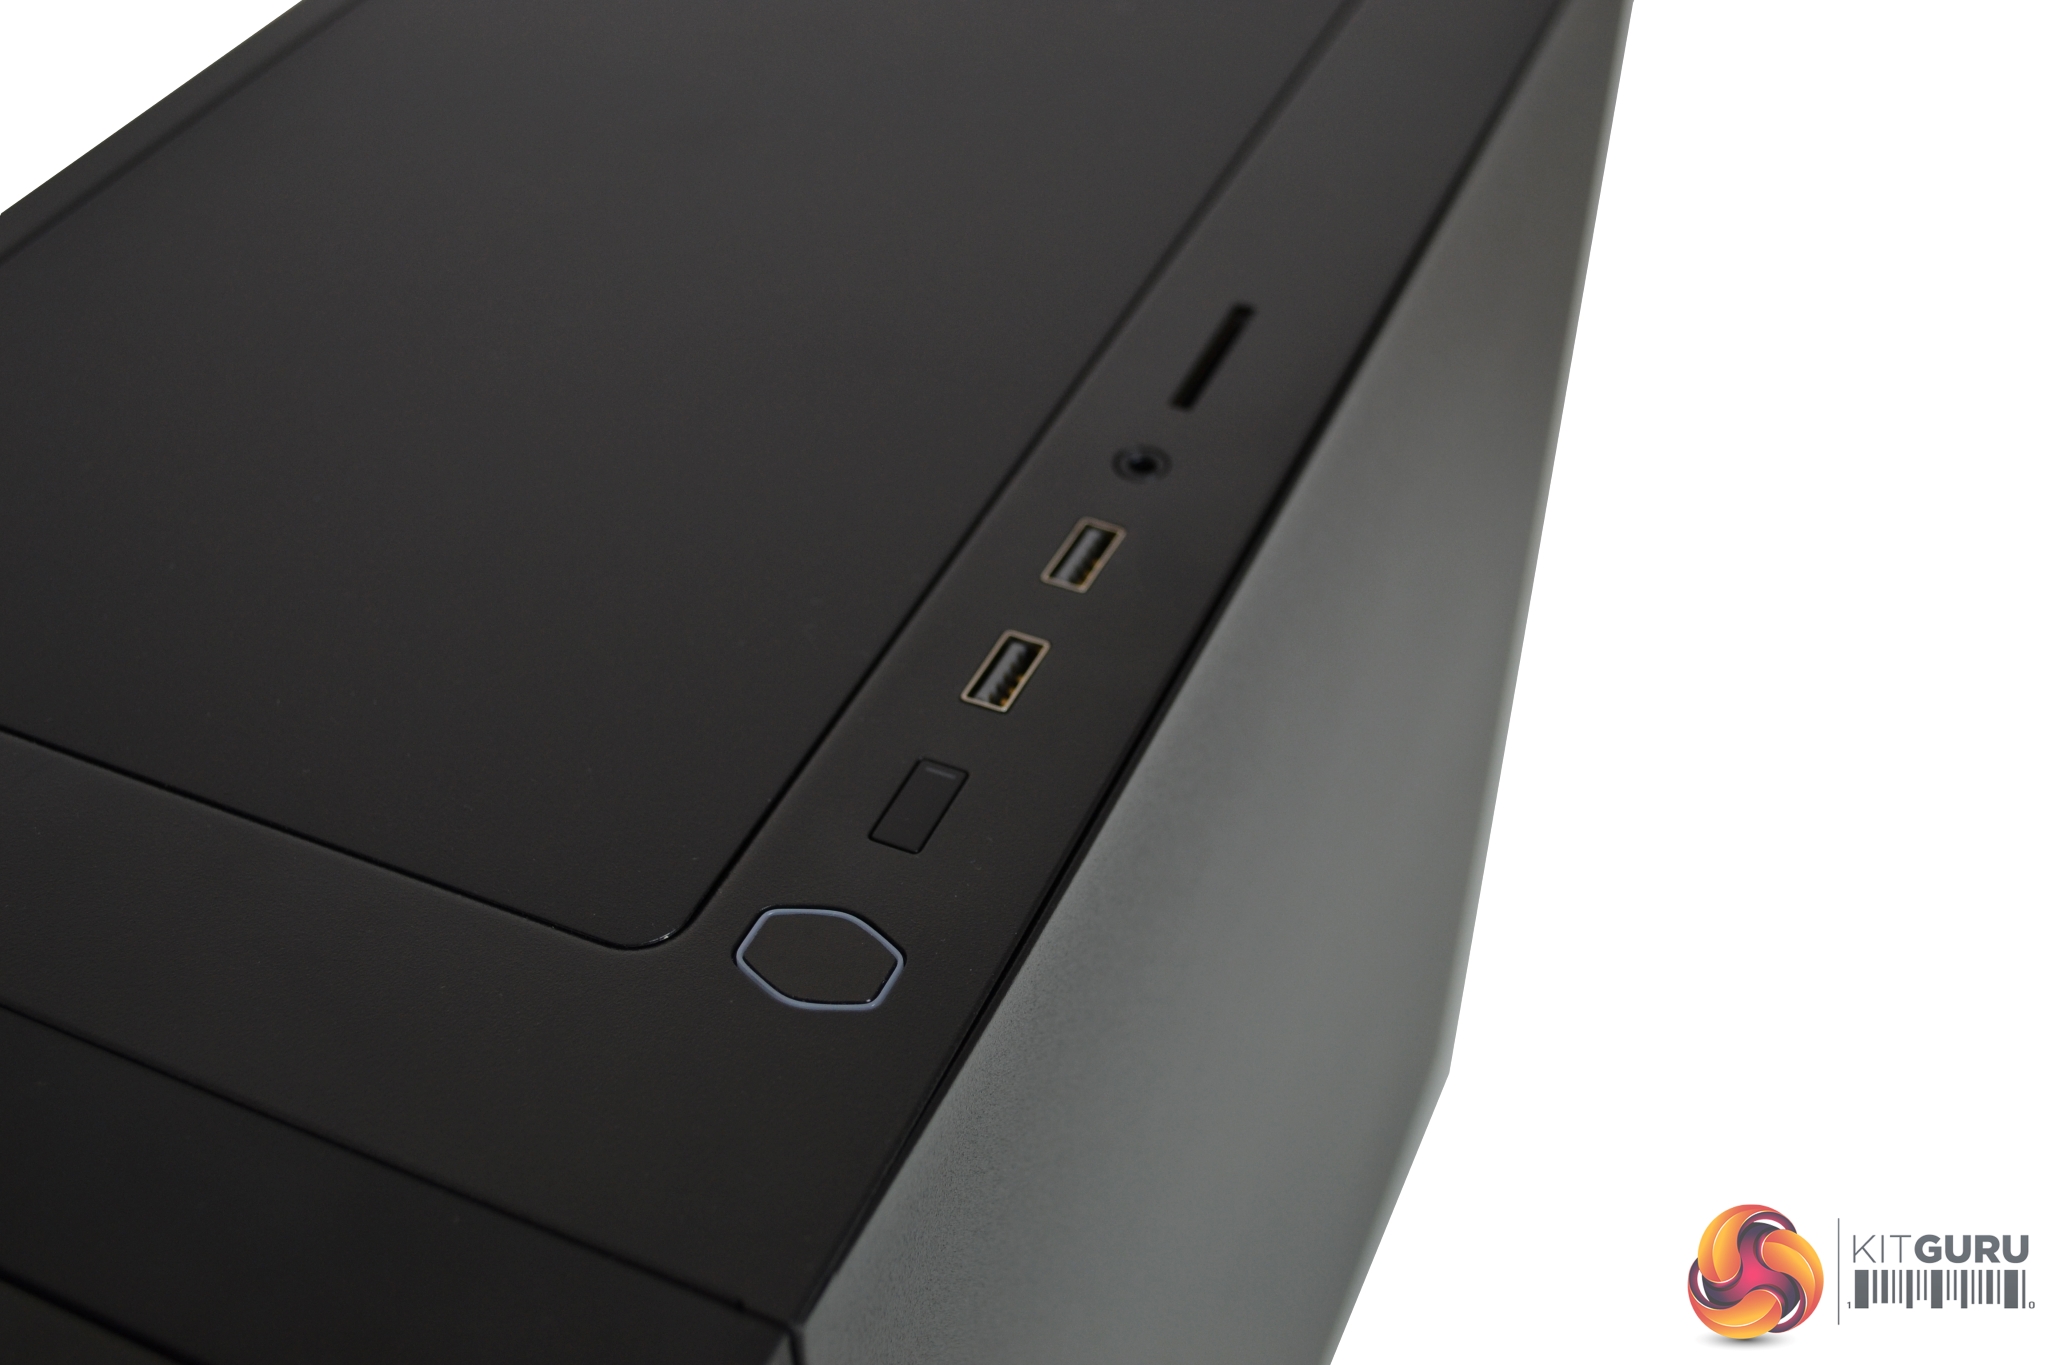
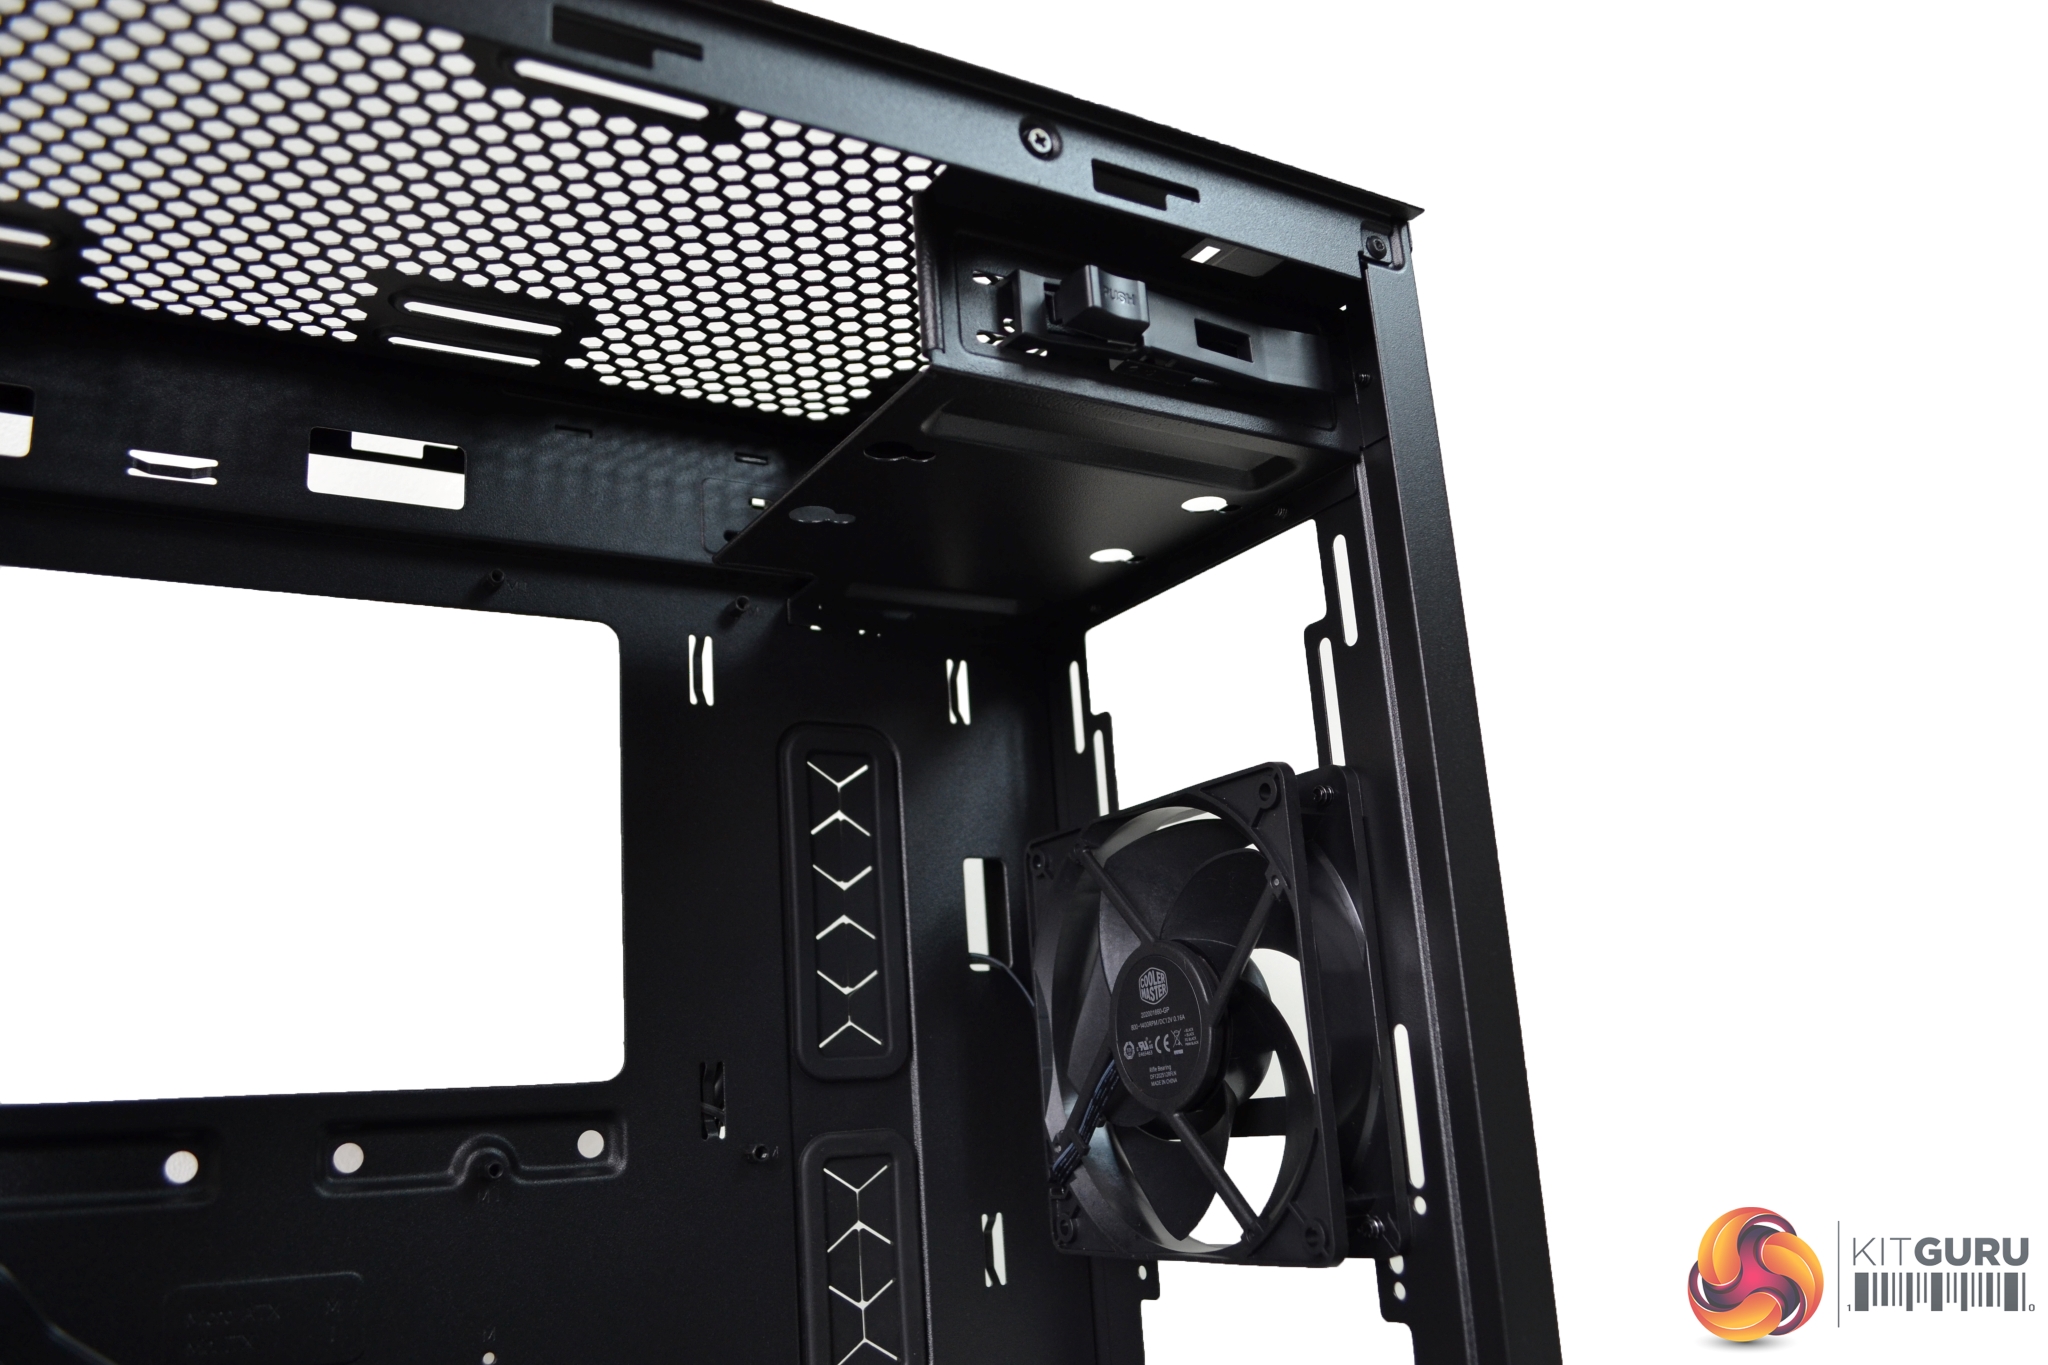
Along the top of the case is the I/O panel. The first things to note are the power button, in the shape of the Cooler Master logo, and ghd rectangular reset button. The power button is lit up with an LED, indicating power is on, and the reset button has a small LED, indicating storage activity. There are two USB 3 ports, a four-pole 3.5mm audio jack and SD card reader which is a handy addition.
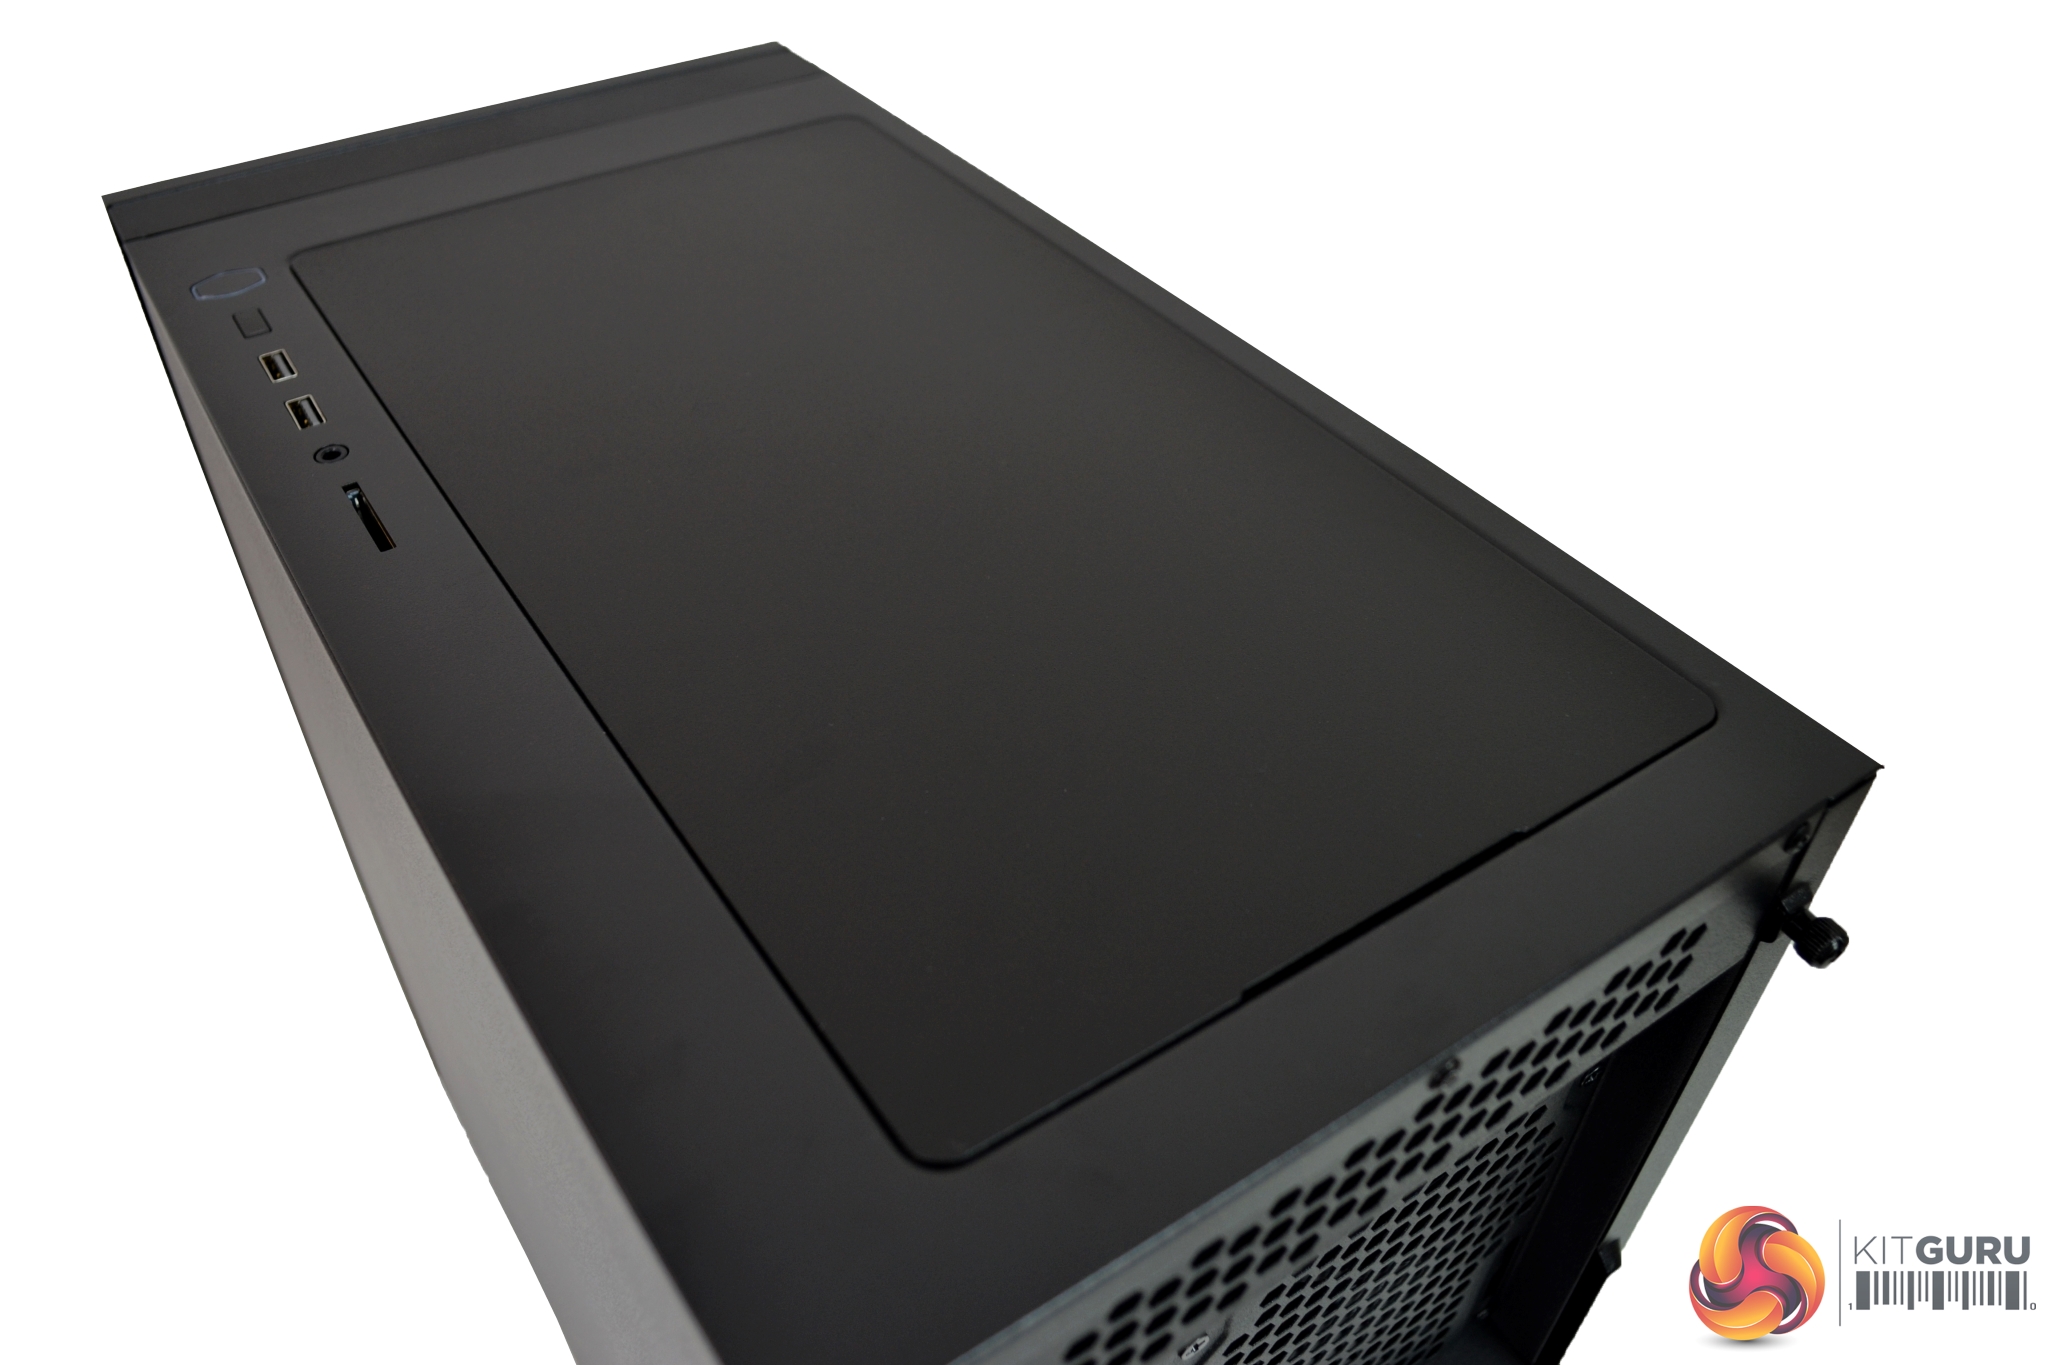
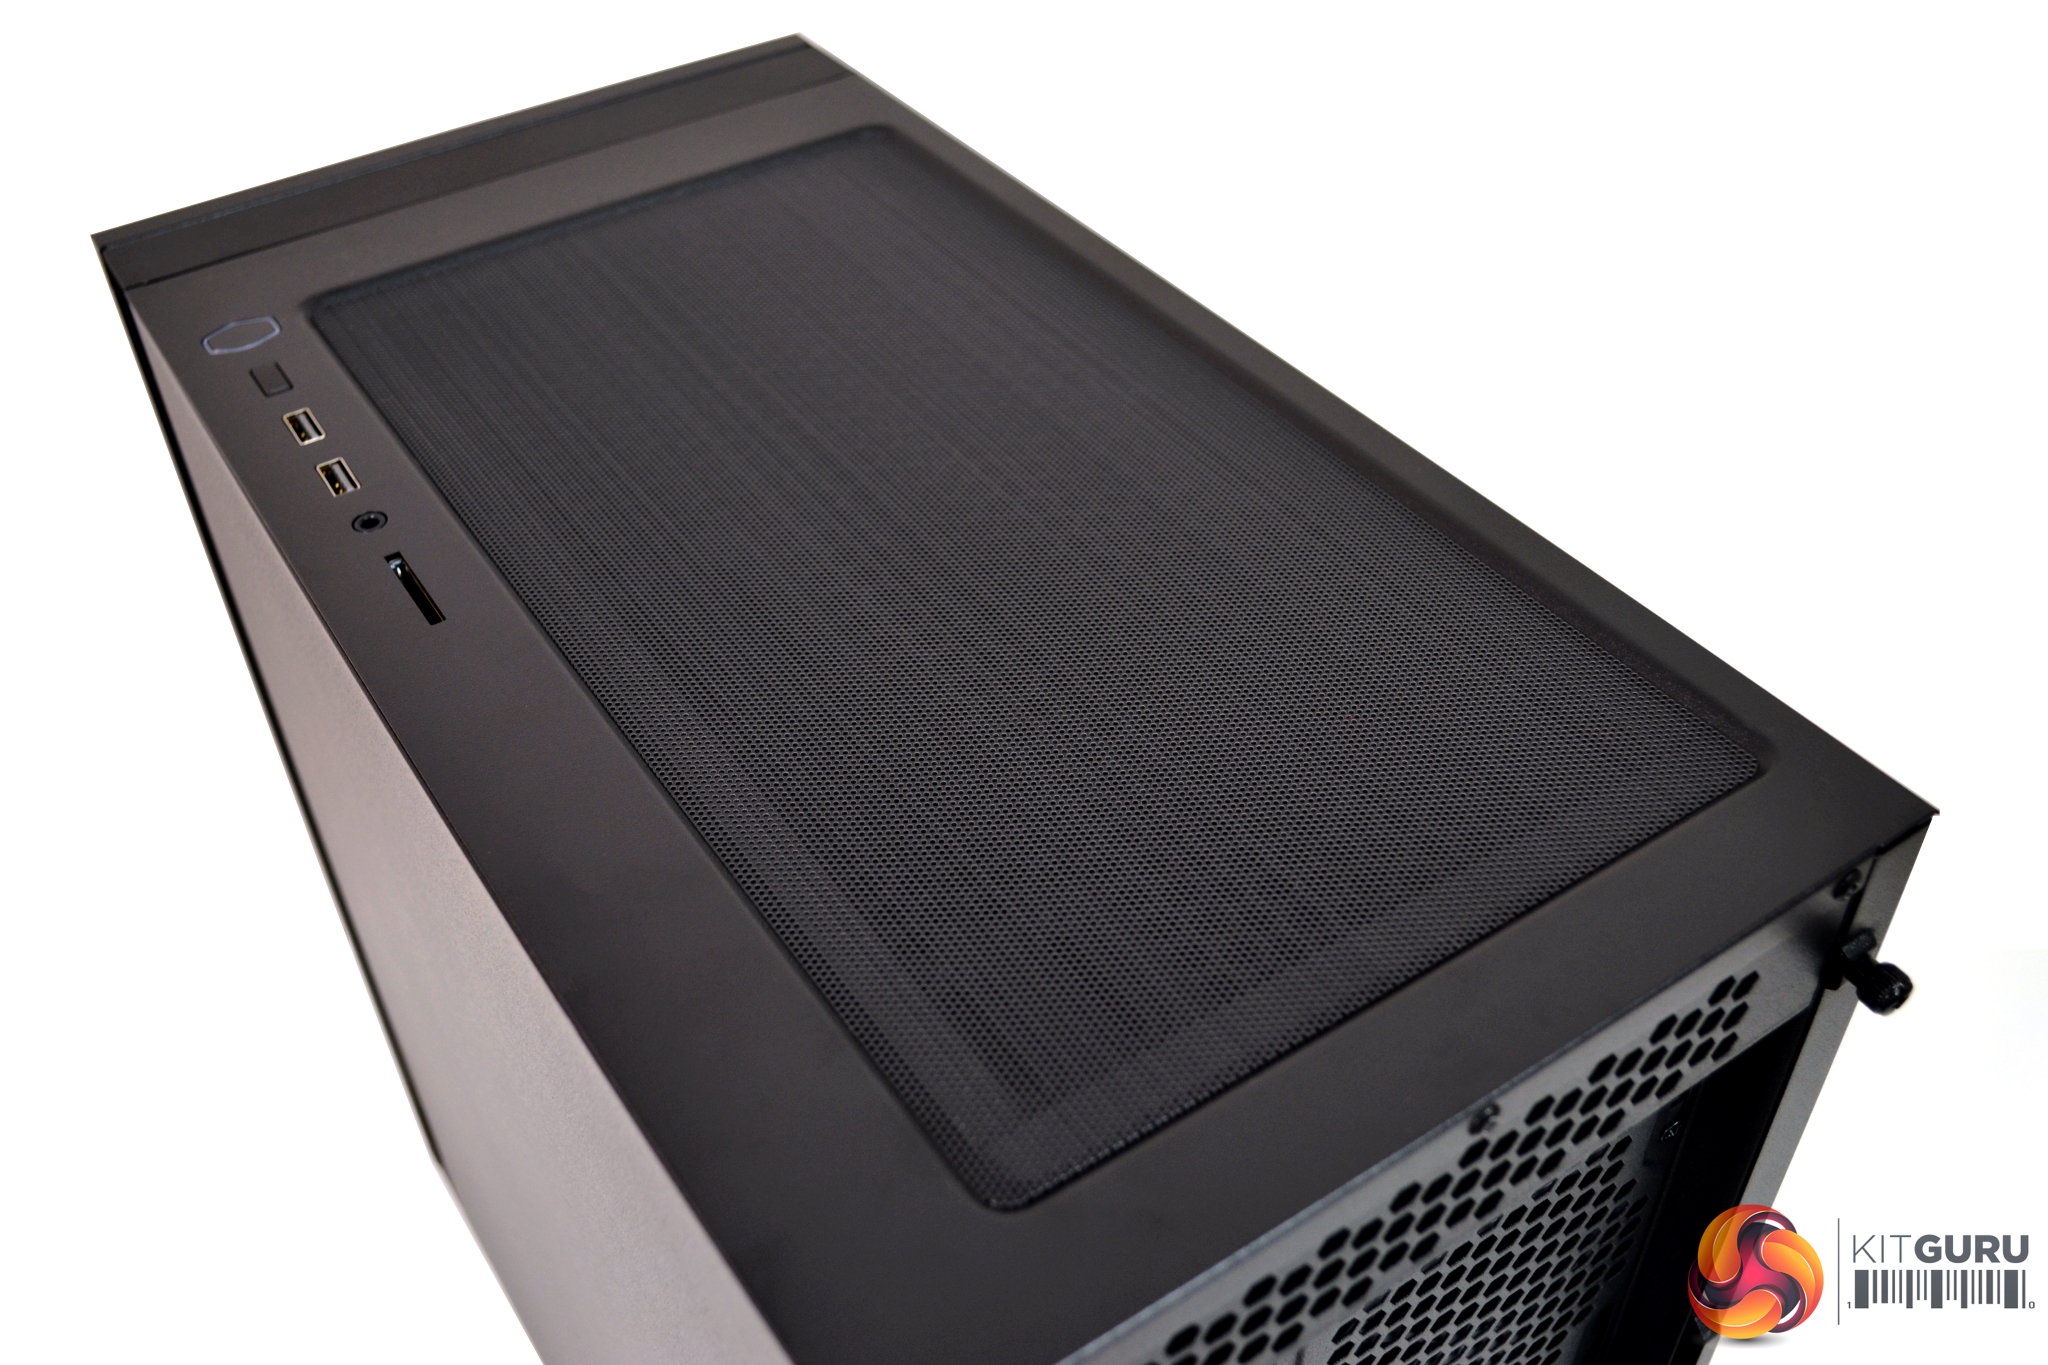
The top of the case is covered by a solid panel, to reduce noise, and this sits on top of the two 120mm/140mm fan mountings. This panel can be replaced with an included mesh filter, to use when installing fans or a radiator in the top section.
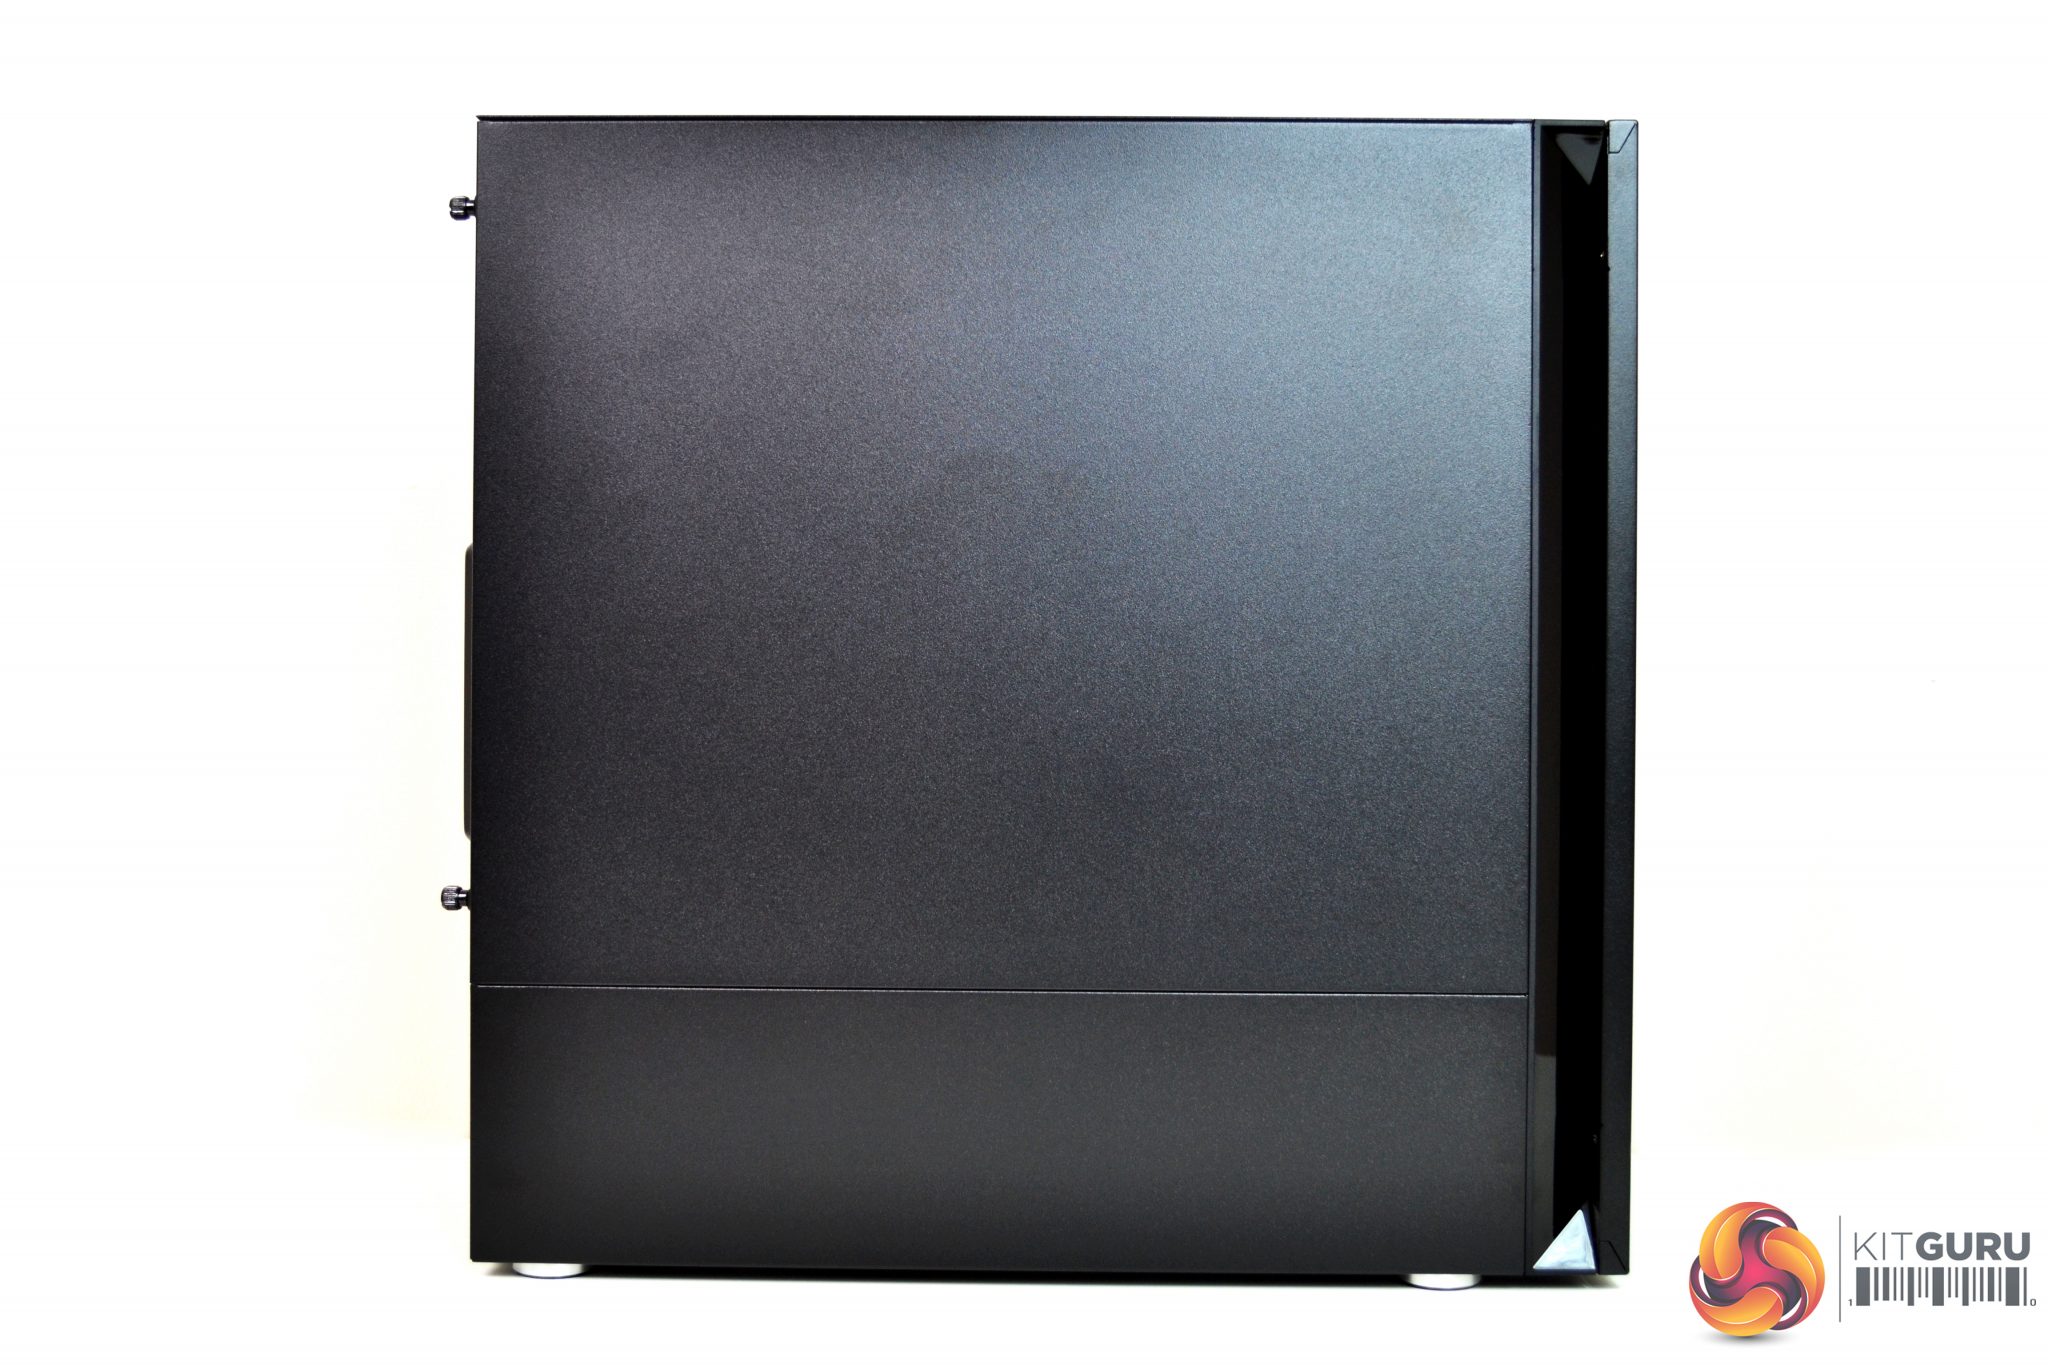
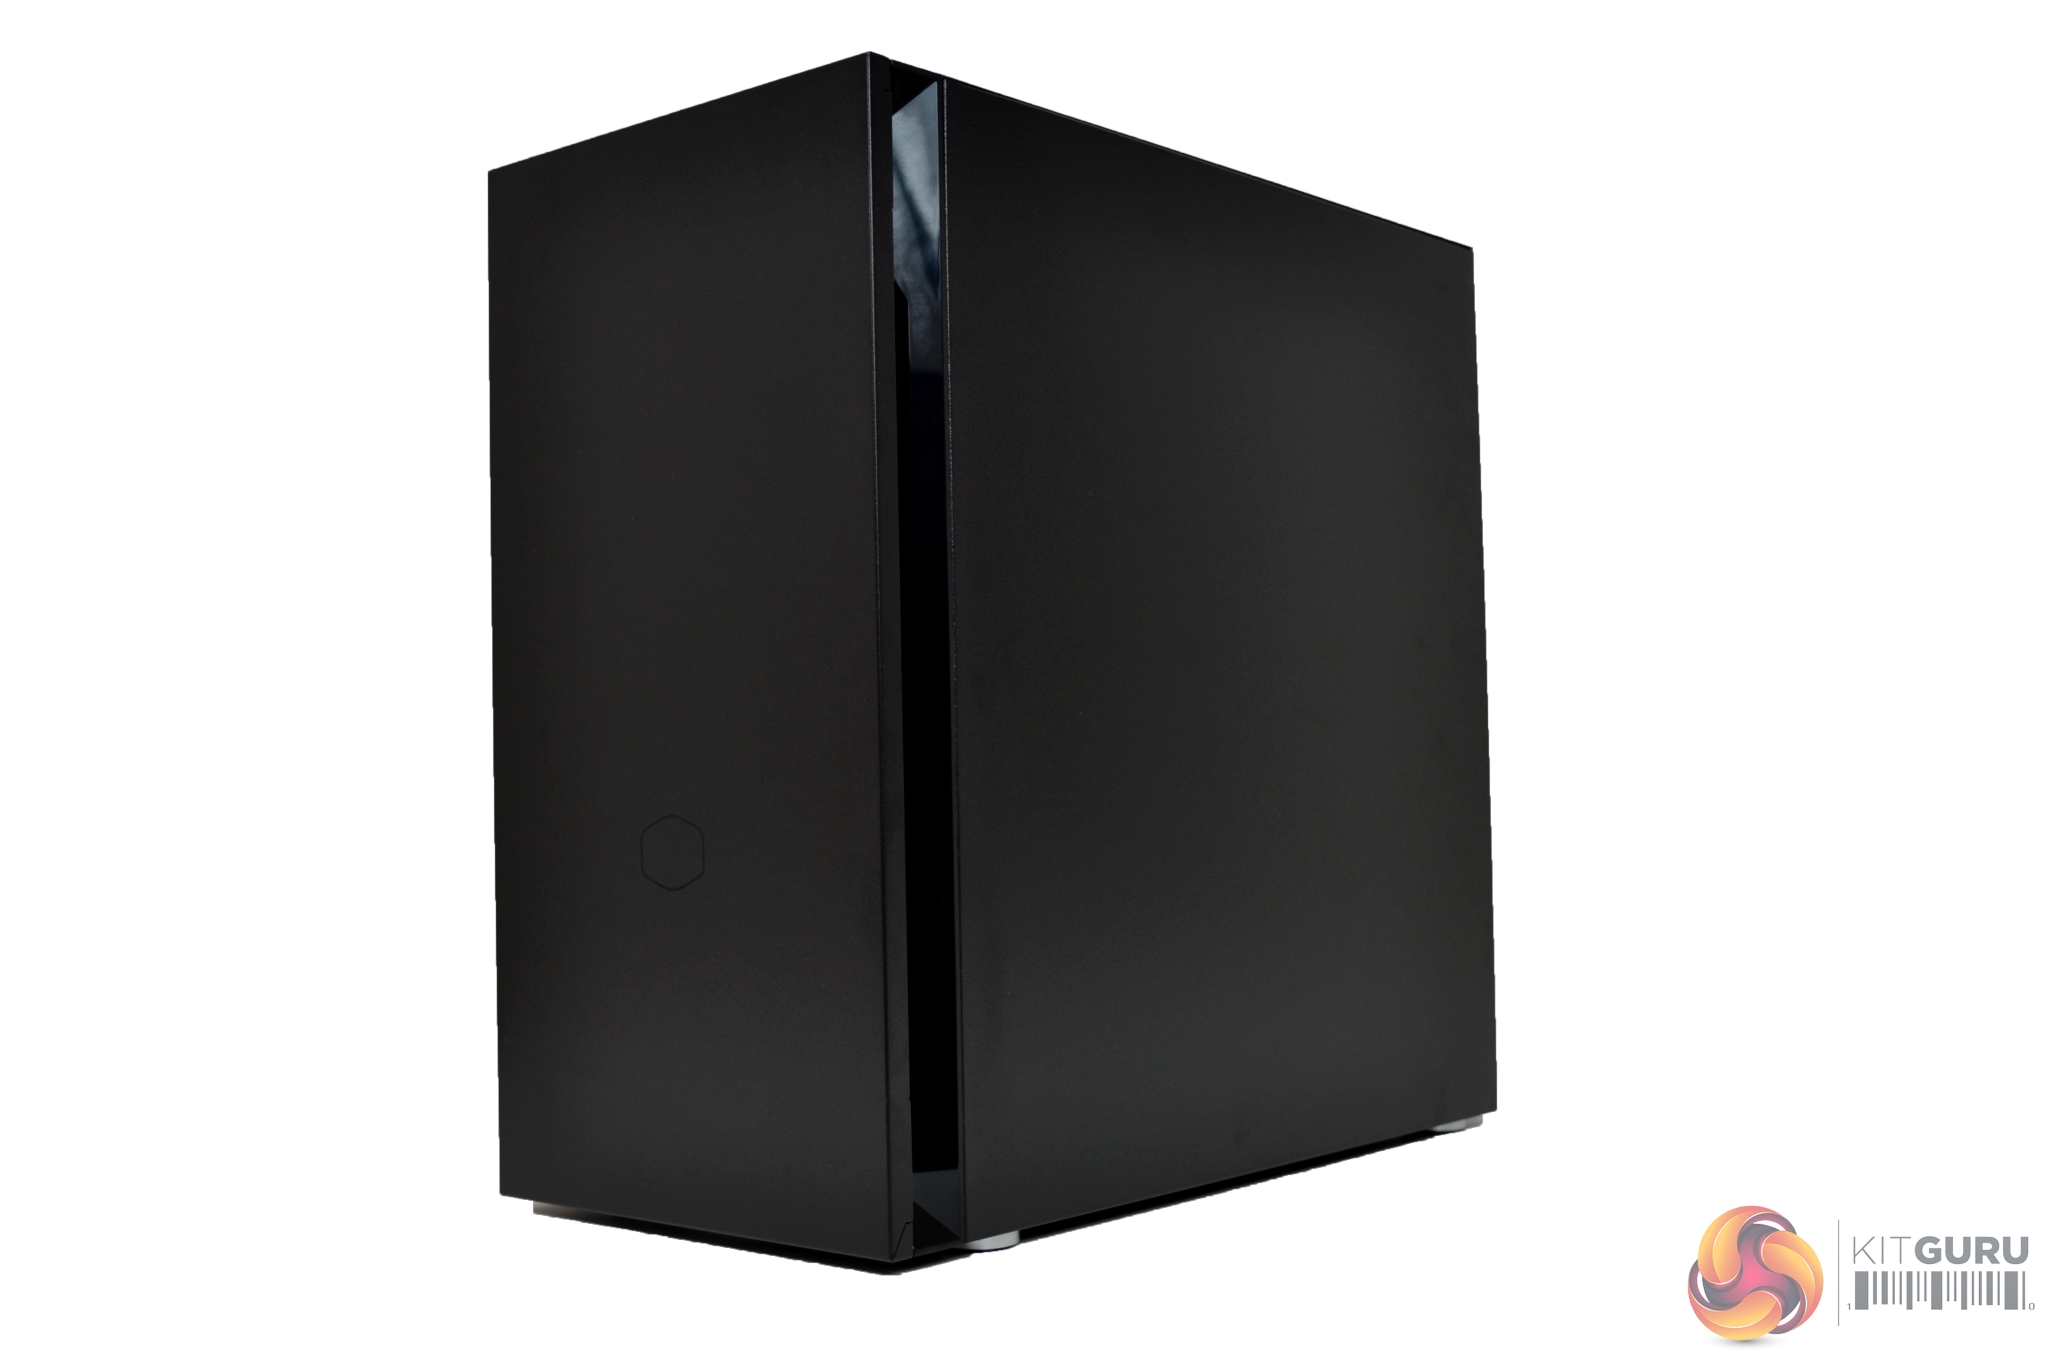
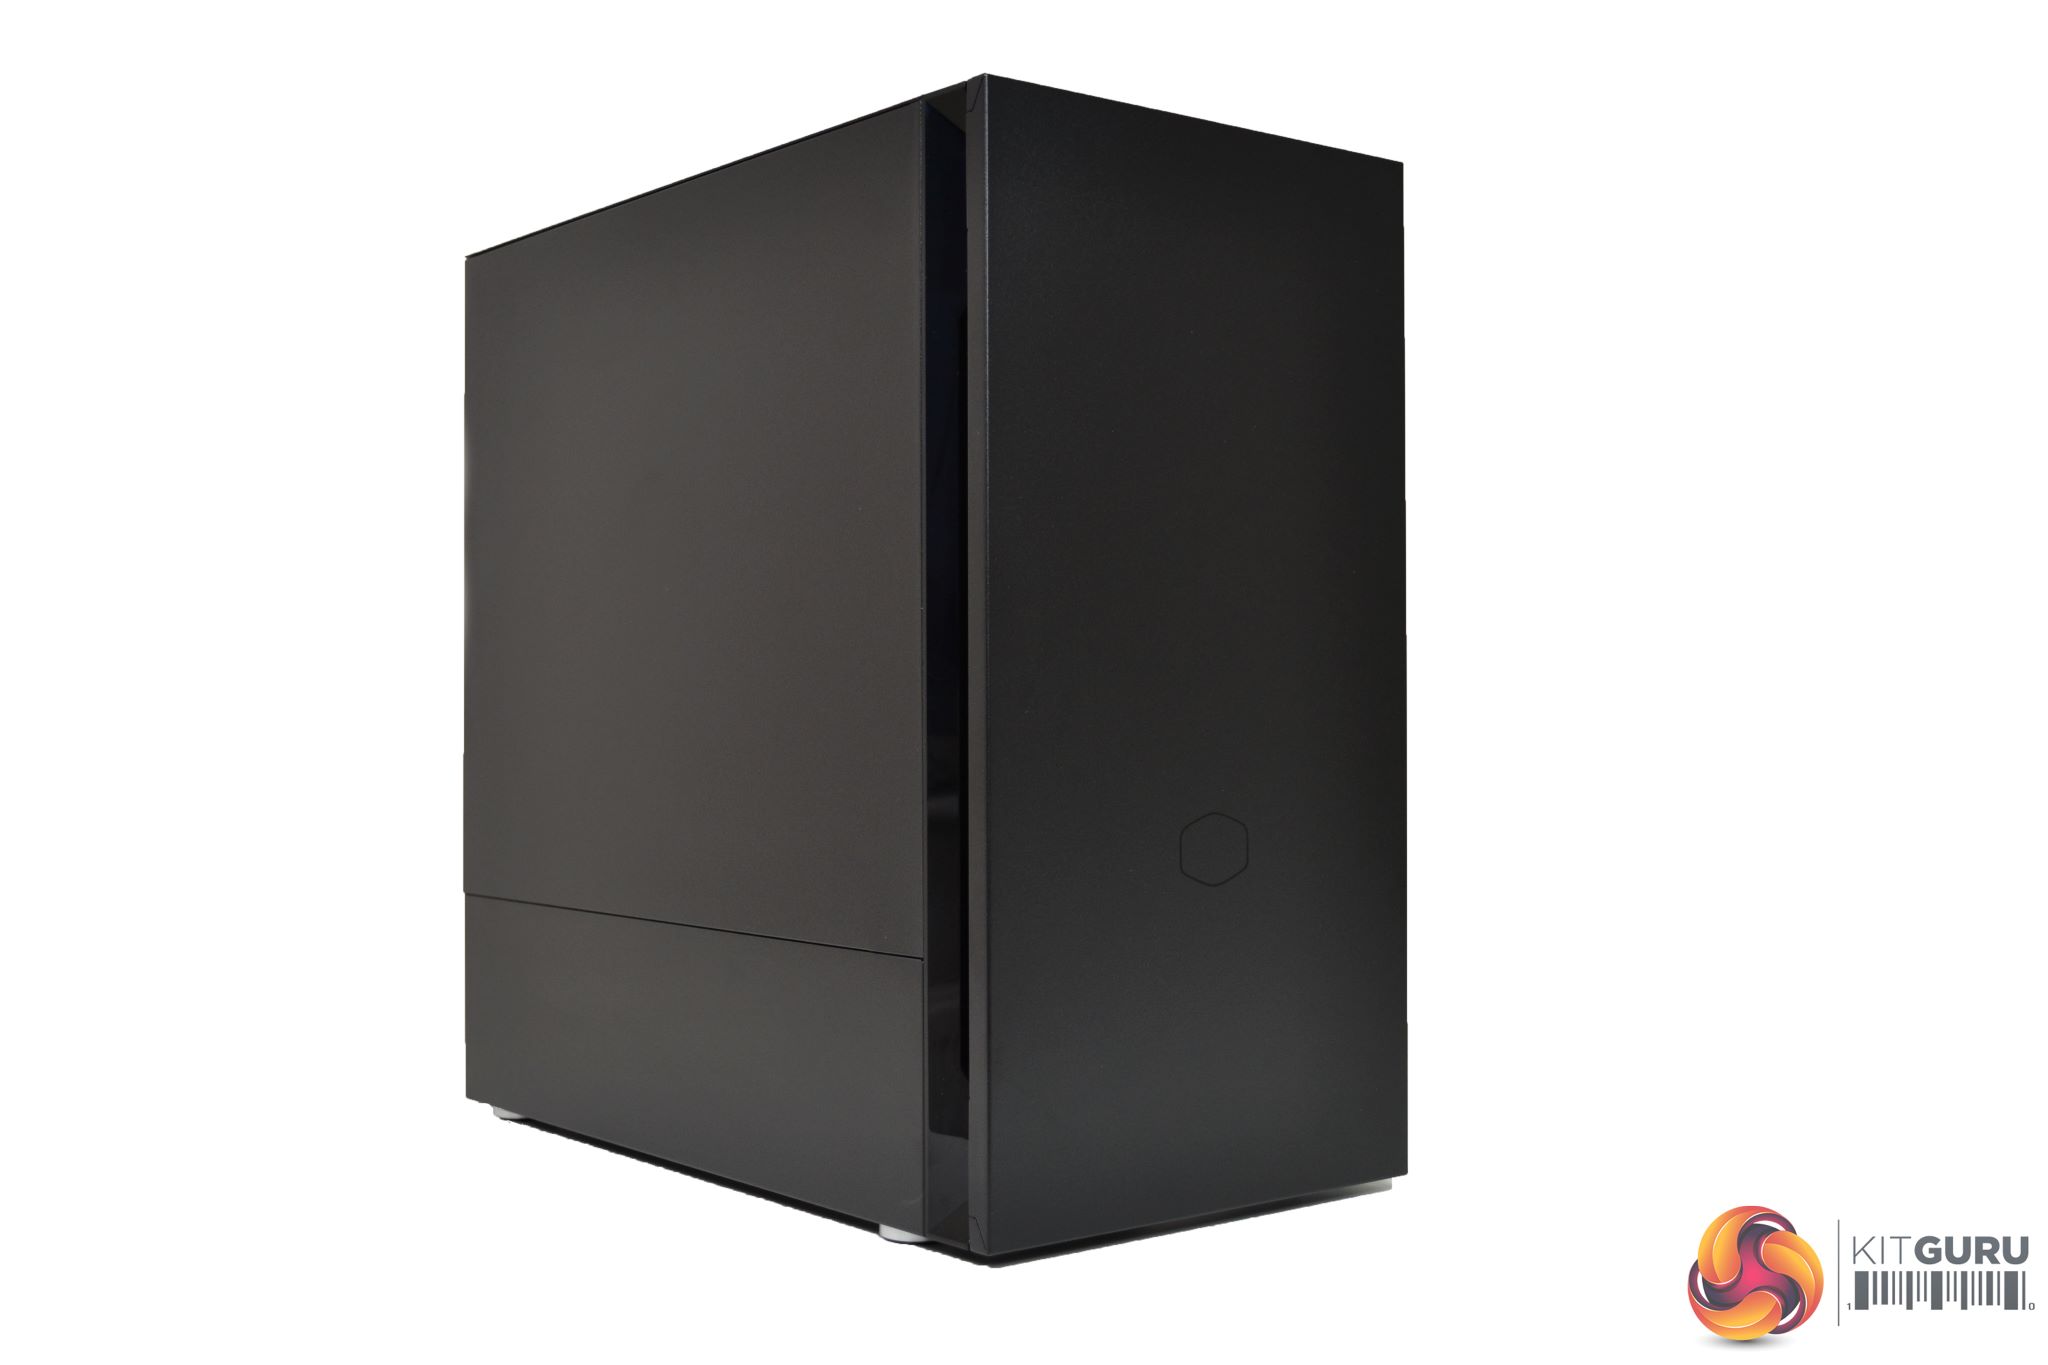
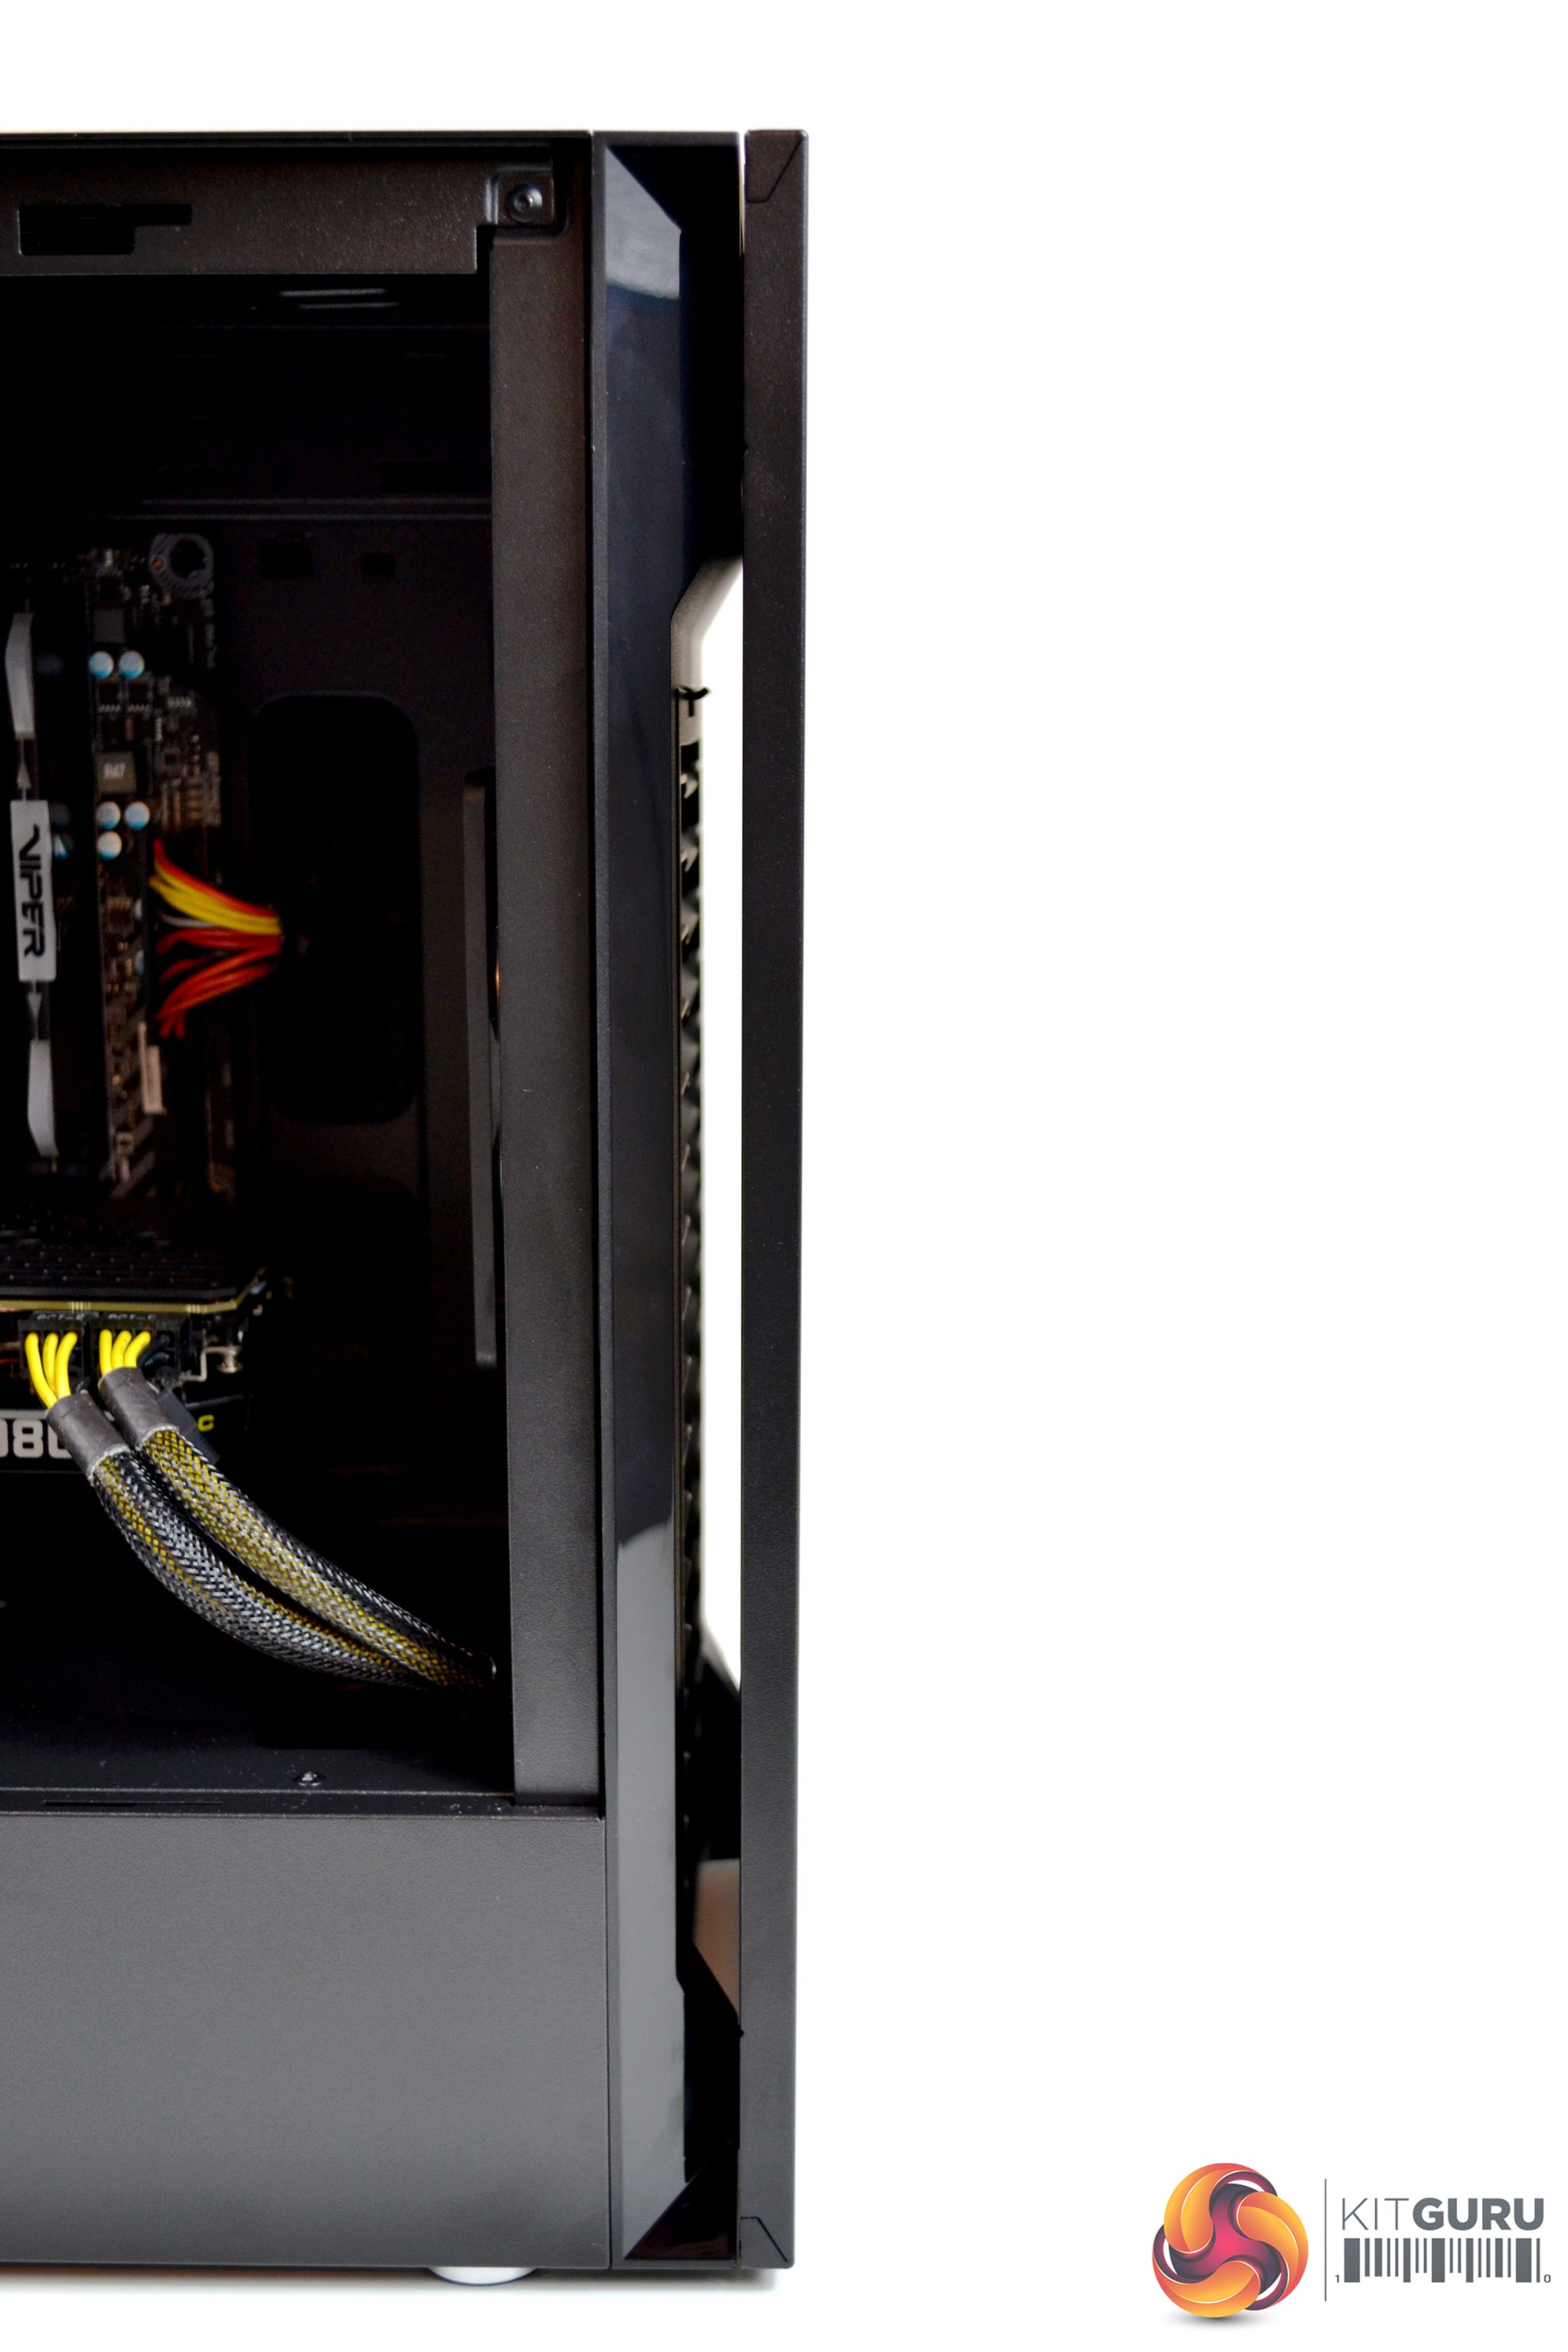
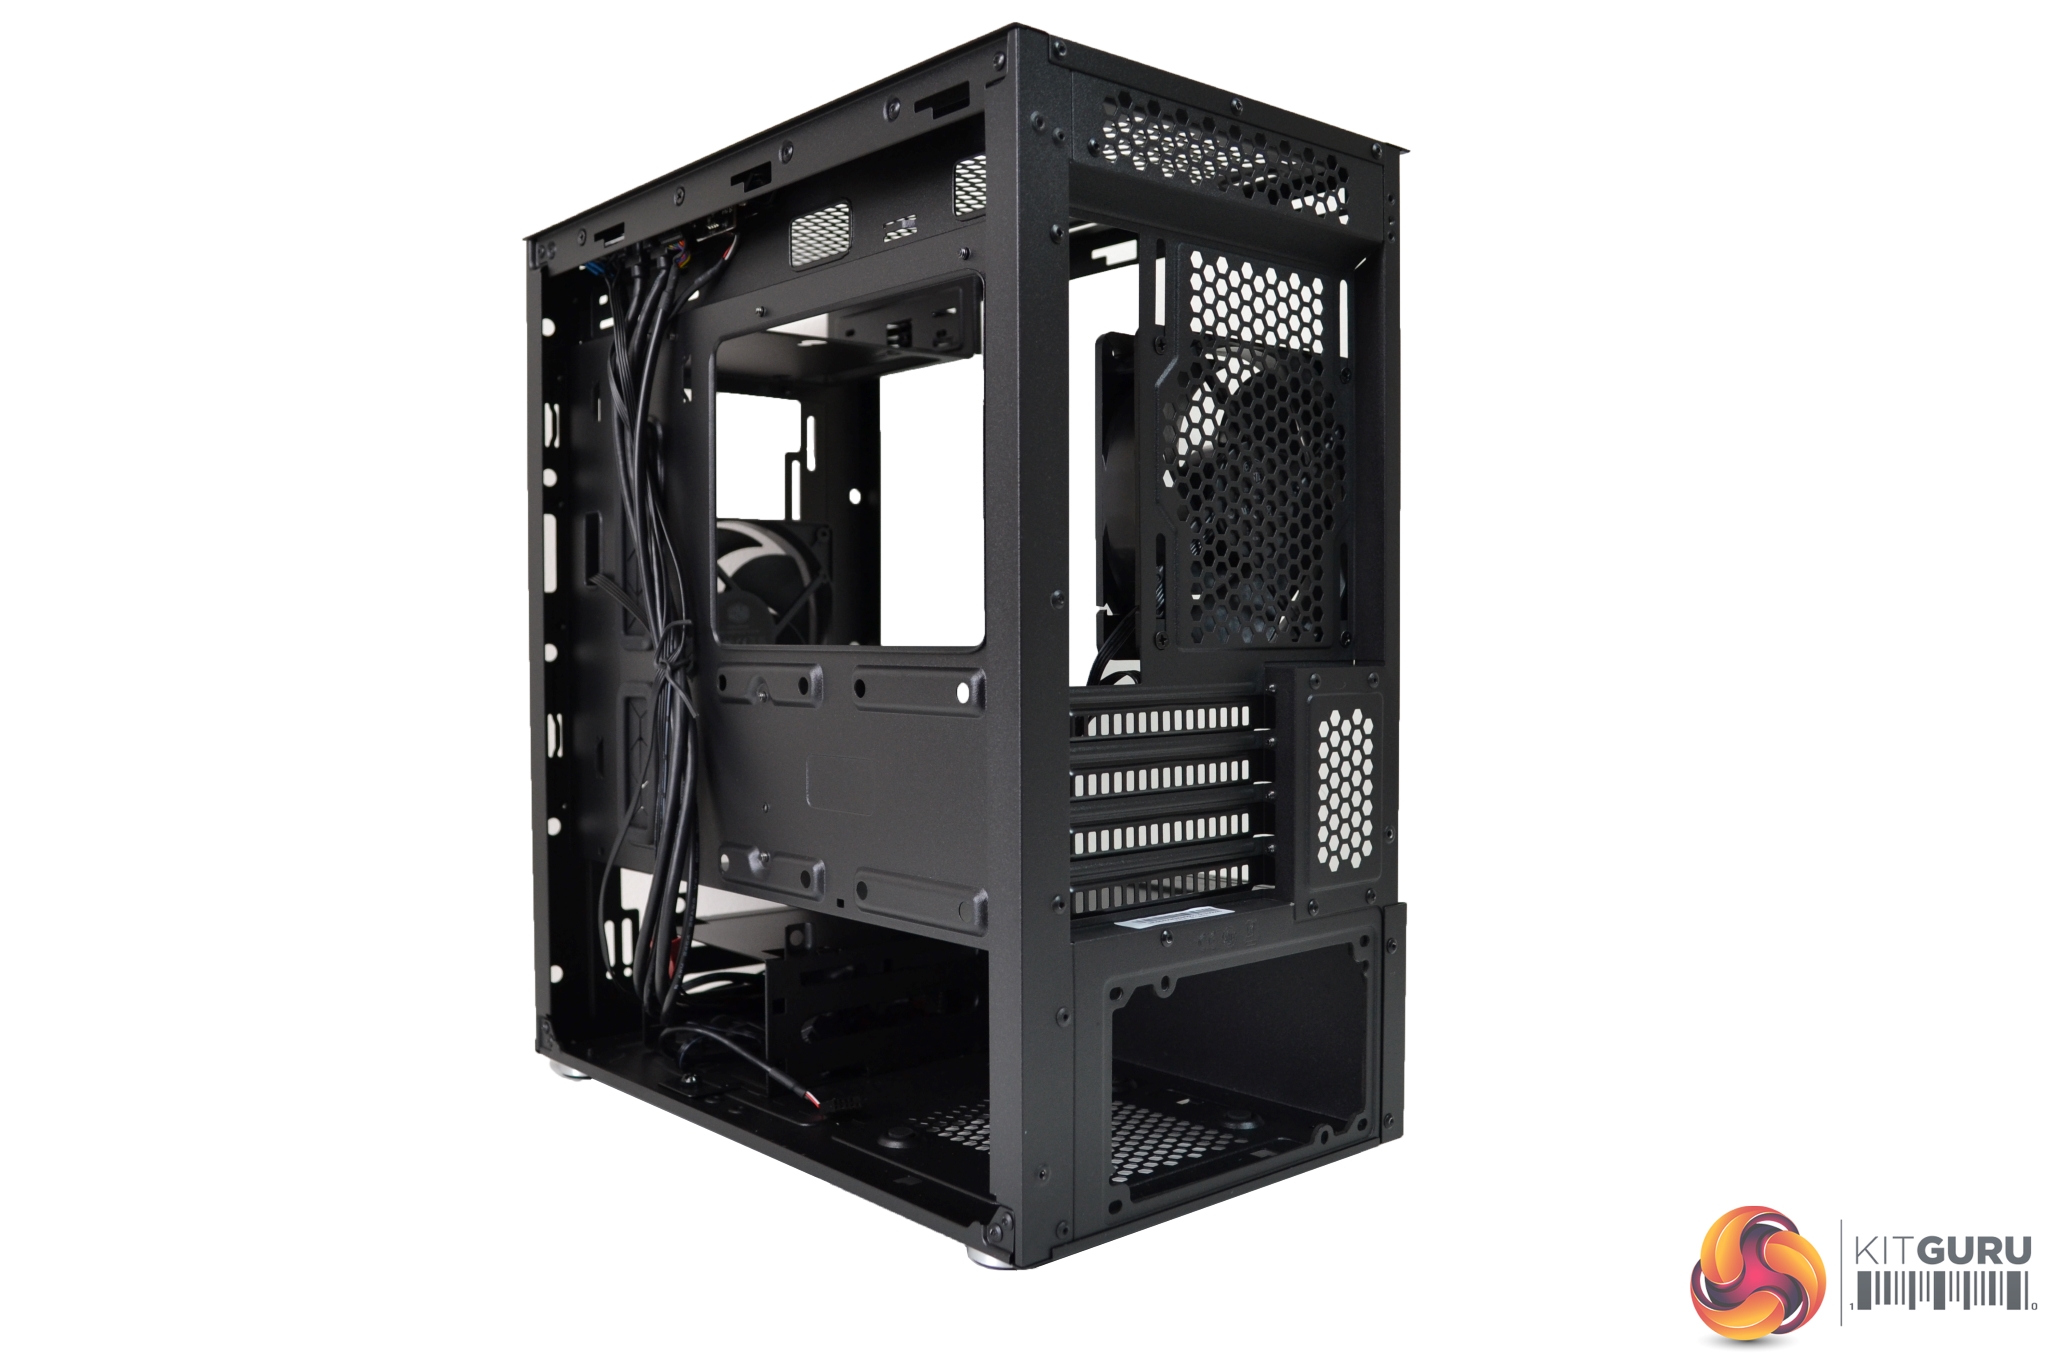
The left-hand side of the case is split into two separate sections. The top section is the removable steel (or glass depending on configuration) side panel. Beneath this, the bottom section is actually the PSU shroud which is permanently fixed in-place. We quite like this idea as it breaks up the side, giving it a little style and makes the PSU area a little less congested.
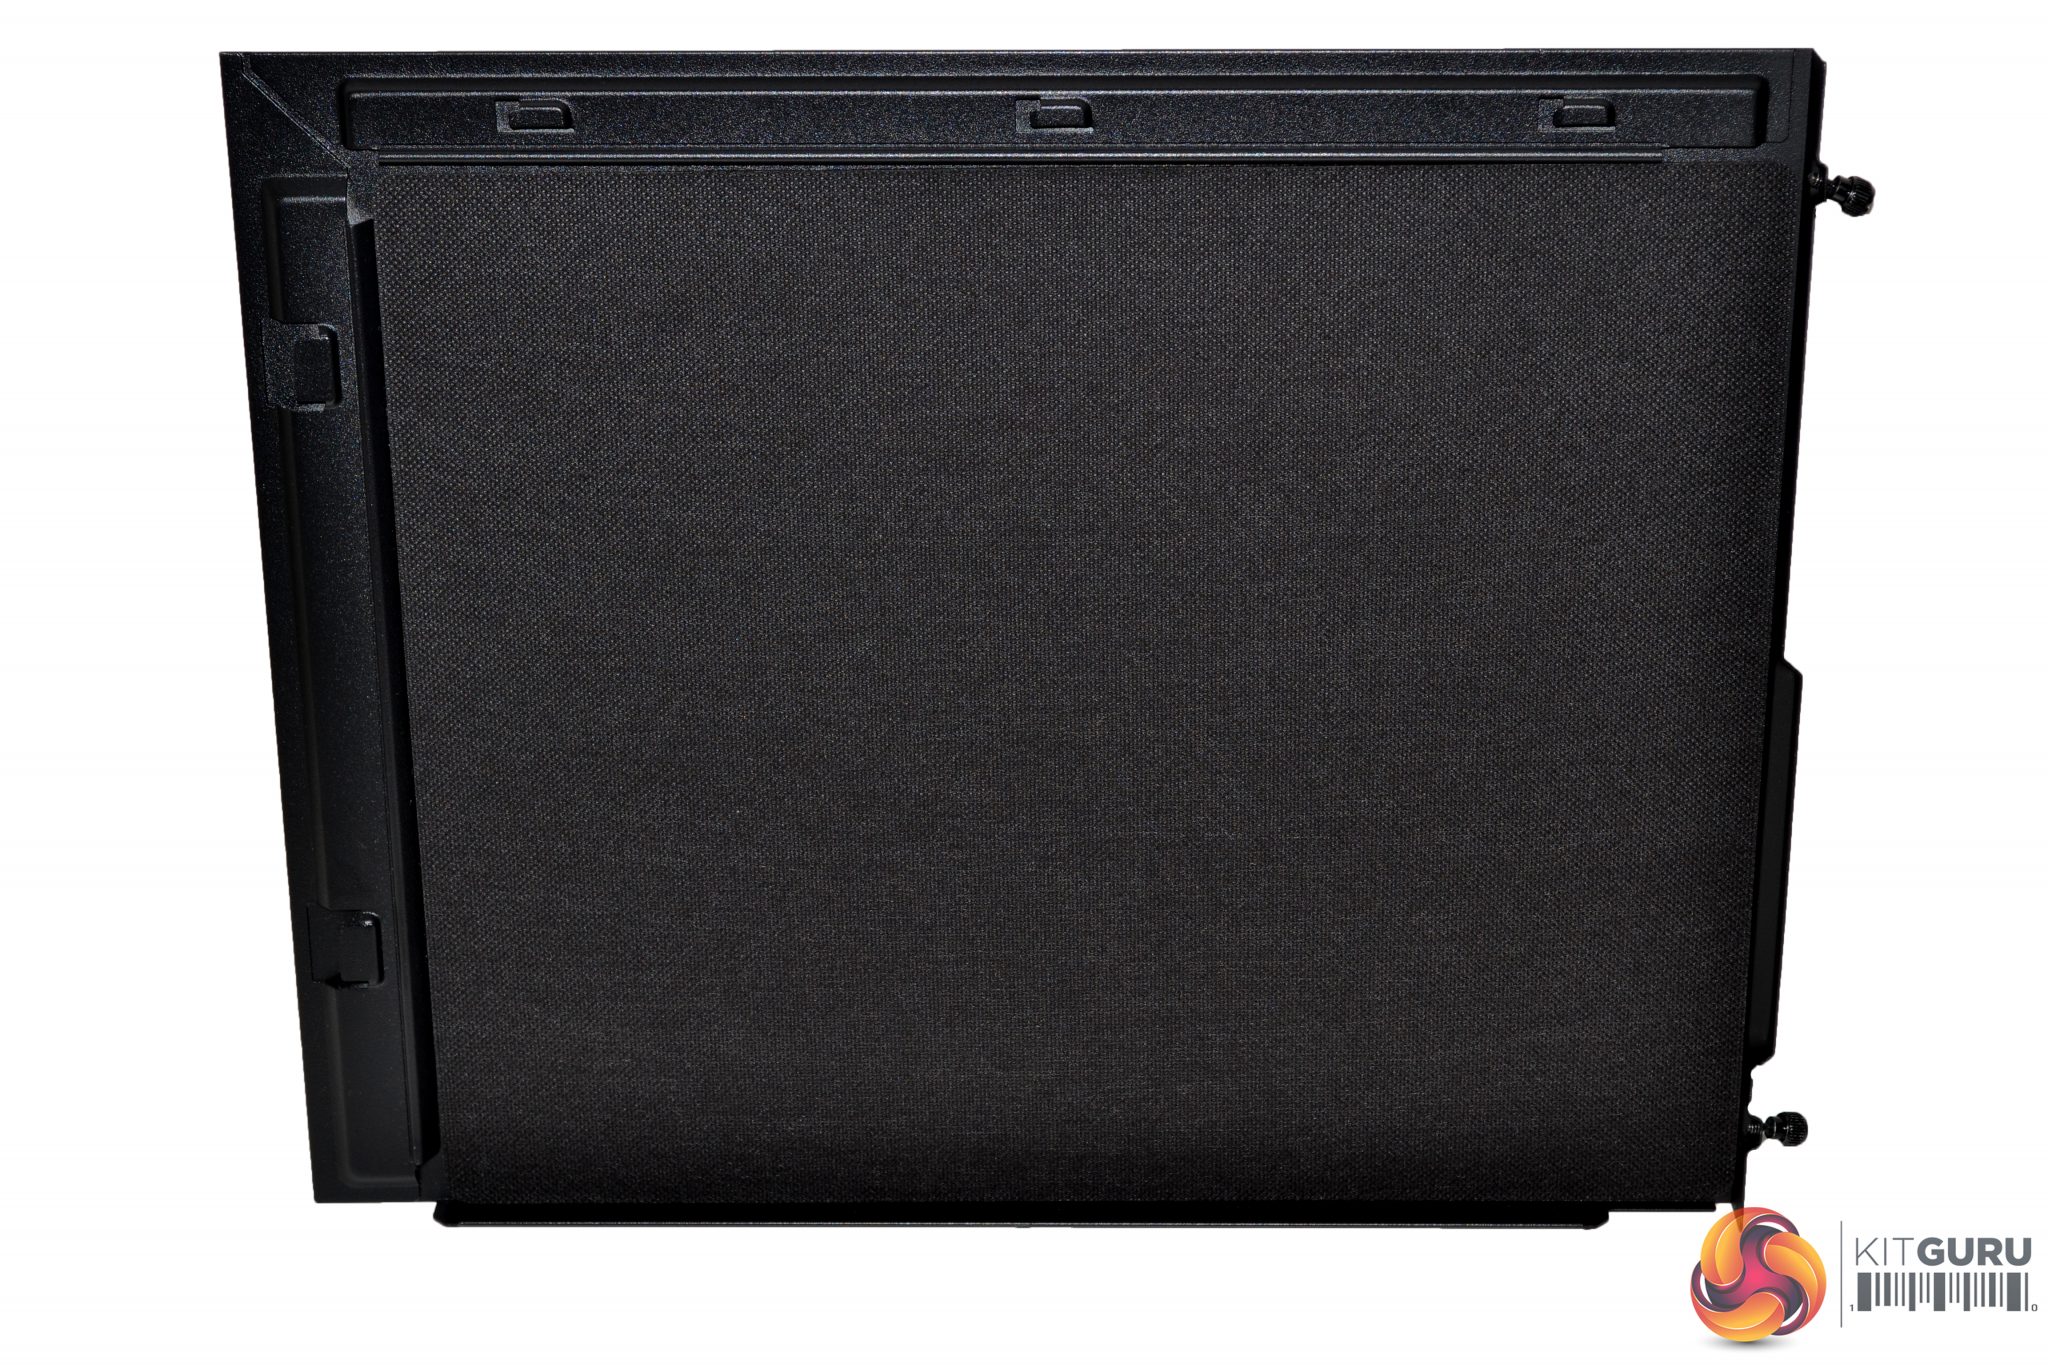
Both right and left steel side panels are covered in thick sound dampening materials to precisely counter the most prominent frequencies coming from inside the case.
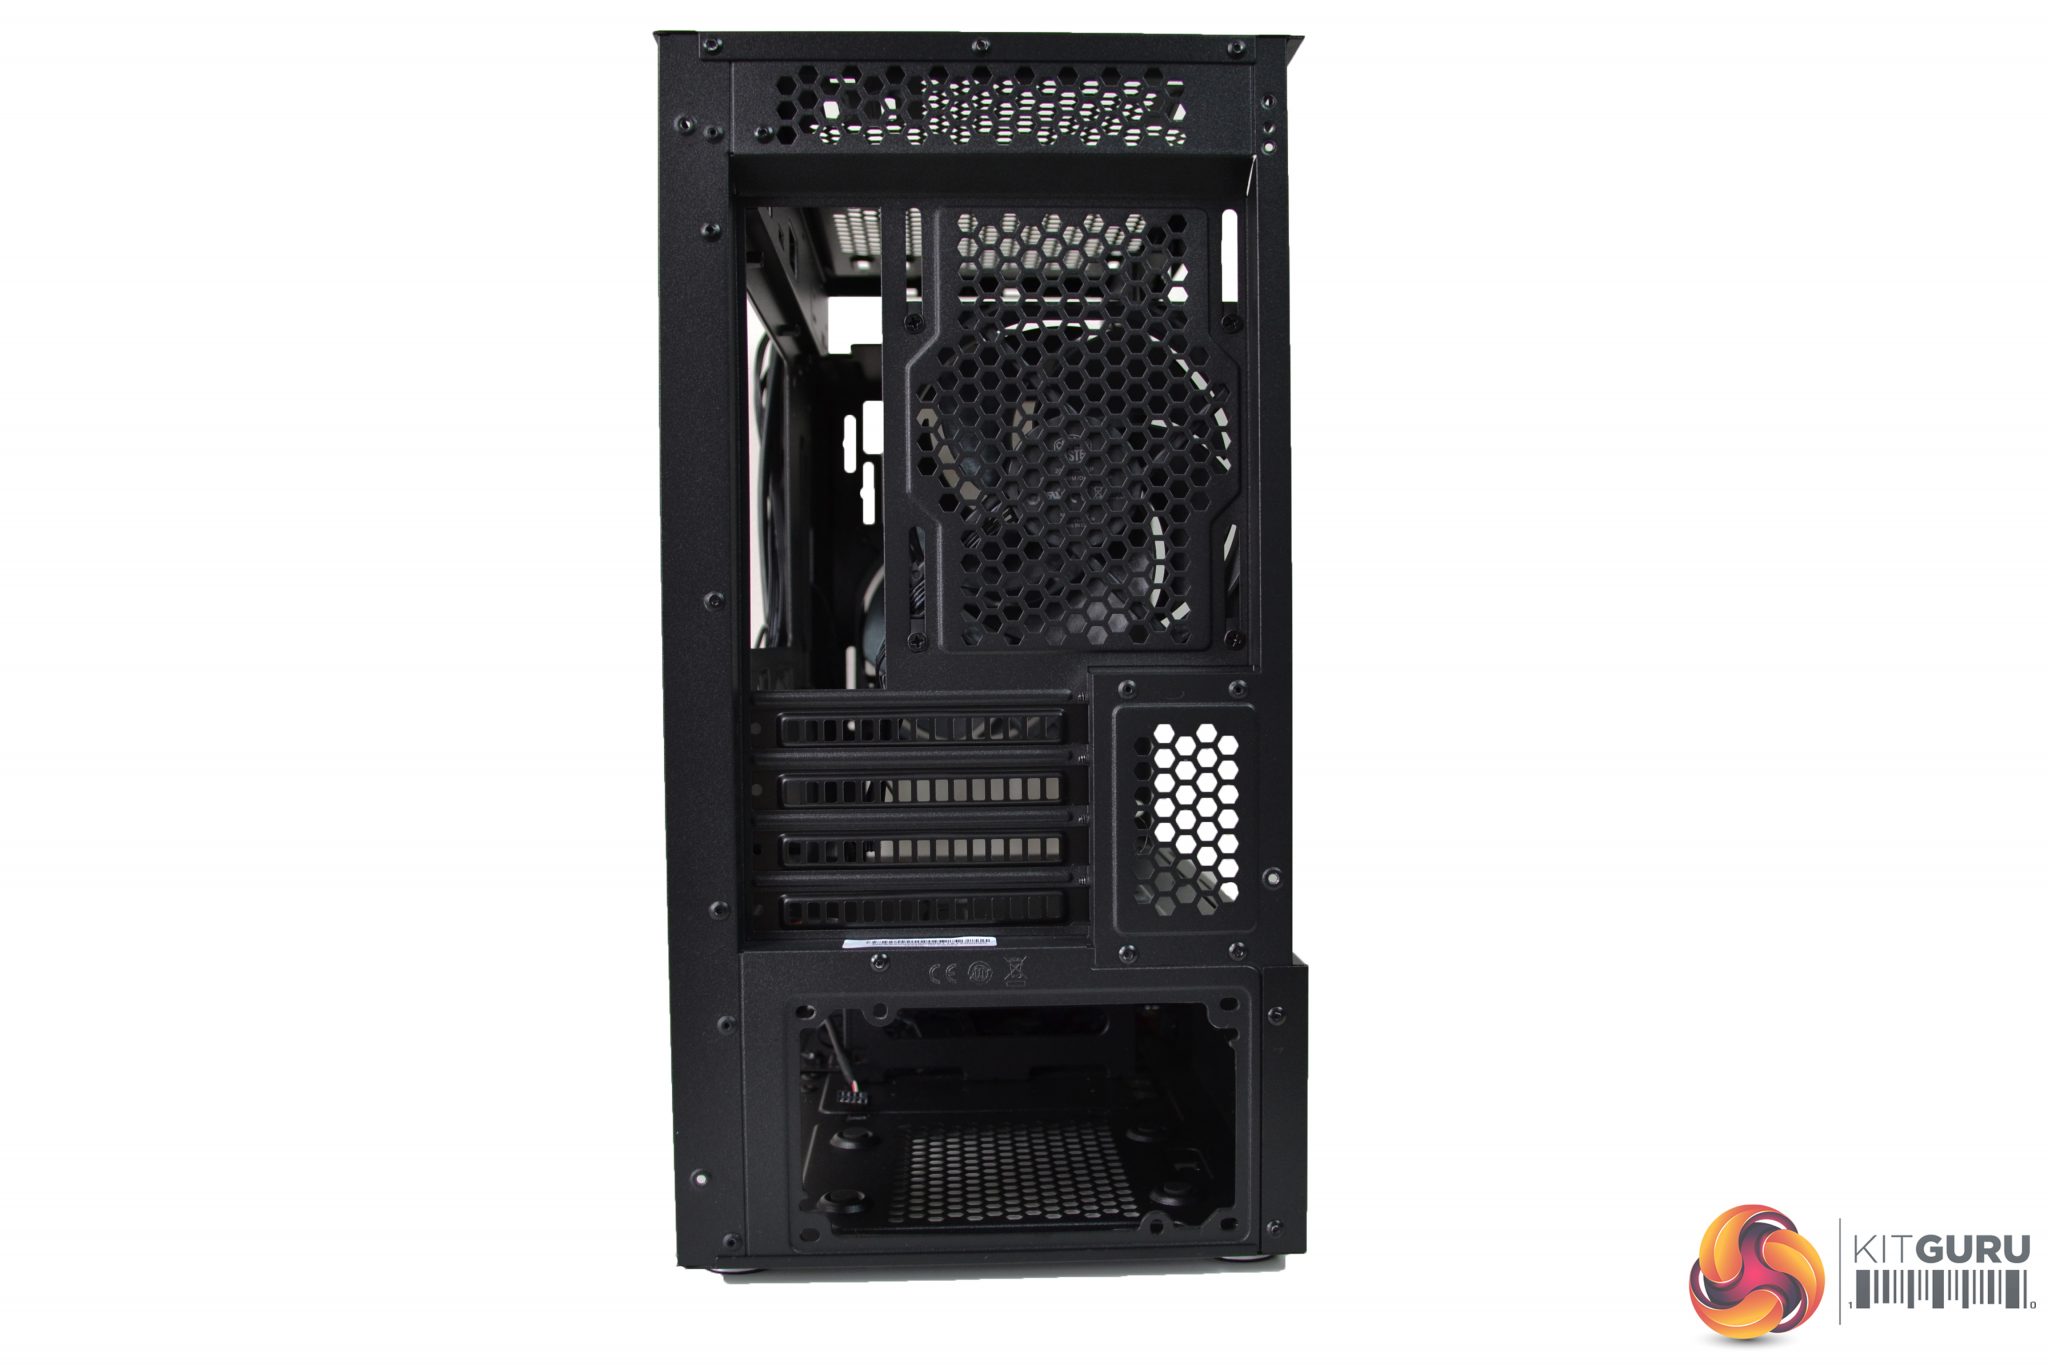
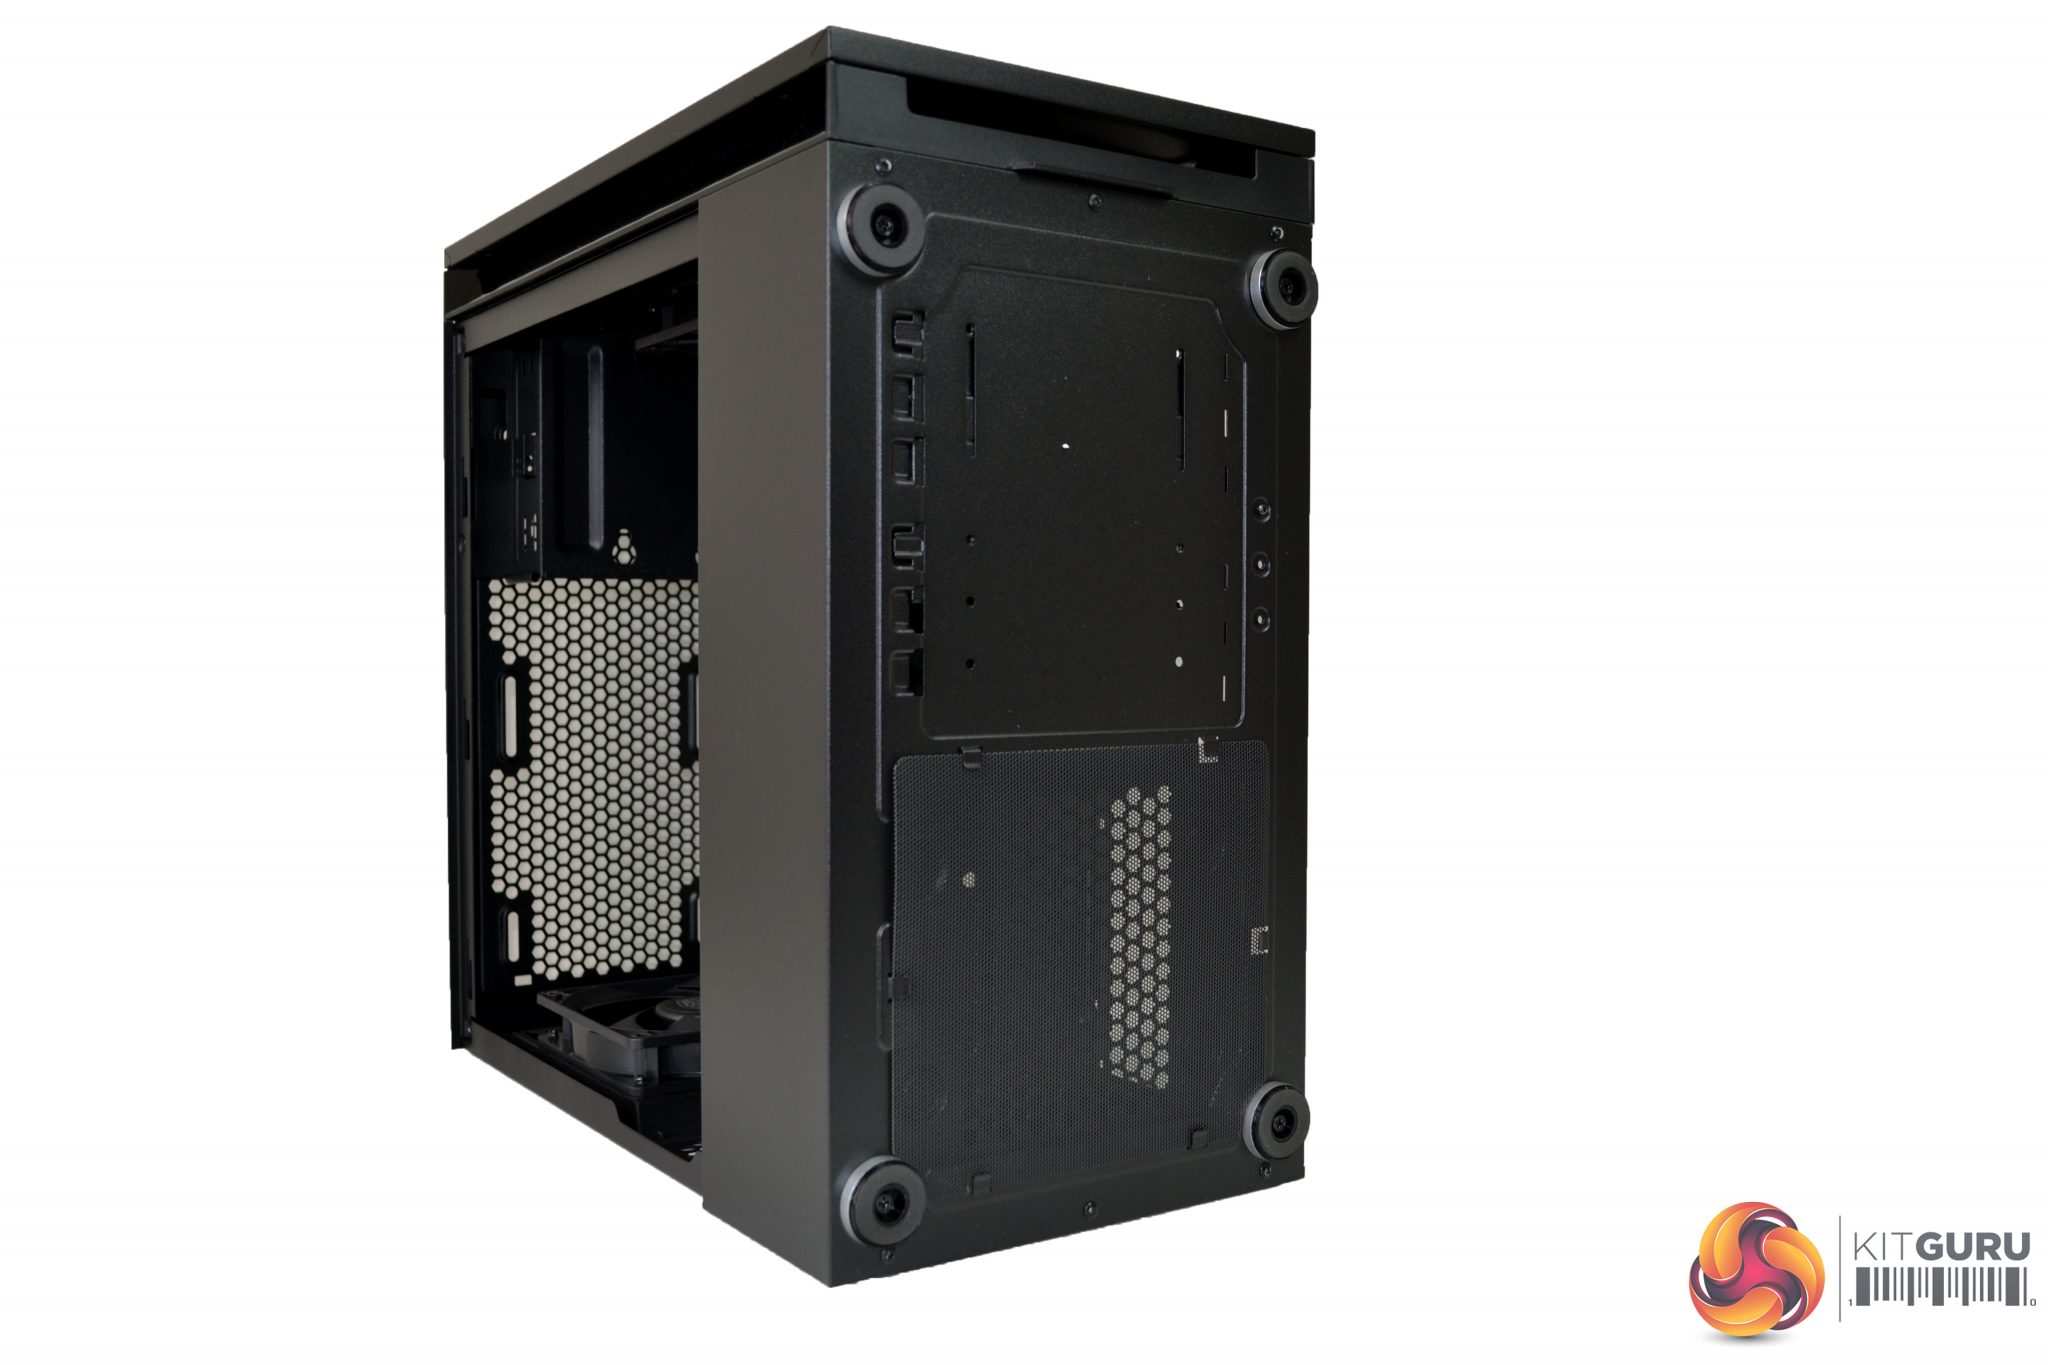
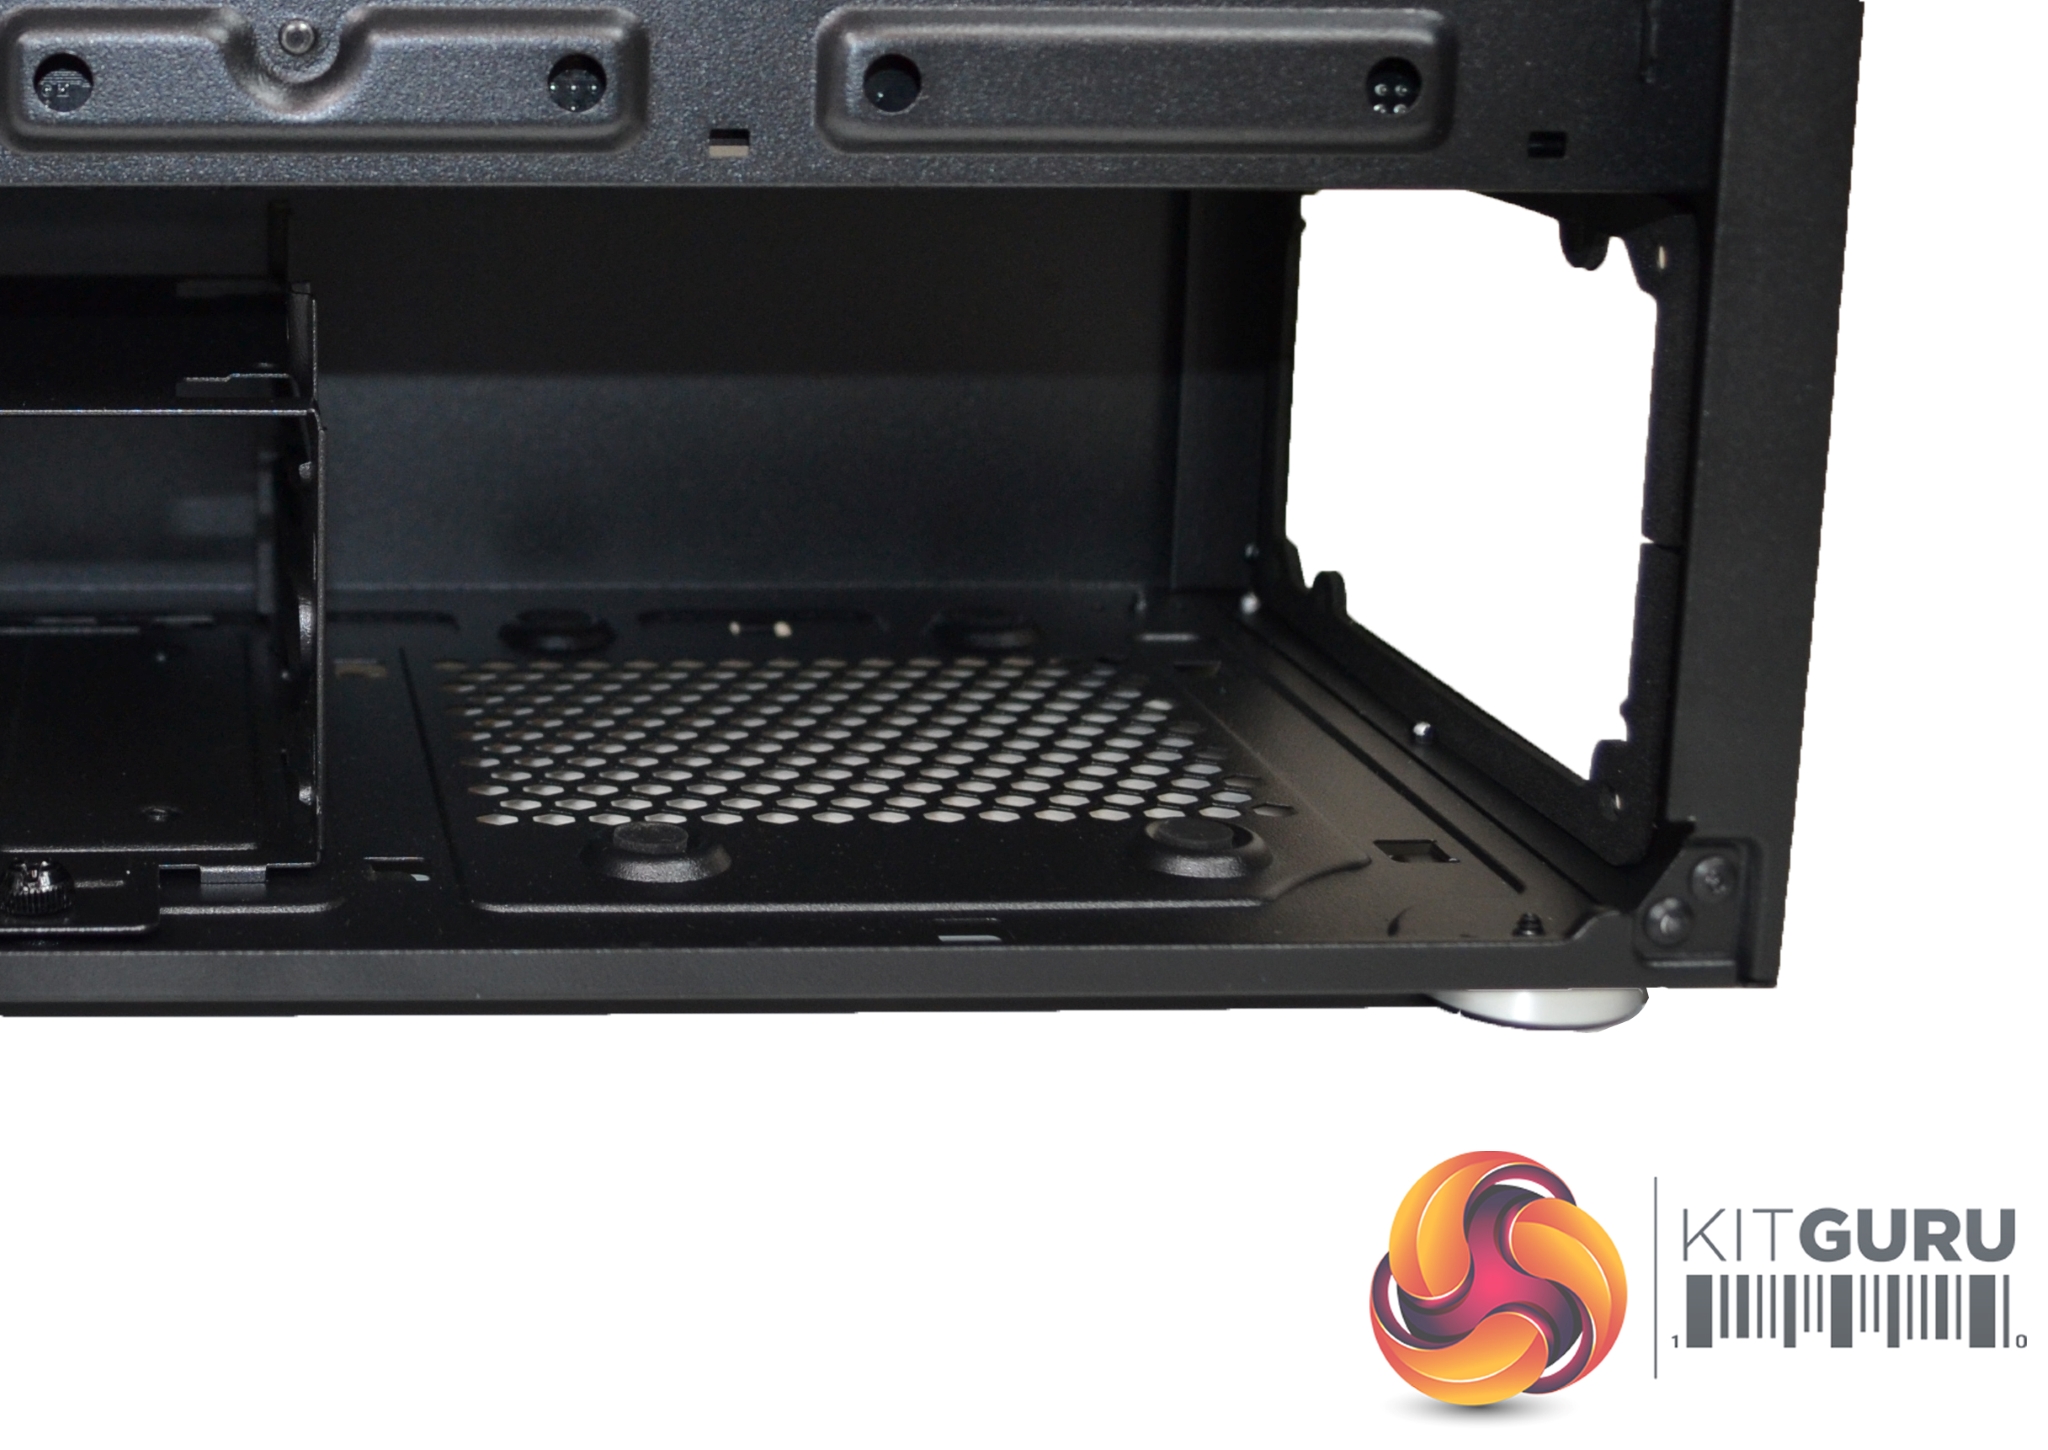
On the rear of the case, we see a typical layout – PSU mounting at the bottom, four PCI-e slots, I/O shield cut out, a 120mm/140mm fan mount, and a narrow ventilation grille right at the top. The underside of the case has four silver feet, with rubber soles, a removable mesh filter covering the PSU fan position, and various cut-outs for the 3.5” HDD cage, which mounts on the floor inside.
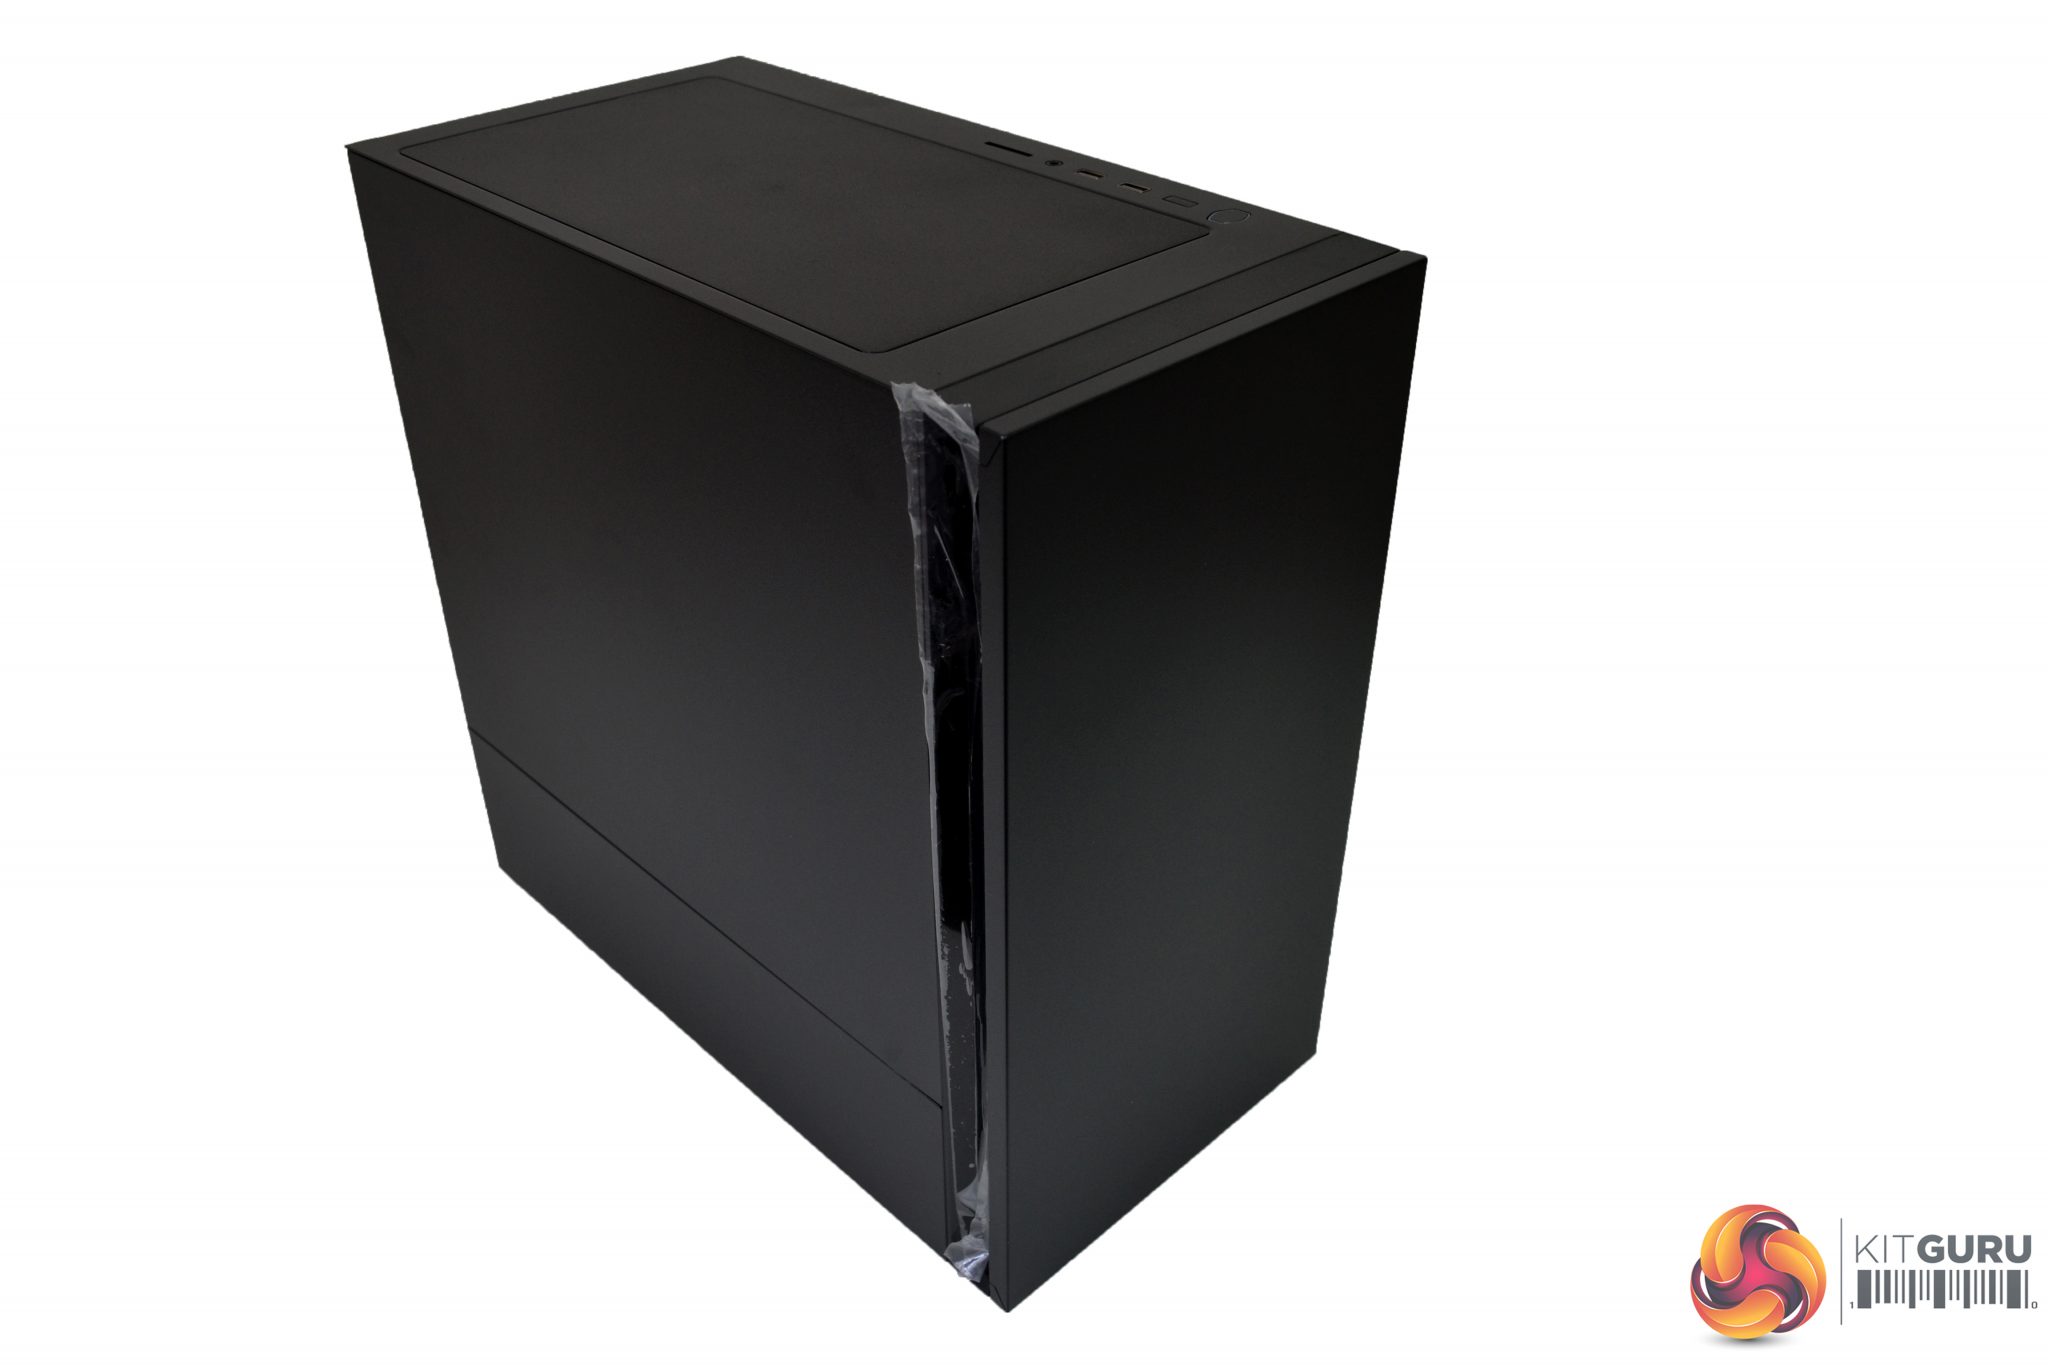
The overall build quality of the exterior is good – the steel may be on the thin side, but it does have a quality, sturdy feel to it, even when the side and front panels are removed. The black coating, which is applied evenly, is well matched between the steel and plastic parts.
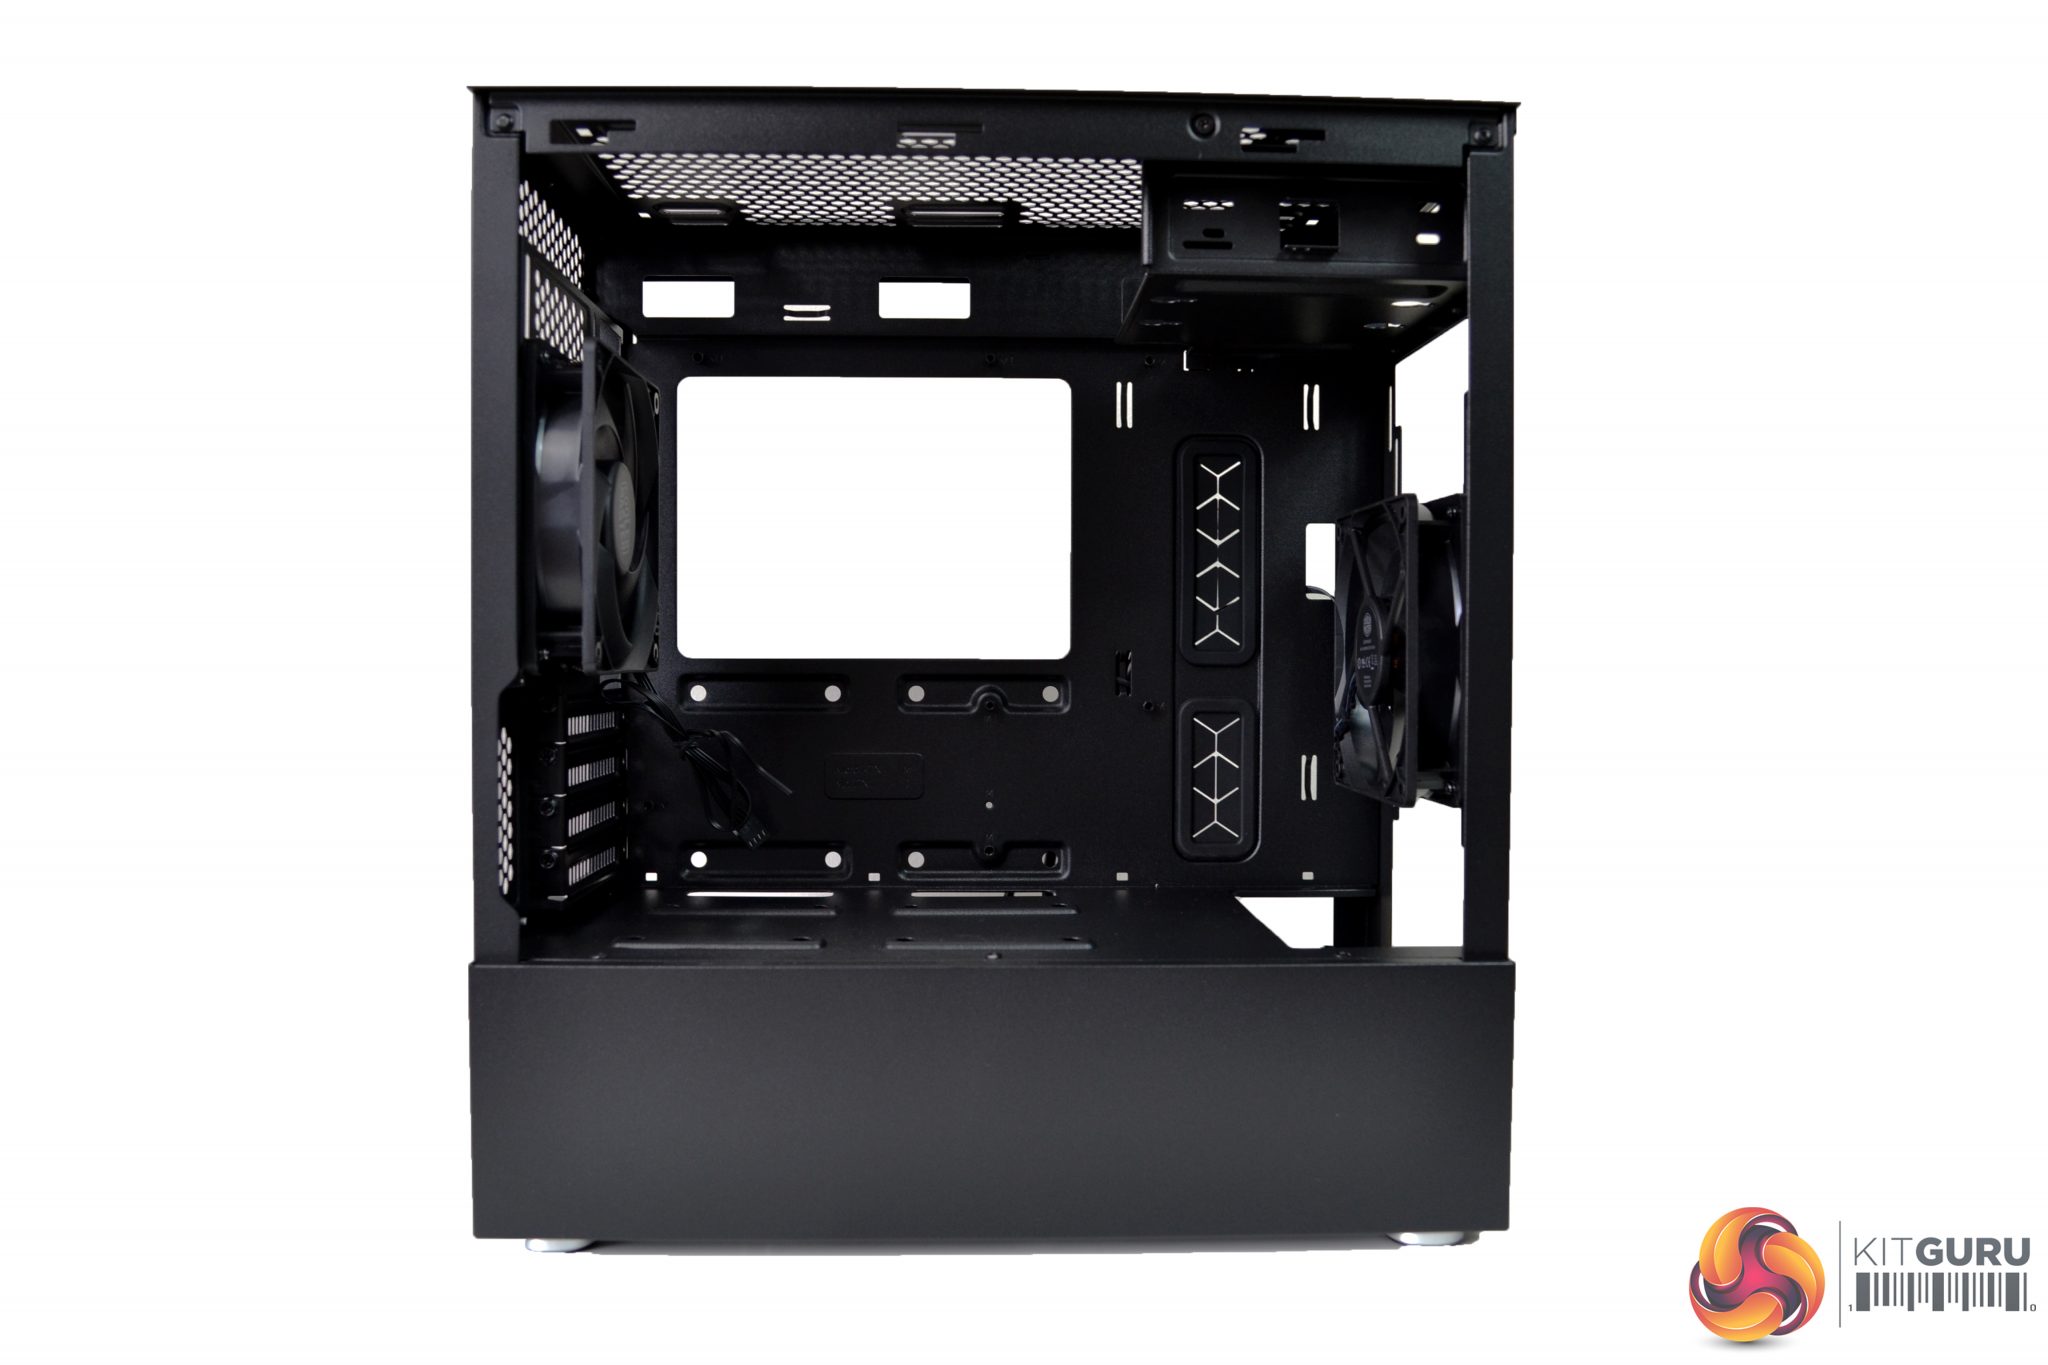
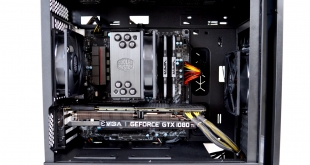
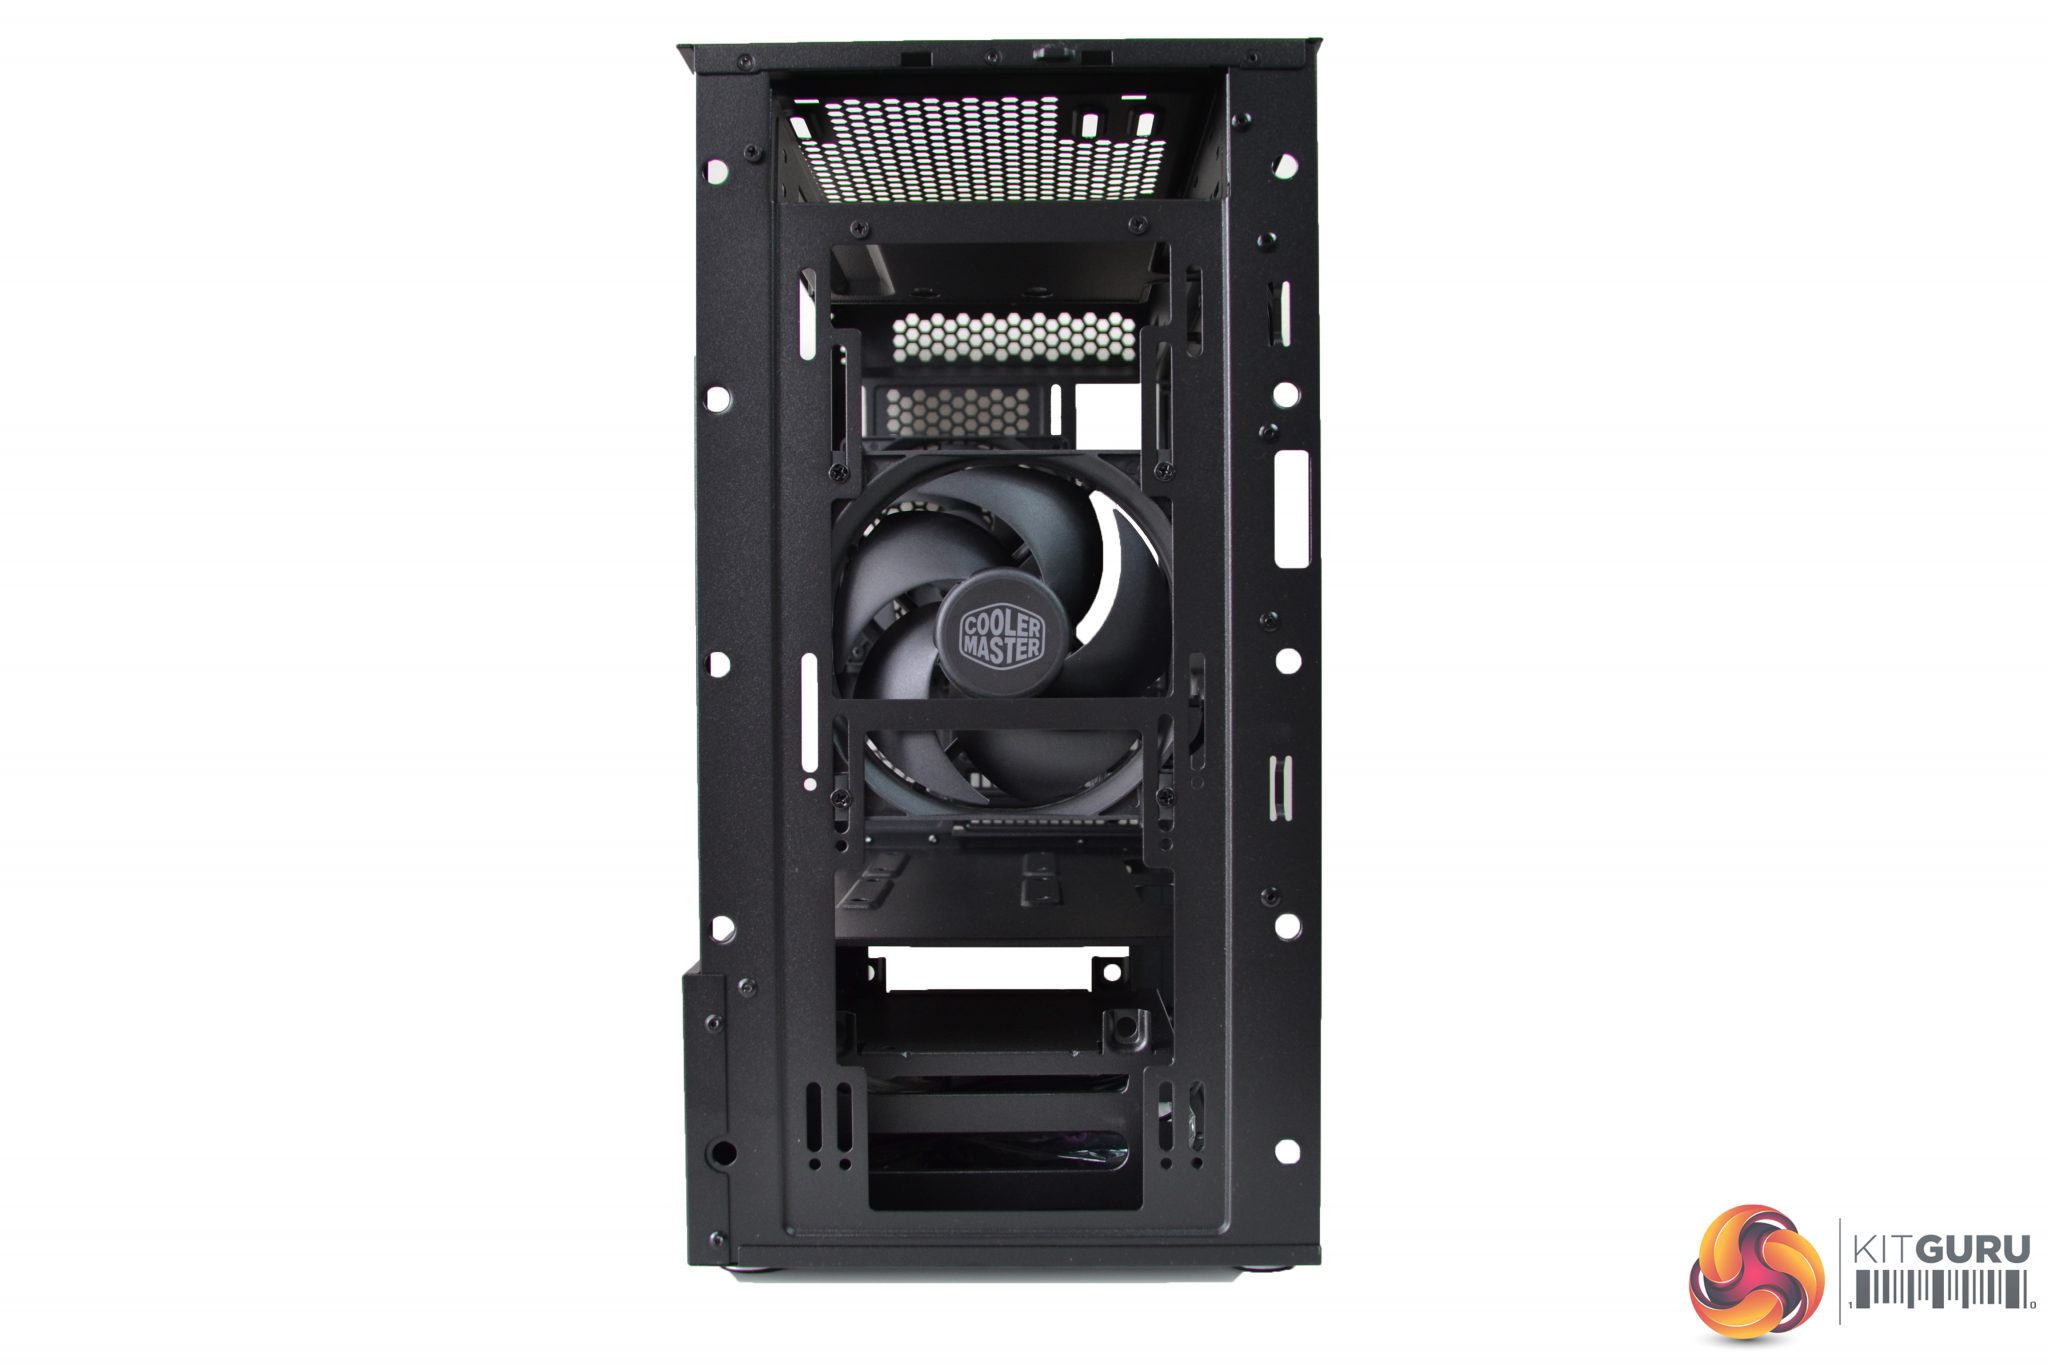
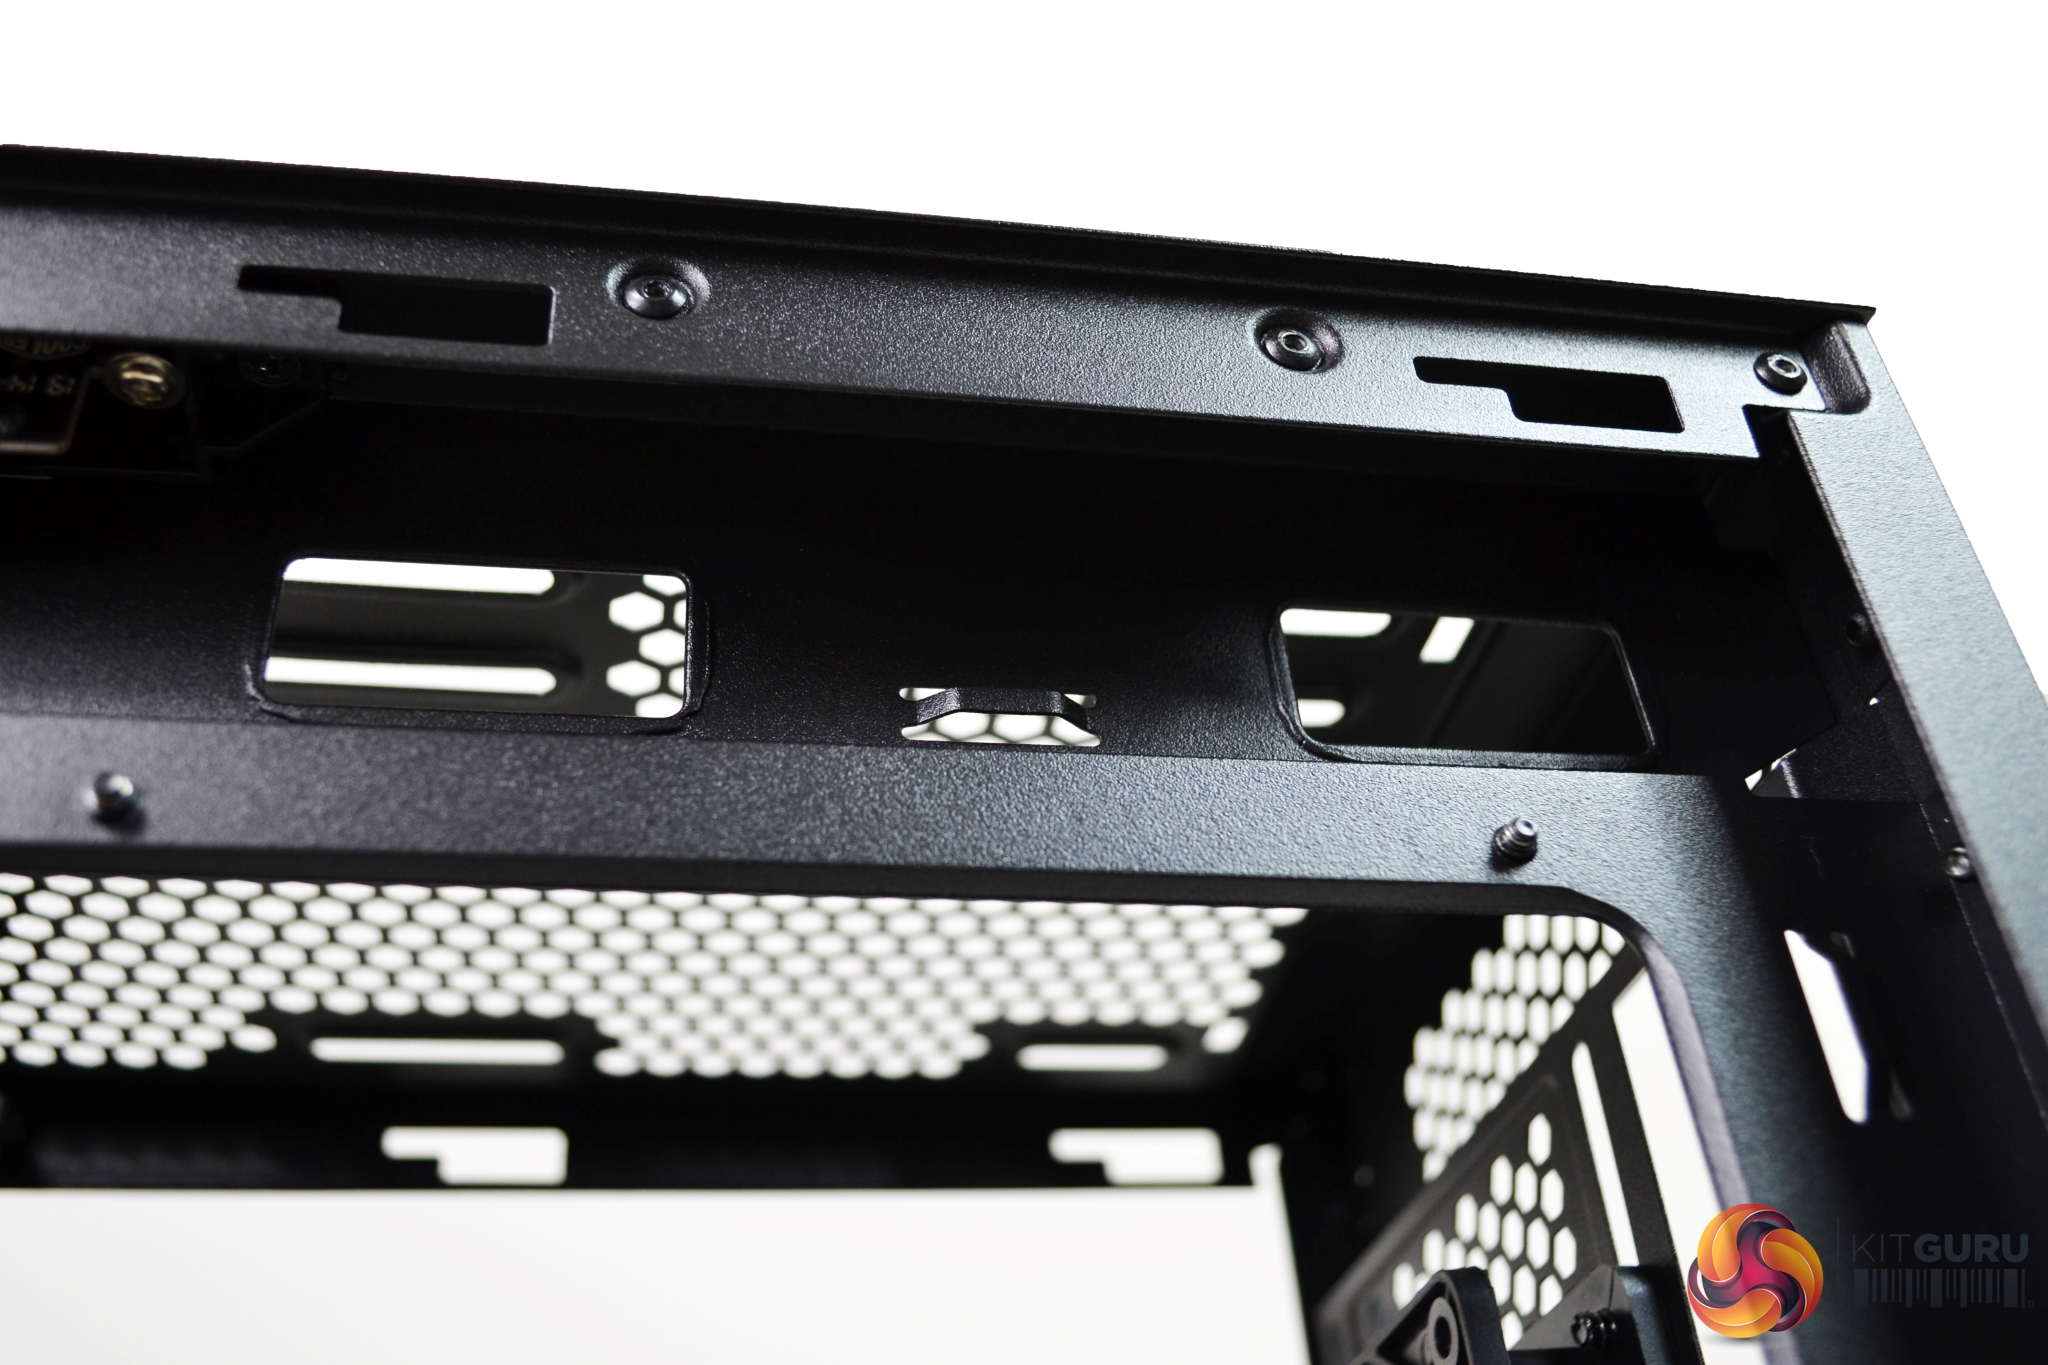
A minimalistic, all black design continues to the interior of the case, which is in keeping with the exterior. At the front, we can see there is ample room for cooling. There are options to mount up to two 120mm/140mm fans or one 240mm/280mm radiator. However, to install a radiator, the 3.5” HDD cage may need to be moved further back from its original position.
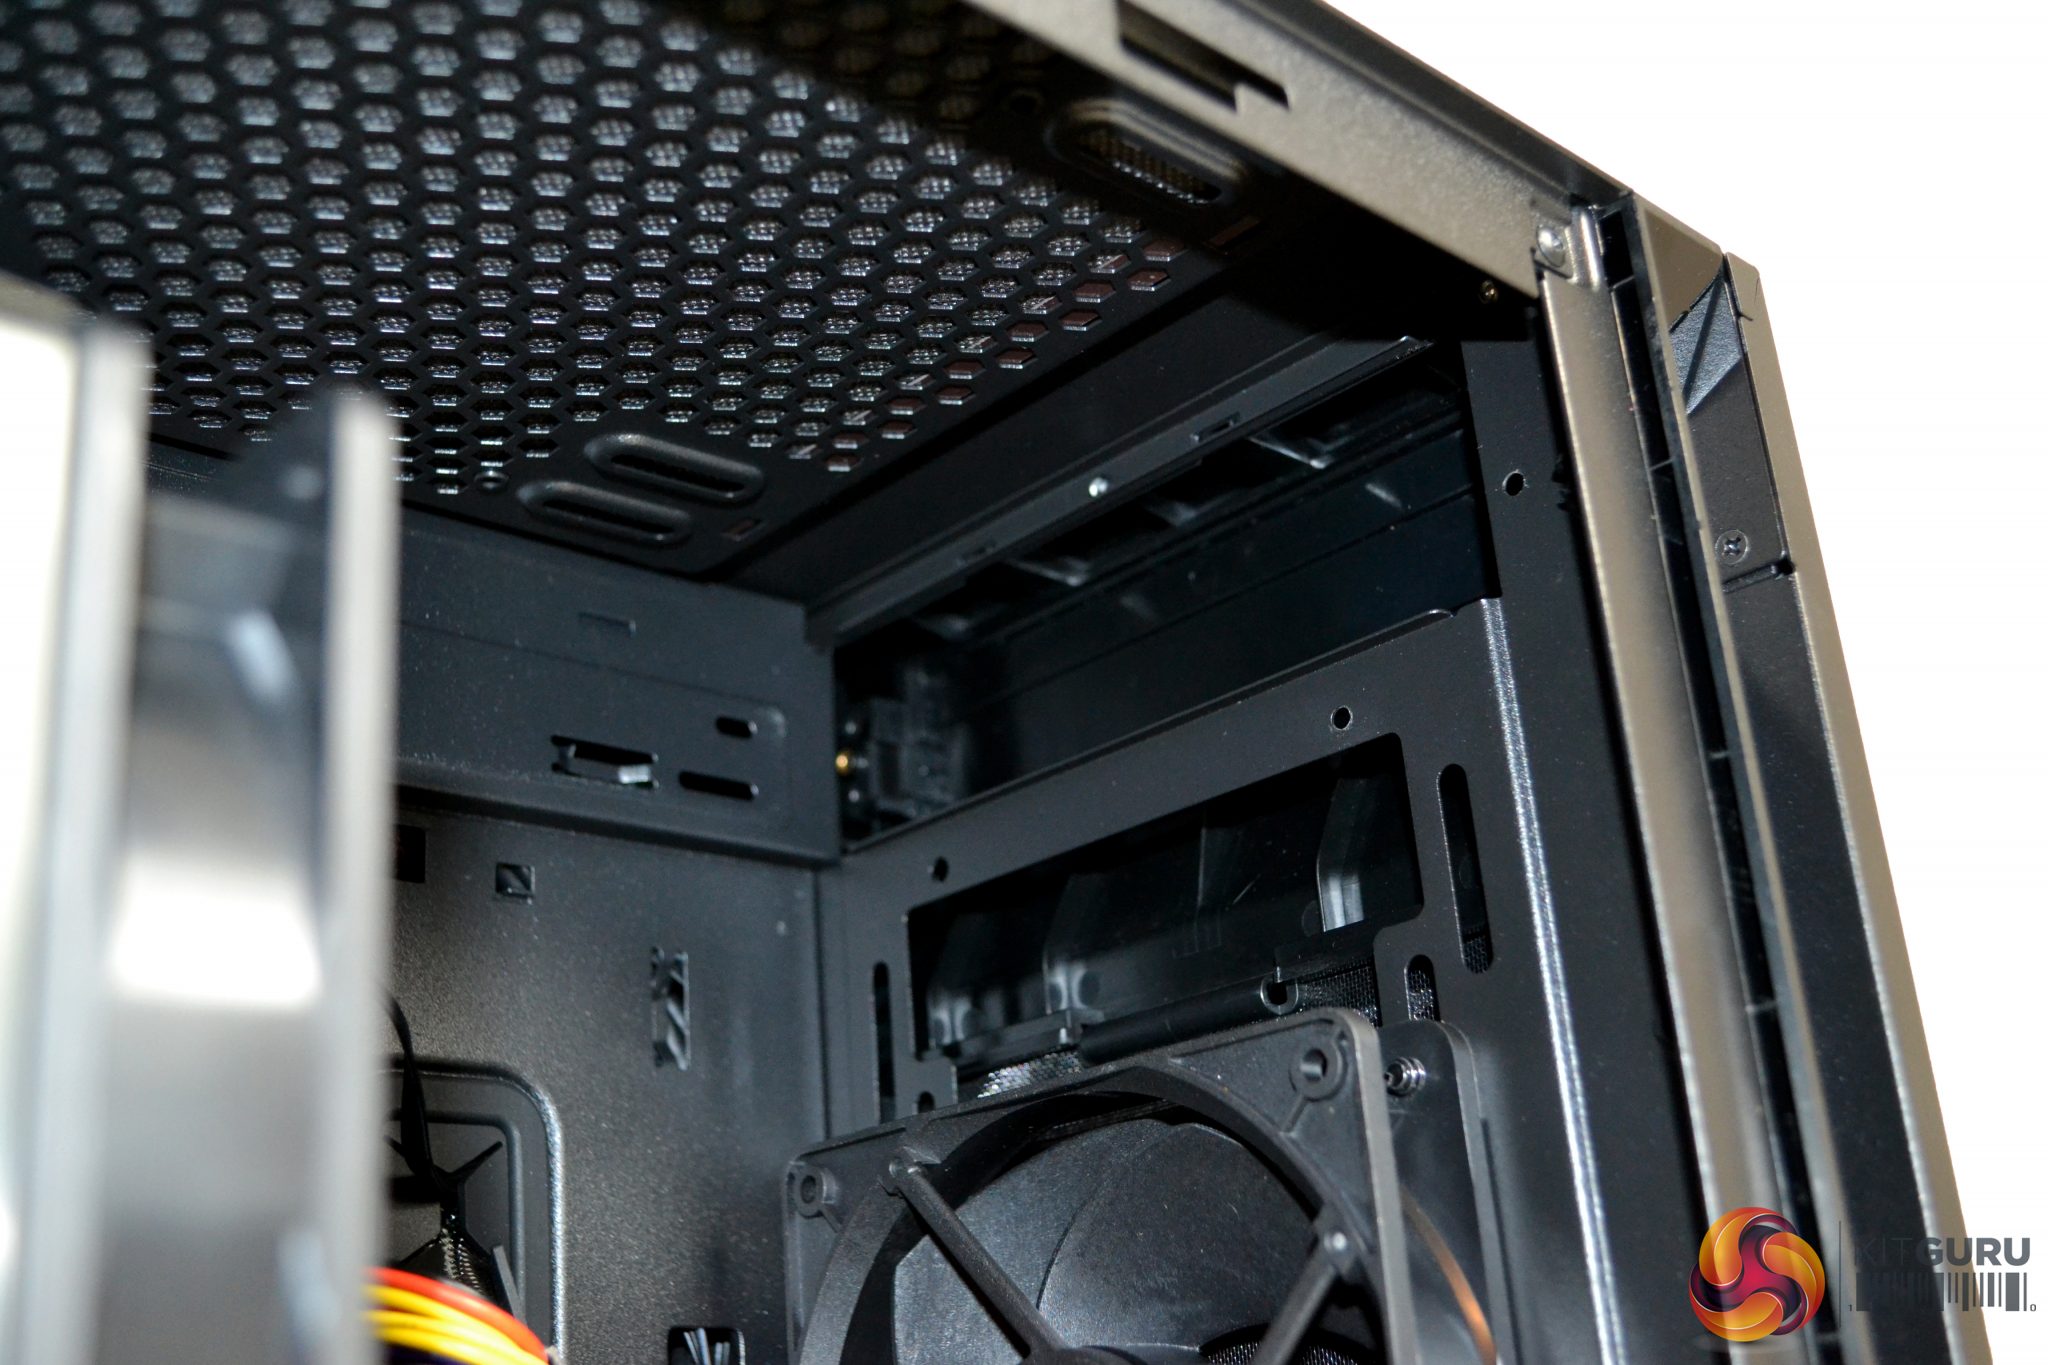
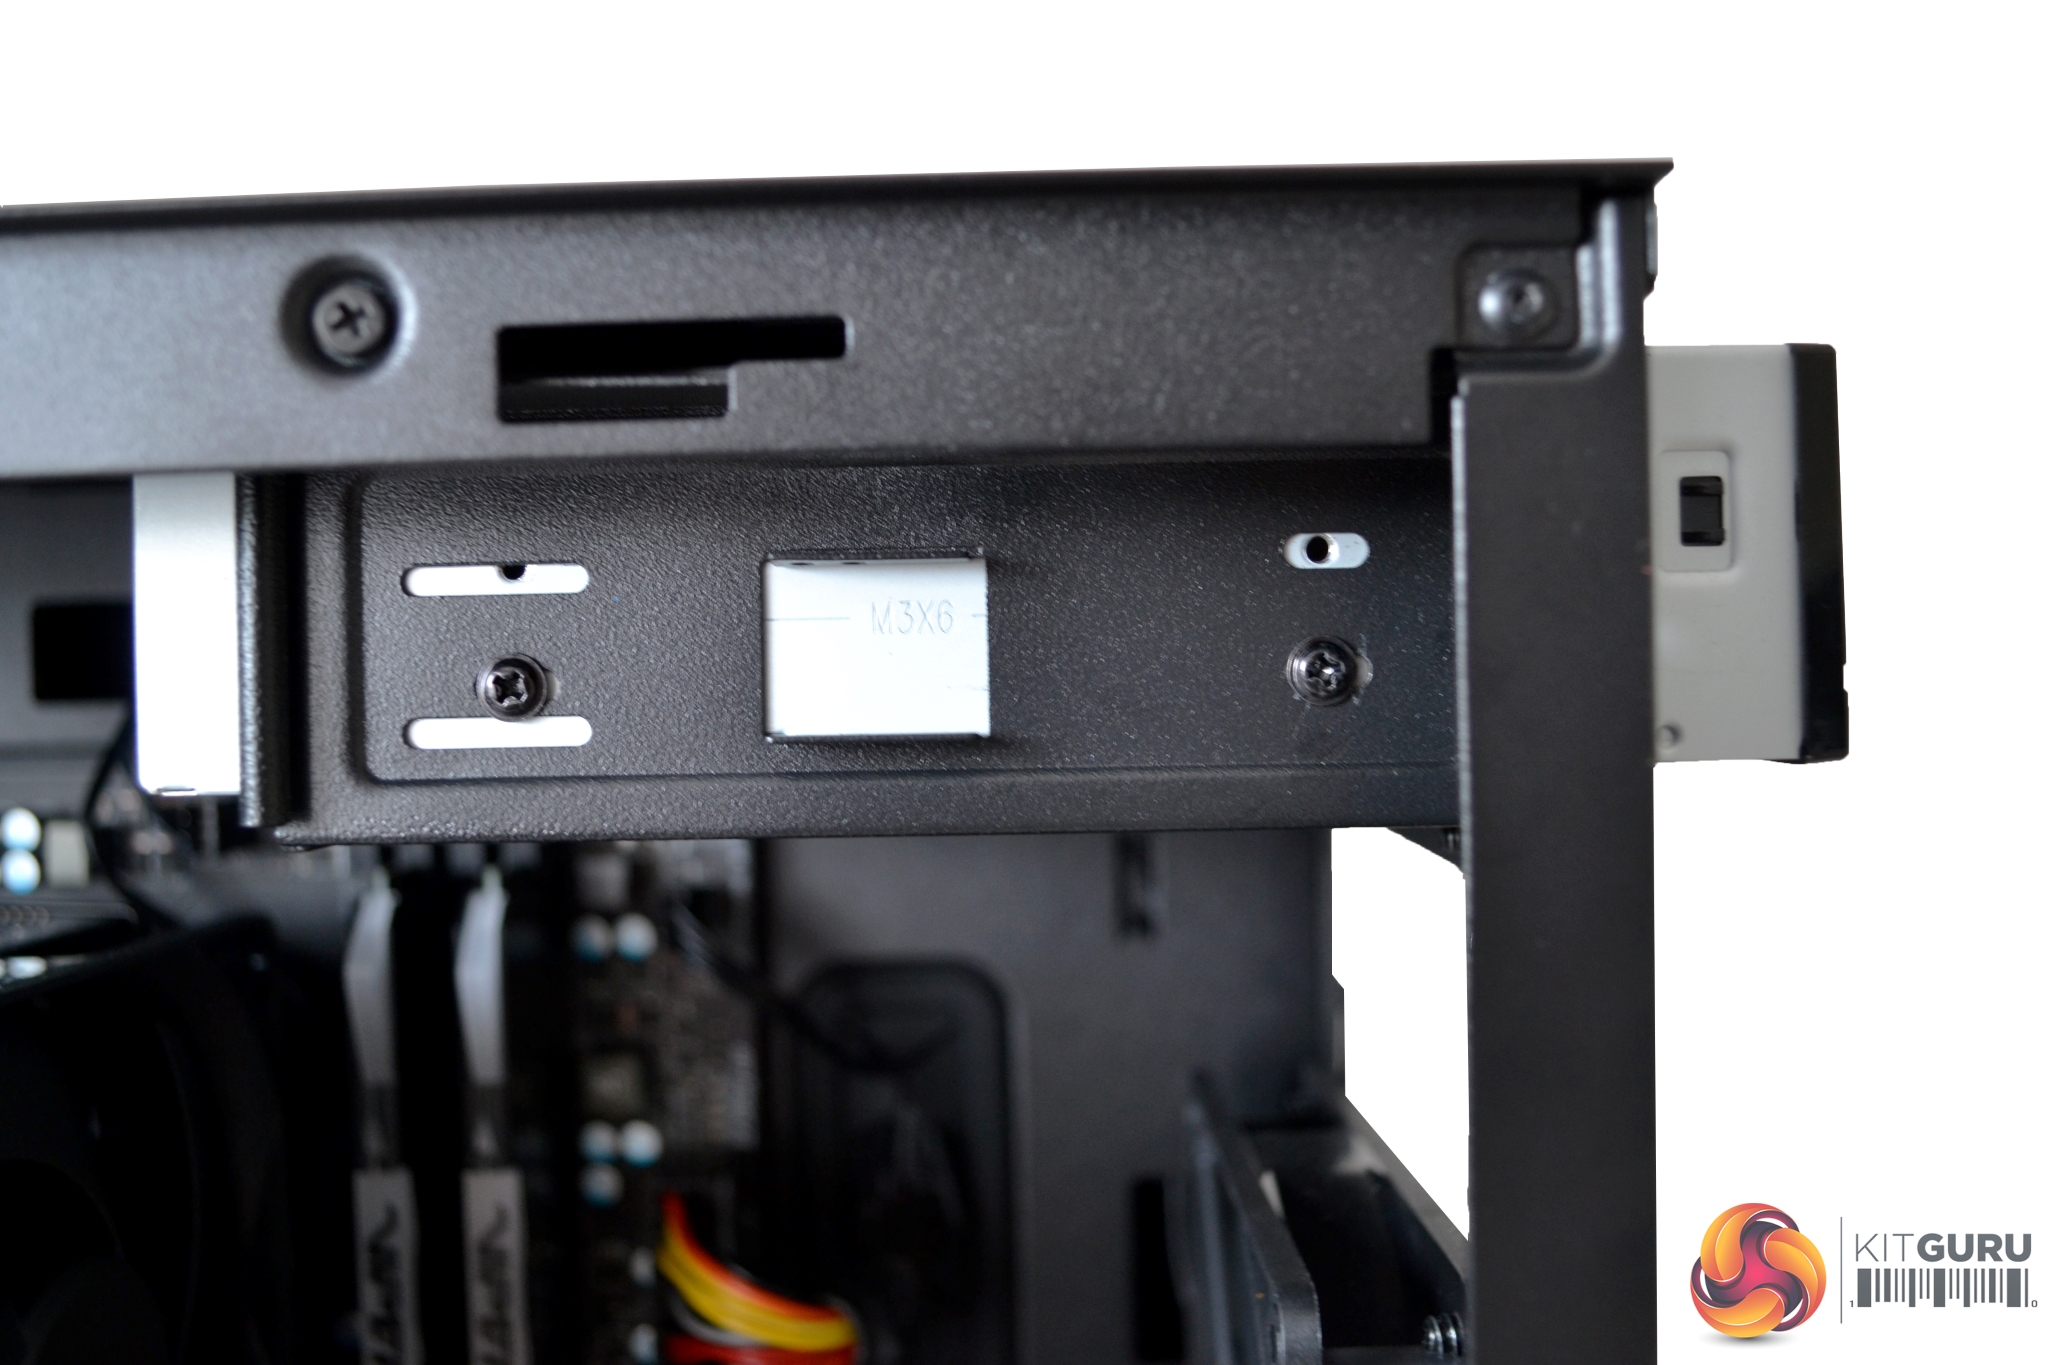
Above the fan/radiator mounting is the 5.25” drive bay. This can hold either an optical drive or a 3.5” HDD. This, too, can be completely removed.
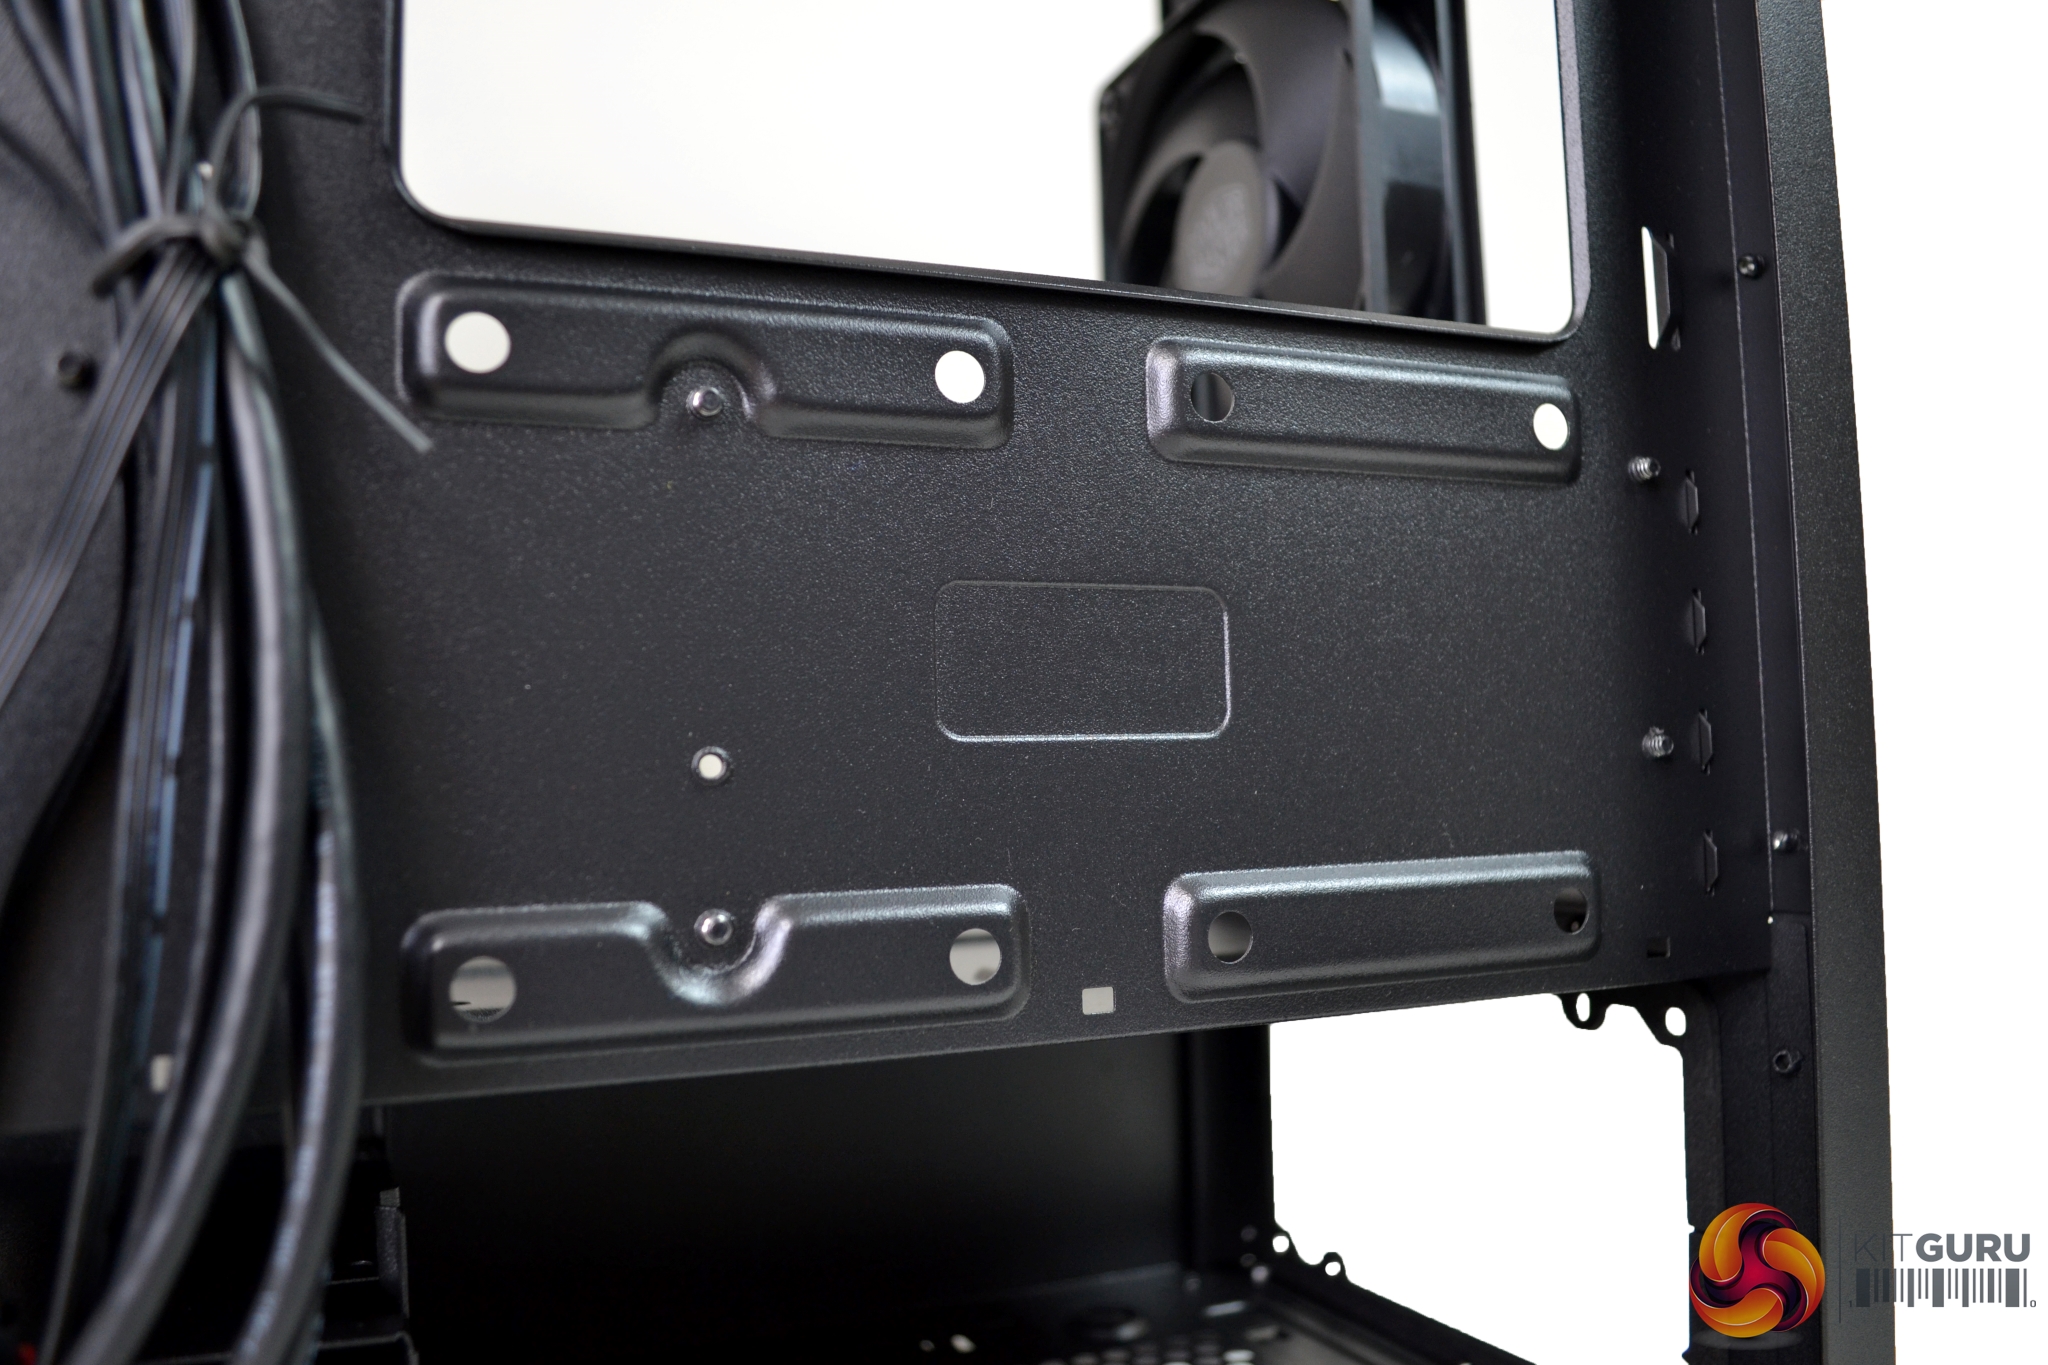
The motherboard tray section can support either Micro ATX or Mini ITX motherboards. Along the top, right, and bottom sides of the tray, there are ample amounts of cable cut outs. Cooler Master has done a great job with these, as sometimes in cases of this price range, cable cut outs are poorly thought-out – but that is not the case here.
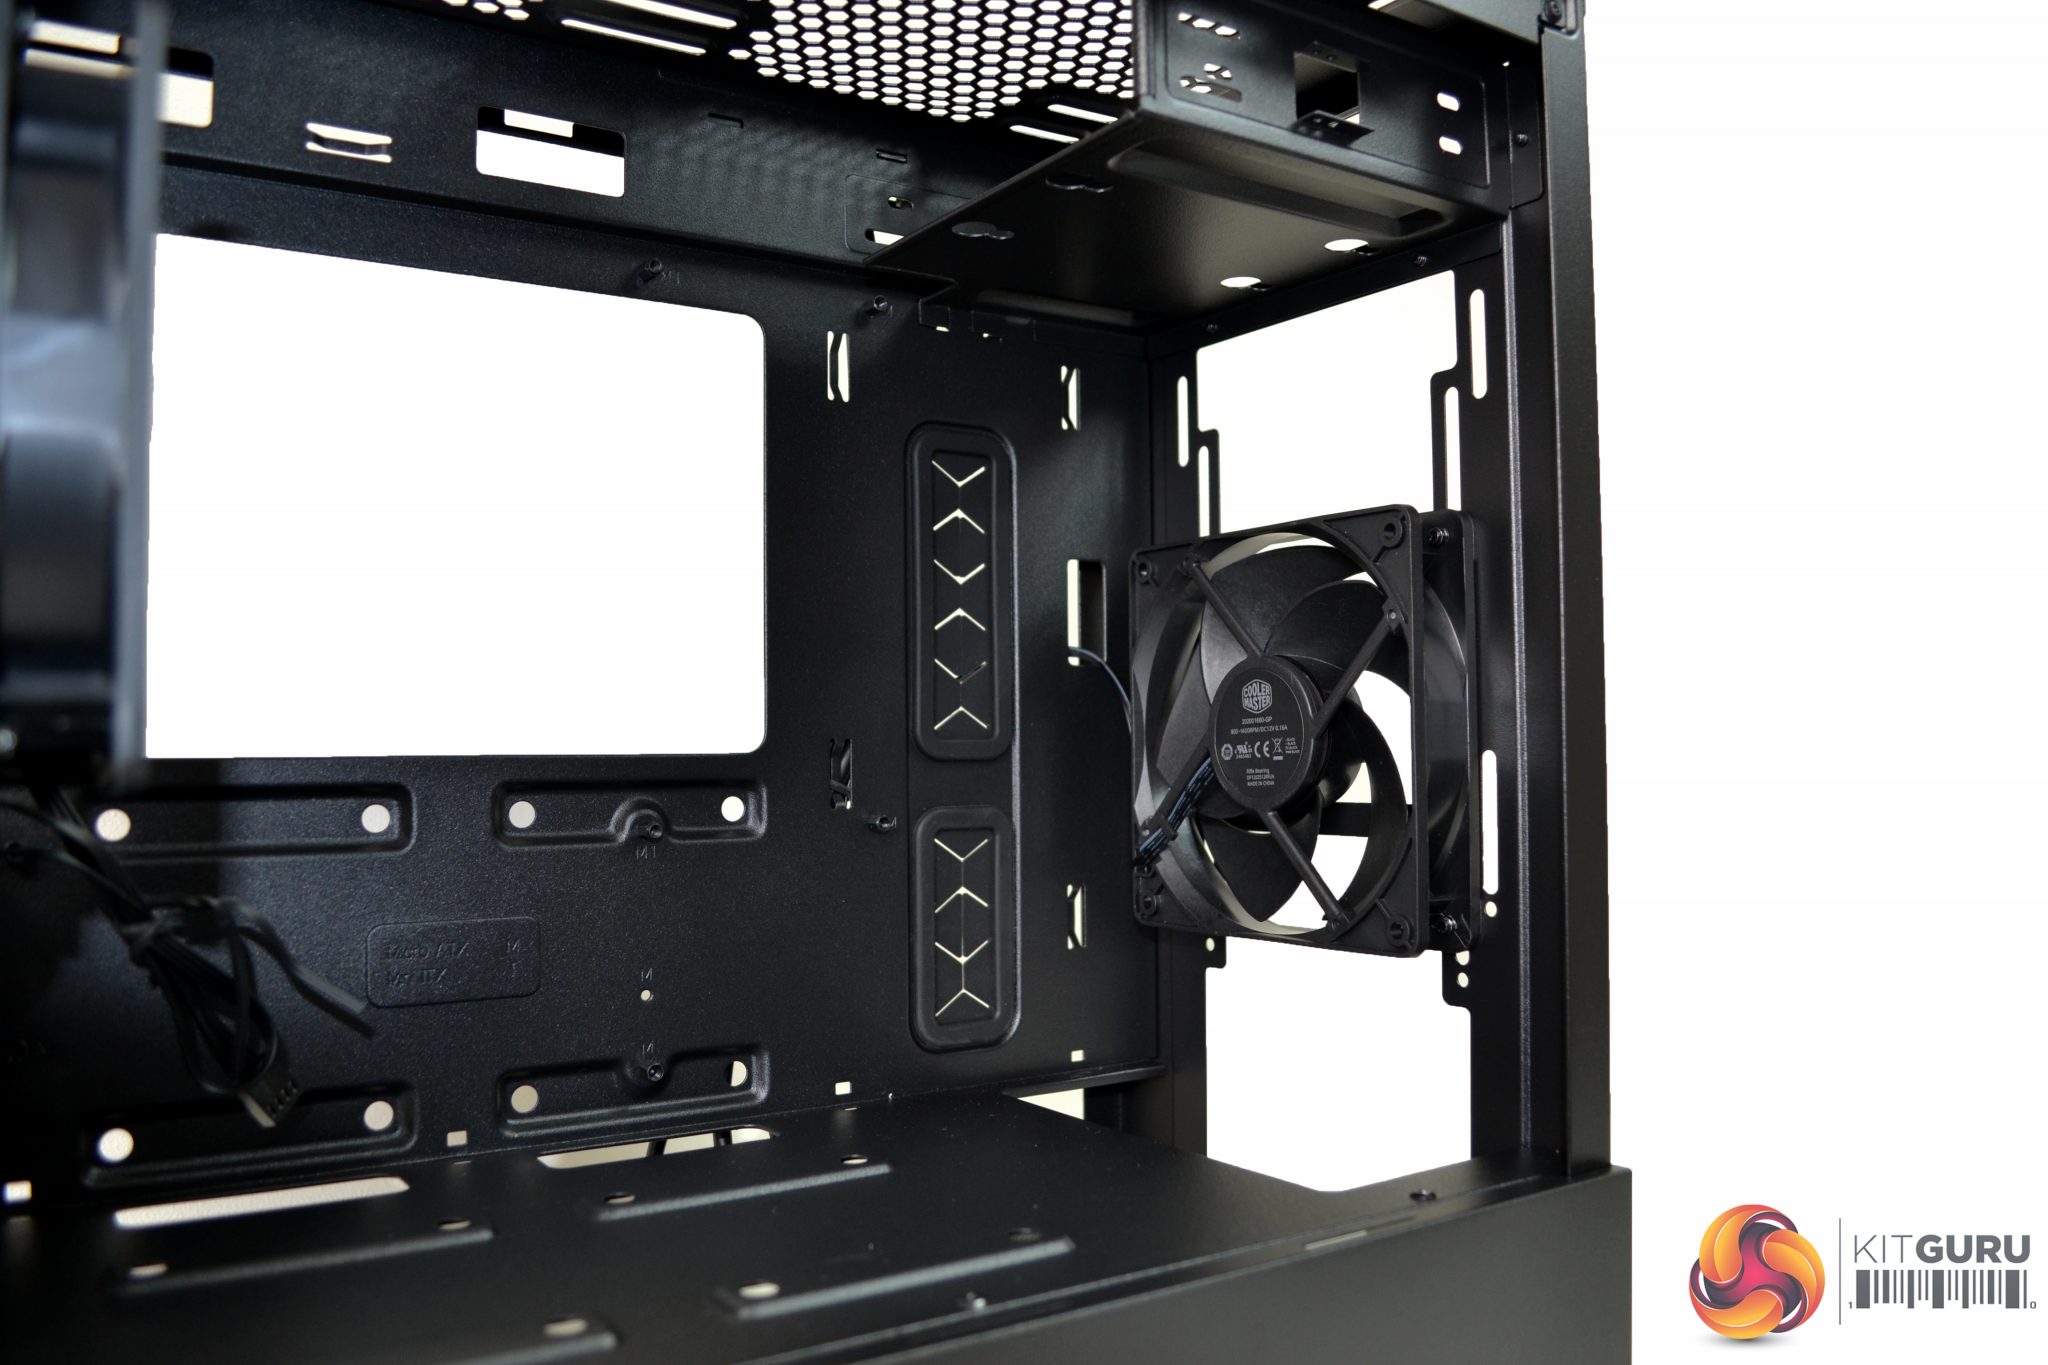
At the top of the case, there are mounting points for either two 120mm or 140mm fans. To install two fans would require complete removal of the 5.25” bay. It may be possible to fit a narrow radiator up to 280mm but, with only 50mm clearance above the motherboard, it may prove difficult.
In the rear panel of the case, there is a mounting position for a single 120mm fan or, potentially, one 120mm radiator. The mounting has elongated holes, so the position of the fan can be adjusted vertically.
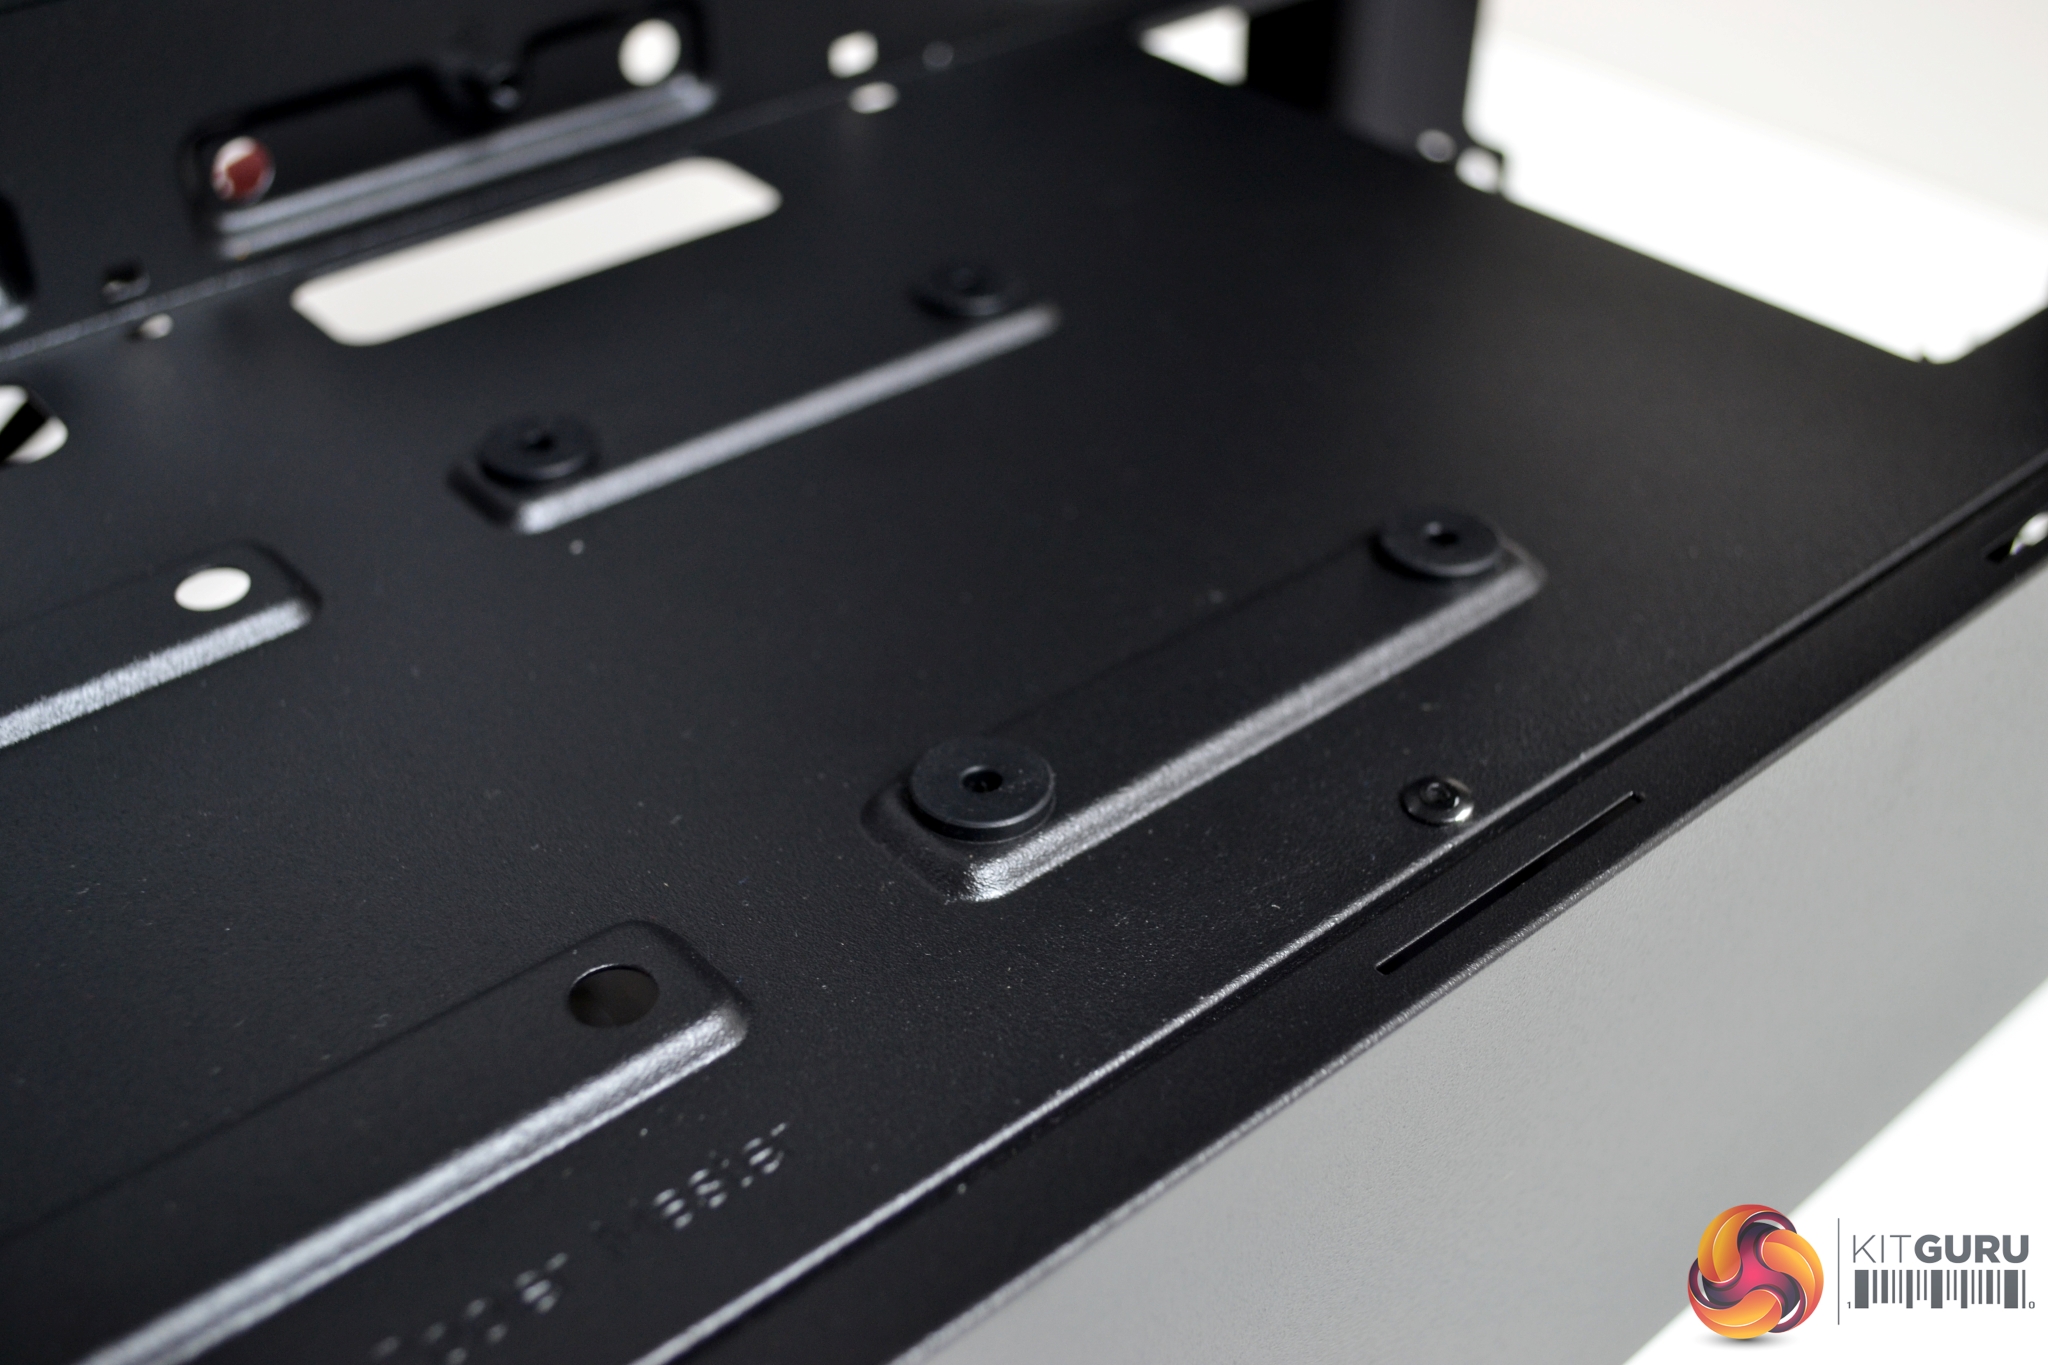
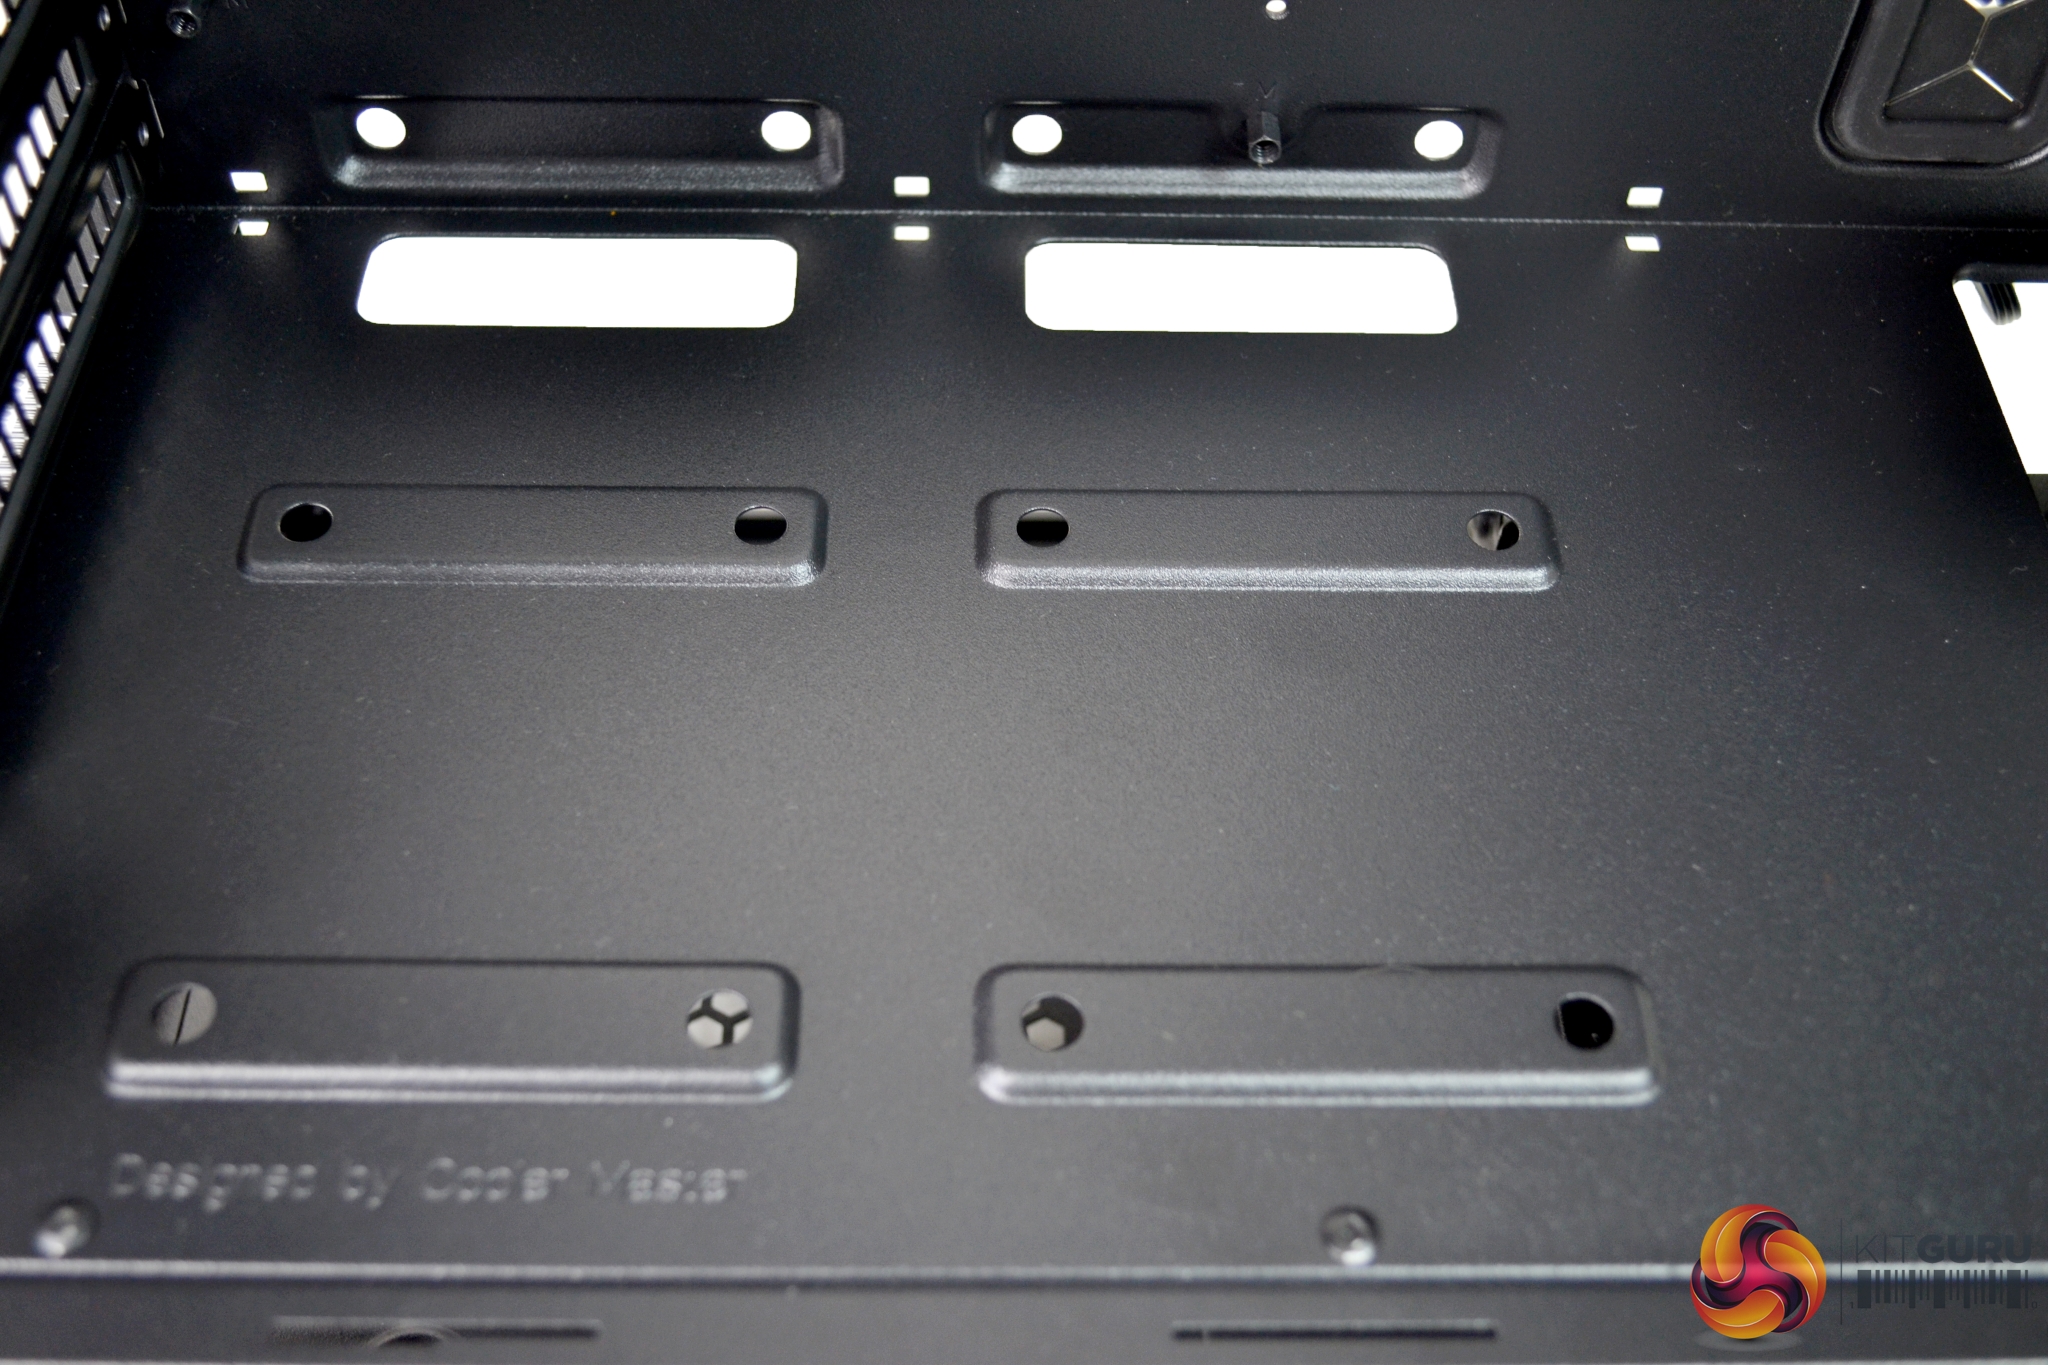
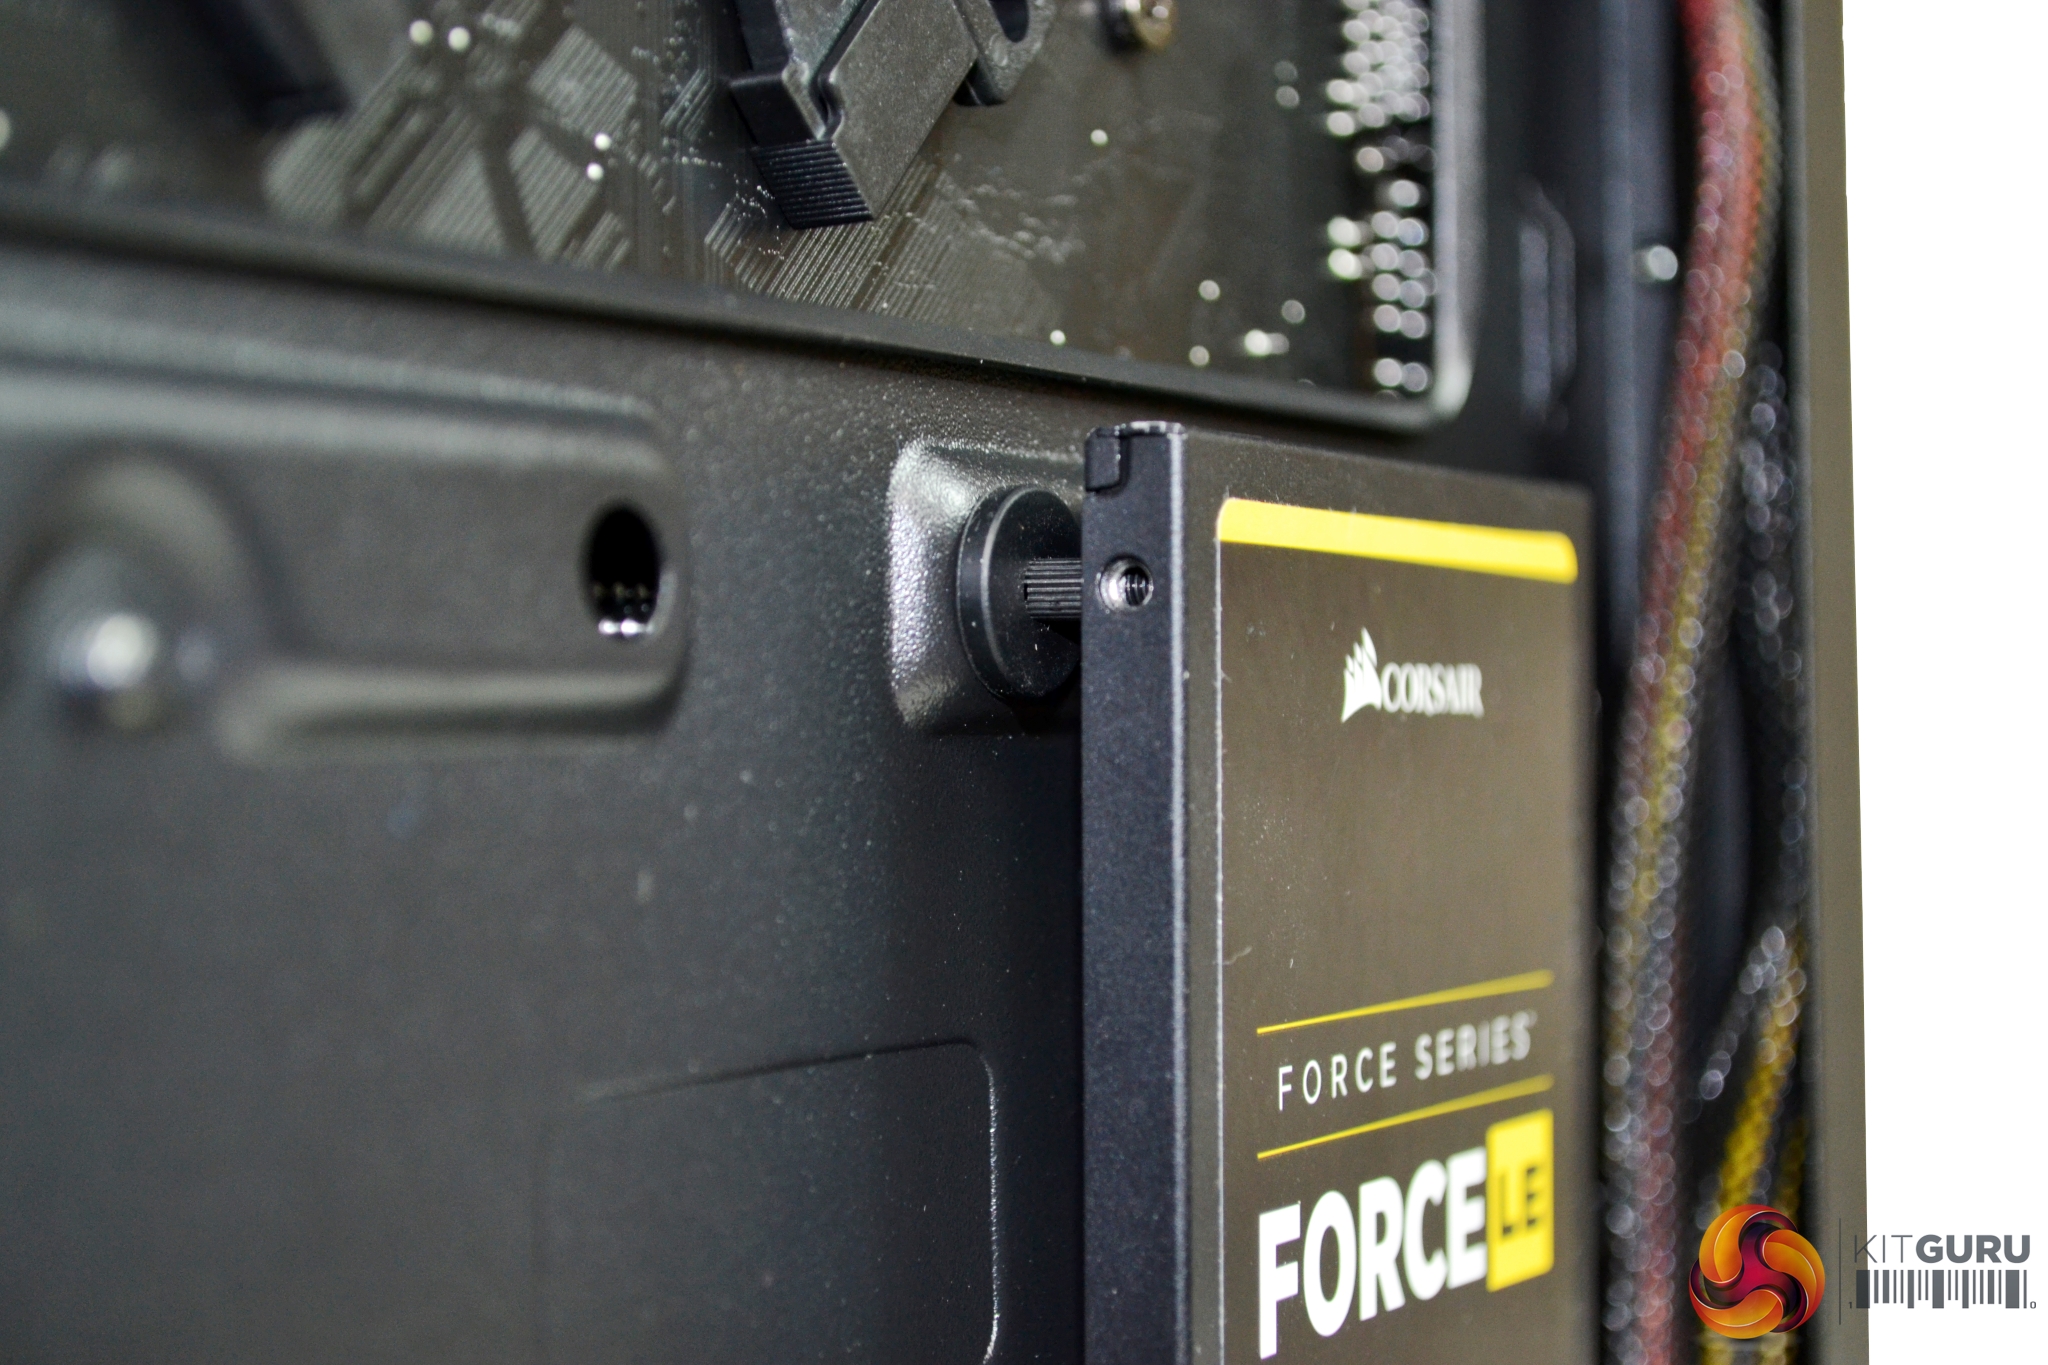
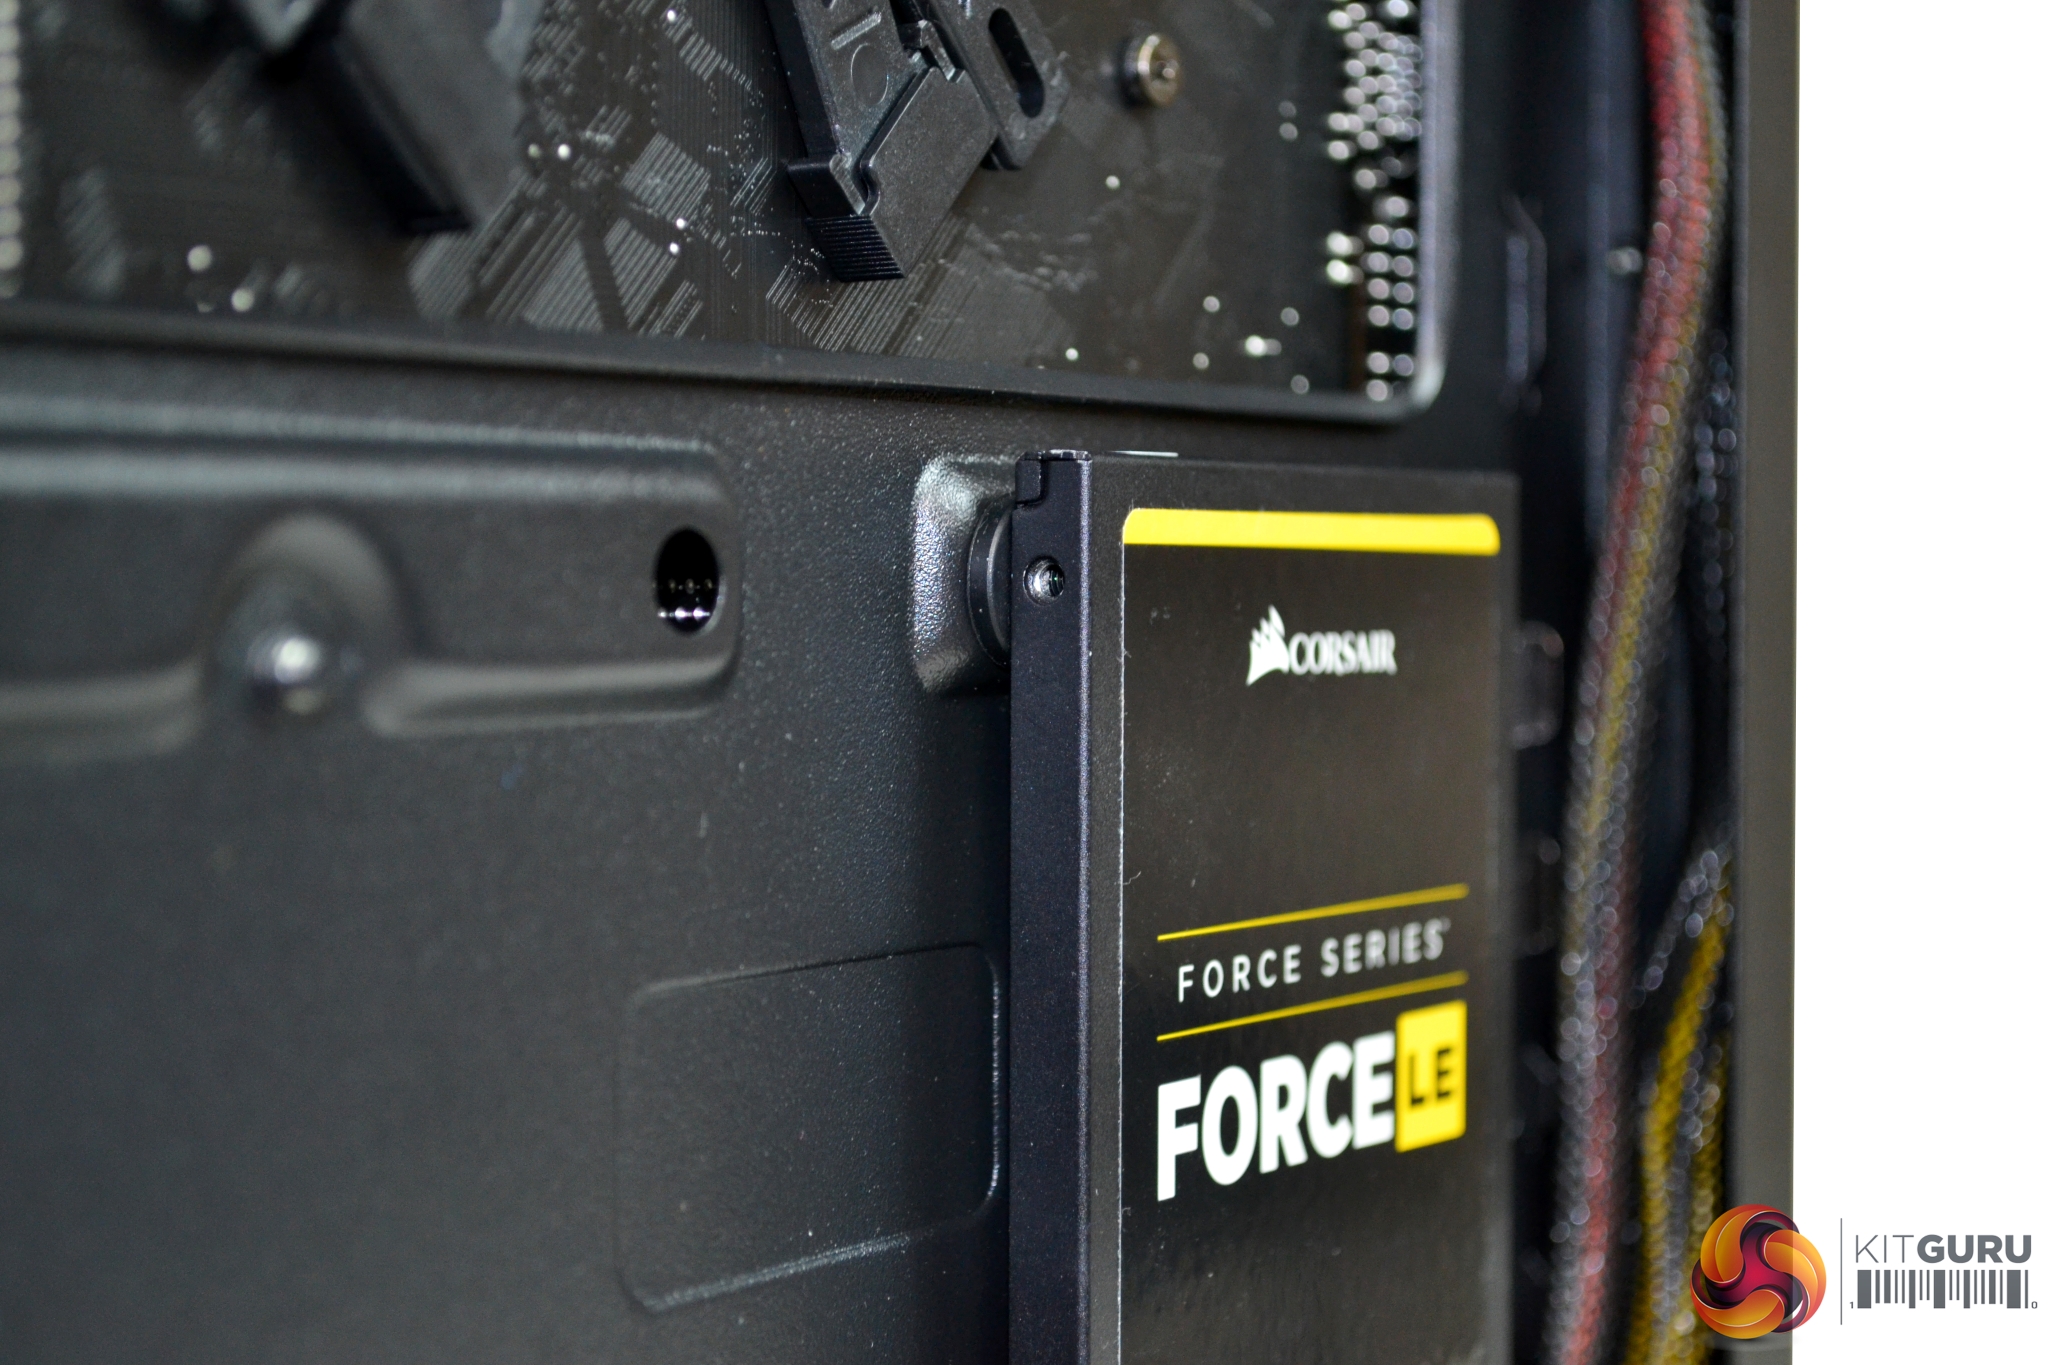
There is ample space for storage, too, with a total of four mounting points for 2.5” drives. Two are located on top of the PSU shroud and two are on the rear of the motherboard tray.
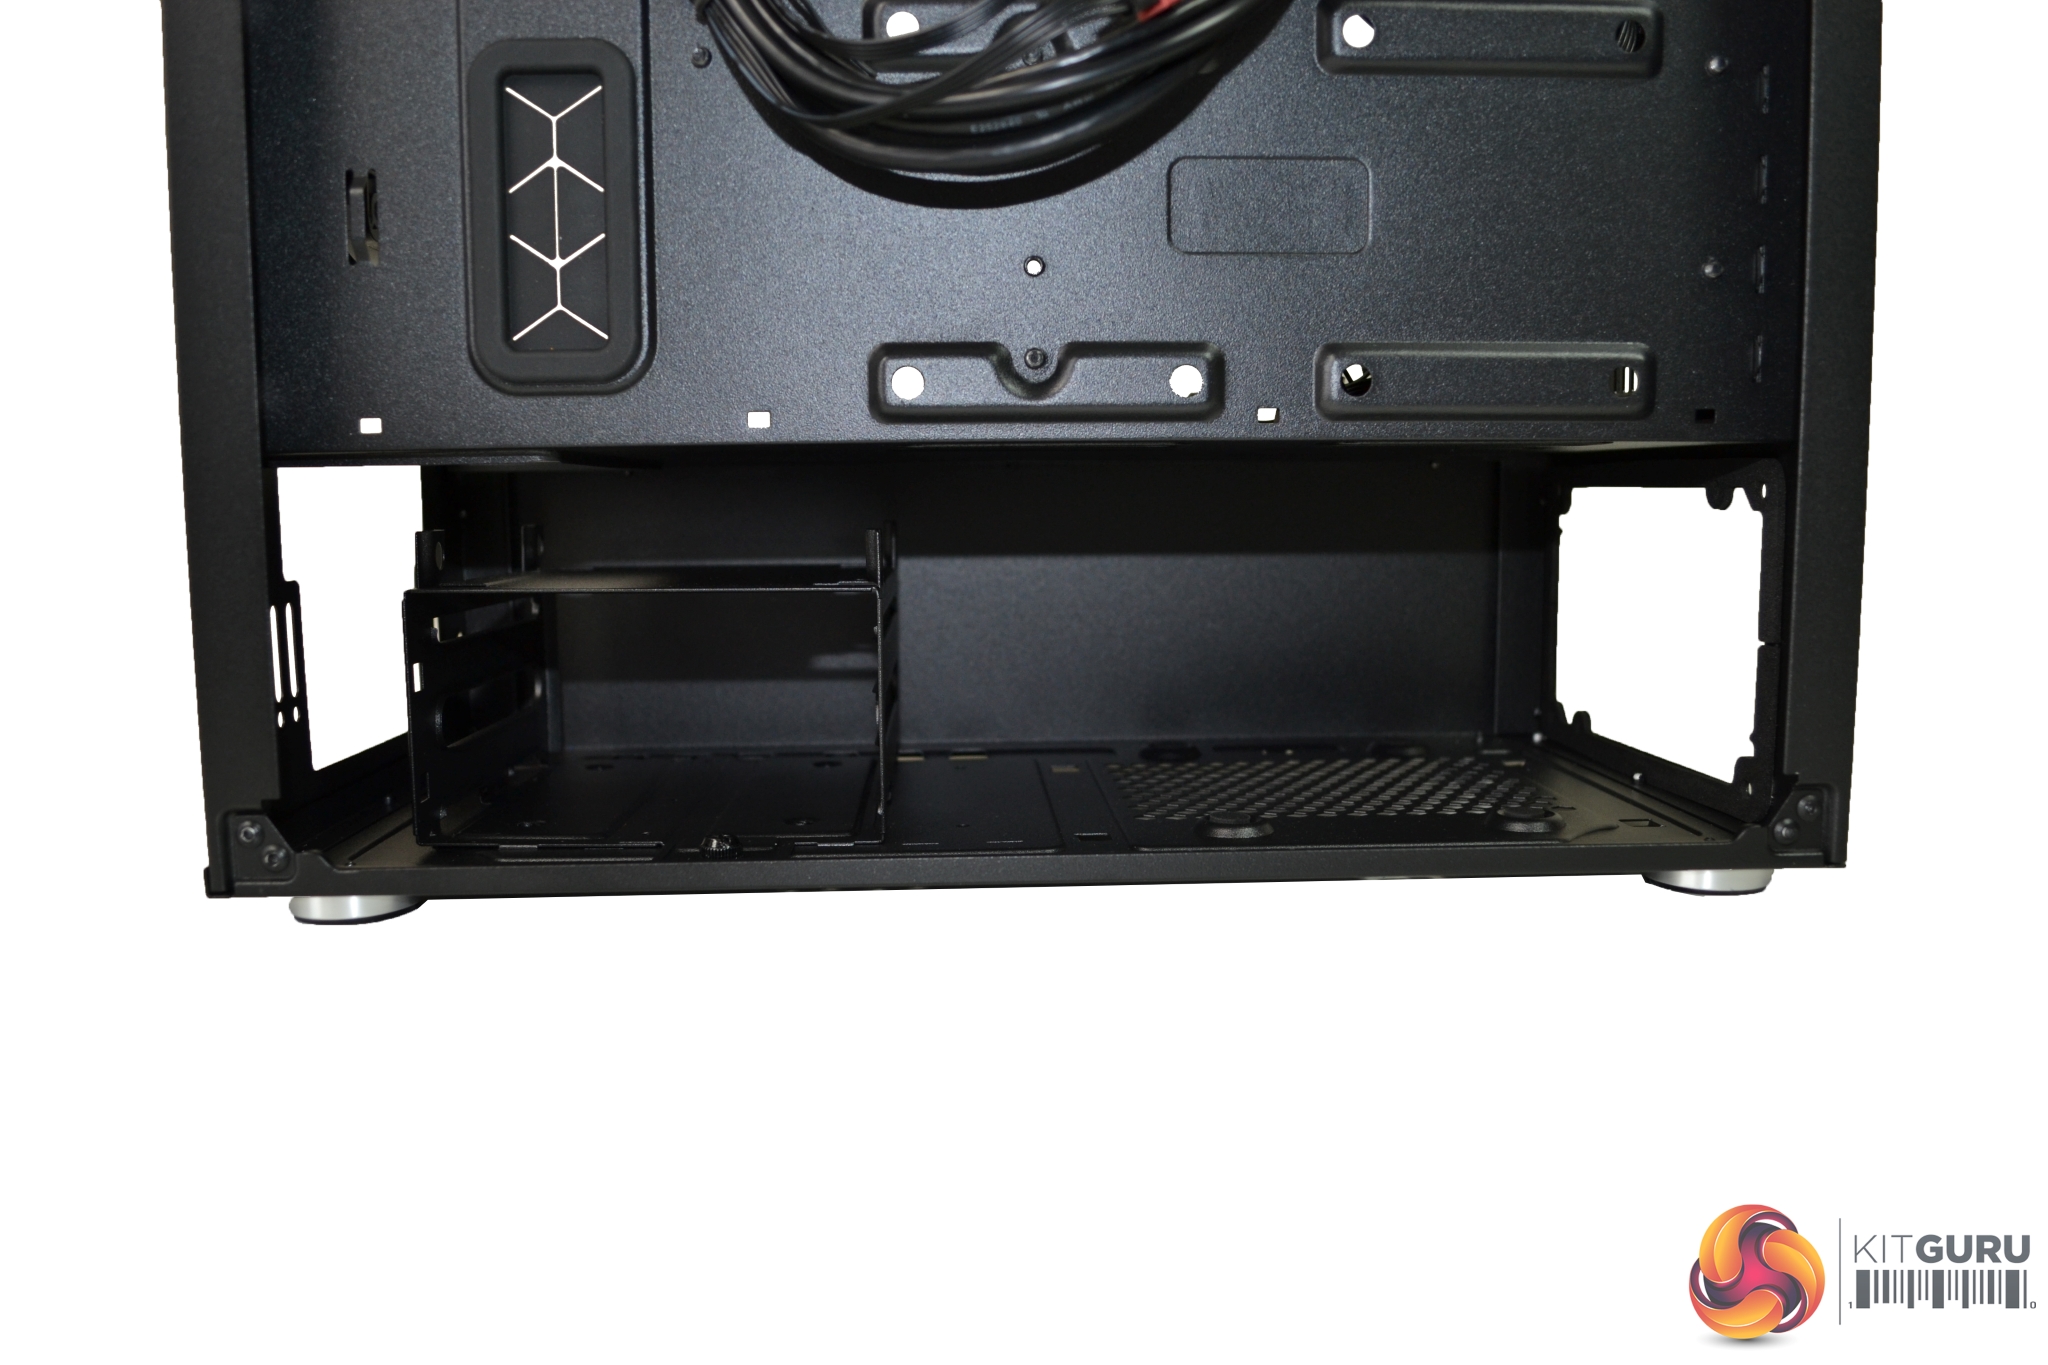
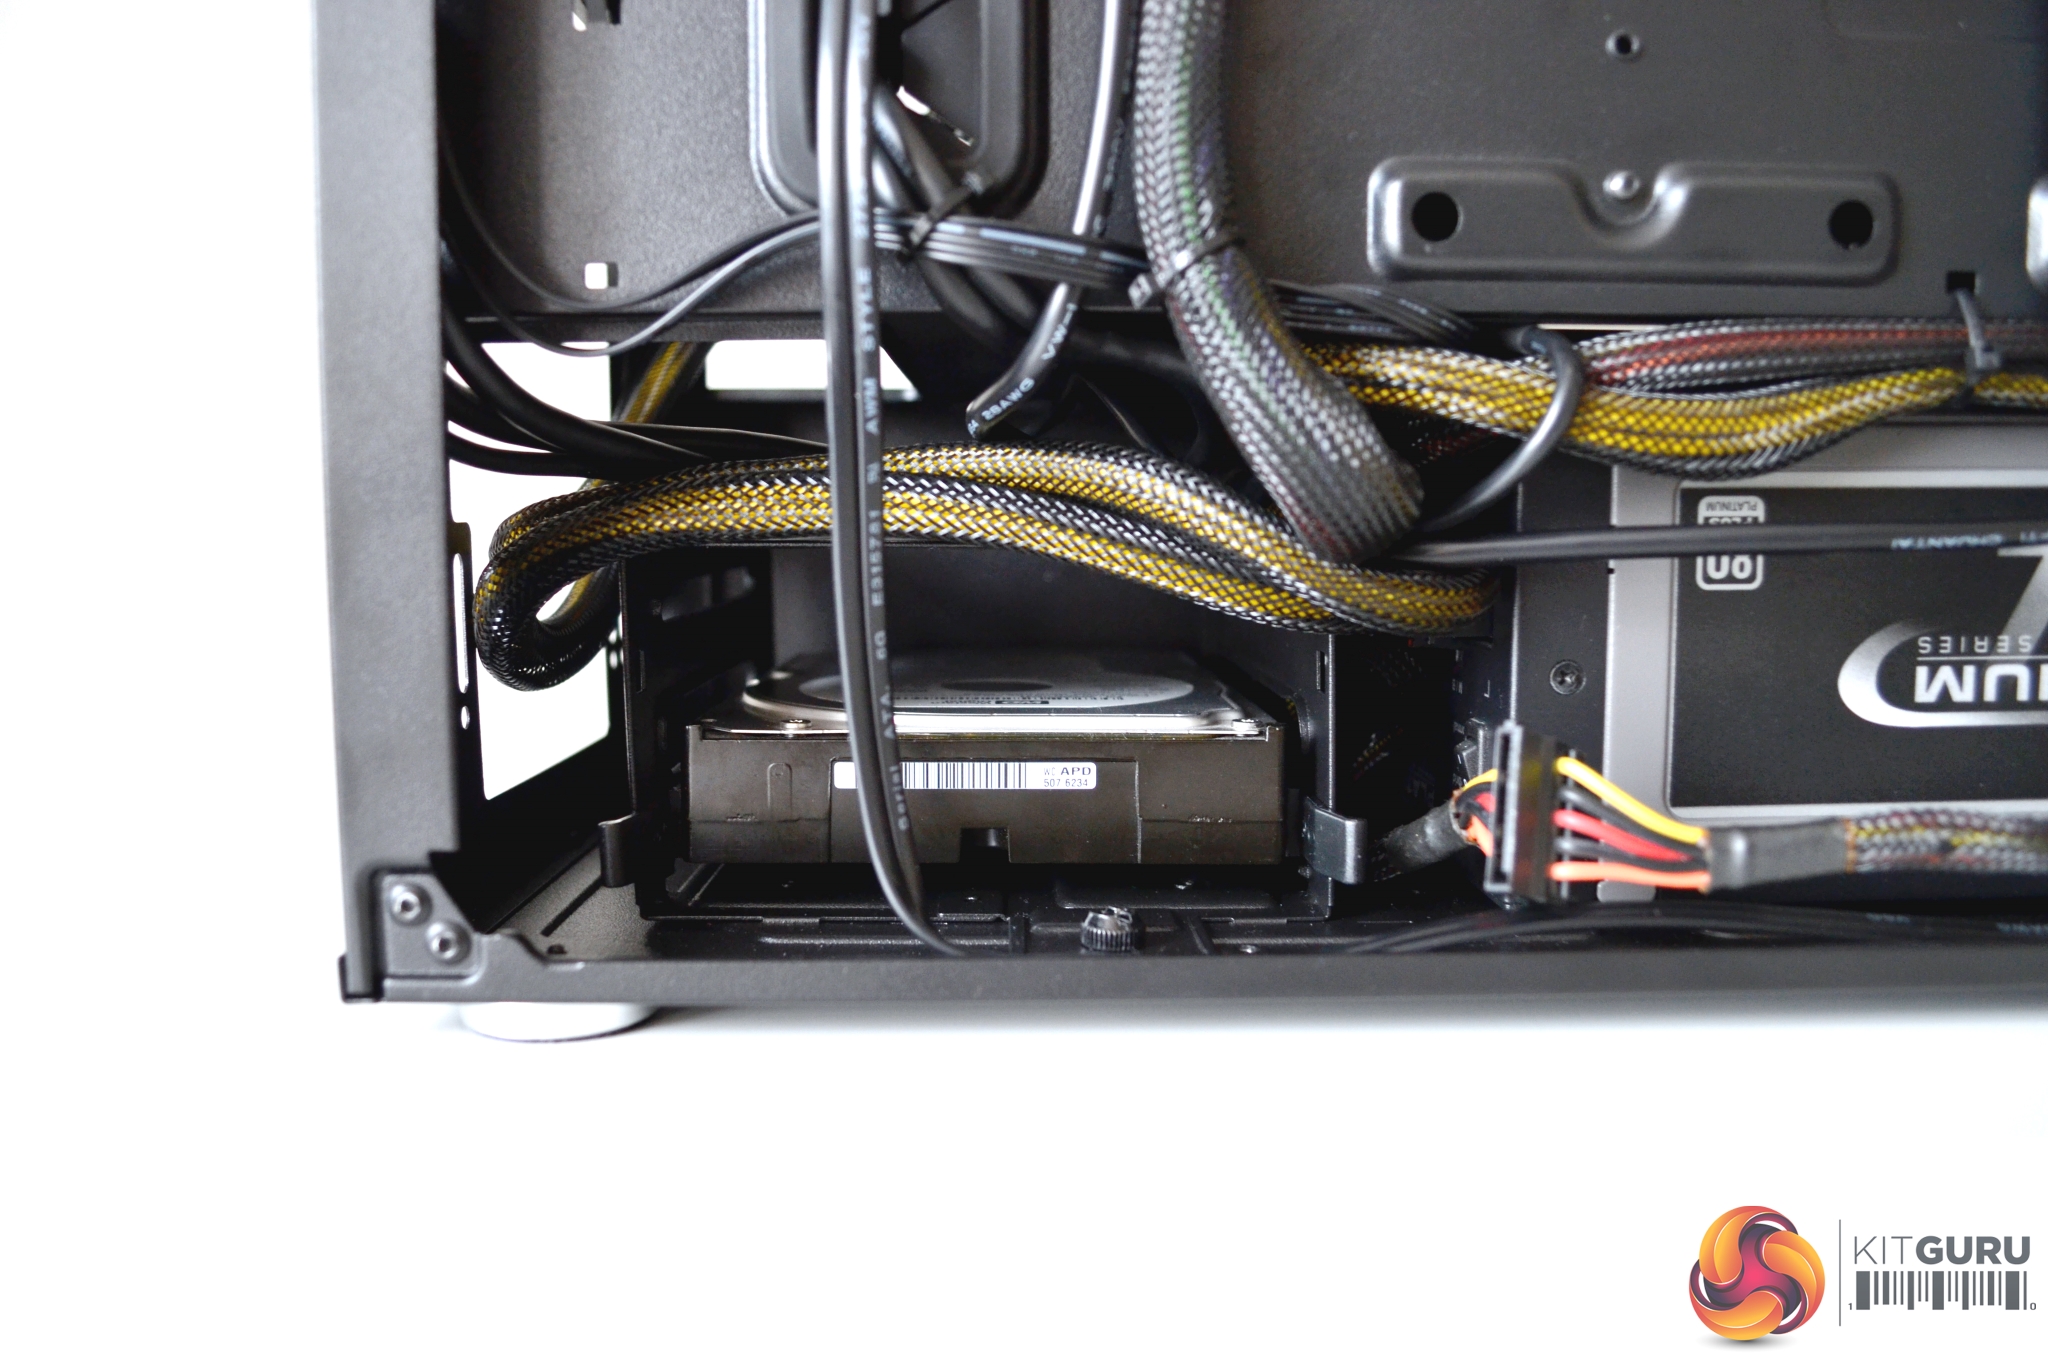
A 3.5” HDD cage is installed in the bottom of the case, covered by the PSU shroud. In total, three drives can be mounted to this cage. One is hard mounted on the very top and two others have tool free brackets to mount inside the cage.
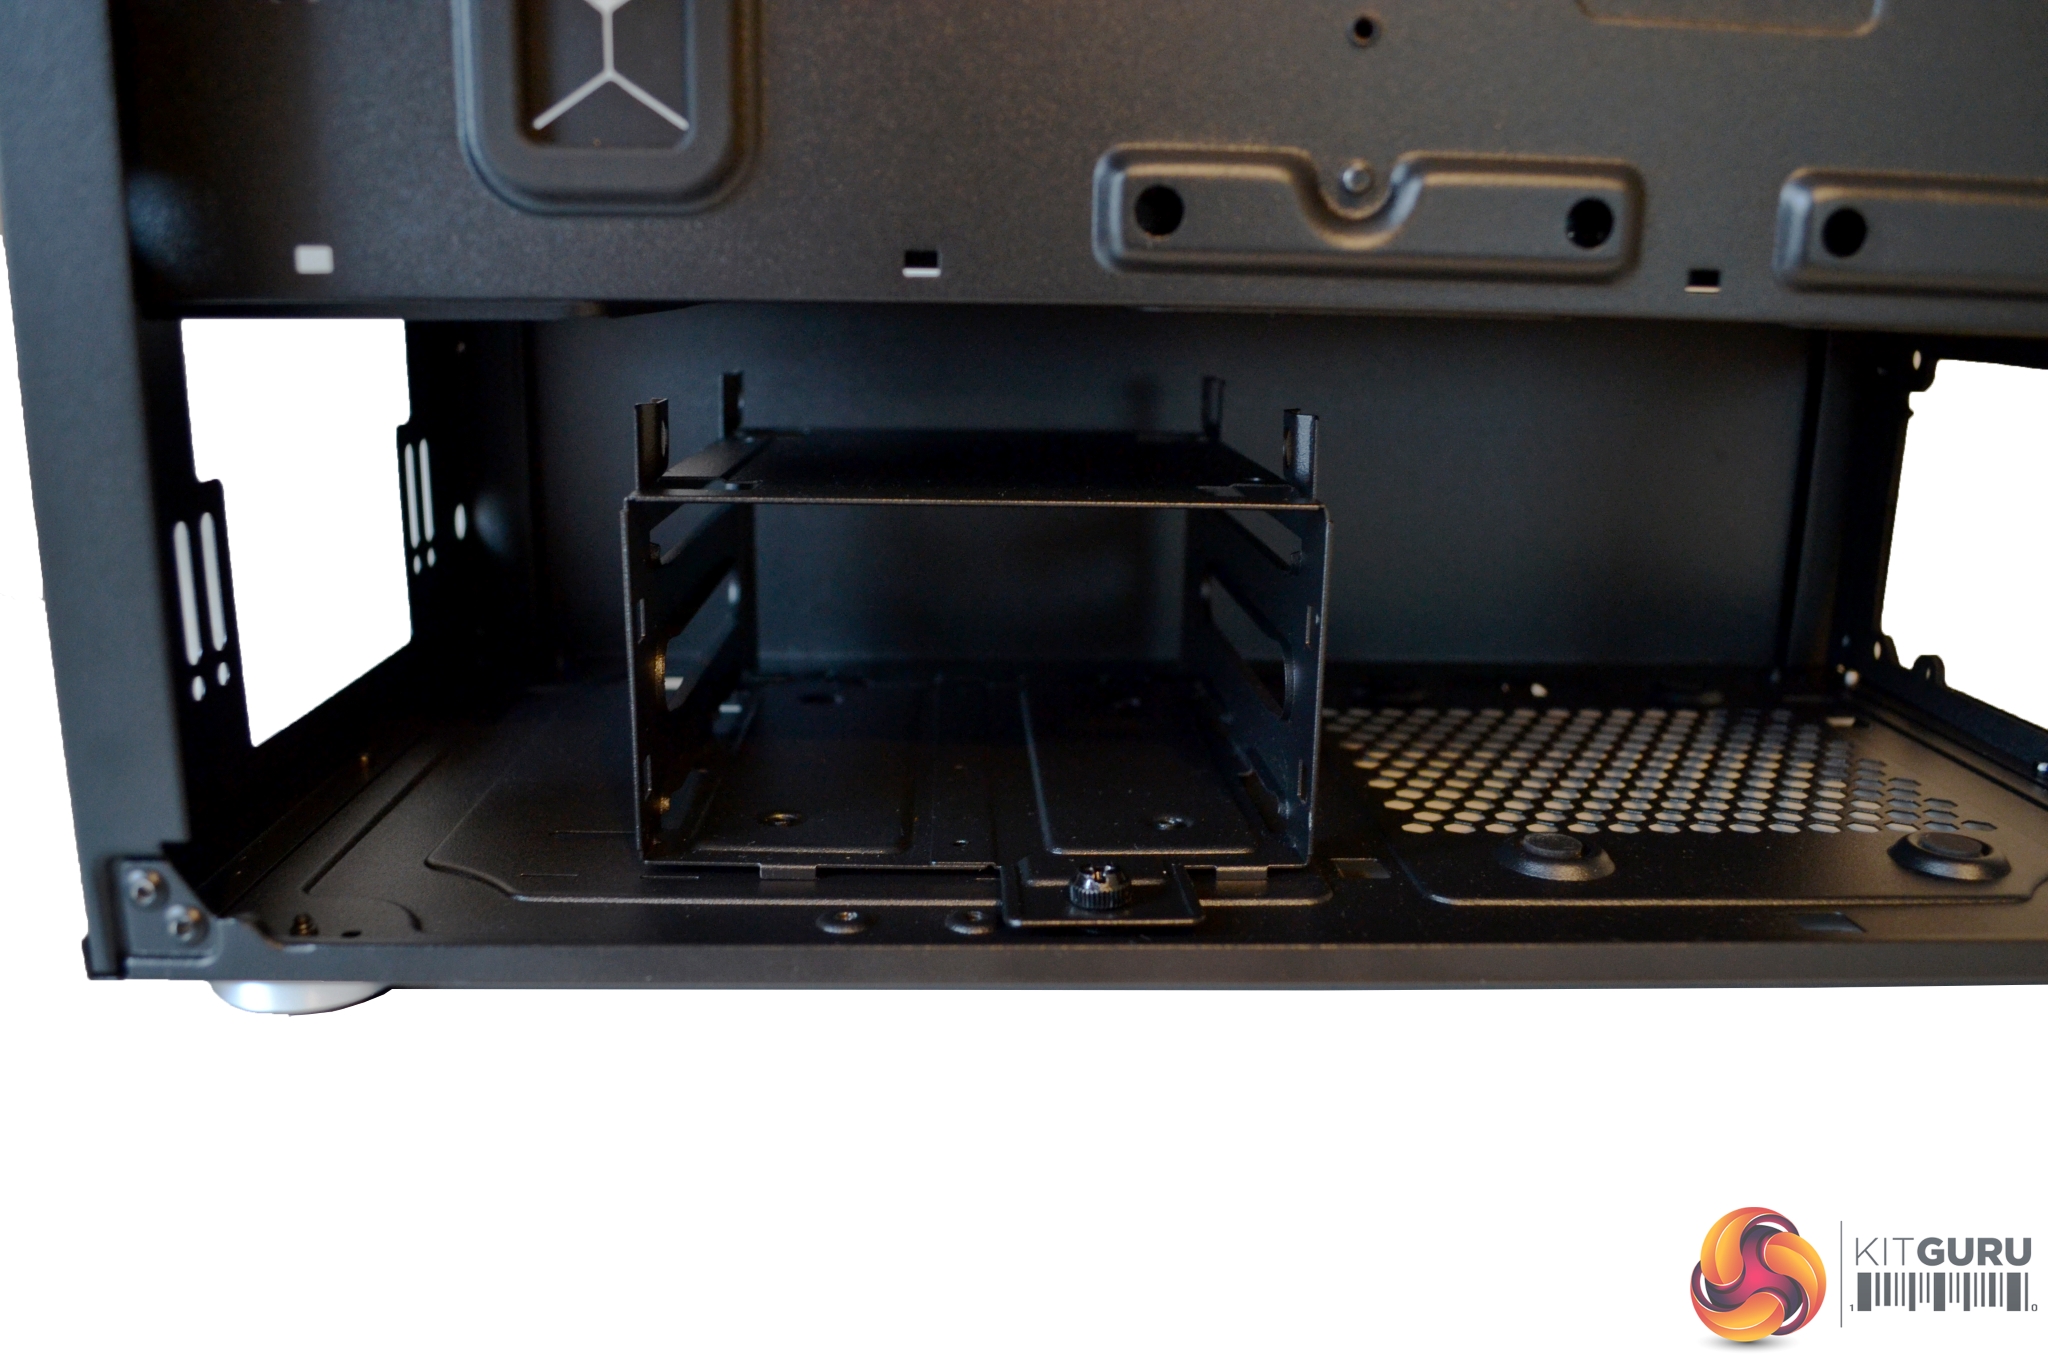
It is possible to install the 3.5” HDD cage in three positions, enabling extra clearance for larger power supplies. Simply loosen and remove the retaining thumb screw to release the HDD cage and transfer it into whichever position suits your PSU. Refit the thumb screw to hold it in place.
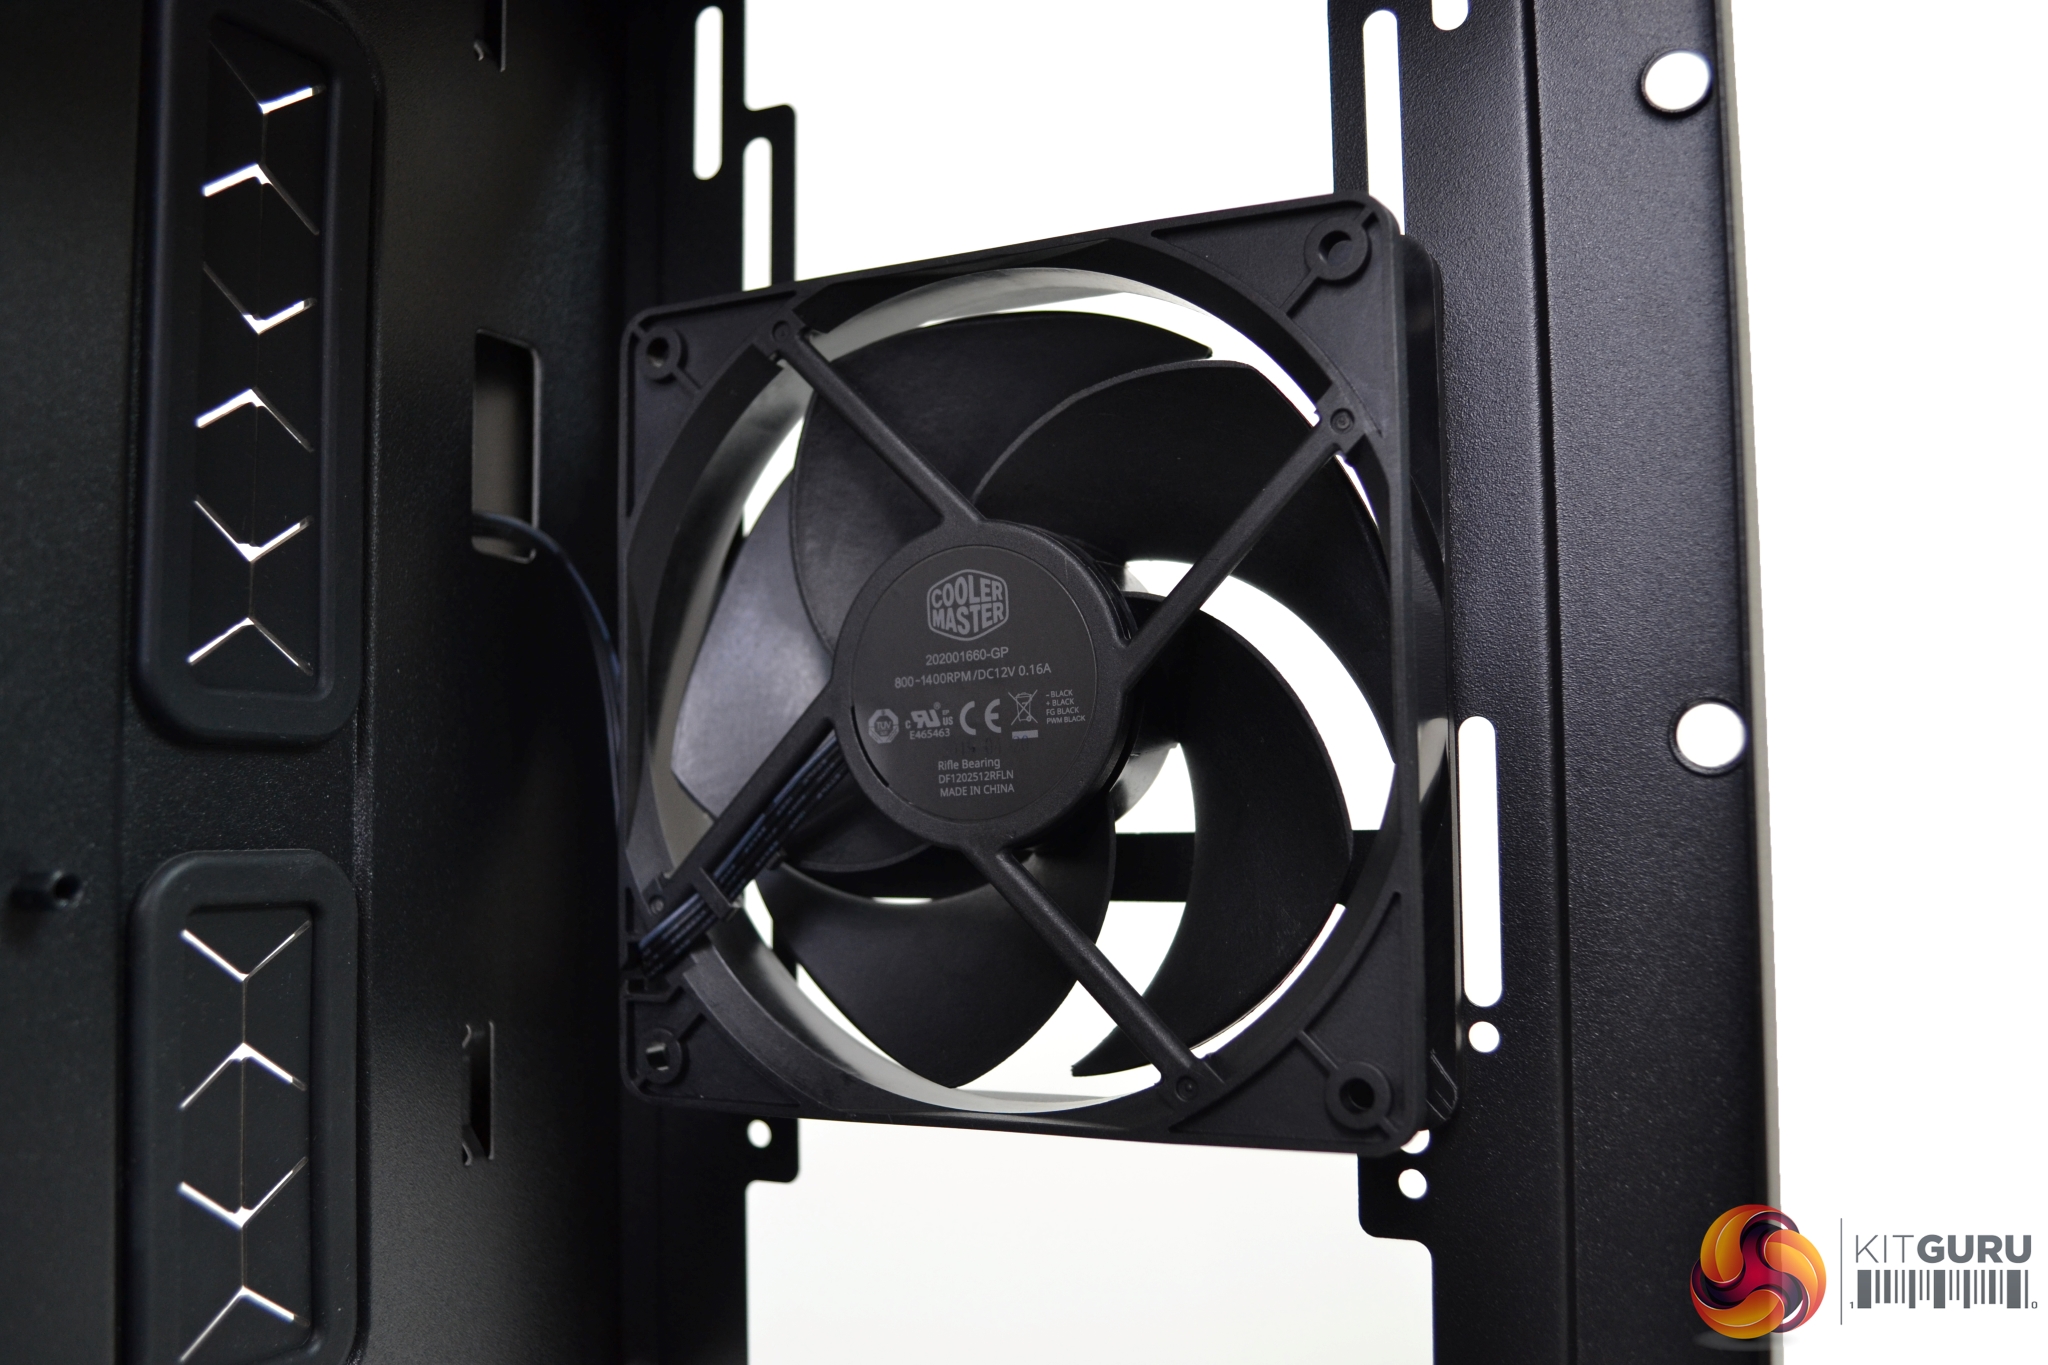
With the S400 case, there are two Cooler Master FP120 PWM fans included and a three-way splitter cable is also provided so you can connect them to a single fan header. The FP120 PWM fans feature specially designed blades that allow both quiet operation and high air pressure.
Overall, it was a pleasing experience building a system into the Silencio S400 case. We did come across one or two minor issues, but nothing to worry even a novice DIY system builder.
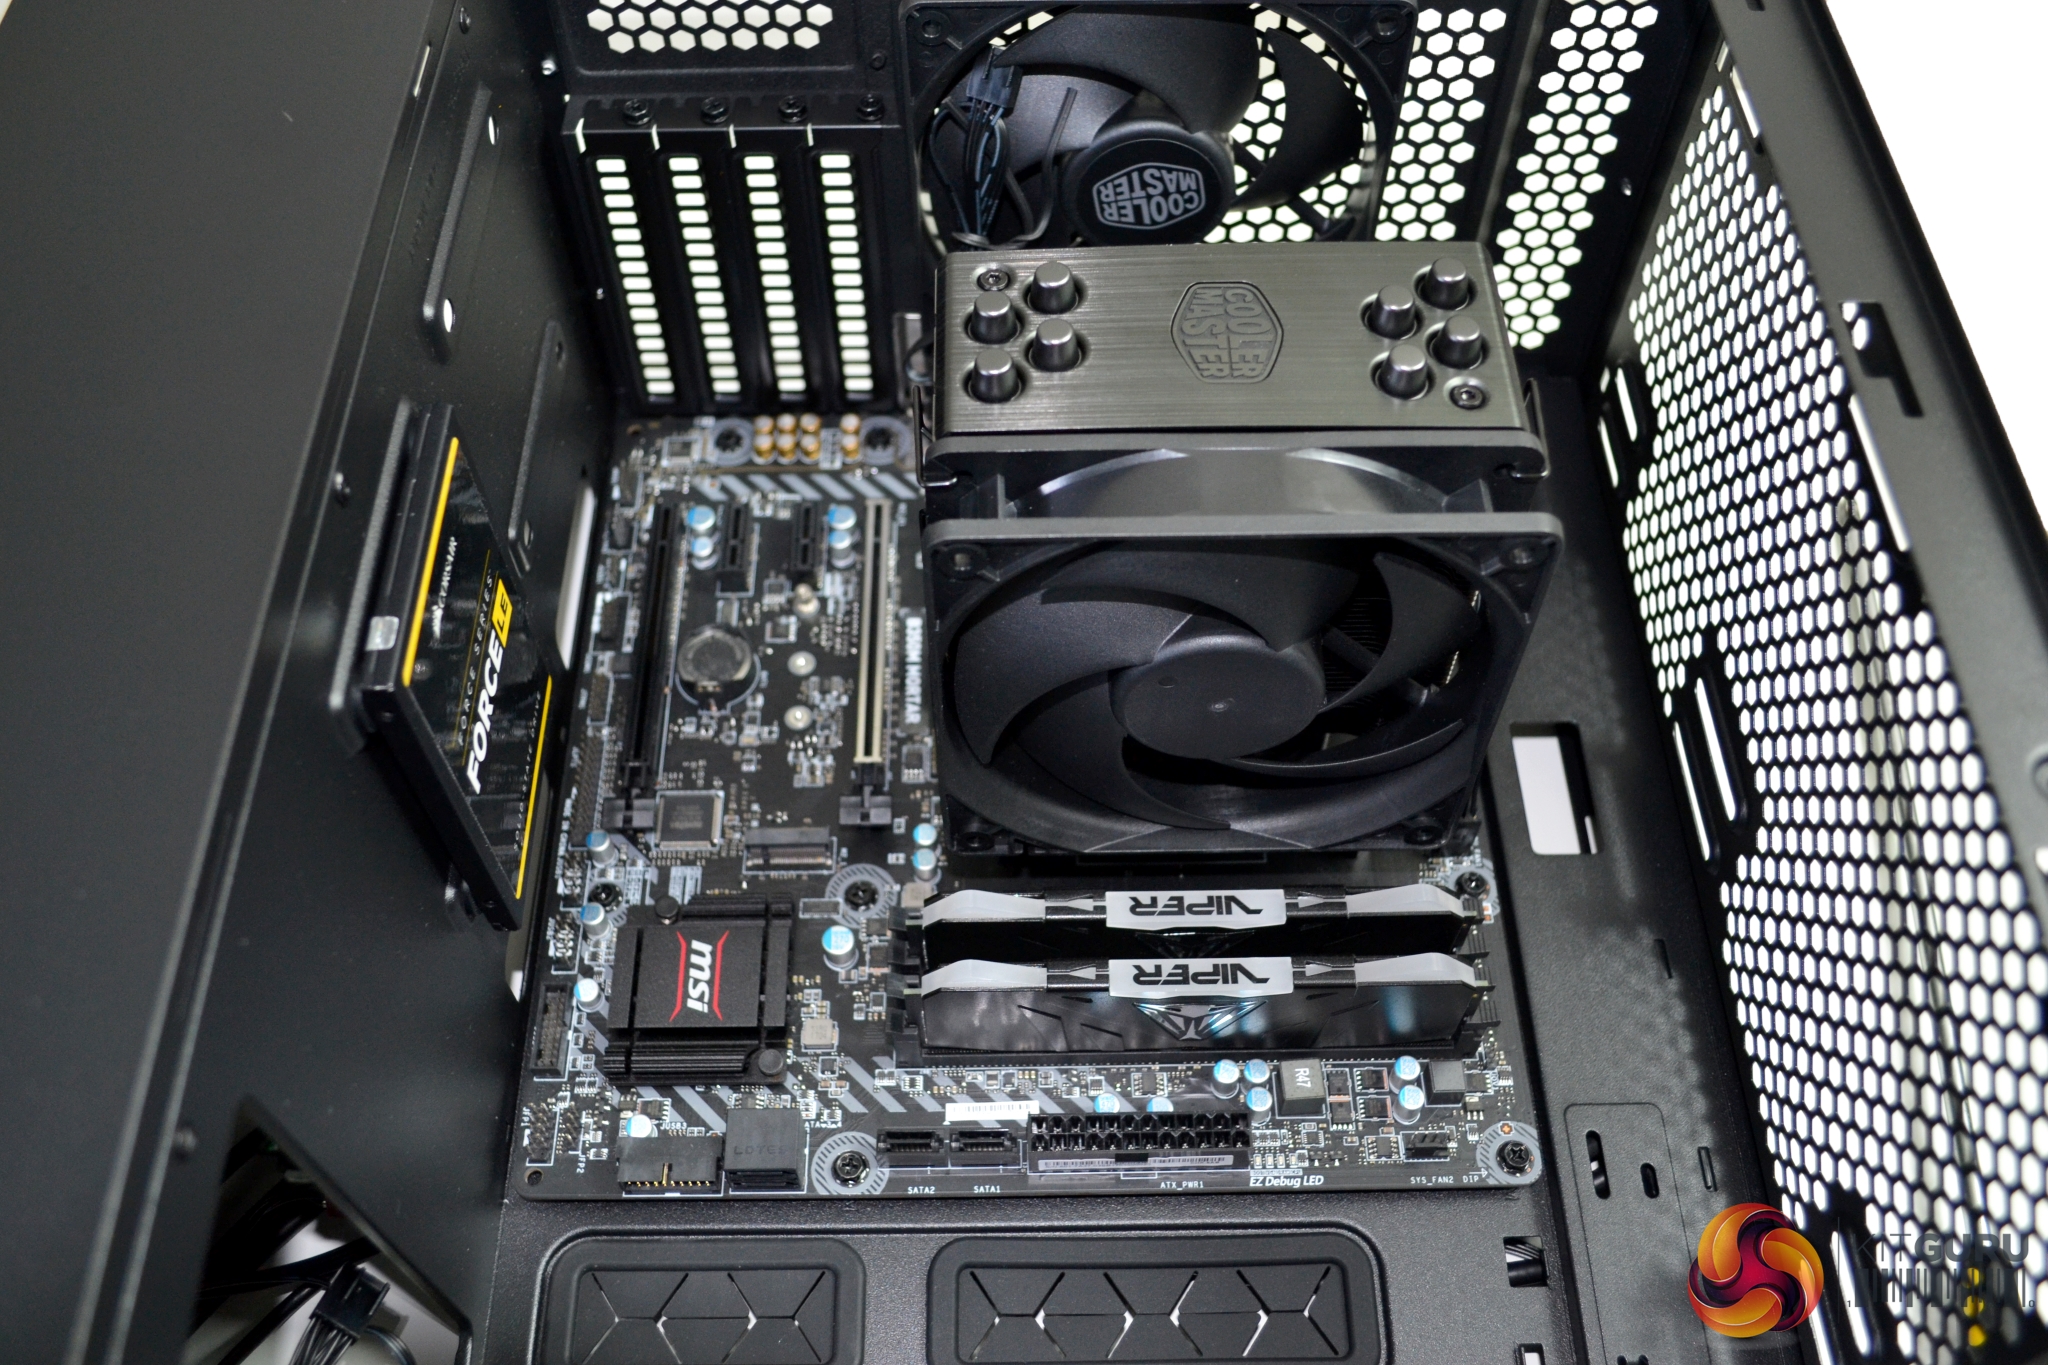
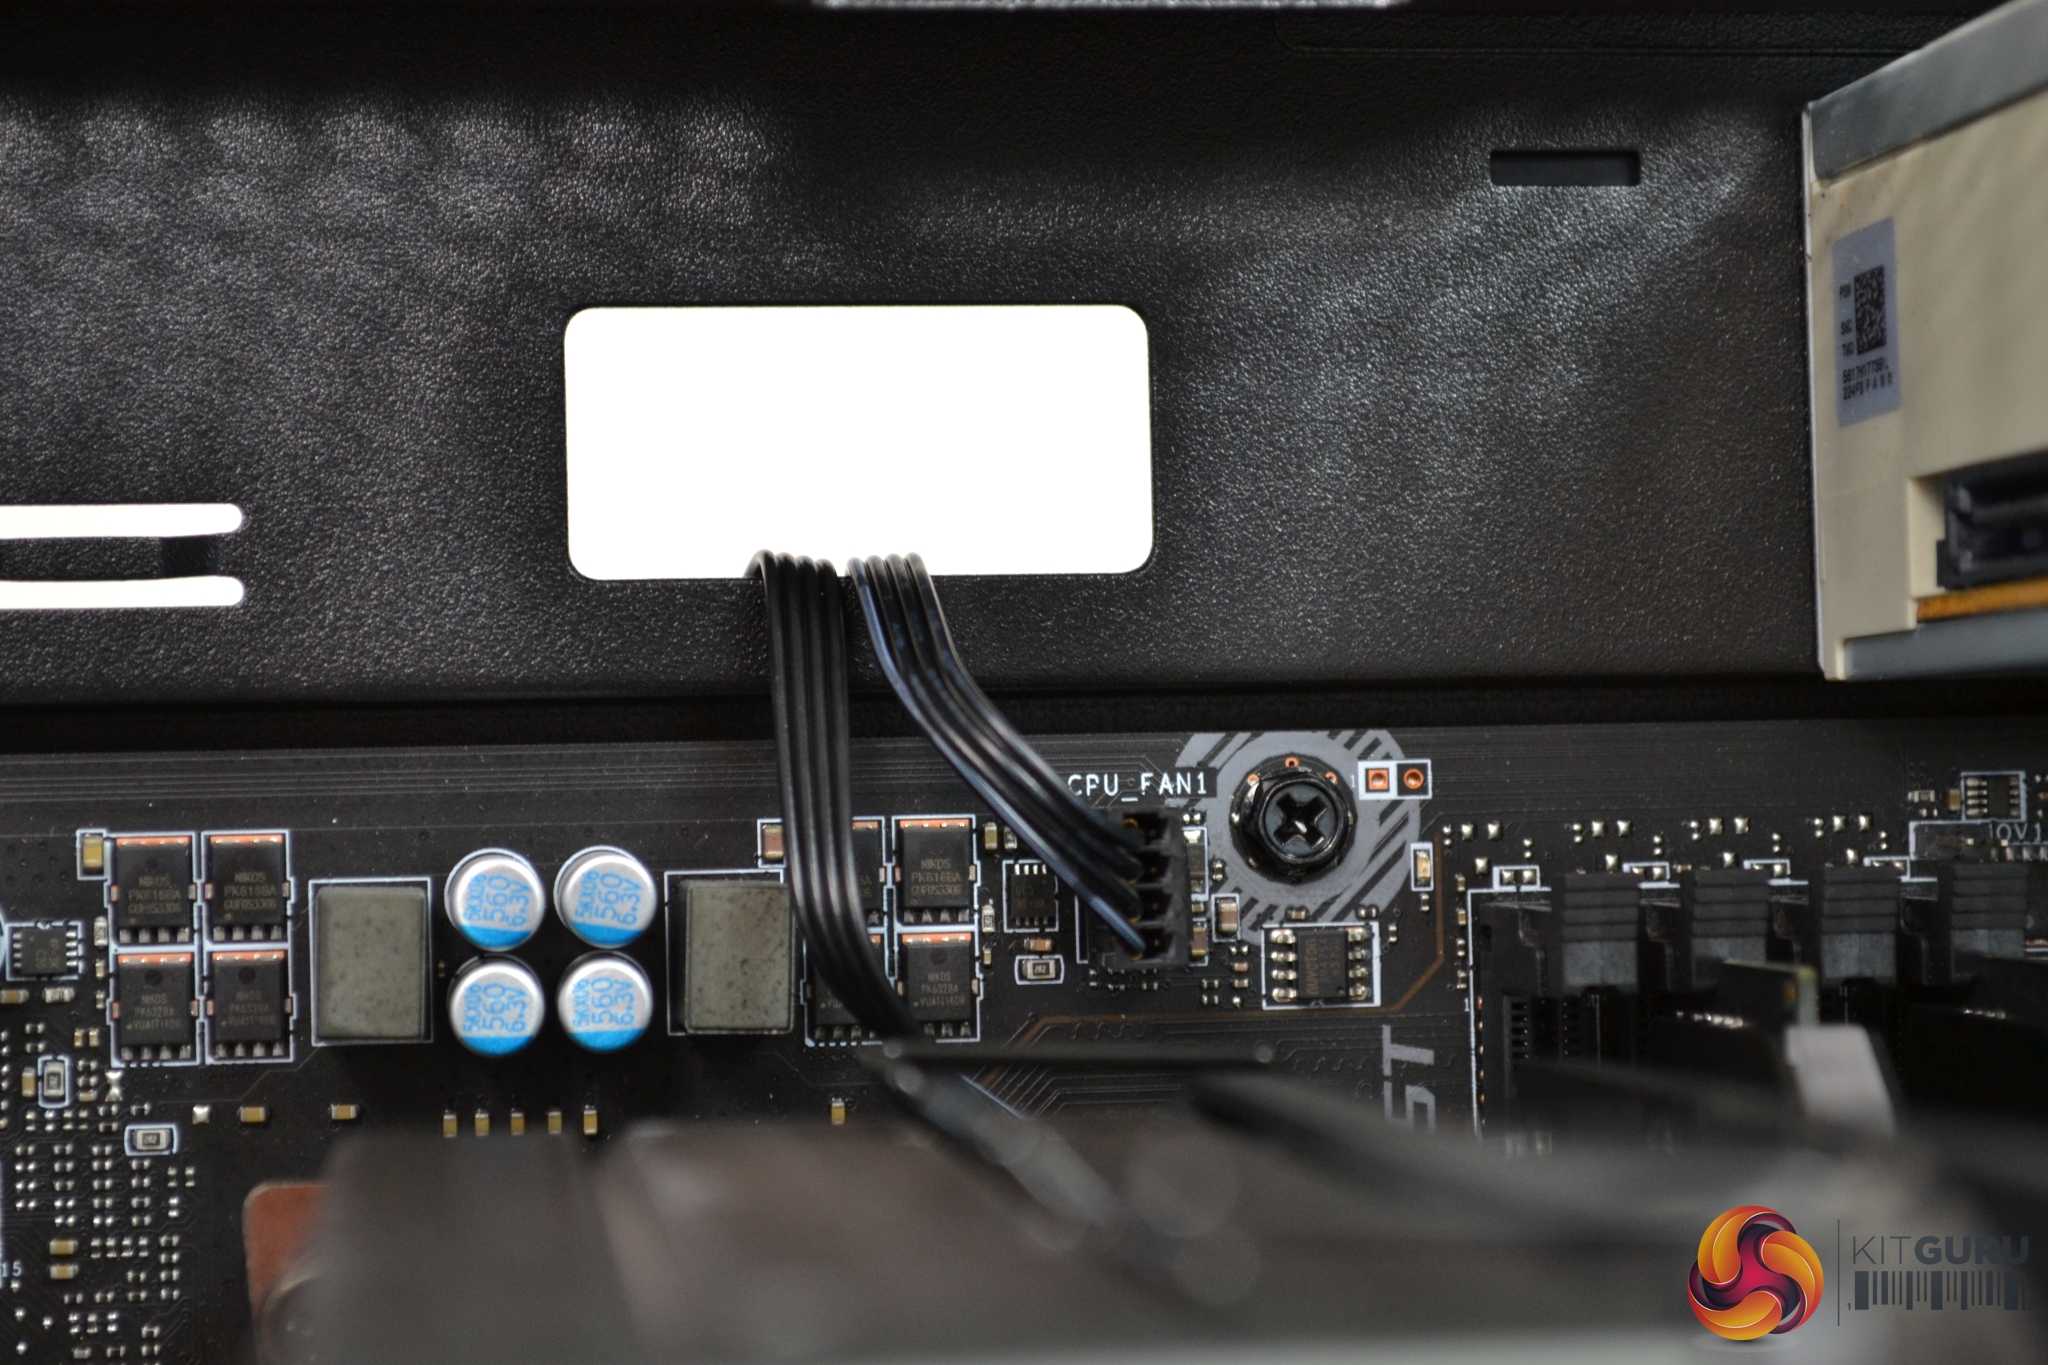
Installation of the motherboard is simple – all the pre-installed stand offs lined up correctly. It is advisable to remove either the 5.25” drive bay or the rear fan, as this will help motherboard installation when lowing it into position.
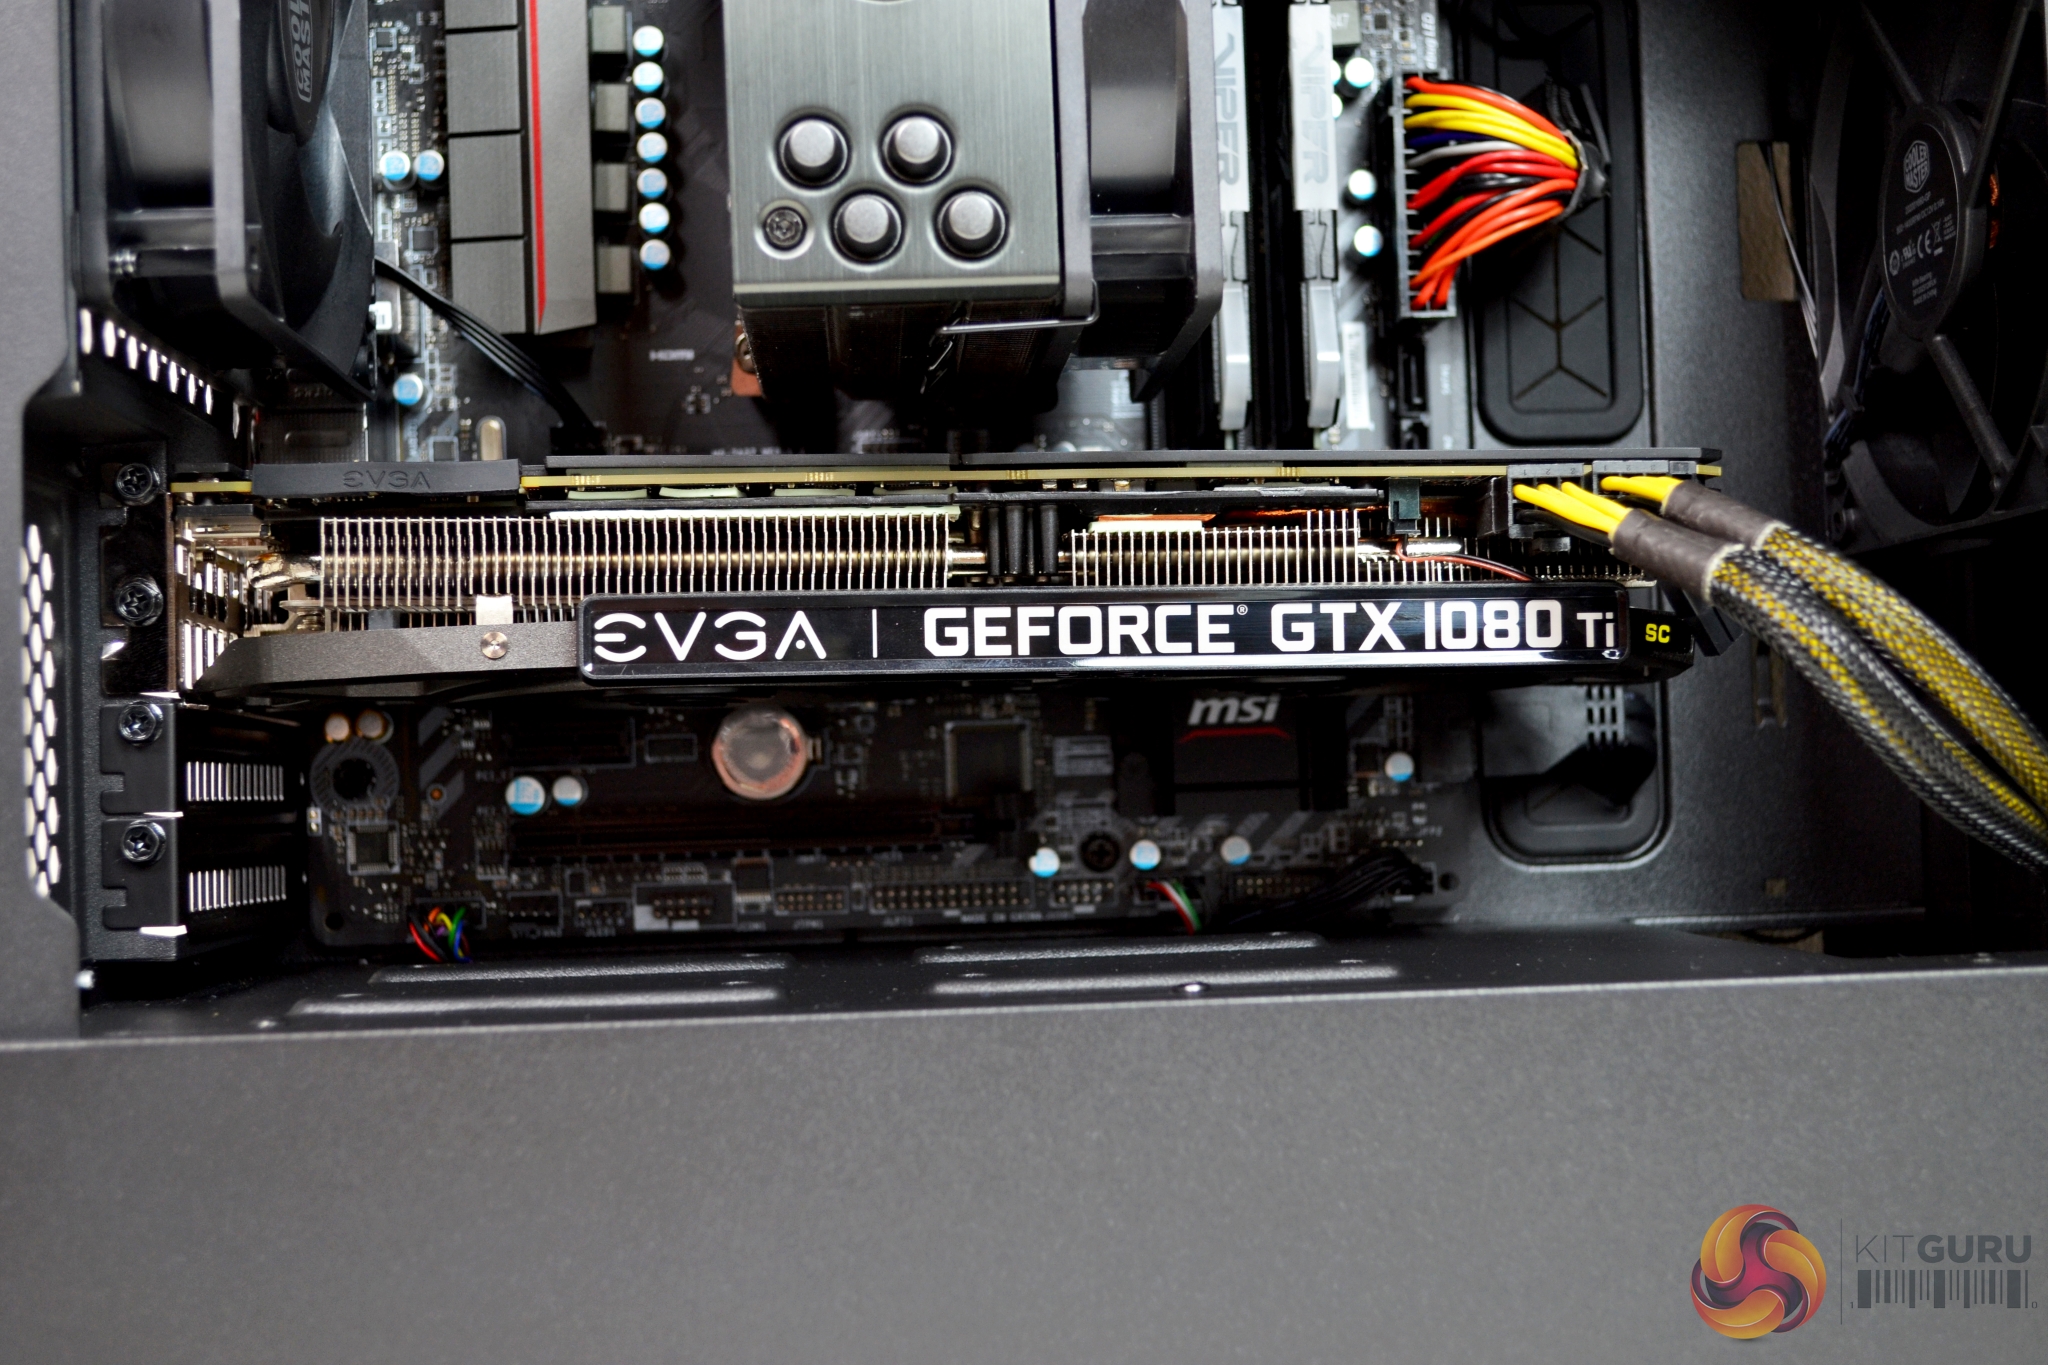
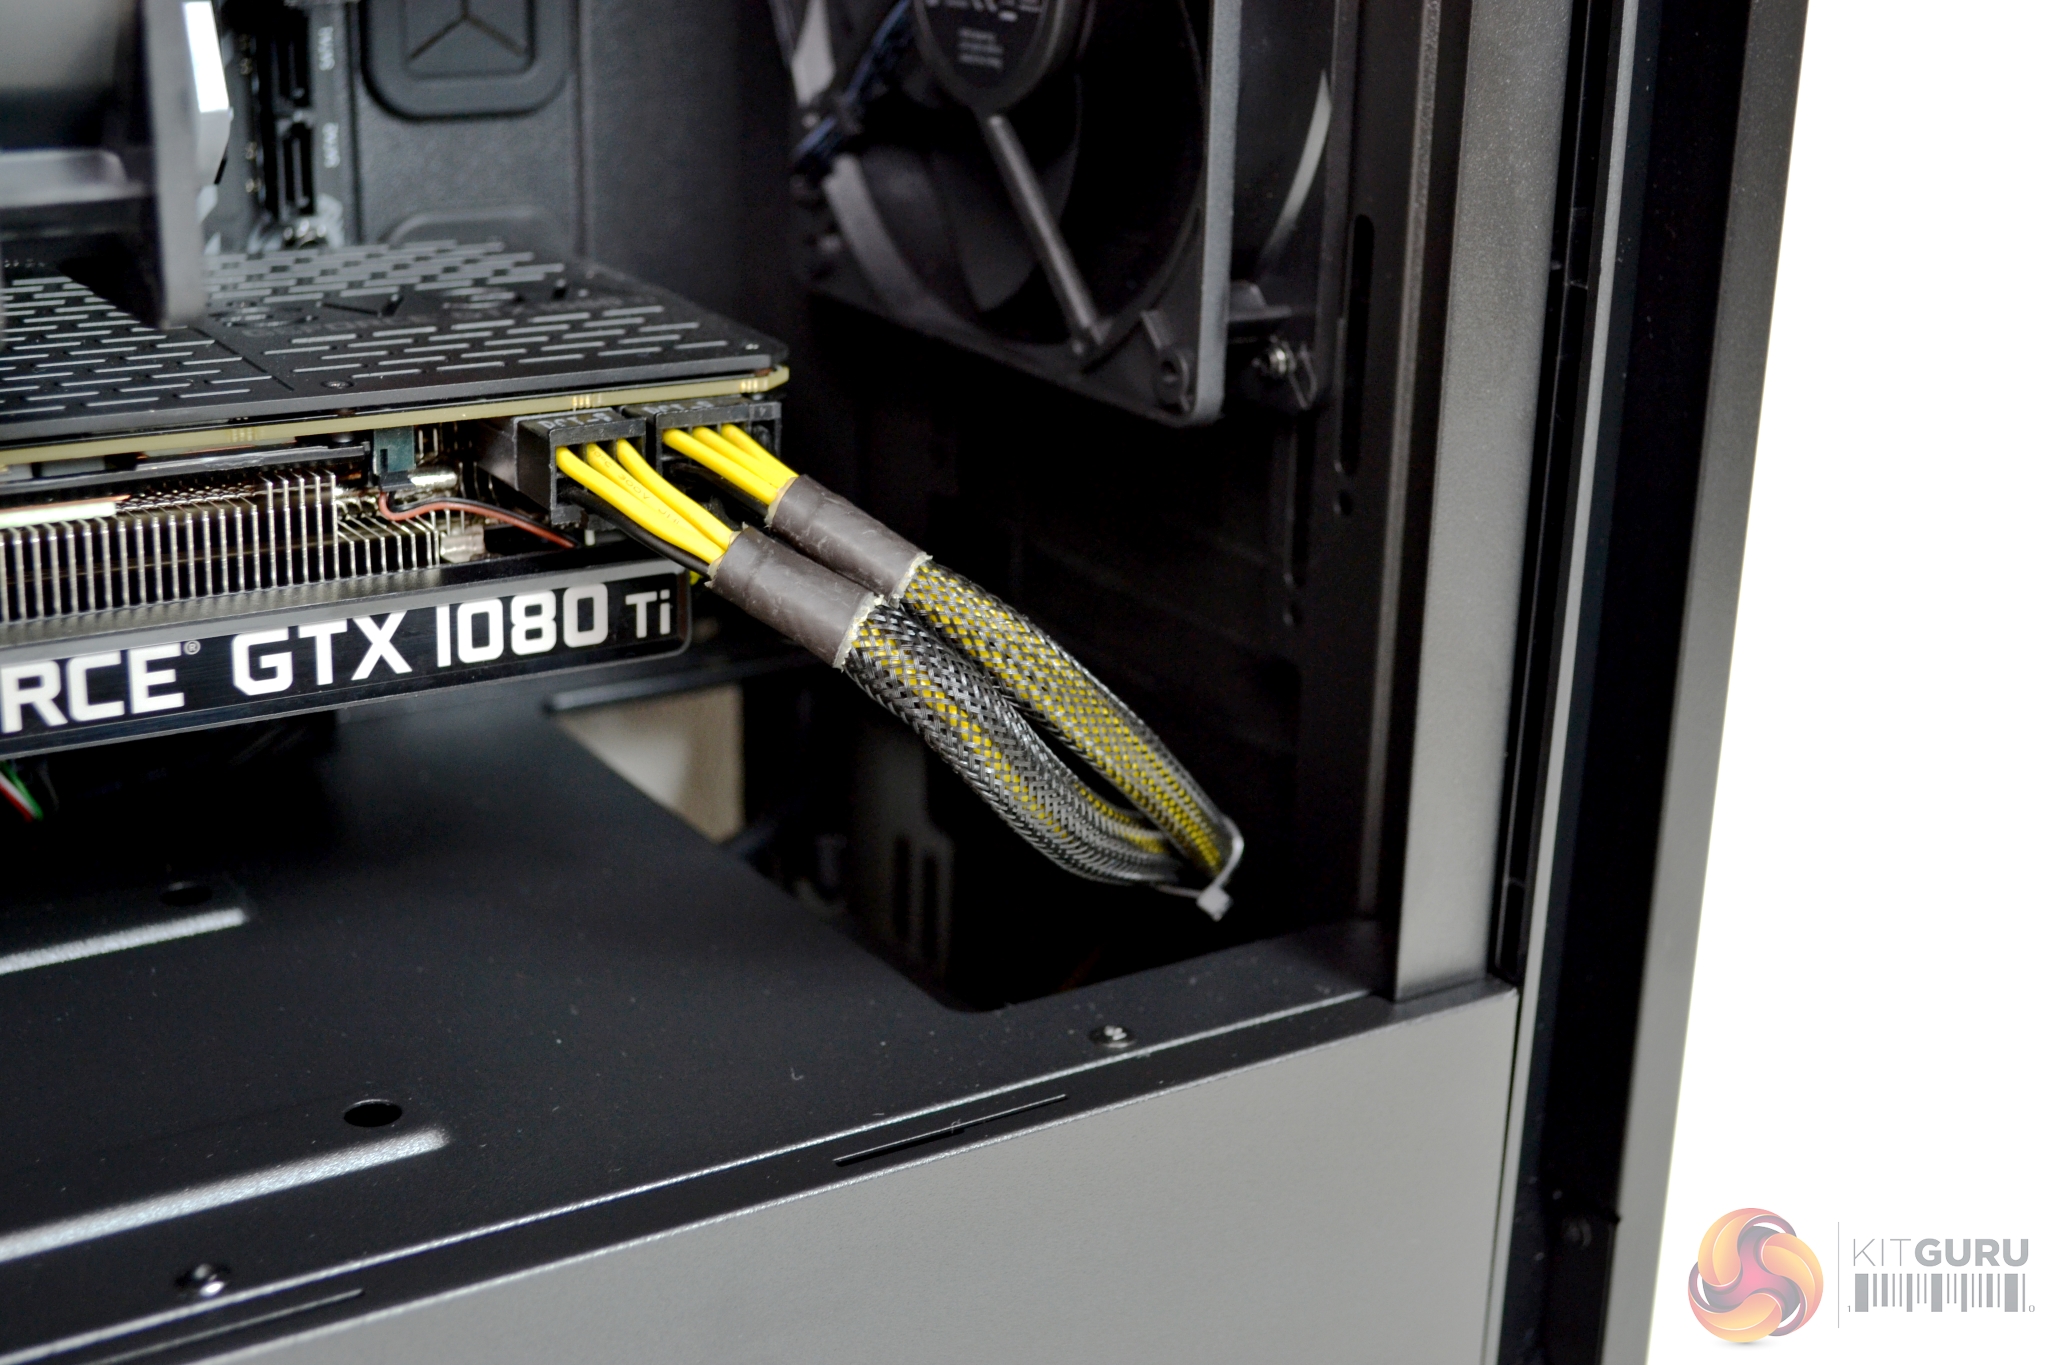
Installing a discrete GPU up to 319mm long should be manageable, as there is approximately 75mm of clearance between the motherboard and front fan. Our EVGA 1080 TI SC Black Edition fitted nicely, although it may have been a little close if a front mounted radiator was installed.
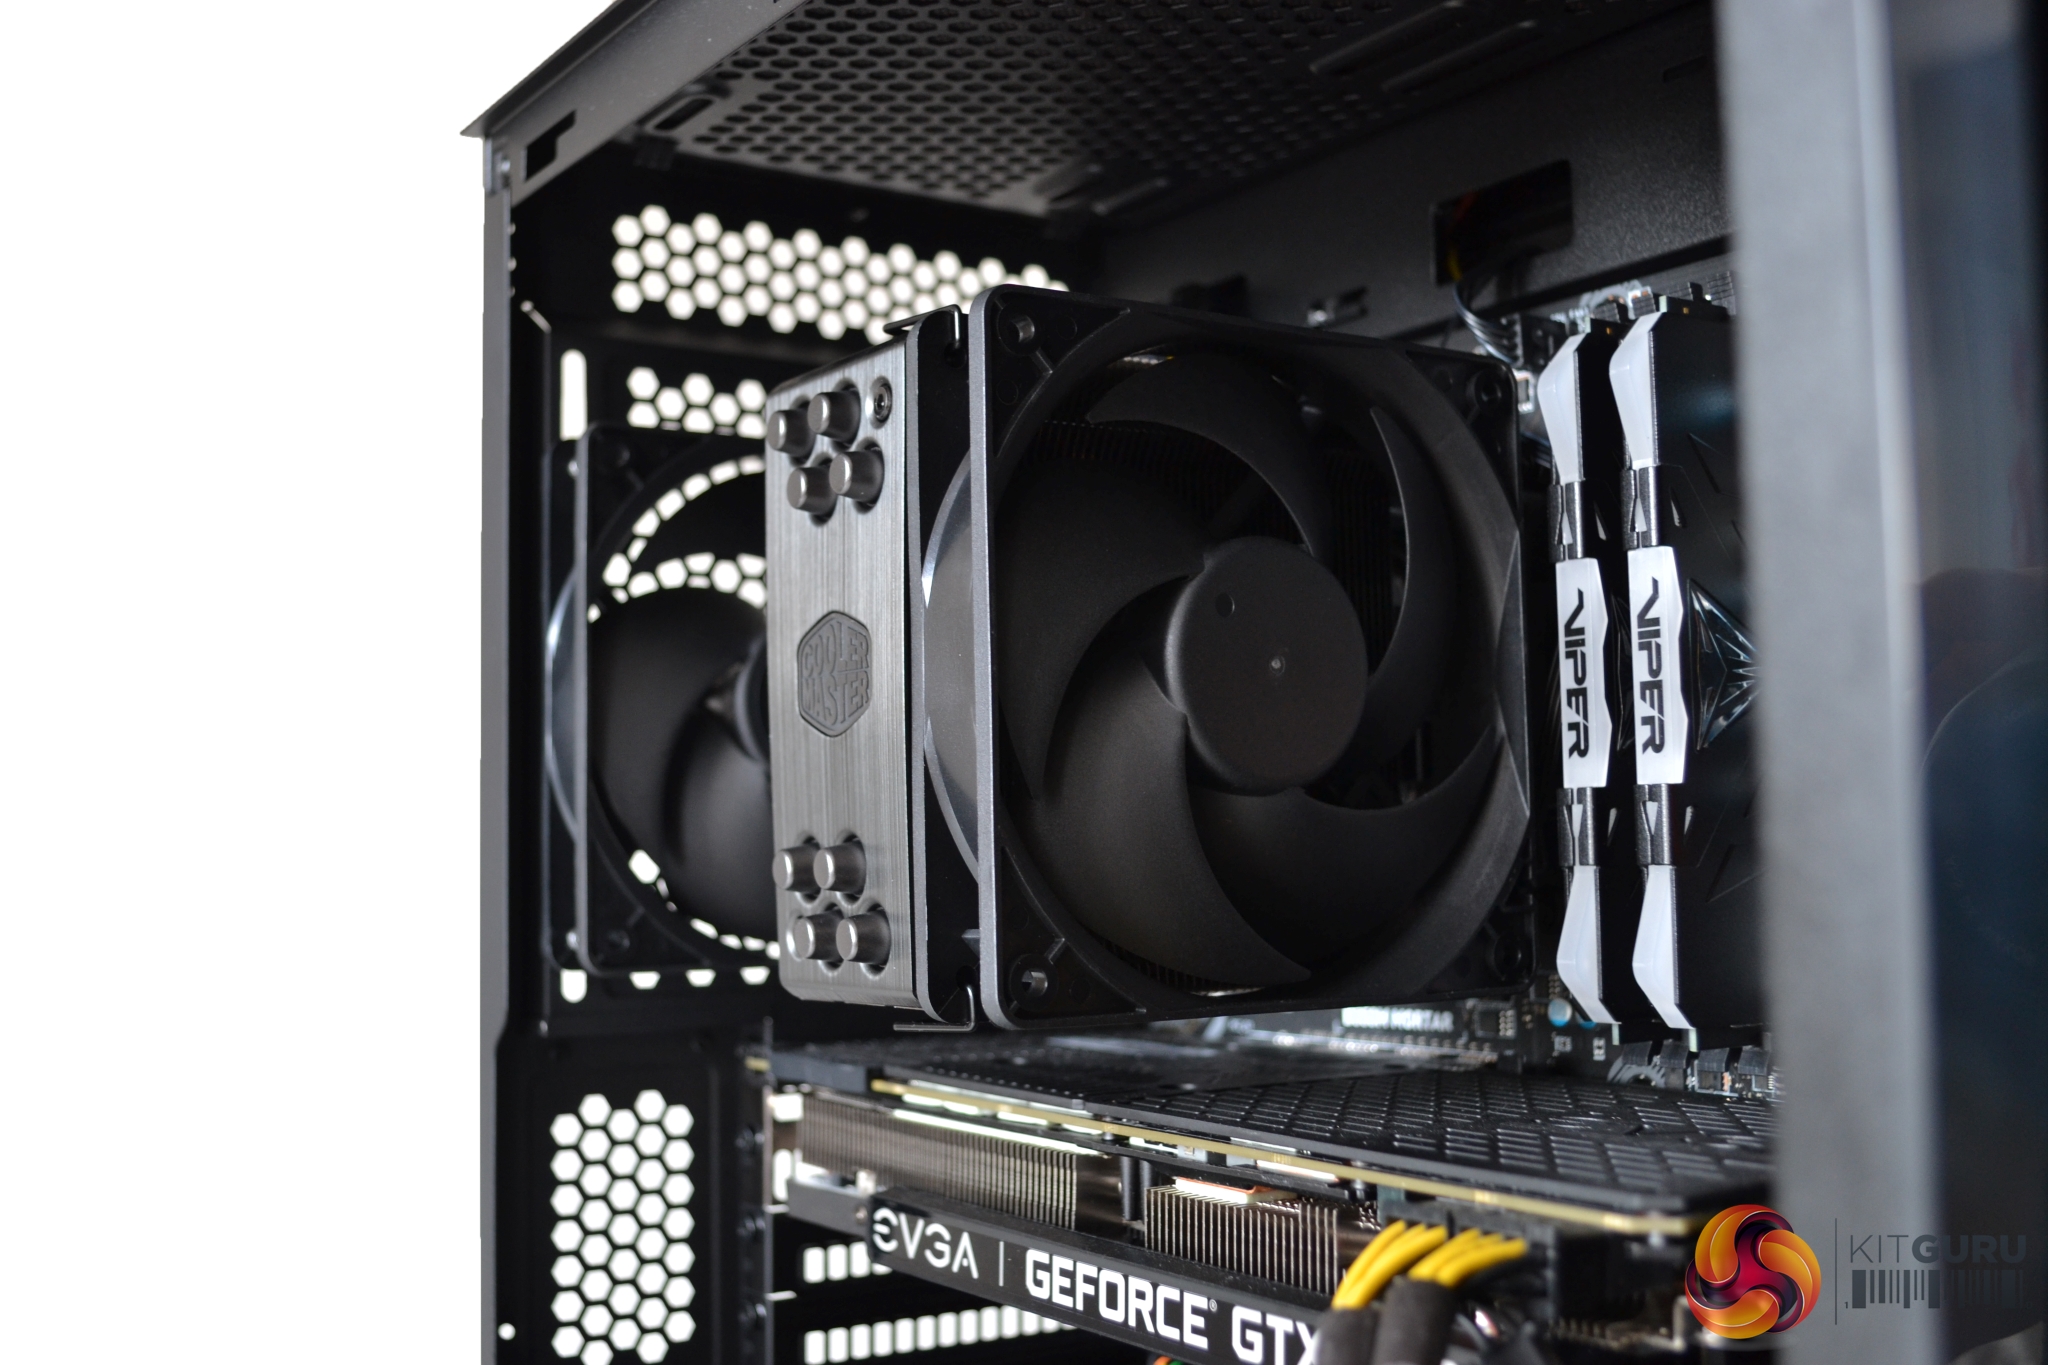
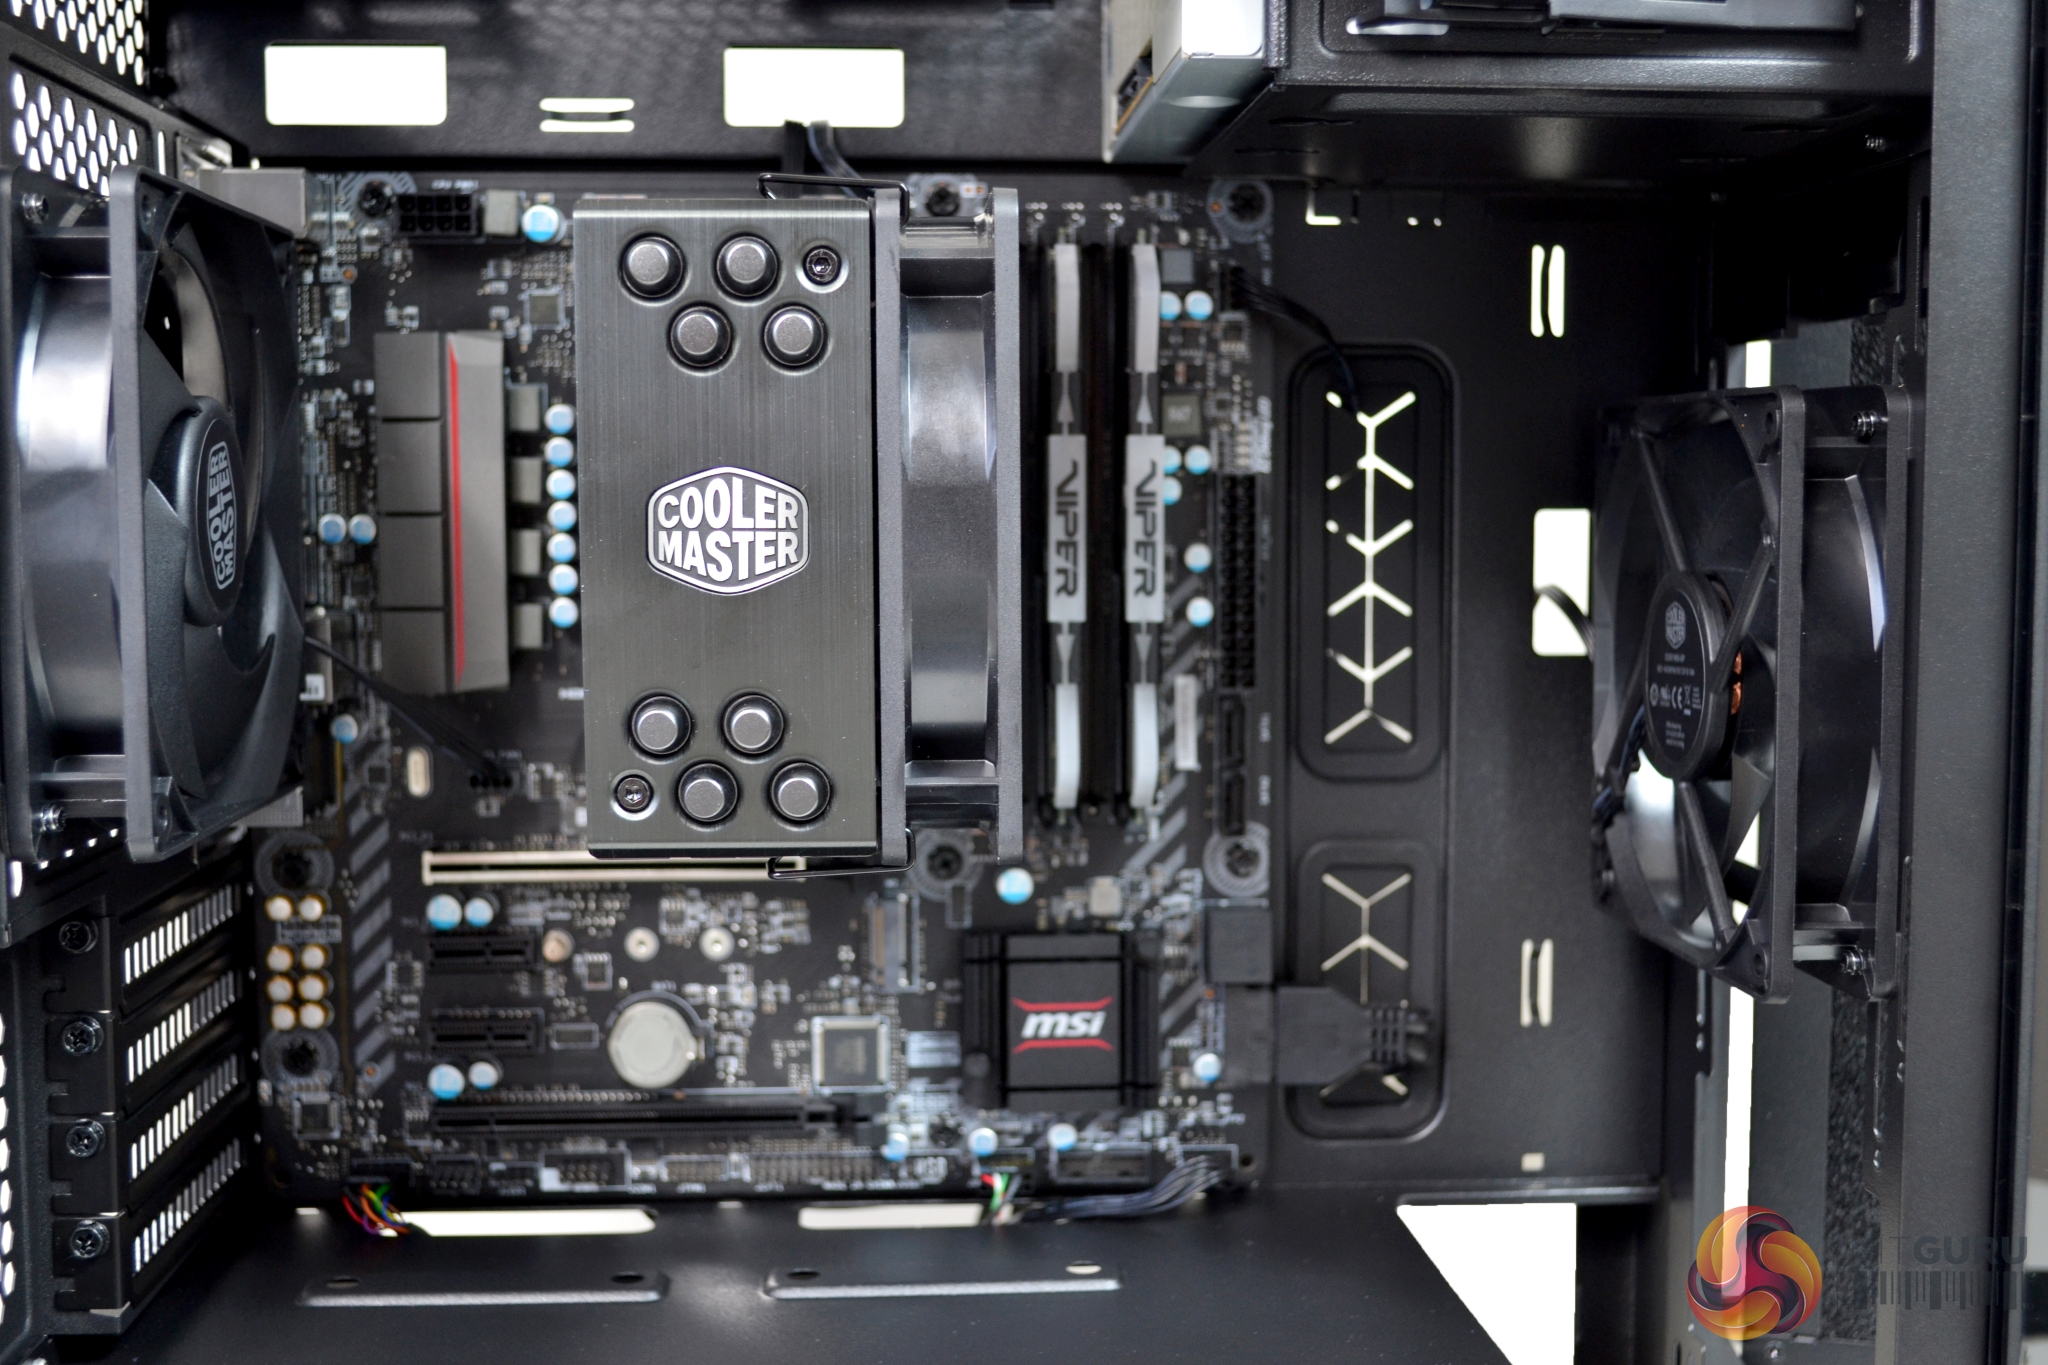
In the S400, there is clearance for up to a 167mm (with steel side) and 166mm (with tempered glass) CPU air cooler. For this build, we had no issues getting our Cooler Master Hyper 212 Black Edition to fit into this space.

Cable management cut outs are abundant and in the correct positions for almost every installation scenario. The two larger cut outs, at the right-hand side of the motherboard, are fitted with rubber grommets to protect the cables.
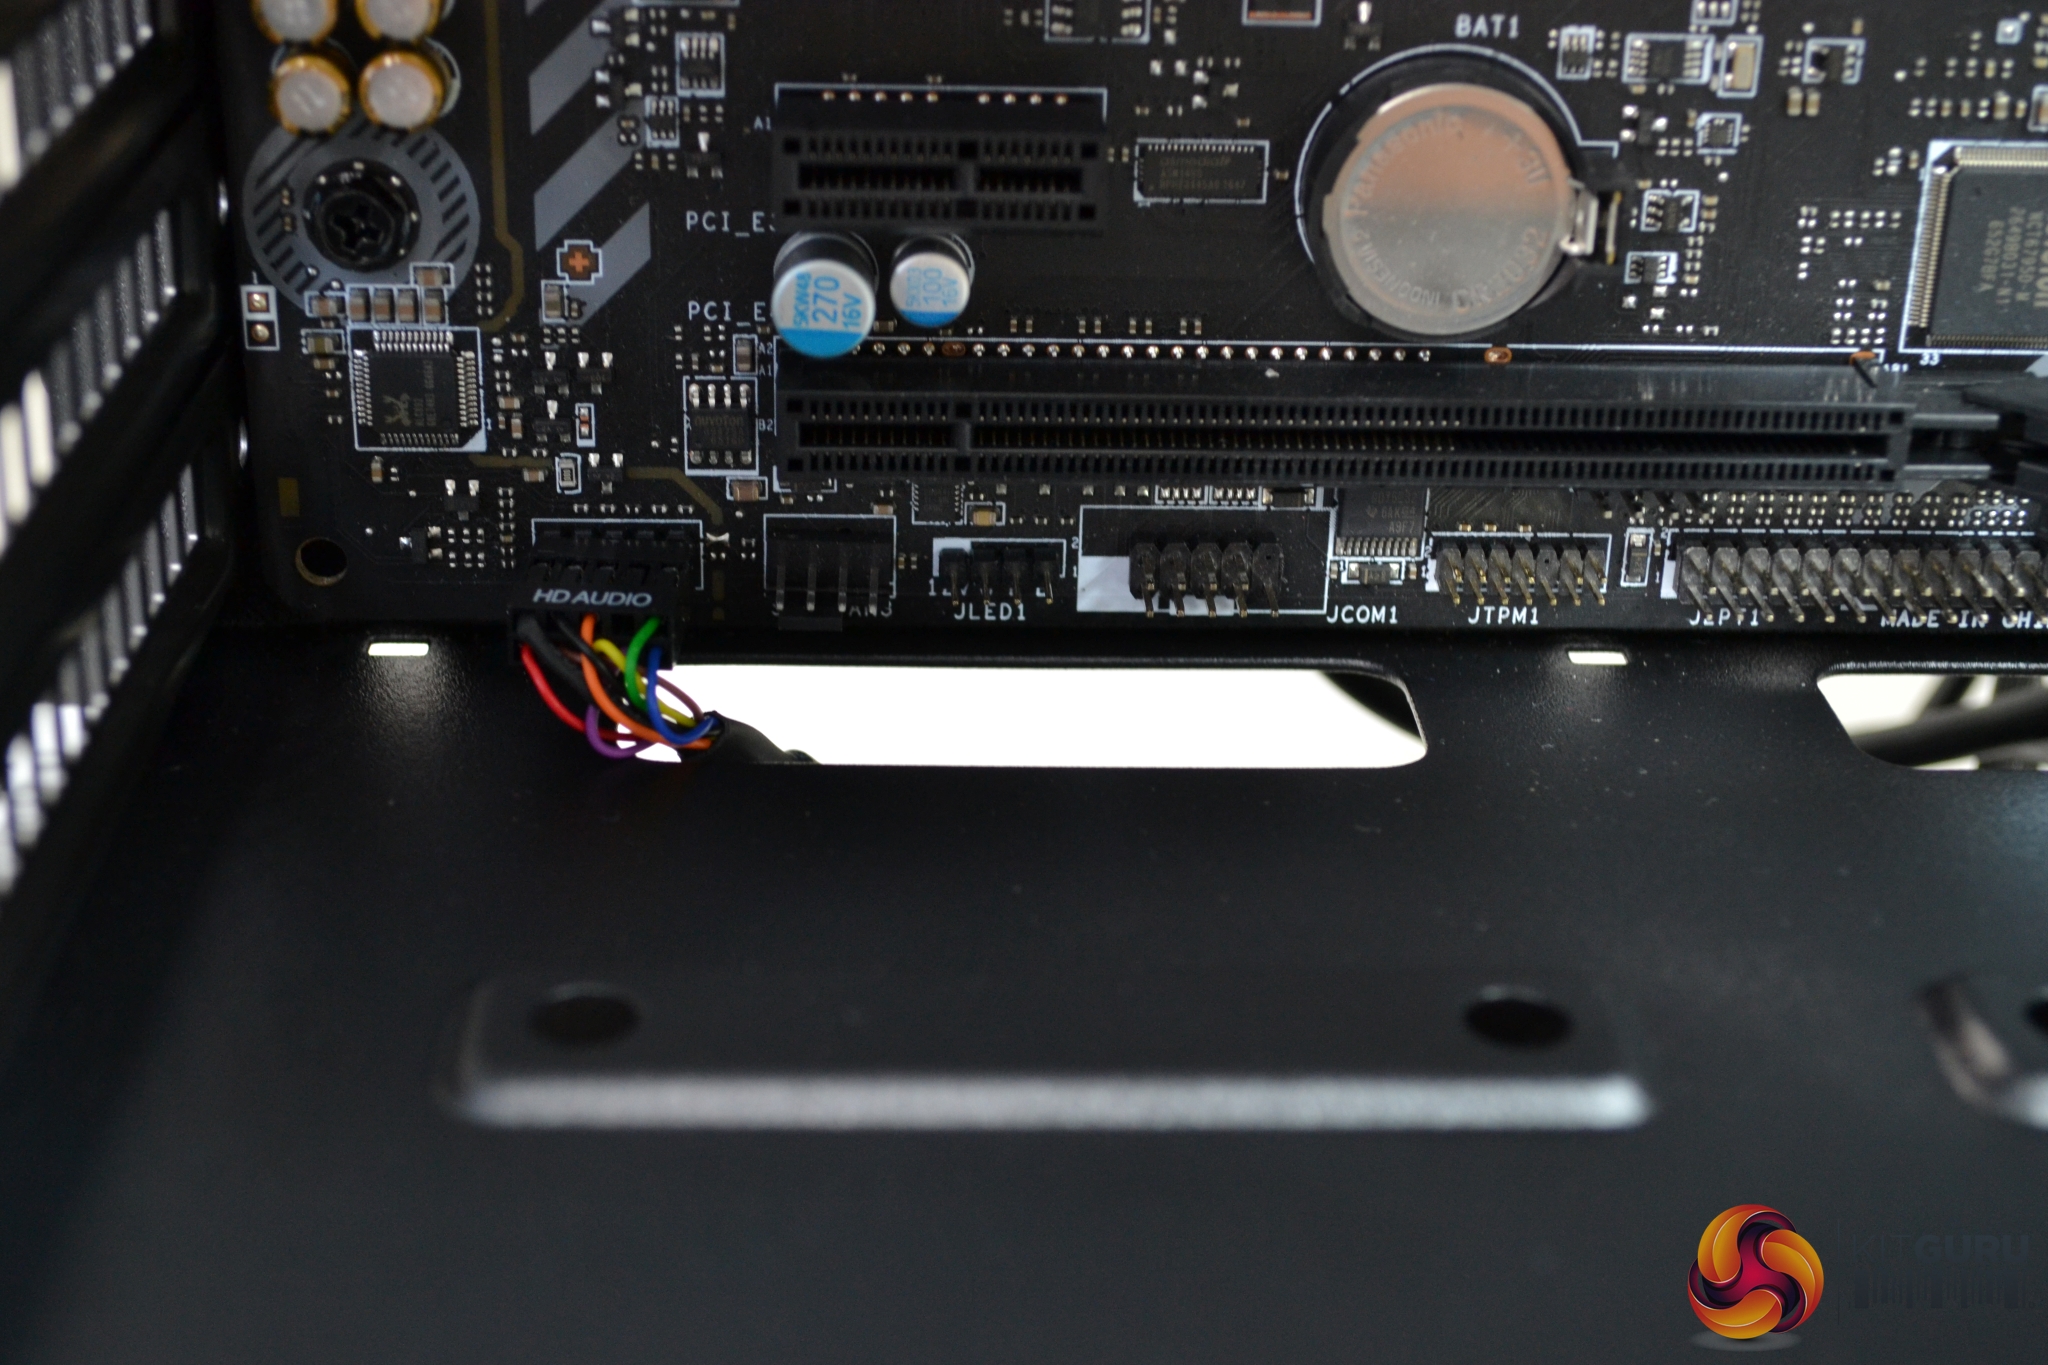
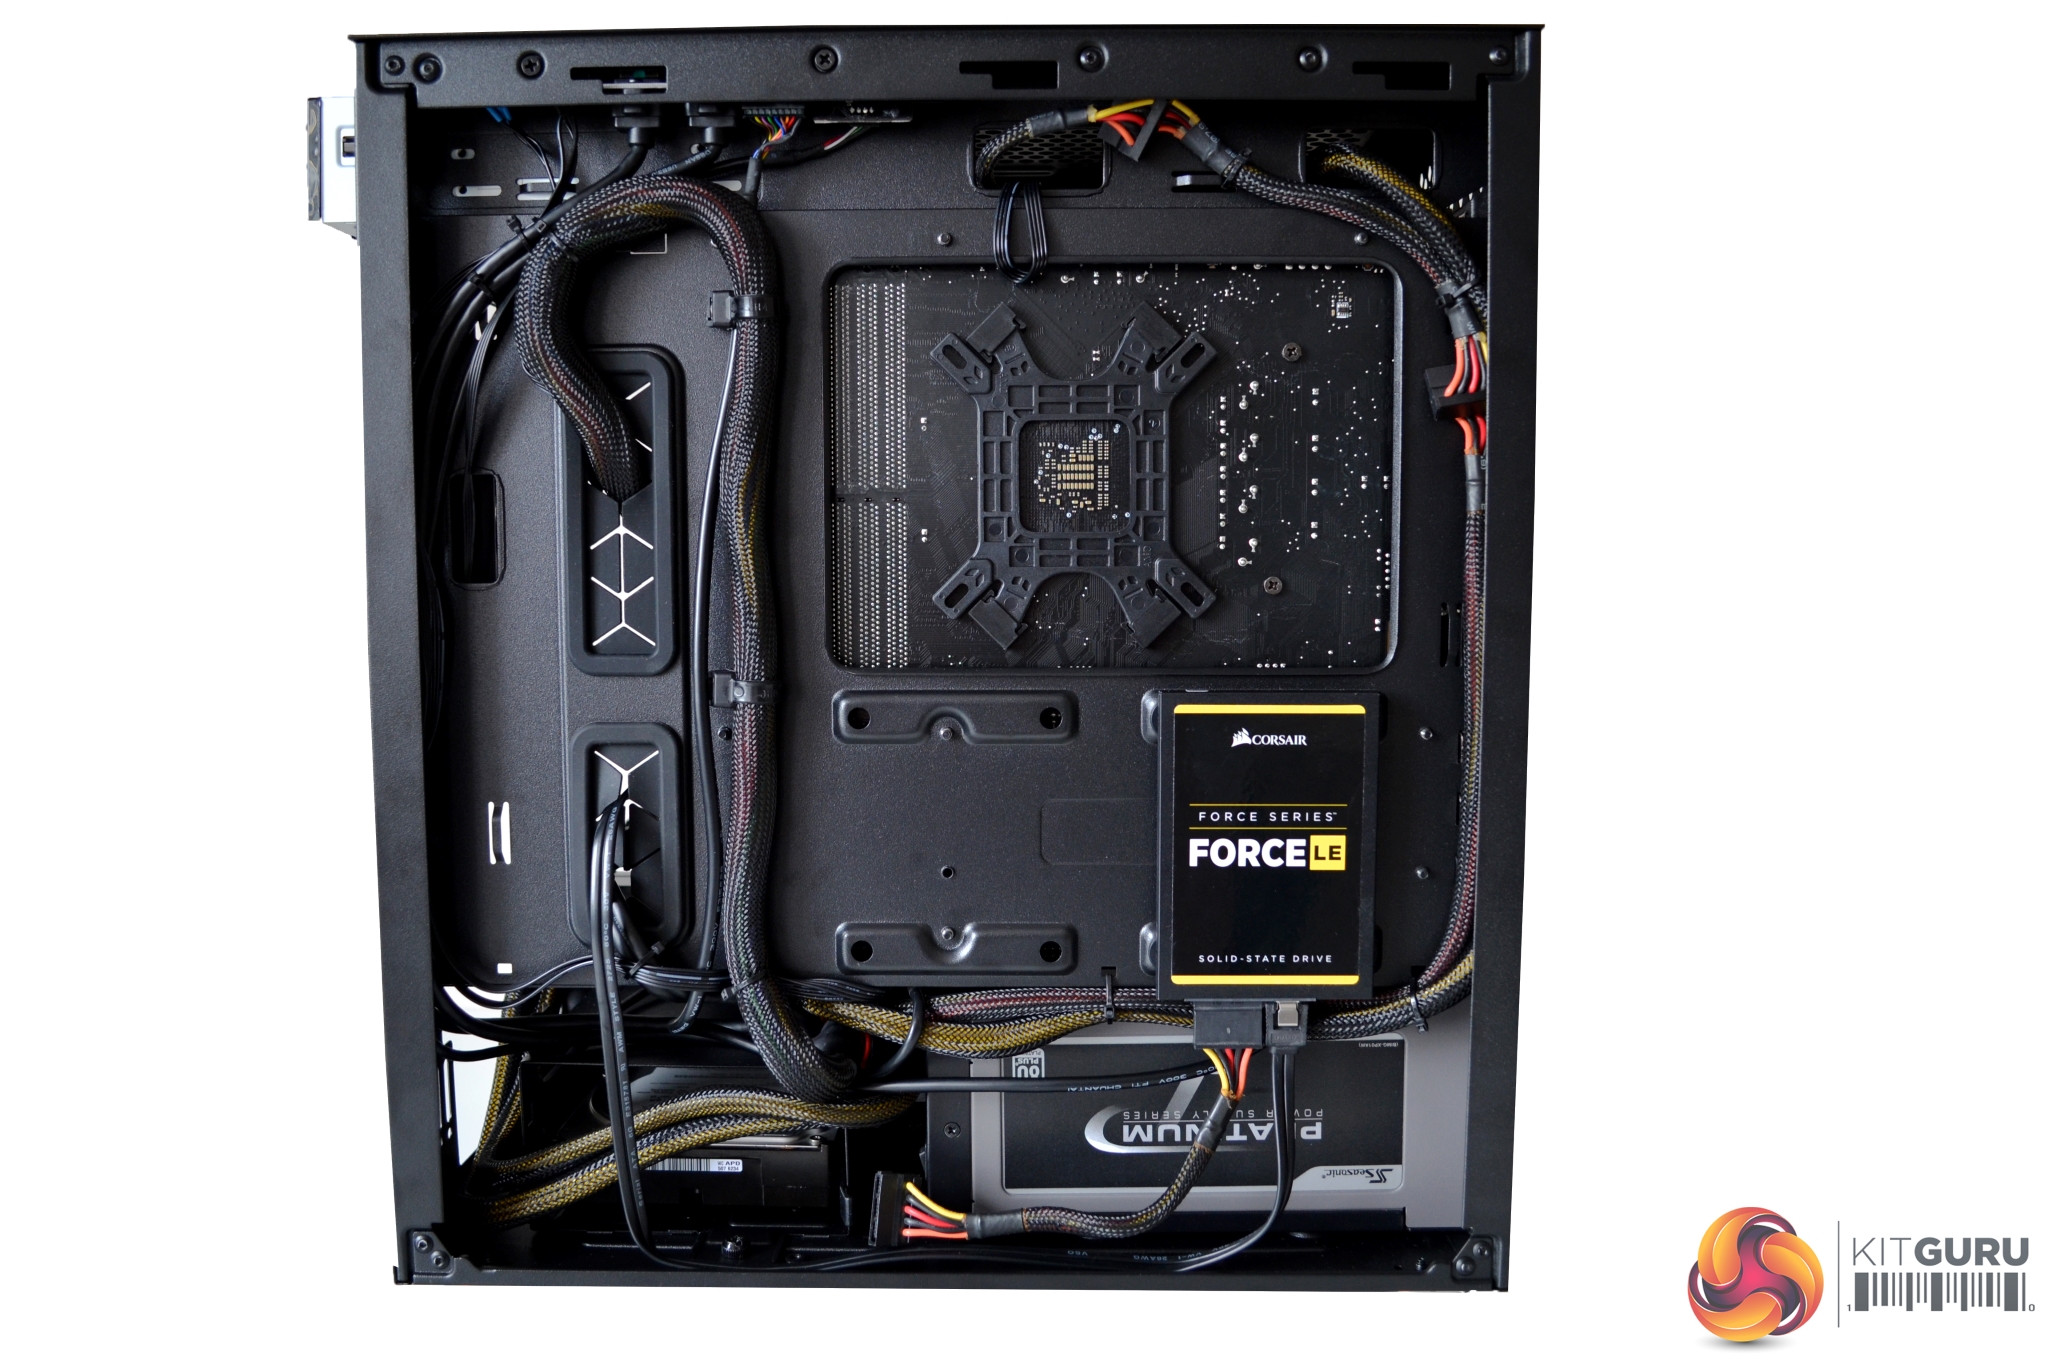
All upper and lower cut outs have no grommets, but this is often true of lower budget cases. There are also more than enough cable tie down points on the rear of the motherboard to make a tidy job of installation. A generous amount of cable ties is supplied in the accessory pack.
2.5” storage drives are installed with a potentially tool free process. Thumbscrew-style stand offs are included, which could be tightened by hand, but you can be extra safe and use a flat blade screwdriver if you wish.
Simply insert four rubber grommets into the mounting holes on the chassis, then screw four standoffs to the underside of your 2.5” storage drive and push the drive, with the standoffs, through the grommets. This should be enough to securely hold an SSD drive in position but may not be an ideal scenario for a mechanical 2.5” drive. The potential for mechanical vibration may loosen a HDD over time so keep this in mind.
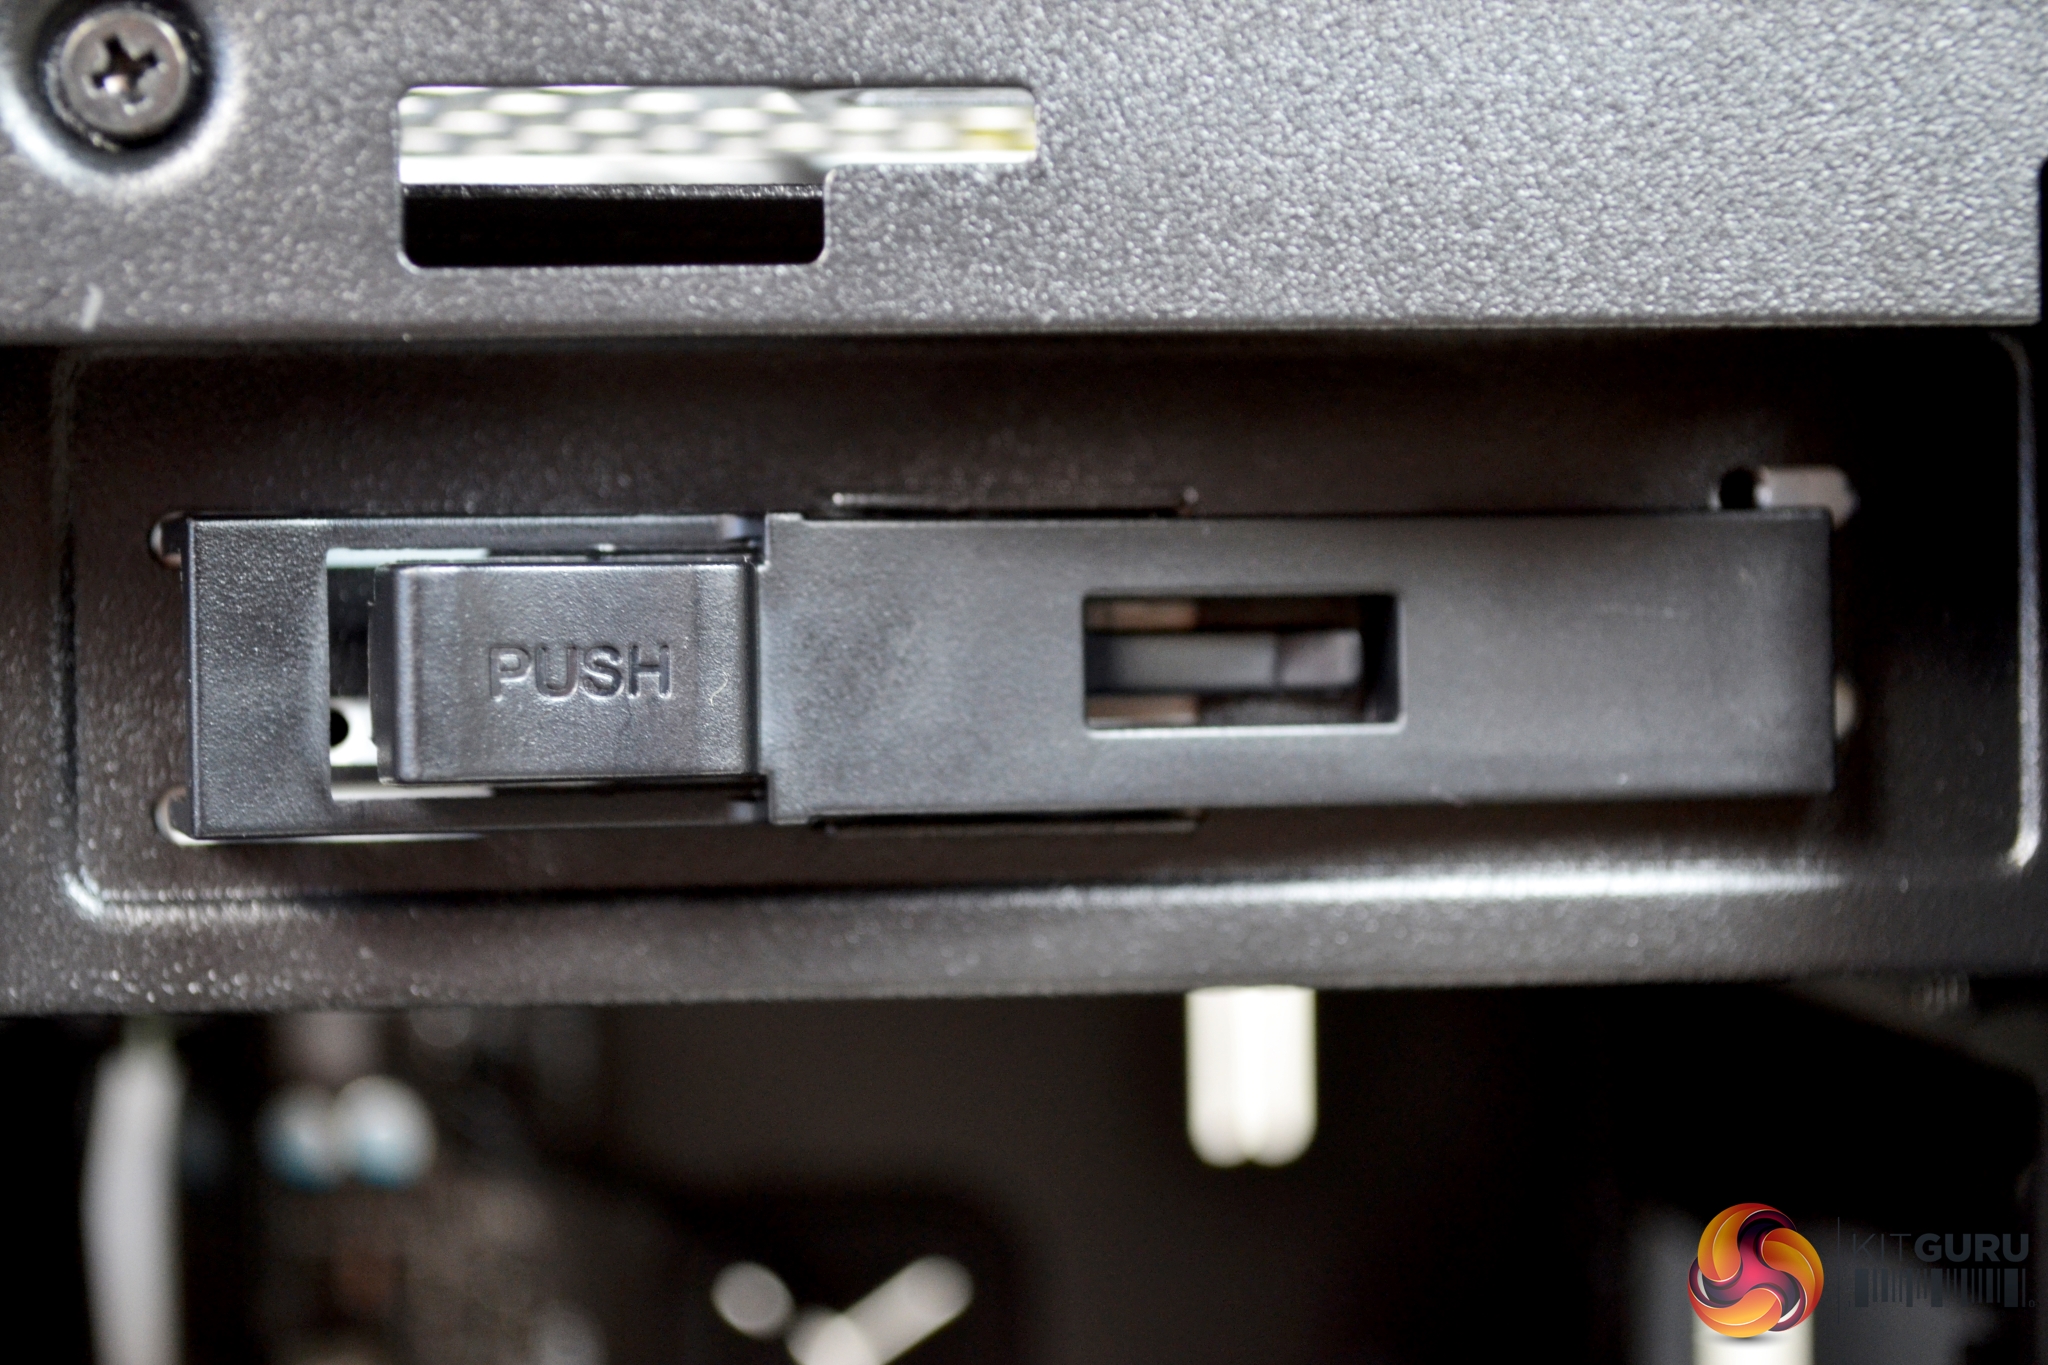
Installation of a 5.25” optical drive is also a tool free operation; a quick release plastic bracket has been implemented into the design. However, we did have issues with this falling off whenever we tried to insert the drive, as the mounting pegs didn’t seem to line up with the hole in the chassis very well. Due to this, we would recommend using screws to fix an optical drive in place.
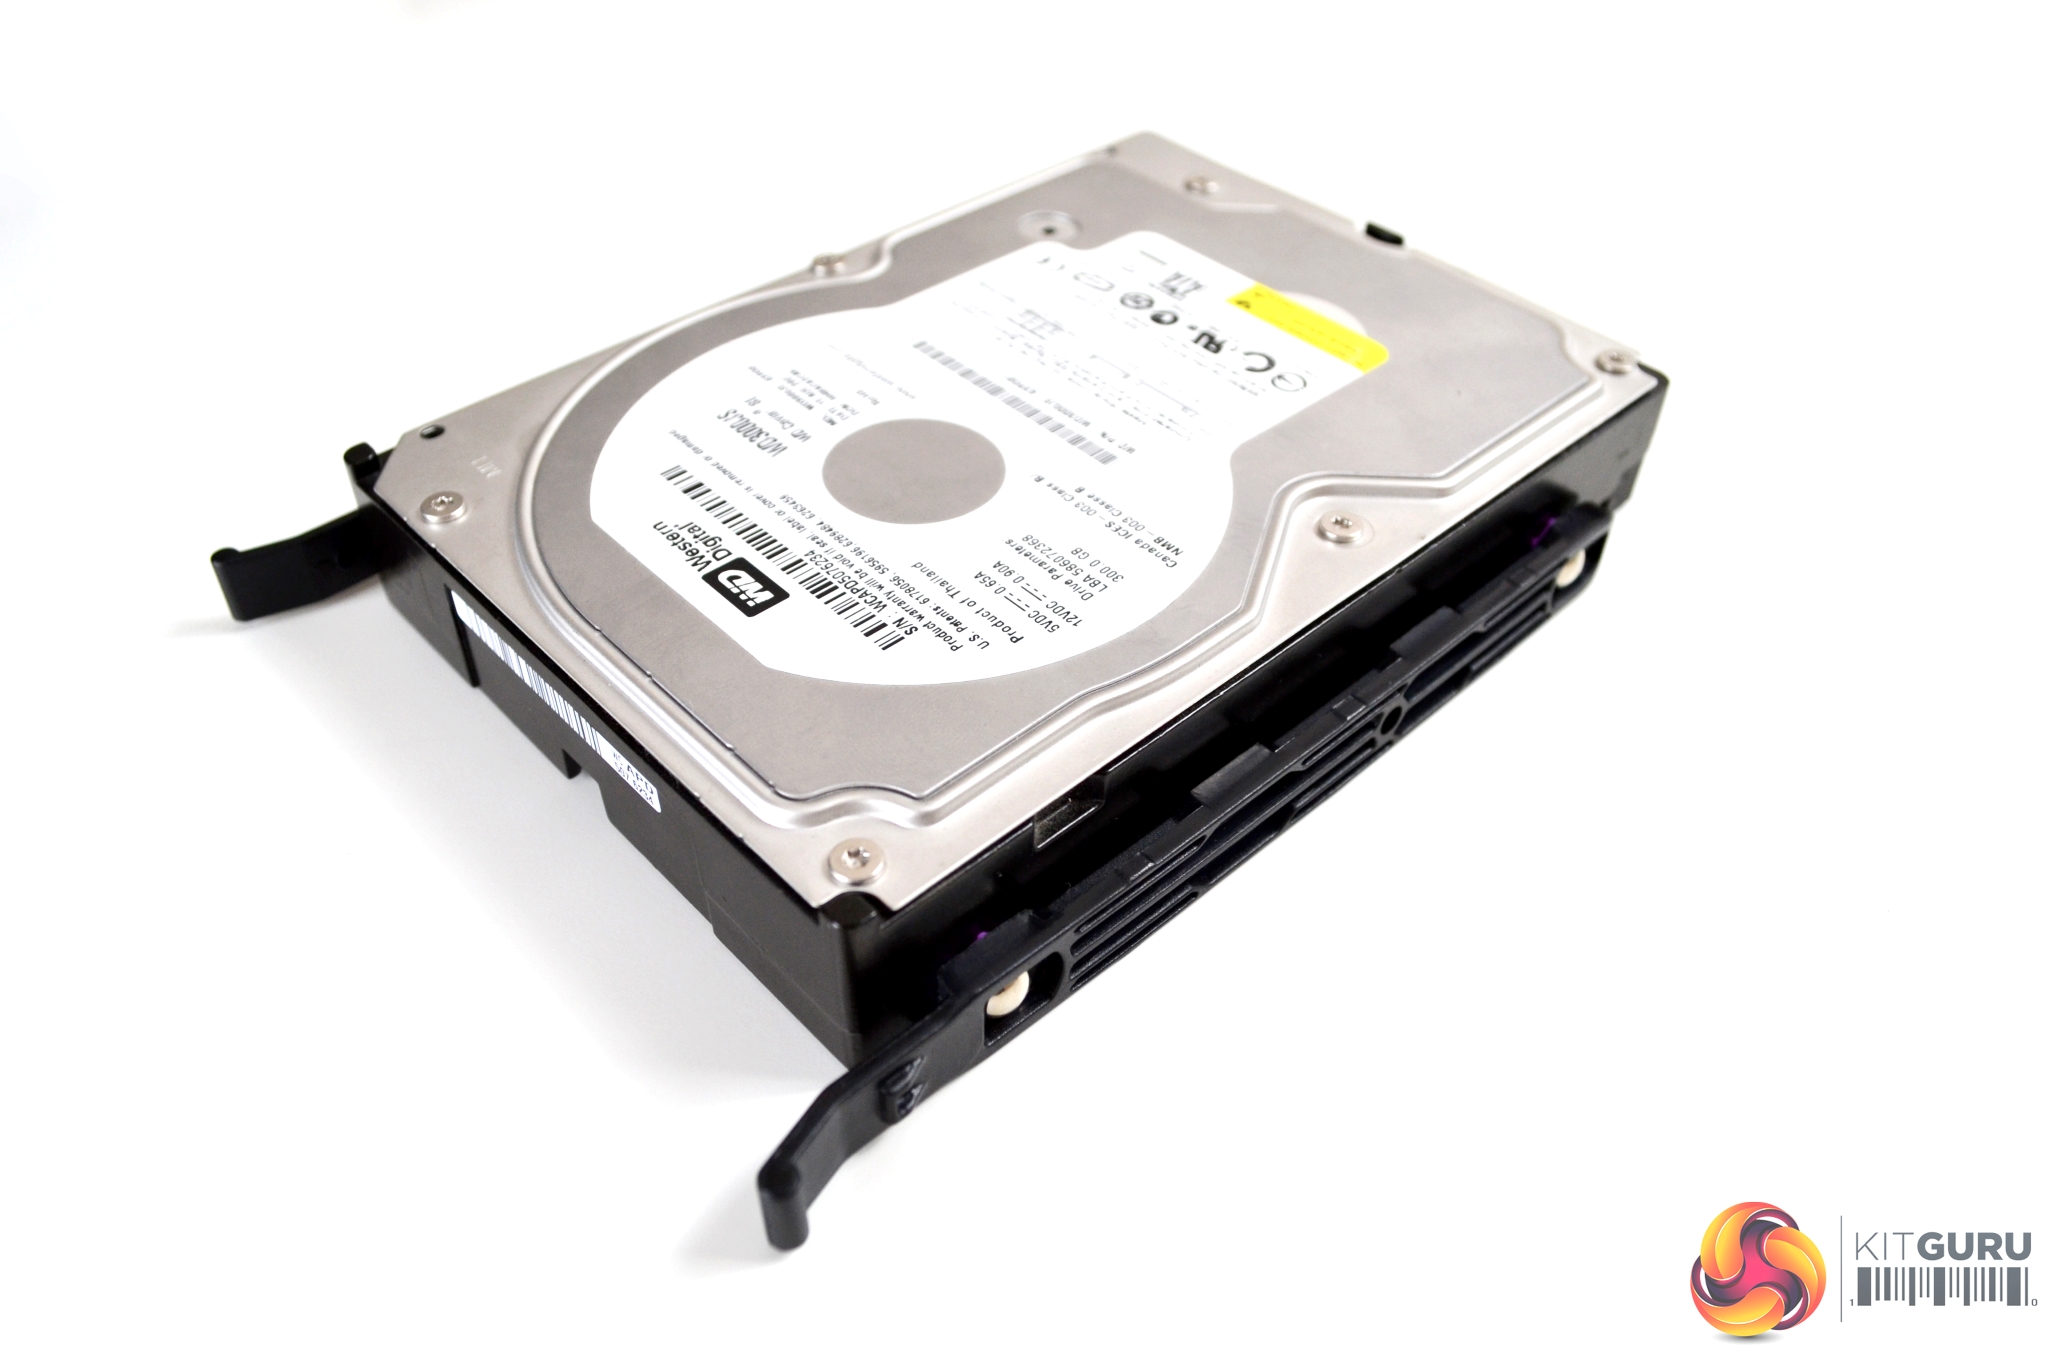
For 3.5” drive installation, we chose to use the cage mounted under the PSU shroud. Again, this is a simple tool free installation. Just take two of the plastic brackets and clip one either side of your 3.5” drive and slide the dive into the cage, until you hear it click into place.
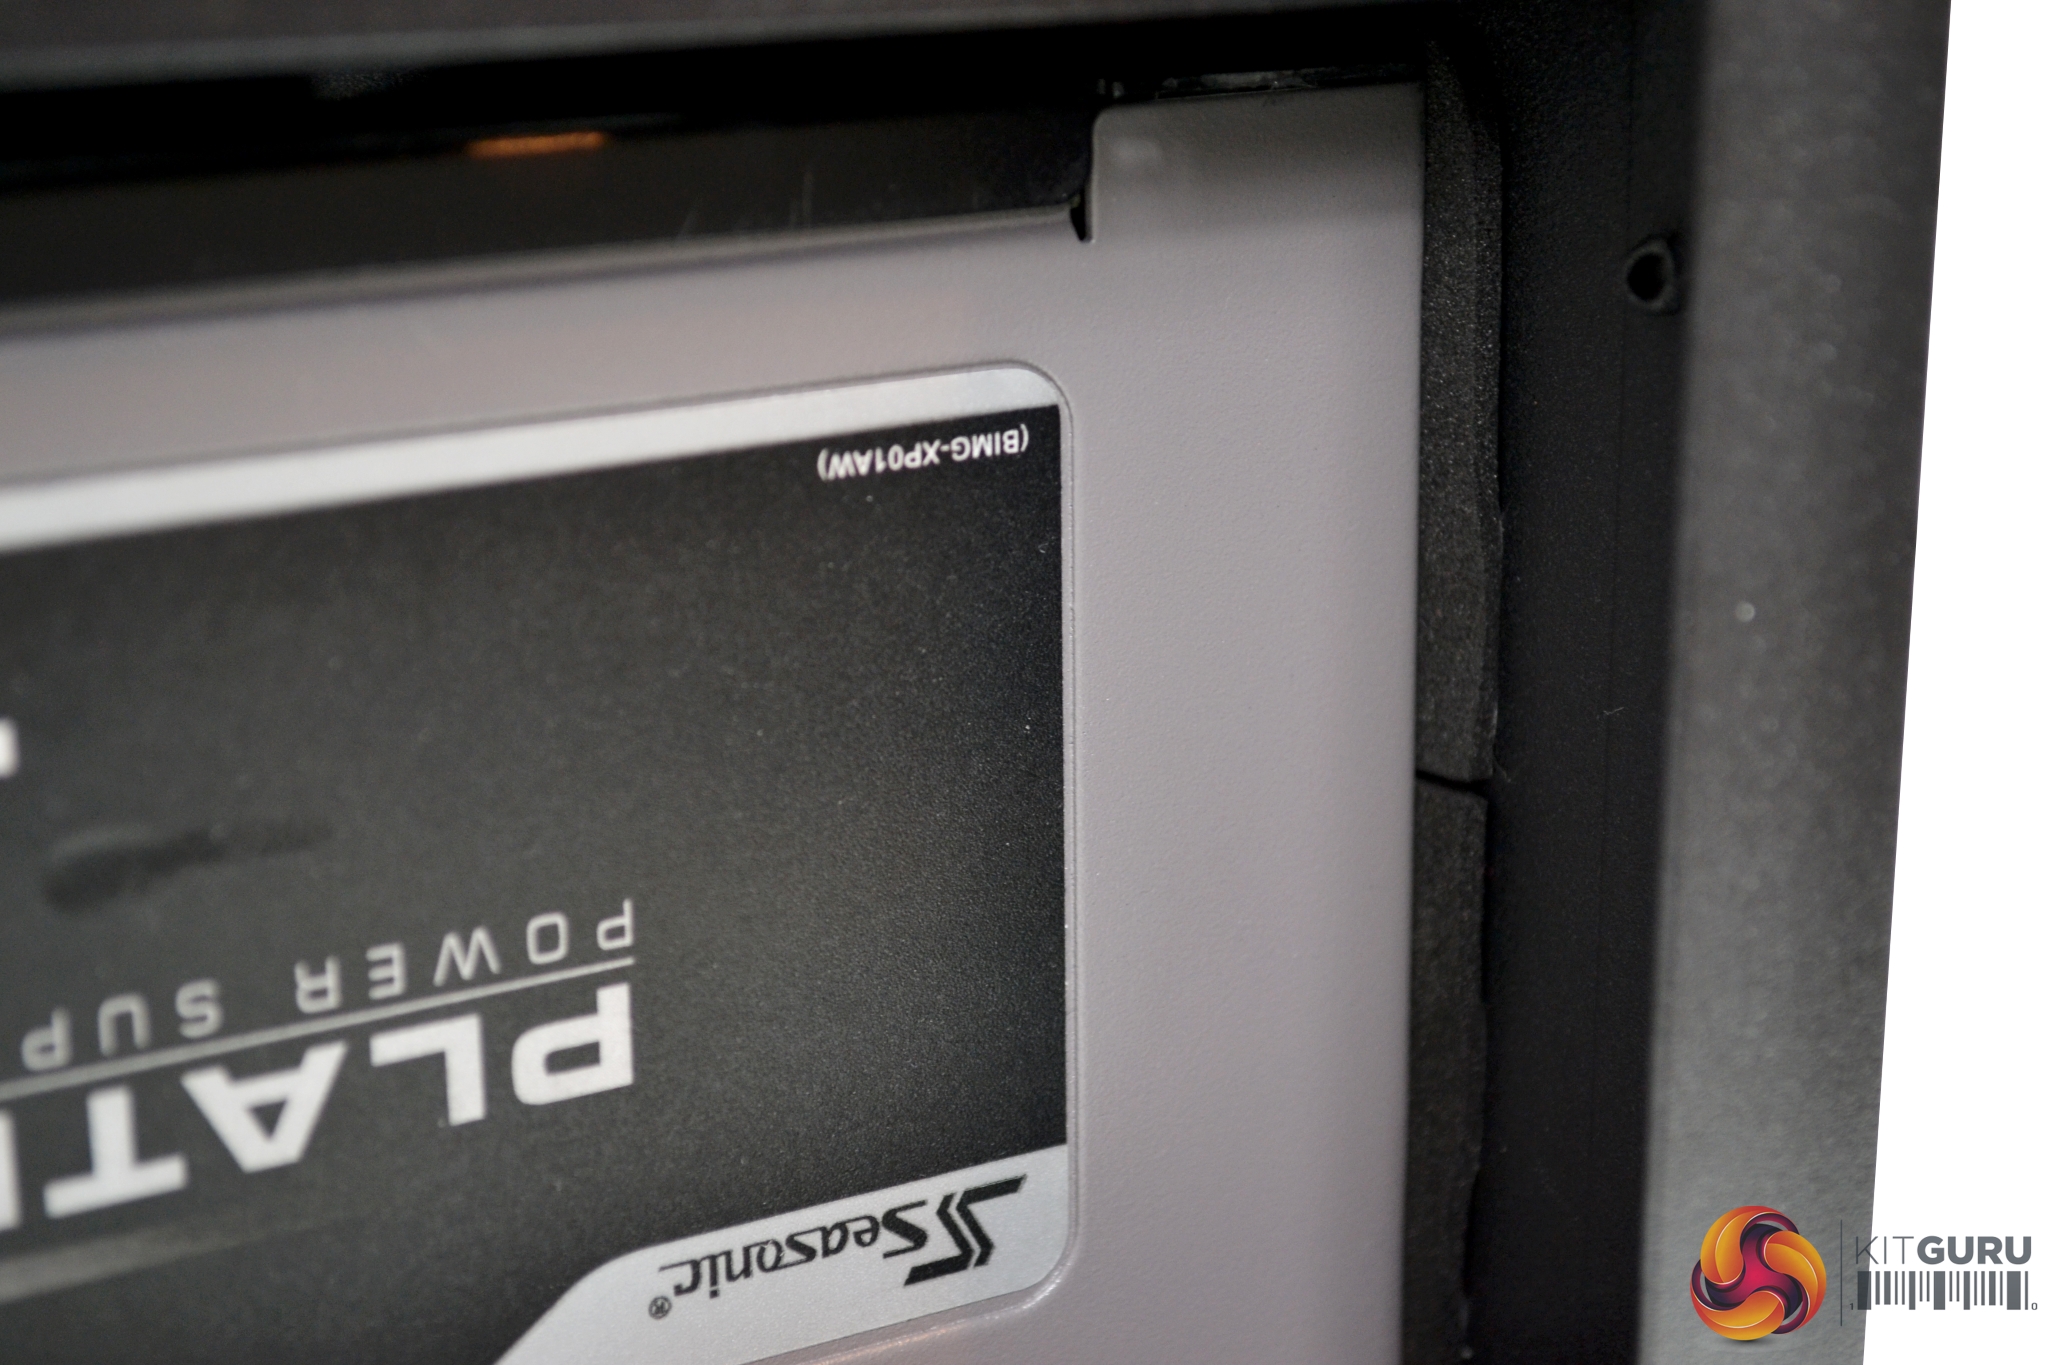
The Seasonic Platinum PSU we chose to use in this build may not have been the best. It was a very tight fit, as there was limited clearance to the 3.5” HDD cage, even with the cage in its furthest forward position. However, it did fit with some manipulation of the cables. There is always the option to remove the HDD cage completely to gain more space. Four rubber feet and a rubber seal pull sit tight to the PSU to help prevent vibration and unwanted noise.
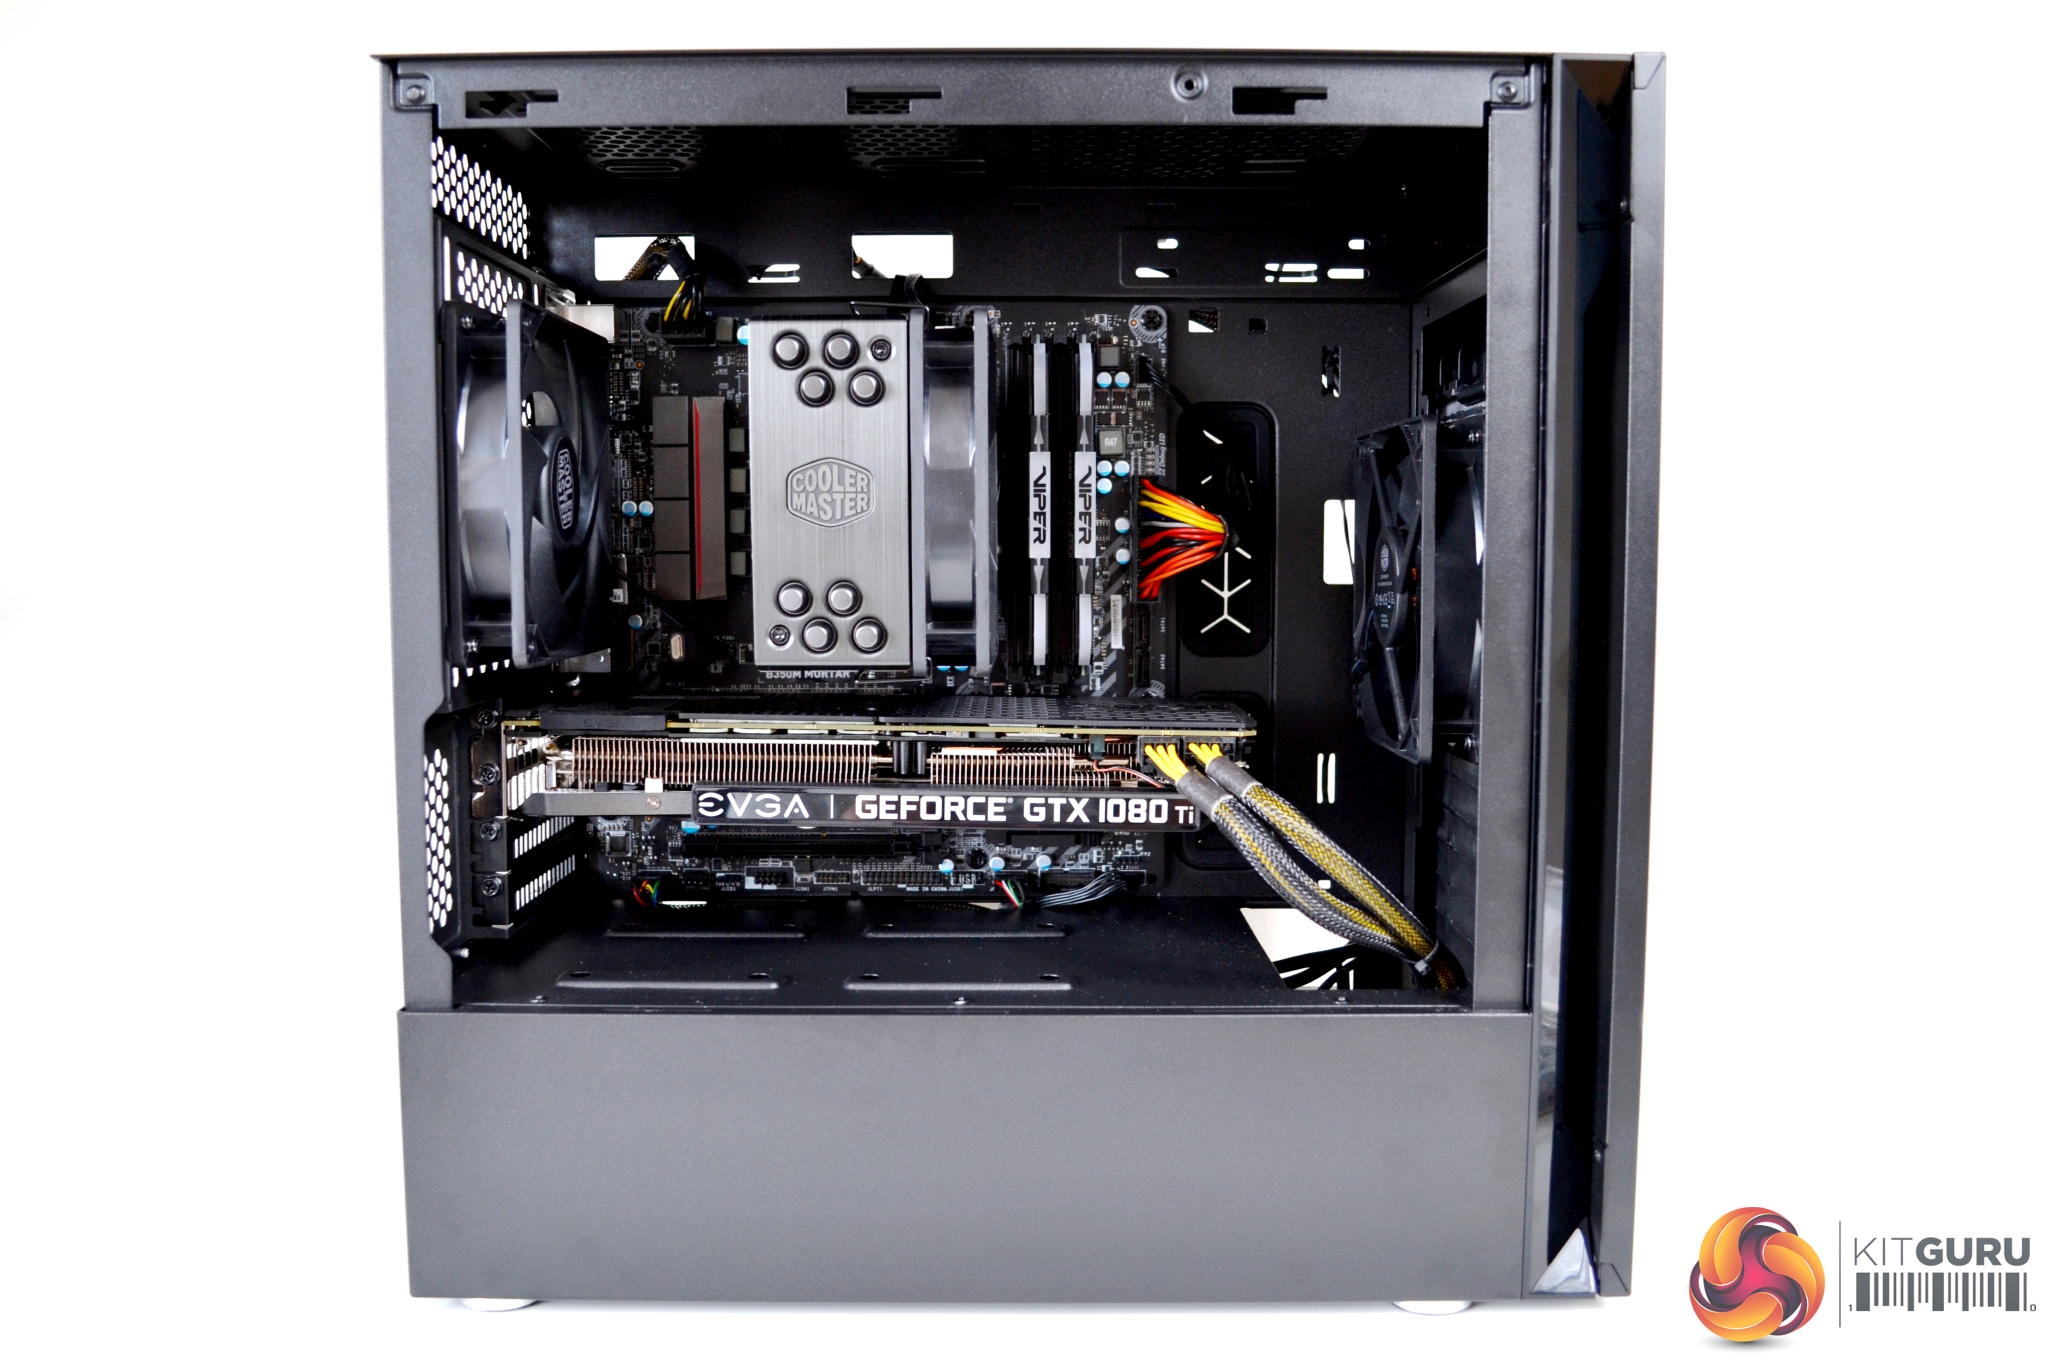
As seen from the images, it is possible to make a neat looking build inside the Silencio S400.Acoustic Testing
Since the primary objective of the Silencio S400 is near-silent operation, we have devised a simple series of tests to compare the acoustic performance with the case set up in various configurations.
These tests will involve taking sound level readings with our sound meter from approximately 300mm from the front of the case, at idle, under 100% CPU load and under 100% GPU load.
Sound levels will be measured in dBA after 5 minutes at idle in Windows. CPU load noise levels will be measured by running AIDA64 stressing CPU, FPU and cache for 10 minutes. GPU load noise levels will be measured by running AIDA64 GPU stress test for 10 minutes.
The following configurations will be used to test the affect they have on acoustic performance.
- Steel side panel installed.
- Tempered glass side panel installed.
- Left side panel removed.
- Sound proofed top panel installed.
- Mesh top panel installed.
- Front door closed.
- Front door open.
Thermal Performance Testing
As with every case we review, thermal performance is important, therefore, we shall test this by running another series of tests to measure temperatures both at idle and under load.
To fully stress test the system we will run AIDA64 for 30 minutes stressing CPU, FPU, Cache and GPU. Once with the steel side panel installed, next with the tempered glass panel installed, then finally with no side panel installed. With this data we can compare how each scenario affects thermal performance.
With the Ryzen 1800X there is a 20°C thermal offset which needs to be applied, therefore we will use Ryzen Master to measure CPU temperatures while testing. We used the standard fan curves for both our CPU and GPU.
Test System
- Processor: AMD Ryzen 1800X @ stock frequency and voltage
- Motherboard: MSI Mortar B350M
- CPU cooler: Cooler Master Hyper 212 Black Edition air cooler
- Memory: 16GB Patriot Viper RGB 3600MHz DDDR4
- Graphics: EVGA GTX 1080 Ti SC Black Edition
- Power supply: Seasonic Platinum series 1000W
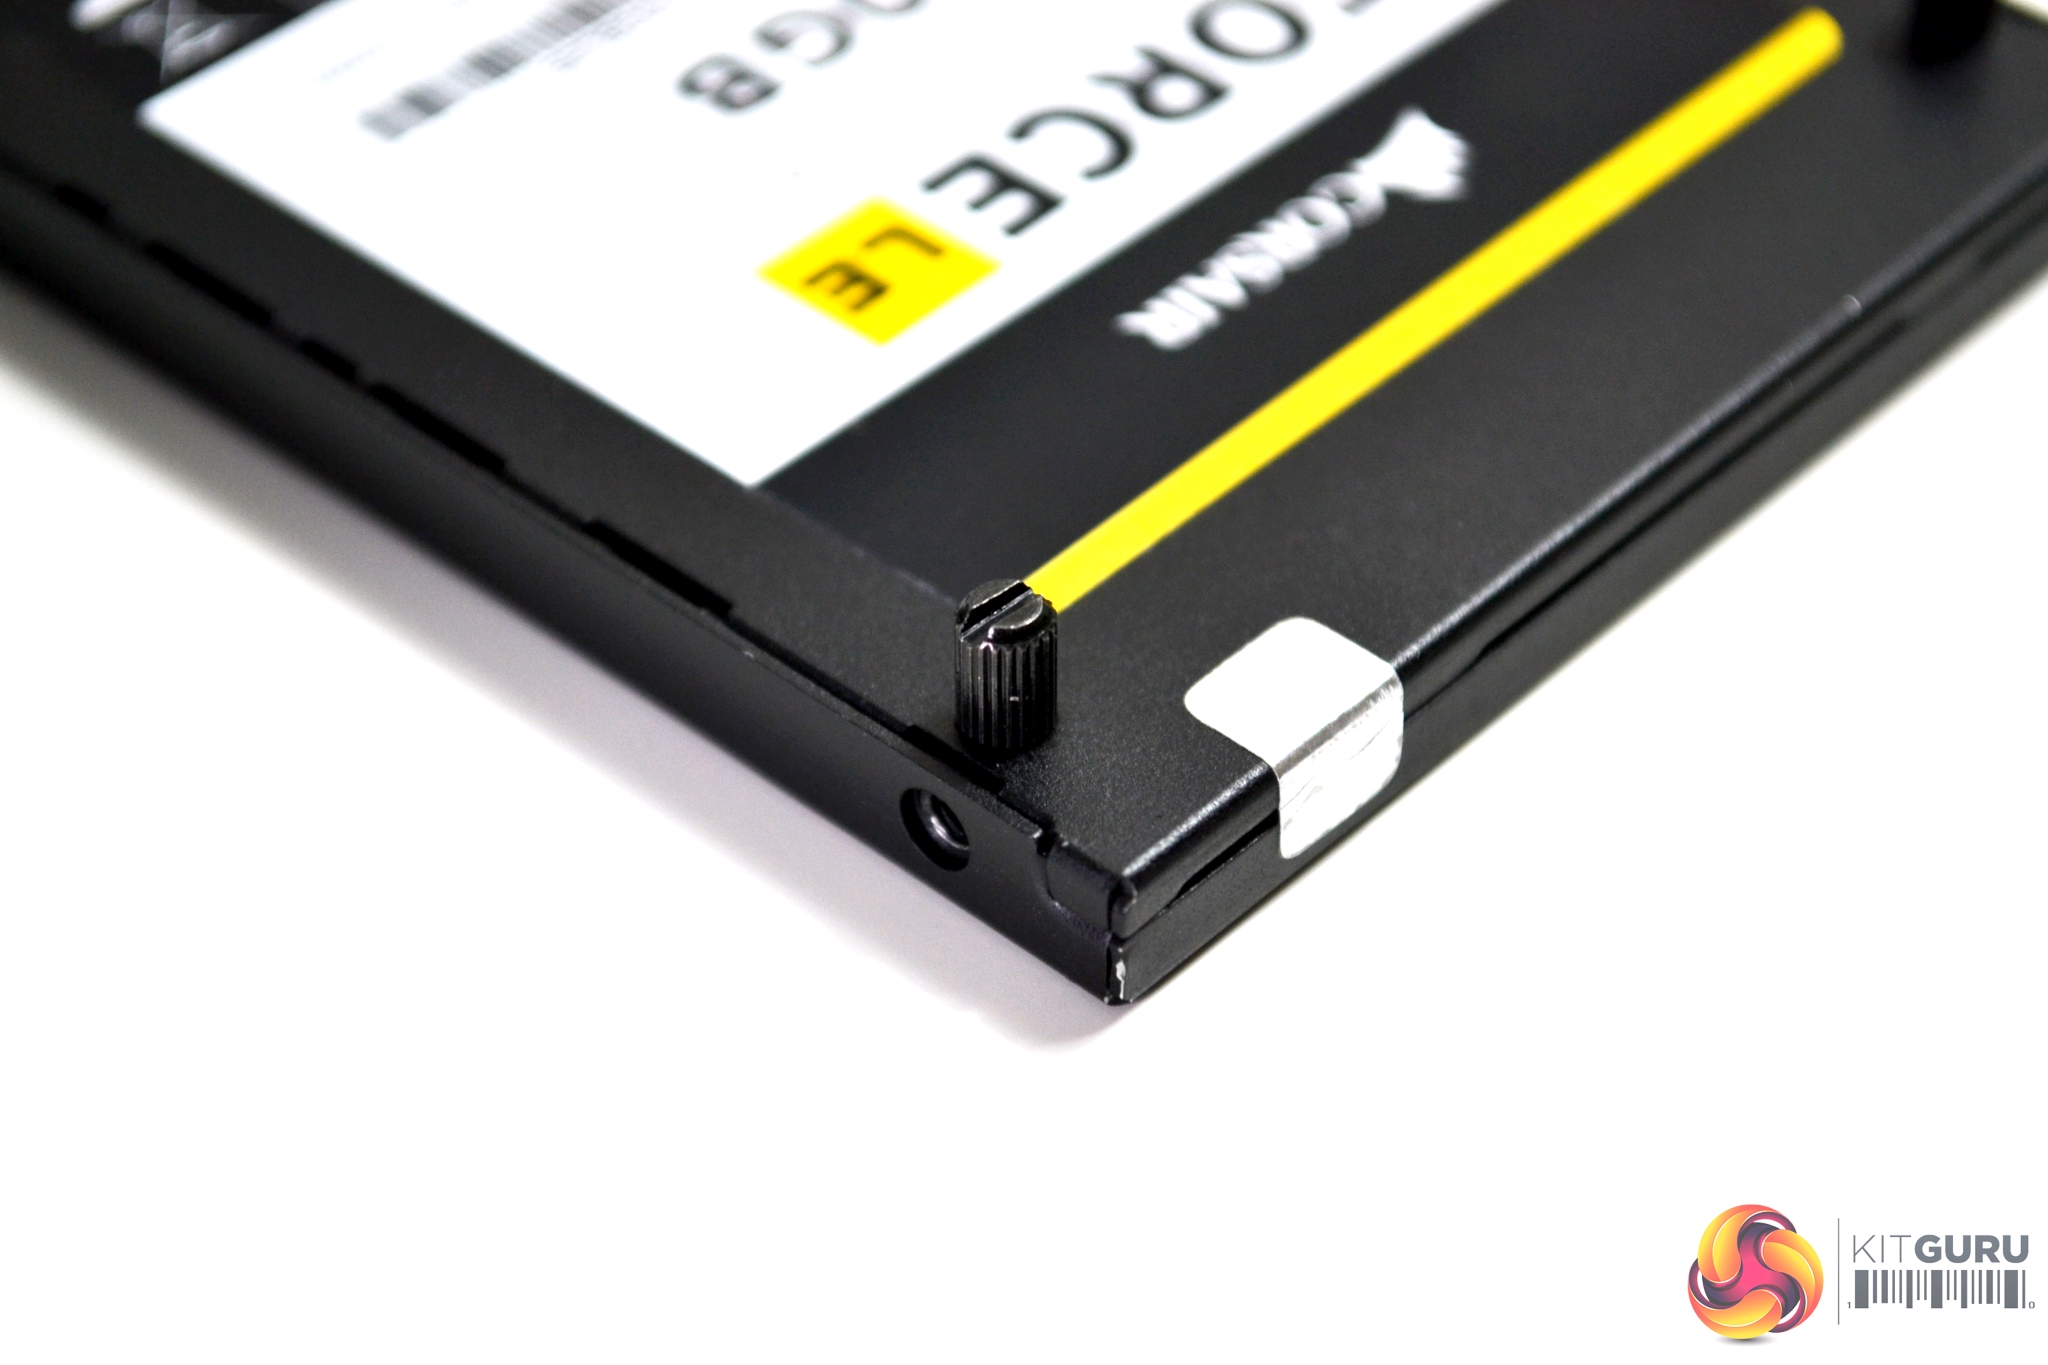
- Storage drive: Corsair Force LE 120
- OS: Windows 10 version 1903
Acoustic Performance
With the case in various forms of configuration we can measure what effect this has on acoustic performance:
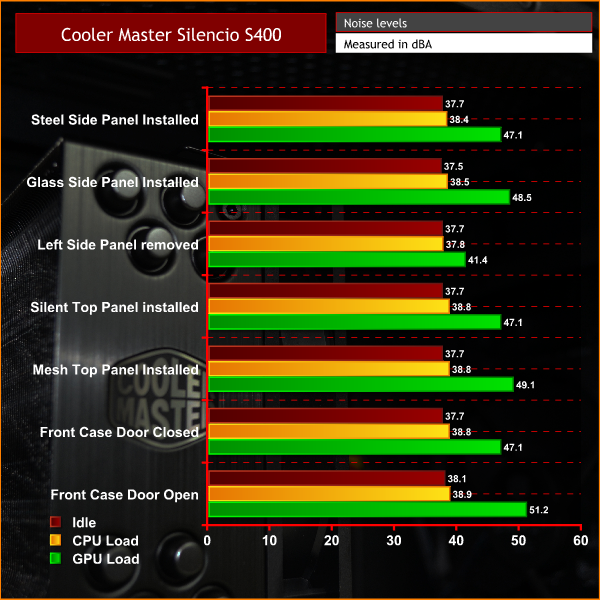
As we can see, acoustic output was barely affected by the various configurations we tested above. The most noticeable reduction in sound from the GPU was when the left side panel was completely removed. This may sound counter-intuitive but it was due to the GPU temperature reducing significantly as it was able to dissipate heat much better, therefore its fans didn't ramp up nearly as high as when the side panel was installed.
The biggest increase in noise came with the front door open – again this was due to the GPU fans. Regardless of how the case was configured, there was minimal change in the noise output from the CPU.
Thermal Performance
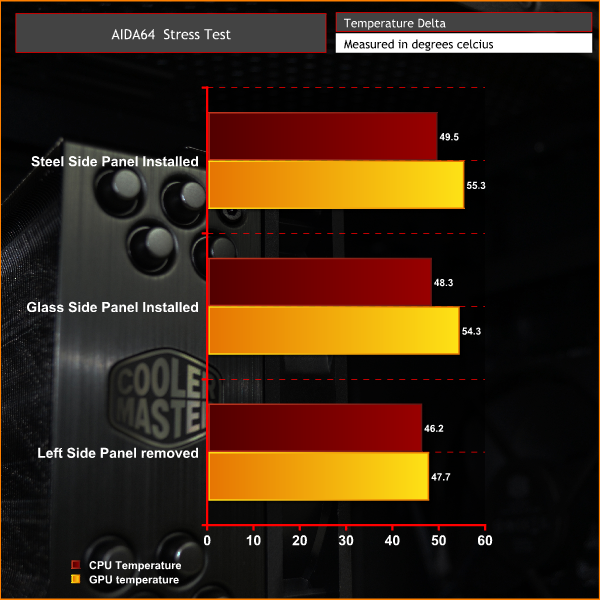
The results of our thermal tests follow a similar trend to the acoustics testing. It didn't seem to make much difference whether we had the steel or glass side panels fitted. However, with the side panel removed completely the CPU temperature dropped by a couple of degrees. GPU temperature was most affected, with a reduction in temperature of 7.6°C compared to when the steel panel was installed,Cooler Master have done a good job with the Silencio S400 case – its understated, minimalist appearance ensures it doesn't look out of place in any environment. Aesthetically it may not appeal to everyone, but for us, it's refreshing to see a case which does not require fancy RGB lighting or an outrageous design to look good.
It has to be said, with the tempered glass panel installed, it is at its most attractive – of course, we all love to see our components on display. However, with the steel panel installed it can hide away some of the less attractive budget builds, which may be included in a case of this type.
Cooler Master's target audience for the Silencio S400 is aimed at entry-level to moderate users interested in building a silence-focused M-ATX PC. We believe this has been achieved – the S400 should be seriously considered if you fall into this category.
However, we would not necessarily recommend this case if you are looking to build a high-performance gaming system or such like. Our thermal testing shows the case struggles with high end components being pushed to their limits. With better cooling and airflow, this would be improved. However, this would also be counter-productive, as it would defeat the objective of near-silent operation, which is this case's primary function.
The Silencio S400 is a pleasant case to build a system in. We only encountered a couple of very minor issues, which were easily overcome during installation and certainly nothing which would put us off using this case in the future. This said, the main issue we had with power supply clearance was more down to our choice of PSU rather than a fault with the S400.
It becomes evident when installing a system into the S400 that plenty of time was spent on perfecting the design. Areas including cable management, dust filtration and obviously sound dampening have all been thought through and implemented well during development.
As seen with most cases going for silence rather than performance, thermal performance isn't great – but again, we come back to the fact that this case is designed to keep noise to a minimum, not push huge amounts of air through the chassis. If that is the type of case you're looking for, the Silencio S400 is a good option to have.
You can purchase the Cooler Master Silencio S400 from Overclockers UK for £79.99 HERE.
Pros:
- Quiet operation with stock fans.
- Good cable management.
- Plenty of storage options.
- Optional tempered glass panel.
Cons:
- Thermal performance is not great.
- Some tool-free fixings are a little weak.
- Compromises may be needed to fit radiators.
KitGuru says: It's a solid, near-silent mATX case at a reasonable price.