Cooler Master’s latest attempt at producing a cost-effective all-in-one liquid cooler is a refresh of the ML240L series, with an updated 3rd generation pump designed for improved flow and lower noise output, as well as new SickleFlow 120mm RGB fans providing higher static pressure. But will it be able to handle the heat from our test bench system? Let’s find out.
The last couple of Cooler Master CPU coolers have not had the greatest time when put through their paces on our test bench. The performance of the Cooler Master ML240P Mirage AIO and MA620M tower cooler both fell short of expectations during our testing recently, so the ML240L V2 RGB AIO has its work cut out if it is to impress us today.
However, as with all of our reviews, we wipe the slate clean and will look at this new cost-effective AIO from Cooler Master with a completely open mind. According to Cooler Master, this refresh of the ML240L series is not just an aesthetic update, the ML240L V2 RGB has had an extensive rework of both the pump and the fans, so it will be very interesting to see what effect these improvements have had on thermal performance.
The ML240L V2 is equipped with Cooler Master’s latest 3rd generation pump that features an increased chamber capacity for improved volume and liquid exchange between chambers, due to reduced resistance. Impeller blades have been extended and the curvature has been enhanced to improve water flow and heat dissipation. A new Tri-Phase motor with silent driver should also help lower noise levels.
An increase in the length of the fins and larger leading water channels have been applied to the radiator to improve flow efficiency and water capacity. Cooler Master claims that this will provide a 25% increase in surface area to optimise heat dissipation efficiency and reduce airflow resistance while offering an improved liquid to surface area for efficient heat exchange.
Cooler Master has made a change to the ML240L fans too, out go the MF120R and in come the new SickleFlow 120 RGB. The fans feature a rifle bearing core and a new frame design with a screw hole reinforcement and improved structural stability compared with the previous MasterFan. SickleFlow 120 fans have seven opaque white blades with a larger blade size to improve light dispersion and increase static pressure.
These improvements to the fans means static pressure is up from 2.34 mmH2O in the previous ML240L RGB to 2.5 mmH2O in the V2, while noise levels are reduced from 30dBA to 27dBA. During Cooler Master’s in house testing of the ML240L V2, it recorded around 4°C lower temperature at 187 W load compared to the previous ML240L, which sounds like a healthy improvement.
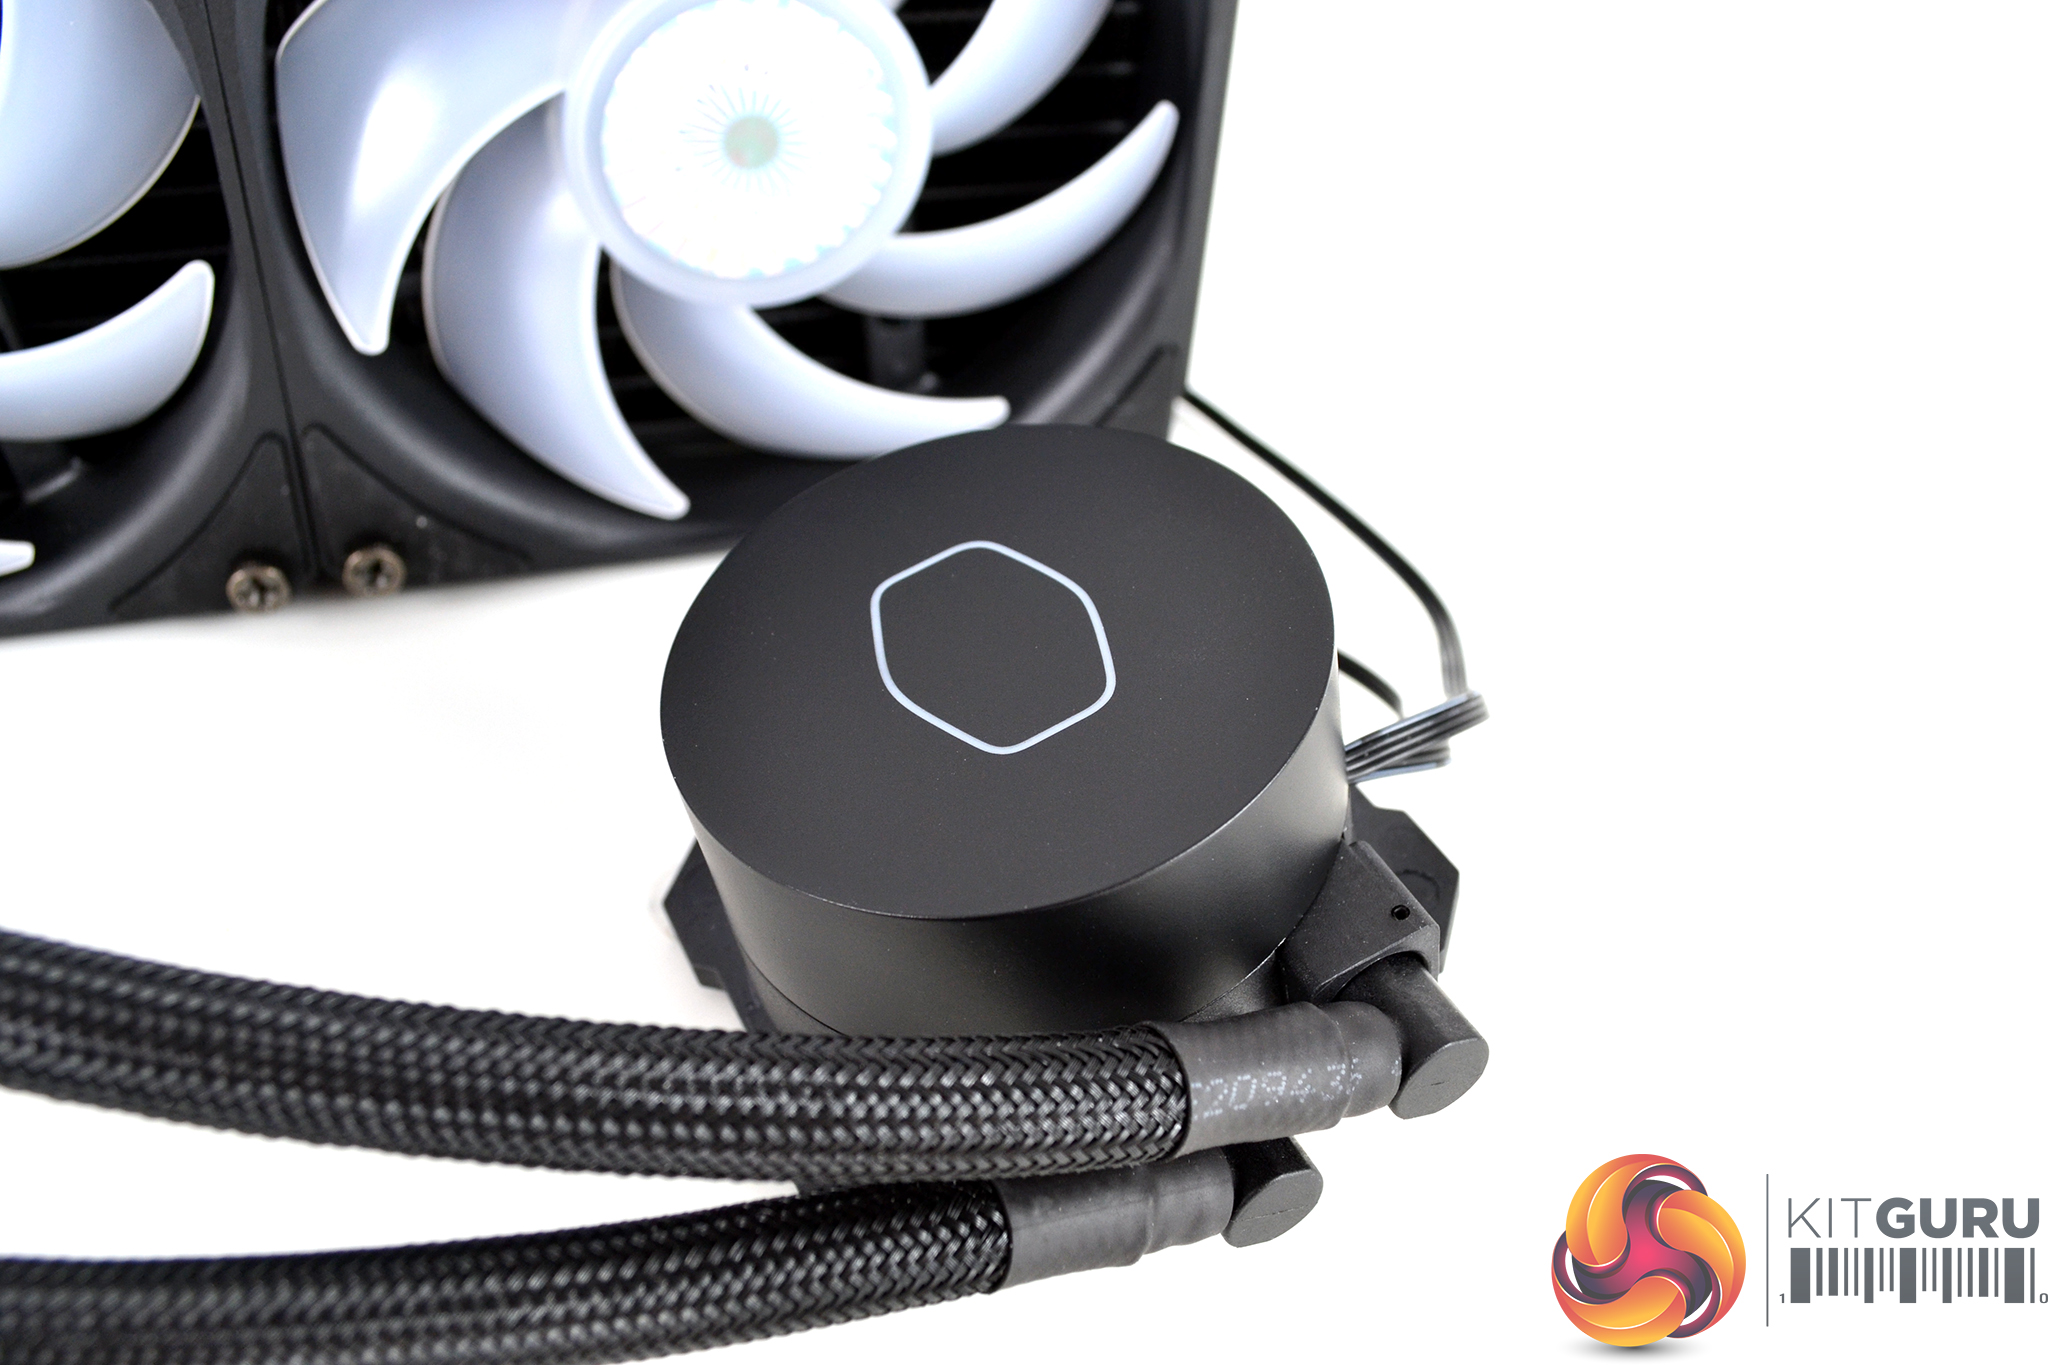
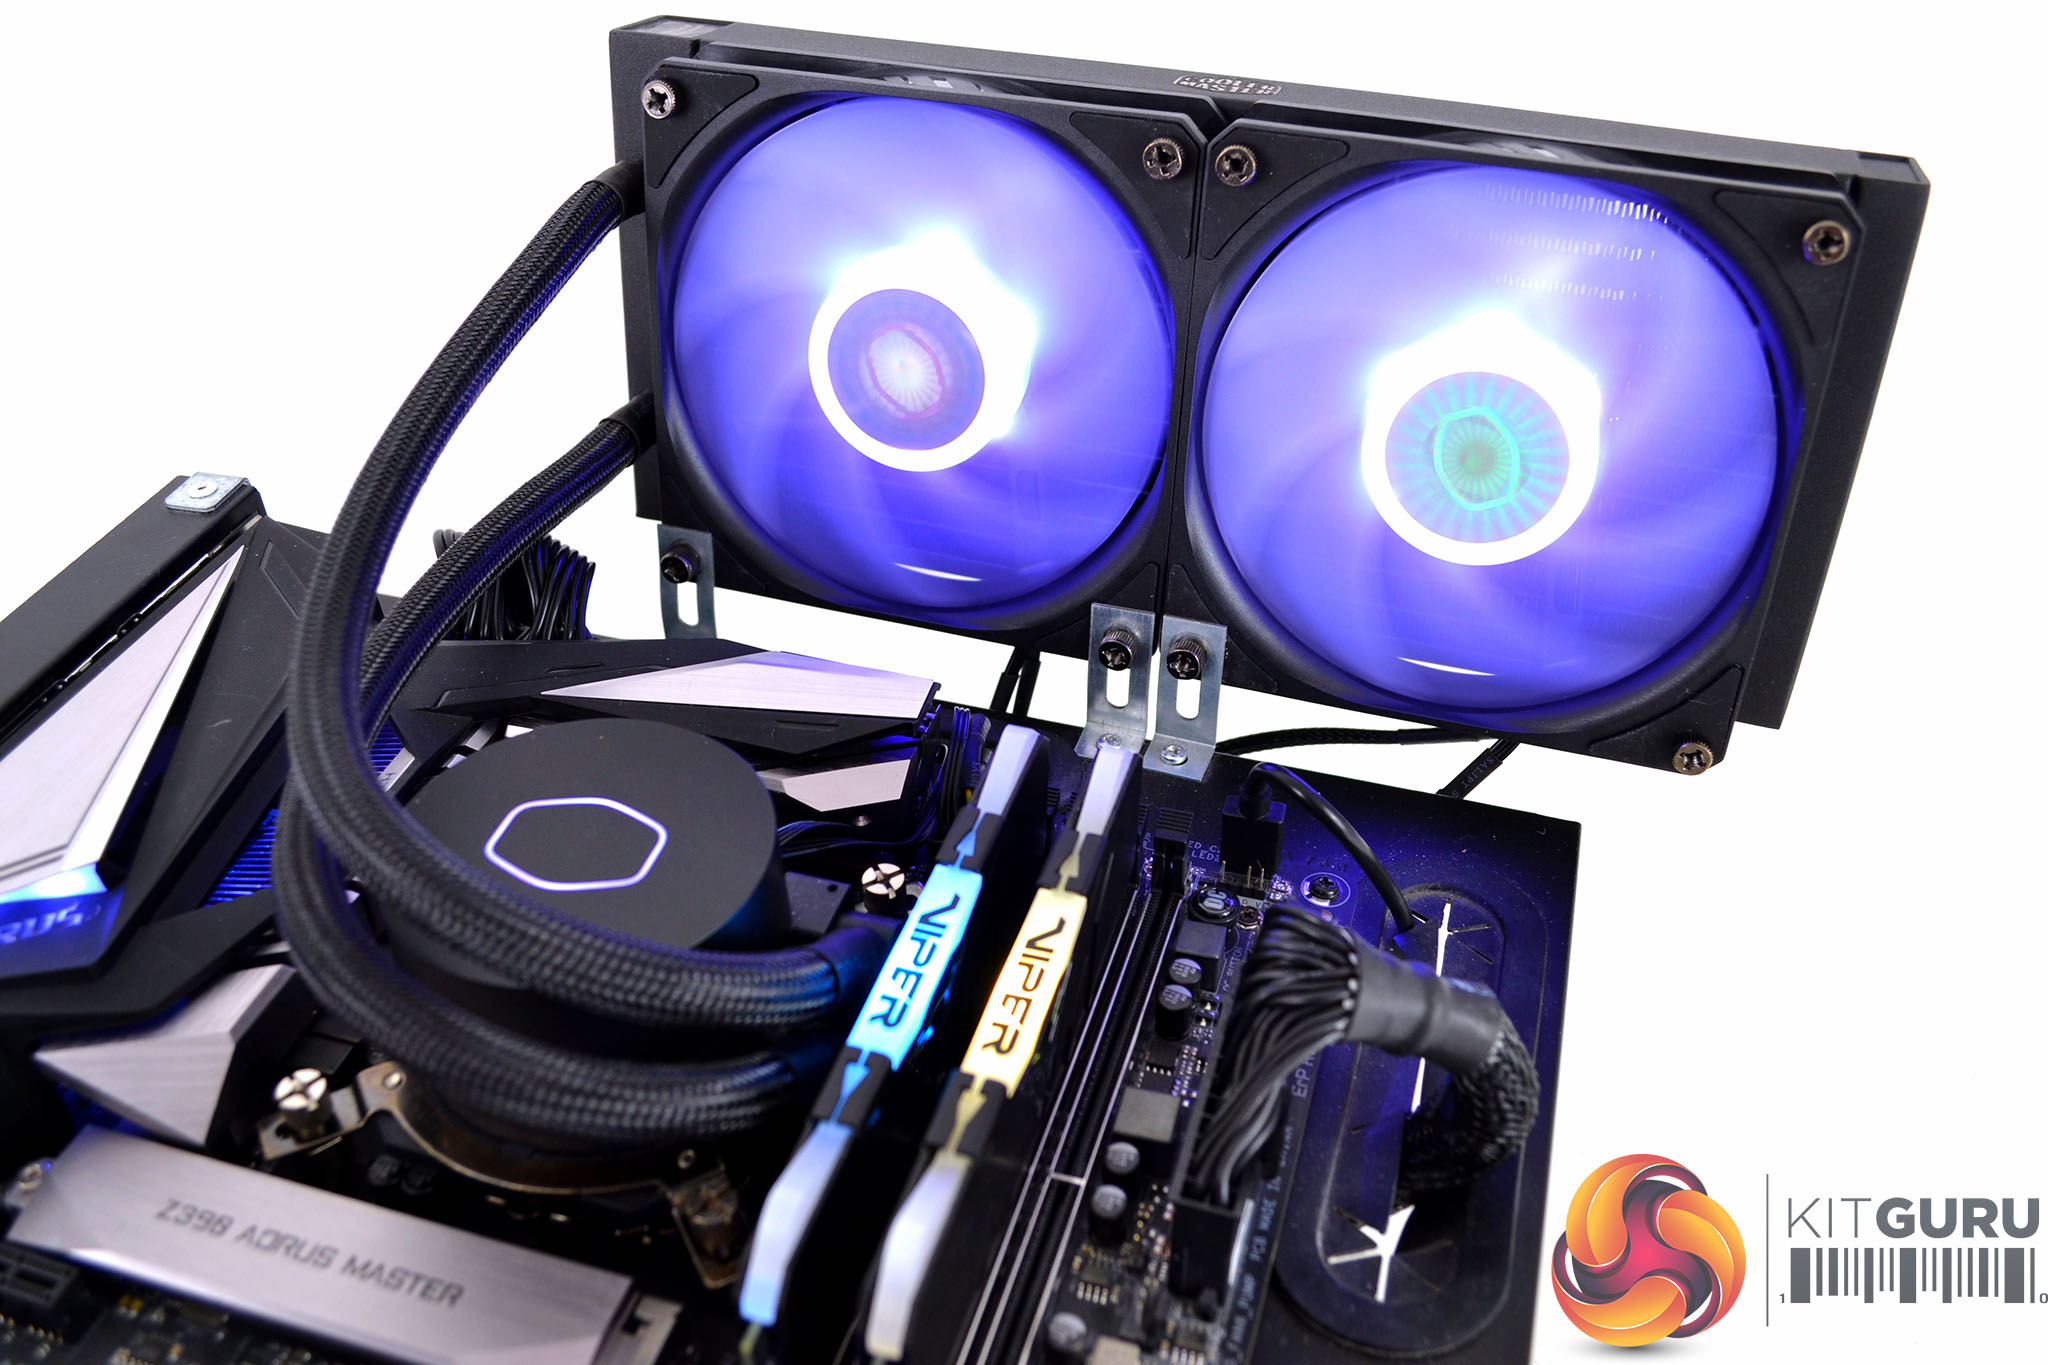
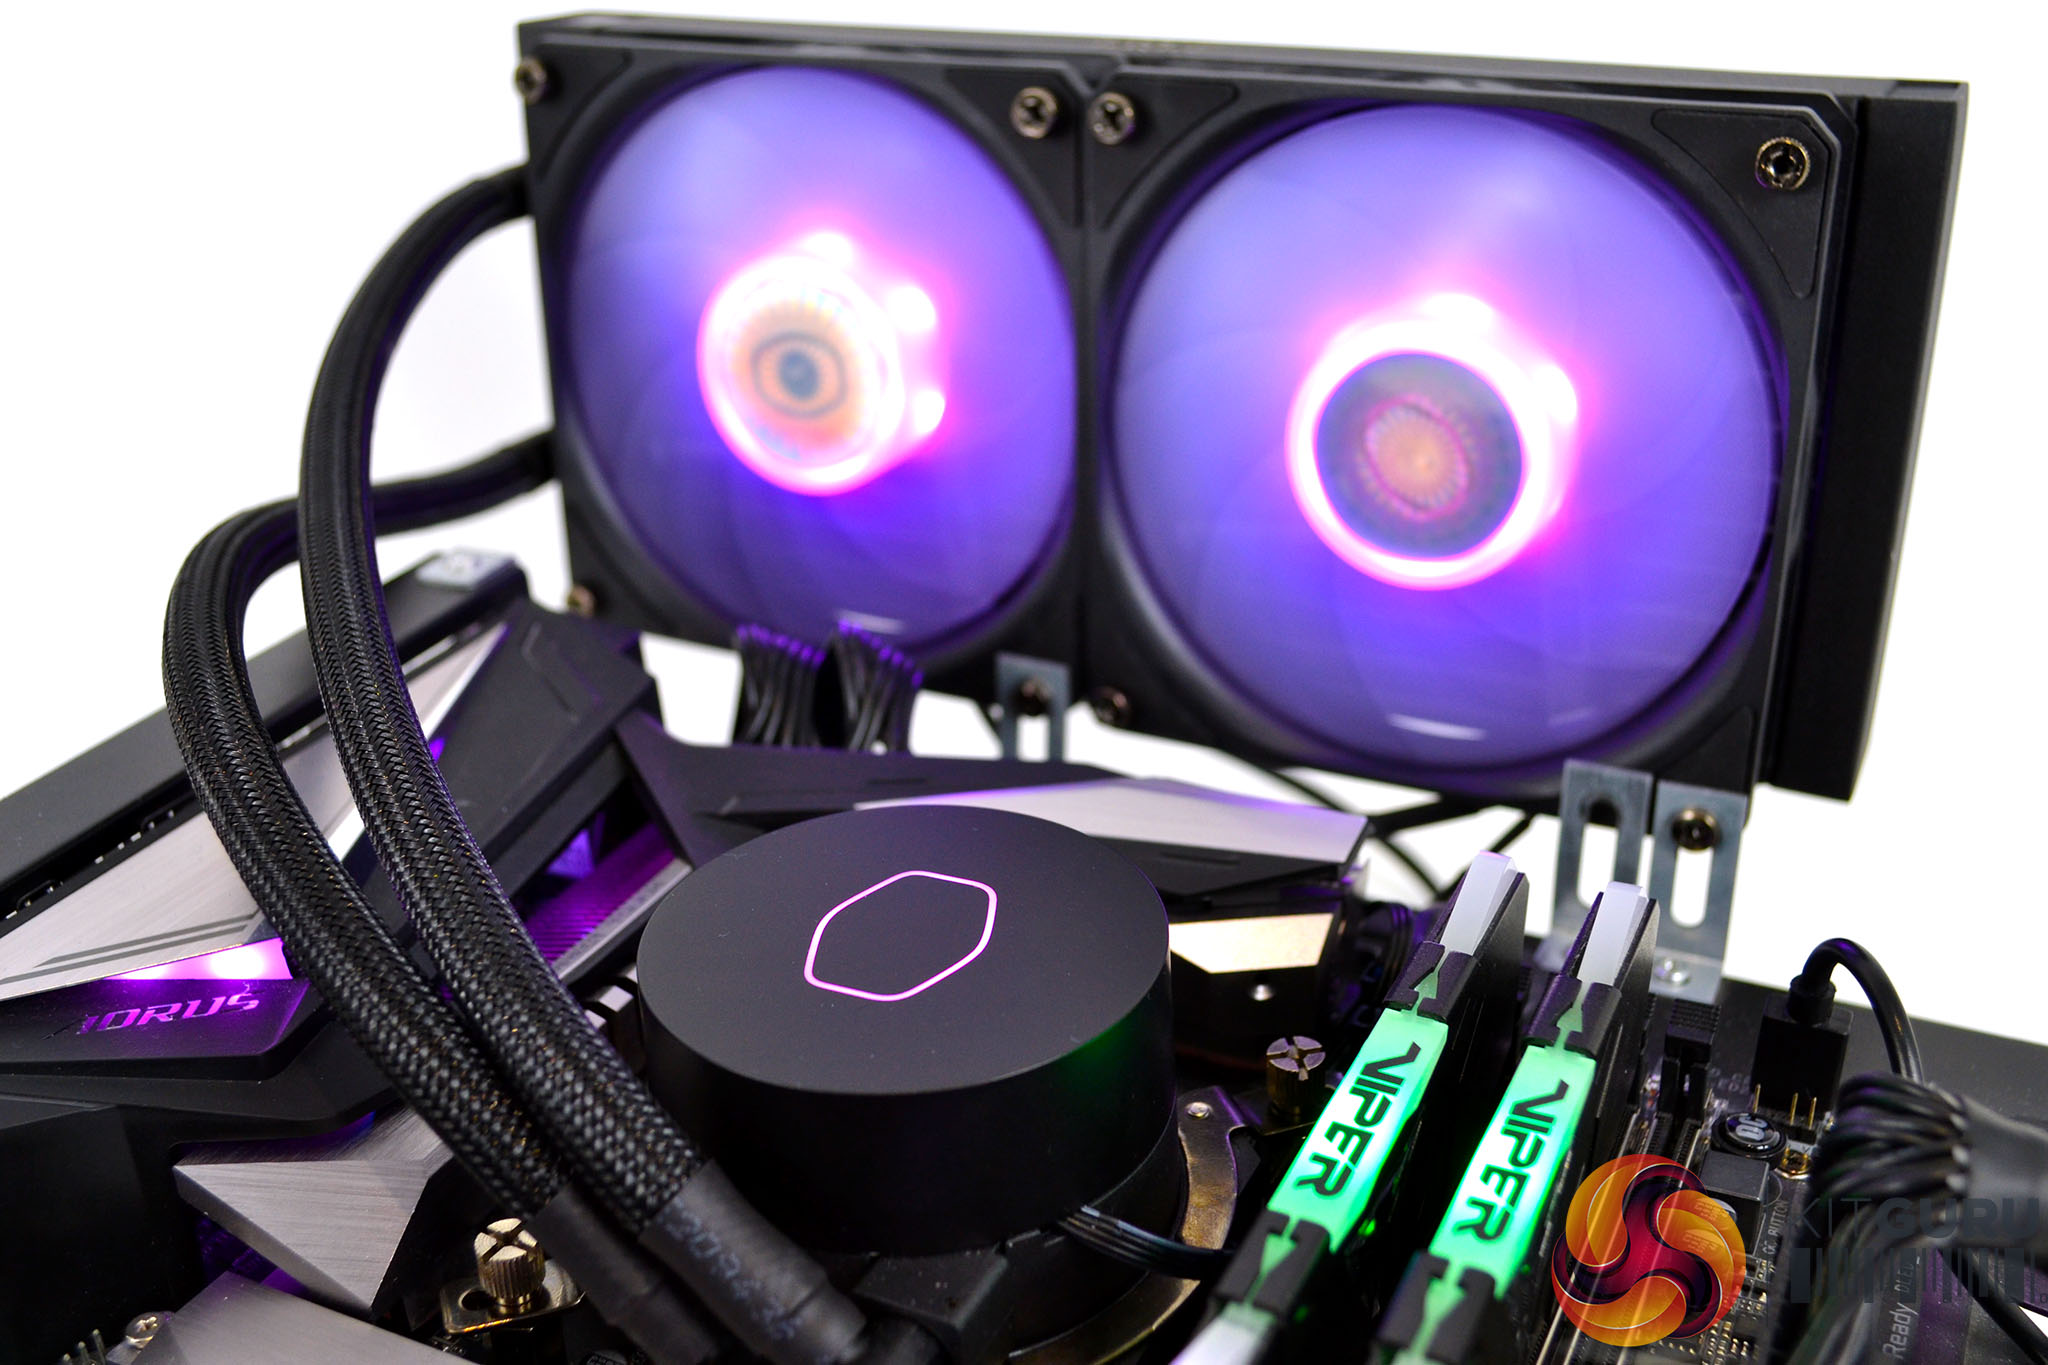
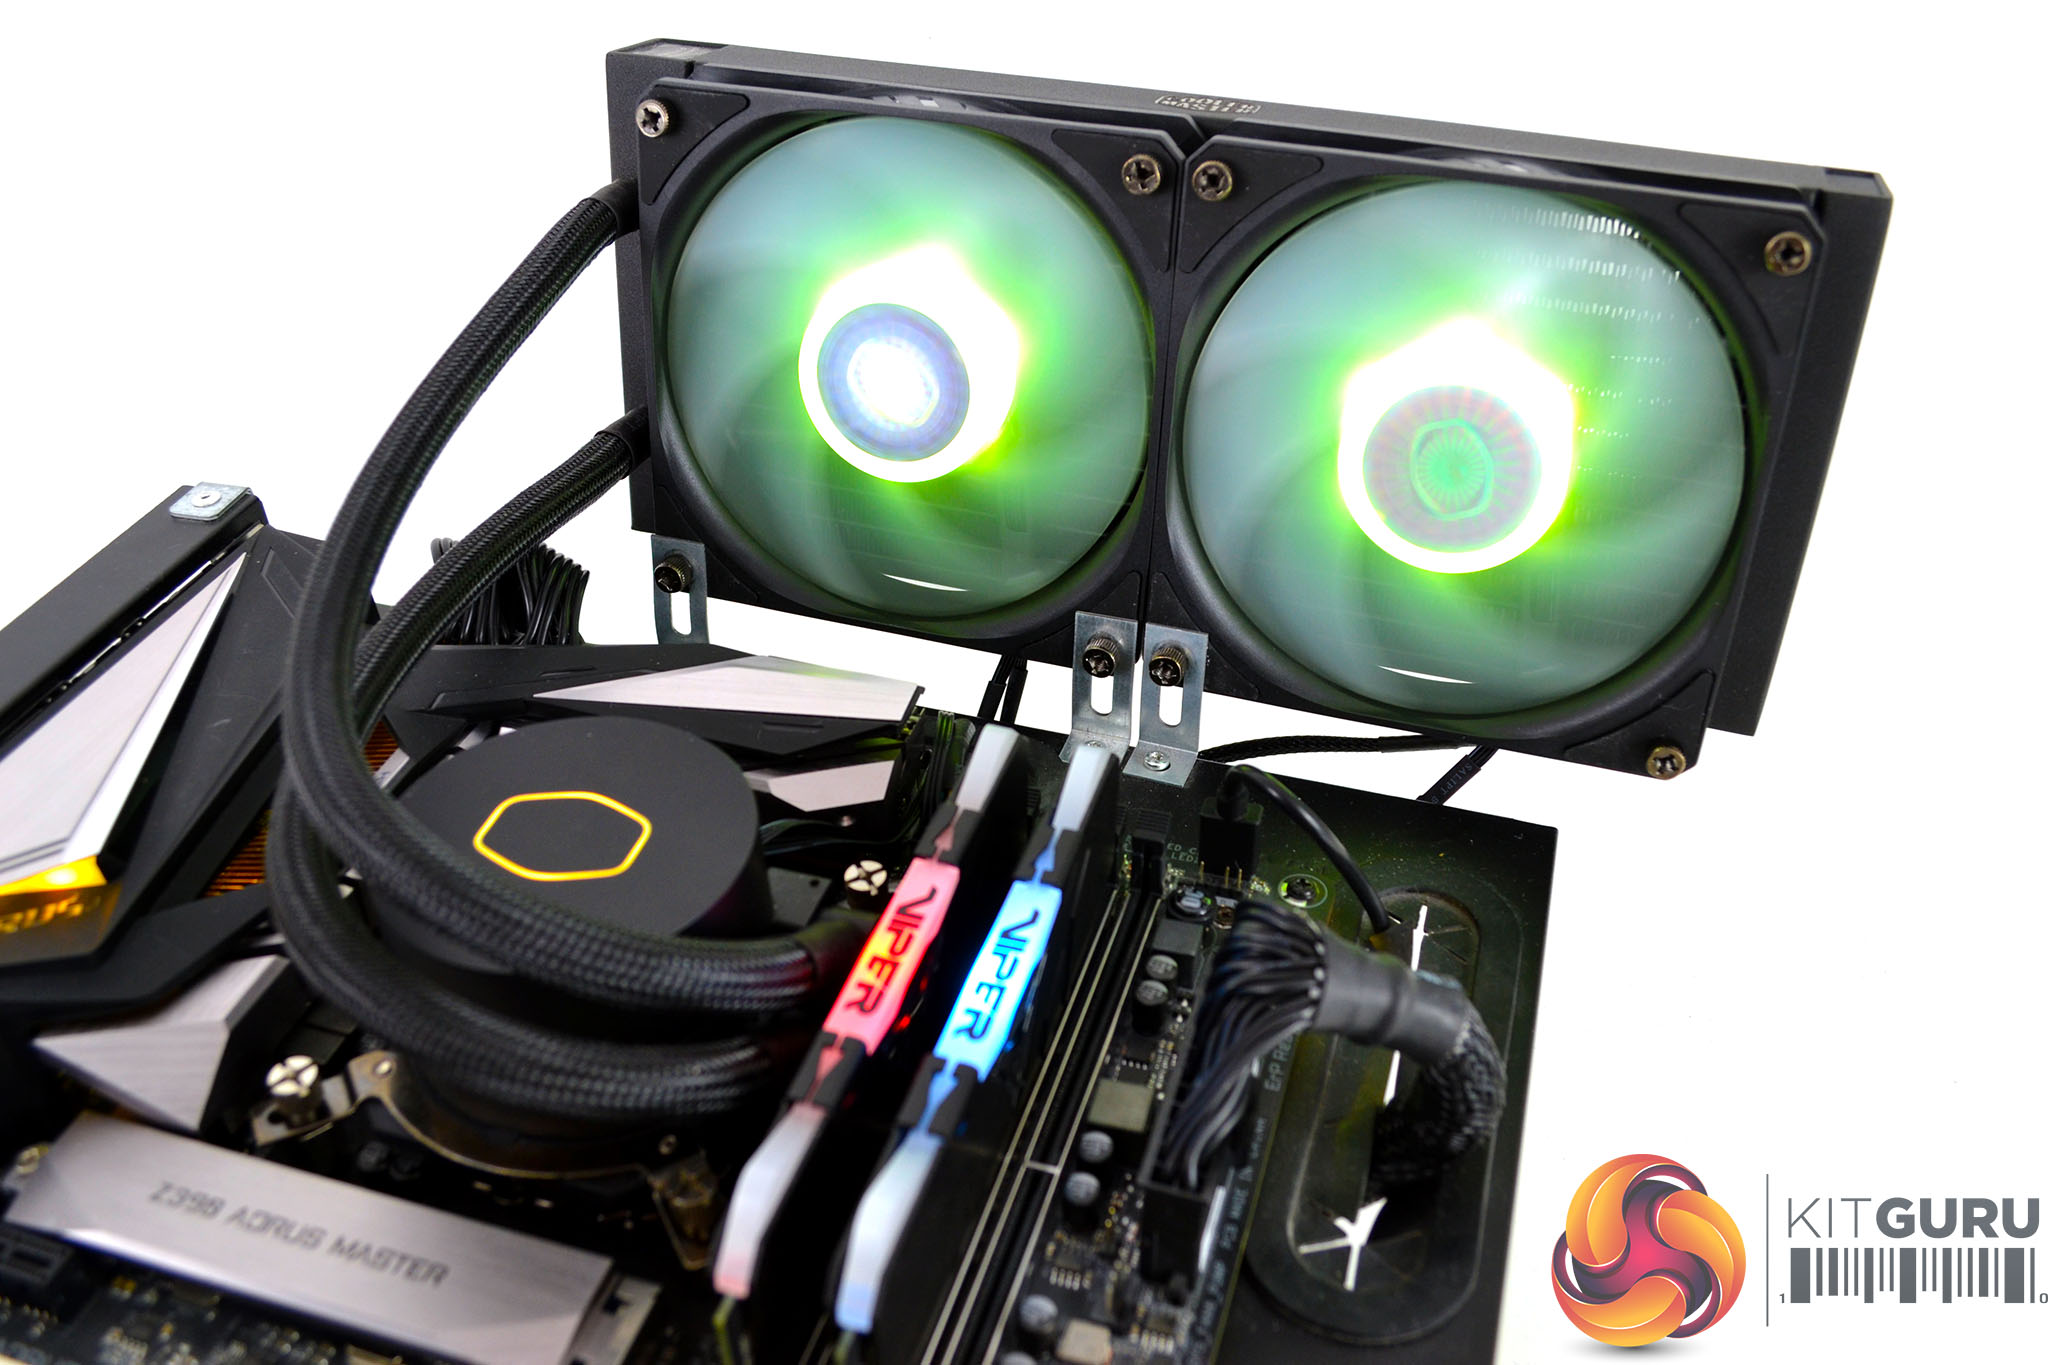
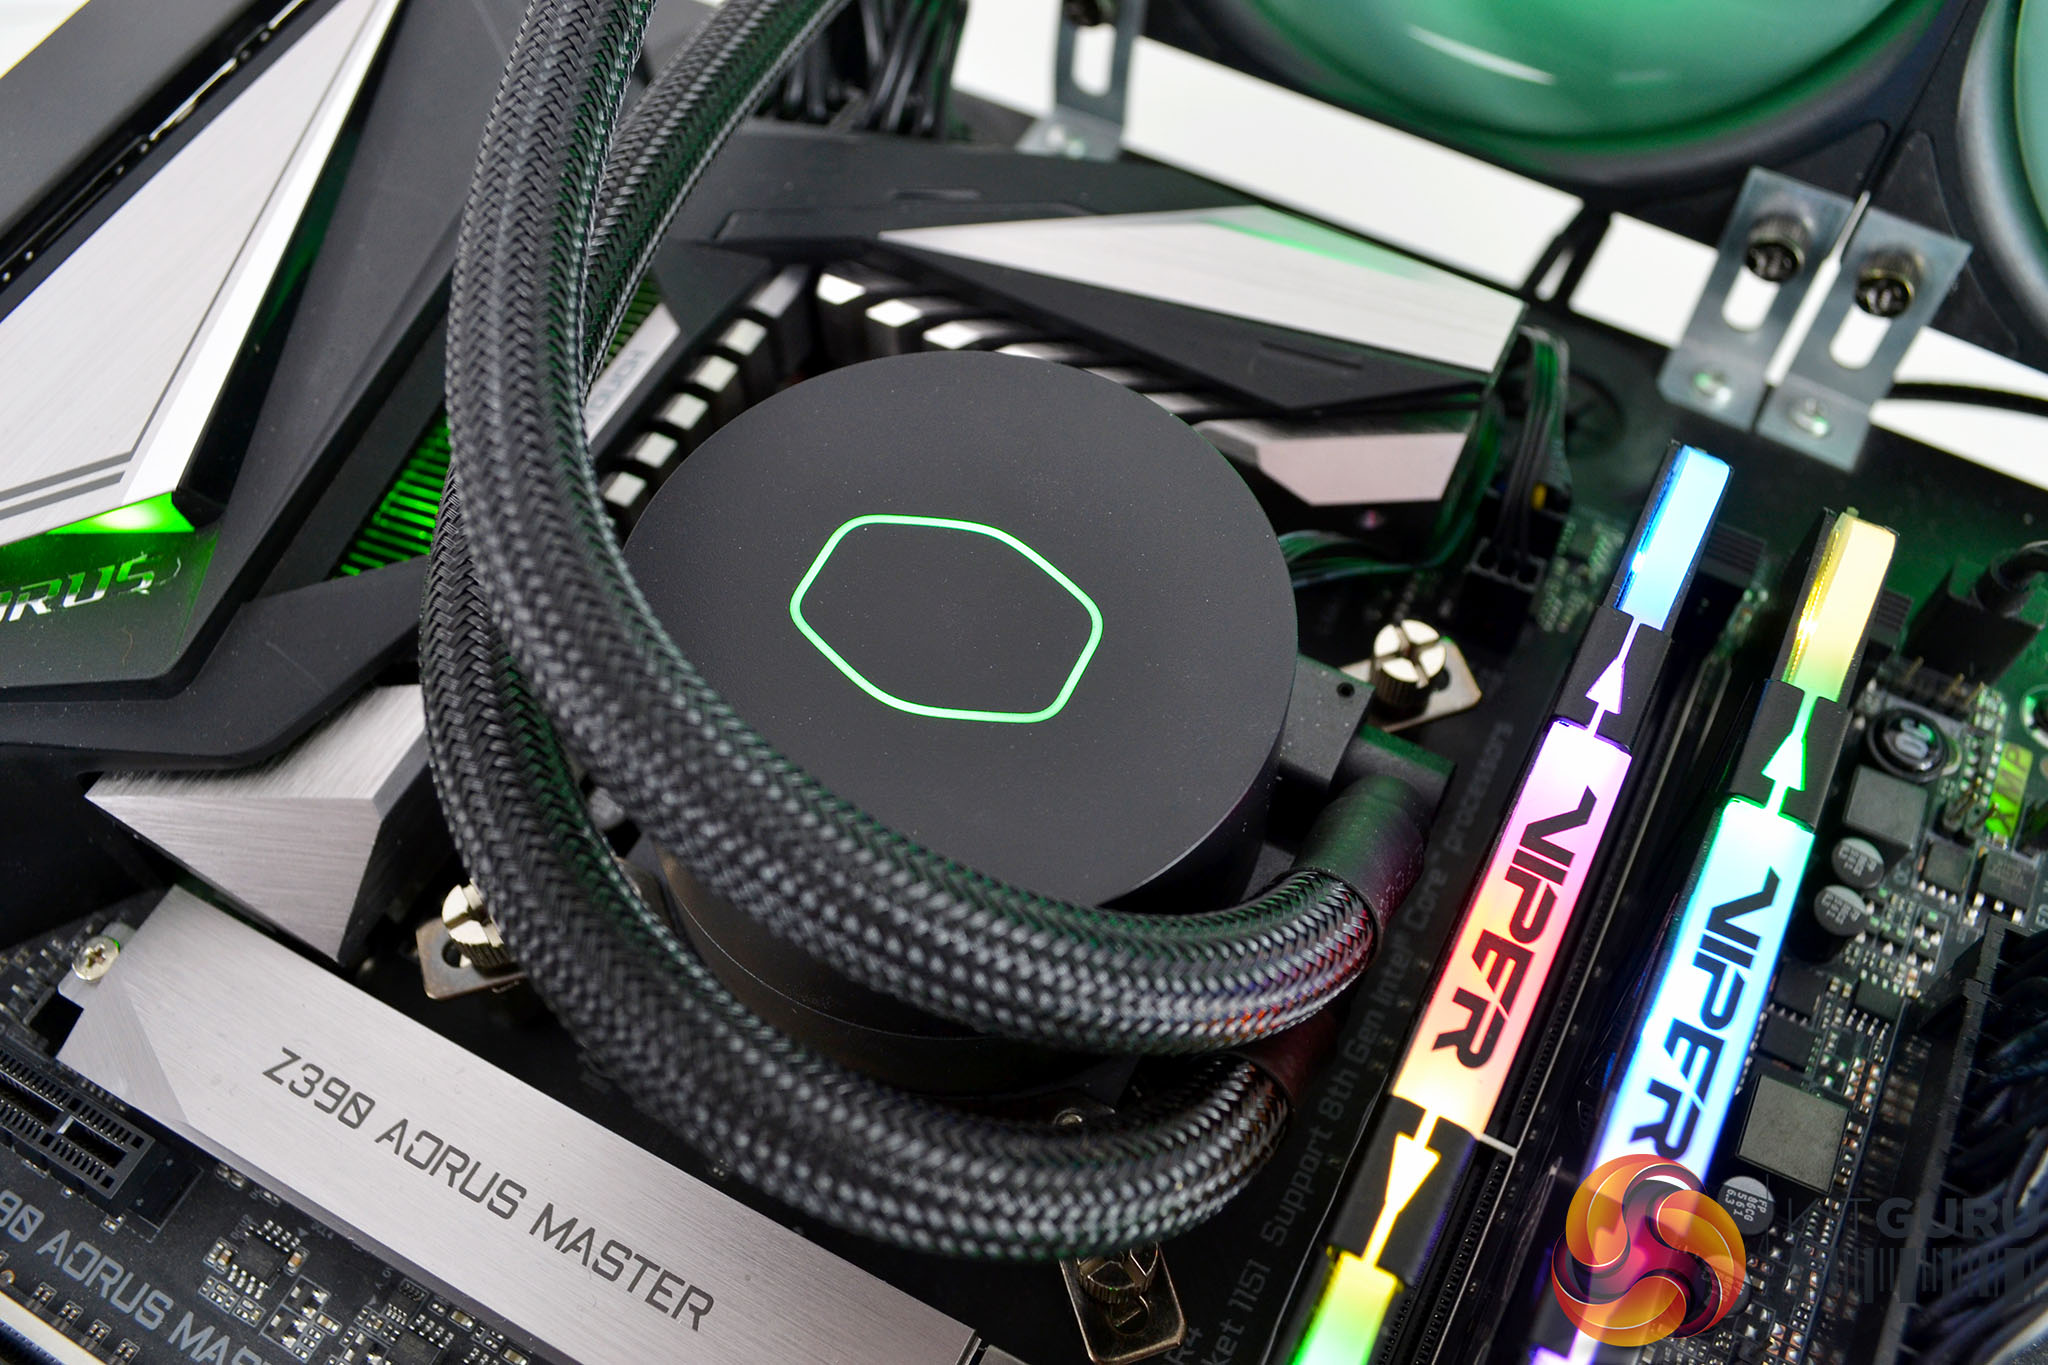
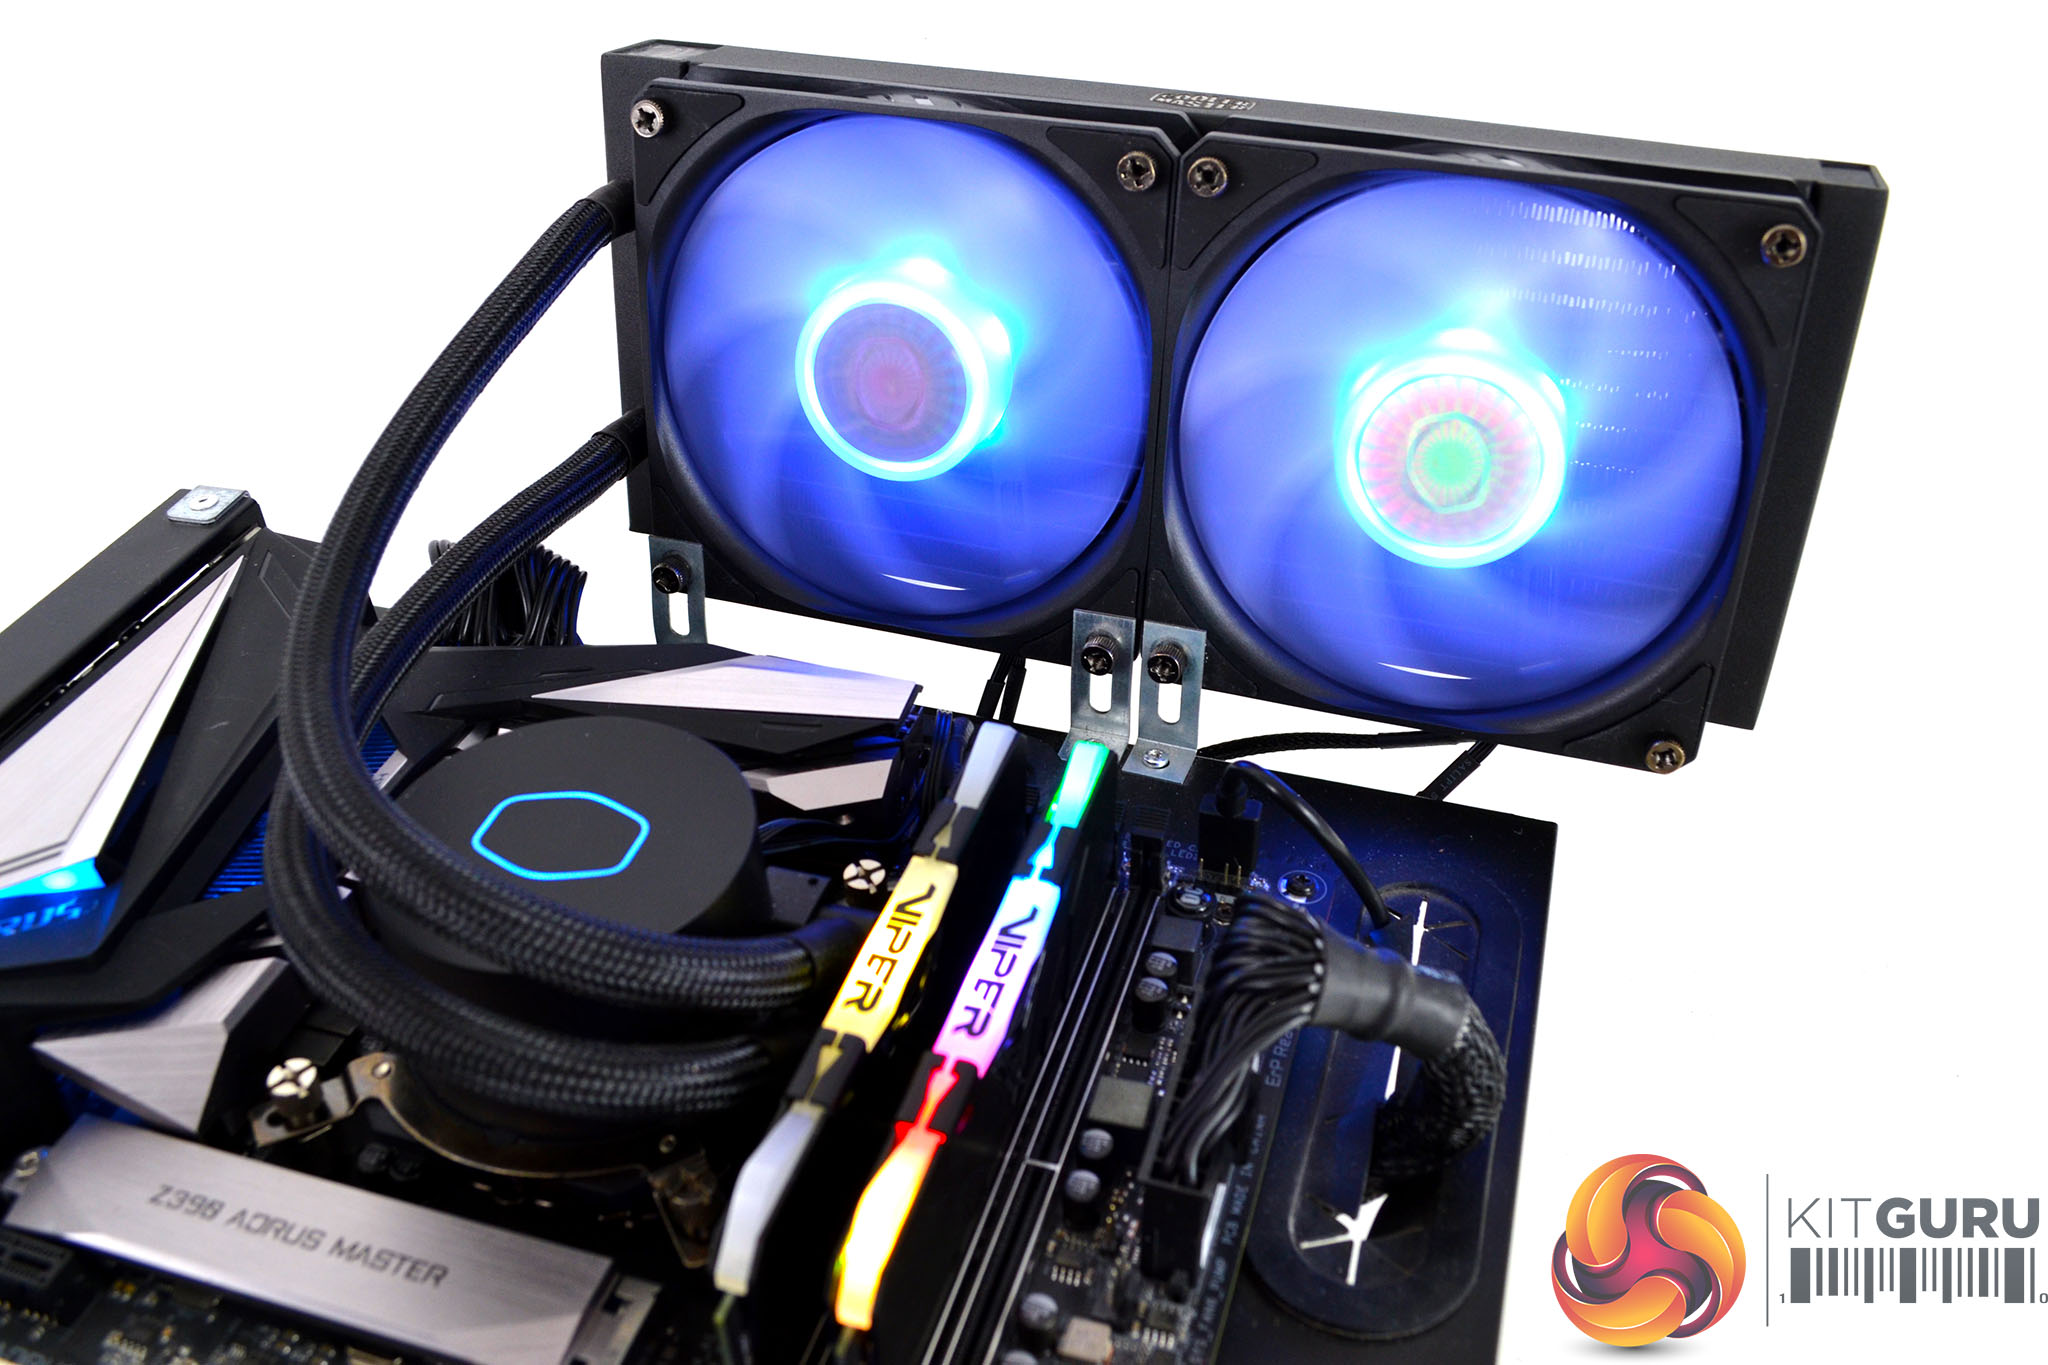
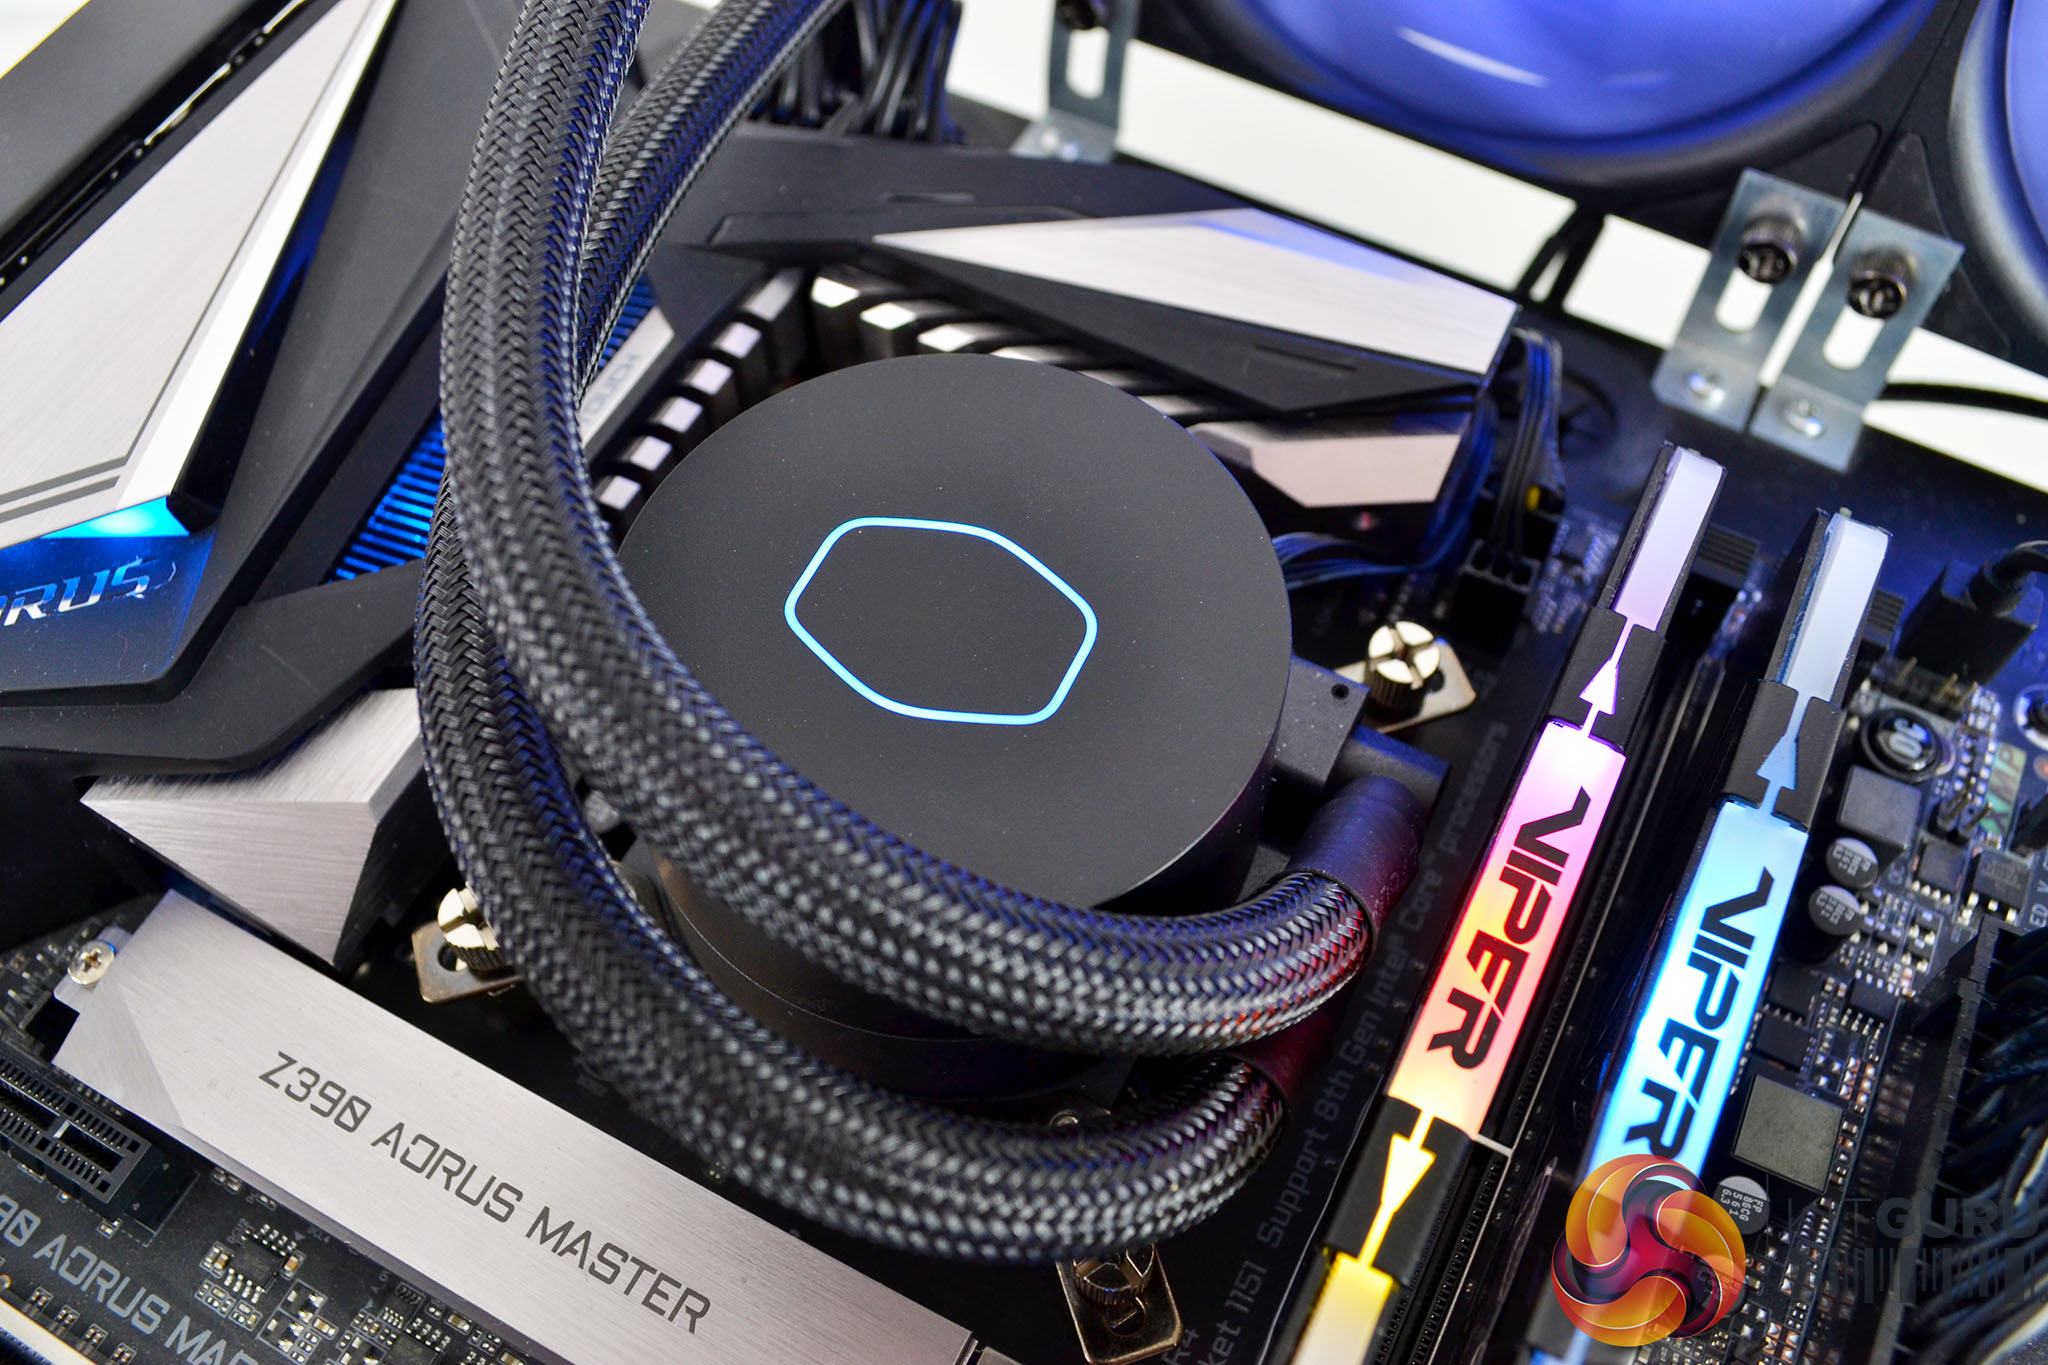
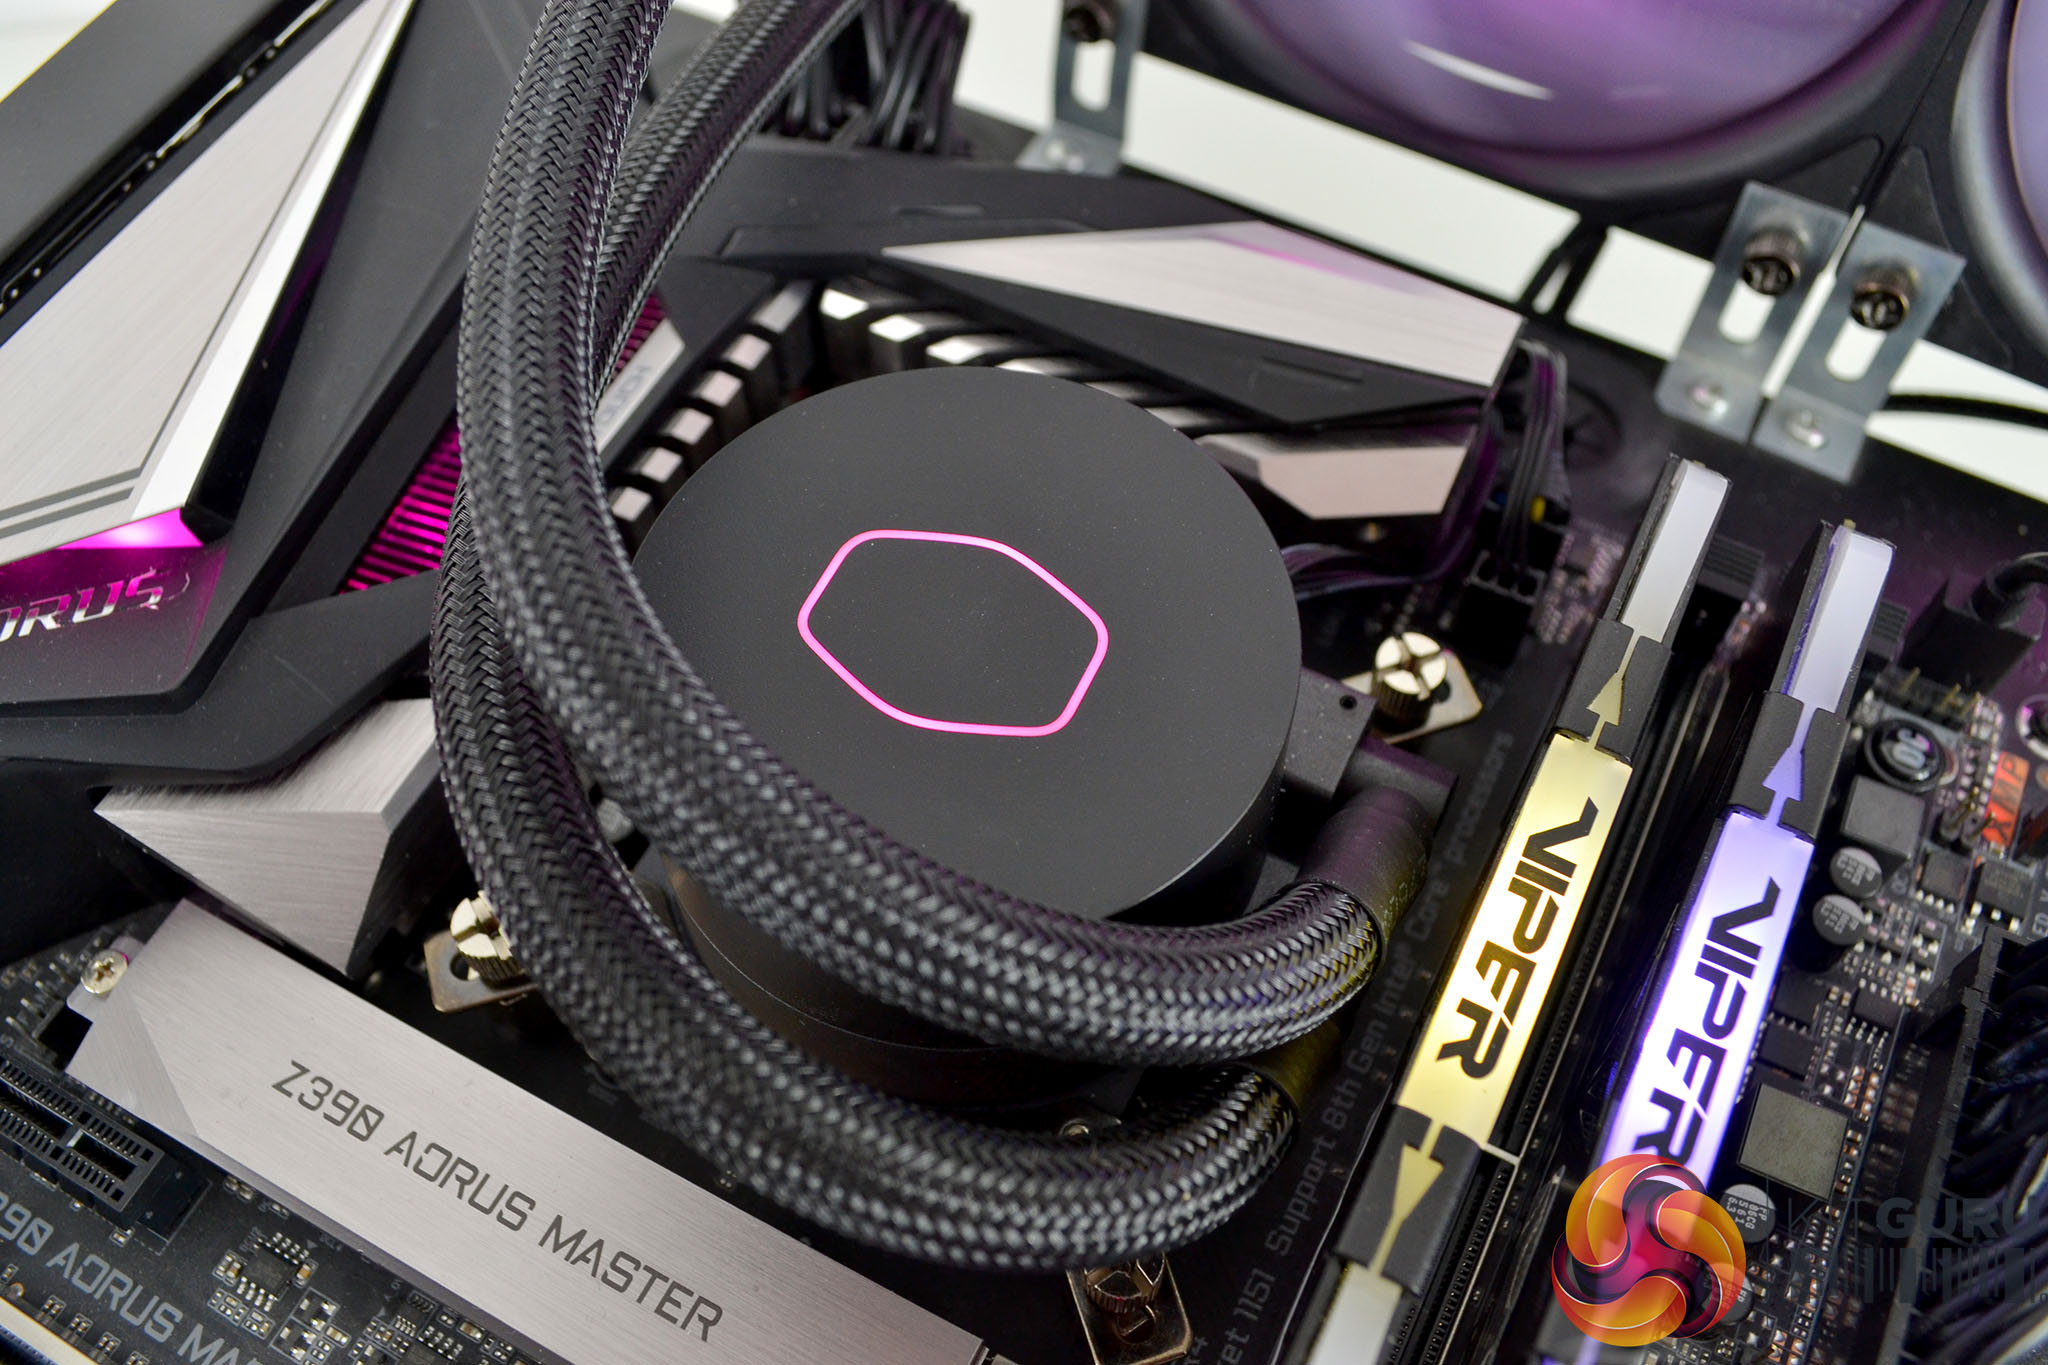
The ML240L V2 offers two RGB lighting zones, the pump top has a Cooler Master halo logo that is illuminated and so are the opaque blades of the SickleFlow 120 fans. RGB lighting can be configured and controlled via compatible motherboards using the standard 4-pin RGB header, or with the RGB controller that is bundled with the cooler.
Cooler Master has made all these improvements to the ML240L series but has not upped the cost. So the ML240L V2 can be purchased for the same MSRP as the original, the ML240L V2 RGB will set you back £69.99 While the smaller, single fan ML120L V2 RGB is priced at £59.99.
Key Features
- 3rd generation pump.
- Improved SickelFlow fans.
- Two RGB lighting zones.
- Included RGB lighting controller.
Specification
| Waterblock Dimensions | 79.9 x 76 x 47mm |
| Radiator Dimensions | 277 x 119.6 x x27.2mm |
| Radiator Material | Aluminium |
| Fan Dimensions | 120 x 120 x 25mm |
| Fan Speed | 650 ~ 1800 RPM (PWM) ± 10% |
| Fan Airflow | 62 CFM (Max) |
| Fan Air Pressure | 2.5 mmH2O |
| Fan MTTF | 160,000 hours |
| Fan Noise Level (1m) | 8 – 27 dBA |
| Fan Connector | 4-pin (PWM) |
| Pump MTTF | 70,000 hours |
| Pump Noise Level (1m) | <10 dBA |
| Pump Rated Voltage | 12 VDC |
| Pump Power Connector | 3-pin |
| Warranty | 2 years |
| CPU socket support | AMD – AM2, AM2+, AM3, AM3+, AM4, FM1, FM2, FM2+
Intel – 1150, 1151, 1155, 1156, 2011, 2011-V3, 2066 |
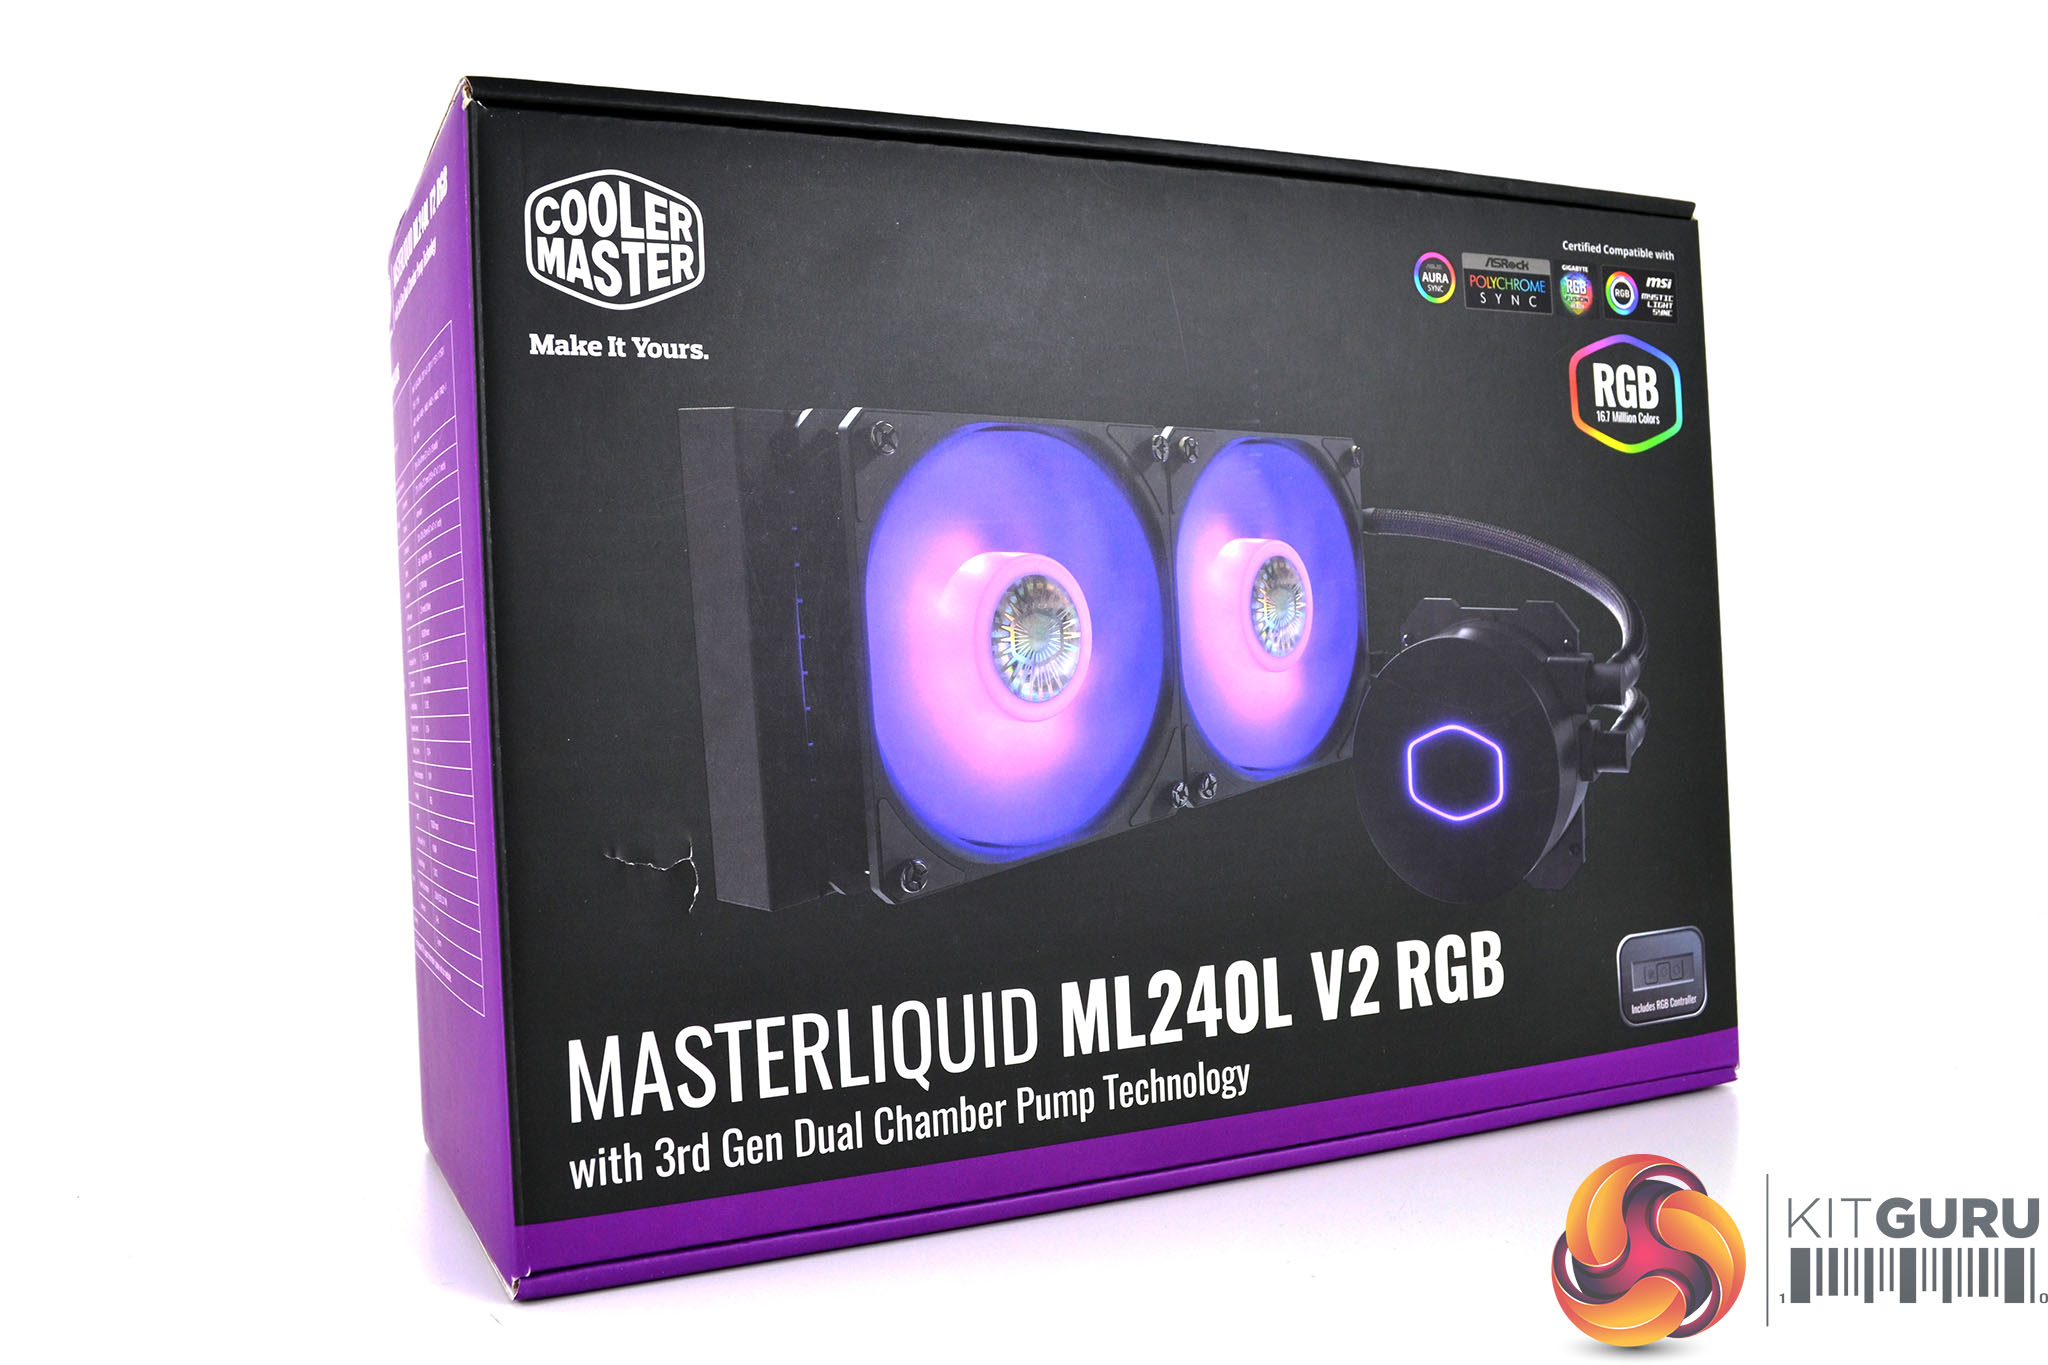
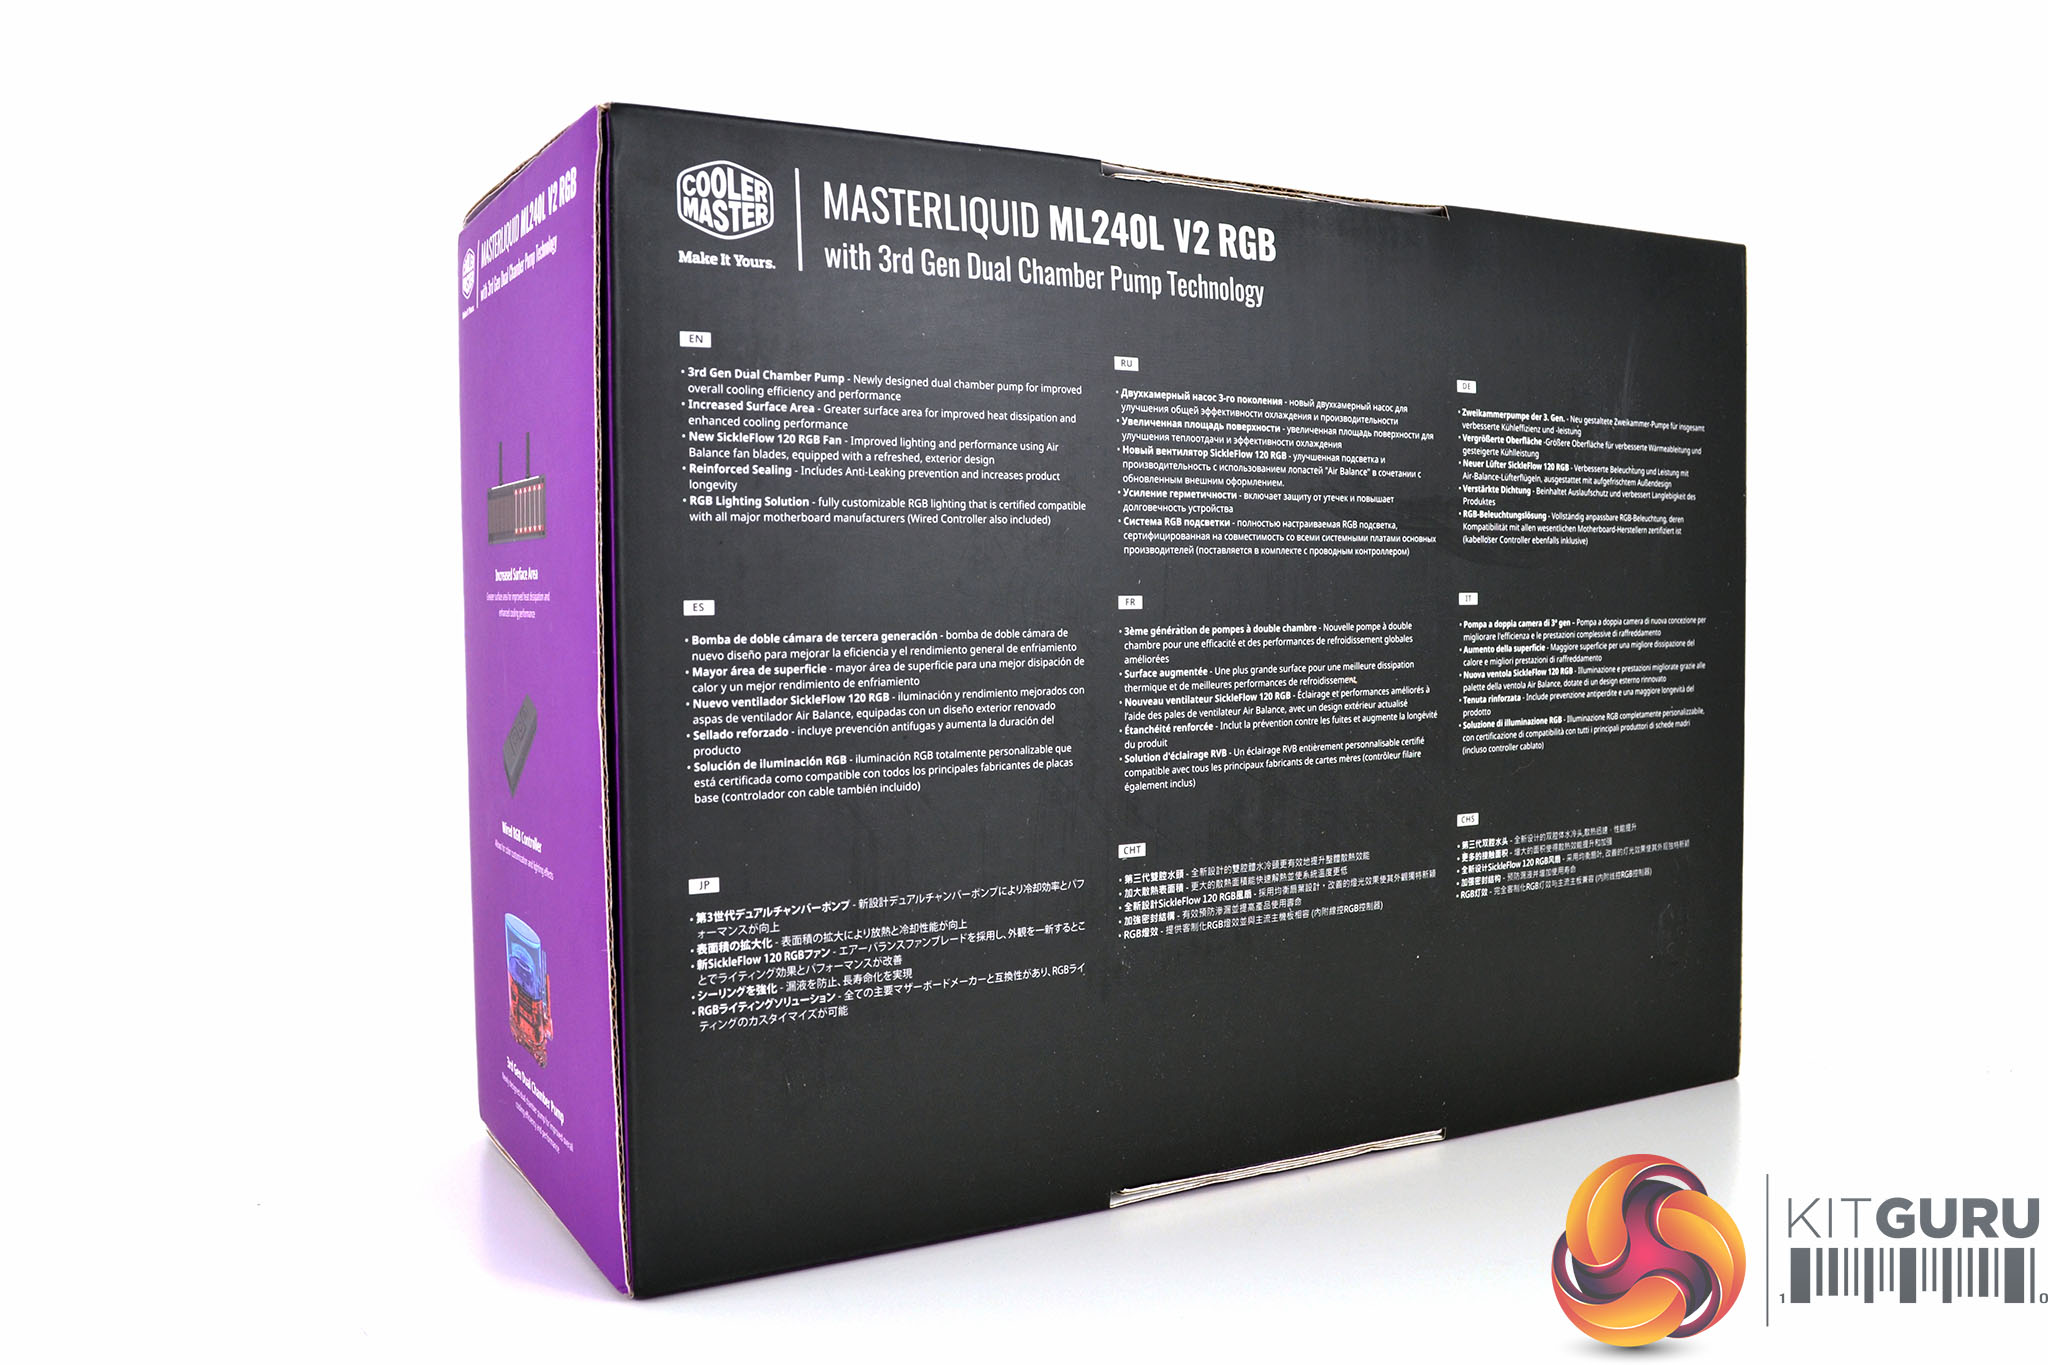
Packaging of the ML240L V2 RGB AIO follows the typical Cooler Master tradition of a black and purple theme, the front of the box is sporting a large central image of the cooler with branding and RGB logos around the edges. The rear of the box is filled with key features listed in various languages.
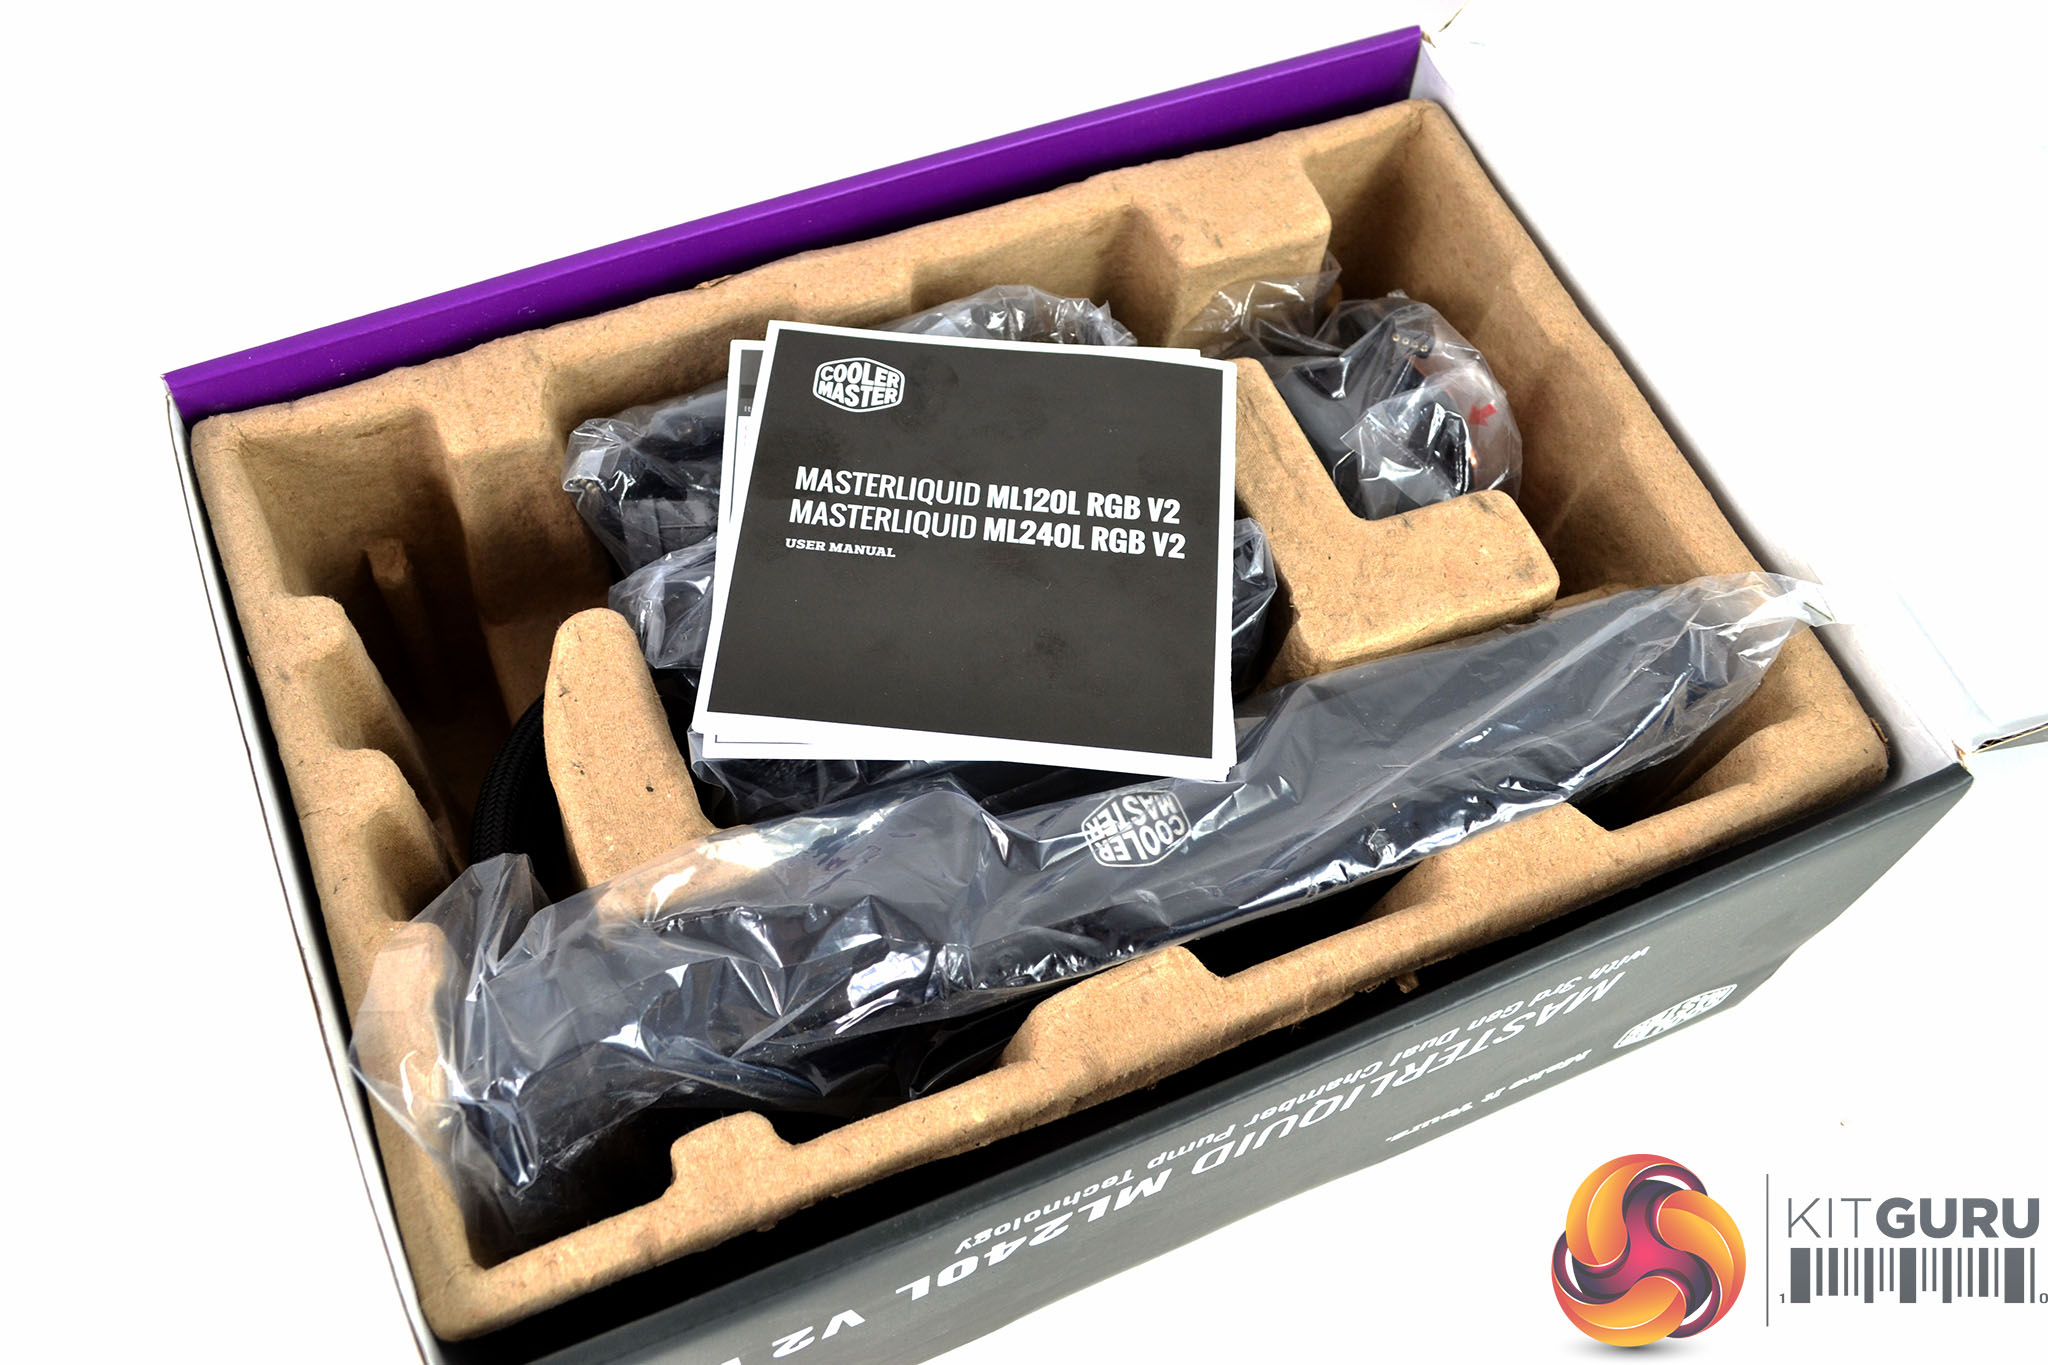
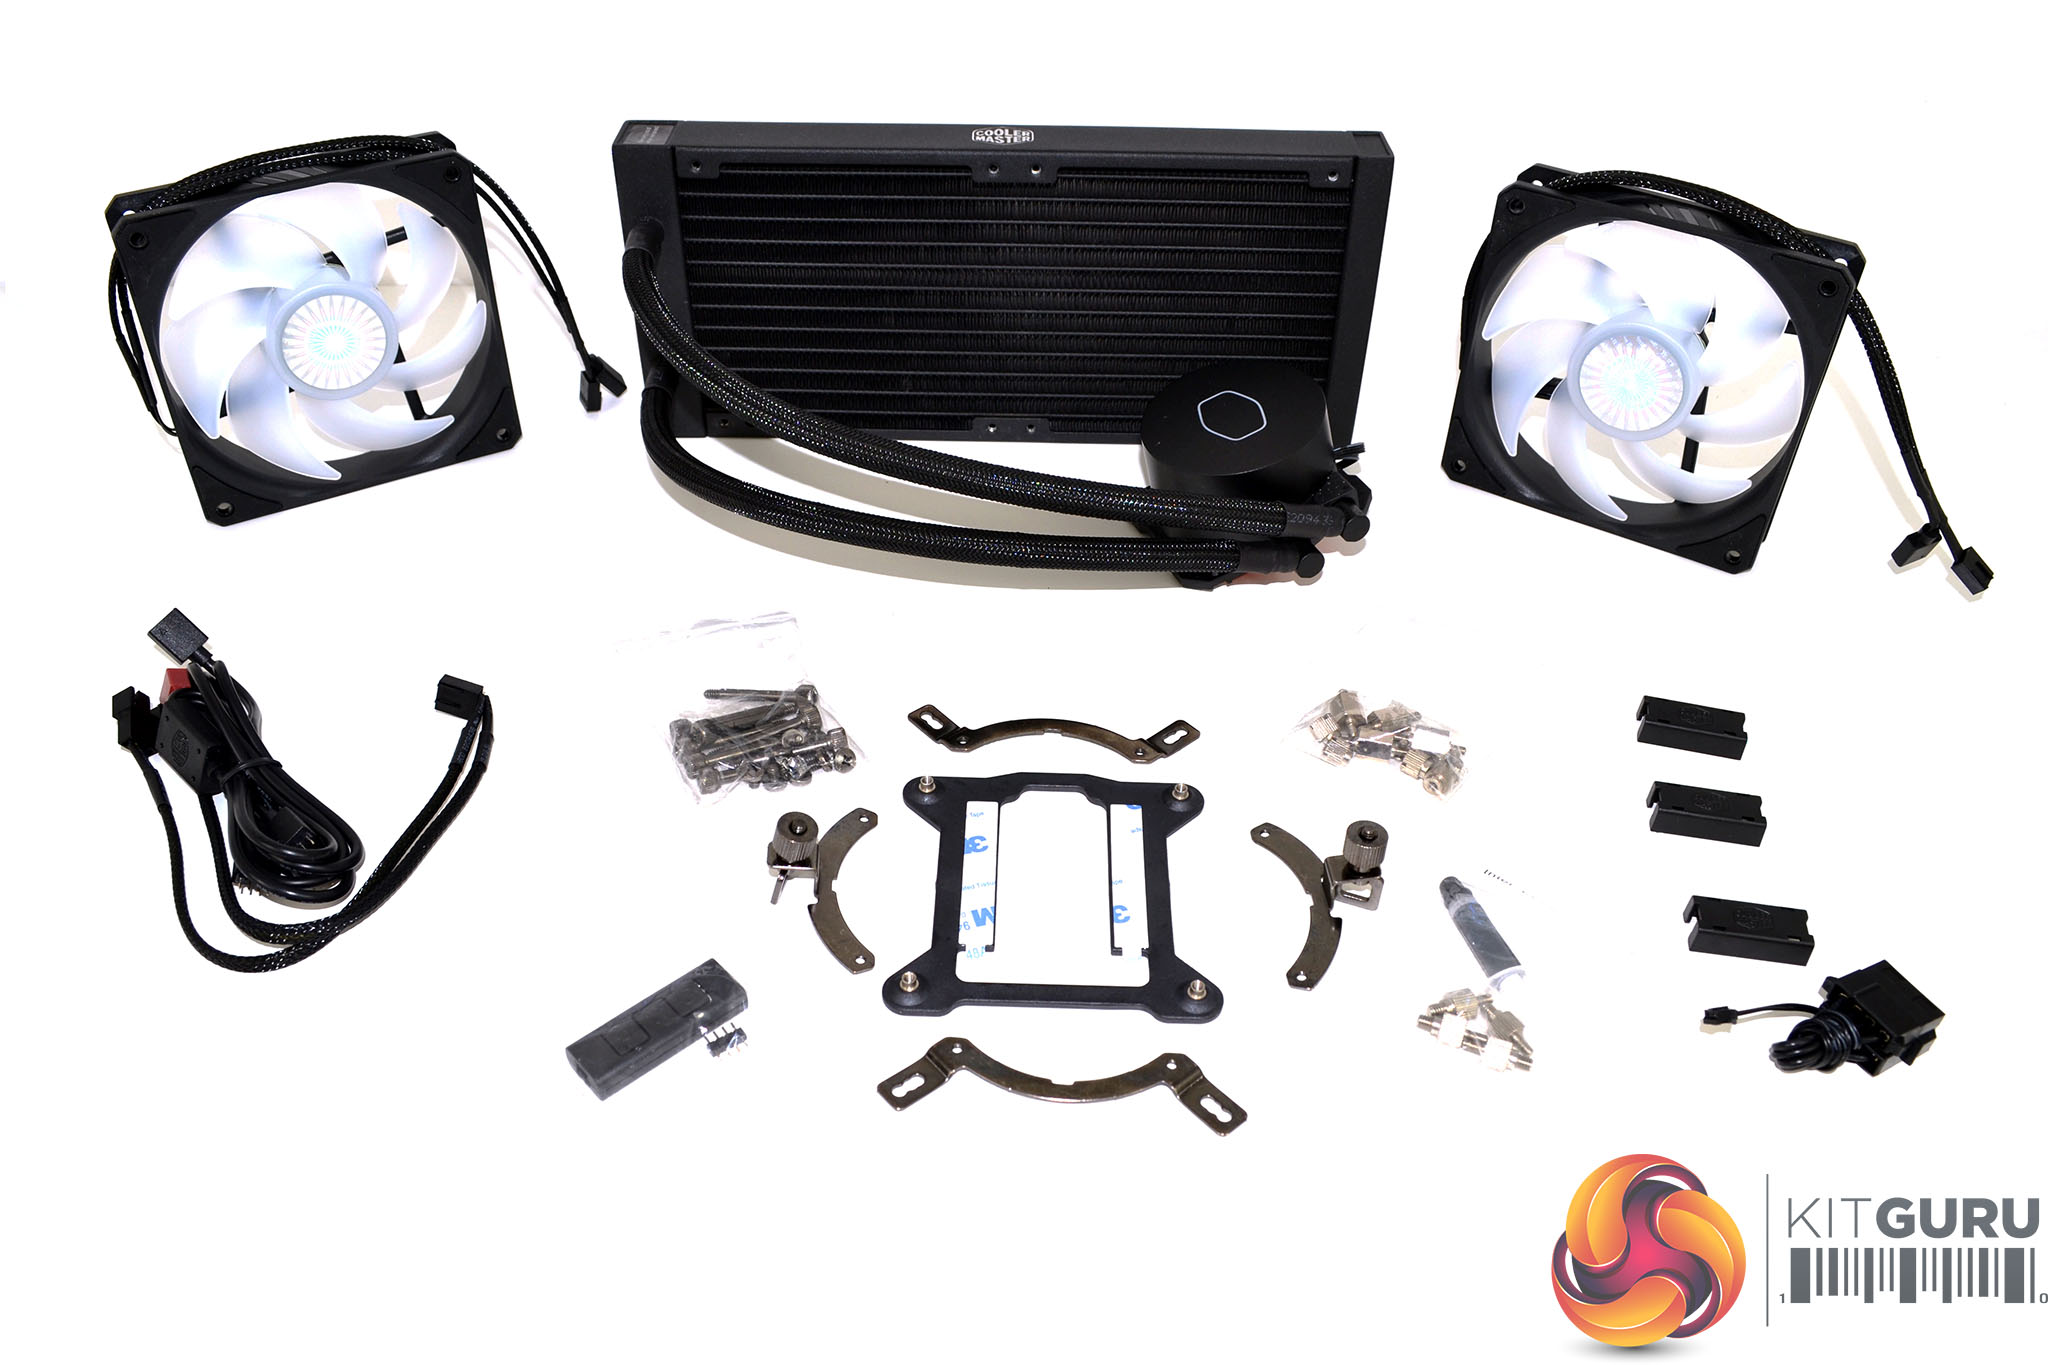
Inside the packaging, the components of the cooler have additional protection by a cardboard crate where all the parts are neatly separated. Included inside the box is two SickleFlow 120 RGB fans, mounting hardware for both Intel and AMD platforms, a small tube of thermal compound, a standalone RGB lighting controller, RGB and fan cable splitters, a user manual and warranty leaflet as well as the cooler itself.
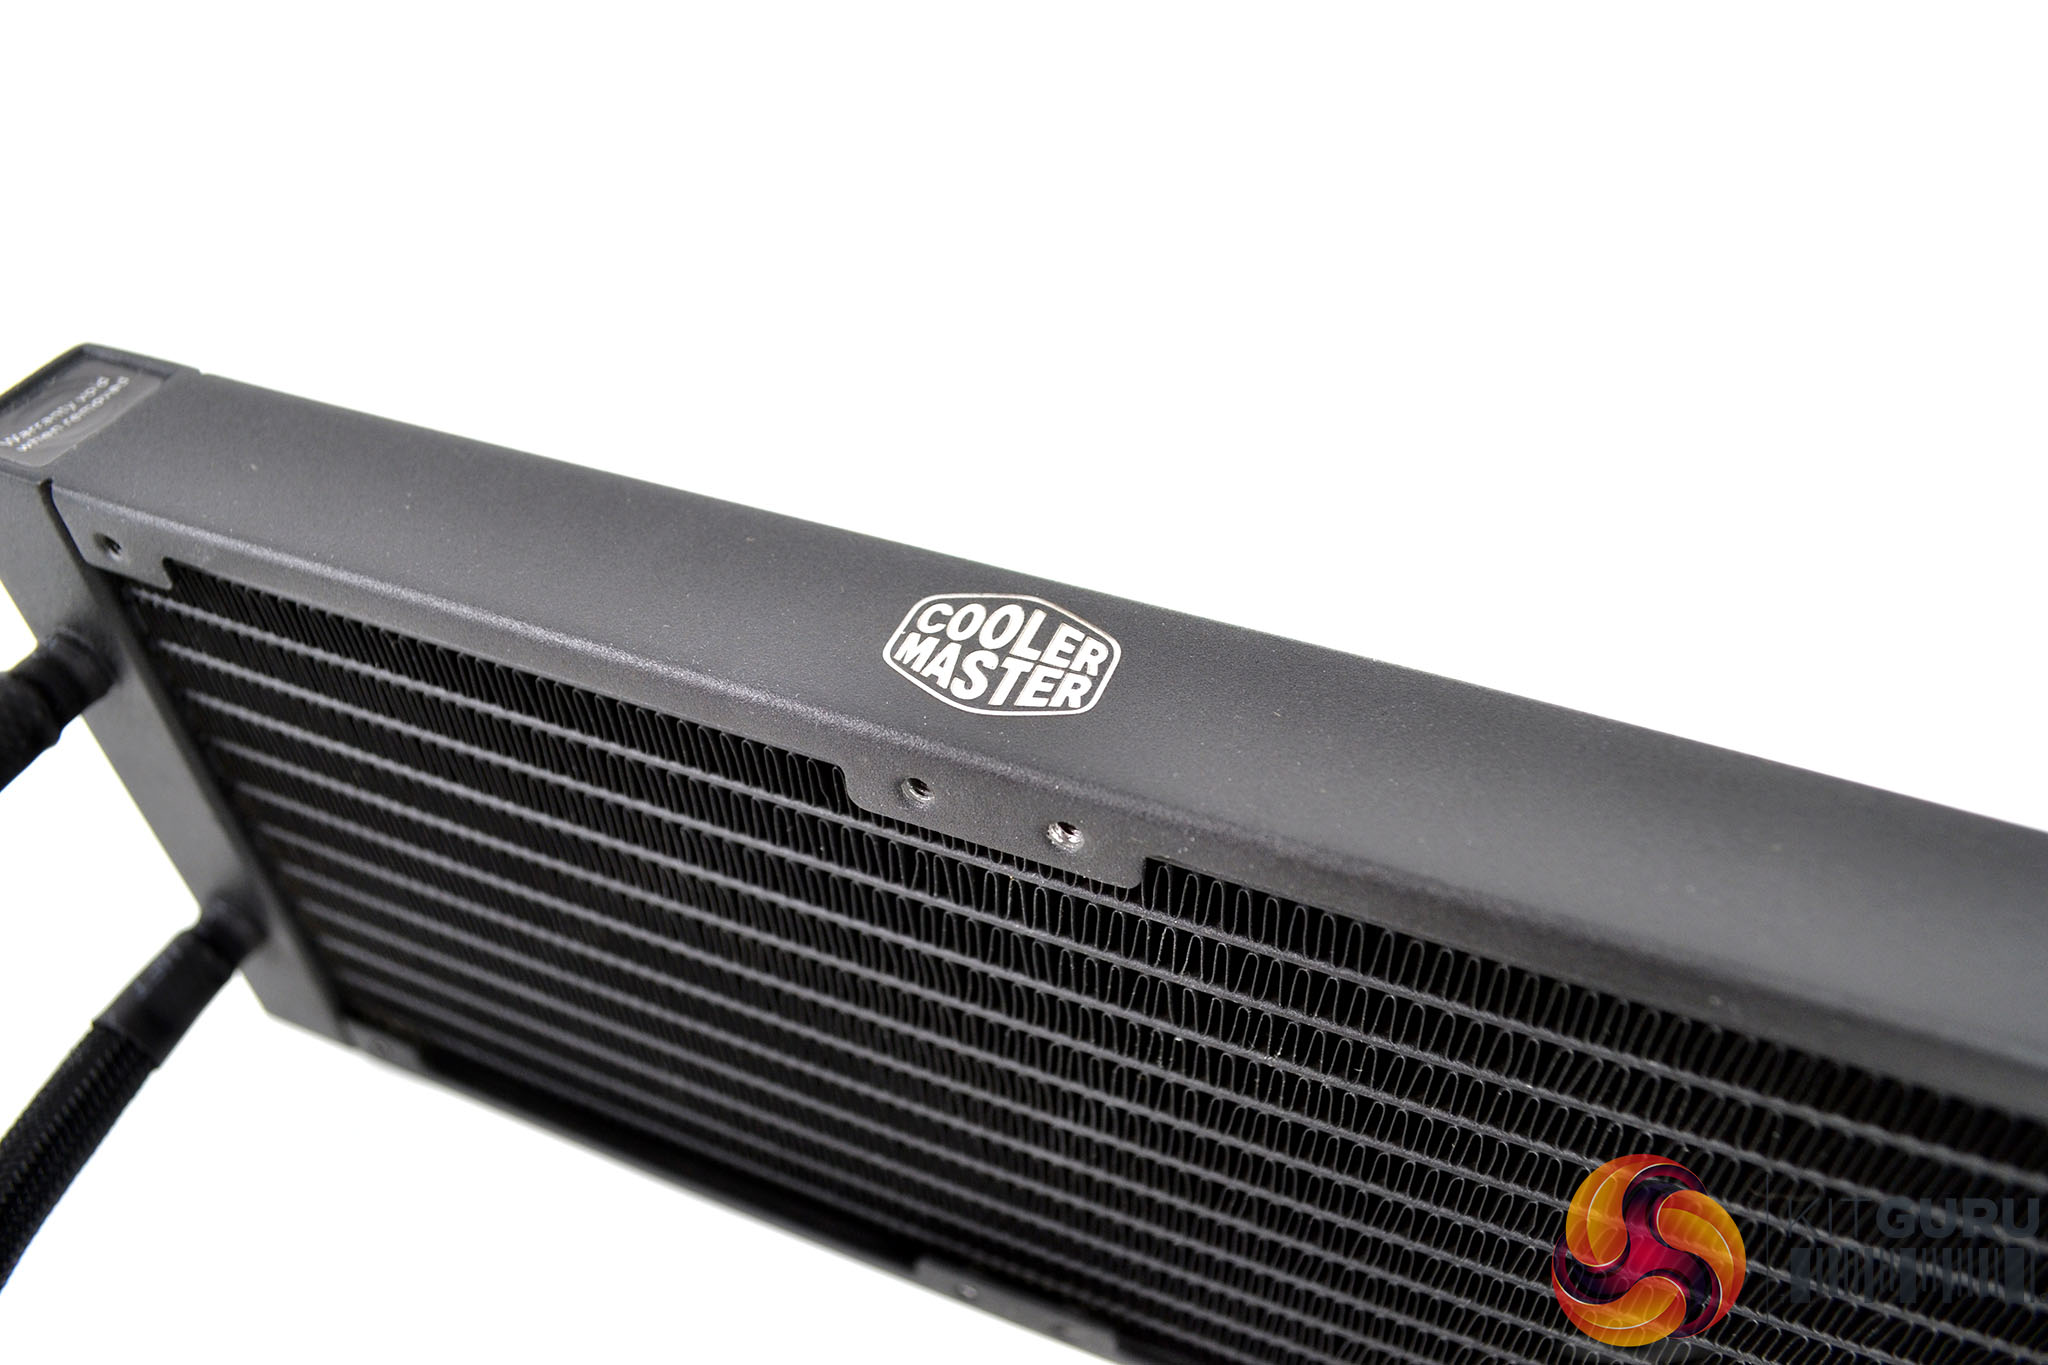
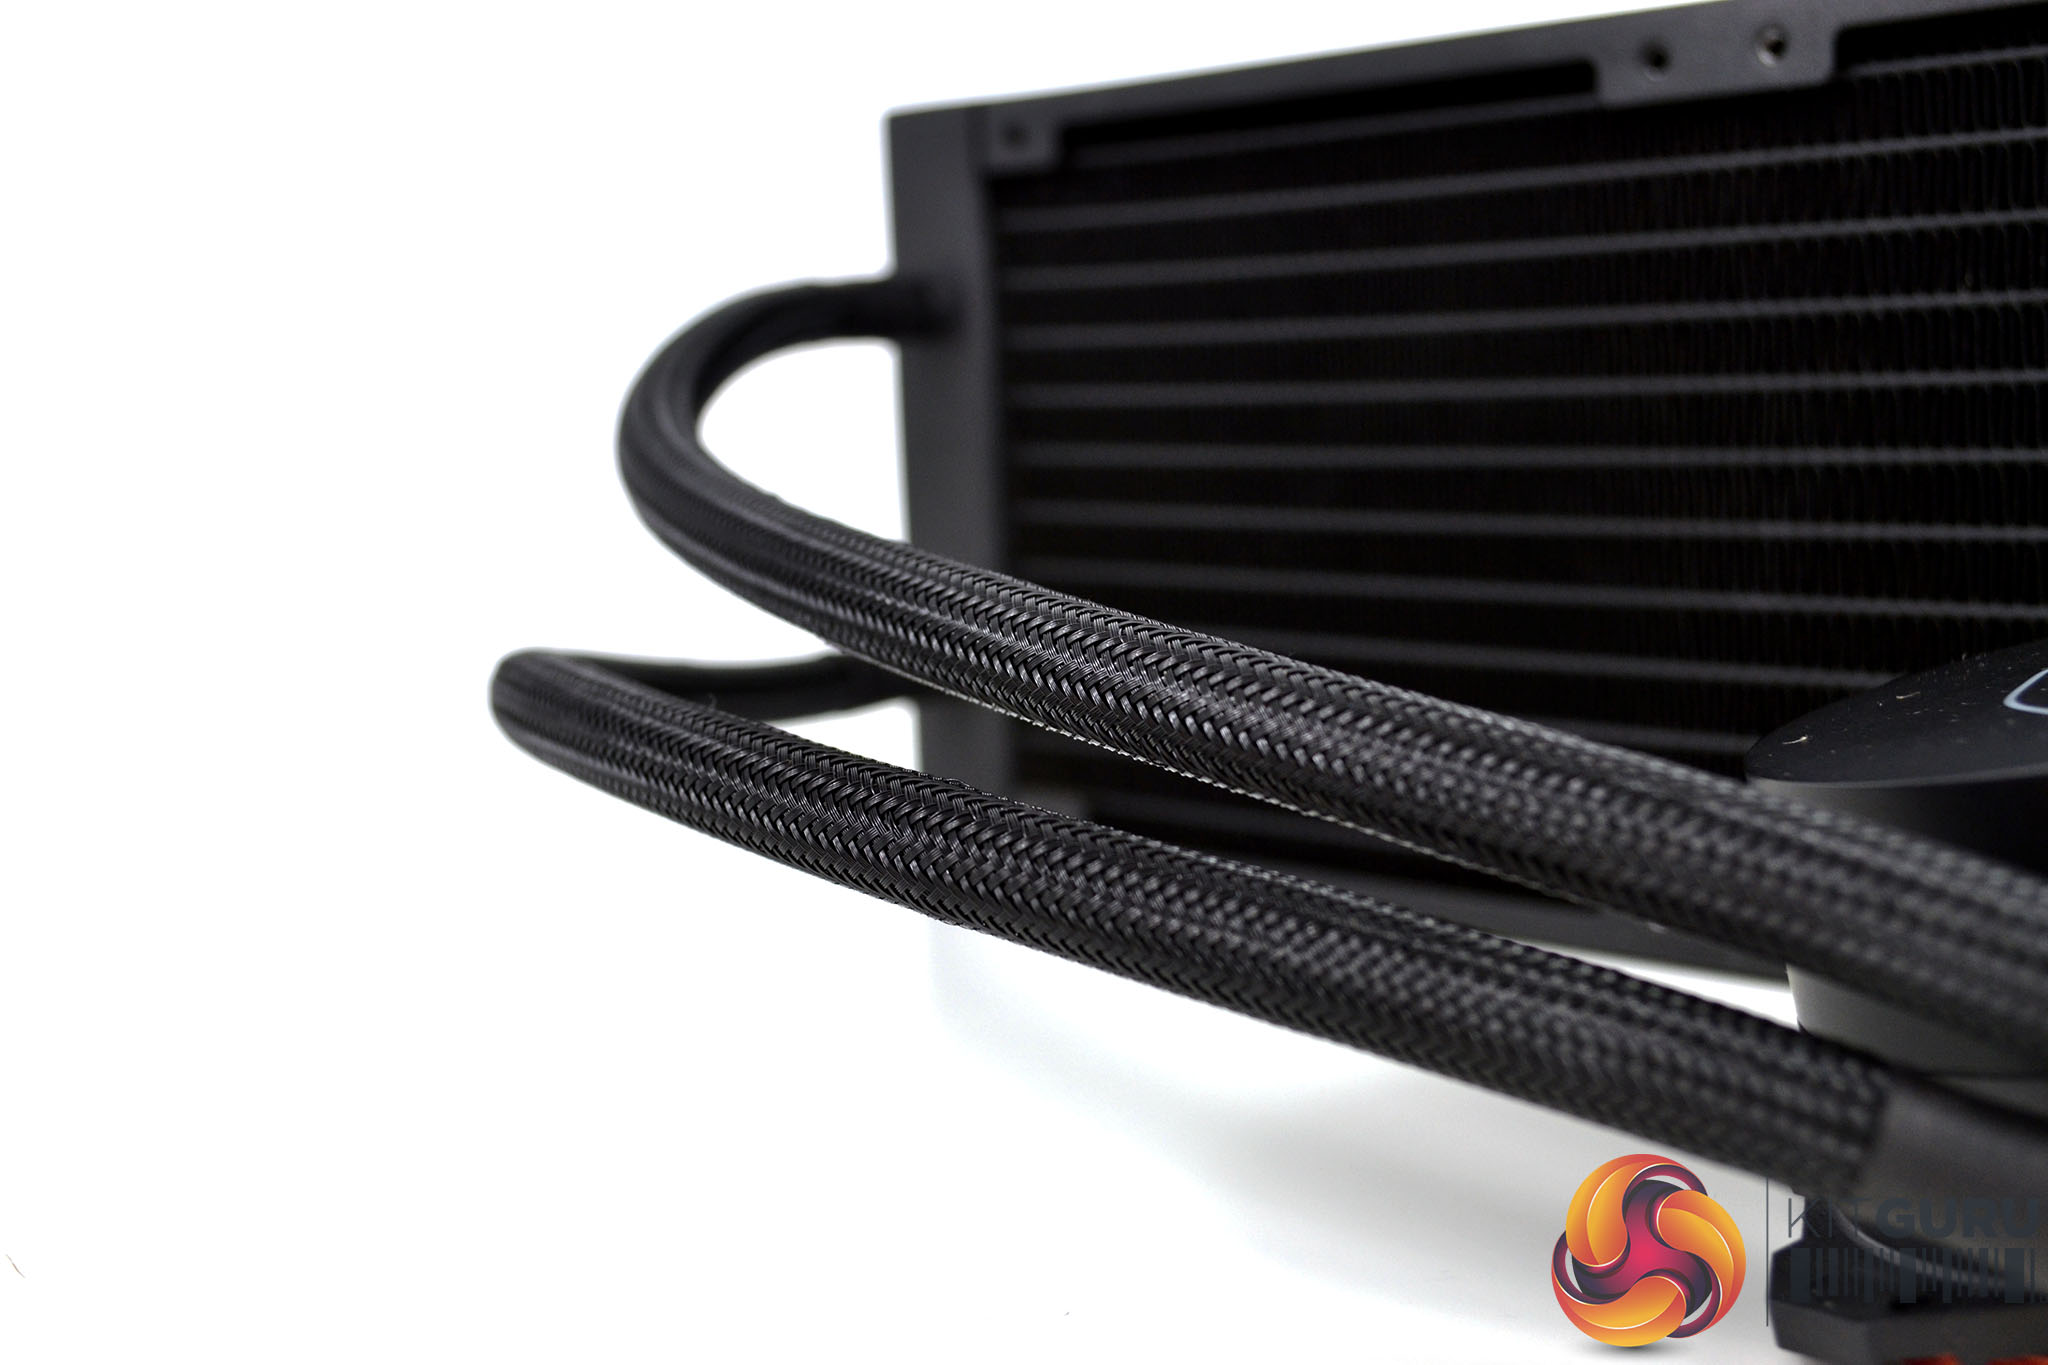
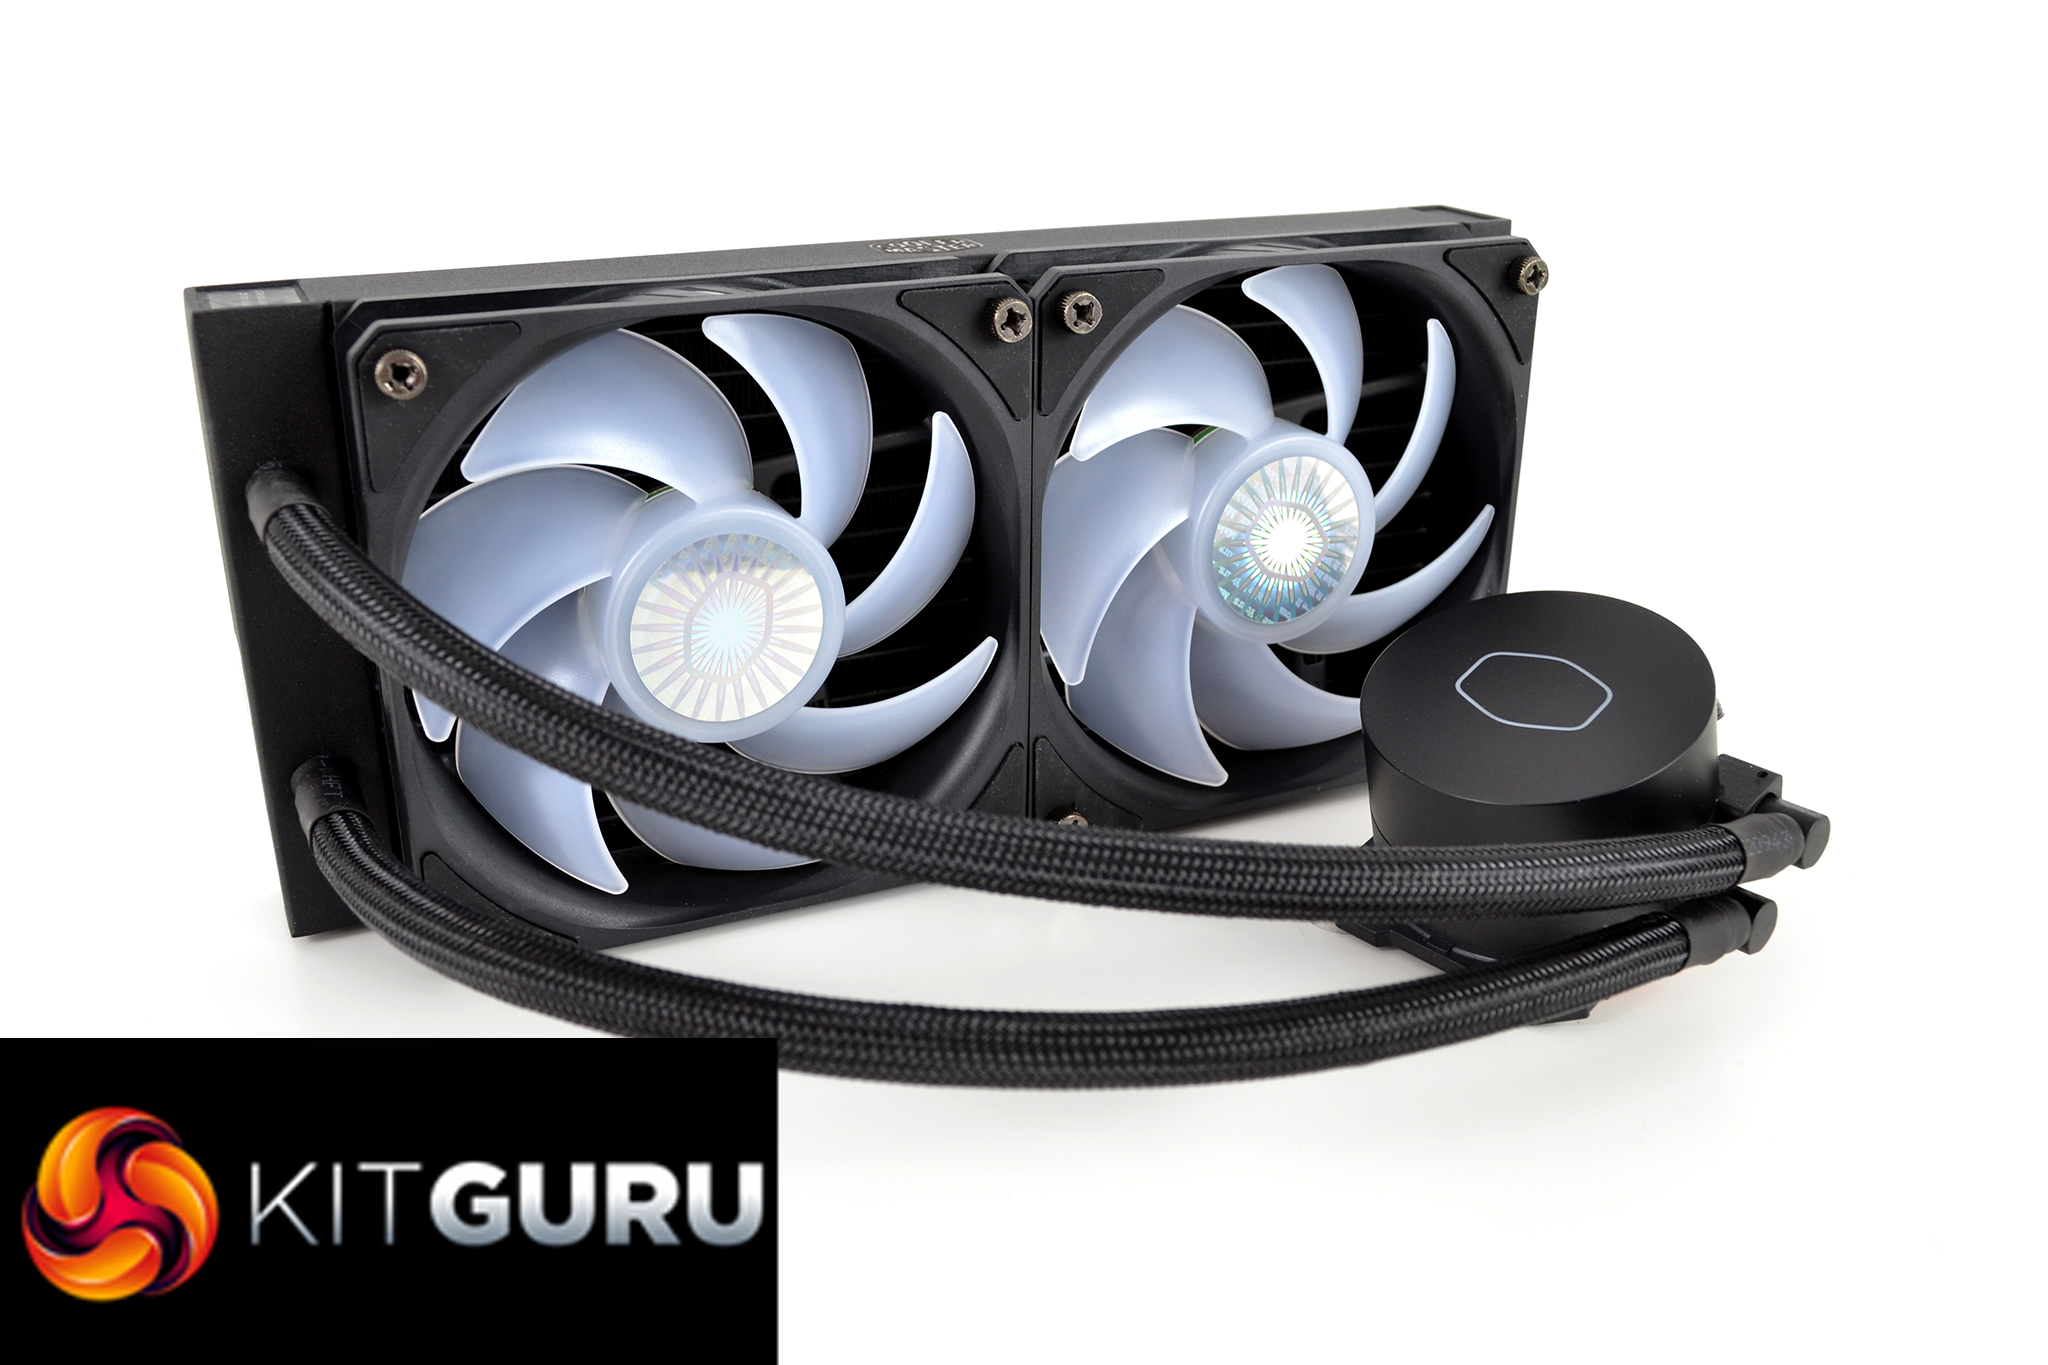
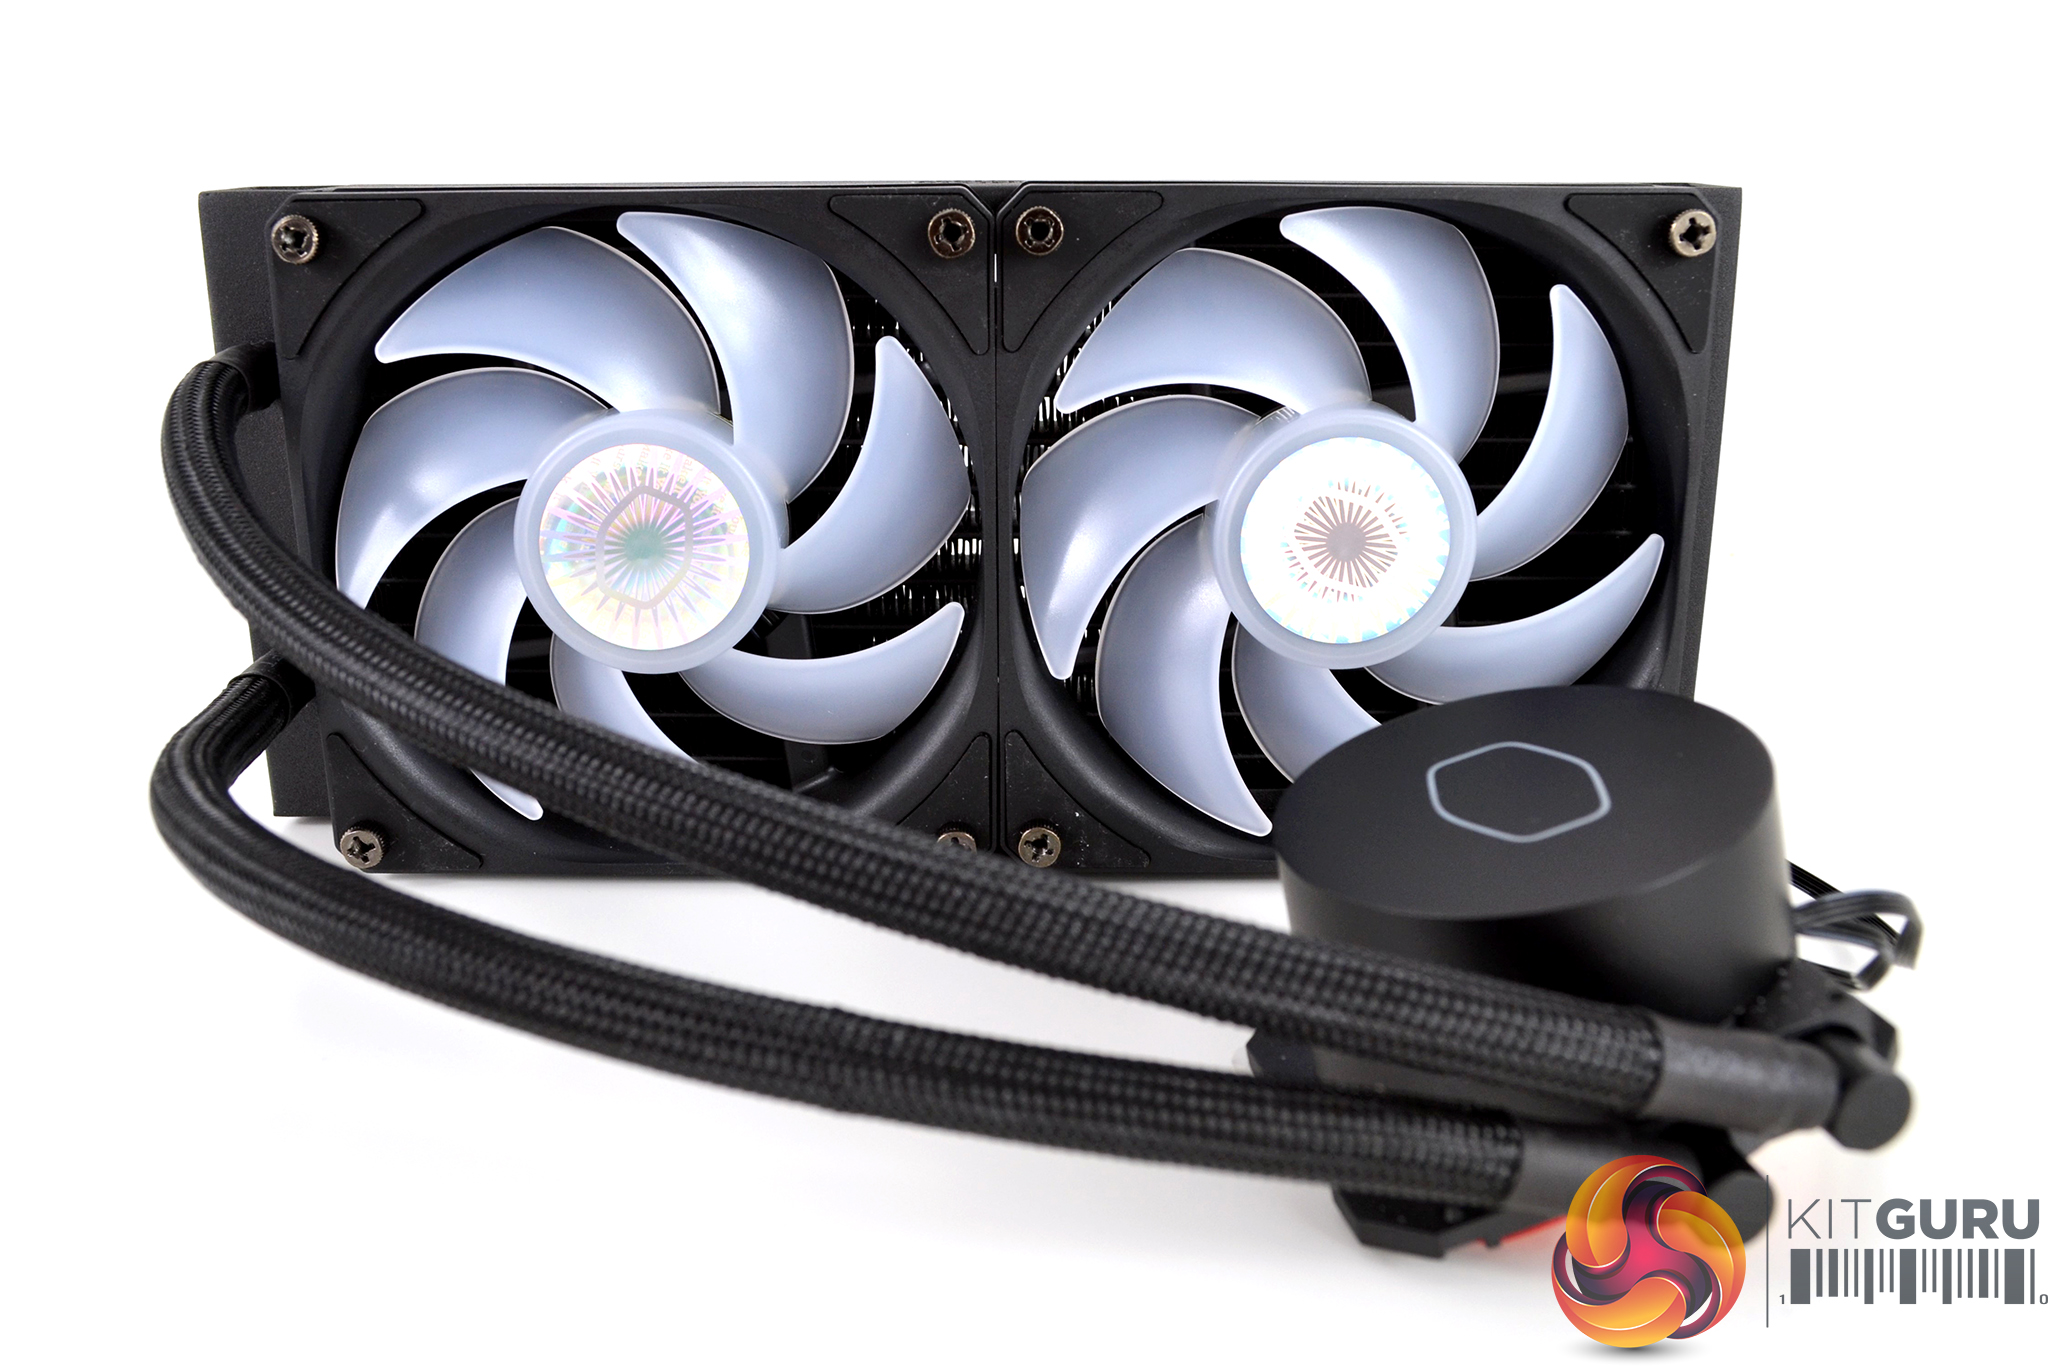
The ML240L V2 radiator is covered in a black coating with a textured feel, this looks nice compared with the usual smooth appearance and gives the radiator a real premium looking appearance. The tubing is approximately 300mm long, manufactured from reinforced rubber and it has a very stiff feel, with braided sheathing that further enhances the premium look.
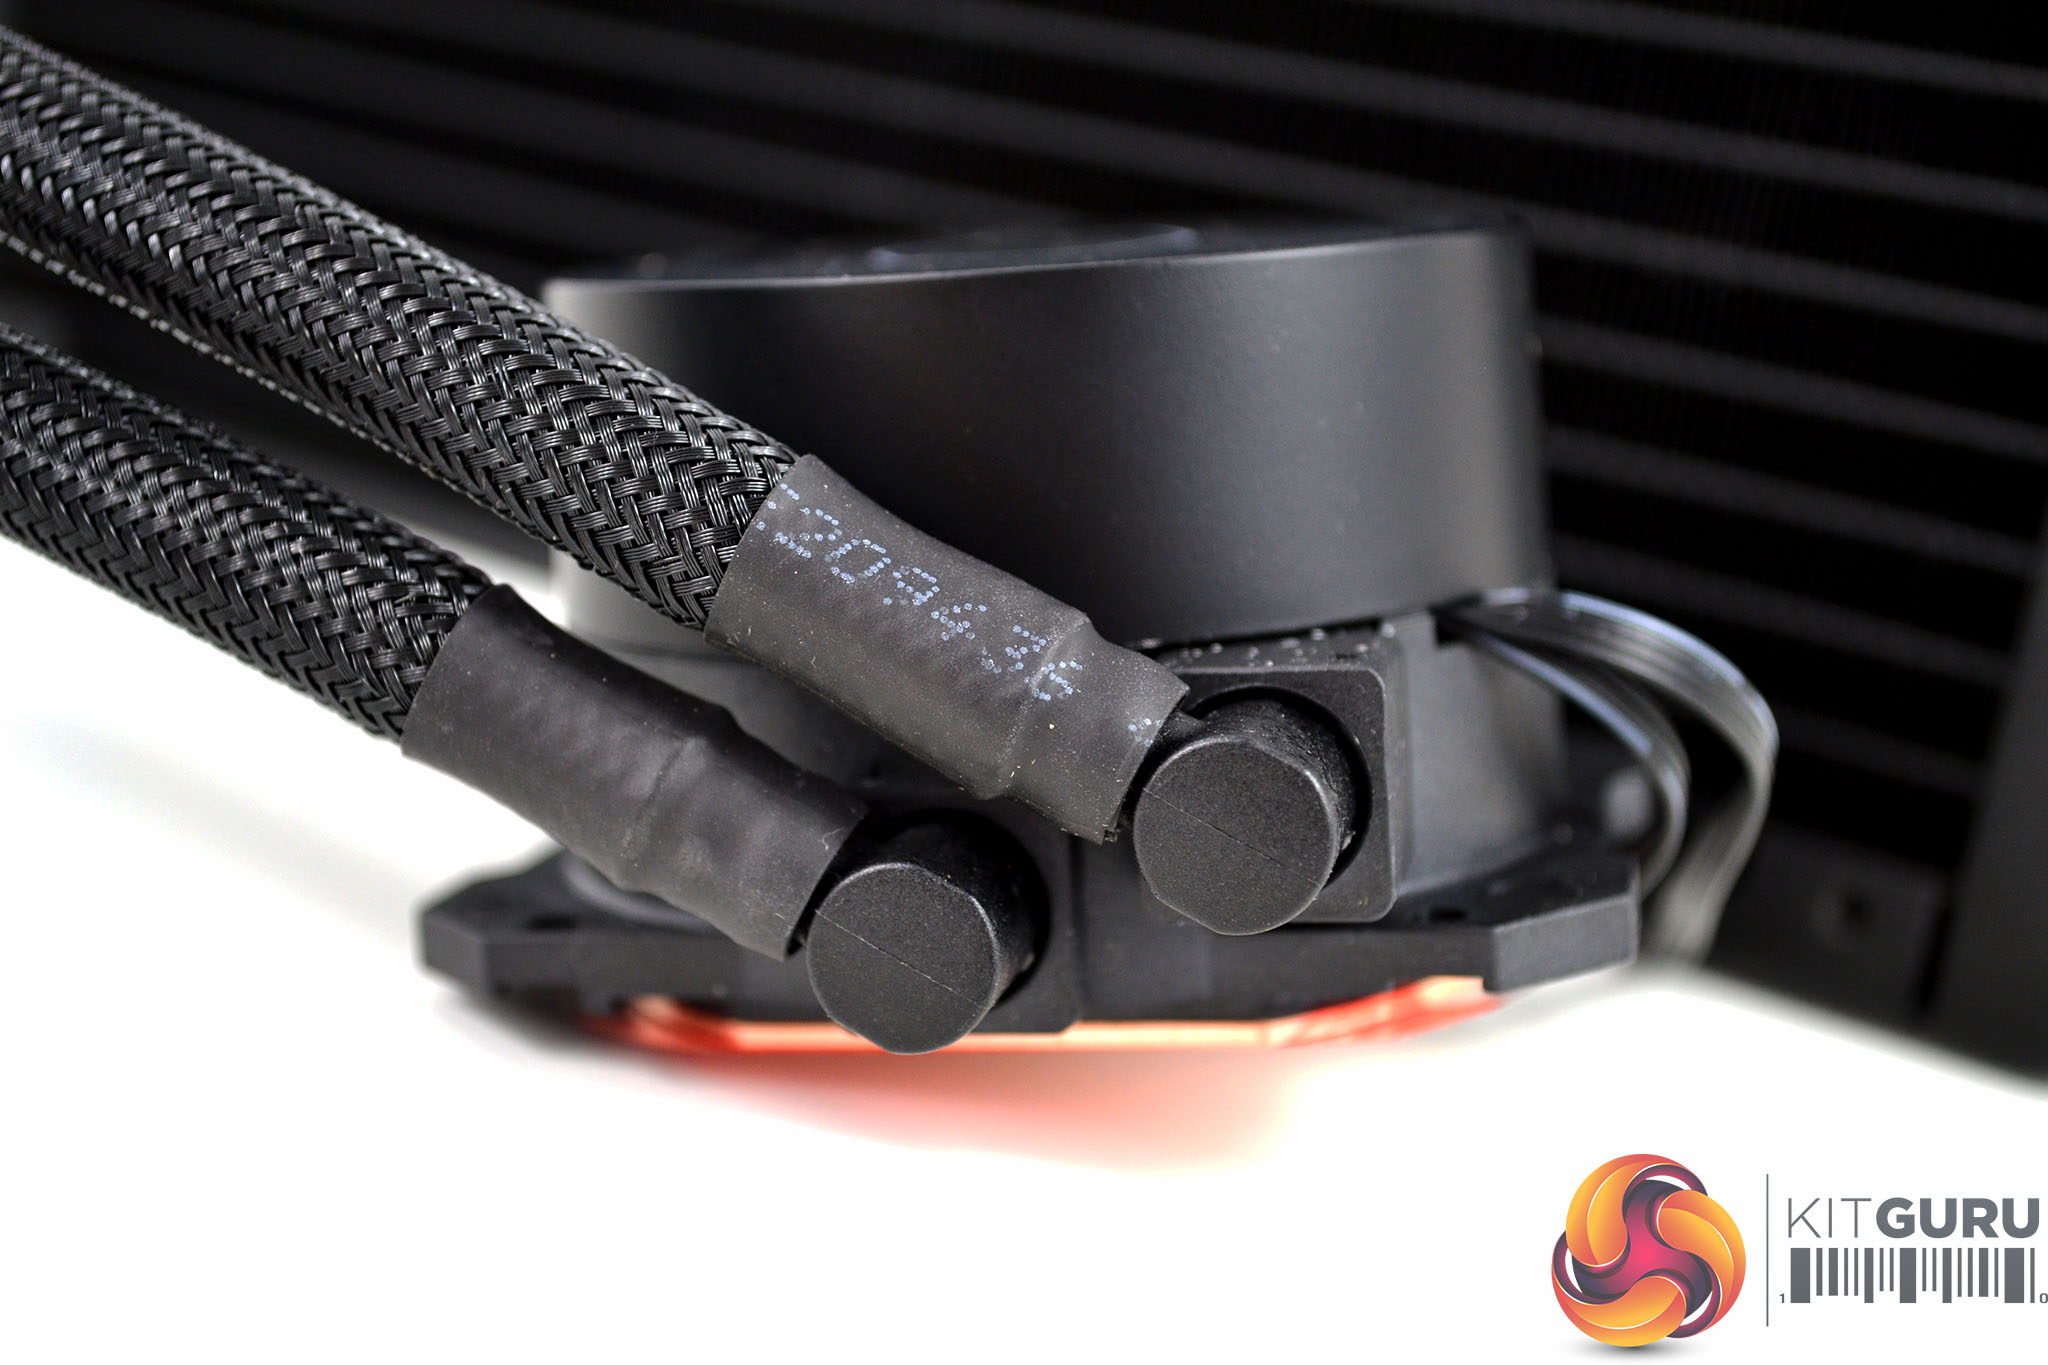
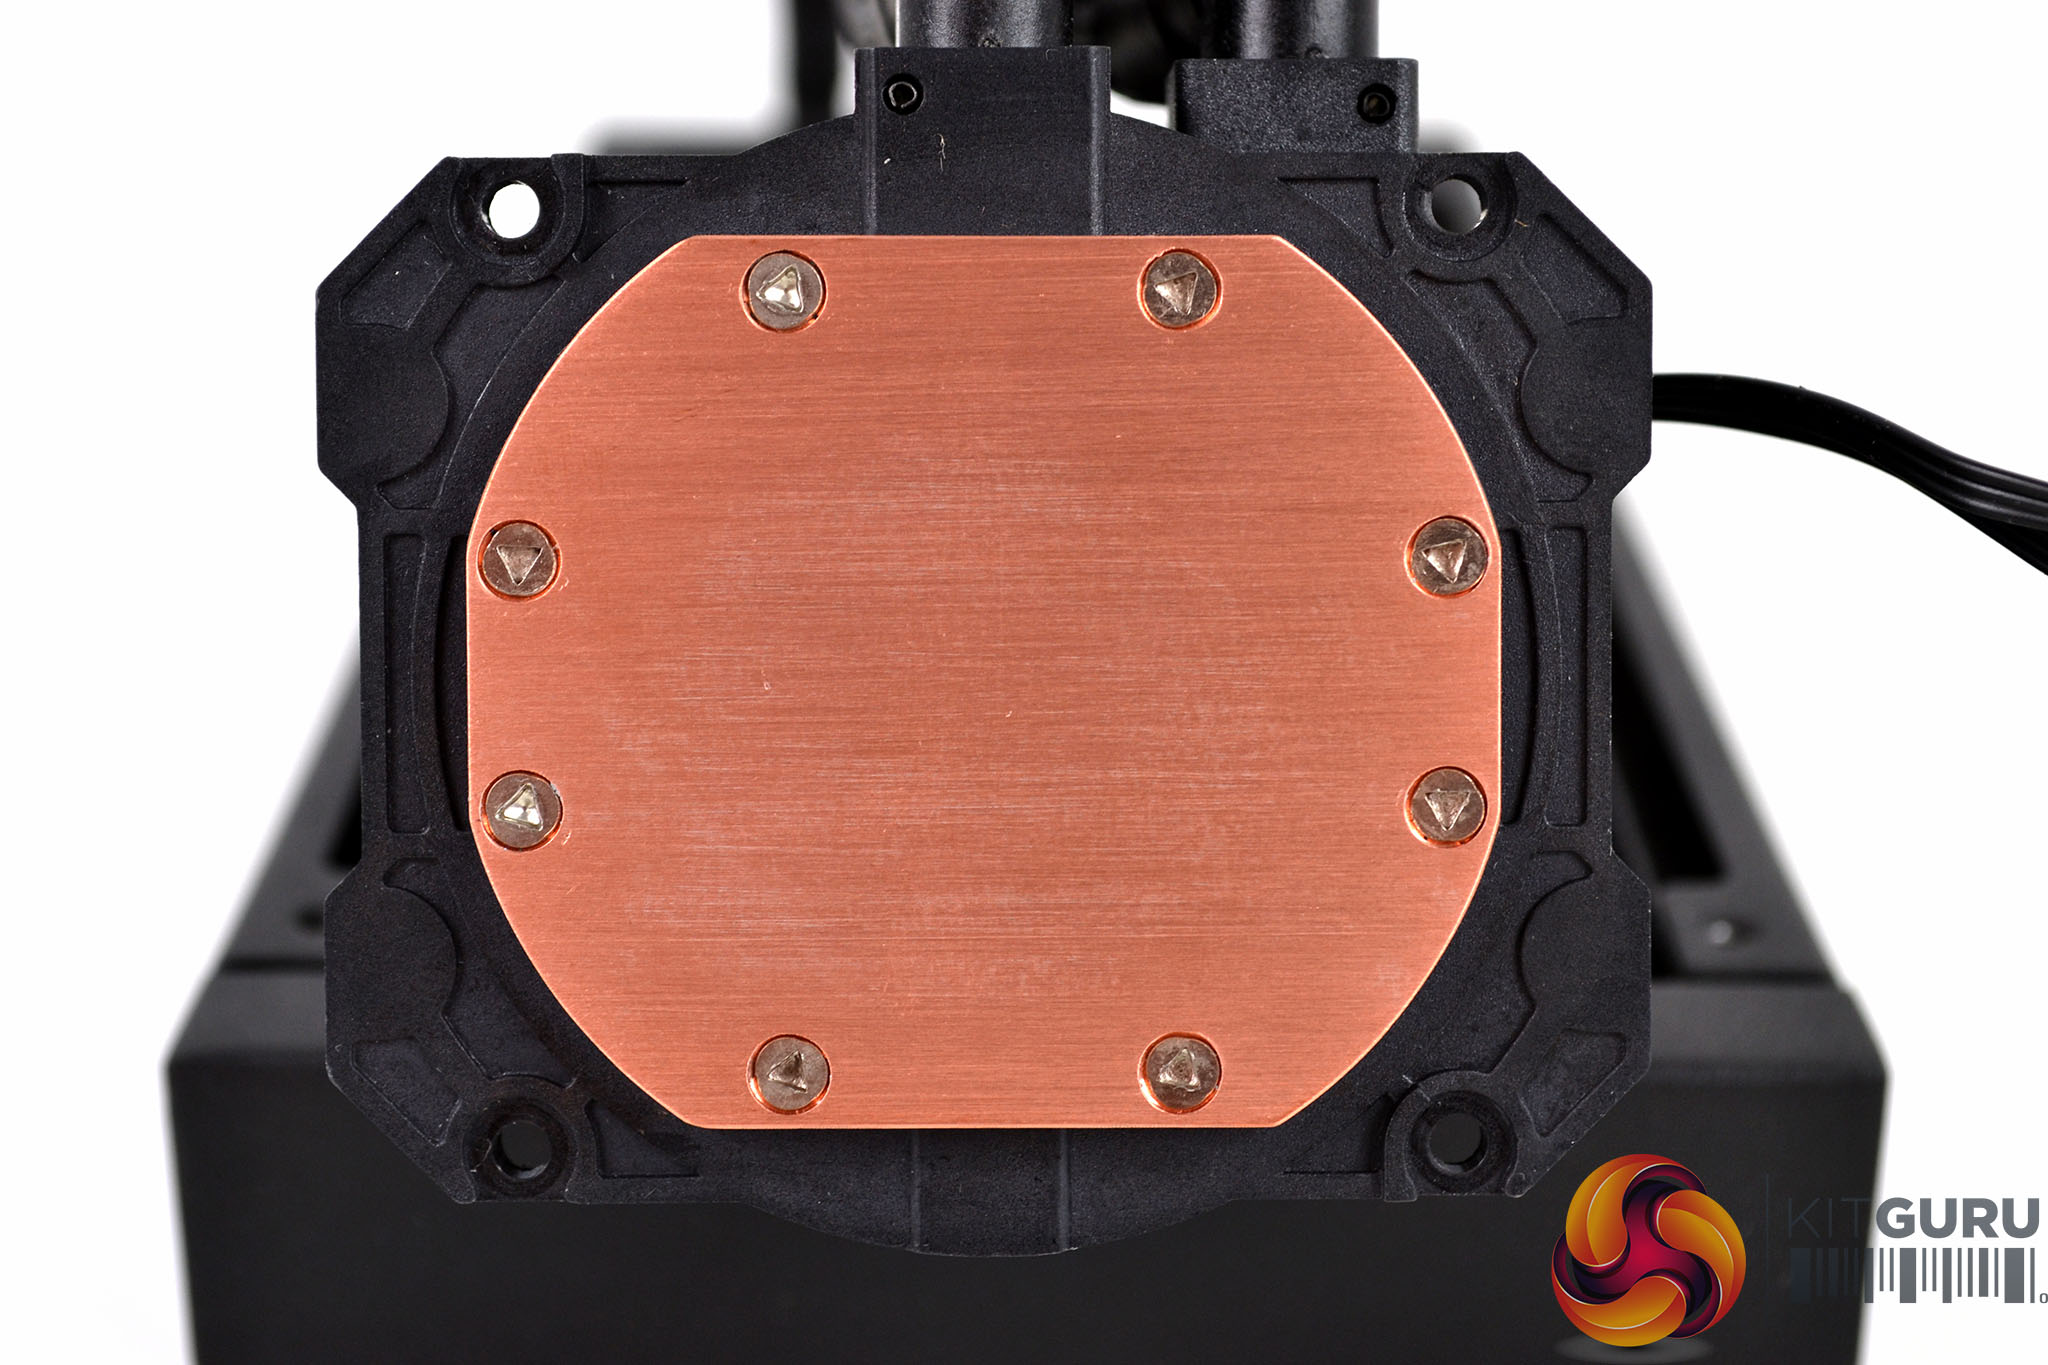
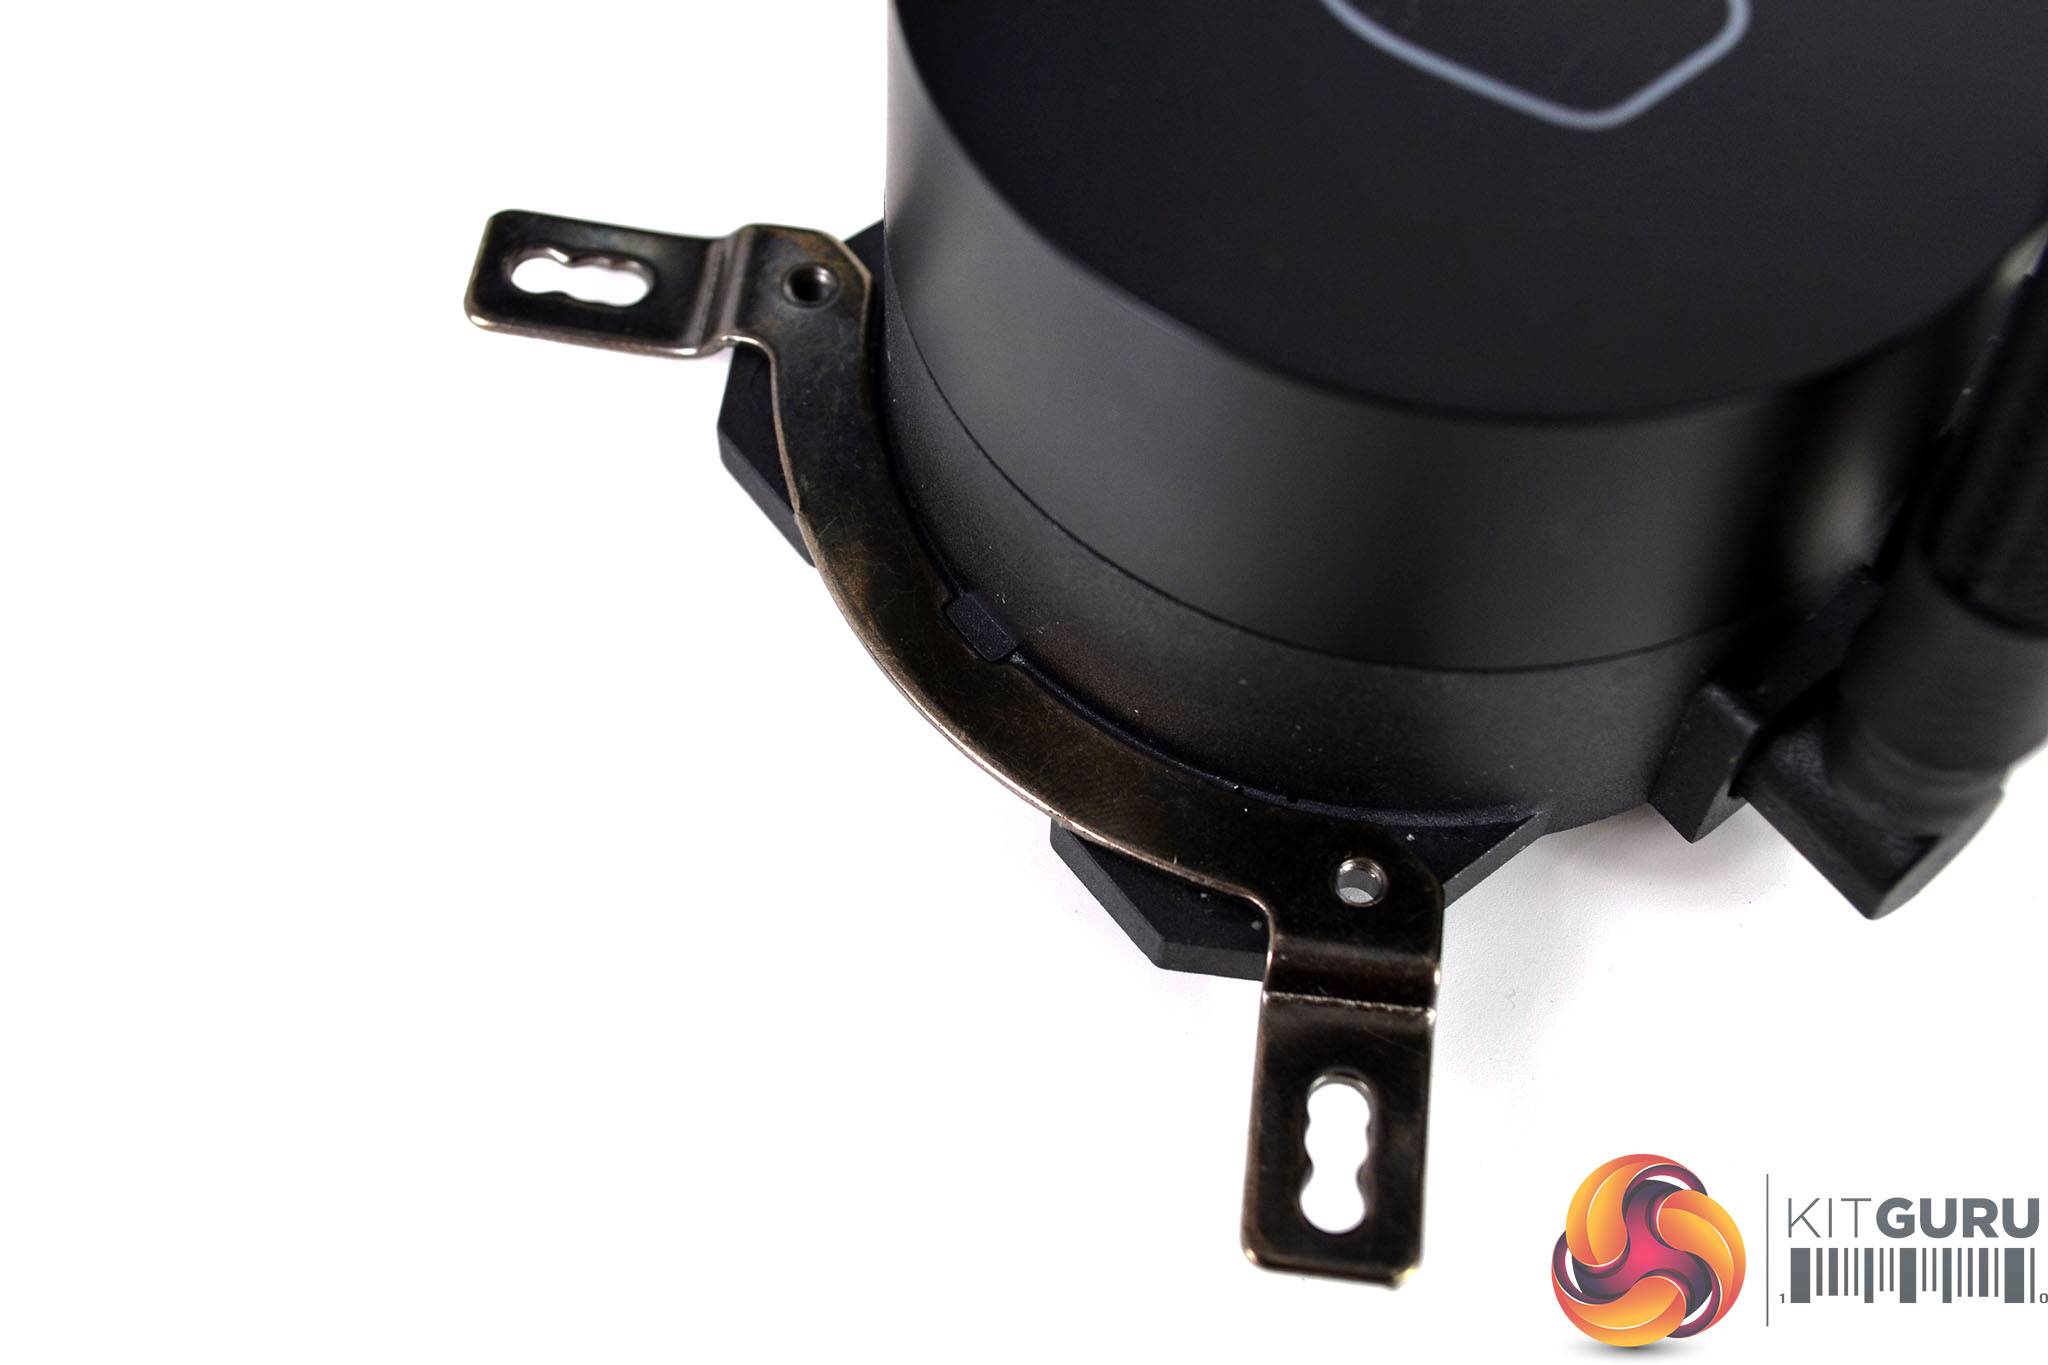
At the base of the pump housing, the tubing connects via two rotatable 90° fittings to assist installation. The underside of the CPU block includes a copper thermal transfer plate, the base plate seems to have an evenly flat surface with minimal machining marks. No thermal compound coating is pre-applied from the factory; however, Cooler Master provides a small tube in the box.
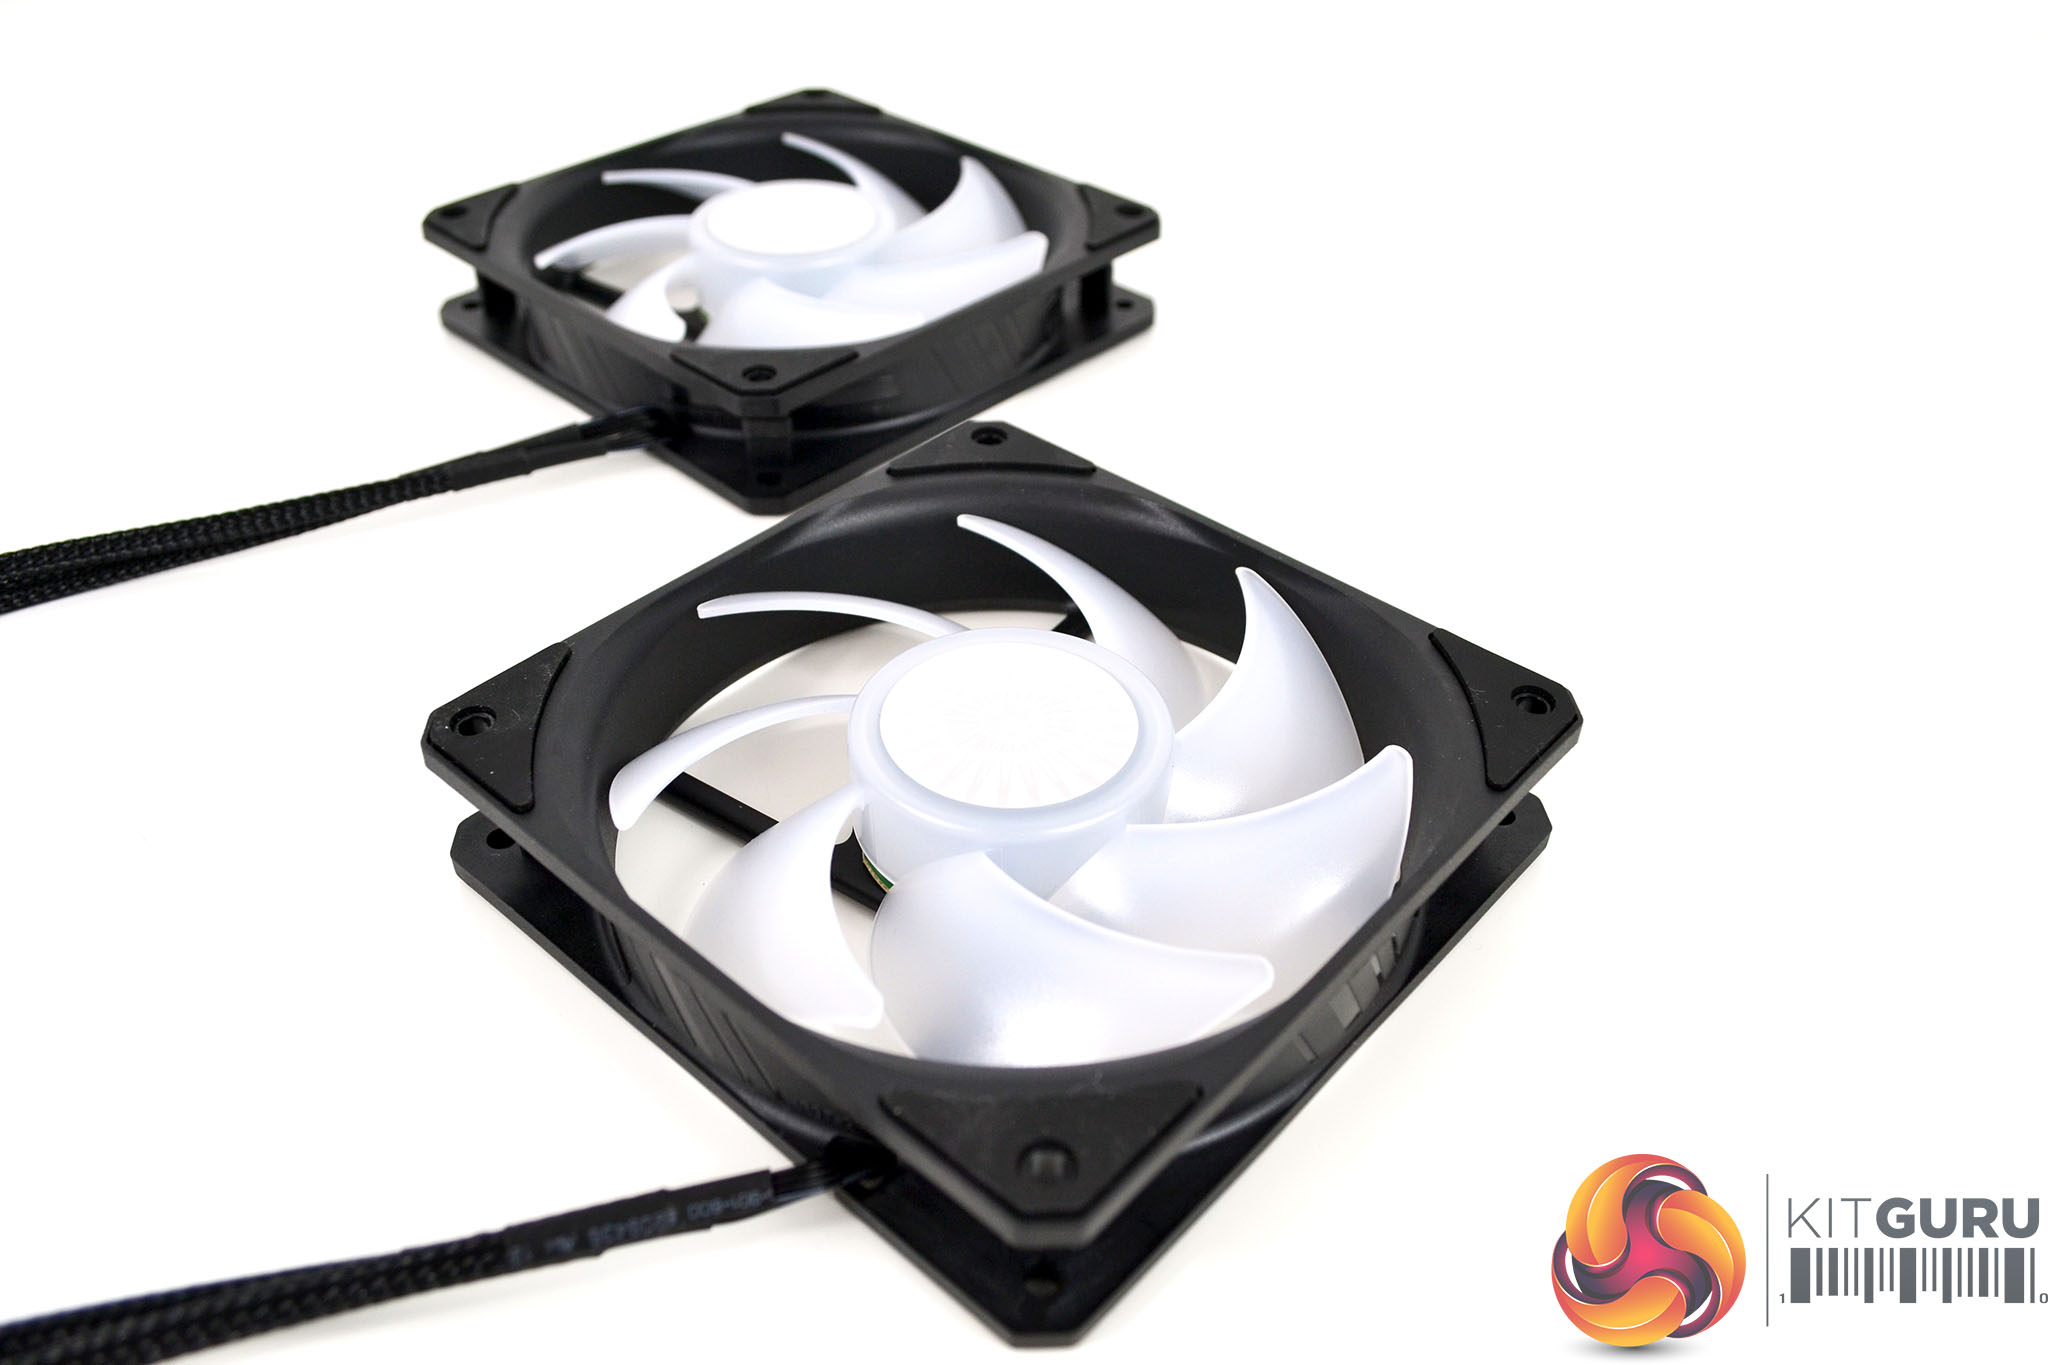
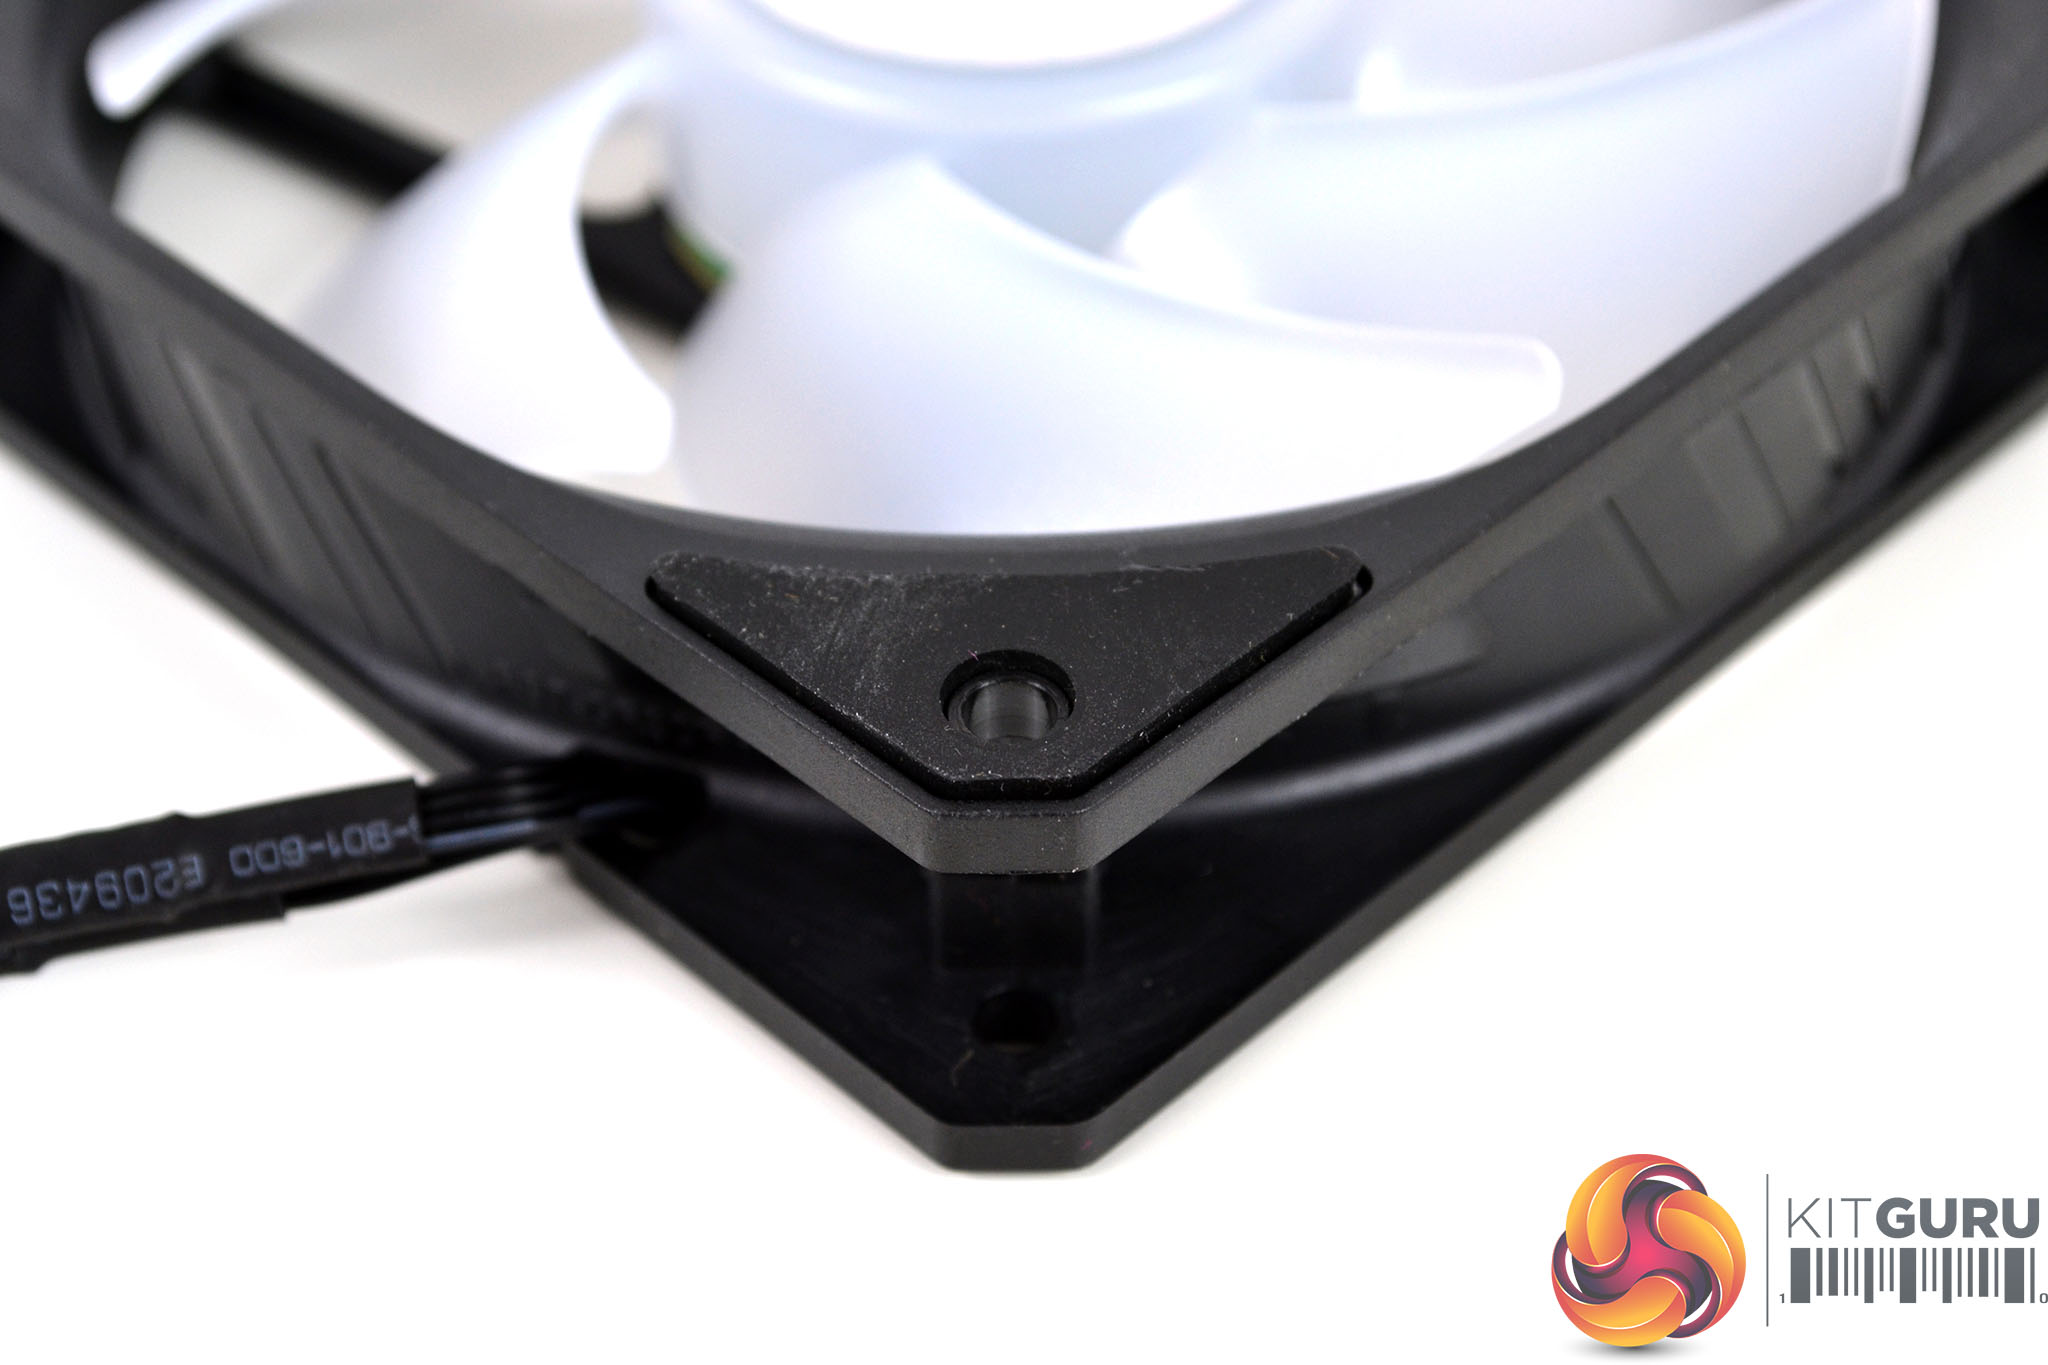
Two included SickleFlow 120 RGB fans also have a premium looking appearance, the frames have a completely square shape to them and fully cover the radiator. On all four corners, there are rubber anti-vibration pads and the cable is covered in a braided sleeving.
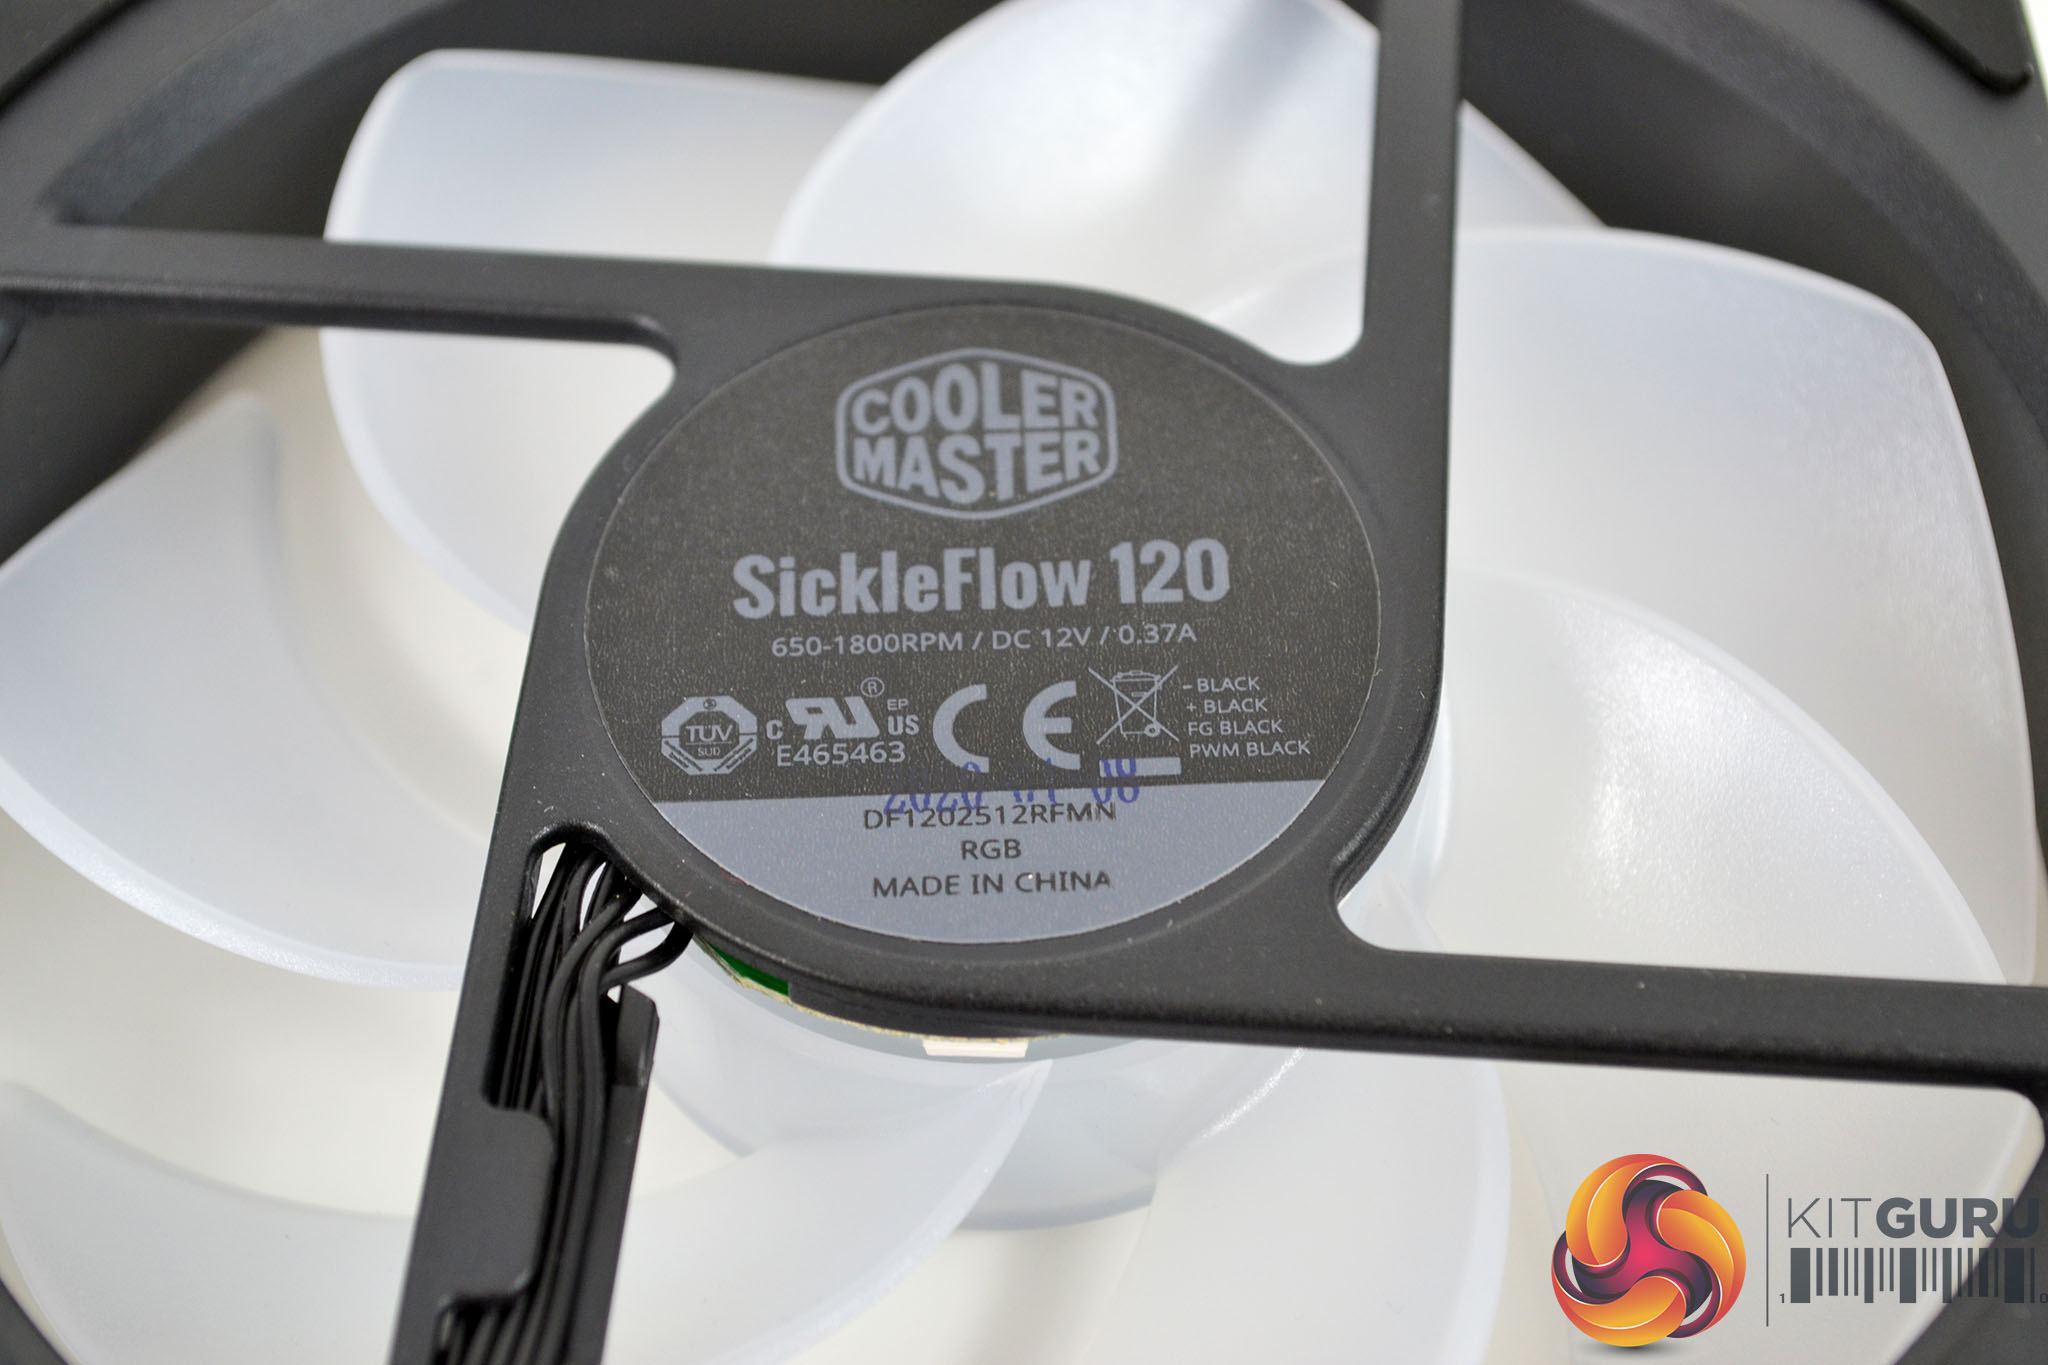
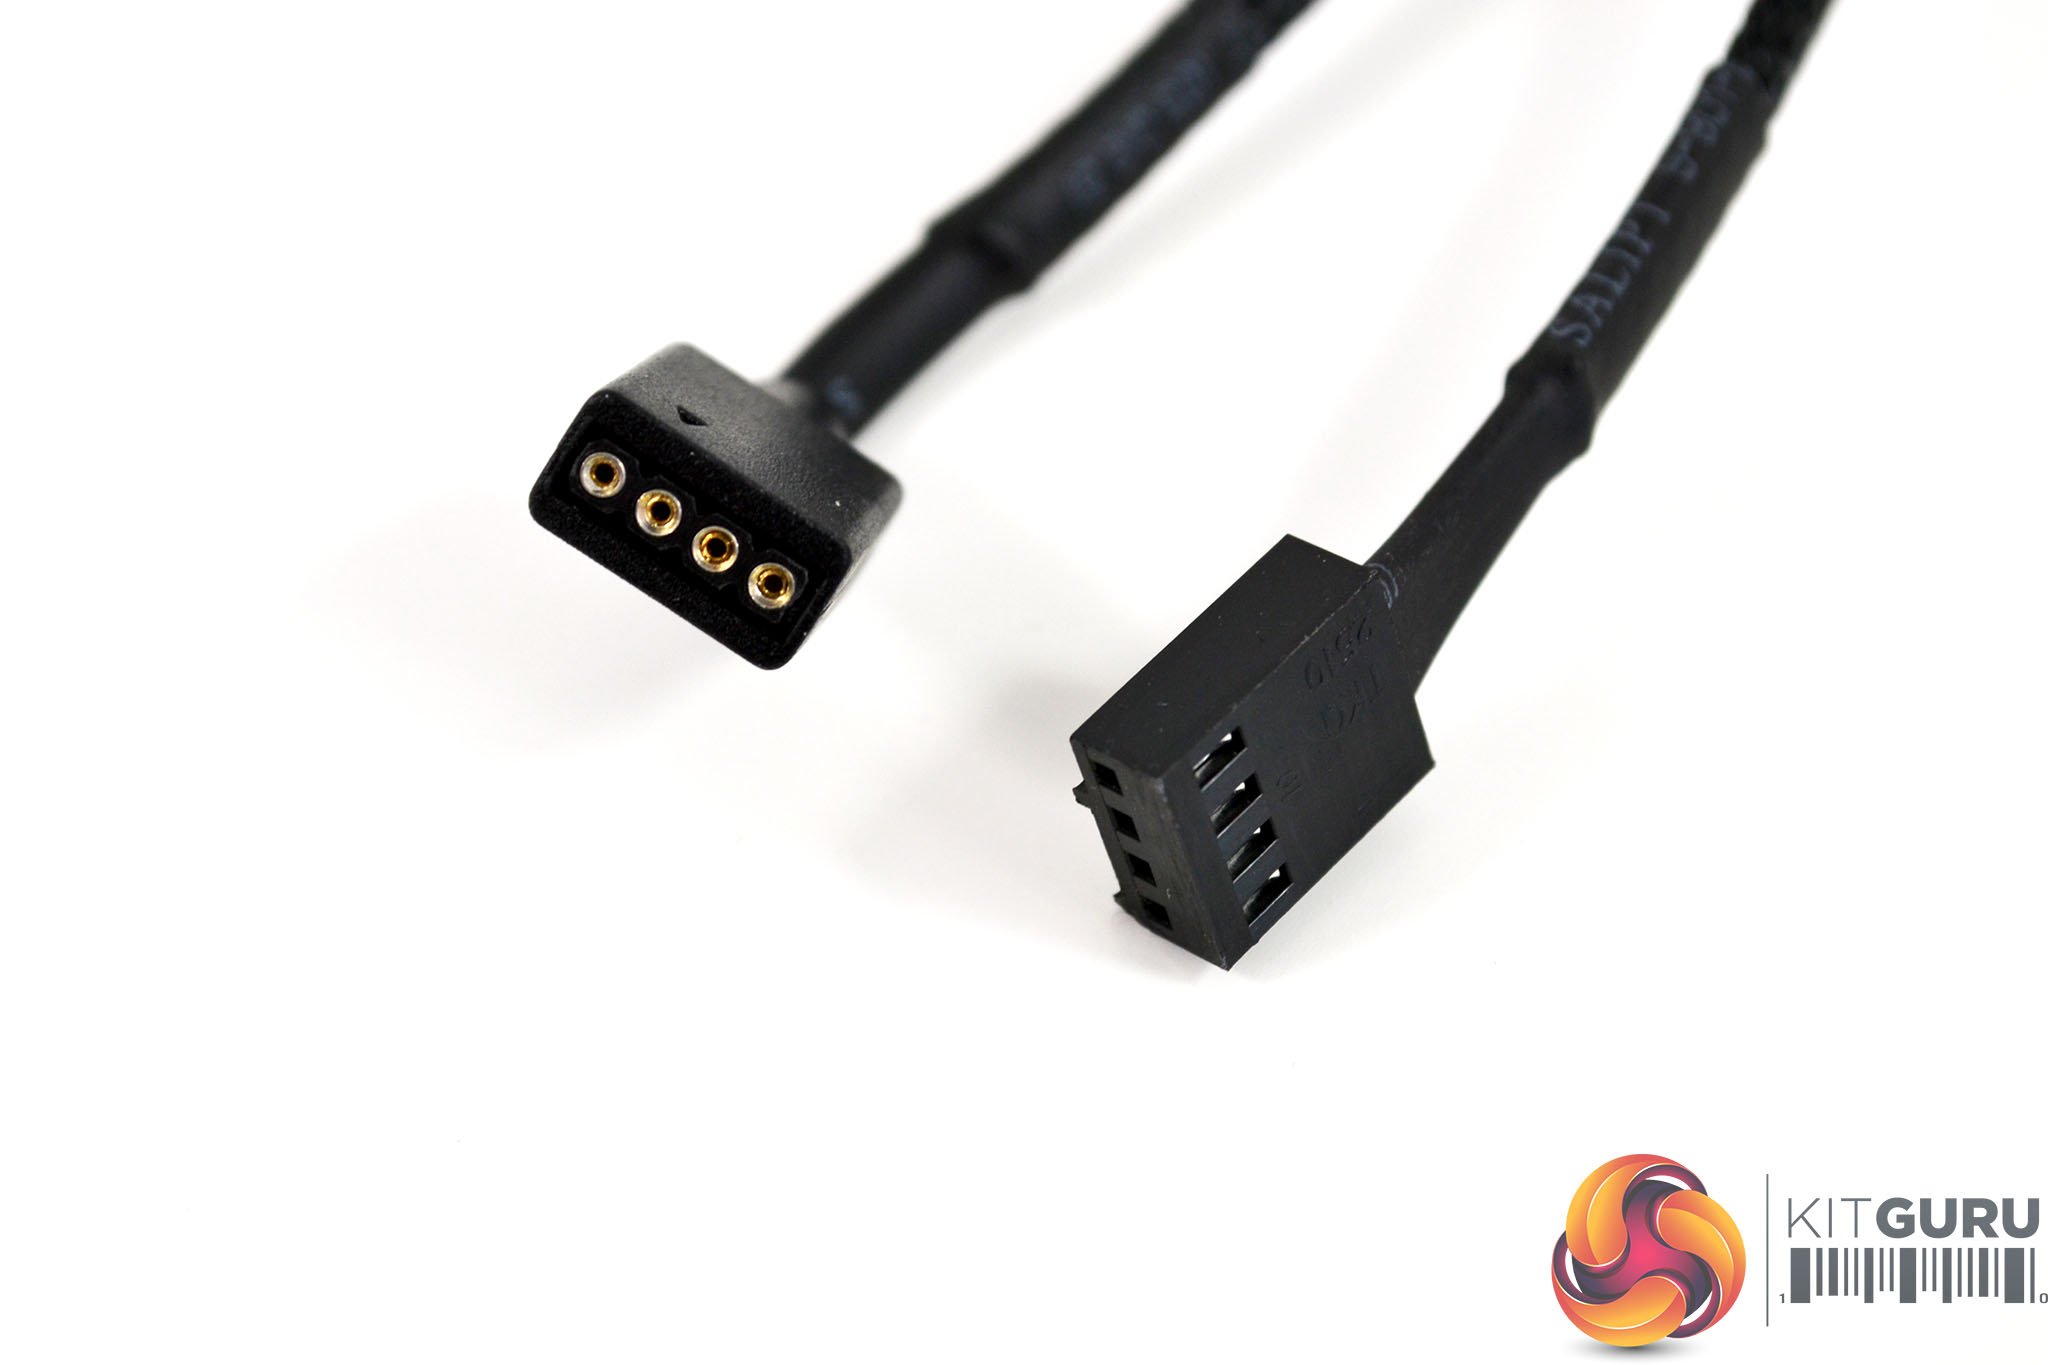
SickleFlow 120 fans are equipped with seven opaque fan blades featuring RGB illumination, which looks quite different to the previous MasterFan bundled with the original ML240L, so it will be interesting to see how the appearance of the RGB lighting has moved on. Both the RGB and fan power cables are standard 4-pin versions to keep things simple which we particularly like.

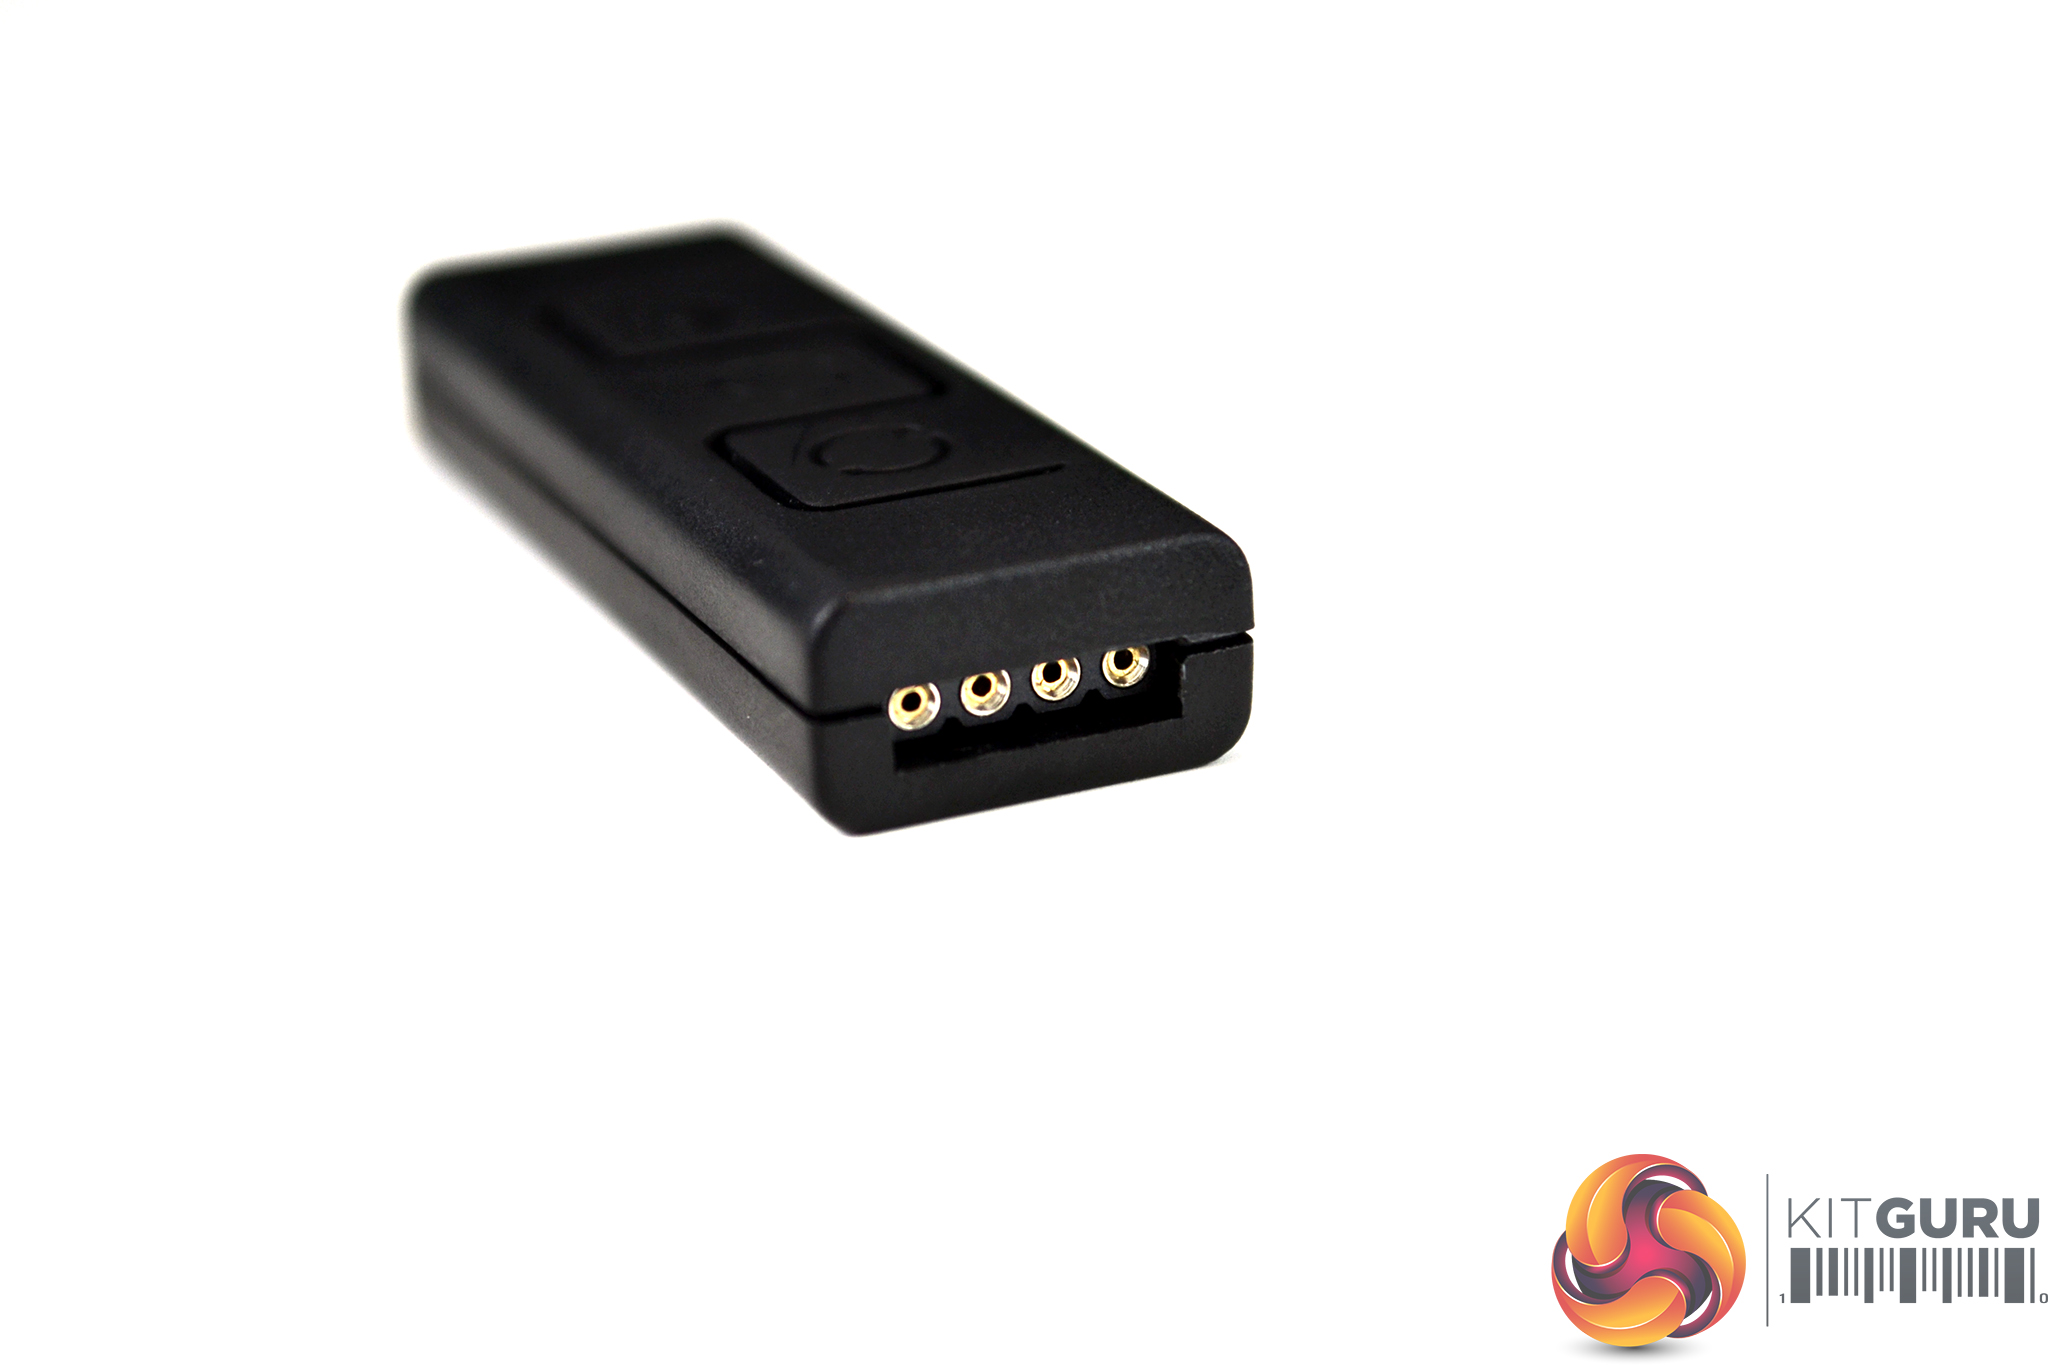
Included with the ML240L V2 is a simple RGB lighting controller for those users who don’t have an RGB equipped motherboard. The controller takes power from a Molex connection and there are just three buttons to control various lighting colours and patterns. Connection to the motherboard is also an option and the RGB lighting is compatible with Asus Aura Sync, Gigabyte RGB Fusion, MSI Mystic Light and ASRock Polychrome Sync.
Overall, the ML240L V2 RGB is a quality looking cooler and certainly has a far more premium look than its price tag would suggest. Both the cooler and the fans seem to be well built using quality materials and extensive CPU socket support is covered out of the box.
Our test system is Intel Z390 based, therefore, we will be following the relevant Intel 115X socket installation procedure.
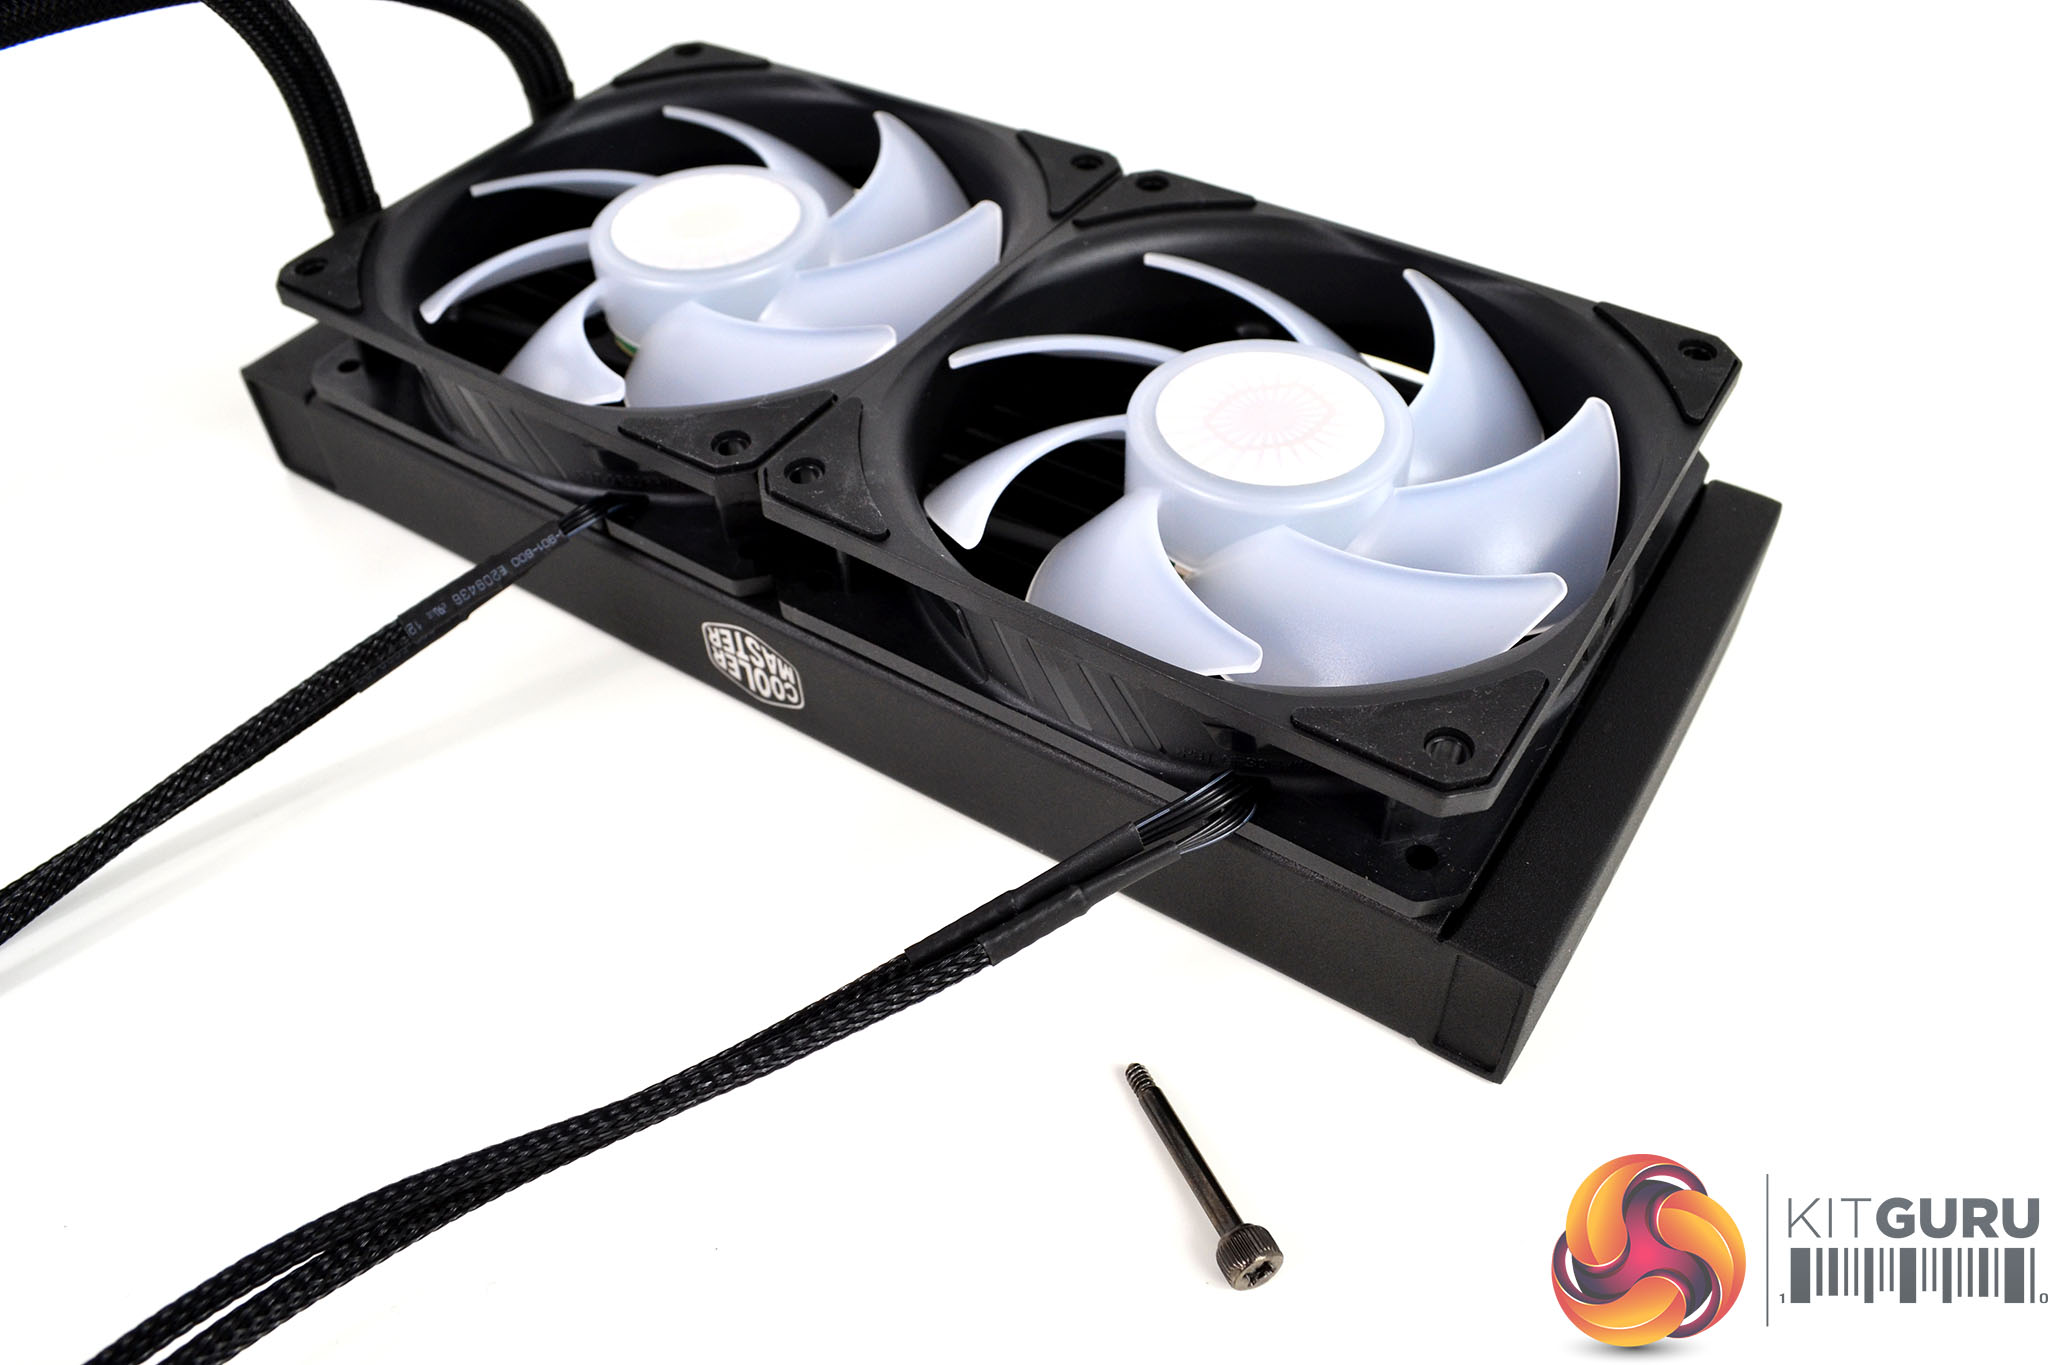
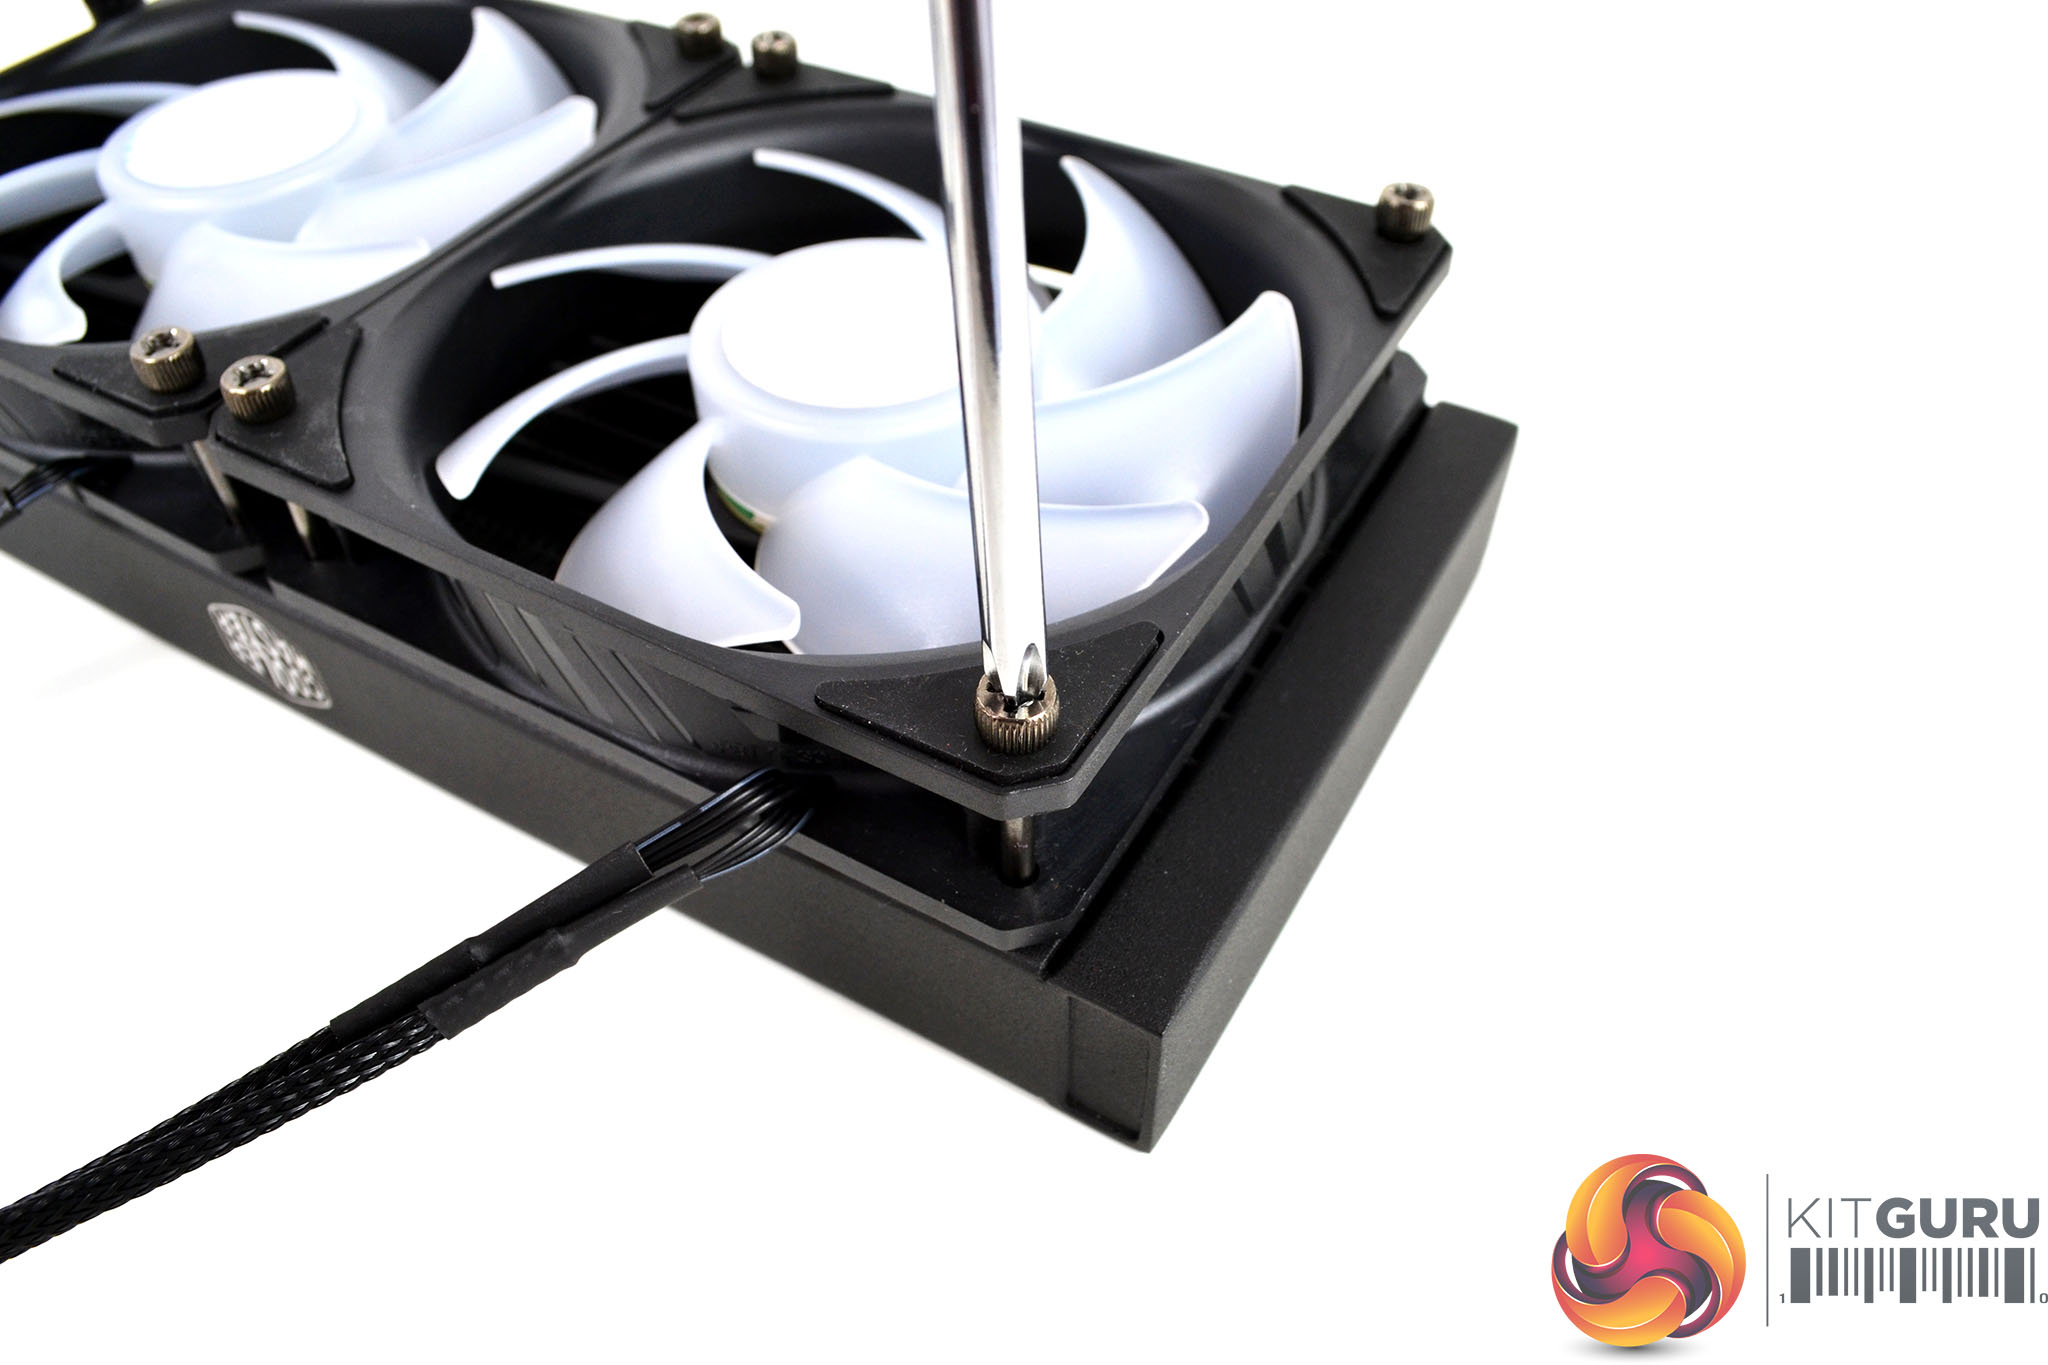
For the first part of the installation, place the fans on the radiator in either a pull or push configuration to suit the position of the radiator in your case. Take the eight long thumbscrews and fix the fans in position, the thumbscrews can be fully tightened in place using a Philips head screwdriver if required.
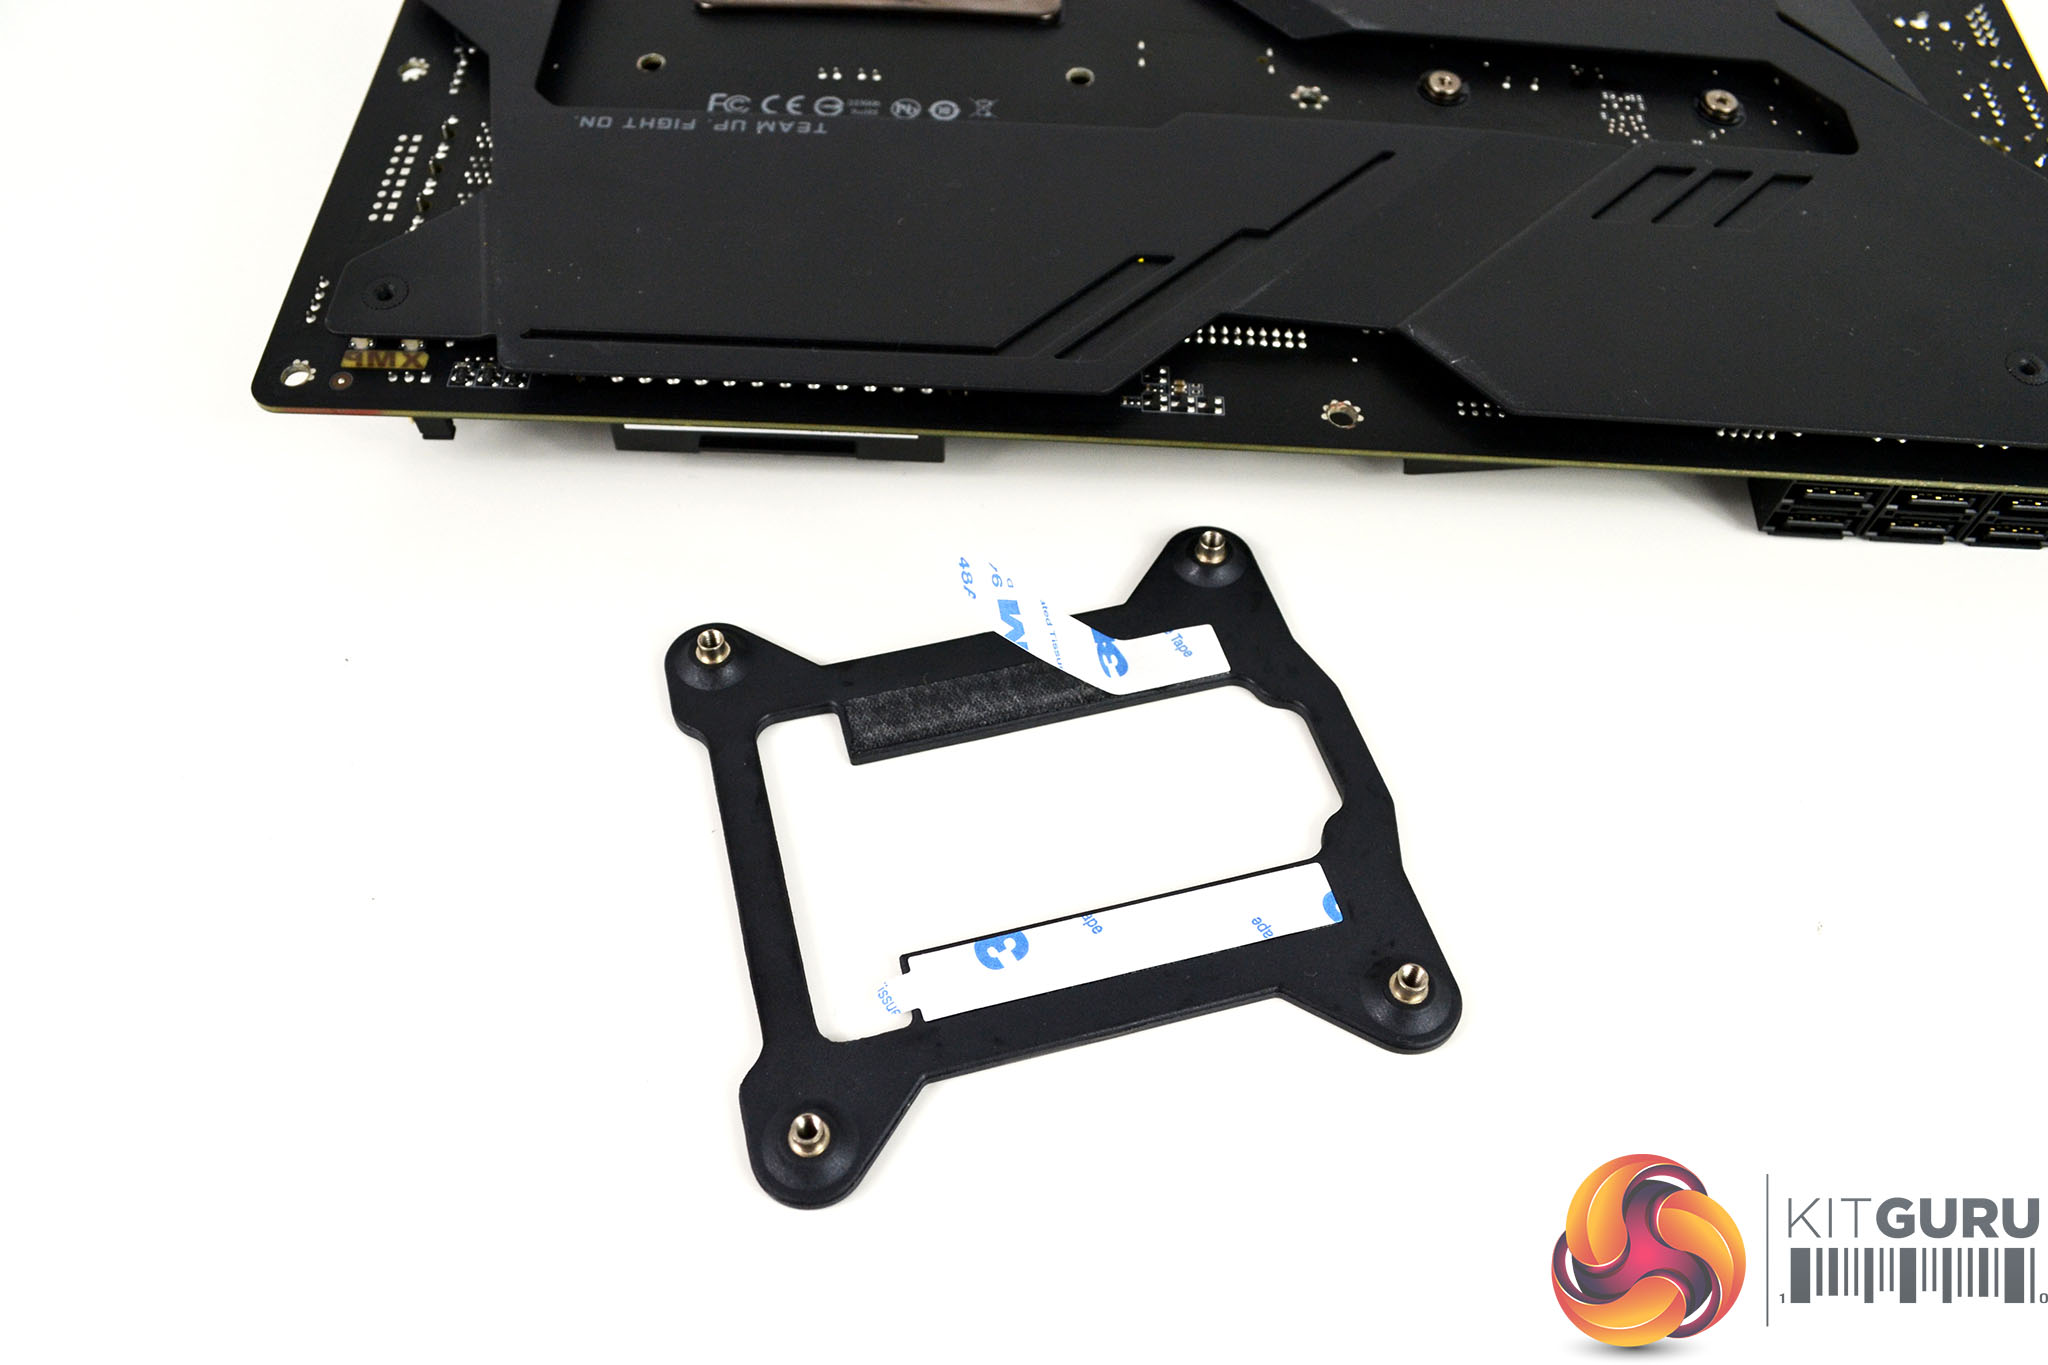
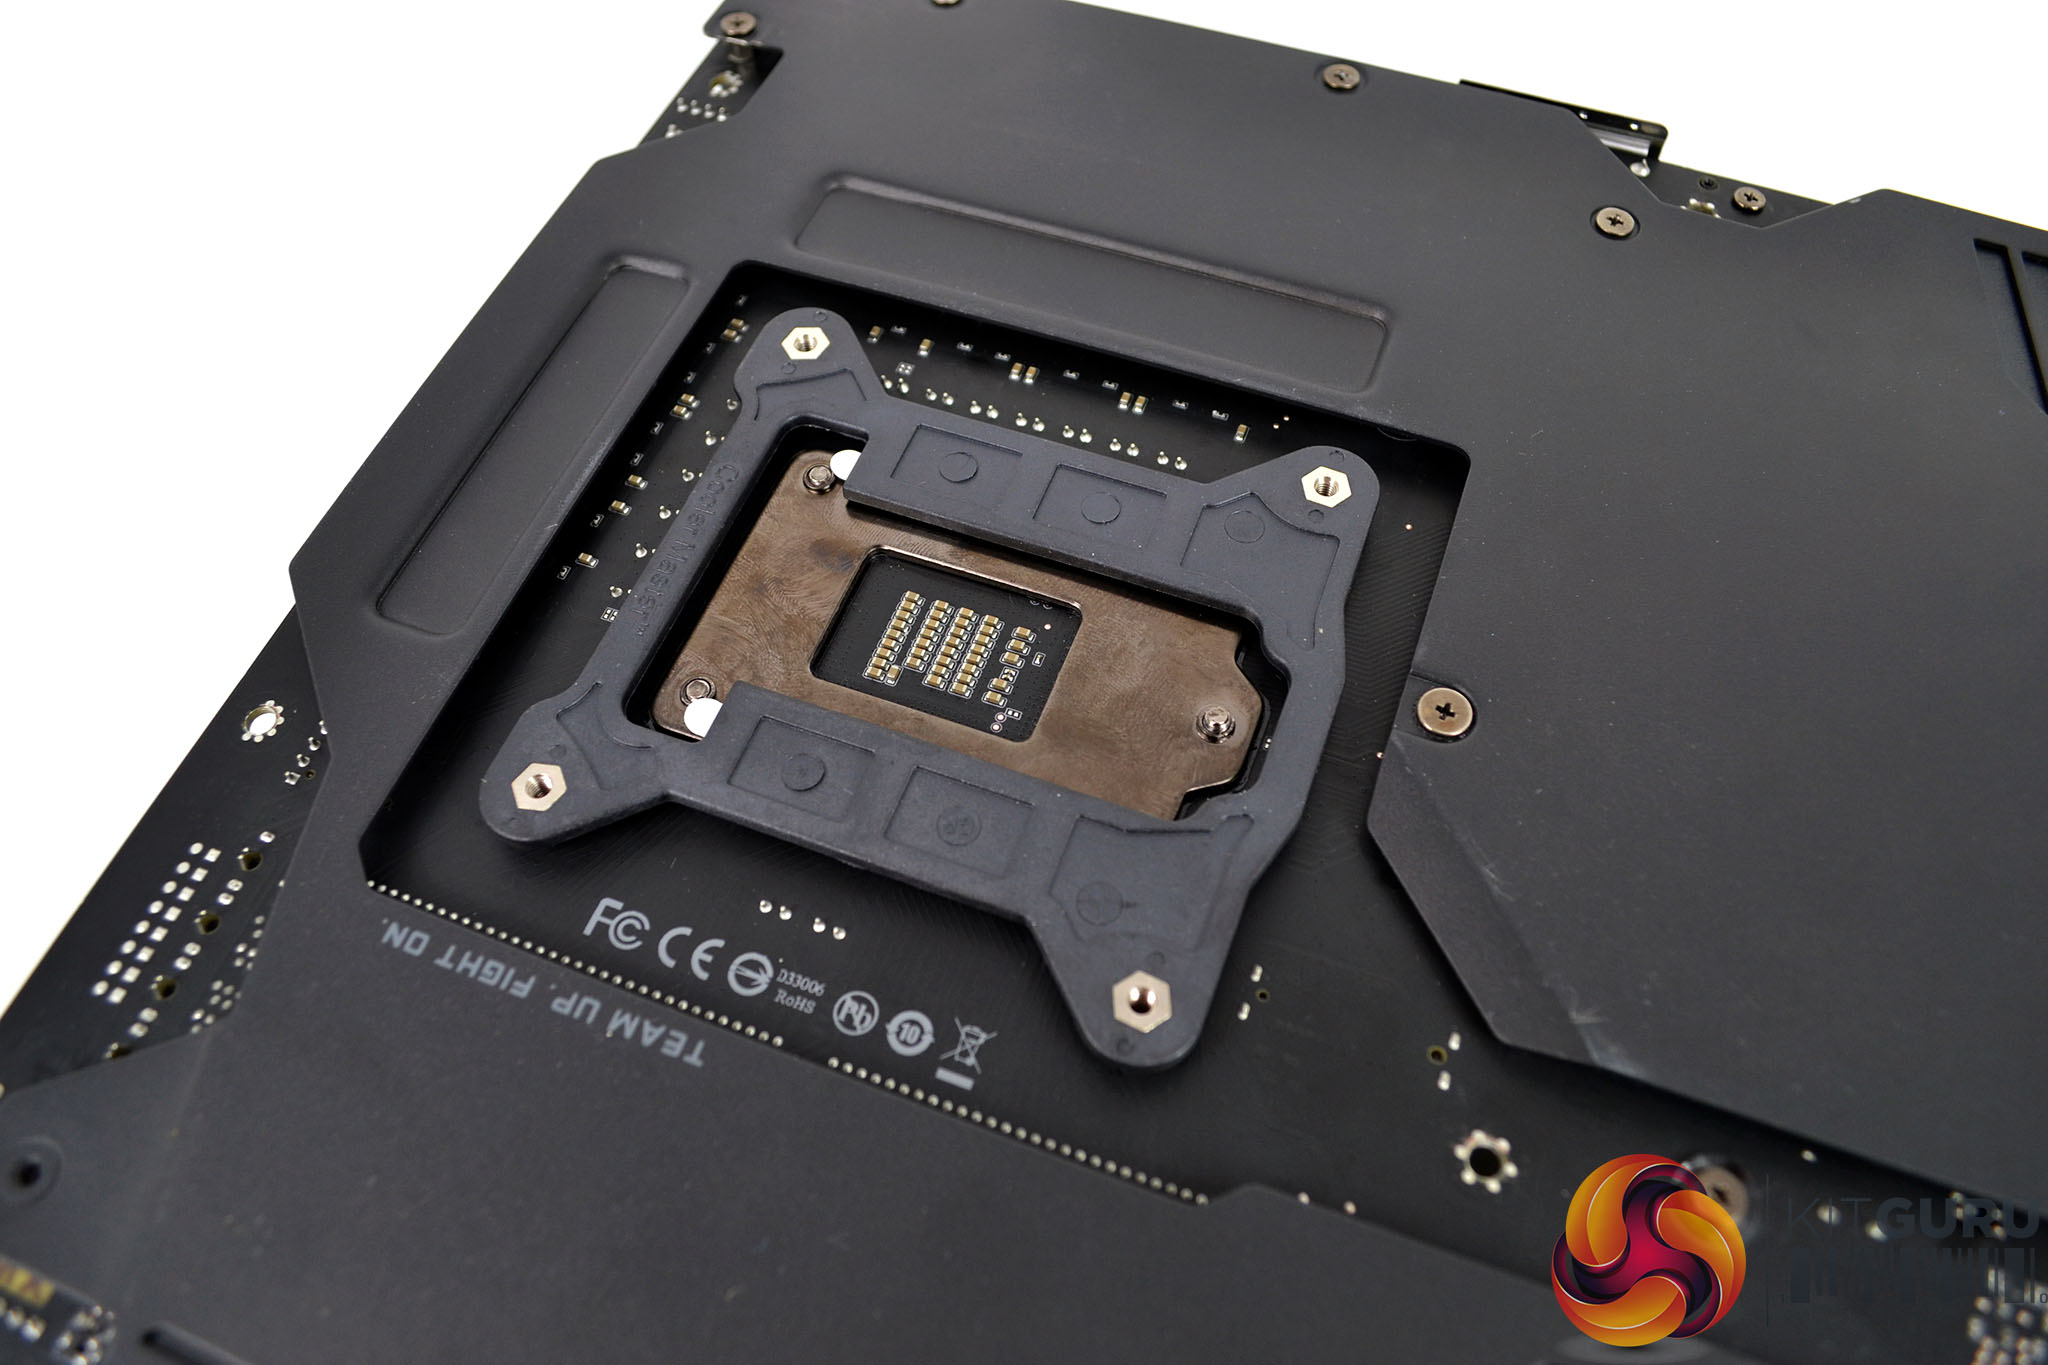
Now we can move on to preparing the motherboard. First, remove the self-adhesive backing from the coolers retention backplate, then lower the backplate in position over the rear of the motherboard aligned with the holes and press it down so it is held by the adhesive strips.
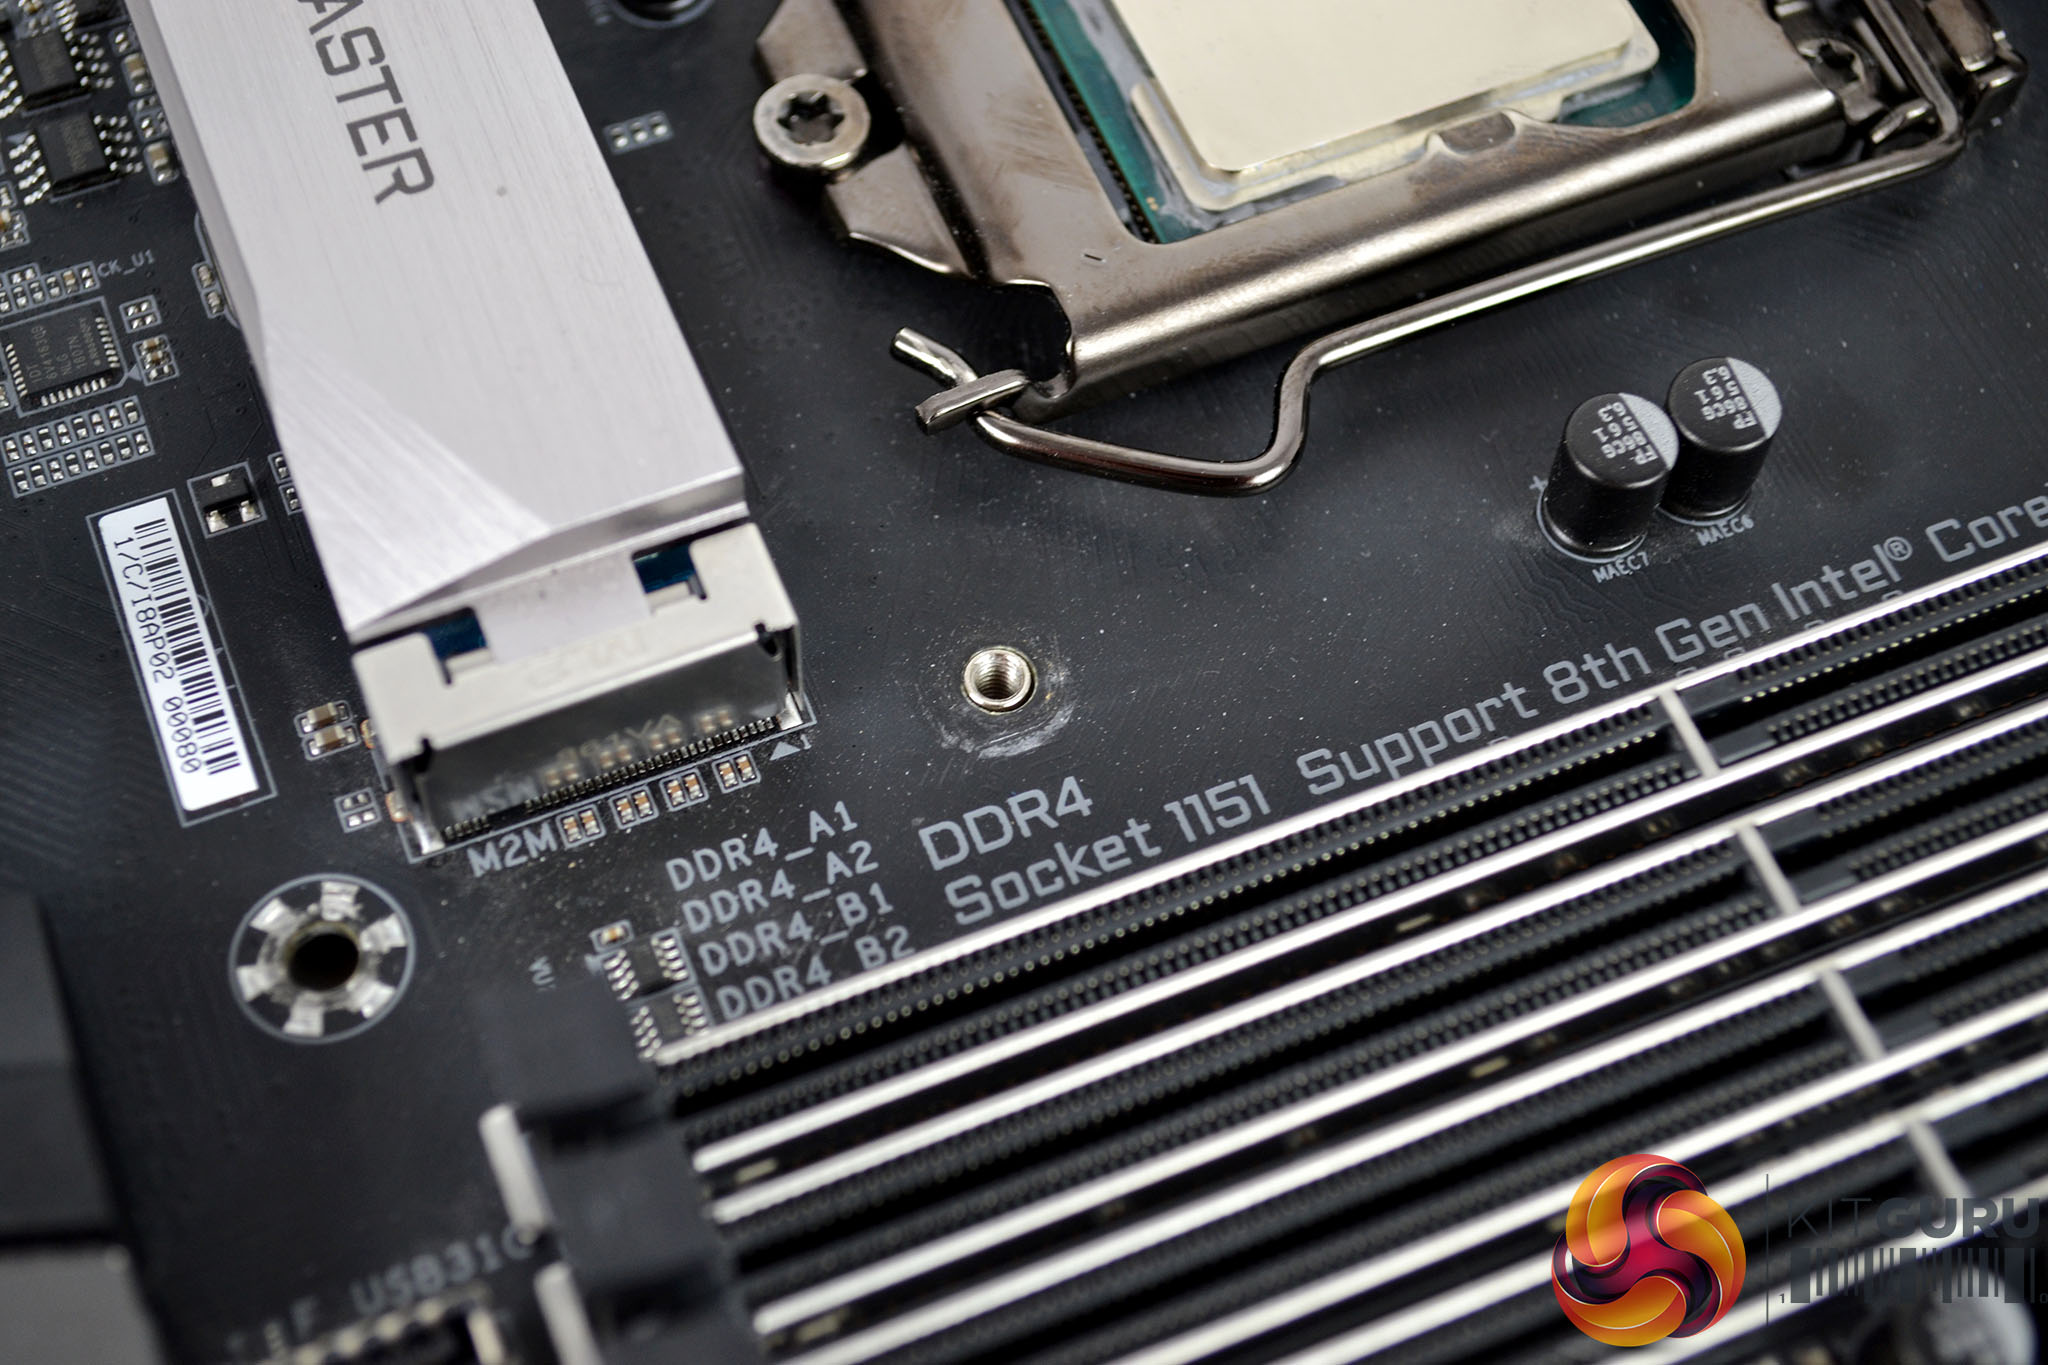
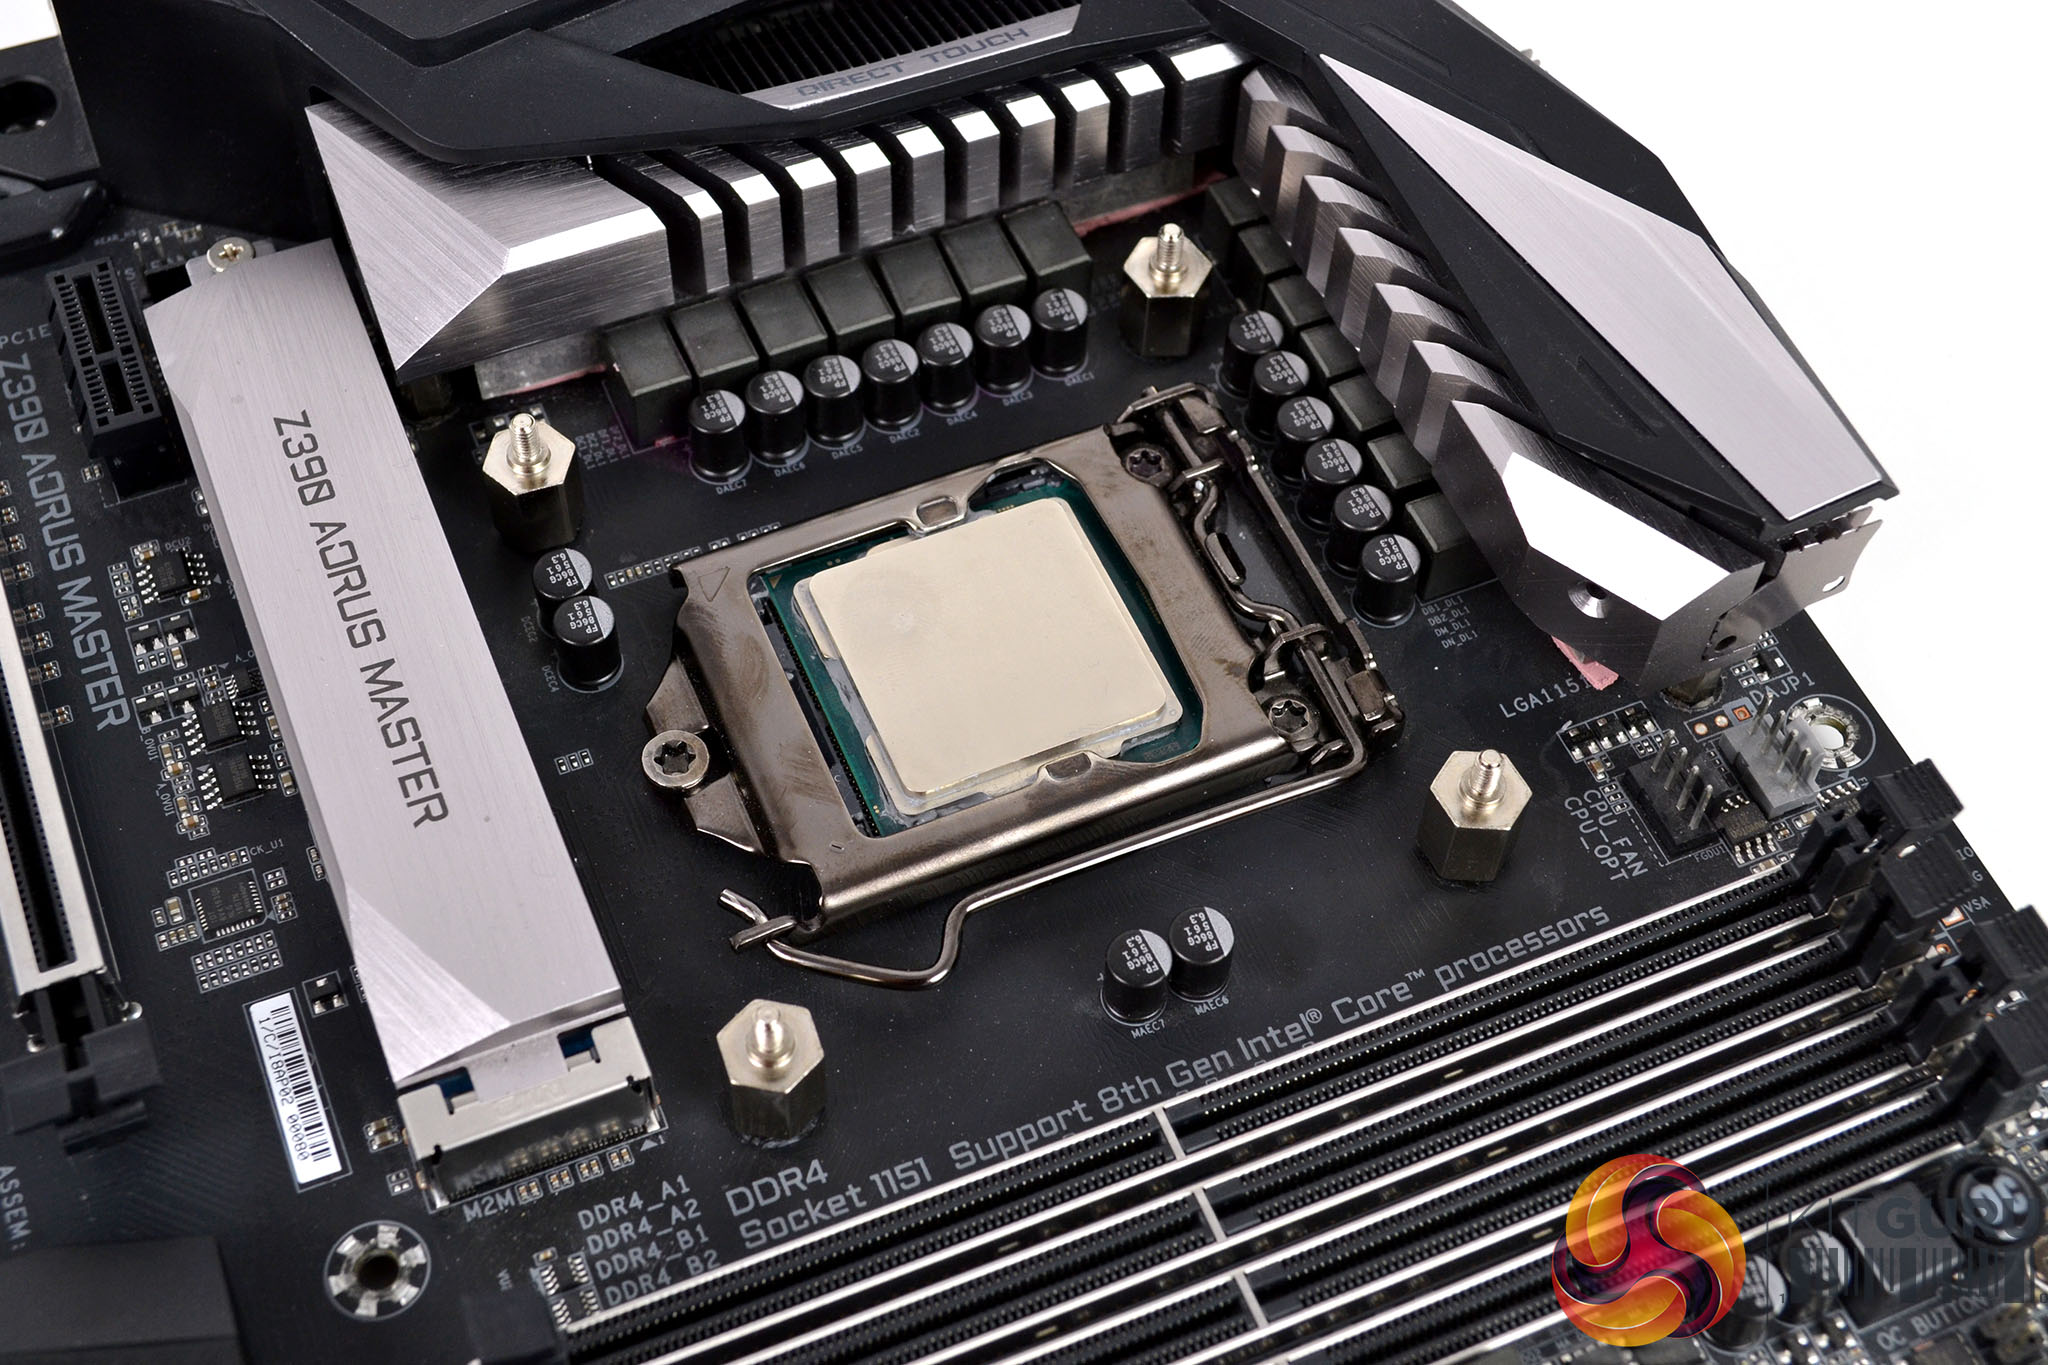
Now flip the motherboard back over and you will notice the screw holes are visible from the top. Take the four Intel standoffs and screw them into the holes of the backplate by hand, you can always nip up the standoffs with a pair of pliers or such like if you feel it is necessary but don’t over-tighten them as it could potentially damage the thread.
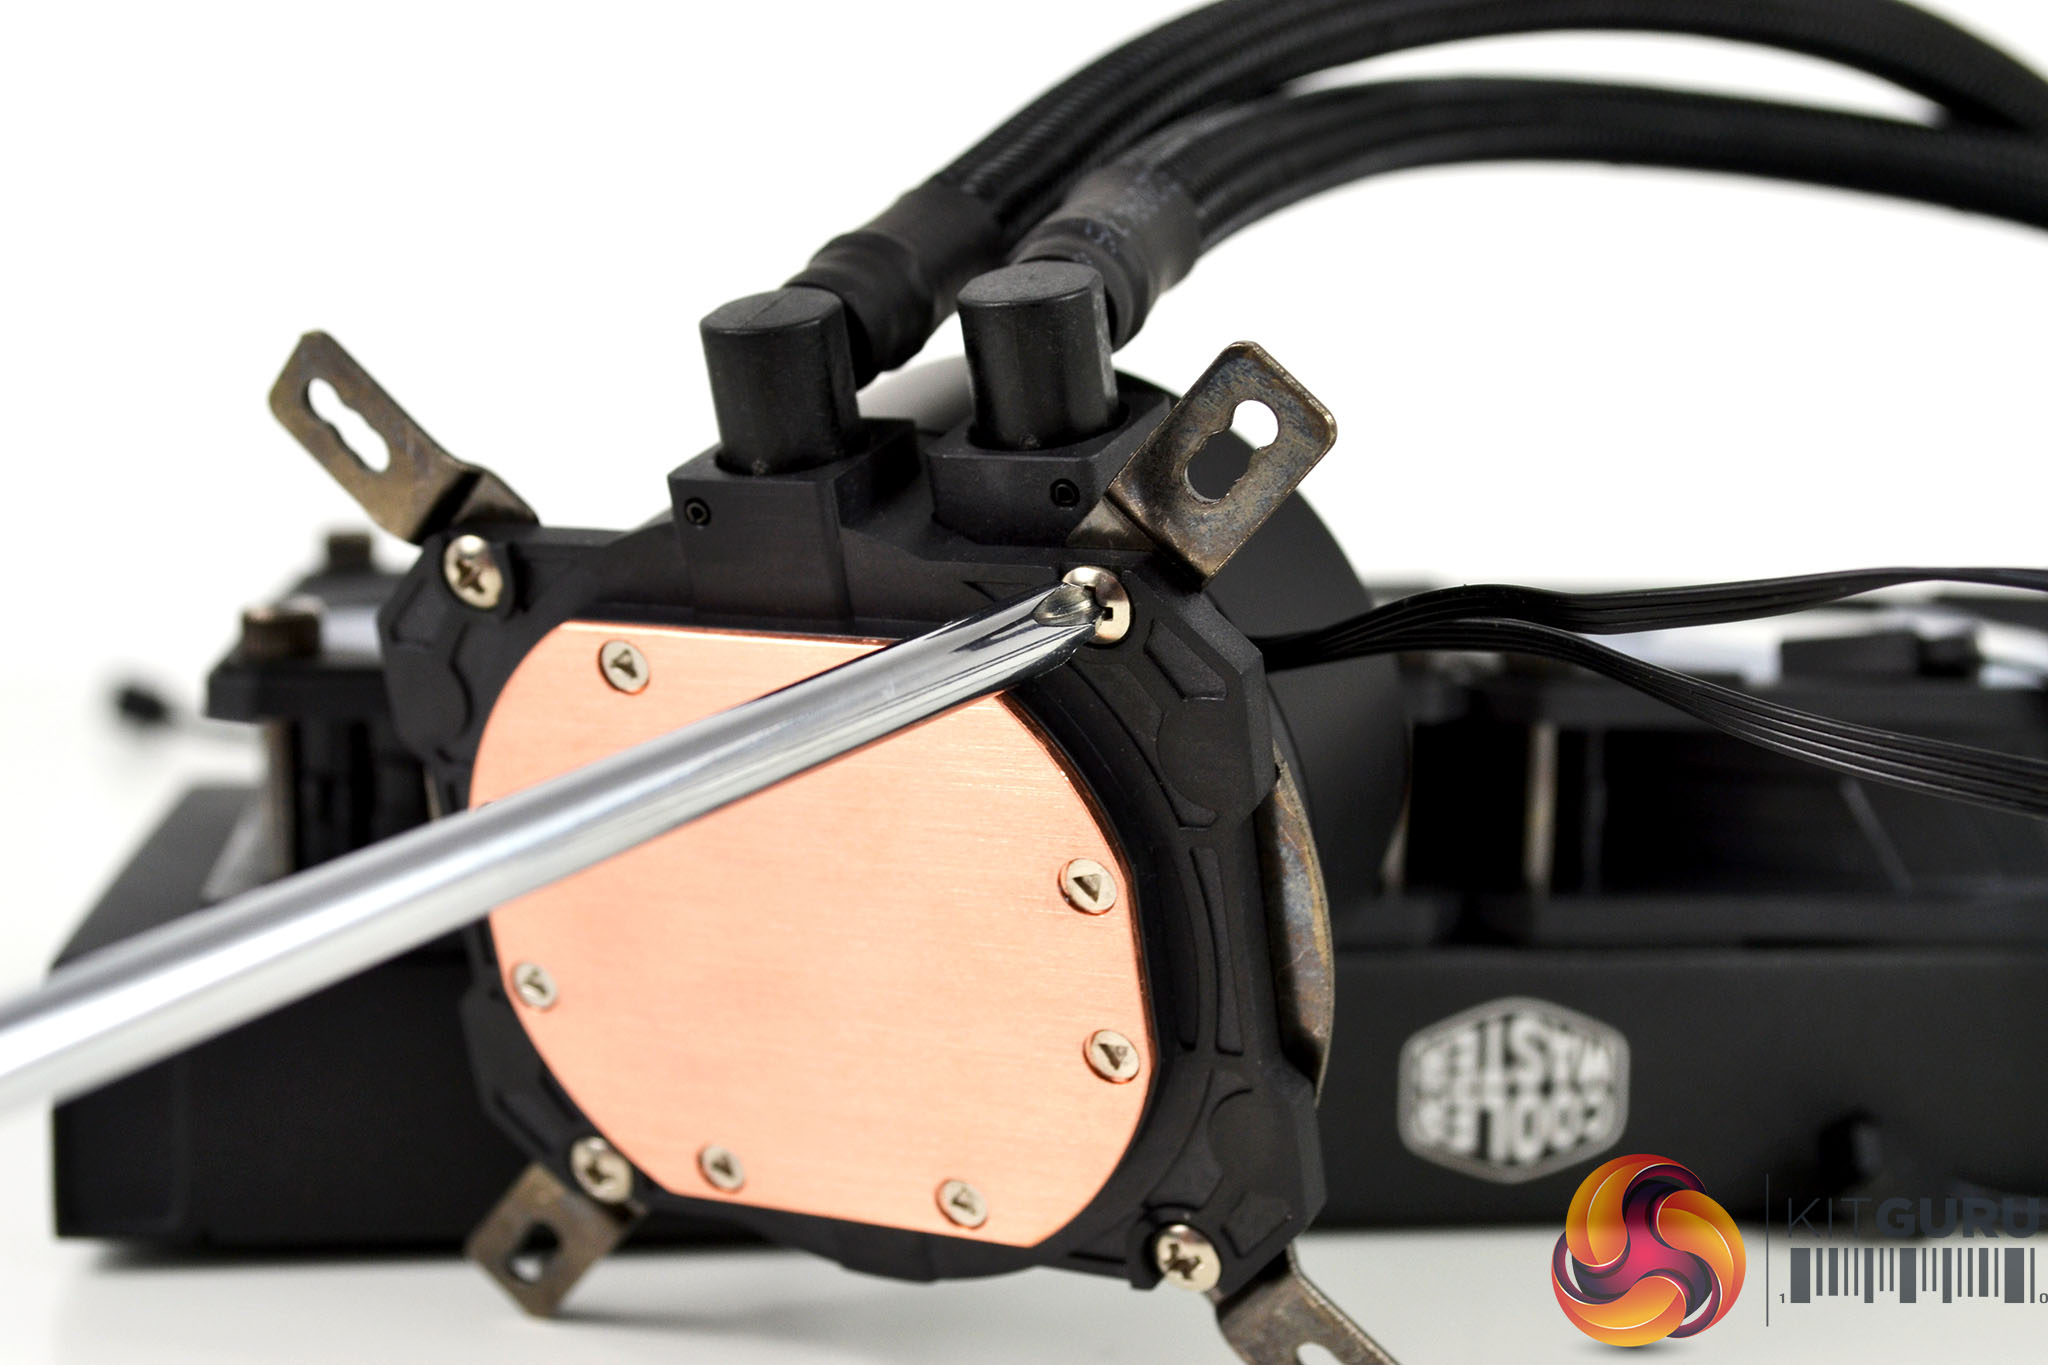
For the next step, we need to fit the Intel mounting brackets to the CPU block. Take the two Intel brackets and align them with the screw holes and notch on the CPU block and fasten them in place from the underside using the provided Philips head screws.

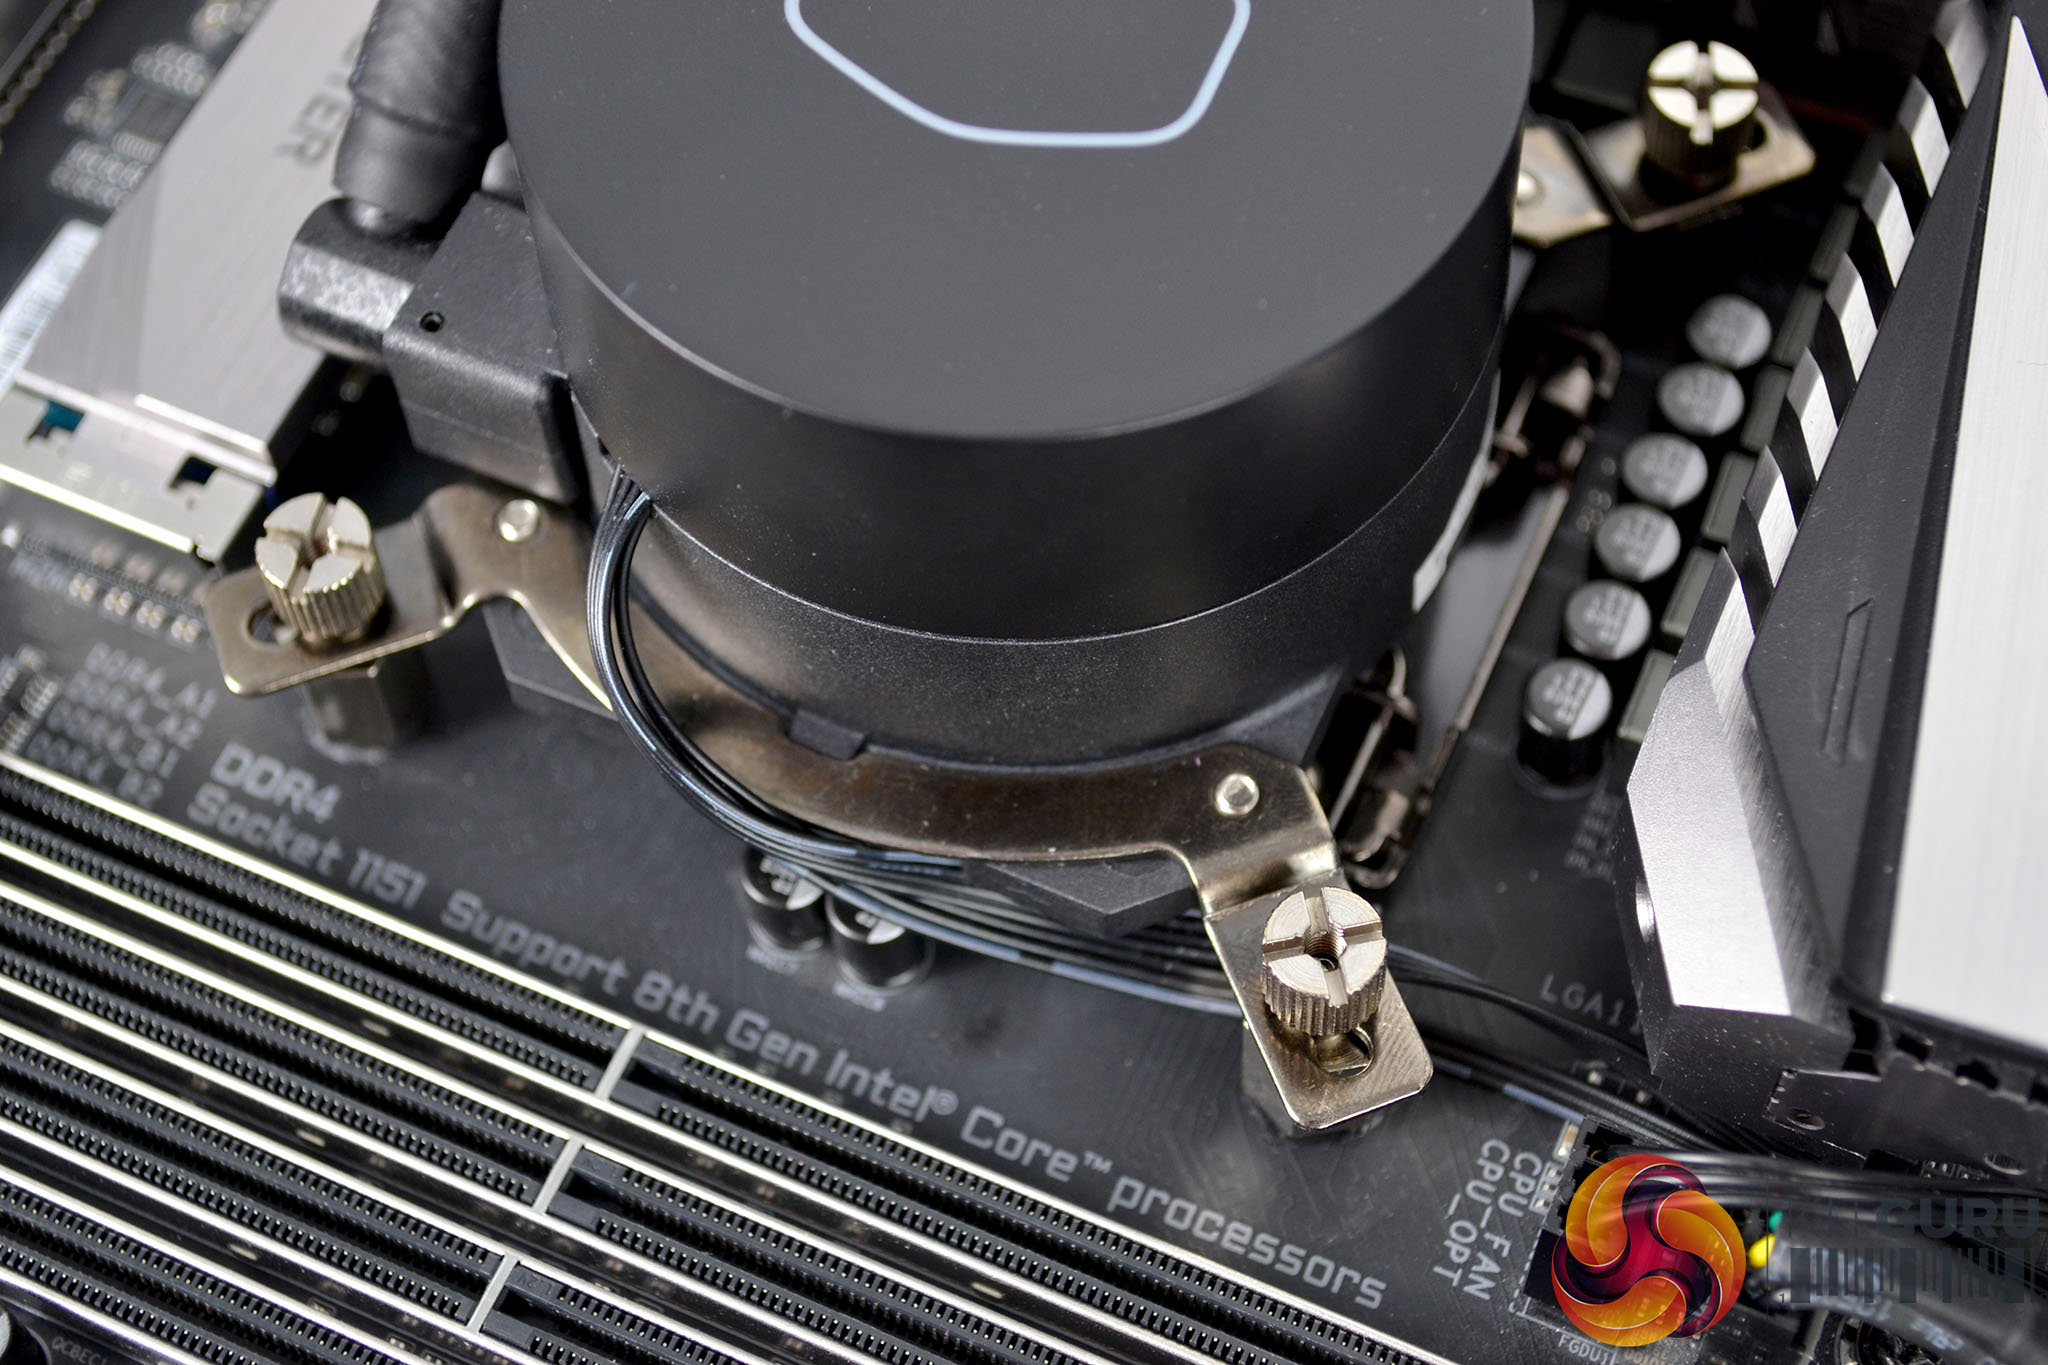
Apply thermal compound to the CPU IHS using your preferred method and then lower the block over the CPU and align the bracket holes with the threads of the standoffs. Now using the four thumbscrews, tighten the CPU block in position using an X pattern to evenly spread pressure over the CPU for optimal thermal plate contact.
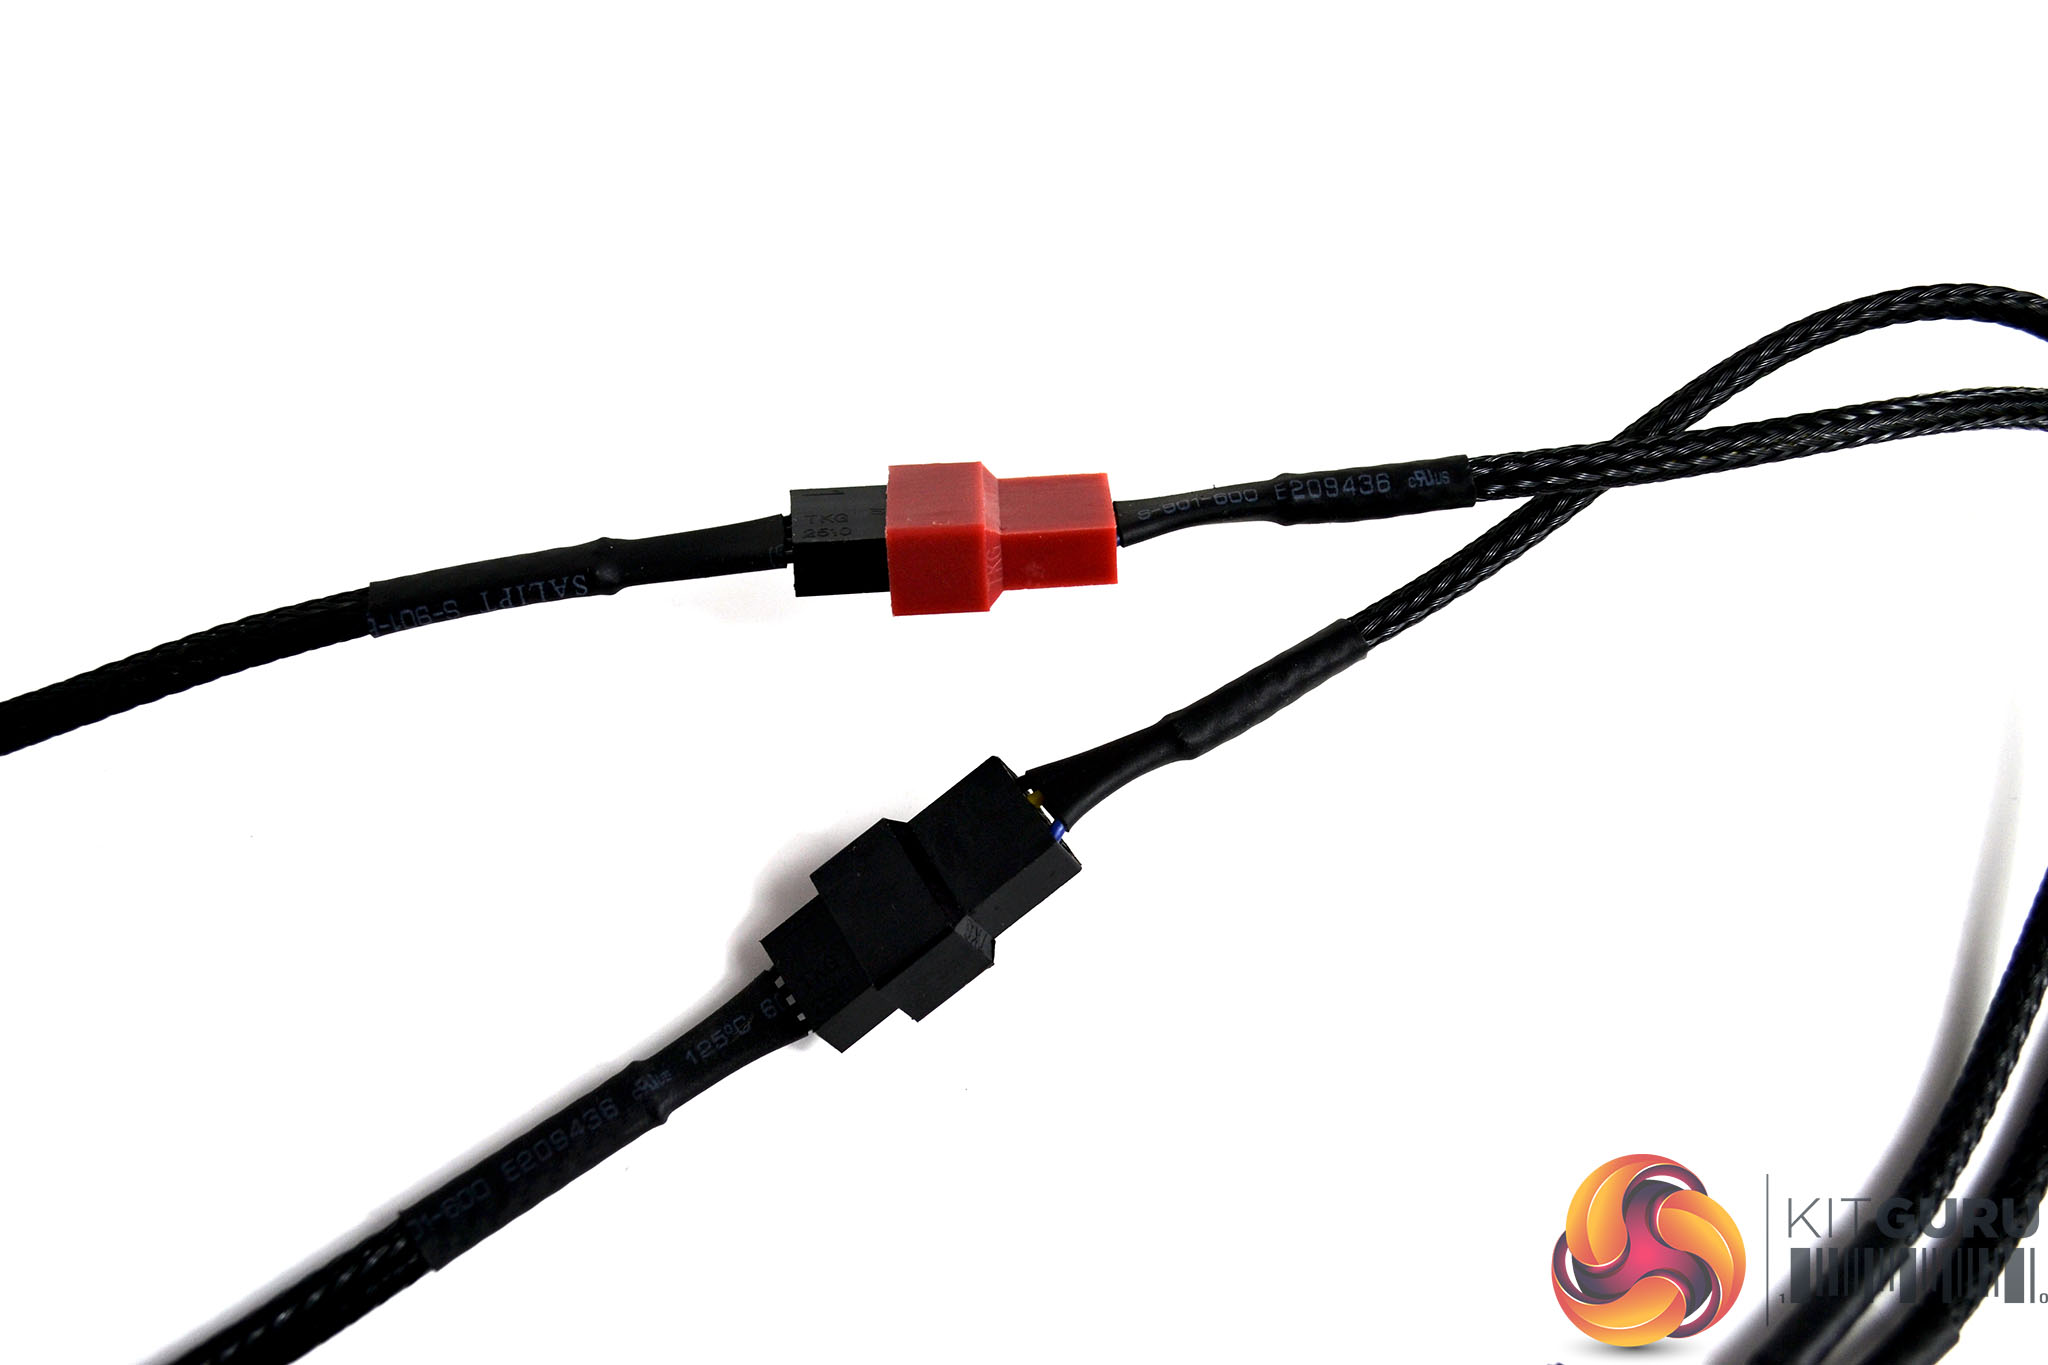
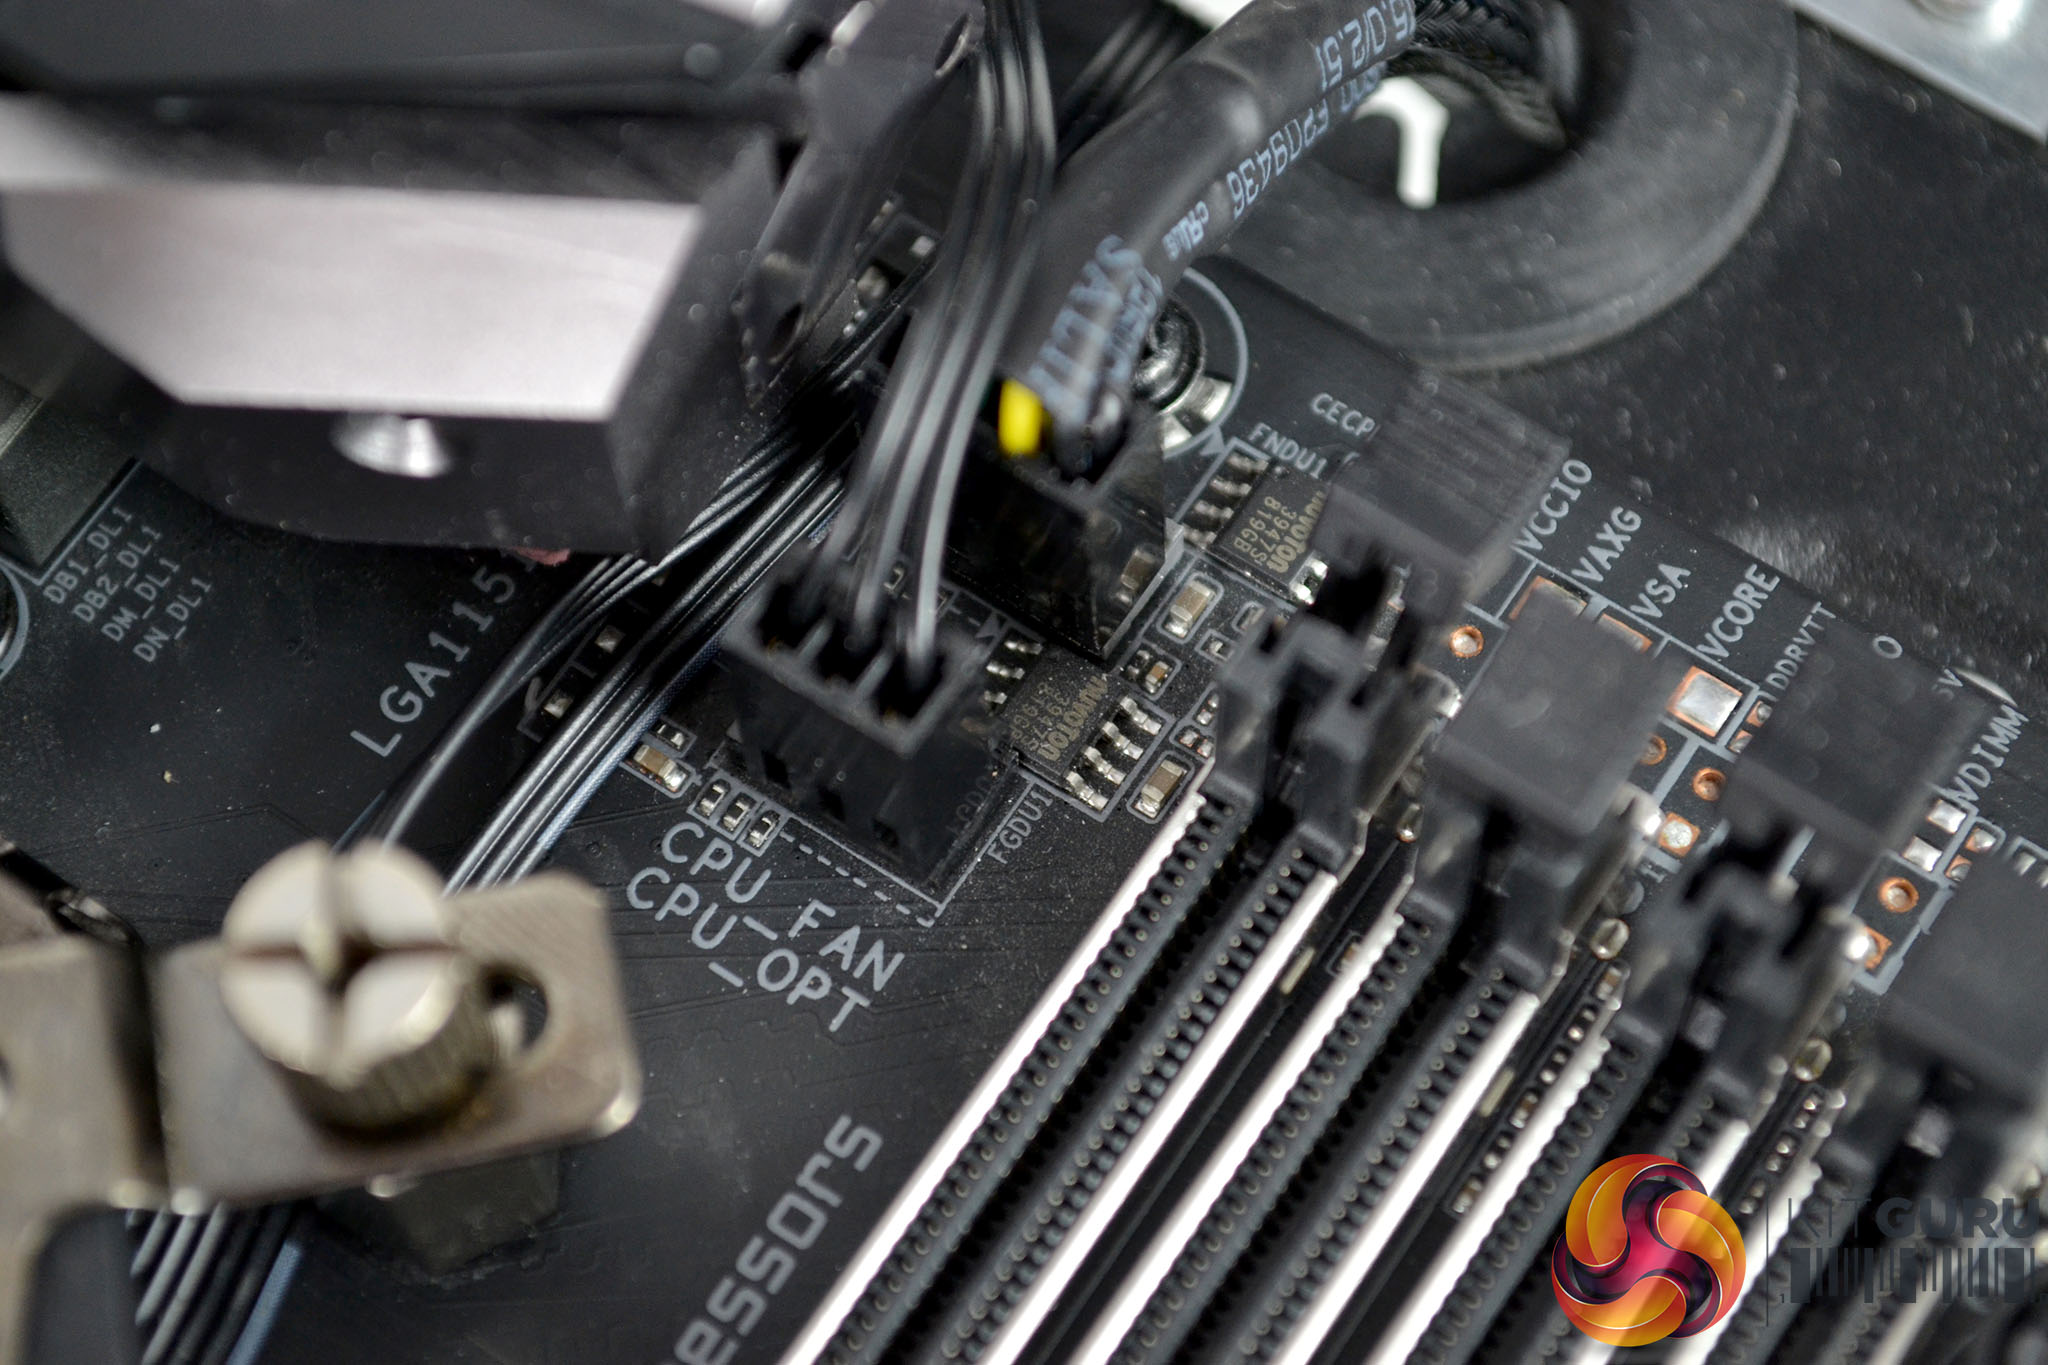
Now we can connect the two fan cables using the 4-pin PWM cable splitter, plug the fan splitter into the CPU_FAN header on the motherboard and connect the 3-pin pump cable to the CPU_OPT header.
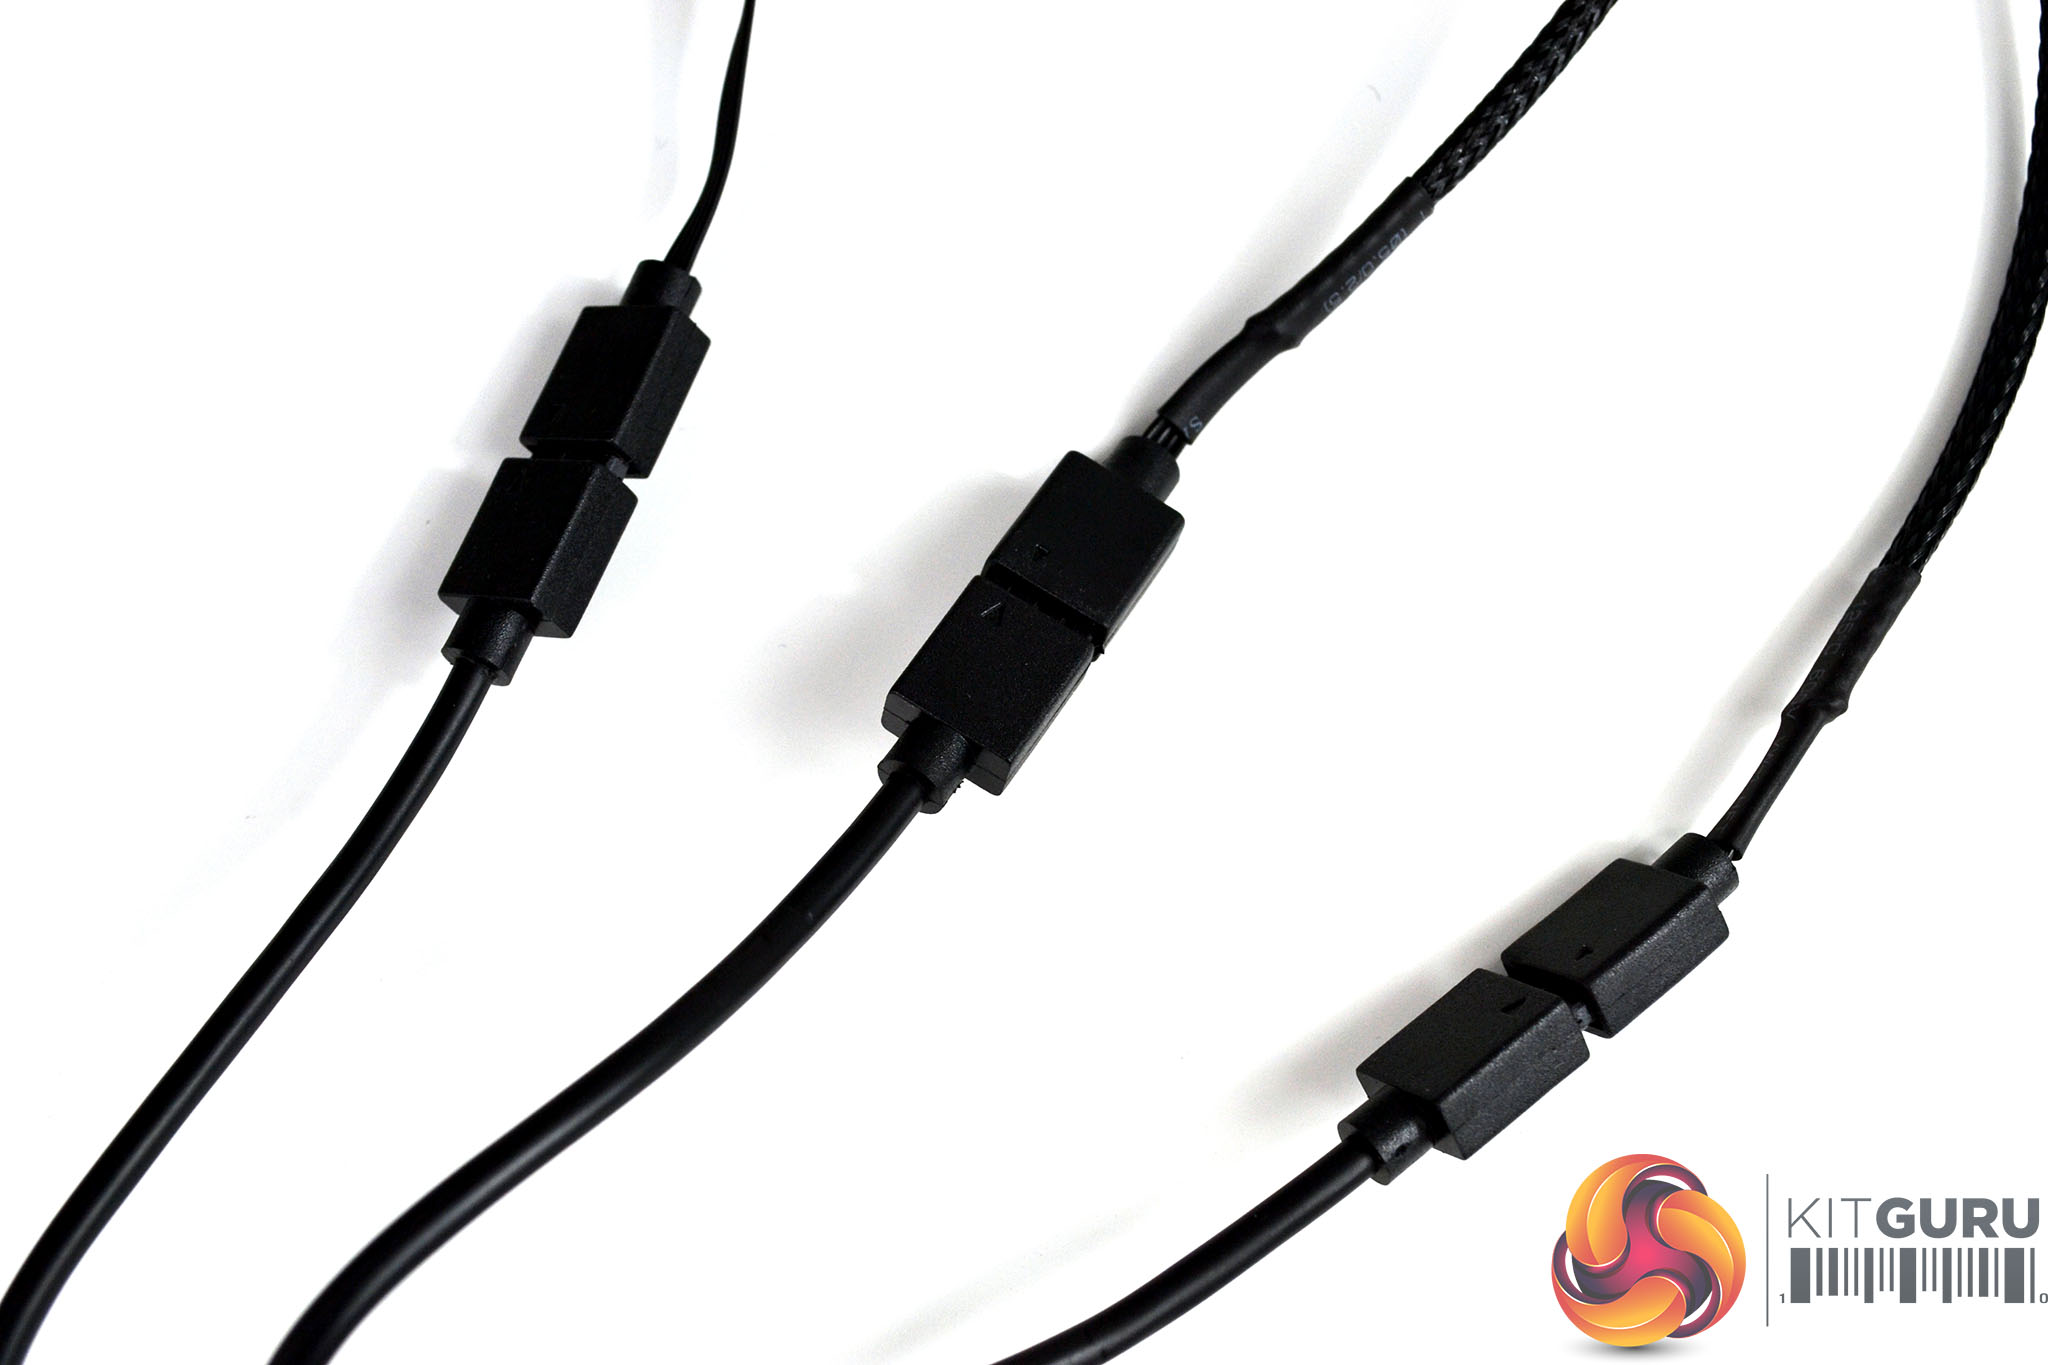
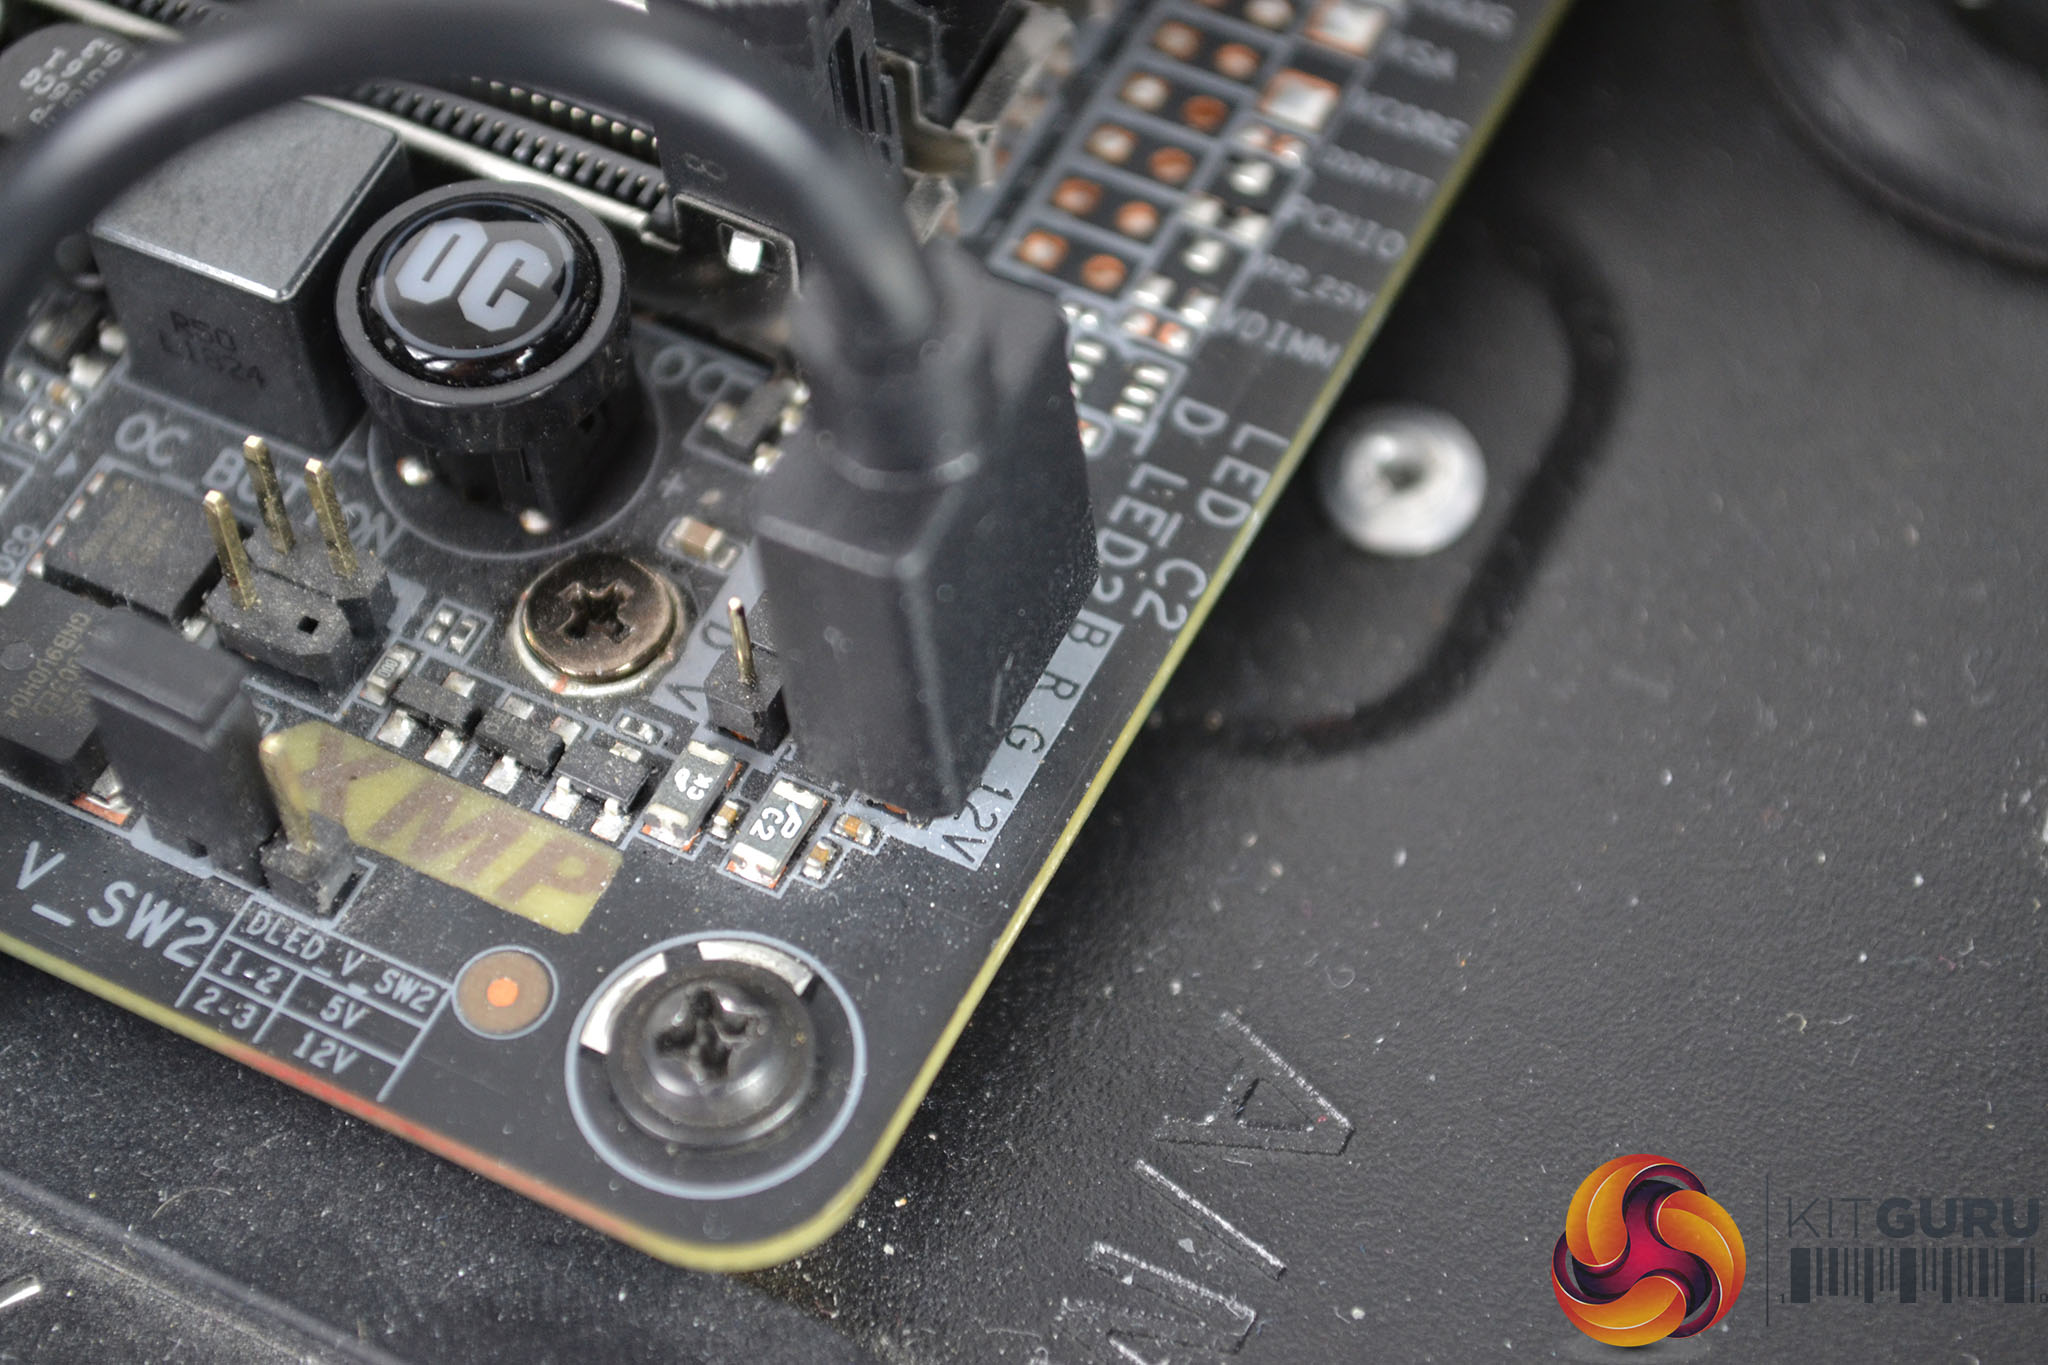
To install the RGB lighting, first, connect both the fan cables and the pump RGB cable to the provided 3-way RGB splitter cable and for motherboard RGB control simply attach the female end of the splitter cable to the 4-pin motherboard RGB header.

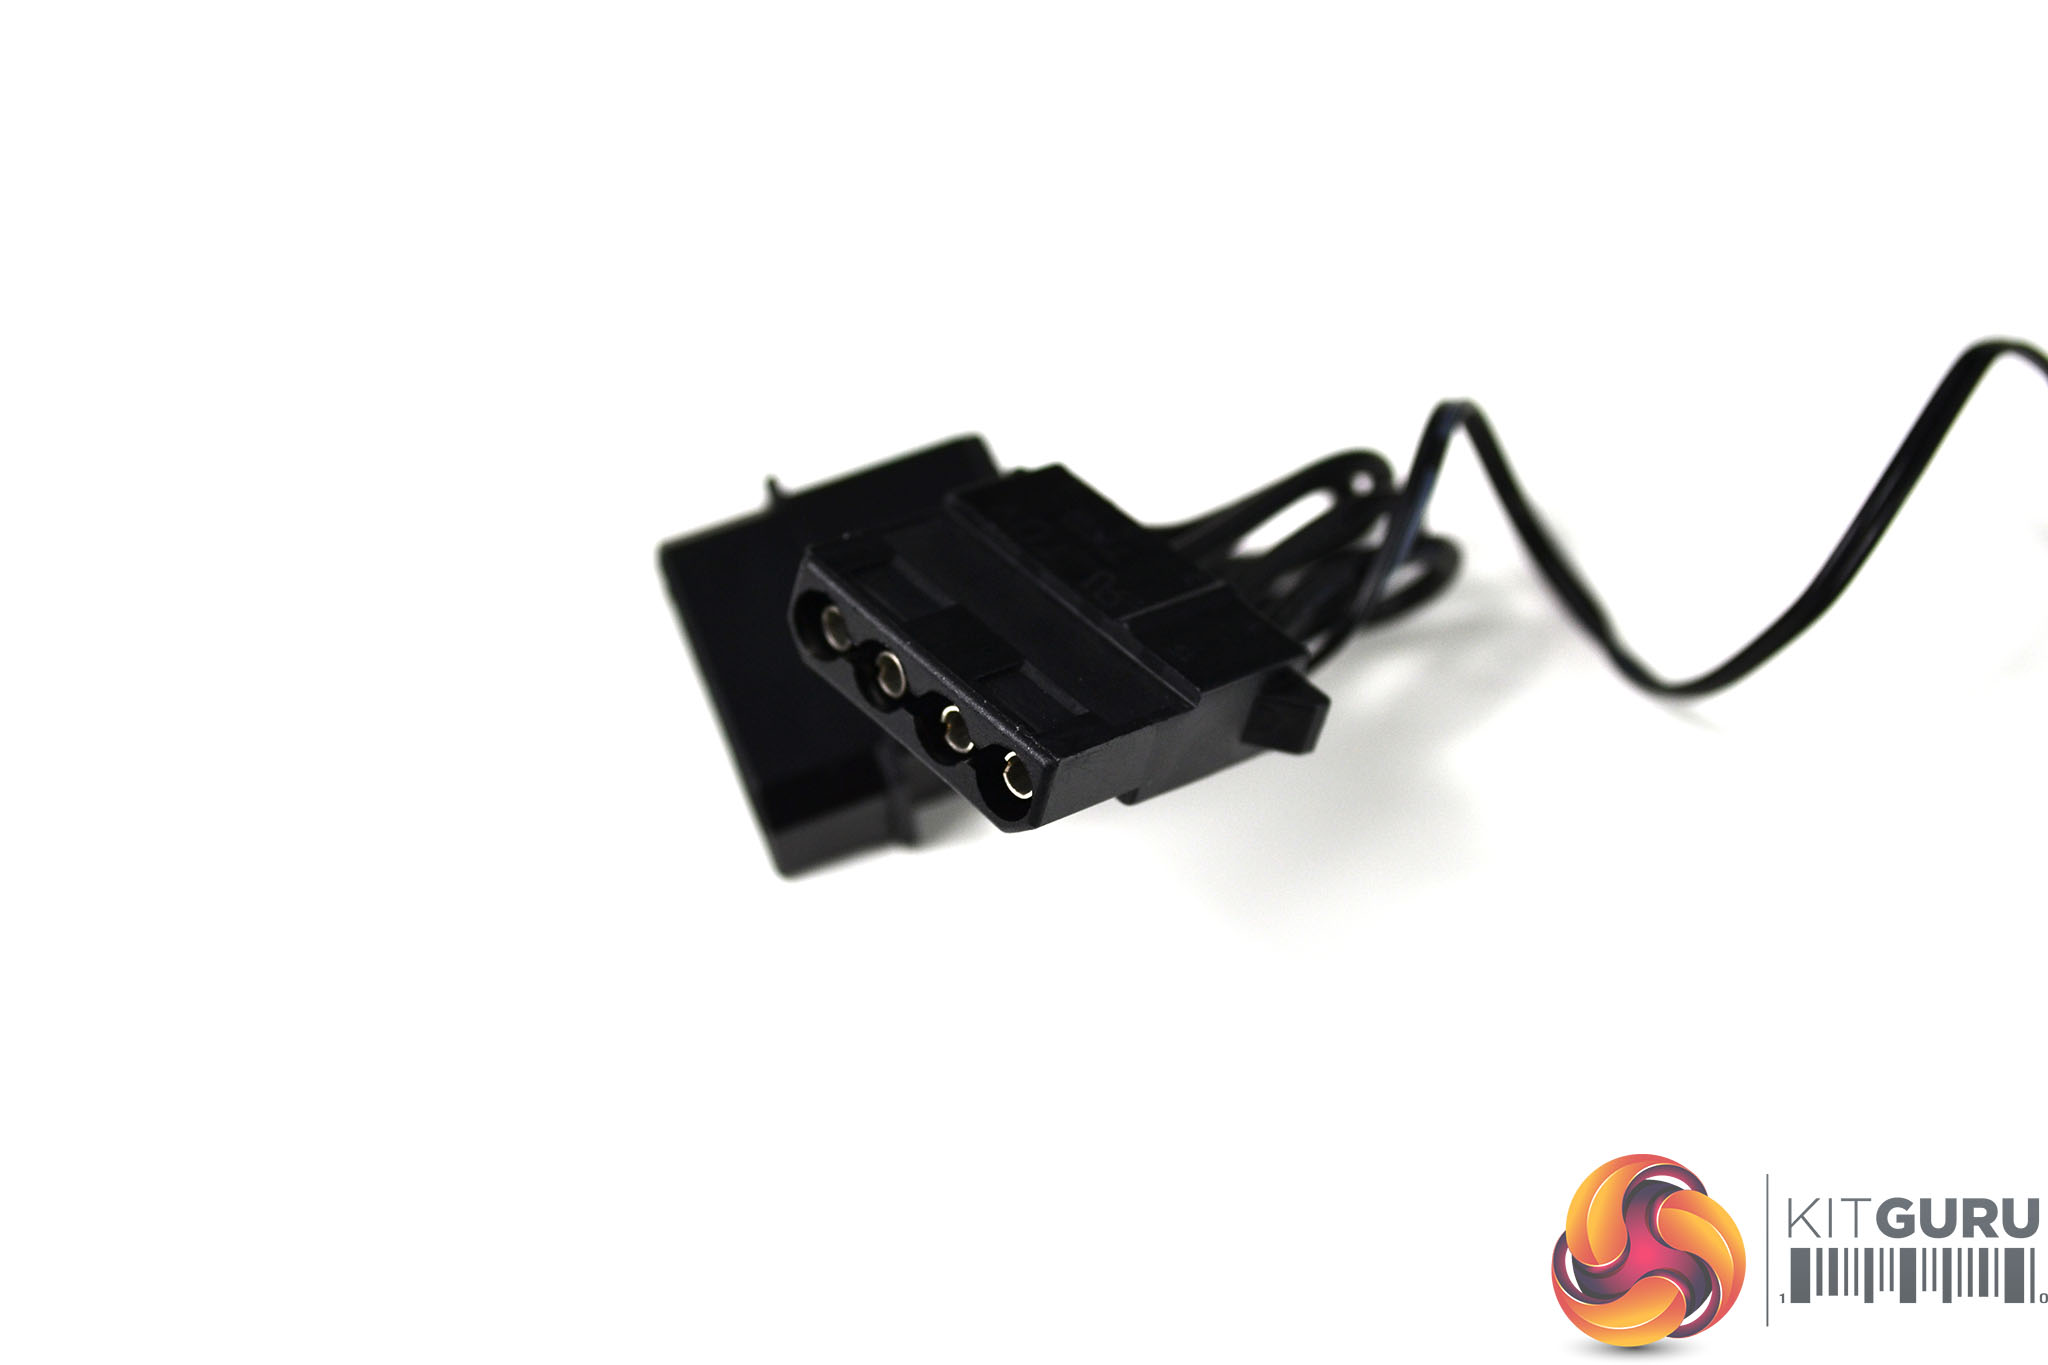
Alternatively, if your motherboard does not support RGB lighting, connect the RGB splitter cable and the Molex power adaptor to the provided RGB controller and then connect the Molex adaptor to a spare Molex connector coming from your PC power supply.
Overall, the installation process is relatively simple, the use of standard cable connections by Cooler Master means the cables are simple to connect and the whole installation process should only take approximately 15-20 minutes. The simple RGB controller is a great addition and means users can still take advantage of the RGB features even if their motherboard does not support RGB lighting.
RGB Gallery
To measure the performance of CPU coolers, we devised an easily repeatable series of tests. The only variable is the coolers themselves to ensure the results can be accurately compared against one another.
Test Rig
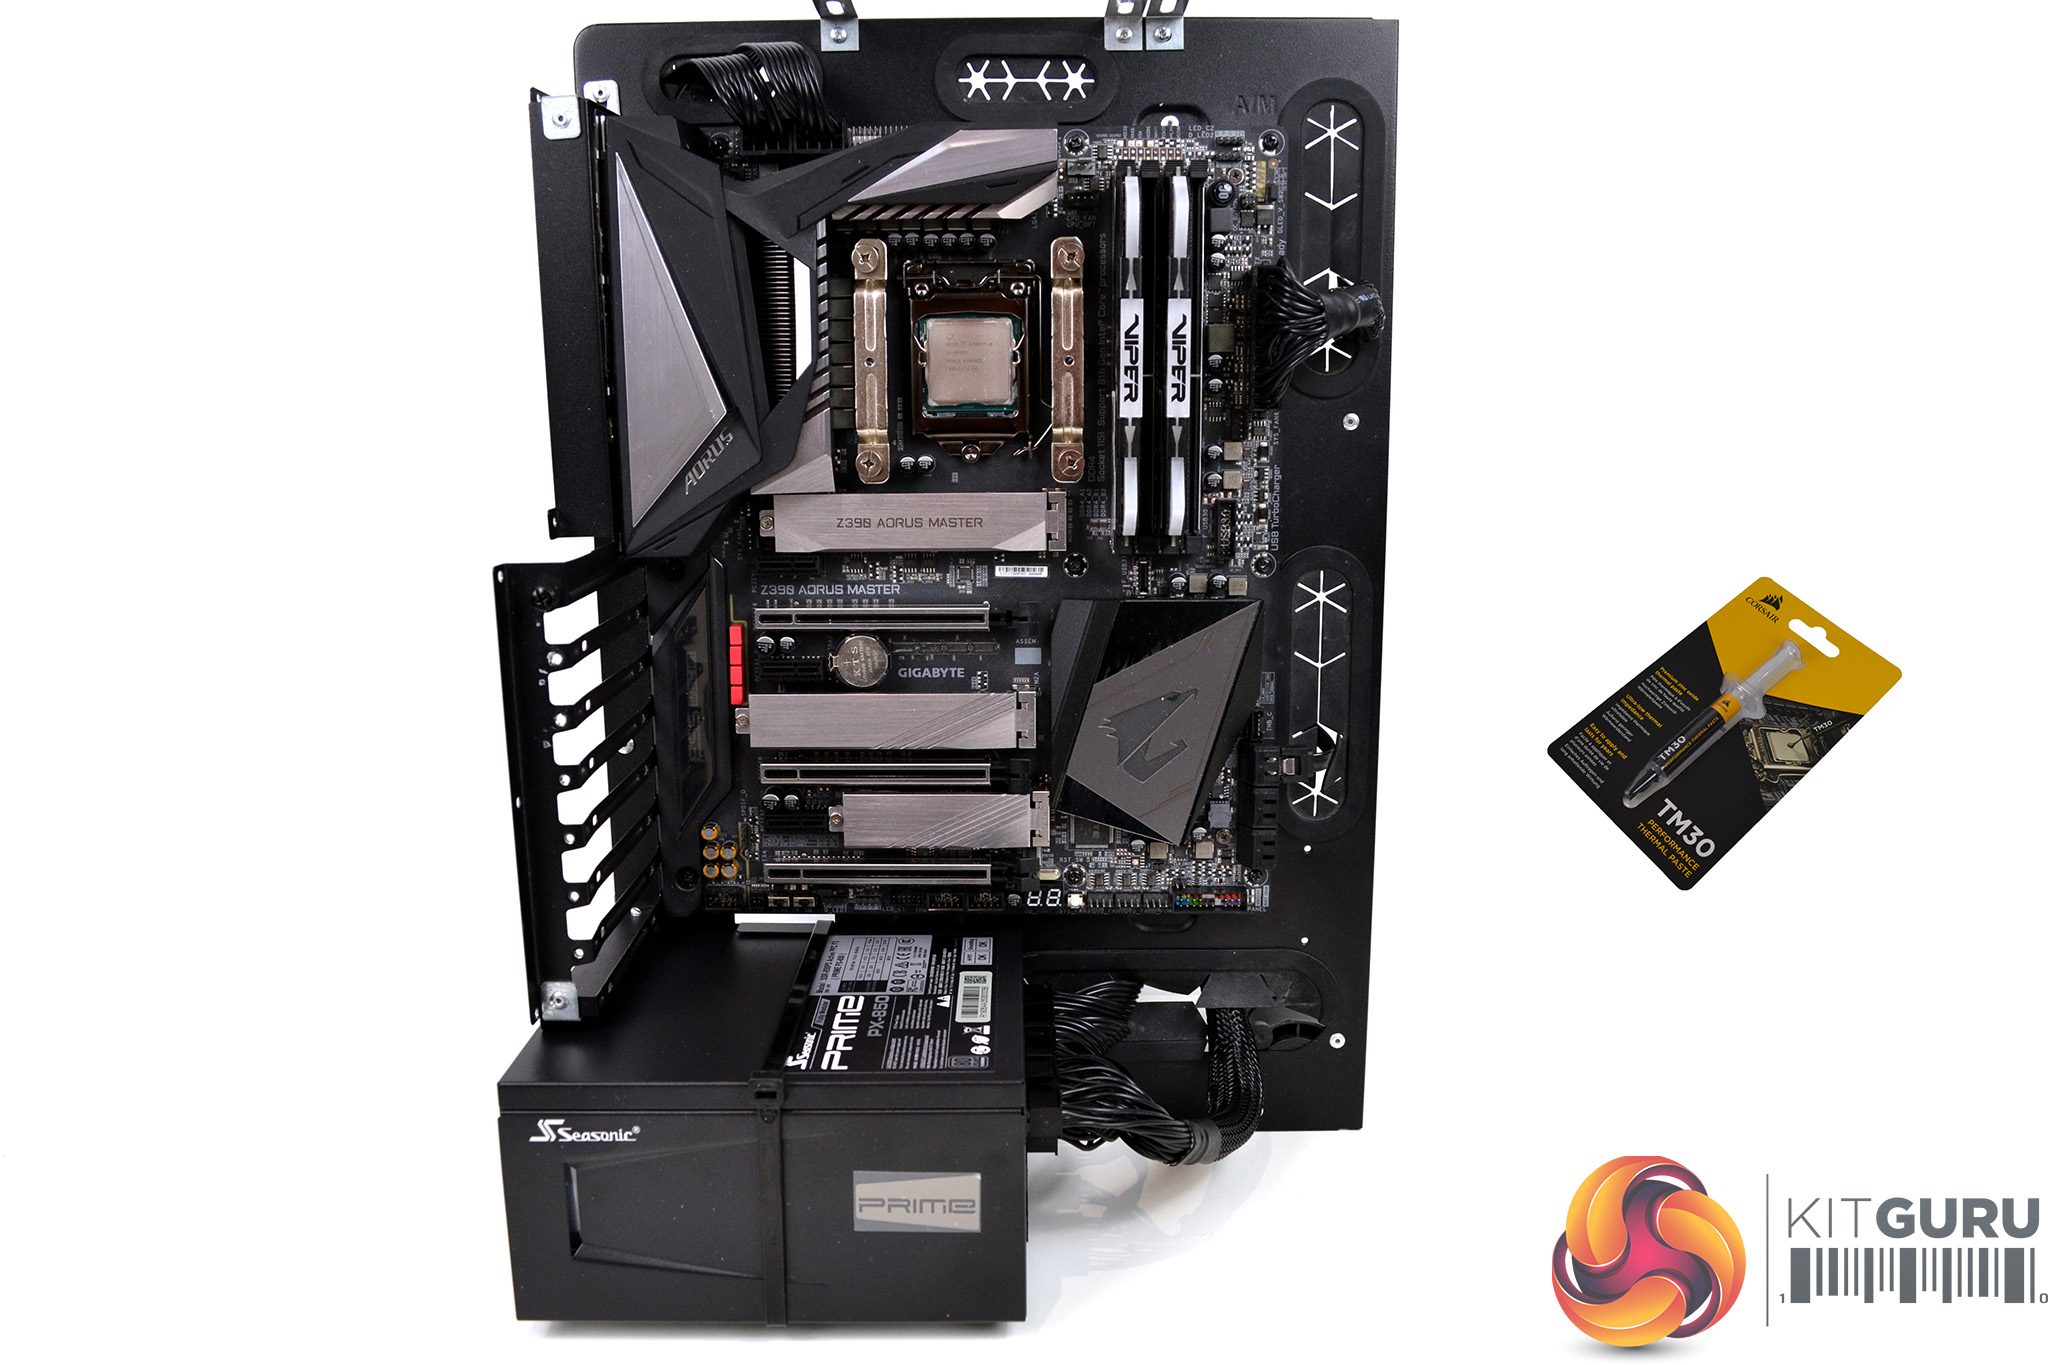
To reflect current hardware demands, the KitGuru test bench comprises of an Intel Z390 platform and included is the Intel Core i9-9900k CPU, mated with a Gigabyte Z390 Aorus Master motherboard and 16GB (2x 8GB modules) Patriot Viper RGB RAM running at 3600mhz CL16. Our storage device is a Corsair Force LE 120GB SATA SSD. Power to the test system is managed by a Seasonic Prime PX-850 PSU. Corsair TM30 thermal compound is used at all times to ensure consistency.
Thermal Testing Procedure
The procedure will consist of several tests that will produce six temperature readings for each cooler. The data can then be used to compare thermal dissipation performance.
First, we will lock the Core i9-9900k at its 3.6GHz all-core base clock speed, with a 1.15V Vcore applied in the BIOS. Then, let the system idle in windows for 15 minutes and measure temperature. At the same frequency, we will then measure the load temperature.
To simulate overclocked frequency, we will then lock the Core i9-9900k to 4.7GHz on all cores with a 1.20V Vcore and run the same idle and load test again. To measure an extreme overclocking situation, we will lock the Core i9-9900k frequency to 4.9GHz on all cores with 1.30V Vcore and run the tests one final time – this should push the limits of the cooling performance of even the very best CPU coolers.
Admittedly, the overclocked frequencies/voltage may not be the highest achievable, nevertheless, it will give us a good set of data to compare the effect frequency/voltage changes have on temperature.
The temperatures presented in the graphs will be average Delta temperatures measured over the length of the test. We will calculate the Delta temperature by deducting the ambient temperature in the test room from the measured CPU temperature, both at idle and under load.
All idle temperatures are measured by letting the system idle in Windows for 10 minutes. Load temperatures are achieved by running AIDA64 stressing CPU, FPU and cache again for 15 minutes. This should give the CPU enough time to reach its maximum temperature. Throughout testing, Load Line Calibration will be set to level 6 (turbo) in BIOS and all CPU Fans/pumps set to maximum RPM.
Noise Testing
Noise levels will be measured with our sound meter at a distance of 1 meter from the test bench. The cooler’s fans will be set to their maximum RPM rating. The ambient noise level in the room is measured at 37.5dBA and the peak noise level of the cooler will be recorded in dBA.
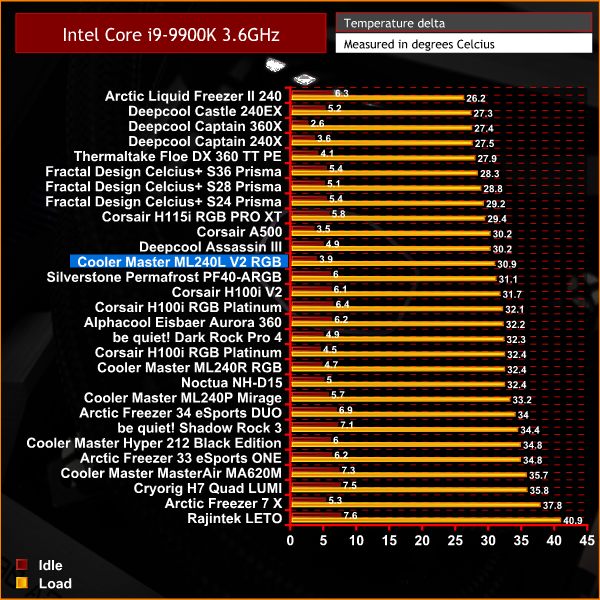
With the Intel Core i9-9900K CPU in our test bench set to an all-core frequency of 3.6 GHz, the Cooler Master ML240L V2 RGB records an average temperature delta of 30.9°C. So, used in conjunction with a low power CPU the ML240L V2 should do a good job of keeping CPU temperature under control.
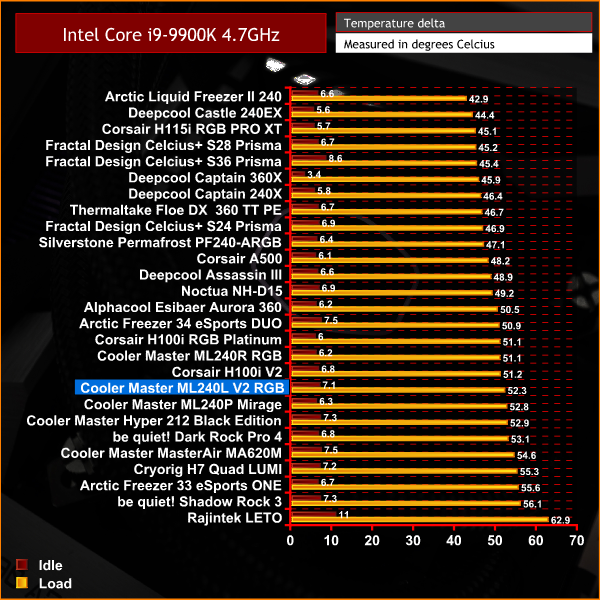
When we crank the frequency and voltage of the Core i9-9900K up to 4.7 GHz and 1.20V, the thermal performance of the ML240L V2 starts to decline. Thermal performance is within a similar range to previous Cooler Master AIO coolers that we have tested previously, so this is no great surprise.
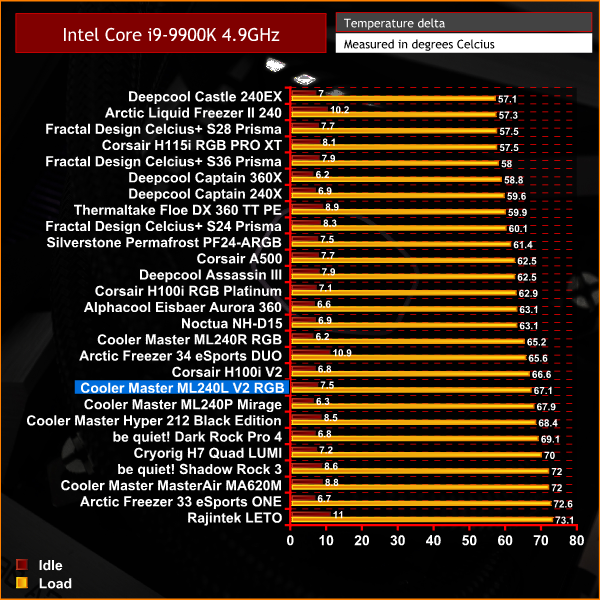
During our extreme overclocking test with the Core i9-9900K configured with an all-core frequency of 4.9 GHz, thermal performance of the ML240L V2 remains pretty consistent, however, it is slightly below par of what we would expect from a 240mm AIO cooler and is a little disappointing.
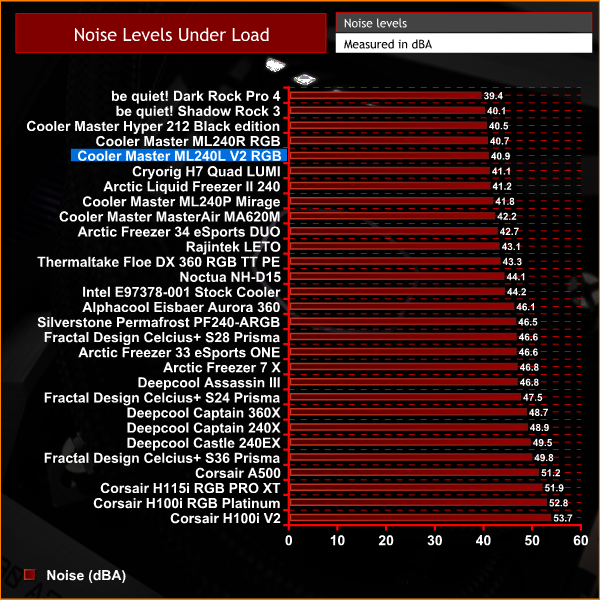
Previous Cooler Master AIO coolers we have tested have always scored well in our noise levels tests and it is much of the same story again with the ML240L V2. Since the V2 is using a relatively high-speed fan at 1800 RPM, these noise levels are quite impressive and would suit someone looking for a cooler with low noise output.
During our thermal performance tests with the CPU core frequency pushed relatively high, the thermal performance of the Cooler Master ML240L V2 RGB was a little underwhelming. It was no worse than previous AIO CPU coolers we have tested from Cooler Master in recent months, however, we were expecting a little more improvement from the updated 3rd generation pump and new fans.
As is typical of all Cooler Master’s recent closed-loop and tower CPU coolers, noise levels of the ML240L V2 were relatively low. So if you are the type that considers noise levels as being the most important factor when choosing a CPU cooler, you may be pleased with the performance of the ML240L V2 RGB.
On the other hand, if you are striving for absolute raw thermal performance, then the ML240L V2 may not be the cooler for you, especially if your system is equipped with a high power CPU such as an overclocked Intel Core i9-9900K like the one in our test bench system. However, if you're trying to cool a low-power CPU, then the ML240L V2 should get the job done.
Even though the thermal performance is slightly disappointing, it is by no means the worse we have seen and when taking noise levels and price into consideration, the ML240L V2 RGB is quite a balanced and cost-effective product.
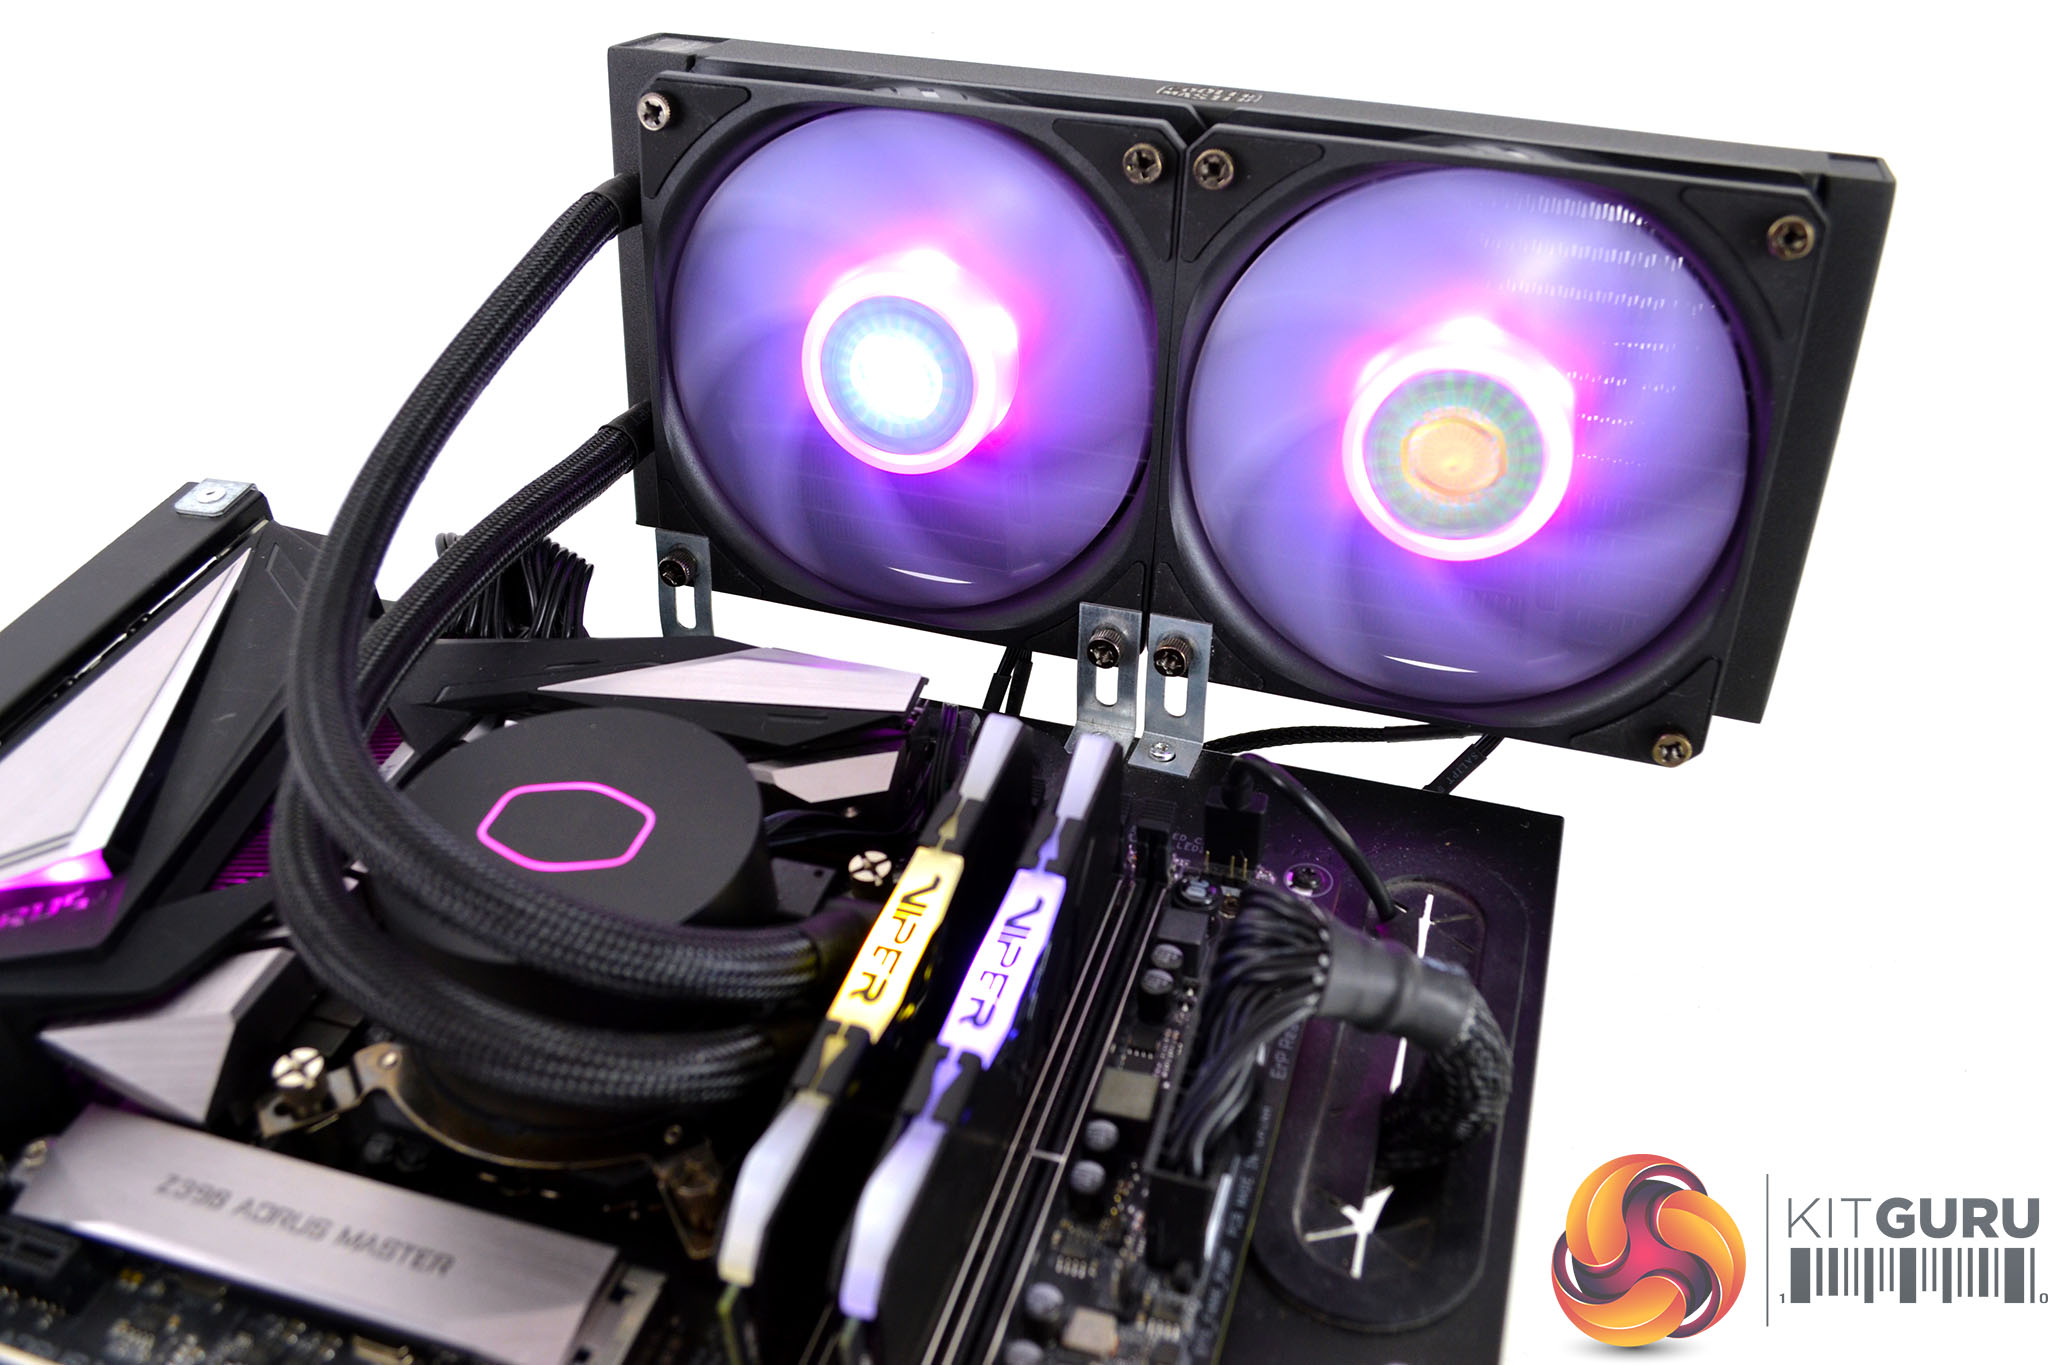
One of the most noticeable improvements of the ML240L V2 is the RGB lighting implementation, especially in the fans. With previous Cooler Master all-in-one CPU coolers, the RGB lighting of the fans has looked a little bland, these new SickleFlow fans have much more vivid RGB colour and there is less light bleed around the fan hub which was very nice to see.

The overall build quality is very good too, I was particularly impressed by the premium looking appearance of the textured coating applied to the radiator and the braided sleeving on both the coolers tubing and fan cables. The RGB connections have locking clips with them to stop the connection disengaging, which I was happy to see and this is something that is often missing from more expensive RGB products.
The installation process is also very straightforward, Cooler Master doesn’t use any proprietary cable connections so RGB compatibility with motherboards is perfect and all fans/pumps are equipped with standard 3 or 4-pin cables, so there are no additional fan controllers and unnecessary cables to manage.
Whether your motherboard supports RGB or not, Cooler Master has made sure that everyone can take advantage of the ML240L V2’s built-in RGB lighting. Users can simply connect the RGB lighting to a compatible motherboard or use the provided RGB lighting controller if their motherboard has no RGB lighting headers. The RGB controller is a small device that is easy to hide away inside the system too.
Overall, the Cooler Master ML240L V2 RGB is not a bad product, it may be worth considering for users who prefer low noise levels over raw thermal performance and are fixed to a tight build with their build. However, we believe a cooler's first job should be cooling, and there the ML240L V2 does fall short compared to the competition.
![]()
The Cooler Master ML240L V2 RGB is available to pre-order from Overclockers UK now, priced at £69.95 HERE.
Discuss on our Facebook page HERE.
Pros
- Relatively low noise levels.
- Two RGB lighting zones.
- Included RGB lighting controller.
- Good build quality at this price.
Cons
- Average thermal performance.
KitGuru says: There wasn’t much we didn’t like about the Cooler Master ML240L V2 RGB. However, the average thermal performance on our test rig was a little disappointing, especially when other manufacturers such as Arctic, with the Liquid Freezer II, can achieve high thermal performance at a similarly low price.