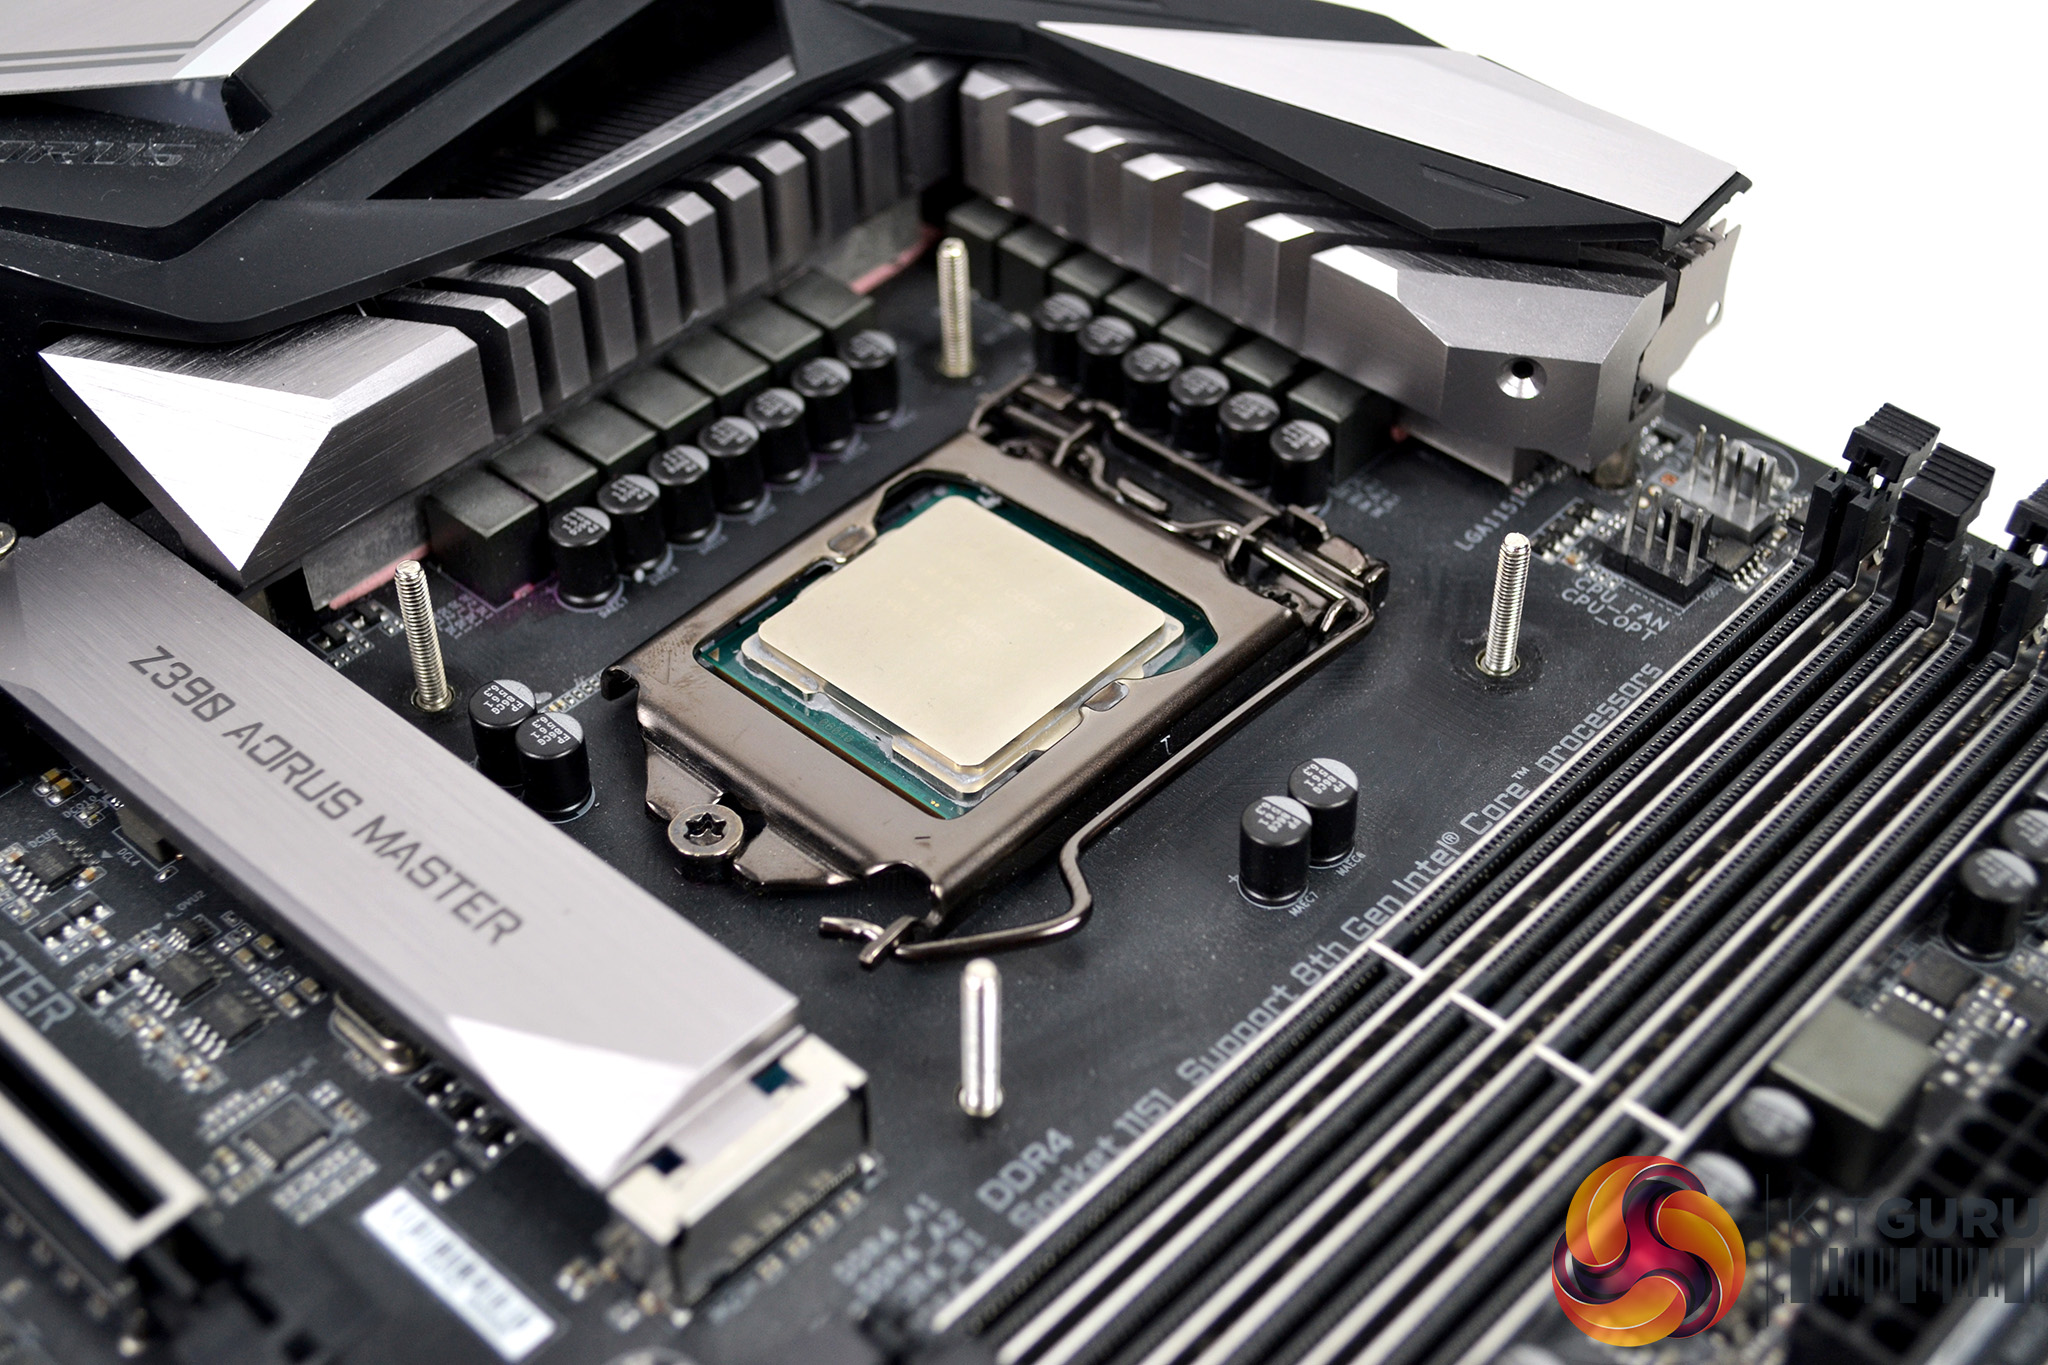
Our test system is Intel Z390 based, therefore, we will be following the relevant Intel 115X socket installation procedure.
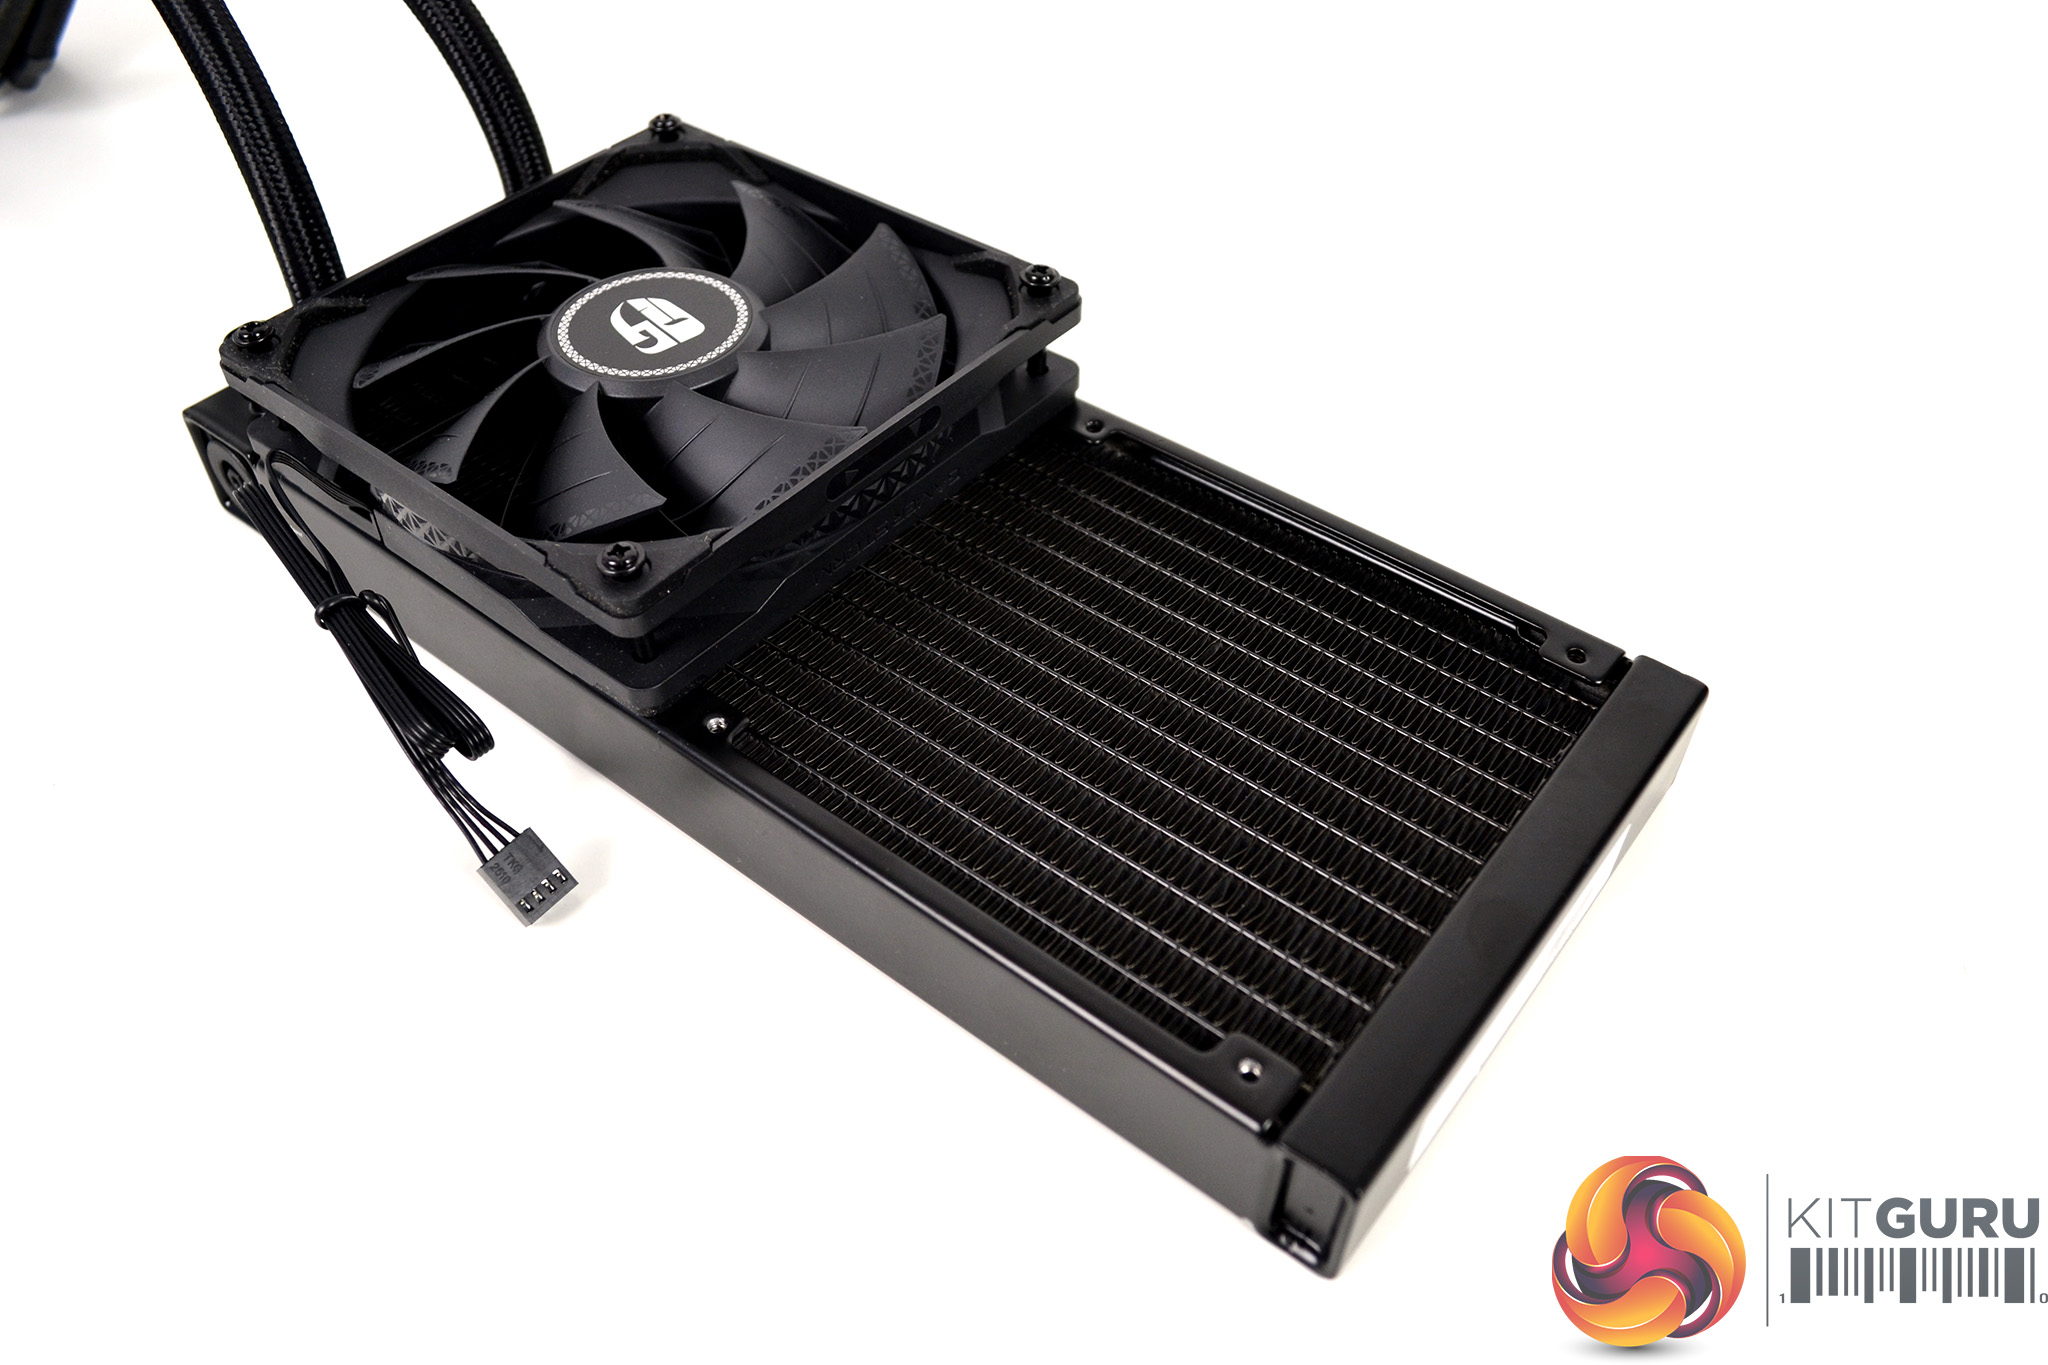
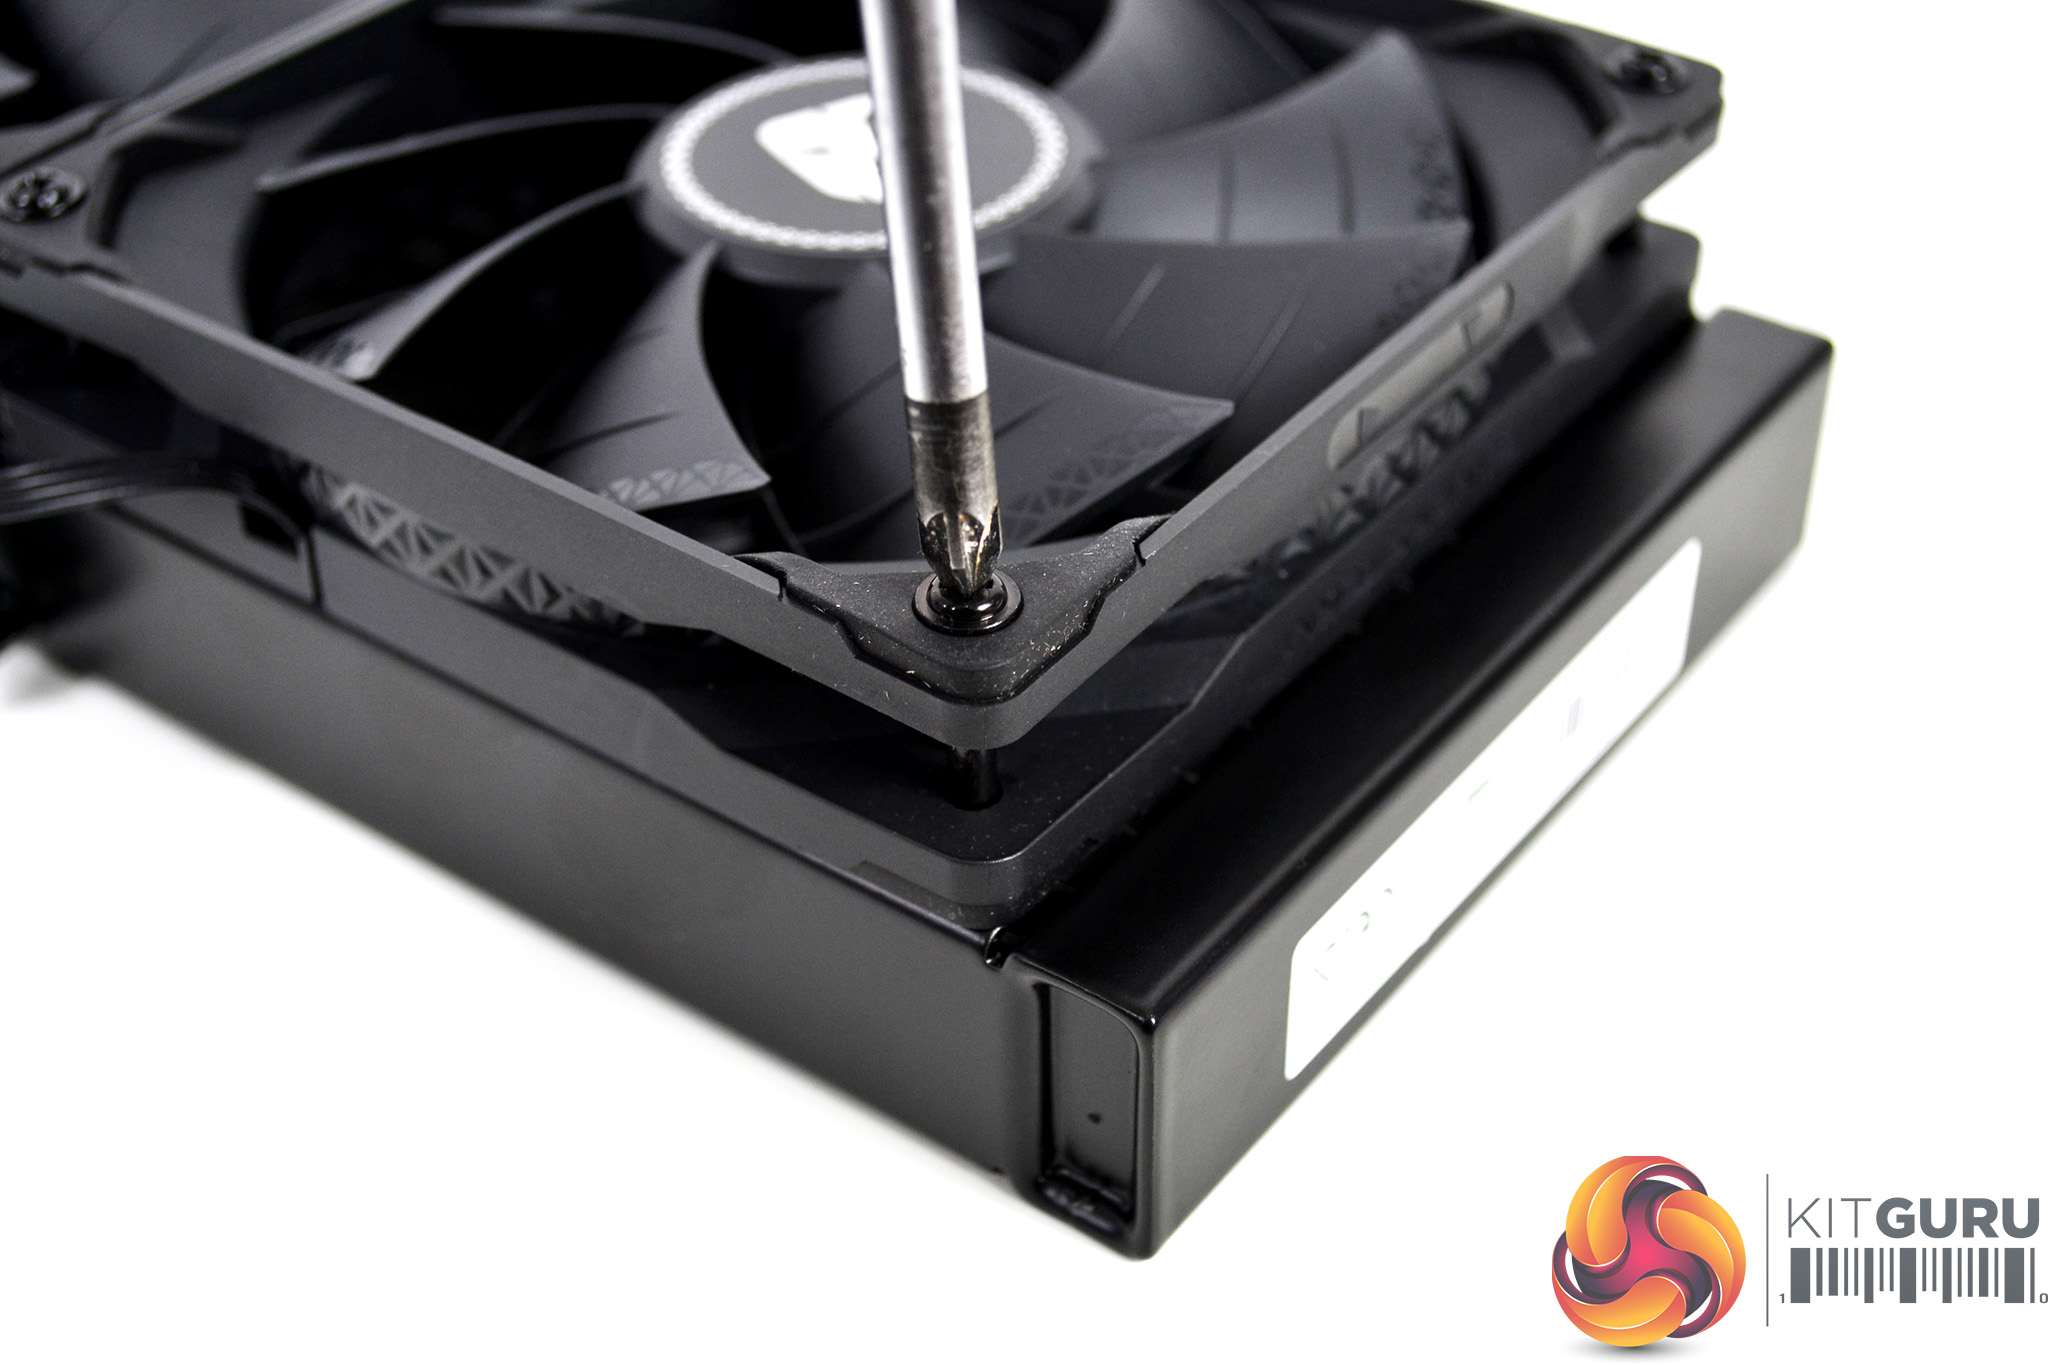
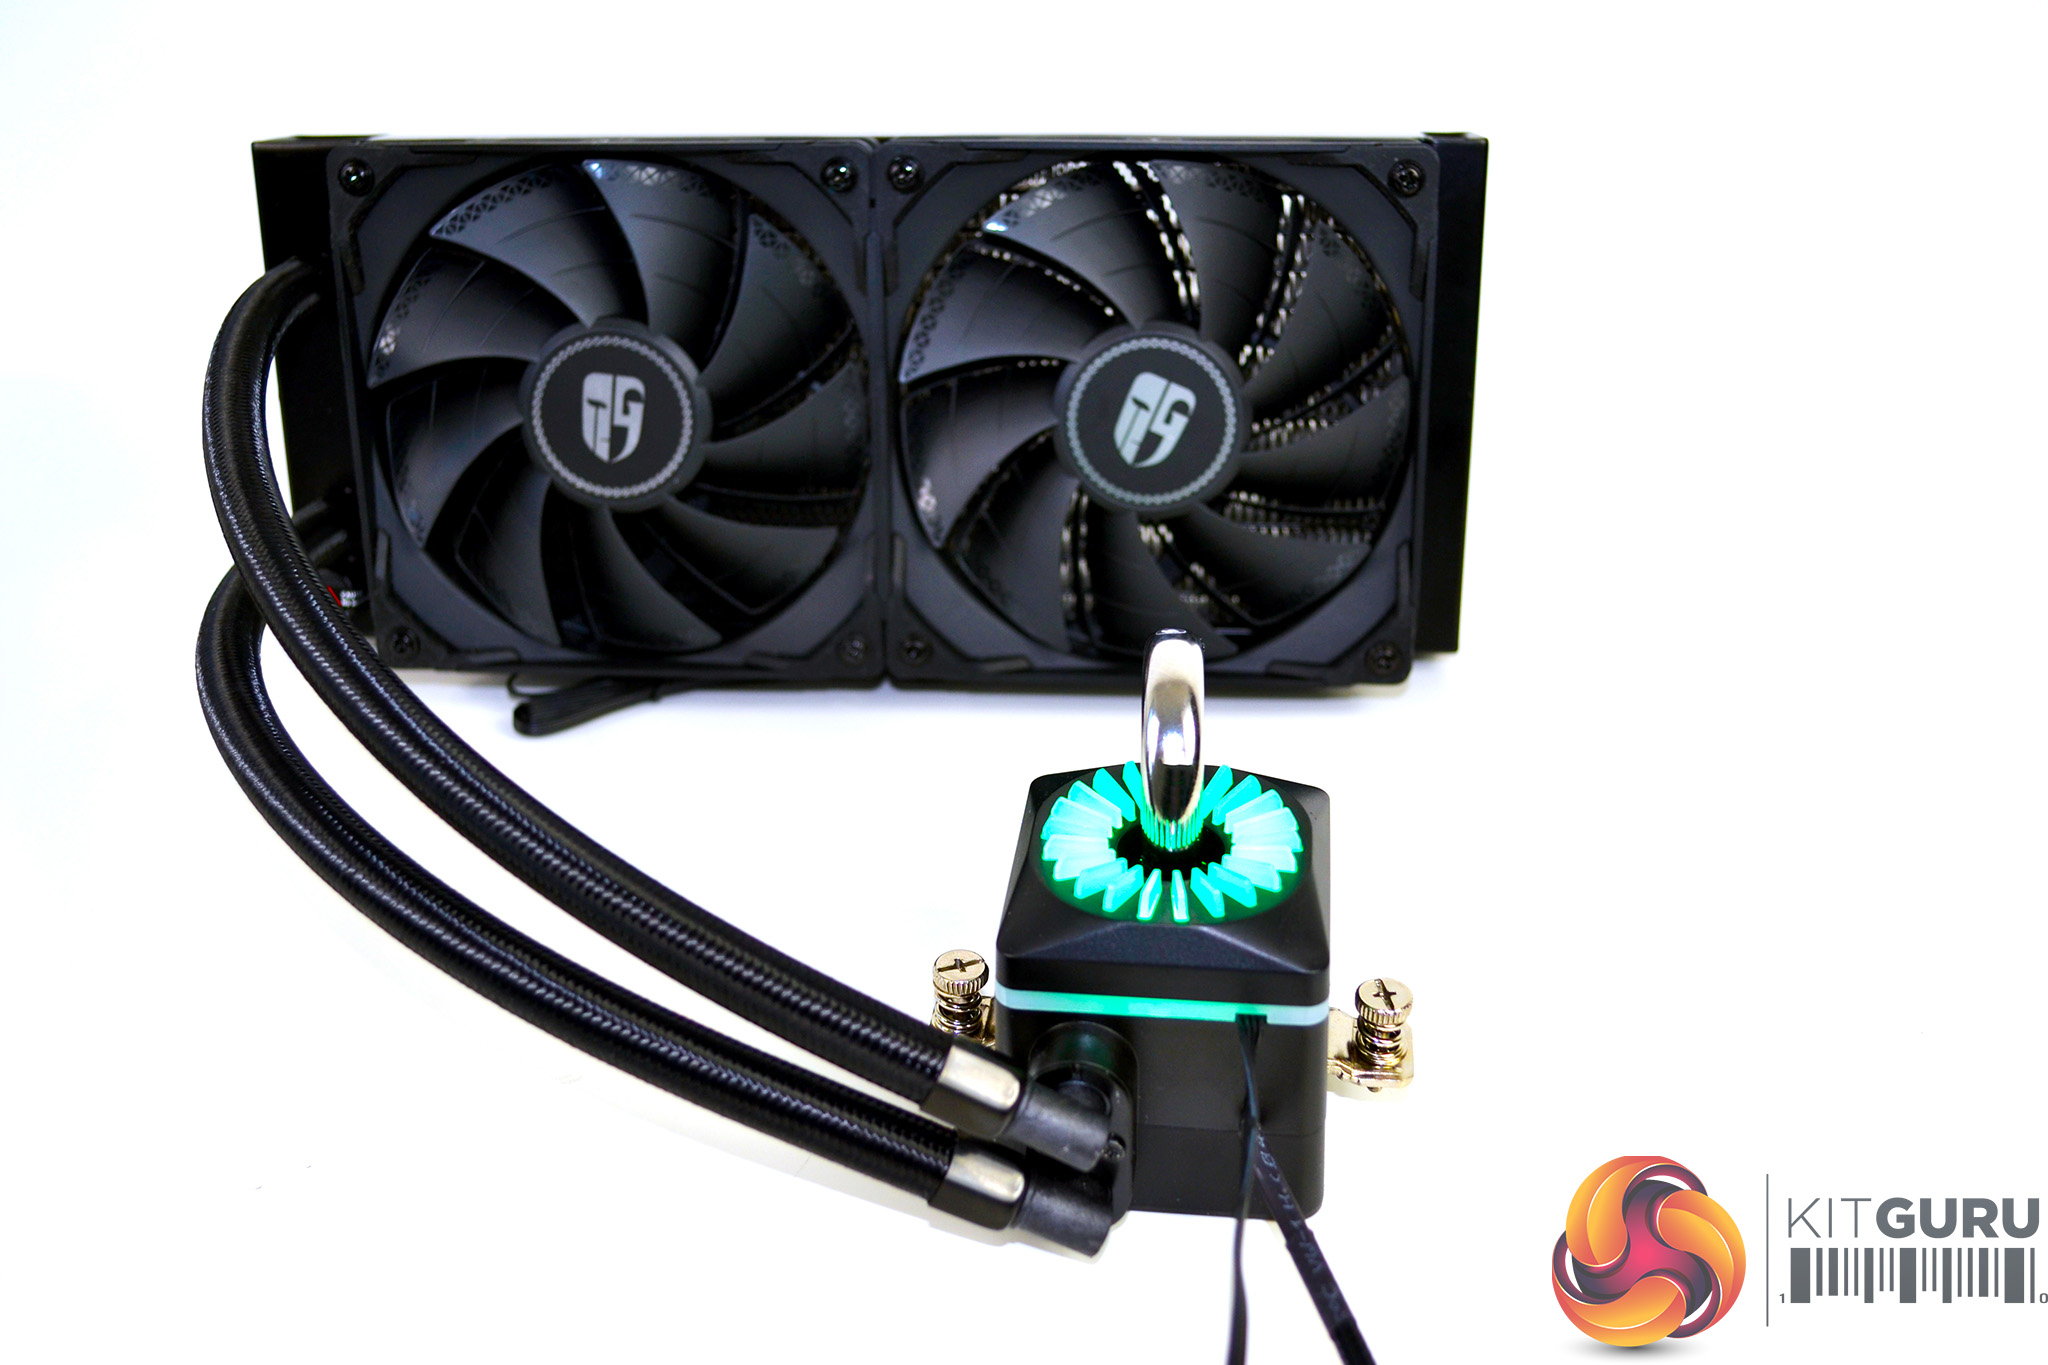
The first step of the installation process is to attach the fans to the radiator. The easiest way to do this is by laying the radiator down on a table or other flat surface and placing the fans on top, with the mounting holes aligned. Fix the fans down to the radiator using the eight long black screws that are provided.
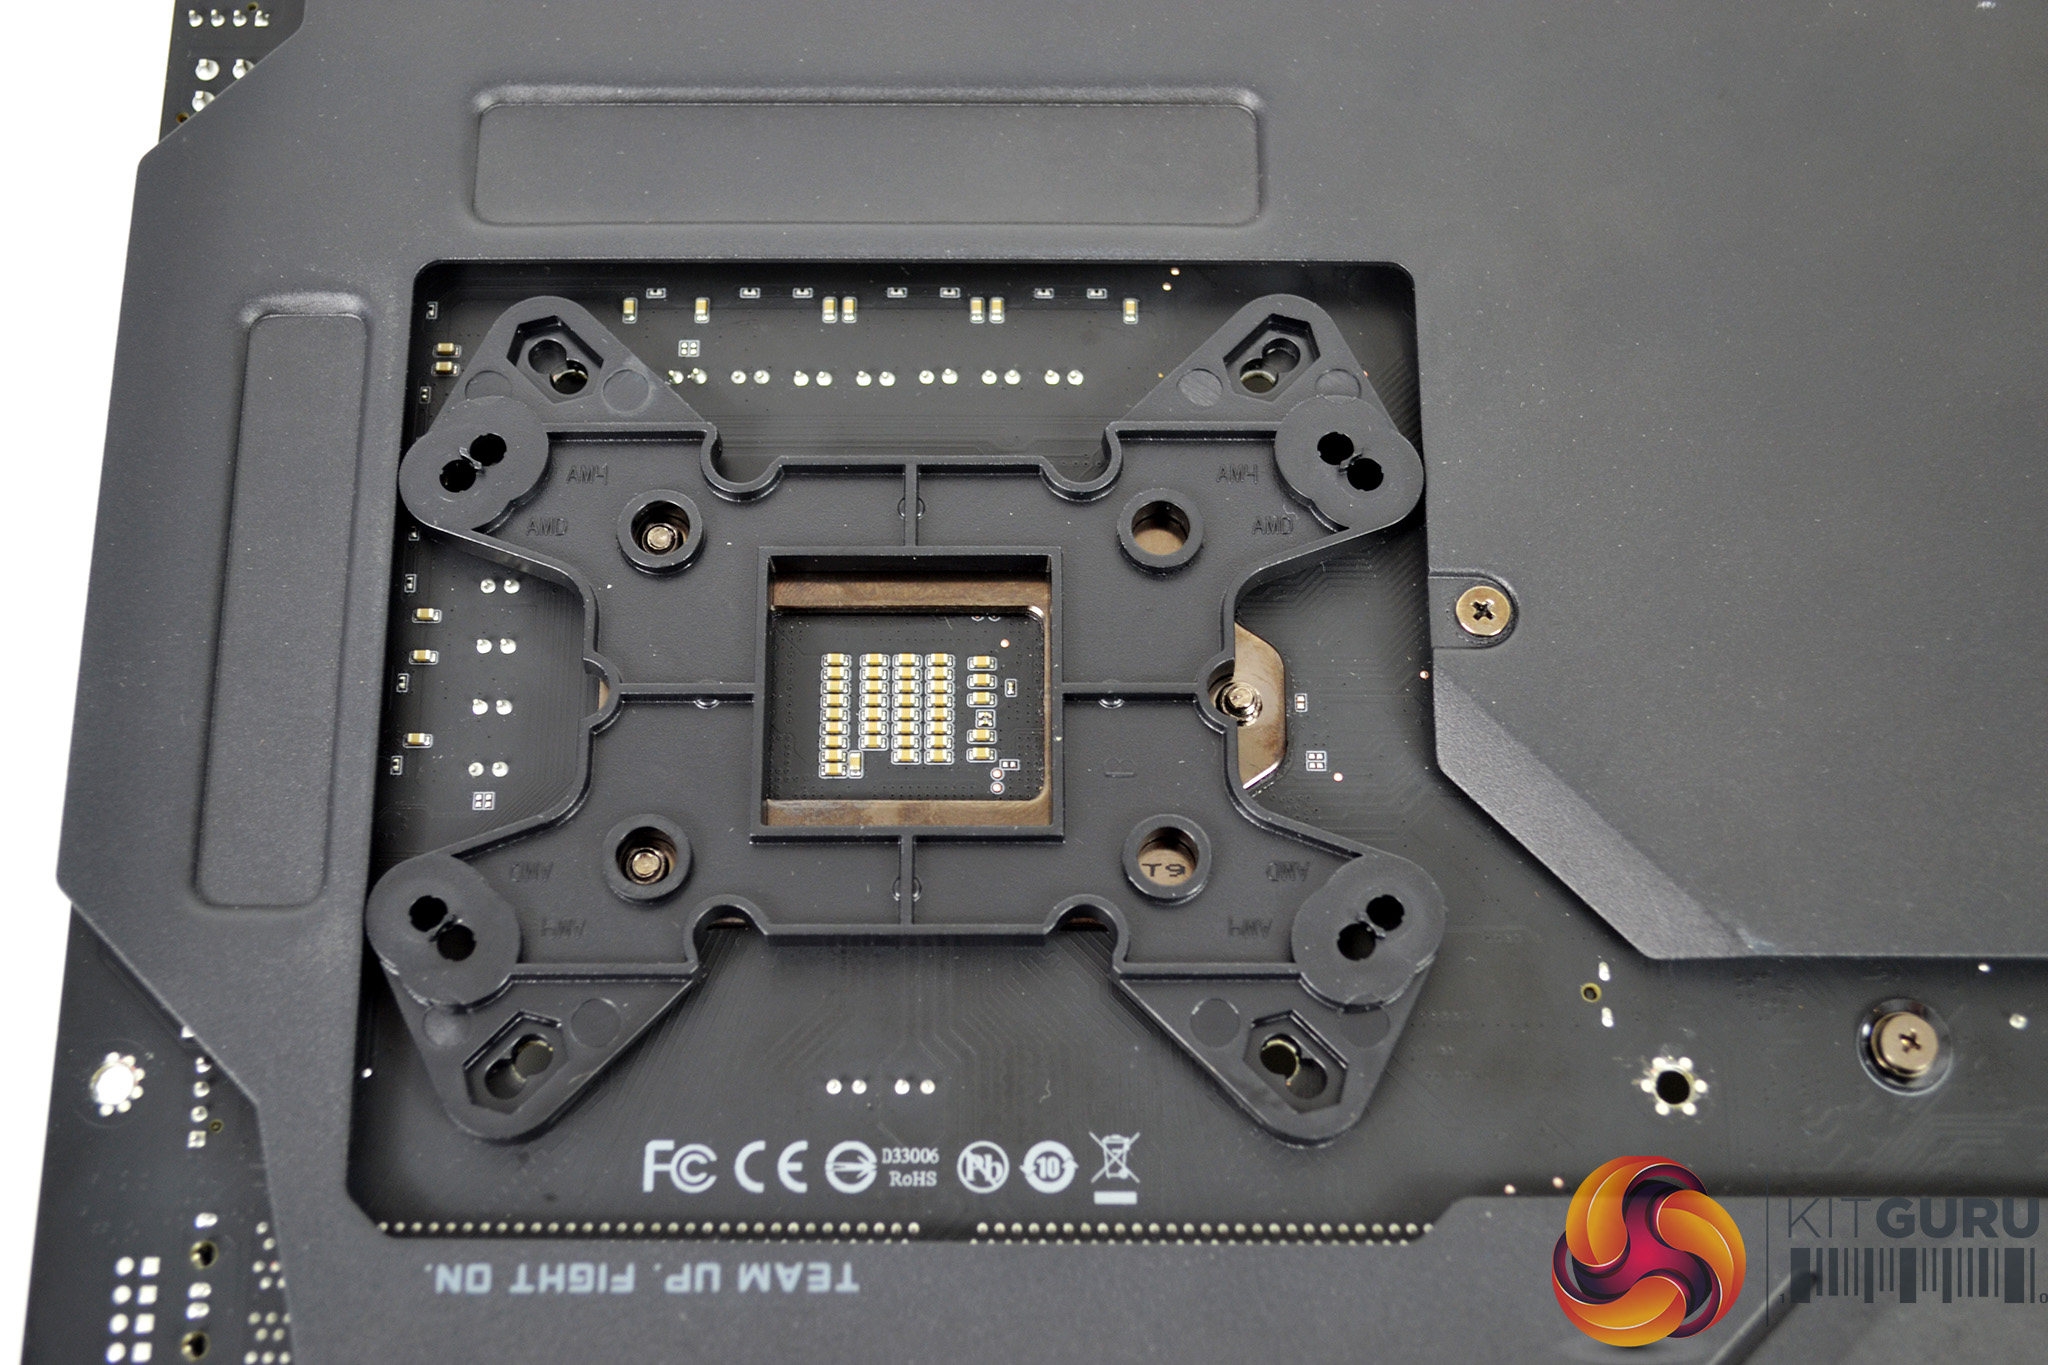
Once the fans are installed, we can move on to prepare the motherboard by taking the universal retention backplate and placing it in position on the rear of the motherboard. Align the mounting holes in the correct orientation for the relevant socket type.
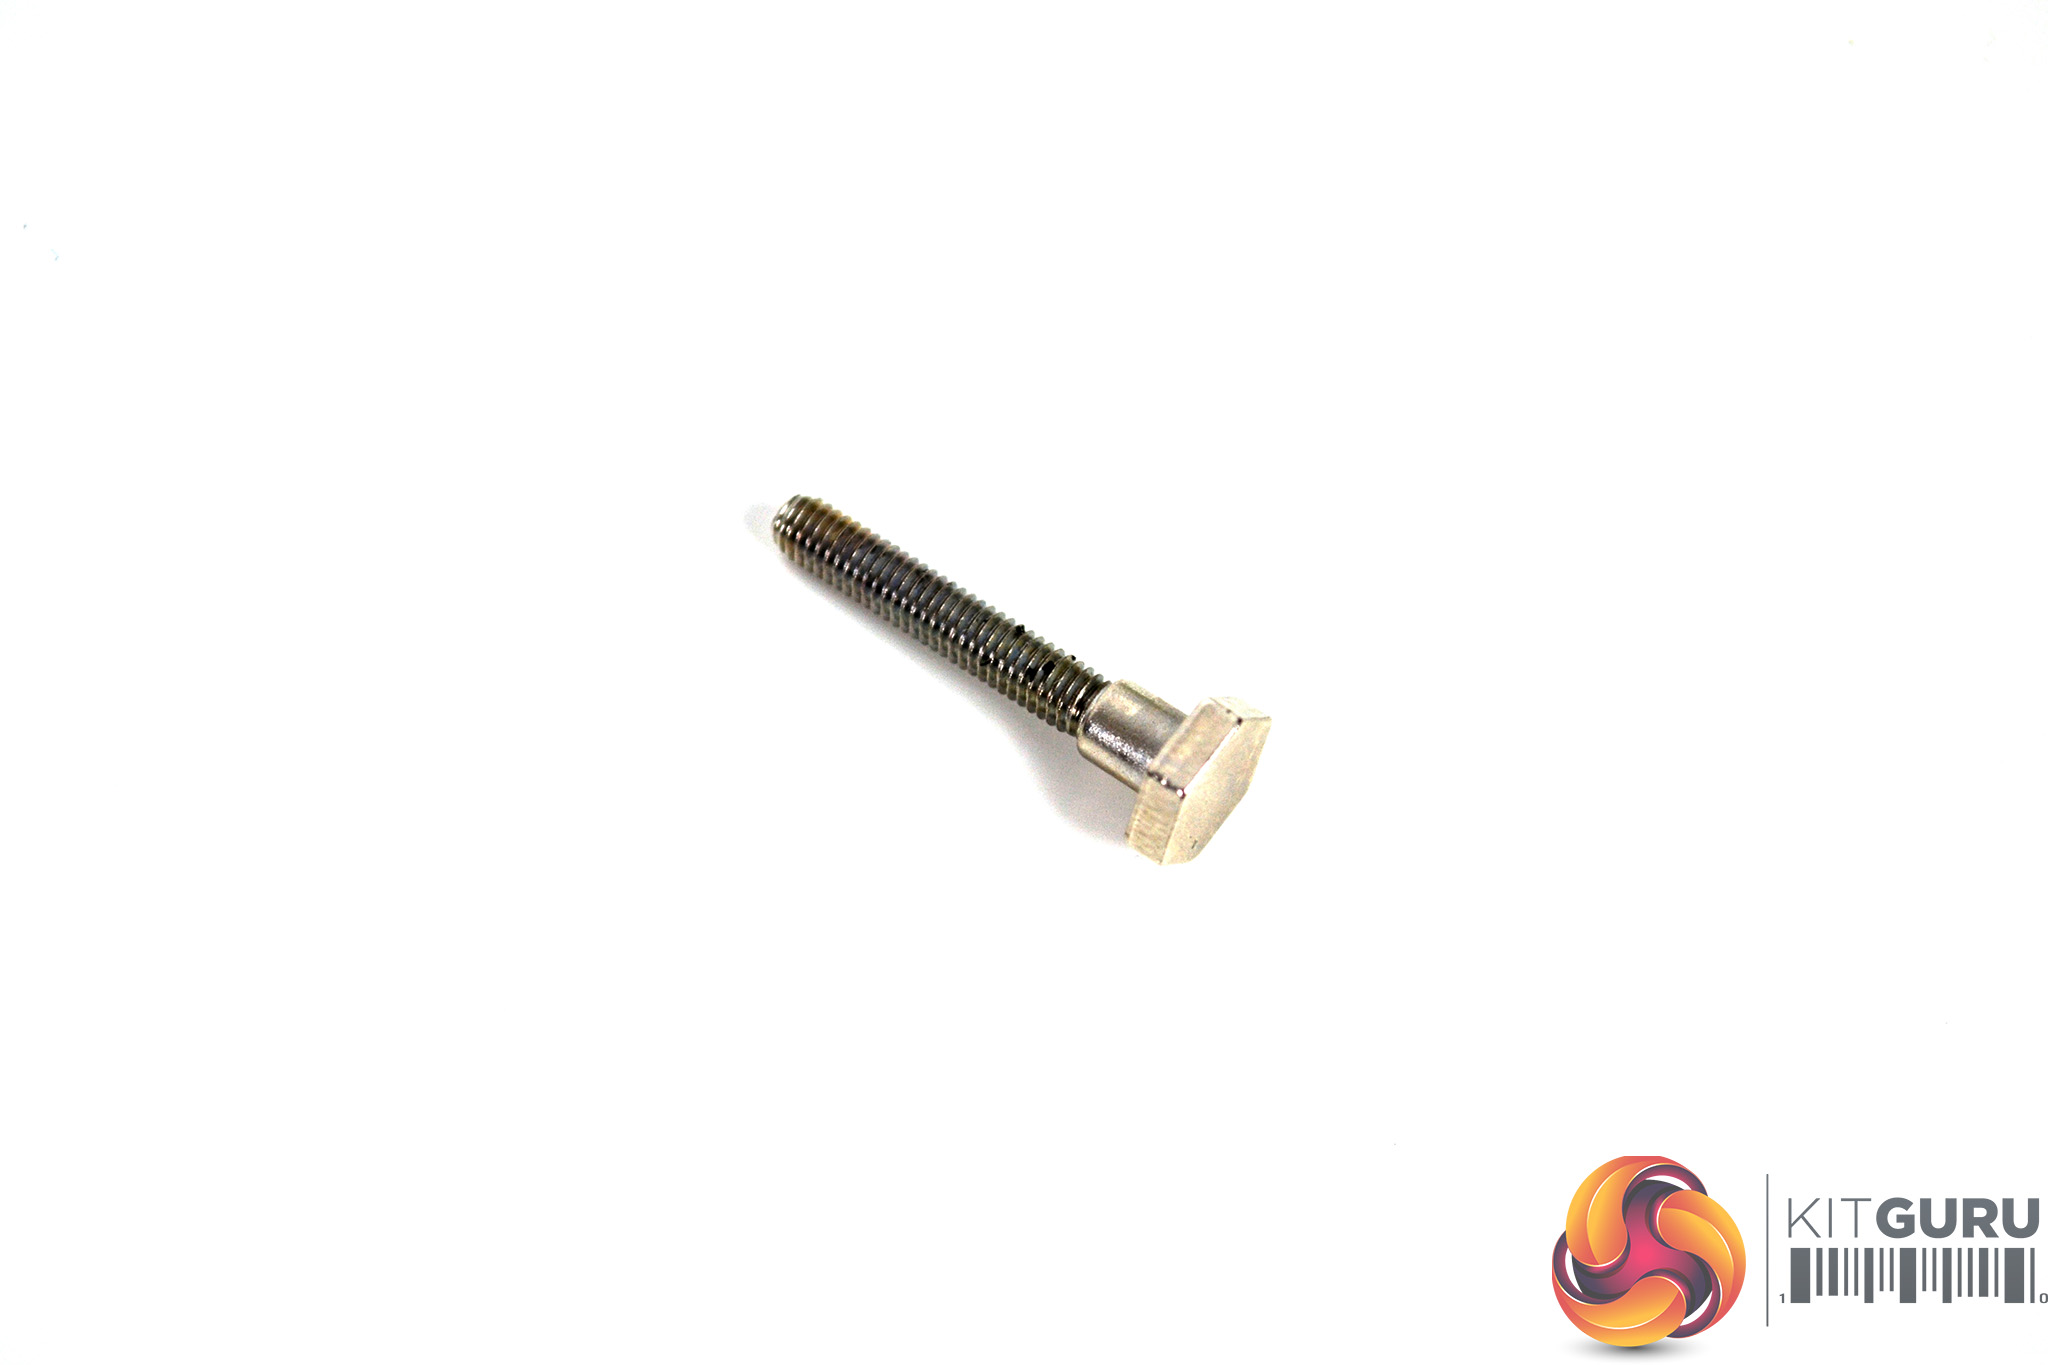
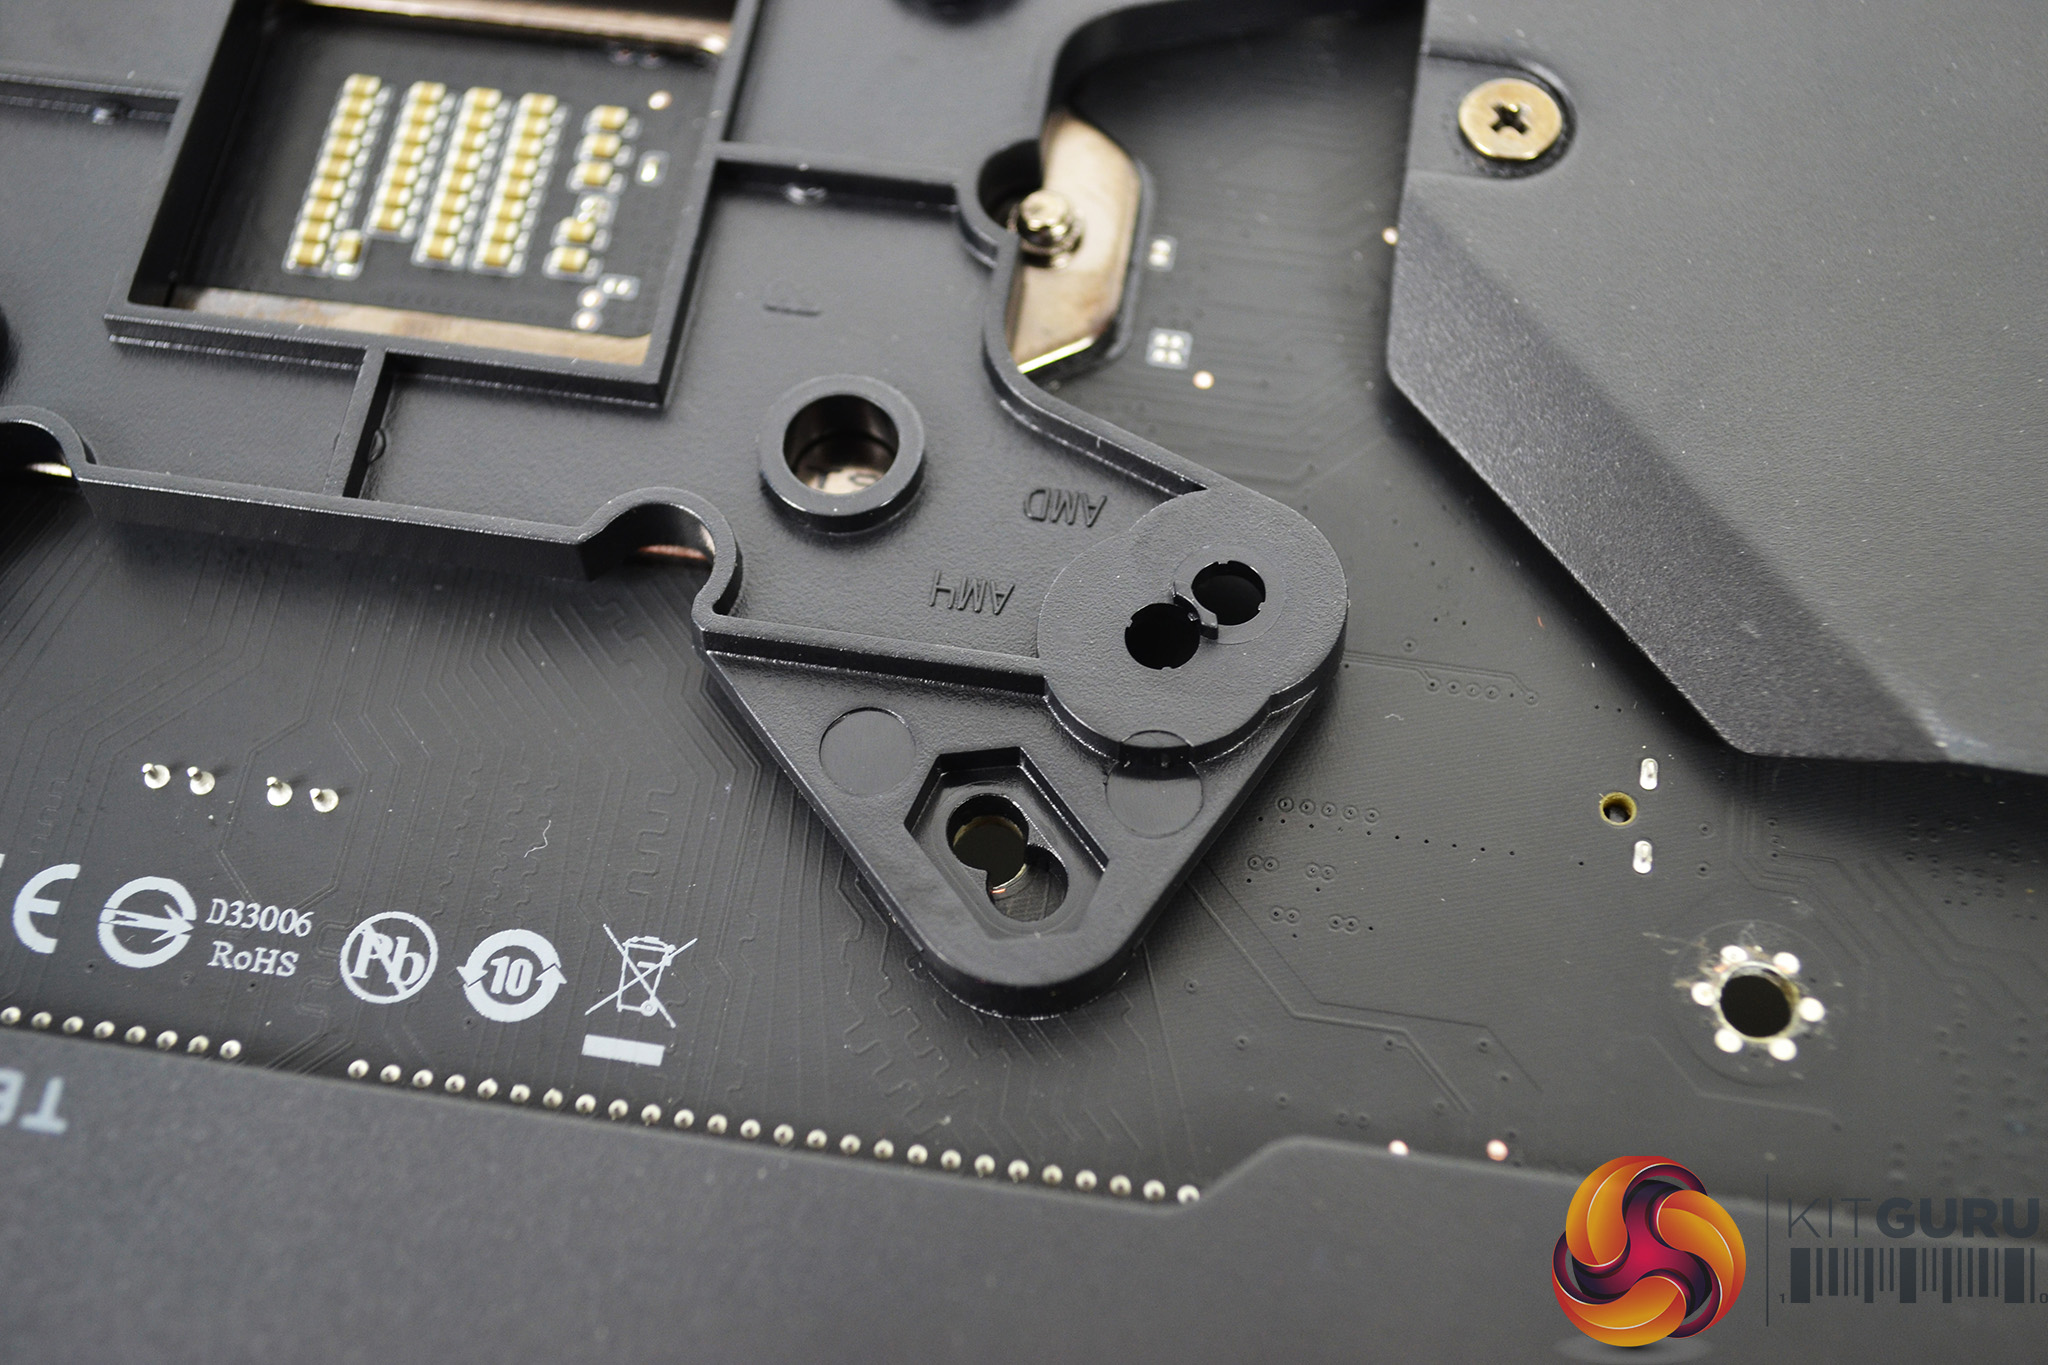
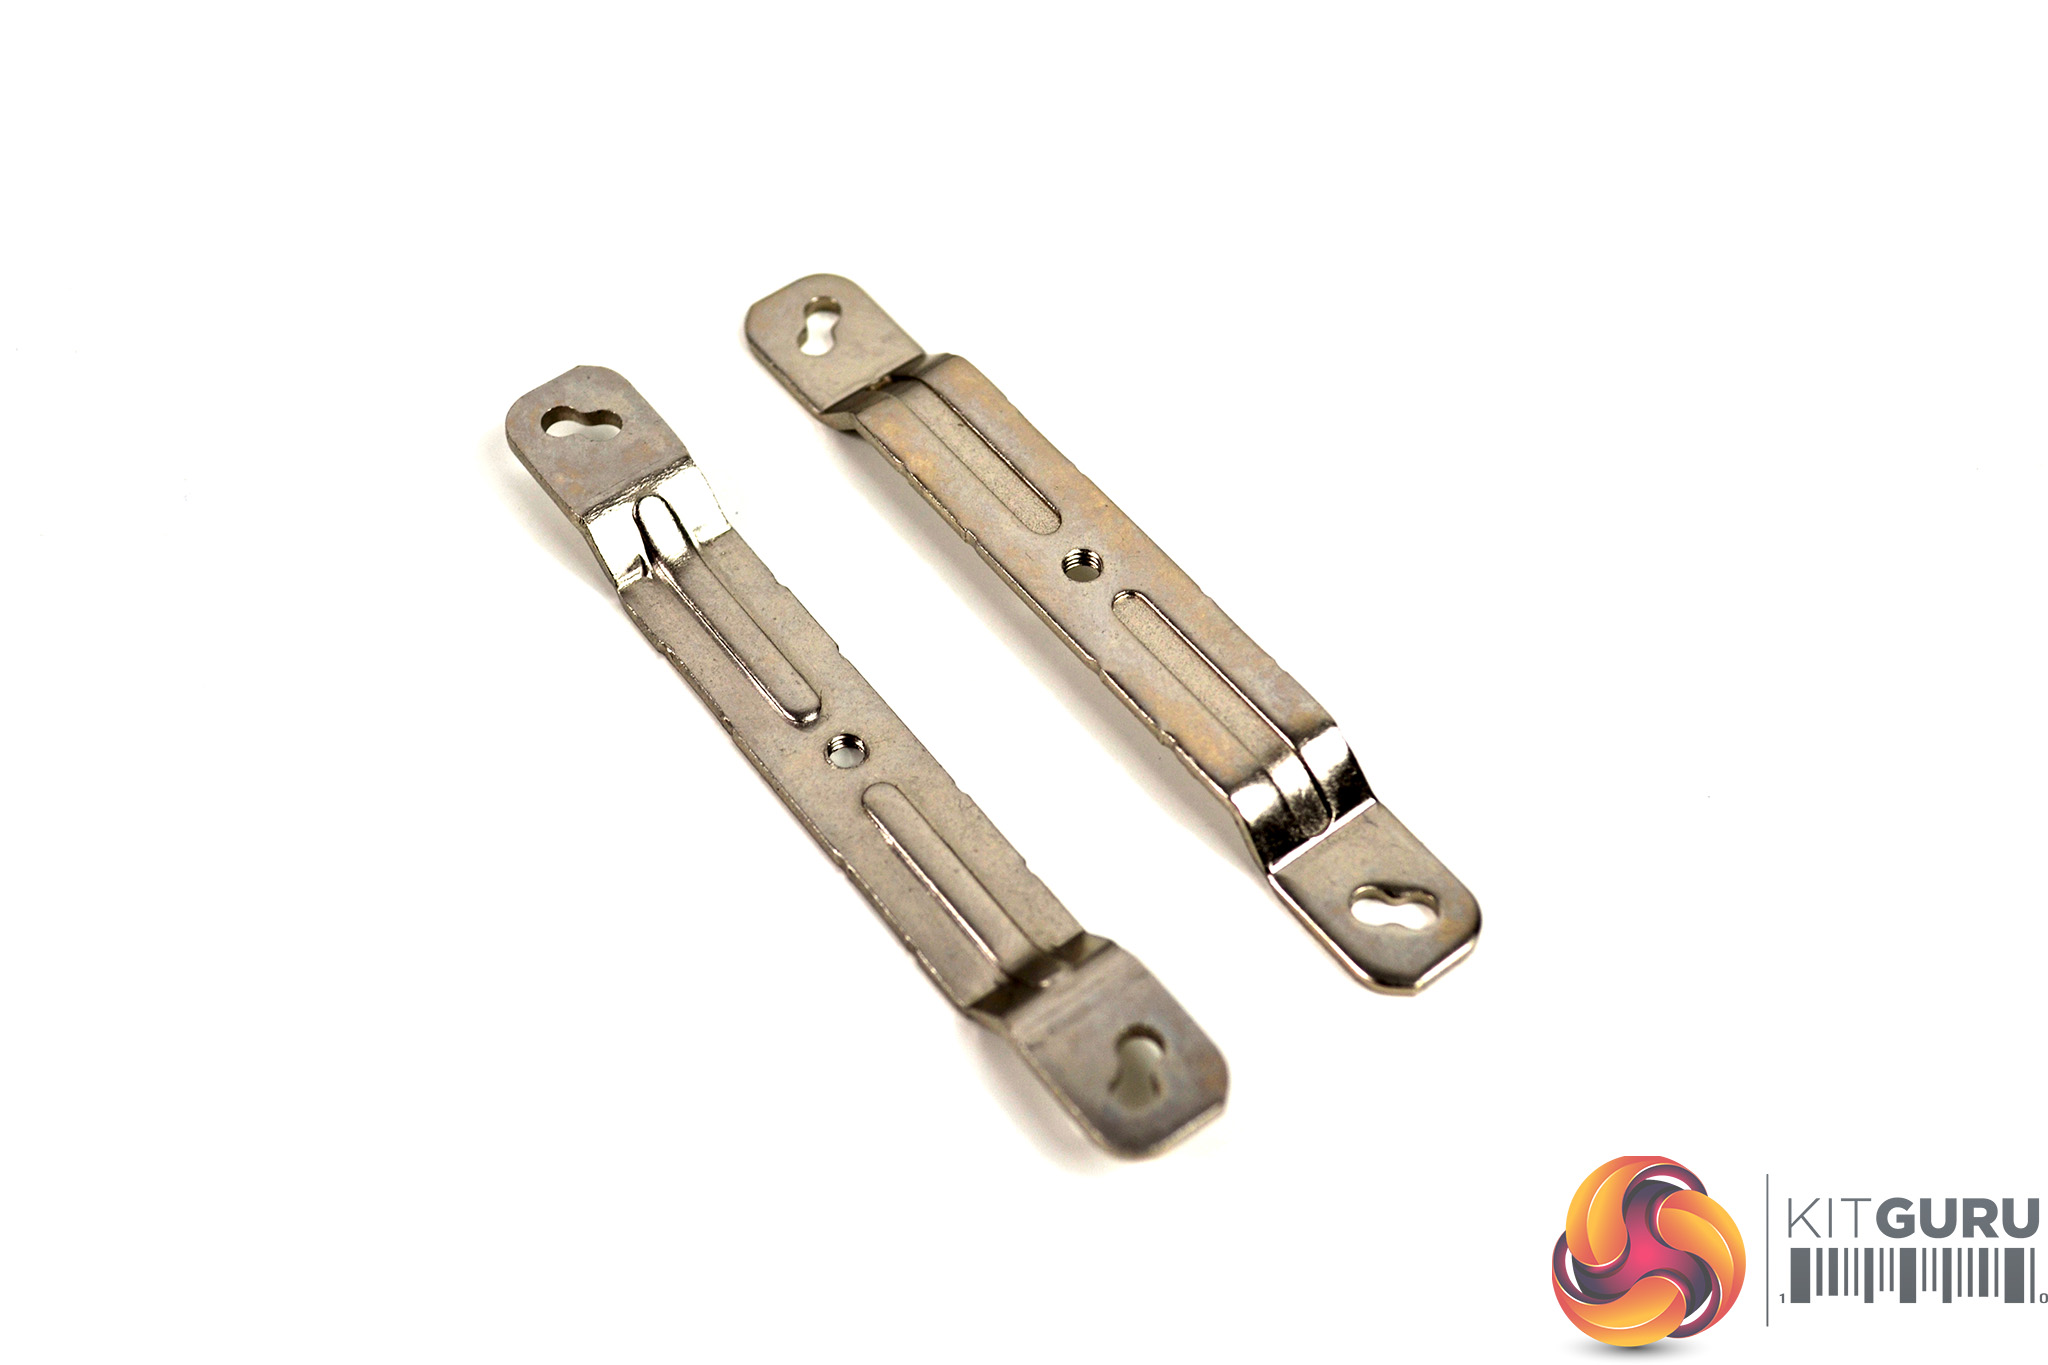
With the backplate correctly aligned, take the four silver threaded mounting posts with hexagonal heads and push them through the mounting holes until they are tightly in place. This does not fix the backplate to the motherboard so hold it in place while turning the motherboard back over.
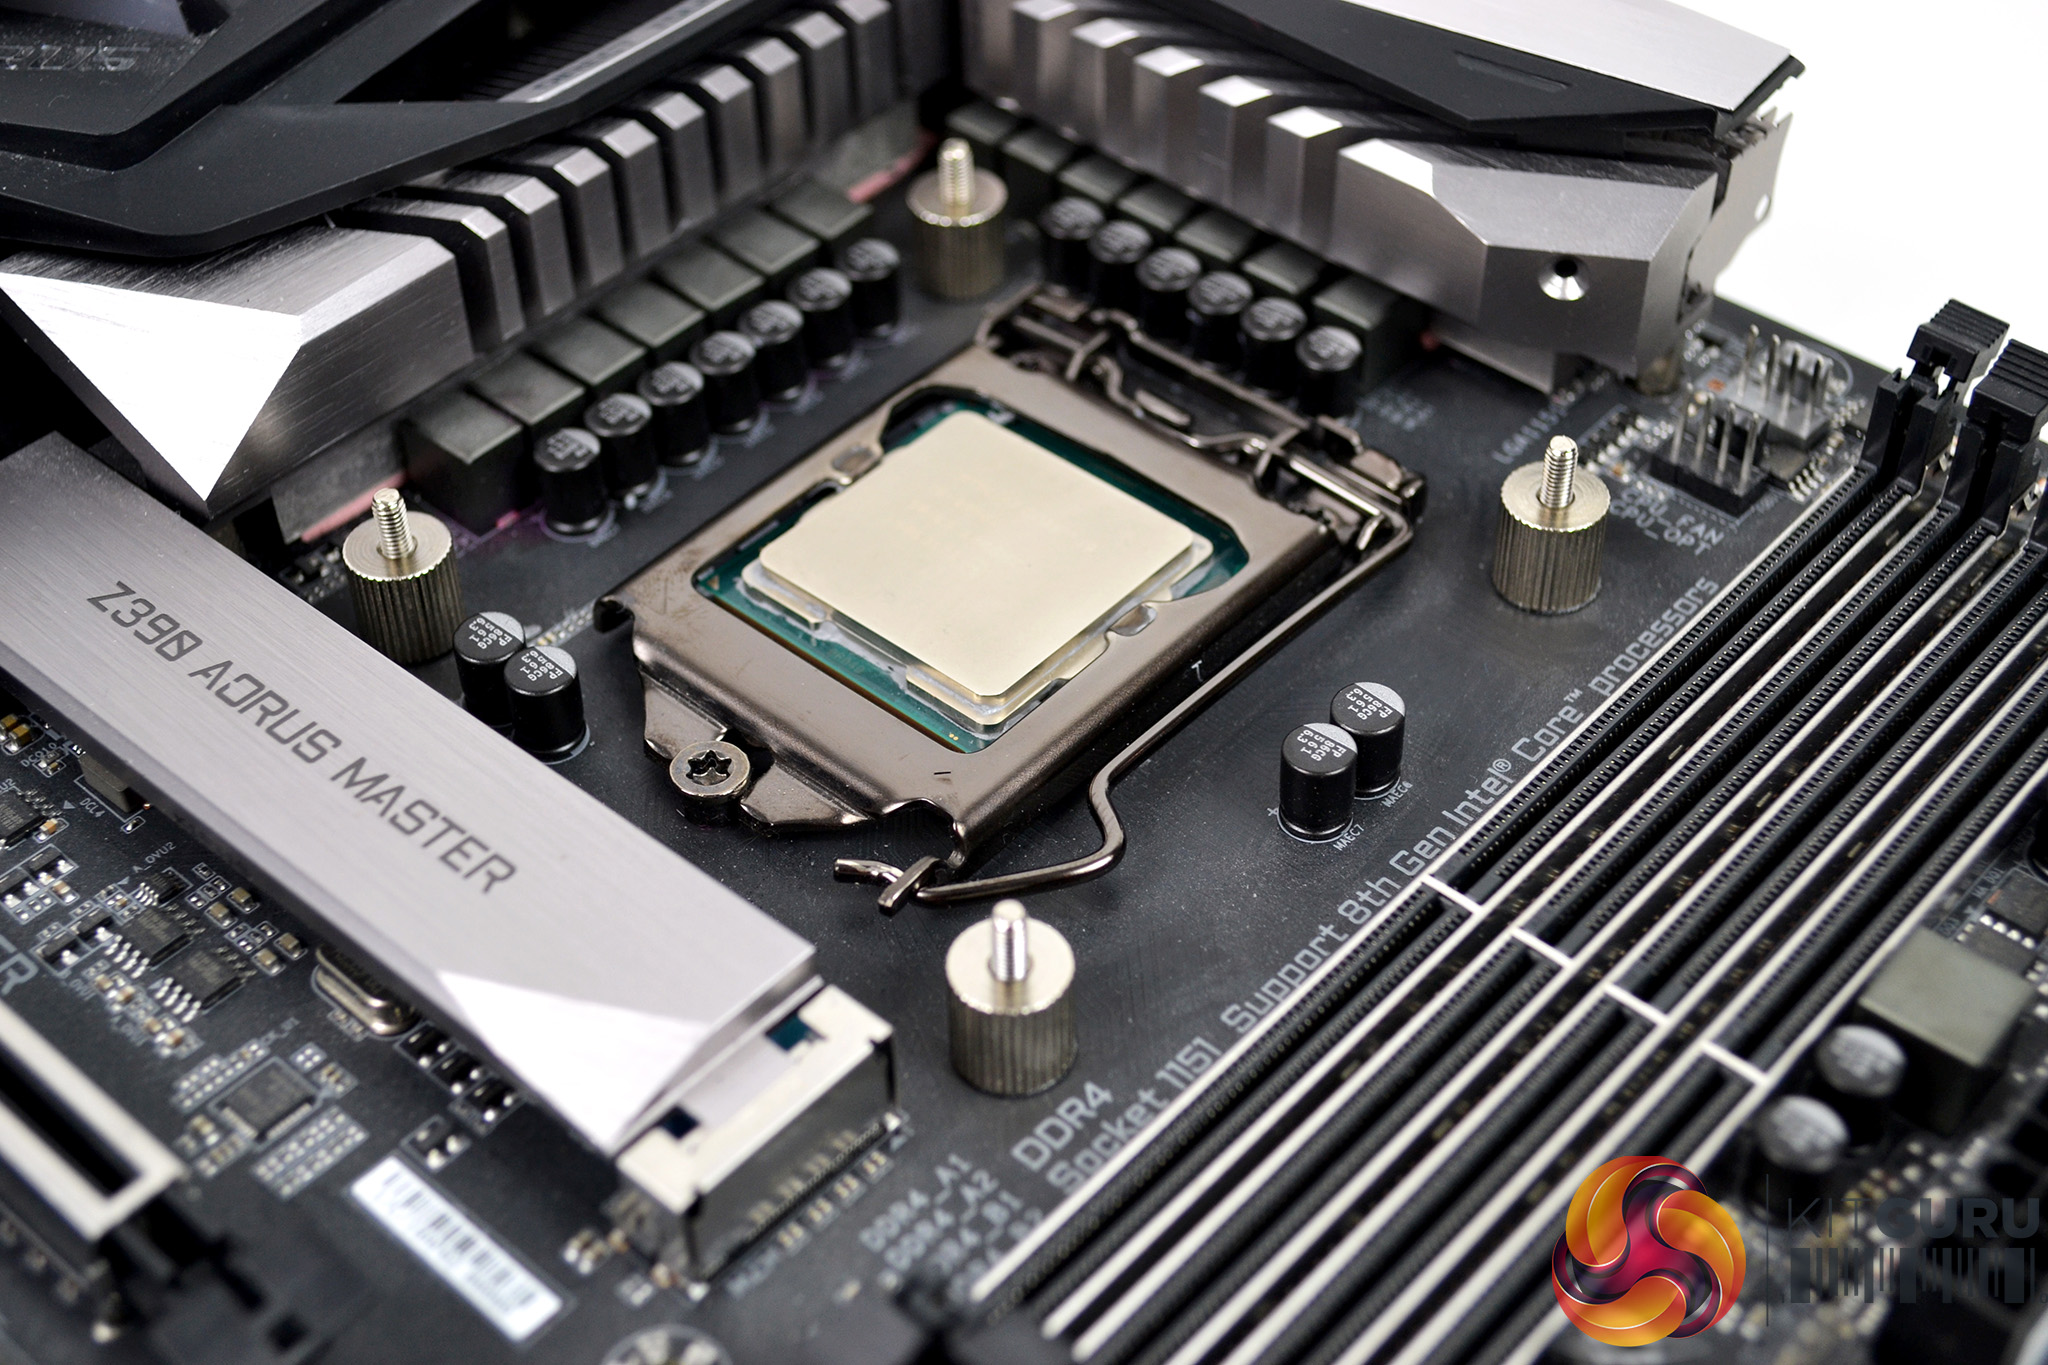
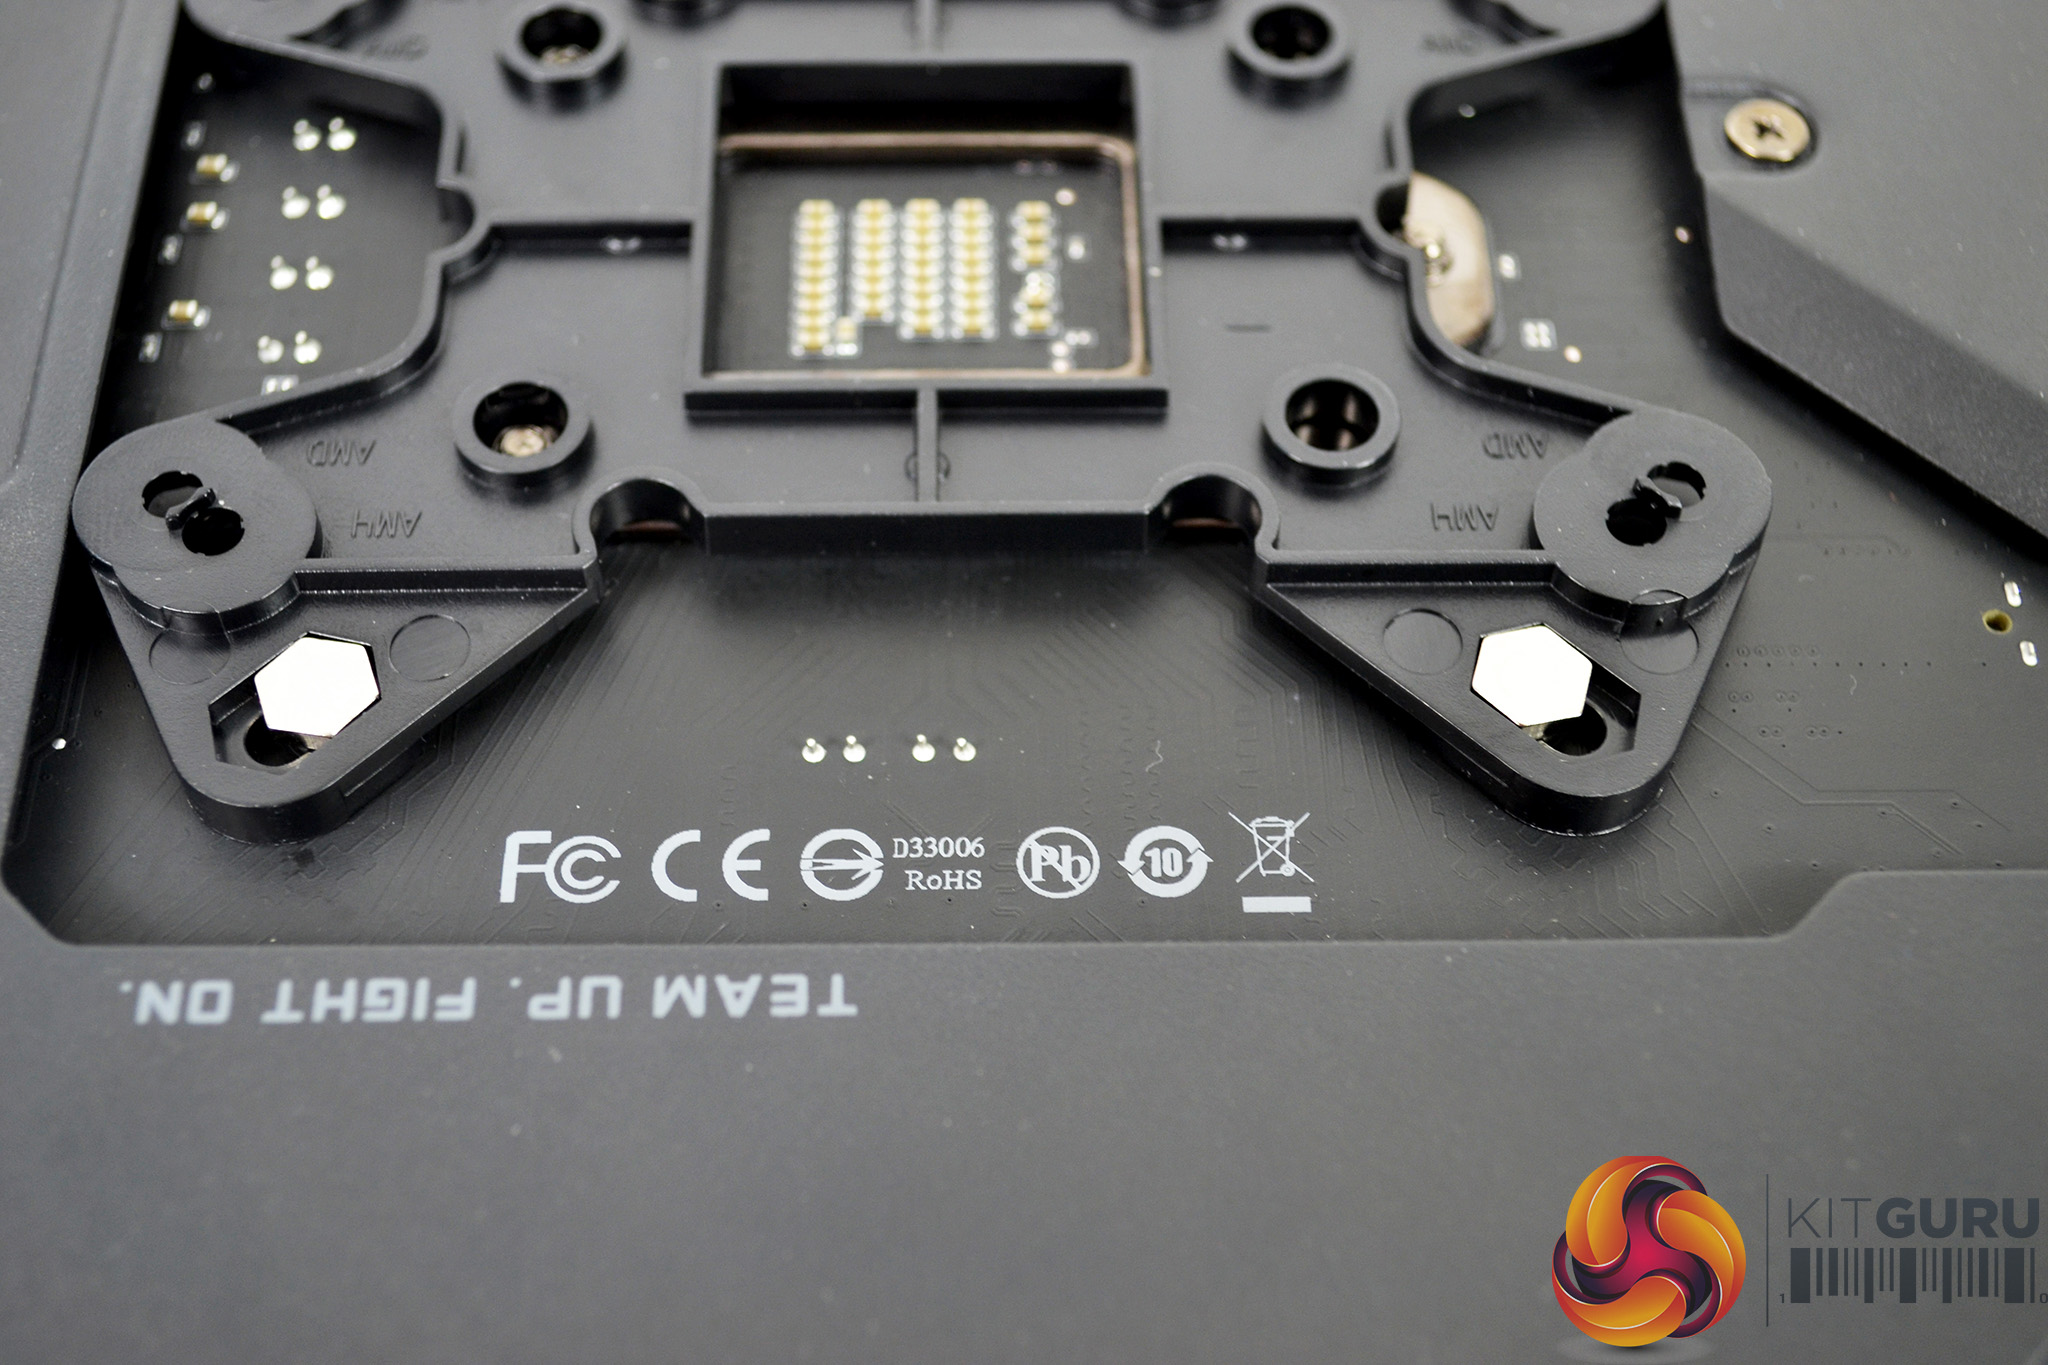
Now, with the motherboard the correct way up, take the four threaded spacers and screw them down by hand over the mounting posts until they are tight. Notice there is a portion of the mounting posts thread protruding above the spacers for locating the upper retention brackets in place.

For the final step of the motherboard preparation, take the two corresponding upper mounting brackets for your CPU socket type, lower them in place over the mounting posts and secure them with the retaining thumbscrews. Final tightening can be achieved using a Philips or flat head screwdriver.
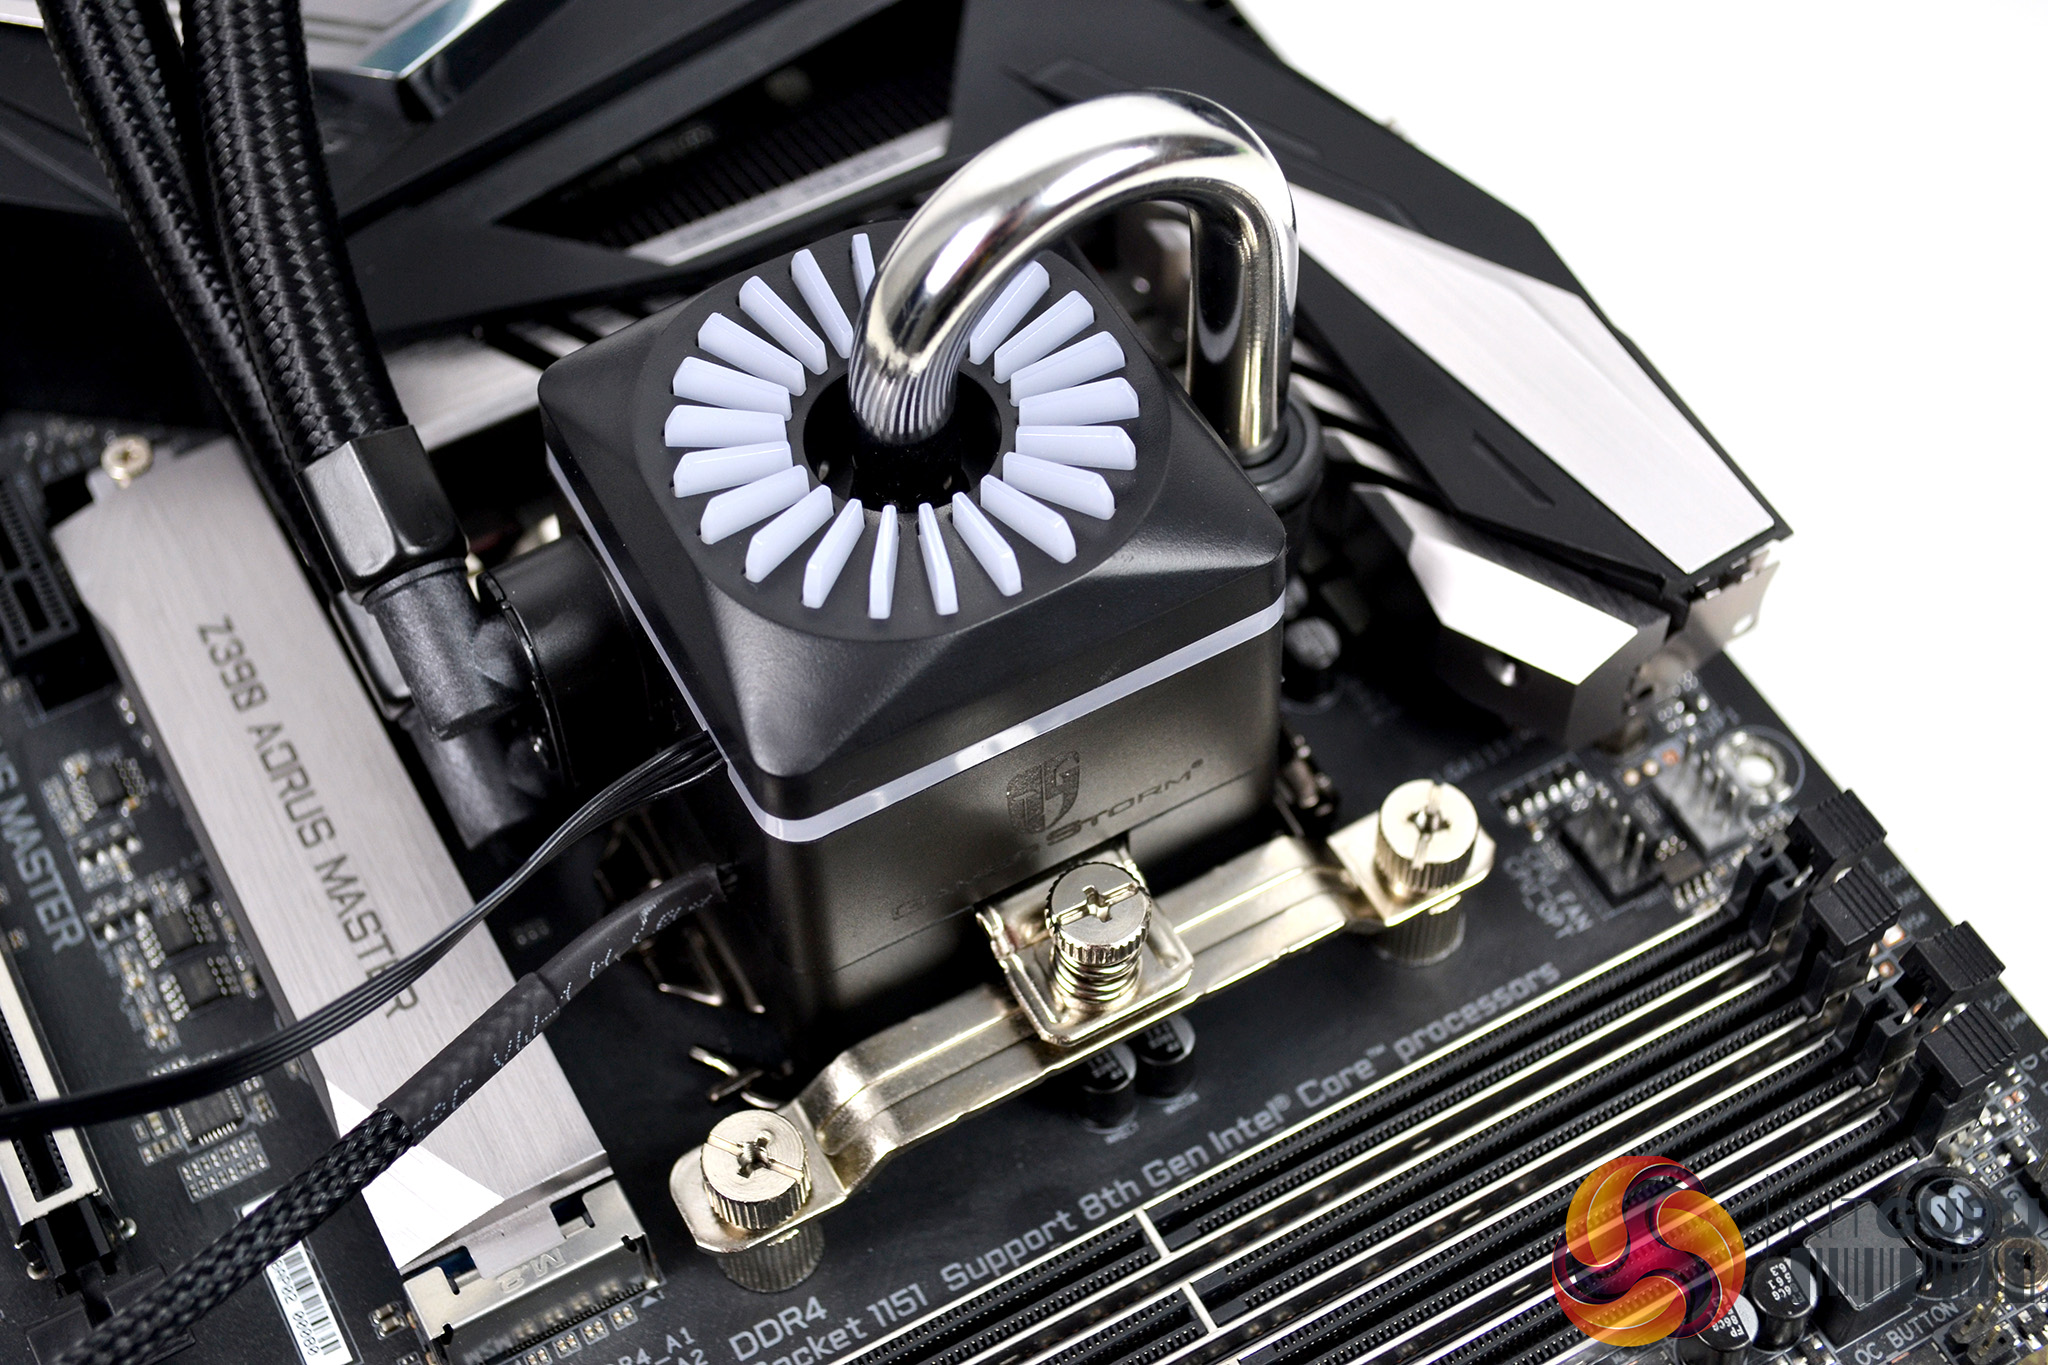
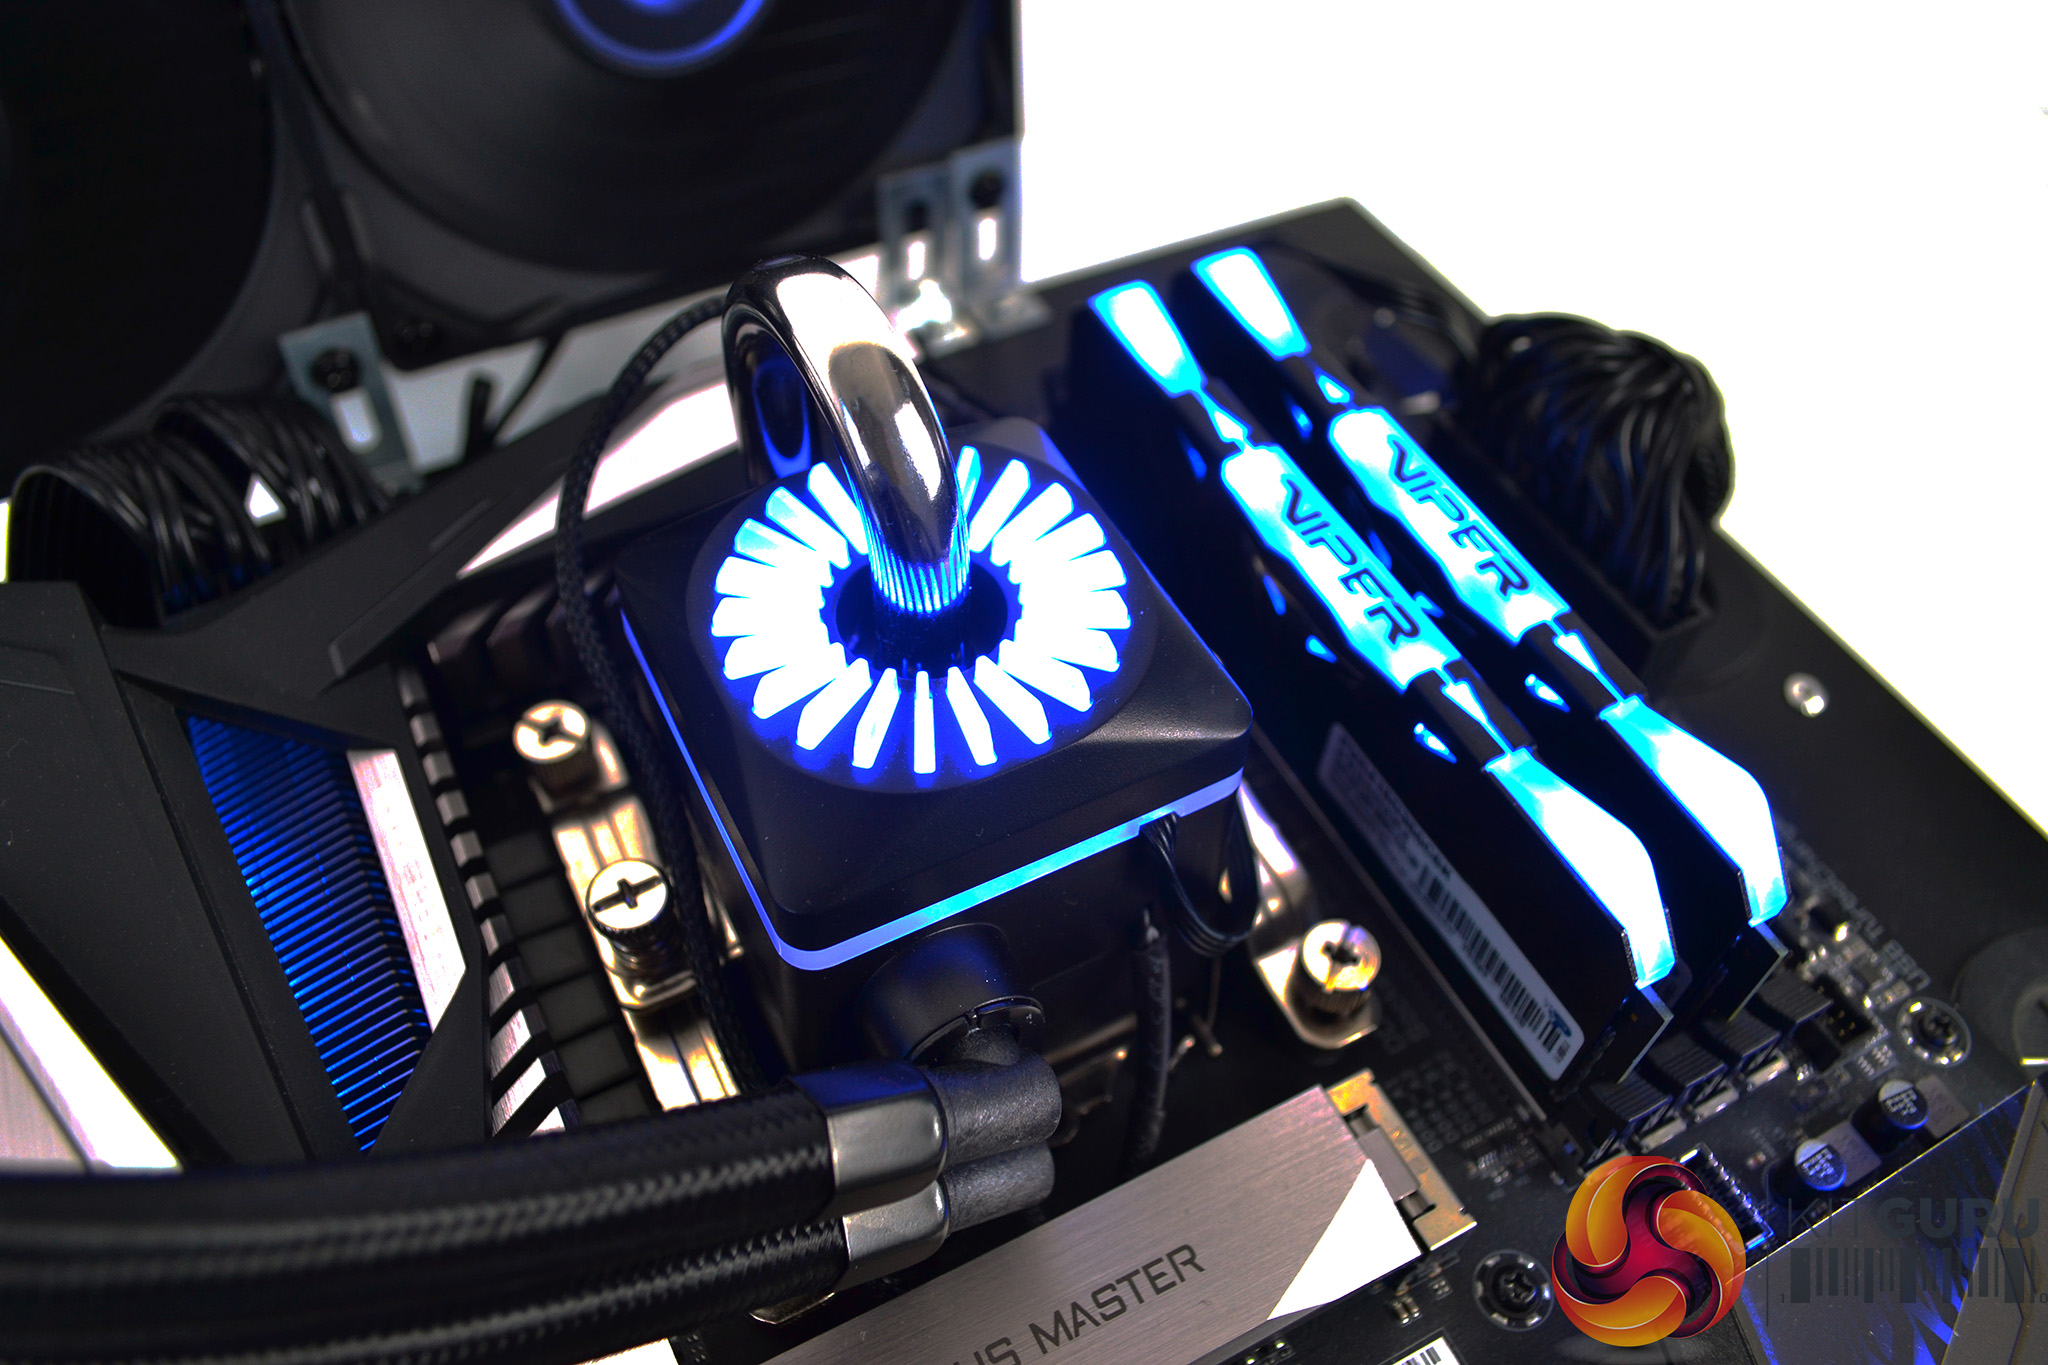
To complete the hardware installation, all that’s left to do is lower the pump down over the CPU socket with the mounting points aligned and tighten in place using the two integrated spring-loaded thumbscrews. Again, final tightening can be nipped up with a screwdriver.

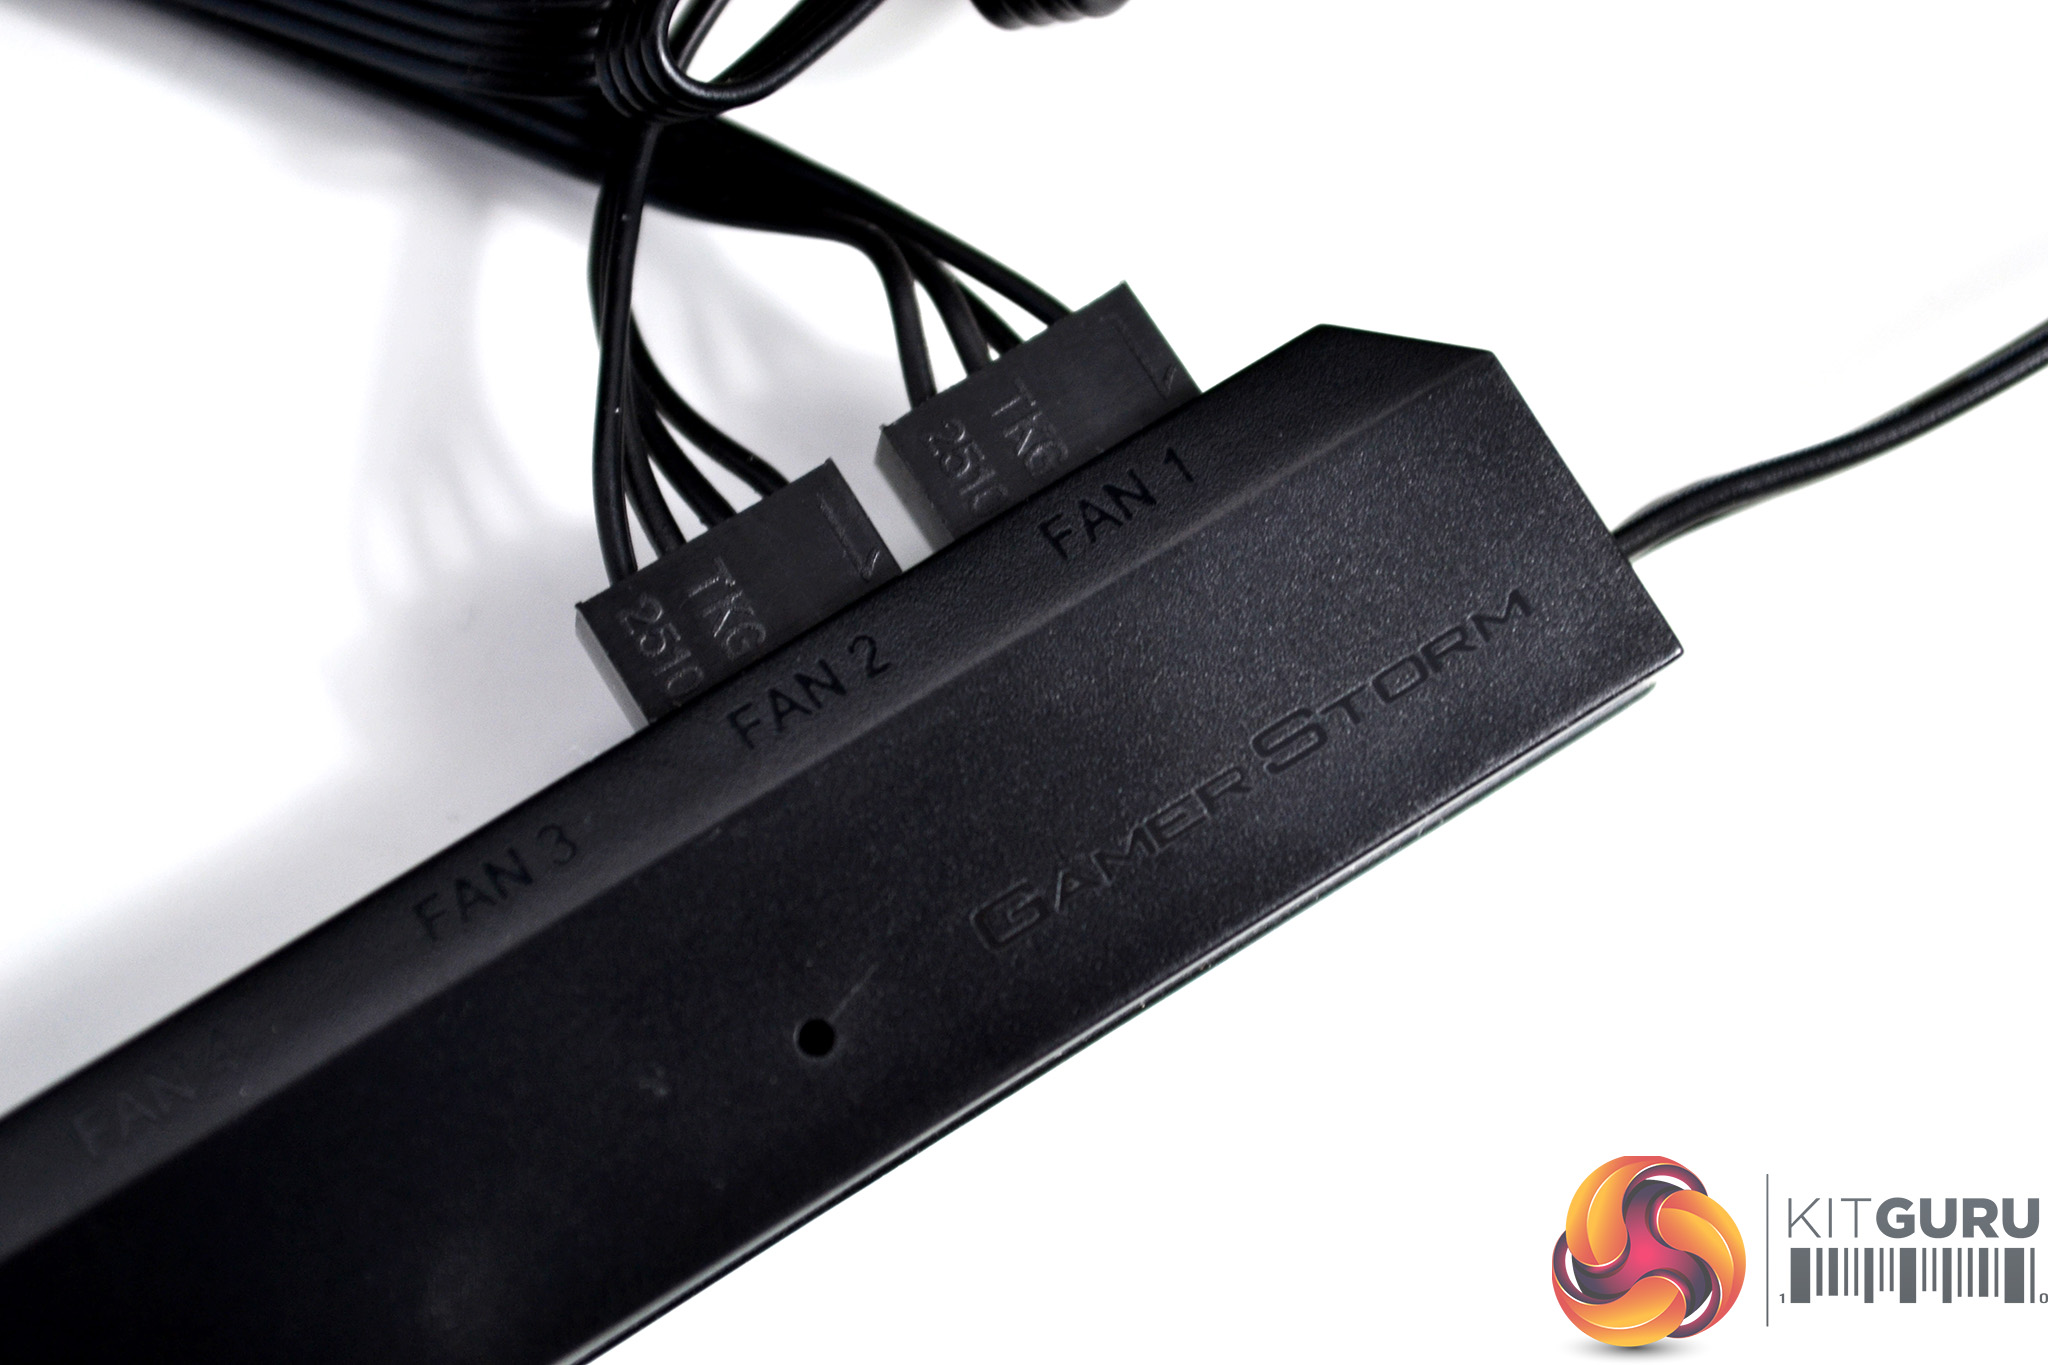
The second stage of installation for any all-in-one CPU cooler is the wiring. In this particular installation, it is quite simple – connect the included PWM hub to the motherboard CPU_FAN header and then connect the two fan cables to the PWM hub.
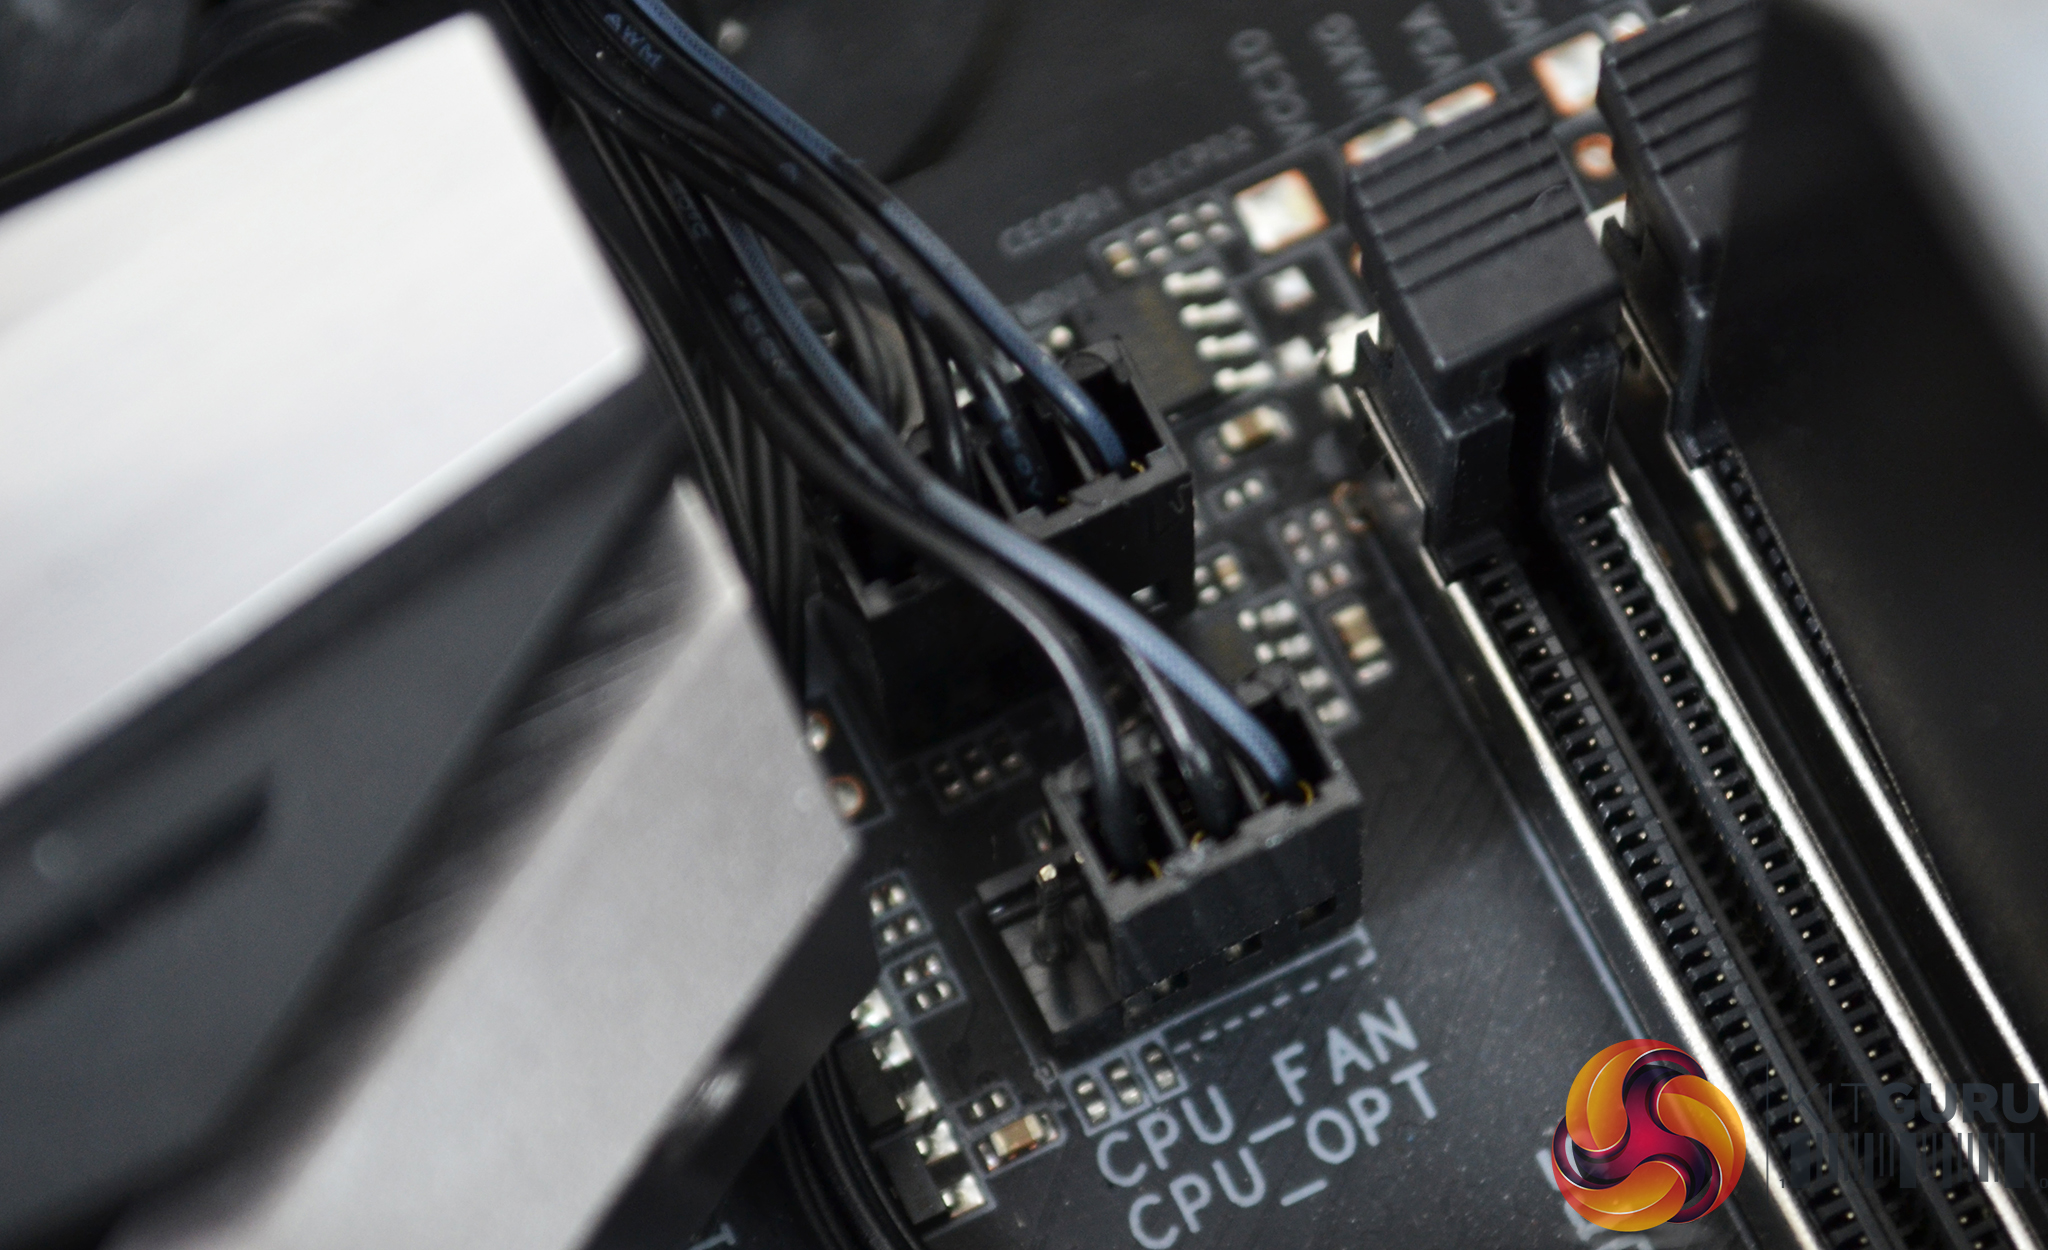
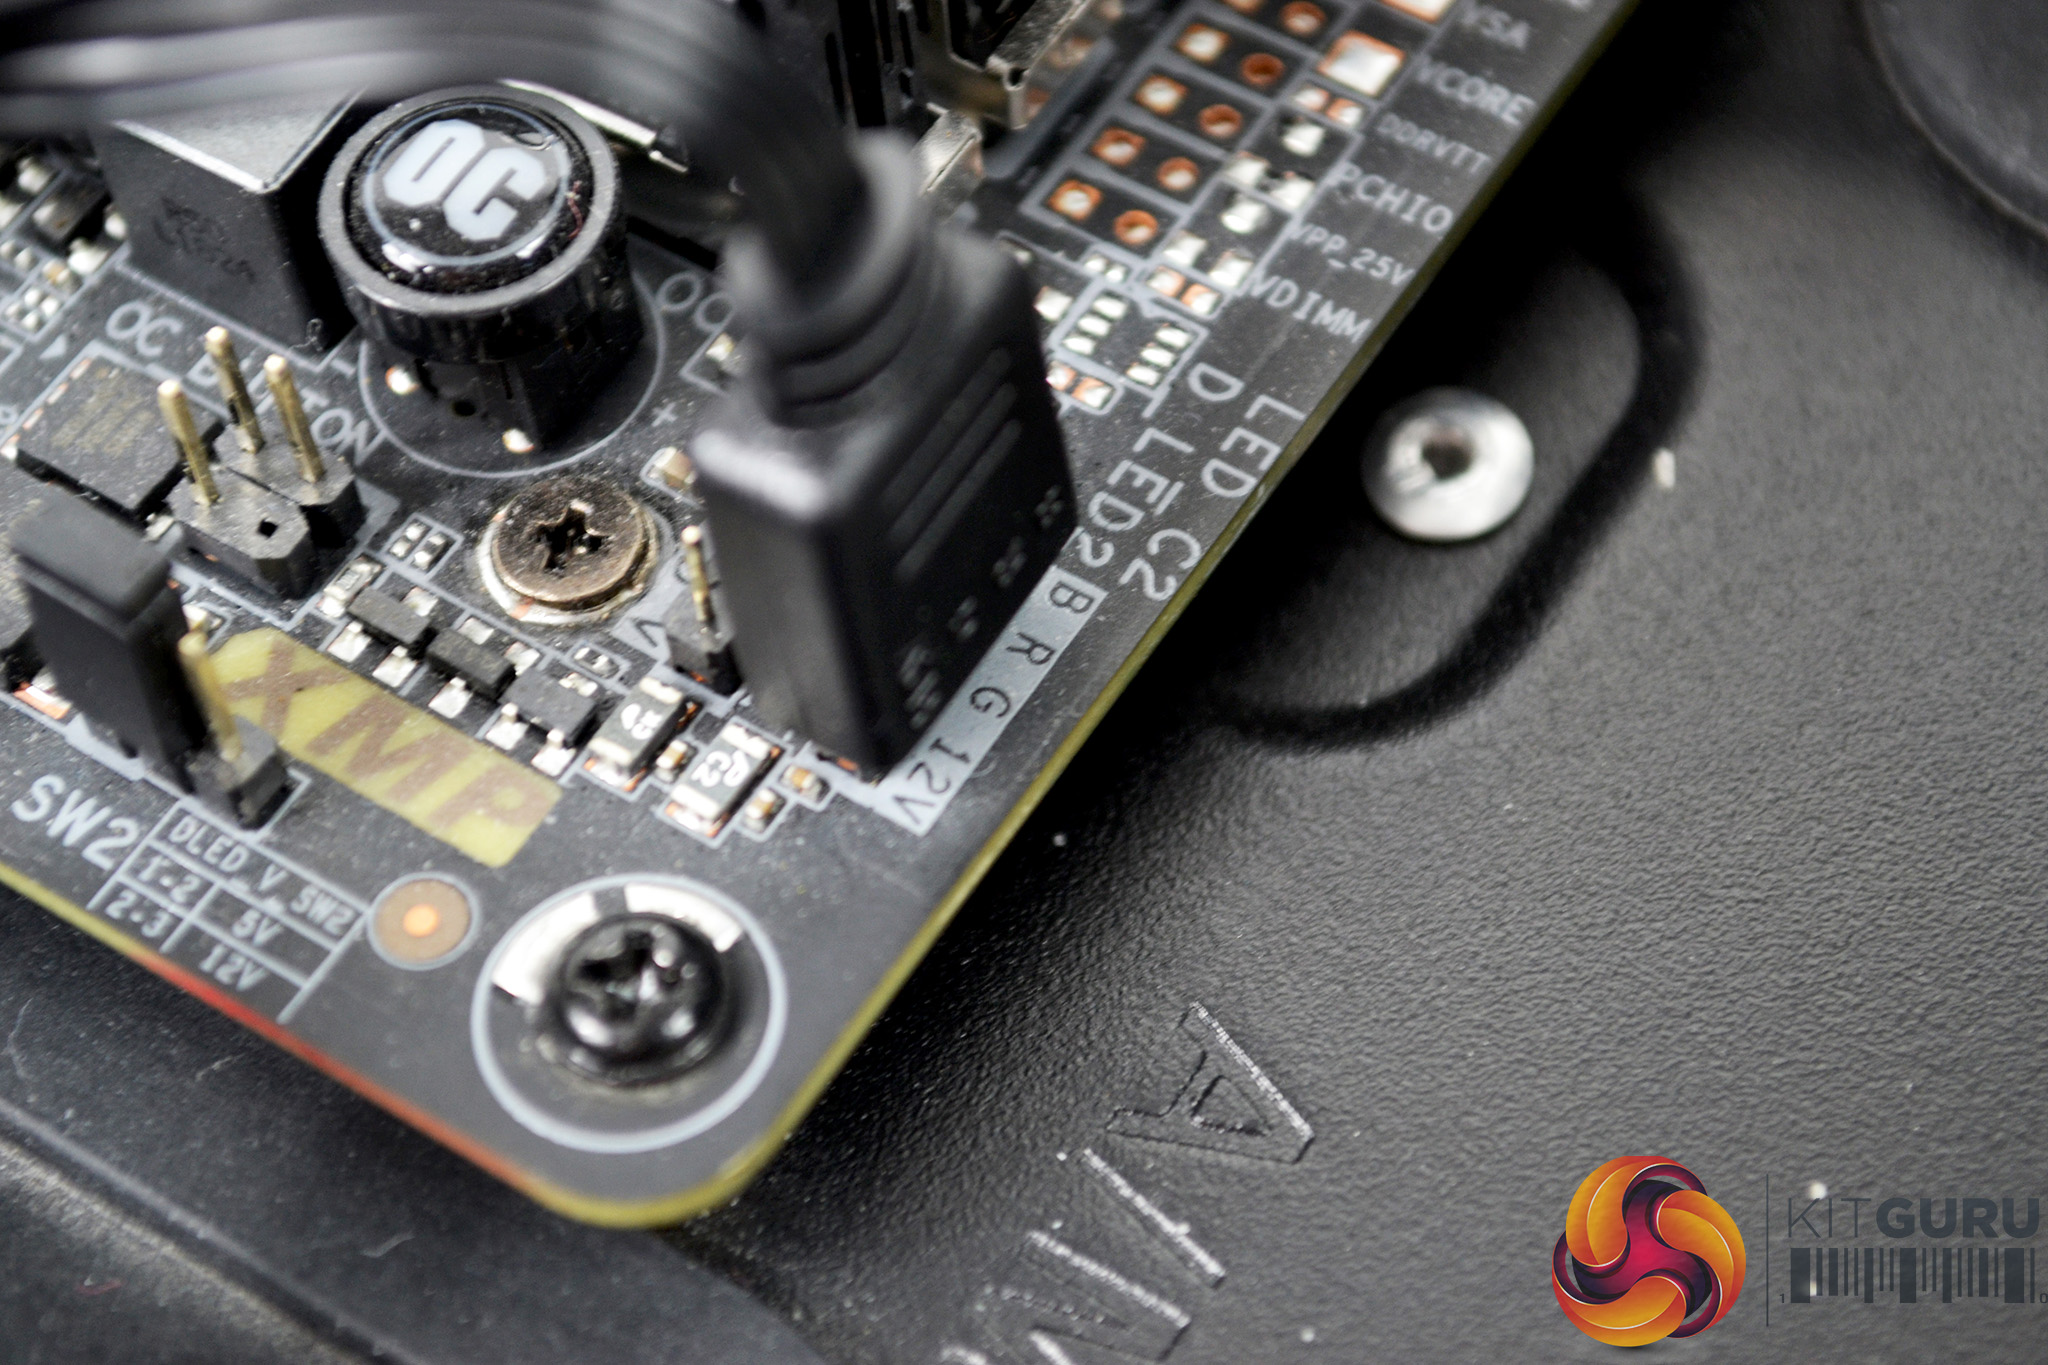
Next, connect the 3-pin pump cable to the motherboard CPU_OPT header to provide power the pump. Our Gigabyte Z390 Aorus Master motherboard includes 4-pin RGB headers, so to connect the RGB lighting we simply used the included RGB extension cable and connected to one of the RGB motherboards headers, so the lighting effects synchronised with the motherboard lighting.
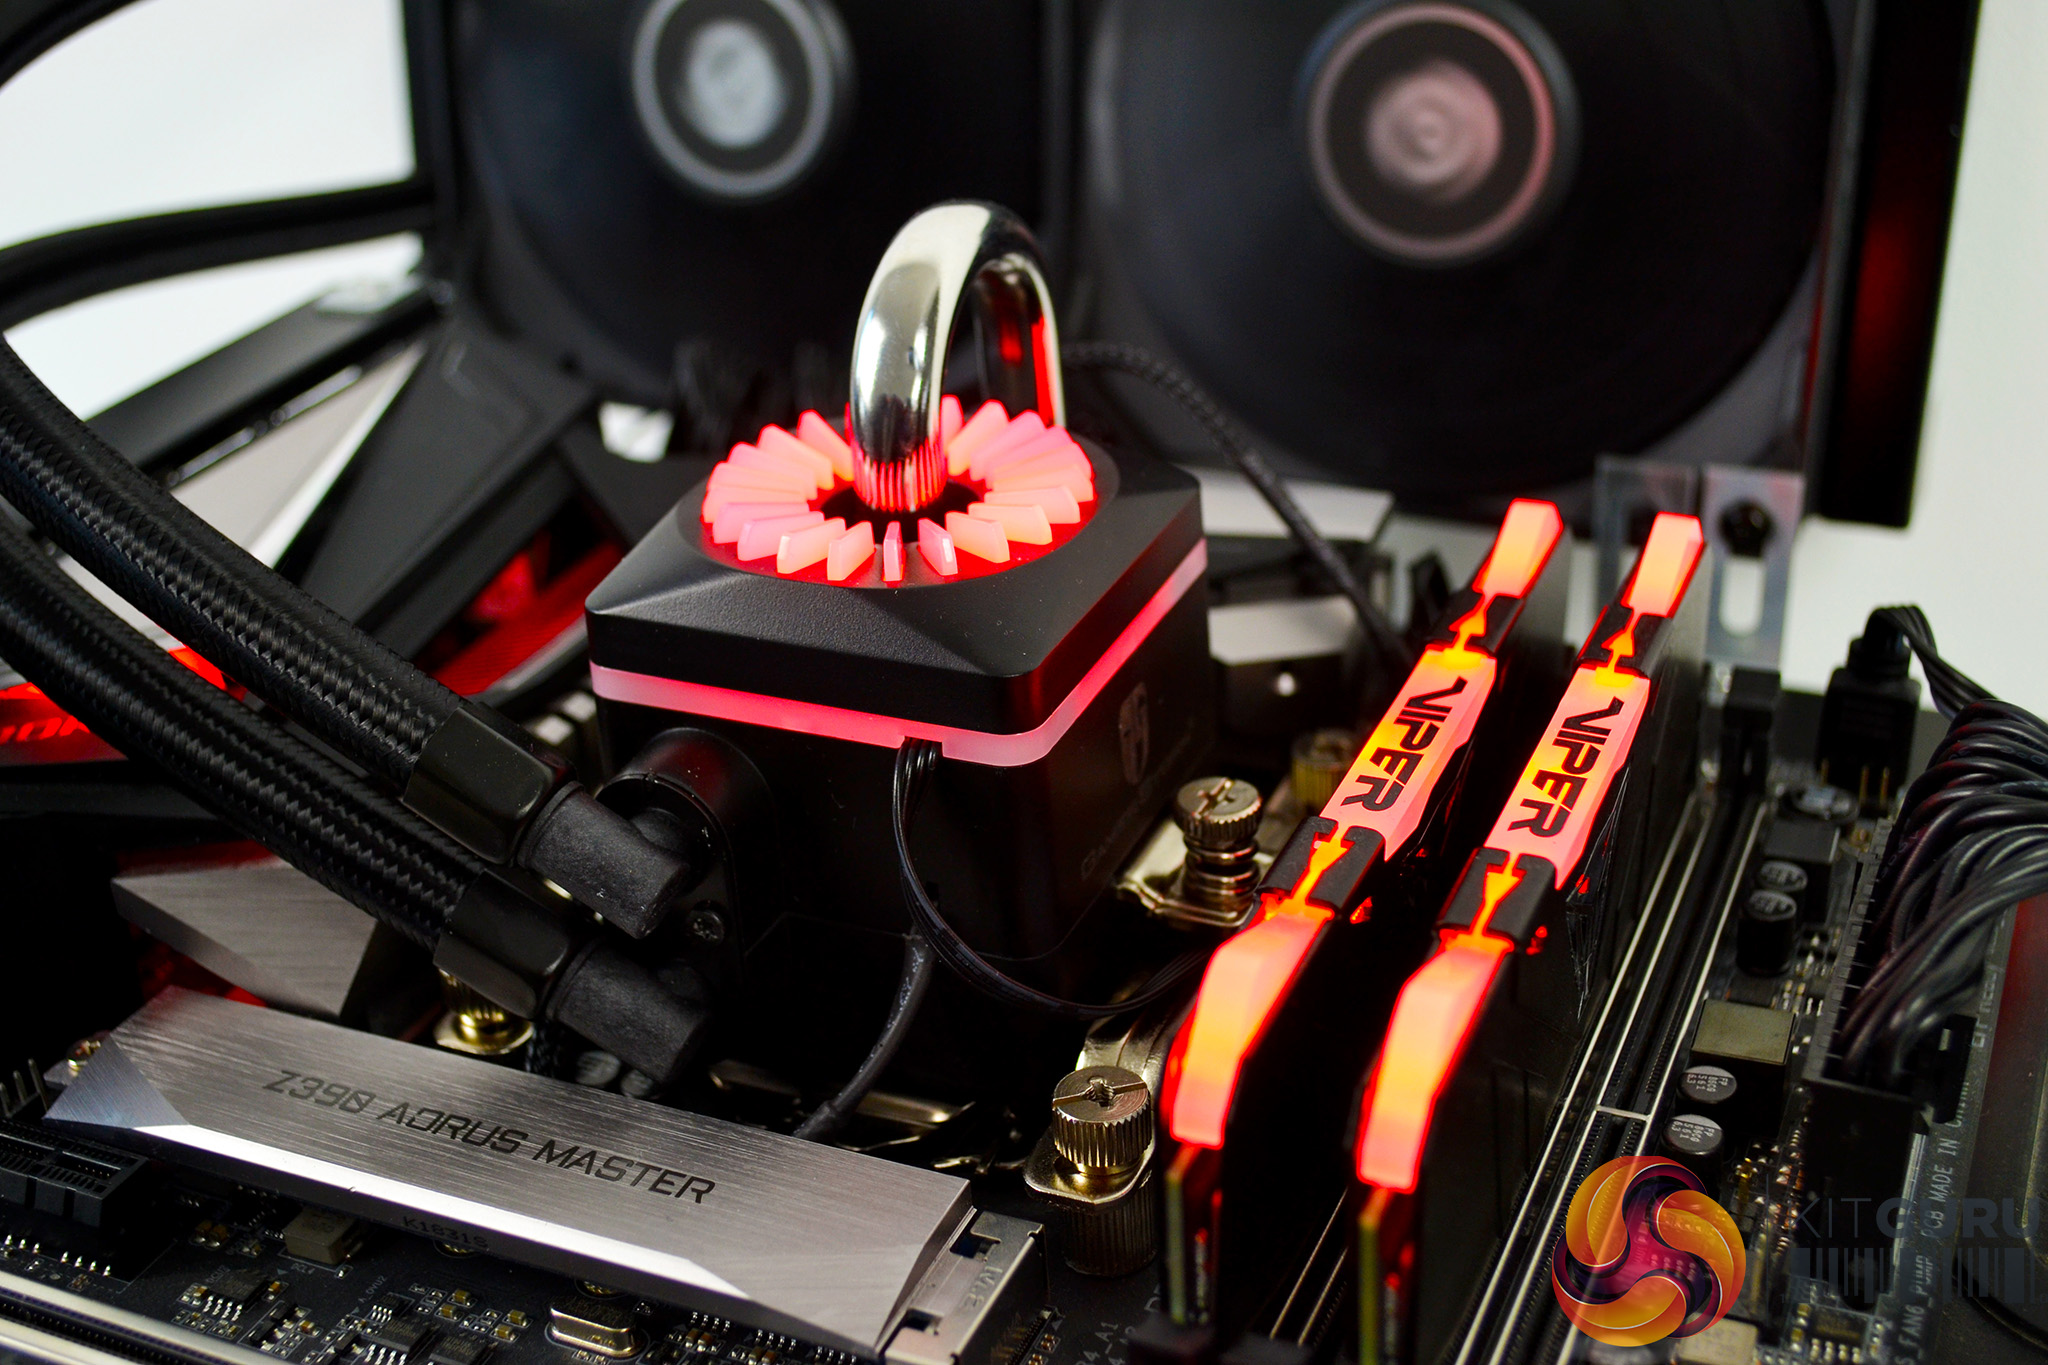
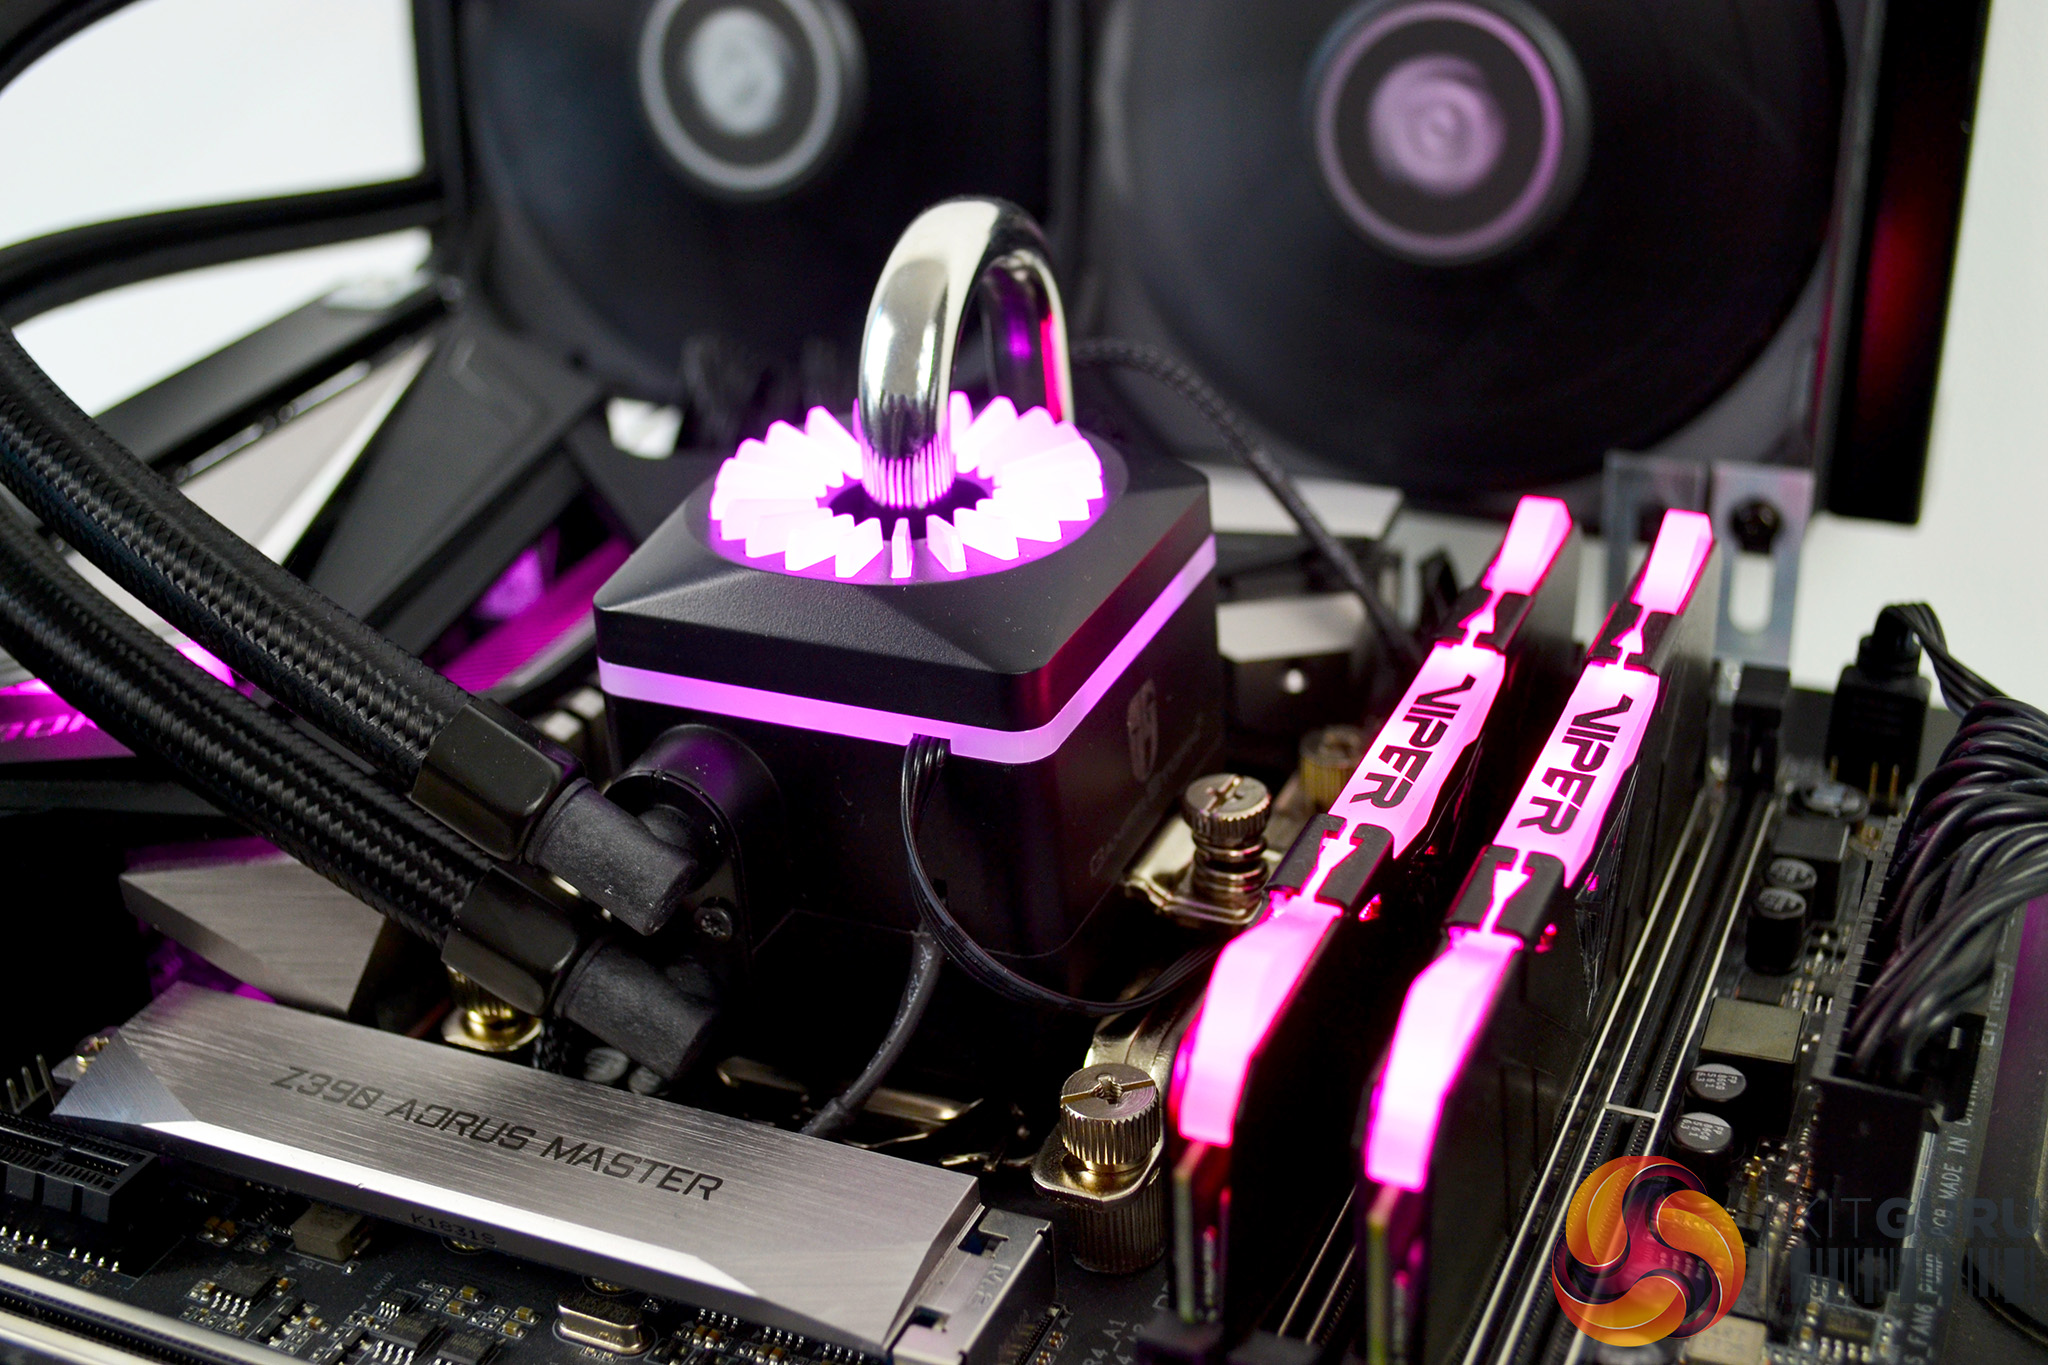
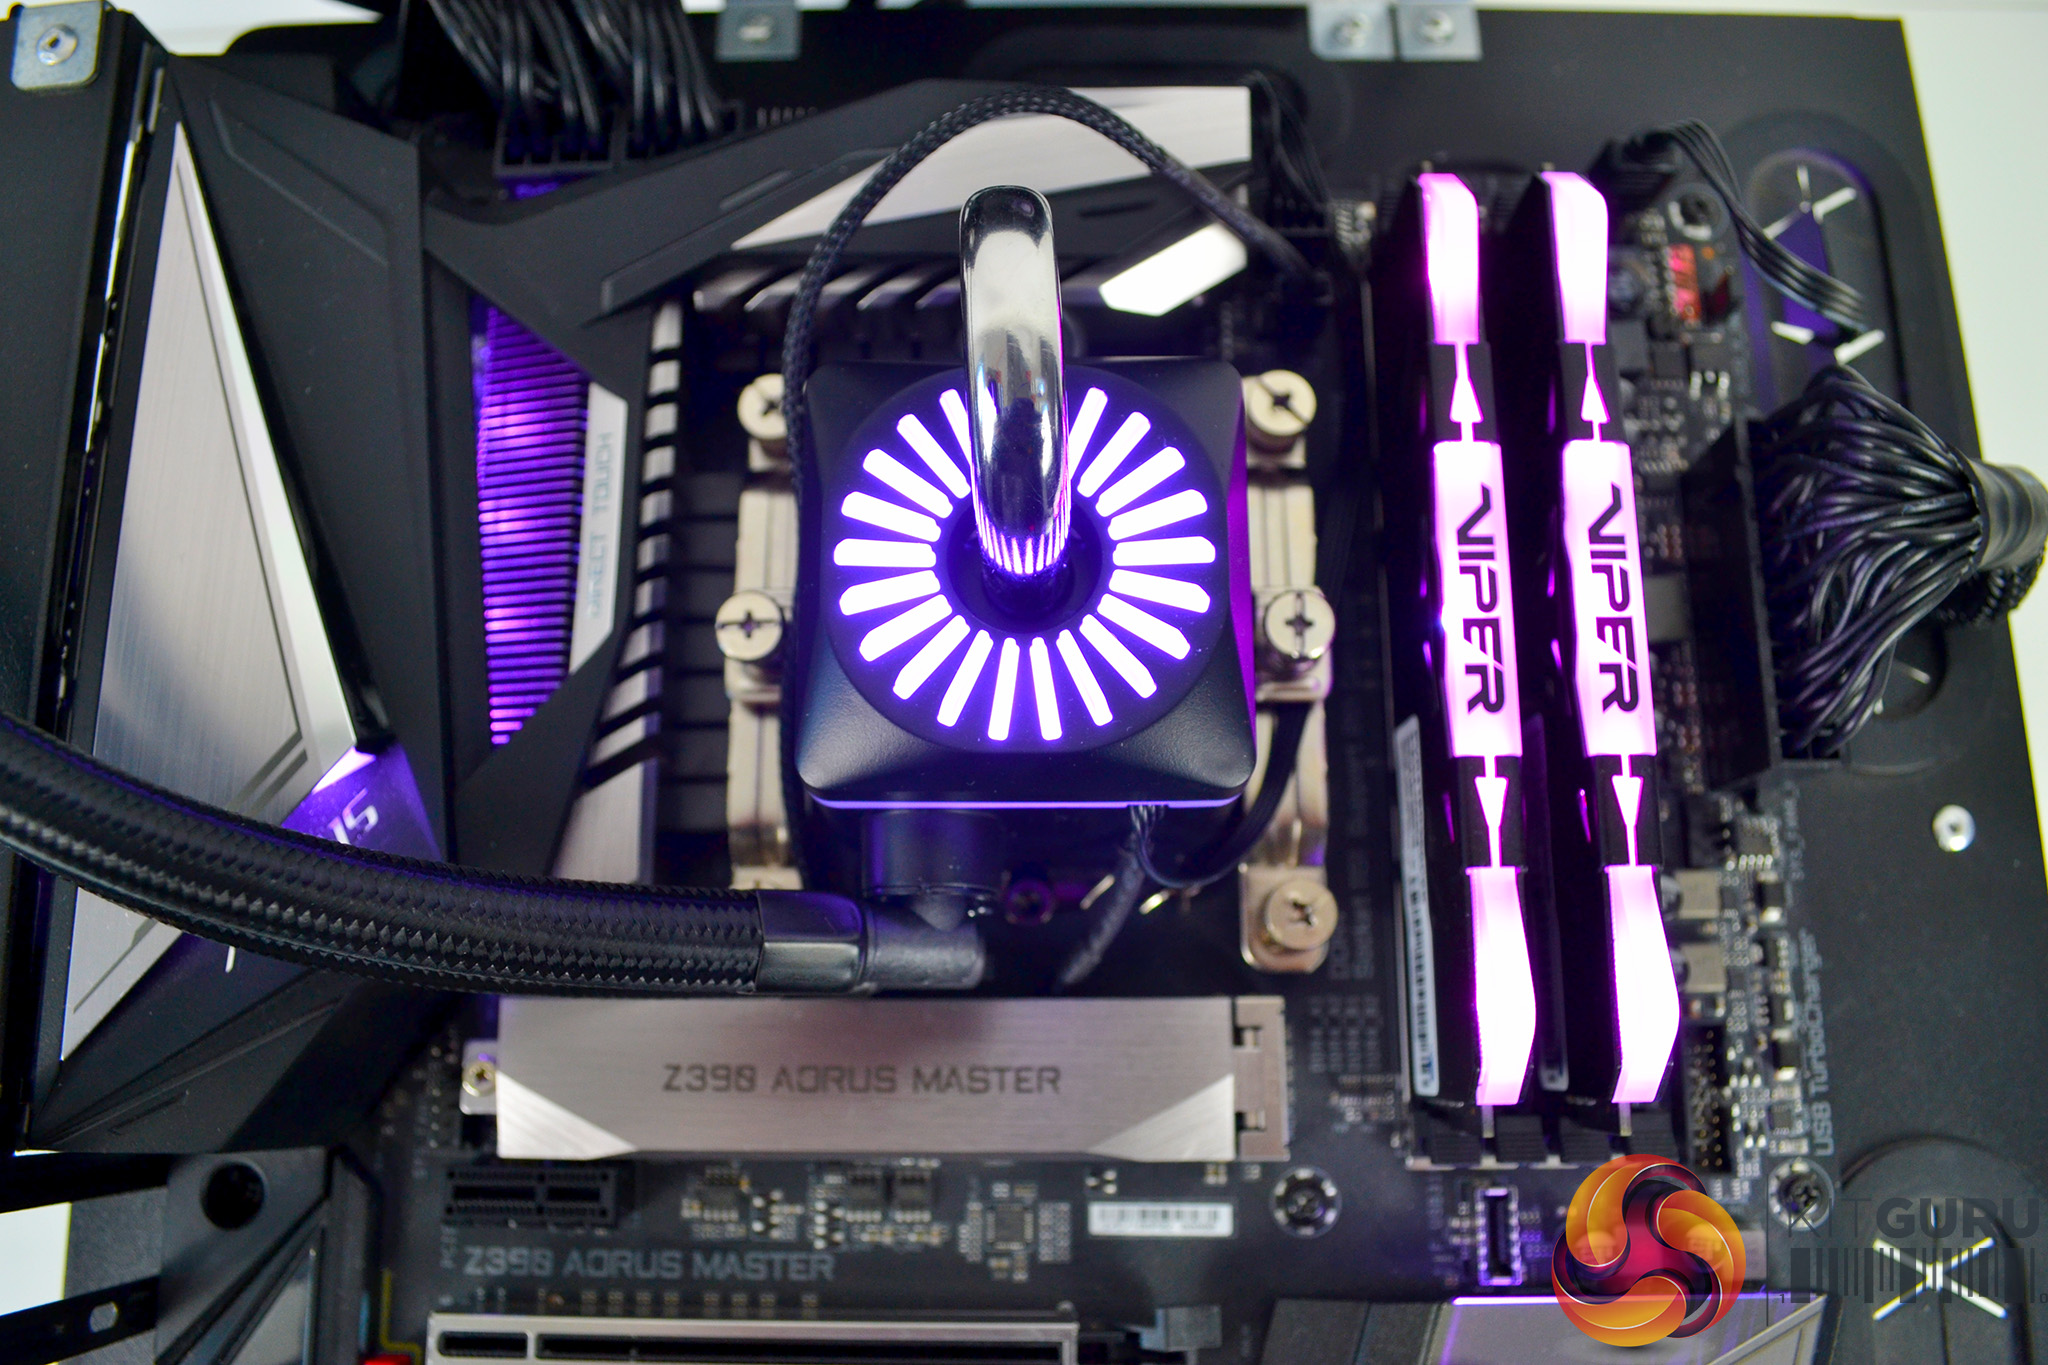
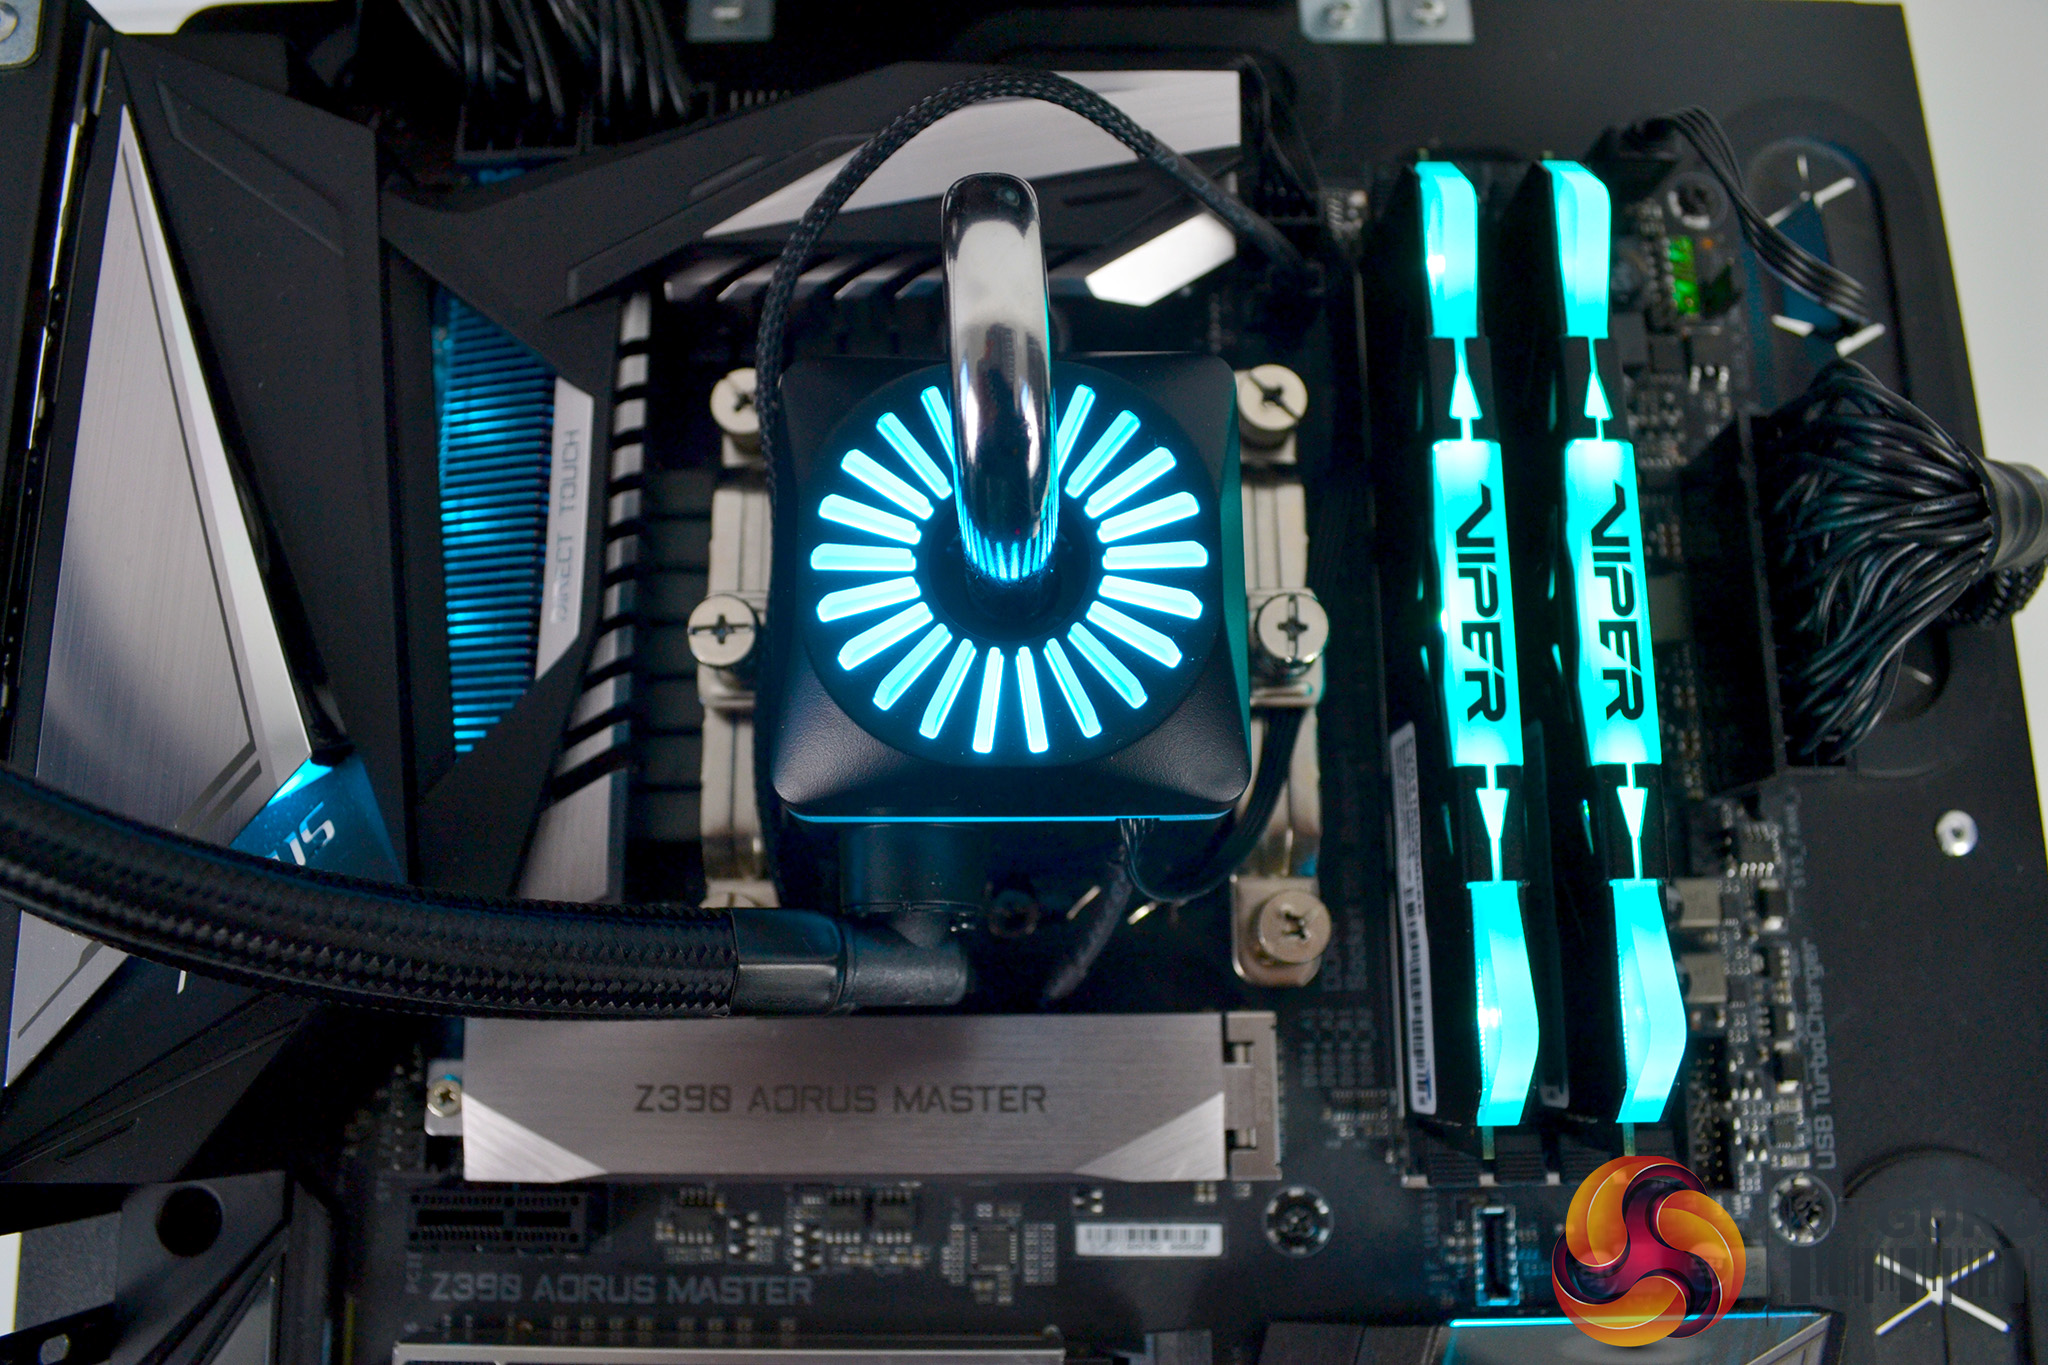
RGB Gallery