


ASRock's UEFI with the Fatal1ty Z270 Professional Gaming i7 is largely identical between all of its Z270 motherboards, except themed-differently to reflect product branding.
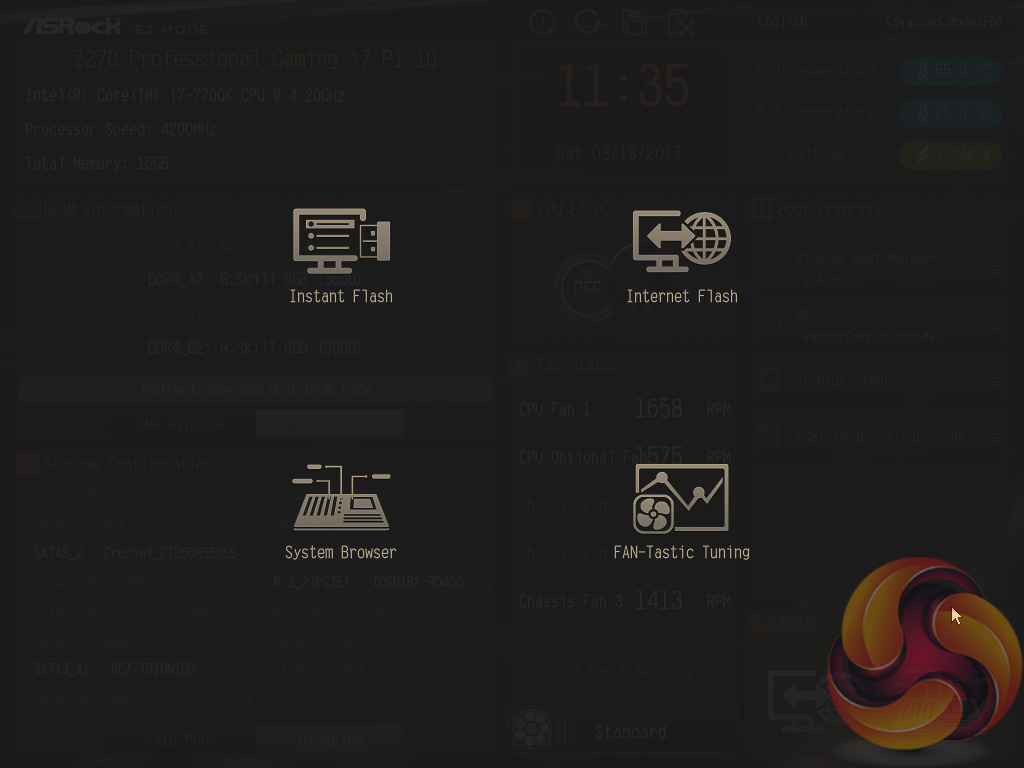
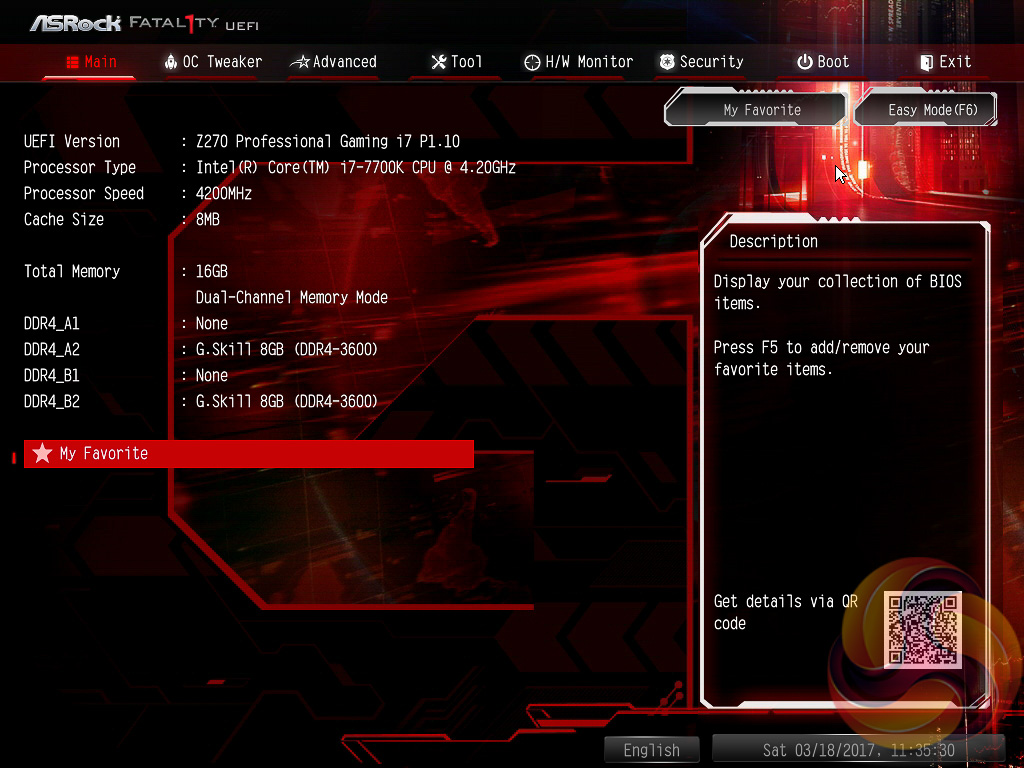
The first screen that is viewed upon entering the UEFI is the EZ Mode with commonly used settings like boot order, XMP and fan speeds. There's also a link to the various tools available within the UEFI which includes the instant flash from local storage or the internet, a system browser and the fan tuning utility “FAN-Tastic”.
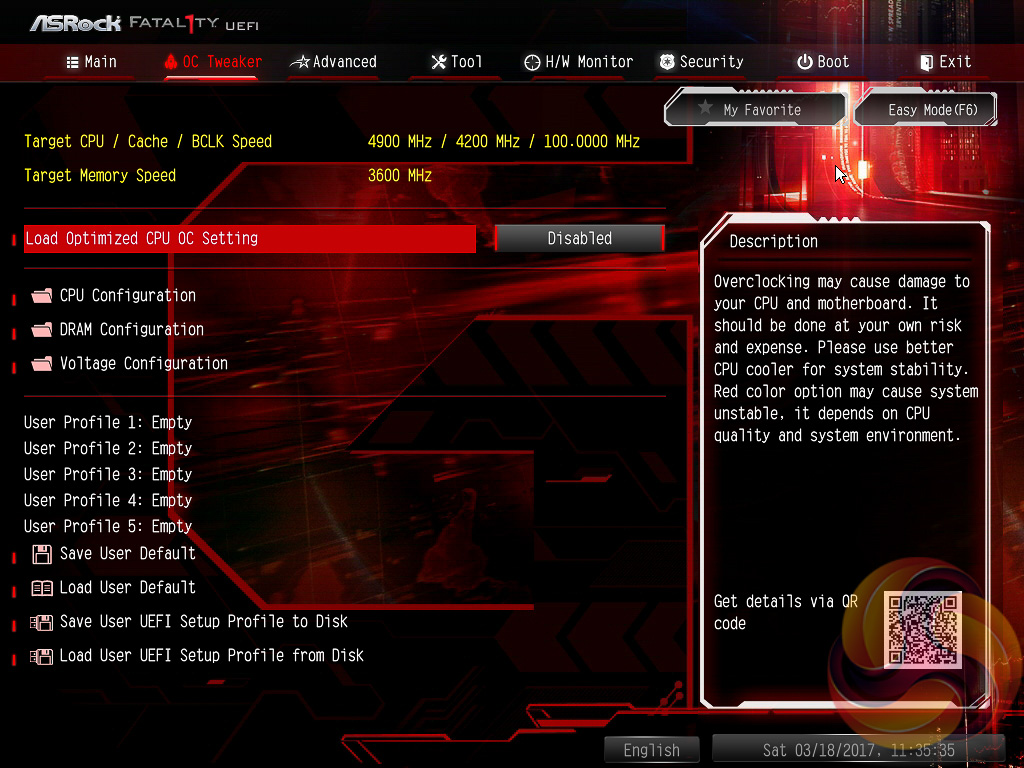
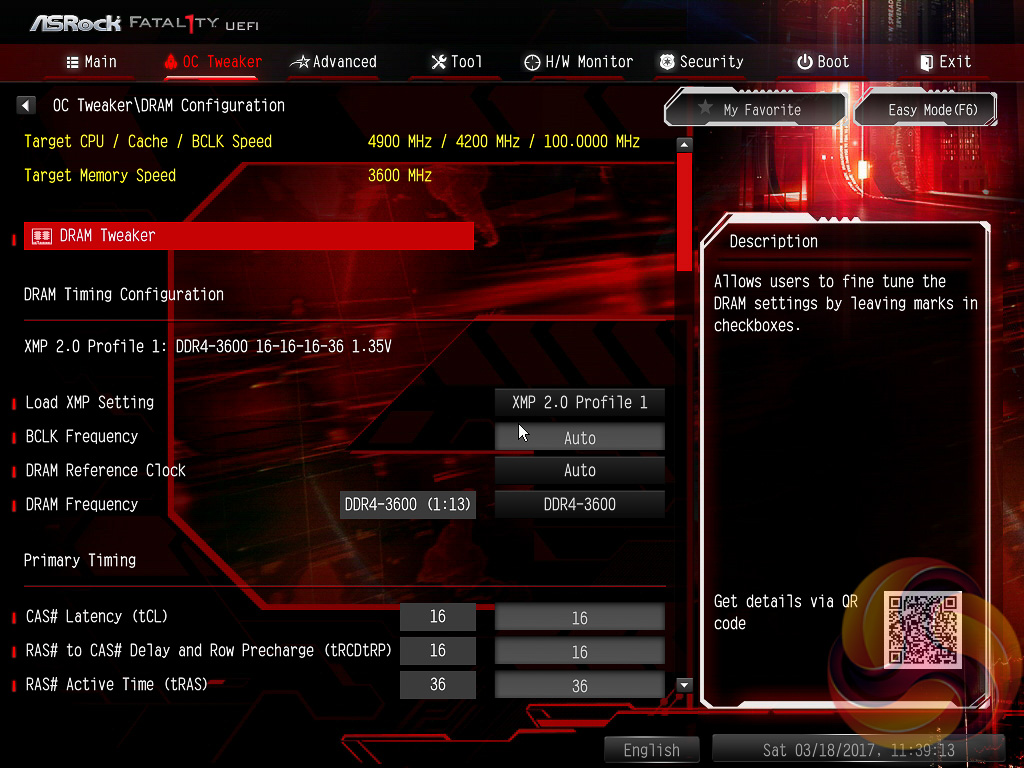
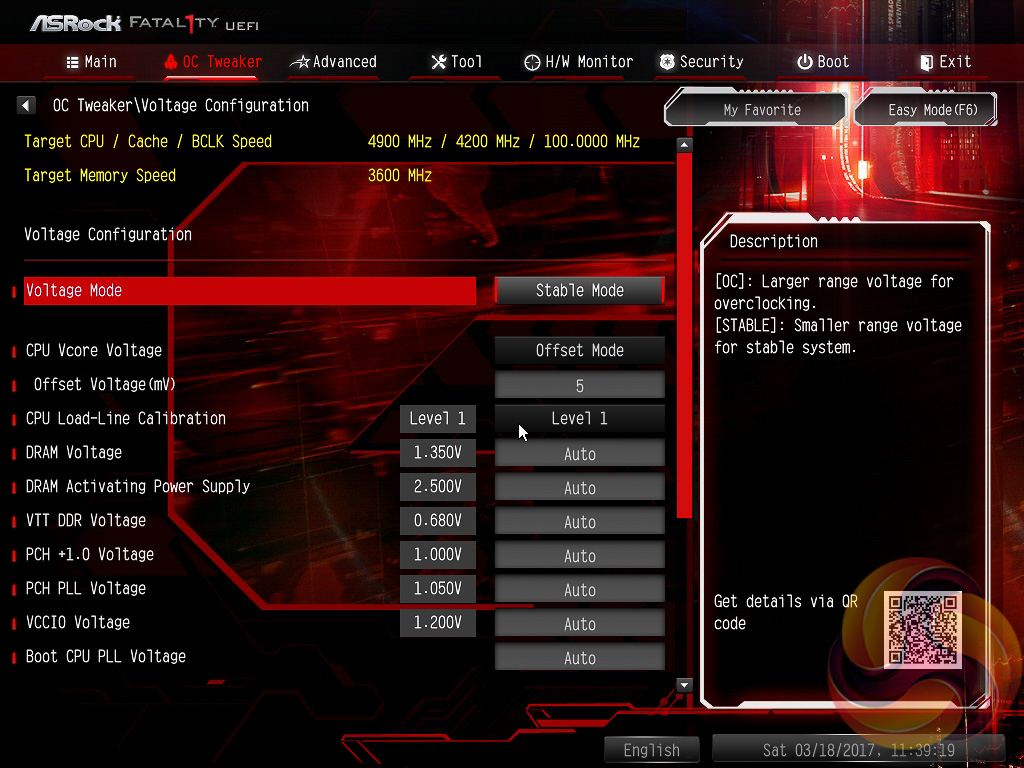
The heart of the performance tuning is the OC Tweaker section within which ASRock splits off the adjustment options into CPU, DRAM and Voltage as well as offering a number of pre-defined OC profiles for certain CPUs.
These profiles were as follows for our i7 7700K:
- 5GHz (50 x 100) – 1.45 volts
- 4.9GHz (49 x 100) – 1.42 volts
- 4.8GHz (48 x 100) – 1.38 volts
- 4.7GHz (47 x 100) – 1.35 volts
- 4.6GHz (46 x 100) – 1.35 volts
As is often the case any tweaking and tuning is best done manually, taking the time to understand what each CPU is capable of within the cooling environment it is placed. Even the 4.6GHz profile, with 1.35 volts, is likely too much voltage for any air-cooled or mid-level AIO-cooled system. Some i7 7700Ks have achieved 4.9 to 5.1 GHz using only 1.3 volts so ASRock's programmed voltages are decidedly high.
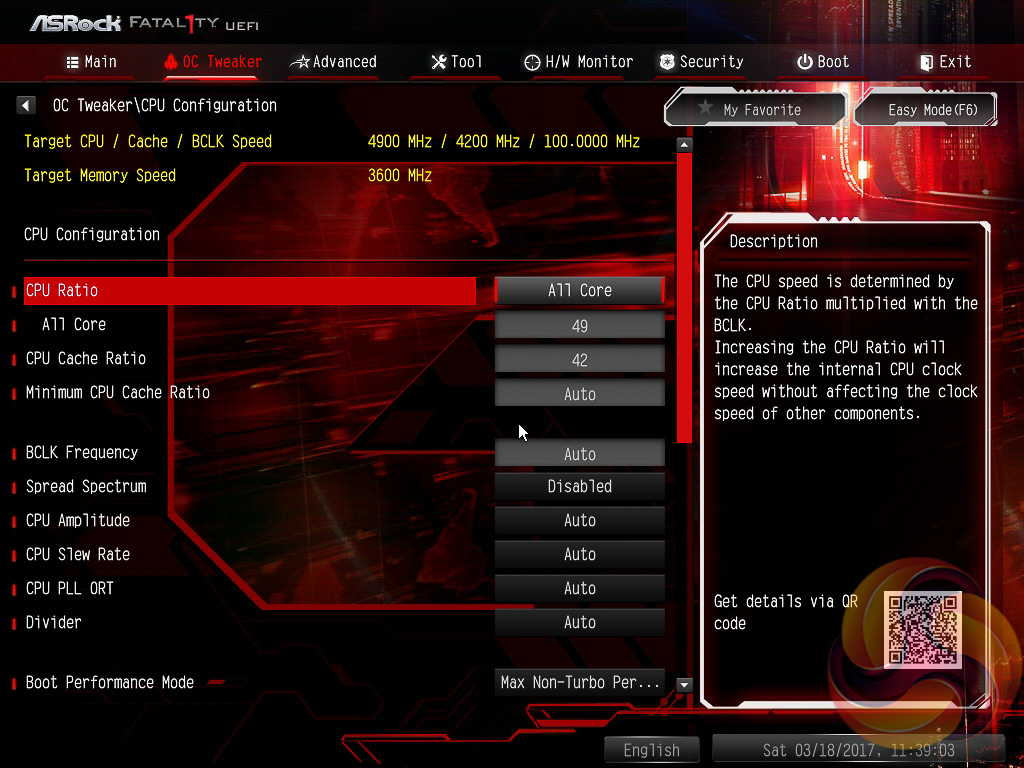
The OC Tweaker section is good in terms of the options and granularity the user has to tune their hardware. However, the layout could be more intuitive and having to constantly tab back between CPU Configuration and Voltage Configuration, when many of these options should be on the same screen, is a little tedious. We'd also like to see more CPU voltage operational mode options such as Adaptive, Adaptive + Offset and so on (these are offered by MSI).


The pick of the settings in the Advanced section include the CPU Power Management Controls, which may come in useful for certain overclocking scenarios, and the graphics configuration options for anyone using the onboard graphics of Intel’s CPUs.
The Tools section holds a number of handy utilities such as for updating the UEFI (including via the internet) and managing the RGB LEDs, among other things.
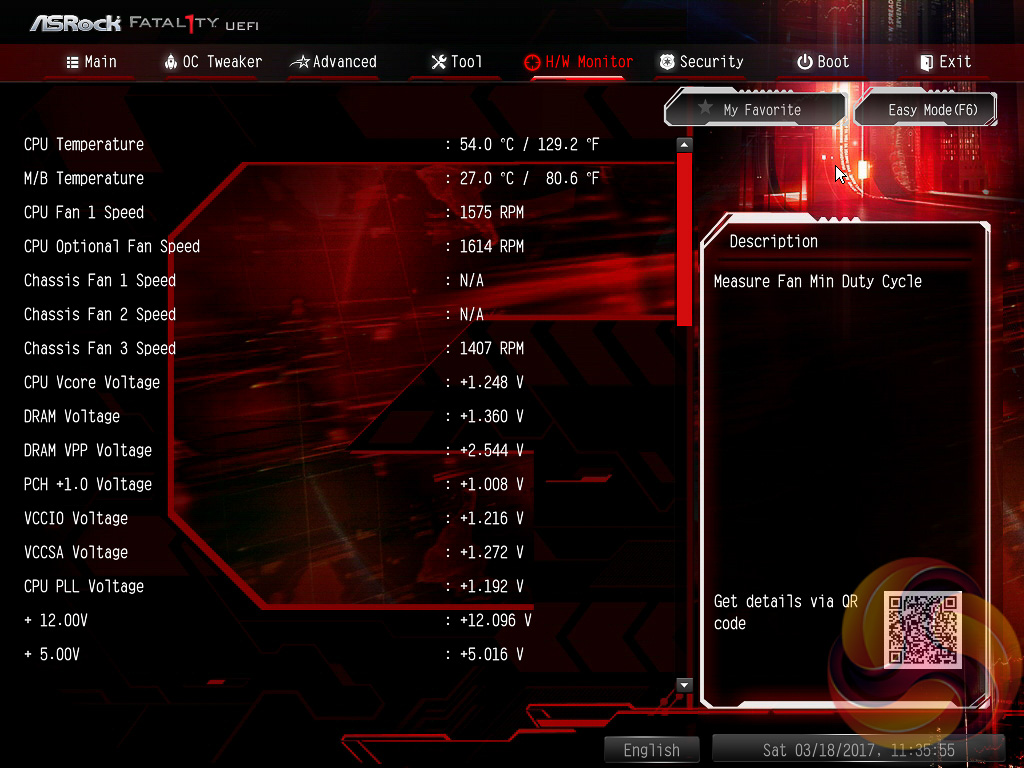
H/W Monitor contains fan controls and a number of temperature readouts for monitoring. The fan options are plentiful with a variety of fan profiles, temperature input options and hysteresis options (time delays between fan speed changes).


The RGB controls are available through the AURA RGB LED option, and mirrors the software interface, or through the Project AURA tab (enabled by Ctrl+Shift+F4). The AURA RGB LED section is easier to use and visually simpler so most users should use this unless they want to create very specific colours and lighting patterns.
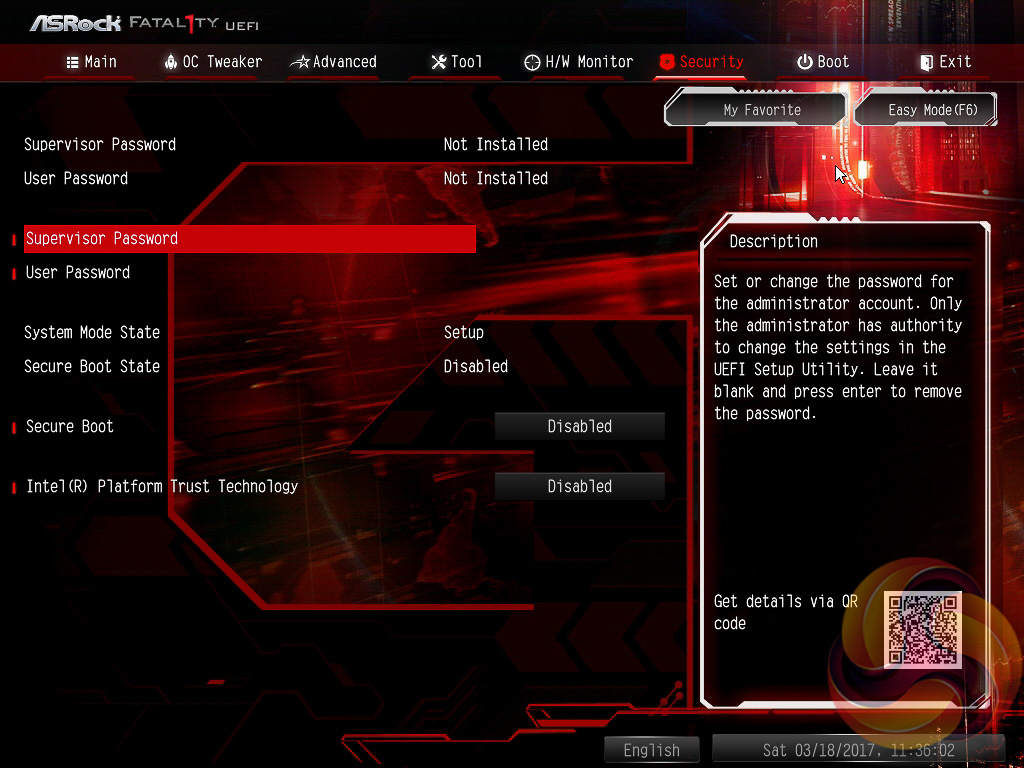
Security, Boot and Exit make up the last three tabs. There aren’t many interesting options within these but the boot tab does contain a number of useful options for boot order and changing how quickly the motherboard proceeds through the POST procedure.

Might just grab this one, and Im thinking to get the next 580 Red Devil, will be a very good devilish looking match 😀
It’s damn beautiful mobo, just got time last wk.. you cannot go wrong.
Regarding the questionable fan/water pump header location. There is one right under the power 8pin connector. The one at the bottom could be used for another water cooling circuit (GPU).