

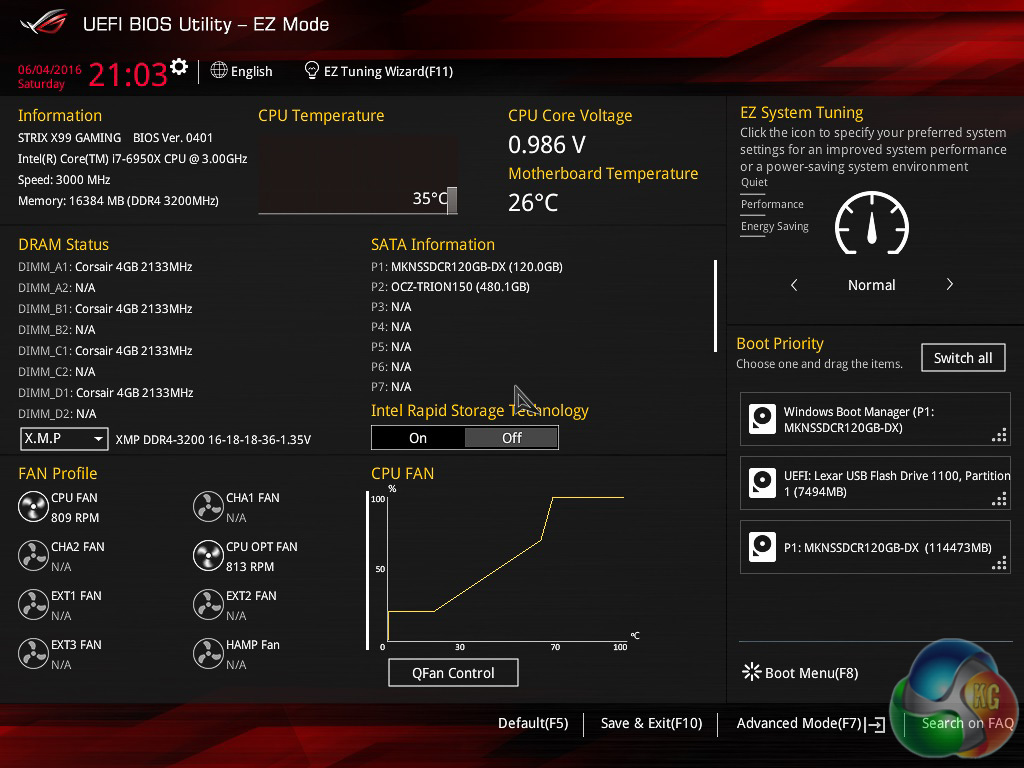
The ASUS UEFI on the ROG STRIX X99 Gaming isn't too dissimilar to other ASUS Gaming motherboards that we've reviewed in the recent past including the Maximus VIII Impact and Z170 Pro Gaming. As before you are greeted with the EZ Mode screen upon entry into the UEFI, pressing F7 takes you into the advanced mode where you can begin overclocking.
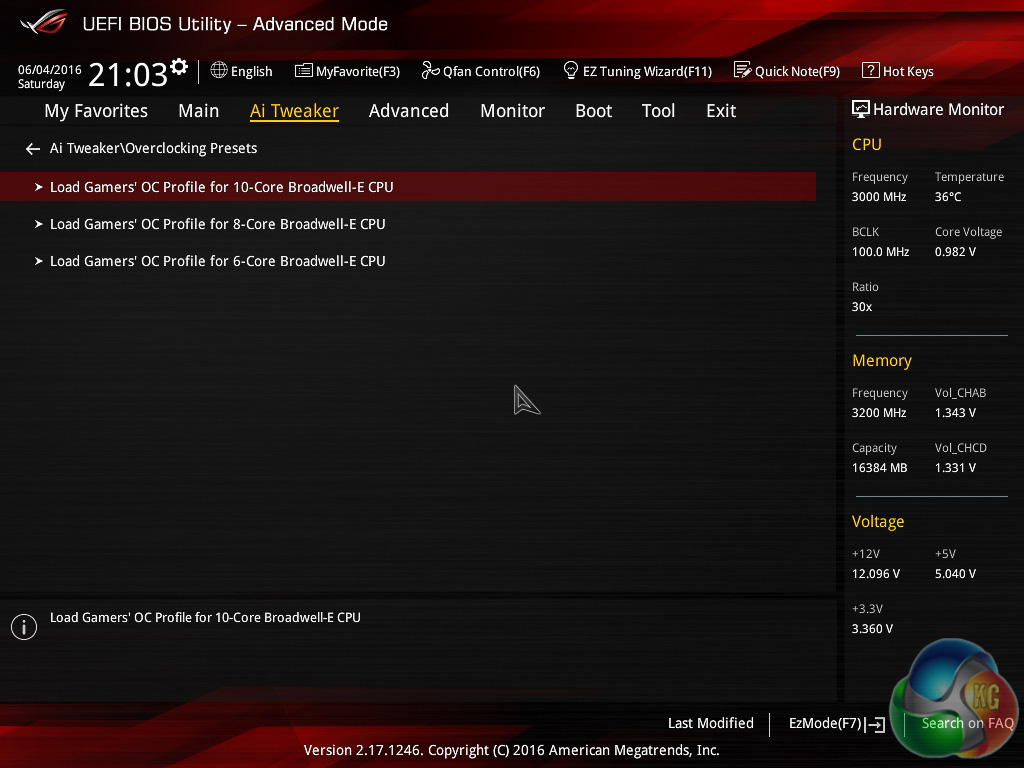
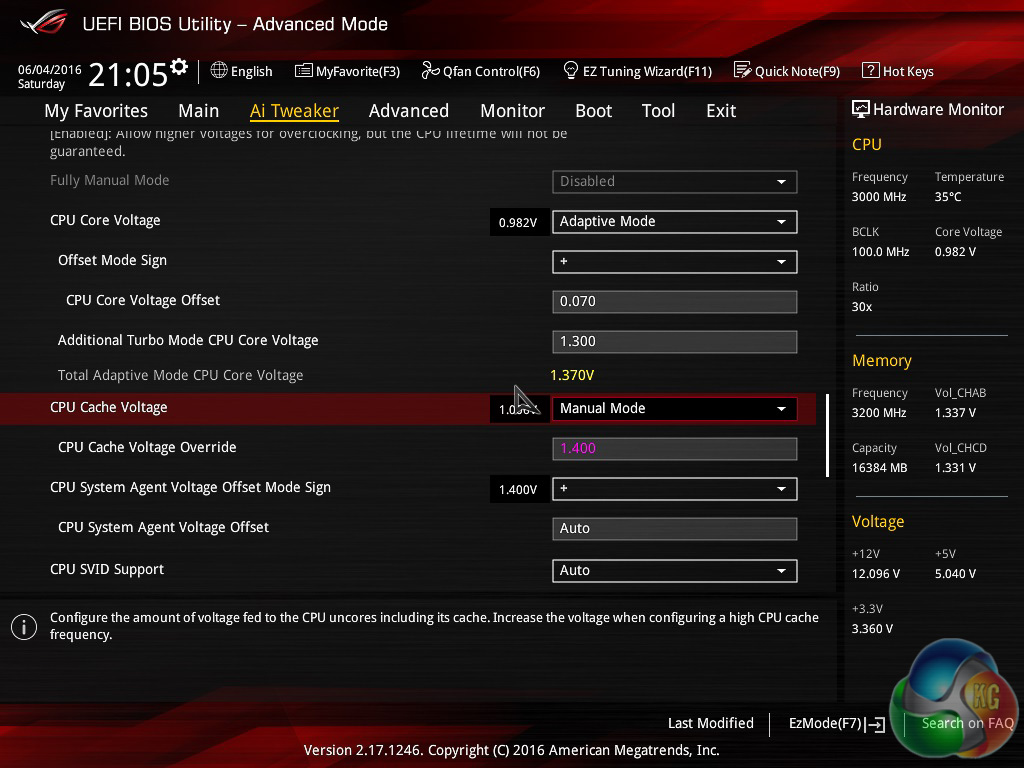
Overclocking is an important element of the X99 platform so we were pleased to see a custom ASUS OC profile for the i7 6950X, as well as options for the 8-Core (i7 6900K) and 6-Core (i7 6850K, i7 6800K) models. This profile is stable and surprisingly aggressive, it booted into Windows, had acceptable temperatures on our Corsair H100i (keeping in mind it was 1.37 volts) and provided a solid boost over stock performance.
We were, however, disappointed to see that it doesn't intelligently detect which is the best core (more on that shortly) and apply the highest frequency to that core, it also disregards your XMP profile so in our case it reduced the memory from 3,200MHz to 2,666MHz.
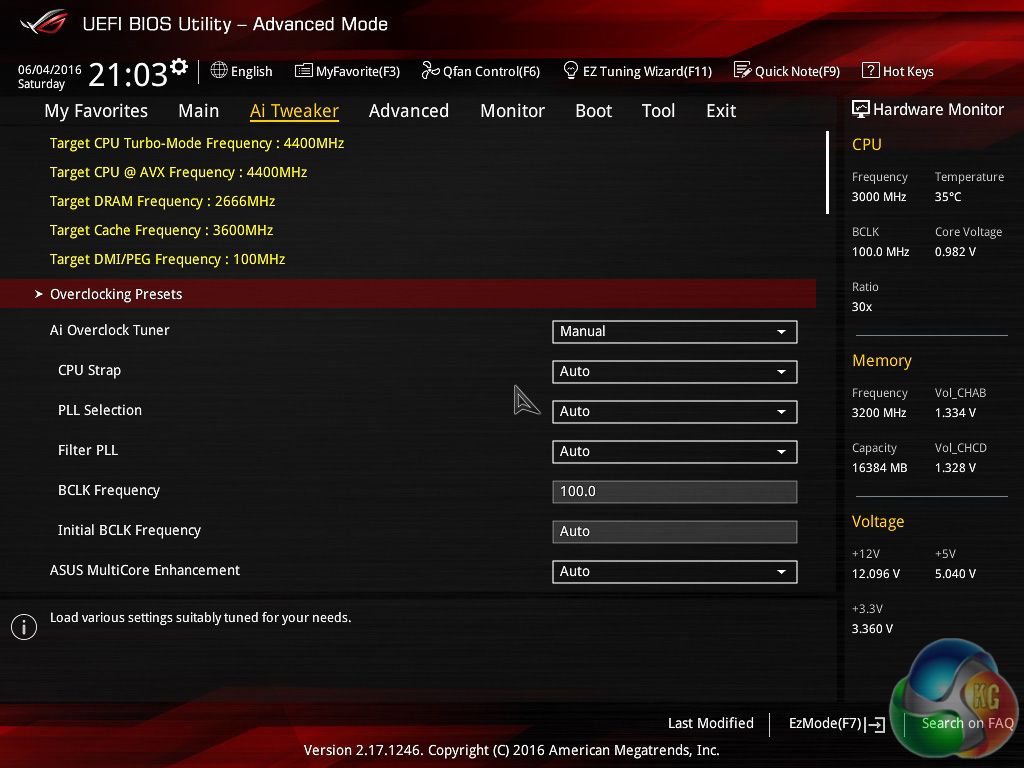
We were also quite surprised to see that ASUS applies a 4GHz all-core overclock as standard when you enable an XMP profile. In the past ASUS, and most other vendors, have always enabled aggressive Turbo behaviour with the enabling of XMP. For instance, enabling XMP with an i7 4790K would see the CPU frequency go from 4~4.4GHz variable turbo, to a fixed 4.4GHz turbo.
However, the CPU we're using has a rated Intel Turbo Boost (2.0) speed of 3.5GHz so jumping to 4GHz is questionable. Especially if you consider this increases the core voltage to around 1.3-volts and power consumption jumps accordingly, by an additional 70-100 watts – there are obvious thermal implications.
ASUS' justification for this is that the Intel Turbo Boost Max (3.0) speed can reach up to 4.0GHz, we're not so sure about that logic.
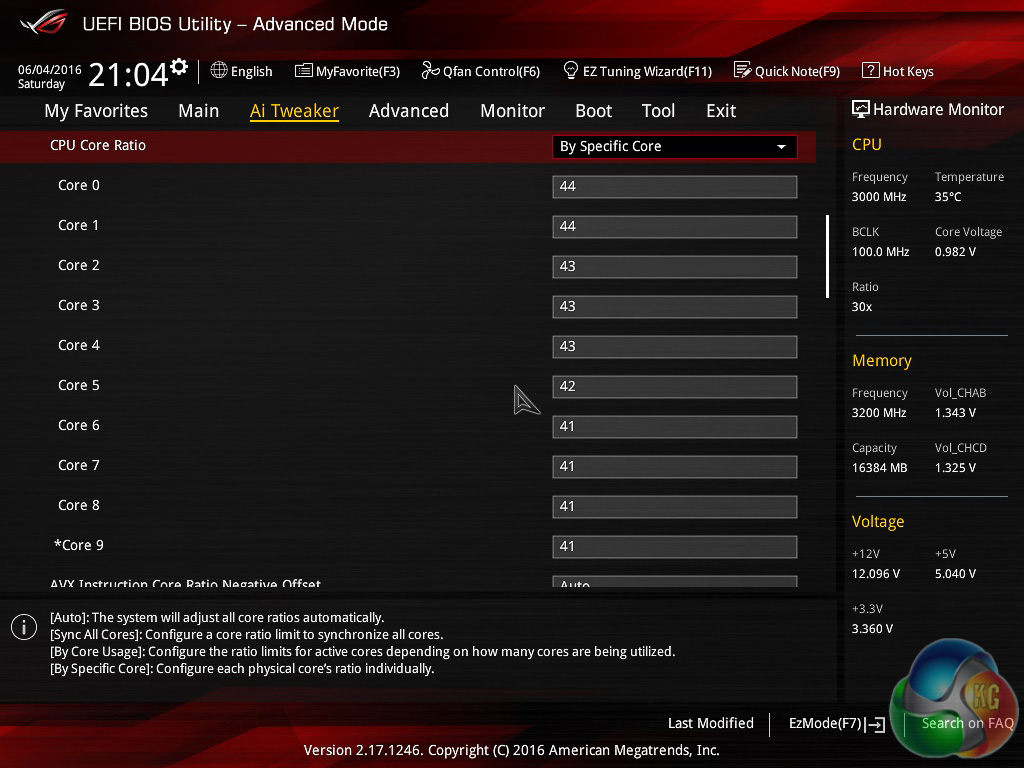
With Broadwell-E Intel provides a clear indication of which core has the best overclocking headroom, this is denoted in the UEFI with an asterisk. If you choose to set CPU core ratios “By Specific Core” you can clock that golden core higher than the other cores and Intel's Turbo Boost technology will preference that core over others for single threaded applications. ASUS also lets you assign programs to that core using its “Turbo App” software, more on that later.
To further enhance overclocking there's an individual cache multiplier and a CPU cache voltage. With Broadwell-E you can increase CPU and memory performance with a higher CPU cache, though you will get a better overall performance boost from traditional CPU overclocking.
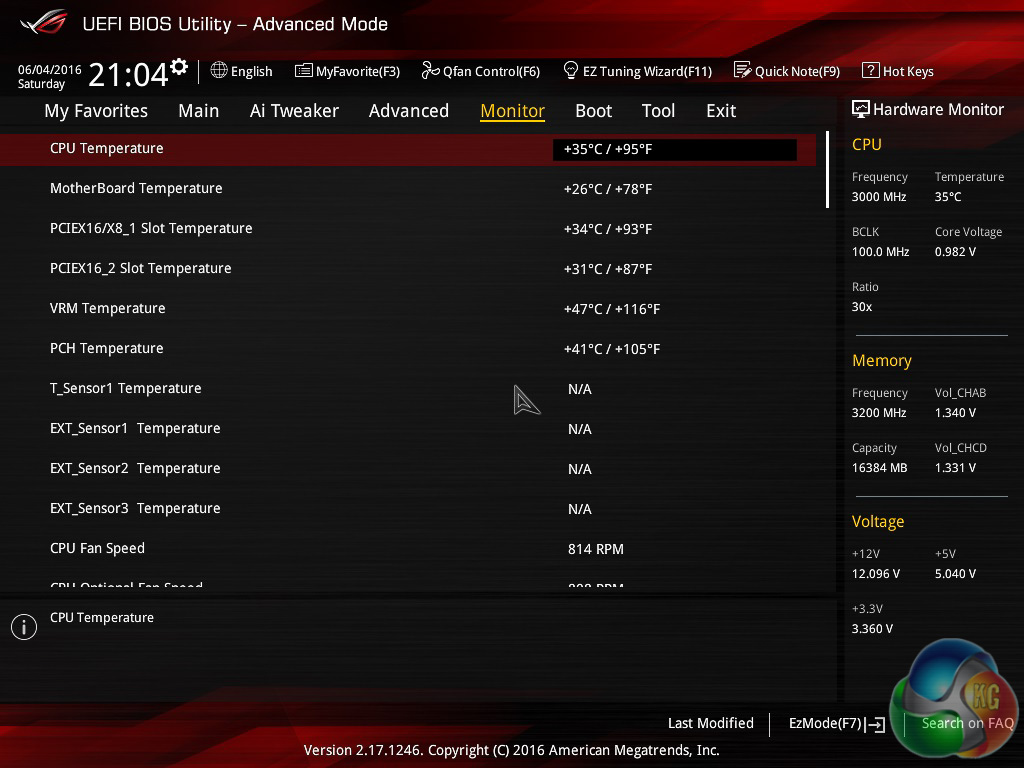
The monitoring tab isn't normally that exciting but we found that ASUS had installed temperature sensors on the PCI X16 slots – perhaps not that useful but a novel new addition for those with a penchant towards temperature monitoring.
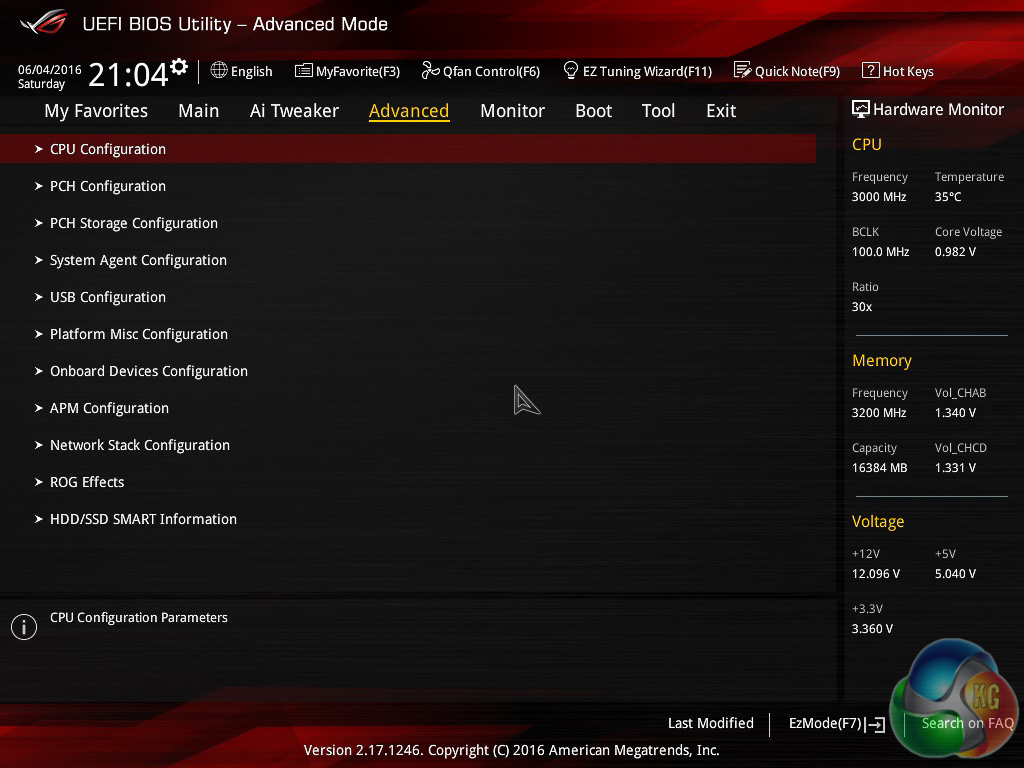
Other features of the UEFI are as you would find on other ASUS boards – the advanced section has bucket loads more options, though these are normally only worth visiting if you're having problems.
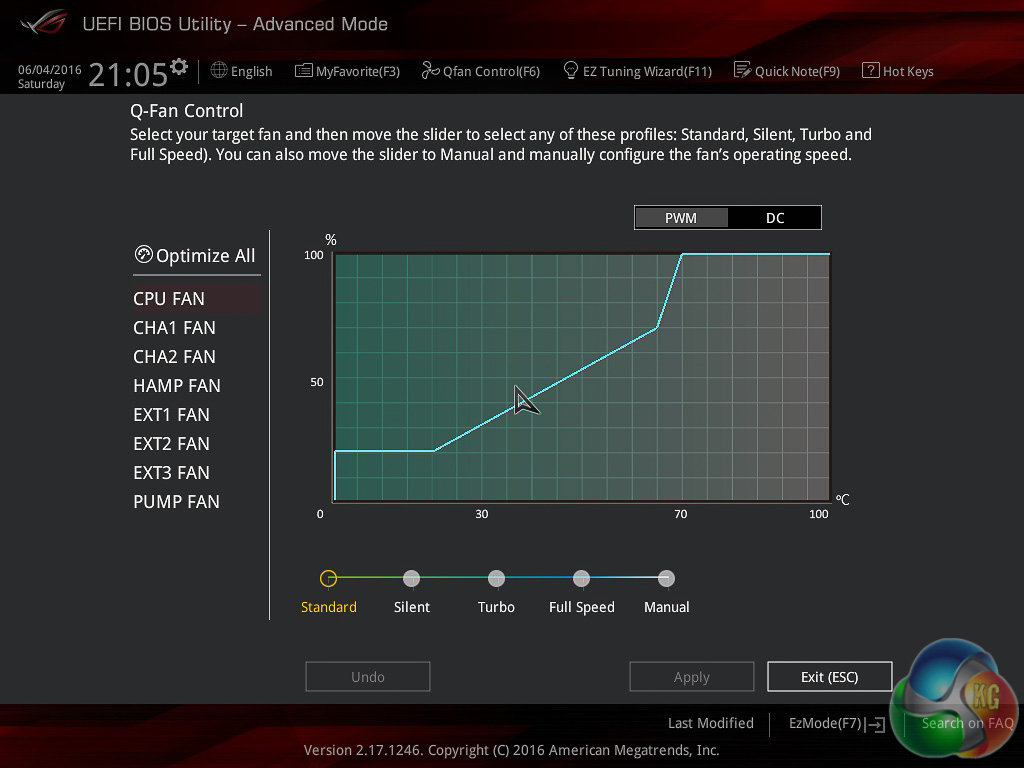
The Q-Fan control remains unchanged but that's good news as its probably the best UEFI fan control system currently available.

Couple of questions first is why isn’t Asus throwing in a mobo speaker at this price point it should be included. Second is I have my setup but haven’t booted still waiting on one more ram kit. Which CPU fan header should be used based on the manual it suggests CPU/w or with Pump but I have seen some threads that suggested the users were having issues with fan speed and cpu cooling. Im running the Strix w/ the i7 6800 appreciate any guidance on which is the proper fan header.
For 1 fan, the CPU_FAN, for 2 fans, CPU_FAN & CPU_OPT, for 2 fans and a pump, CPU_FAN, CPU_OPT and W_PUMP (though in most coses it is fully recommended to use SATA power and just run the pump @ 12 volts all the time, particularly if its an AIO, but if you have a SATA and fan header connection for your pump, you can plug both in so that the fan header cable gives you an RPM read-out [the H100i has this]).