

MSI's Click BIOS has persisted through multiple generations of Intel platforms, the first iteration of Click BIOS came in with P67, Click BIOS 2 with Z68, Click BIOS 3 with Z77 and Click BIOS 4 with Z87/Z97. MSI is now up to Click BIOS 5 but in all honesty not much has changed in recent generations – though this isn't necessarily a bad thing as the UEFI MSI provides is mature and slick to use.
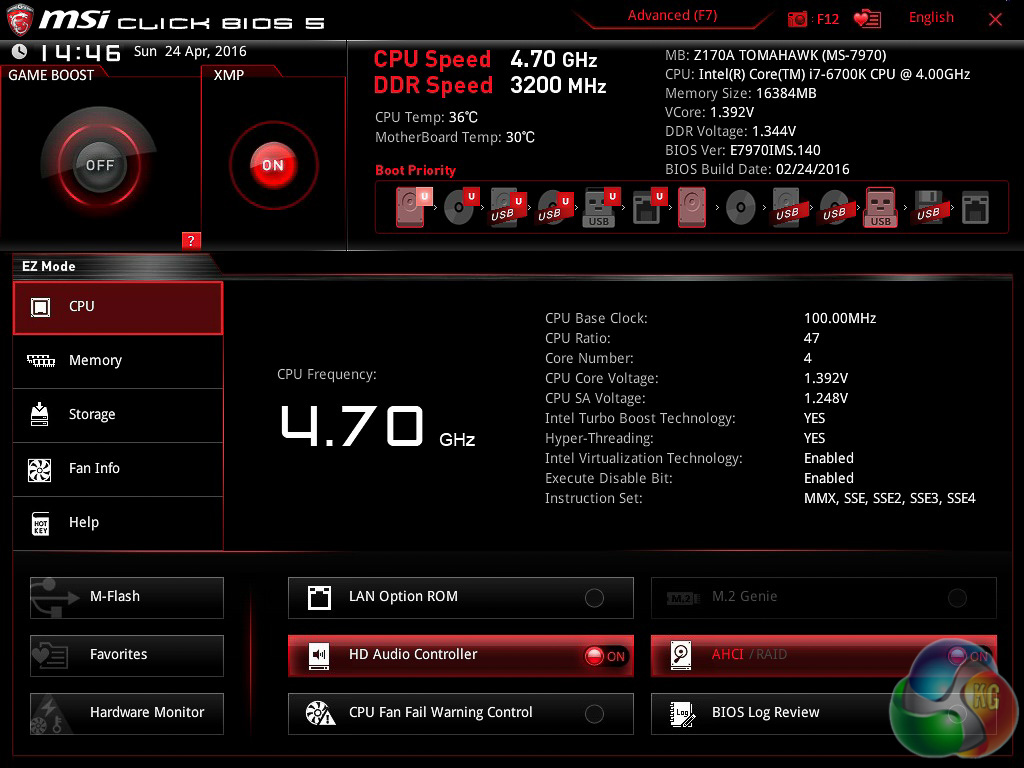
Upon entering the UEFI for the first time you launch into an “EZ Mode” page. Here you'll find basic settings like XMP, auto-overclocking, boot priority and a number of other things.
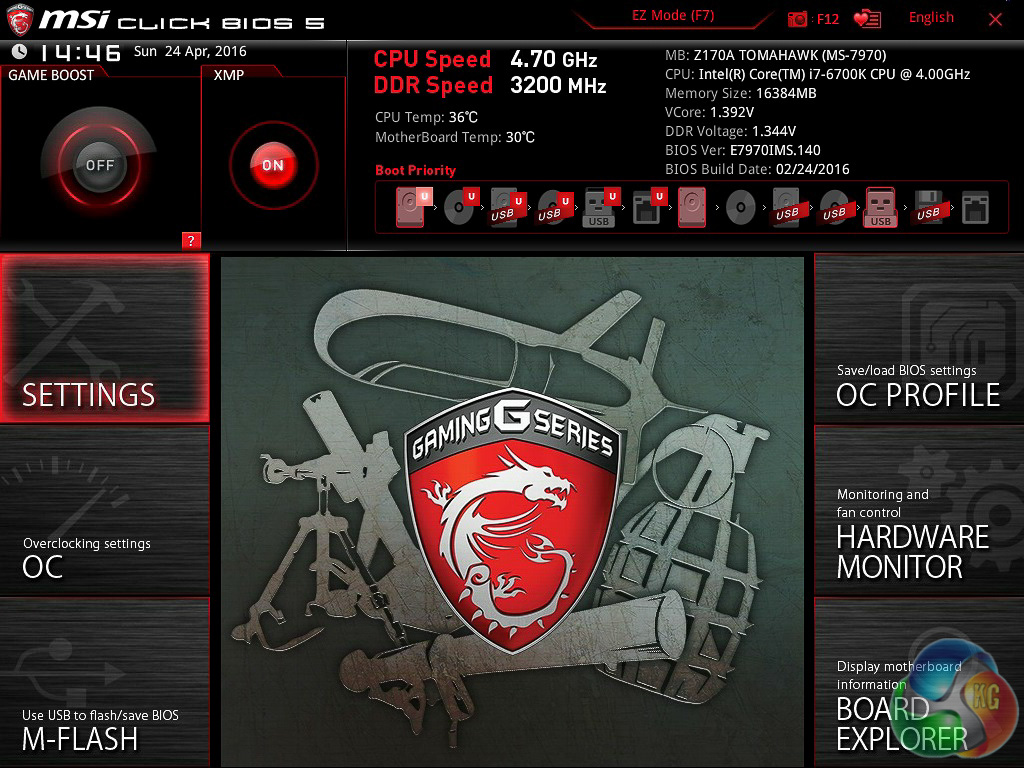
Most experienced users will likely hit F7 to head into the advanced UEFI environment where MSI implement a tile-like interface, compared to the “tabular” system of ASUS, ASRock or Gigabyte.
It's not quite as intuitive if you've previously used more traditional BIOS styles but it is certainly just as functional once you learn how it all works and where the key settings are located.
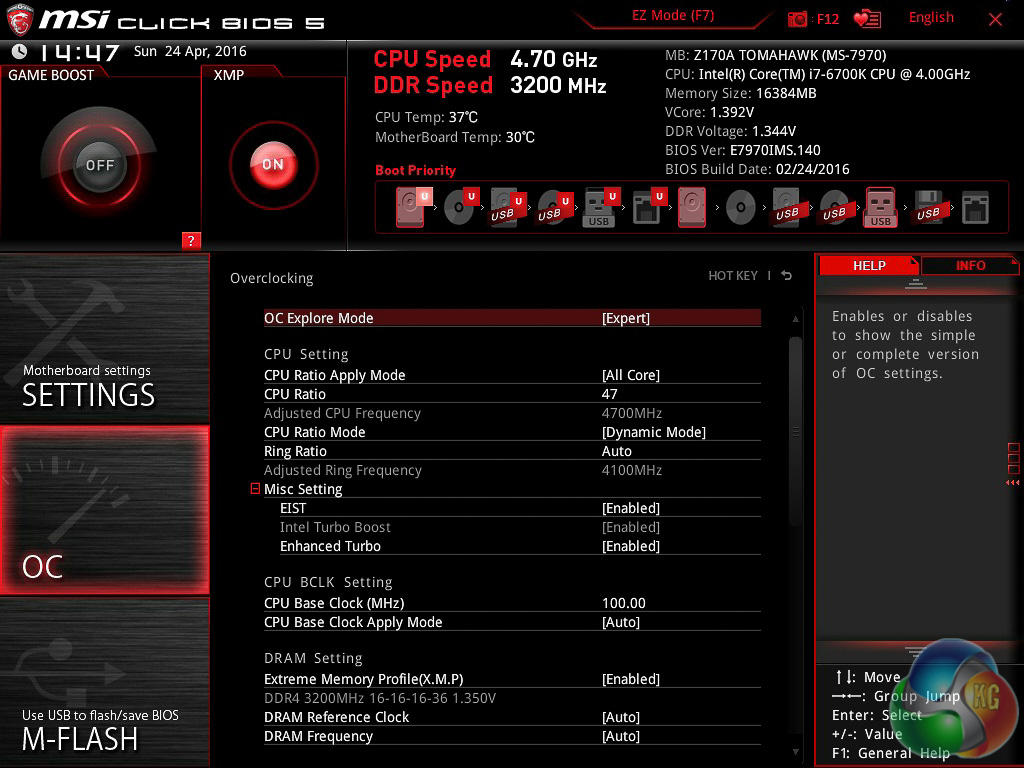
The OC tab houses the bulk of the CPU and DRAM tweaking options, there's also a “difficulty” mode in here – turning on Expert mode will reveal more advanced tweaking options that would normally be left as Auto.
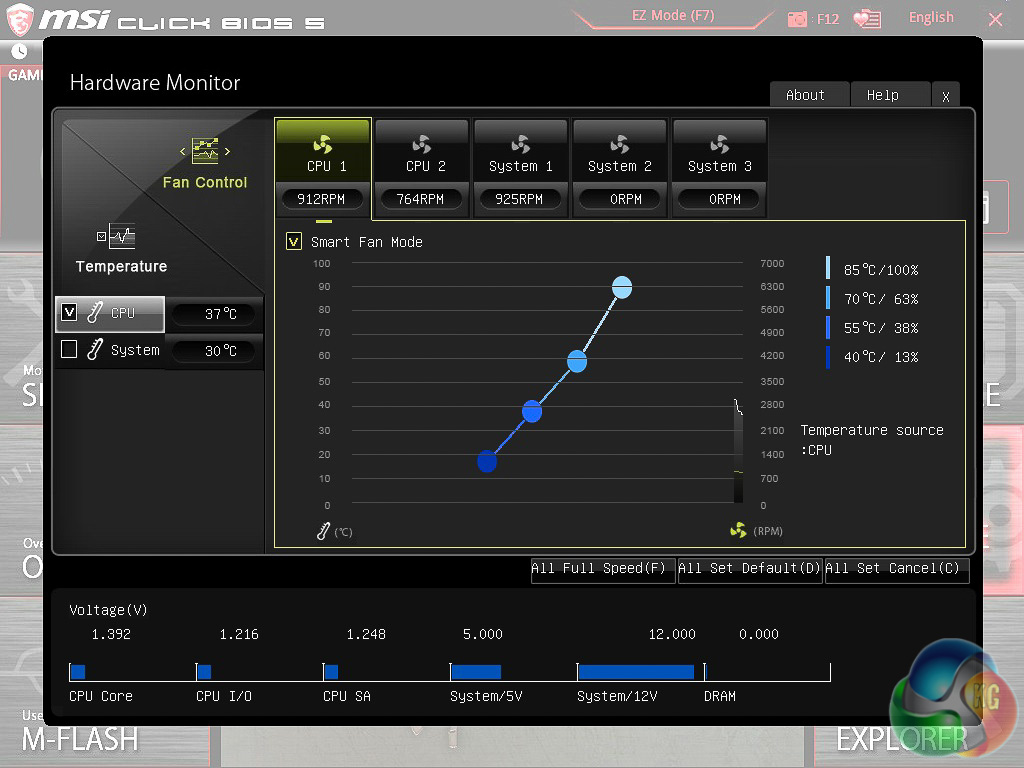
The Hardware Monitor tile opens up a new overlay which allows you to monitor various temperatures and voltages as well as implementing fan controls.
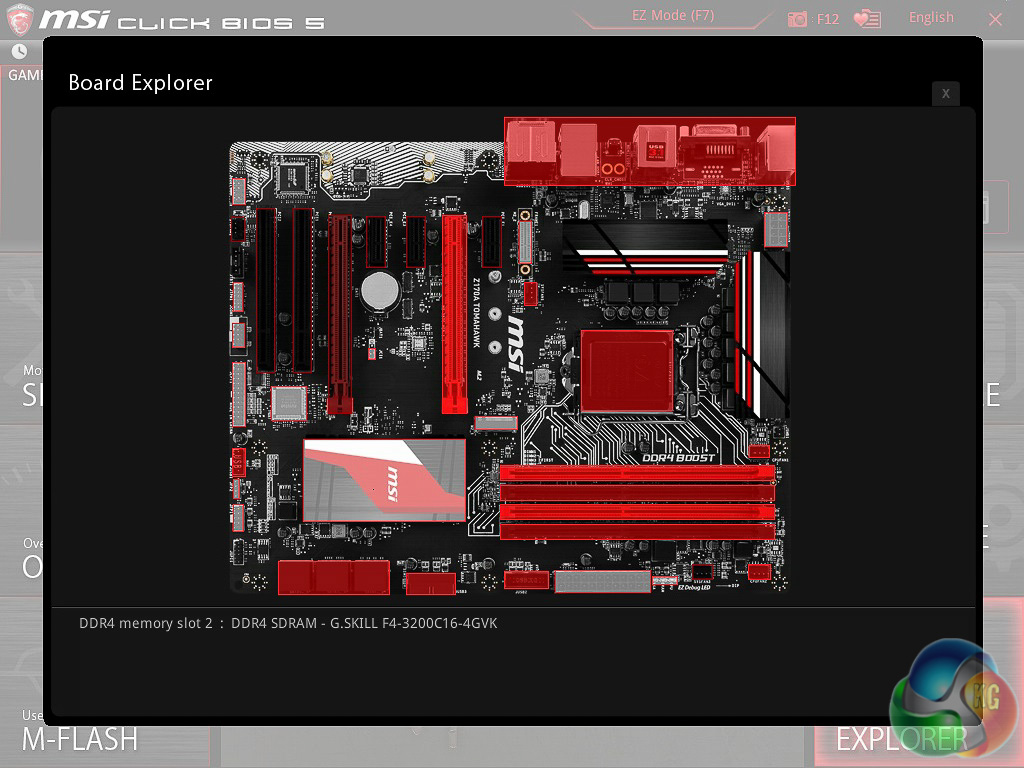
Board explorer will return information about which slots on the motherboard are populated and by what devices, helpful if you don't fancy opening up your case to take a look inside.
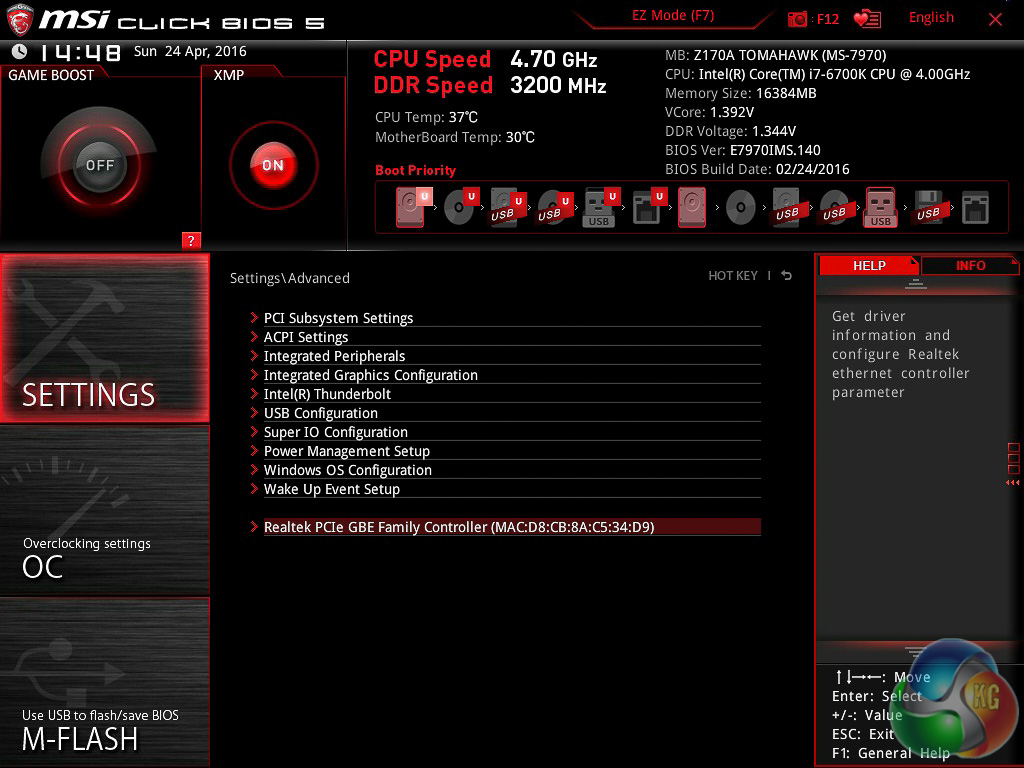
The settings tab houses all the options and parameters that aren't related to overclocking or performance tuning.
