The joypad on the remote has exactly the same functions as the joystick on the rear of the display, and the remote has other functions, so we will concentrate on how you can adjust this screen with the remote. The latter has dedicated controls for the speaker volume and brightness.
There are buttons that get you directly to the main menu, inputs, and SmartImage presets, too, but we'll mention those as we go through the rest of the control system.
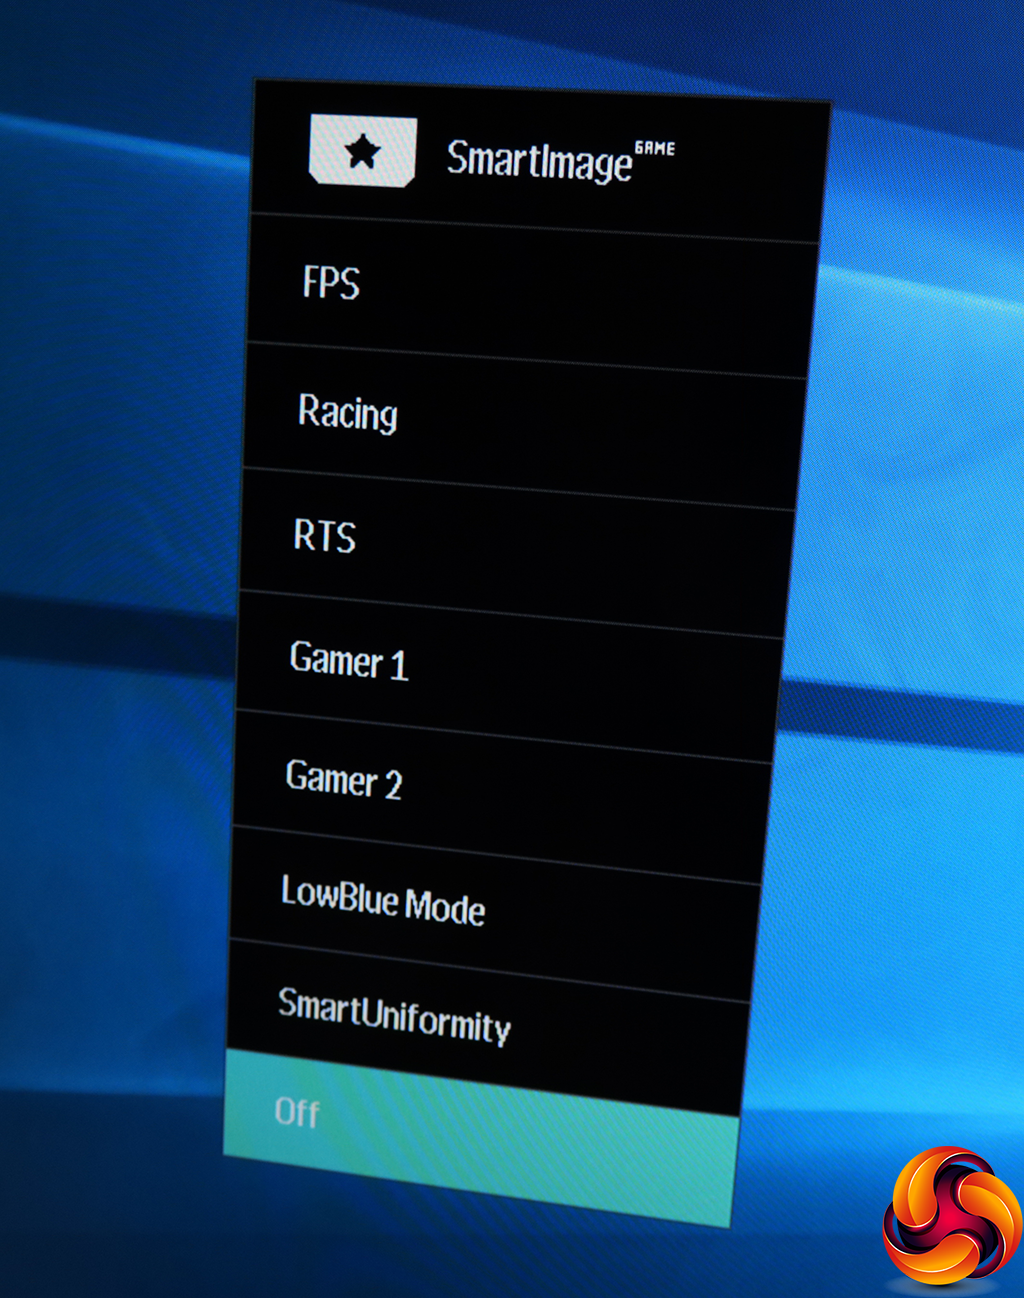
There are lots of different ways to get to to the SmartImage preset menu: push the joypad or the joystick left, or press either of the two buttons beneath the joypad on the remote. One of these is explicitly marked as the one for SmartImage, but the other is just the back button for exiting menu levels. SmartImage options include FPS, Racing, RTS, LowBlue and SmartUniformity.
The latter respectively reduce blue light to prevent eye strain, and enable accurate brightness for image-editing work. There are also two Gamer presets available. If you switch to one of these modes, whatever settings you change will be recalled when you next select that mode.
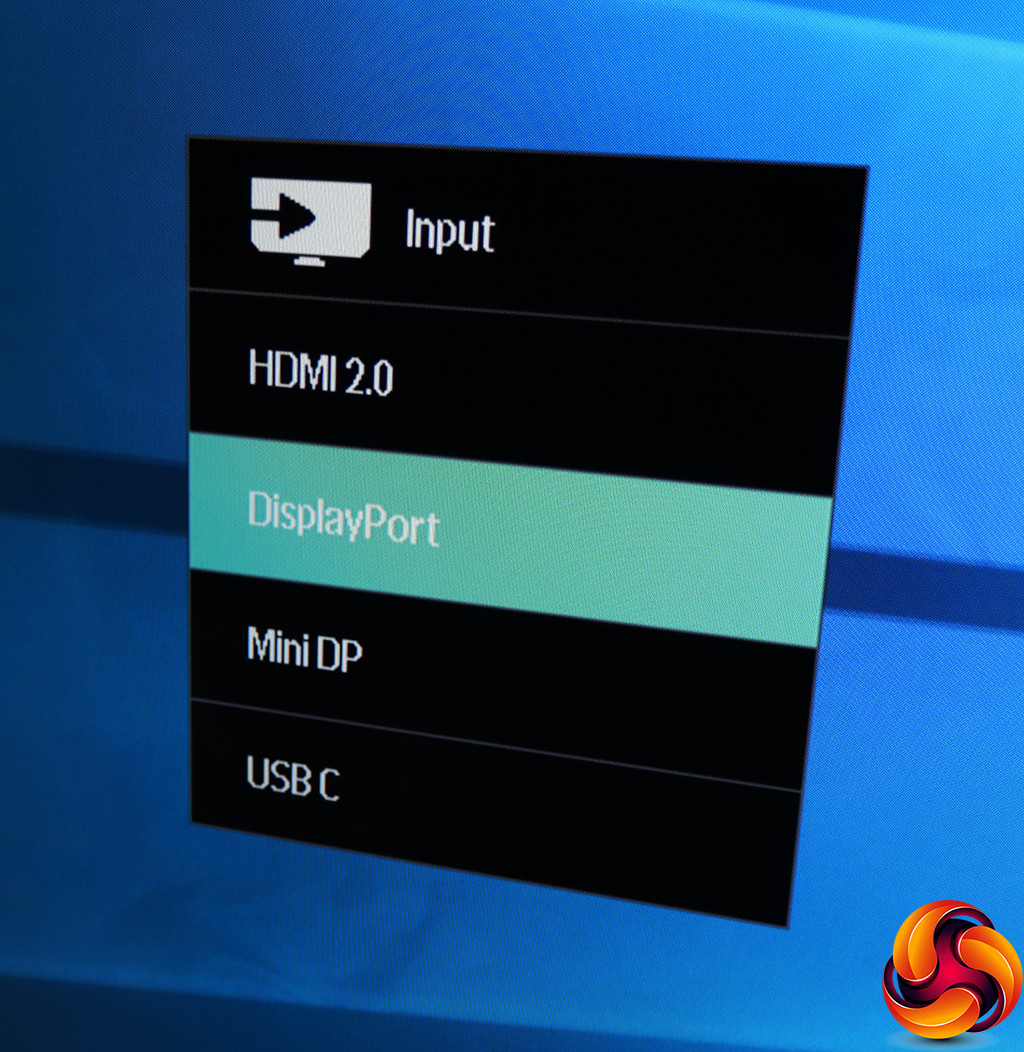
There are multiple ways to get to the manual input selection quick menu, too. Push the joystick or joypad up, or there's a discrete button on the remote.
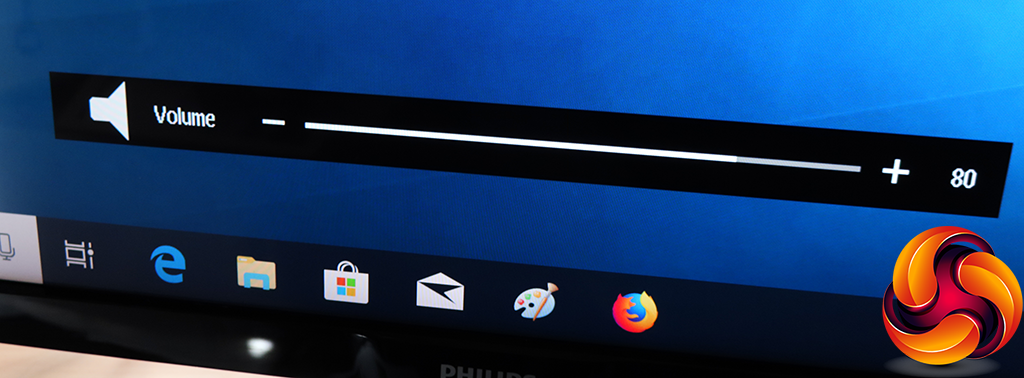
Apart from the dedicated controls on the remote, you can push the joystick or joypad down to access the volume levels.
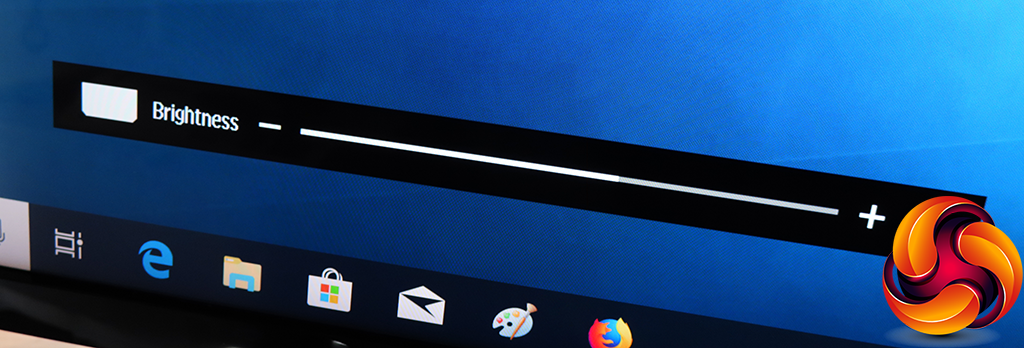
As already mentioned, there are dedicated buttons on the remote to change the brightness as well.
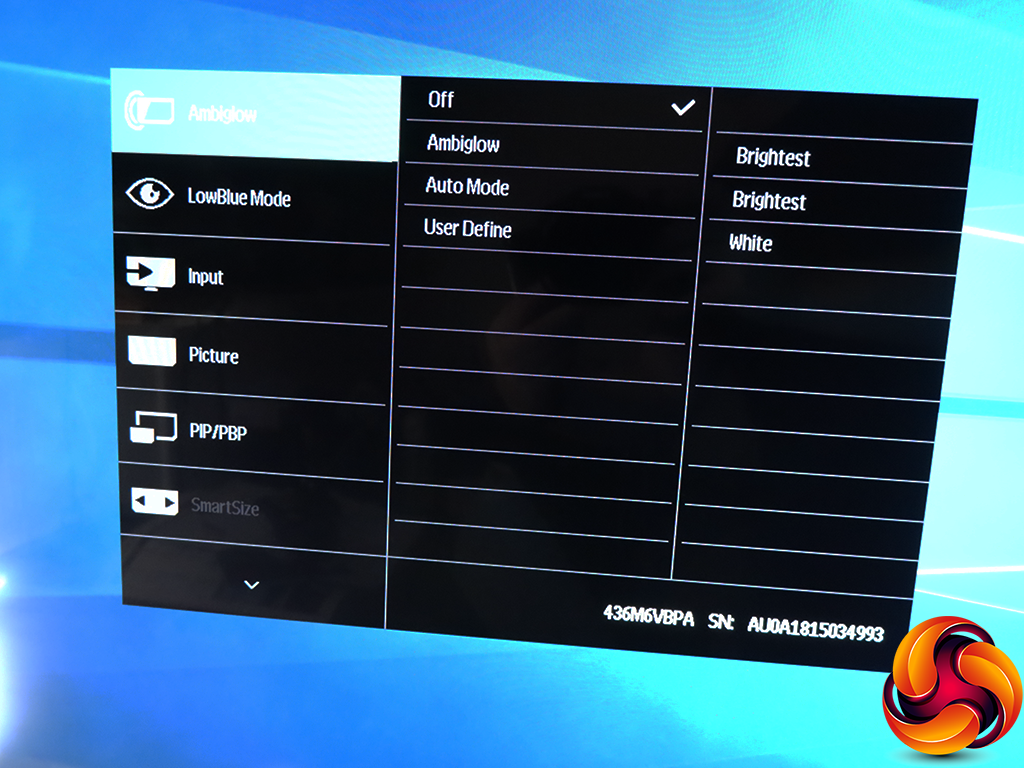
Finally, apart from the button on the remote, you can call up the main menu by pushing the joypad or joystick right, or pushing the joystick in, or pressing the OK button on the remote. The default section of the menu is for Ambiglow, which you can either turn on permanently, set to auto mode, or set to a specific colour.
In case you don't know what Ambiglow is, this screen has LEDs in the bottom that will light up the area underneath to match the predominant shade onscreen, which is supposed to increase the sense of immersion. Whether it does or not is a matter of taste, and it's not unique, with Samsung offering something similar, but it's still pretty cool if you like that sort of thing.
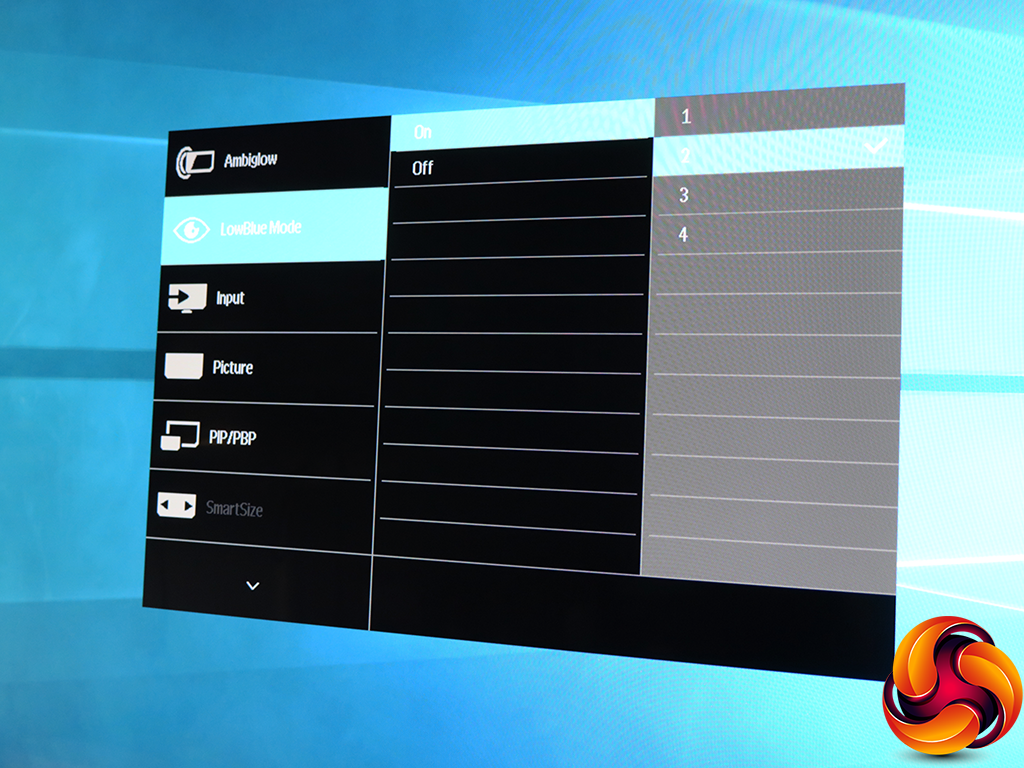
Next down in the main menu are the LowBlue settings, which include four levels.
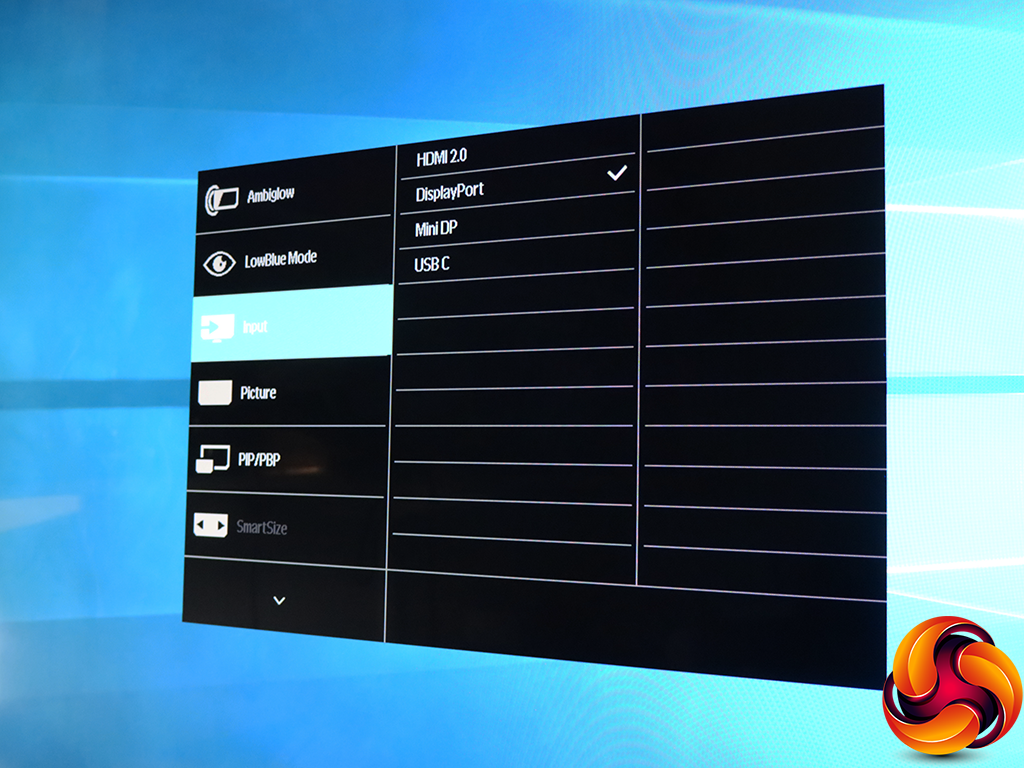
The main menu provides yet another way to get to the manual input settings.
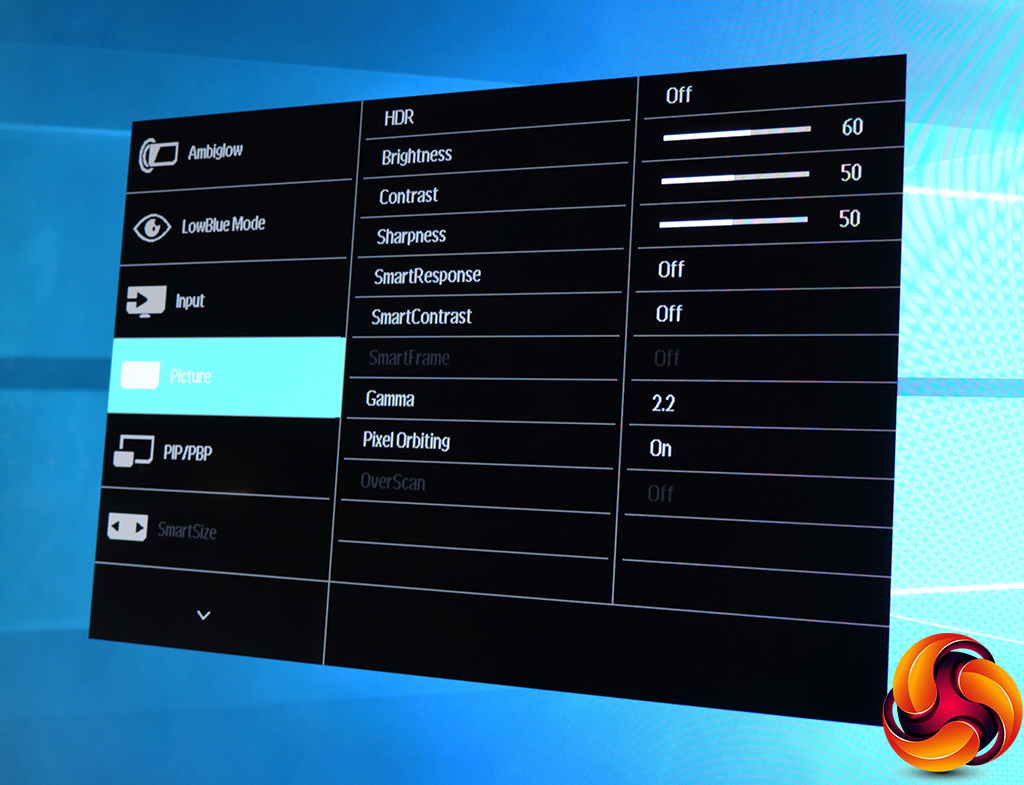
The Picture section is where most of the fine adjustments can be found. You don't just get a single HDR mode, but VESA HDR 1000 and UHDA options. The former is the DisplayHDR 1000 conformity we mentioned earlier in the review, whilst UHDA represents similar specifications to DisplayHDR 1000, except that it also specifies SMPTE ST2084 HDR and at least 90 per cent of the DCI-P3 colour gamut.
You can access controls for brightness, contrast and sharpness, plus the SmartResponse pixel overdrive that reduces the effects of the MVA panel's relatively slow 4ms rate. This has Fast, Faster and Fastest options. The SmartContrast can be either off or on, and varies the backlight to increase perceived dynamic range beyond the panel's actual capabilities.
The Gamma setting has five positions, ranging from 1.8 to 2.6 in increments of 0.2 and with a default of 2.2. Pixel Orbiting prevents burn-in by slightly shifting pixels around when a static image is shown.
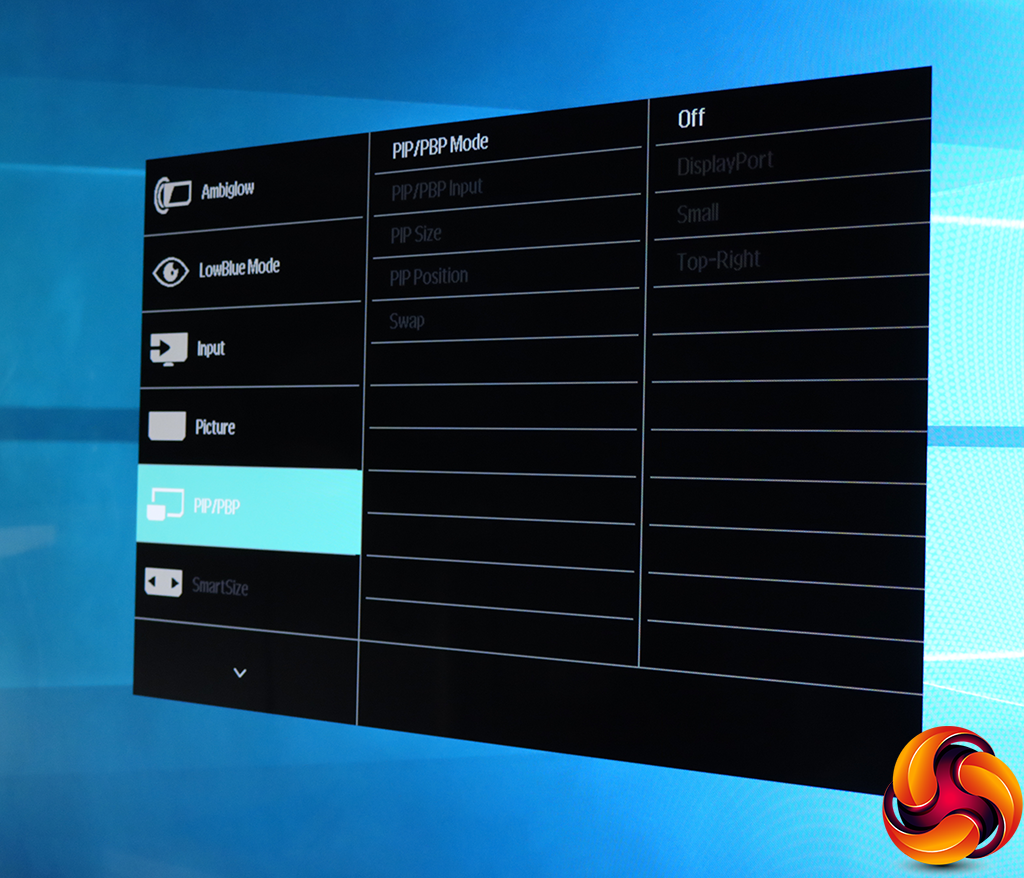
There are extensive options for picture-in-picture and picture-by-picture so you can show multiple inputs onscreen at once, which might actually be useful on a screen this big and with this resolution.
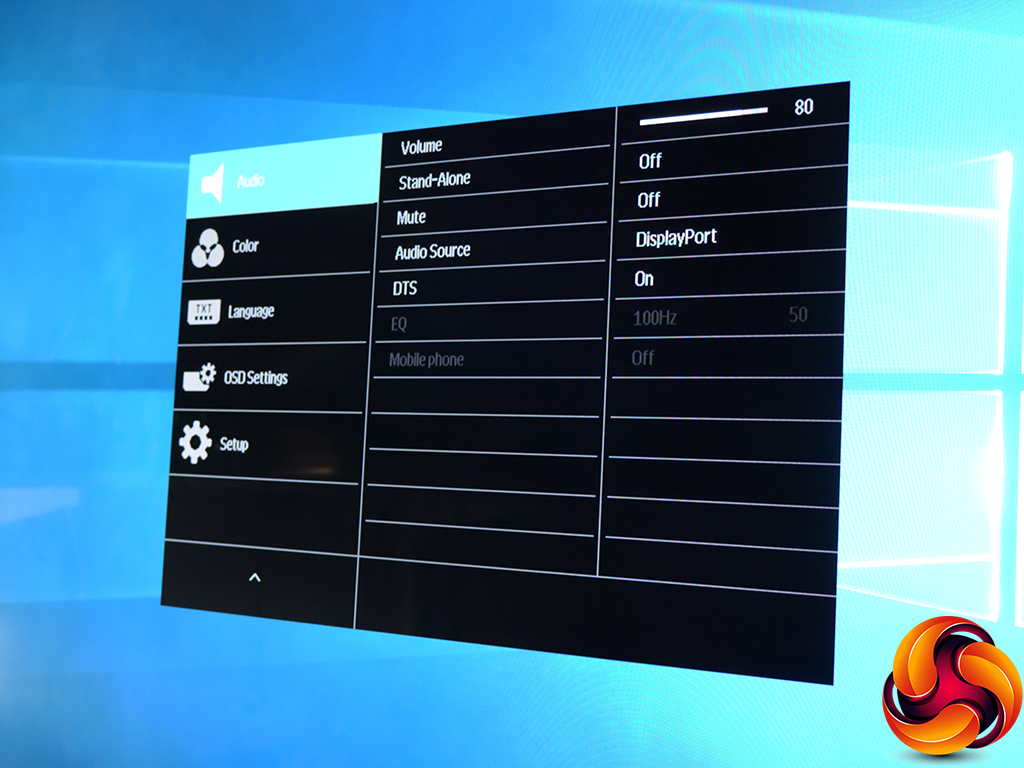
The audio section has a lot more than the usual monitor audio menu. Not only can you manually select the audio source and adjust volume, but also turn DTS support off and on, tell the screen whether it has an analog source that is a mobile phone, and even equalise the sound. However, the latter seemed to be greyed out with every input type we tried.

The colour temperature controls have been given their own separate section. Options include presets from 5000K to 11,500K, an sRGB mode, and direct user control over red, green and blue levels.
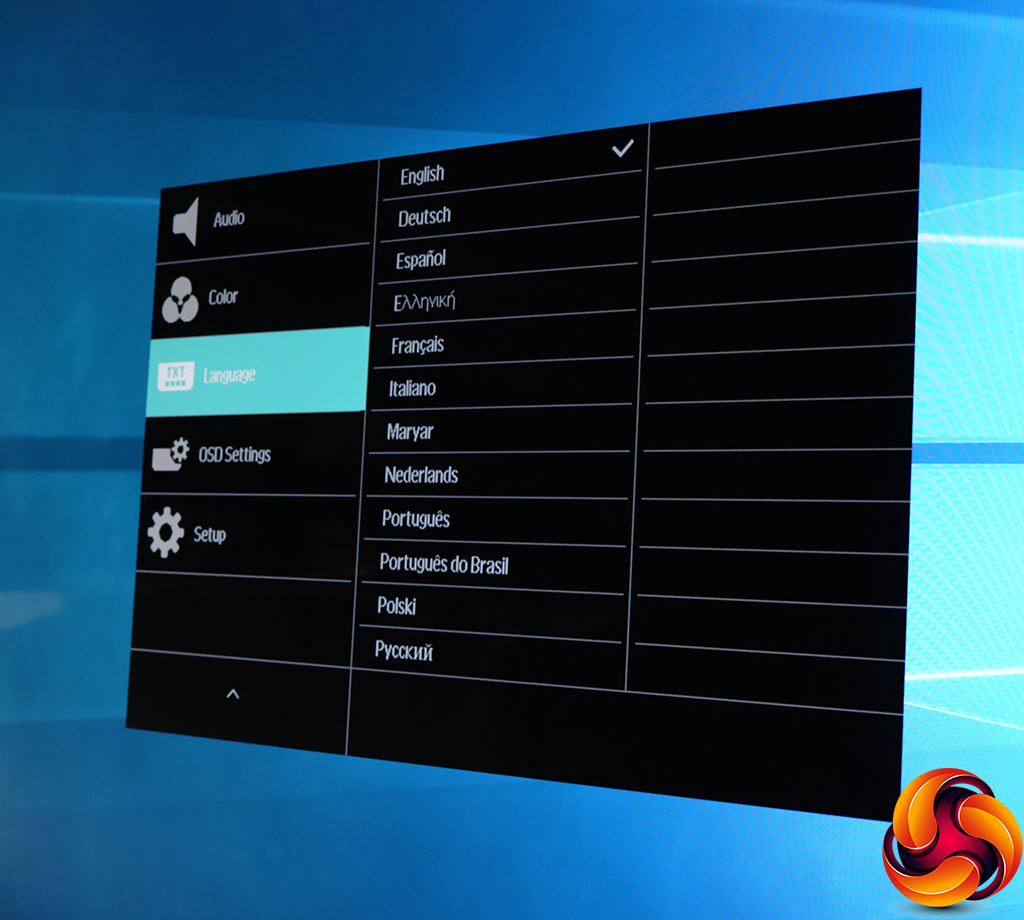
There are lots of different language options for the OSD text.
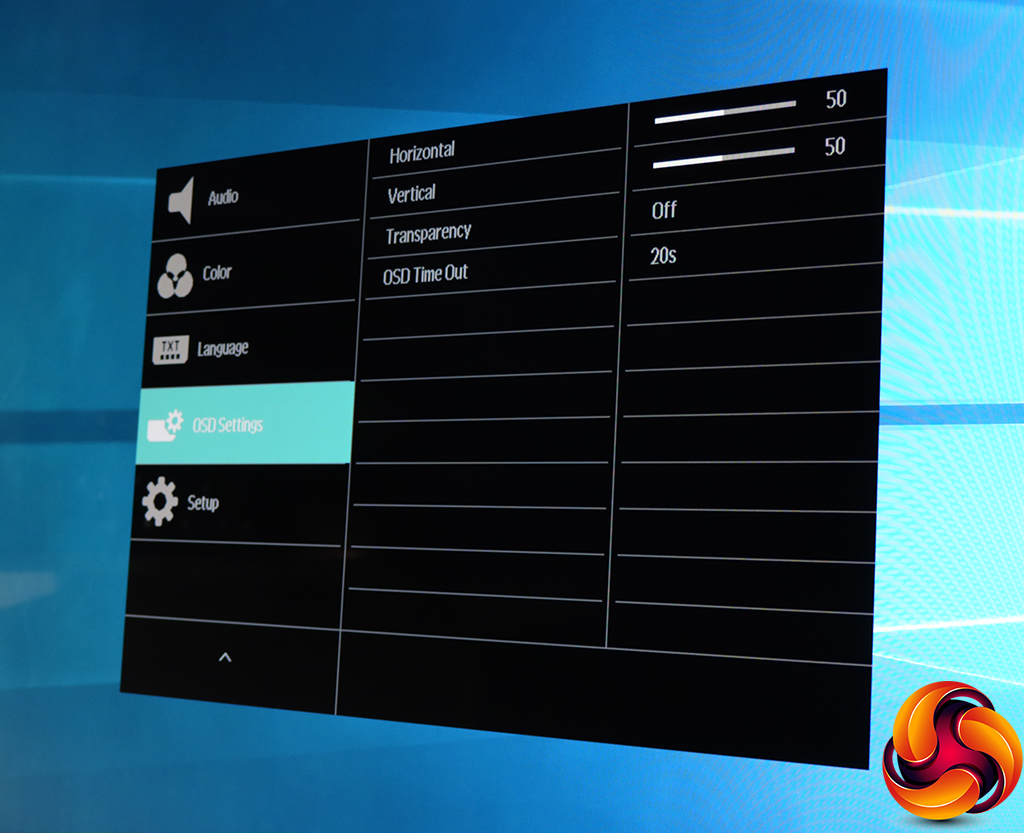
By default, the main menu and quick menus appear in the middle of the screen, and are completely opaque. But you can move these anywhere you like and make them transparent, as well as vary how long the menus stay onscreen before disappearing.
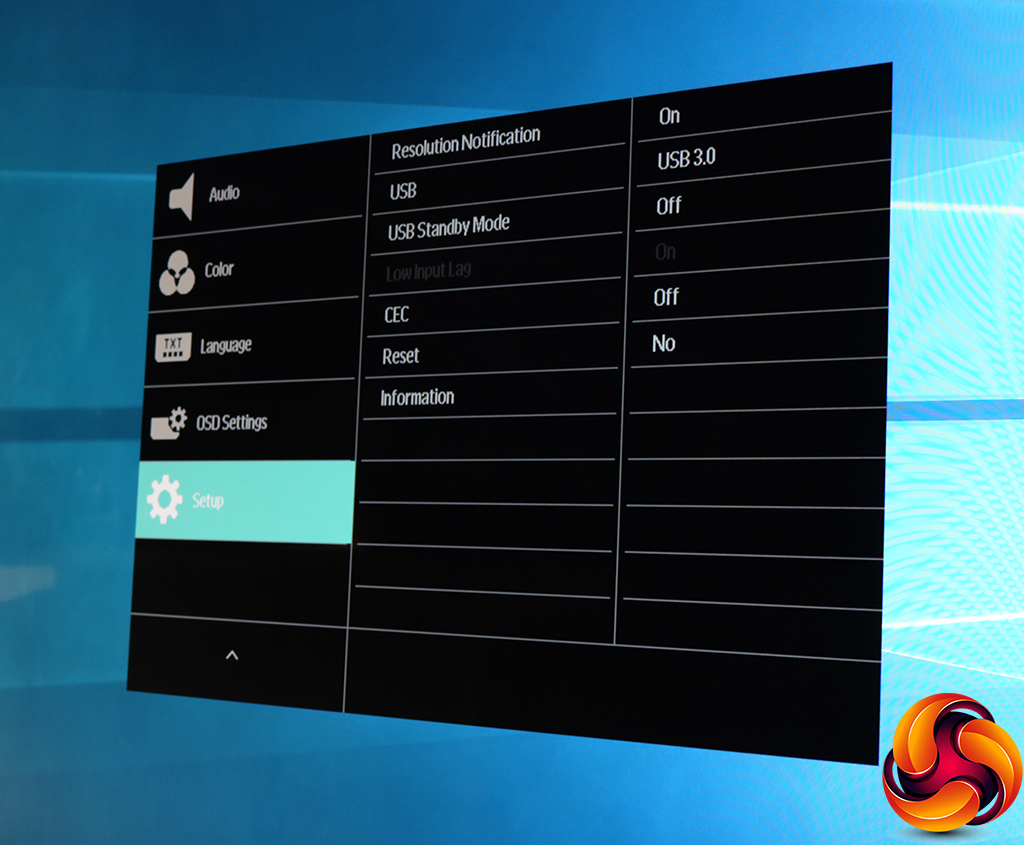
All the remaining sundry abilities like resetting to defaults are in the Setup section. You can also choose whether the USB hub ports are USB 2.0 or USB 3.0. The former is the default just in case your upstream connection is USB 2.0, presumably.
Overall, this is a reasonably feature-rich OSD. There aren't any specific work or movie SmartImage preset options, which is a surprise considering how great this screen is likely to be for watching 4K films. There seems to be a focus on gaming in this respect, which isn't so essential when you're limited to 60Hz in 4K resolution.
But there's enough here for precise adjustment of picture quality to suit your needs, and the two Gamer presets don't actually have to be used for games – you could make these your own custom movie presets.