The AG273QCG’s OSD is controlled via a little four-way directional stick on the underside of the display. We normally consider this a good sign, as menus setup for these control schemes – rather than having a row of several buttons – tend to be quicker and more intuitive. Not so here.
The OSD on this display is one of the worst we’ve seen in a while, at least in terms of ease of use. The controls and the way you move through the menu just never feel intuitive.
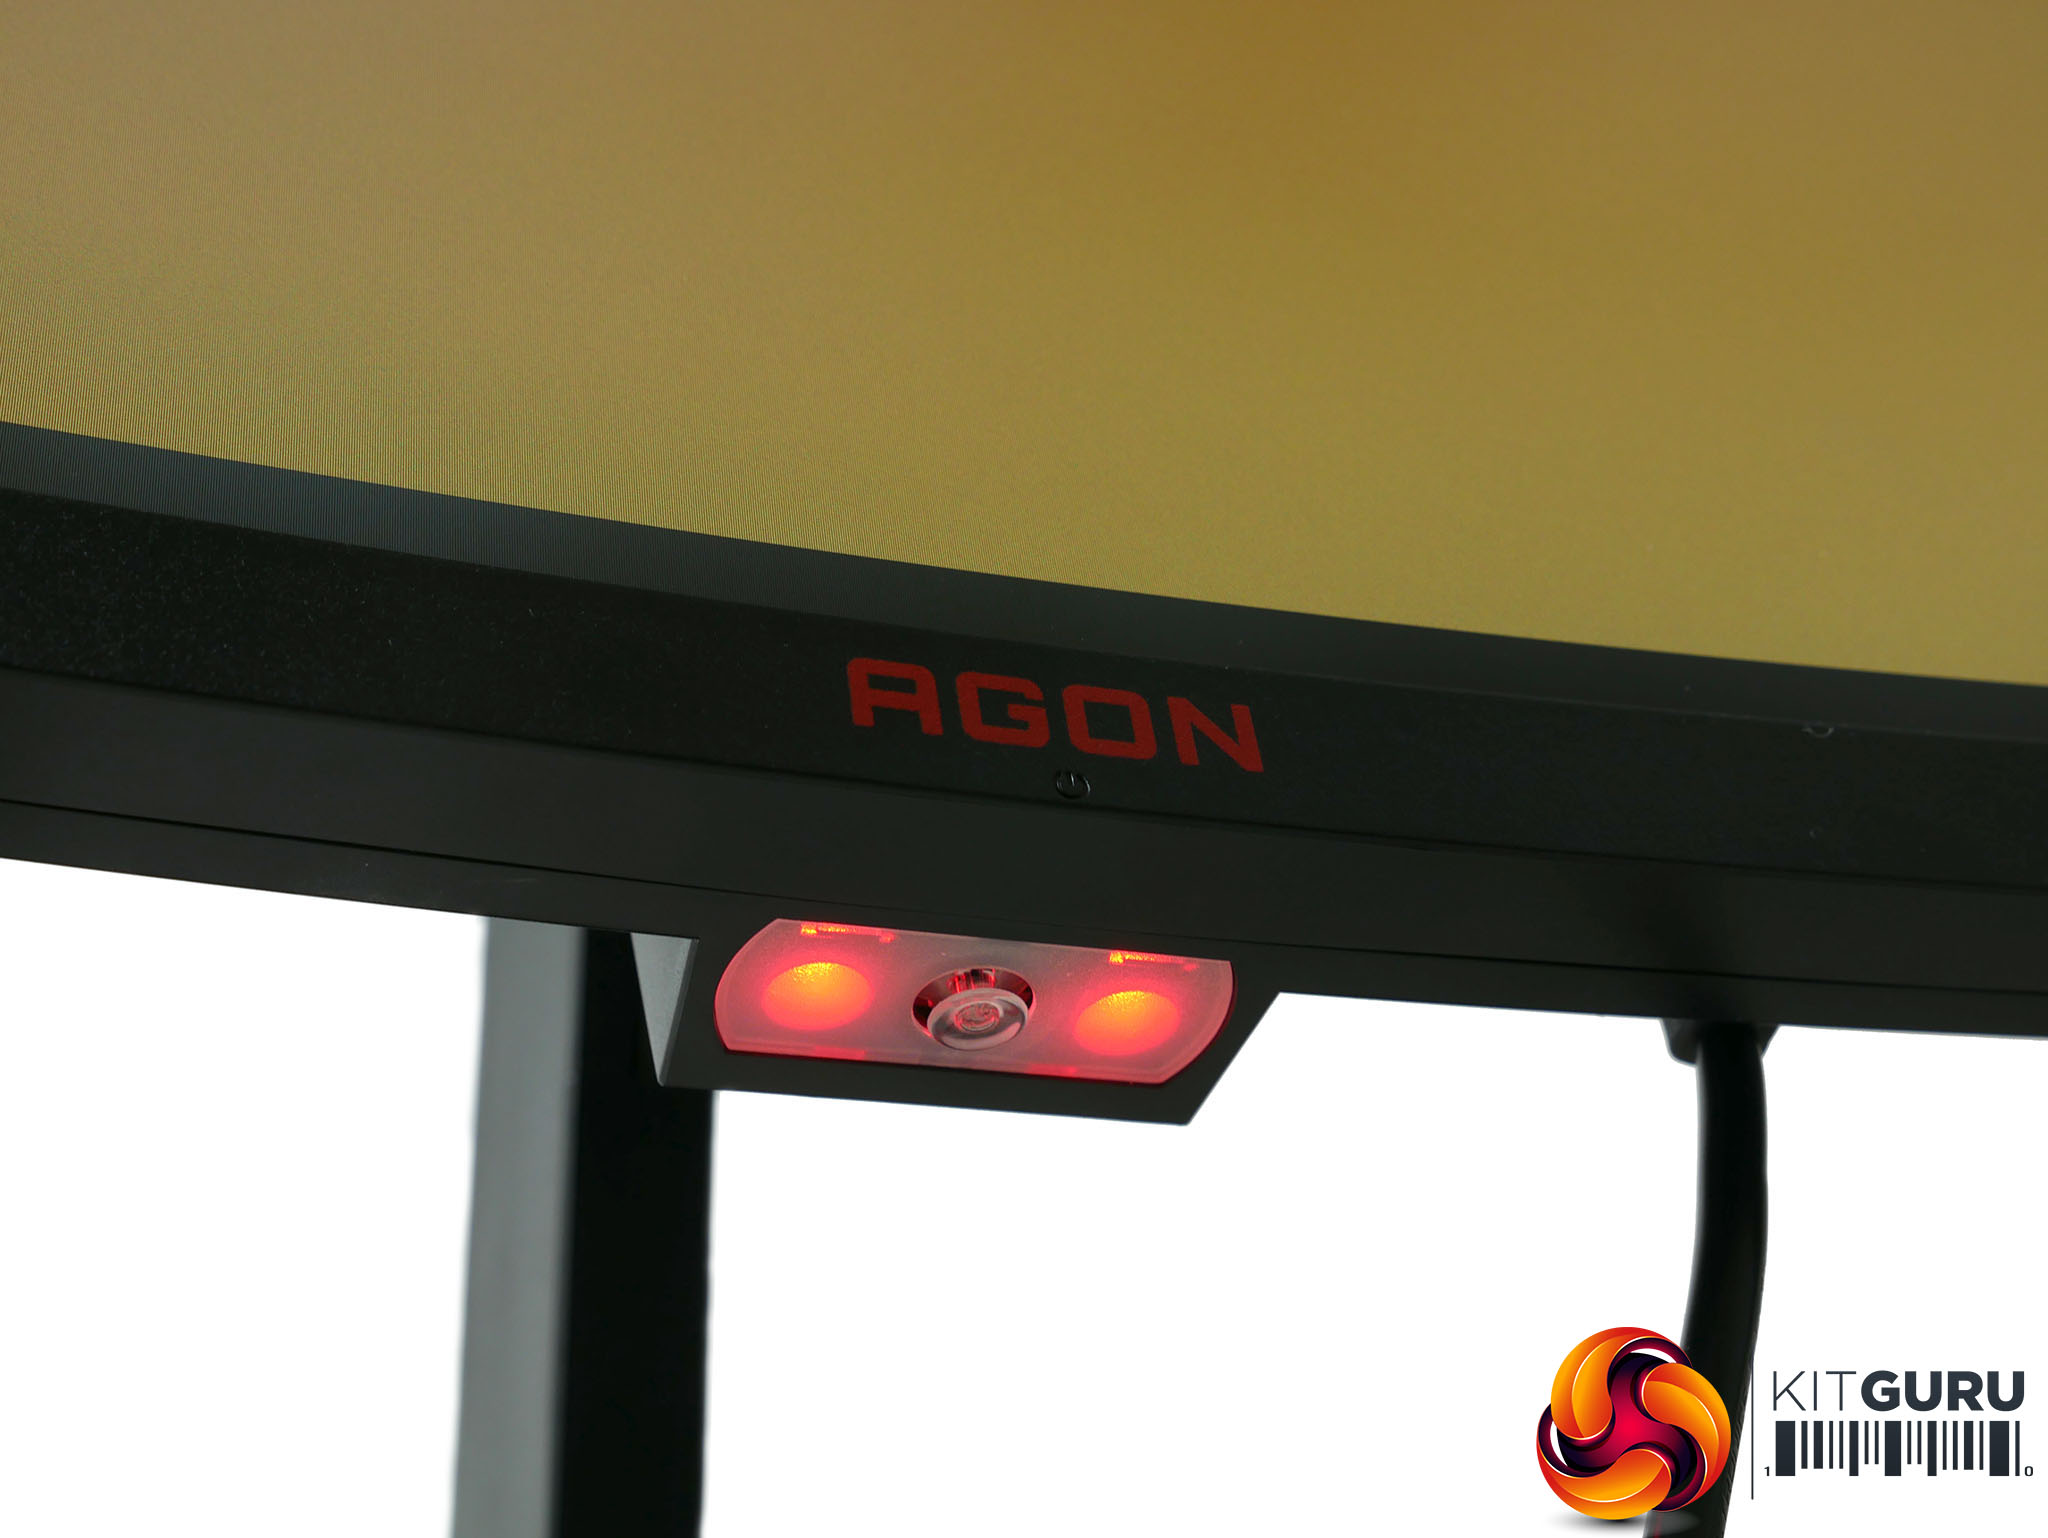
The OSD joystick is flanked by two RGB LEDs
Specifically, the system uses both an inward press of the stick and a movement to the right to indicate selecting an item. So, once you open the main menu by pressing the stick inwards, you can then move around the grid of options as you expect. Tap the stick in and you jump into that sub menu where things are arranged in lists. At this level you now need to tap right to select an item.
Now where things get really odd is that if the item you’ve selected – say, colour modes – is another list of items you now have to once again select the item by pressing the button inwards. Meanwhile if it’s a scale such as brightness the scale appears on screen as a horizontal bar so you have to move left and right to adjust it, hitting the button inward to verify the choice you’ve made. Oh, and you can’t exit one of said menus without choosing an option – there’s no back button.
If that all sounds confusing, you’re getting a good sense of how this menu works. It’s maddeningly bad. Thankfully, the menus do at least respond nice and quickly and the selection of options is comprehensive.
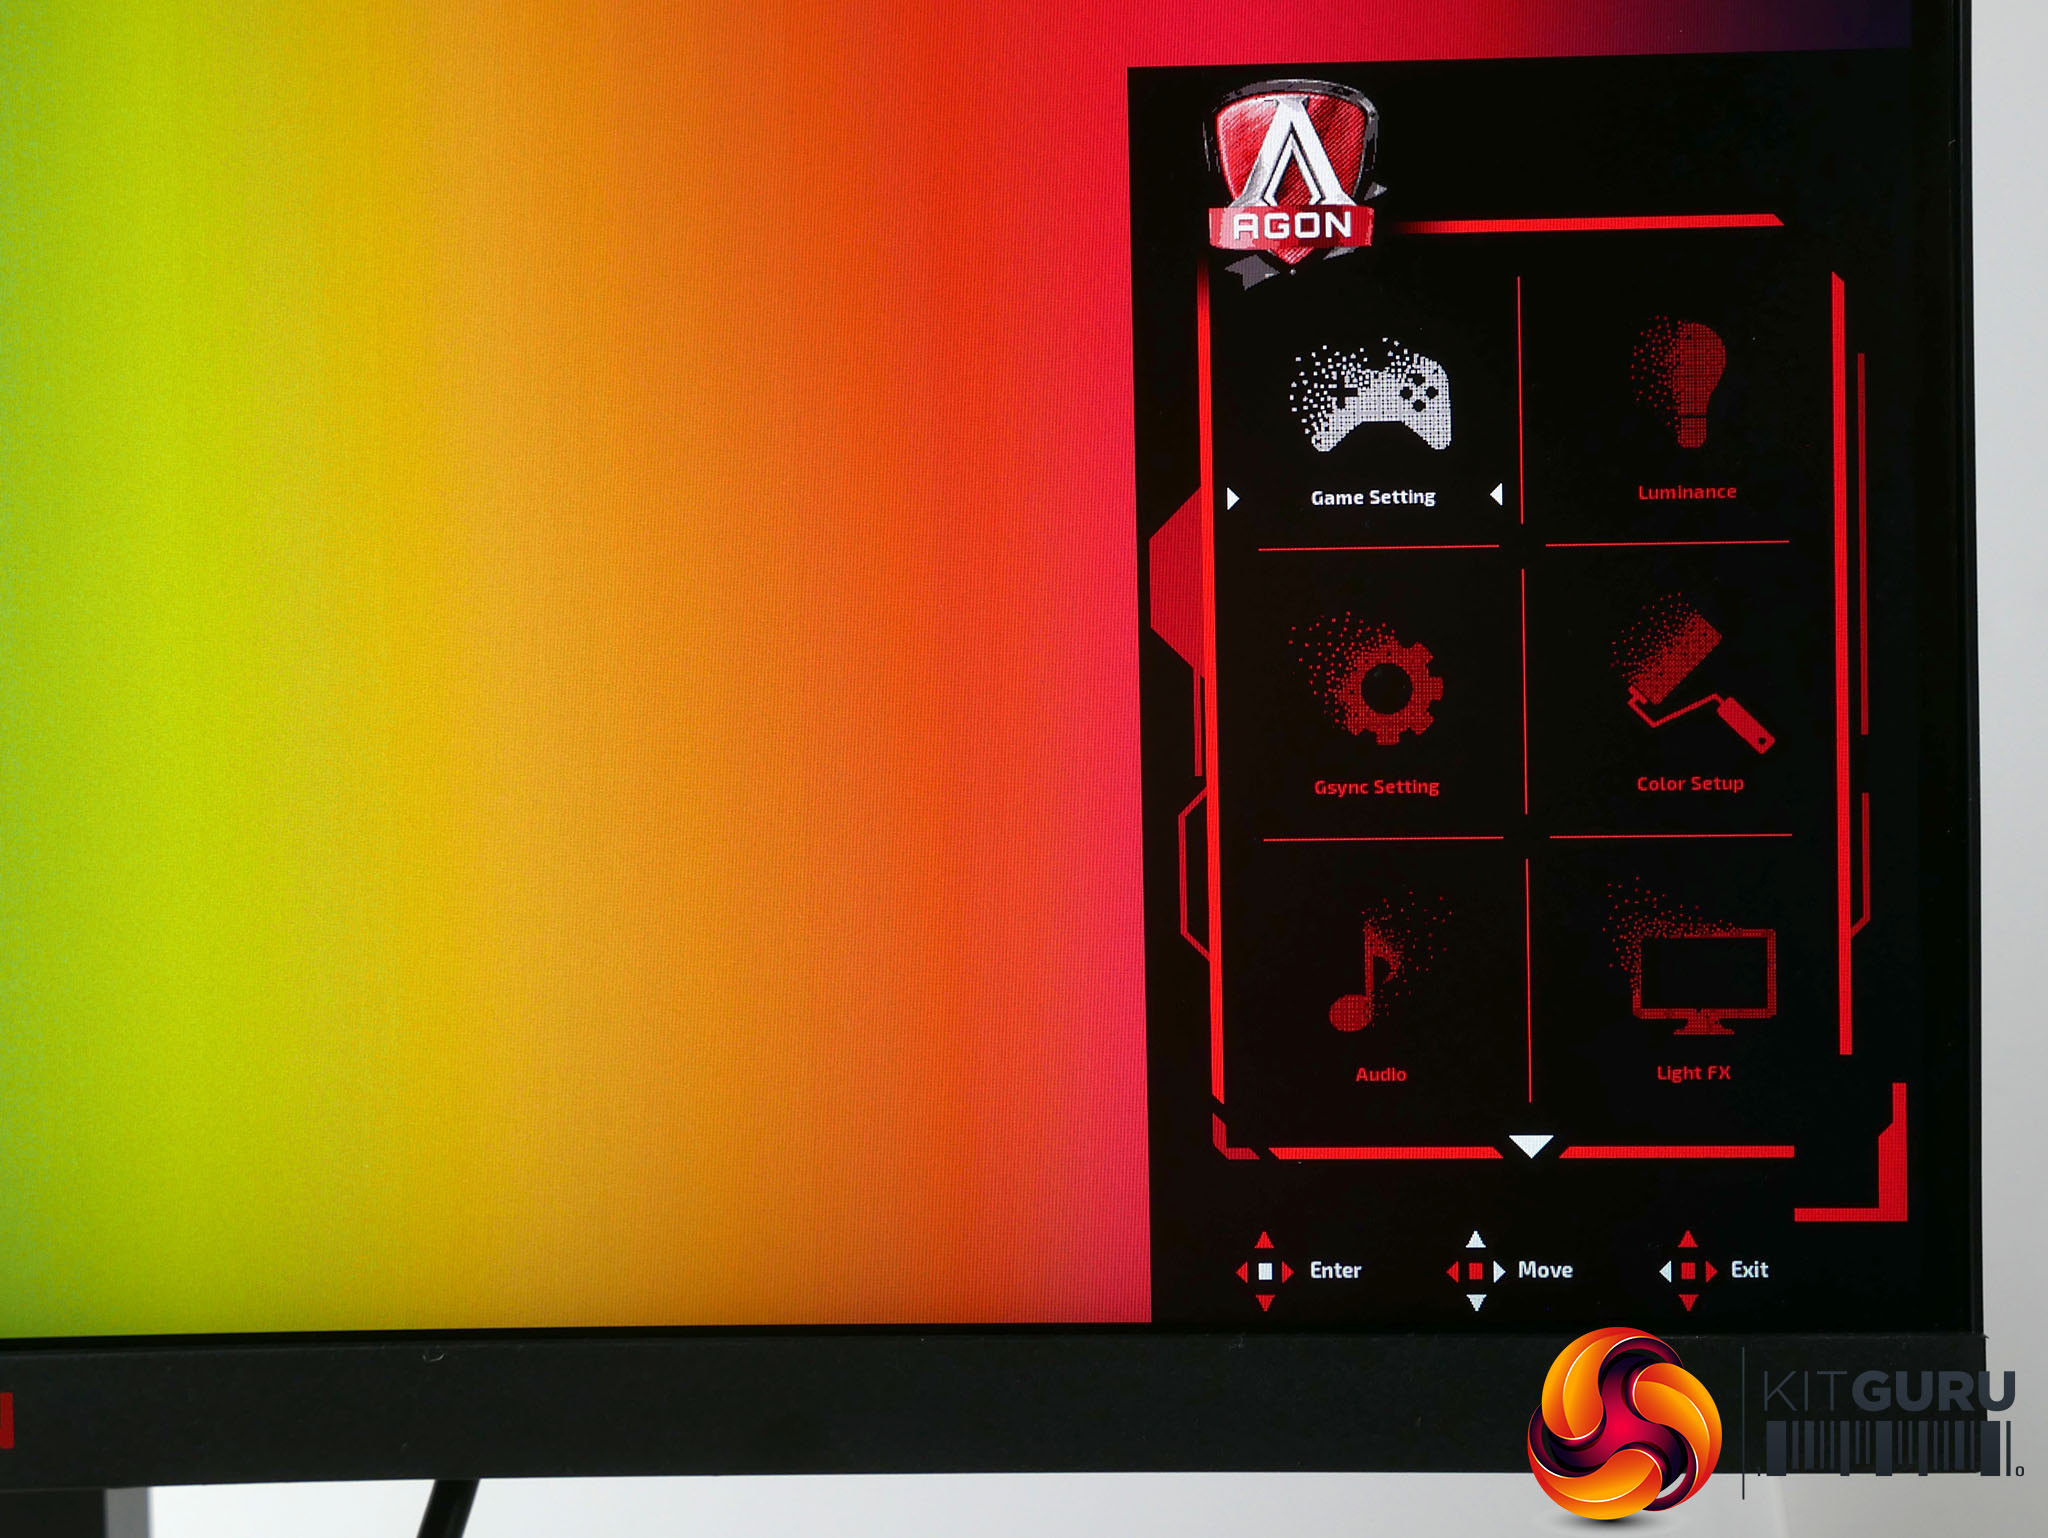
Starting from the top, tap the joystick in and the main menu appears. This consists of a grid of eight options: Game Setting, Luminance, Gsync Setting, Color Setup, Audio, Light FX, Extra and OSD Setup.
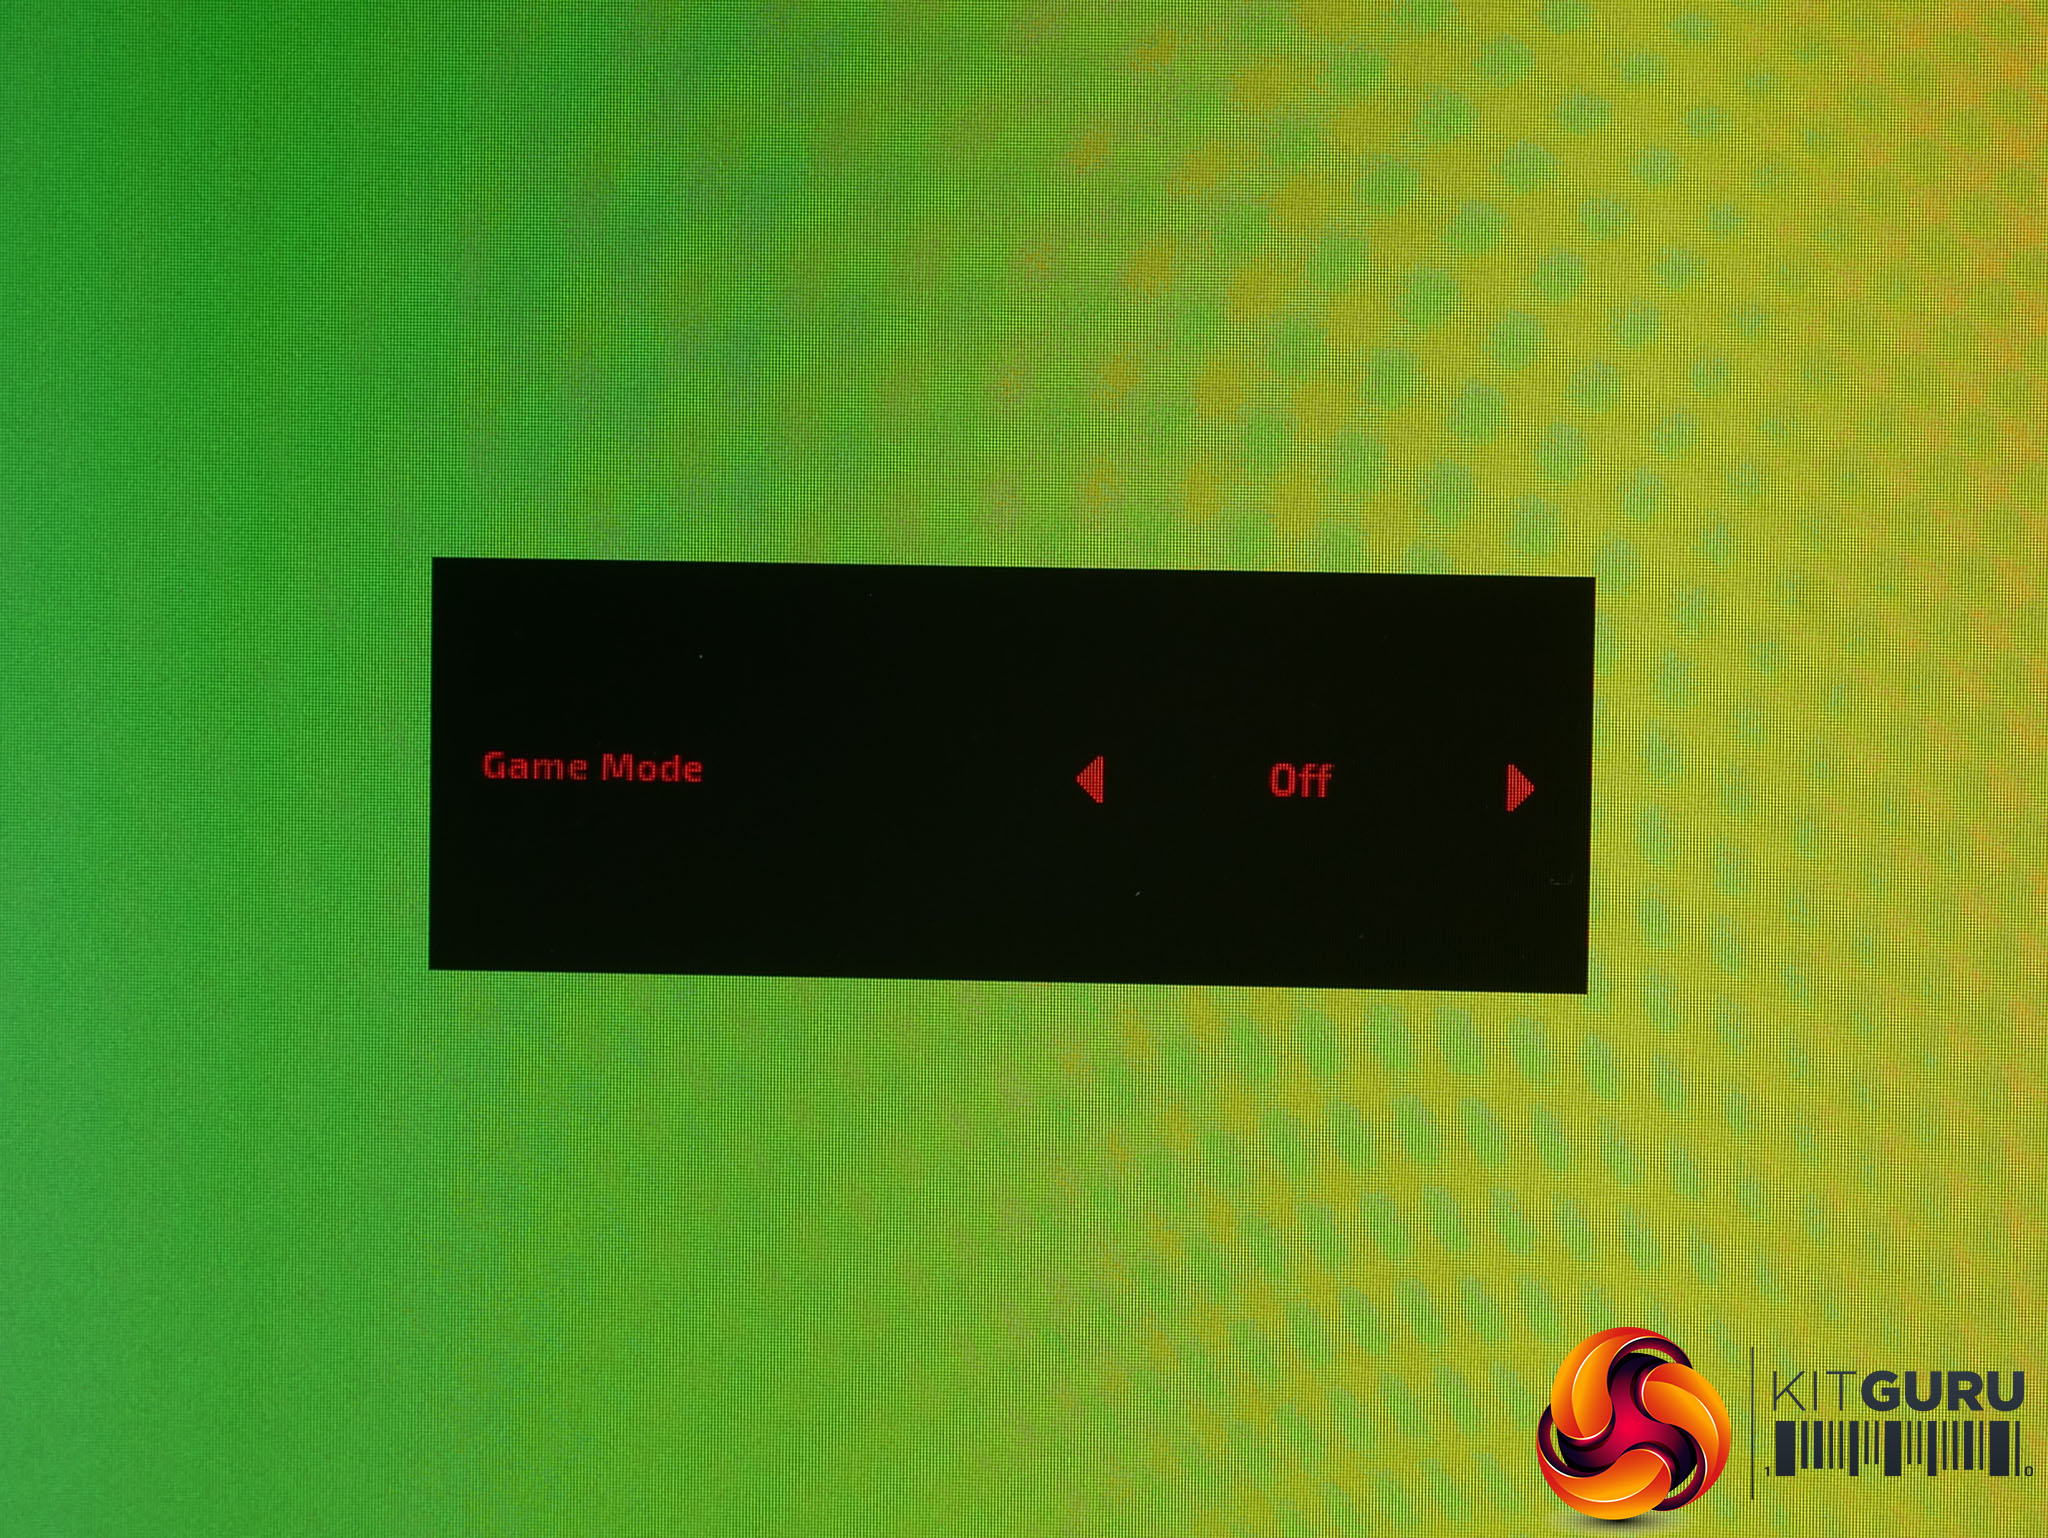
Jumping into the main menu options and first up is the Game Setting menu. This provides settings for Shadow Control (an option for brightening the image so you can see enemies in the dark), Game Color (a colour saturation boosting feature), Frame Counter and crosshair overlays, overdrive and Game Modes.
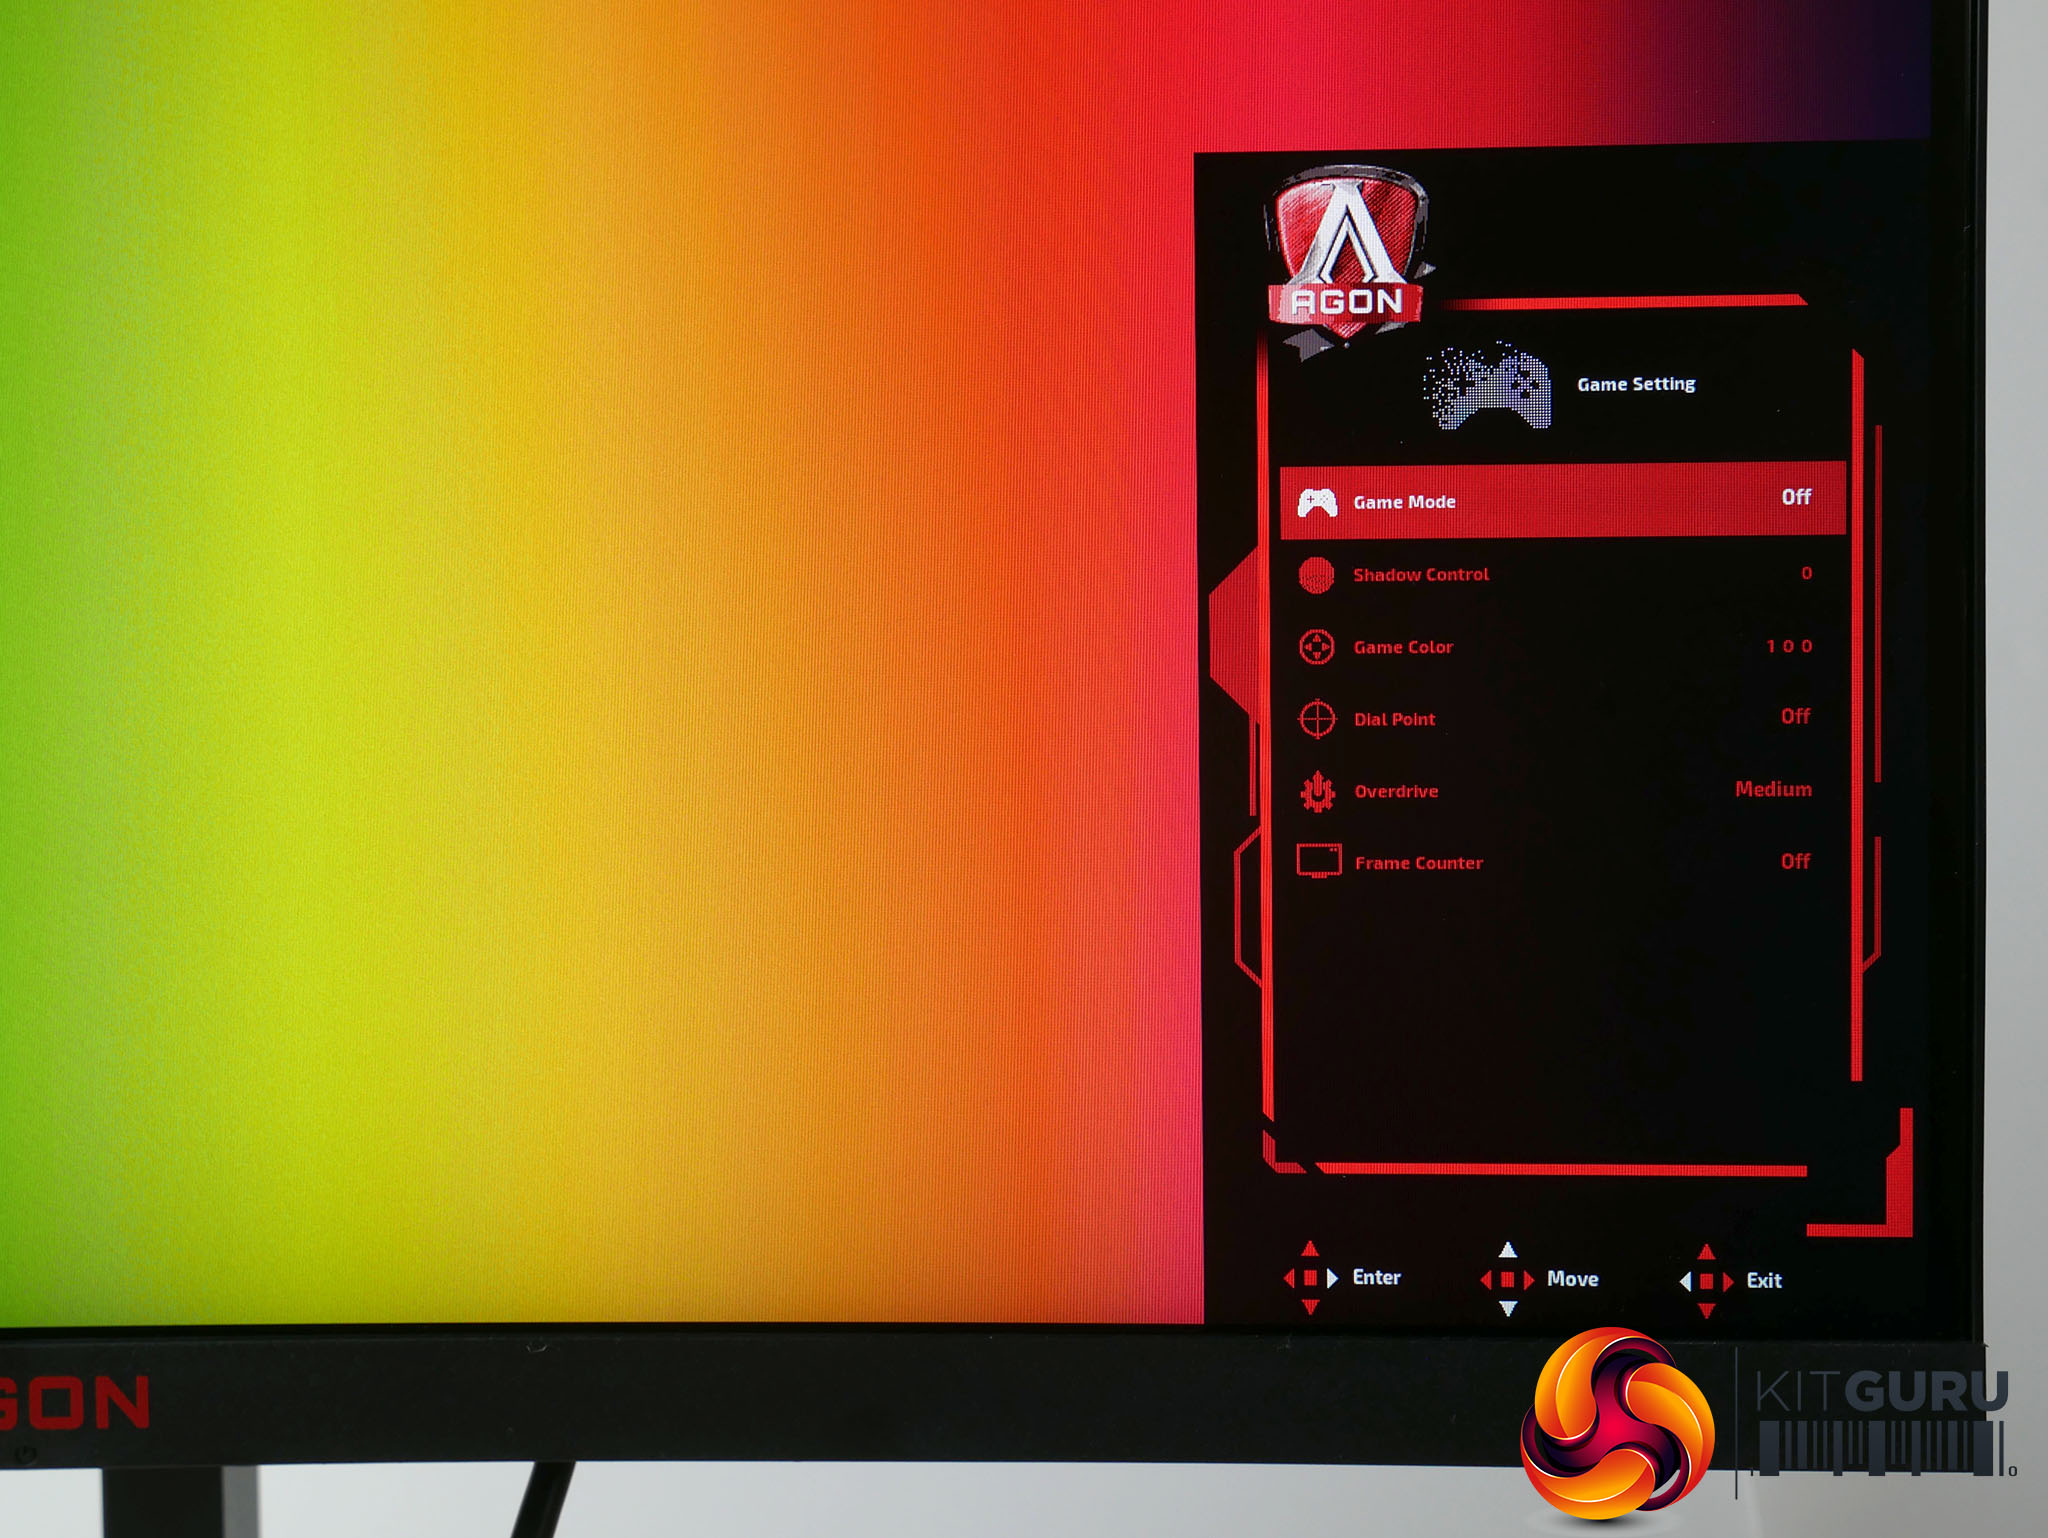
The latter provides access to gaming presets such as Off, FPS, RTS and Racing but they all just change the settings that are otherwise available, so we didn’t experiment much with them. We recommend getting to know what each individual setting does and working out what you want to use for yourself. More useful is that you can select three user-programmable modes, called Gamer 1/2/3.
However, this brings us to another couple of oddities with this menu system. For a start, if you make any changes to the profile you’re already on – such as the default Off profile – then switch to another profile and back again, none of those changes are saved. So, you may receive the monitor and start tweaking the settings then experiment with the Game Modes, only to switch back and suddenly realise you’ve lost all your previous changes.
Also, for all settings other than those in the Color Setup menu, the user-programmable Gamer 1/2/3 settings will properly store and switch between these settings. However, the colour settings will remain throughout all the presets. This means there’s no way to setup completely custom profiles for different uses.
Say, for instance, you like to use the low blue light mode late at night or like a certain colour balance when gaming, there’s no quick way to switch these – you have to just jump into the menu and change them manually.
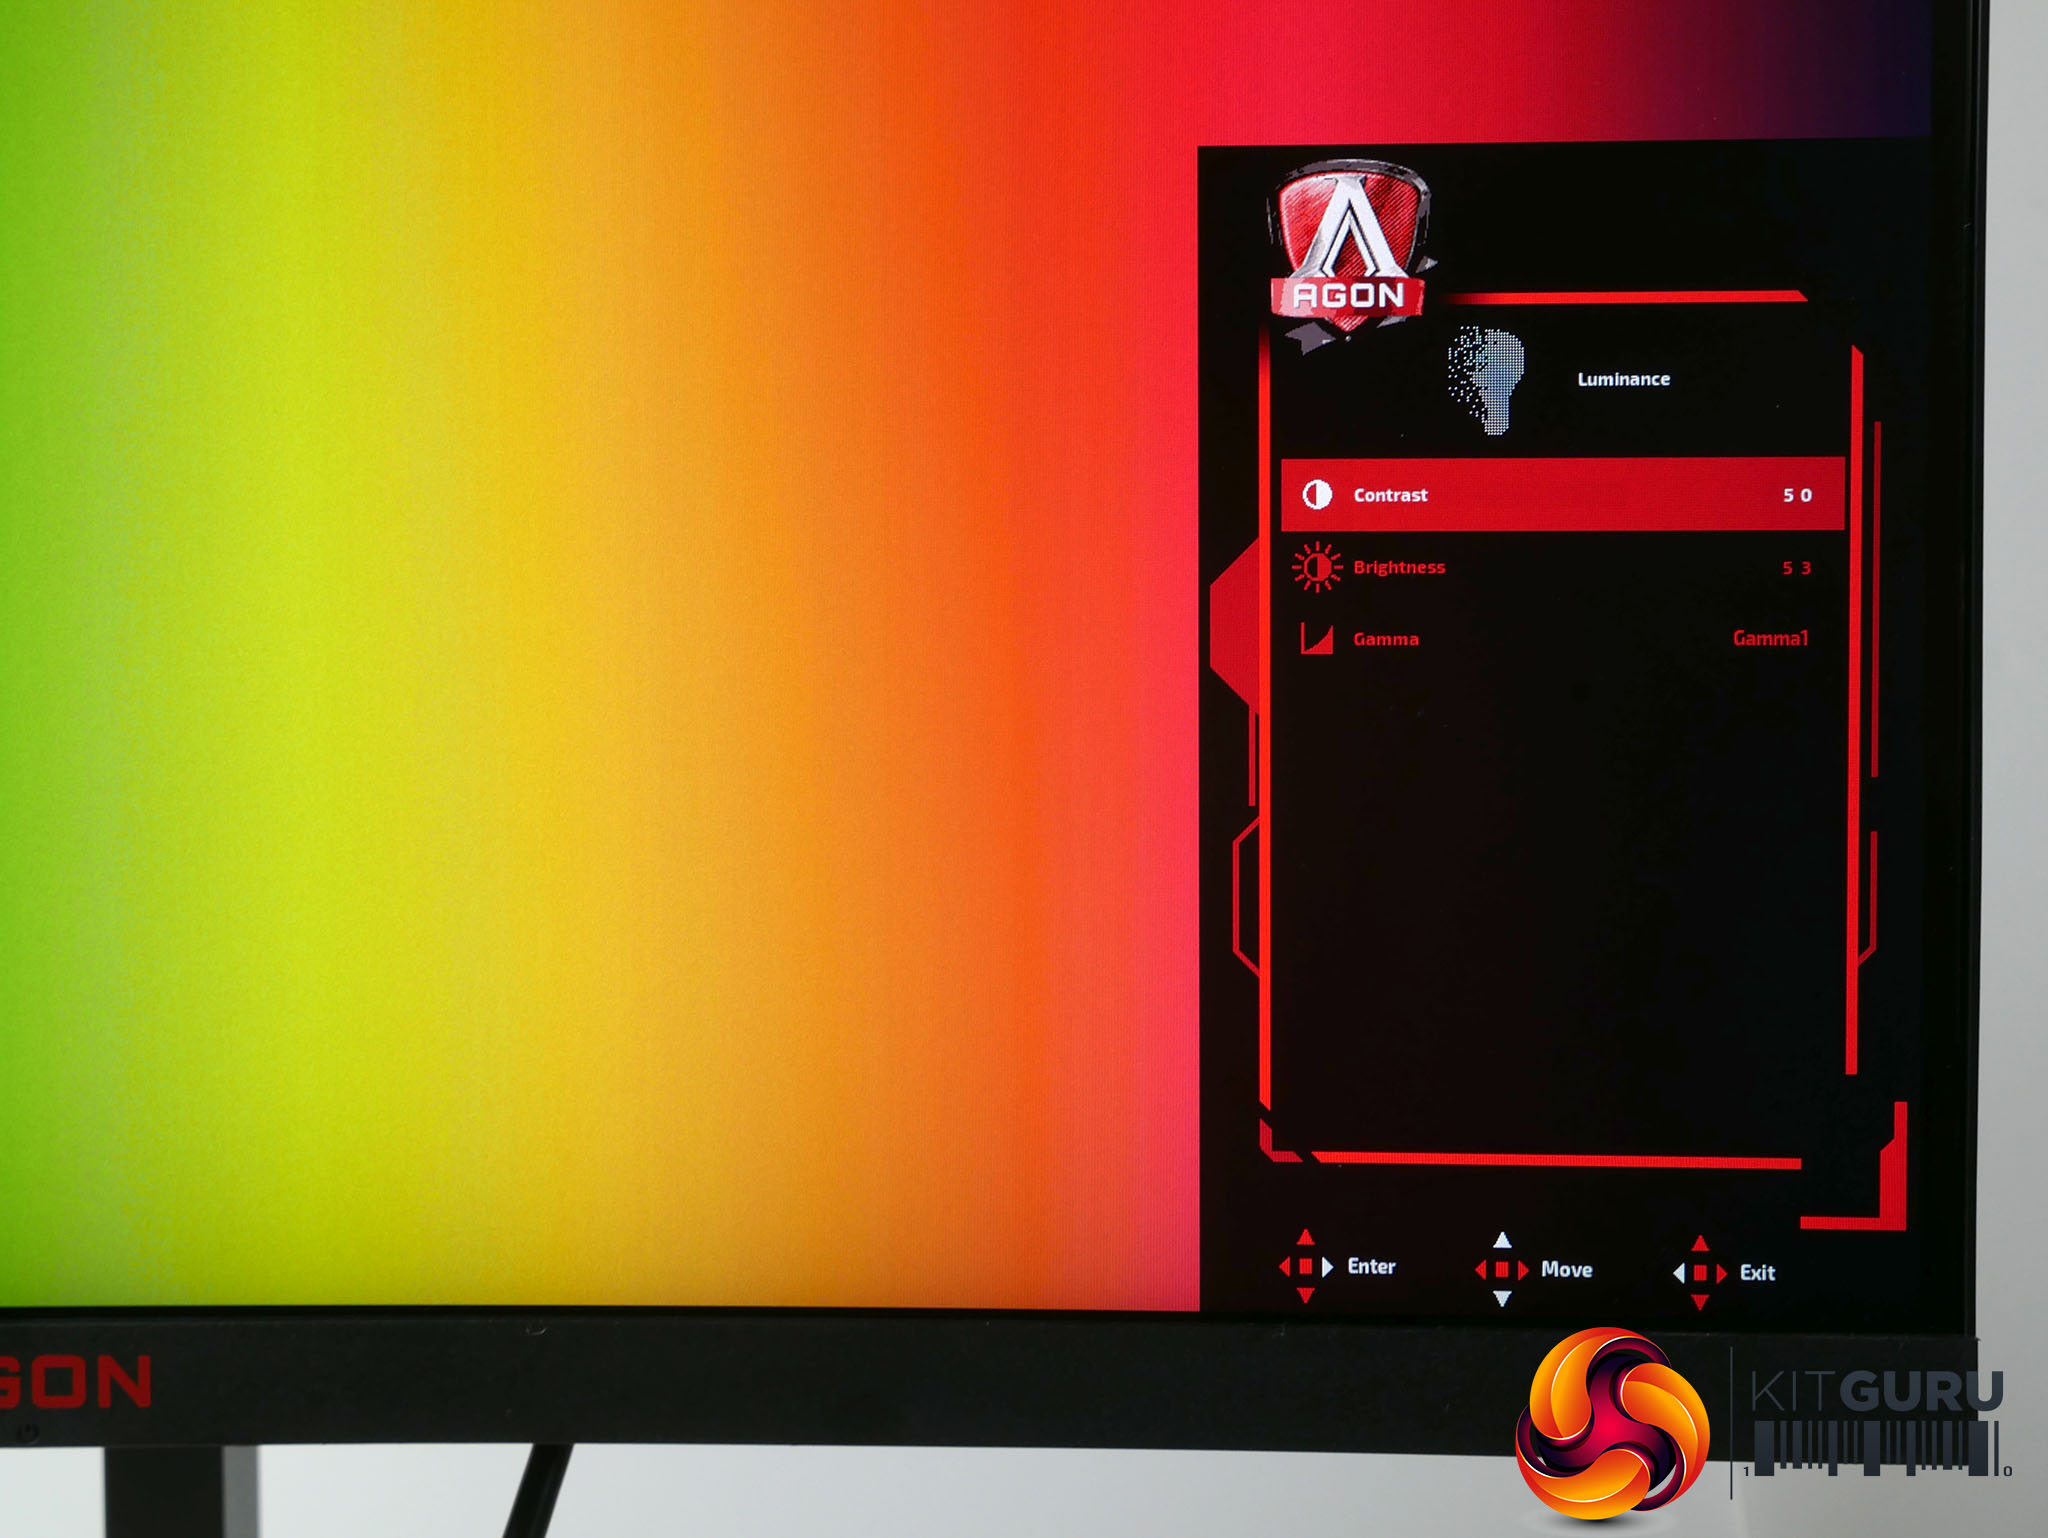
Moving on, the Luminance menu is where you can adjust contrast, brightness and gamma. The display offers three gamma settings that are rather unhelpfully just labelled gamma1, gamma2 and gamma3 – there are no values attached to the settings.
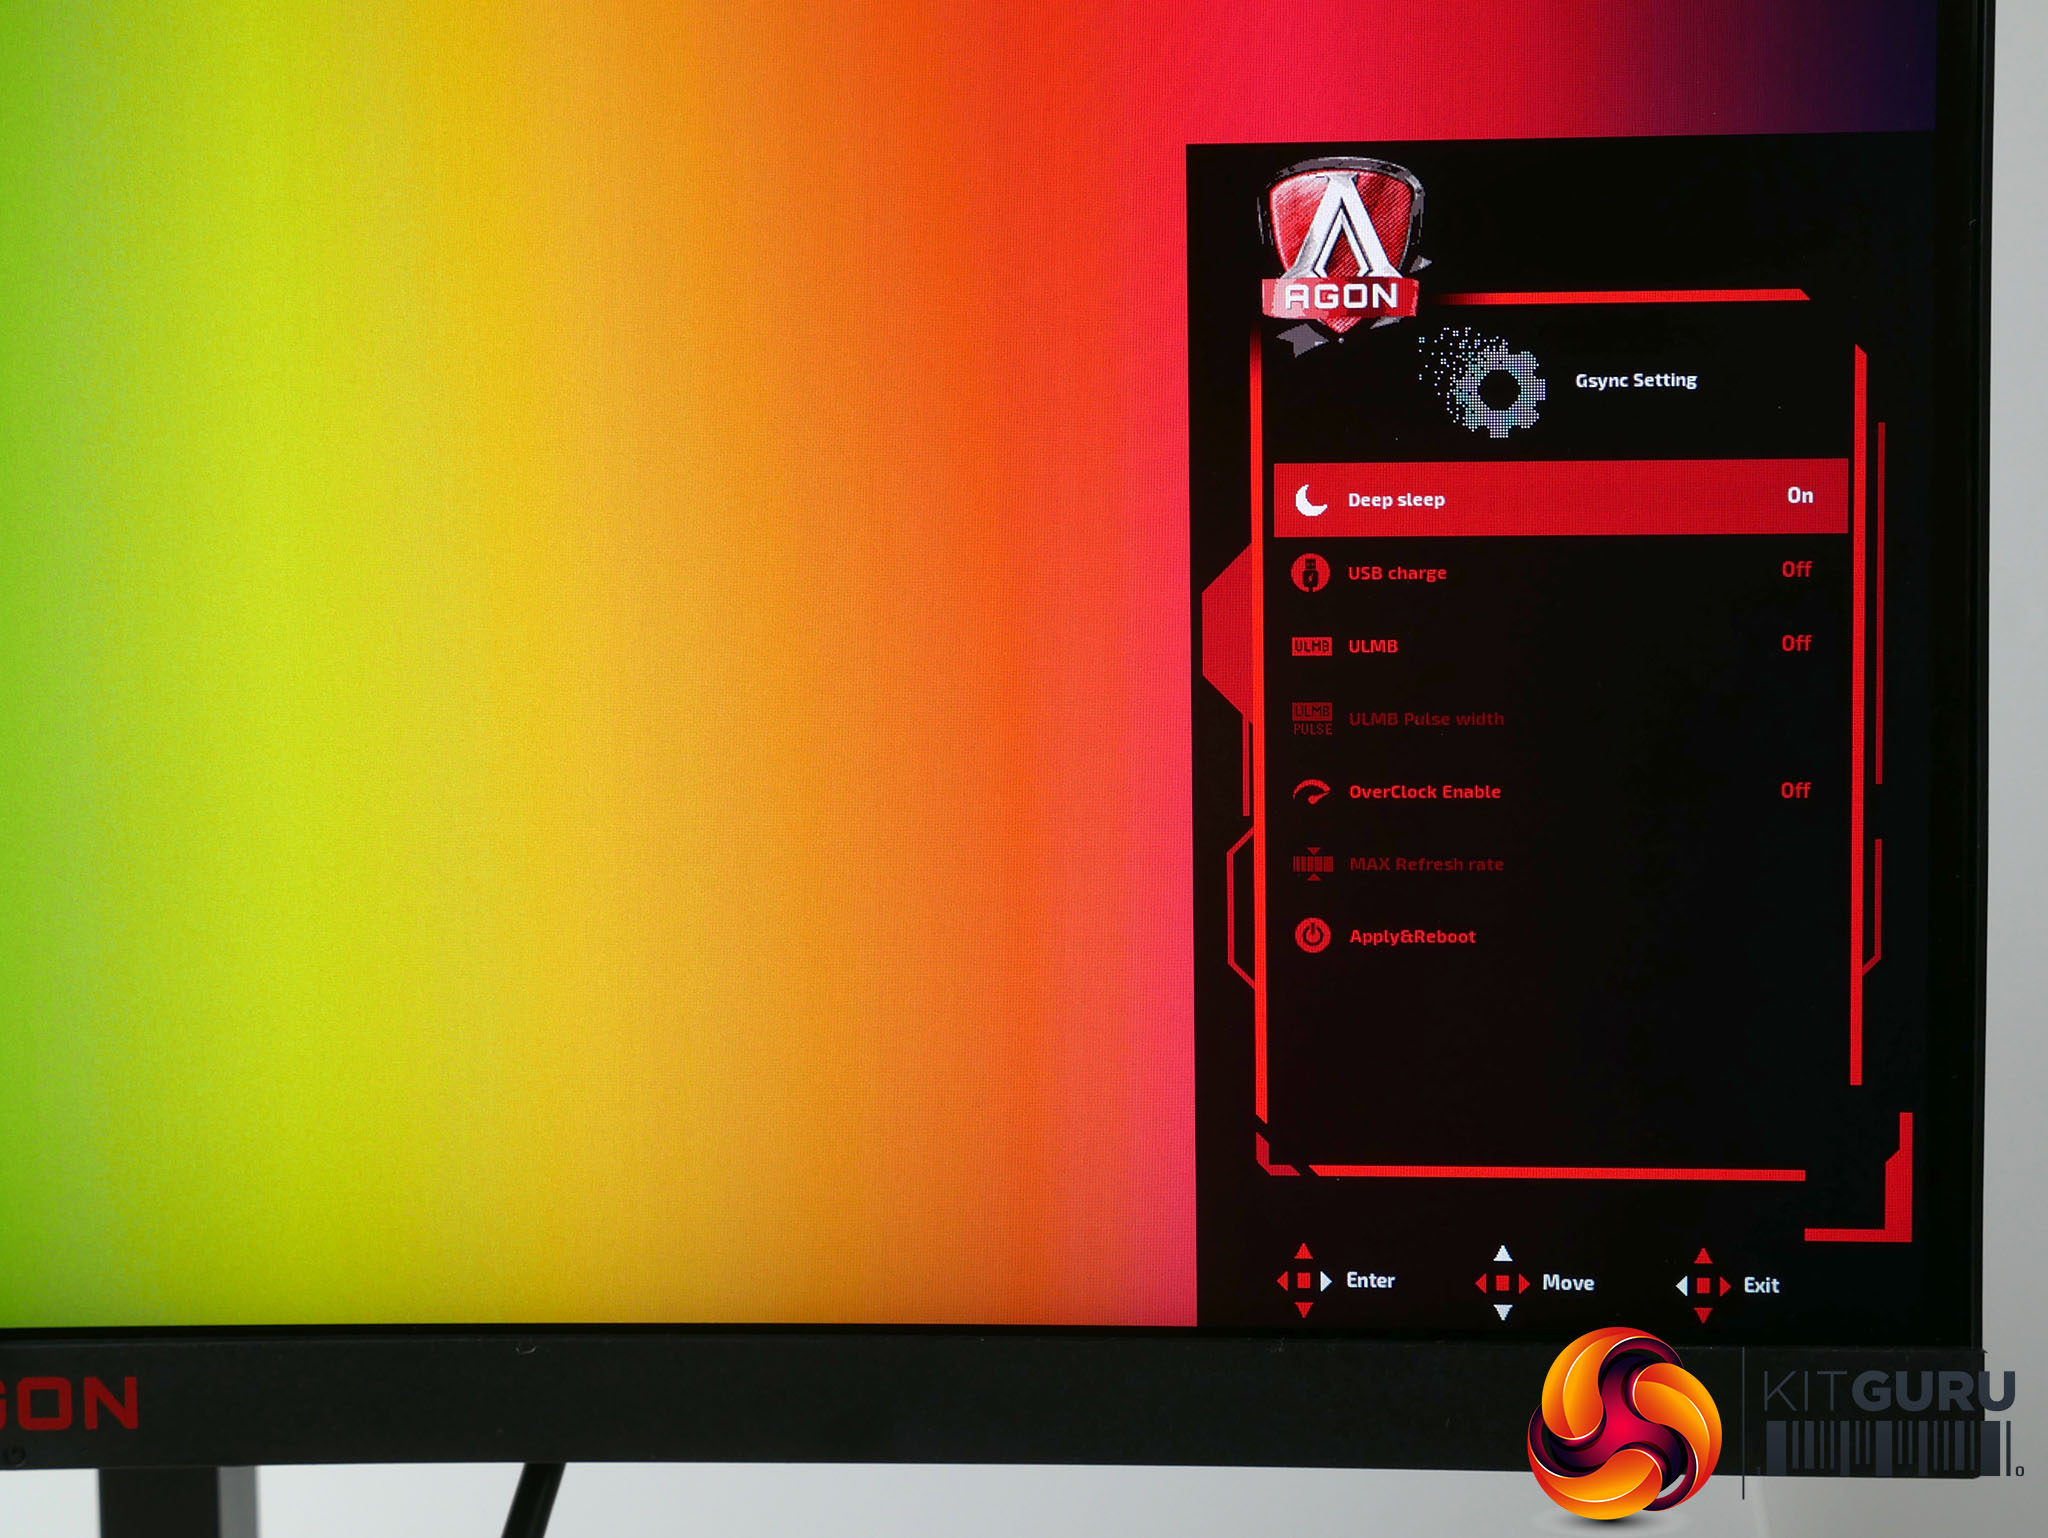
Next up is the Gsync menu. This is a slightly odd one as most of the settings aren’t to do with Gsync. You can overclock the display from its default of 144Hz to 165Hz, turn on USB charging (keeps the ports on when the display is off) and turn on ULMB mode.
This is Nvidia’s proprietary blur reduction mode that flashes the backlight on and off to reduce the appearance of motion blur. Once enabled you can adjust the pulse width modulation (PWM) that’s used to create the effect. Keeping the level high makes the image brighter but has a less noticeable effect while dropping it darkens the picture but further reduces blurring, in theory.
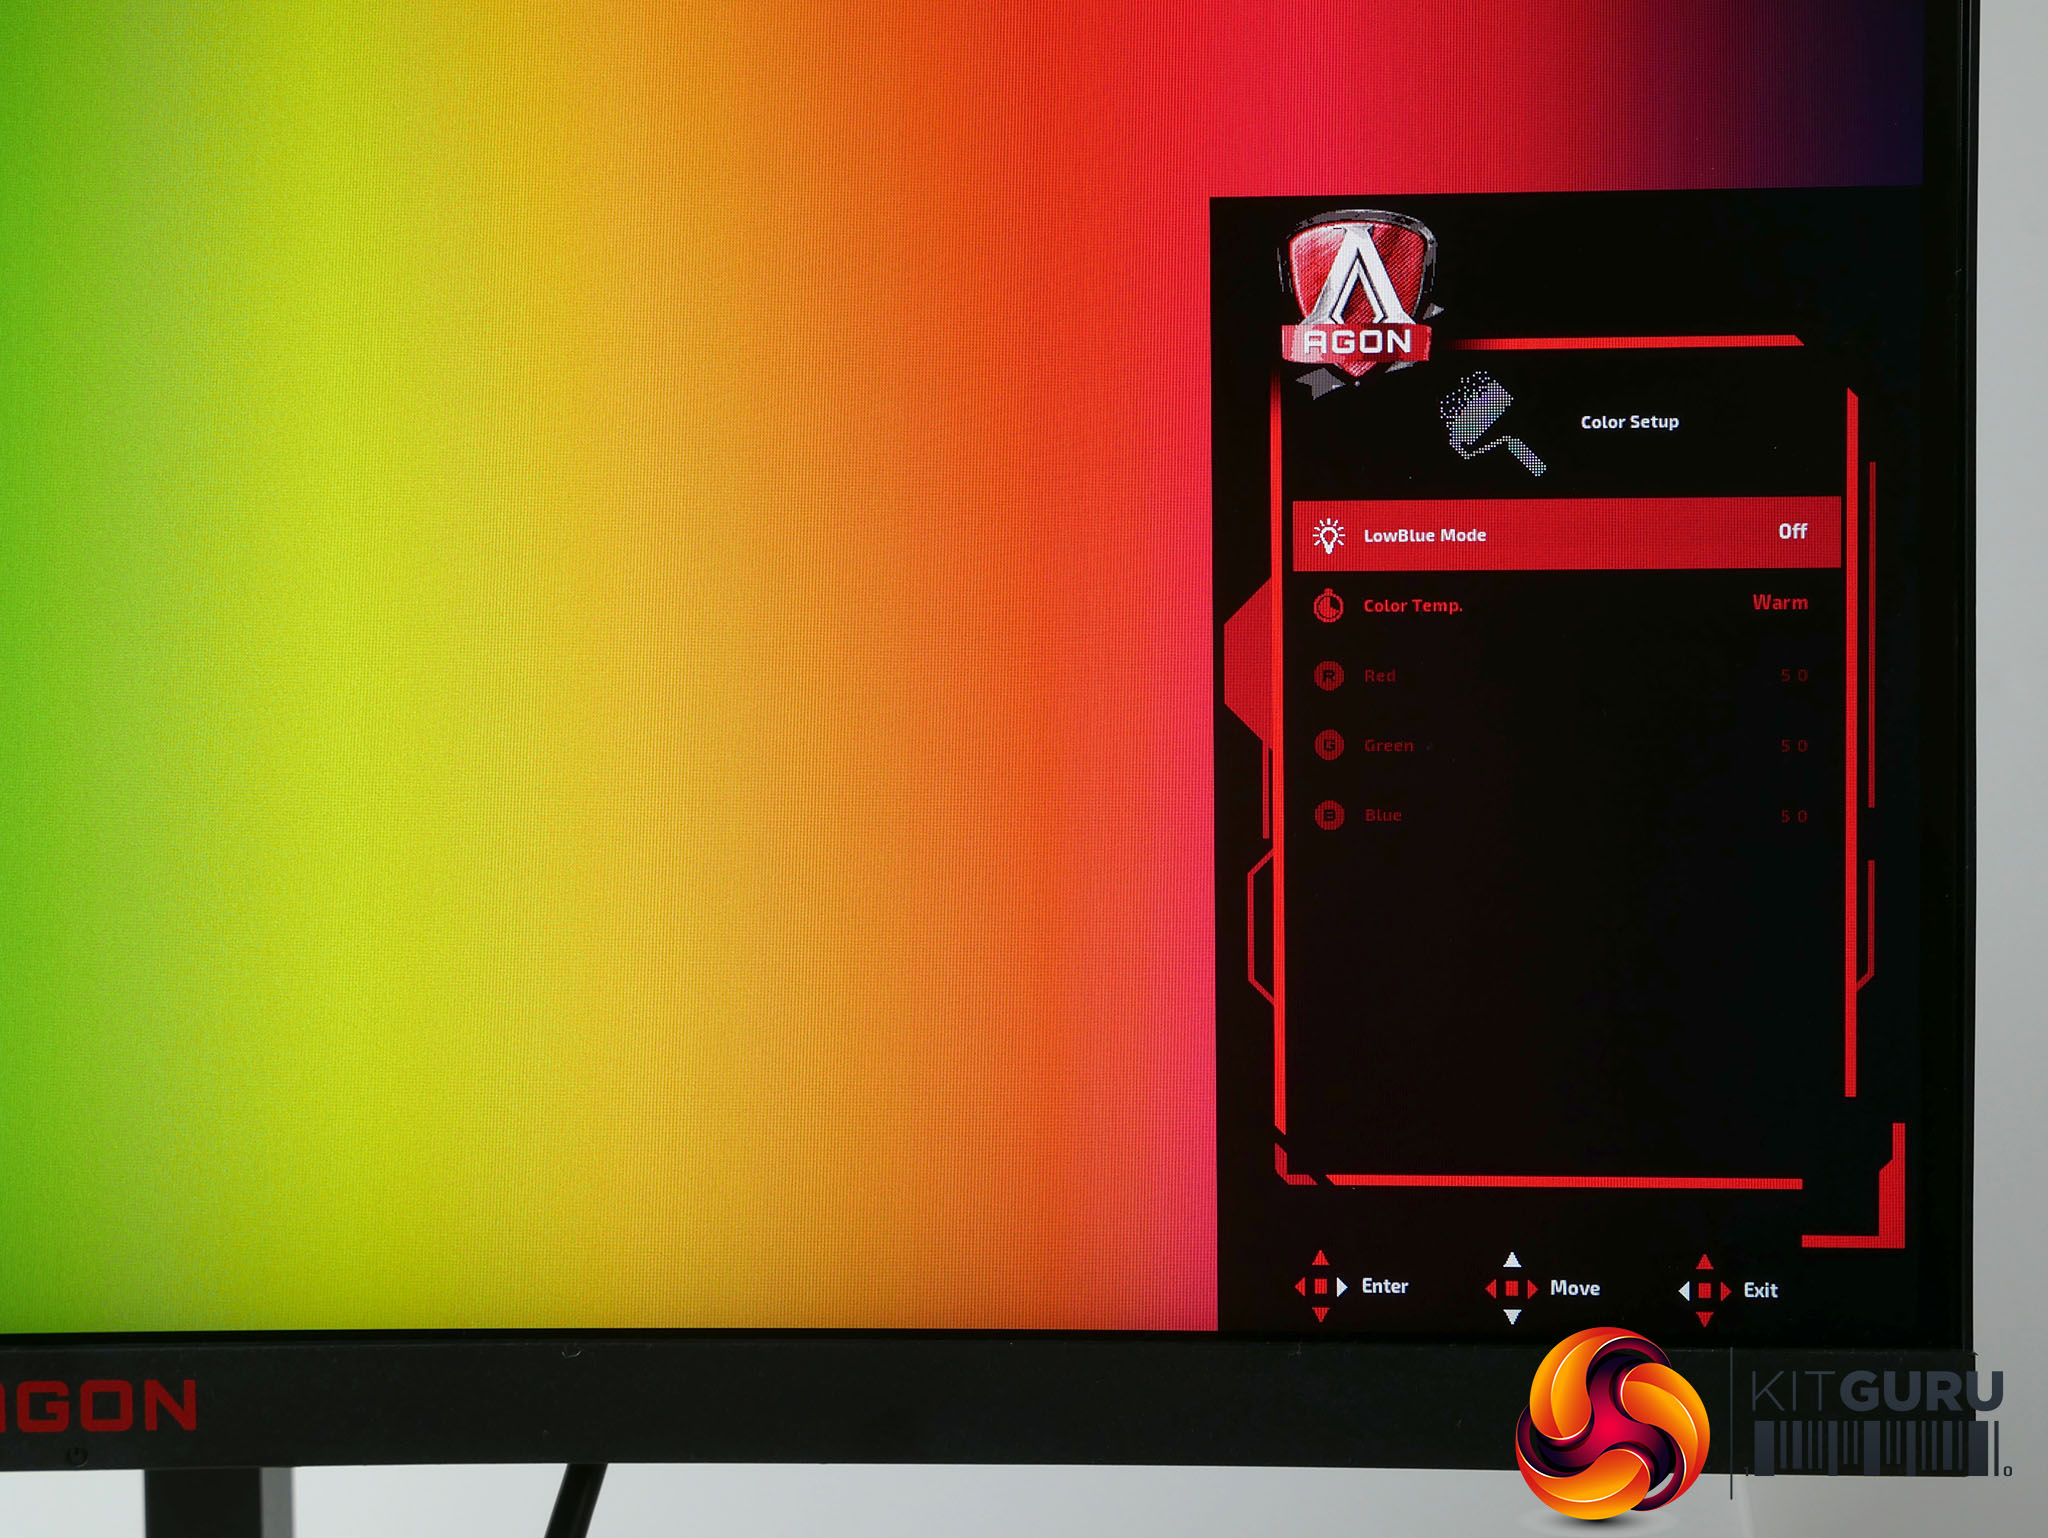
In the Color Setup menu you can turn on a low blue light mode for reducing eyestrain plus there are several preset colour balance options and the option to manually adjust the colour balance.
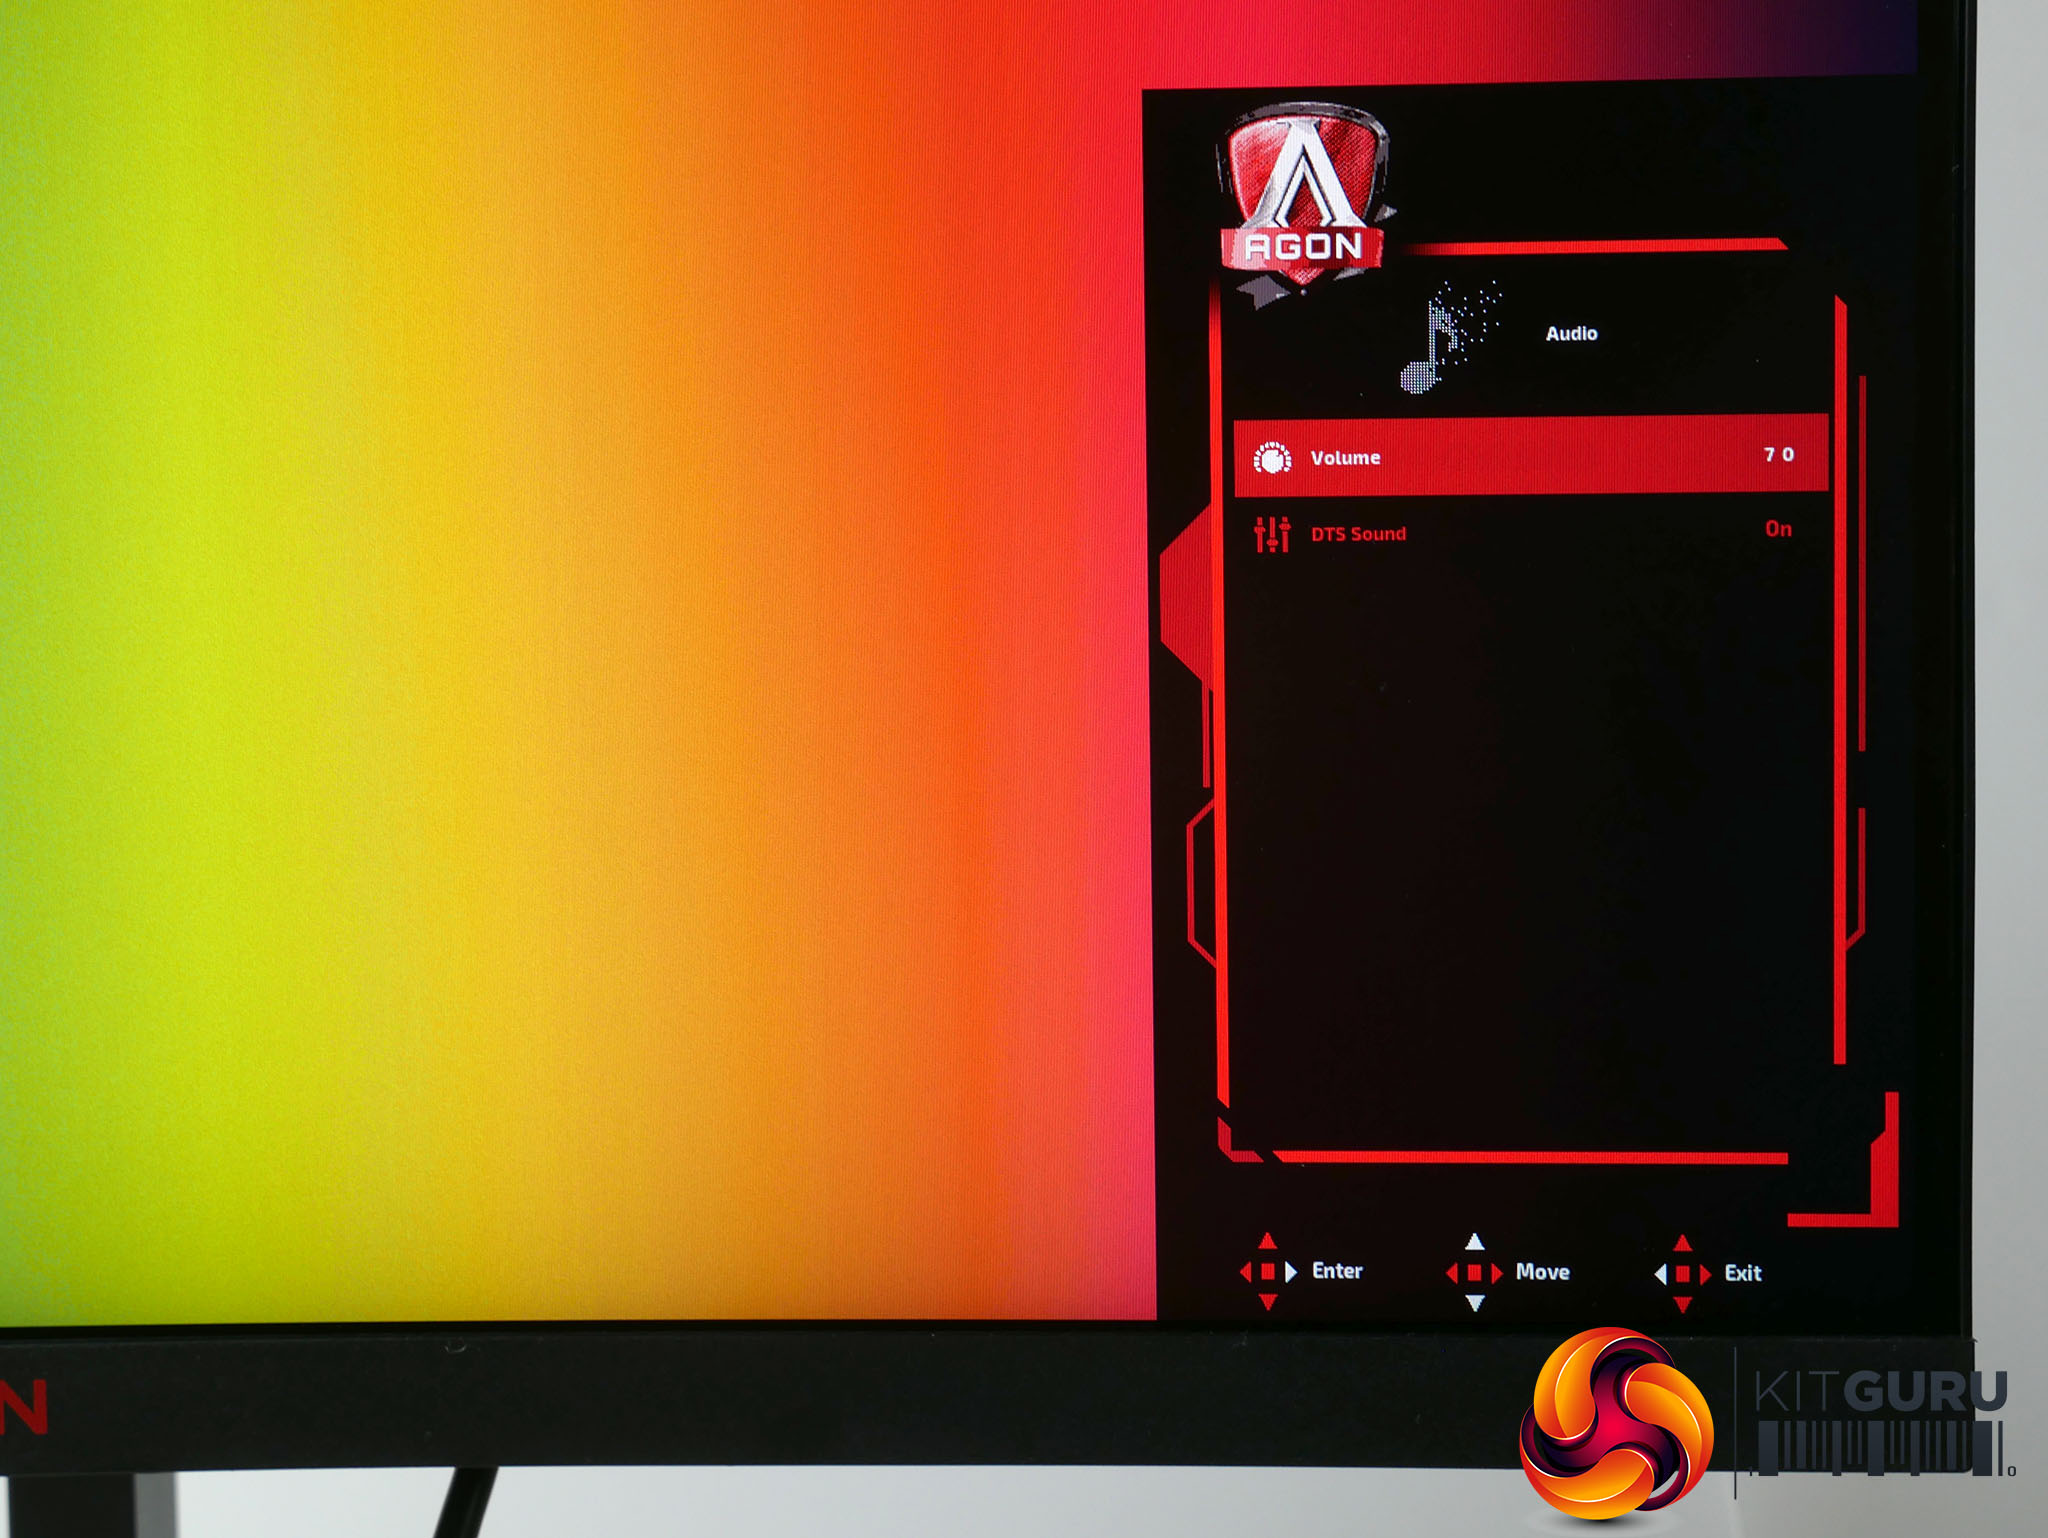
The audio menu contains a volume control for the speakers and an option to turn on DTS audio. Amazingly this does markedly improve the audio, pulling out some of the tinny quality of the speakers and improving the audibility of dialogue, though it can’t work miracles – most laptops put this monitor’s speakers to shame.
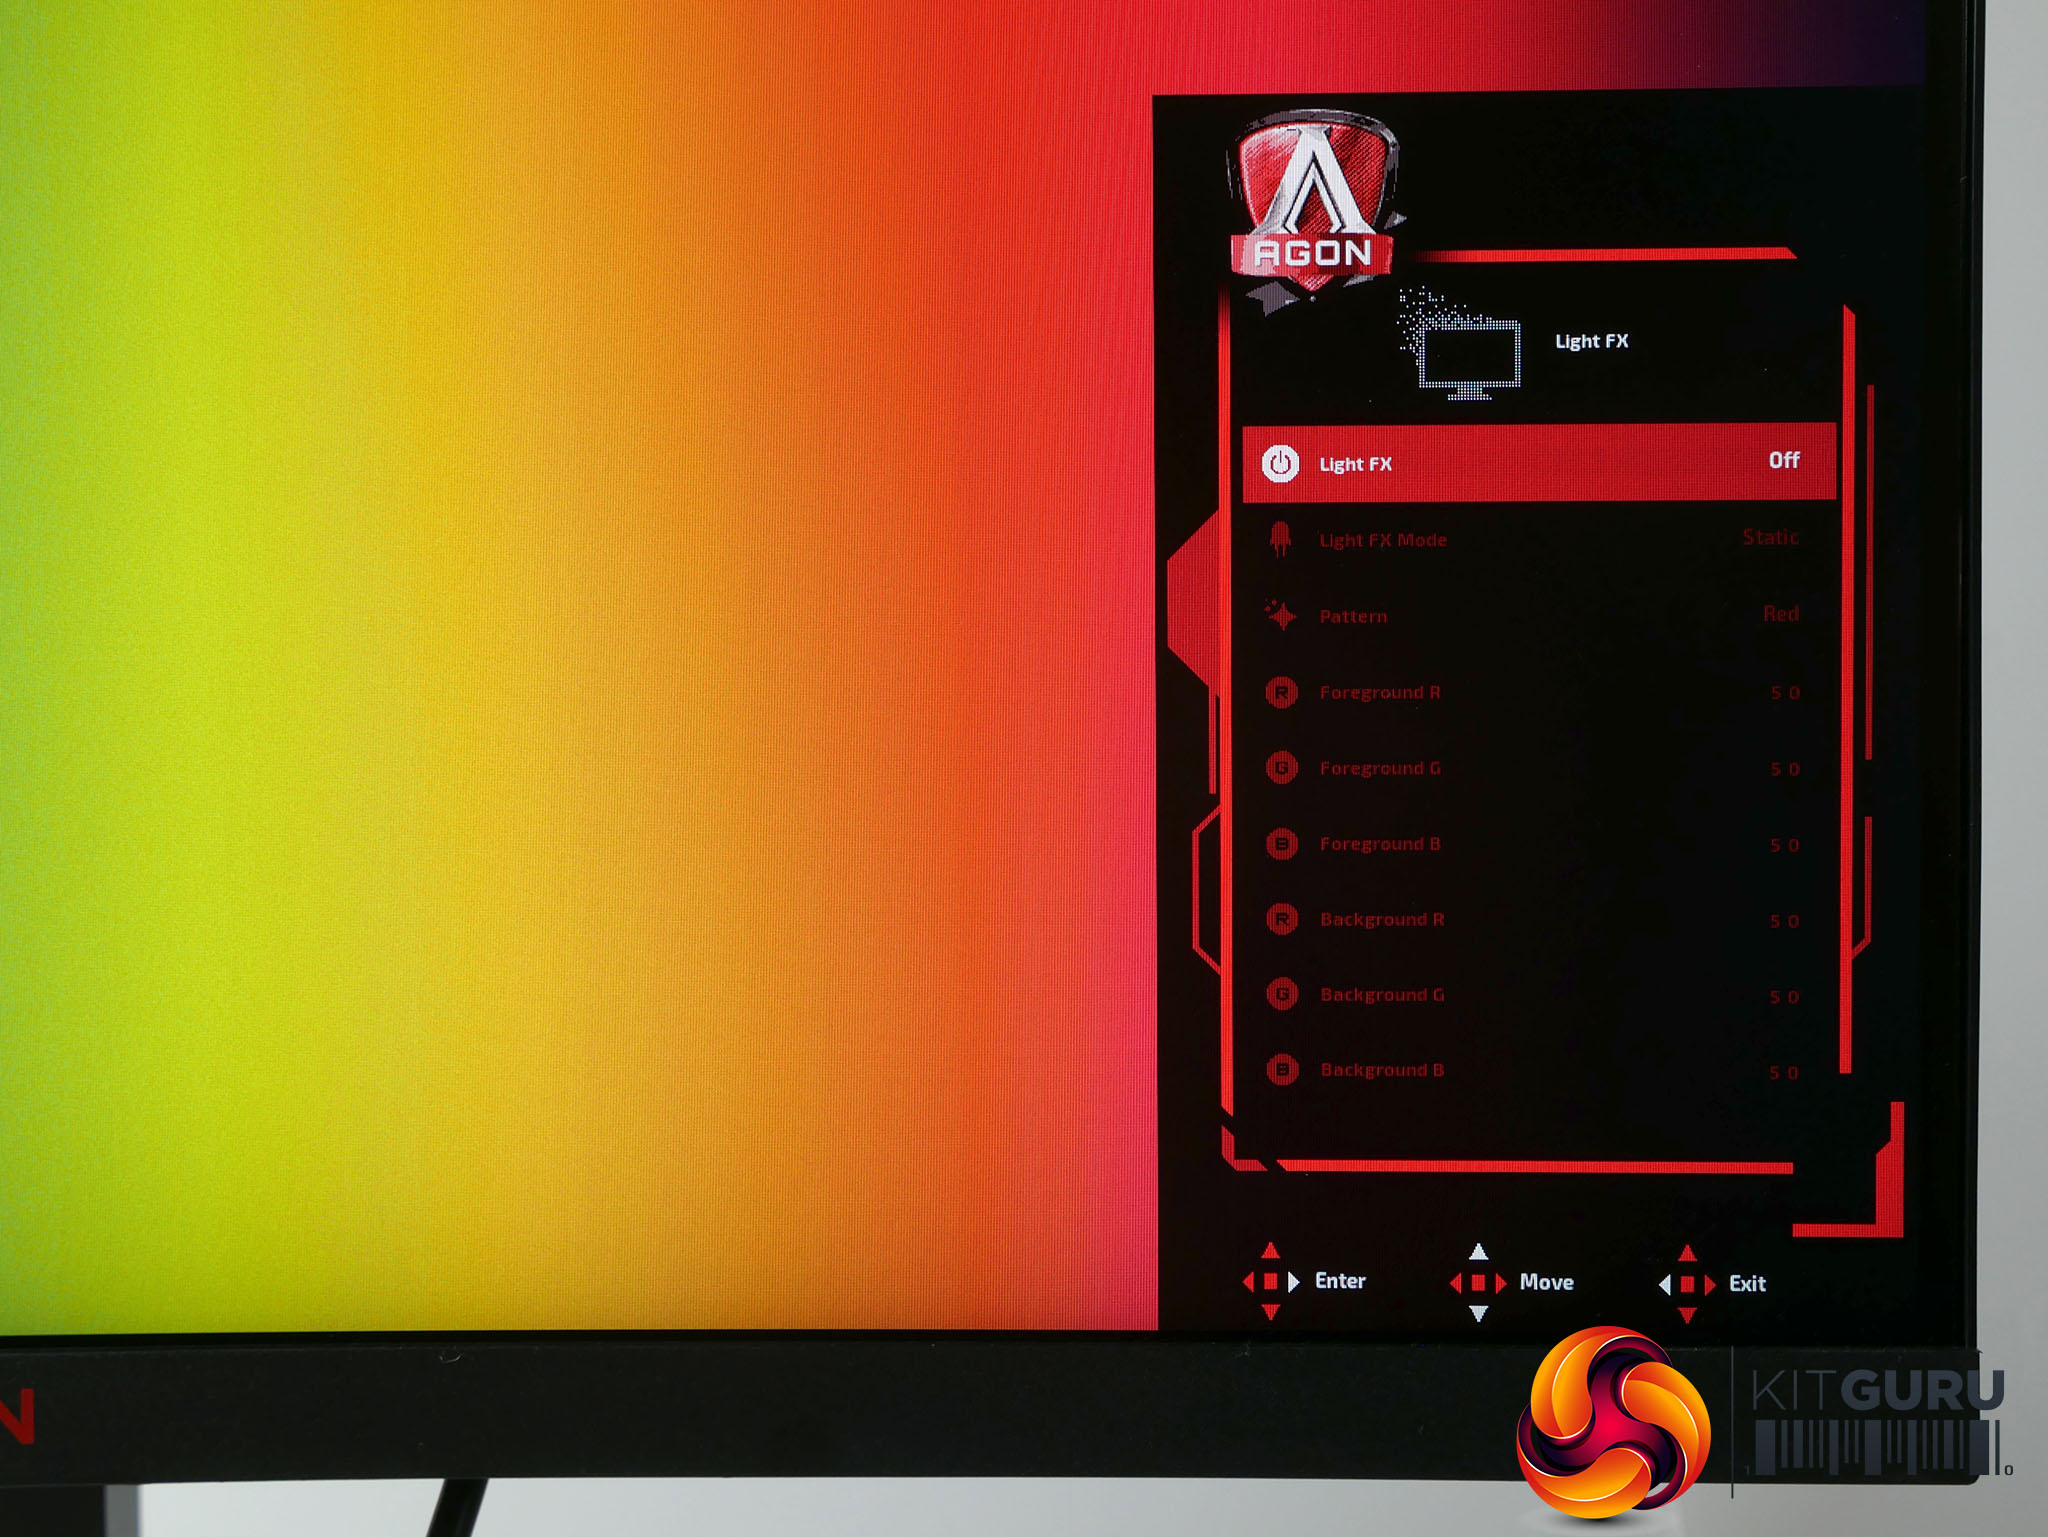
In the LightFX menu you can choose the brightness of the RGB lighting zones, although only in increments of Off, Low, Medium and Strong. There is, however, a massive range of effects and you can manually dial in the exact colour of both the front and back zones.
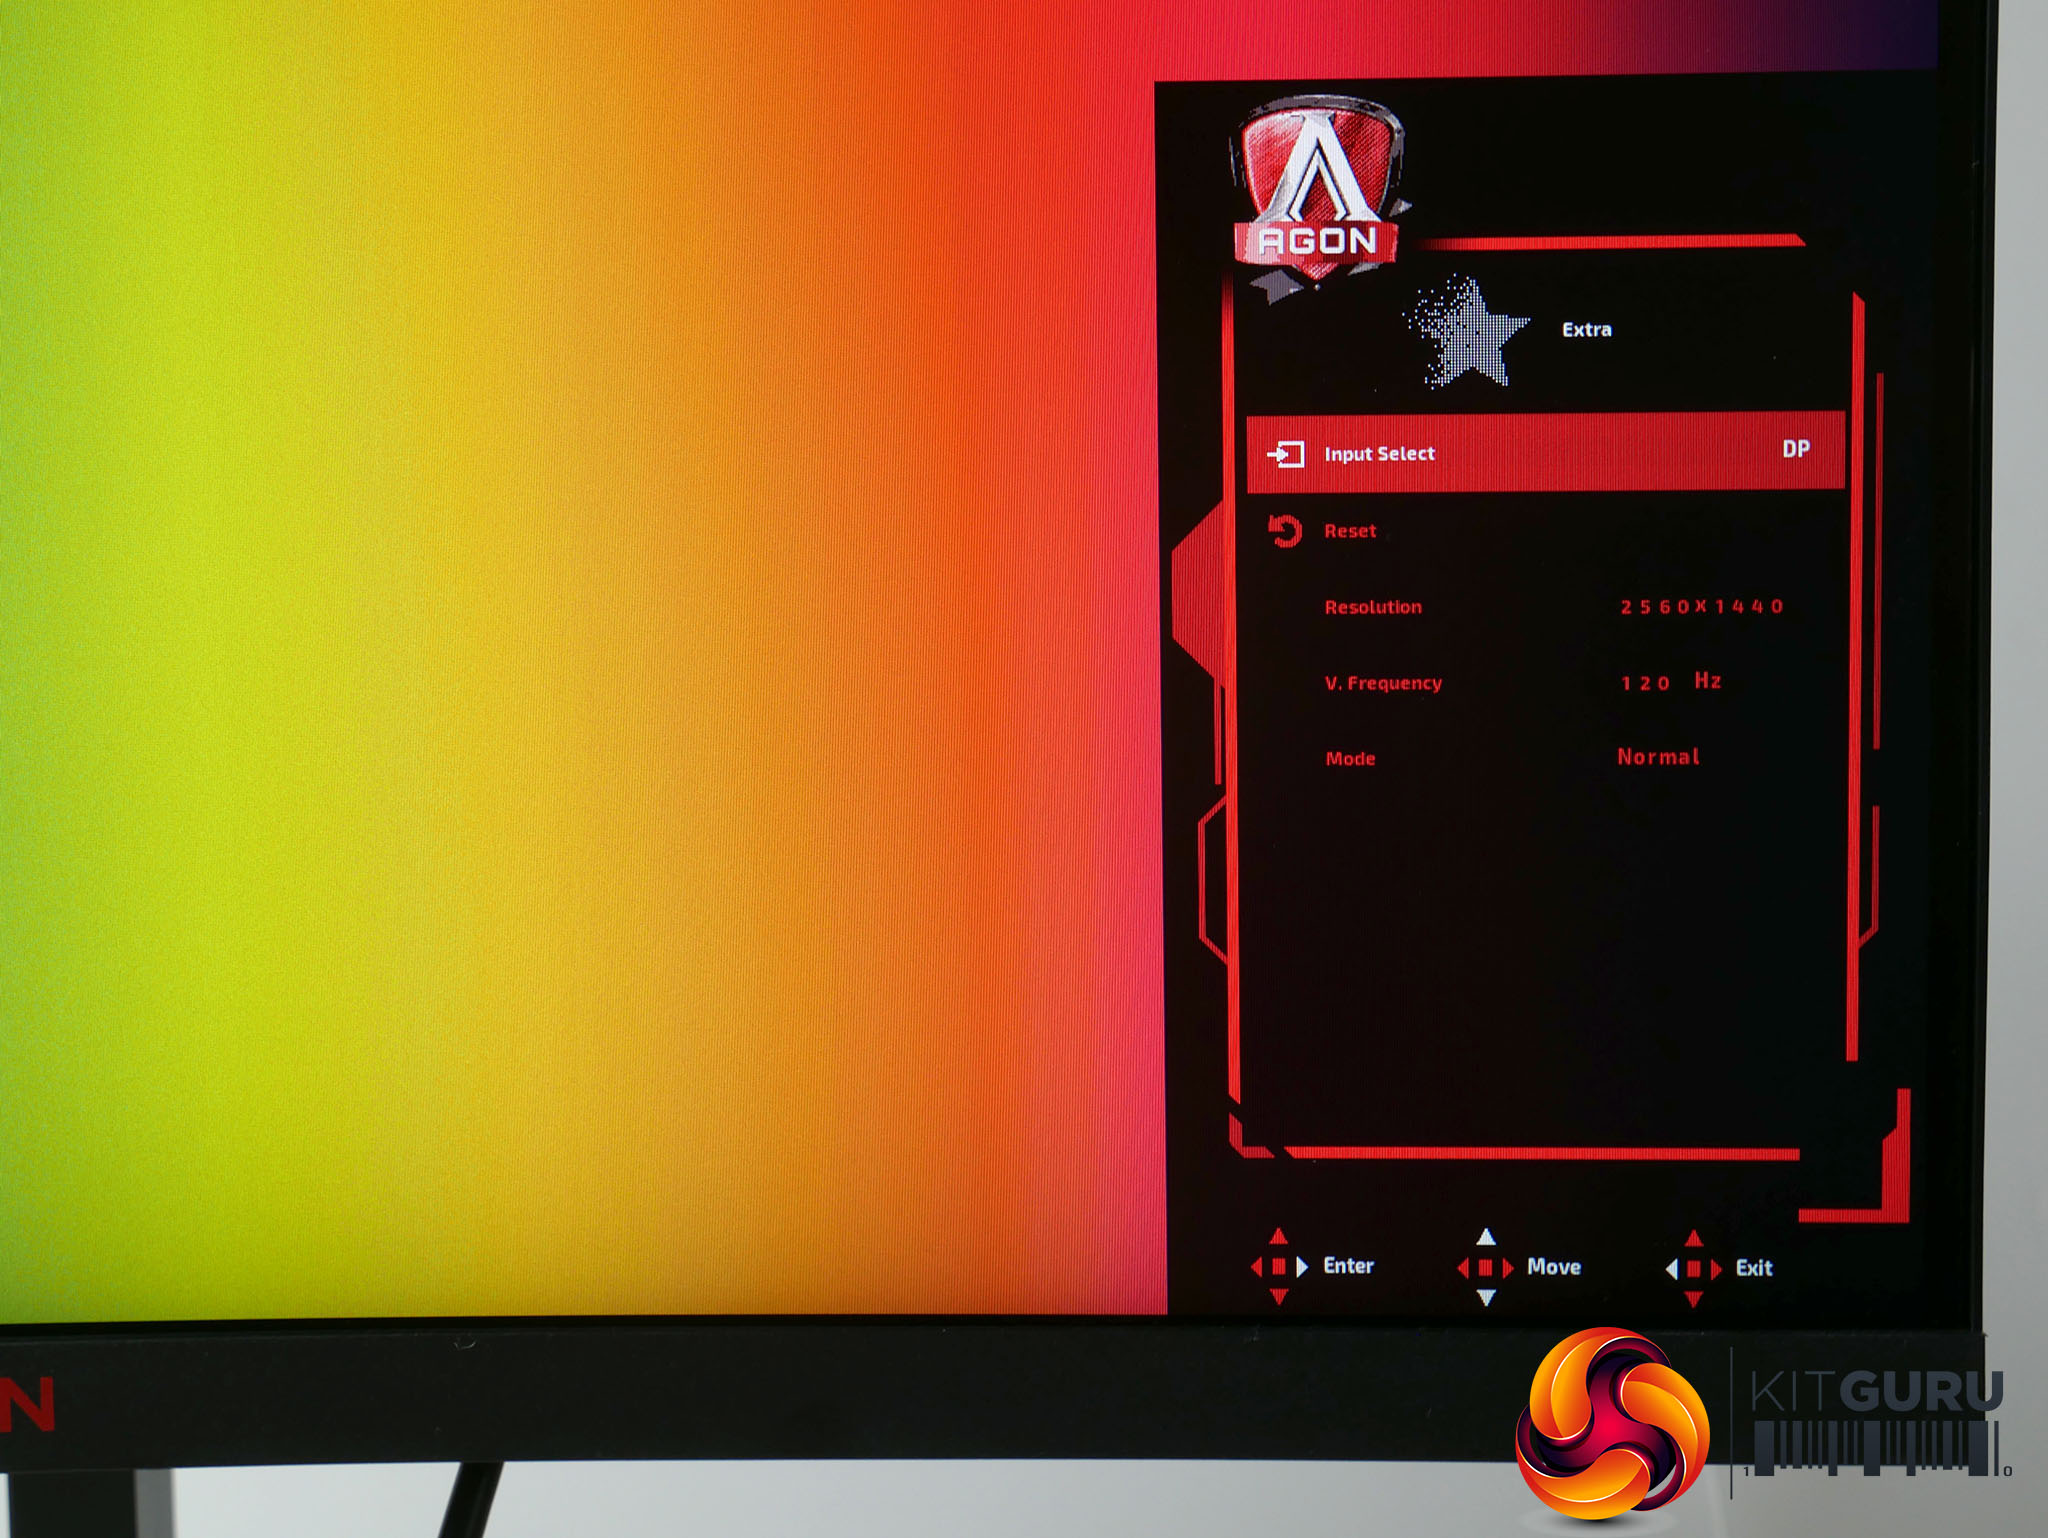
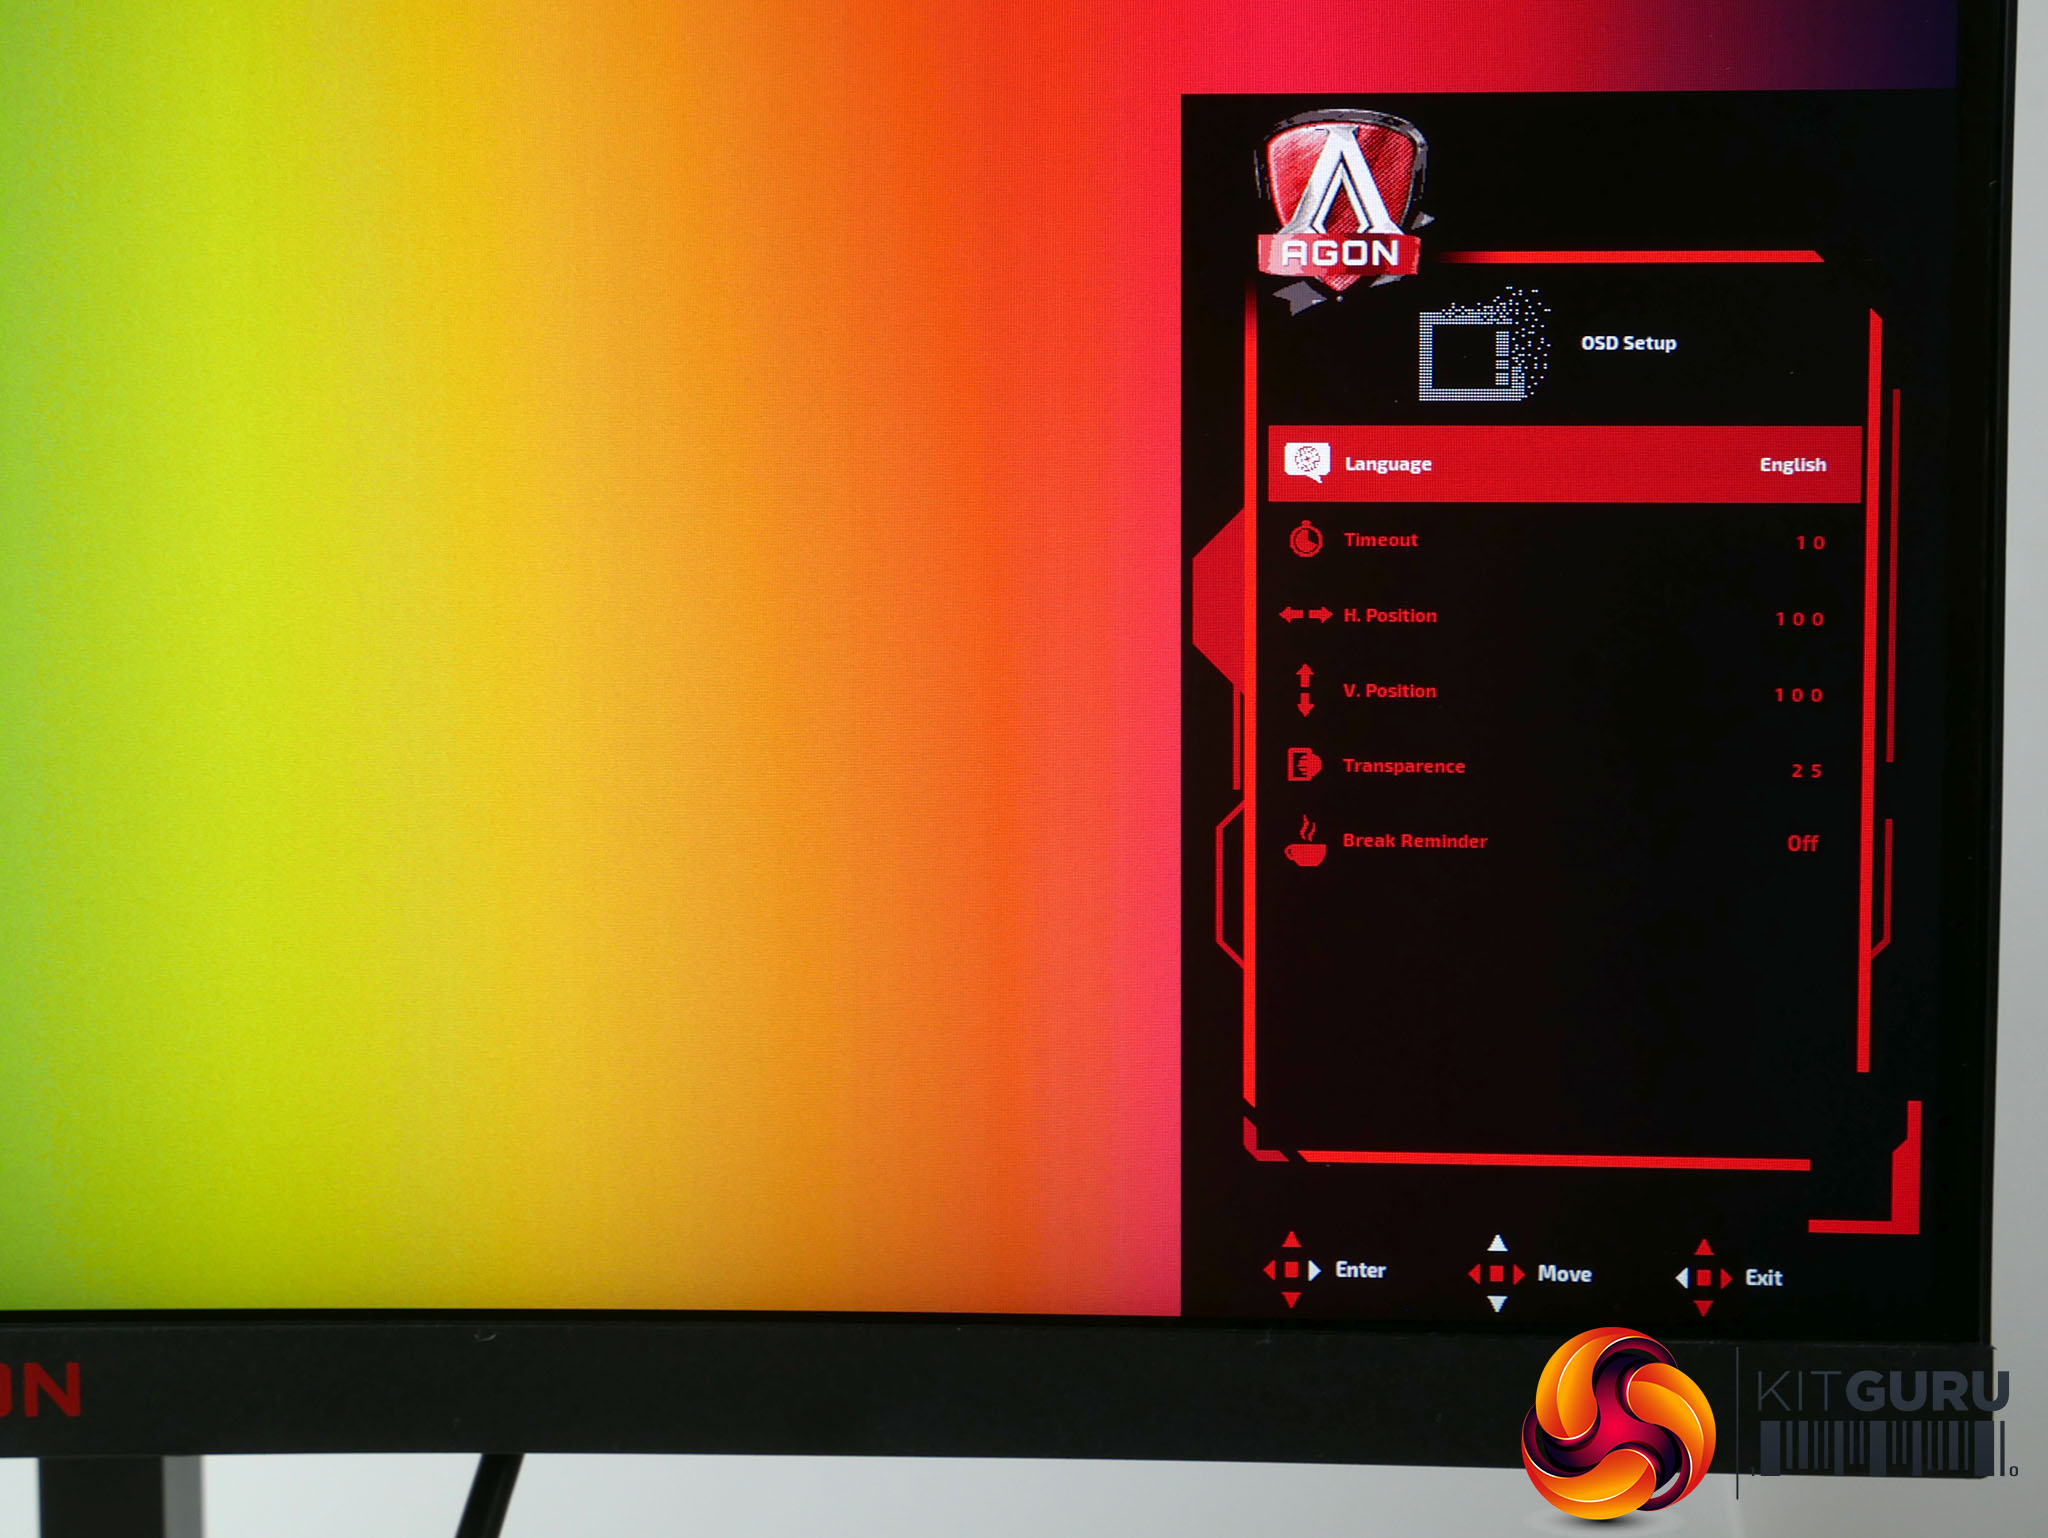
The Extra menu provides some basic information such as the current refresh rate and a reset feature, while rounding things out is the OSD setup menu that has the usual options for positioning the OSD and changing its transparency.
There are also four other quick access menus that are activated by moving the joystick in a direction, rather than tapping it on. Tap the joystick to the left it enters the Game Mode profile menu, making this a quick and convenient way to switch between, say, a gaming profile and a reading profile.
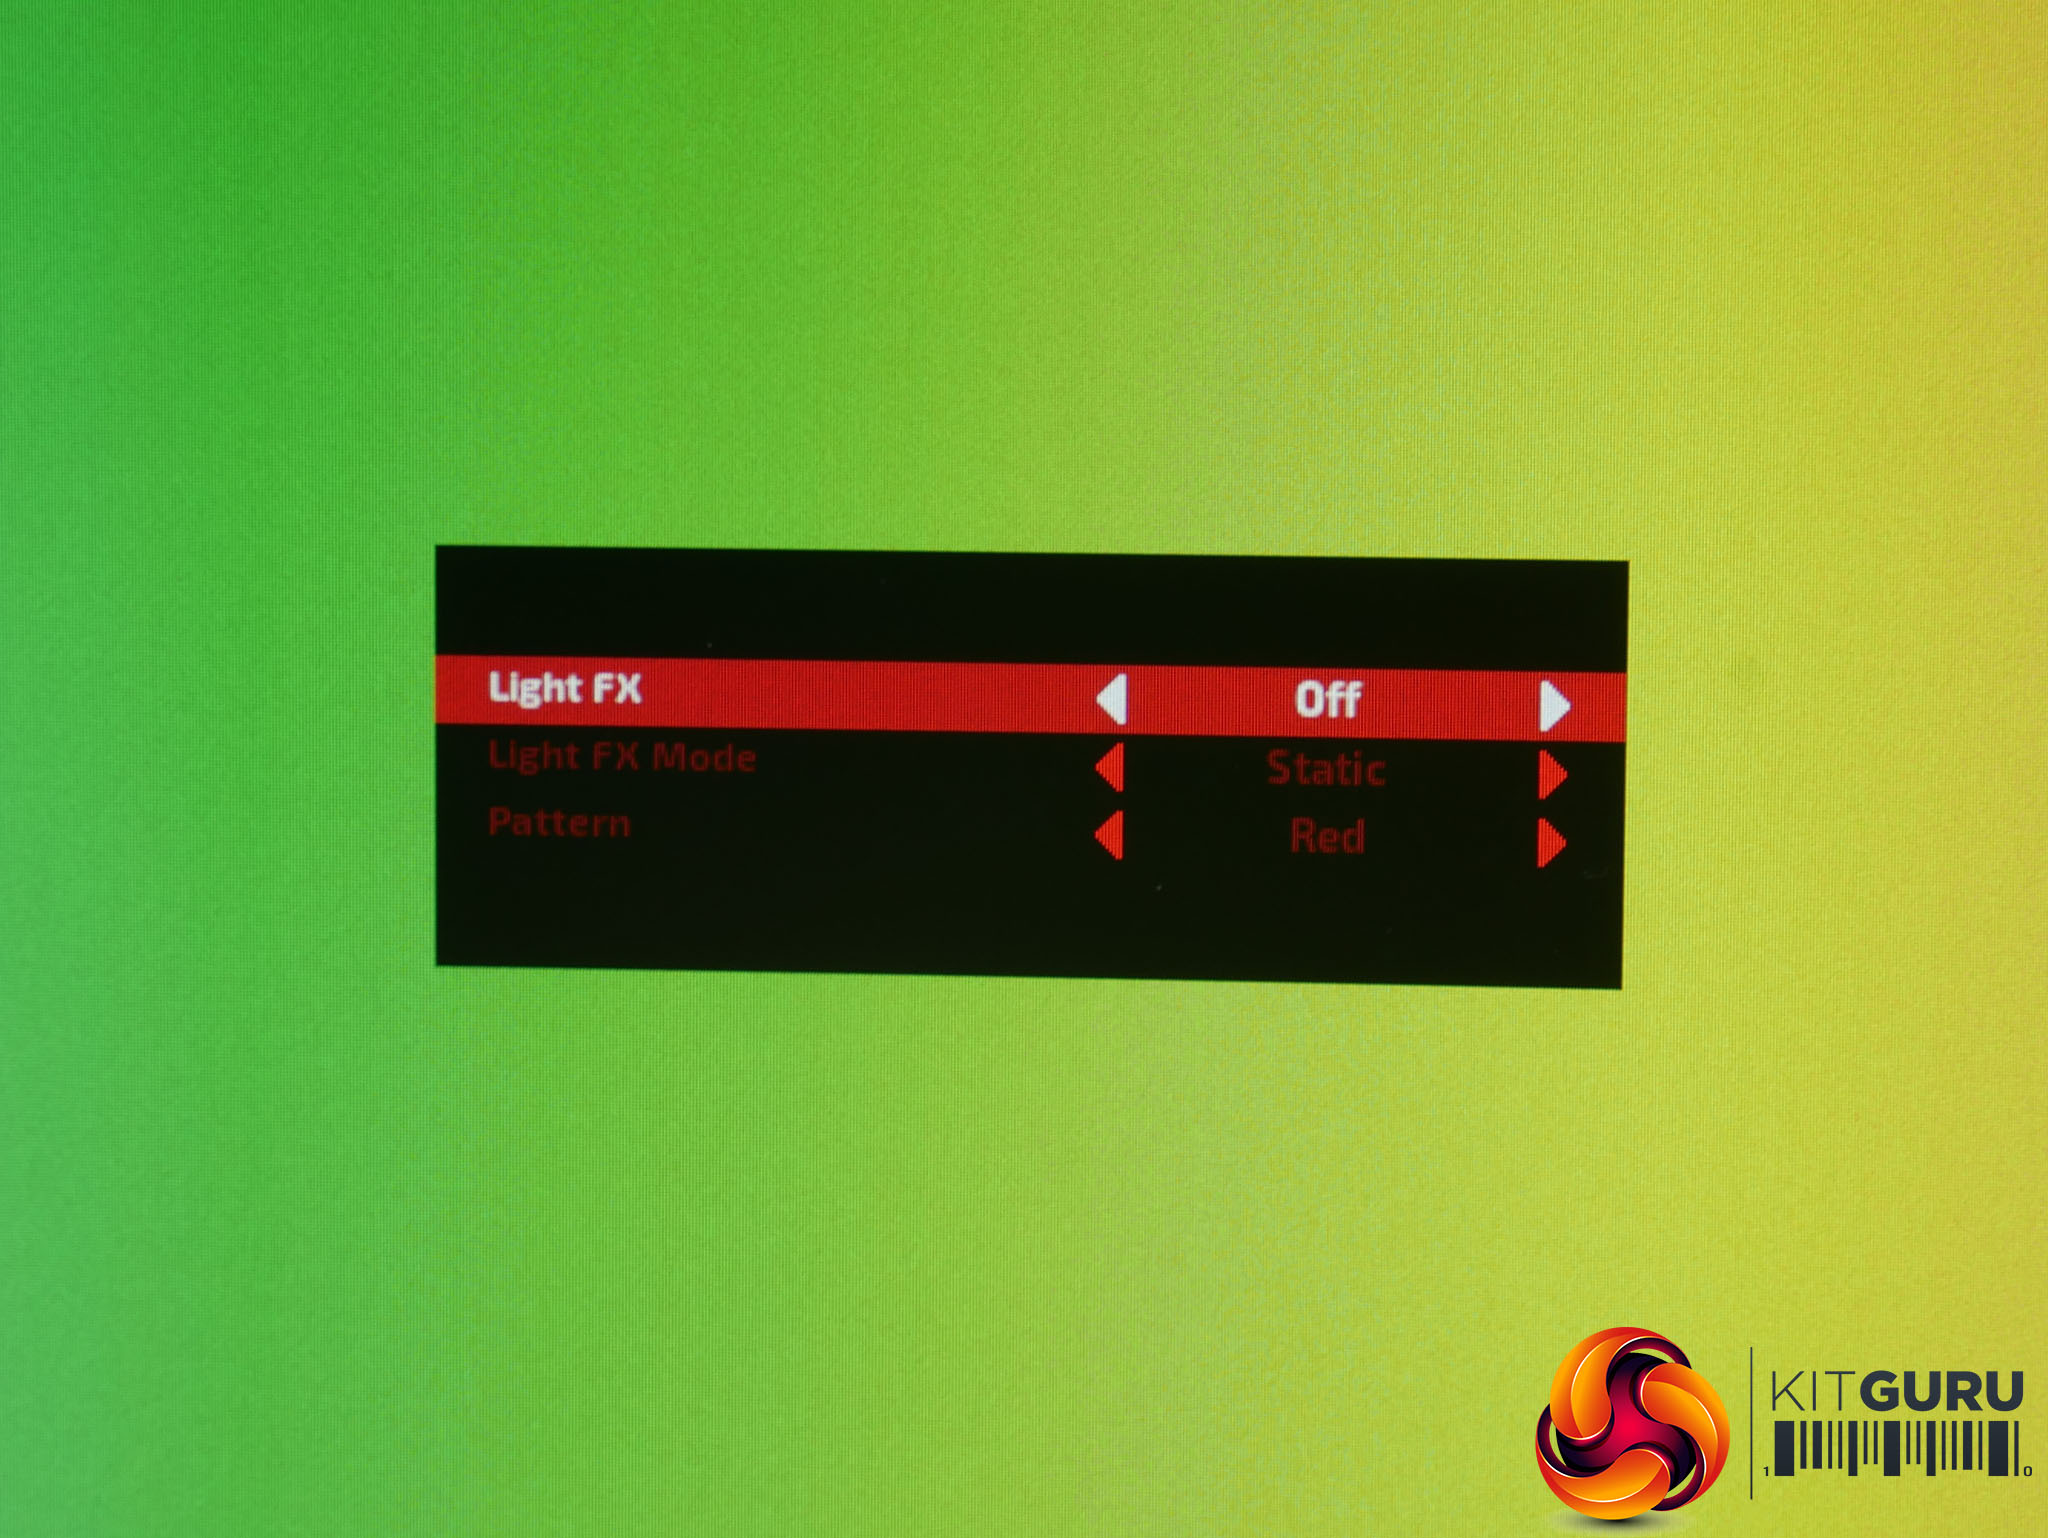
Tap to the right and you’ve got quick access to a basic version of the RGB lighting (called LightFX) menu.


Tap up/back and you can switch inputs while tapping forward/down and you turn on a crosshair overlay in the middle of the screen. There’s no way of changing these quick-launch settings. We’d have preferred to have the forward button turn on the frame rate counter, for instance.