The front panel of the Macube 310P is held very tightly in position on the chassis frame and takes quite a tug to remove it. Once it has been peeled away front the chassis, behind the front panel we can see ample space for installing up to three 120mm fans or up to a 360mm radiator. Alternatively, there is room at the front for three 140mm fans or a 280mm radiator.
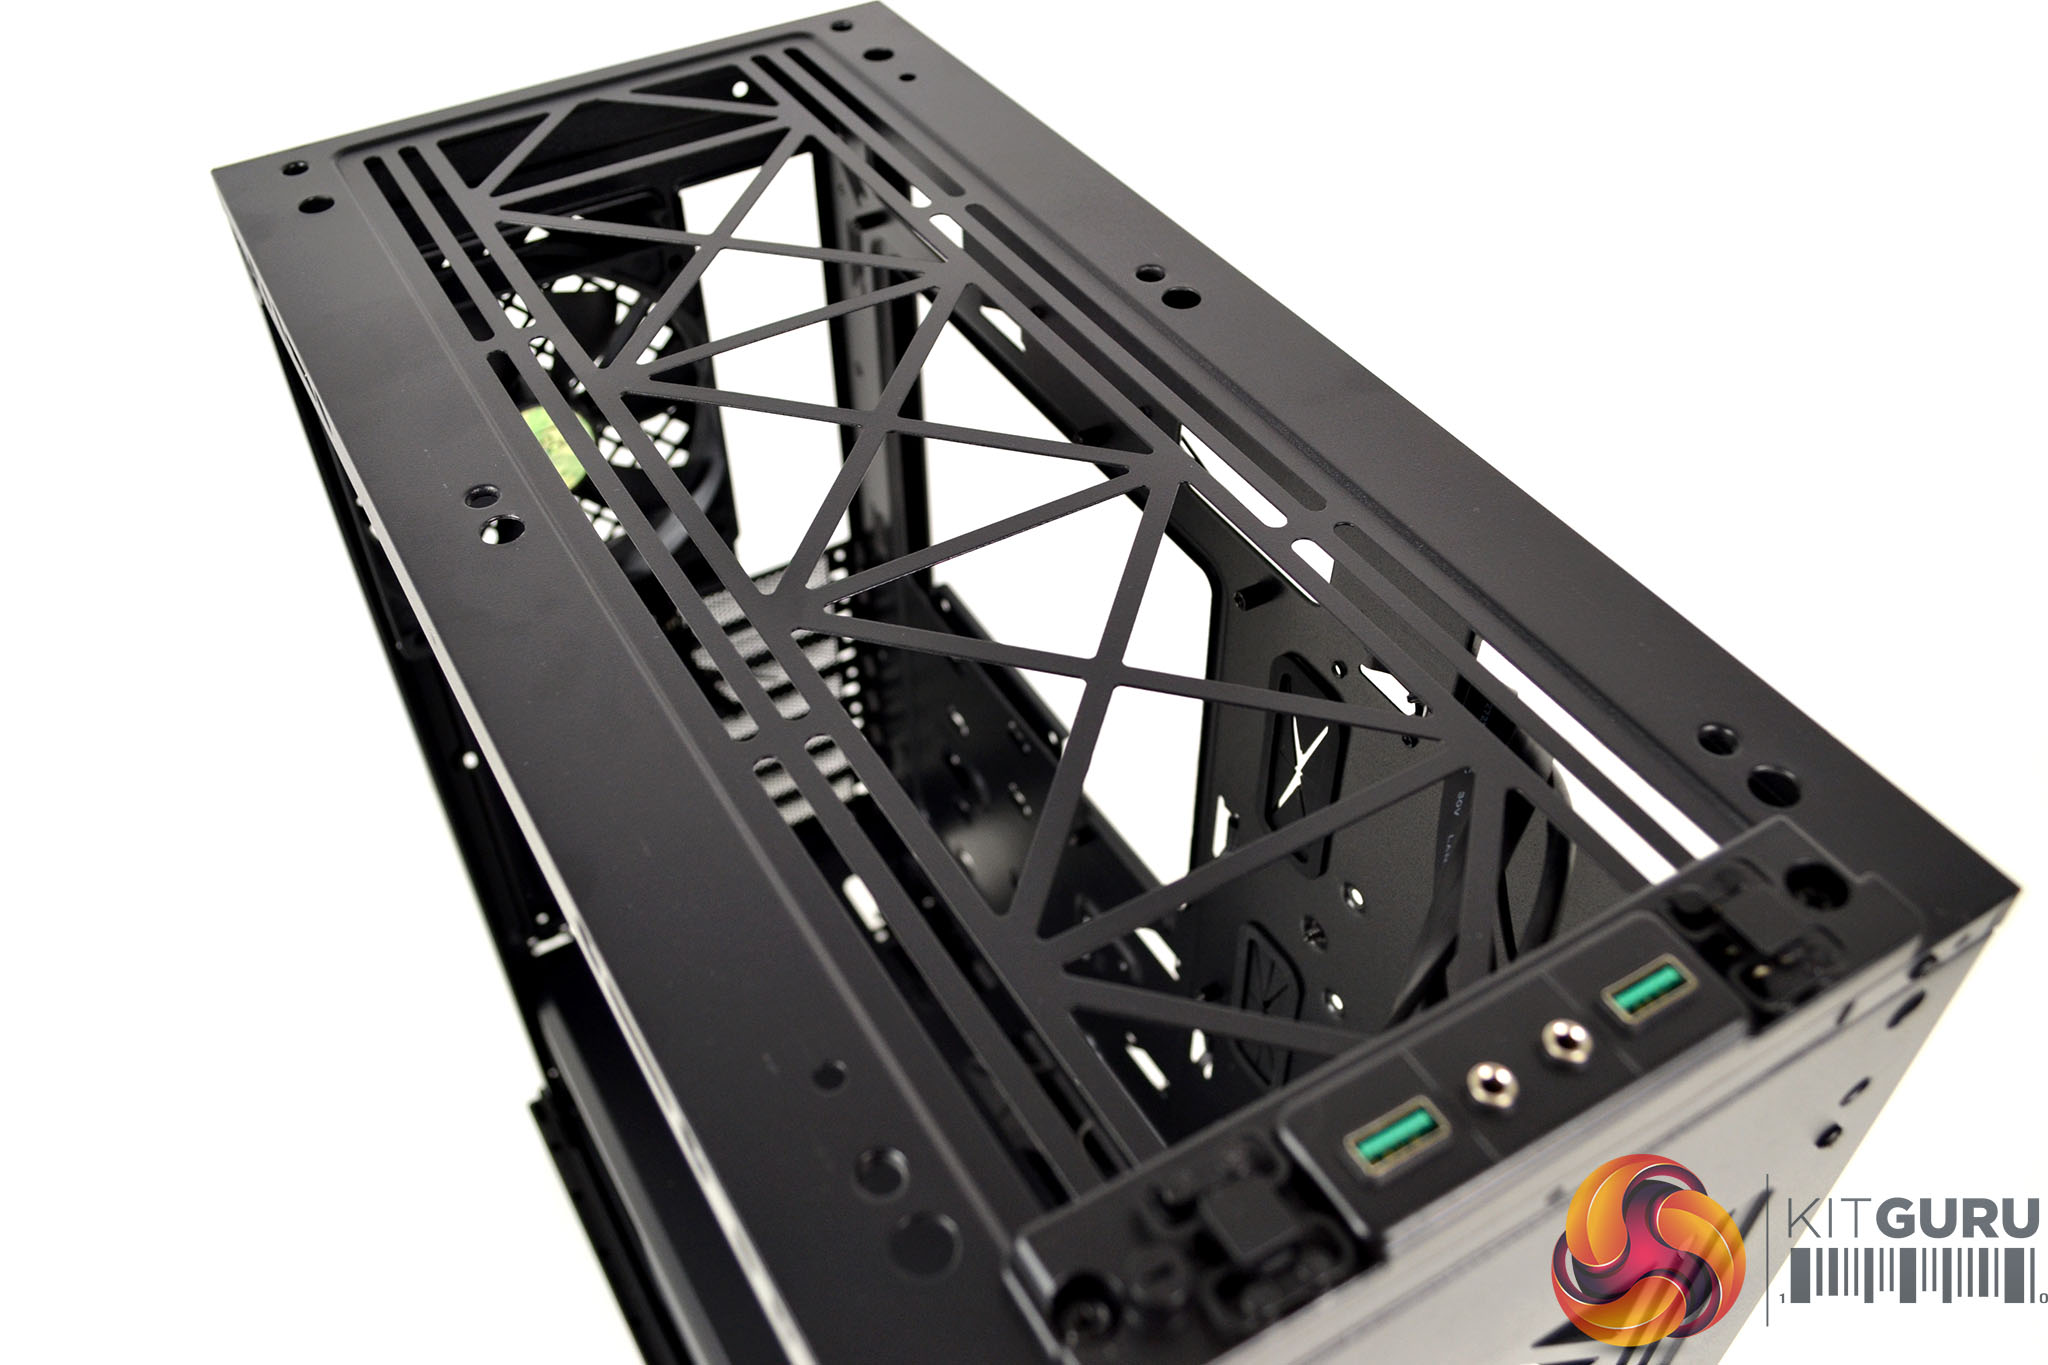

Removing the top panel takes almost as much force as the front, Beneath the top panel is another area for installing fans, there is space in the roof of the case for up to three 120mm or two 140mm fans. With the top panel removed you can see the perforated metal mesh dust filter that looks like it can be detached for cleaning by removing a few screws.
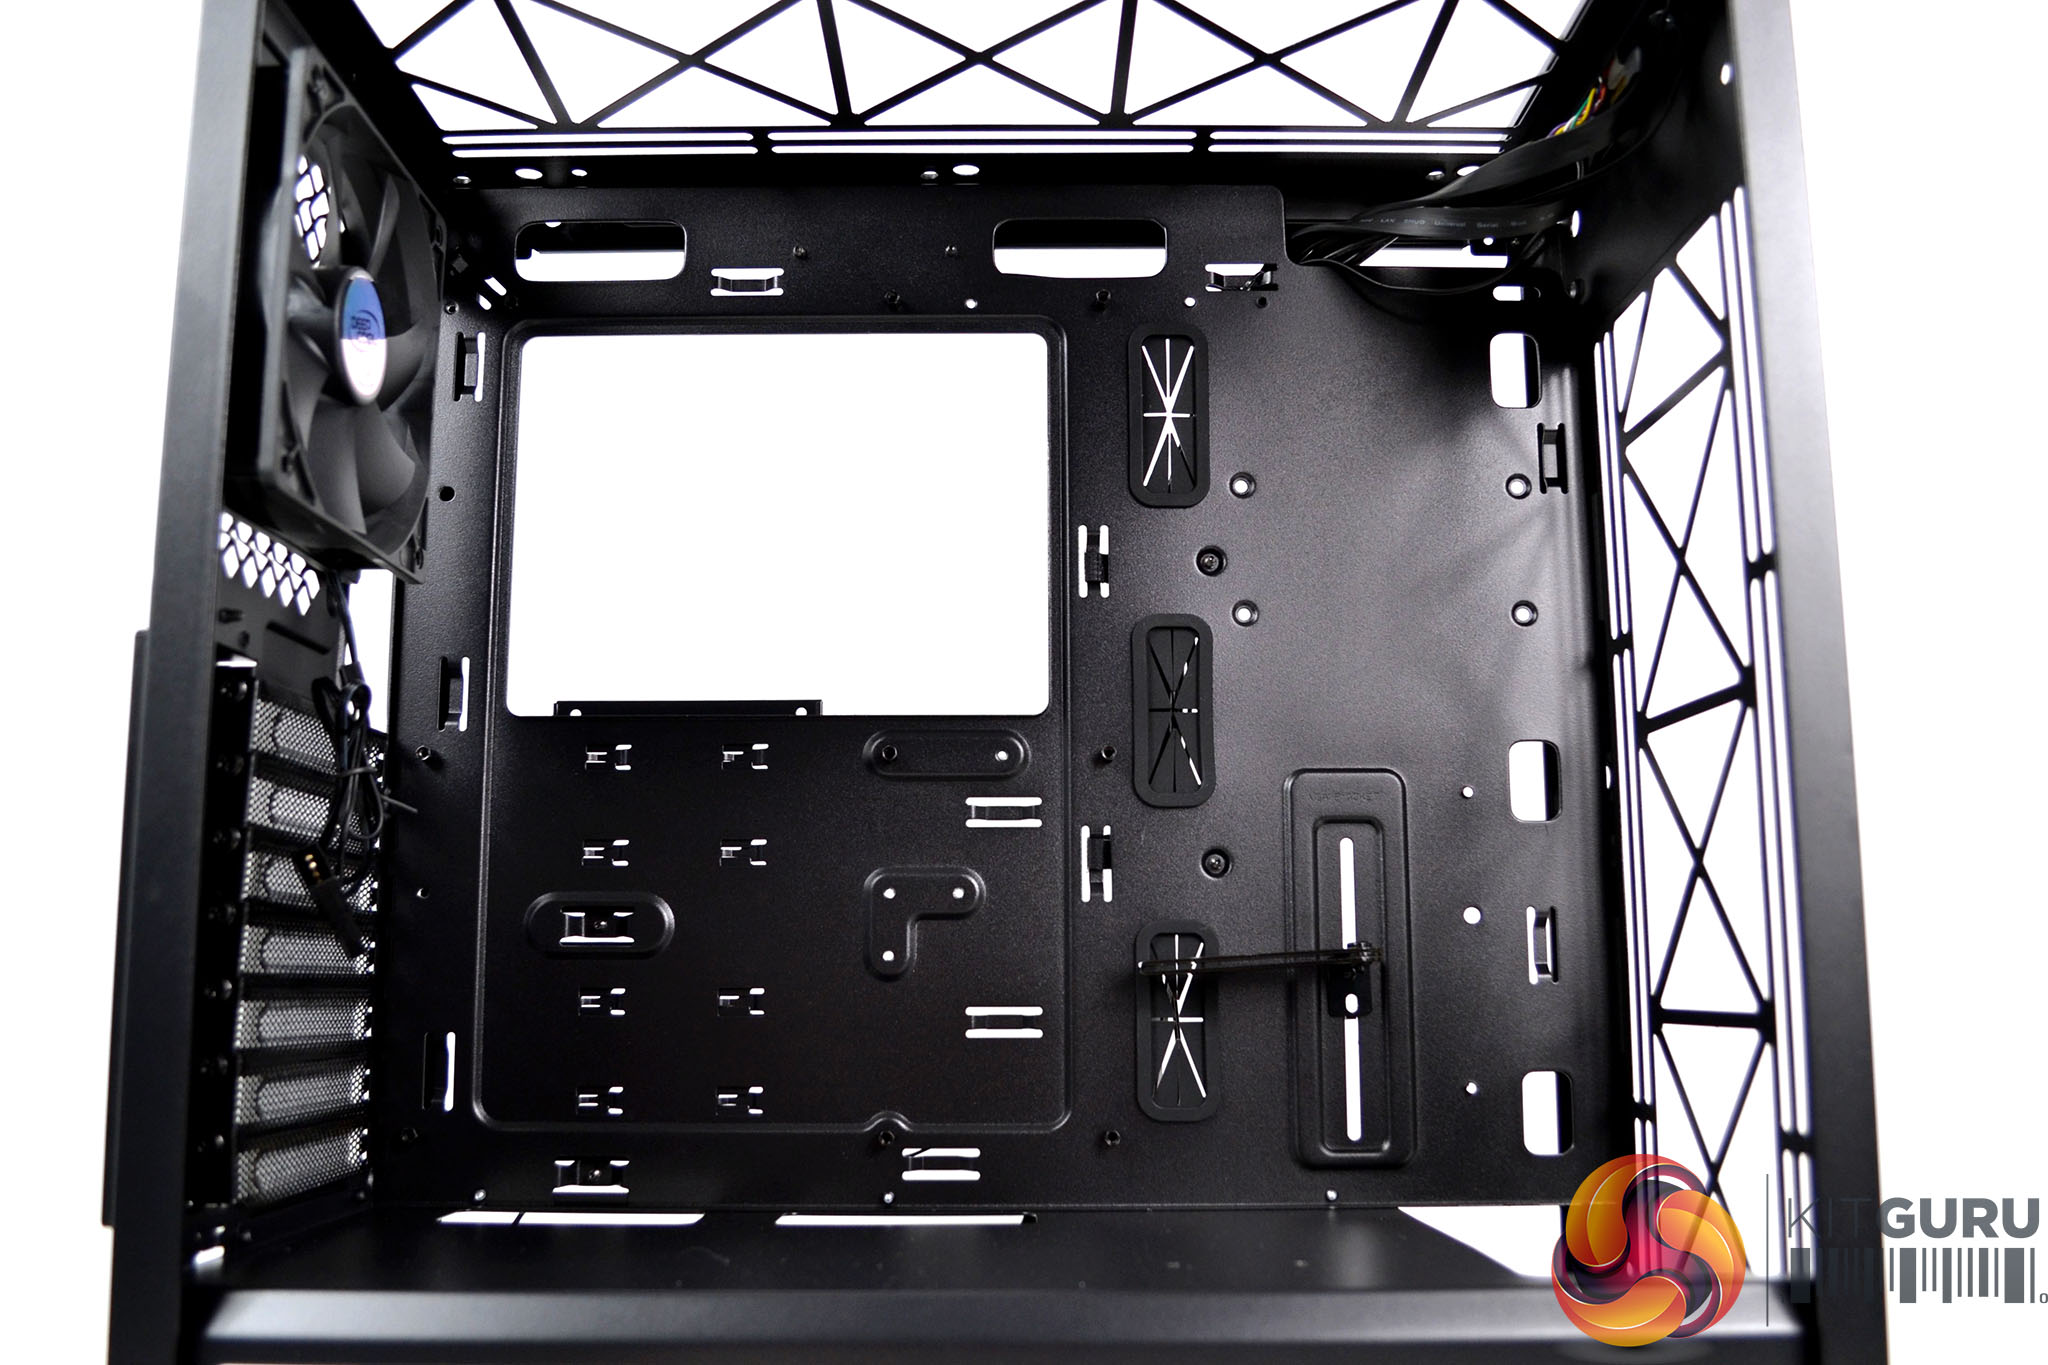
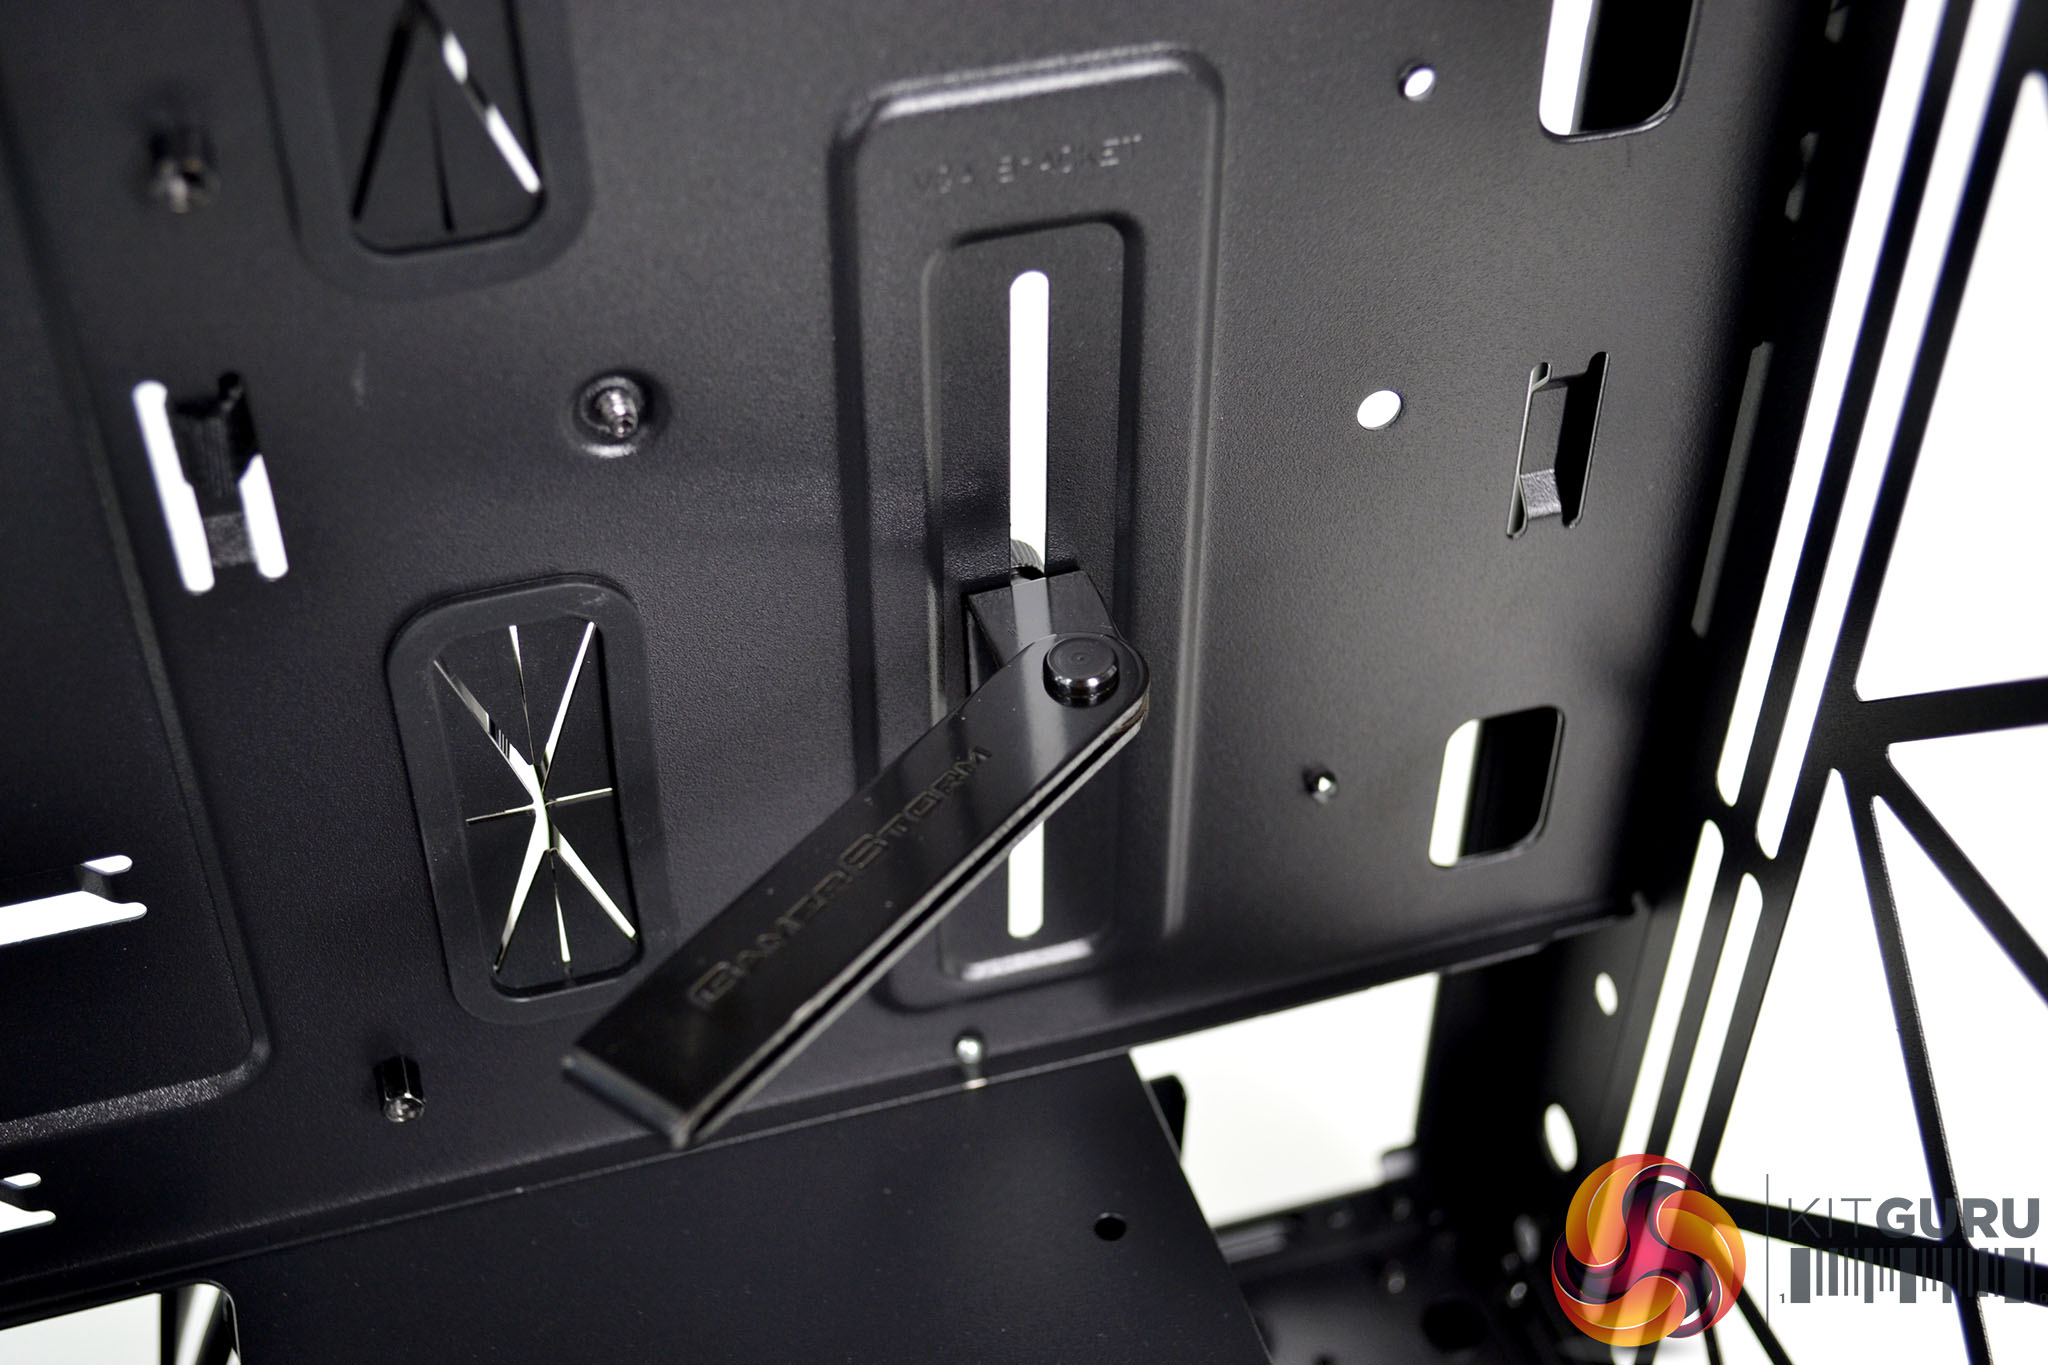
Since there are no 5.25-inch optical drive bays in the Macube 310P, the interior feels very spacious, especially when you realise that this is quite a compact mid-tower. At the front of the case is the VGA support bracket which is mounted in a slot for adjusting the height to accommodate the position of various graphics cards.
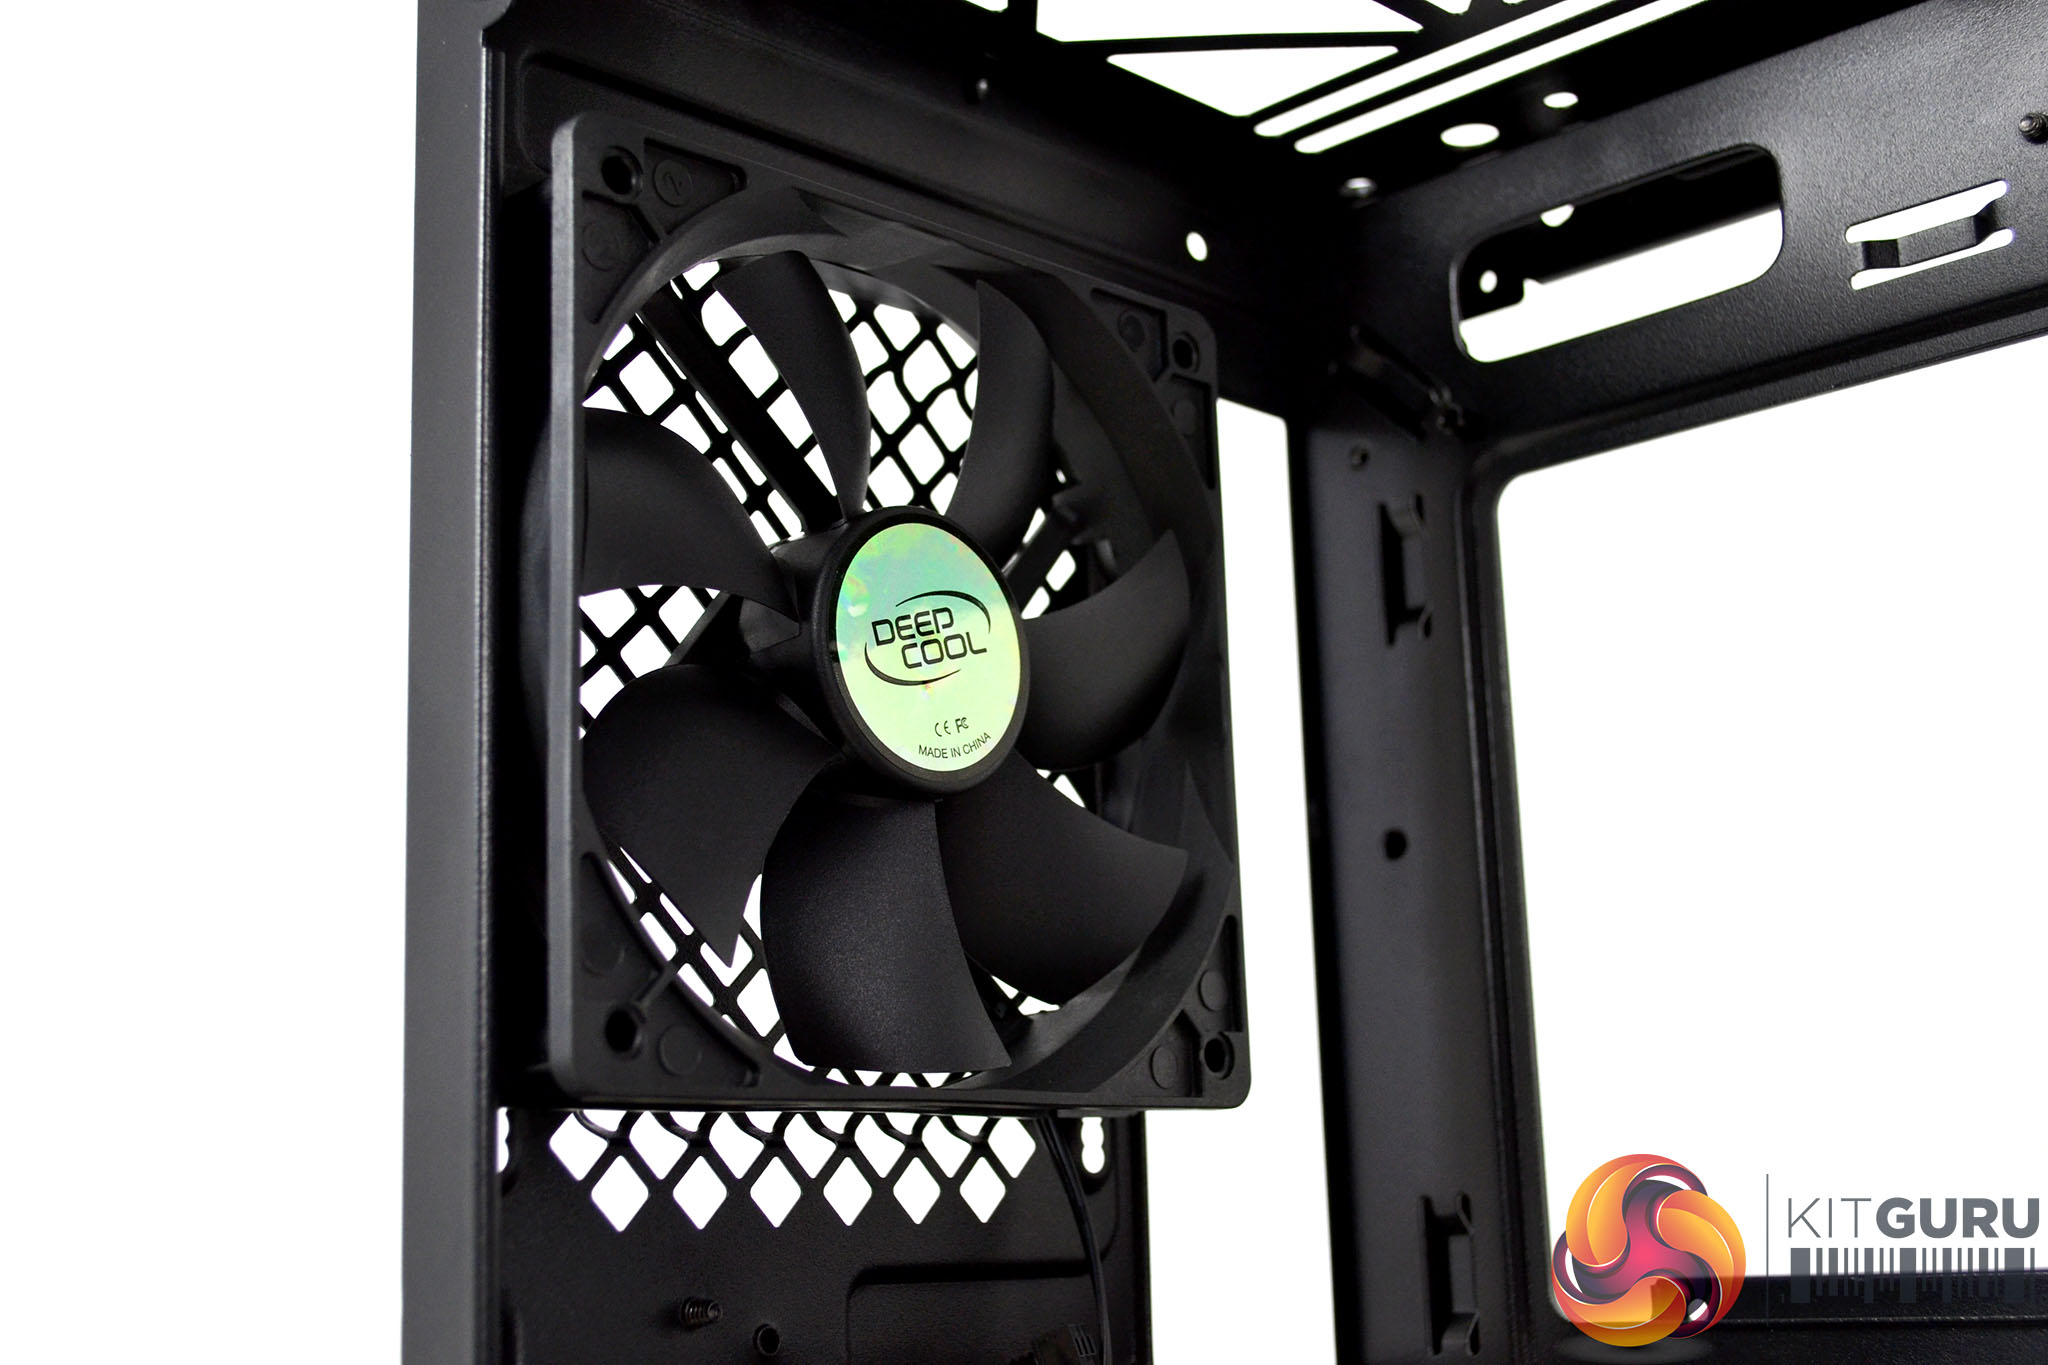
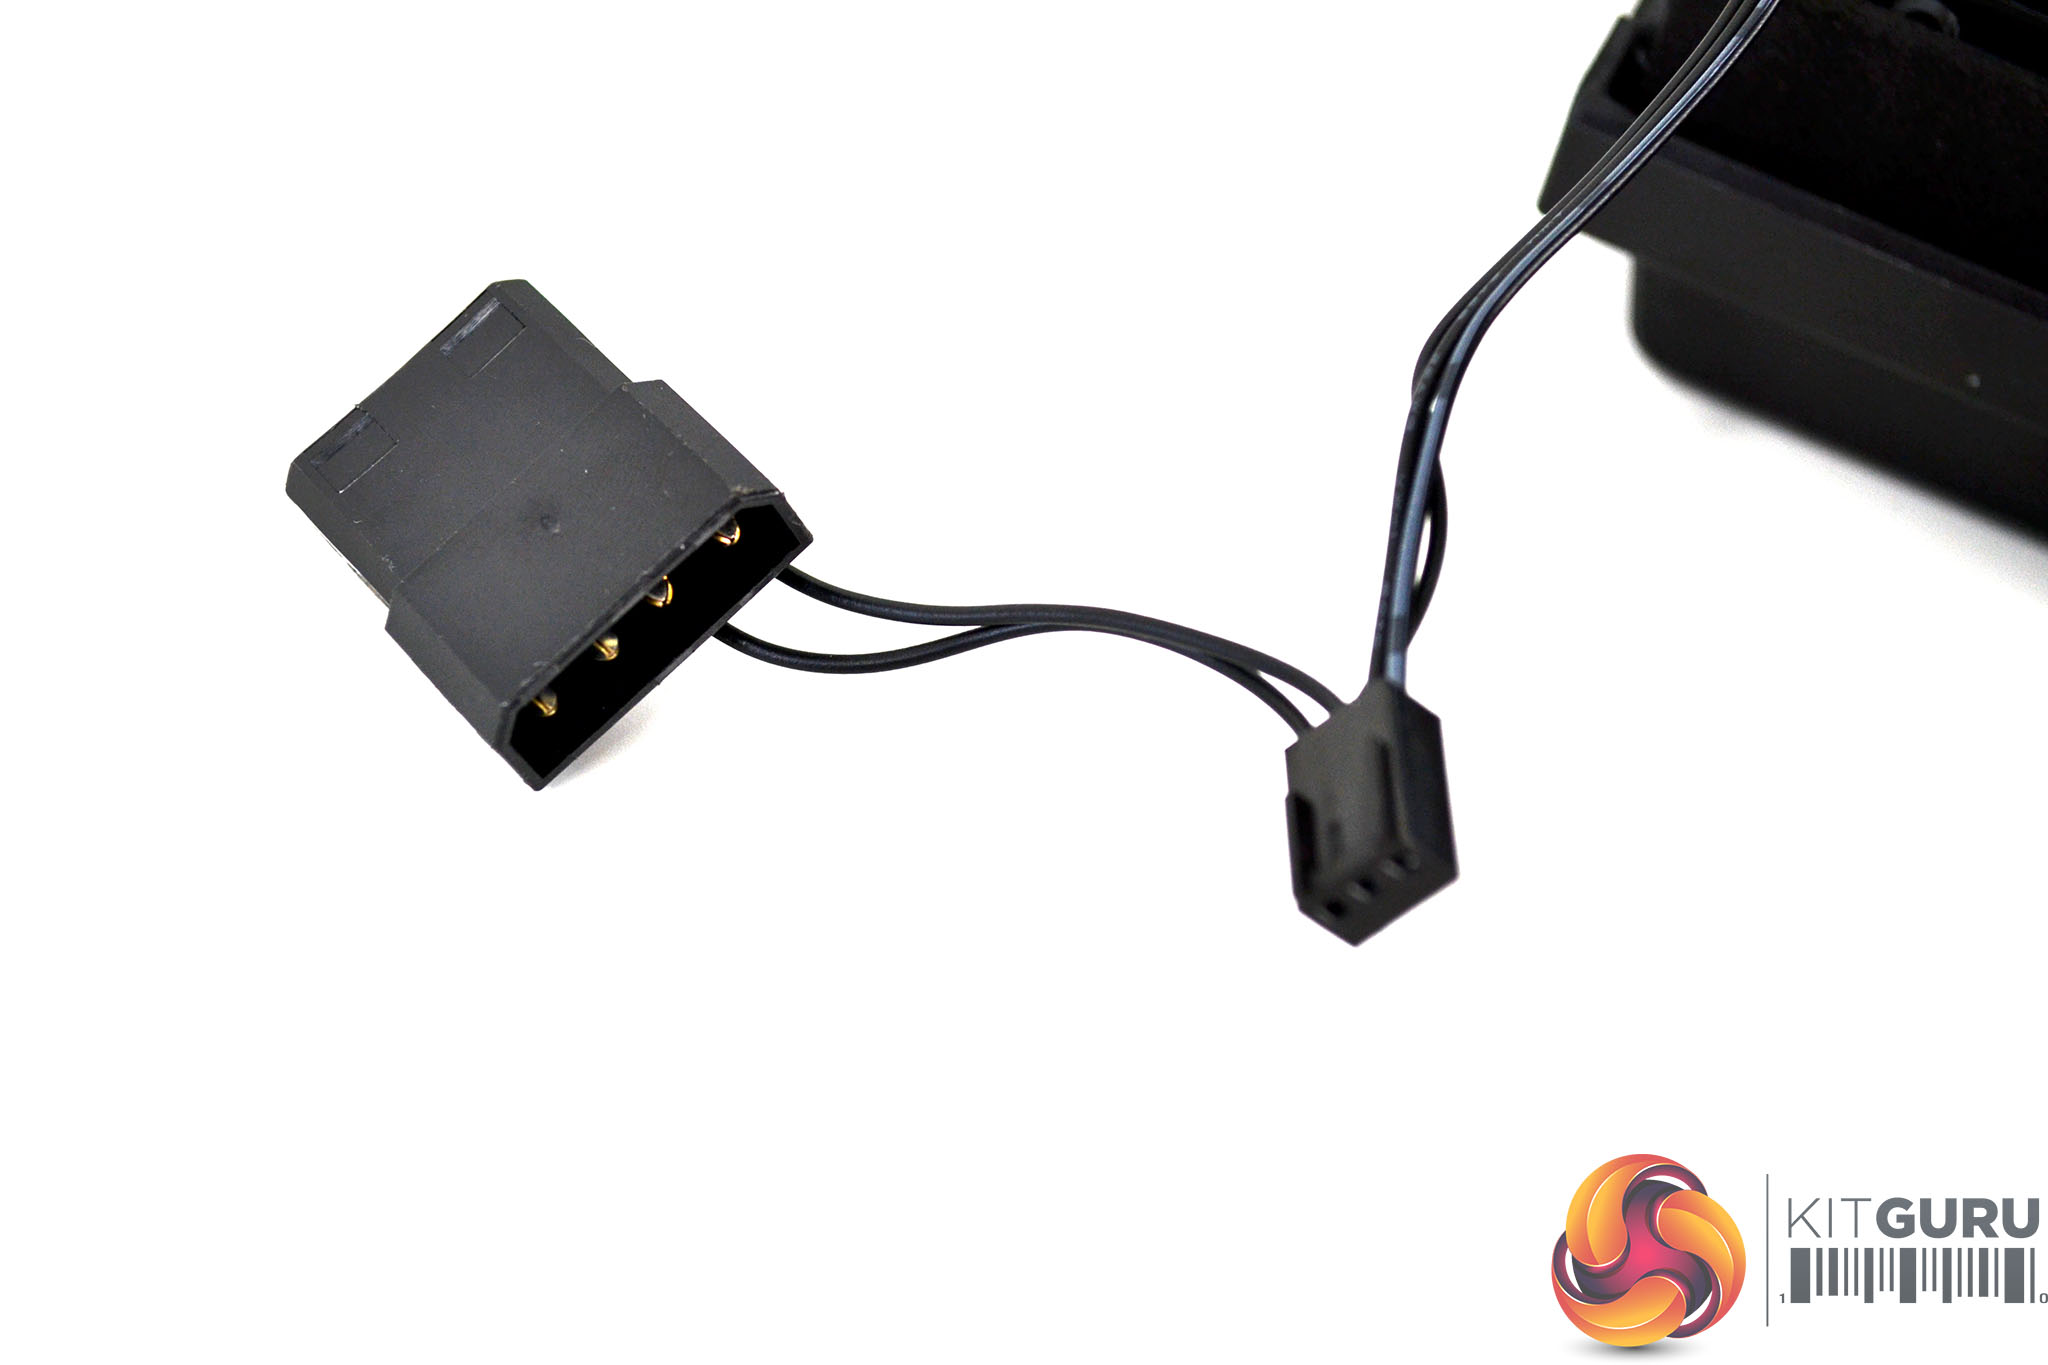
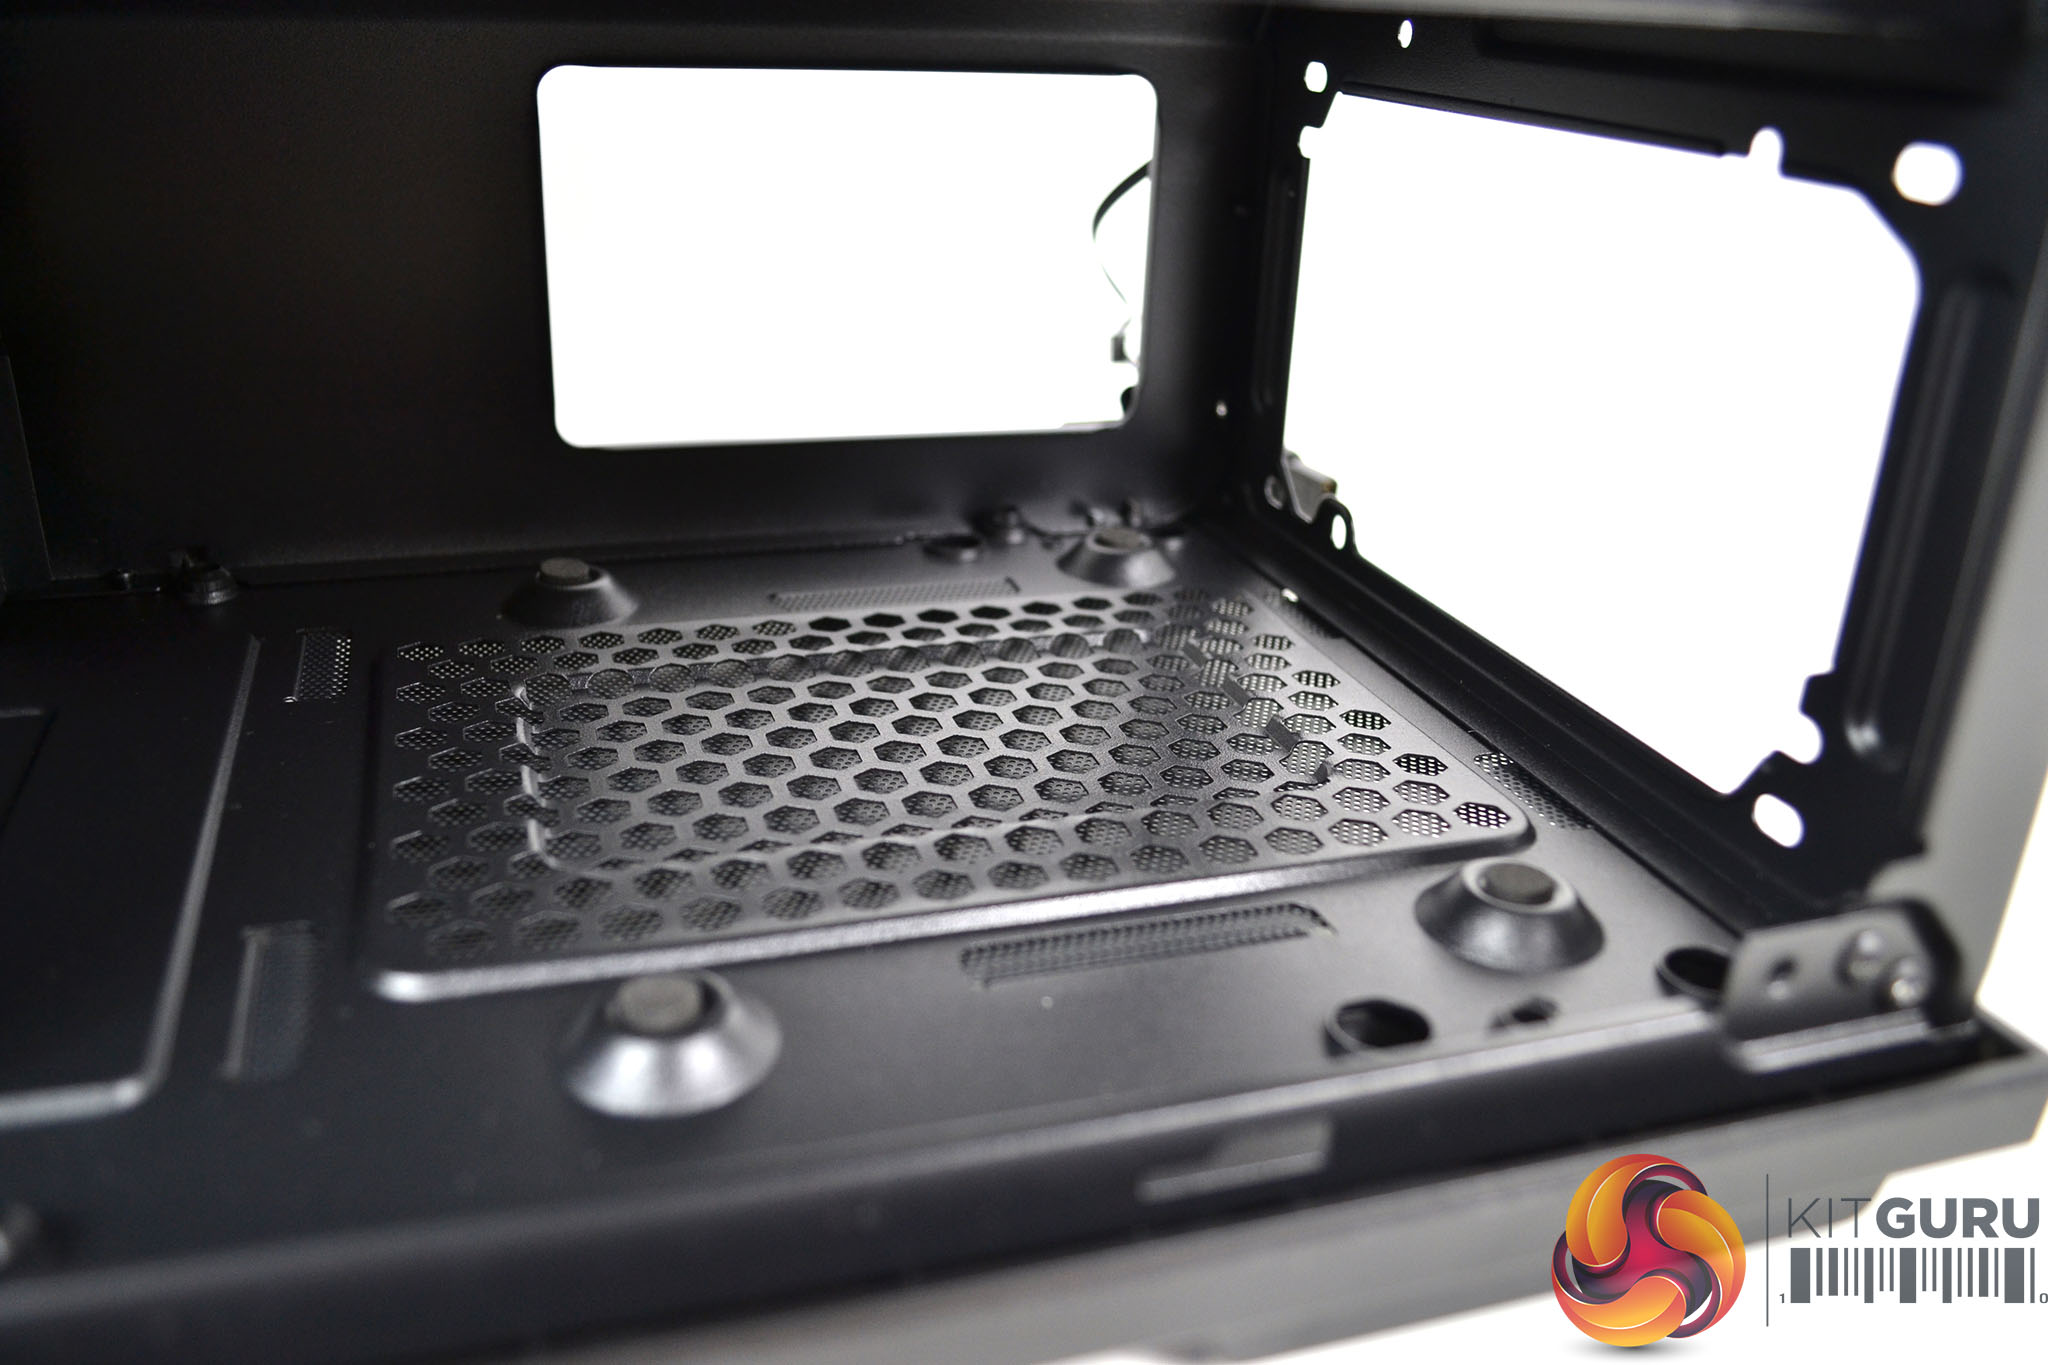
The only fan that comes pre-installed with the Macube 310P is located at the rear of the case in an exhaust configuration. The fan is equipped with a Molex power connector and a 3-pin fan header connection, however, there is no information on the fan regarding specifications.
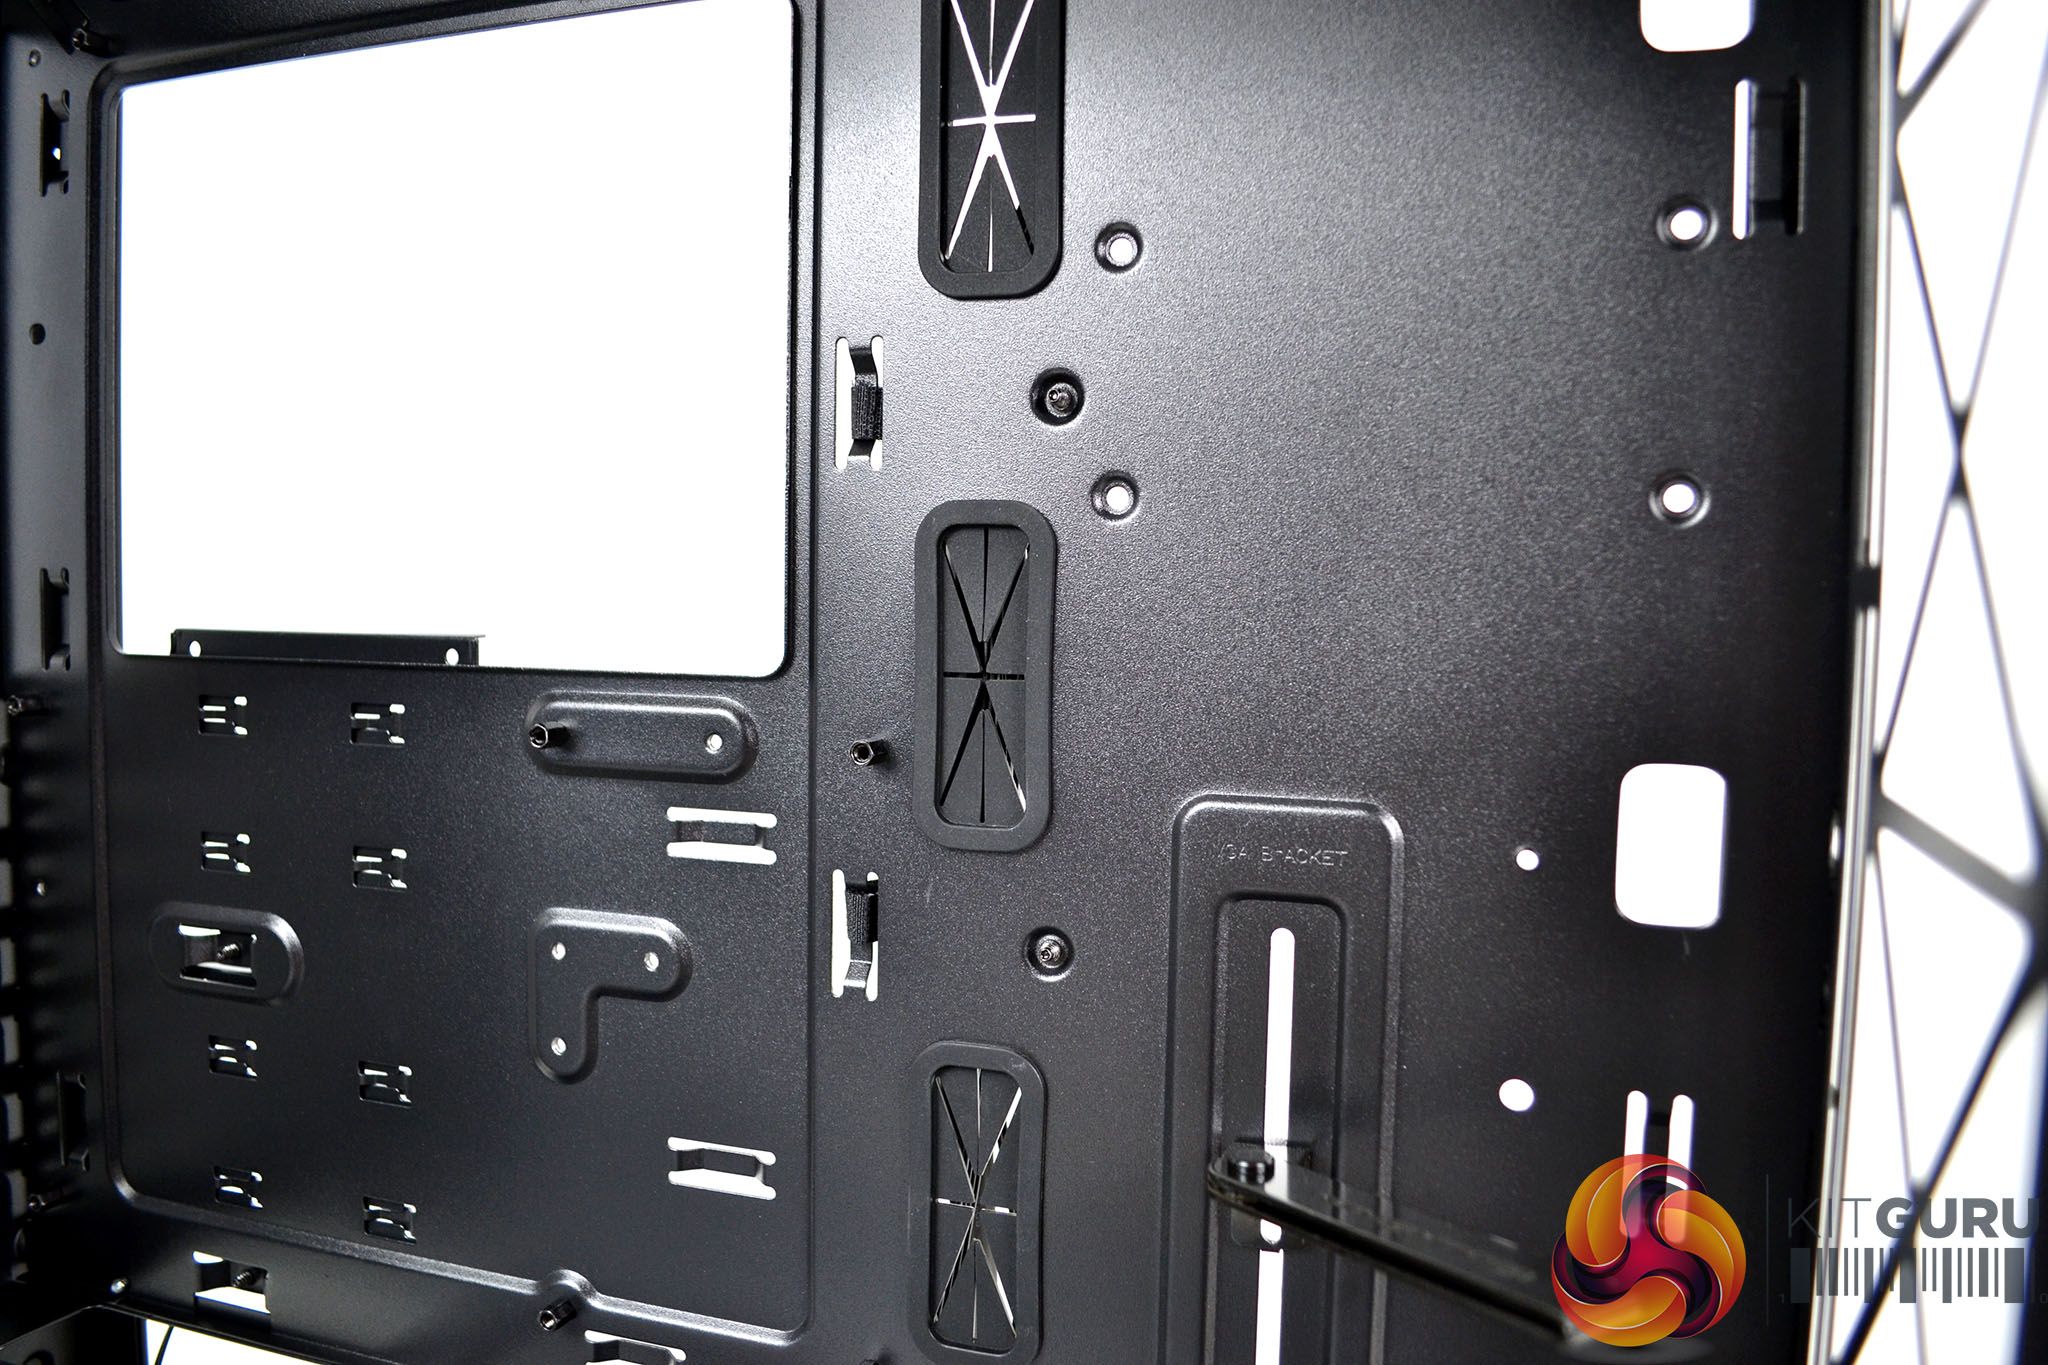
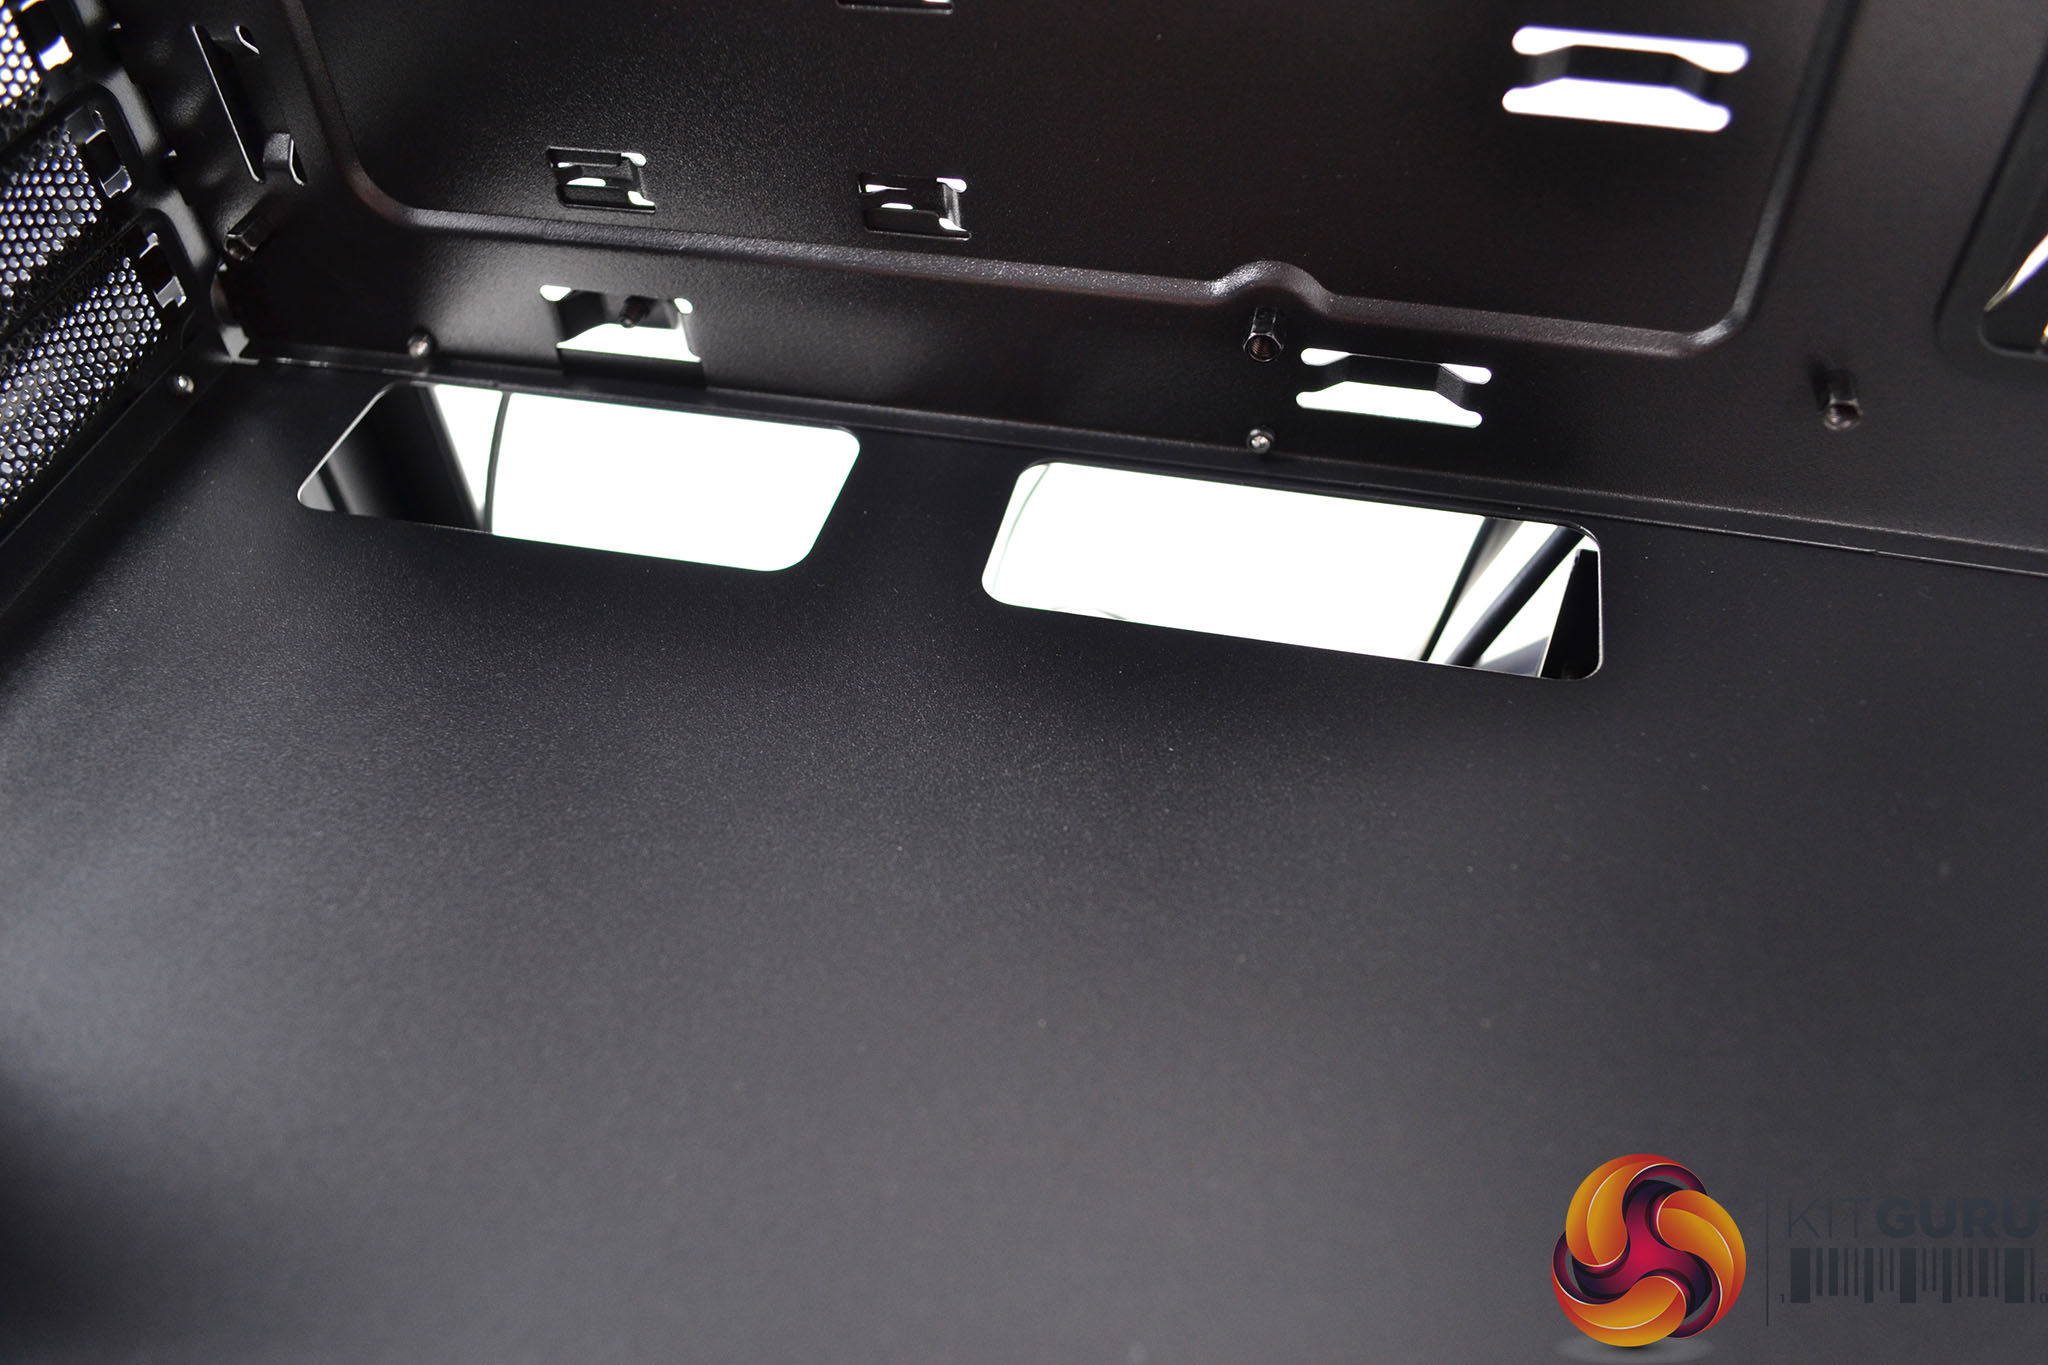
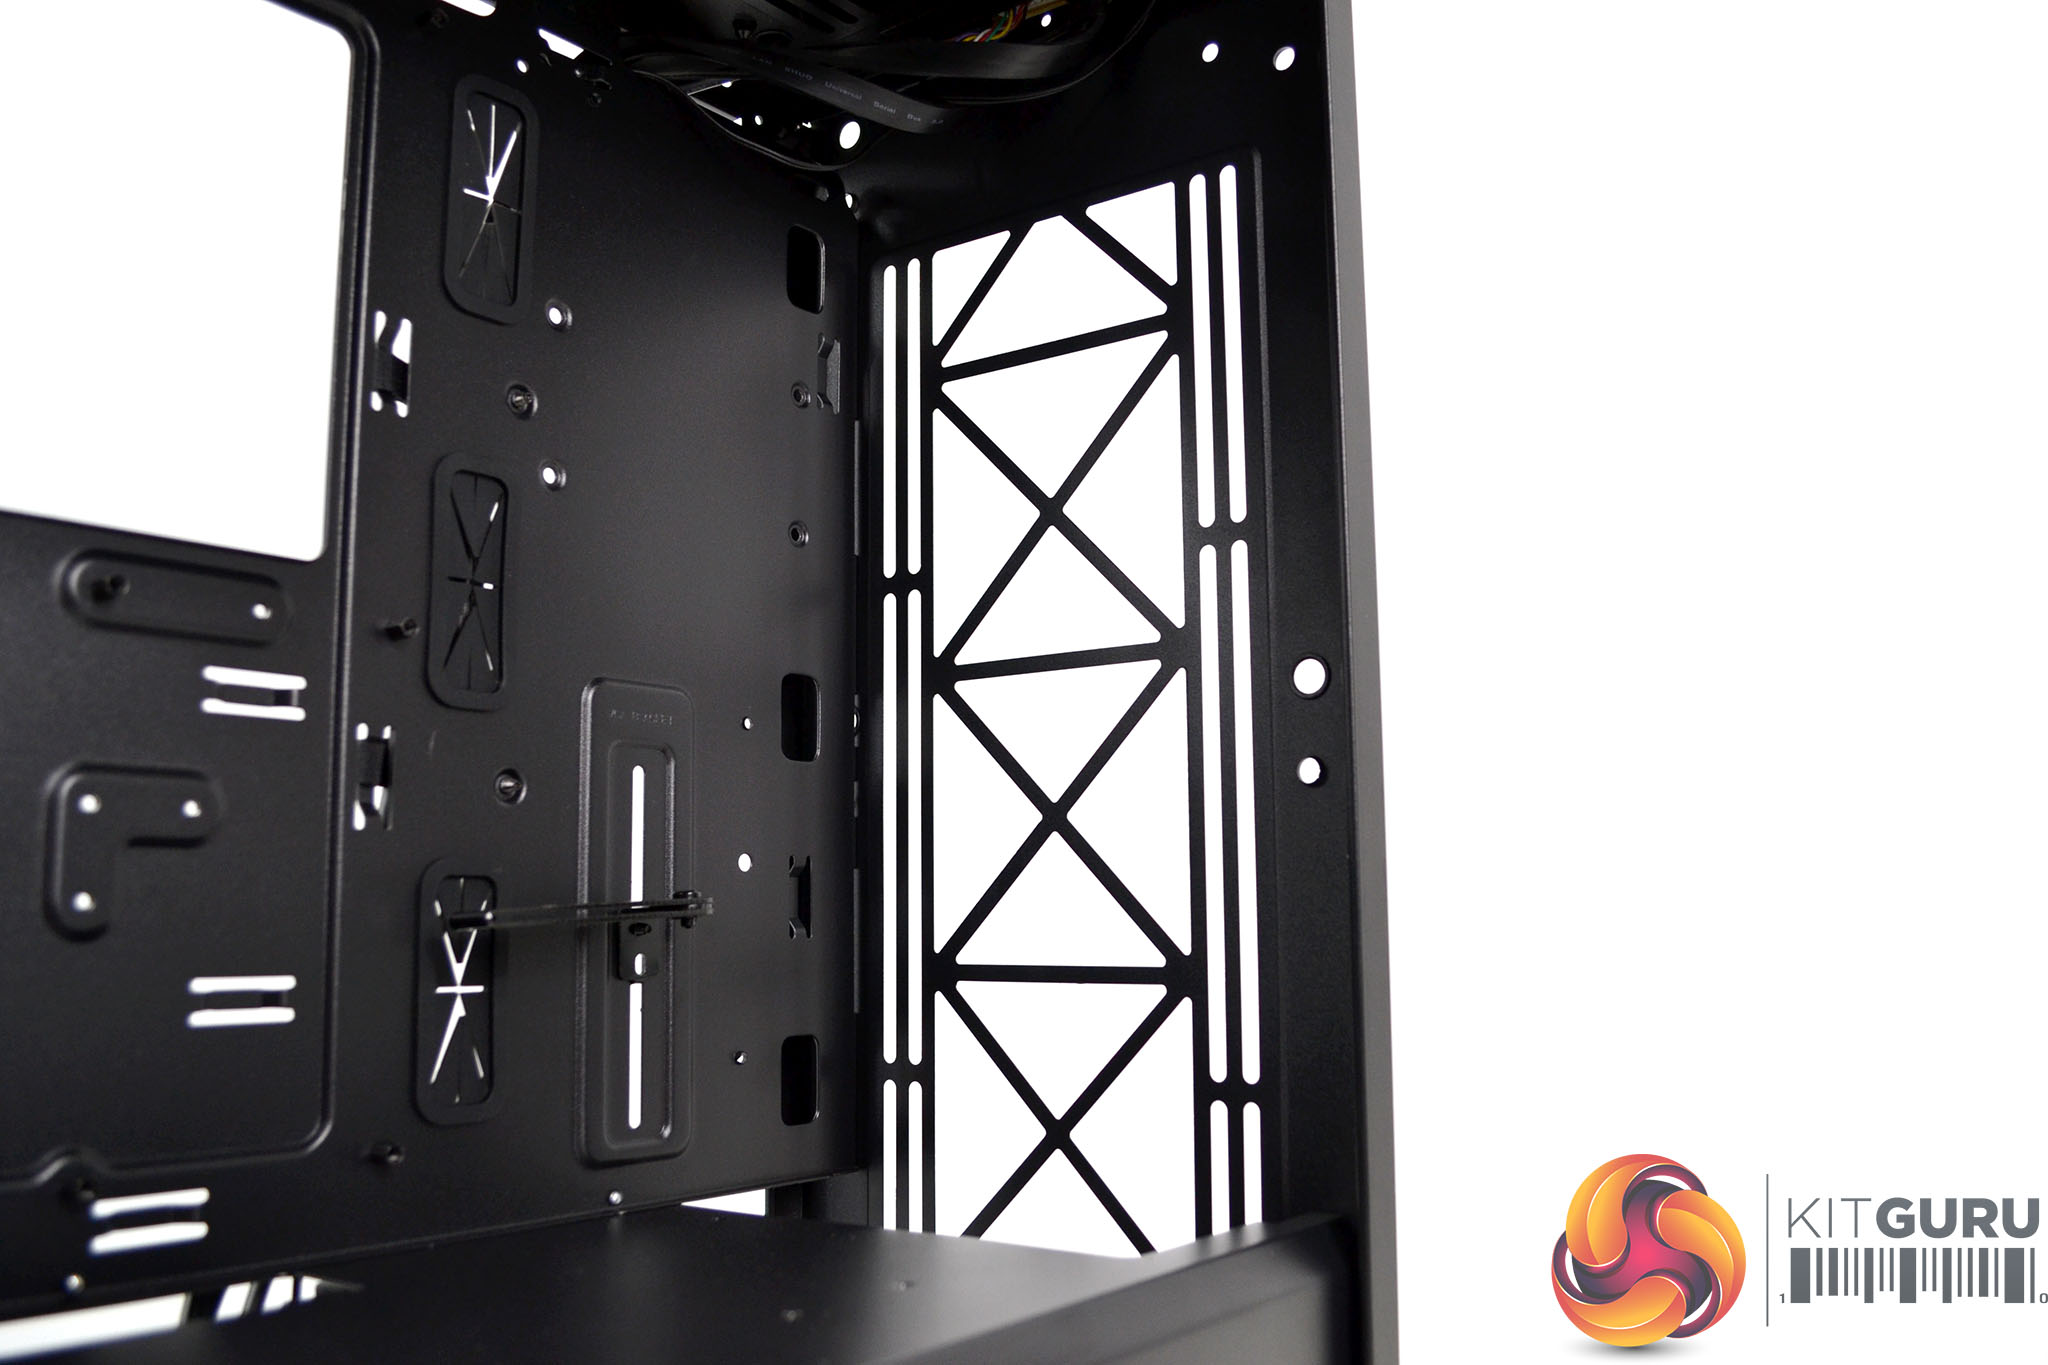
To the right of the motherboard tray and towards the front of the case are three cable management cut-outs with rubber grommets. Additional cut-outs above and below the motherboard tray are present, however, these are not protected with rubber grommets, which is a little disappointing.
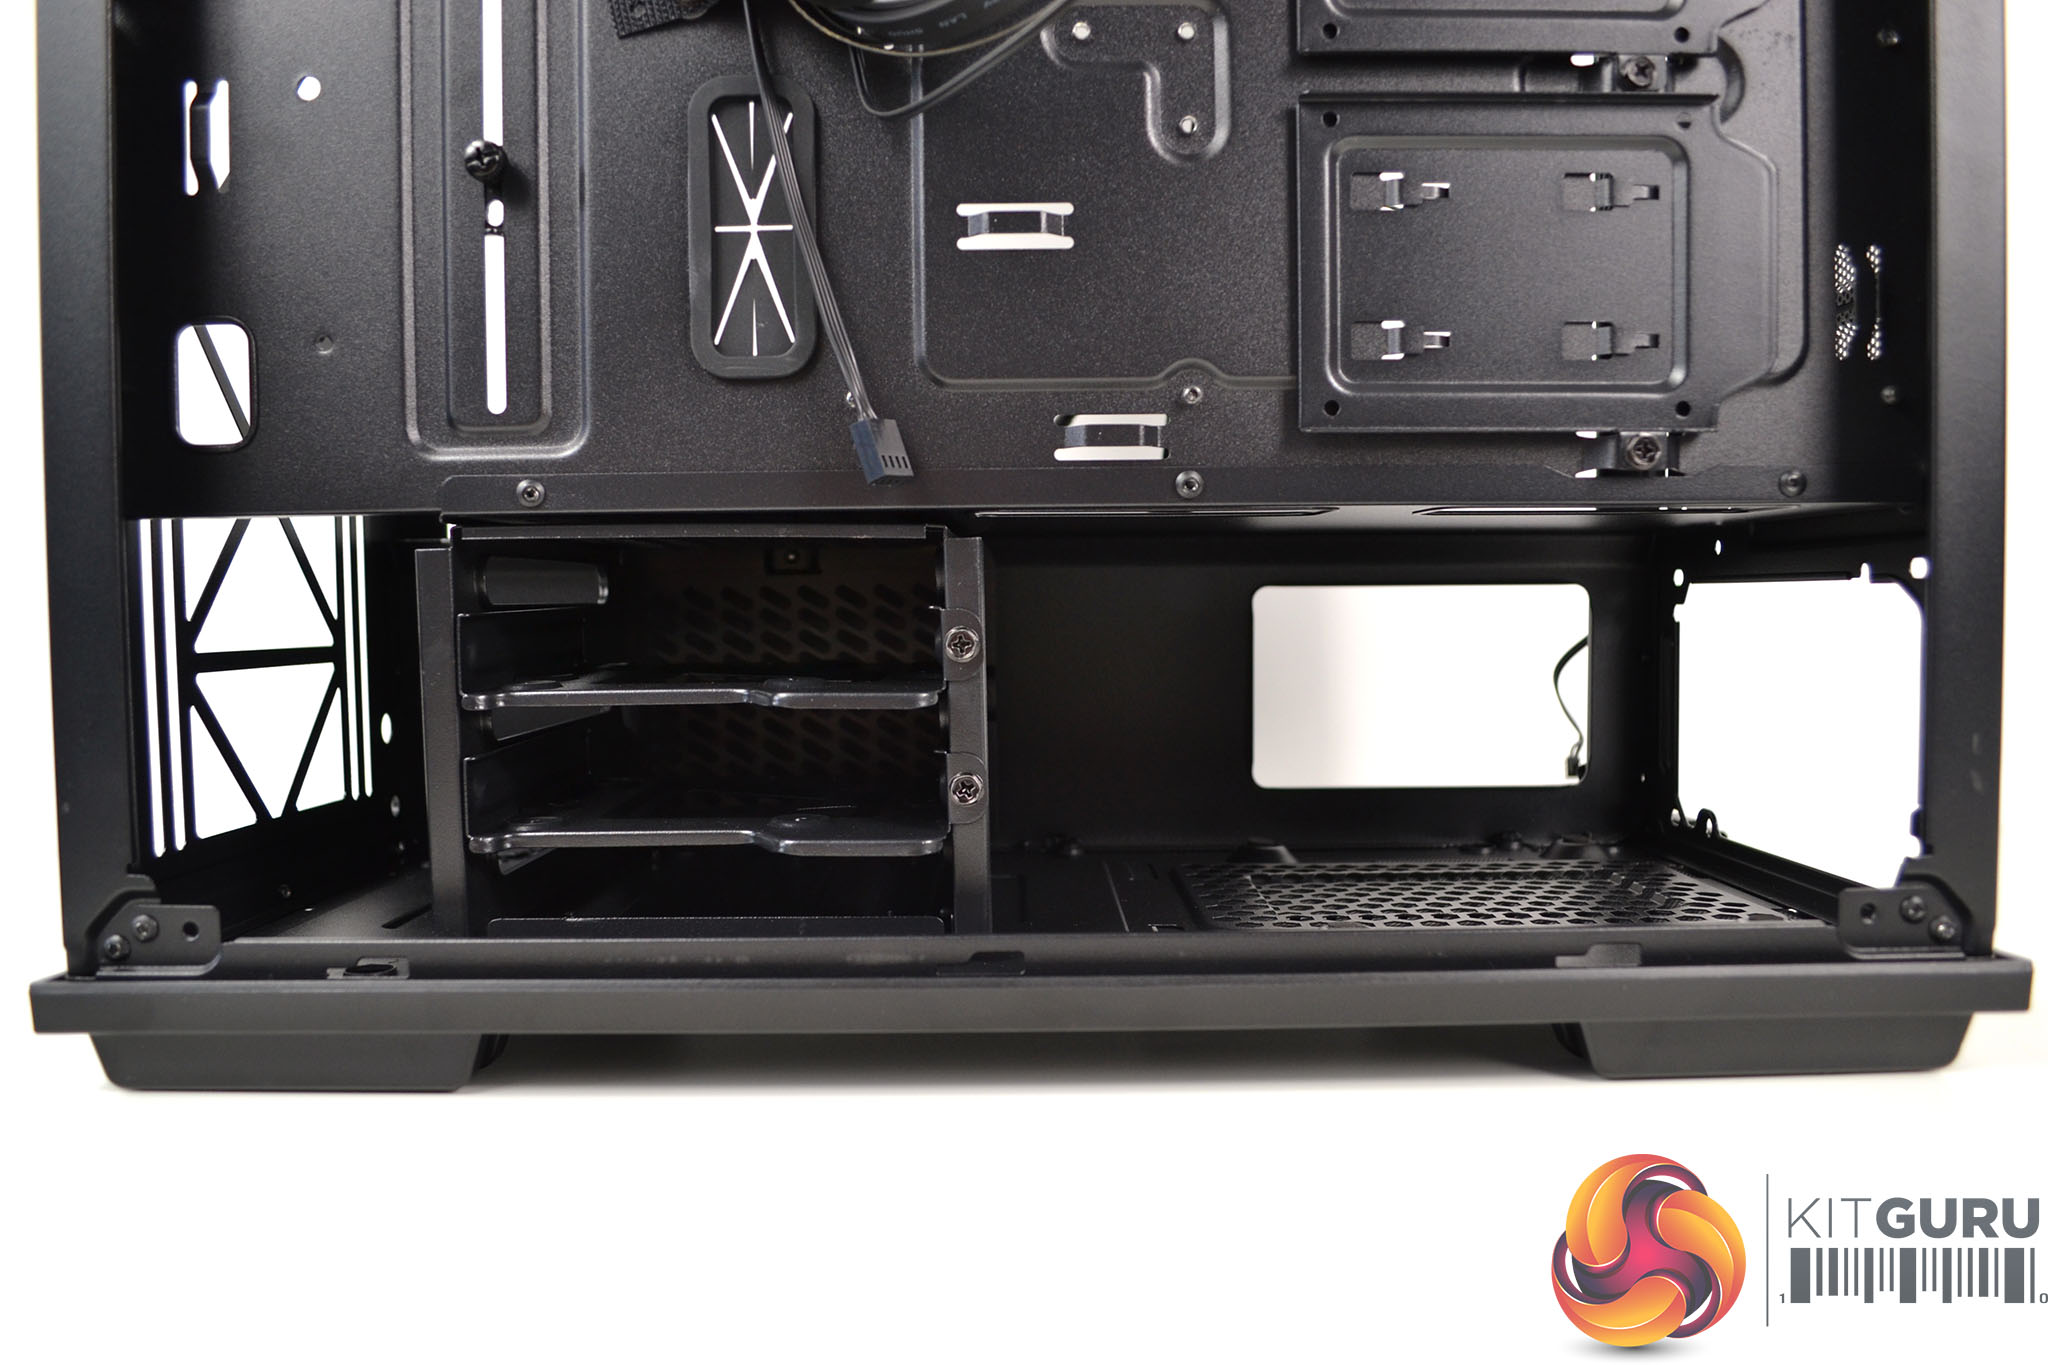
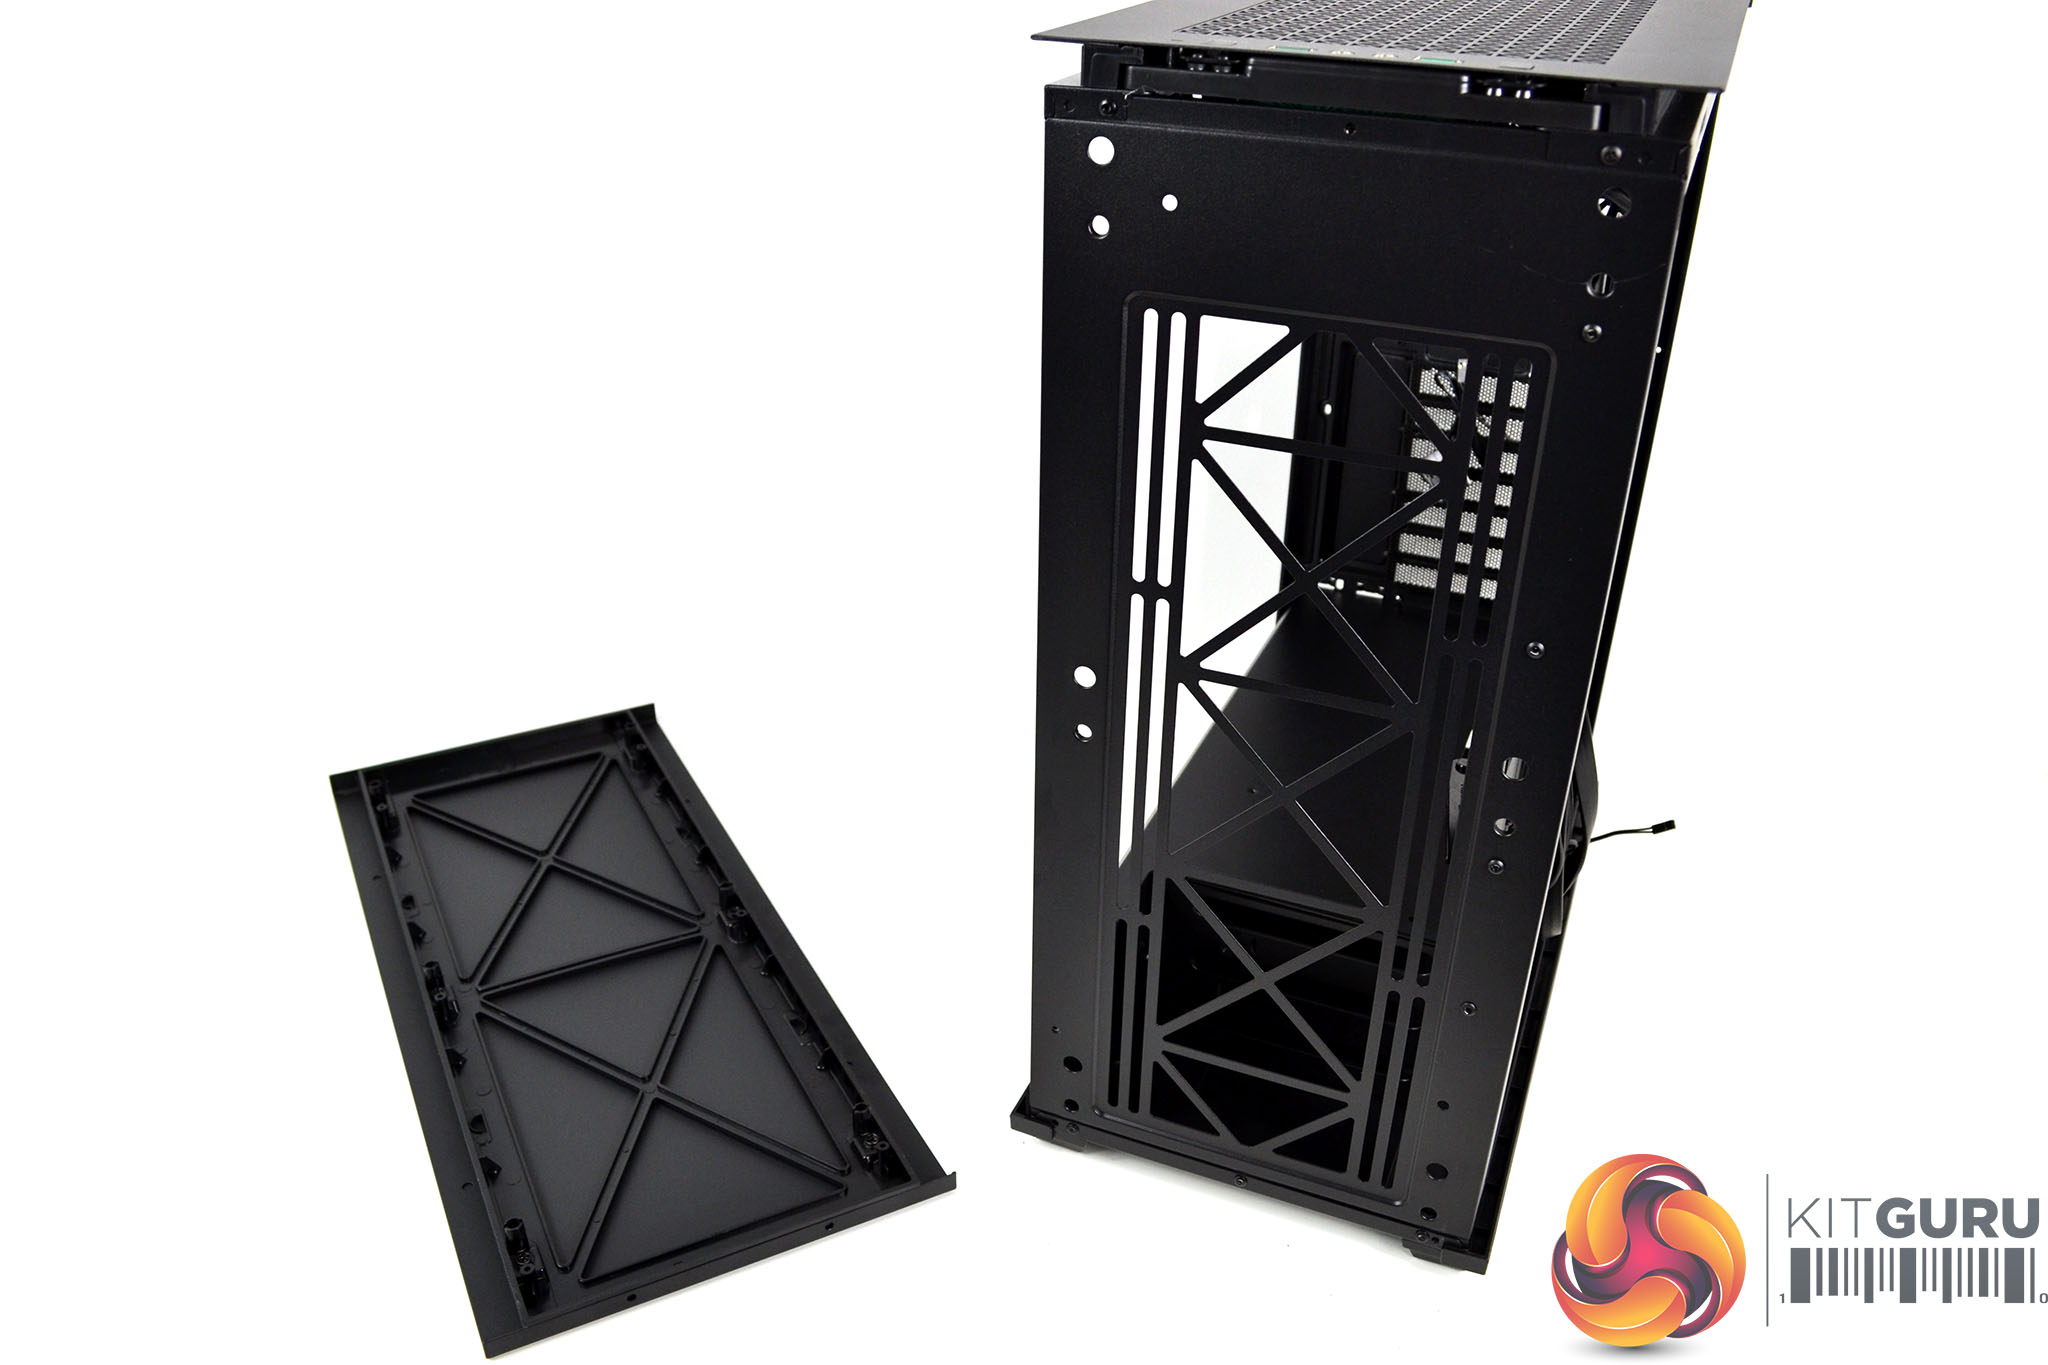
Usually, behind the right-hand side panel of a PC case is a little boring, but there is quite a lot going on in the Macube 310P here. At the bottom is a full cover power supply shroud with anti-vibration rubbers for the power supply to rest on, as well as a HDD cage that has adjustable positioning or can be completely removed to make way for a larger PSU.

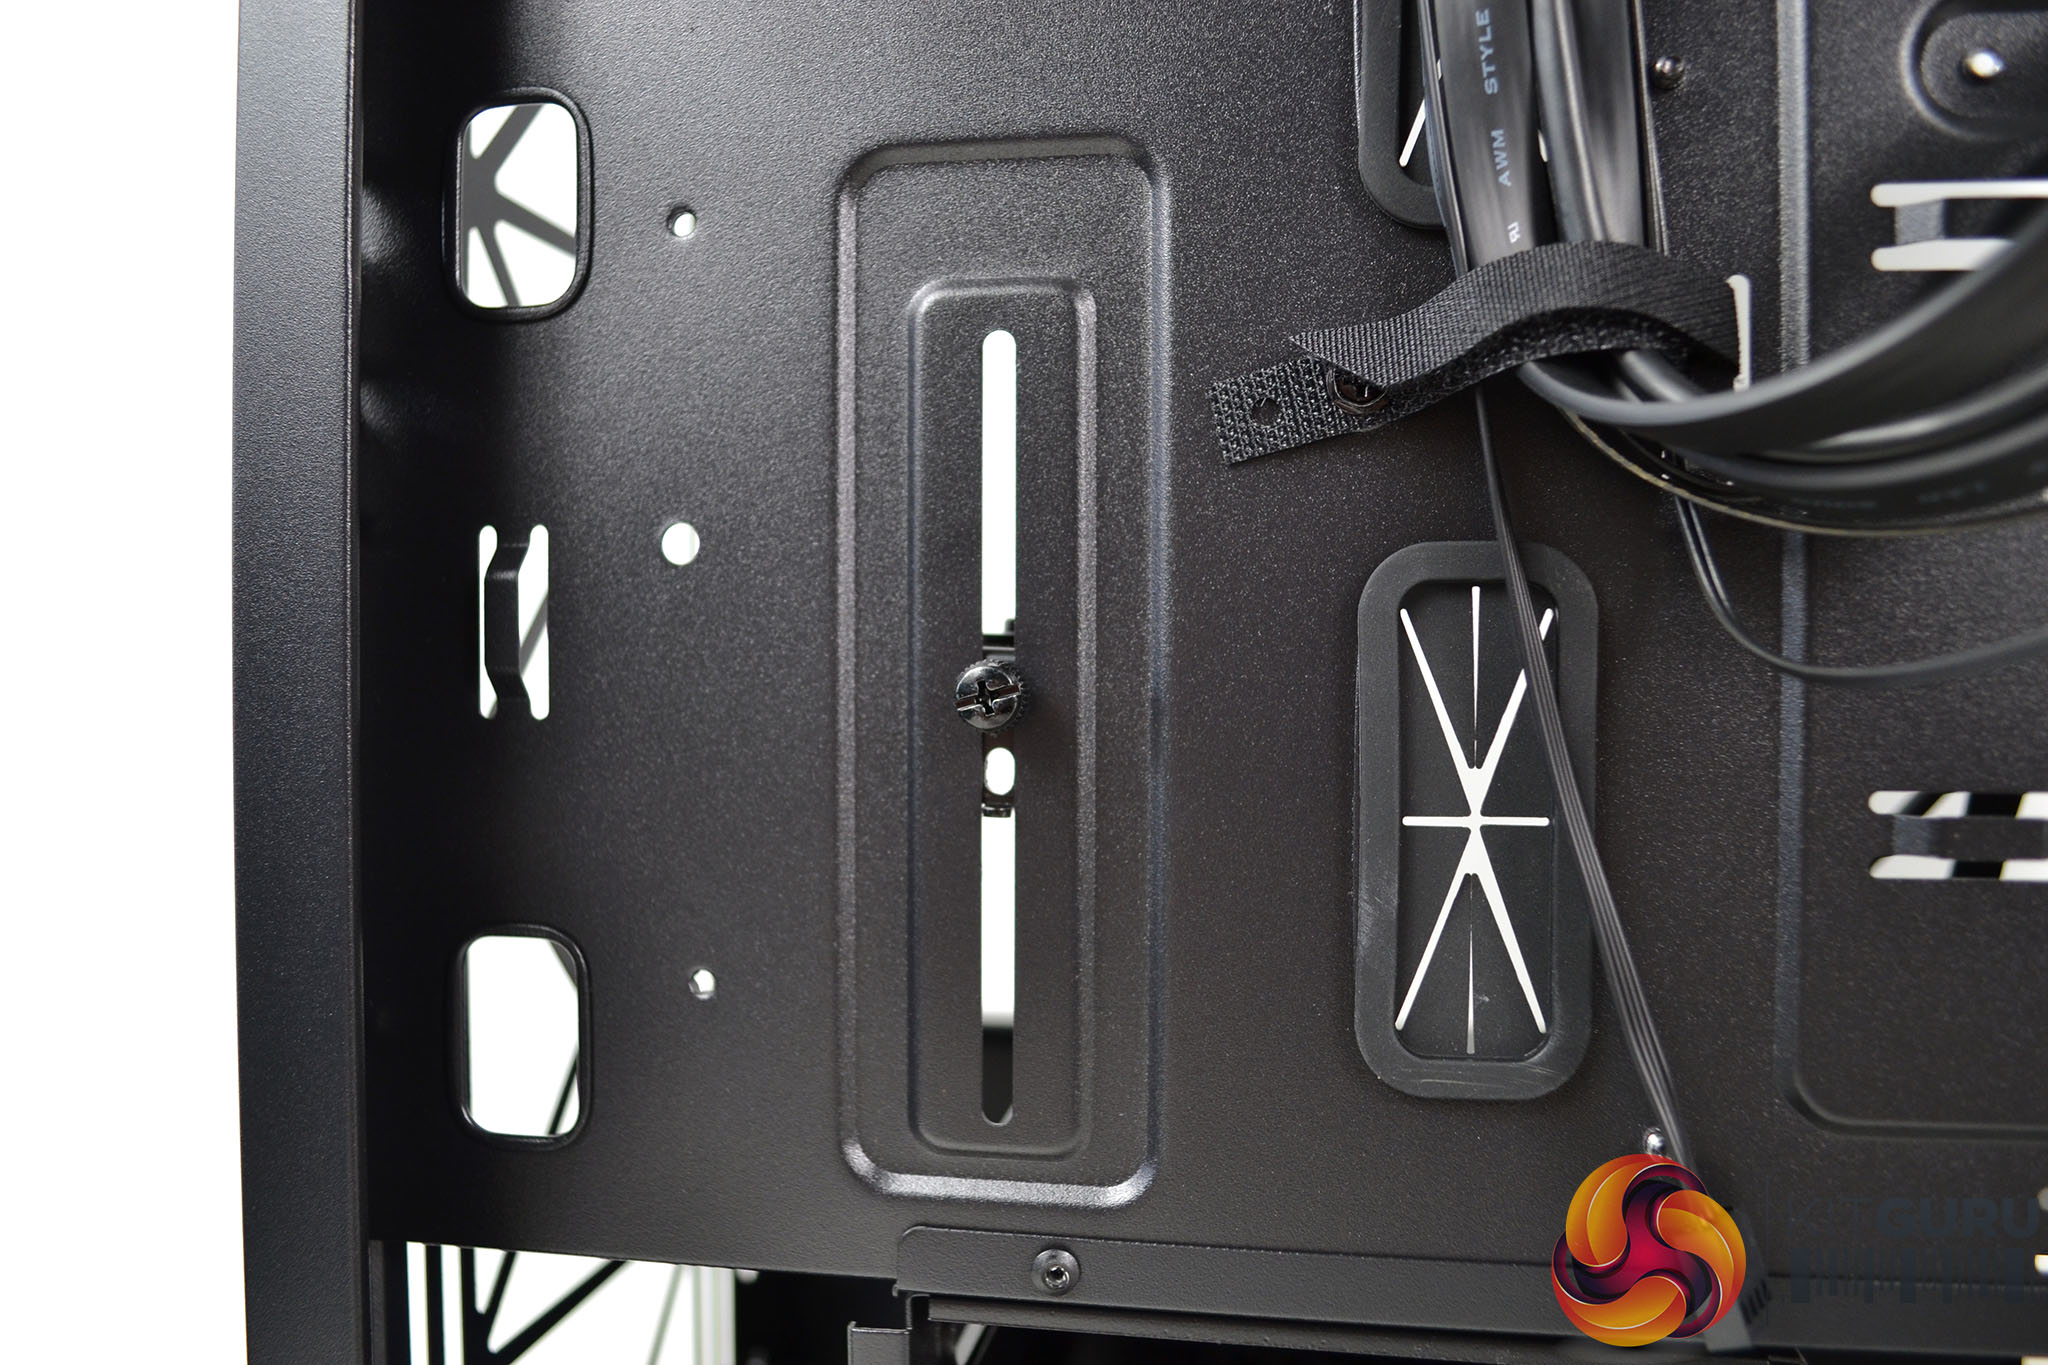
Just above the power supply shroud are two additional brackets for mounting 2.5-inch HDDs or SSDs and to the left is the VGA support bracket. From here we can loosen off the VGA bracket retaining screw and adjust its height by moving it in the slot.
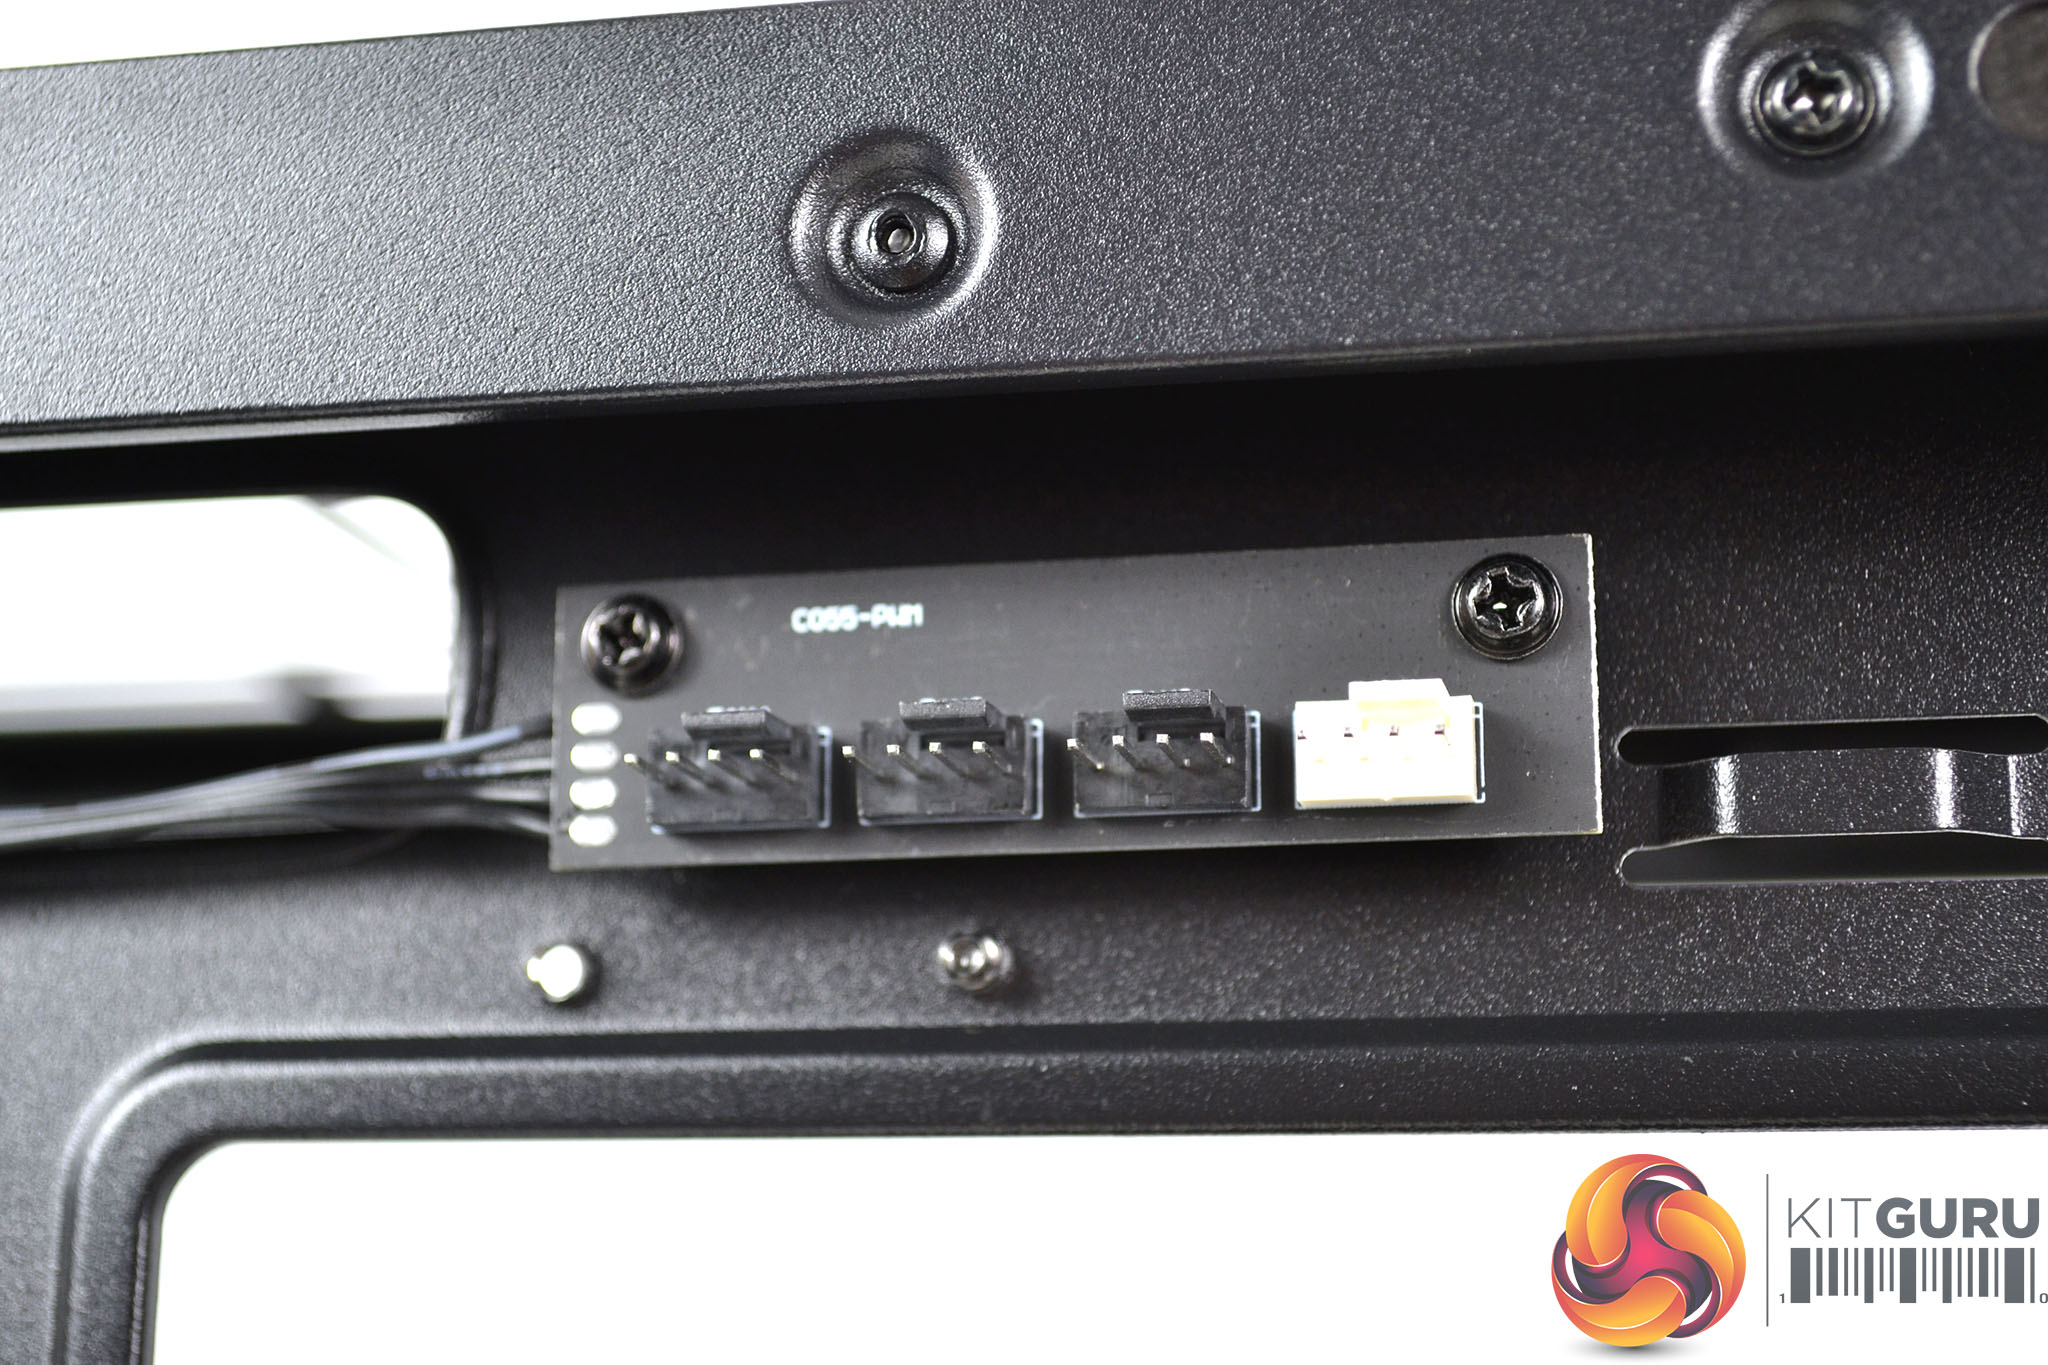

Right at the top of the motherboard tray in the right-hand compartment is the integrated fan hub with four 4-pin PWM fan headers and a single PWM cable to connect with a motherboard header. As well as a healthy 23mm cable management space behind the motherboard, there is also a generous number of eyelets to tie cables down to, so we should be able to make a neat job of cable management when installing the system.