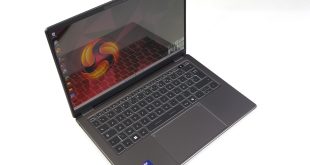
The system we have chosen for this case is based on an AMD X470 motherboard platform from Asus with the ROG Crosshair VII Hero, an AMD Ryzen 7 2700X processor, 16 GB (2 X 8GB modules) Corsair Vengeance RGB PRO DDR4-3200 MHz memory, Gigabyte RTX 2070 Super Gaming OC graphics, while for storage we will use the Corsair Force LE 200 240 GB SSD and a mechanical HDD. To power the system we have chosen a Seasonic Focus PX-850 850W power supply and cooling will be dealt with via a Deepcool Castle 240EX AIO cooler.
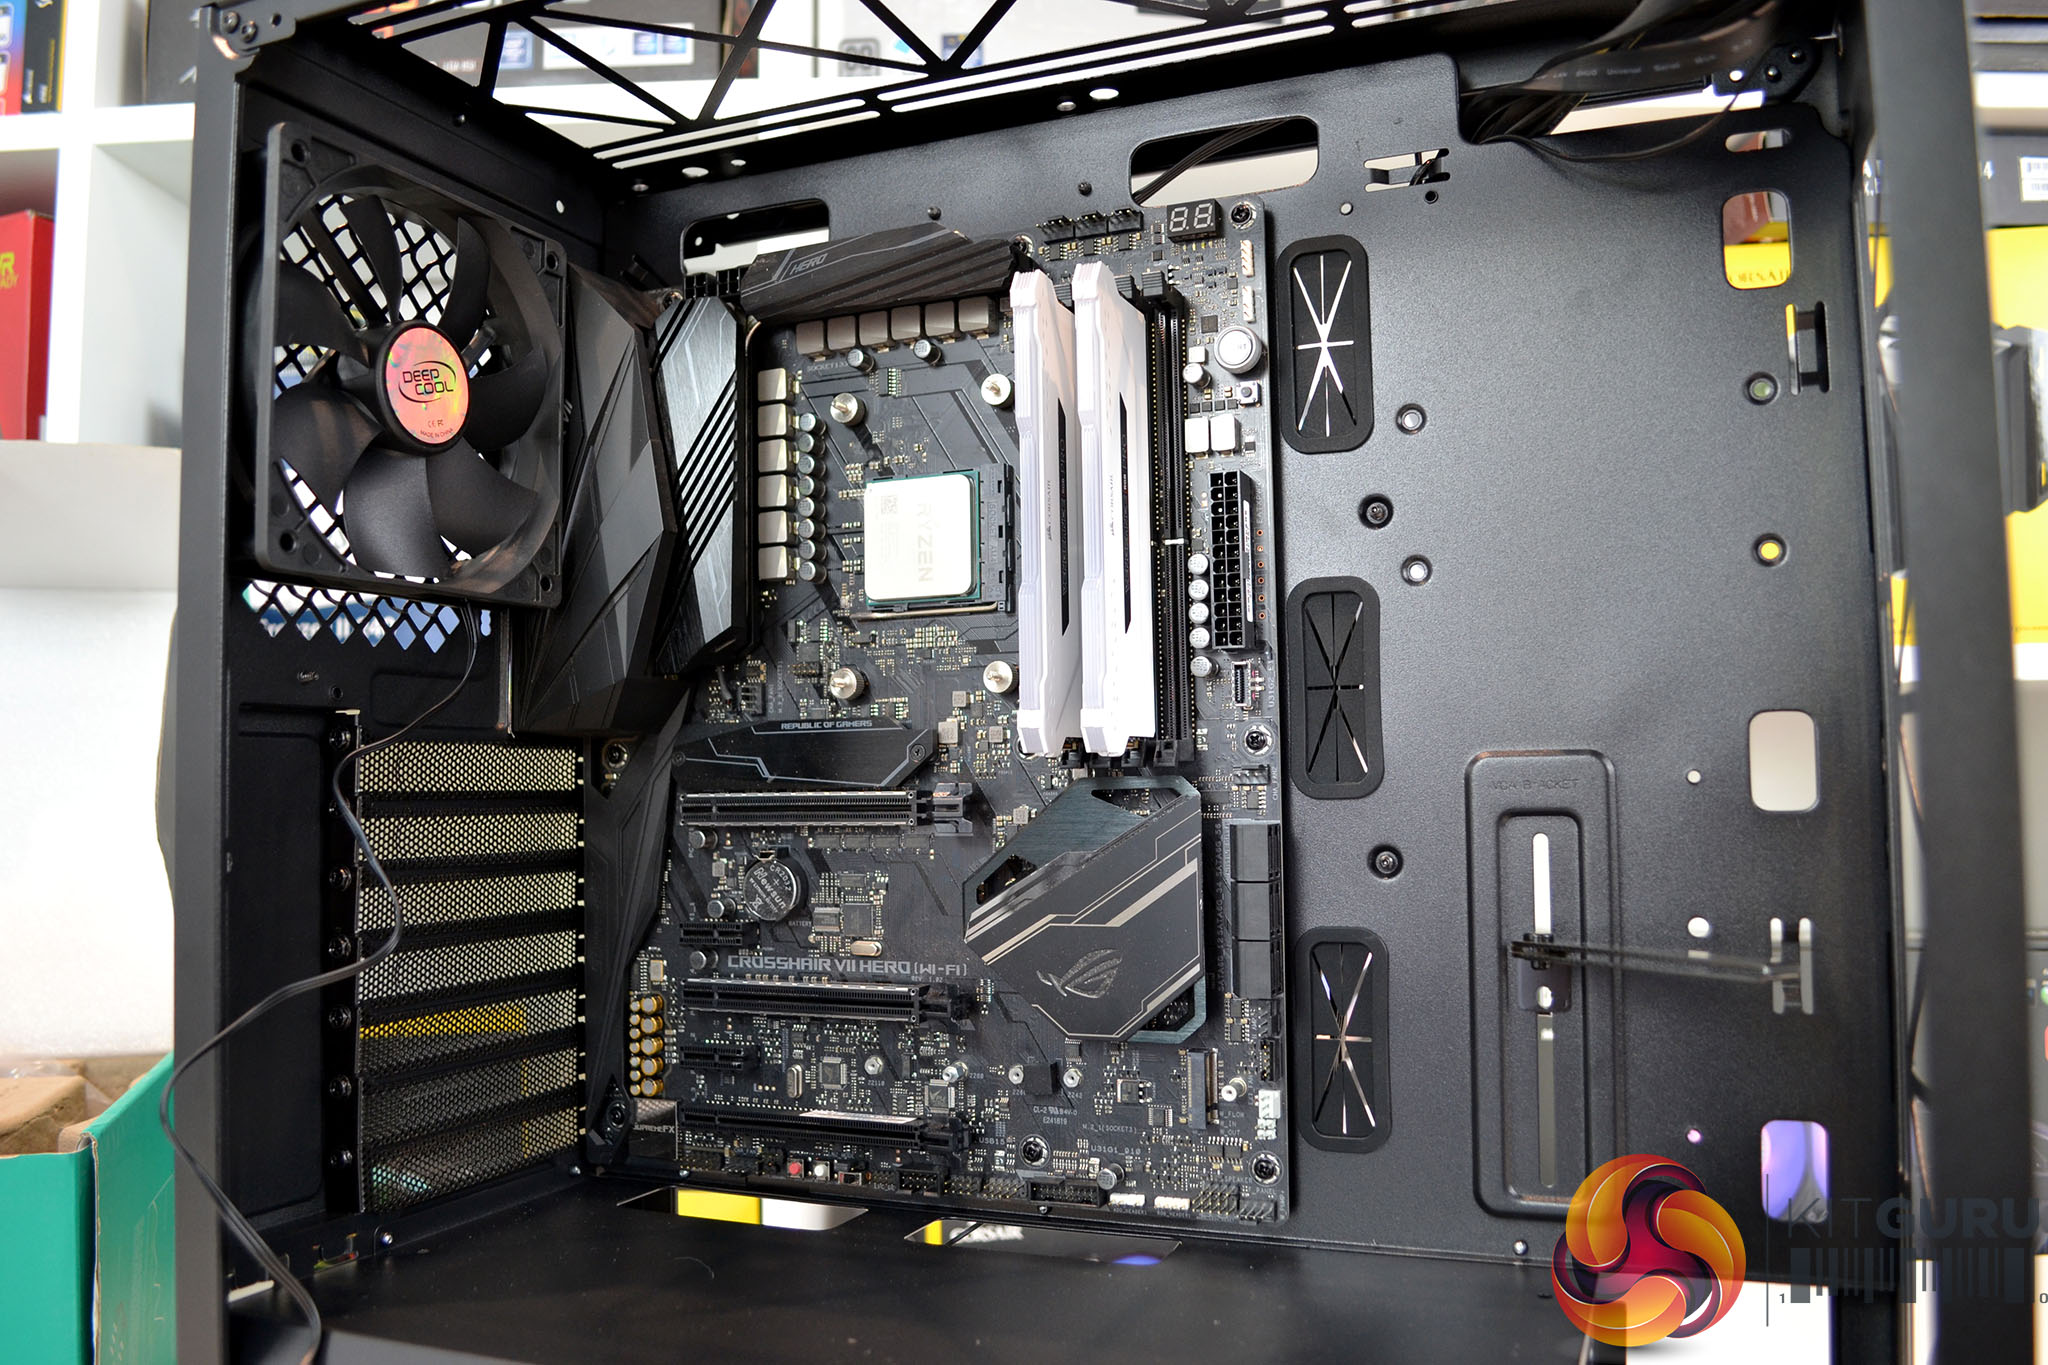
Since the Deepcool Macube 310P has no 5.25-inch optical drive bays at the front of the case, there is ample space to install the motherboard. The pre-installed 120mm exhaust fan is close to the I/O shroud of our Asus motherboard but we managed to manoeuvre it into position relatively easily and without interference from the 120mm fan.
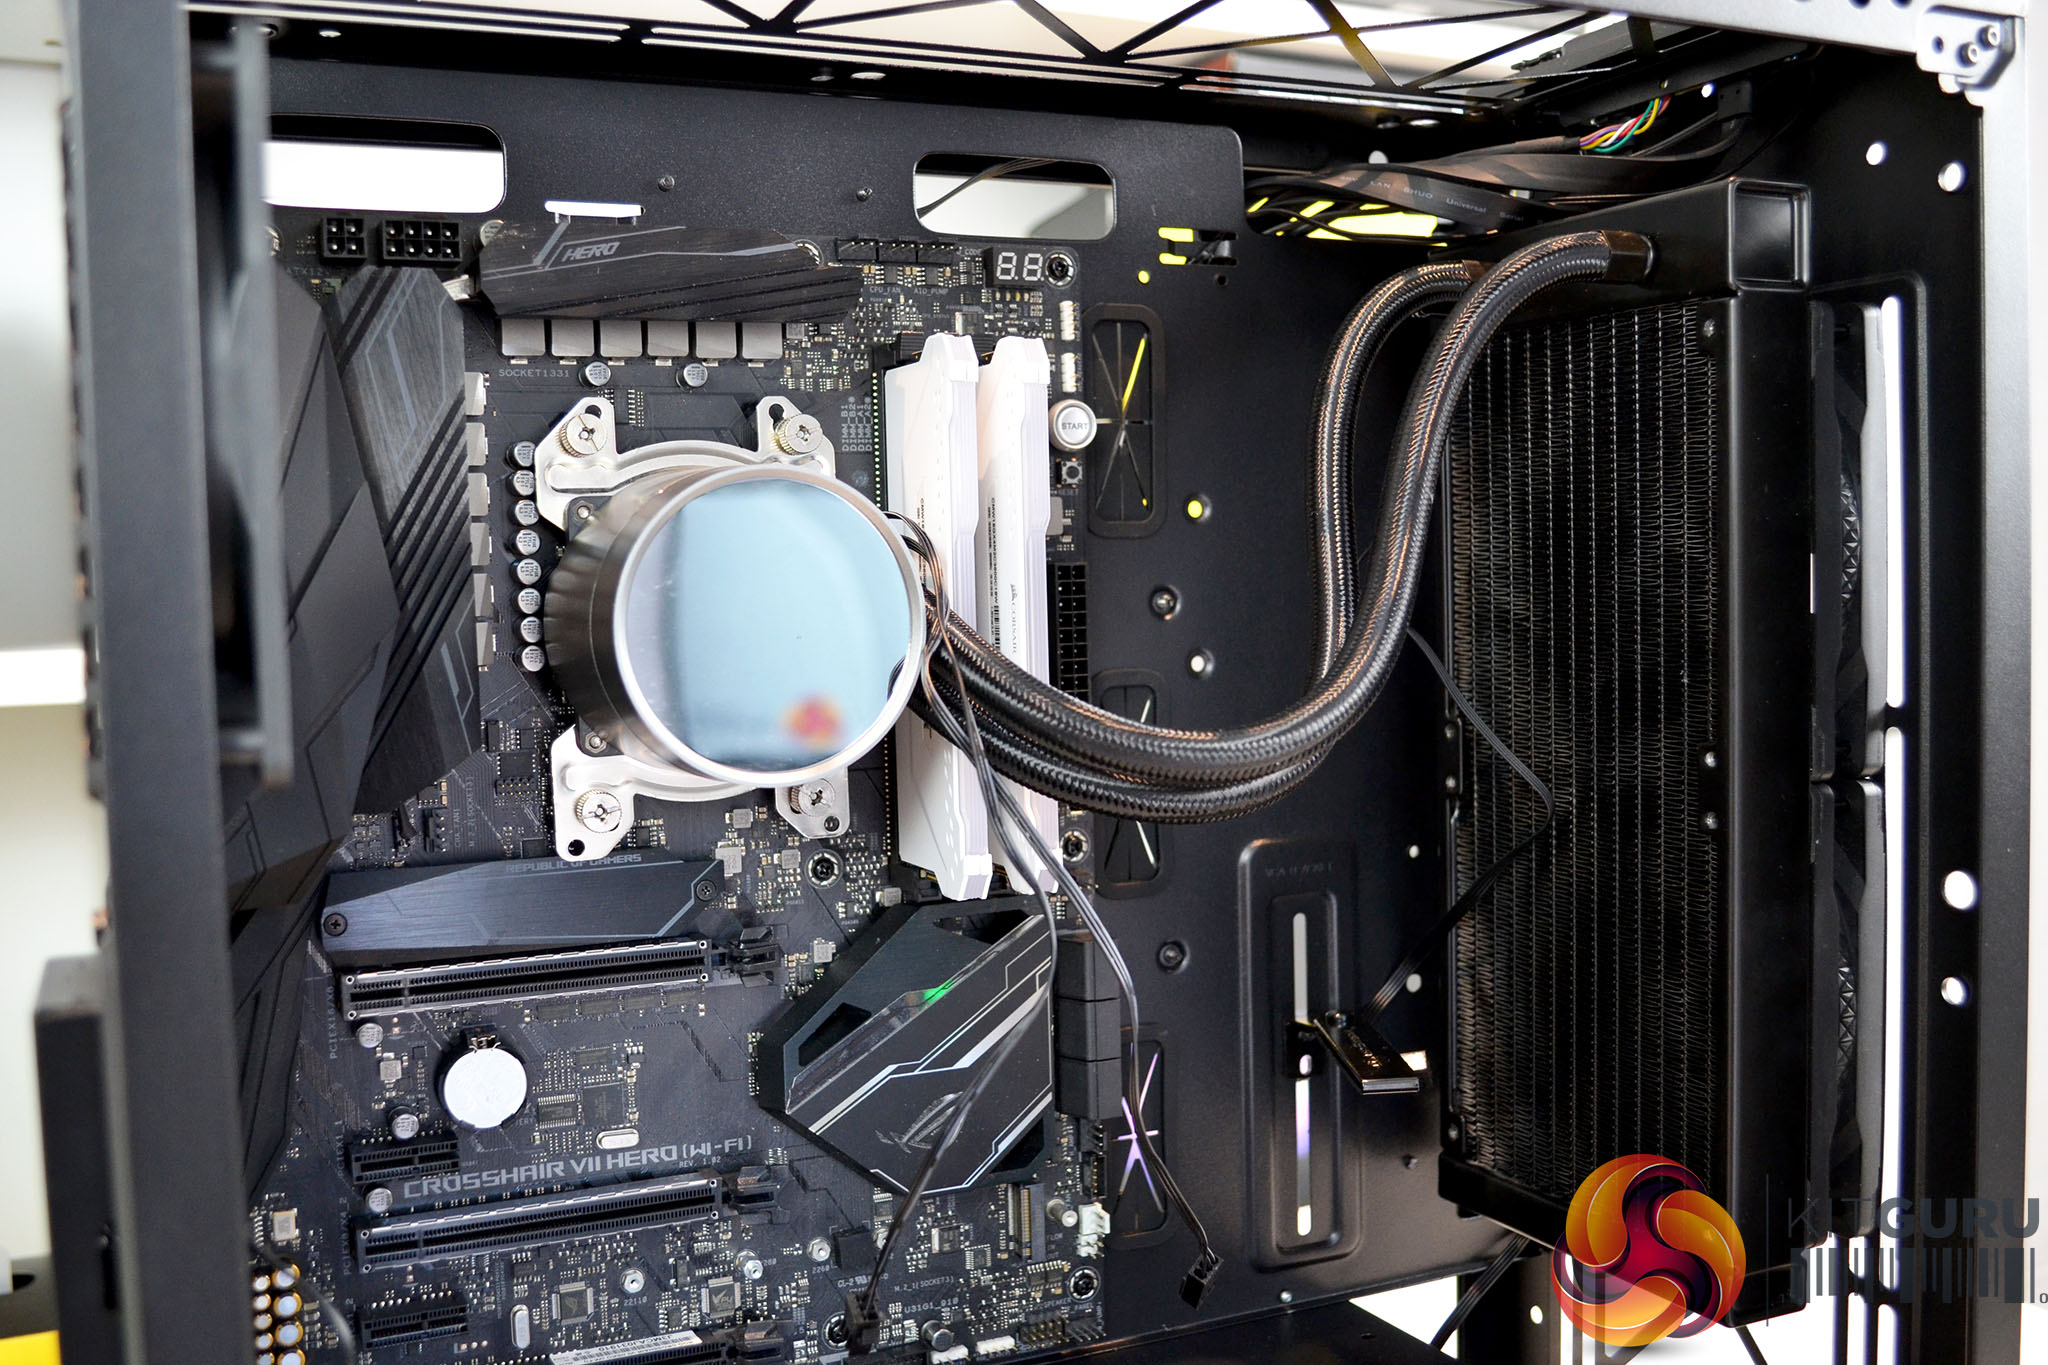
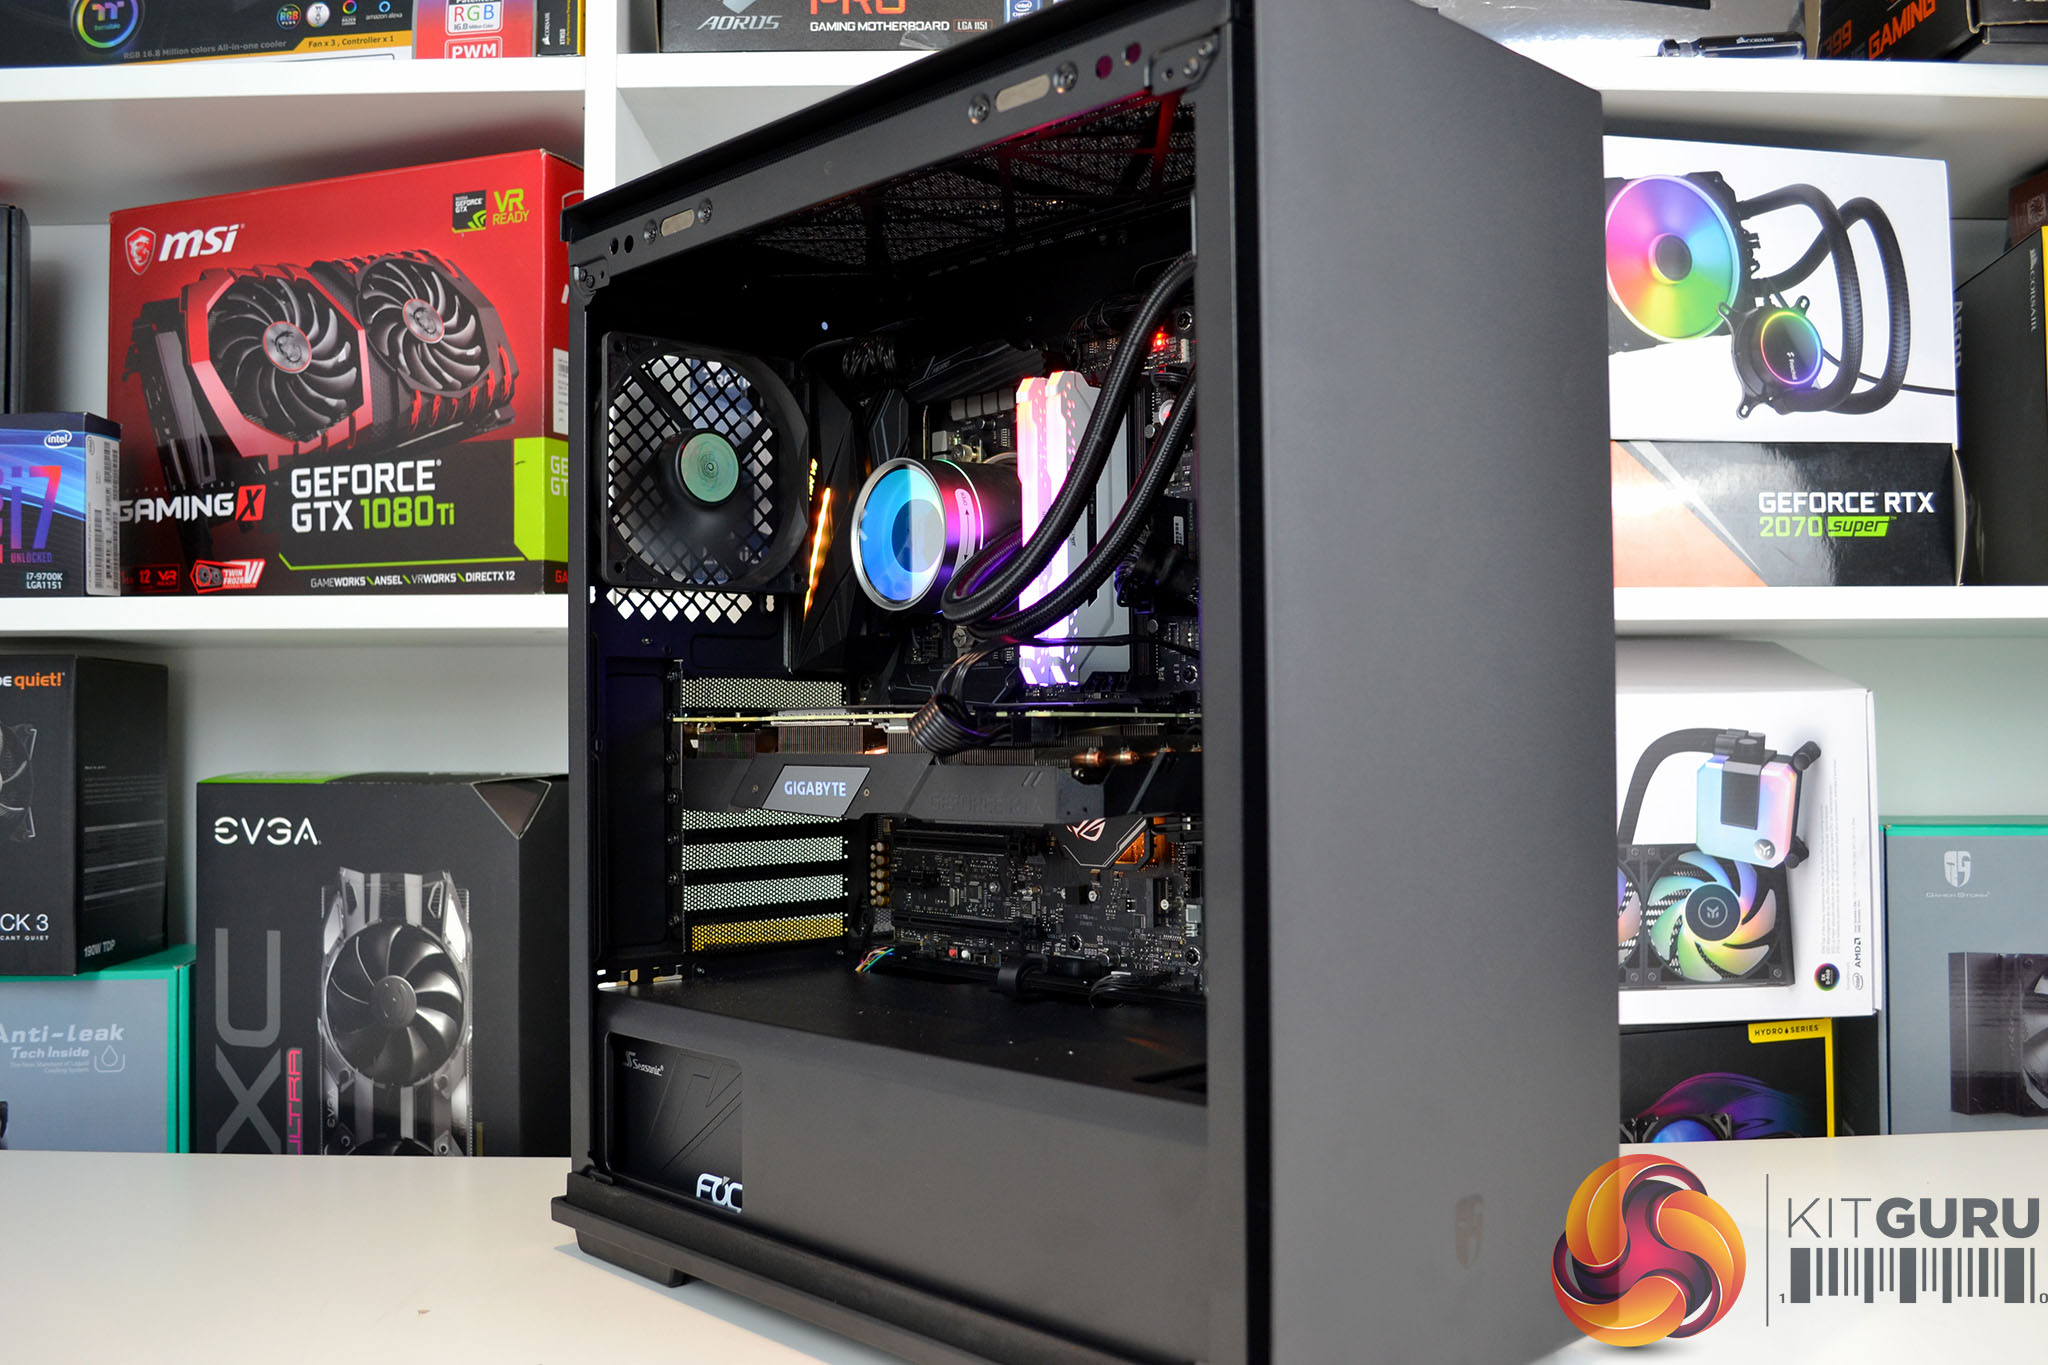
With all this space at the front of the case, we decided to fill it with an AIO CPU cooler since this is the only position in the case where one can be installed. The generous amount of space at the front of the case made installing the AIO easy work and still leaves plenty of room for a long graphics card.
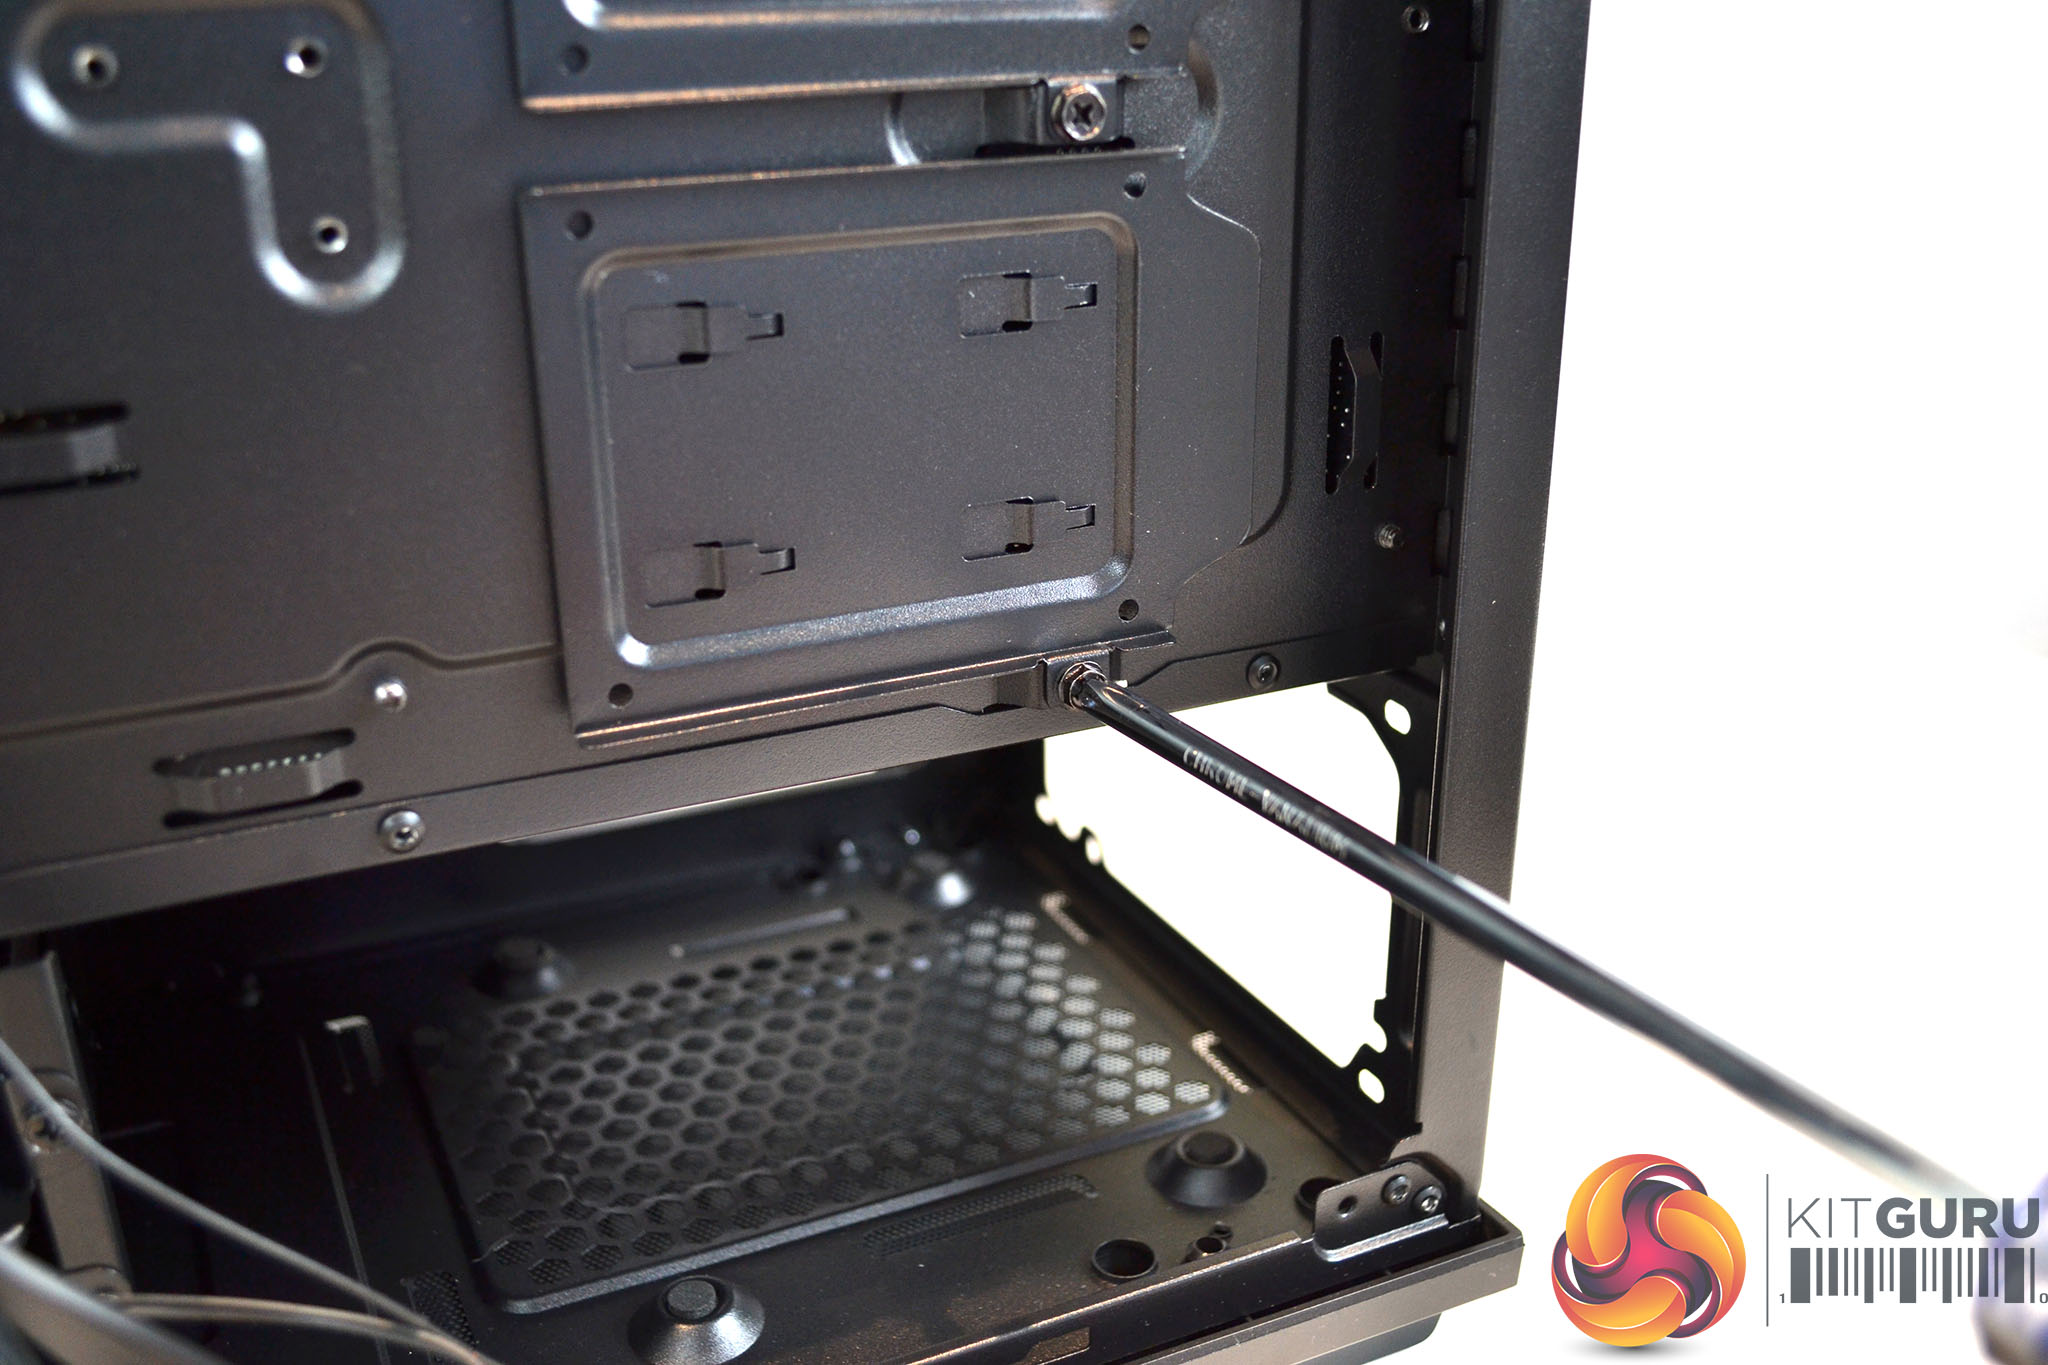
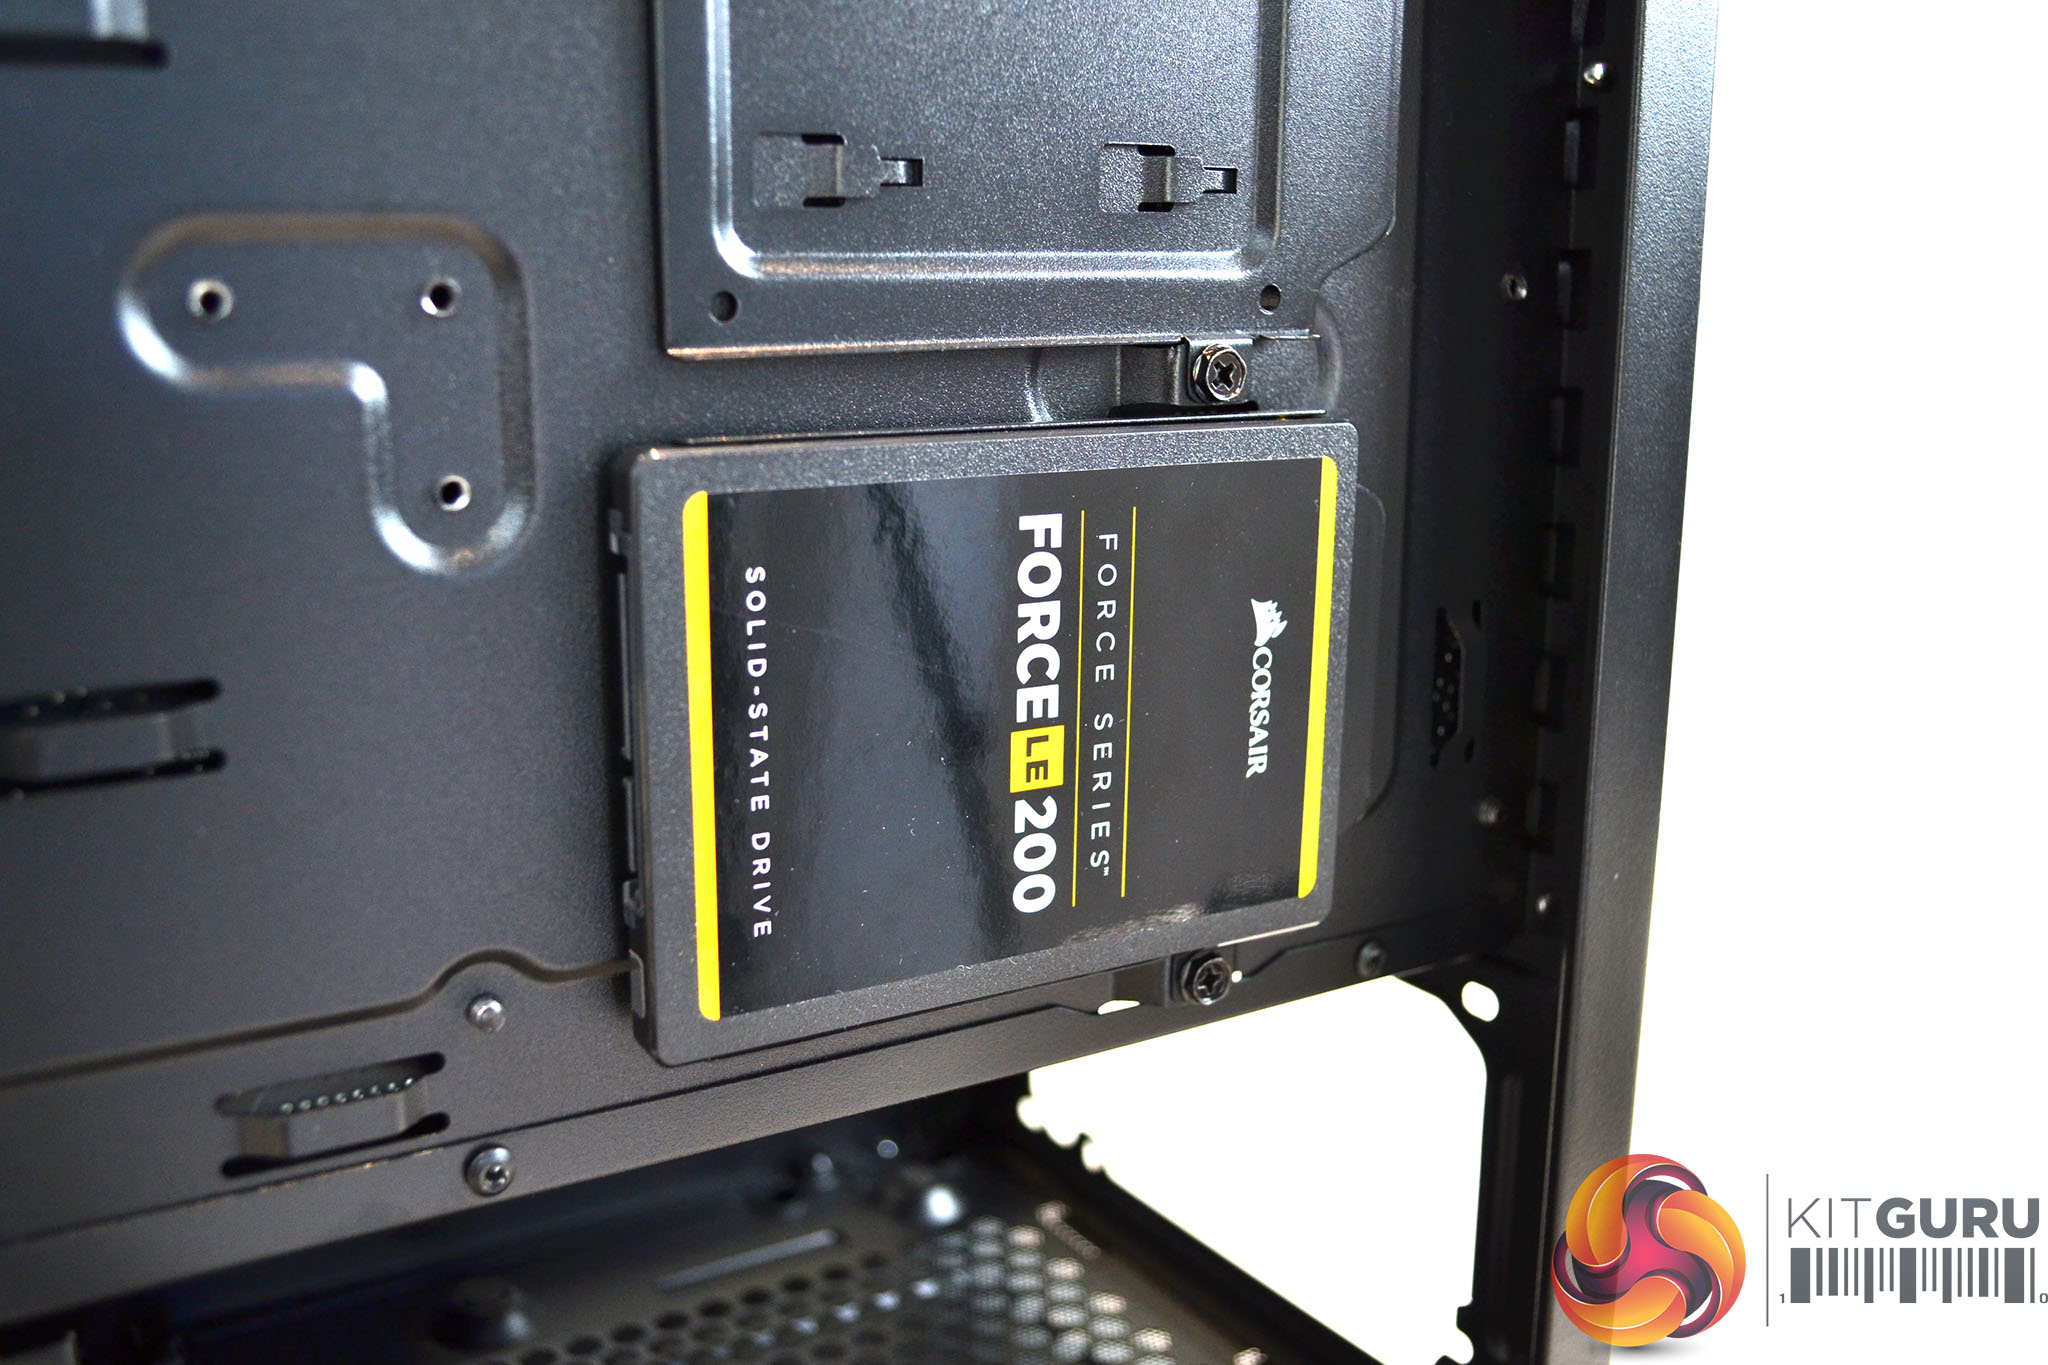
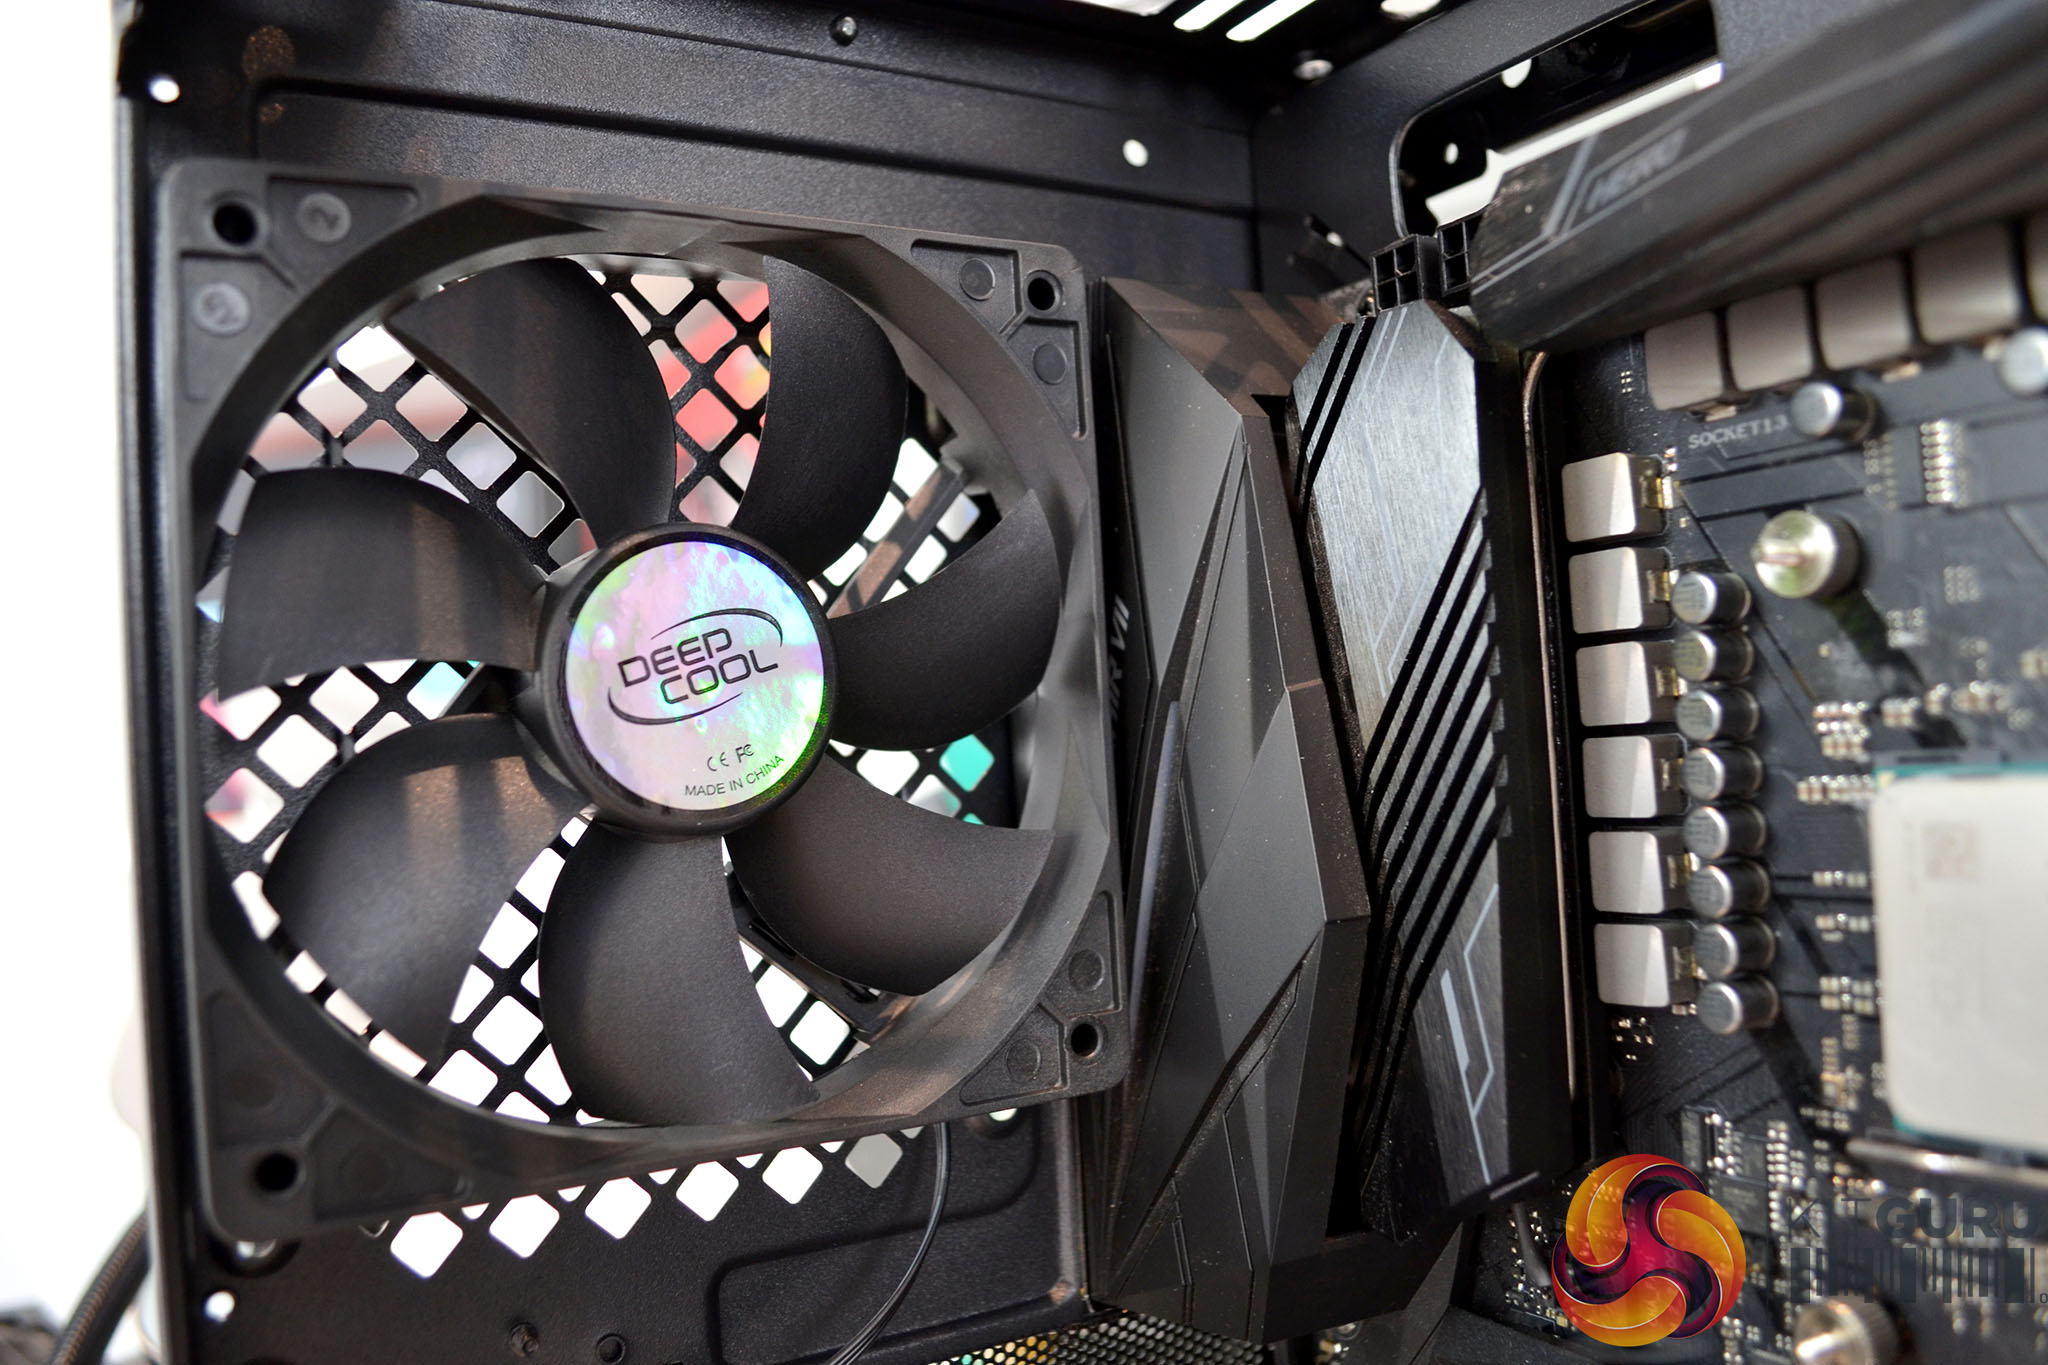
SSD installation using the removable brackets on the rear of the motherboard is simple, Just loosen off the single bracket retaining screw, fit the SSD to the bracket with four screws that are provided with the case and then fix the bracket back in its position.
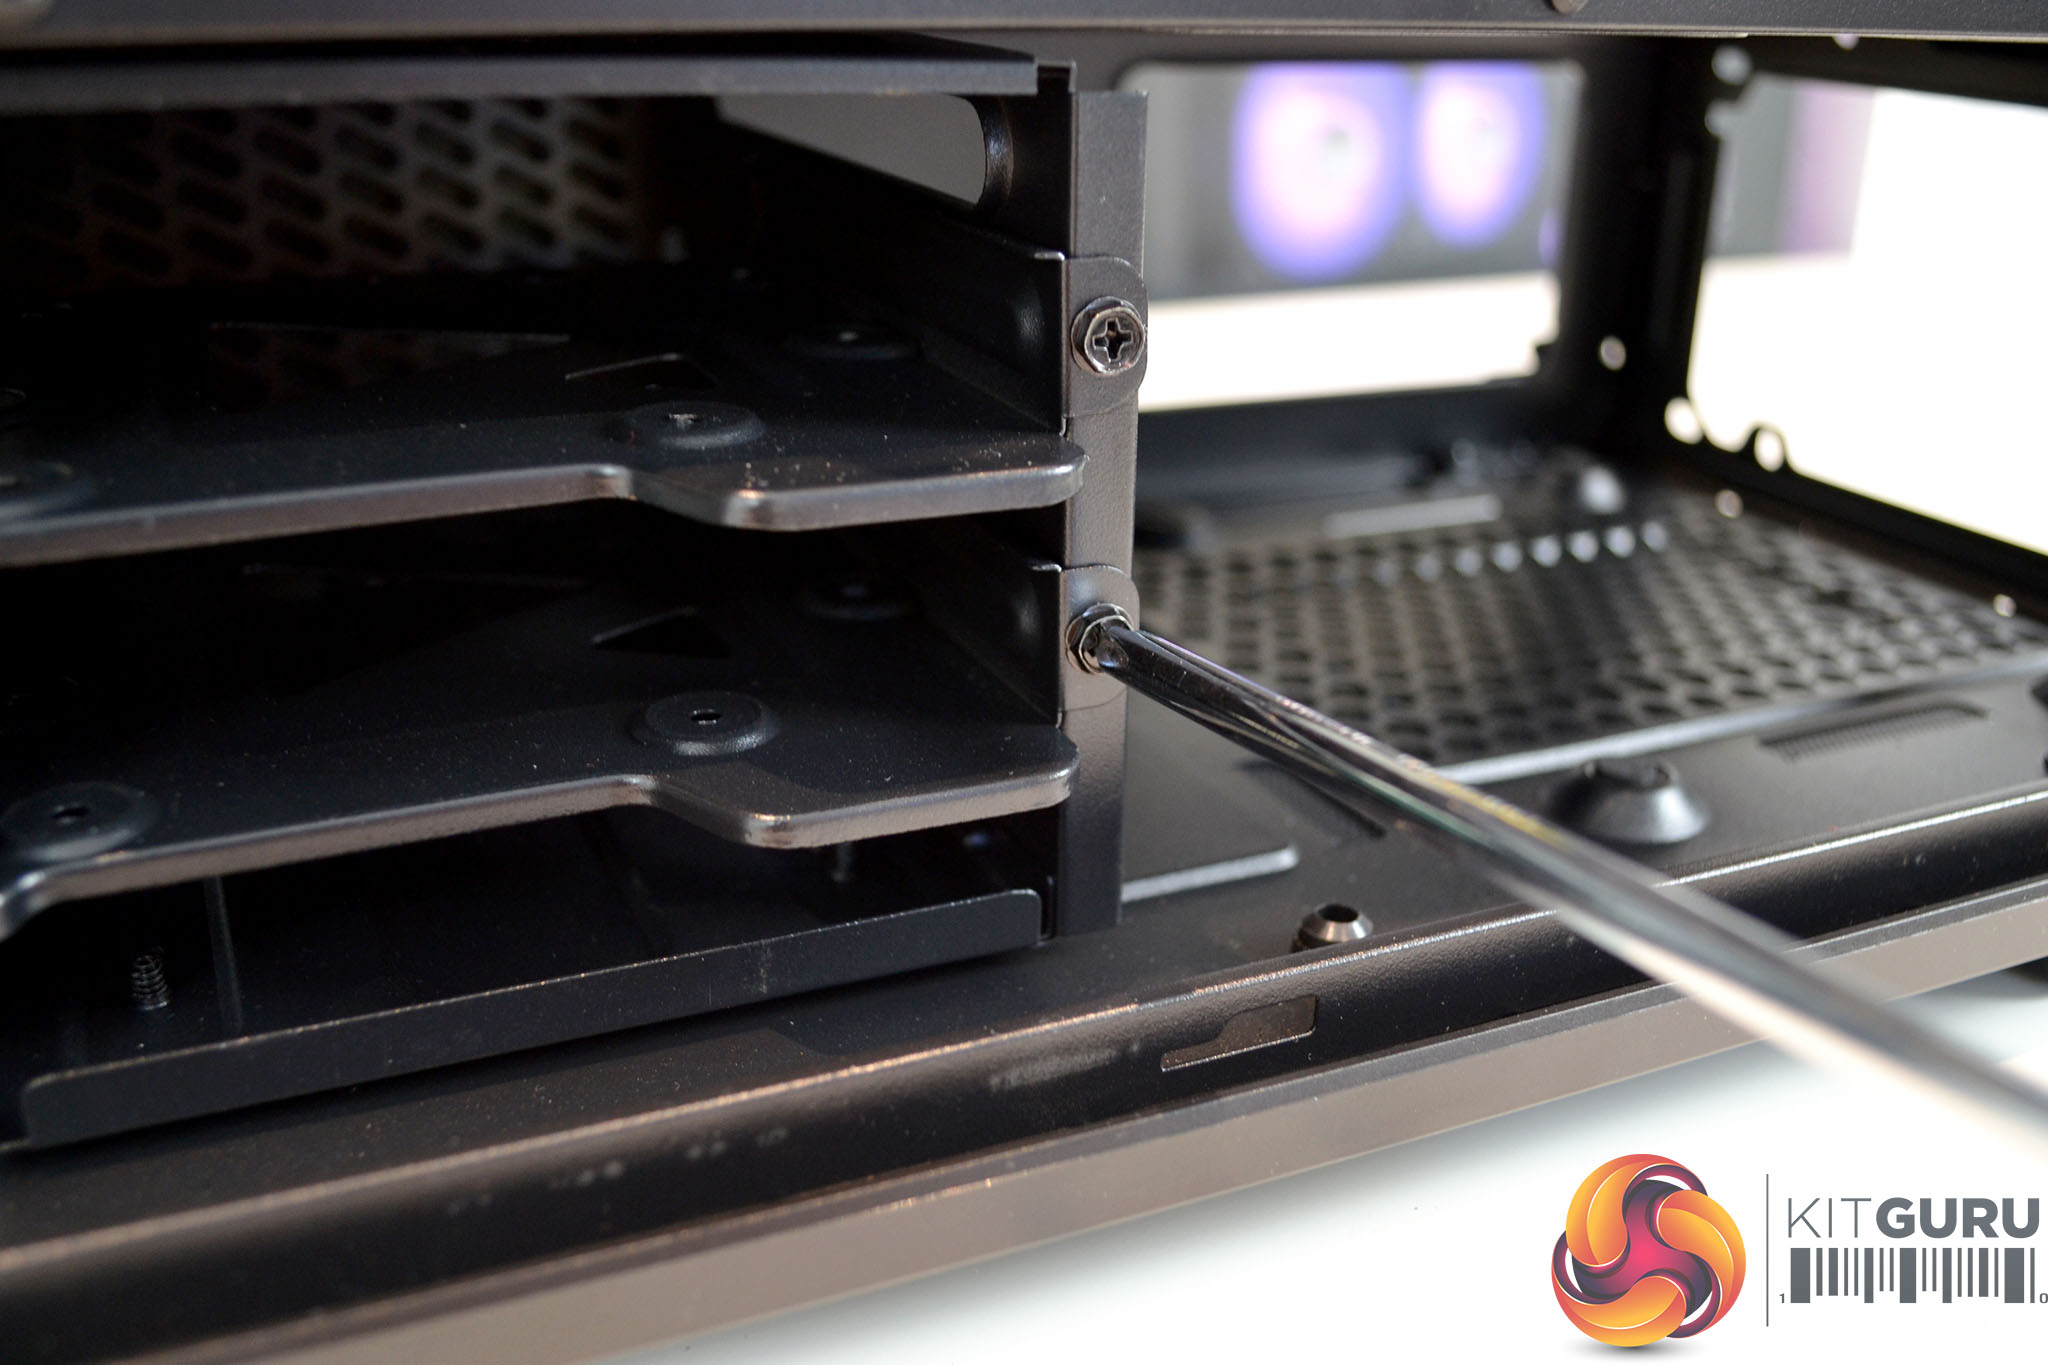
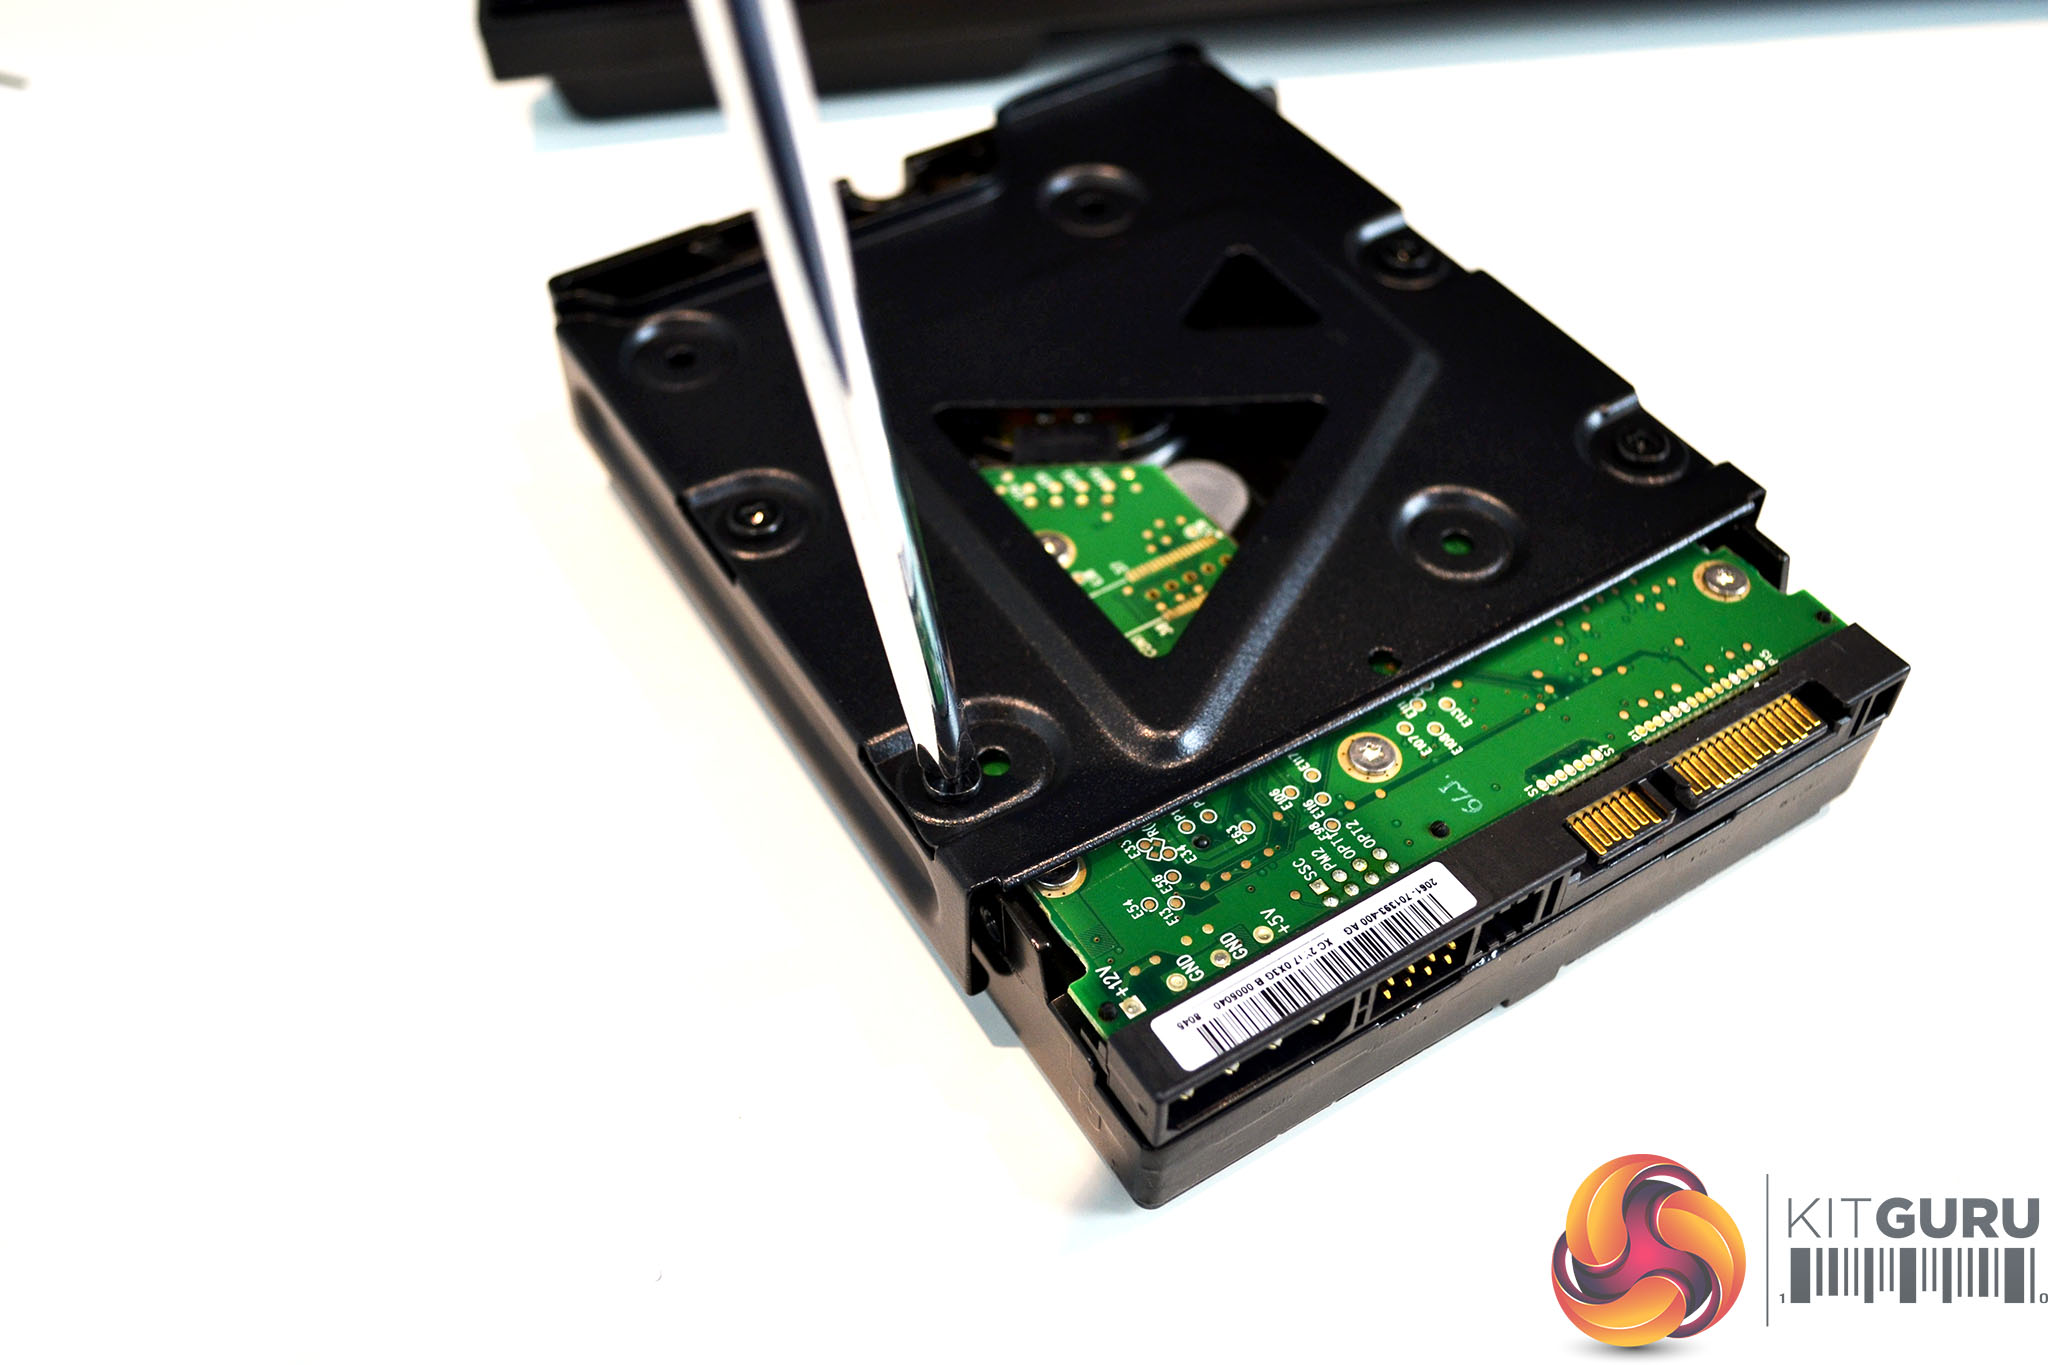
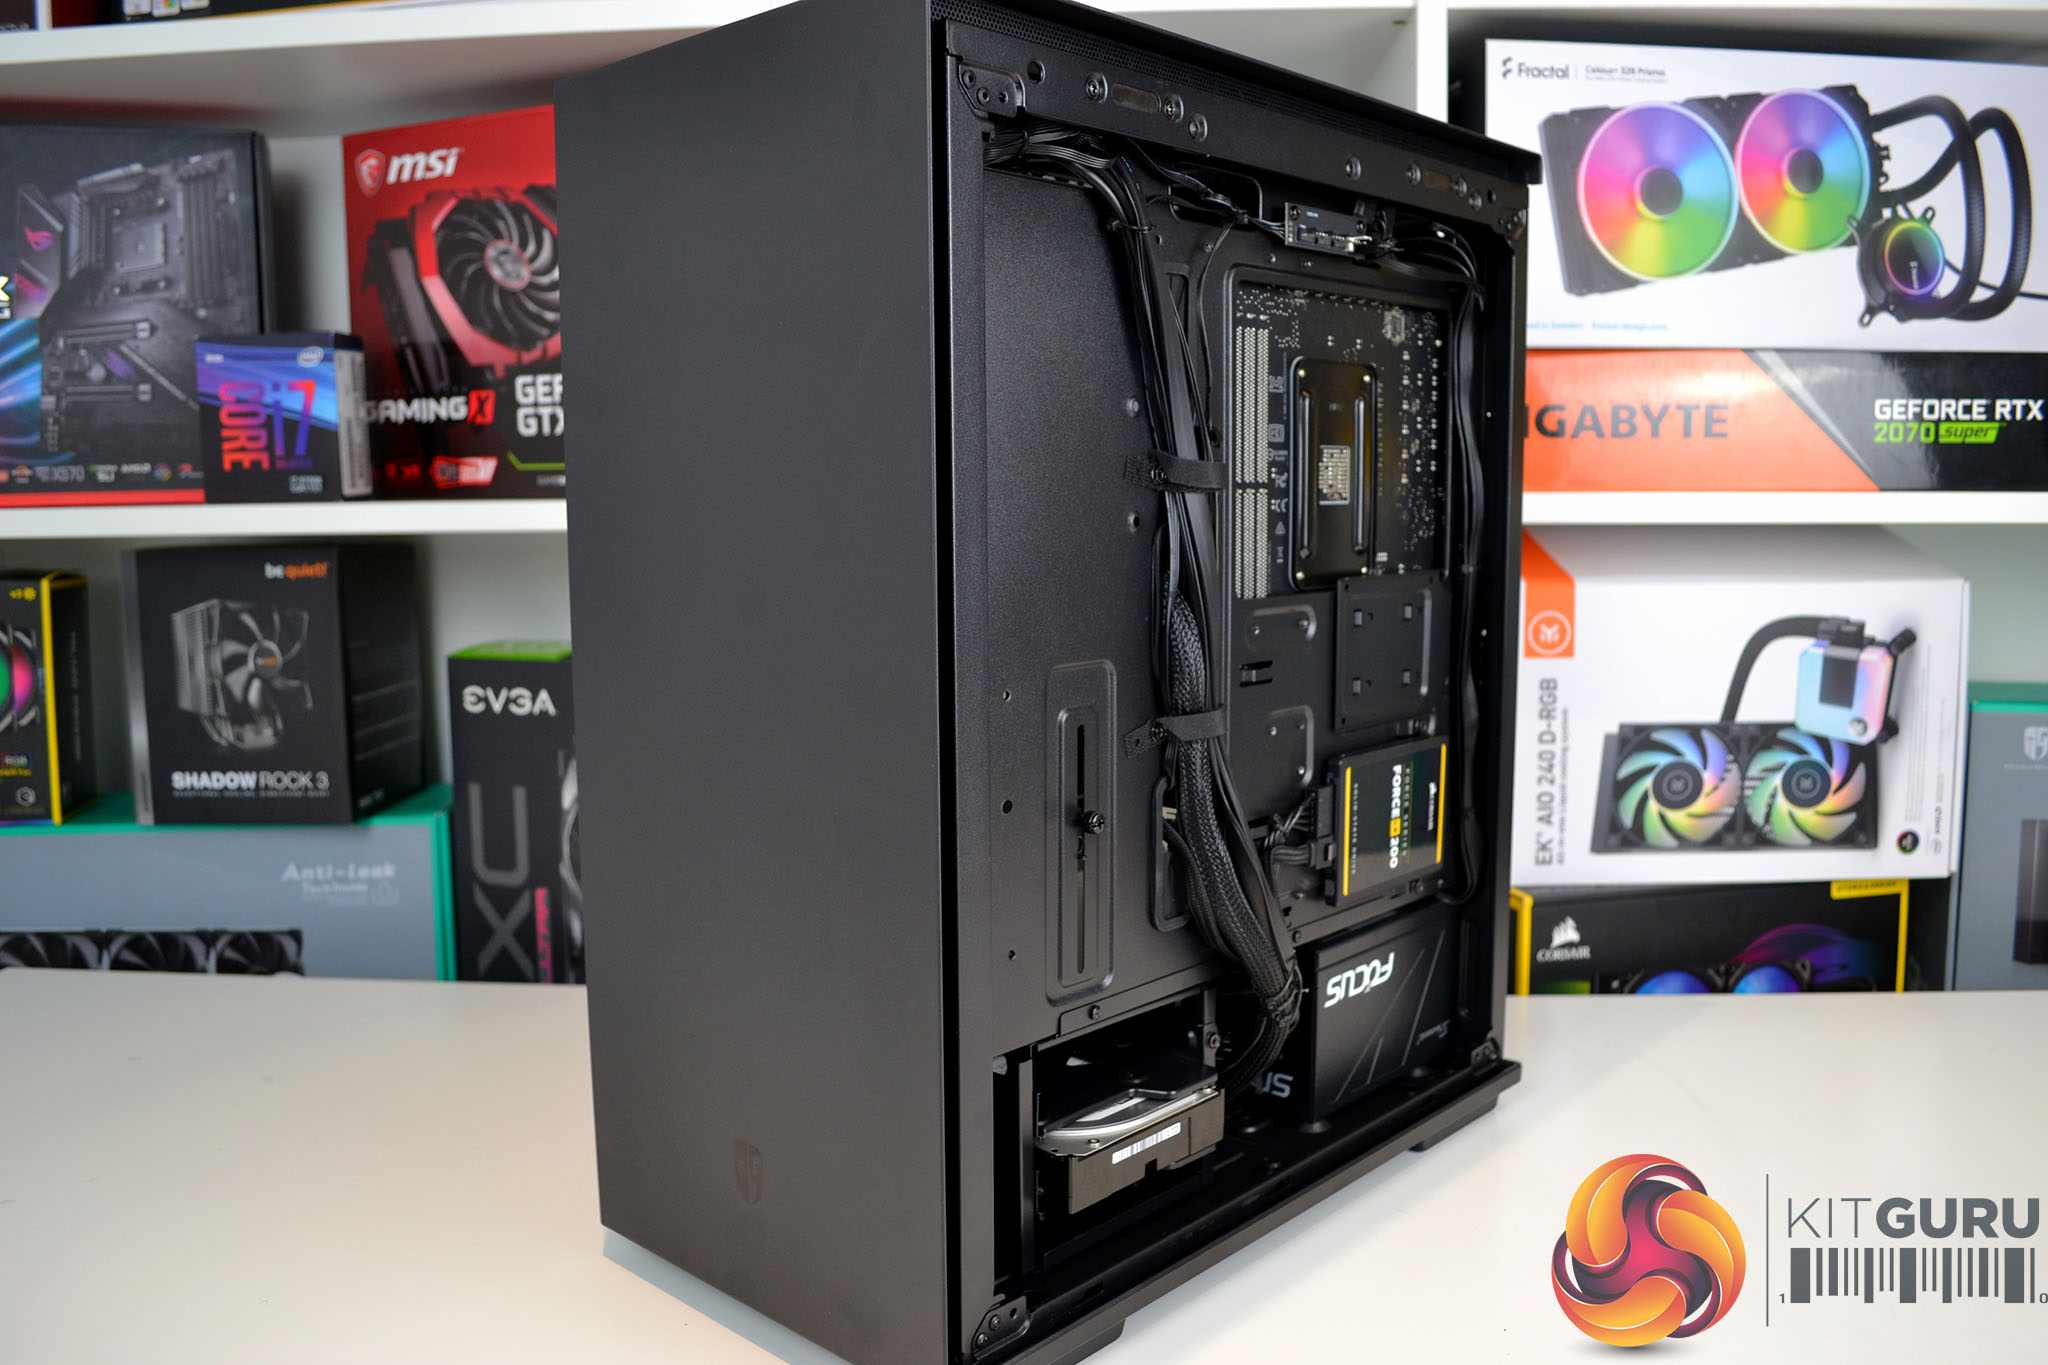
Installation of a HDD is also a simple process with the Macube 310P. Fitting a 3.5-inch drive in the HDD cage requires removal of one screw to slide the bracket out, then using the provided screws, fix the HDD into the bracket and slide the bracket back into the cage and secure with the retaining screw.


Often with compact mid-tower cases such as the Macube 310P, installing the power supply can be a challenging experience since space is restricted. With the Macube 310P, it isn’t too bad and there was just enough space to slip our Seasonic Focus Power supply into position without too much hassle.
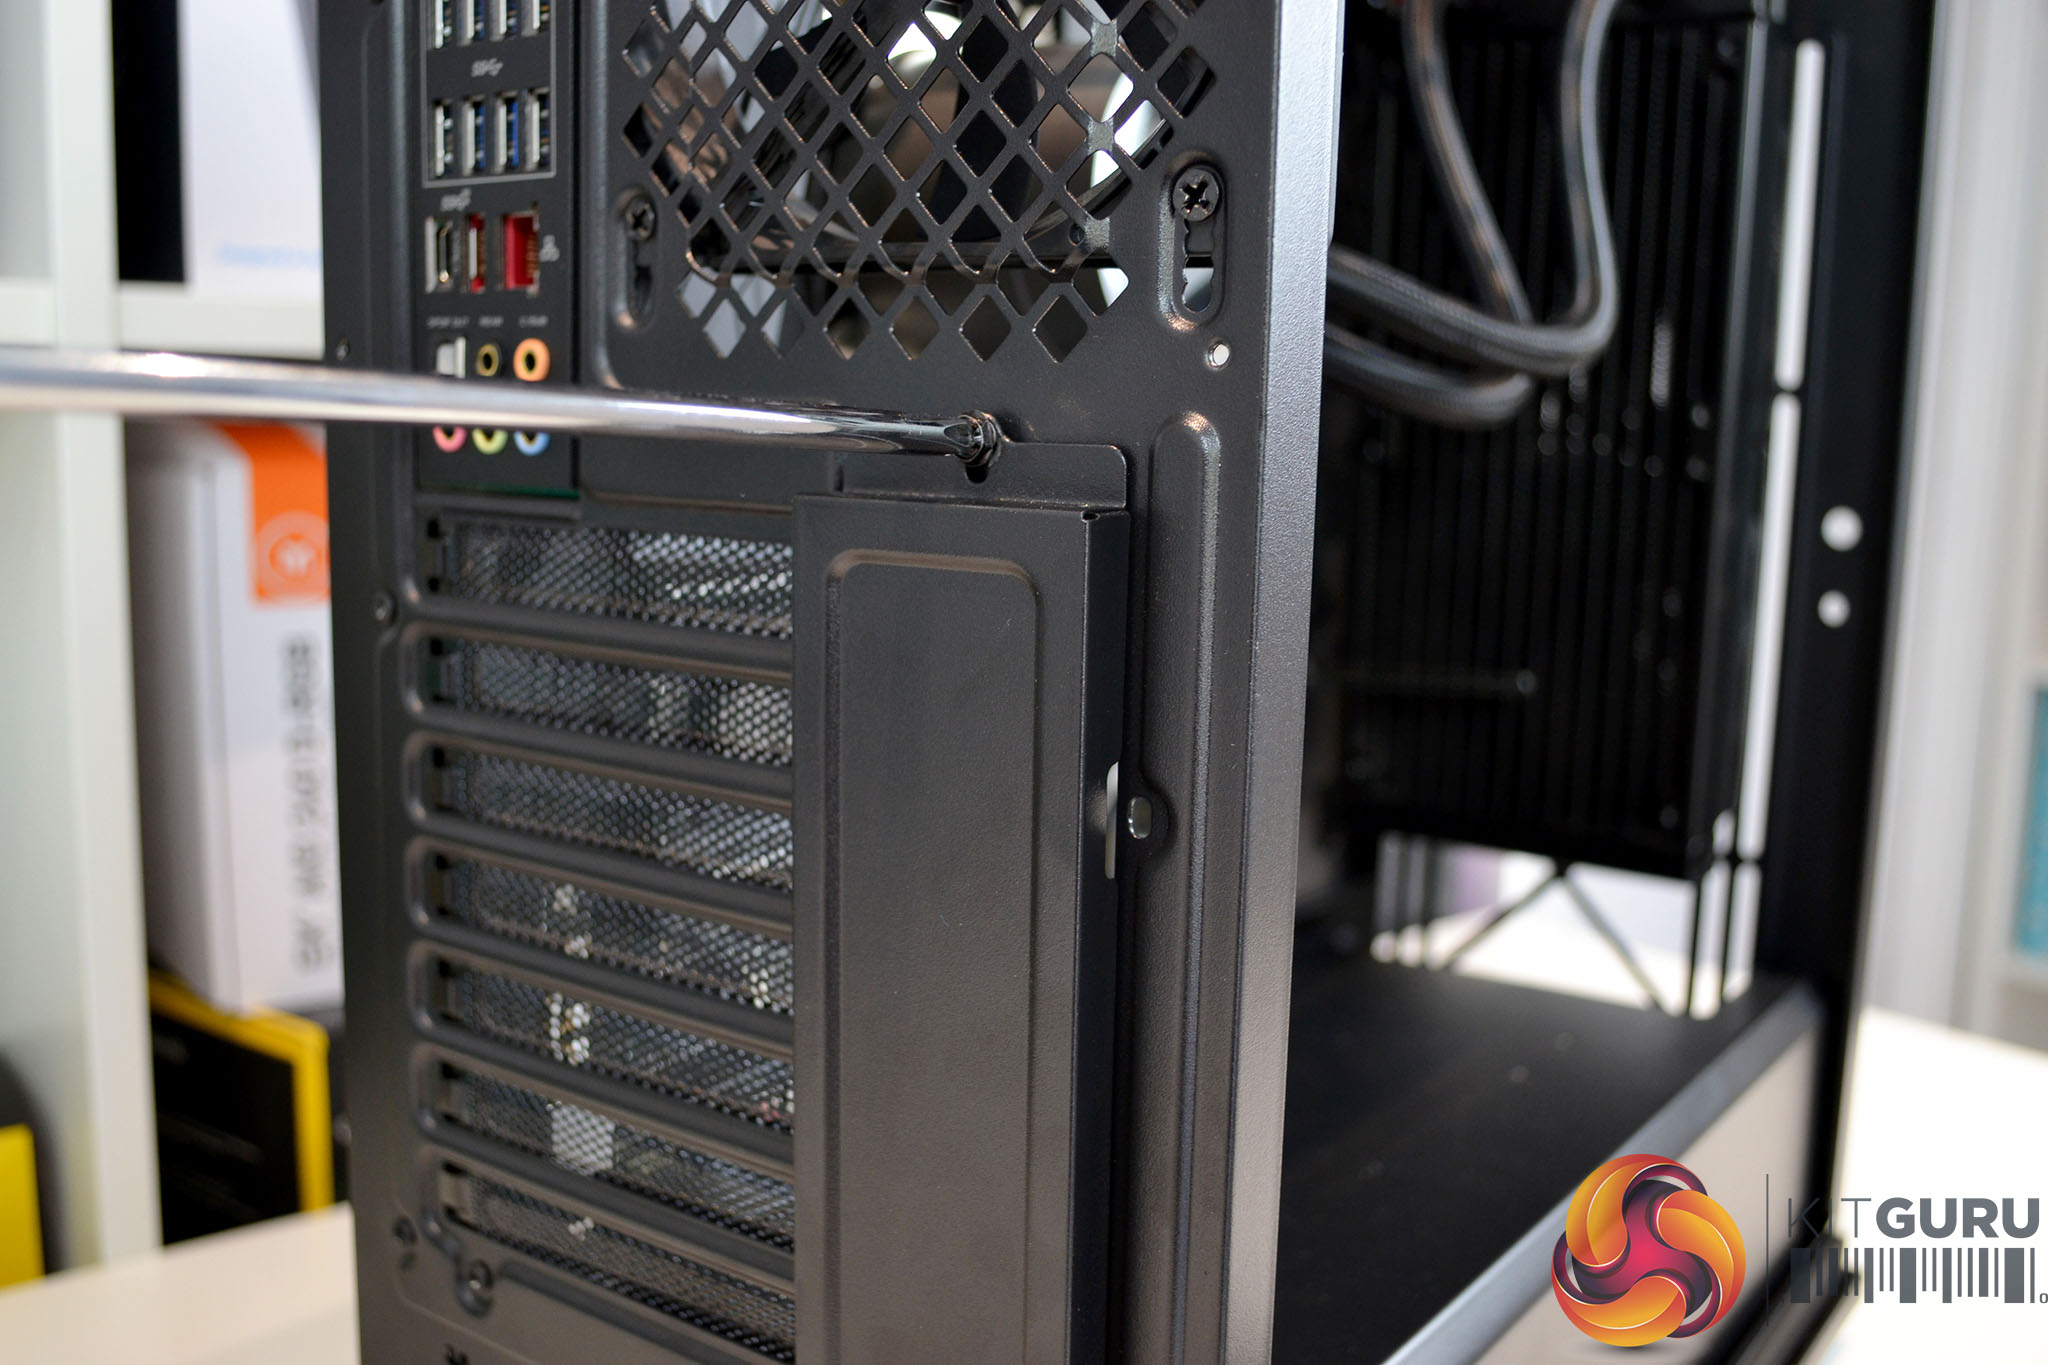
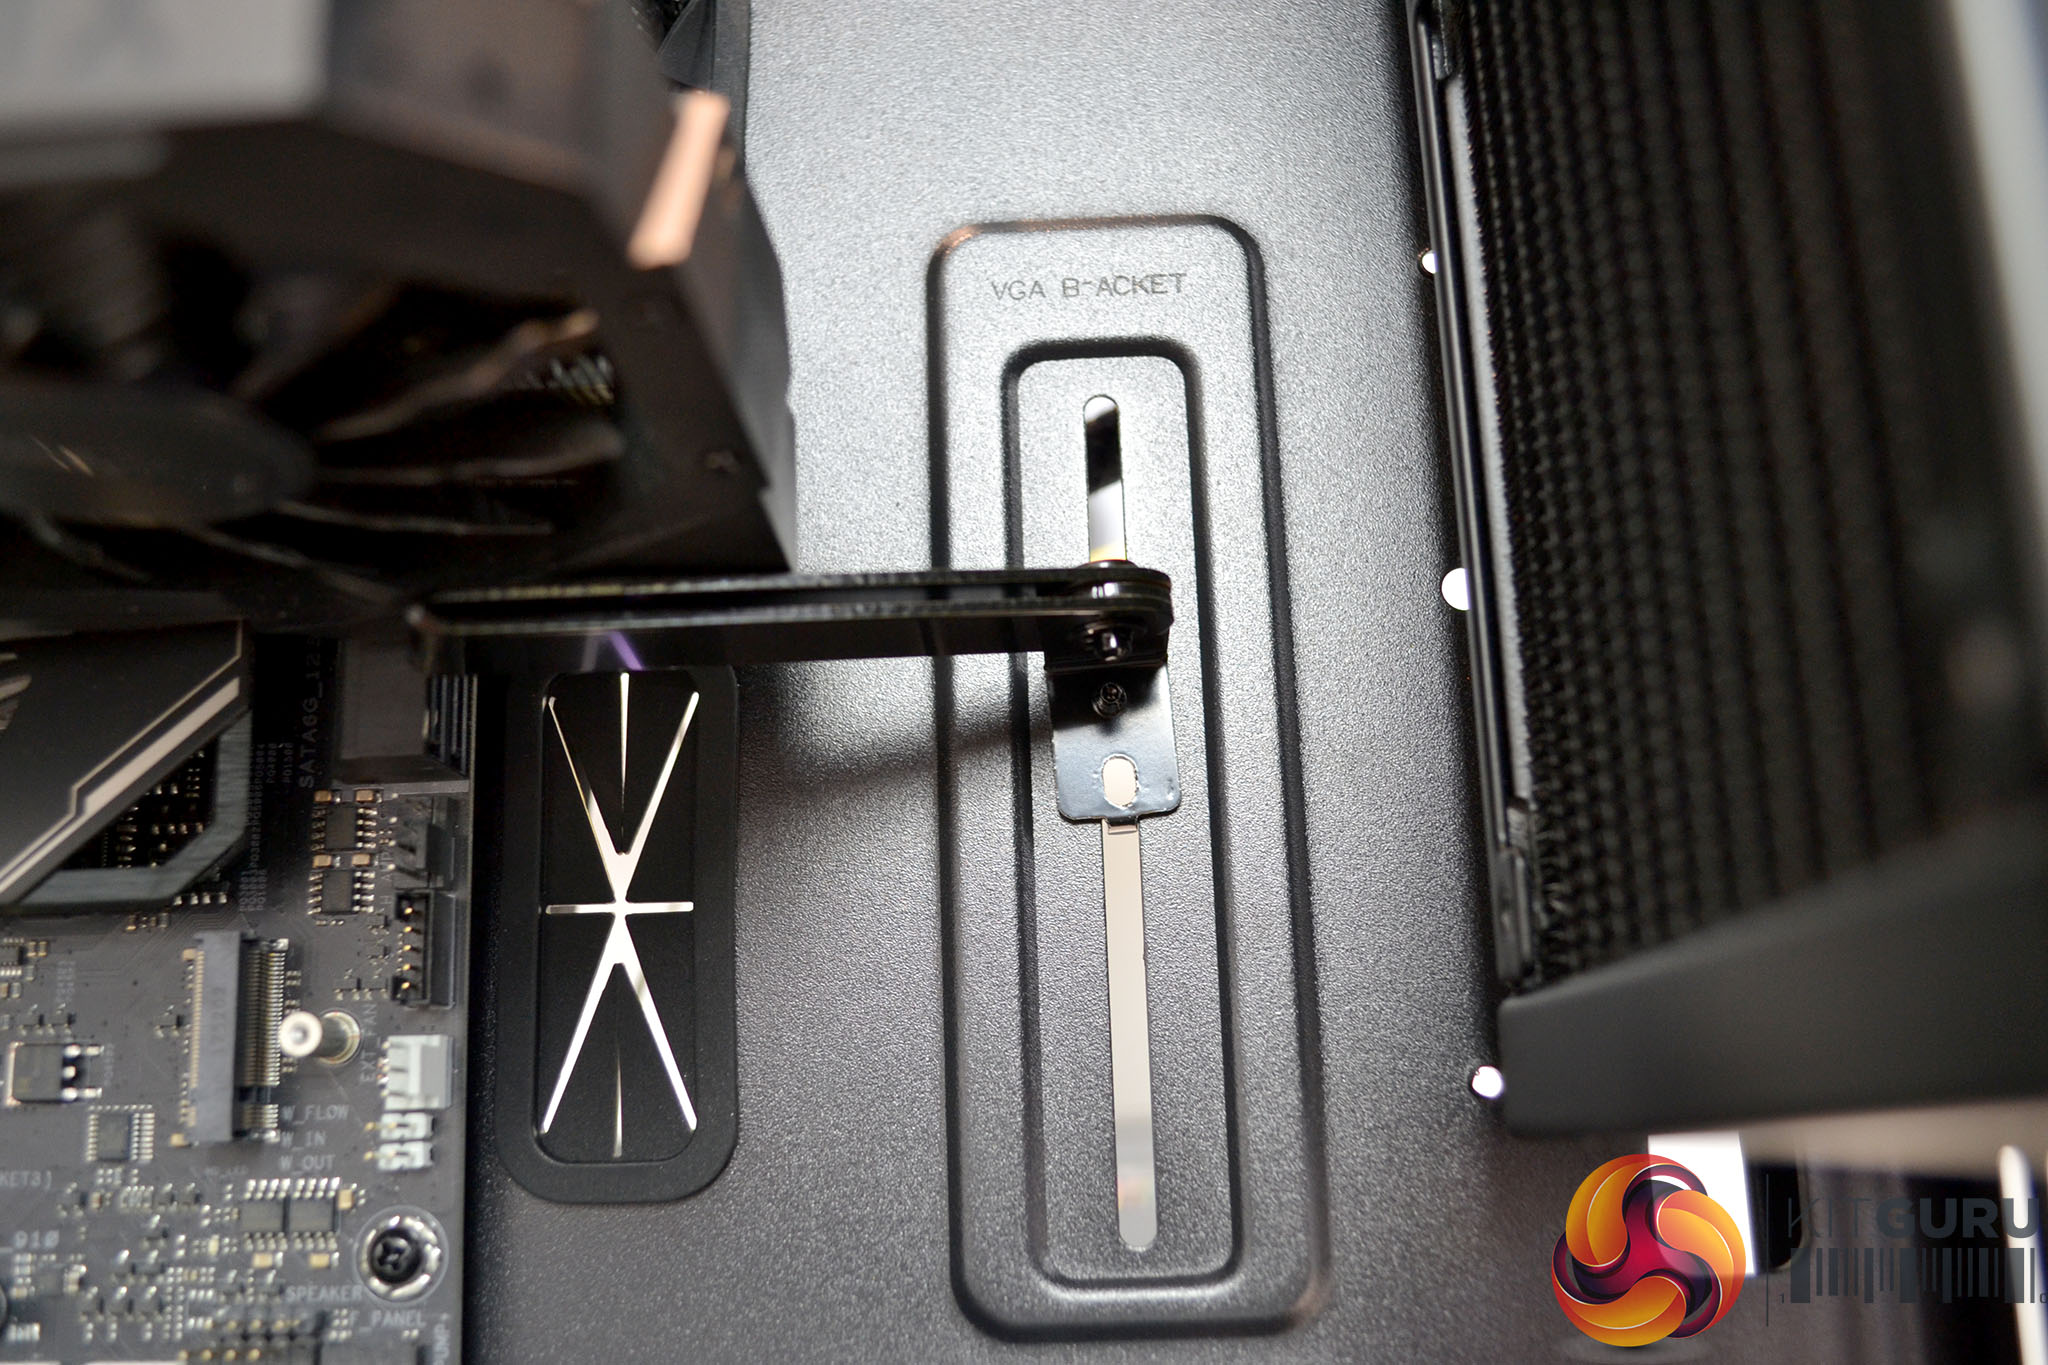
Removal of the GPU vertical mounting cover plate is required to install PCIe expansion cards. Once we removed the cover, installing the graphics card was simple as there is plenty of space inside the Macube 310P, and I’m pleased to say that the VGA support bracket actually works, who would have known that such a simple idea was all it needed to solve an issue we have been fighting for years.
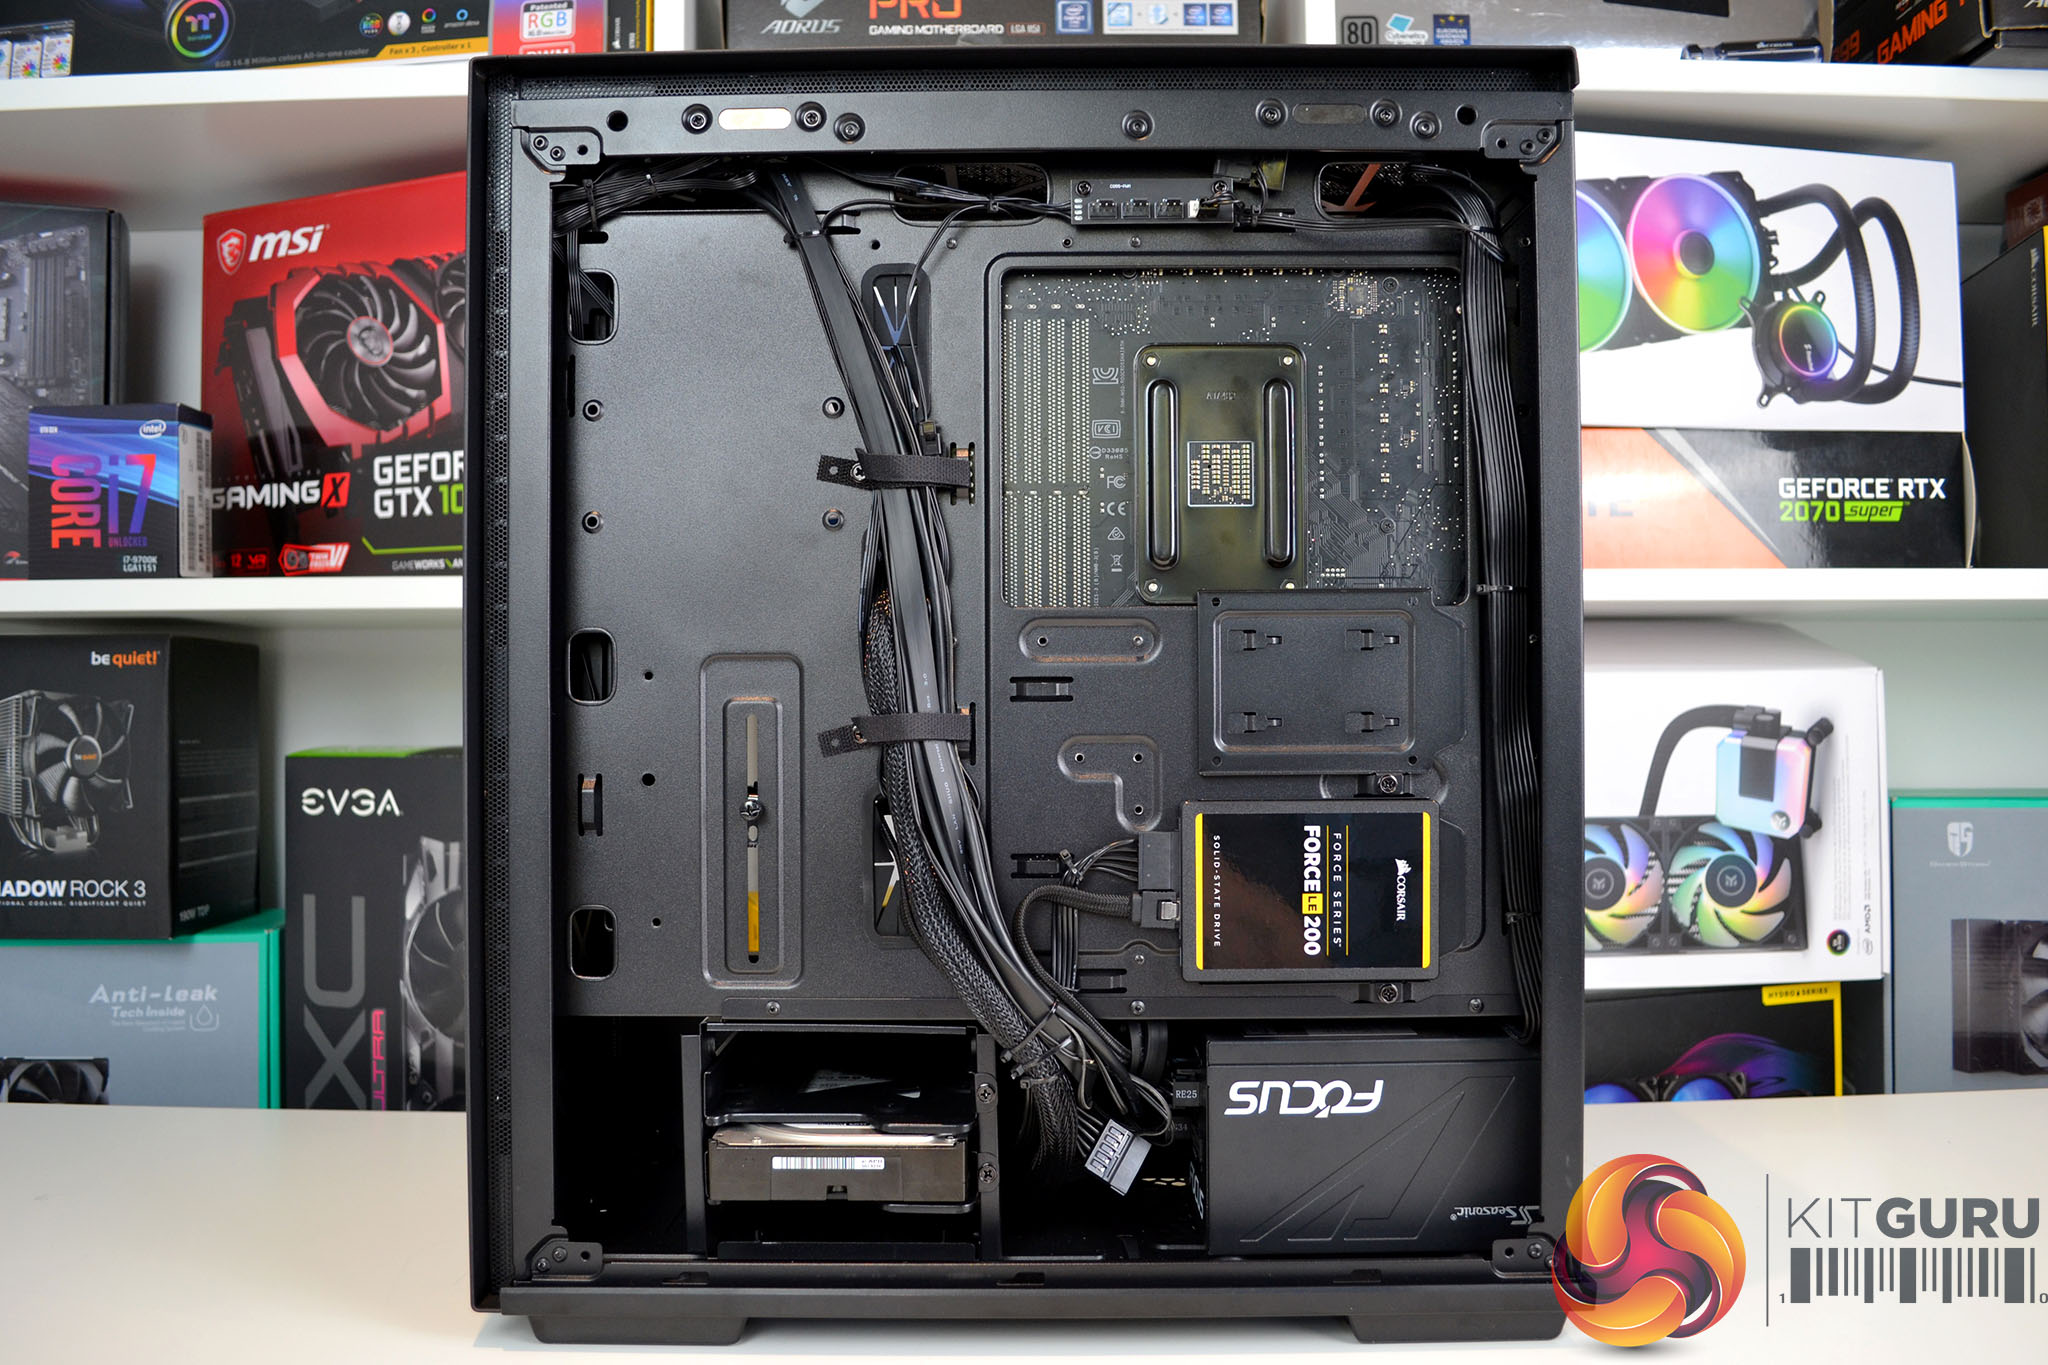
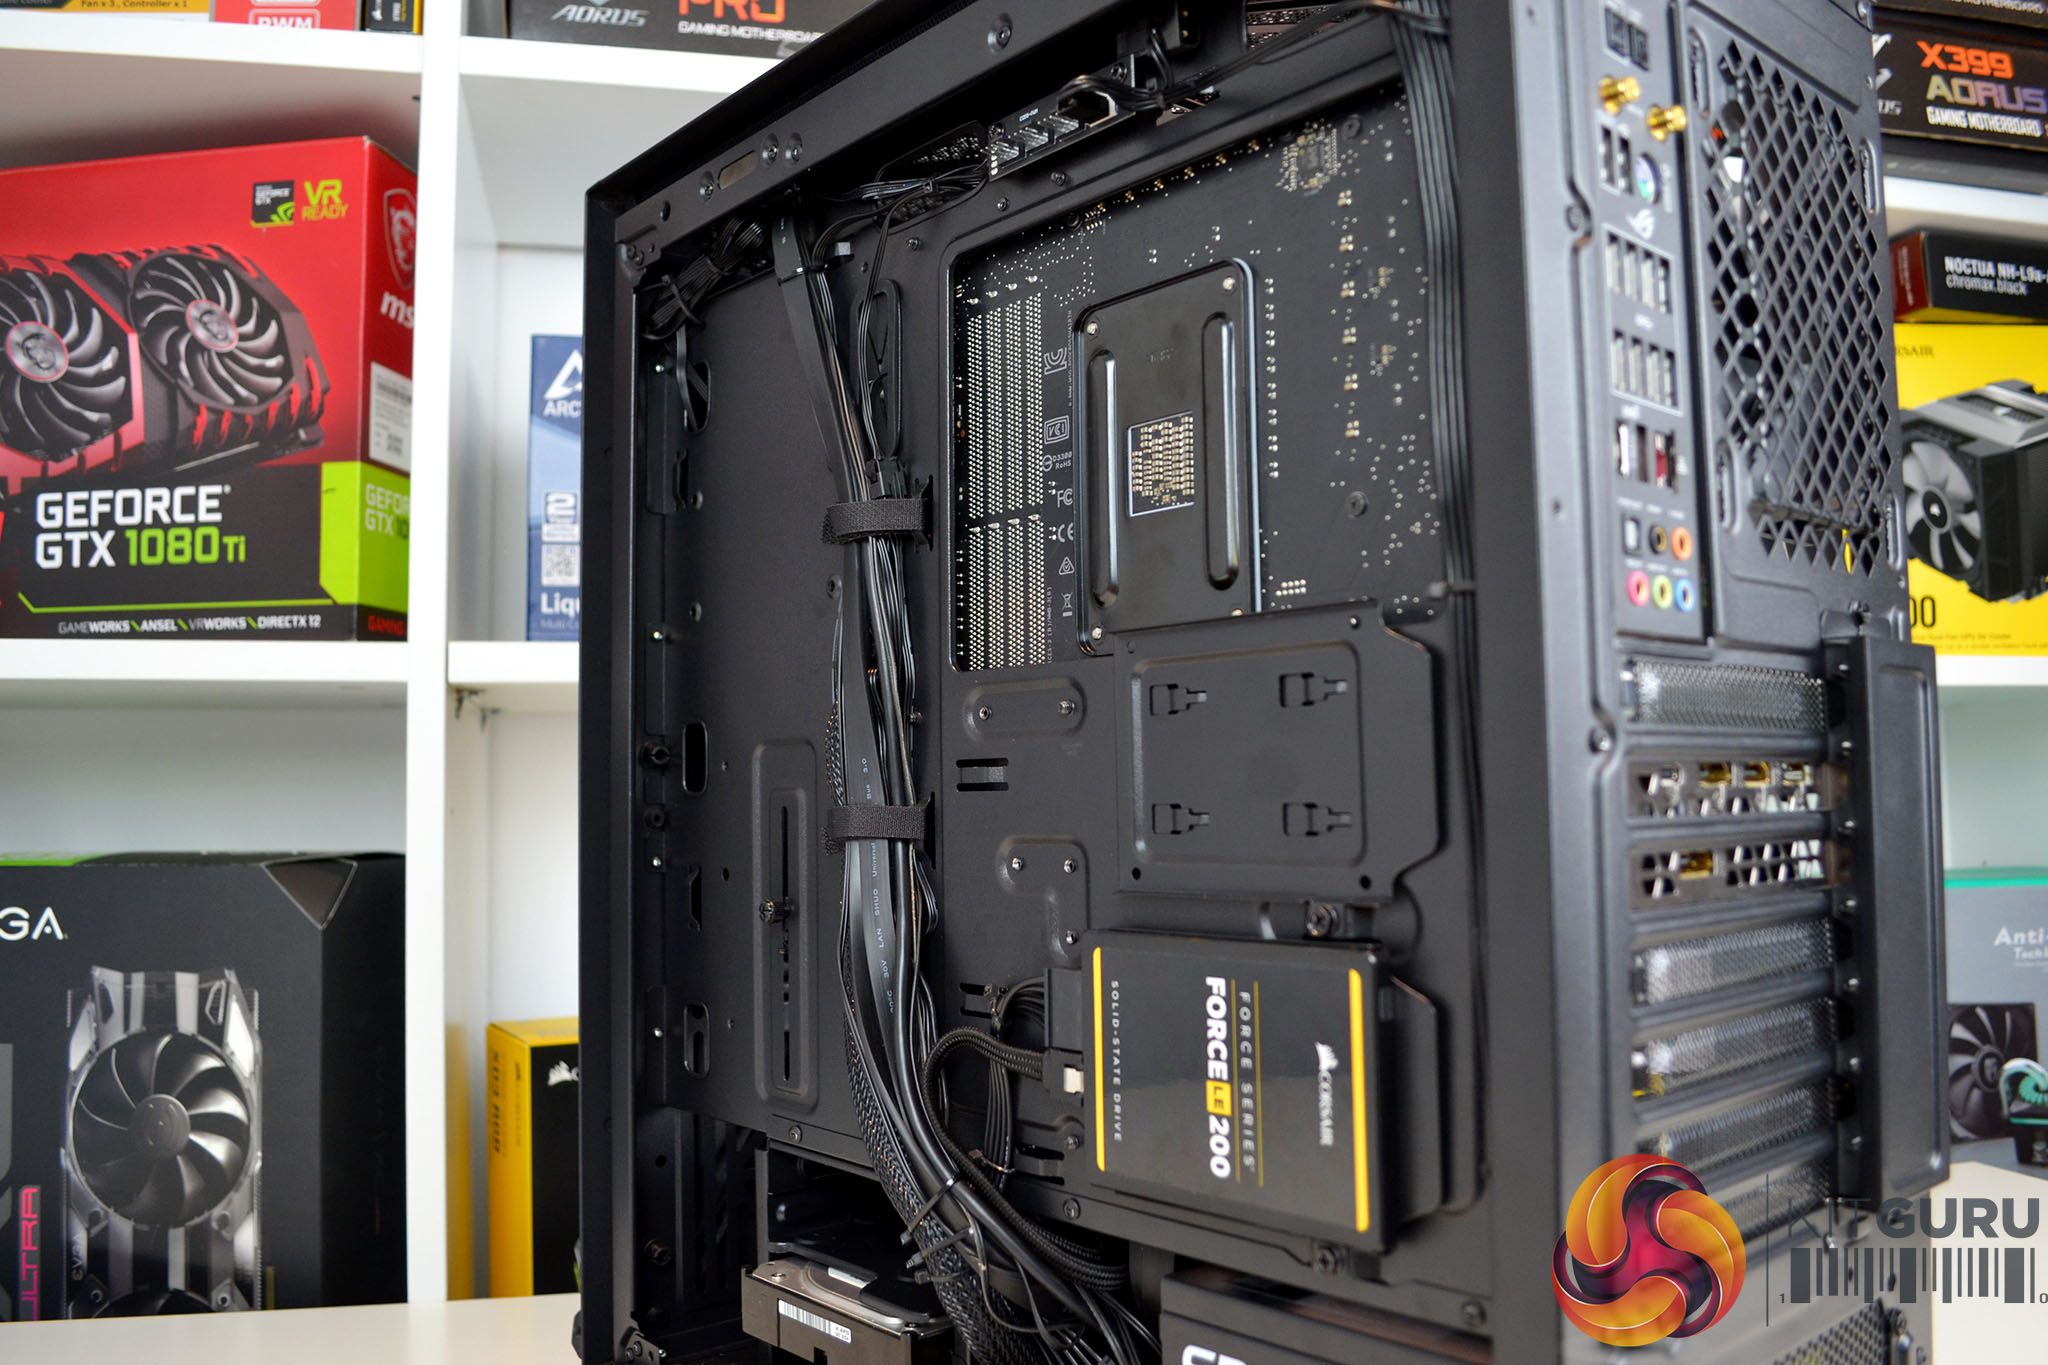
Another area where the Macube 310P excels is cable management, cable cut-outs are all placed where they should be and there are plenty of eyelets to tie cables down on the rear of the motherboard tray. We would have liked all cut-outs to be protected by rubber grommets, however, we really can’t complain about how neat the build looks due to the impressive cable management options.
Overall, building a system inside the Deepcool Macube 310P was a joy, even though the case is quite small for a mid-tower chassis, there was plenty of space for the components of our system. The overall build quality of the case seems very high too, metal panels do not feel too flimsy and when the case has all its panels fitted, it feels very sturdy. One slight complaint is that the black outer coating is a bit of a fingerprint magnet, but this didn’t put me off.