

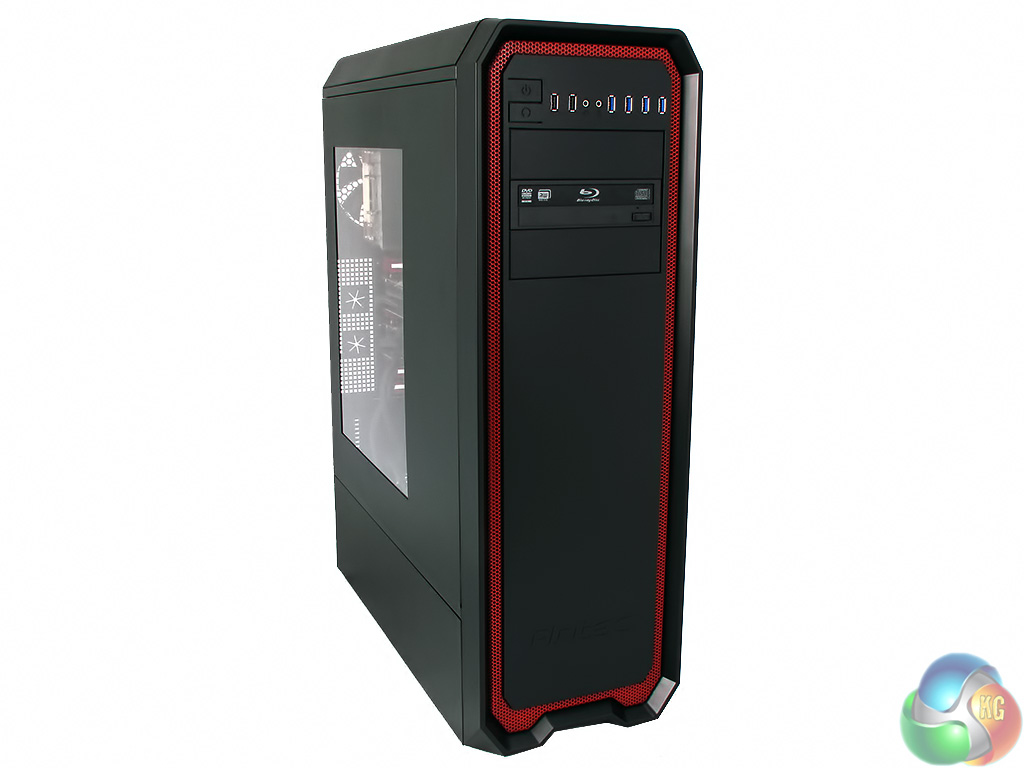
Antec sent me a red AMD coloured case so it seemed appropriate to build a test system using an ASRock 990FX Killer motherboard with an FX-8350 processor and four modules of G.Skill Ripjaws X RAM running at 1,600MHz which gained a place in the system as the red heat spreaders fitted in nicely.
The major expenditure in this system would have been the pair of Sapphire Radeon Tri-X R9 290 4GB that cost about £400 each. Special thanks to Sapphire for supplying this hardware at short notice for the review.
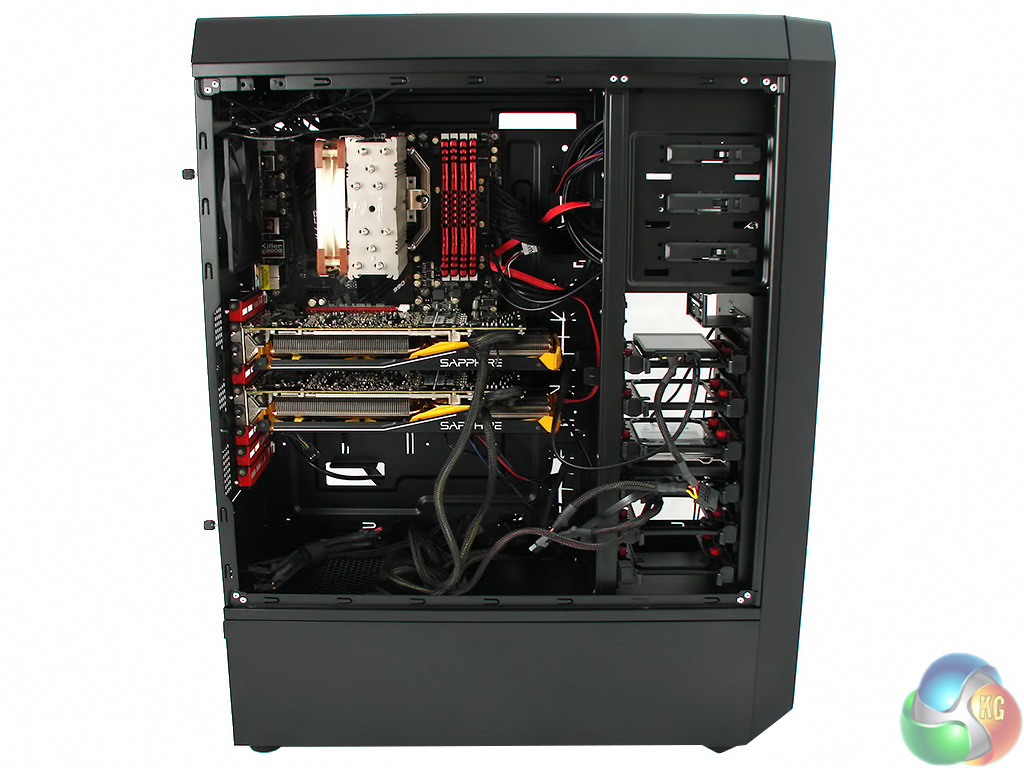
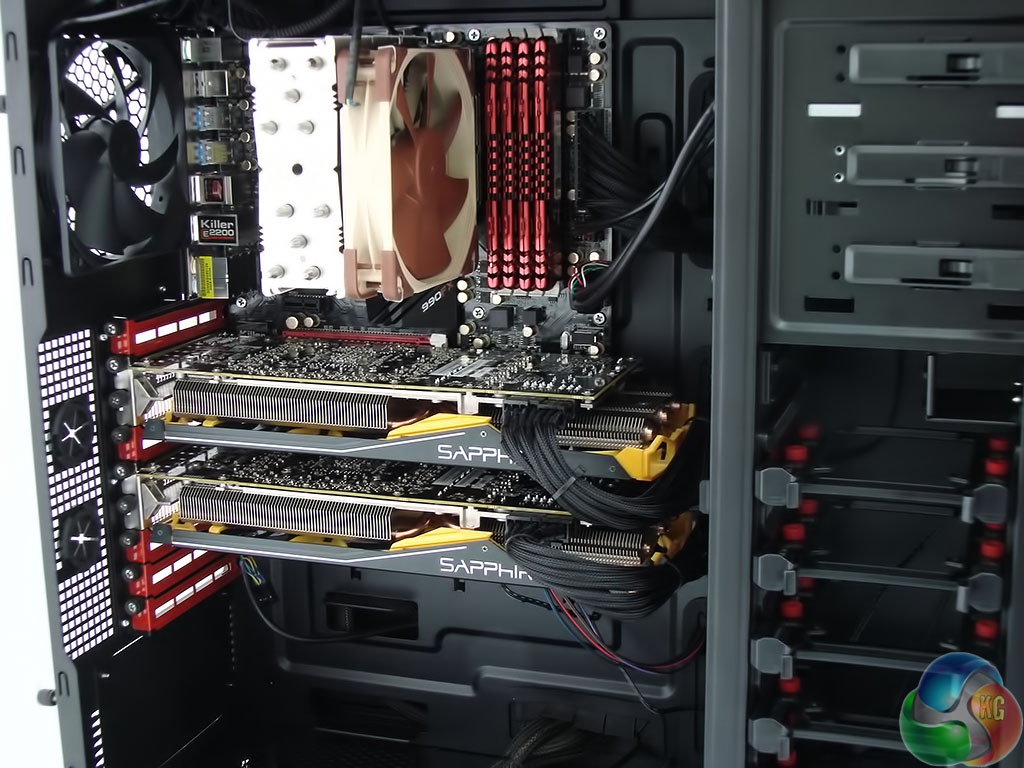
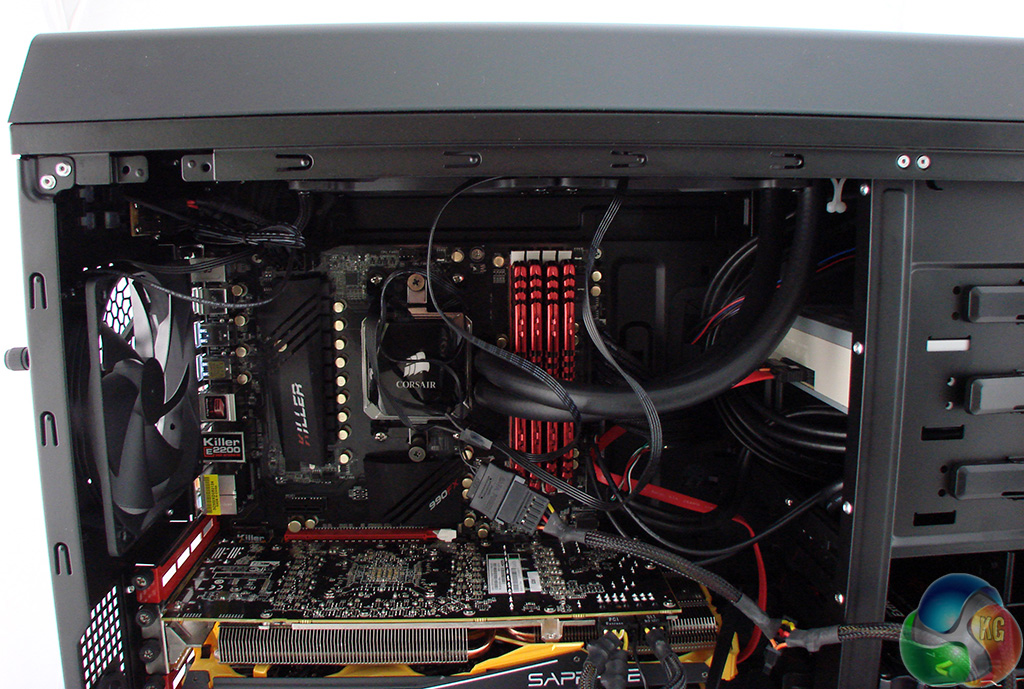
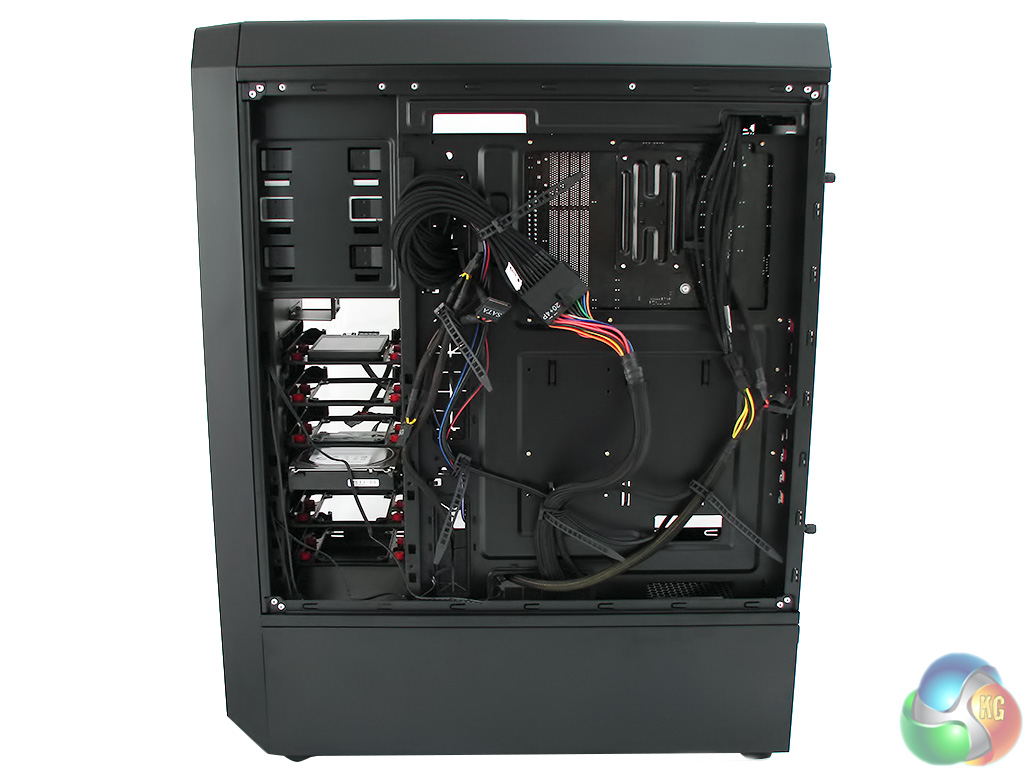
Installing the main components was simple. There is so much space inside the case that you can simply drop the parts in place and screw them down. At this stage in the game the cabling is an absolute mess but as you will see I have an excuse and I also have a solution.
Installing an Akasa Freedom Power 1000W power supply in the lower position was a pain in the neck. There isn't much space behind the lower drive bays and the cables have to be routed directly upward to pass through the main cable grommet. The obvious solution is to remove three of the drive bays as that would make the job as easy as pie.
And then I hit a major snag as the 50cm main power cables would only just reach the motherboard, provided I fed the cables directly and didn't route them around the back of the motherboard tray. An enthusiast power supply with 600mm cables would also fail to do the job and when I asked Antec I was told that 75cm cables are required.
The kicker is that Antec does not have a power supply with that specification and neither do they have a compatibility list that would suggest models from other manufacturers. Far from ideal.
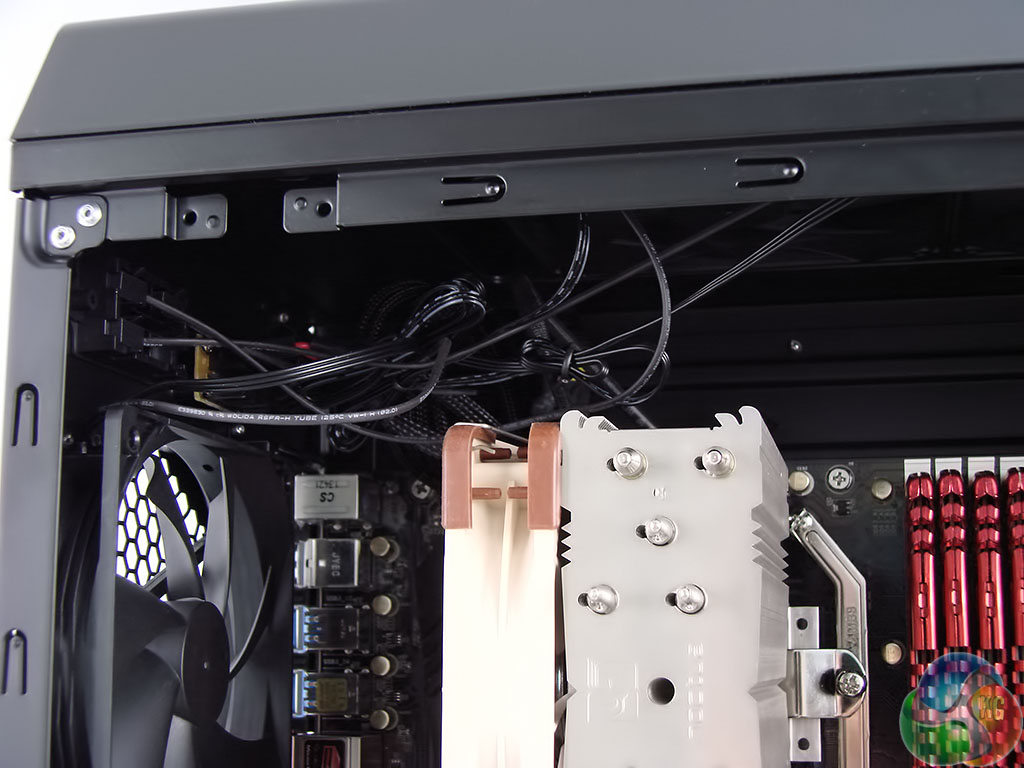
One part of the wiring mess wasn't my fault and that relates to the three 120mm fans that come together at the top rear of the case. Antec has installed three of its fans with standard length cables for the power connector and speed adjustment.
The power connectors plug into a small board inside the case that is powered by a single four-pin Molex from your power supply so you don't have to worry about finding three case fan headers at the top of your motherboard. The speed control units clip into the case in such a way that the switches can be operated from the outside.
The problem here is that the cables are much longer than they need to be and there is no obvious way to keep them tidy unless you shove them up in the roof of the case and hope they stay out of the way.


The answer to the problem with the power supply, I was told by Antec, was to buy a set of 30cm Akasa extension cables. It is a pure coincidence that I was already using an Akasa power supply so I put in the call and waited a few days.
The essential Flexa P24 and P8 cables will cost £16 together while two V8 and two V6 cables for the graphics cards take the total cost to £38.
It would surely make better sense for Antec to include these cables in the package as they are clearly essential, thanks to the enormous height of the case and the location of the power supply right down at the bottom.
In addition to the £38 expense (or £49 for three graphics cards) you'll have to wait a day or two for the parts to arrive while your PC build is on hold. Annoying.
With the new cables in hand I tidied up the installation by routing the cables out of sight behind the motherboard tray. There were a couple of moments where I paused for thought but there is so much working room that all you really need is a bit of common sense and a dozen small cable ties to deliver some impressive results.
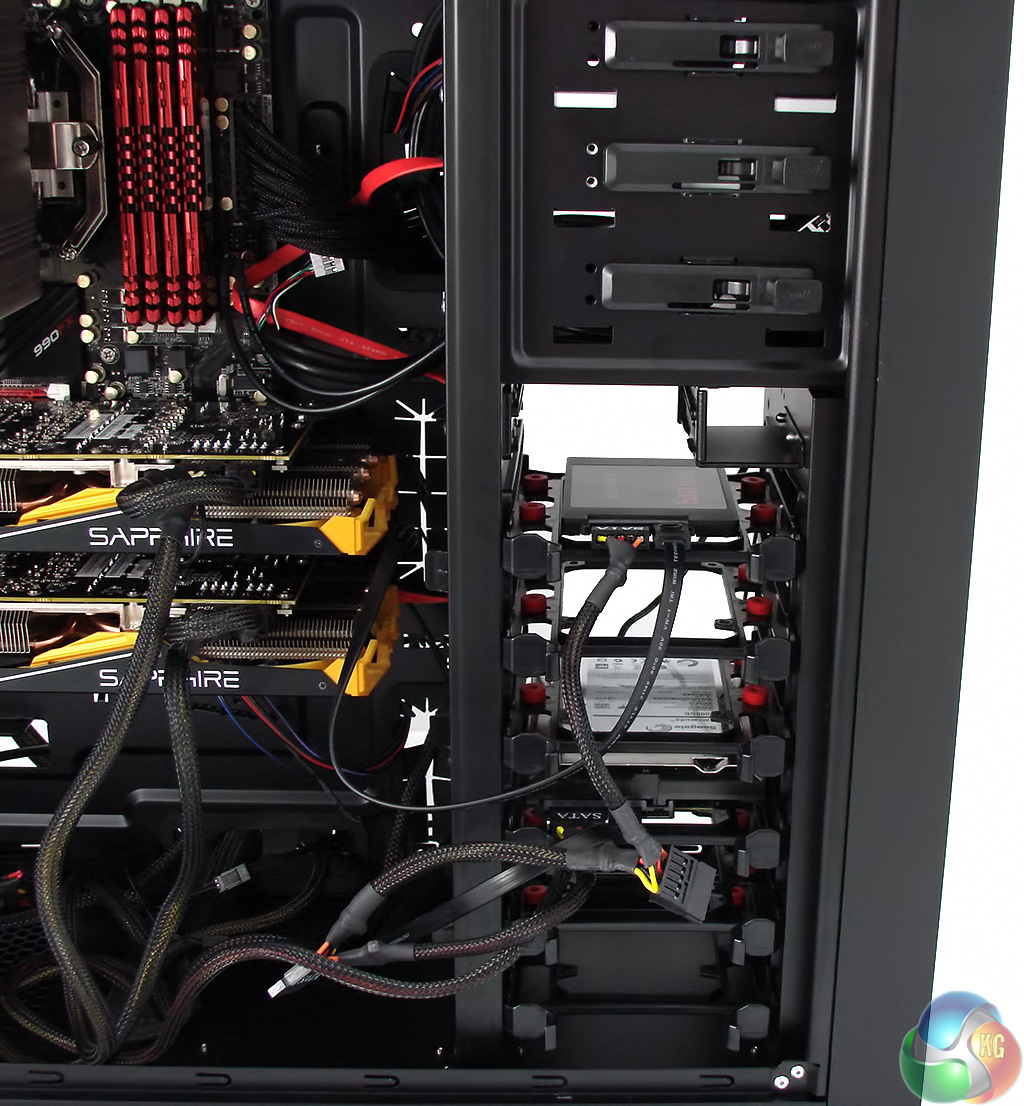
As part of the tidying up I moved the Solid State Drive and mechanical drive to the lower compartment of the case and reversed them in their caddies so the connections slid in first as that made it easier to route the cables neatly.

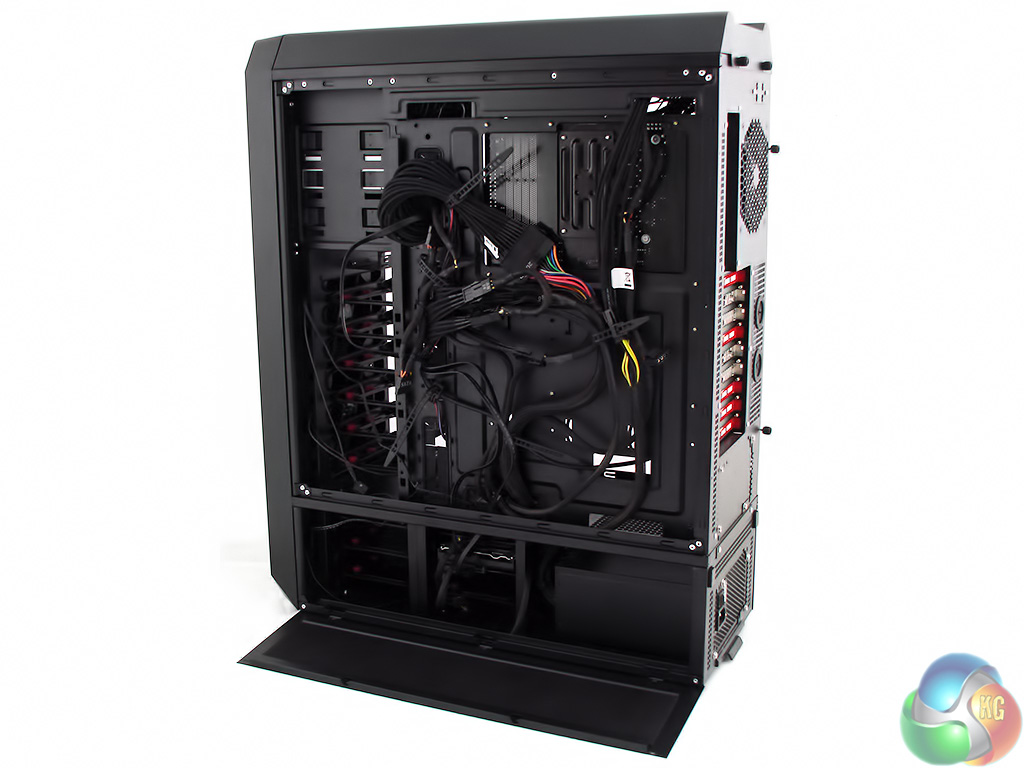
This is what the back of the motherboard tray looked like when I had extended the main power supply cables and done the initial tidying up …
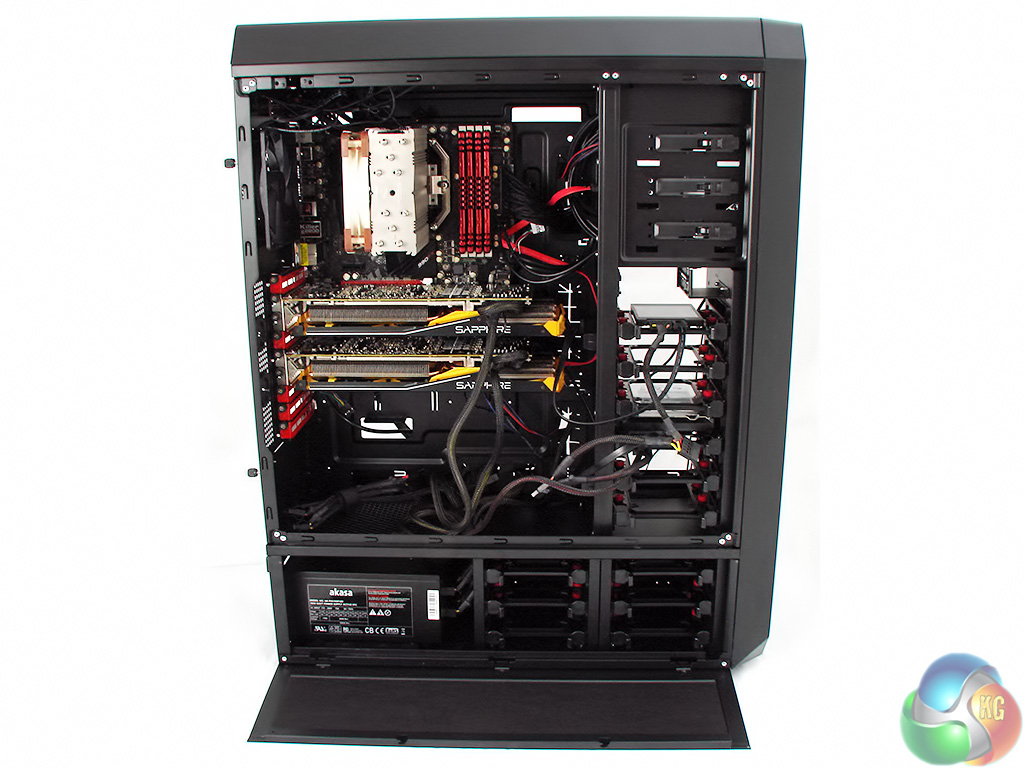
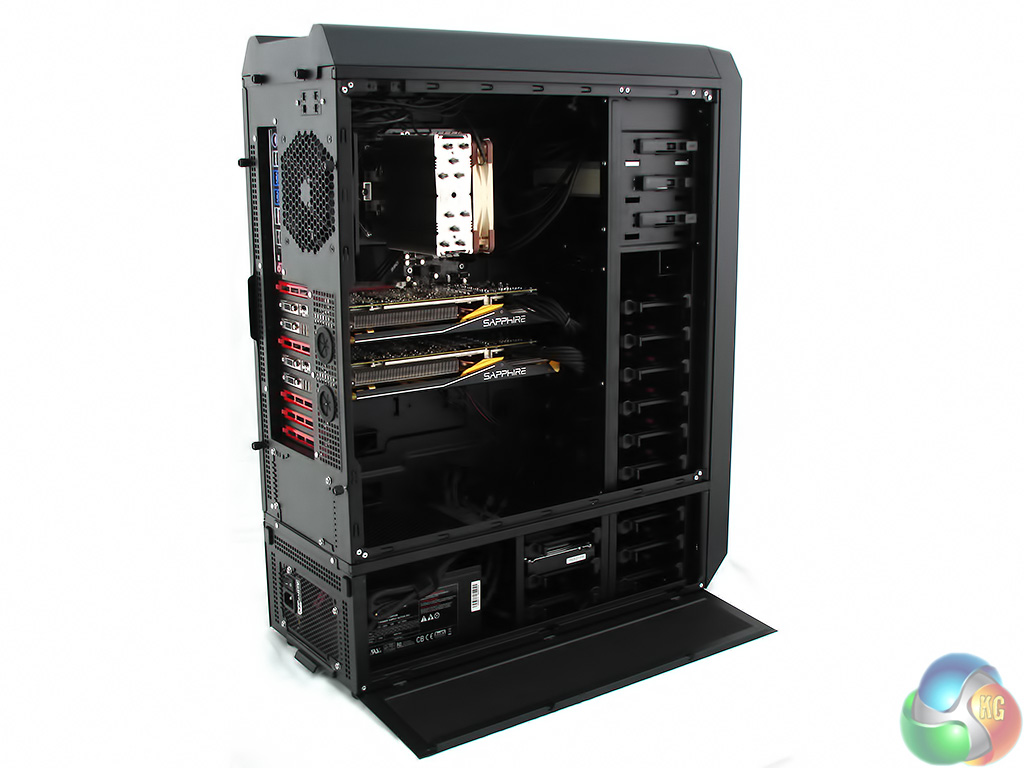
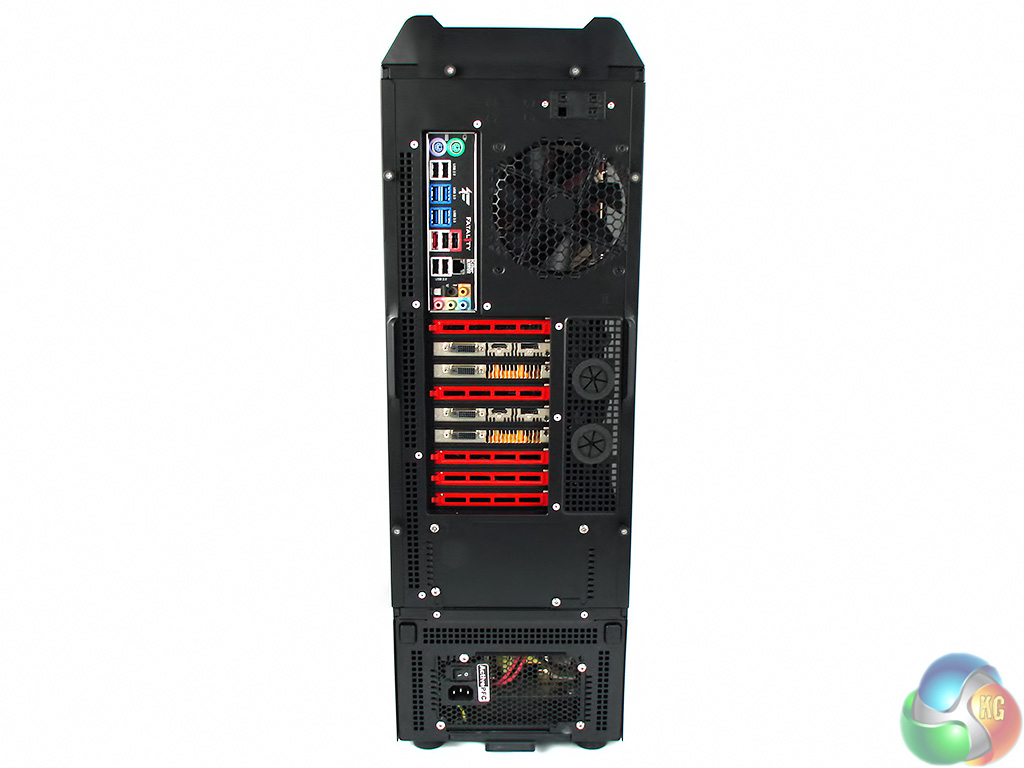
…and this is the finished result with the graphics card power cables also routed around the back and the drives moved to the bottom of the case.
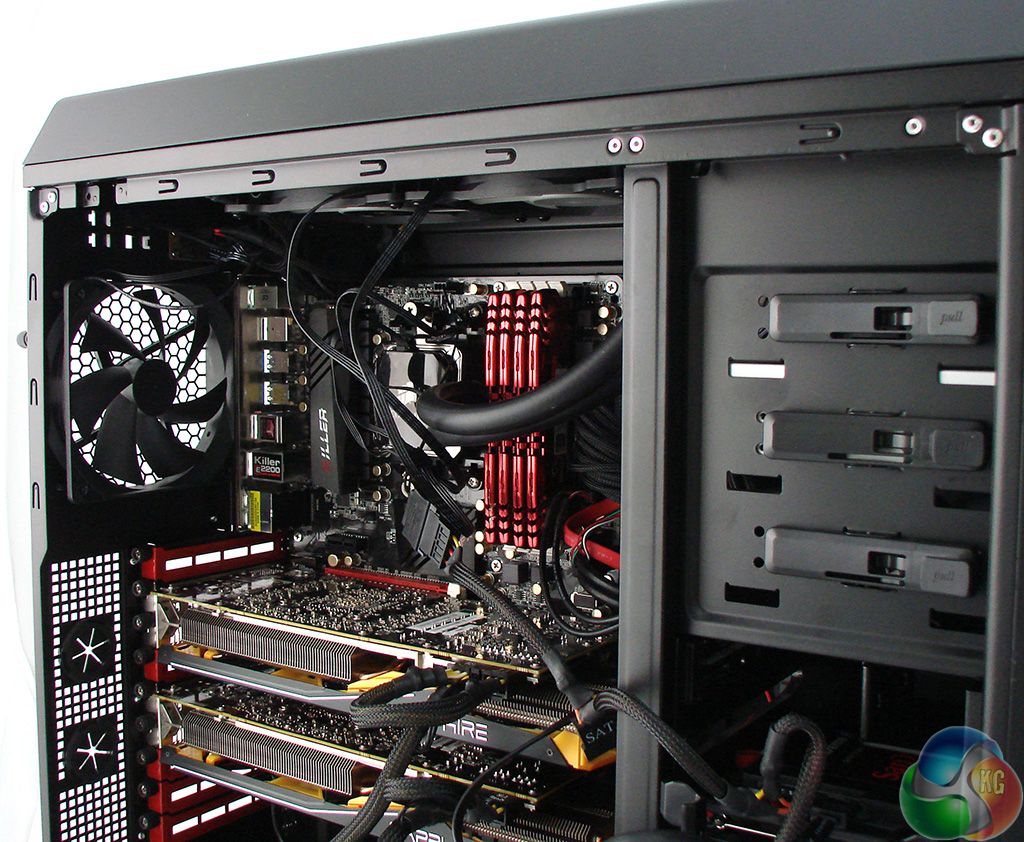

Installing a 240mm Corsair H100i liquid cooling system in place of the two fans in the roof of the case was quick and easy but didn't look as neat as the Noctua cooler. As you will see in my testing results the Corsair H100i allowed the system to run hotter than the air cooler.
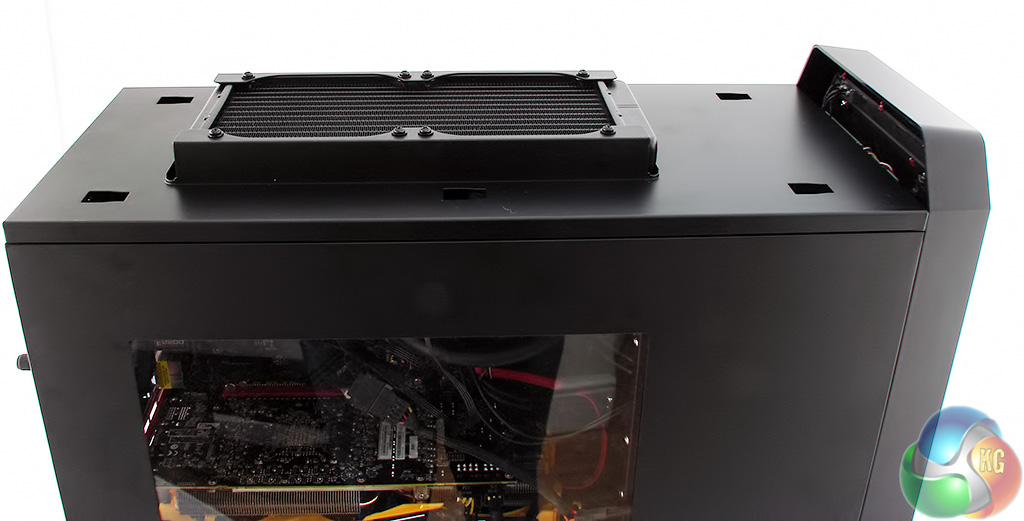
The recess in the top of the case simply swallows the 240mm radiator and keeps it out of harm's way.
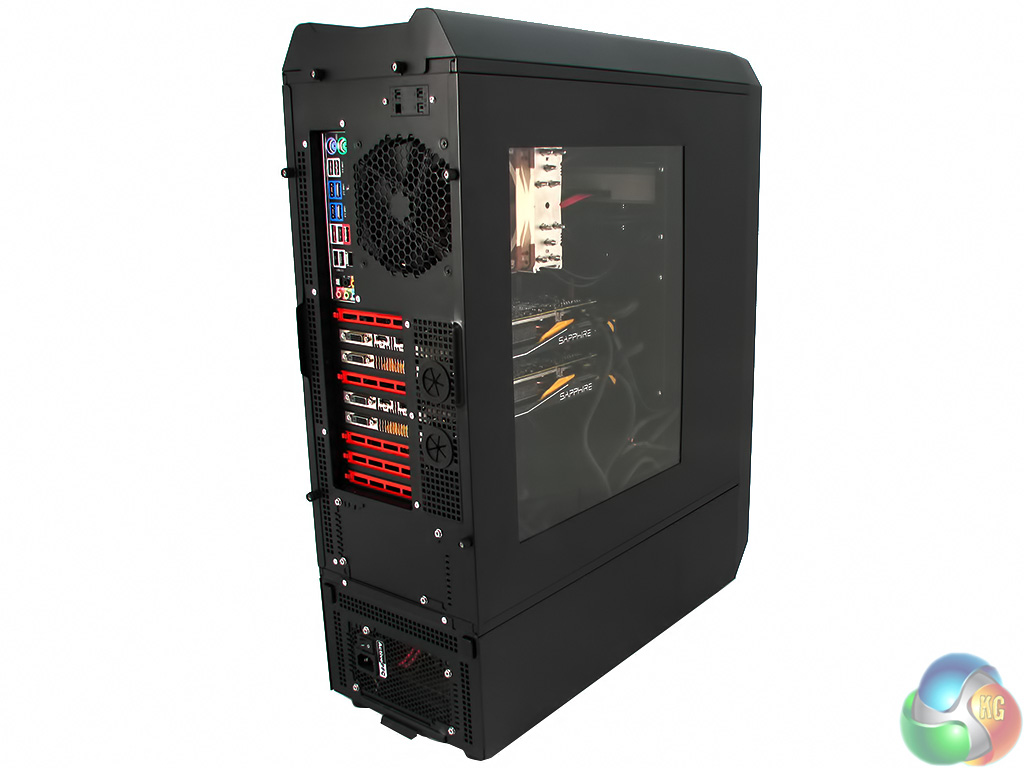
The finished PC looks absolutely stunning and houses some top notch components that are ready for an intense gaming session.
nice build there ! Its a fantastic case – really over the top!