

While we will not be outlining how to install the optional GPU waterblock – primarily because the method varies from card-to-card, but also because the process is too complex to convey in a review – the included instructional booklet for the GPU block is very clear and does a great job of explaining what to do.
On this page, though, we will walk you through installation of the Predator 280 itself – as if you were using it as a conventional AIO liquid cooler.
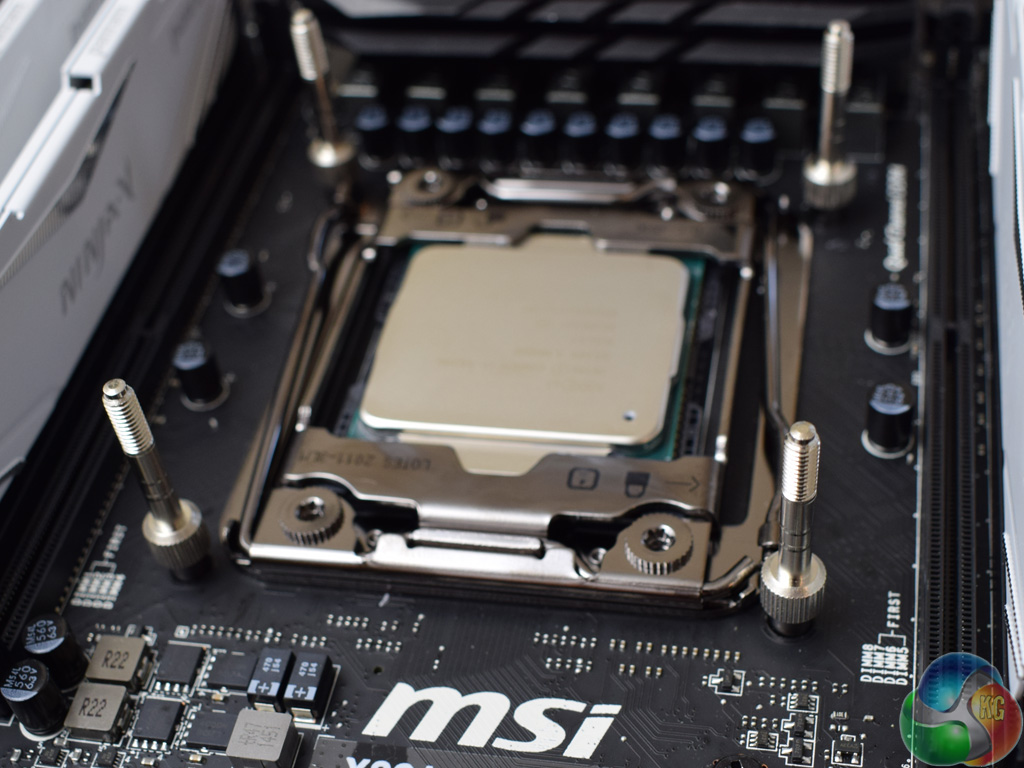
As we are using a X99 motherboard to test the Predator 280, we do not have to install a backplate so can jump ahead and just install the 4 standoffs for the LGA 2011-3 socket.
If you are using a LGA 115x system, you will need to first mount the required backplate, and then install the 4 standoffs required for the LGA 115x socket.
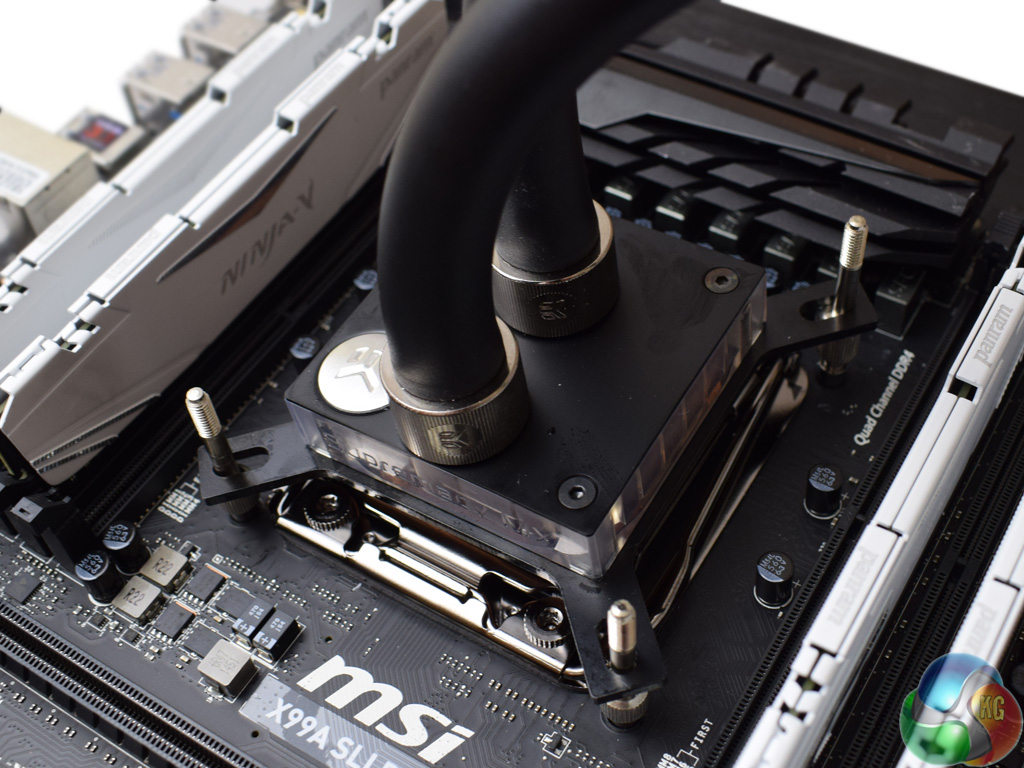
Once the standoffs are screwed in, apply a small amount of thermal paste to your CPU and mount the CPU block on top.
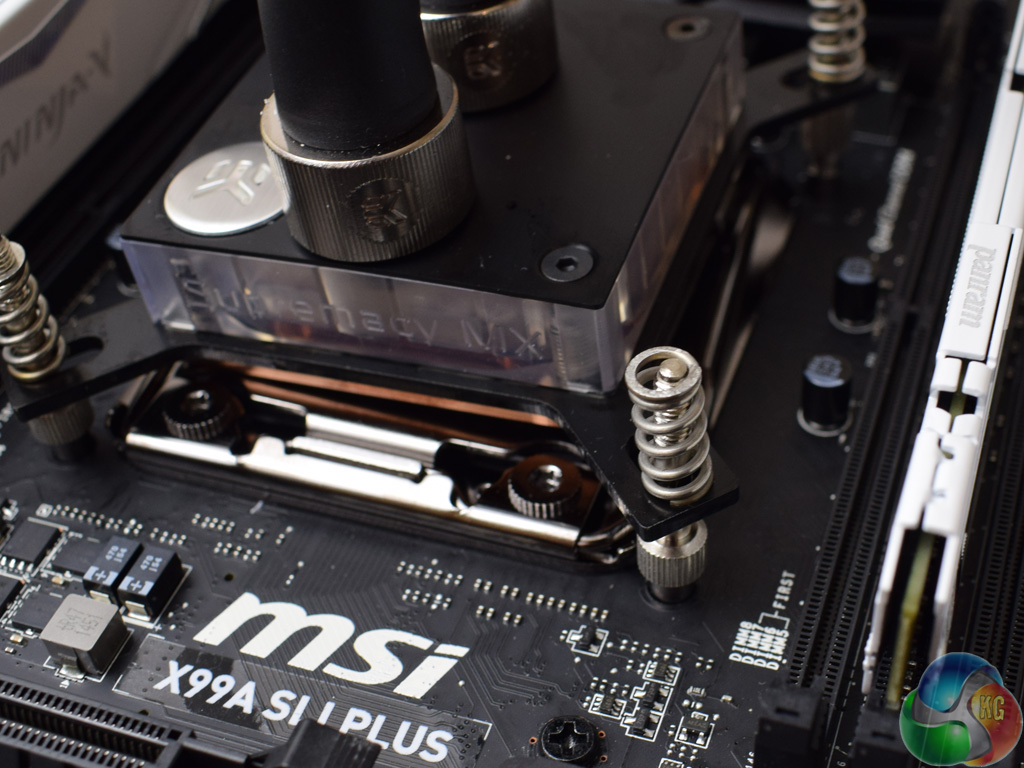
After that, go ahead and place the 4 springs on top of the standoffs.
To finish the process, simply use the four thumbscrews to secure the CPU block in place.
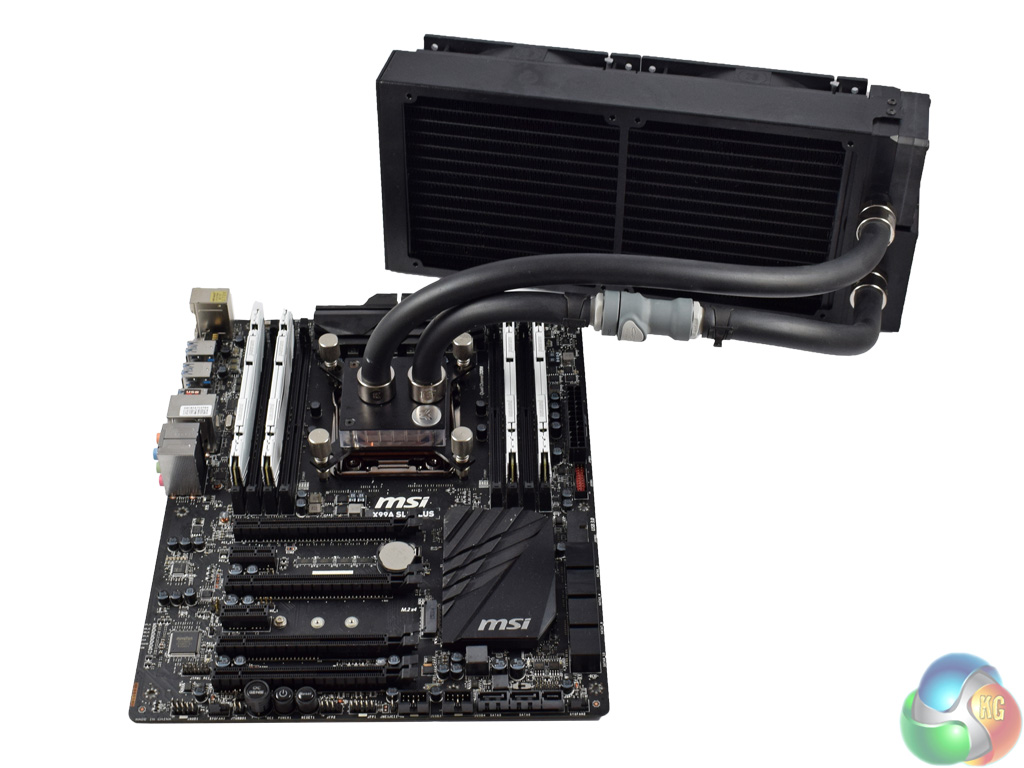
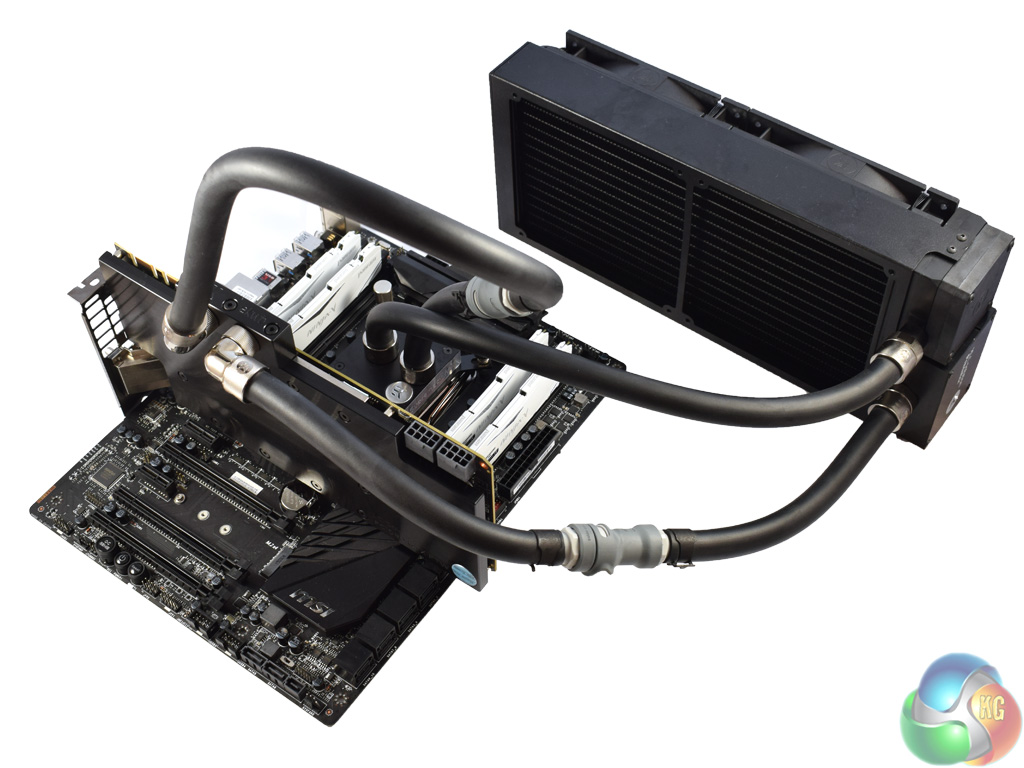
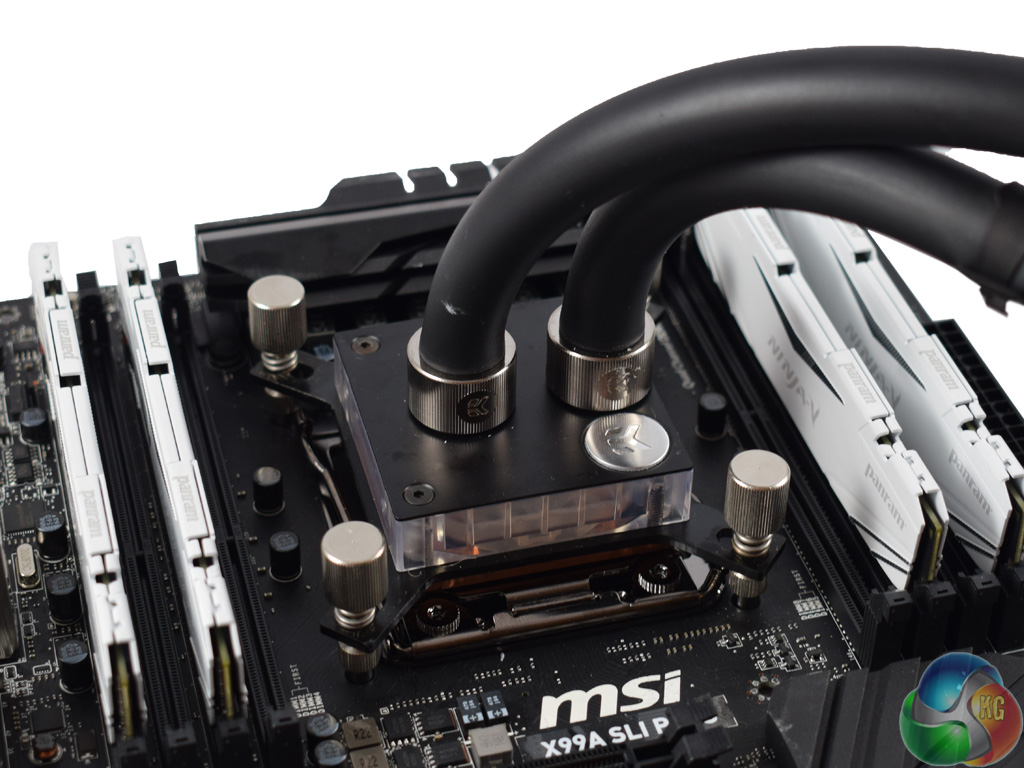
If you have installed only the Predator 280, the installation process is now complete and you should have something which looks like the image above and on the left.
The image on the right shows the GPU block installed, with the tubing reconnected to ensure liquid is passed throughout the entire system. There is quite a lot of excess tubing, though – it would be ideal if you are using a large case, but those using smaller mid-towers, for example, may find the tubing a bit cumbersome.
Interesting cooler.
Can it run completely fanless in idle?
In theory I suppose so. However, at a low rpm the fans are really inaudible so it just feels a bit risky – if your CPU utilisation spikes without you knowing, it could overheat with the fans switched off
I’ve oc my 6800k 4GHz, after 3 hours of Gears of War 4, the maximum temperature was 49C. The Silverstone TD02-E was set at 65%, about 1600 rpm.
I like this design a bit more than the Switftech design for a semi open loop but I do wish the end reservoir was mounted in such a way that if you remove the fans, the front face of the radiator (side where the fans are normally mounted) would be flush with the res, I really would like a cooler like (so I can have some kind of loop) this in my Haf XB but given my graphics card is pretty long (it’s a triple fan Strix), this makes using a Switftech cooler or this cooler impossible unless the res with either unit could be remounted out of the way or was designed so that I can mount the radiator on one side, then the fans on the other side of a panel. Yes, I could go with an actual loop, but these semi open loops allow making one far cheaper, for cooling my graphics card, I just need to add 2 fittings, some tubing and a water block, which worst case would be $365 total