Preparing the cooler for mounting is done by screwing two fastening bars to the heatsink's underside. We would strongly advise screwing the four nuts into their mounting position before attaching the brackets to the cooler. This makes connecting the nuts a far easier task.
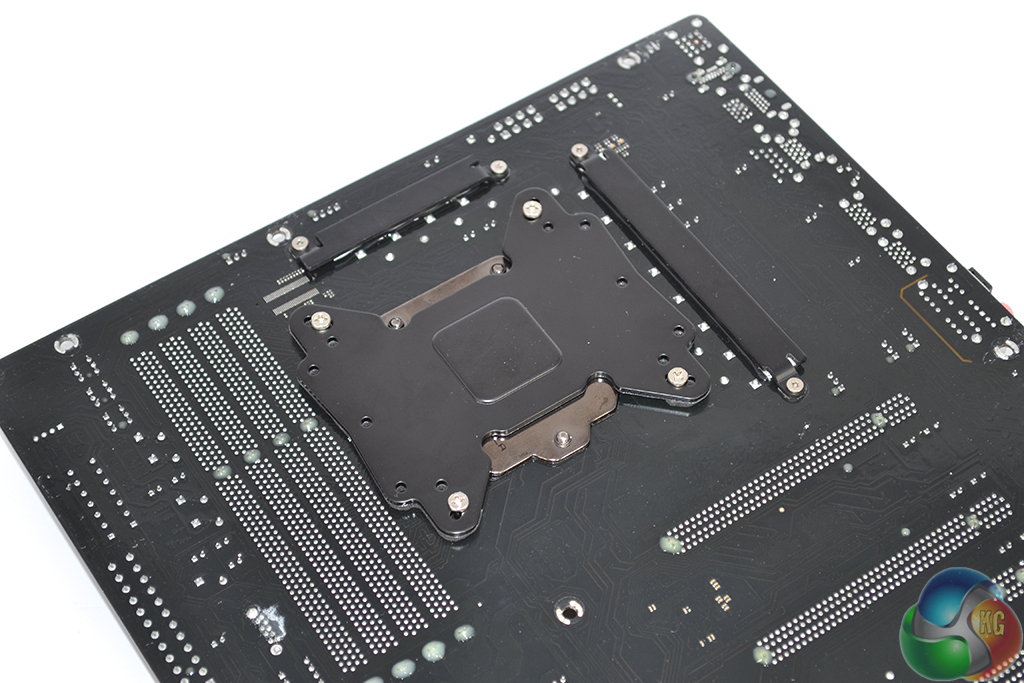
Four screws are pushed through the multi-socket backplate’s relevant holes. Comprised of a sturdy metal and vibration-damping foam, the backplate should enforce adequate structural rigidity for the heavy CPU cooler while also minimising noise-causing vibrations.
A plastic tightening clip is used to secure each mounting screws firmly in position. Given that the motherboard has to be flipped a number of times throughout the installation procedure, the use of securing clips is a smart move by be quiet!
be quiet! supplies a wrench to tighten each nut when the cooler is being mounted to the motherboard. Outside of a chassis, tightening the nuts is not a particularly difficult process, dependent upon the VRM heatsinks on one's motherboard.
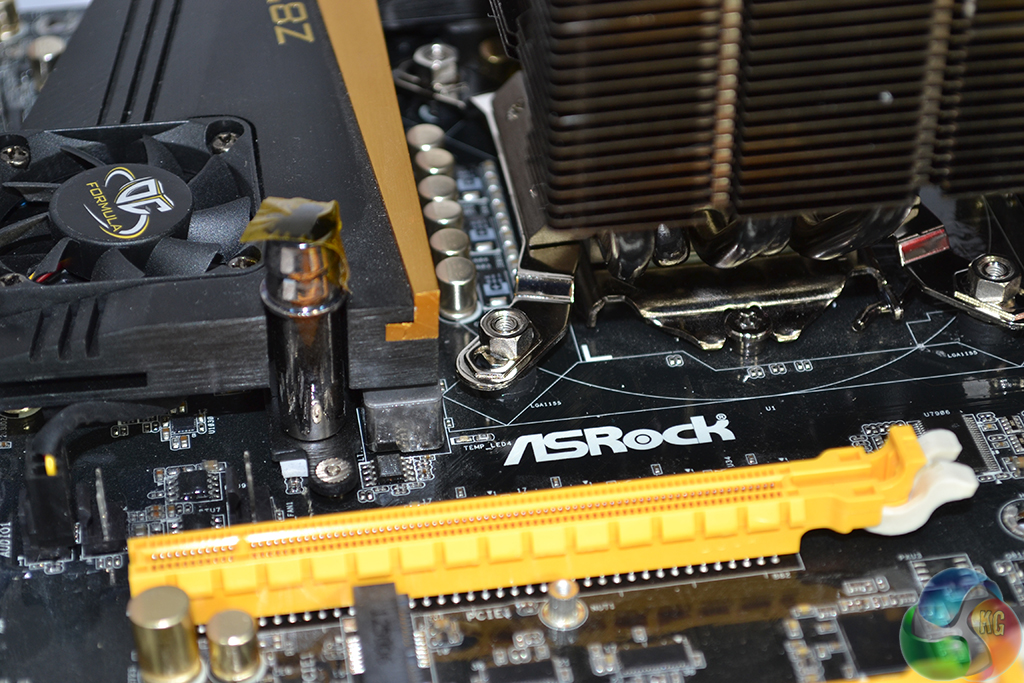
Inside a chassis however, the nuts can be very difficult to access, especially on motherboards with large VRM heatsinks. Tightening the nuts on our ASRock Z87 OC Formula motherboard when it was inside a case was difficult; on something like an Asus Sabertooth Z97 Mark 1, it will be almost impossible (small hands will be very helpful).
We have criticised the mounting method used by be quiet! in the past, and the Dark Rock 3 continues to disappoint us with its complicated fastening approach.
Effectively, the approach that be quiet! recommends leans towards users mounting their motherboard on the cooler, not the other way around, as convention would suggest is best. The screws must be tightened from the rear, hence it is impossible to fasten the cooler with the motherboard sitting flat on a surface.
Taking the base-up approach is more difficult on the Dark Rock 3 than the Dark Rock Pro 3 due to its protruding circular fan. Balancing the almost-1kg cooler is difficult when it does not have a perfectly flat top surface to rest on. And when you are able to balance it for long enough to connect the motherboard, aligning the screws is a difficult procedure which results in remnants of thermal paste being left in unconventional areas.
The best approach that we found was to hang the motherboard off a ledge (such as the edge of a table), sit the cooler in its relevant location (which is easy to visually locate when attaching the cooler to the board, not the other way around), and then fastening the mounting screws from underneath the overhanging board. It doesn't take much thought to realise that this is an inconvenient approach.
An easier installation method would have been to rely upon screw-fit fasteners, like the ones Corsair uses with its H100i, to clamp the mounting screws from the cooler's front side. This would have necessitated the removal of the cooler's front fan, but it would have been an easier and quicker procedure.
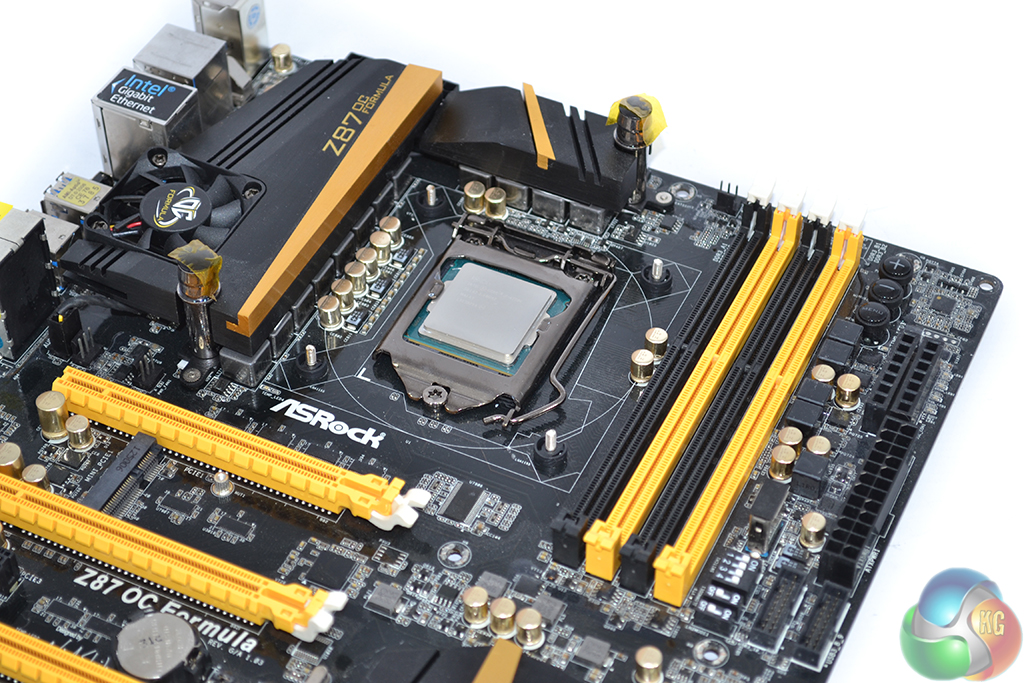
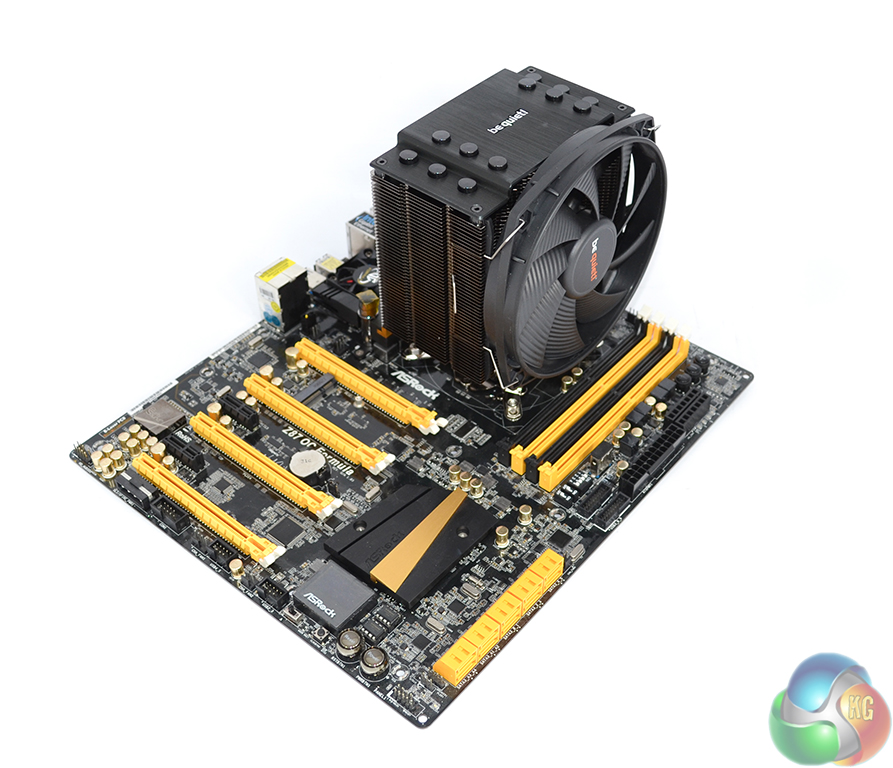
Despite the infrequent hassle of actually mounting the Dark Rock 3, the cooler's clearance is very good. If issues with tall memory modules occur, the front fan can simply be mounted at a higher position on the heatsink.
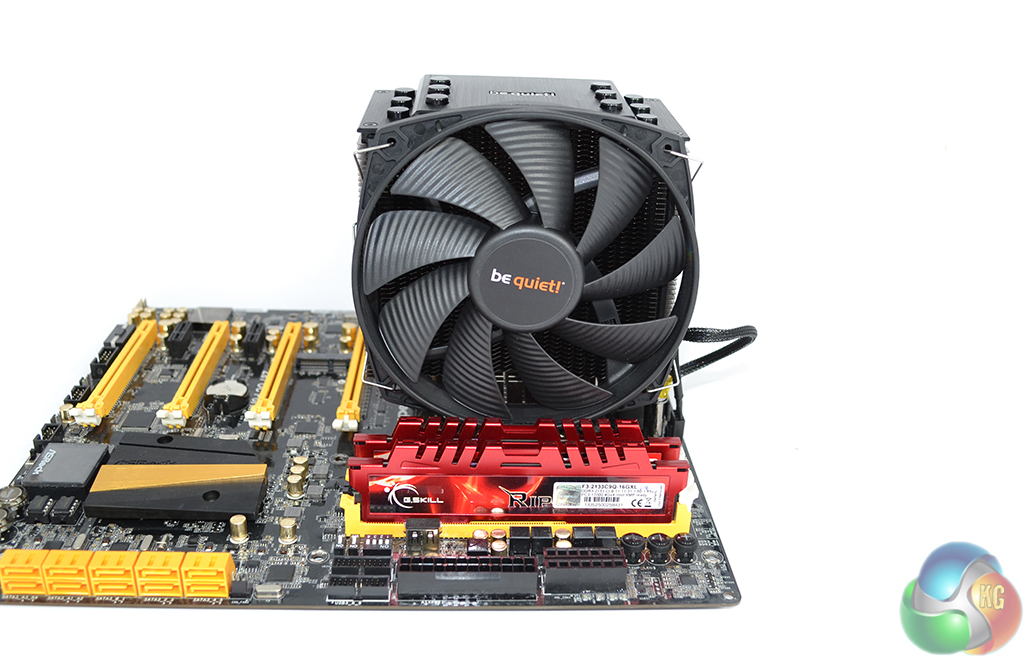
On our ASRock Z87 OC Formula motherboard, the unit did not interfere with G.Skill RipjawsX memory modules. Interference with VRM heatsinks was not an issue for the mounted cooler, either.
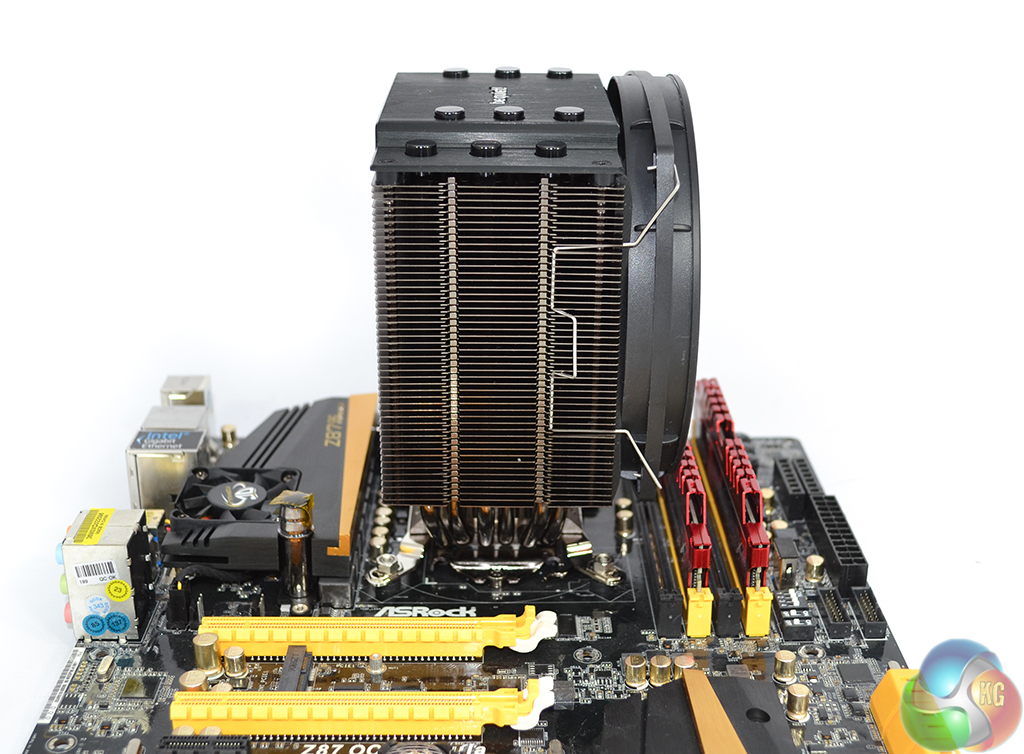
Once fully installed, security of the be quiet! Dark Rock 3's mount is excellent. The sturdy backplate is able to take the cooler's weight with almost non-existent levels of movement.
At 160mm-tall, the Dark Rock 3 is right on the limit of compatibility with many mid-tower cases. The 137mm-width ensures that the Dark Rock 3 does not overhang the motherboard's upper-edge and cause interference in a cramped chassis.
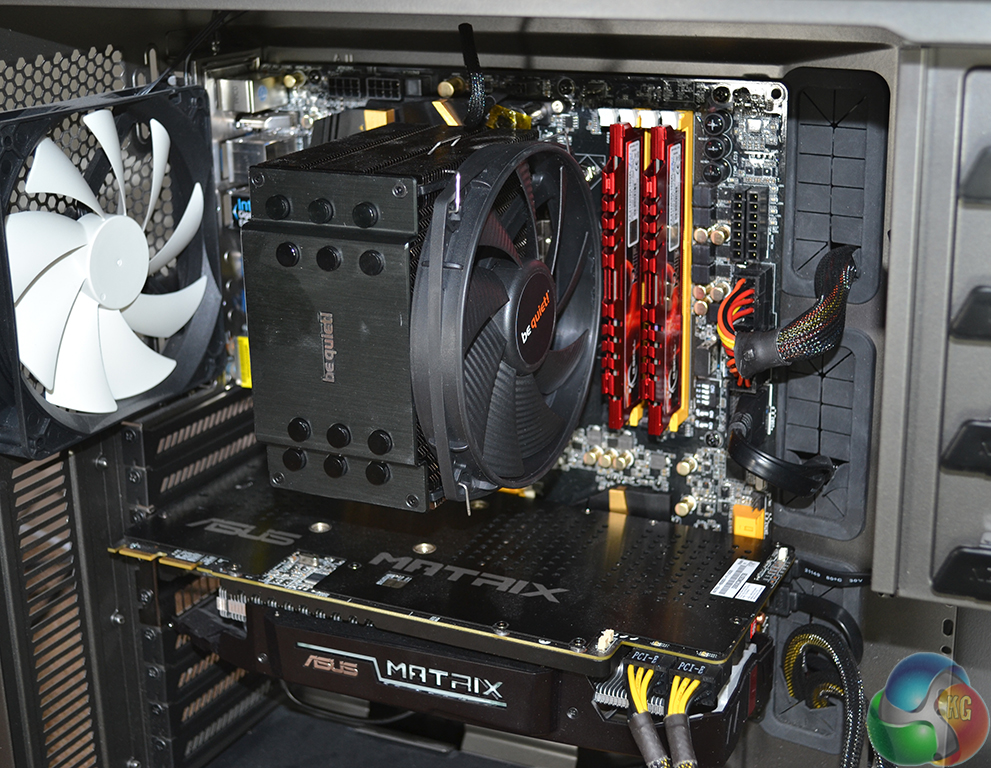
As can be seen from the picture, the decision by be quiet! to use a short – 220mm – fan cable was a smart one. The black braided cable can be hidden with ease and its dark colouring helps to camouflage it inside a system.