Gigabyte TRX40 UEFI
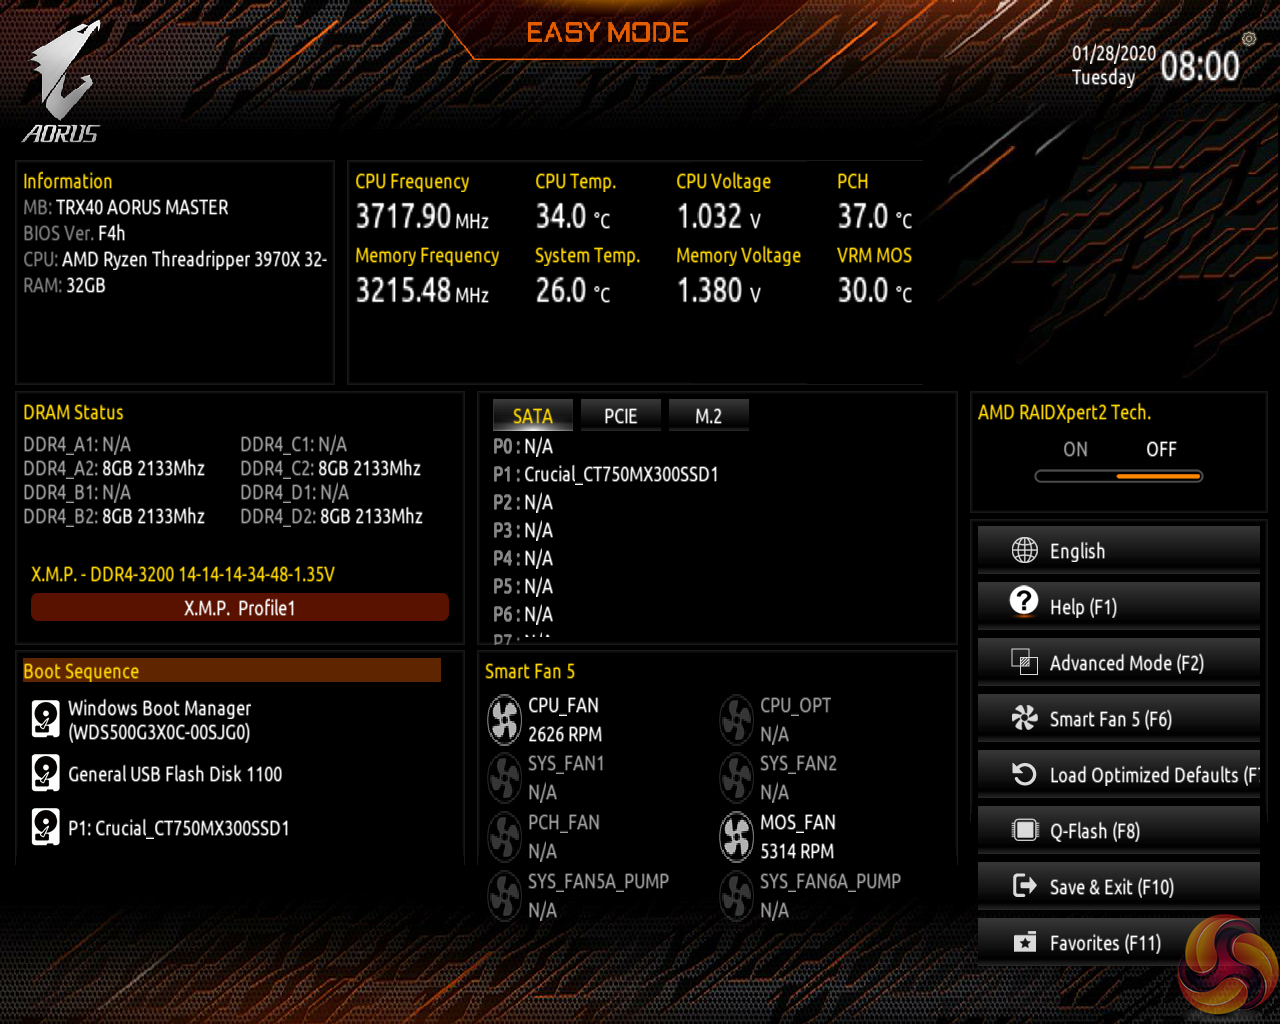
Gigabyte’s Easy Mode page is a quick-access area where users can alter the boot sequence, check fan speeds, monitor temperatures and voltages, enable XMP, and change the performance mode without jumping into the deeper (and scarier for less experienced users) UEFI sections.
Gigabyte’s Easy Mode implementation is as good as the versions used by competing vendors. I like that the fan icons rotate to show which headers are currently active.
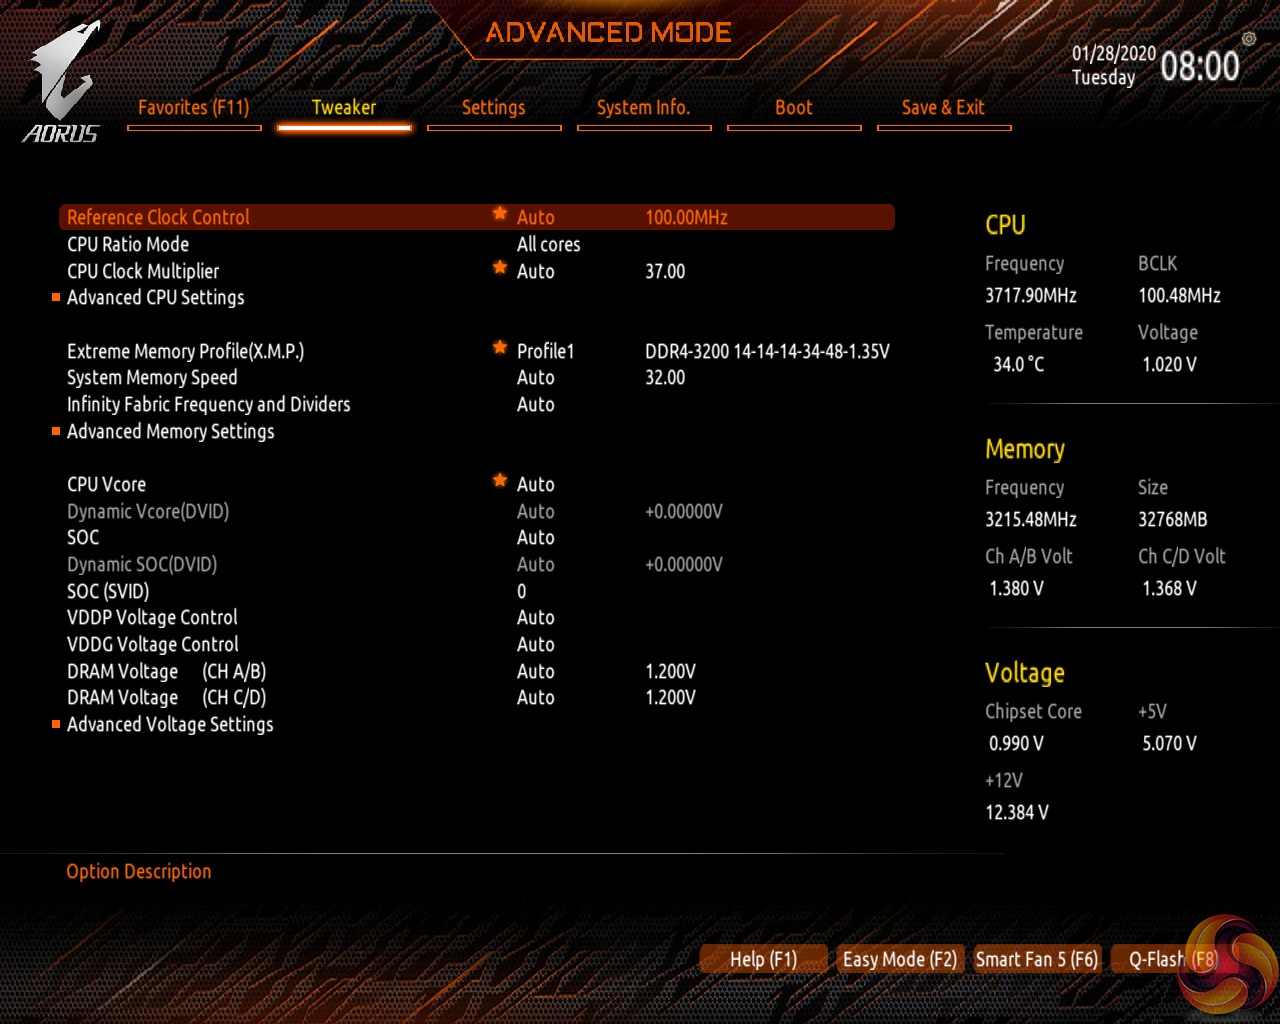

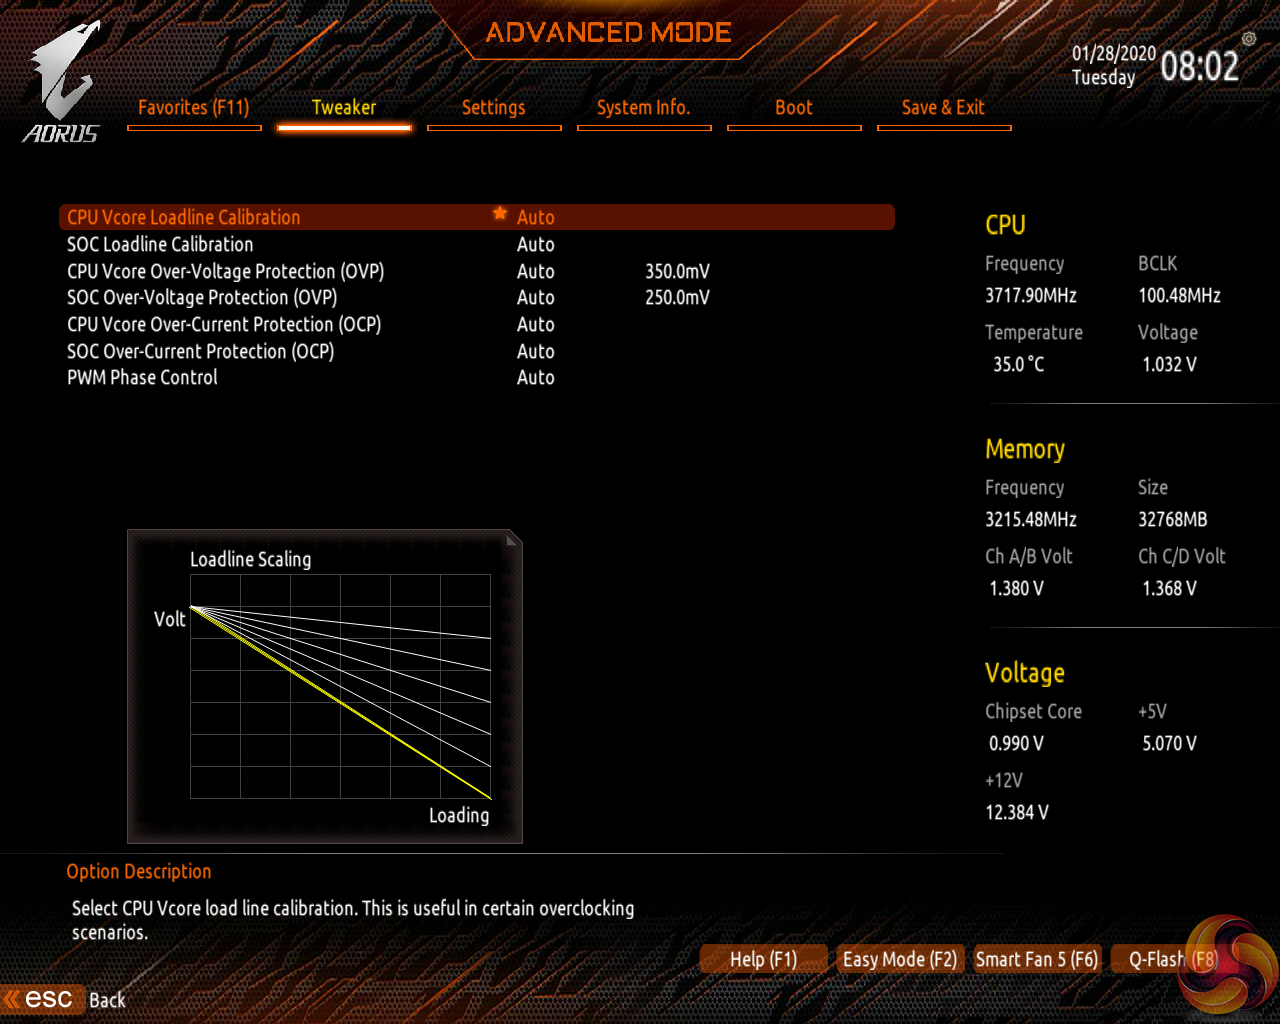
Tweaker is the main section where parameters relating to voltages, frequencies, and power settings for the system’s main components are found. All of the main sections are found on one page, with additional ‘Advanced’ subsections being accessible. The subsection splitting forces a user to jump back and forth between pages but it also helps to keep the individual subsections tidy and without an overwhelming amount of information on one page.
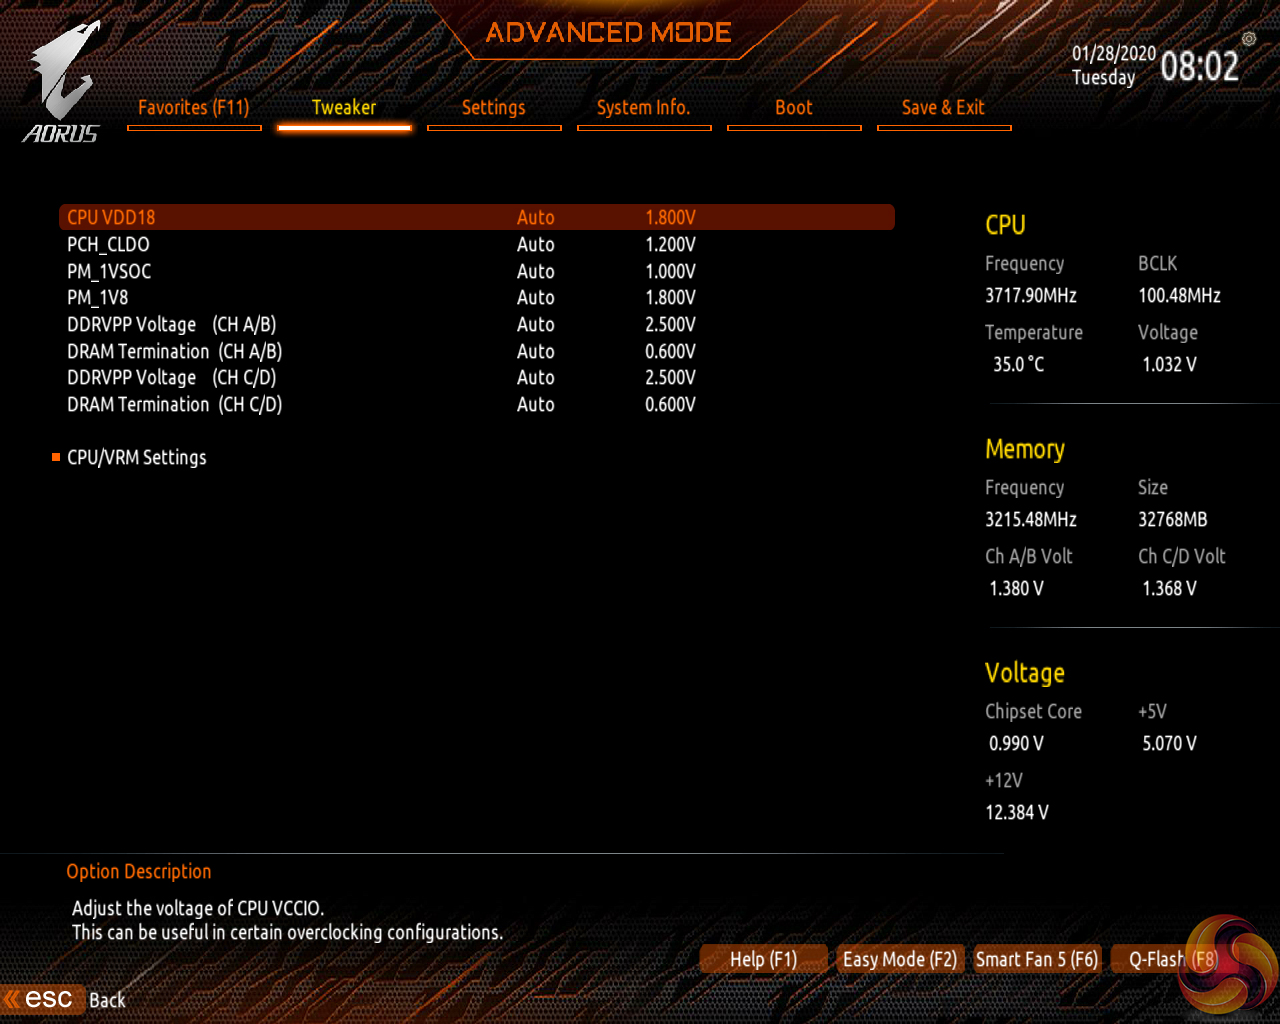
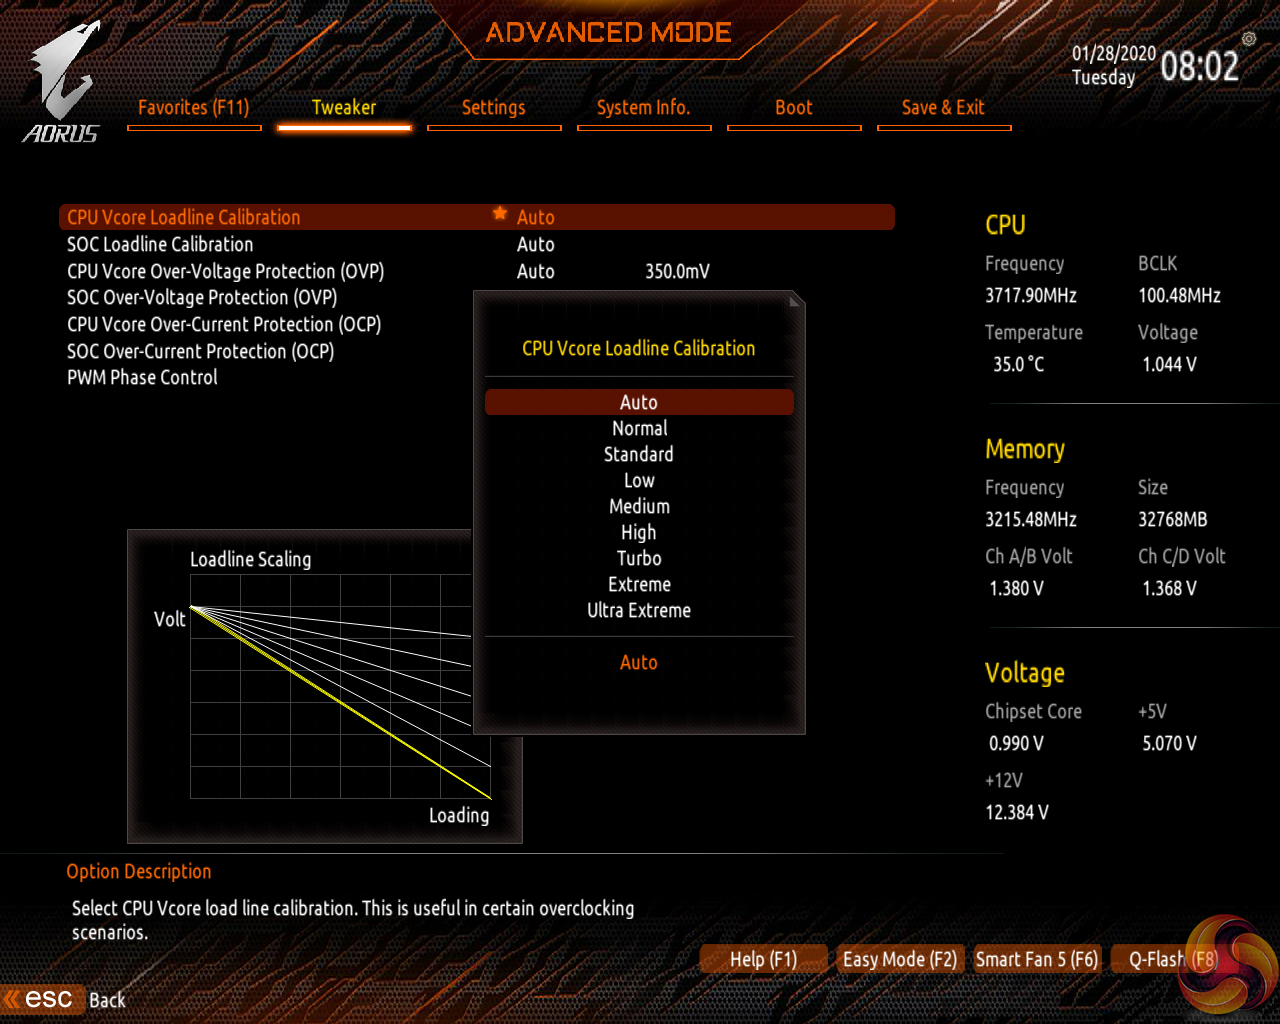
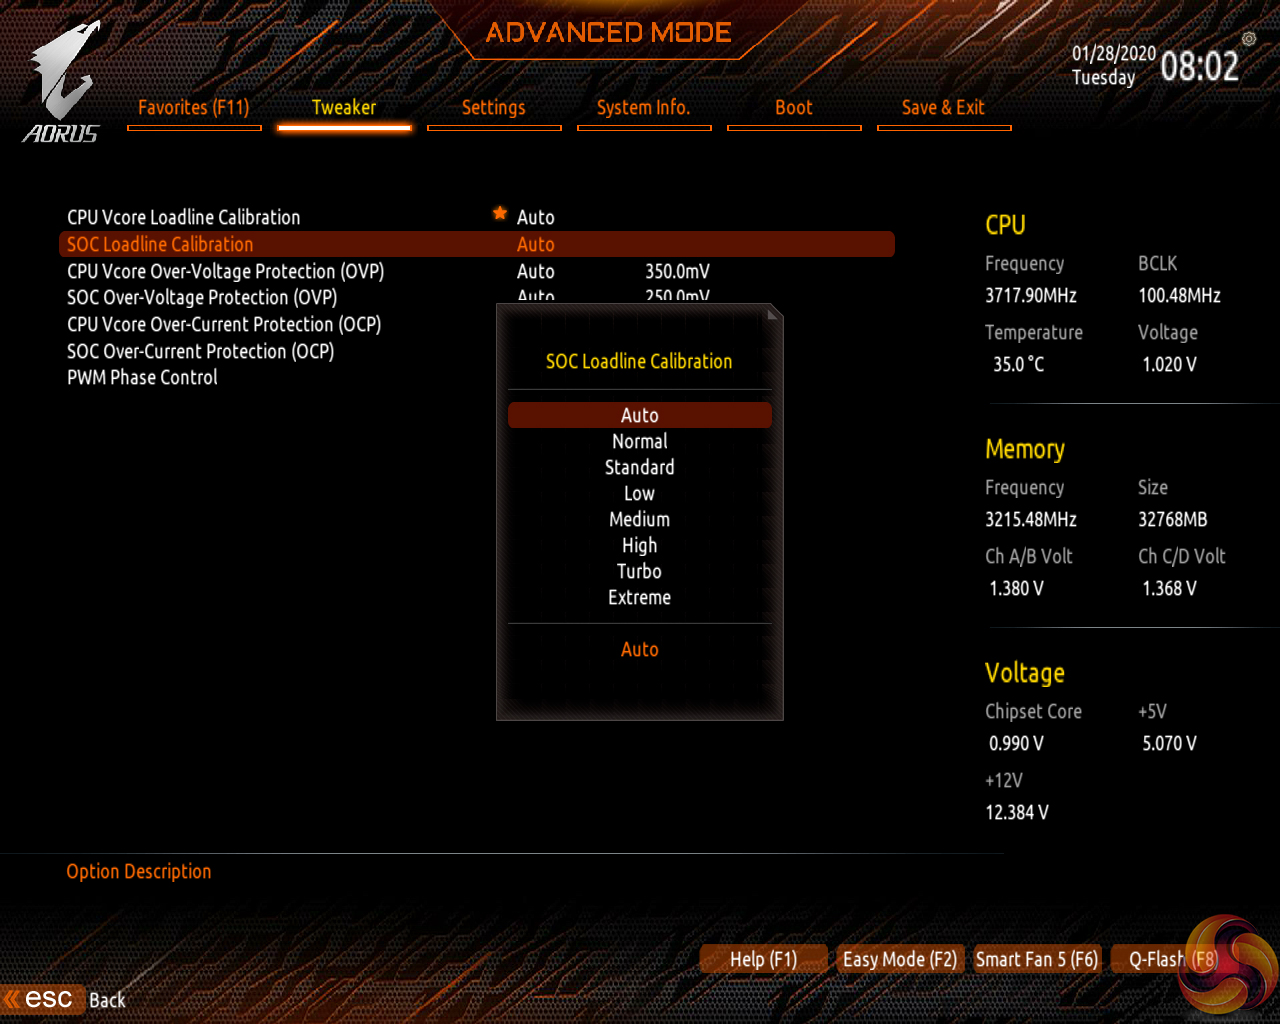
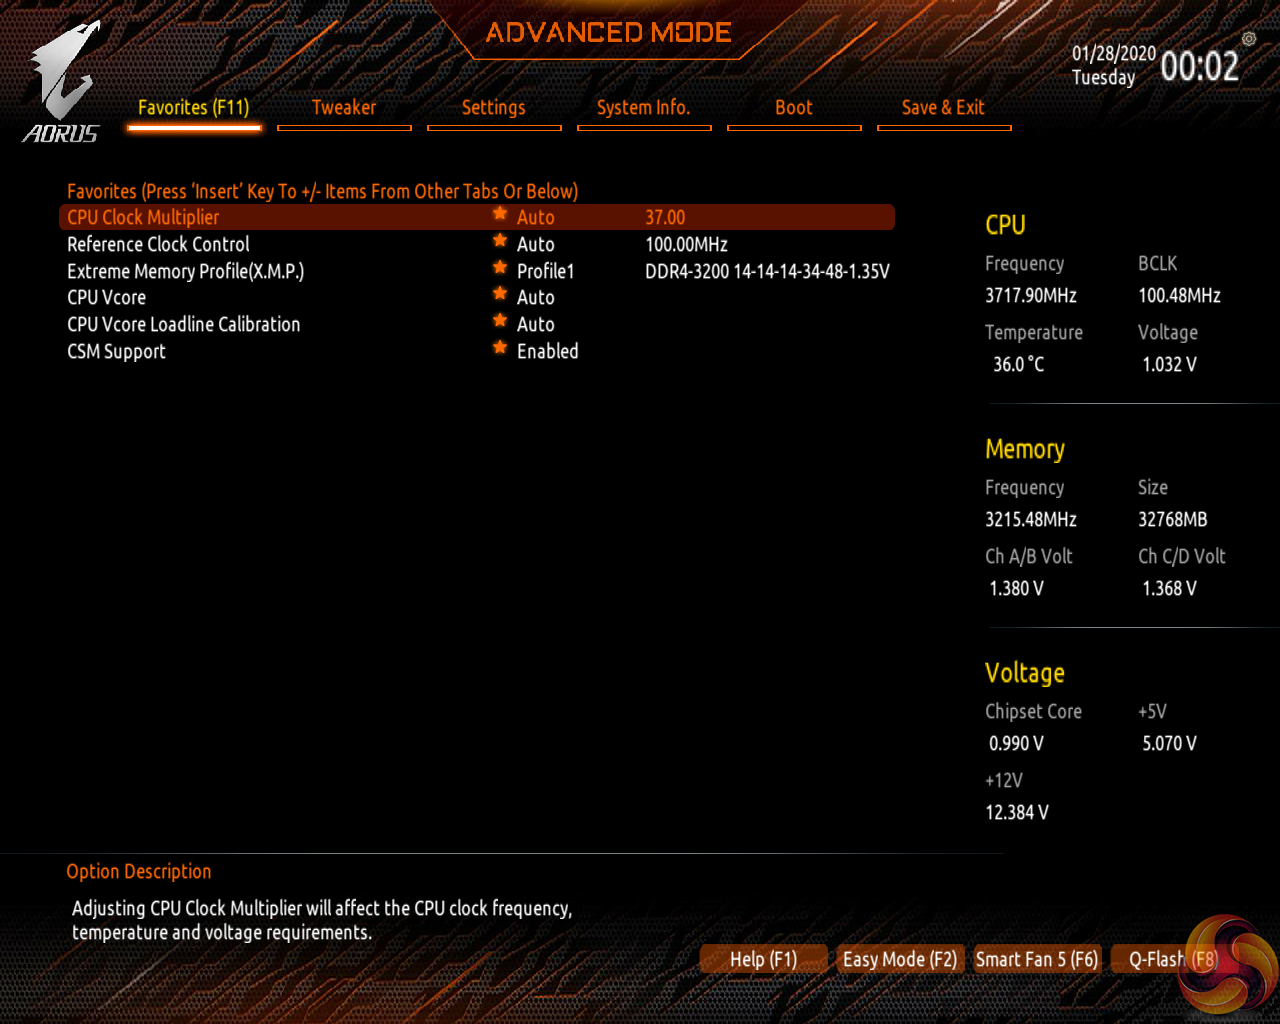
The selection of LLC names doesn’t really make sense. However, Gigabyte makes up for this by including the (critical in my opinion) visual graph that shows how some of the LLC settings operate. As it happens, our trial-and-error testing suggests that you should use the High LLC setting if you want CPU VCore to stay close to your applied numerical value without a significant overshoot or undershoot.
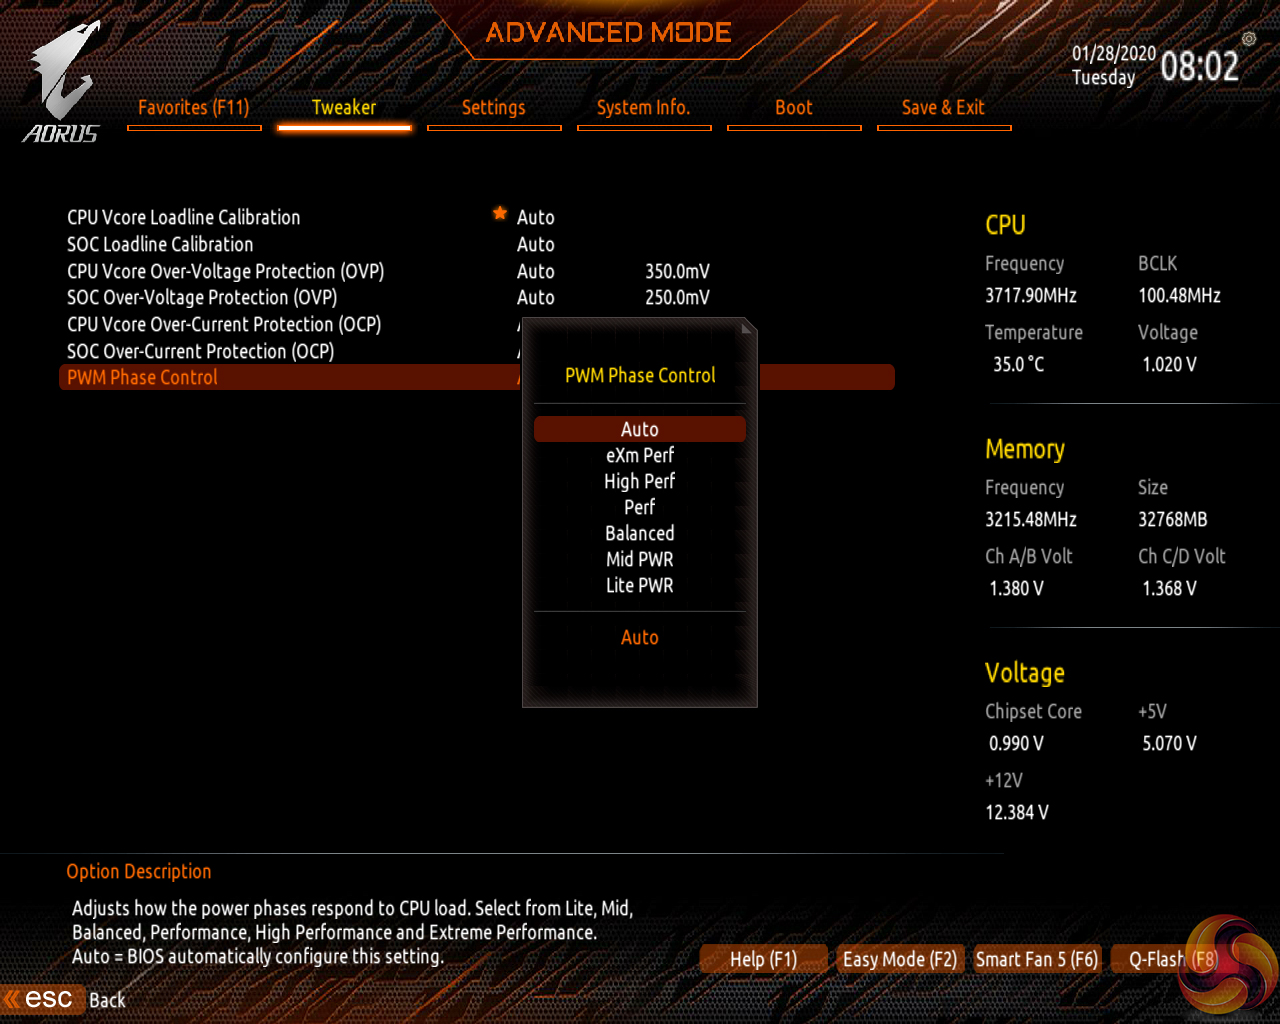
I would say that Gigabyte’s improvements to its overall UEFI – especially the critical voltage and frequency section – have been significant over the past couple of years. There are, however, still areas where improvement is required. There are generally no drop-down lists for selecting frequencies and no colour indication is given to highlight a high voltage level. I also found navigating to the power controls section for the CPU a little more long-winded than it needs to be, and the inability to increase and decrease this value with +/- keys was incredibly frustrating.
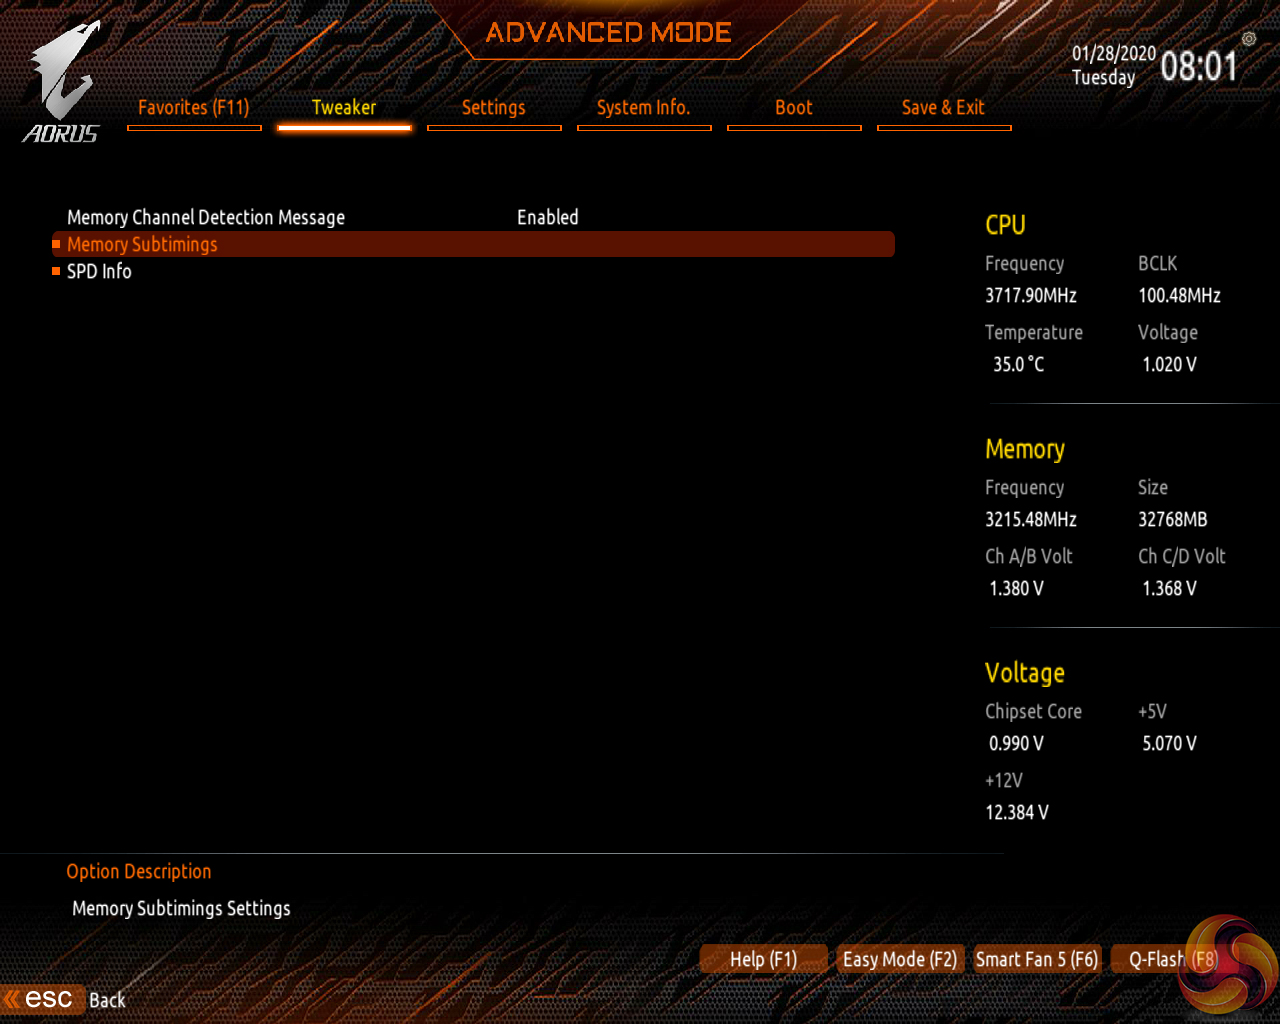
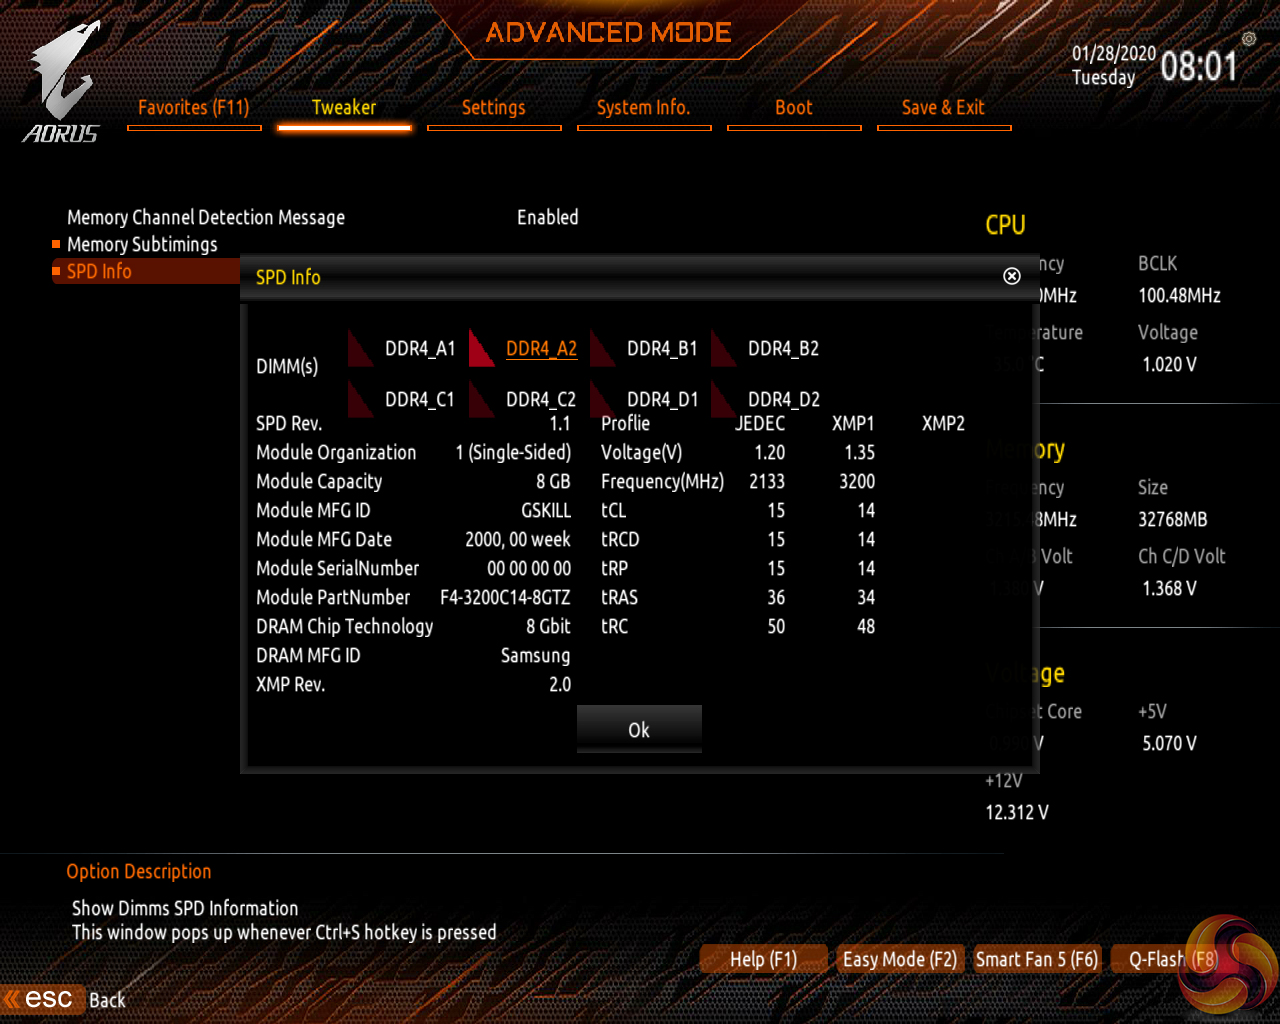
Control for memory subtimings and information relating the specific installed modules is broken out into a separate section.
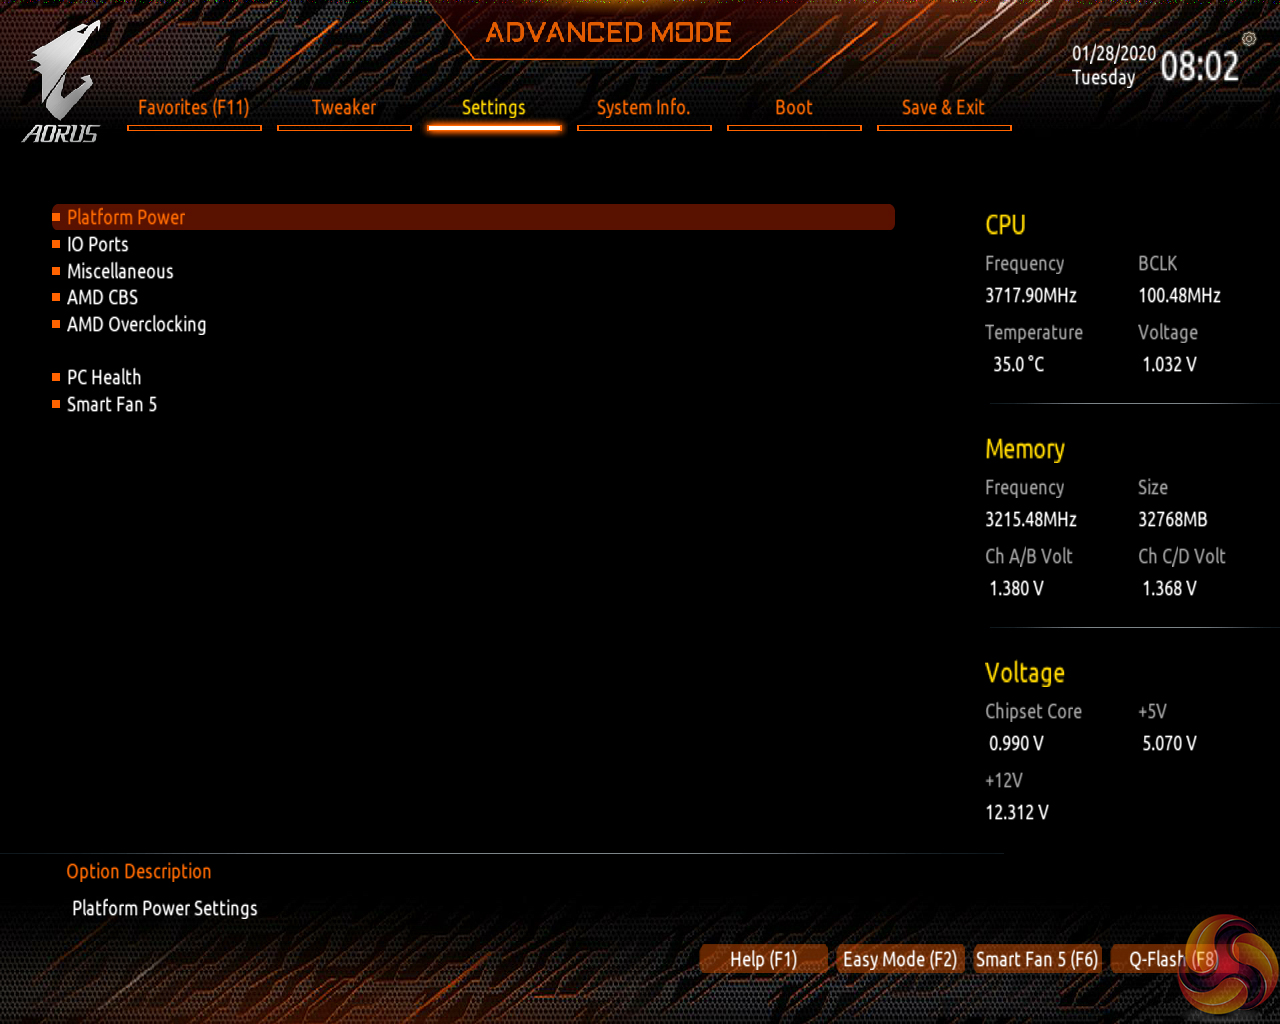
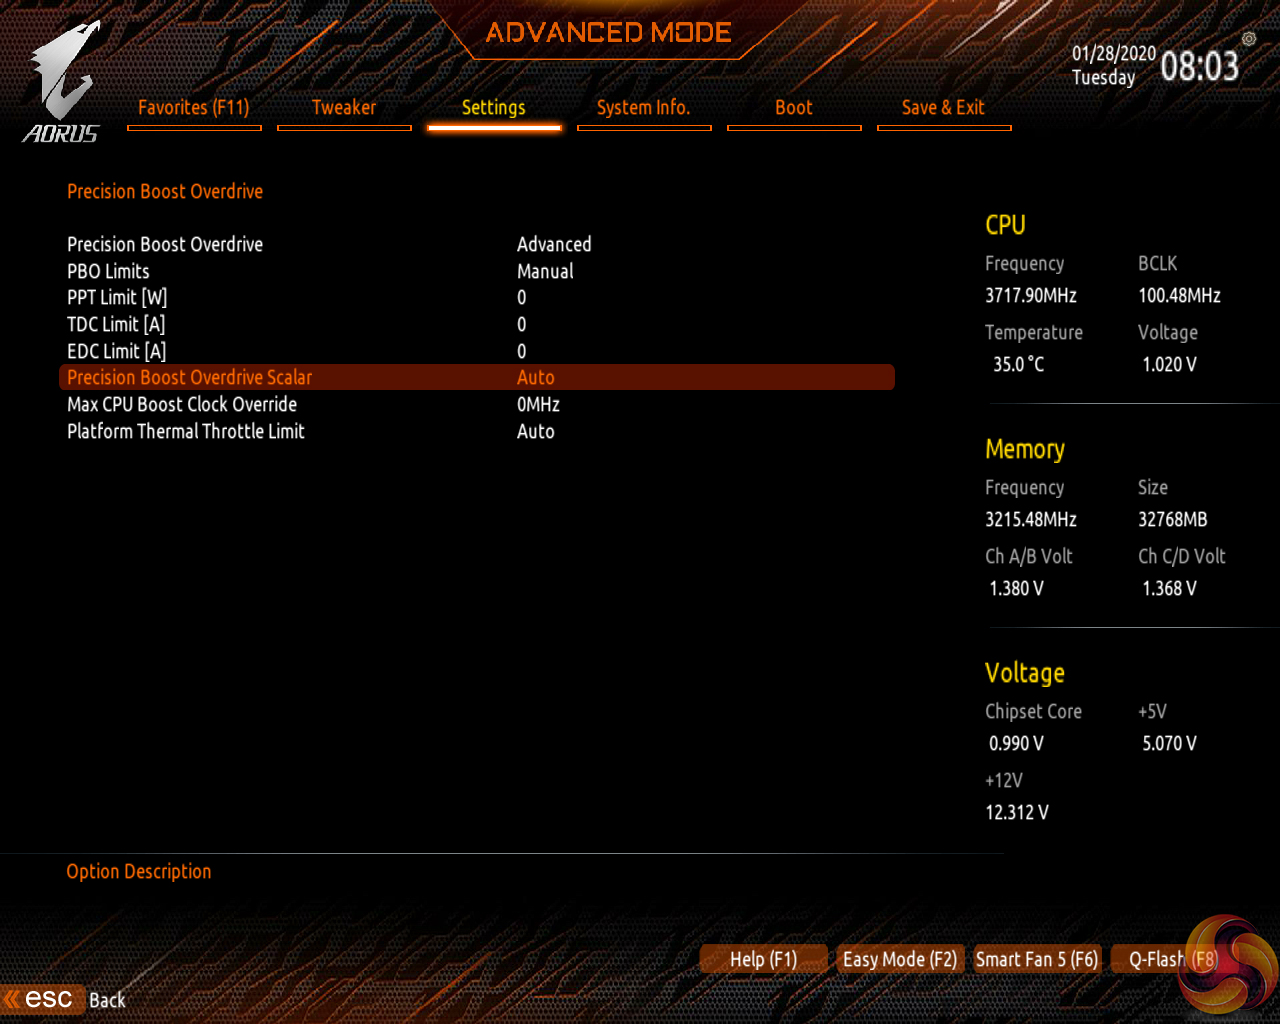
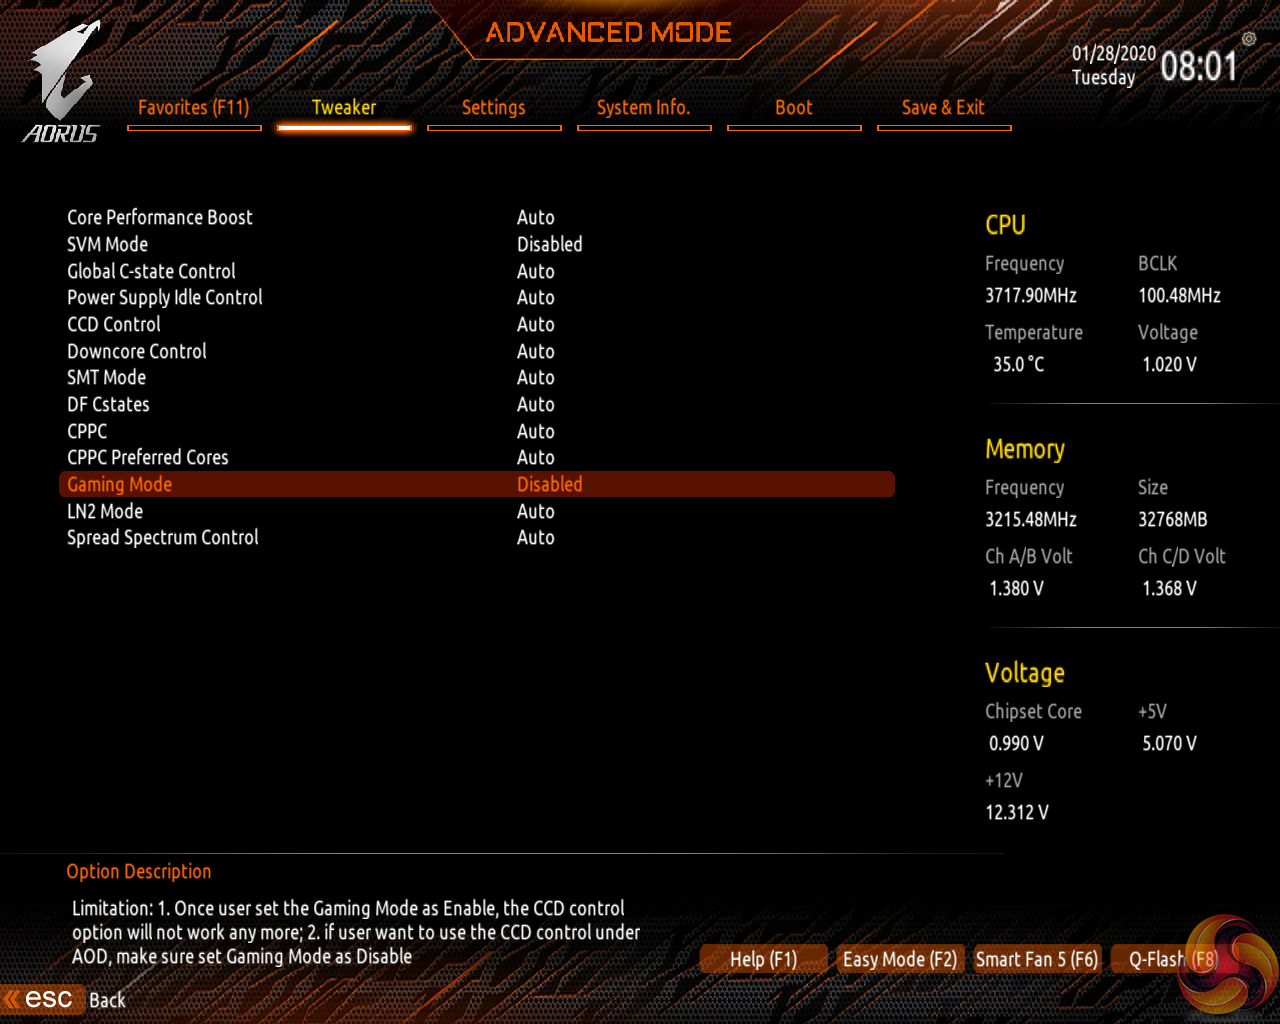
Plenty of settings relating to system operations are found within dedicated subsections. Users have the ability to control CCD operation, Infinity Fabric clocks, and Precision Boost Overdrive, for example.
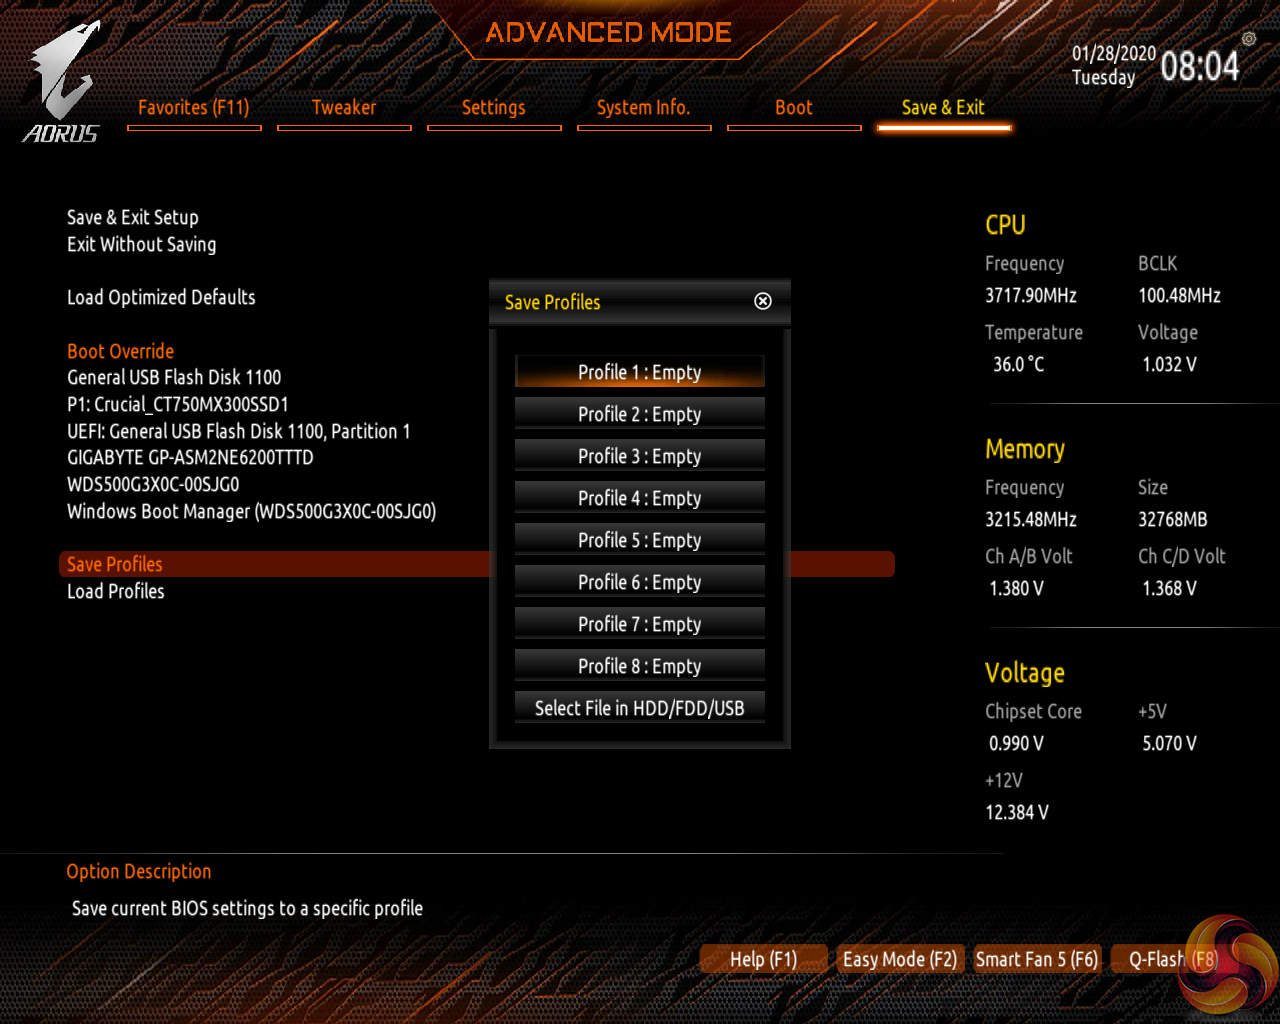
Up to eight user profiles can be saved on the board’s internal memory. Further profiles can be transferred via storage media such as a USB flash drive.
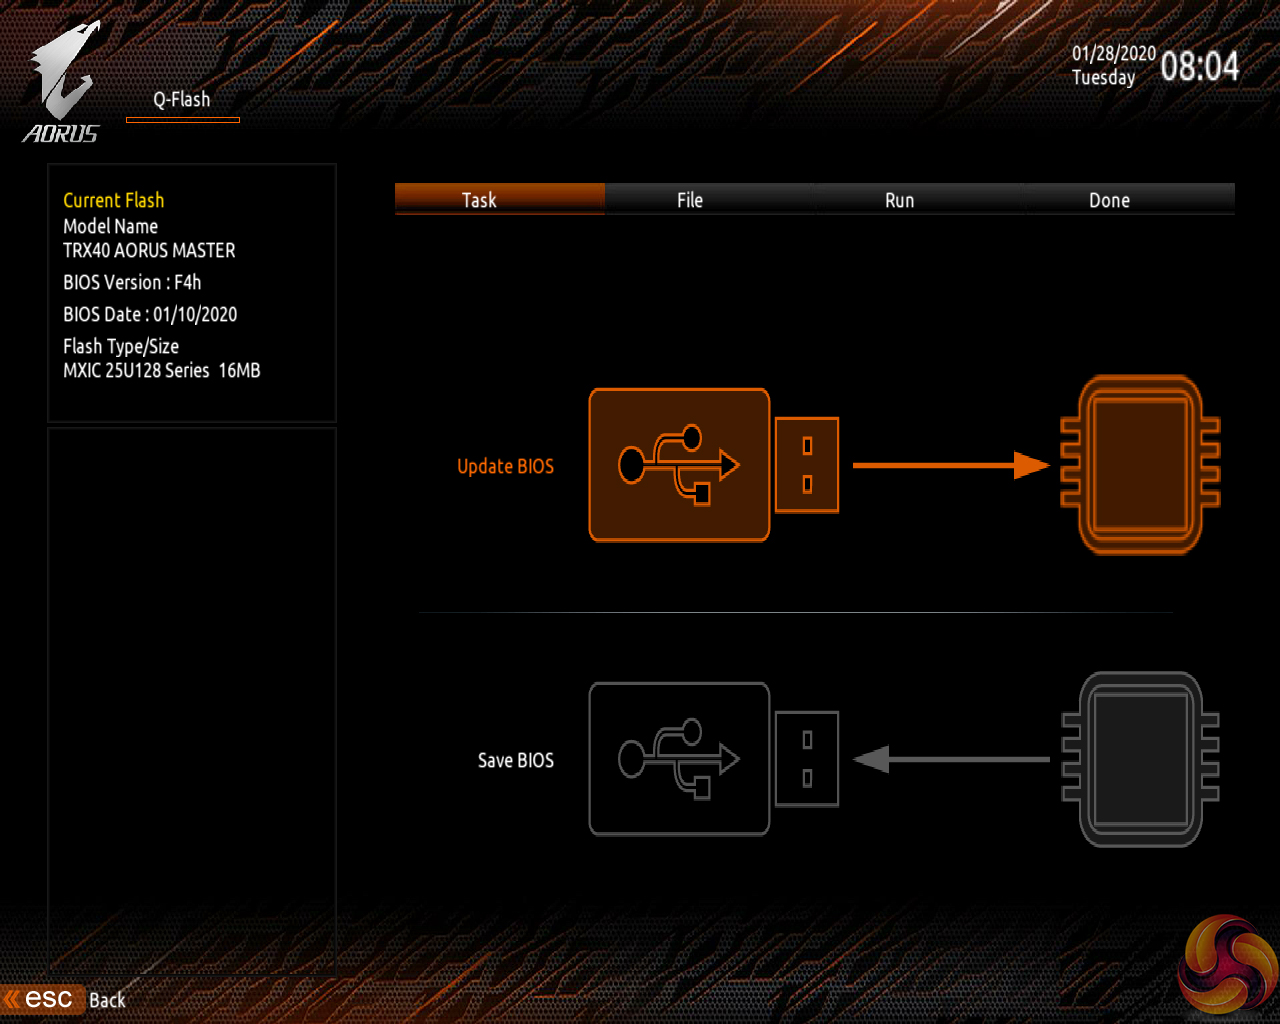
Q-Flash is accessed by hitting F8 on any main UEFI page. The tool is able to access folders within a USB flash drive so that one can locate the BIOS file and flash it.
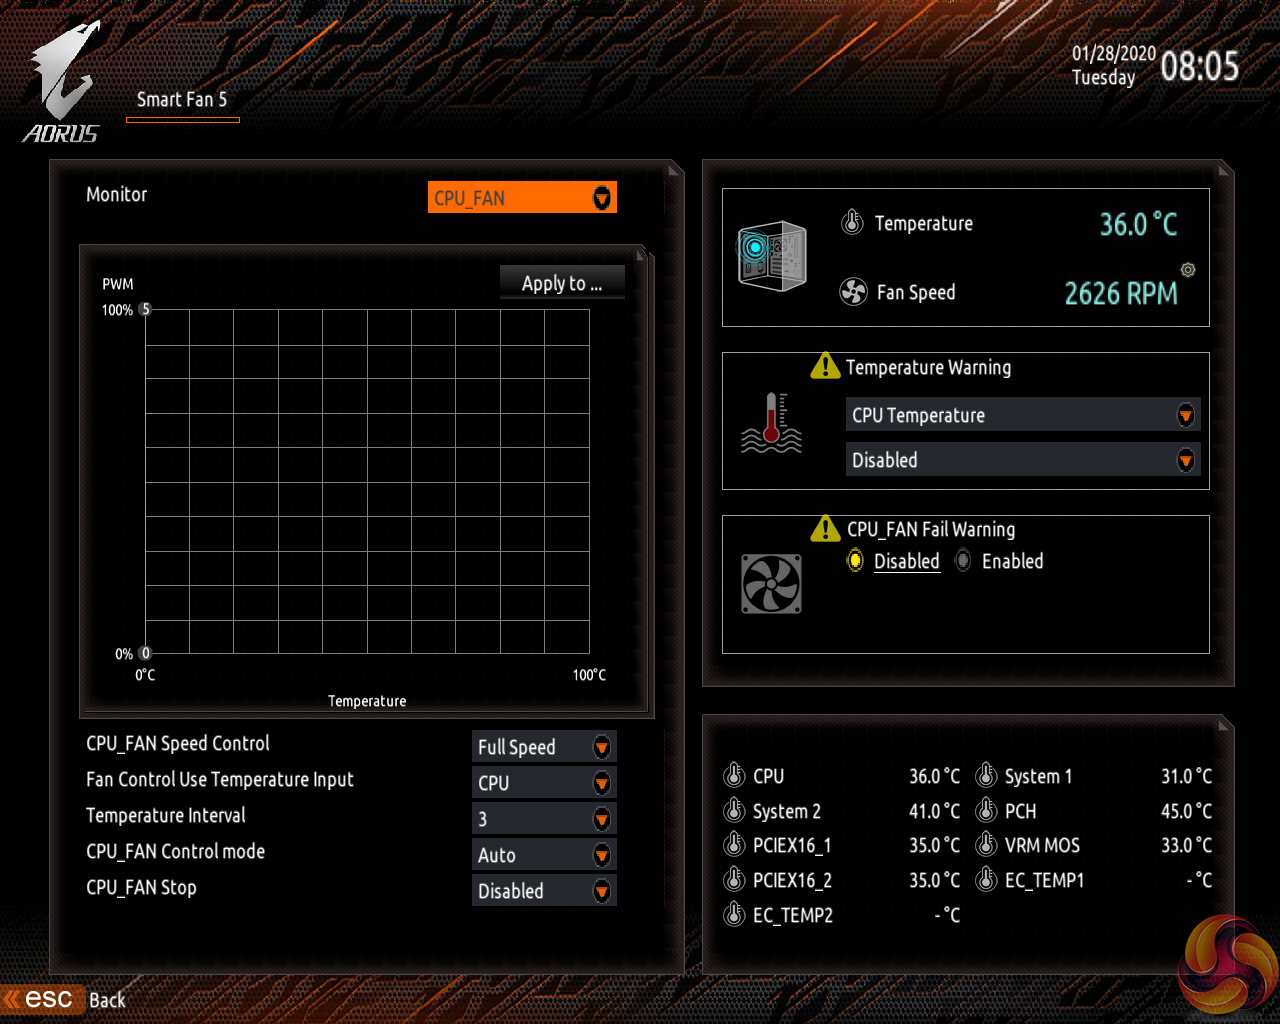
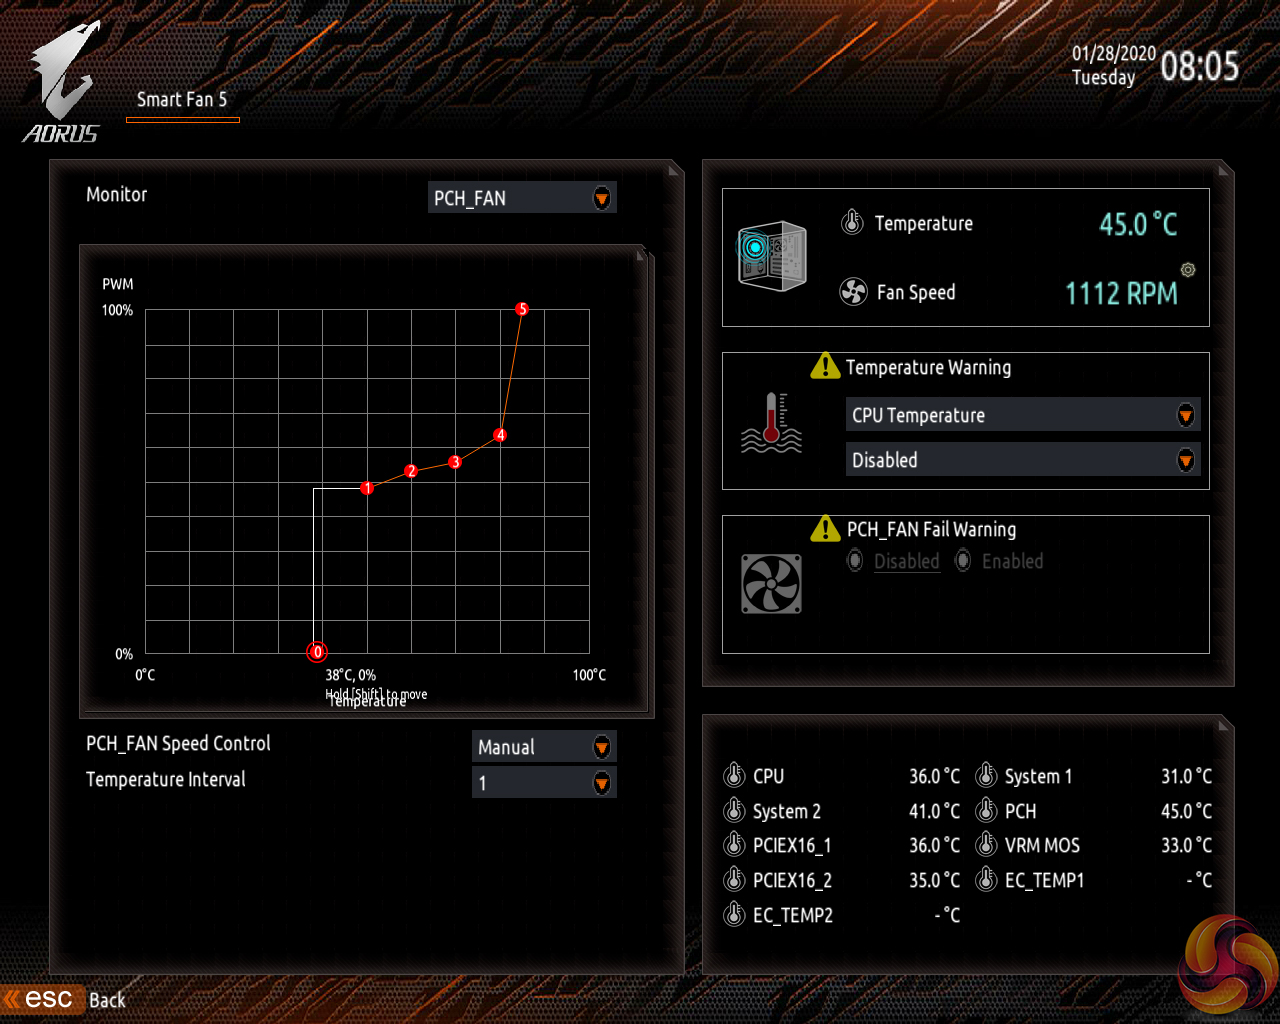
The Smart Fan 5 settings subsection can be accessed from any page by hitting the F5 key. This superb fan control system is the star of the show for Gigabyte’s UEFI.
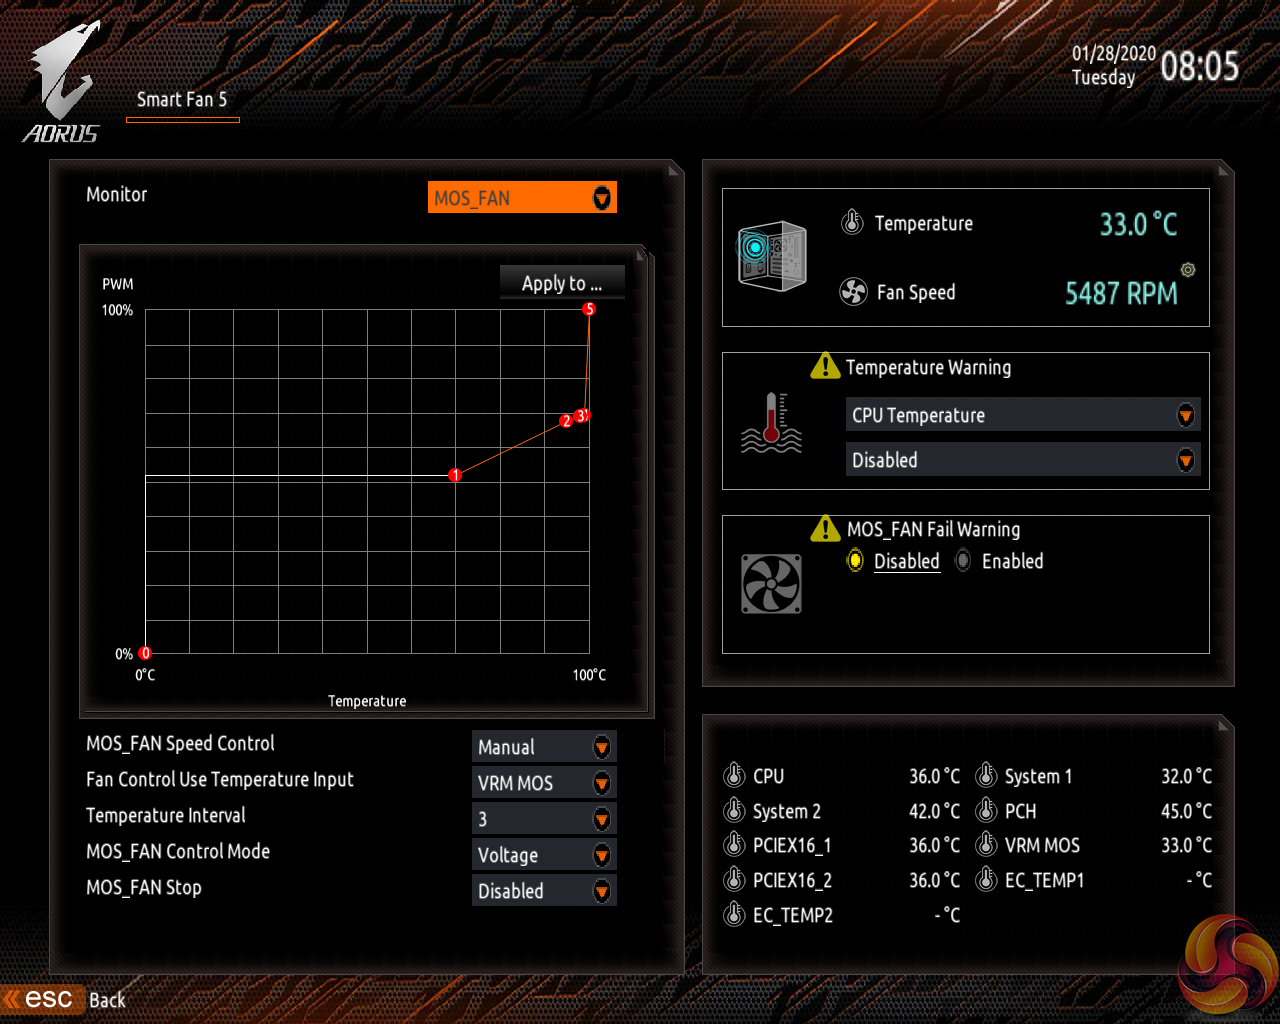
All fan headers can be individually selected and their speed profiles can be tweaked. Gigabyte includes basic preset fan speed control settings and a choice of temperature monitoring points. The headers can also be set to PWM or Voltage (DC) mode at will, which is ideal for feeding continuous current to a watercooling pump or letting PWM fans adjust their own speed.
It’s the manual fan speed tweaking mode where Smart Fan 5 really shows its worth. Six points on a graph can be used to create the fan speed curve. A level as low as 0% PWM speed down to 0°C is also supported, meaning that you can set the fan to switch off if the system is operating at ambient, or elevated, temperature (provided the fan is able to stop itself spinning).
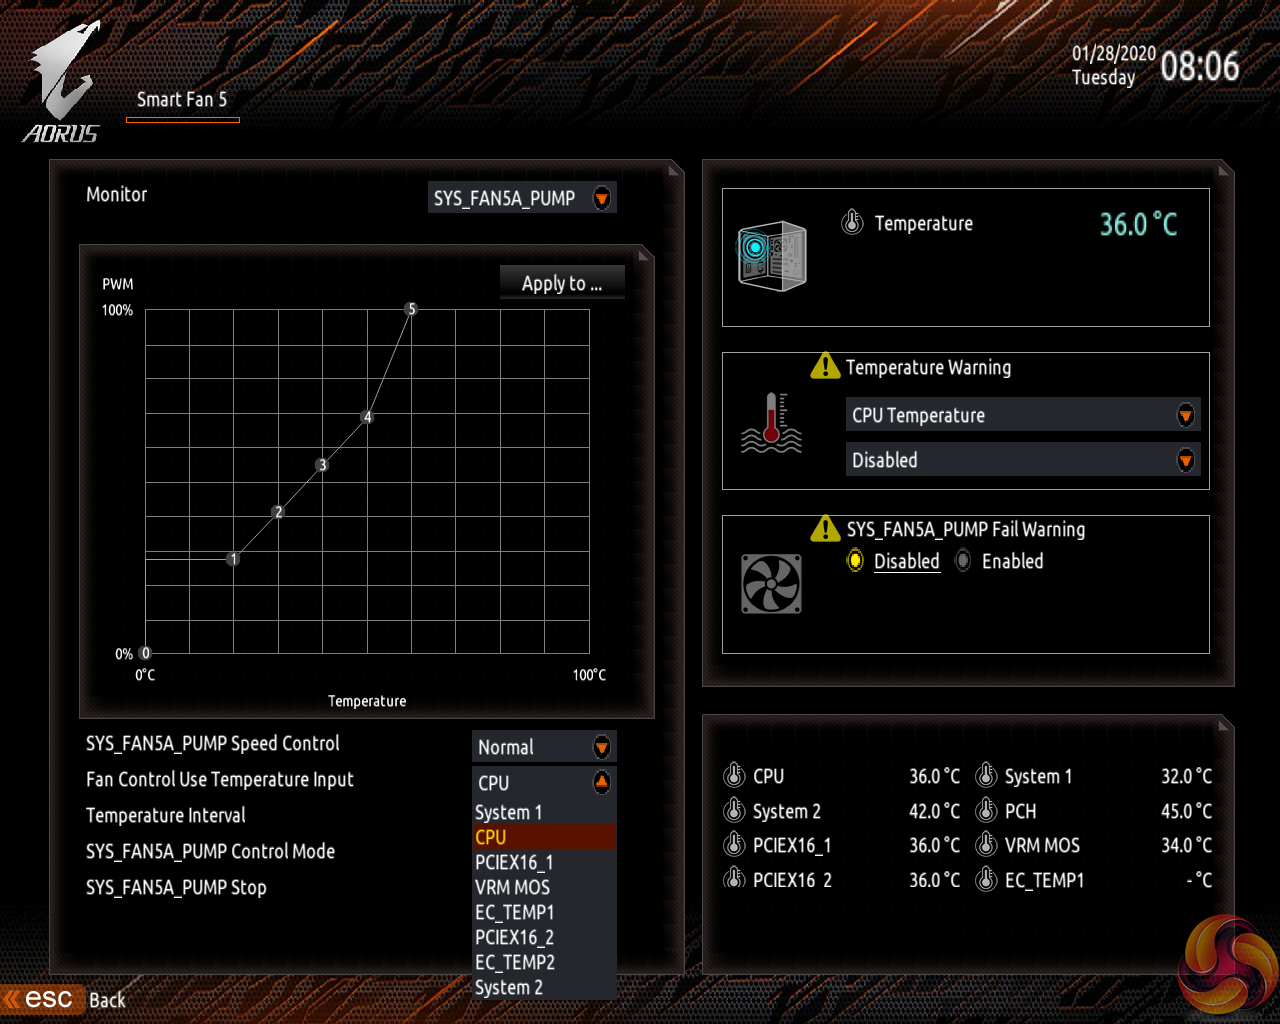
The temperature monitoring points for fan speed curves vary by motherboard but include: CPU, System 1, PCIe x16, VRM MOSFET, and External temperature sensor 1.
Not all the fan headers can interact with all monitoring points but this range of sensors is superb. A user should be able to comfortably set fan speed adjustments based on relevant data from the CPU, MOSFET, and PCIe slots.
The only noteworthy omission is a graphics card monitoring sensor. It would be good if Gigabyte fed data from its Aorus graphics cards, for example, through to the motherboard-controlled fan headers. PCIE readings in the UEFI relate to the actual slots, not the cards installed in them.
Gigabyte OS Software
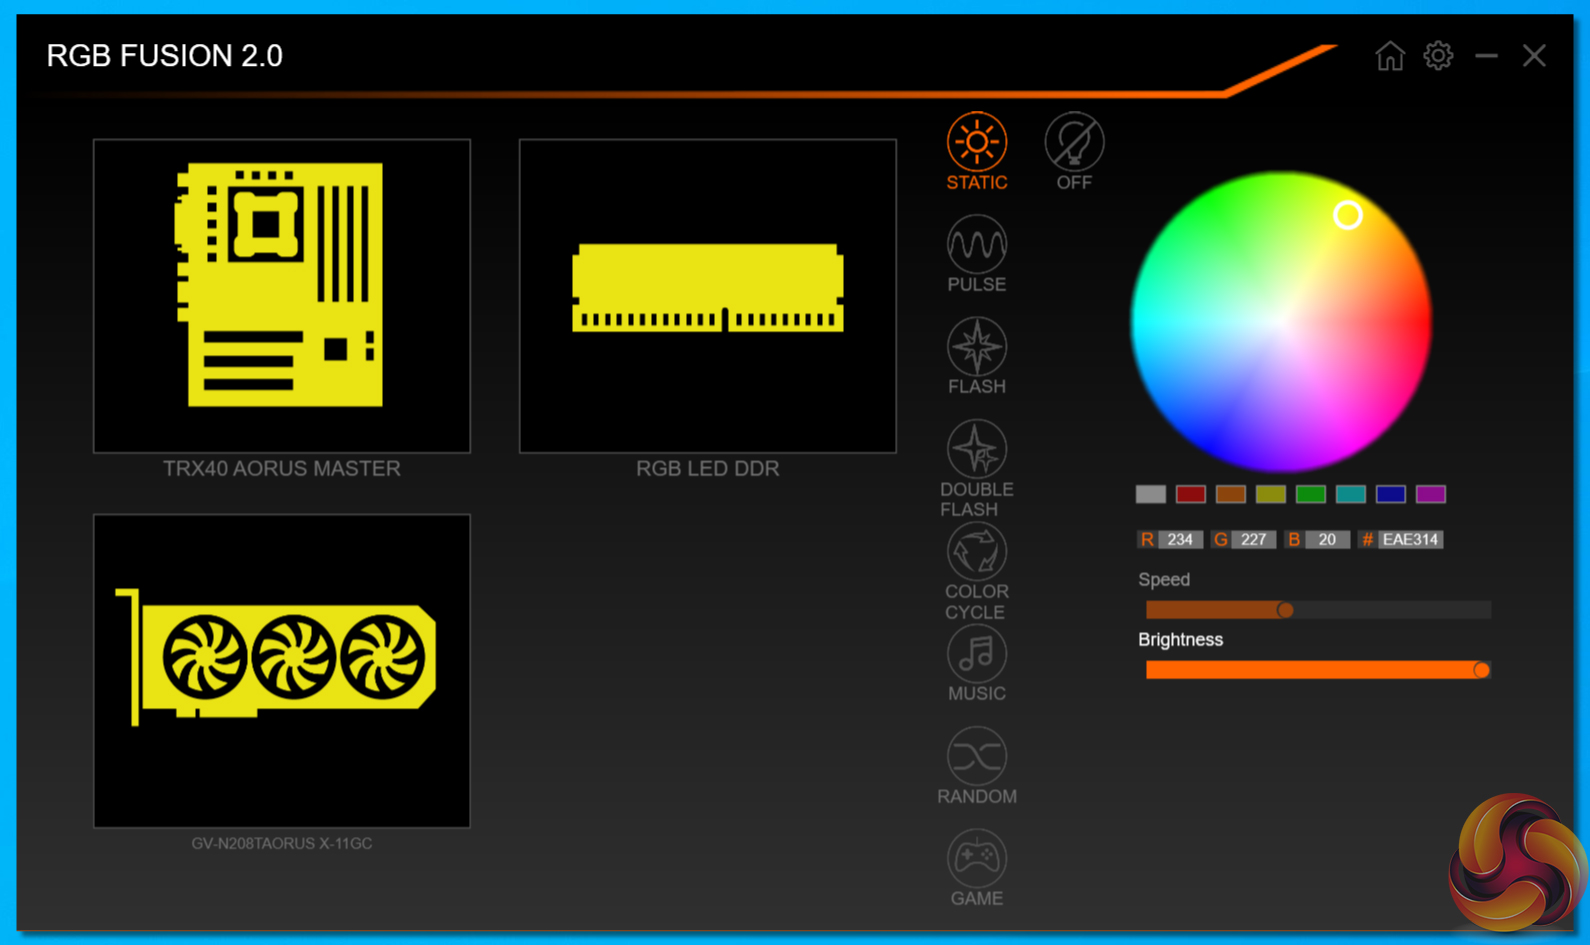
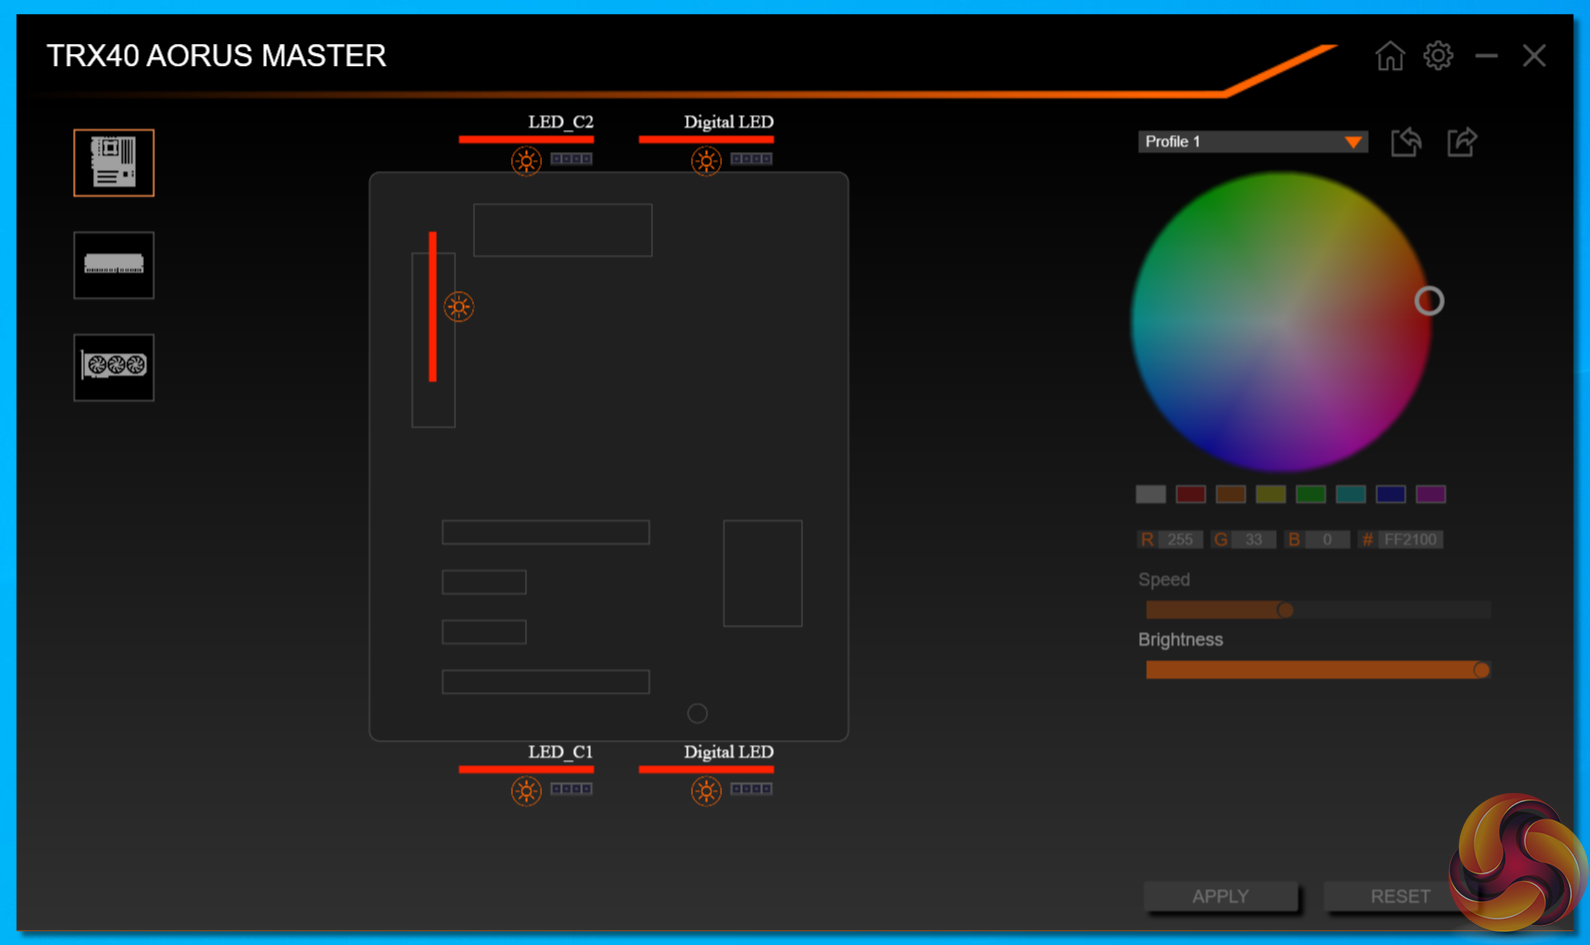
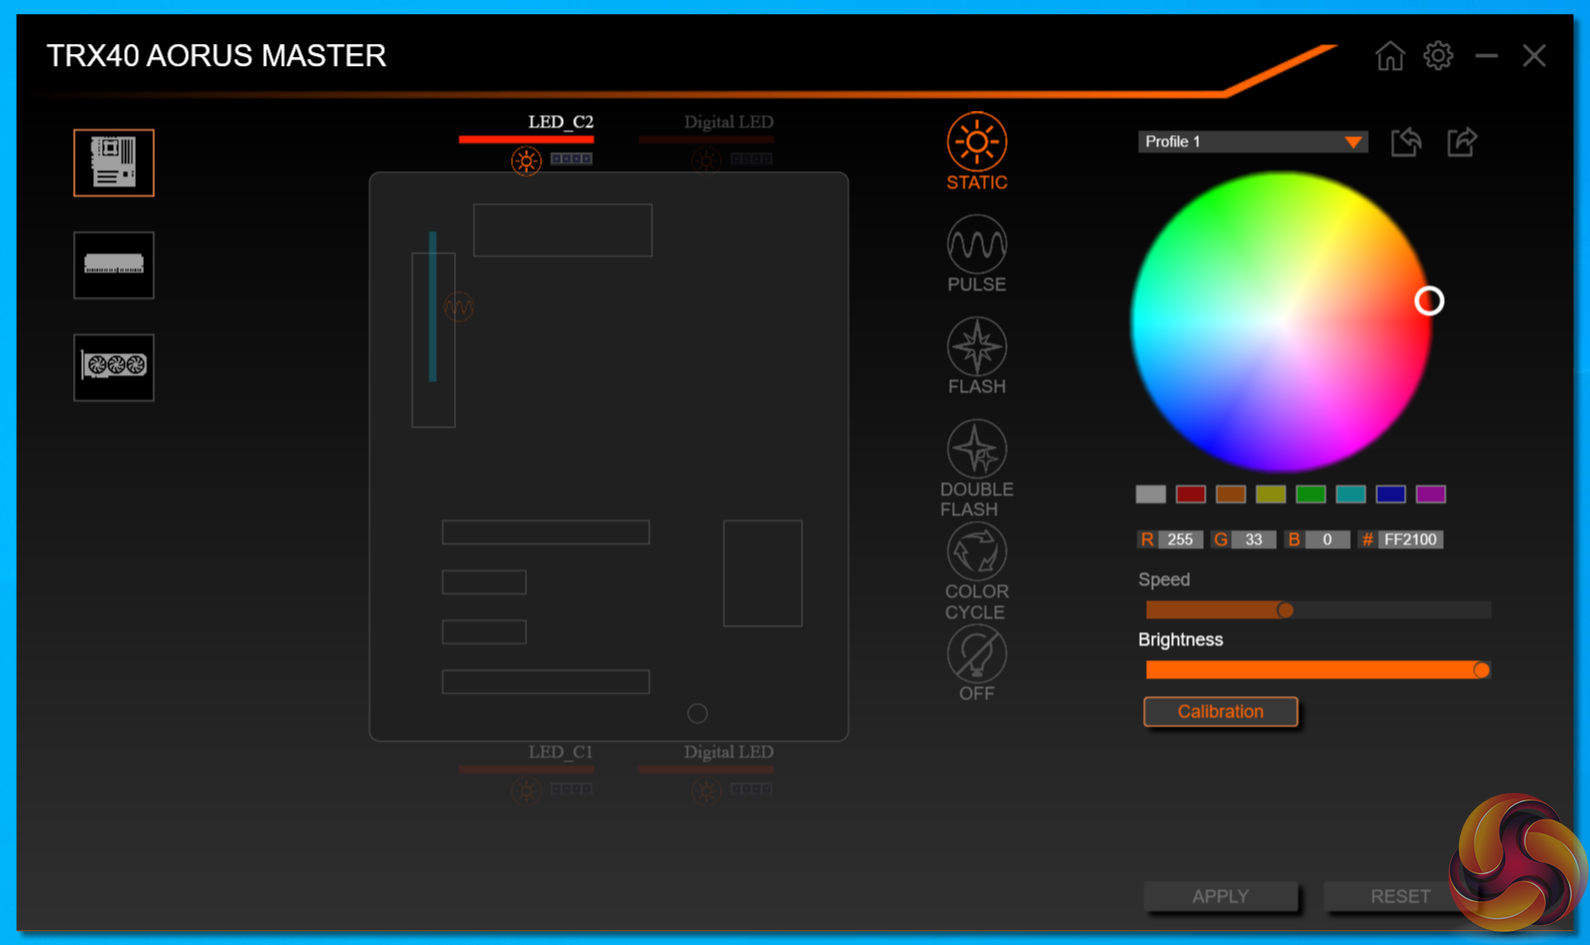
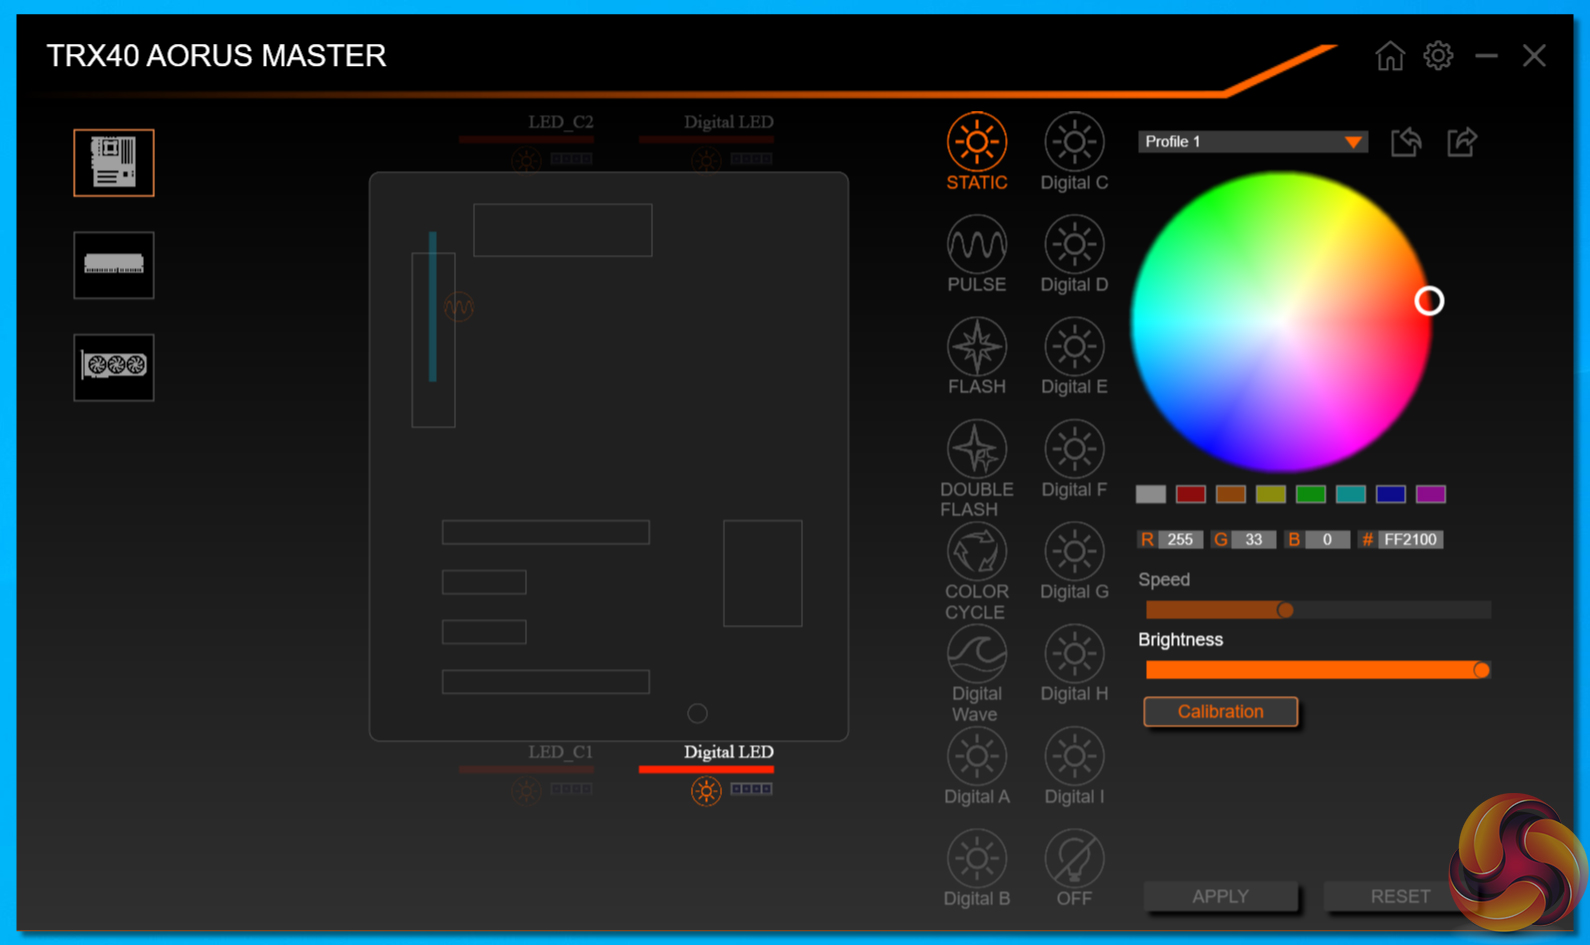
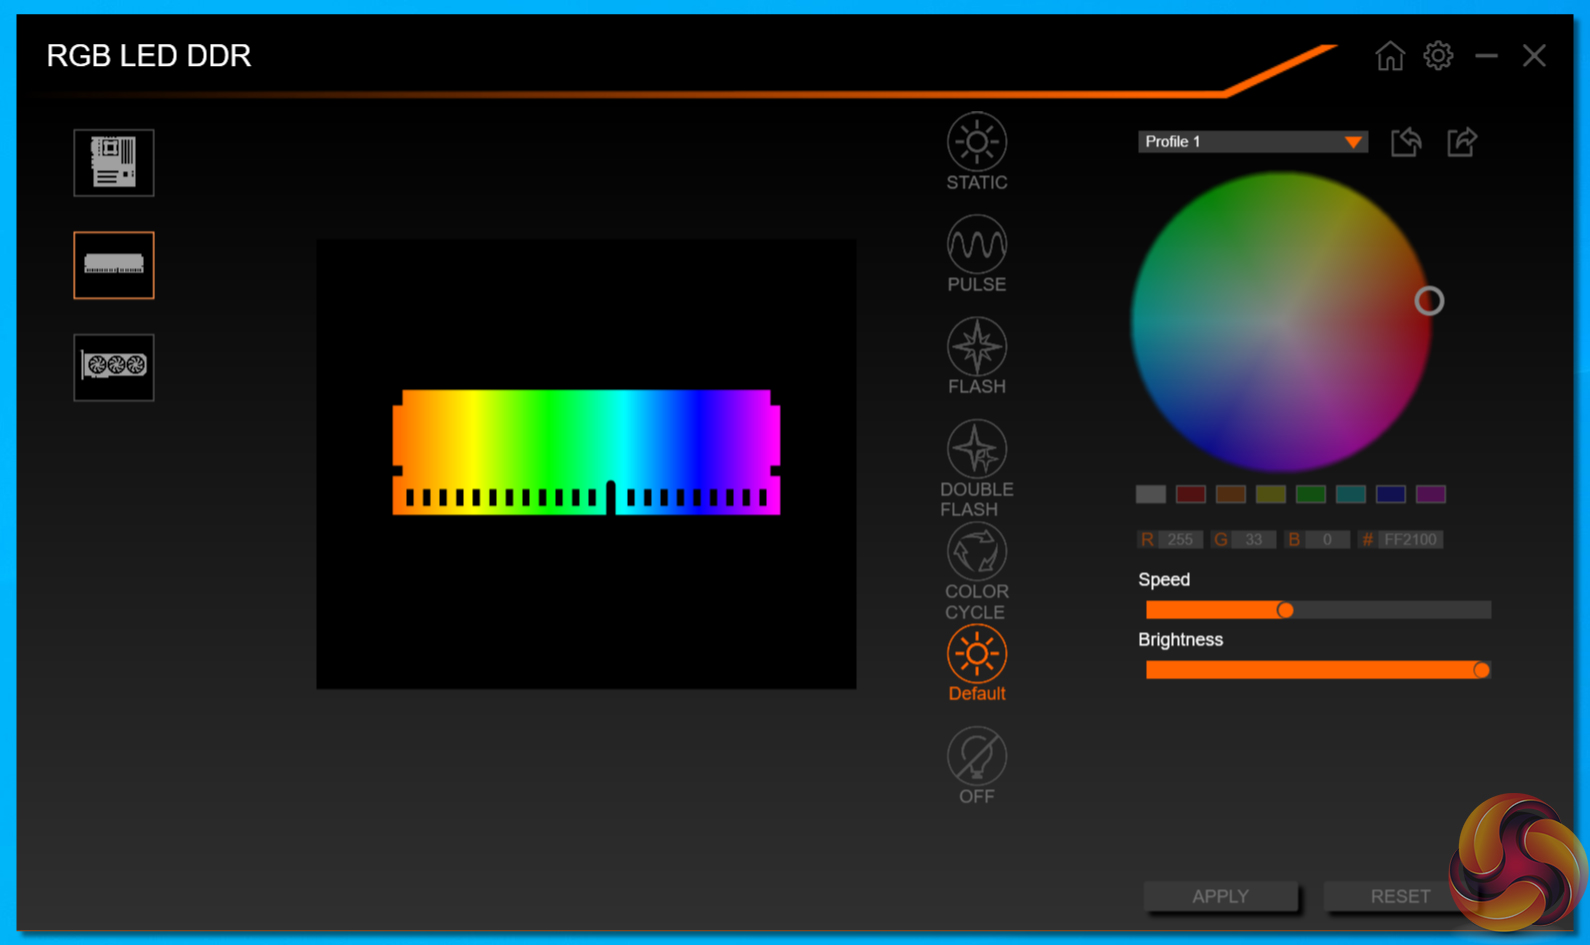
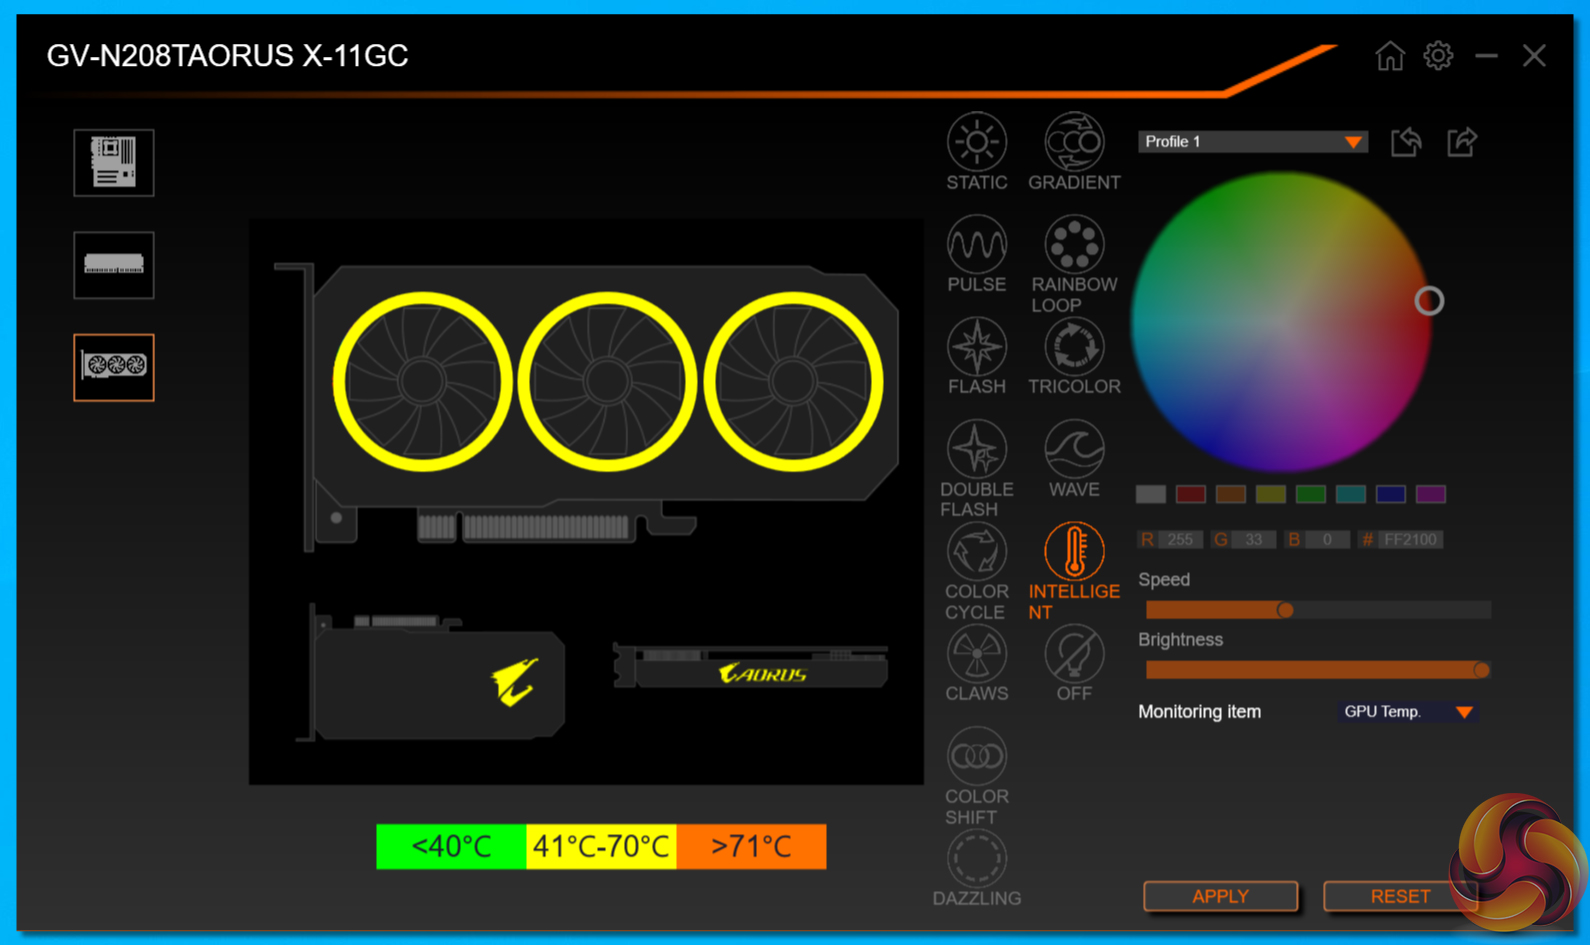
RGB Fusion 2.0 has a decent variety of LED operating modes and the colour wheel is incredibly simple to use. It is good to see that Gigabyte provides individual control to the separate lighting zones on the motherboard itself.
Another area where RGB Fusion 2.0 is particularly strong is its integration and control ability with other Gigabyte Aorus hardware. We were able to control our Aorus RTX 2080 Ti Xtreme graphics card with ease, allowing coherence between the lighting modes.
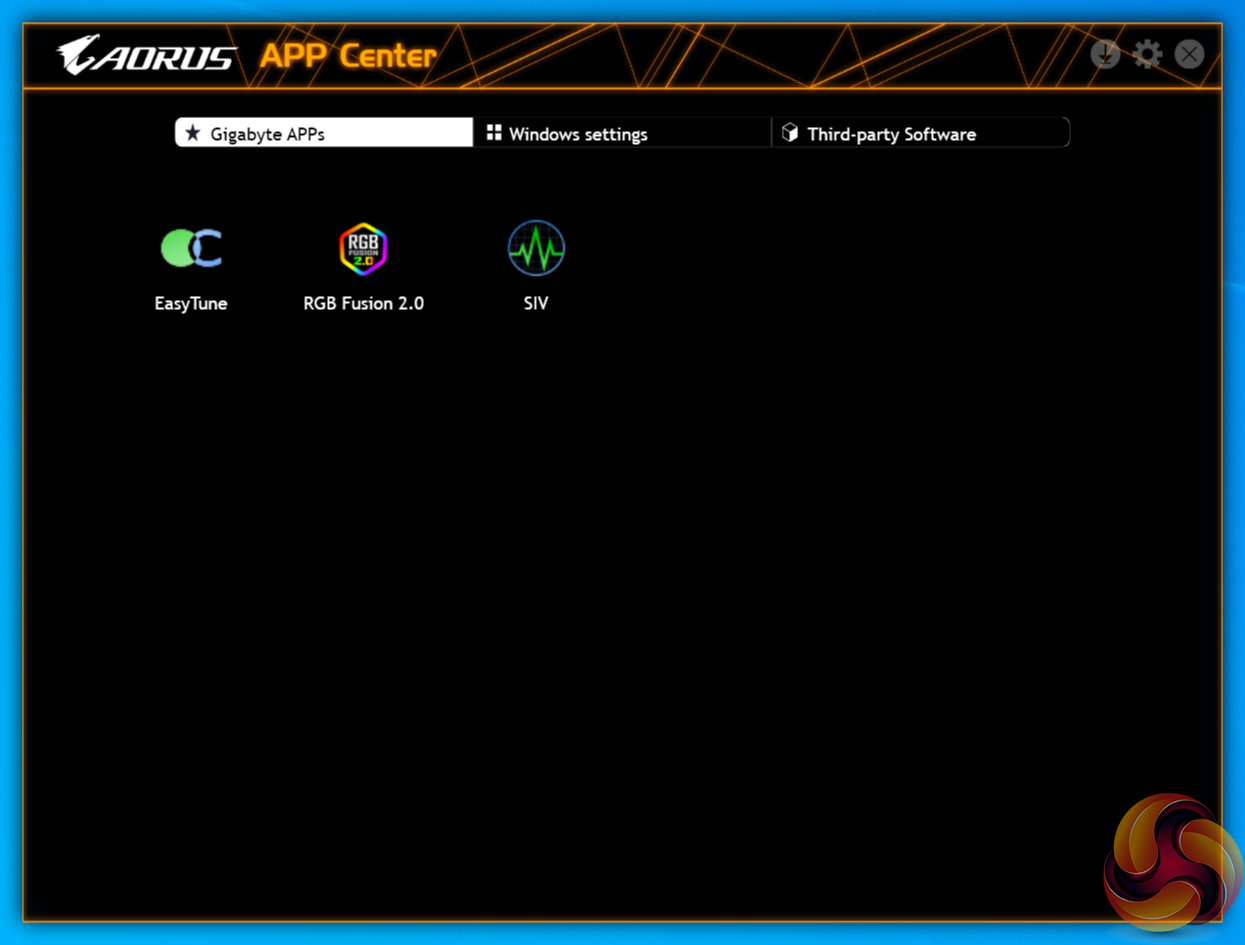
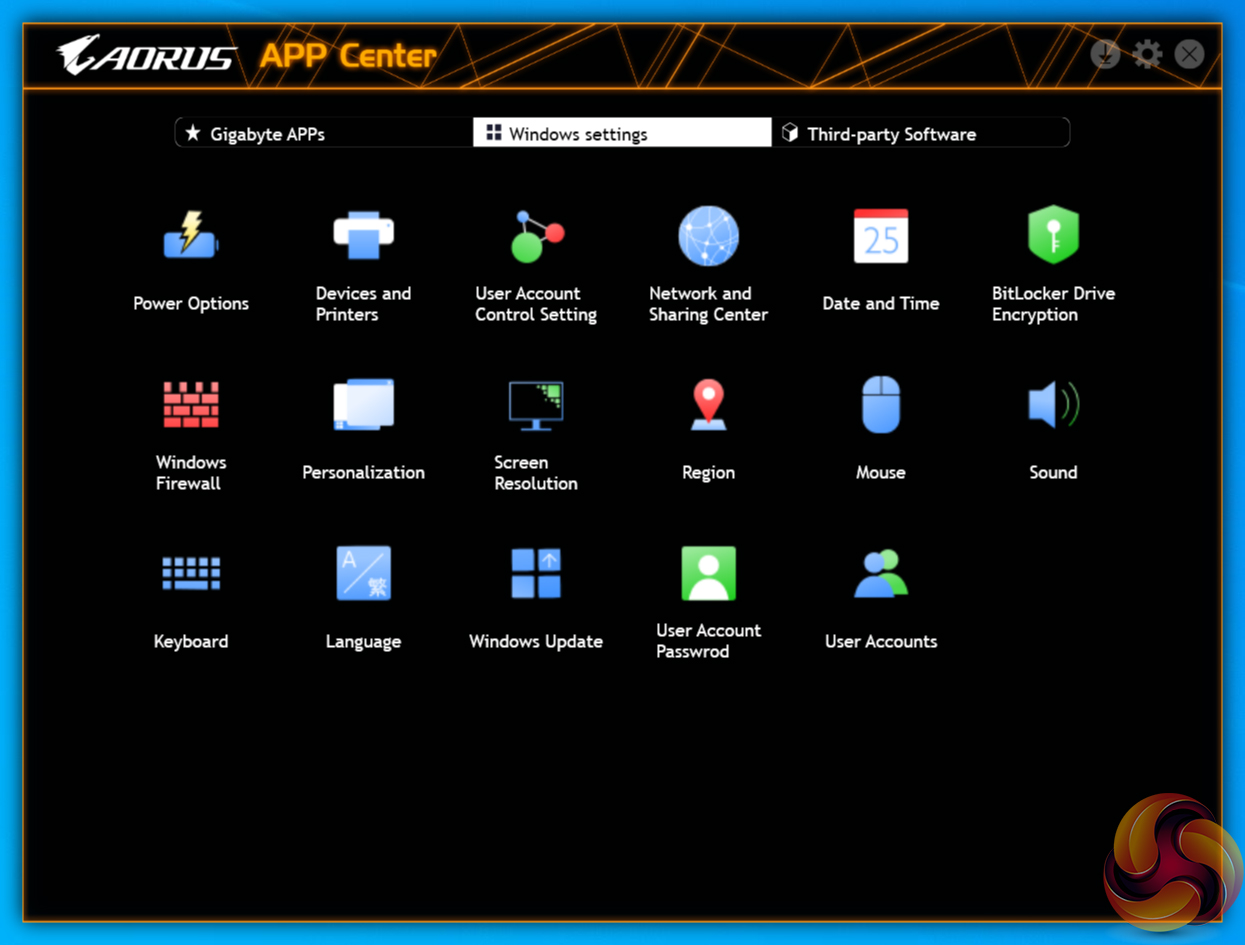
Gigabyte makes a vast number of software utilities available for installation with its motherboards. Thankfully, not all the tools have to be installed and APP Center is a very good method of managing the selected software, as well as third-party apps and Windows settings.
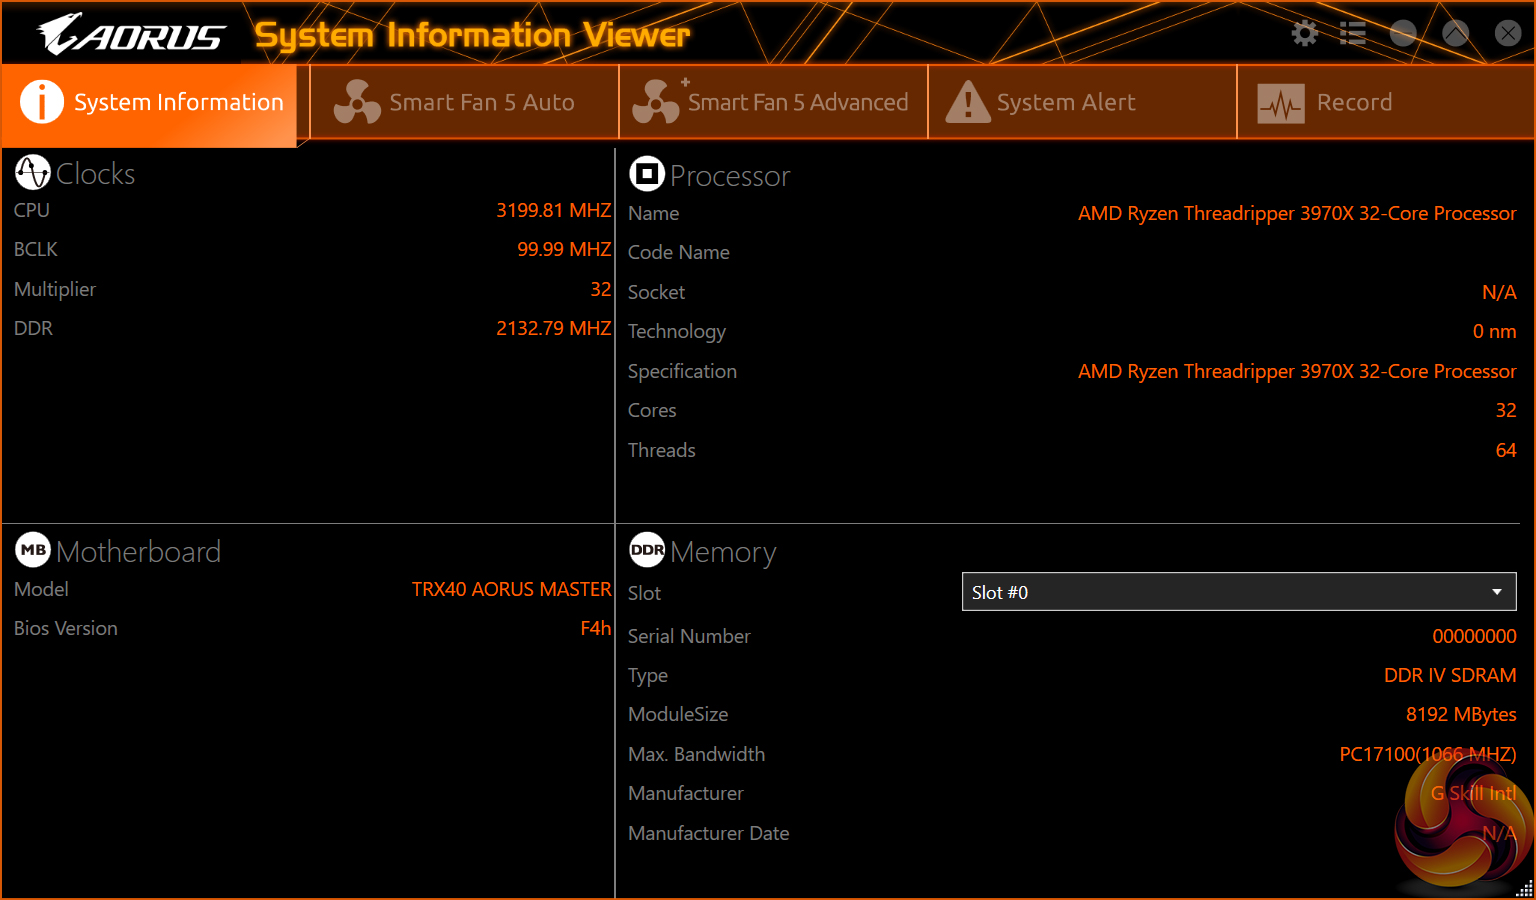
System Information Viewer (SIV) is a similar setup to EasyTune but it is geared towards fan control and system monitoring. System recordings relating to voltages, temperatures, and fan speeds can also be made.
This is particularly useful for analysing stability in the form of checking how your system behaves during an extended gaming or video rendering session, for example.
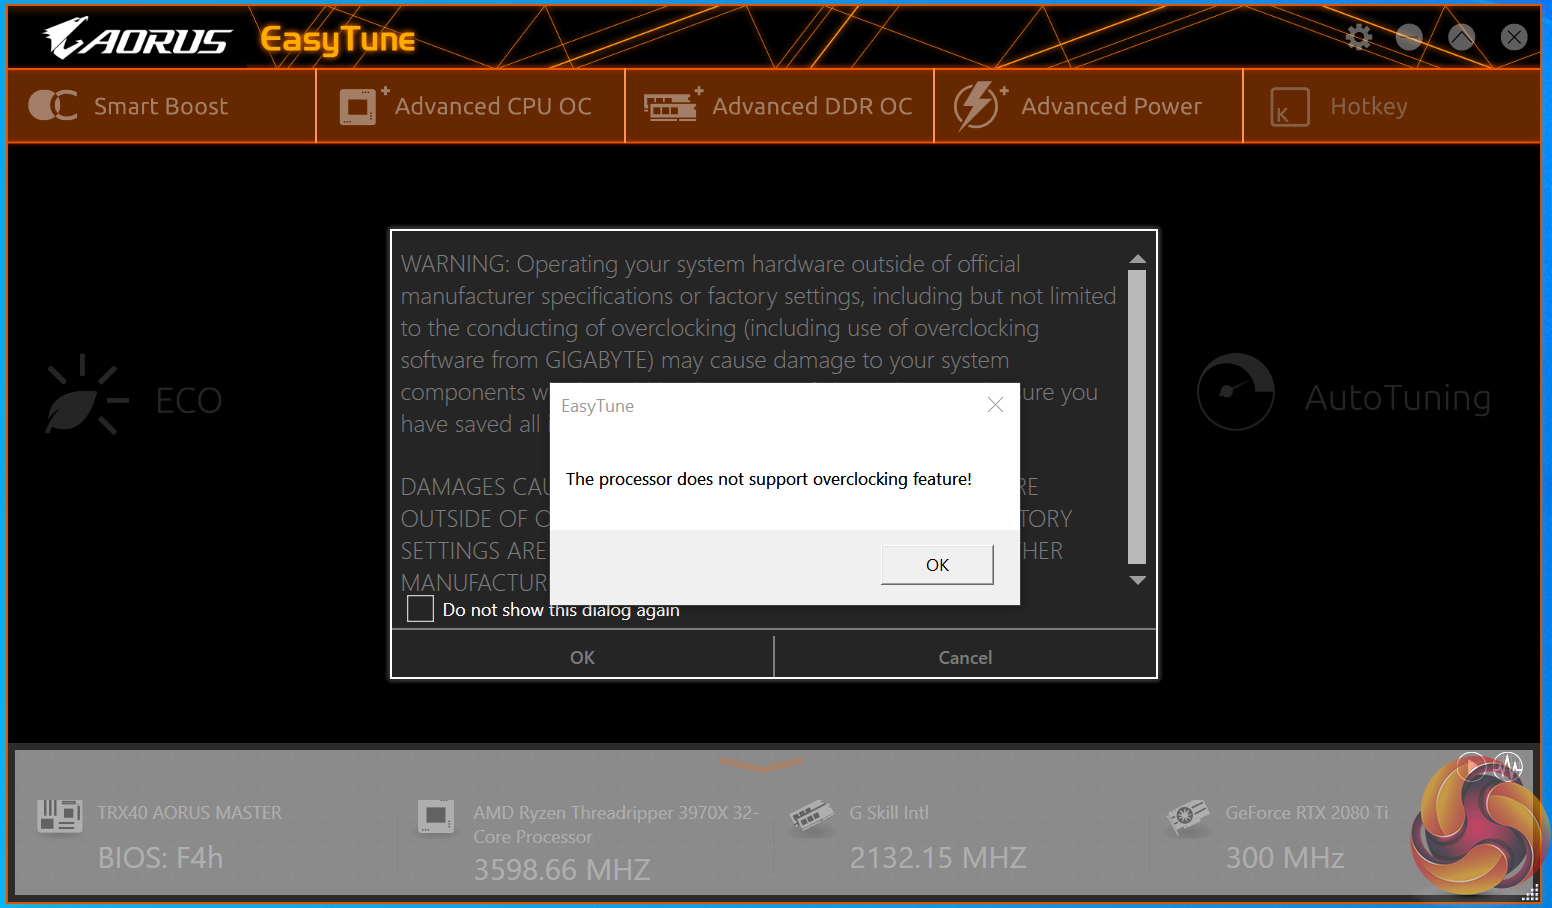
Unfortunately, EasyTune did not seem to work during our testing.