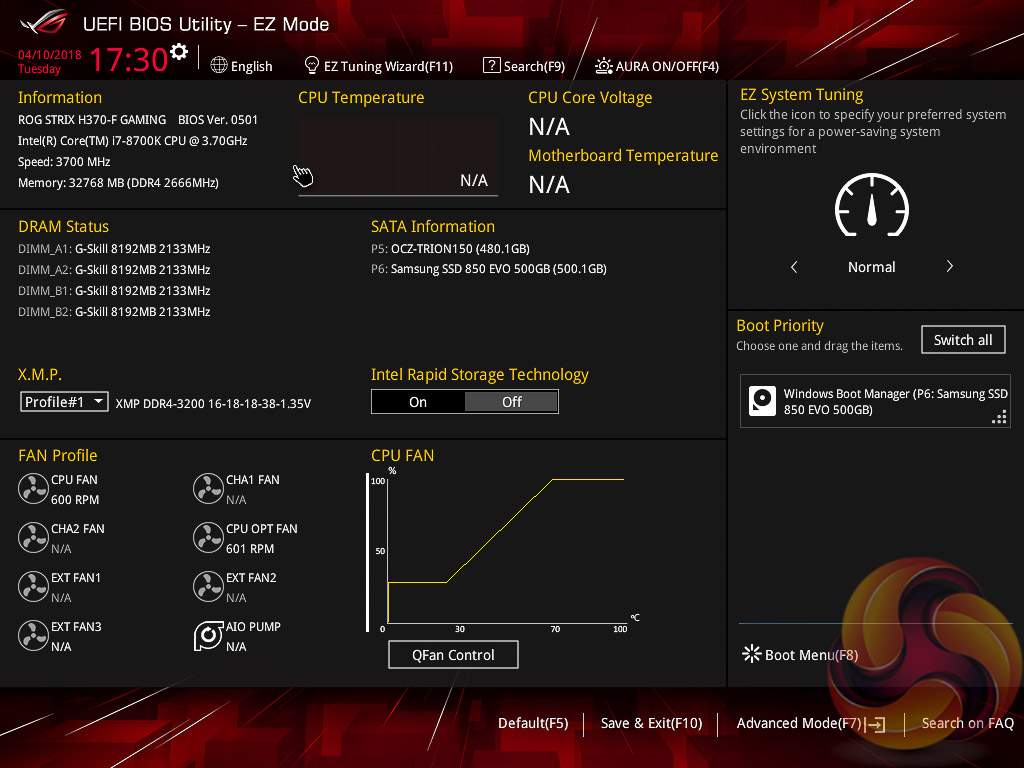
The ASUS UEFI opens onto the EZ Mode splash screen which has a selection of frequently used settings including XMP profiles, boot device order and fan speeds. Pressing F7 takes the user into the advanced section of the UEFI, but there are some additional tools that can be accessed from the splash screen such as Q-Fan Control and EZ System Tuning.

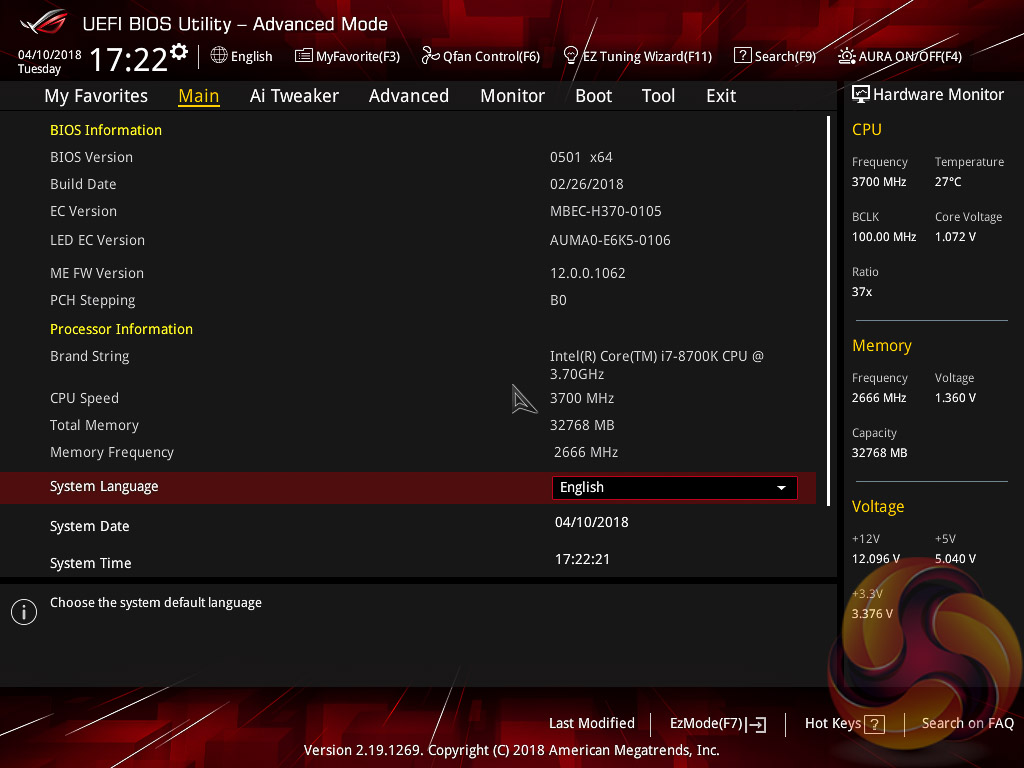
The first tab is MyFavorites which stores the most frequently accessed UEFI settings. The next tab, Main, contains detailed processor and BIOS version information.
If you are unable to display some of the images on these pages, disable your ad blocker as it interferes with our gallery code.
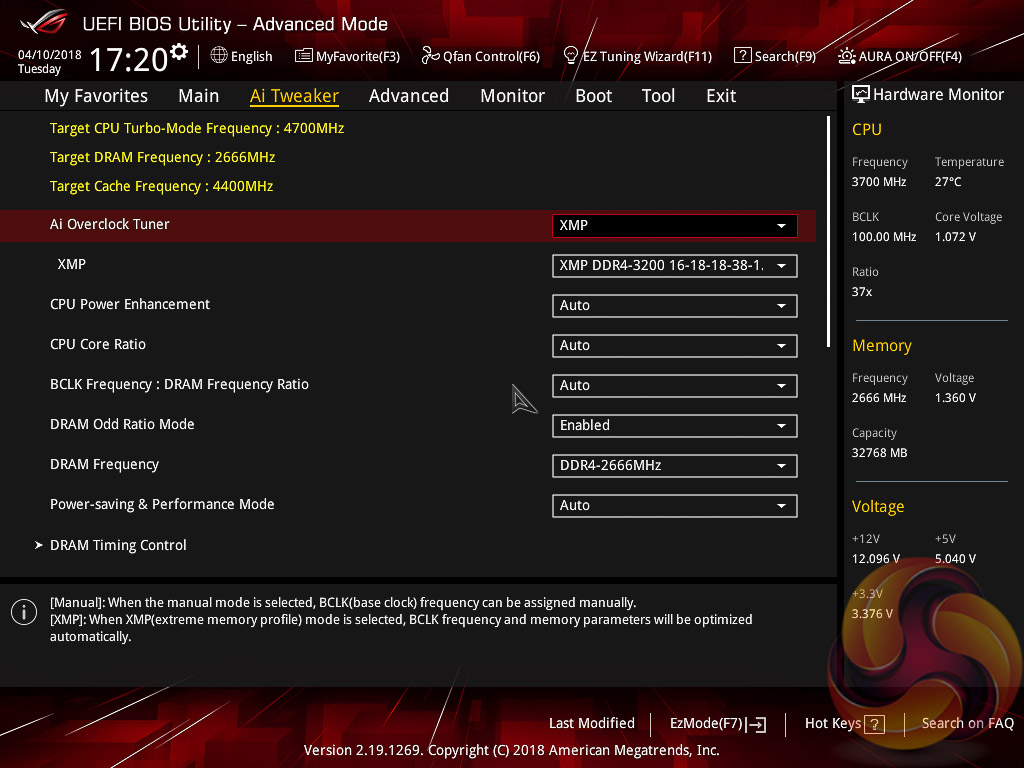
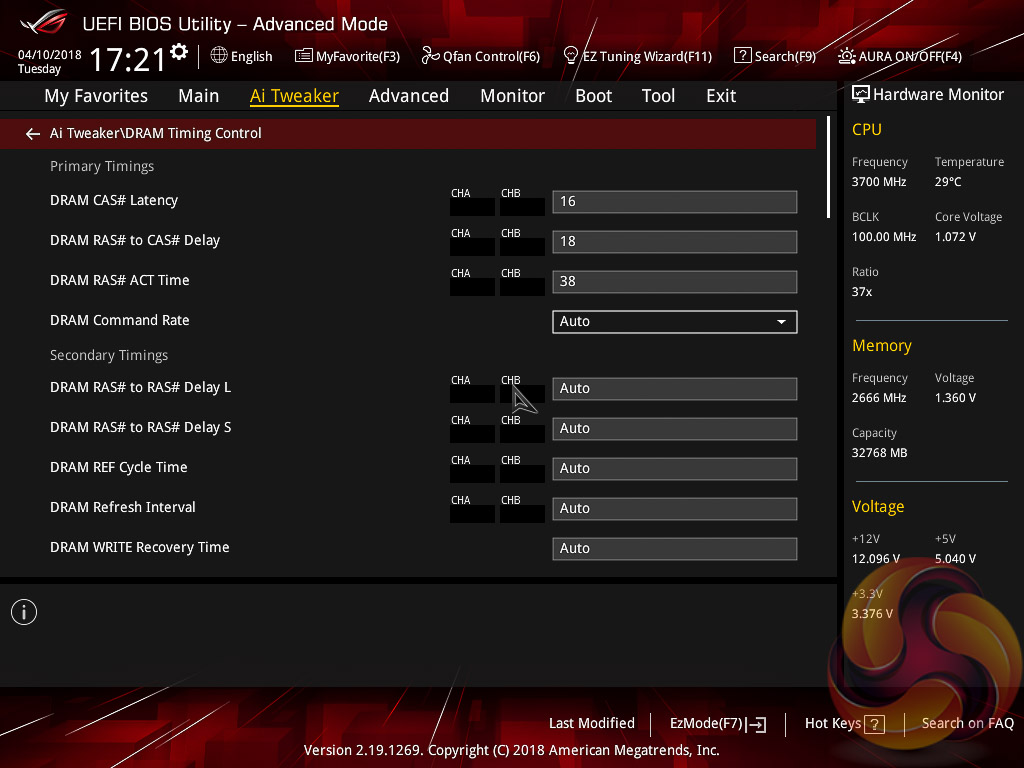
AI Tweaker is the UEFI tab which contains the vast majority of performance tuning settings pertaining to the CPU and DRAM. From here you can set XMP profiles, set all the various voltages and voltage operation modes, change the Load Line Calibration (LLC) and more. However, it's worth noting the CPU cannot be overclocked because this is the H370 chipset, and any XMP profiles higher than 2,666MHz will automatically be reduced to 2,666MHz.
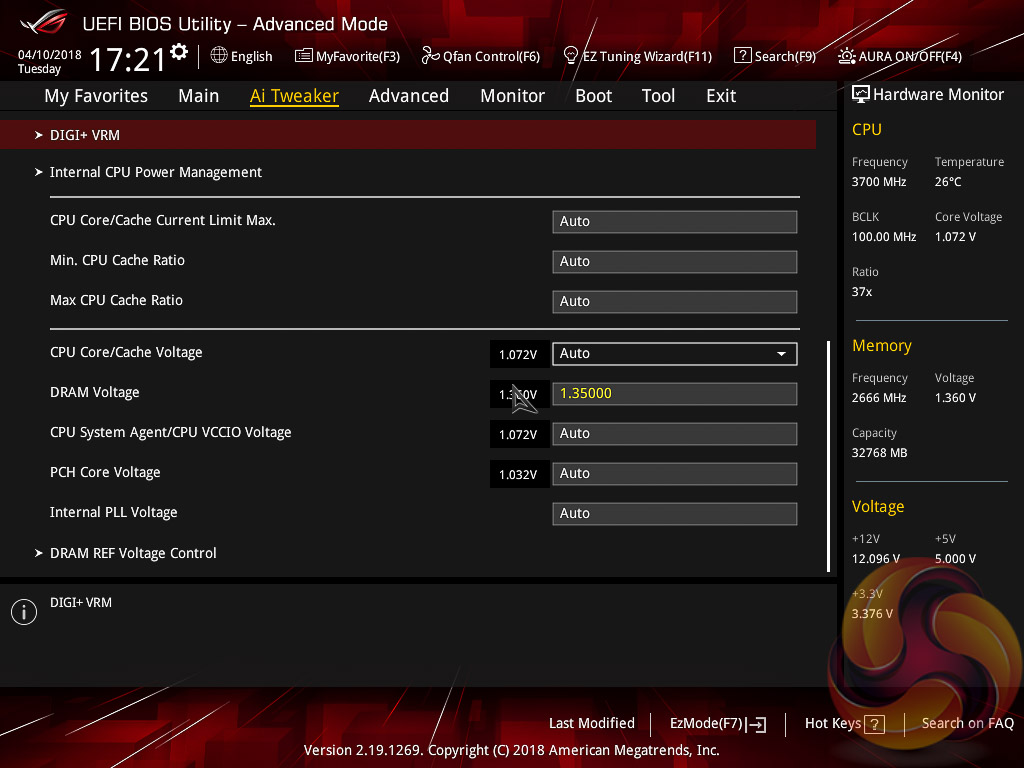
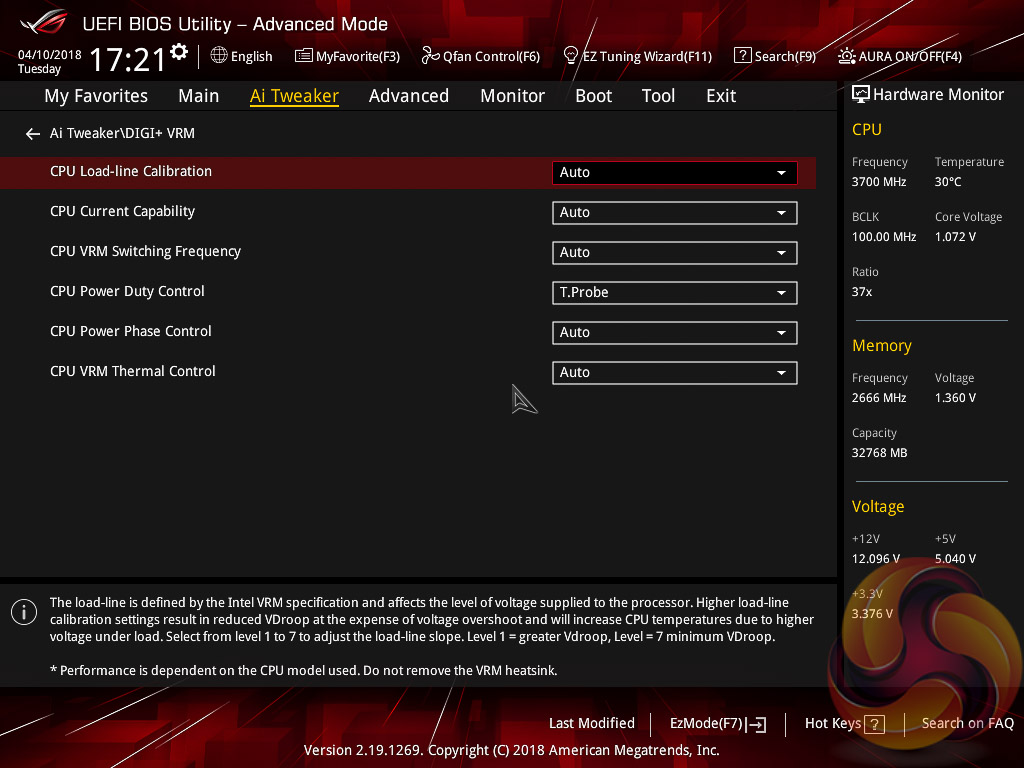
LLC has 9 options – Auto, Default and Levels 1 through 7. The CPU core voltage mode can be changed to override, adaptive or offset but for H370 it's only worth using the voltage options to achieve power consumption reductions since raising the voltage serves little purpose when the CPU is not overclockable.
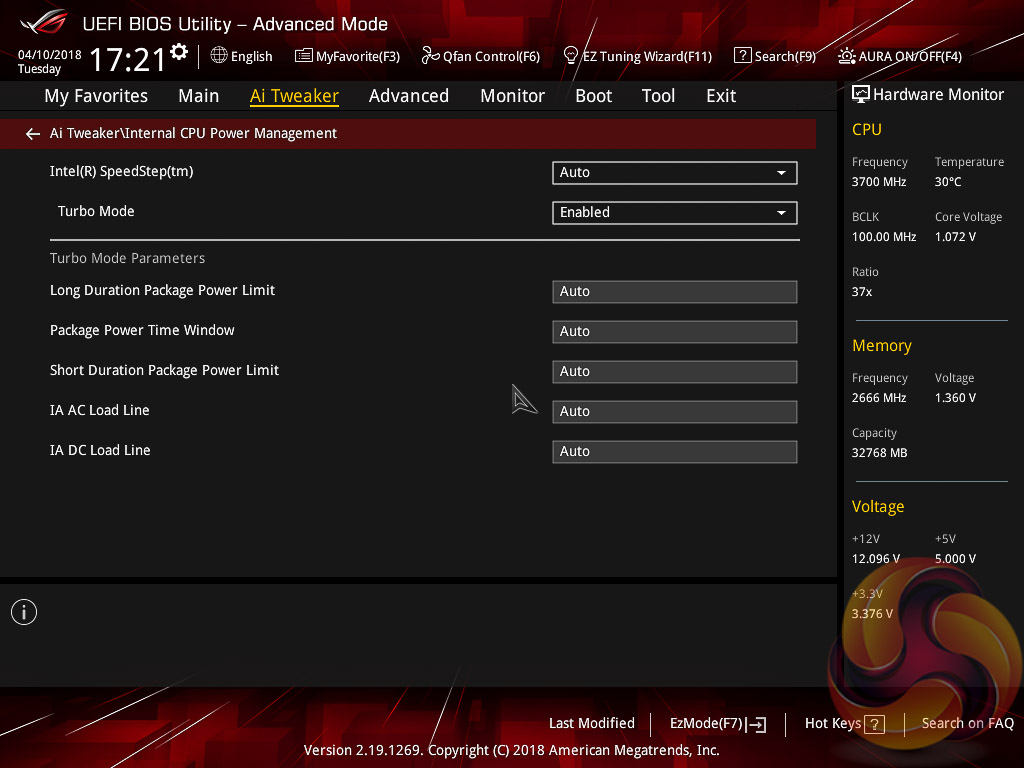
When optimised defaults are set the CPU will automatically Turbo to the Intel Turbo specification which is 6 Cores at 4.3GHz, 4-5C @ 4.4GHz, 3C @ 4.5GHz, 2C @ 4.6GHz & 1C @ 4.7GHz.
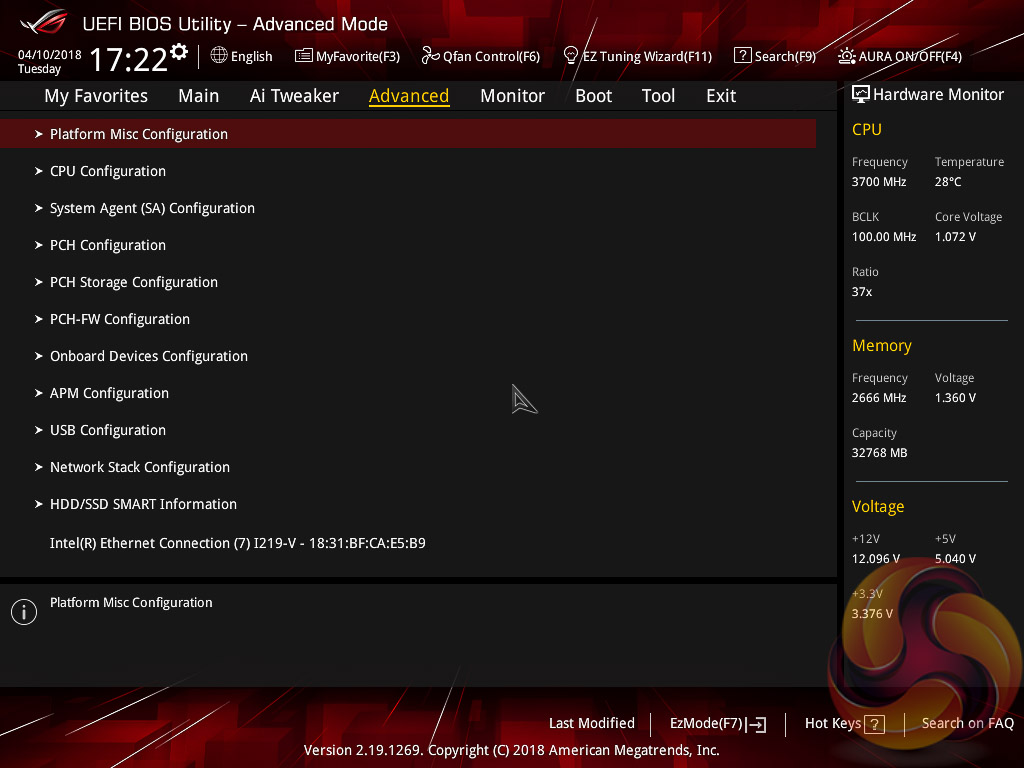
There are a significant selection of performance and compatibility parameters to be found under the Advanced section should the need arise. We also find a number of other peculiar settings related to the functions of on-board devices, LEDs, USB and storage controllers and more.

If you are unable to display some of the images on these pages, disable your ad blocker as it interferes with our gallery code.
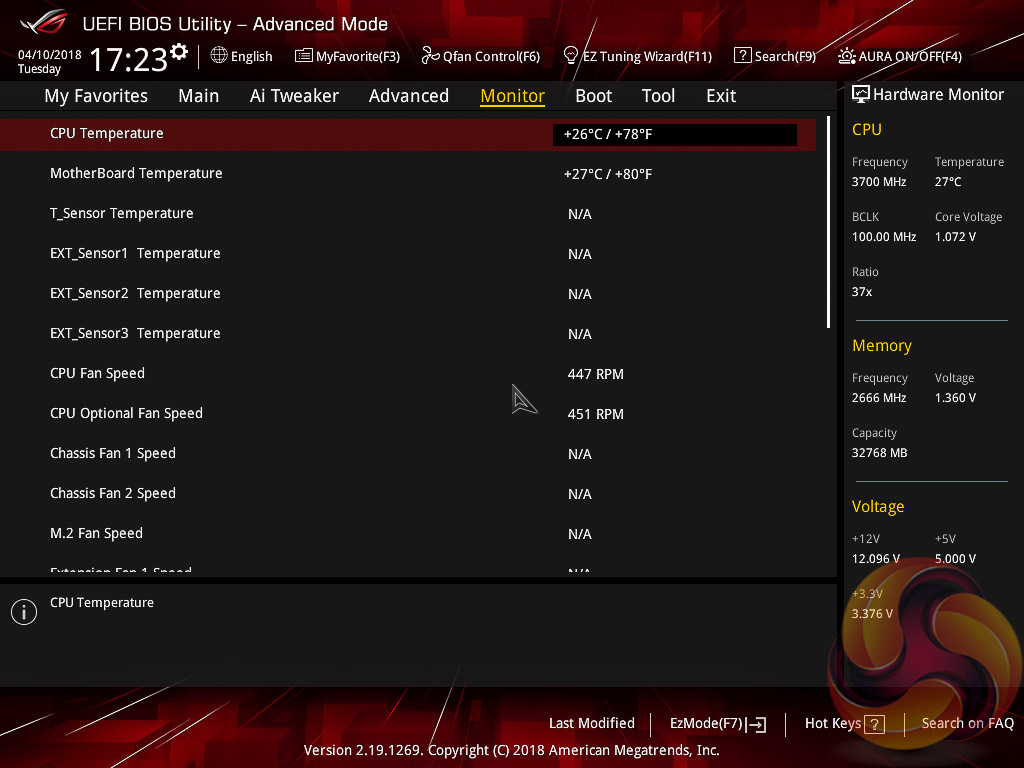
The Monitor tab will allow you to instruct the UEFI how to handle temperature data from the various sensors as well how to control fan speed profiles. For example, where a fan speed profile is temperature dependant you can choose which temperature sensor to use. If you purchase the optional ASUS Fan Extension card that can also be configured from within this section.
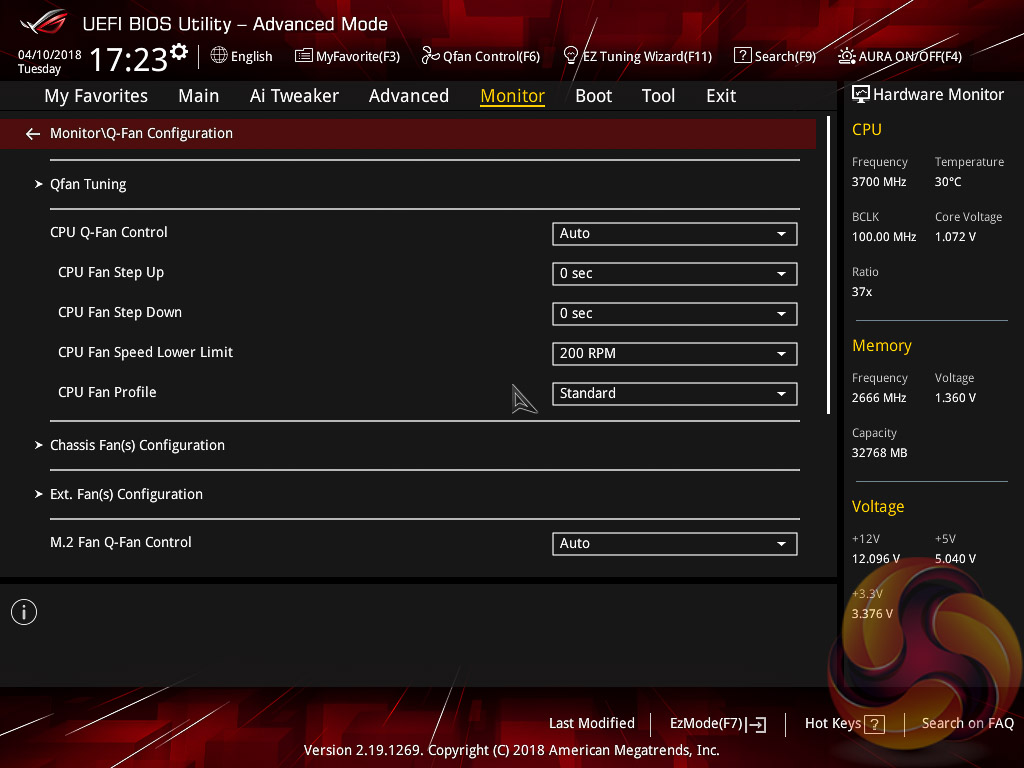
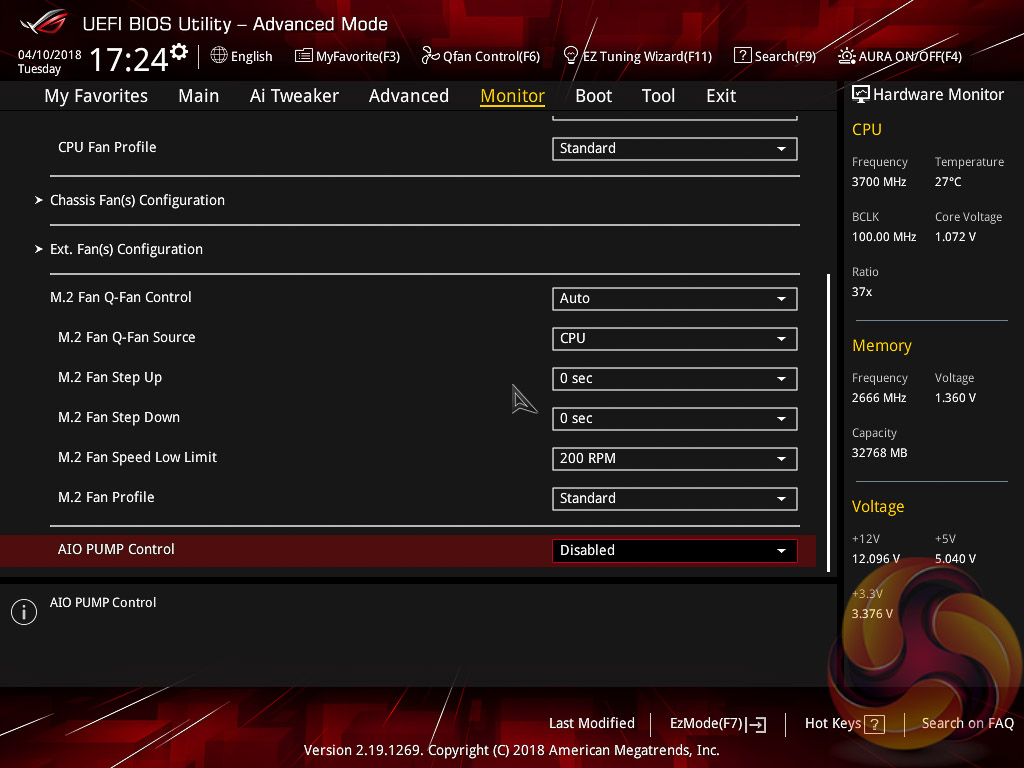
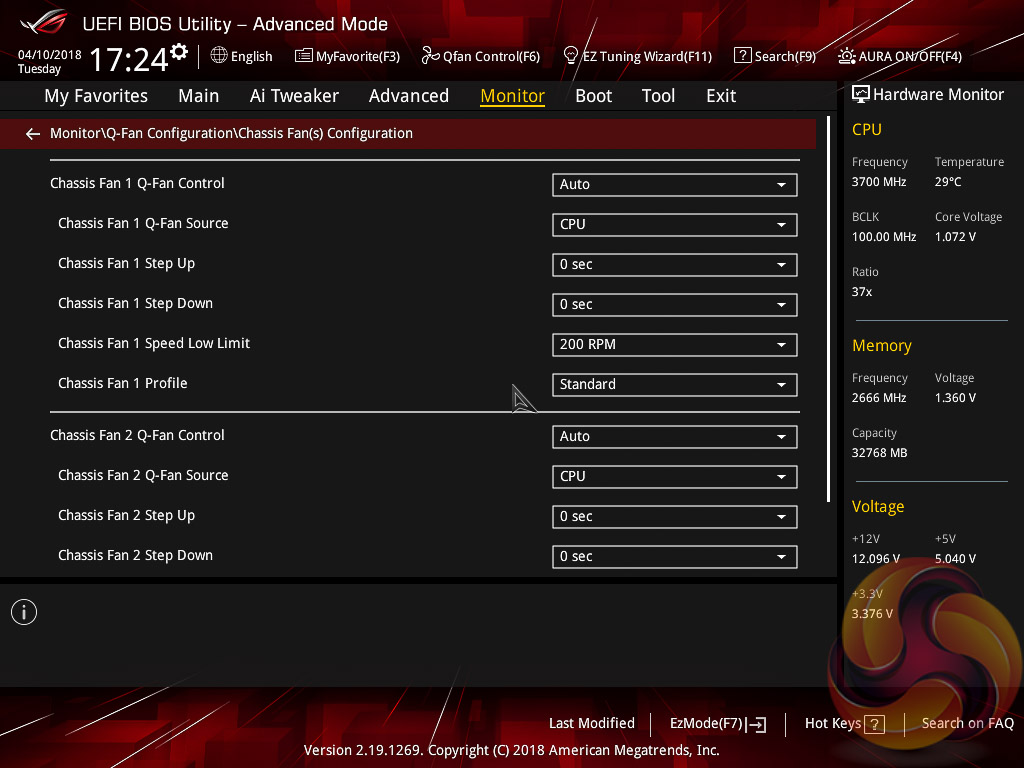
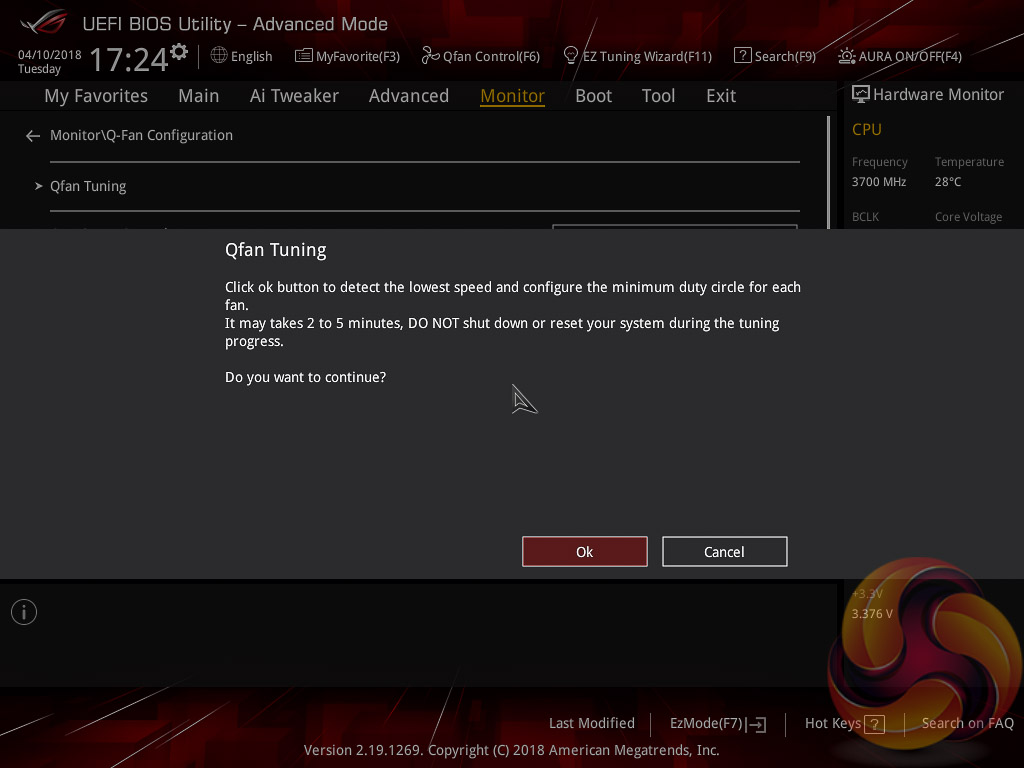
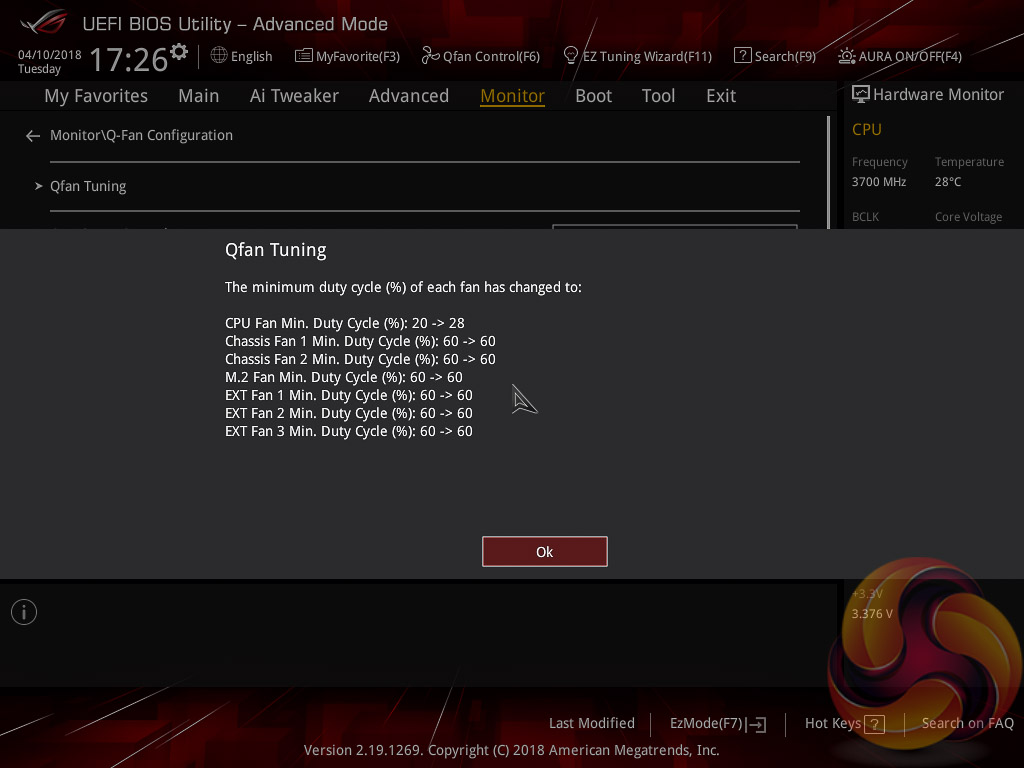
Q-Fan Control is a must-use utility since it will calculate the fan speed ranges of all PWM or DC fans on the 6 controllable fan headers. Once the voltage-to-fan-speed values have been calculated the user can then assign a preferred profile to each fan from the four presets (standard, silent, turbo, full speed) or simply set a custom profile using manual mode.
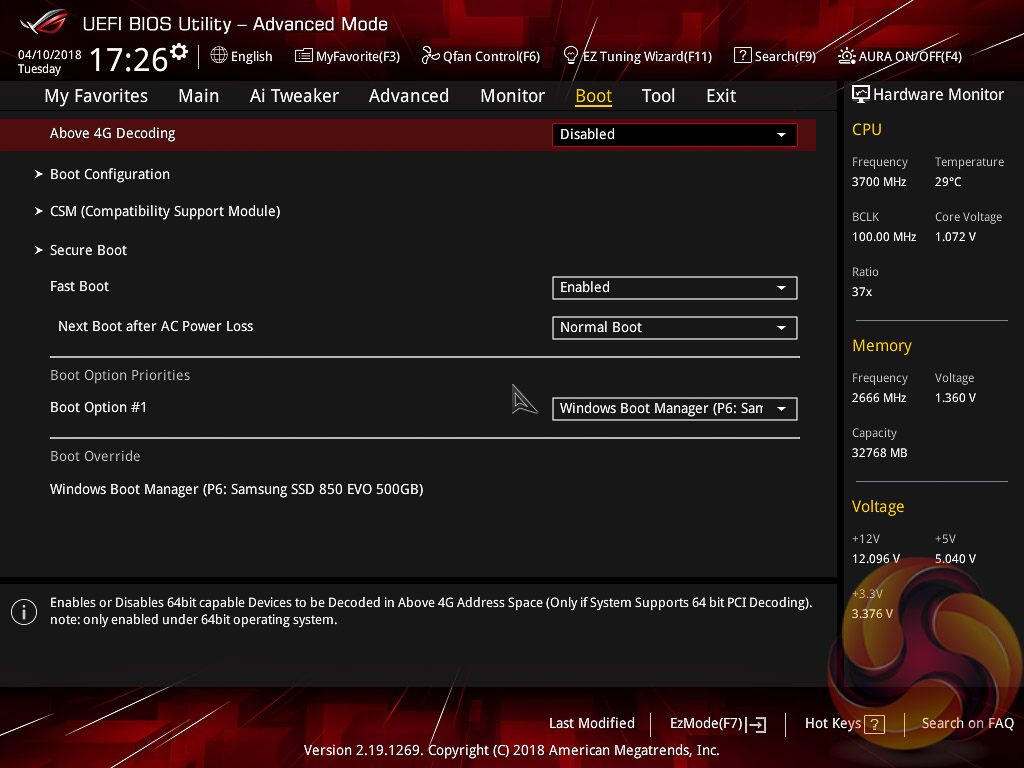
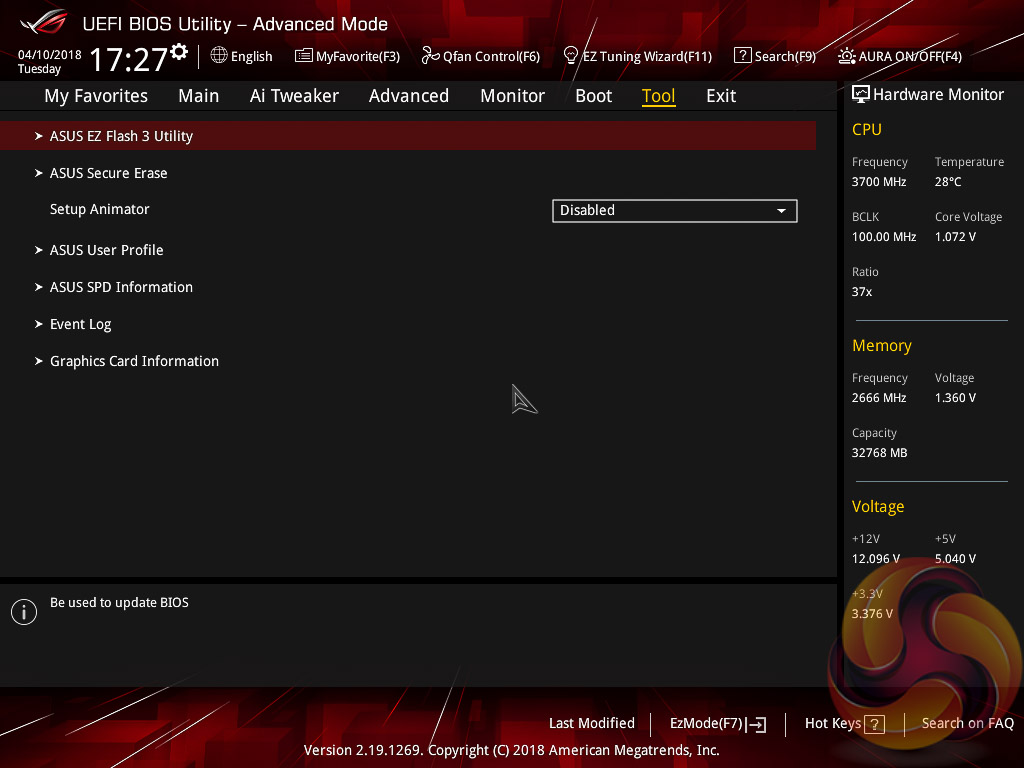
The Boot tab is as expected in delivering the key boot options such as secure boot, boot priority and boot compatibility options. Users needing to update the UEFI (via the EZ Flash Utility), save, import or export BIOS settings, or secure erase a storage drive should refer to the Tool tab.
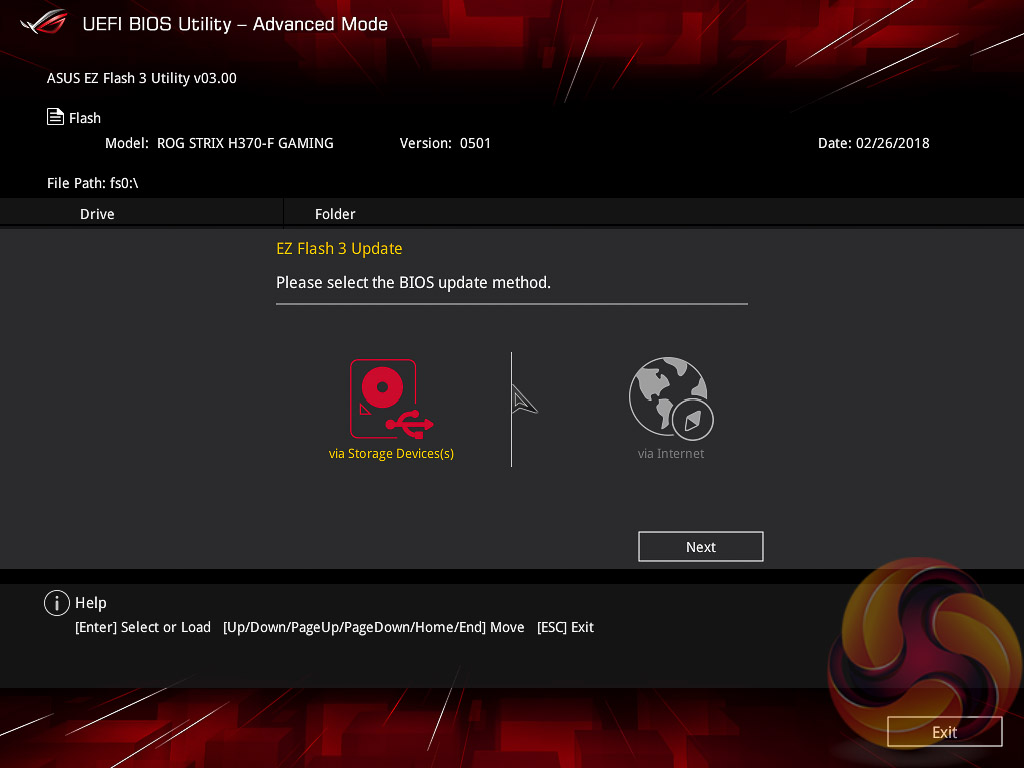
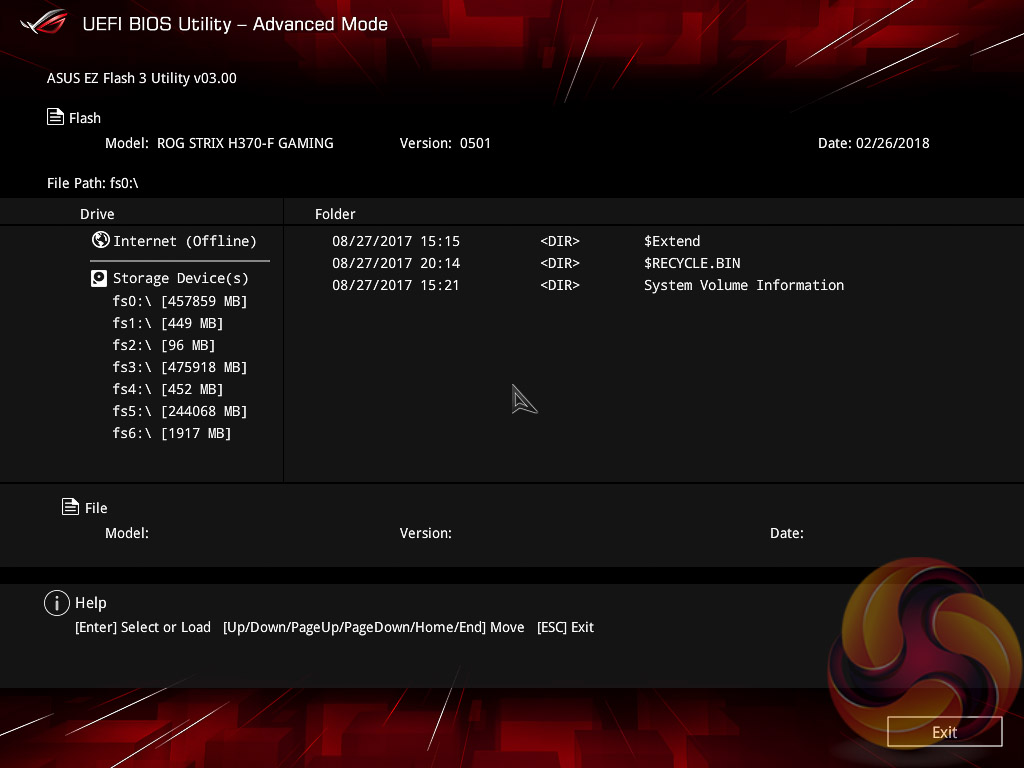
The EZ Flash utility is very simple to use and allows the UEFI to be updated from either a local disk or the internet over the Intel I219V Gigabit Ethernet adapter.
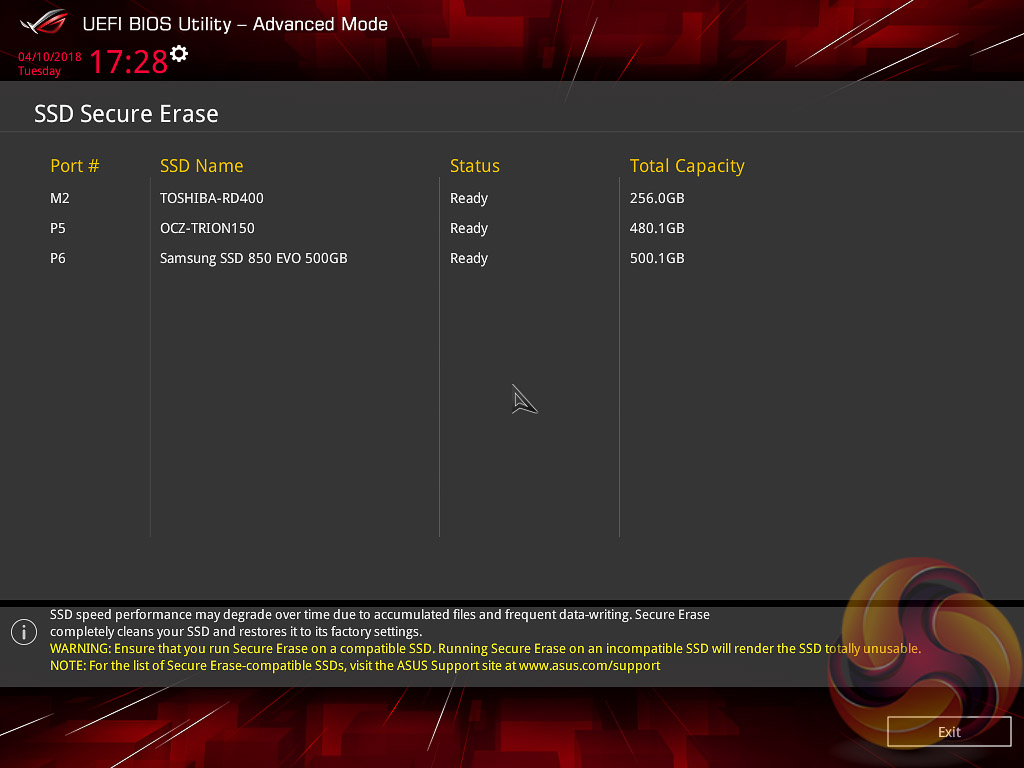
ASUS SSD Secure Erase is a UEFI-based tool to completely wipe a compatible SSD and return it to factory settings. It does, however, come with an ominous warning that “Running Secure Erase on an incompatible SSD will render the SSD totally unusable”, enough to scare most people away. ASUS does provide a compatibility list online, though.
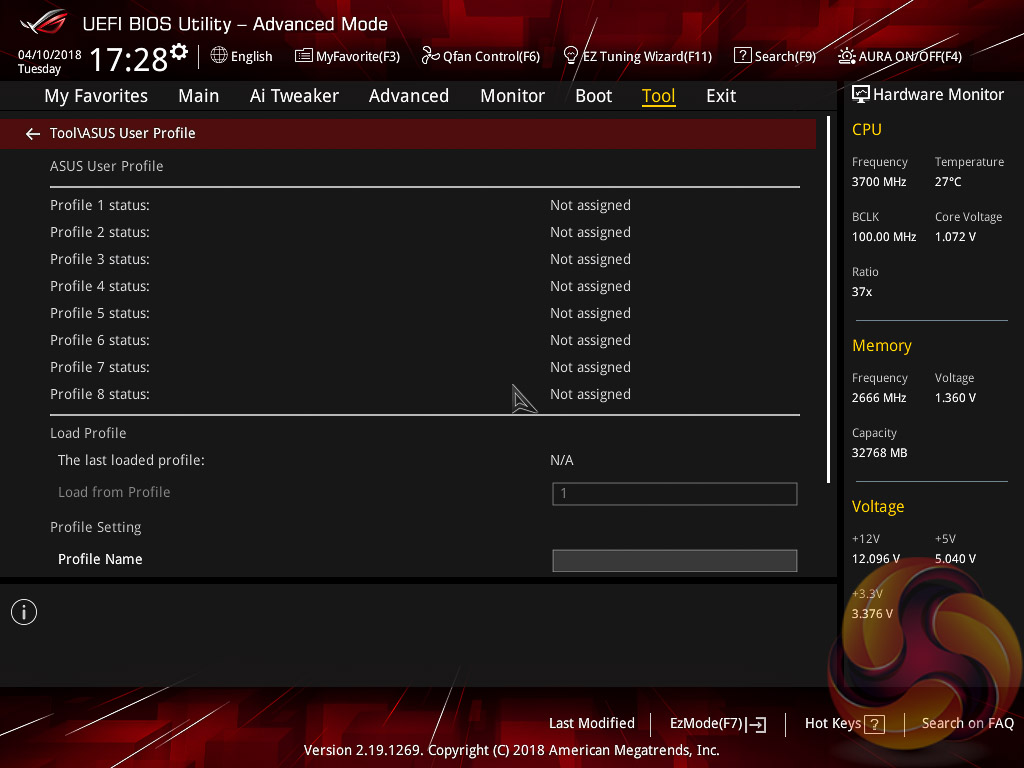
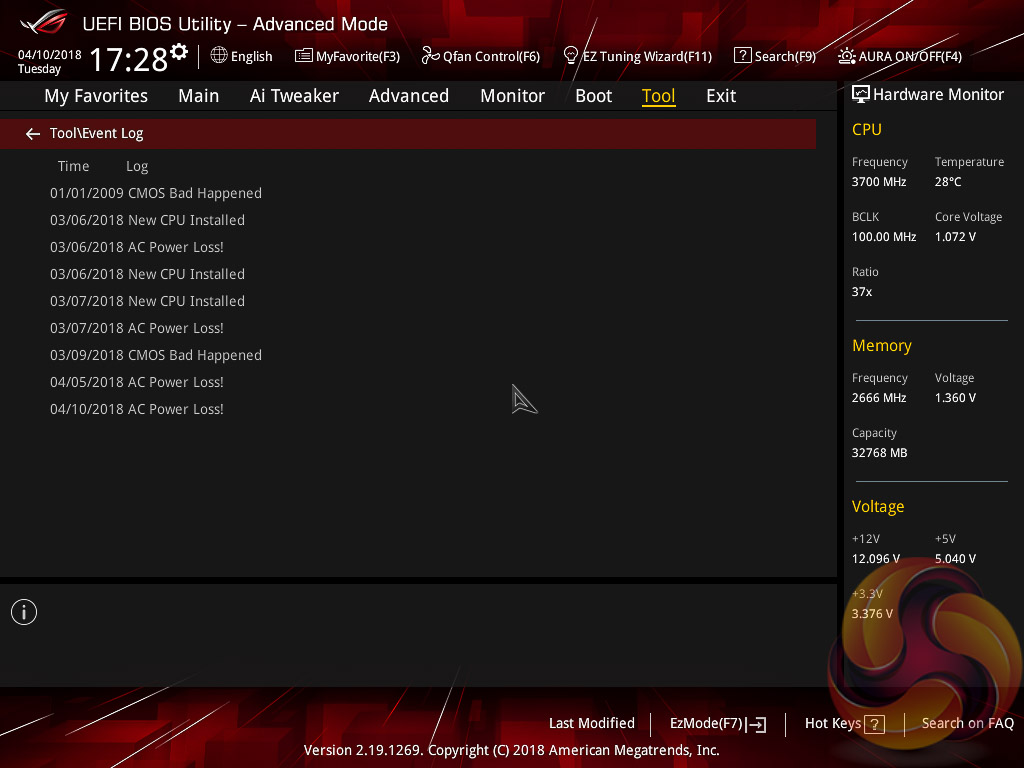
ASUS User Profile, called ASUS Overclocking Profile on Z370, allows UEFI settings to be saved to a file or to UEFI memory so they can be reloaded later or shared with other users.
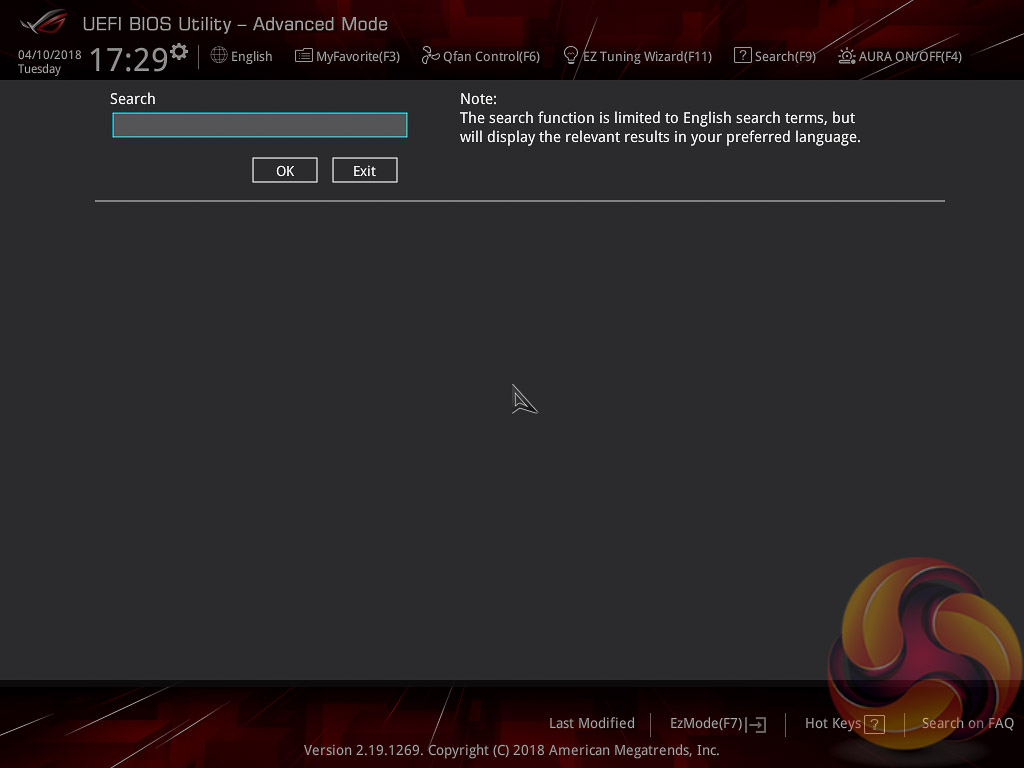

The search function allows a text string to be searched against all the UEFI parameters. It isn't a smart search so doesn't have an auto-fill function and will not find similar items to your search string i.e. M.2 when M2 is searched.
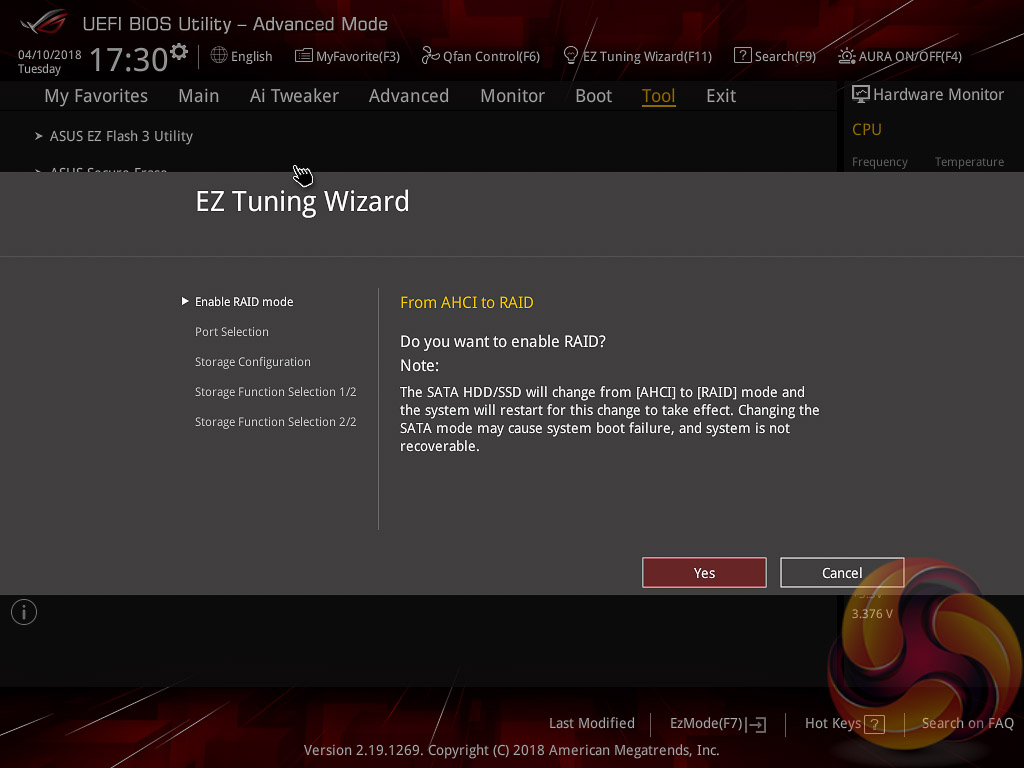
EZ Tuning Wizard does very little on H370 because of the overclocking limitations, as such all the Wizard is able to do is to configure RAID for storage arrays.
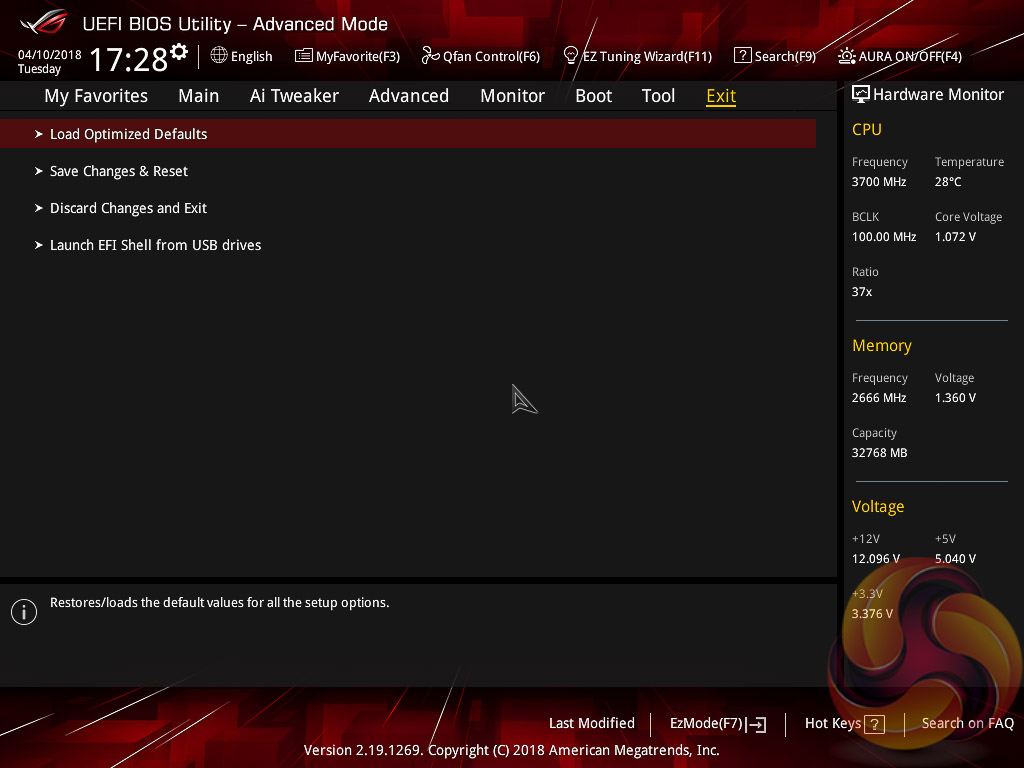
The Exit tab is fairly self-explanatory and helpfully provides a summary of changes upon exit.