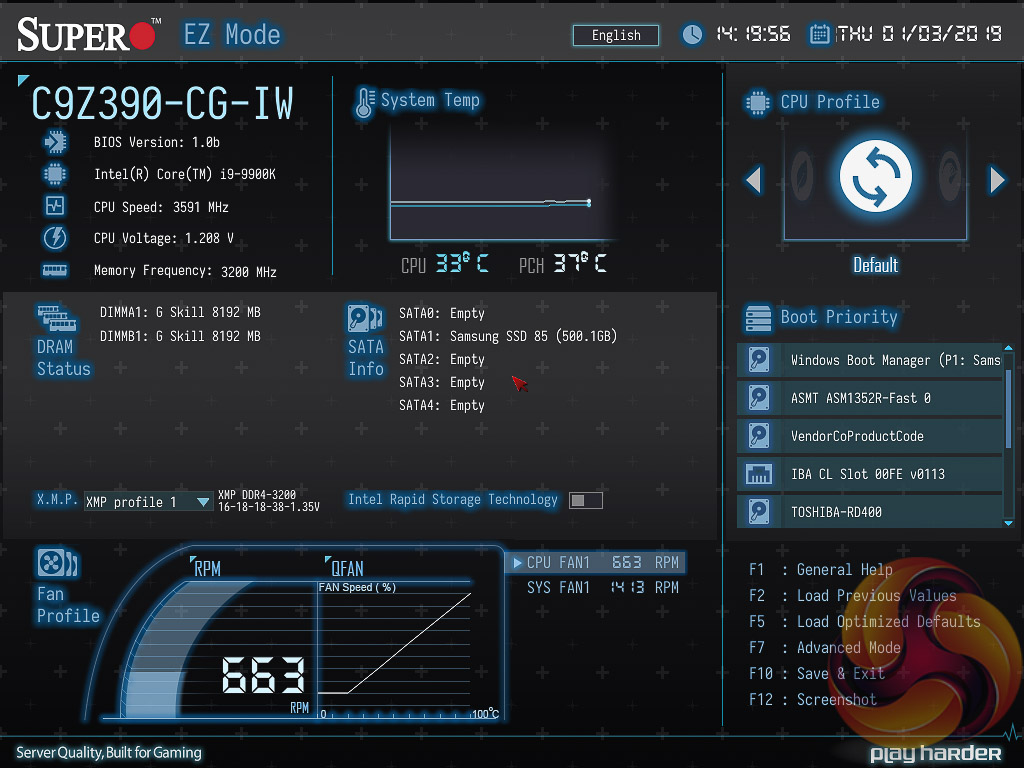
Supermicro's UEFI for its consumer SuperO gaming motherboards seems to be a work in progress. The iteration of that UEFI delivered with the SuperO C9Z390-CG-IW is similar to the C9X299-PG300 KitGuru tested late last year. Upon entering the UEFI the user is greeted with an “EZ Mode” splash screen with various common options like XMP, Boot Priority and summary information. Pressing F7 takes the user into the “Advanced Mode” of the UEFI.
Within the main advanced mode UEFI there are several tabs to choose from:
- Overclocking
- CPU
- Memory
- Advanced
- H/W Monitor
- Save & Exit
- BIOS Update
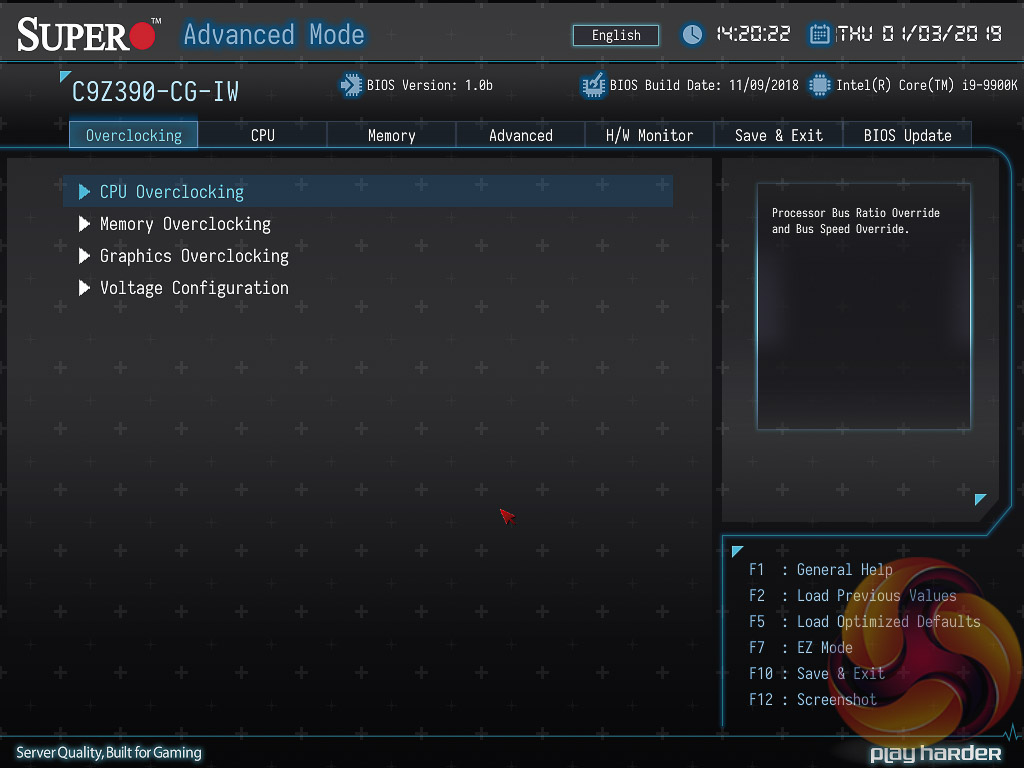
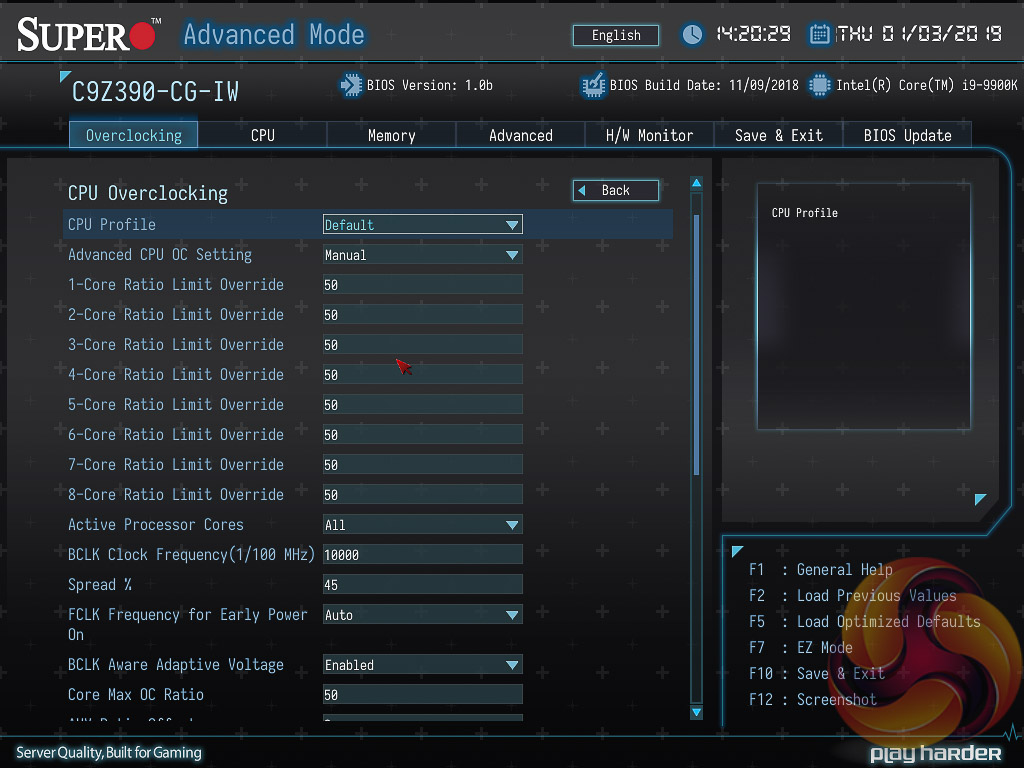
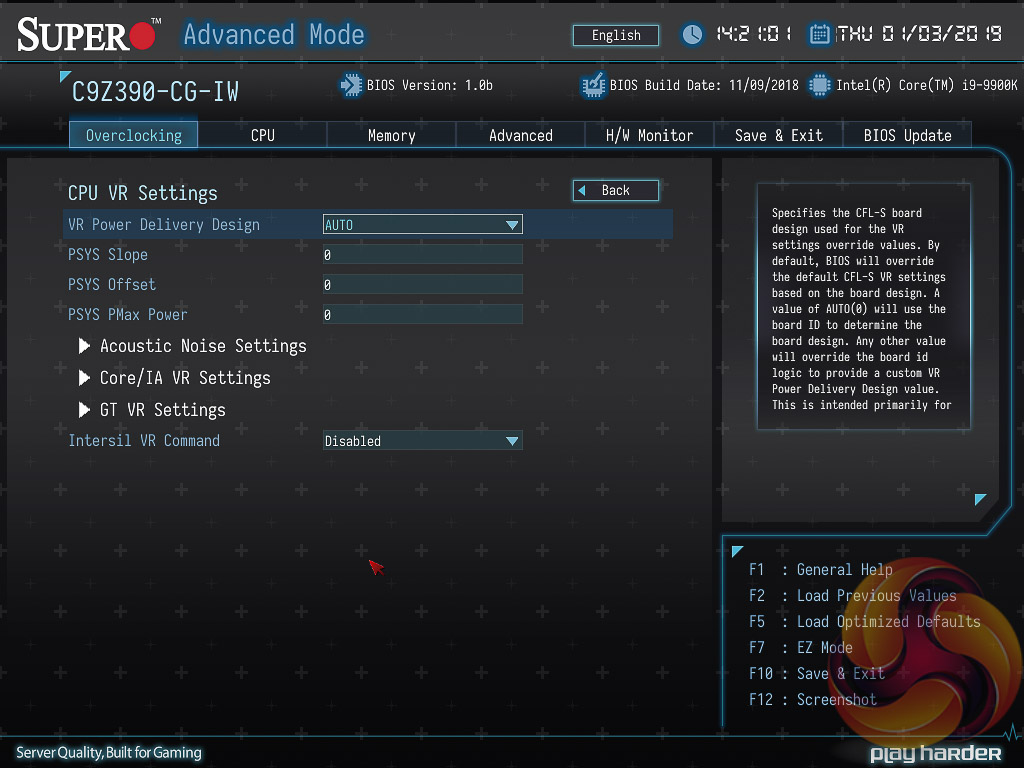
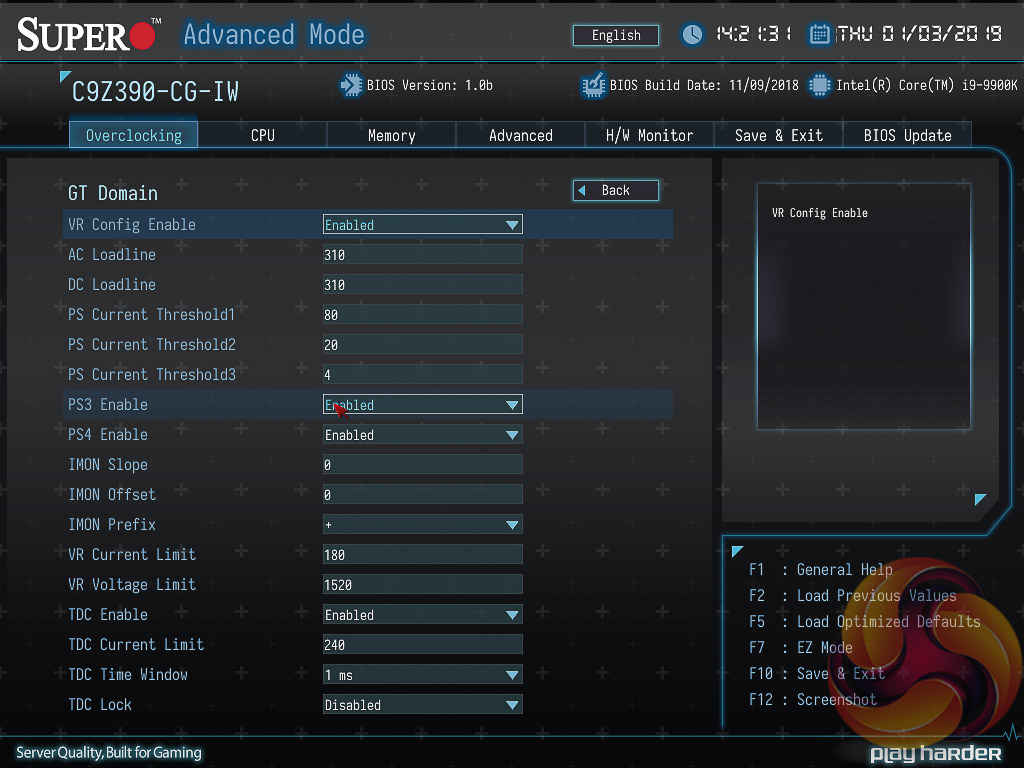
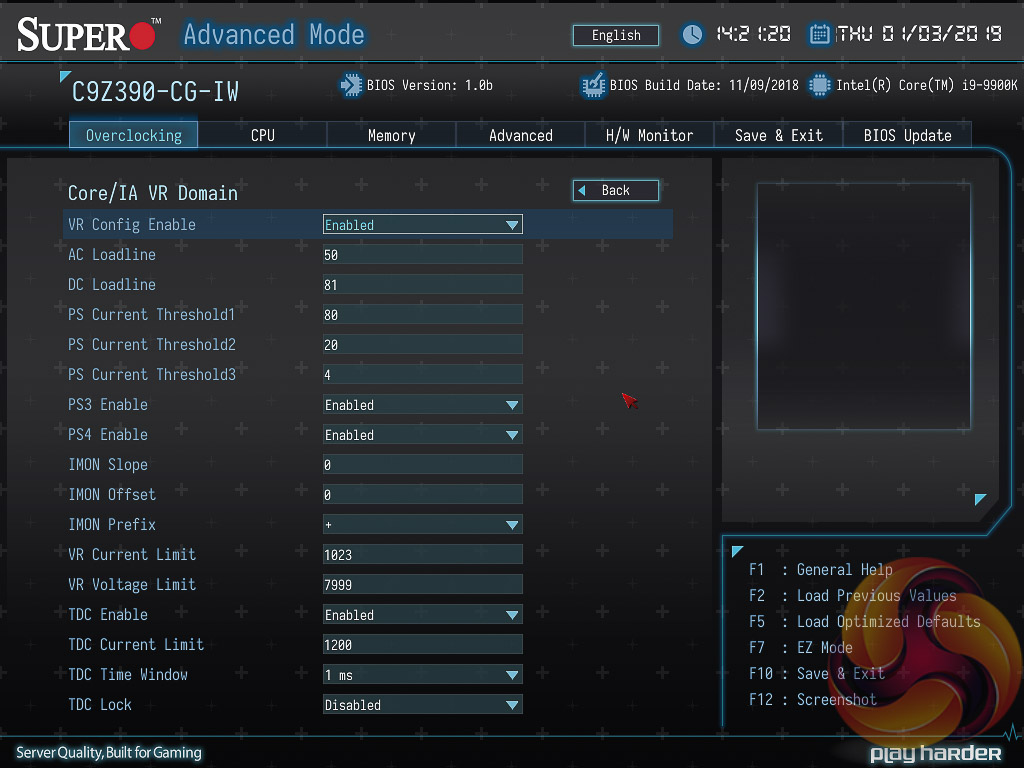
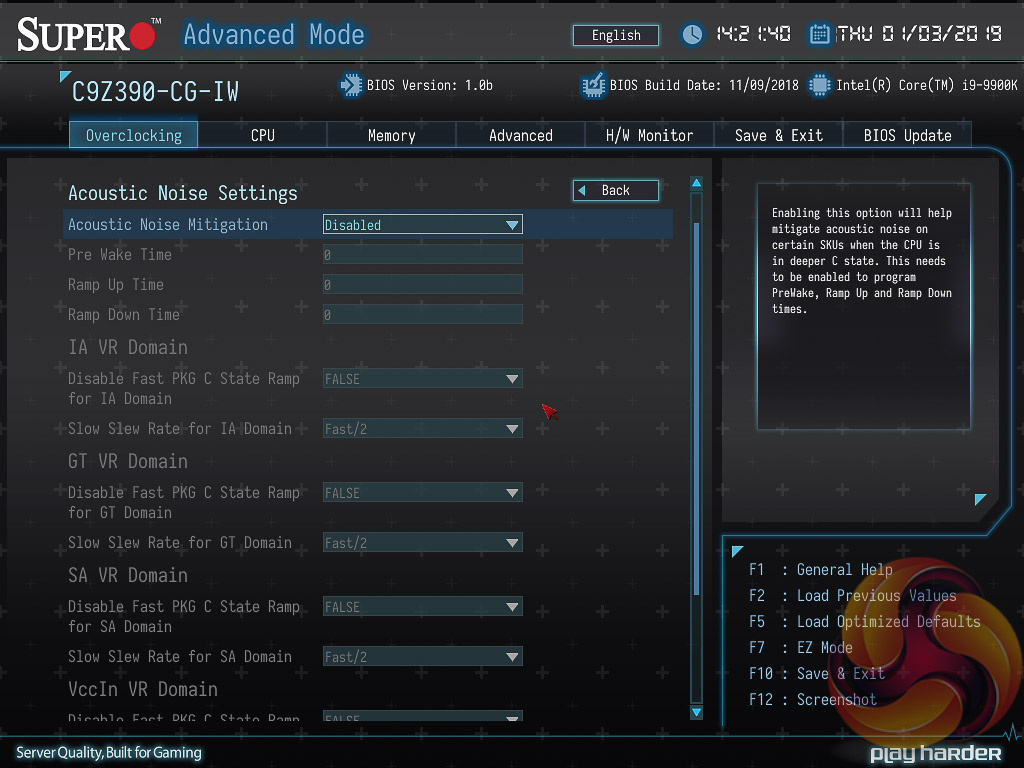
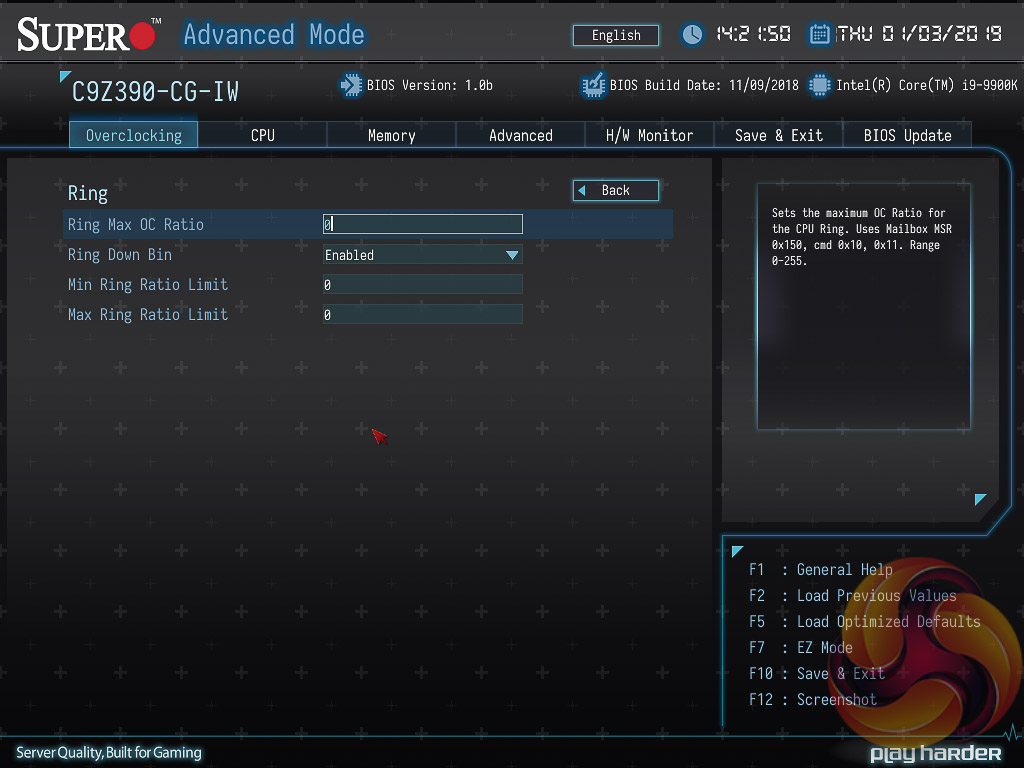
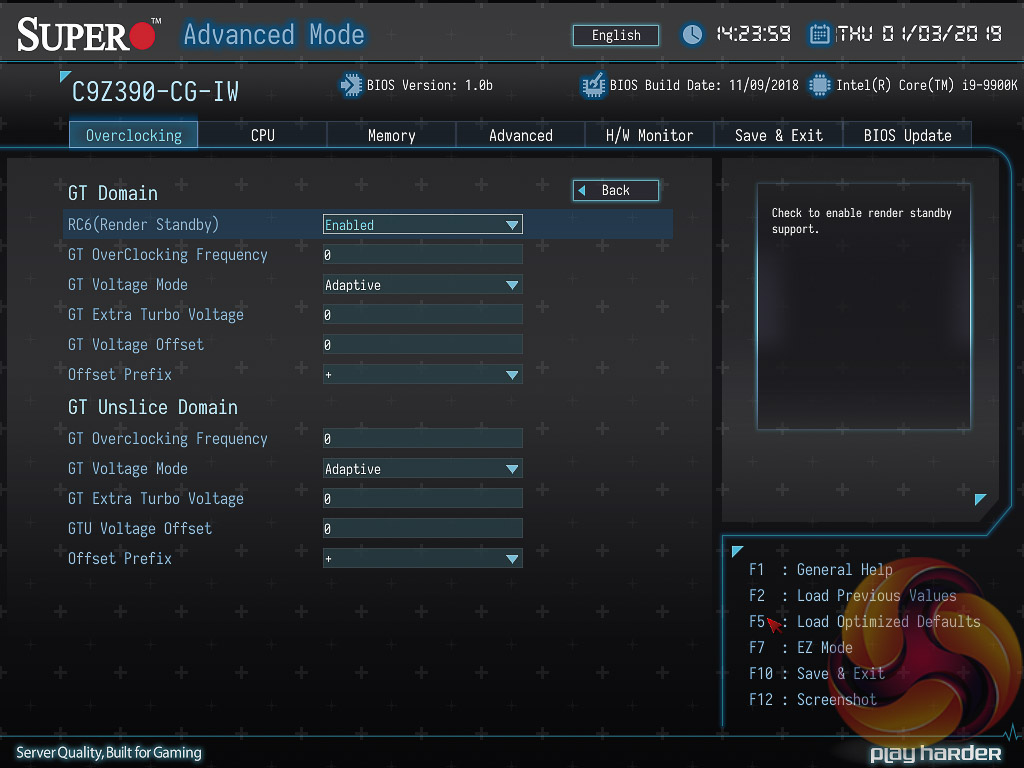
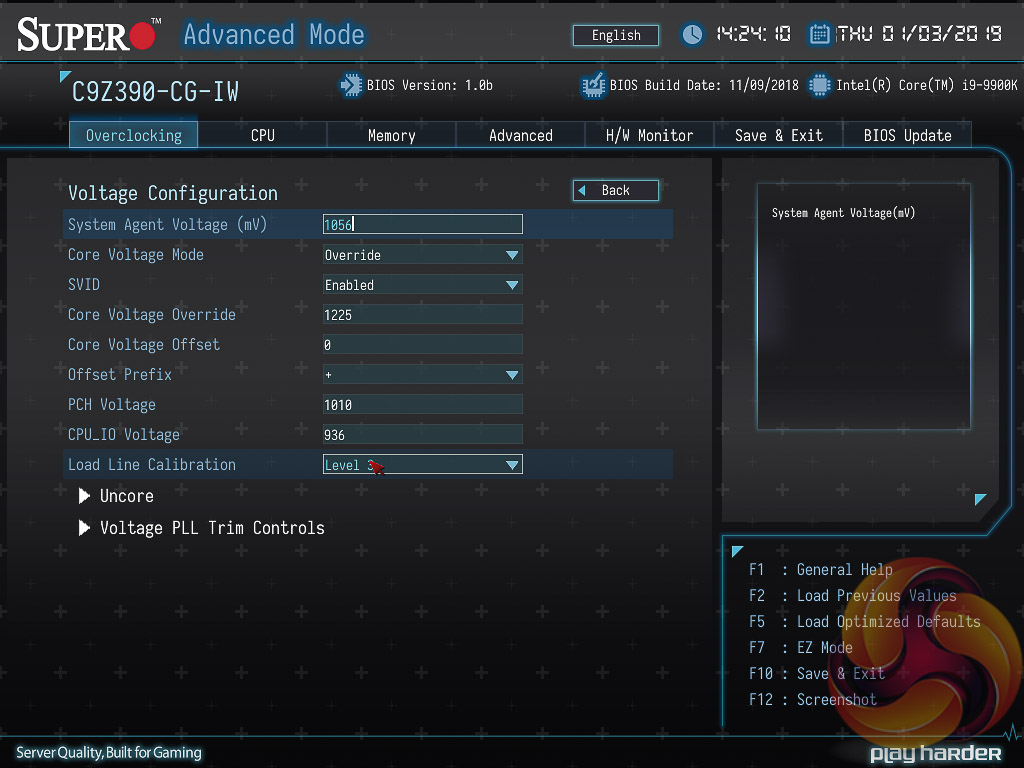
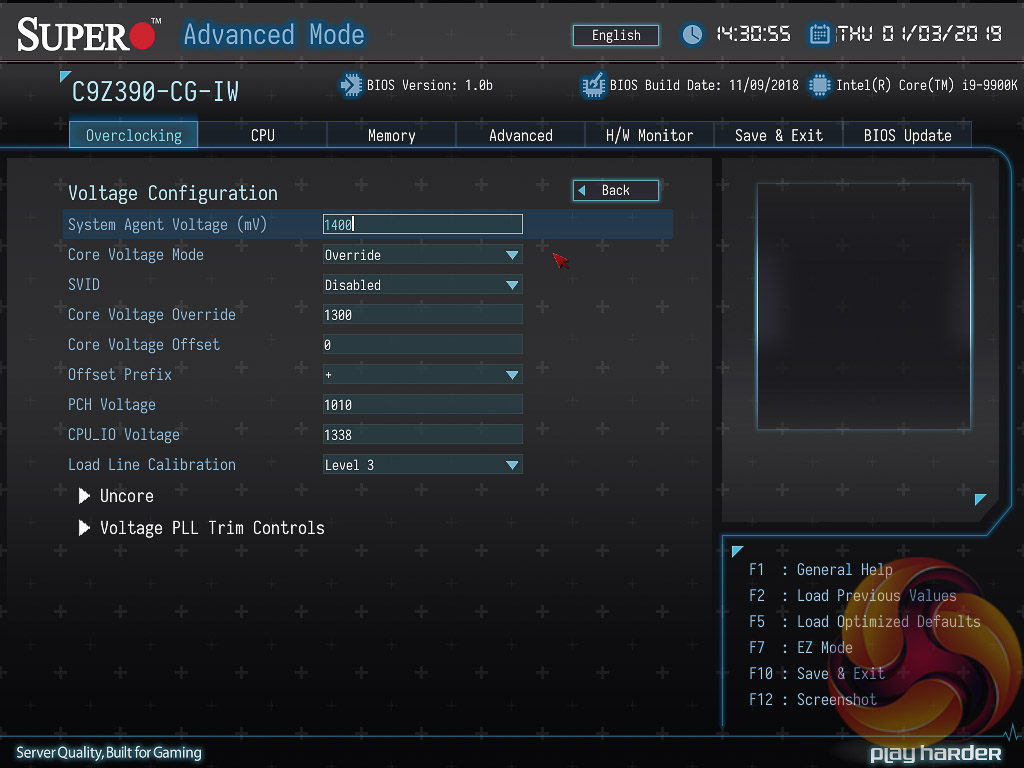
The first of those, Overclocking, is where the vast majority of performance tuning parameters and voltages can be found.
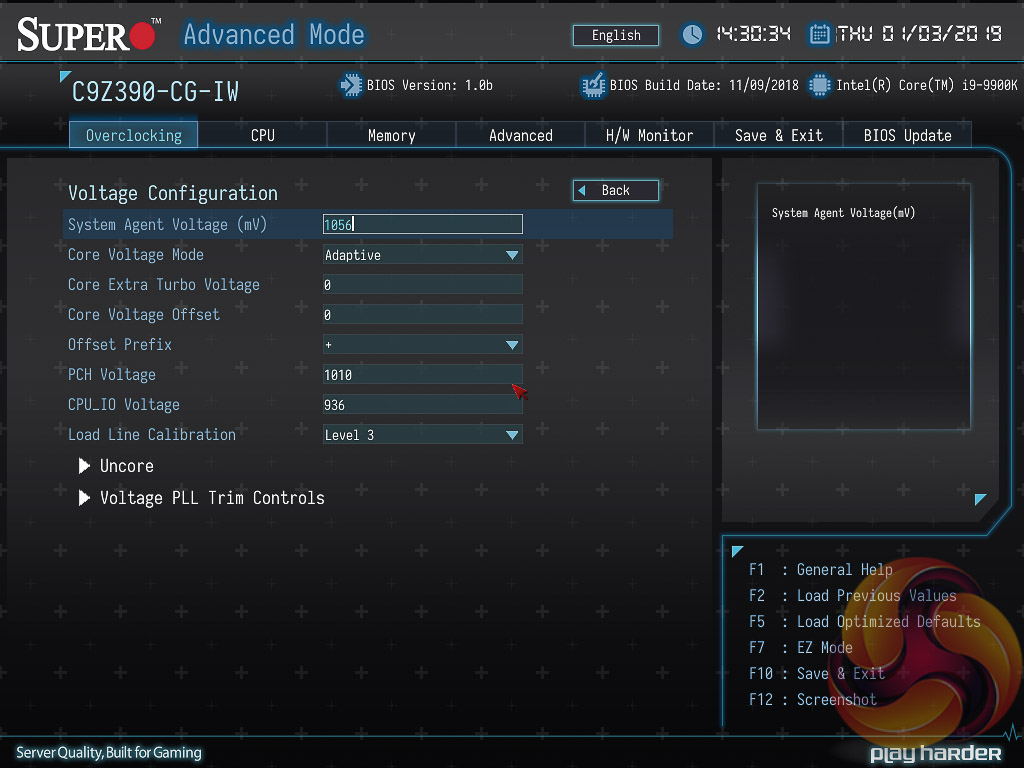
The Overclocking options are exhaustive and Supermicro appears to give the user just about every option that Intel’s hardware allows for. It can be a little intimidating at first but there’s no reason to treat overclocking any different to other motherboards – simply dial in a core voltage in the “Voltage Configuration” section, using the millivolt format (1.2v = 1200mv), and then set the core ratio in the main “CPU Overclocking” section by tweaking all the core ratios to the desired frequency.
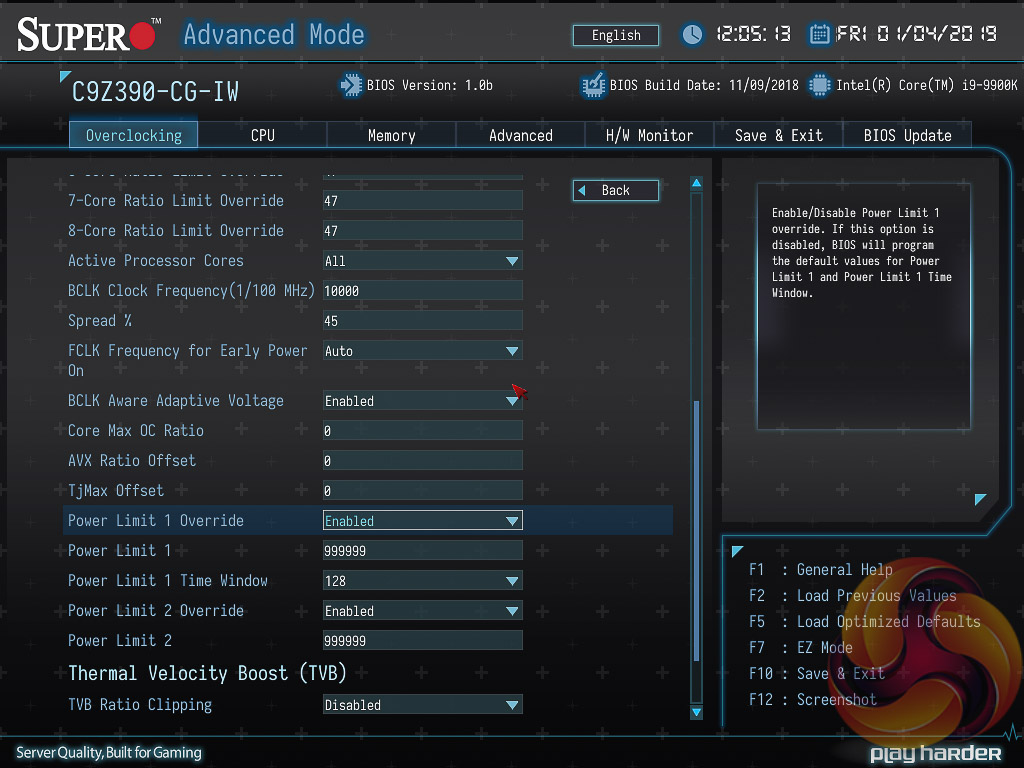
The most crucial setting to overclocking that the user should be aware of is the power limits, Power Limit 1 (PL1) and Power Limit 2 (PL2).
PL2 dictates the short term boost turbo for the processor. At stock operation this is usually 1.25 multiplied by the rated TDP, so for the i9 9900K that's 118.75W. Intel's Turbo specification isn't clearly stated but it appears that 32 seconds is the default time window for PL2 to run. Therefore a stock CPU will consume 118.75-watts for 32 seconds, and then drop to PL1, which is usually the rated TDP which is 95-watts for this CPU, where it can run at that power level forever.
Therefore when overclocking, you can simply set both power limits to sufficiently high numbers that the CPU Turbos without (feasible) power restrictions forever. As above we set the power limit to 999.999W, the largest value accepted (Supermicro's UEFI works in thousands so 95W = 95000, 999.999W = 999999), and then set our multiplier and core voltage accordingly.
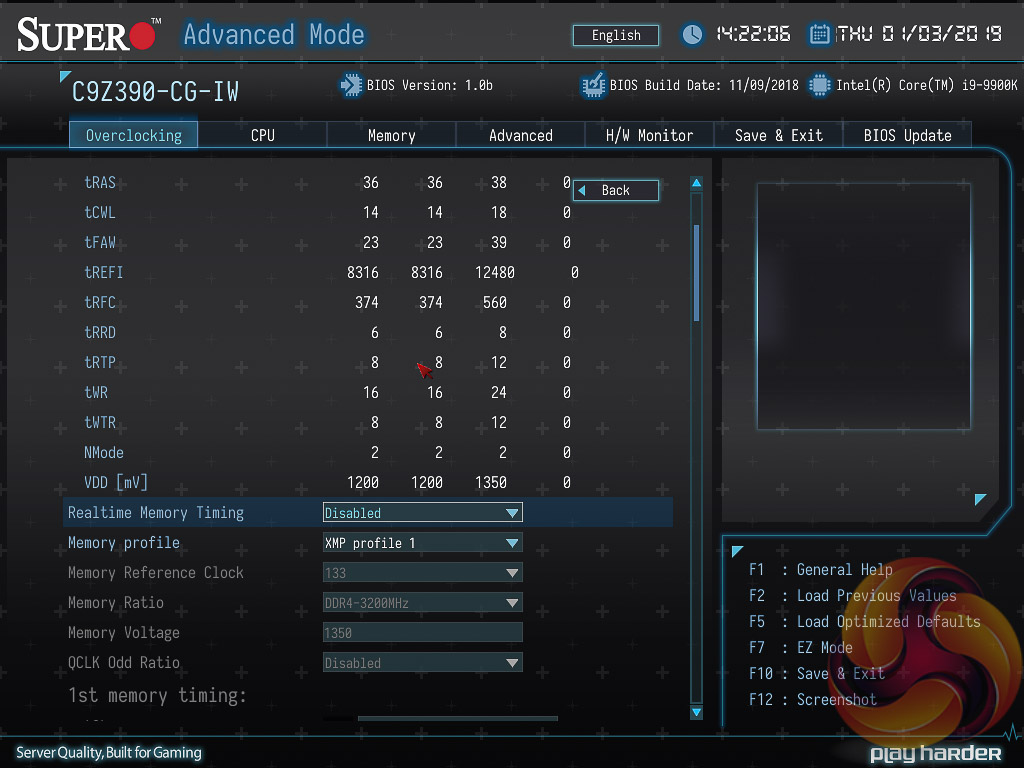
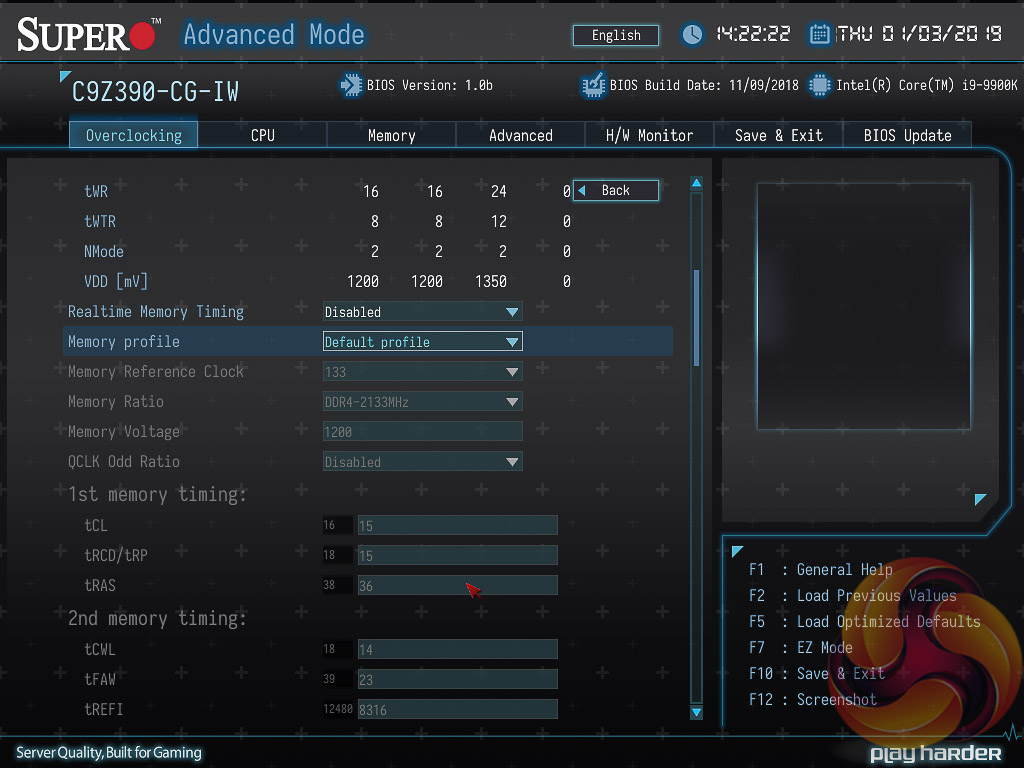
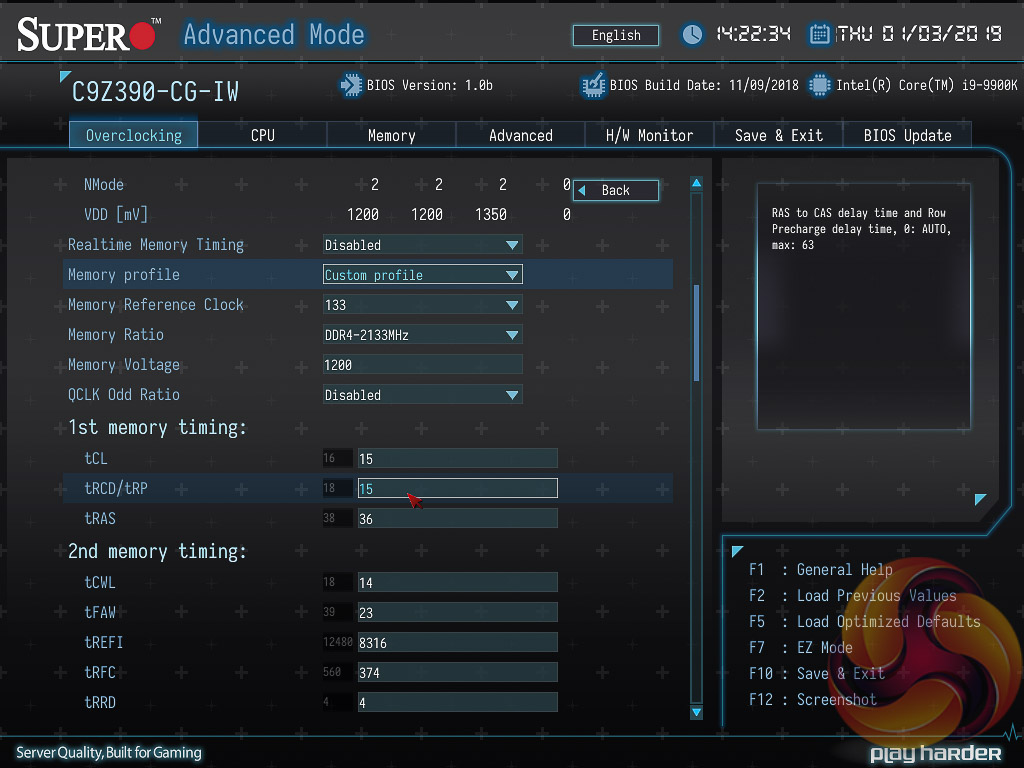
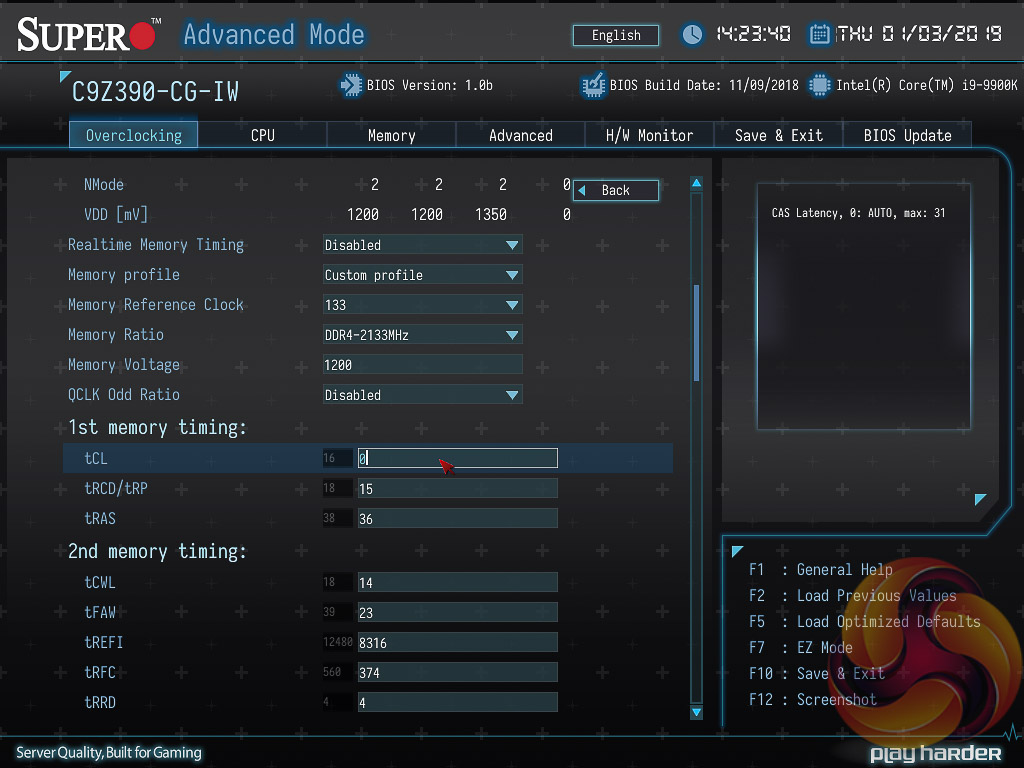
During our research and testing we read some complaints online about setting custom memory profiles, i.e. 2666MHz. It was mentioned that the user is responsible for setting every single timing and memory setting manually. It certainly appears that way at first glance, however, after further digging we found it is possible to set all the parameters to “Auto”, except Supermicro effectively uses “0” as Auto. Keying in 0 to all the boxes will give an automatic value for any given parameter.
In most cases, we suspect, the user will simply set the XMP profile rather than trying anything adventurous like custom memory settings.
Update 26th January 2019 – Supermicro issued a test UEFI version to KitGuru, still marked 1.0b but dated 5th January 2019, which sets the PL1 power limit to 180W and PL2 power limit to 250W when an XMP memory profile is used. This means the CPU does not throttle after setting an XMP profile, in fact it runs consistently at 4.7GHz across all cores and runs at an approximate 145W TDP, which is well outside of Intel's stock 95W specification. The performance has improved but this is at the expense of heat and power consumption, a trade-off other motherboard vendors have also been silently making without informing consumers. This new BIOS is not yet available for public download but Supermicro informs us it will be made available soon.
One issue we noticed, which can significantly affect stock performance, is the way Supermicro handles the CPU voltage after the user sets an XMP profile. Initially, using optimised defaults, the CPU runs on an adaptive core voltage and this translates into an all-core Turbo speed of approximately 4.3GHz within the CPU's 95W TDP. This all core Turbo speed varies between 5GHz and 4.3GHz, depending on how many cores are in use (1 to 8).
However, after setting XMP the UEFI automatically changes to override core voltage with 1.3 volts but will still retain the 95W TDP restriction. This translates into an all-core Turbo speed of approximately 3.3GHz within the 95W TDP because the higher core voltage of the override compared to the adaptive means the CPU uses more power for the same frequency and has to “down-clock” to keep within the same power restraints.
Users can workaround this issue by manually reverting the core voltage changes made after XMP is set, as above. KitGuru notified Supermicro of this issue and they are investigating if it requires a new BIOS.
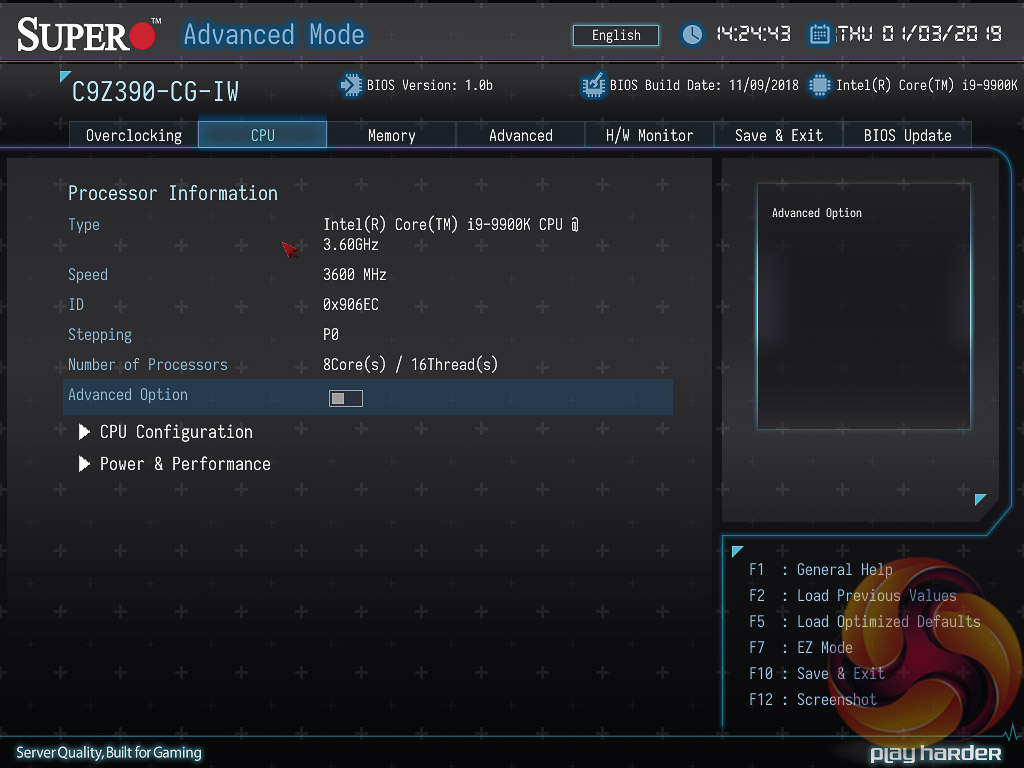
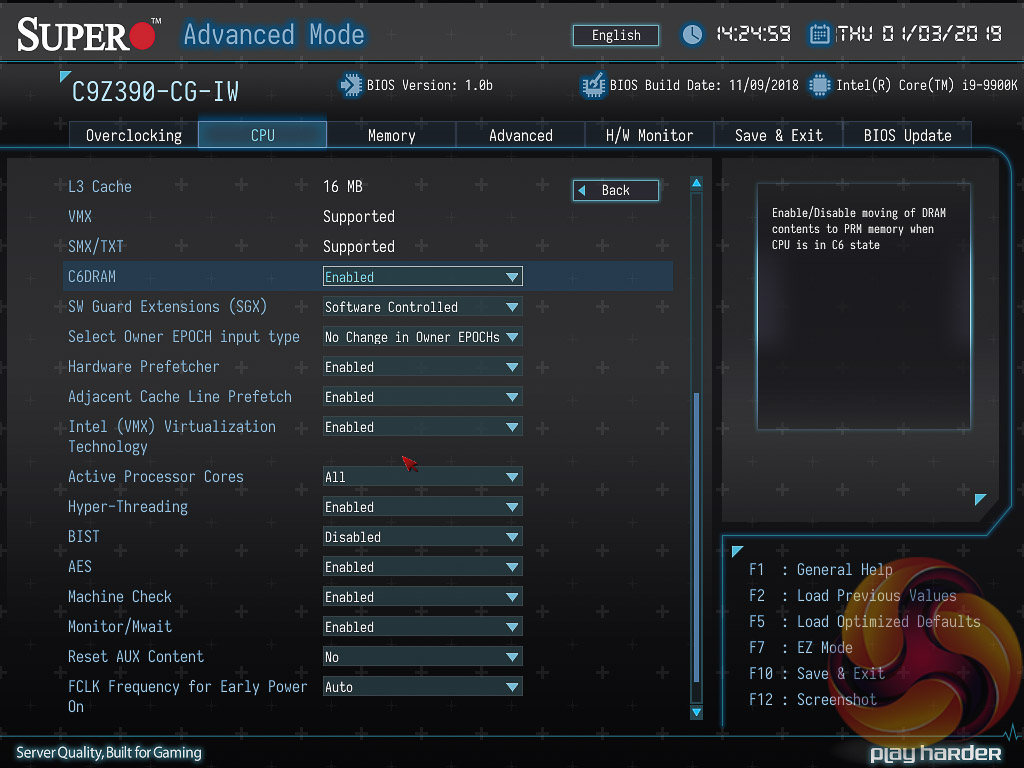

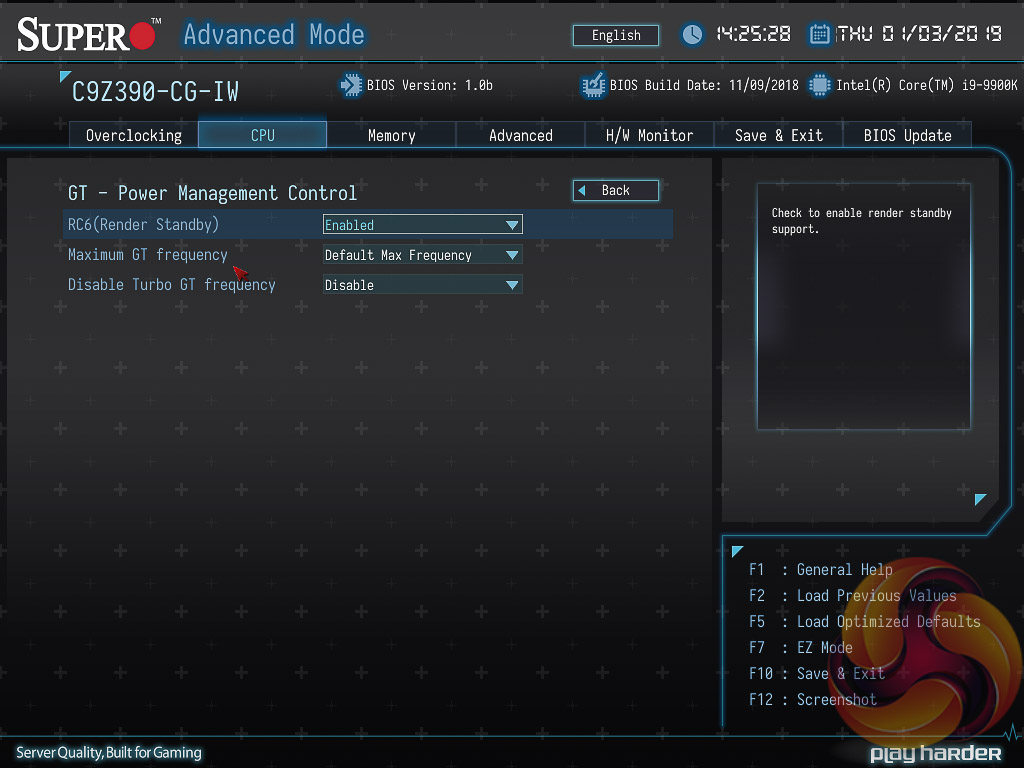
There are a number of additional CPU and integrated graphics options found in the CPU section.
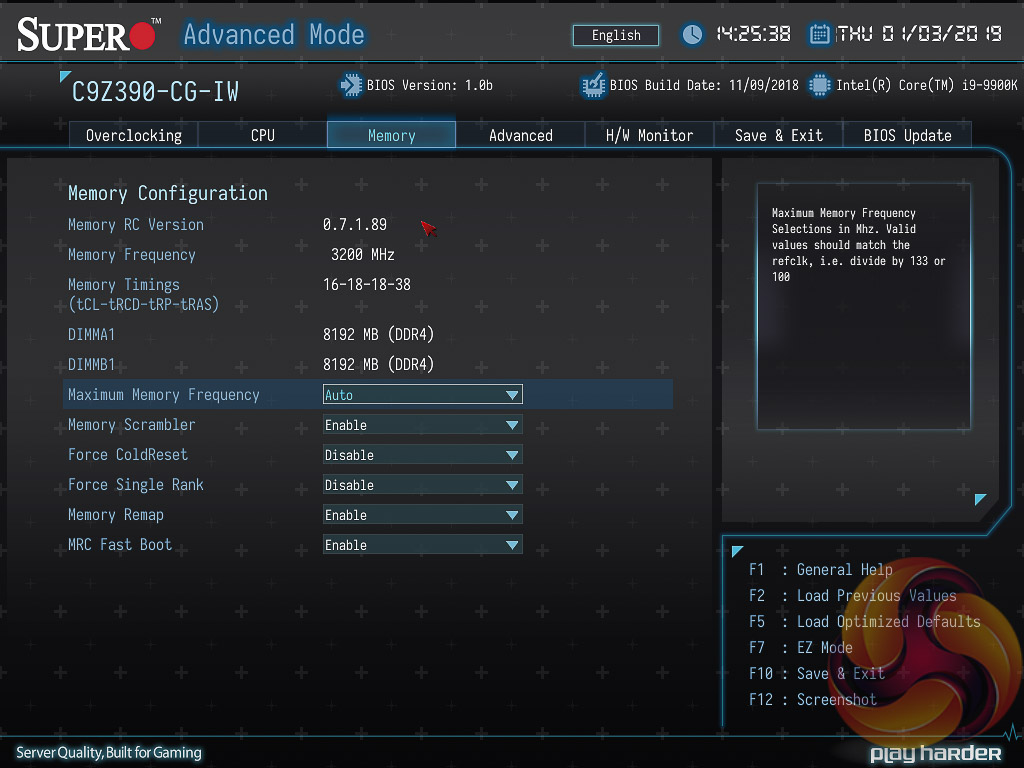
The memory section has a few more memory settings not held in the overclocking section.
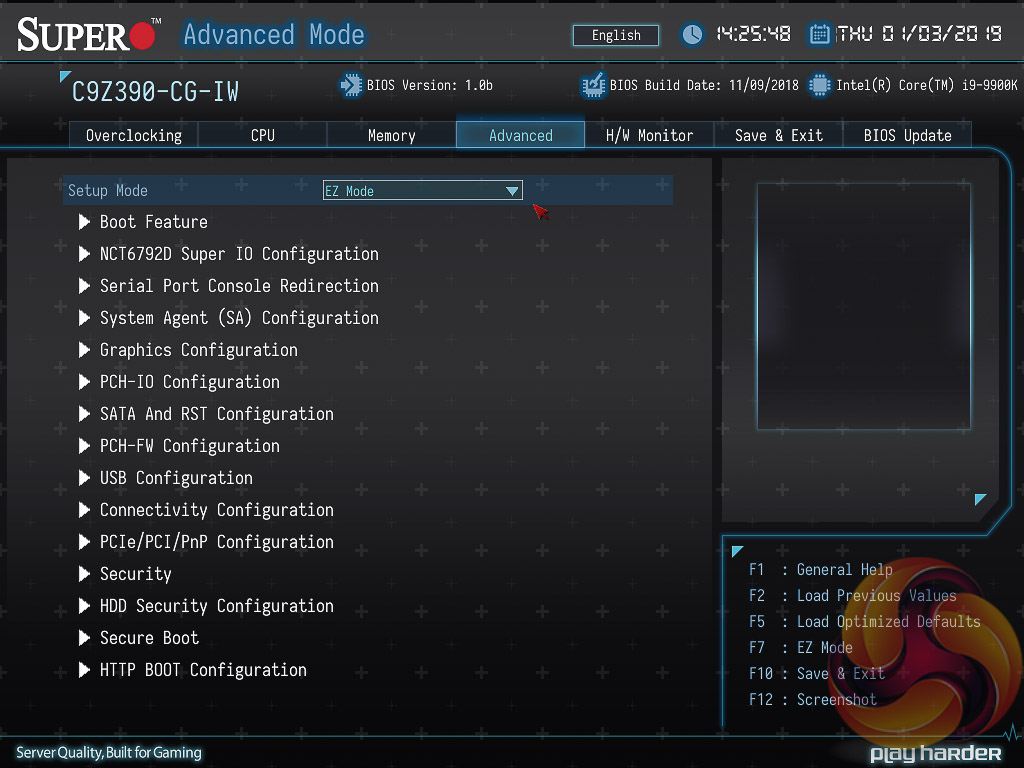
The Advanced section of the UEFI provides a long list of configuration items ranging from chipset configuration to direct interfacing with onboard ICs. There are a boat-load of configuration options here, most of which the average user is best leaving alone.
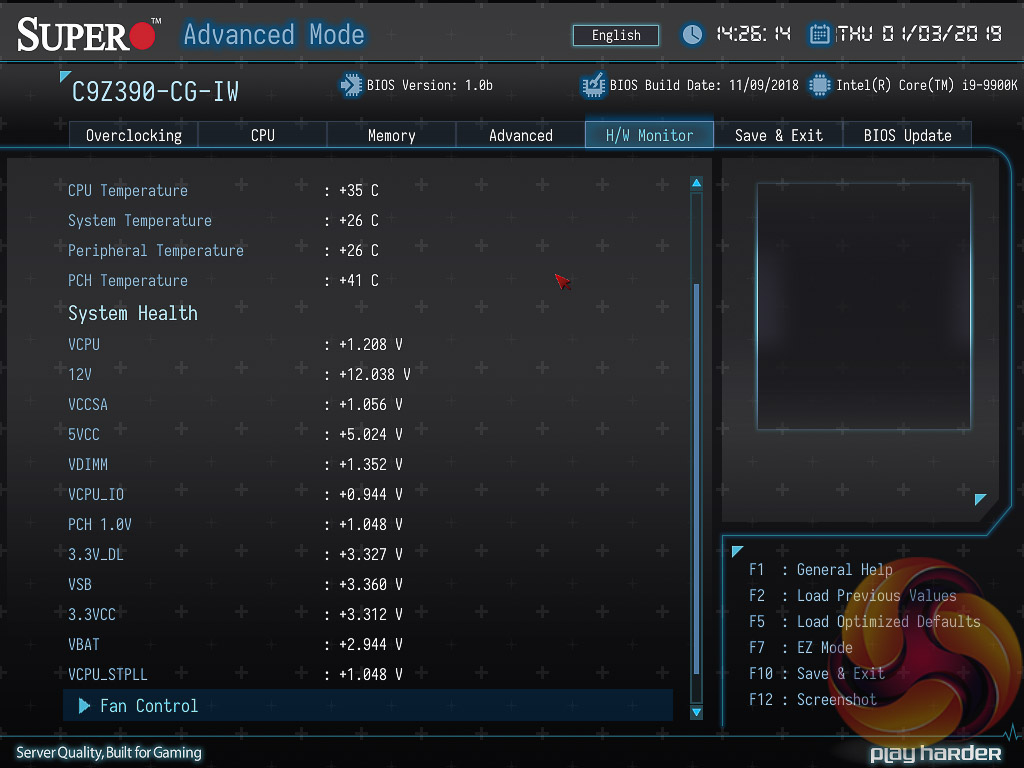
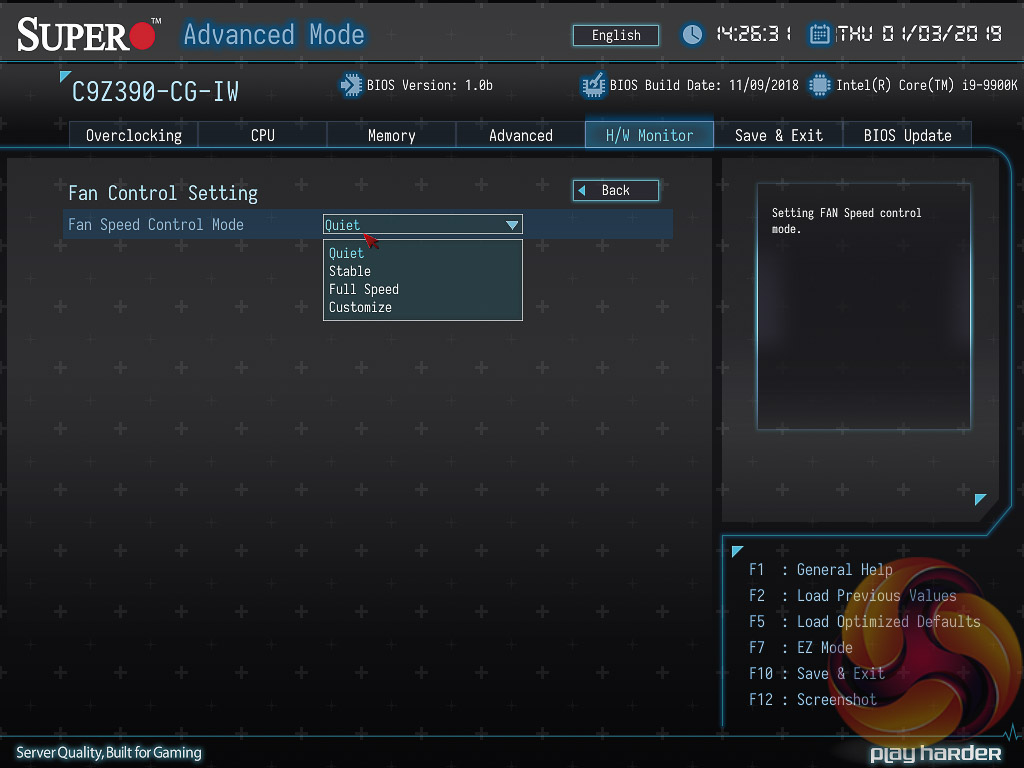
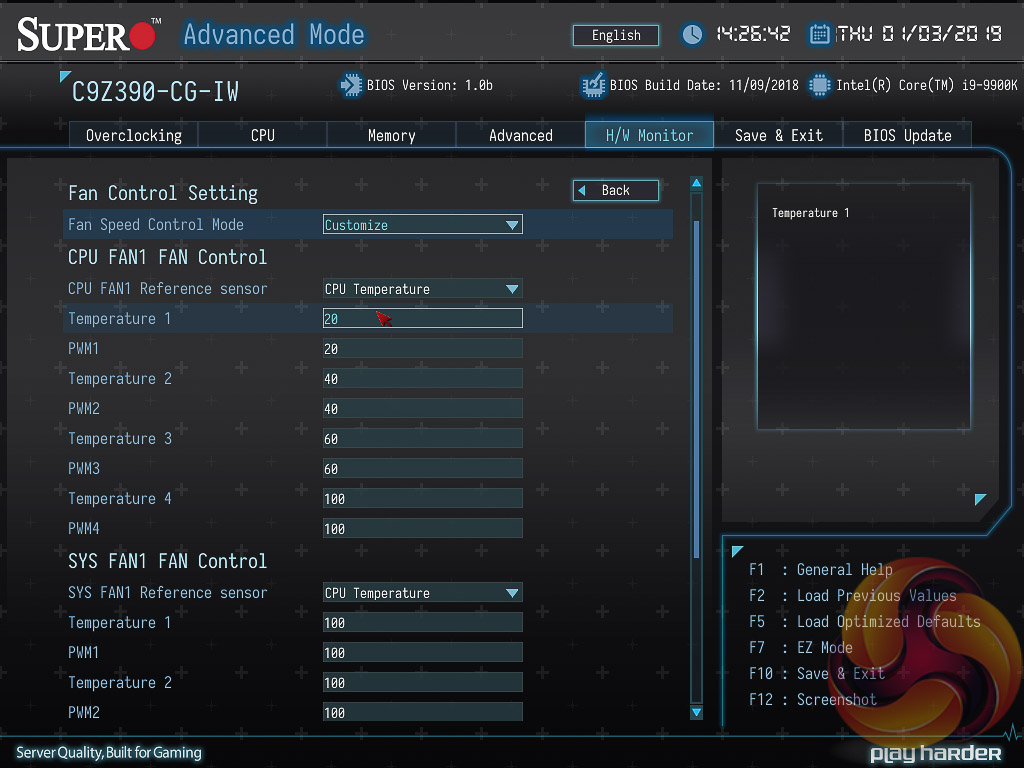
The H/W Monitor section holds the system monitoring data and fan controls. In the fan control section the setting needs to be set to “Customize” to allow the user to change the fan behaviour for each fan, each fan must be programmed manually and there are no default profiles. The “fan curves” have four temperature thresholds with four corresponding fan speeds, it is not possible to create smoother fan profiles than this or use any custom fan hysteresis settings (the time delay between speed changes).
It's quite a frustrating setup because if you want one fan on “Quiet” and another on “Full Speed” that's not possible to do, both have to be Quiet or both have to be Full Speed. The user can try and replicate the quiet and full speed profiles for each fan individually in the customise option, but this is a tedious process.
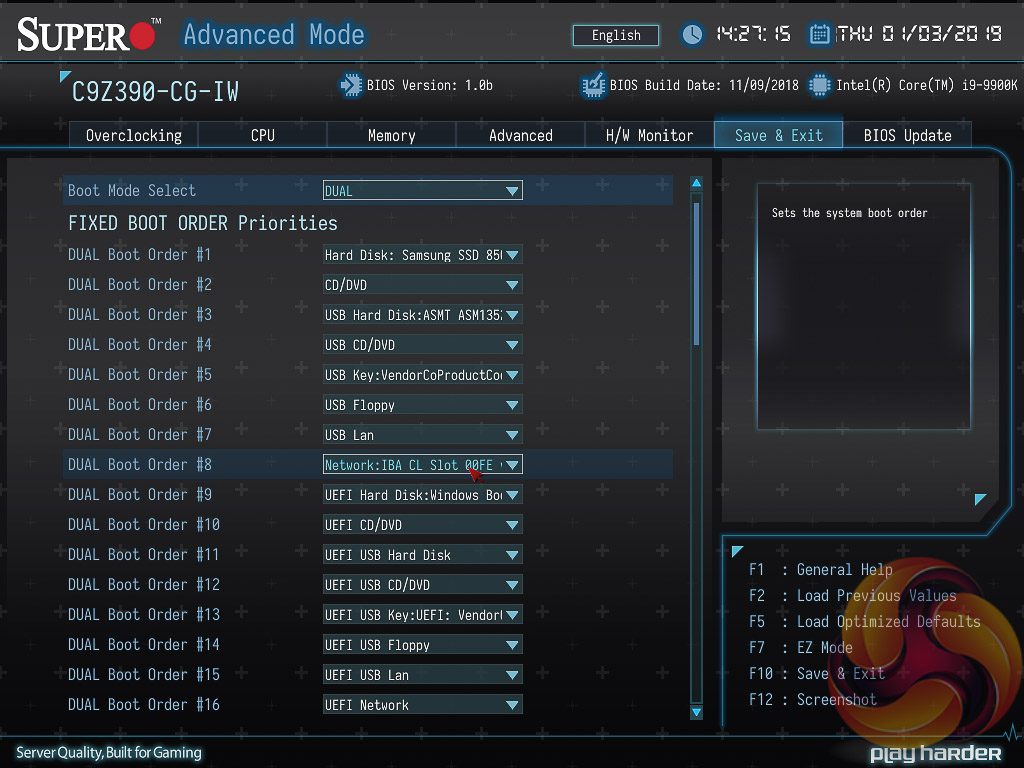
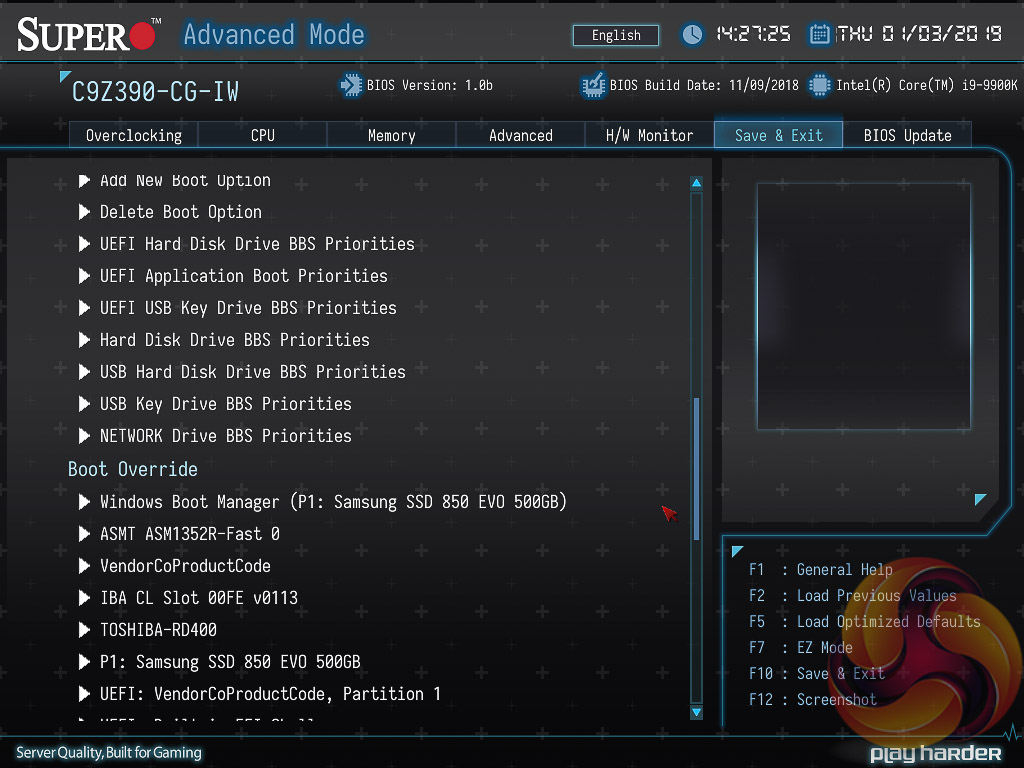

The Save & Exit section handles the boot order, boot override, has the BIOS profile options for saving and loading settings as well as the save and exit interface. It used to be called the Boot section, which made a bit more sense.
The default boot order puts the network boot device above UEFI Windows Hard Drives, which means after setting optimised defaults the system may just get stuck in an endless network boot loop until the user re-enters the BIOS and changes the boot order. It's a small issue but for a consumer user the UEFI and legacy Hard Drive options should definitely both be above network booting by default.
There is no summary of changes made in the session presented to the user upon exiting.
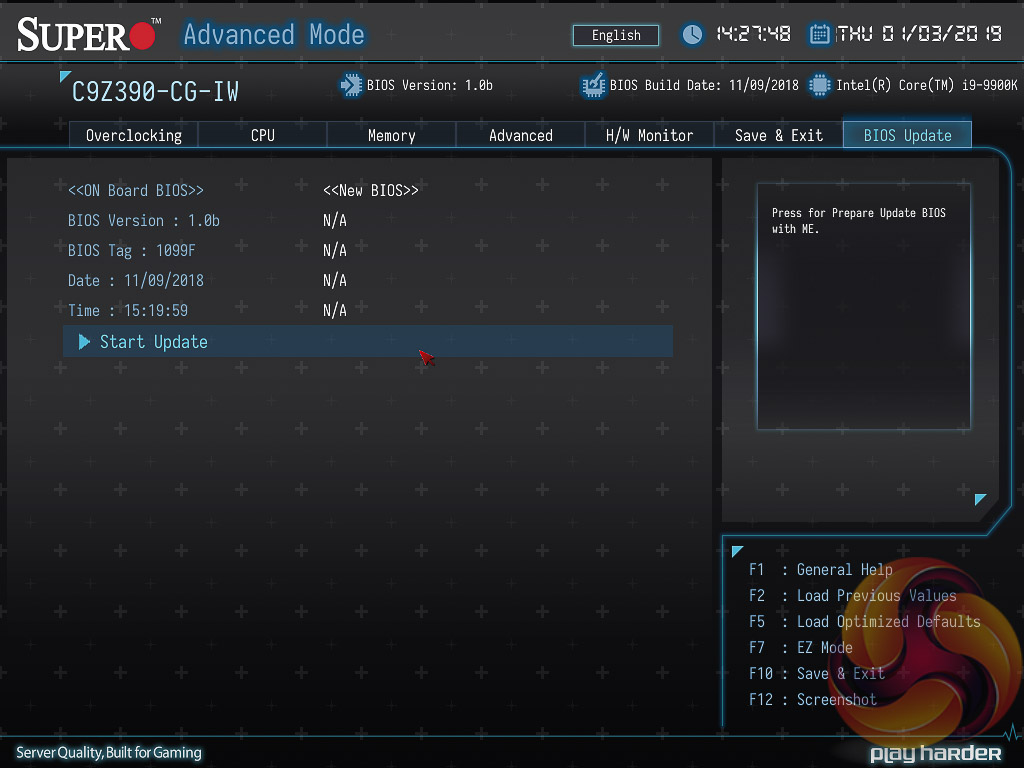

The BIOS Update window displays the current BIOS version and once “Start Update” is selected the system reboots back into the UEFI with new options available – select file and start flash. There is no internet update option from within the UEFI environment.
In our testing we noticed that sometimes after selecting Start Update the UEFI didn't always come back in, sometimes it booted into Windows. It seemed that this happened when the UEFI settings had been modified from the optimised defaults. The workaround that worked for us is to go back into the BIOS, set optimised defaults, save and exit, re-enter the BIOS, then go into the Start Update function again and this time it should boot back in correctly.
When updating the UEFI Supermicro gives the option to just update the UEFI or also update the Management Engine Firmware, it calls it the “ME FDT”. For this to work, the user also has to set the “JPME2” jumper into position 2 and 3 for it to work – so there is both a software and hardware check that both need to pass for this firmware update to happen.