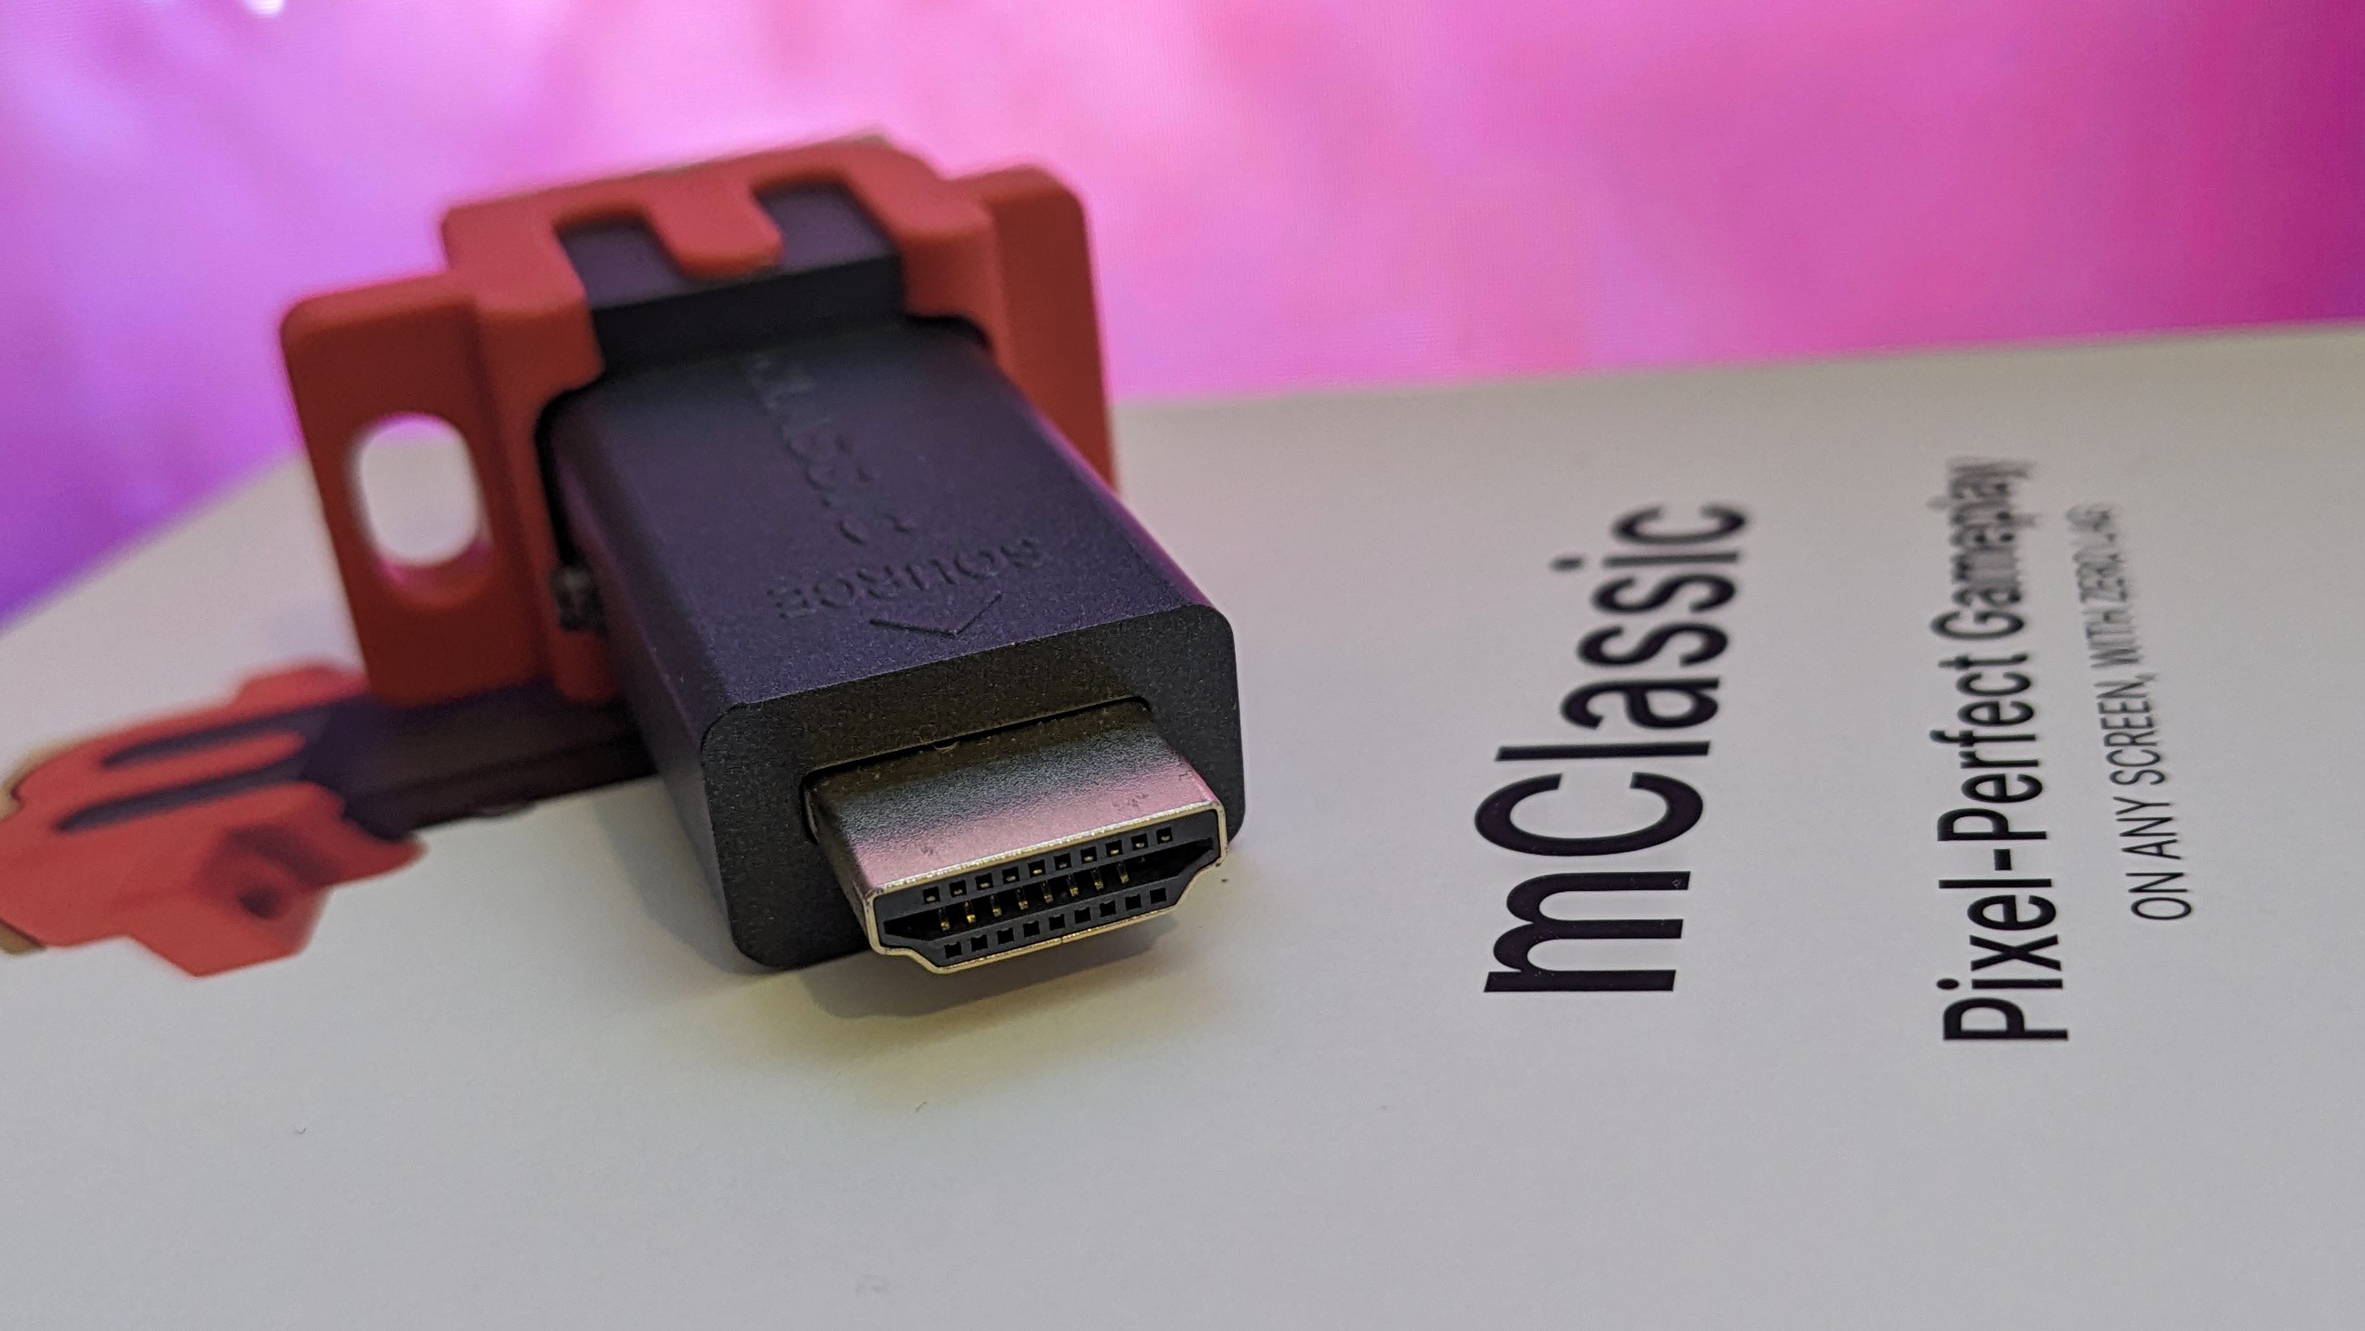
The history of video games is vast, with 10s of thousands of titles spread across dozens of consoles throughout multiple real-life societal generations. With the rapid rate of technological progress over the decades, many of these games no longer hold up to current day TVs and monitors both technically and technologically. In some instances, even modern systems are far behind the curve of video output, with a number of Nintendo Switch titles turning into a bit of a blurry/aliased mess when blown up on a big screen. This is where the mClassic comes in: a HDMI-based hardware upscaler offering “Real-Time Redrawing of Each and Every Pixel.”

Created by ‘Marseille’ – whose focus is on offering various video content upscalers across cinema and gaming – comes the mClassic. For £99.99 (or slightly less depending on the shop) you’ll get your hands on a HDMI middle-person of sorts, which uses hardware within the device to analyse incoming images in order to improve the entire experience through various algorithmically applied enhancements.
Of course, there is the upscaling itself, which according to Marseille can boost old-school retro games and systems from Standard Definition all the way up to 1440p, with 1080p titles seeing an equally impressive improvement to a full fat 4K. On top of this, the mClassic runs an anti-aliasing algorithm to remove shimmering and jagged edges from games which offered no such thing at the time.
Beyond upscaling and anti-aliasing, the mClassic also adds an extra layer of “advanced real-time” sharpening to create “a stunningly beautiful picture with color clarity and details exactly as intended by the game developer” – a “perfect balance” between visual sharpness and a more natural feel to every frame.
Finally – and most curiously – the device purports to add a depth of field blur to the backgrounds of games using its algorithm: “identifying both foreground and background aspects of the image and [determining] the relevant zone of interest to create the best possible picture in real time” – though its impact is dubious at best.
All these impressive improvements are said to come at no cost to latency – the ‘big bad’ of most real-time video upscalers. With support for a wide range of consoles from the SNES, Dreamcast, GameCube and PlayStation 3 to more modern devices such as the Nintendo Switch and Valve Steam Deck, there is a lot to get stuck into; so let’s get sticky.

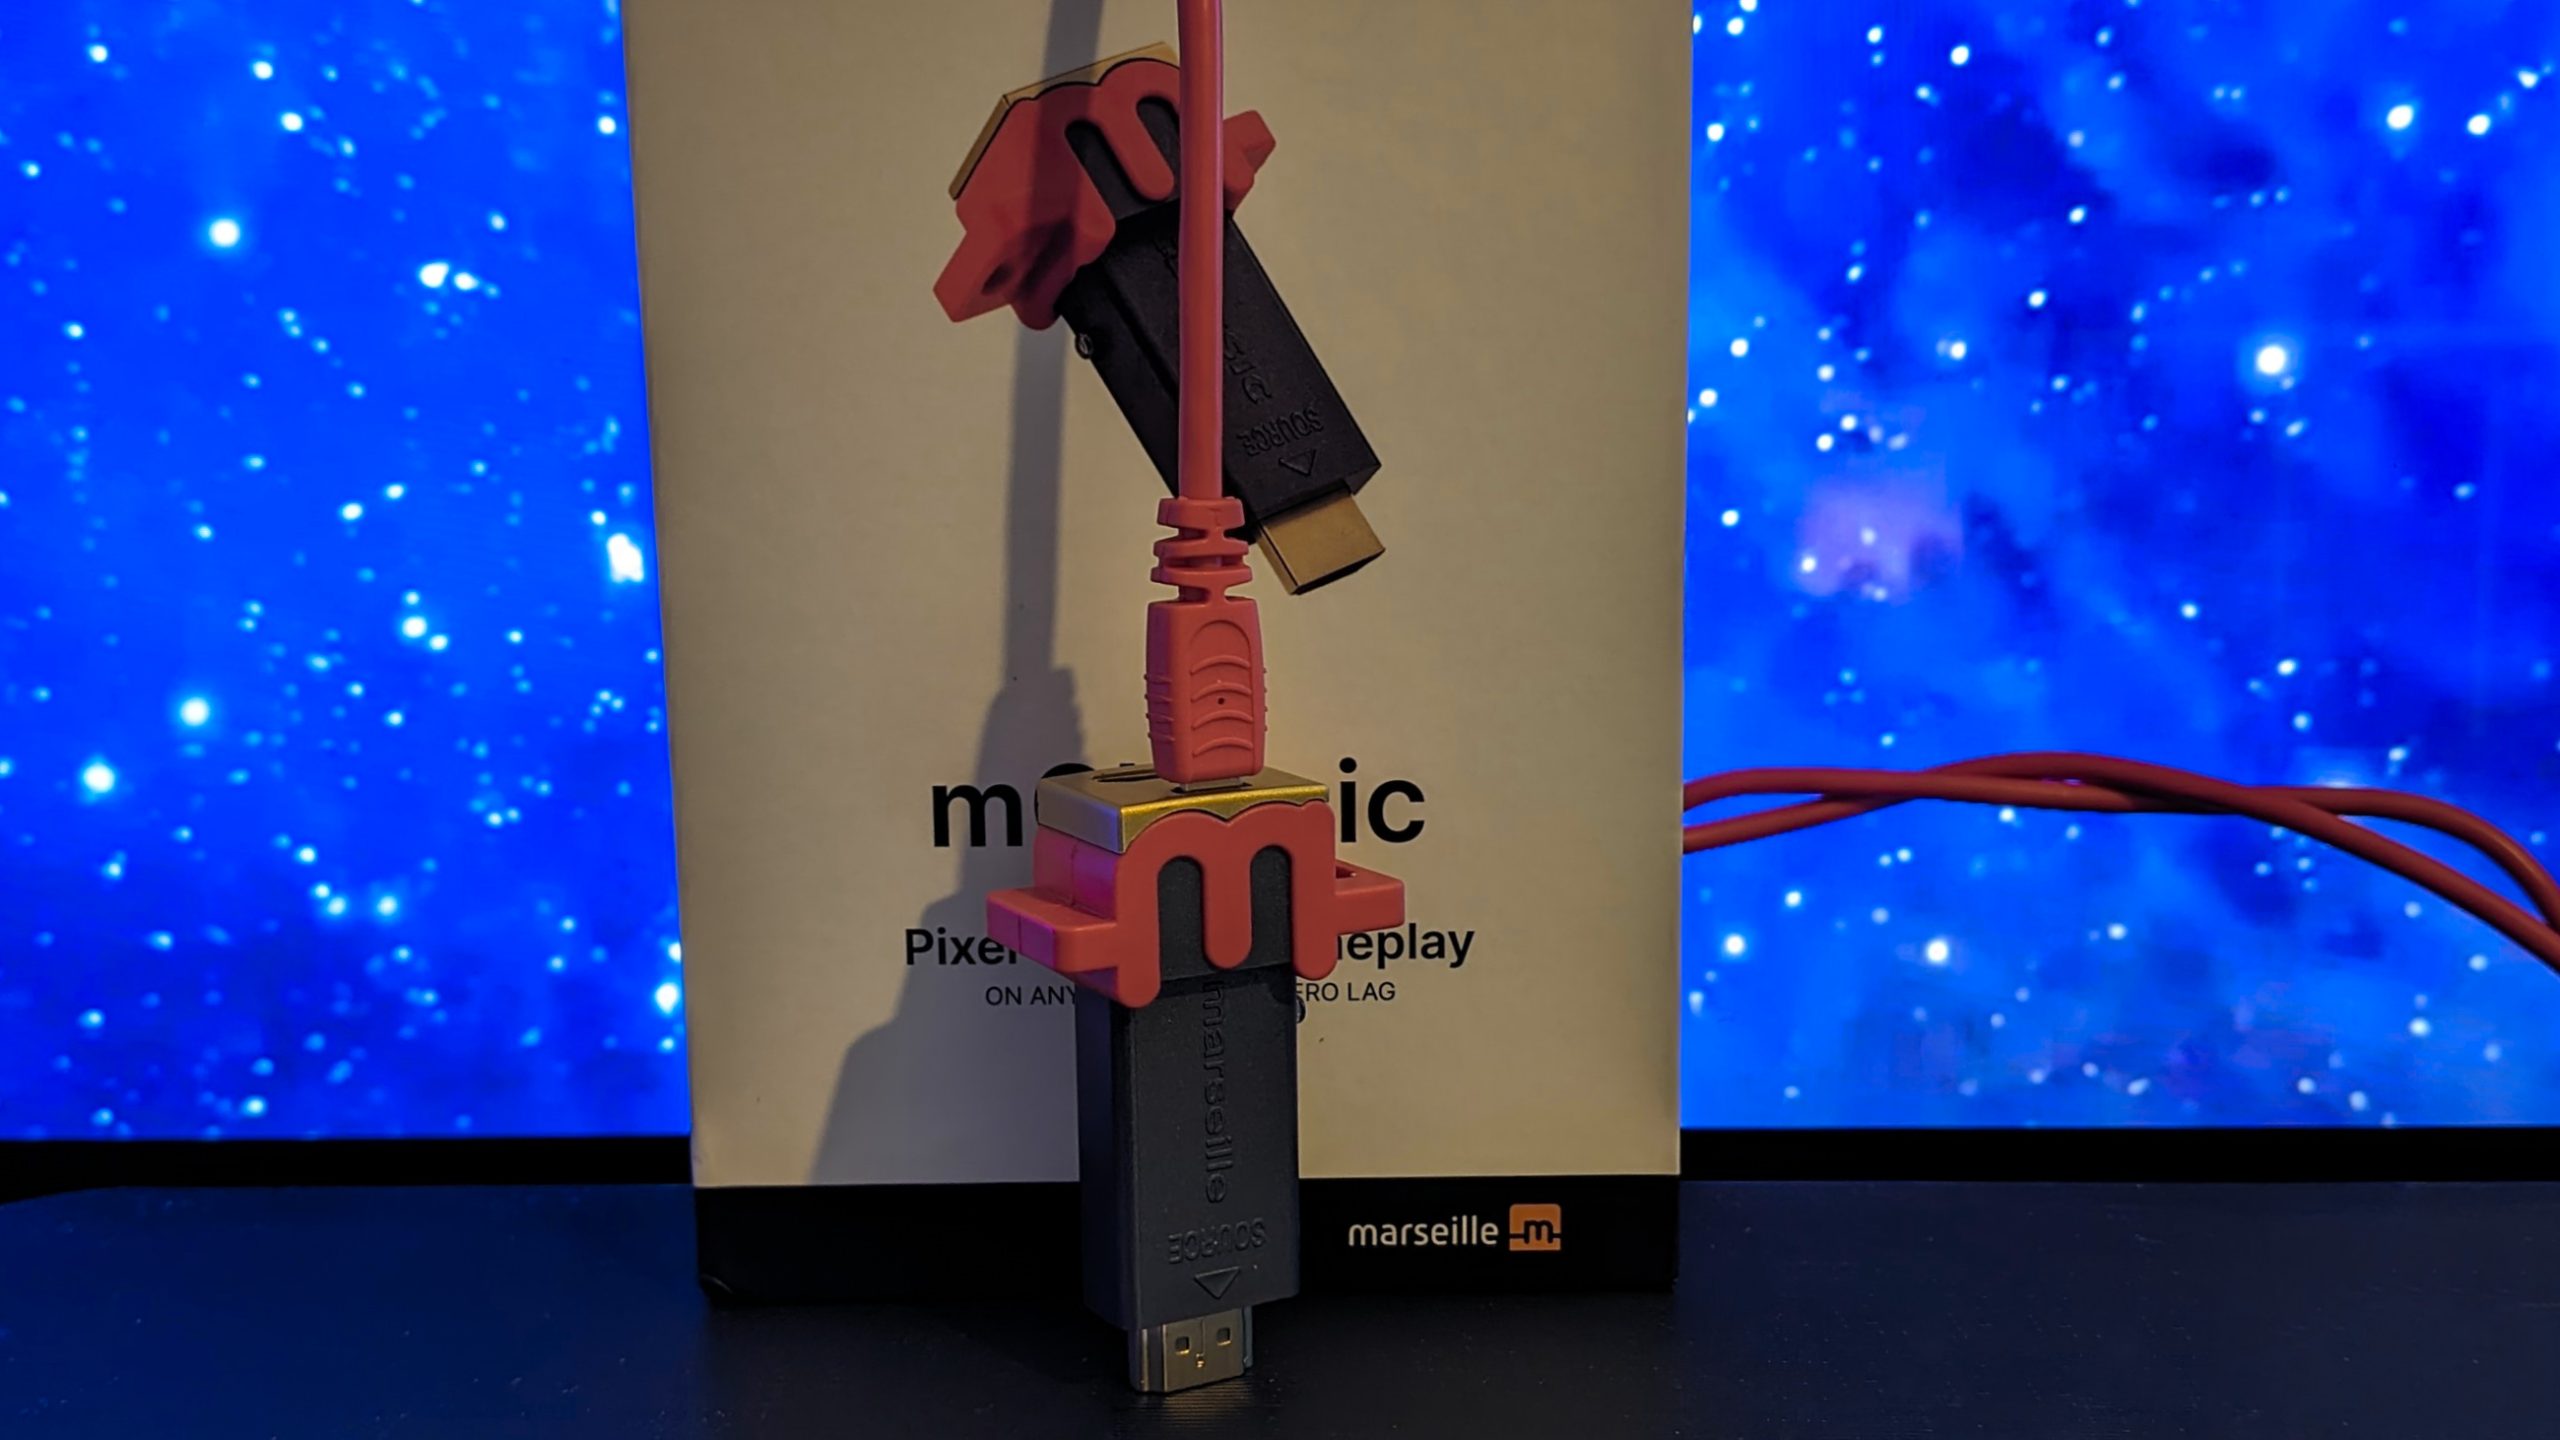
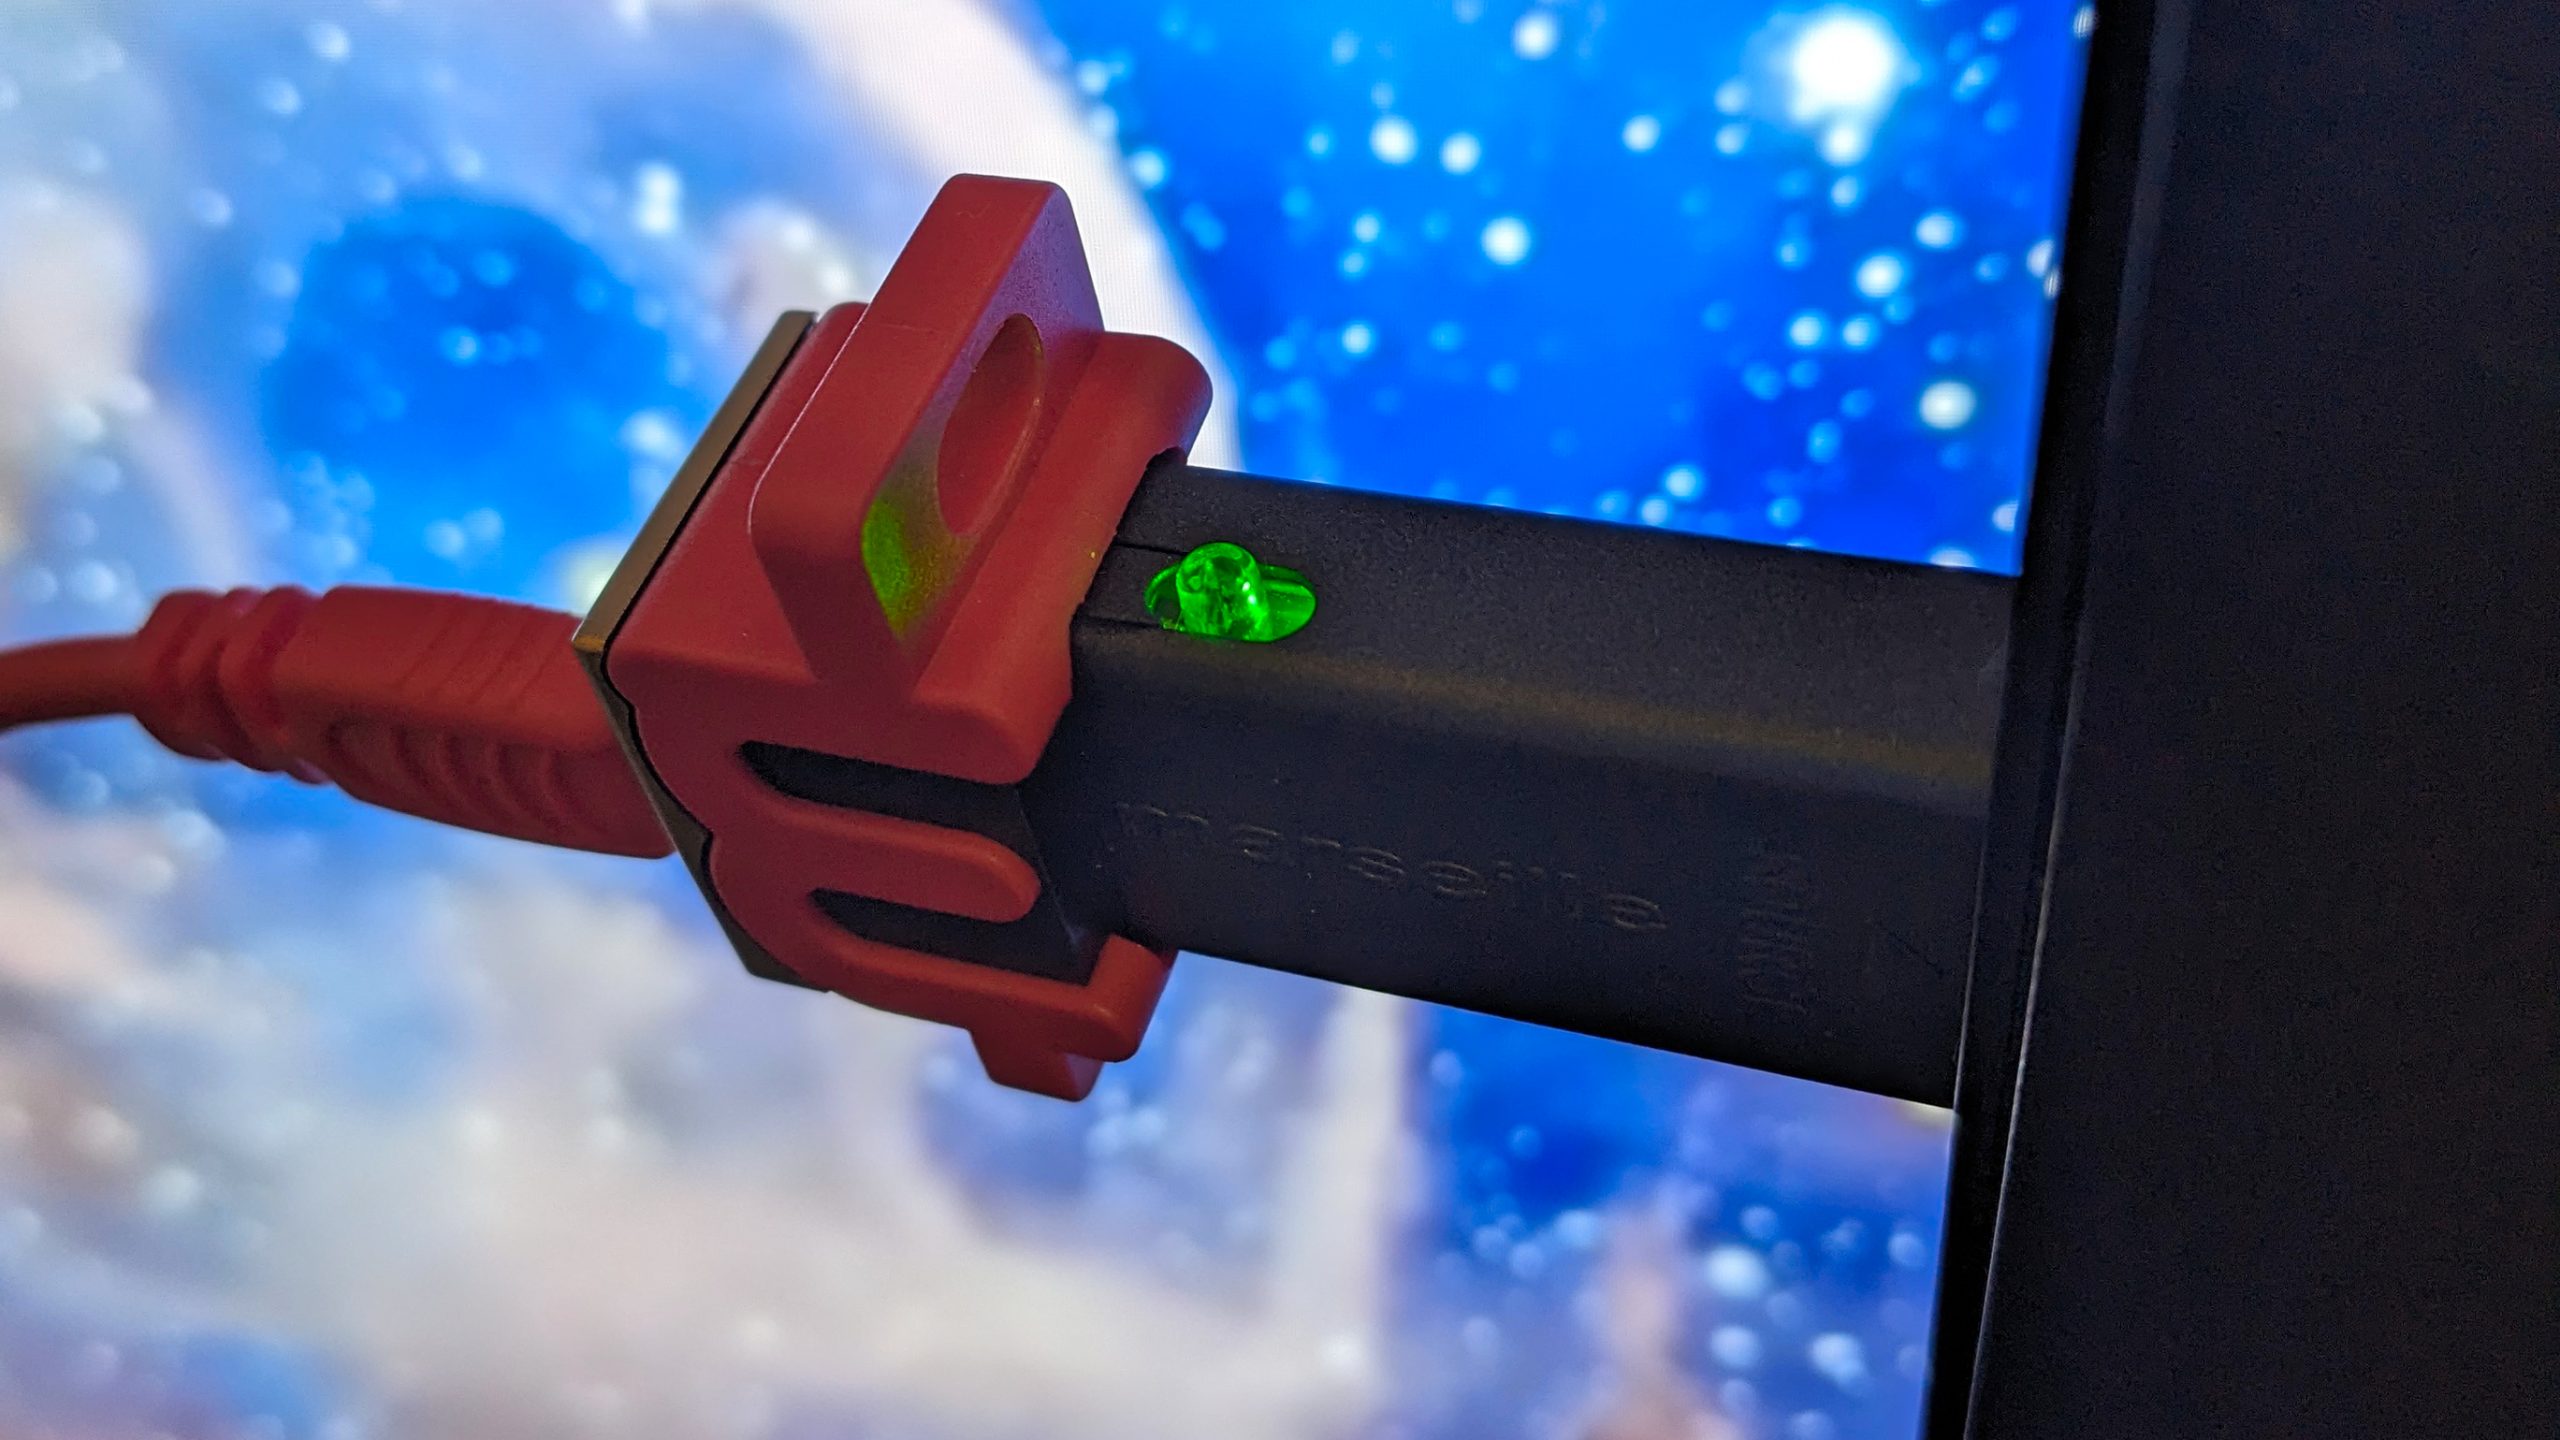
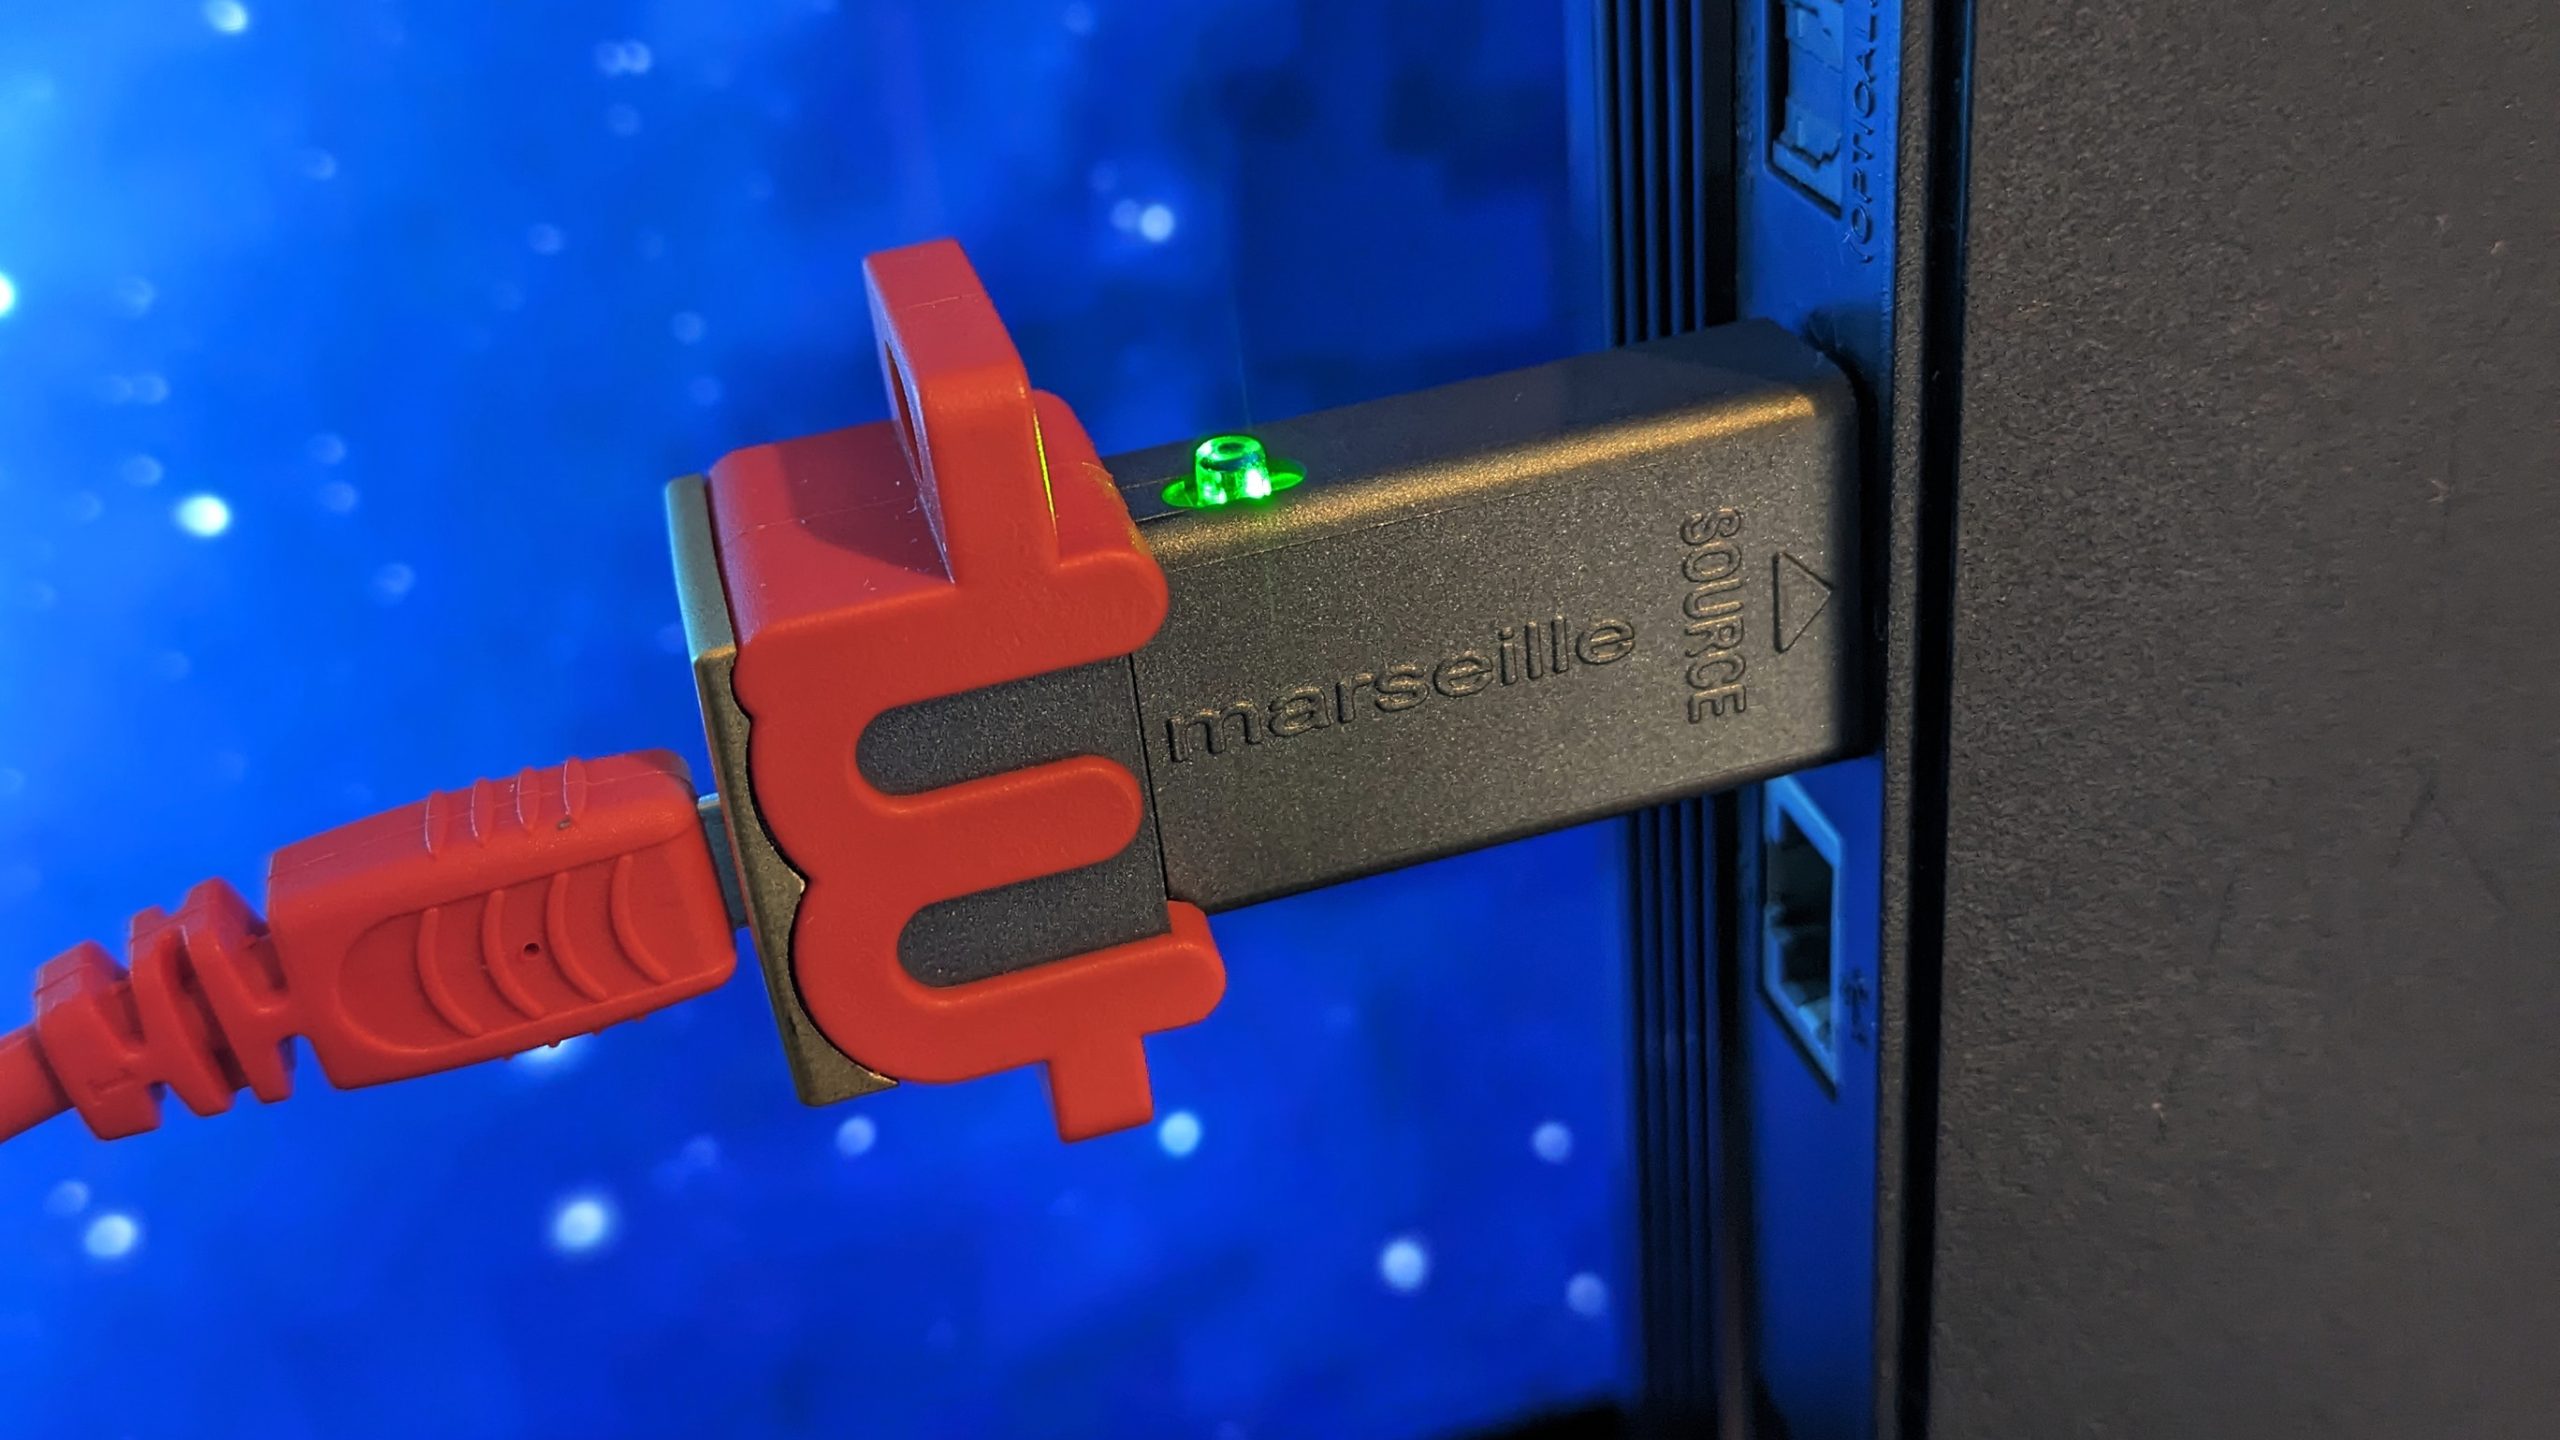
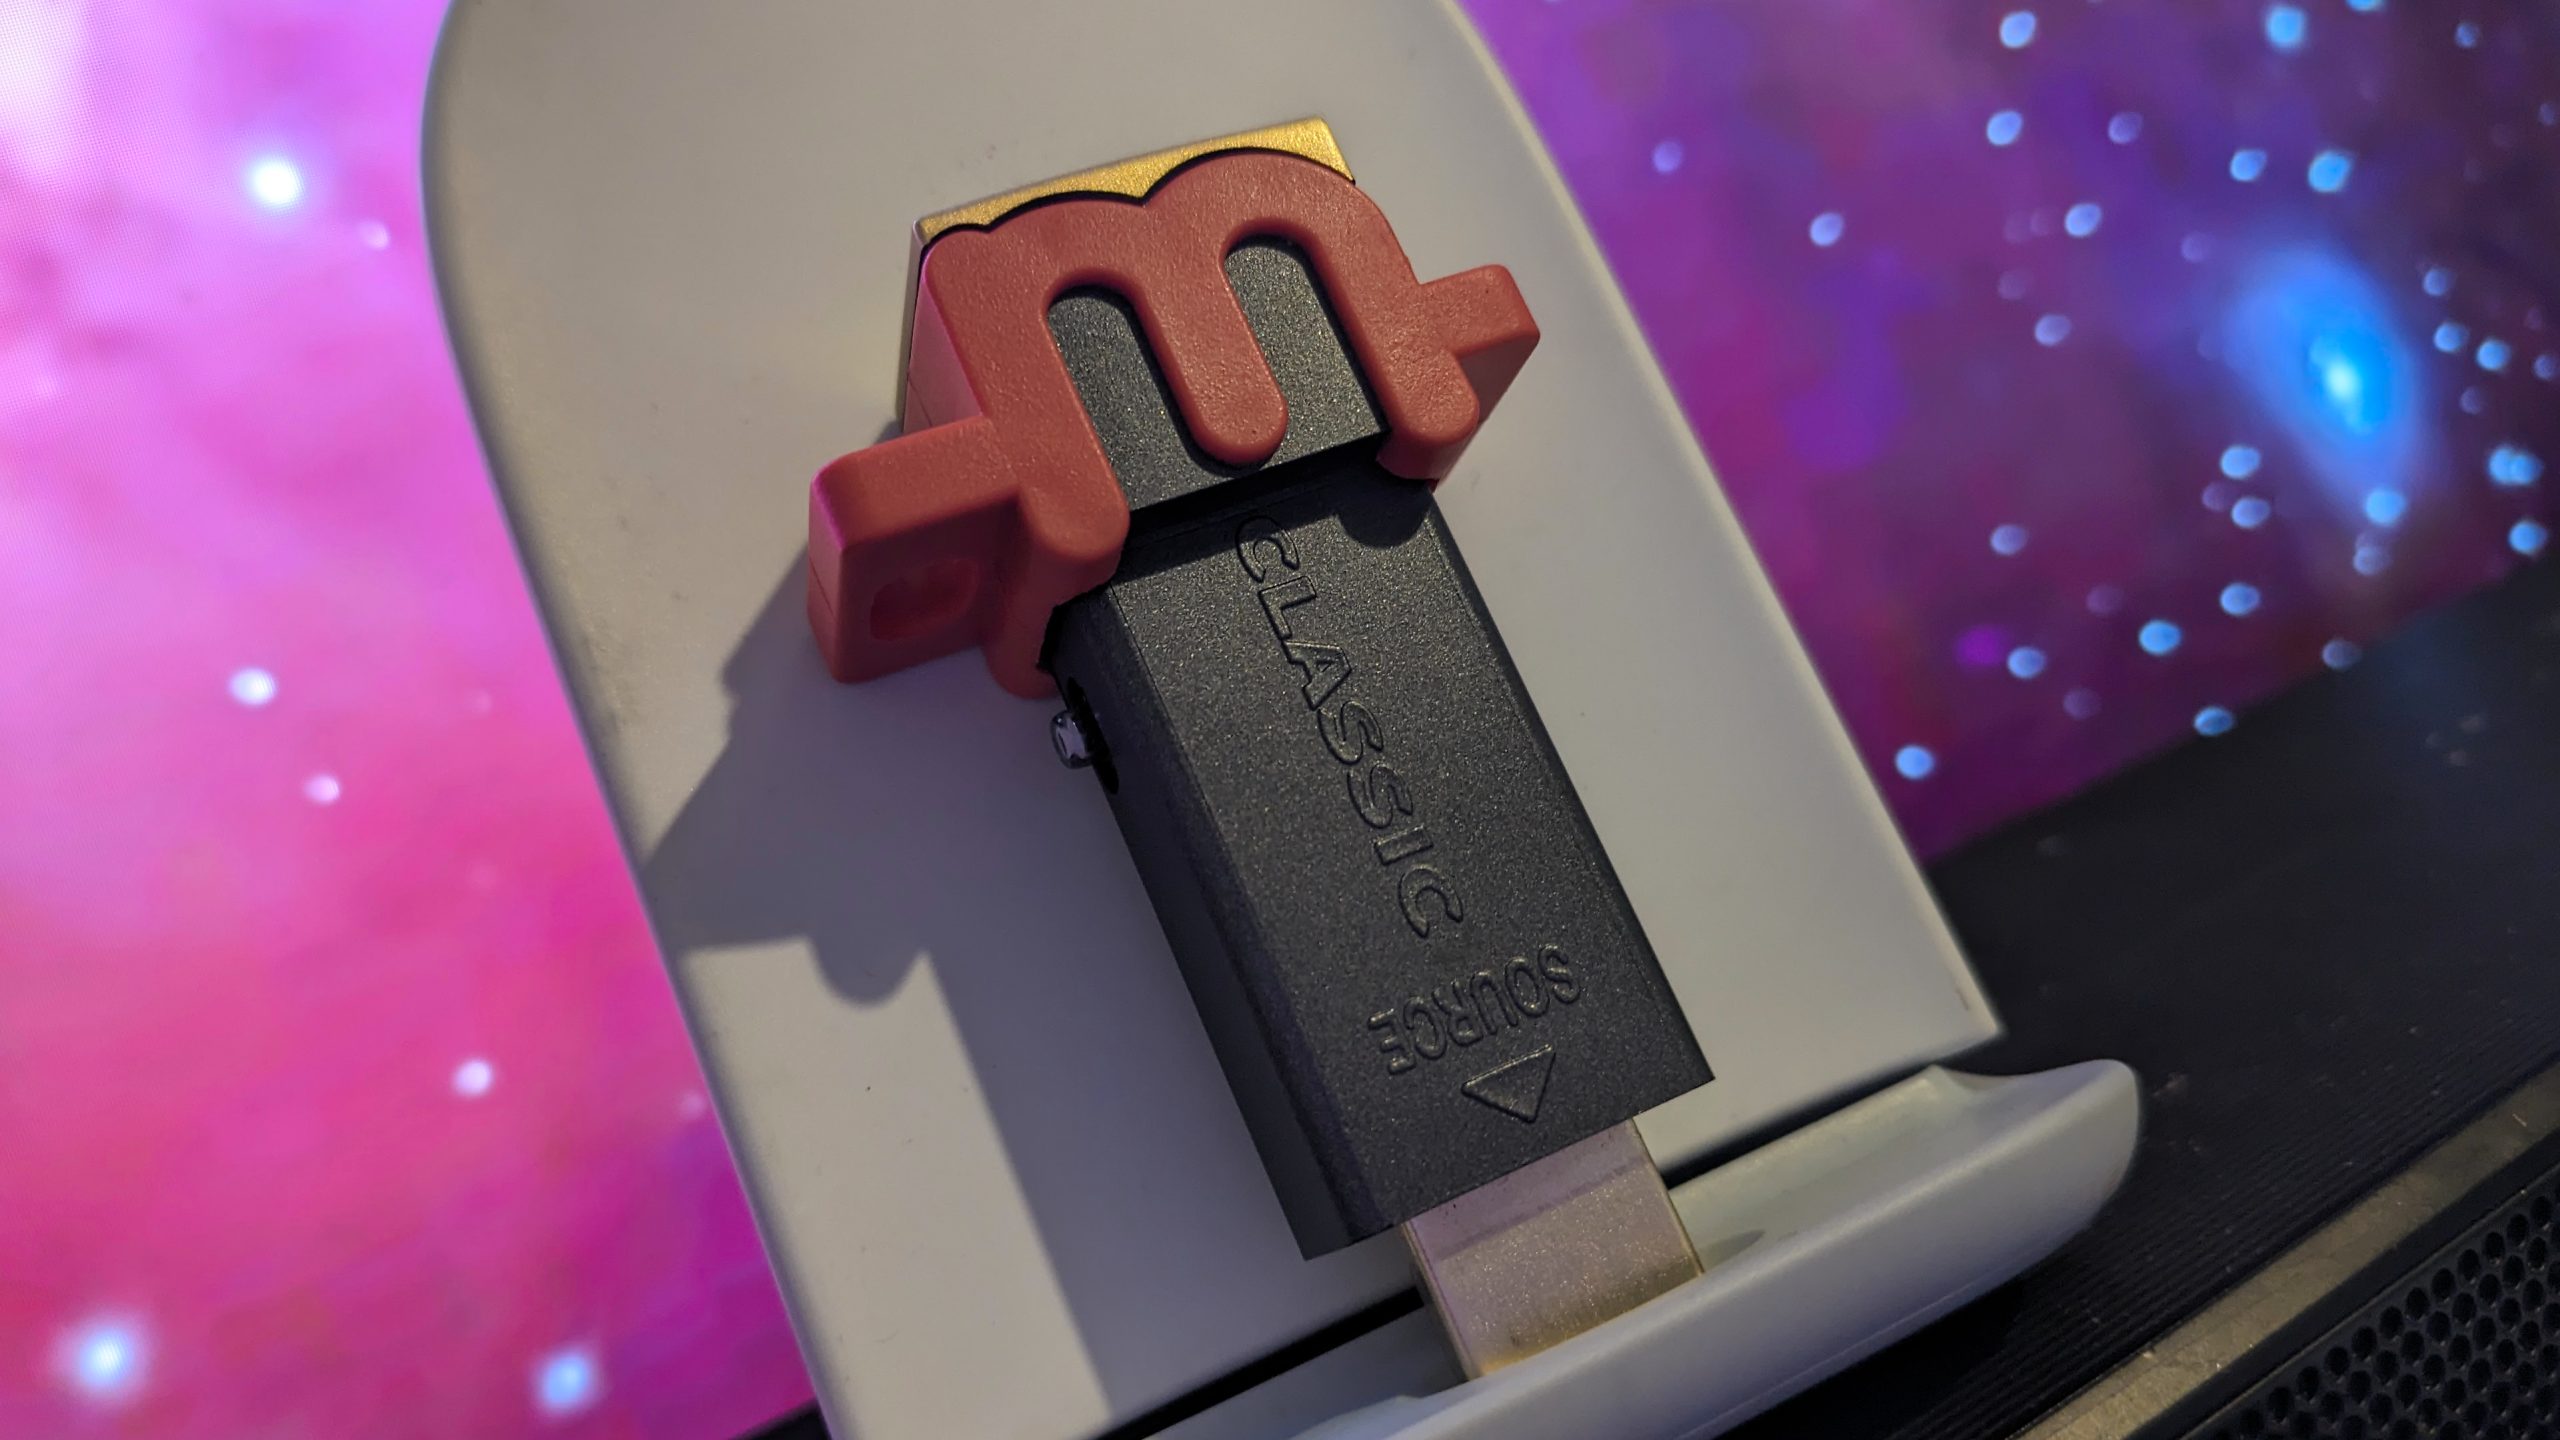
Unboxing your brand new mClassic, you’ll be greeted by a relatively small yet chunky stick which features a surprisingly rigid switch on its side to allow for the turning of processing to be on or off (alongside a 3rd ‘retro mode’ toggle). The upscaler has been amusingly designed to feature the brand’s logo within the shape of the device itself. Of course, with it set to be relegated to the back of your screen, aesthetics aren’t the most important thing here – though it is appreciated.
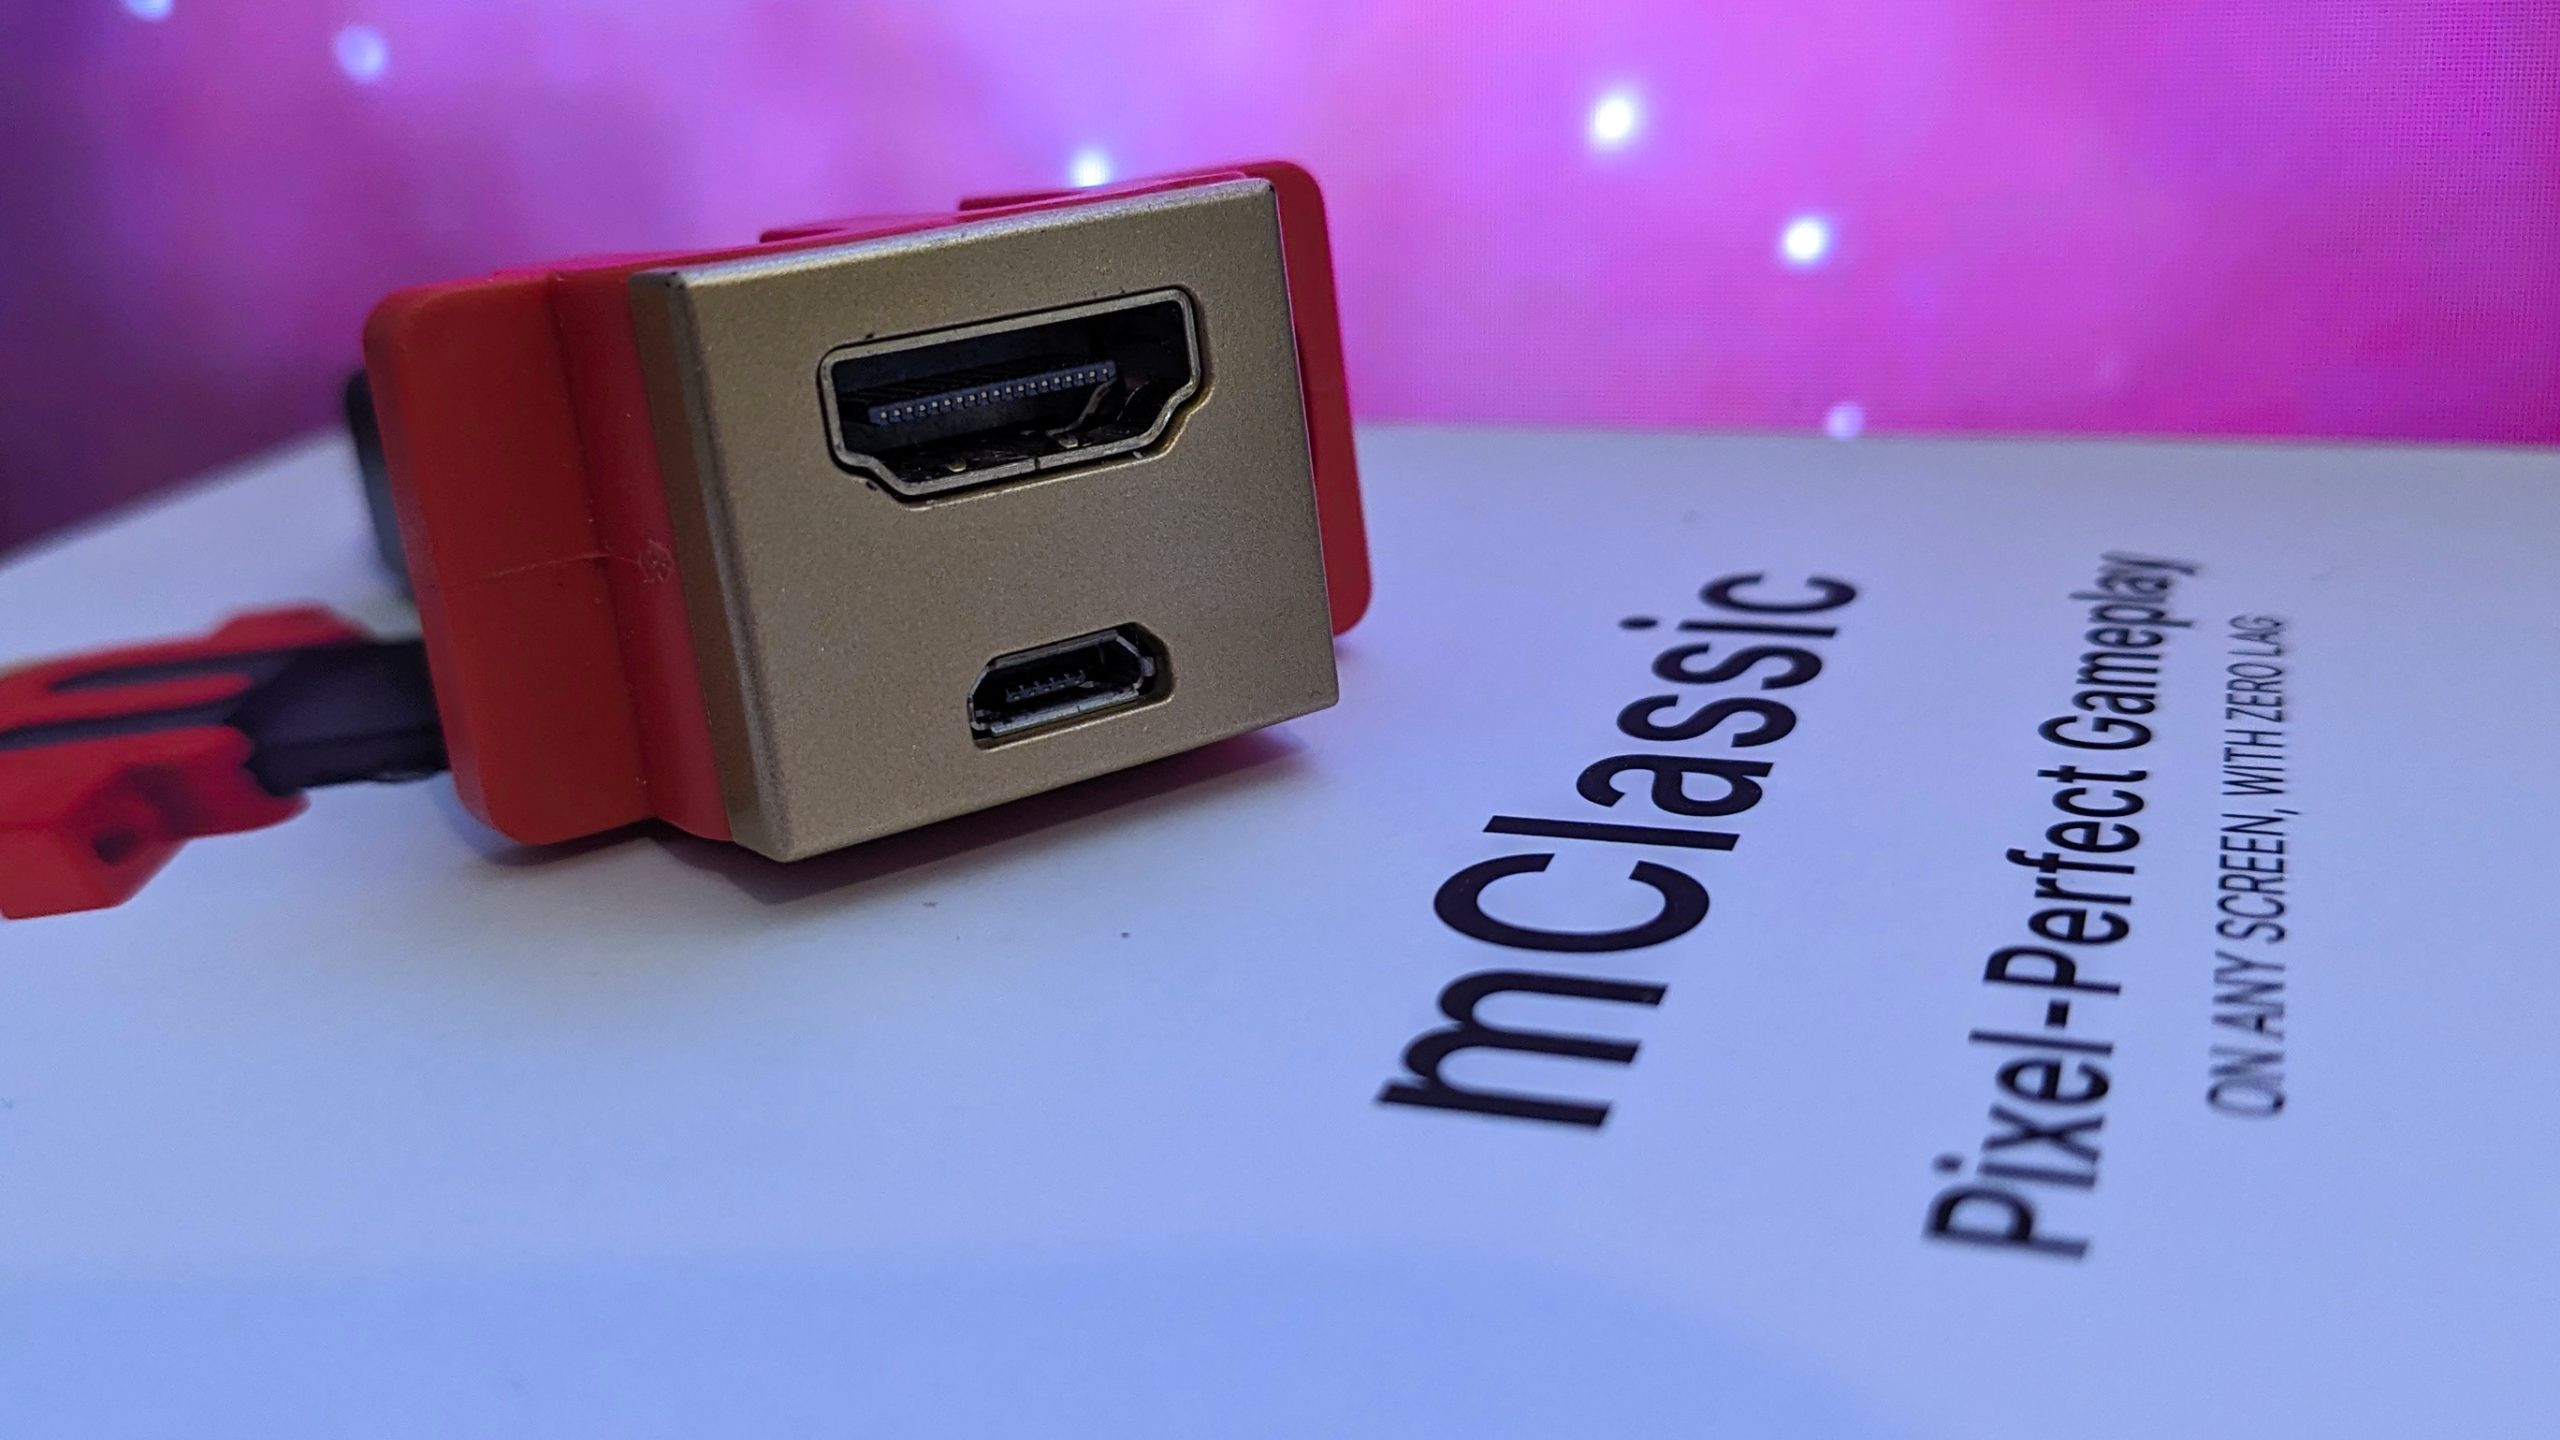
What is ever-so-slightly less appreciated is the mClassic’s adoption of micro-USB to power the device. Though it does include a convenient red cable in the box – and the use of micro-USB is merely relegated to the port of the upscaler itself – the omission of USB-C is an odd one in today’s day and age. That said, this is admittedly a nit-pick, but worth pointing out nonetheless.
Last but not least, you’ll also get a small but highly important HDMI extender. Though not necessary for every system, the unique structure of the Nintendo Switch’s dock necessitates this HDMI extender in order to fit at all. Beyond the Switch however, the HDMI extender is useful as it makes the mClassic’s Amazon Firestick-styled design much less likely to snap should there unfortunately be any accidents. The one necessary item which does not come in the box is a HDMI cable – though you likely already have a dozen laying about at home.
With the mClassic officially and successfully unboxed, I must now include a few important details on my setup before we are able to get into the testing itself. The output of the mClassic can be impacted to varying degrees depending on your TV/display of choice.
I own a 55 inch 4K LG OLED smart TV which comes with its own bells and whistles in the settings, offering various display adjustments independent of the input itself. I am able to disable these settings, but depending on your set-up this might not be possible. Some TVs have their own upscalers embedded into the software itself, while other – older/cheaper – systems may offer no enhancements at all.
Additionally, the technology behind the display can have an impact on the final output as well – be it LCD, OLED, QLED or a TN panel. All this is to say that your own personal results and experience may differ quite a bit; so keep that in mind. Finally, due to the position in its processing pipeline, most screen recorders are unable to capture the impact of the mClassic. Fortunately, as the saying goes, “a word is worth a thousand pictures” – or something like that. Okay, with all that out of the way, time to finally get into the analysis.
With so many supported systems across most console generations, I opted to test the mClassic in a reverse chronological order – meaning I started with the newest use case (the Switch), and went back from there.

While the mClassic is able to support generations worth of consoles, a large focus of its marketing has been towards the Nintendo Switch. This makes sense as not only is it currently the company’s most contemporary console, but is also one of the best selling of all time – a perfect target market.
Being able to output up to 1080p in docked mode, the Switch could certainly do with a bit of a boost on the resolution front. This isn’t even accounting for the fact that a large portion of the games running on the system operate at a significantly reduced internal resolution. With an important focus being placed in the mClassic’s effect on the Switch, I chose to look at two polar opposite games to see what the upscaler could handle.
Being the most recent example of a flagship Switch game, I tested the impact of The Legend of Zelda: Tears of the Kingdom. First thing’s first, Tears of the Kingdom runs at 900p in docked mode, using AMD’s FSR 1 upscaler in order to boost the final image to 1080p. Additionally, the game uses dynamic resolution in instances, meaning the internal pixel count can drop to as low as 720p when docked. All that is worth keeping in mind when we look at the effect that the mClassic had on the final image.
With ToTK being my first exposure to the mClassic’s prowess, I decided to see whether I could notice a difference as free from bias as possible. As such, I tasked my friend with testing me. After running around Hyrule for a bit I would leave the room, at which point they’d toggle the processing either on or off. Upon returning, I would do a bit more running around before giving my ‘educated’ guess as to whether the mClassic was enabled or not. I did this three separate times – nailing it every single time.
Before going into how and what differences I was able to notice, it’s worth ‘noting’ that it wasn’t an immediate night and day difference. I was looking for changes – and I found it – but it did take a time for me to feel confident in my guesses.
With that said, to my eye, the impact of the mClassic on Tears of the Kingdom was equivalent to a blind person being able to see for the first time. Okay, not really, but I was able to notice what appeared to be an overall more stable-looking image.
While I do believe I am more technologically savvy and detail-oriented than the average person, I’m no Digital Foundry. That said, in my experience I believe I was able to witness the mClassic’s anti-aliasing in effect. Likely in combination with its sharpening algorithm, the image of a building or castle held its structure more rigidly as I walked towards it. I did identify what seemed to be some sort of very subtle warbling in effect as I kept the subject in focus – however this was far preferable to the aliasing and more obvious visual breakup on its finer details when disabled.
The other Switch game I tested was SuperGiant Games’ Hades. Contrasting to Tears of the Kingdom, Hades is an indie game featuring a pulled-back isometric camera with a notable painterly artstyle, enhanced by plenty of 2D elements in the form of dialogue boxes; character portraits and more. Running at 720p in docked mode, the Switch version of Hades can look distractingly blurry at times, especially on a 4K TV.
In tasking the mClassic with upscaling this title, the results were more muted, with the only notable improvement being a slight increase in overall sharpness – particularly noticeable with text and the aforementioned character portraits (though really only observable with close inspection). Compared to Tears of the Kingdom, the results felt much less impactful. This however, is where I come to discuss the caveats associated with the mClassic on Switch.
As stated by Marseille, upscaling a 1080p image to 4K is only possible if the original output operates at 24/25/30hz. Running at 1080p/60hz as the Switch defaults to will primarily improve sharpness and AA, doing little to affect actual resolutions. You can upscale Switch games to 1440p, however in order to output at said resolution, the console’s internal output needs to be reduced to 720p. Not doing so will still allow you to experience some of the other noted improvements, but resolution in particular won’t be upscaled – which as it turns out is a massive part of what makes the mClassic worth considering.
Upon changing the output resolution to 720p, the upscaling kicked in, to immediate effect. Testing both Hades and Tears of the Kingdom once again, the additional enhancement made for a much more notable increase in clarity – so much so that my less detail-oriented friend was able to notice the difference to the degree that he too was now able to correctly identify when it was enabled and disabled in a blind test.
If you do decide to give the mClassic a look, changing the output to 720p is an absolute must. That said, I do feel as though both Hades and Zelda’s more cel-shaded and less realistic art styles aided in the upscaling of the final image, so results can definitely be varying levels of impactful depending on the title in question. The same applies to the PlayStation 3, our next test subject.

As with the Switch, most PS3 titles run at resolutions far below 1080p, despite the console itself outputting at said resolution. This once again allows for the mClassic to boost picture clarity across your PS3 library as long as you also set the console’s output to 720p – which is easy enough to accomplish. There are some titles which do run natively at 1080p on the PS3, and in those cases you’ll want to make a value judgement on whether the added quality of a native 1080p output would be preferable to the upscaled and algorithmically enhanced 720p.
All that said, most PS3 titles operate below 720p, such as 2010’s Call of Duty Black Ops. Natively running at 960×544 with 2x MSAA, I tried the game’s iconic COD Zombies mode, switching the mClassic’s upscaler on and off throughout. As Black Ops uses 2x MSAA while running at such low resolutions, the results when blown up on a big 4K screen are rather ugly, with the overall presentation looking exceptionally blurry.
When enabling the mClassic however, the game takes a notable and immediate jump up in visual clarity – akin to taking your +0.50 strength reading glasses on and off. It’s not a transformative change overall, but everything you look at around you does feel more present and grounded within the word due to their increased visual pop.
Possibly due to the game’s low internal resolution or its implementation of AA – or both – when upscaled, the game’s visuals take on a bit of a painterly aesthetic; a common result seen with image upscalers and the like. This effect is primarily seen when viewed from close up, and so at regular playing distances you are highly unlikely to notice this subtle result.
Being a reaction-focused 60fps shooter, I figured Call of Duty would be the best test subject for the mClassic’s latency claims. I consider myself to be quite se nsitive to input latency. I find little value in game streaming for that very reason, and even older TVs with slower displays can bother me when playing.
While Call of Duty on the PlayStation 3 is inherently less reactive than newer titles – owing to the likes of modern enhancements such as 120fps on consoles and Nvidia’s Reflex on PC – in turning the mClassic on and off I found essentially no difference in game-feel and overall reactivity. Any differences noted were most likely due to external factors such as a drop in the game’s frame rate or other such issue.
This marks a big win for the mClassic in my opinion as while we have had upscalers for ages now (with many TVs even offering such enhancements) most of the features are disabled when playing games due to the inherent time cost of video processing; making real-time improvements difficult. The fact that the mClassic is able to improve the final image without affecting latency is notable.
Looking at the other end of the spectrum, there’s the original Dead Space. Running at 720p / 30fps with no anti-aliasing on PS3, the mClassic is being fed a decidedly different input compared to Black Ops. In this case, I feel as though the device managed to improve clarity even further than Black Ops.
Be it due to the game’s higher native resolution or its lack of anti-aliasing, the end result was a surprisingly crisp image with much sharper lines and a more maintained original art style. As with all titles, shimmering and jaggies from aliasing aren’t entirely removed – but they are definitely reduced.
This, in combination with the mClassic’s upscaling and sharpening does more than enough to warrant using whenever I choose to pull out my PlayStation 3. While this has become an increasingly rare occurrence, there are still some excellent games trapped on the system such as InFamous 1 and 2, or all the PS3’s COD entries – which on PC don’t properly support controller aiming.
Unlike the Xbox with its mostly-robust backwards compatibility, many PlayStation 3 games remain trapped on the system’s bespoke hardware, making the mClassic a silent saviour for Sony’s system.
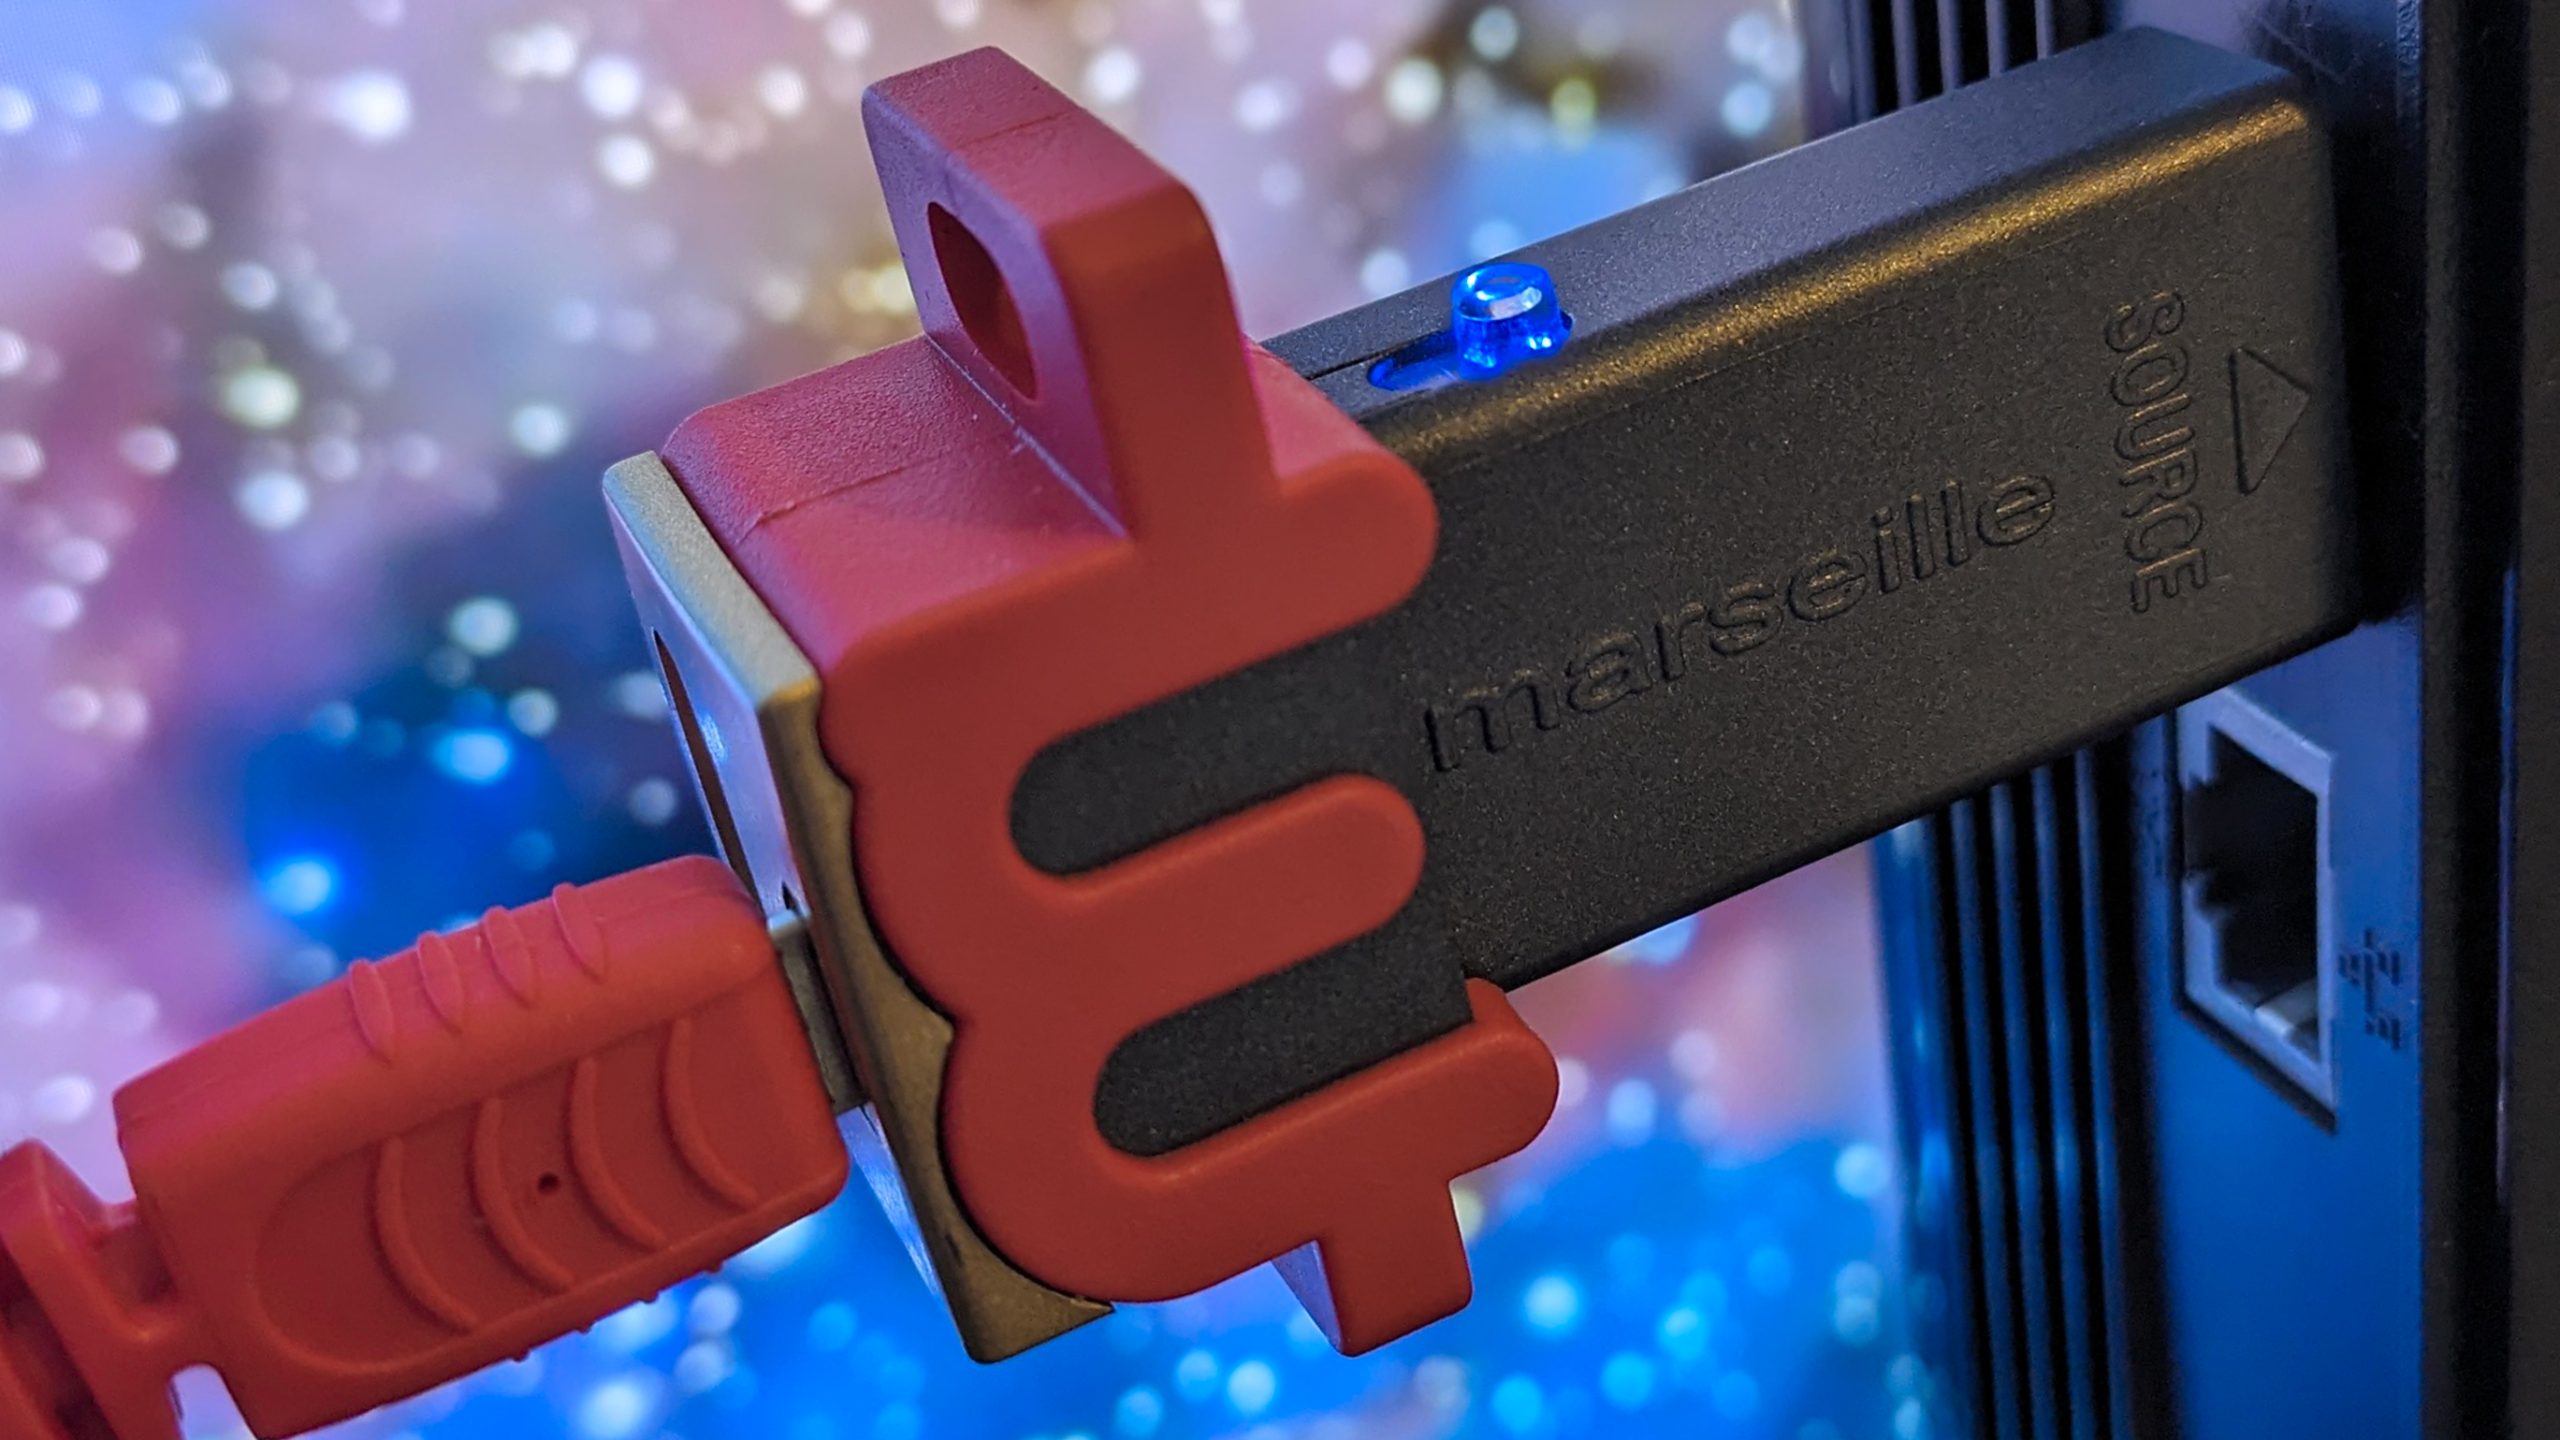
Going further back into the annals of history, the mClassic is also able to support pre-HD hardware – meaning 6th gen and older – and even has its own dedicated segment on the toggle switch; glowing a deep blue to indicate you are in retro mode.
According to Marseille, this mode features its own algorithm to allow for enhancements appropriate towards the 480p era. Additionally, it forces a 4:3 aspect ratio to ensure a more accurate pixel structure removed of any ugly stretching. So far, so good…but this is where the complications begin.
The mClassic is an easy and intuitive device to use, with its aforementioned toggle switch structure making it easy to identify, with no extra steps – directly at least. See, to use the mClassic on these pre-HD era consoles, you’ll need to get your hands on an analogue to HDMI converter.
This is easy and cheap enough, however, what needs to be kept in mind is the fact that each HDMI converter may function differently. Some will have their own rudimentary upscaling, others might feature their own toggles and switches, including the ability to switch between a 16:9 and 4:3 aspect ratio. On top of that, you then have your TVs independent settings, which as mentioned earlier, can come with its own set of toggles and enhancements, including once again to pick your output aspect ratio.
Of course, none of this is the mClassic’s fault, but if you want to ensure that the device is working exactly as intended, there will be perhaps a few more steps than initially expected. Much of this is stated on the maker’s website and so new customers shouldn’t run into any major roadblocks, but I felt it worth pointing out, especially as it can and will have an impact on the mClassic’s results.

With that in mind, I opted to test the mClassic’s retro mode in a number of different ways. I used real and original hardware with an analogue-HDMI adapter as recommended. I then also tested a number of classics from the PlayStation 1 era via the PS3 using Sony’s backwards compatibility / emulation system.
Finally, I ran these games on my PC using the emulator Retroarch, testing multiple output setups while making sure the emulator itself was offering as accurate an image to the original hardware as possible – meaning no resolution enhancements, antialiasing, 16x anisotropic filtering or any other hacks that modern emulators let you do. No, any noted changes come purely from the processing being done by the mClassic and the mClassic alone.
As mentioned, I had to do quite a bit of tweaking across my TV settings and system output settings in order to achieve the correct result. With all that done, I found the final image to be various levels of impactful depending on the game and target system.
For the 5th-gen systems, I chose to test out the Nintendo GameCube. First, I looked at Starfox Adventures, which aside from fixing the aspect ratio, made relatively little impact – though my friend preferred the final image.
I was hoping that The Legend of Zelda: The Wind Waker would be the best representation for what the mClassic could do for retro 3D titles. Unfortunately, while again, there was a subtle sense of increased clarity, the results were mostly underwhelming. This however is where I must mention that the HDMI converter which I purchased is rather basic, with no bells nor whistles as far as I’m aware. Unfortunately, as such I could not identify nor change the output resolution in order to ensure the mClassic’s older-specced HDMI port was able to push out an upscaled 1440p image – meaning your own final results could vary
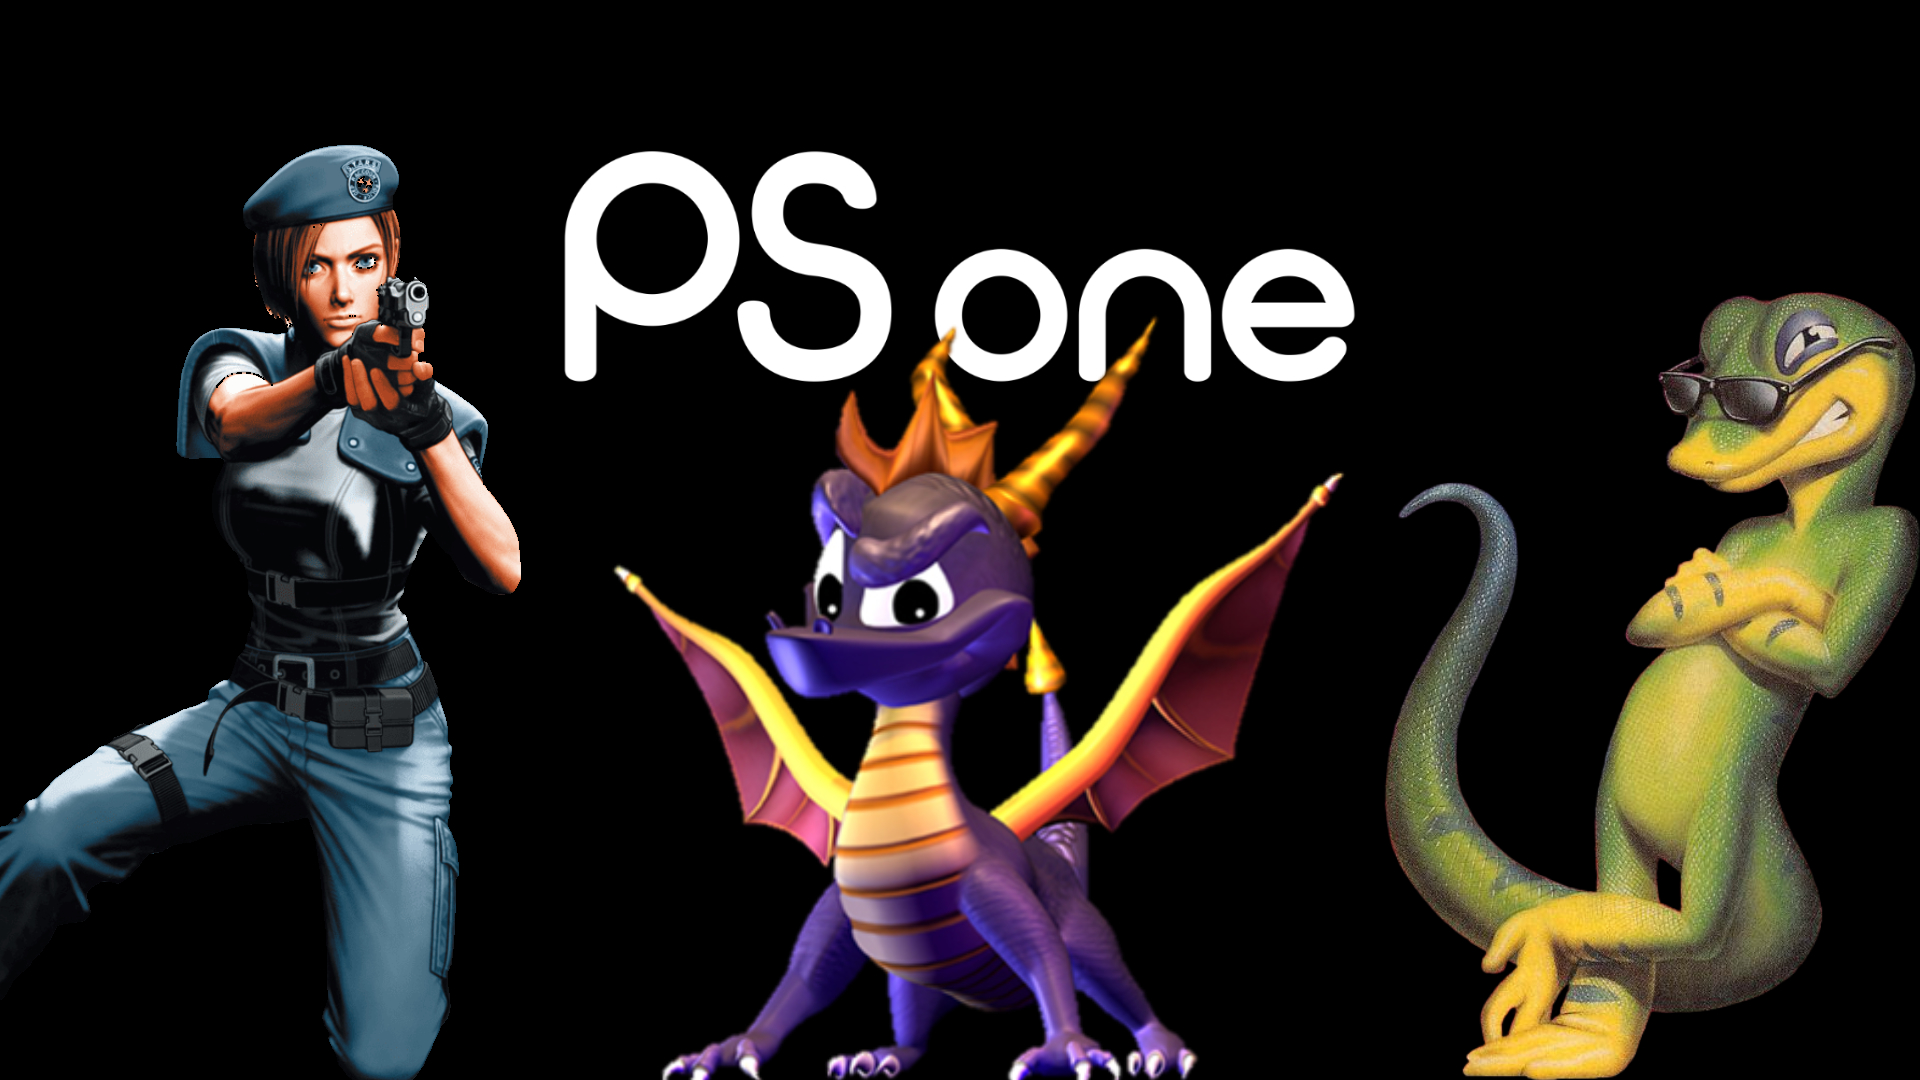
Testing the PS1 titles was interesting, as that console in particular utilised many different tricks to achieve its 3D effects. As a result, PS1 games have a decidedly unique look – one which the mClassic was not best equipped for in my opinion. From 3D games such as Spyro to the ‘pseudo-3D with 2D backgrounds’ of Resident Evil, ending with straight-up 2D platformers, toggling the retro mode did little to perceptually alter the final image.
I did a whole bunch of back and forth testing, switching between native passthrough and the retro mode, and found that the most I could identify was seemingly some image sharpening – and even then it feels a bit like splitting hairs.
That said, while the PS1 emulator on PS3 does allow you to change your game’s aspect ratio – enabling either its 4:3 or fullscreen options while also using the mClassic’s retro mode presents a clash, ultimately leading to a squashed and almost square aspect ratio. In this instance, I chose to use the PS3’s own internal 4:3 aspect ratio selector while enabling the mClassic’s regular upscaling mode to achieve results closer to what was intended.
Fortunately, the HDMI converter which I used to test on original hardware worked well in combination with the mClassic’s retro mode, correctly fixing the game’s aspect ratio – so some testing might be needed depending on your hardware of choice.
All that said, with how the PS1’s games have aged, I personally struggle to see the final result blown up on a 55 inch screen as being anything other than a soupy pixelated mess. This is an issue which even emulators can run into. While certain games can look decent or even better when their internal resolutions are cranked up to a full 4K, unless the titles feature poppy visuals and particularly-crafted game models (think Crash Bandicoot or the aforementioned Spyro), natively upscaling a PS1 game will often produce ugly results. That said, not upscaling it also results in an ugly image – as I stated previously.
In this way, the mClassic can somewhat act as a bridge between the two methods (though you could arguably achieve similar results with a more modest tweaking of your emulator settings). Still, this is all starting to feel a bit like a catch 22, with no perfect solution in sight.

So, who exactly is the mClassic for? The tech is interesting with an overall setup that is easy and convenient to execute, but unfortunately, to my eyes its final result is neither able to accurately show off retro games as intended nor is early enough in the processing pipeline to truly enhance the visuals to a meaningful degree. But that’s not to say it doesn’t have an audience.
Be it due to the base resolutions being higher quality, or as a result of game models being designed with PCs and future systems in mind, the mClassic presents a much more compelling argument for those looking for a 7th-gen and above upscaler. Both the Switch titles and PS3 games managed to offer a surprisingly enhanced image, with many of the device’s subtle tweaks to sharpening and anti-aliasing combining with the upscaler to make for a much more pleasing visual experience.
Though the final image cannot necessarily compare to a native 1440p output, even on my 55 inch 4K OLED the results looked significantly sharper. Now, it is worth saying that ‘significantly’ might be a slight overstatement, but in taking a step back from the screen and looking at the picture as a whole instead of focusing on the microdetails, there’s no denying that using the mClassic makes for an overall less blurry/fuzzy experience.
Those wanting a mostly set-it-and-forget it solution can find benefits in the mClassic, especially to enhance Switch and PS3 titles in particular – where its scaling set-up requires very little and presents a notable improvement. Additionally, those wanting to go on a nostalgic trip to play their old consoles and games will also find the final result most likely to be an improvement (at least my semi-casual friend did).
For me however, if I ever want to play any old-school games, I’ll hook up my original consoles to the consumer CRT which I purchased for maximum nostalgia feels (while also ironically presenting the crispest version of the image thanks to the games being designed with CRTs in mind).
Furthermore, I will also most likely continue to use emulation in order to play PS3/Switch titles, as those games in particular benefit even further from being natively upscaled. That said, for those who choose not to walk through the muddy swamp of emulation, the mClassic is able to give all your 6th-gen games – and Switch titles – a new fresh coat of paint…as long as you set it up correctly.
The mClassic is available for £99.99 HERE.
KitGuru says: Are you interested in the mClassic? What would be your use case for it? How do you play retro games? Let us know down below.